

From 981 CS to Base 987.2, The Story Continues
 07-11-2019, 02:00 AM
#91
Rennlist Member
Thread Starter
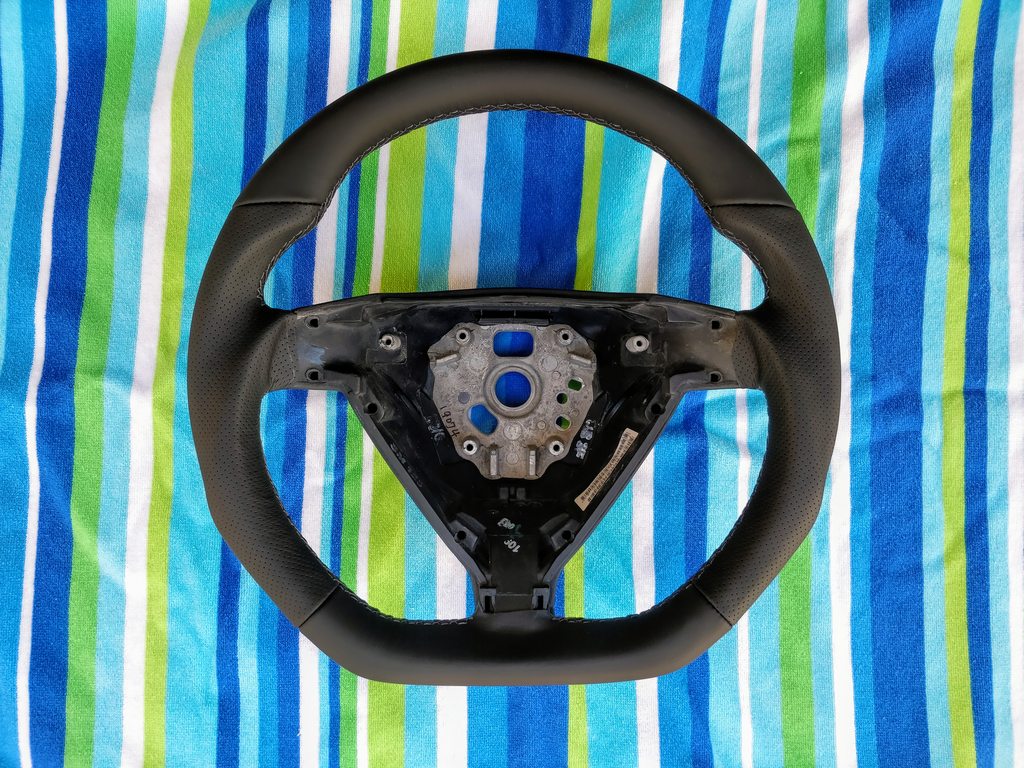
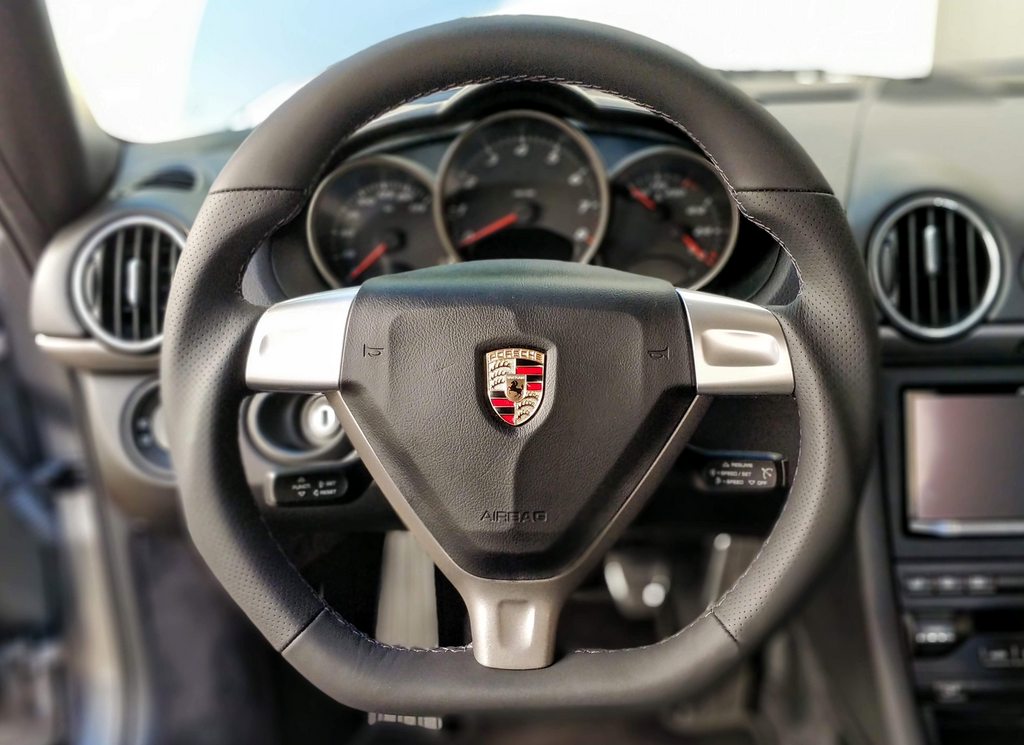
The stock steering wheel is pretty thin and uninspiring. So I upgraded it with one from DCT Motorsports while keeping the stock airbag. I do think the newer, circular airbags look more modern (well, because they are) but given how nice this one looks, not even concerned about it. It's all about how it feels and the driving experience, which in this case has been dramatically improved. 
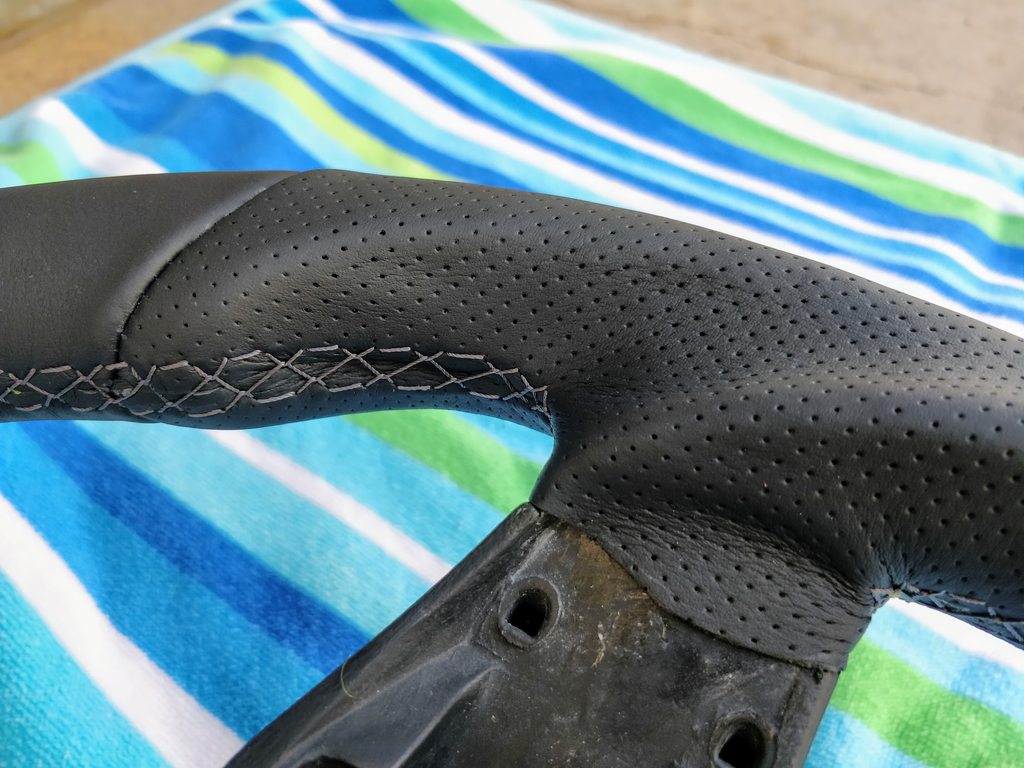
Black with gray stitching to match the rest of the interior.
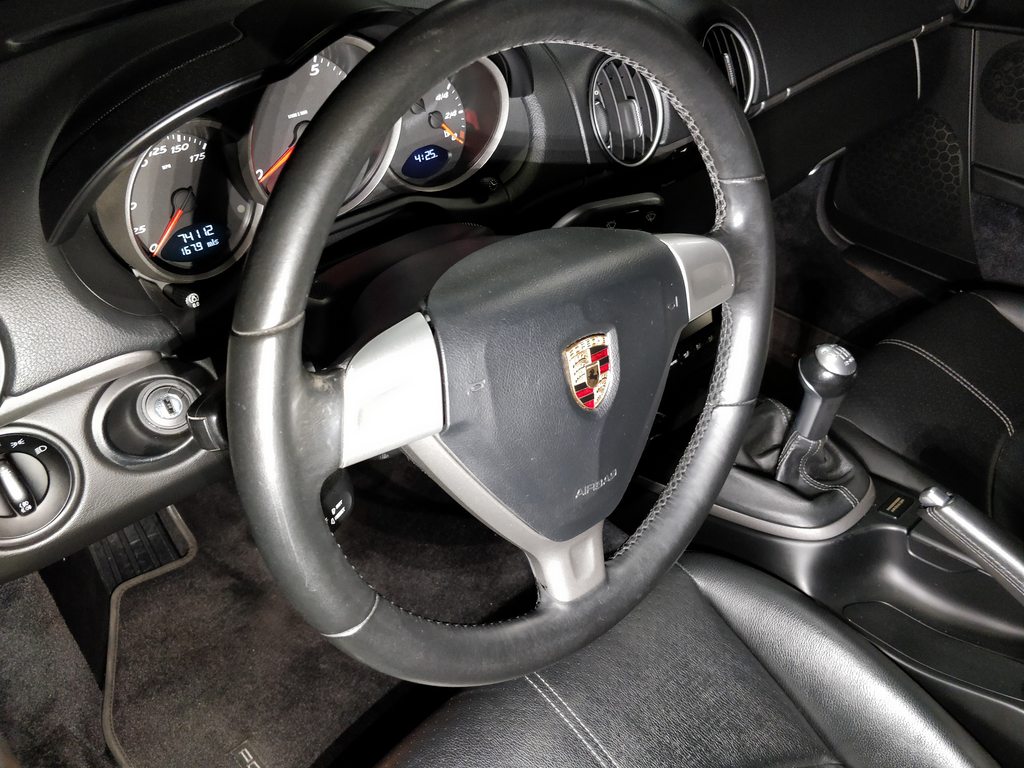
Old wheel:
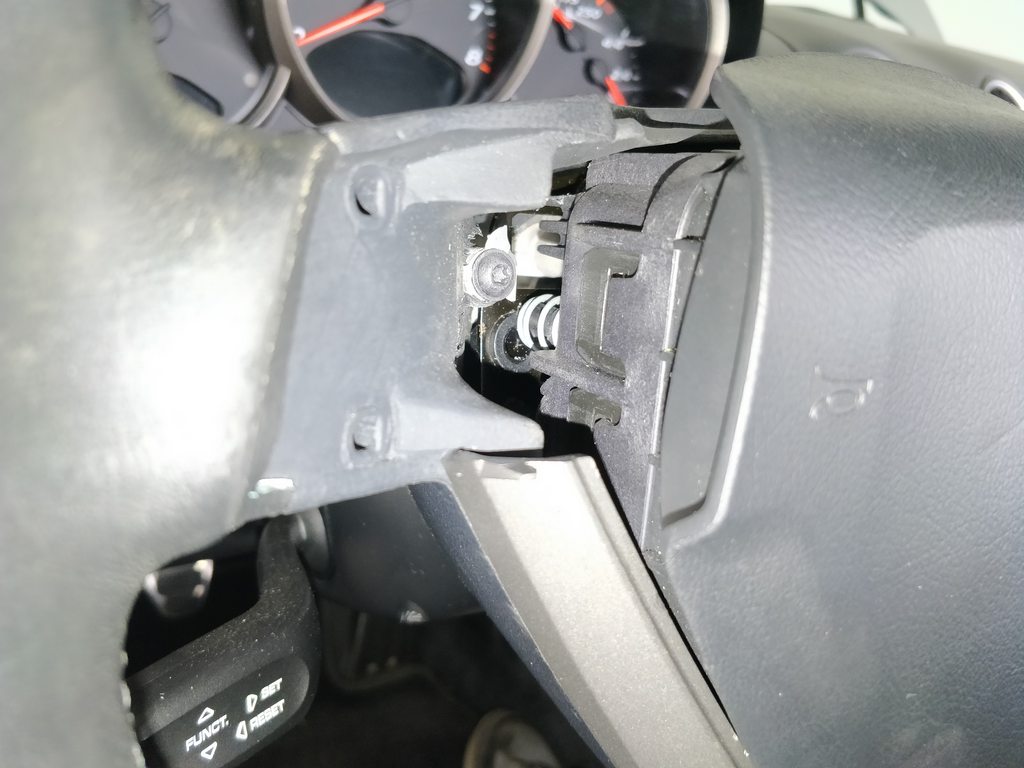
Now admittedly I had trouble popping the airbag out. There's a hole in the bottom where you need to stick a screwdriver or T30 driver to push up against a spring, and then it should just pop loose. But I wasn't careful and didn't pull straight out, so it got stuck. I ended up breaking the brittle plastic trim piece but fortunately with the other 2 posts that hold it in, and the fact that it's sitting on leather, there are no rattles or any issues at all really, so I didn't replace it. If the wheel has buttons on it, might be a different story.
Had a buddy come over and we managed to get it seated again, then it went much smoother. Once the airbag is out, you'll see this plate that has 4 screws holding it in. Flipping it over reveals how the springs works, and how it releases the 4 "fingers" on the back of the airbag. I ended up using a T25 in the end. Don't use a regular screwdriver as you want something with a blunt face.
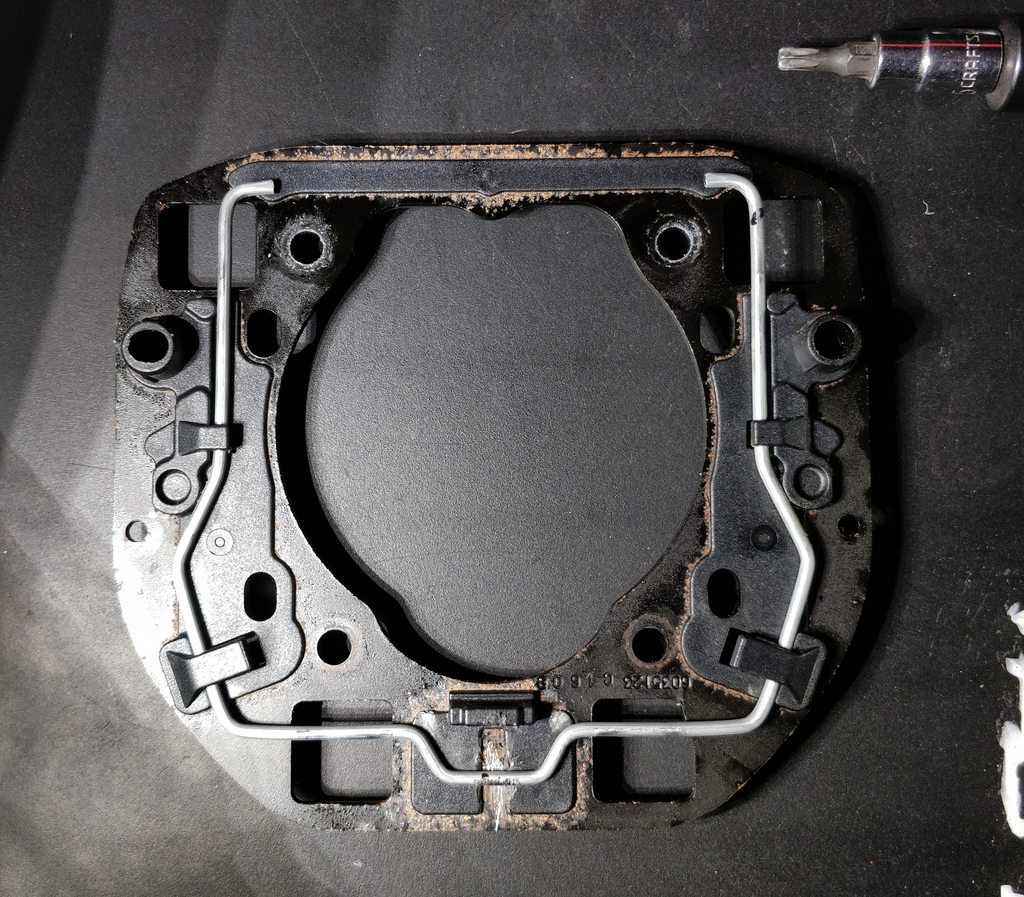
And this is how it operates when pushing the spring clip from the bottom:
Remove the M12 triple square bolt holding in the wheel.
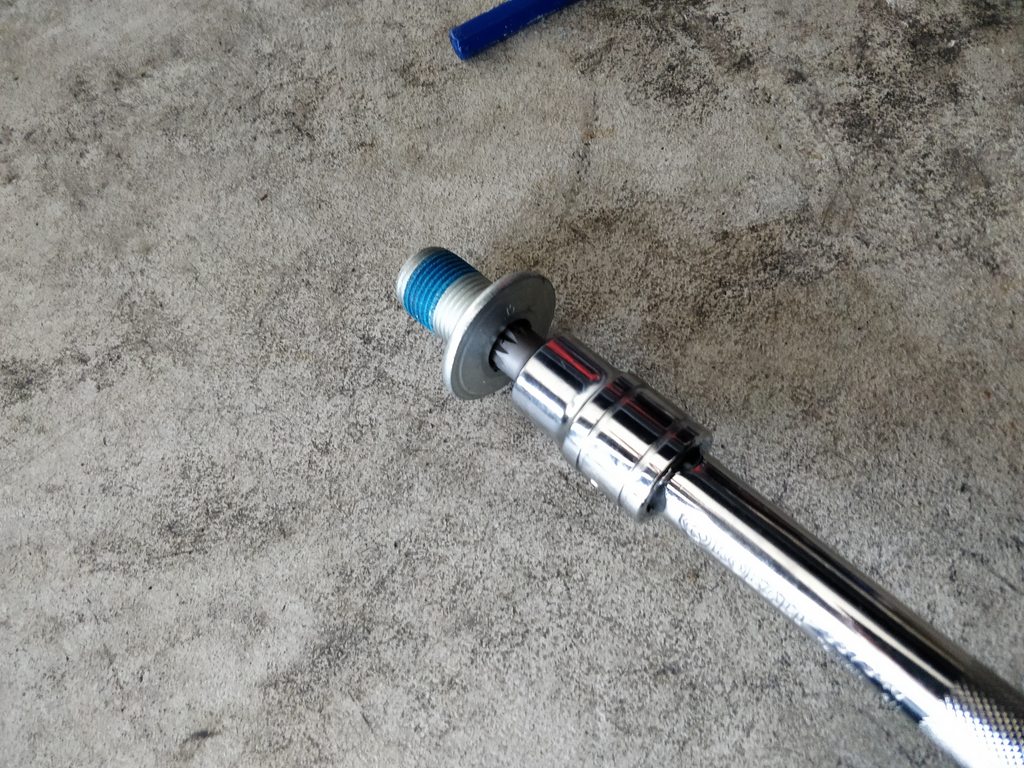
I was able to torque it down to spec (50 Nm) since I had help.
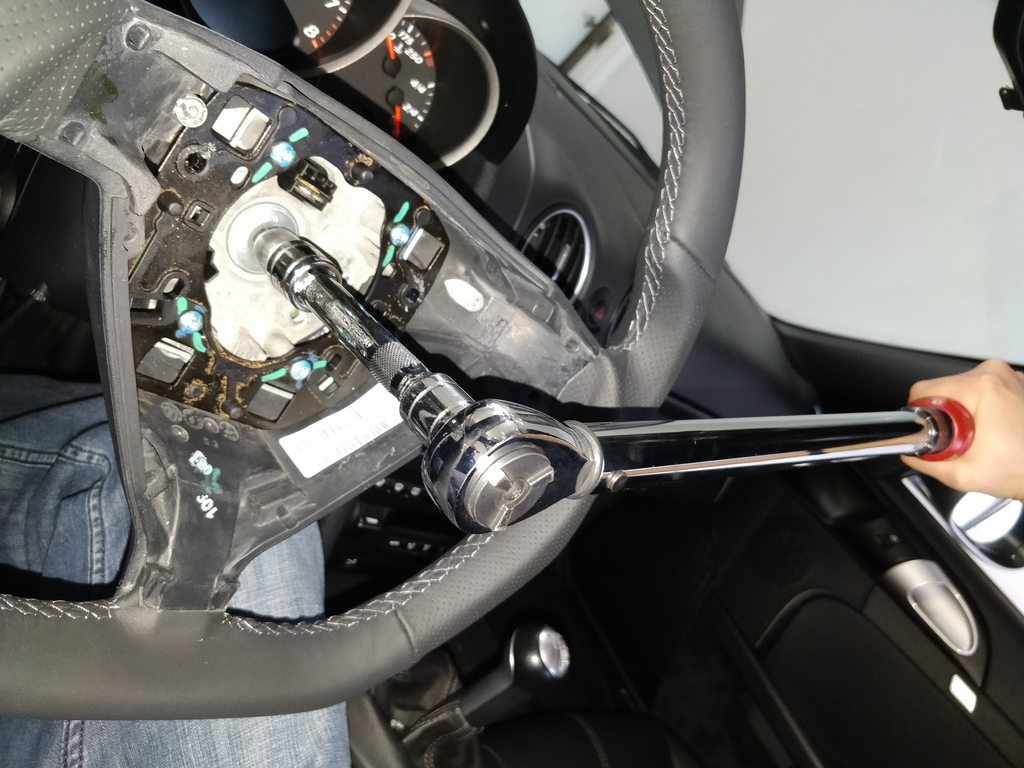
And he we are! Highly recommended.
Black with gray stitching to match the rest of the interior.
Old wheel:
Now admittedly I had trouble popping the airbag out. There's a hole in the bottom where you need to stick a screwdriver or T30 driver to push up against a spring, and then it should just pop loose. But I wasn't careful and didn't pull straight out, so it got stuck. I ended up breaking the brittle plastic trim piece but fortunately with the other 2 posts that hold it in, and the fact that it's sitting on leather, there are no rattles or any issues at all really, so I didn't replace it. If the wheel has buttons on it, might be a different story.
Had a buddy come over and we managed to get it seated again, then it went much smoother. Once the airbag is out, you'll see this plate that has 4 screws holding it in. Flipping it over reveals how the springs works, and how it releases the 4 "fingers" on the back of the airbag. I ended up using a T25 in the end. Don't use a regular screwdriver as you want something with a blunt face.
And this is how it operates when pushing the spring clip from the bottom:
Remove the M12 triple square bolt holding in the wheel.
I was able to torque it down to spec (50 Nm) since I had help.
And he we are! Highly recommended.
 07-11-2019, 09:18 AM
#92
Addict
Rennlist Member
Rennlist Member
That’s a great improvement!
07-16-2019, 04:42 PM
#93
Rennlist Member
Thread Starter
Went on a 1,600-mile road trip up to the Avenue of the Giants over the July 4th holiday. Car handled beautifully. All that work on the suspension truly paid off.
Got to drive the 12C for a bit too.


Got to drive the 12C for a bit too.


The following users liked this post:
PhillyNate (07-17-2019)
07-16-2019, 11:23 PM
#94
Addict
Rennlist Member
Rennlist Member
Those roads and scenery look truly epic and to experience it in the Cayman must have been amazing. Great photography too, it truly captures the scenery and moment.
I’ve been debating if I should plan a similar trip with just my wife or if I should bring the kids. Kids are teenagers so my concern is that the scenery will be lost on them.
I’ve been debating if I should plan a similar trip with just my wife or if I should bring the kids. Kids are teenagers so my concern is that the scenery will be lost on them.
07-18-2019, 02:02 AM
#95
Rennlist Member
Thread Starter
Those roads and scenery look truly epic and to experience it in the Cayman must have been amazing. Great photography too, it truly captures the scenery and moment.
I�ve been debating if I should plan a similar trip with just my wife or if I should bring the kids. Kids are teenagers so my concern is that the scenery will be lost on them.
I�ve been debating if I should plan a similar trip with just my wife or if I should bring the kids. Kids are teenagers so my concern is that the scenery will be lost on them.
229 was my favorite:
The following users liked this post:
PhillyNate (07-20-2019)
07-18-2019, 07:23 PM
#96

Do you happen to have a list of the LEDs that you purchased to improve the interior lighting? I did this to a previous (non-Porsche) vehicle and really liked the results, so I'd like to do the LED lighting upgrade to my "new" 2008 Cayman S. Thanks!
07-18-2019, 08:54 PM
#97
Rennlist Member
Thread Starter
License plate: 3610-CW27-CB: Cool White (qty: 2)
Interior: 194-NWHP5: Natural White (qty: 7) - add 2 more if you want to do the footwells
Frunk/Trunk: 4410-CW8: Cool White (qty: 2)
The following users liked this post:
OC_Cayman (07-19-2019)
07-19-2019, 10:19 PM
#98
Three Wheelin'
Love the detailed work pics and the road pics in equal combination.
Is that 229 one-way? Or, is there going to be on-coming traffic?
The rubber on the corners looks like the drift missiles have been out there as well - we get the same in Japan...
By the way, got any photographs of your camera rig for the vid?
The stabilization work is pretty effective, assume mechanical and in-camera correction?
Great stuff regardless...
07-20-2019, 04:42 PM
#99
Rennlist Member
Thread Starter
Love the detailed work pics and the road pics in equal combination.
Is that 229 one-way? Or, is there going to be on-coming traffic?
The rubber on the corners looks like the drift missiles have been out there as well - we get the same in Japan...
By the way, got any photographs of your camera rig for the vid?
The stabilization work is pretty effective, assume mechanical and in-camera correction?
Great stuff regardless...
Is that 229 one-way? Or, is there going to be on-coming traffic?
The rubber on the corners looks like the drift missiles have been out there as well - we get the same in Japan...
By the way, got any photographs of your camera rig for the vid?
The stabilization work is pretty effective, assume mechanical and in-camera correction?
Great stuff regardless...
229 is technically a 2-way road but generally pretty empty. I only saw 1 other car during the real twisty bits but the southern end is definitely more fun and empty since there aren't any houses/ranches there. It was my 2nd time driving it so I was a little more familiar but still cautious on the blind corners/crests.
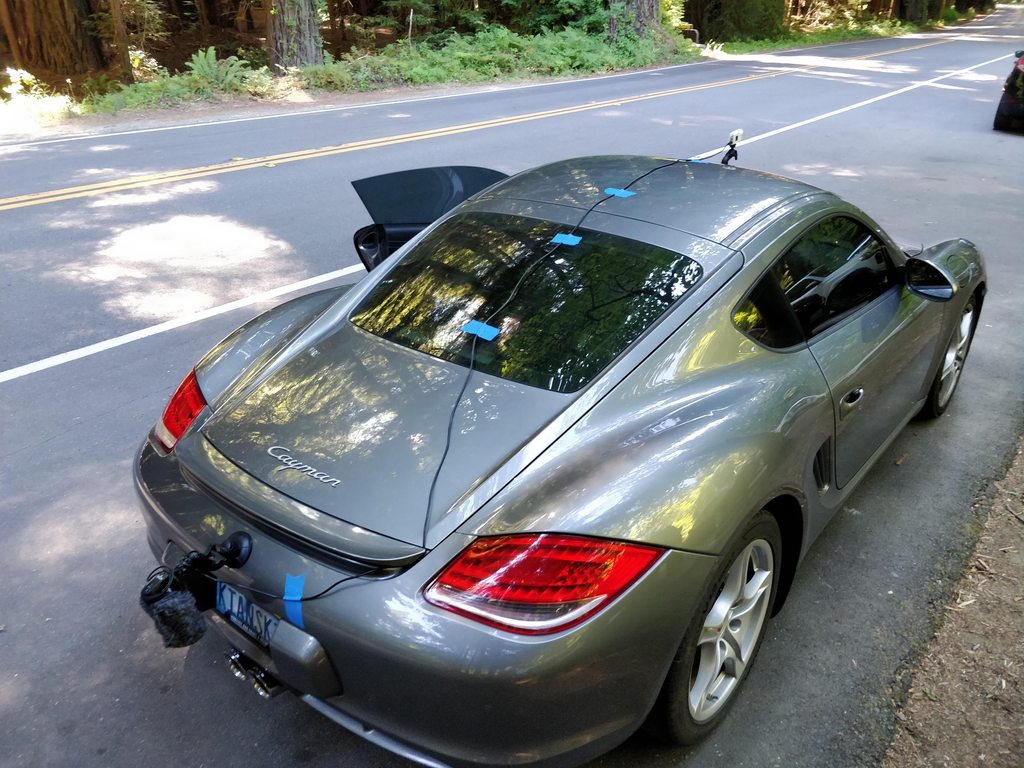
The image stabilization is done inside the camera, but it's all mechanical since the lens is actually moving with the Sony FDR-X3000 camera. I didn't do any post-processing for it. Only downside is you lose the sense of speed but it's easier to watch.
I had the camera on top of the windshield with the mic attached to the rear bumper:
 07-23-2019, 06:16 PM
#101
Advanced

Thanks!
229 is technically a 2-way road but generally pretty empty. I only saw 1 other car during the real twisty bits but the southern end is definitely more fun and empty since there aren't any houses/ranches there. It was my 2nd time driving it so I was a little more familiar but still cautious on the blind corners/crests.
The image stabilization is done inside the camera, but it's all mechanical since the lens is actually moving with the Sony FDR-X3000 camera. I didn't do any post-processing for it. Only downside is you lose the sense of speed but it's easier to watch.
I had the camera on top of the windshield with the mic attached to the rear bumper:
can you give a better pic of the mic set up. mainly, how it's all connected. i've had difficulty finding mounts that would work
07-23-2019, 09:22 PM
#102
Rennlist Member
Thread Starter

Here's a to the suction cup which is compatible with all cameras that use the common 1/4"-20 thread. I just make sure the area is clean and have had no issues with it staying on. Plus I think I calculated just a couple pounds of drag when the camera is mounted on the windshield which is well within the suction cup's capabilities.
So I just bought 2 of the same mount, and then a long audio extension cable (10-ft) to tie the camera to the mic.
07-24-2019, 01:02 AM
#104
Awesome. I just love that drive. Last time I tried it, hwy1 was closed down past big sur and I had to cut over the hills to get to Paso Robles. Road called Nacimiento-Fergussen. That road will keep you glued to the controls for well over an hour and consequences for a lapse are HIGH.
Last edited by WAILN6; 07-24-2019 at 02:52 PM.
07-24-2019, 07:50 AM
#105
Rennlist Member
Excellent pics and video! The car feels well sorted.
I’m bad with cameras in cars but I see many videos with the mic at the exhaust and fail to see the point. Shouldn’t the mic be near the driver’s ears (same as the camera being near his eyes) to capture what the driver actually hears (and sees)?
I’m bad with cameras in cars but I see many videos with the mic at the exhaust and fail to see the point. Shouldn’t the mic be near the driver’s ears (same as the camera being near his eyes) to capture what the driver actually hears (and sees)?