When you click on links to various merchants on this site and make a purchase, this can result in this site earning a commission. Affiliate programs and affiliations include, but are not limited to, the eBay Partner Network.
DIY Installation Instructions for DSC Sport Stand Alone Kit
We have made converting a non-PASM 987 to electronically controlled suspension easy with our streamlined kit! This is a "Stand Alone" system that only need power, ground, and connection to the vehicle's CAN-Bus for data. The end result is a fully dynamic suspension that exceeds the performance of factory PASM in comfort, stability, grip on street and track! And it is user tune-able with support. In an ongoing effort to provide our customers with more resources and continue to improve the DSC Sport experience, we have now added the step by step DIY.
Here is the step by step DIY Stand Alone Kit installation instructions to make it easier and fun for the average user: installation instructions
Below are some highlight photos of the build, but the instructions work best in .pdf. See here or visit the installation instructions page on the DSC Sport website.
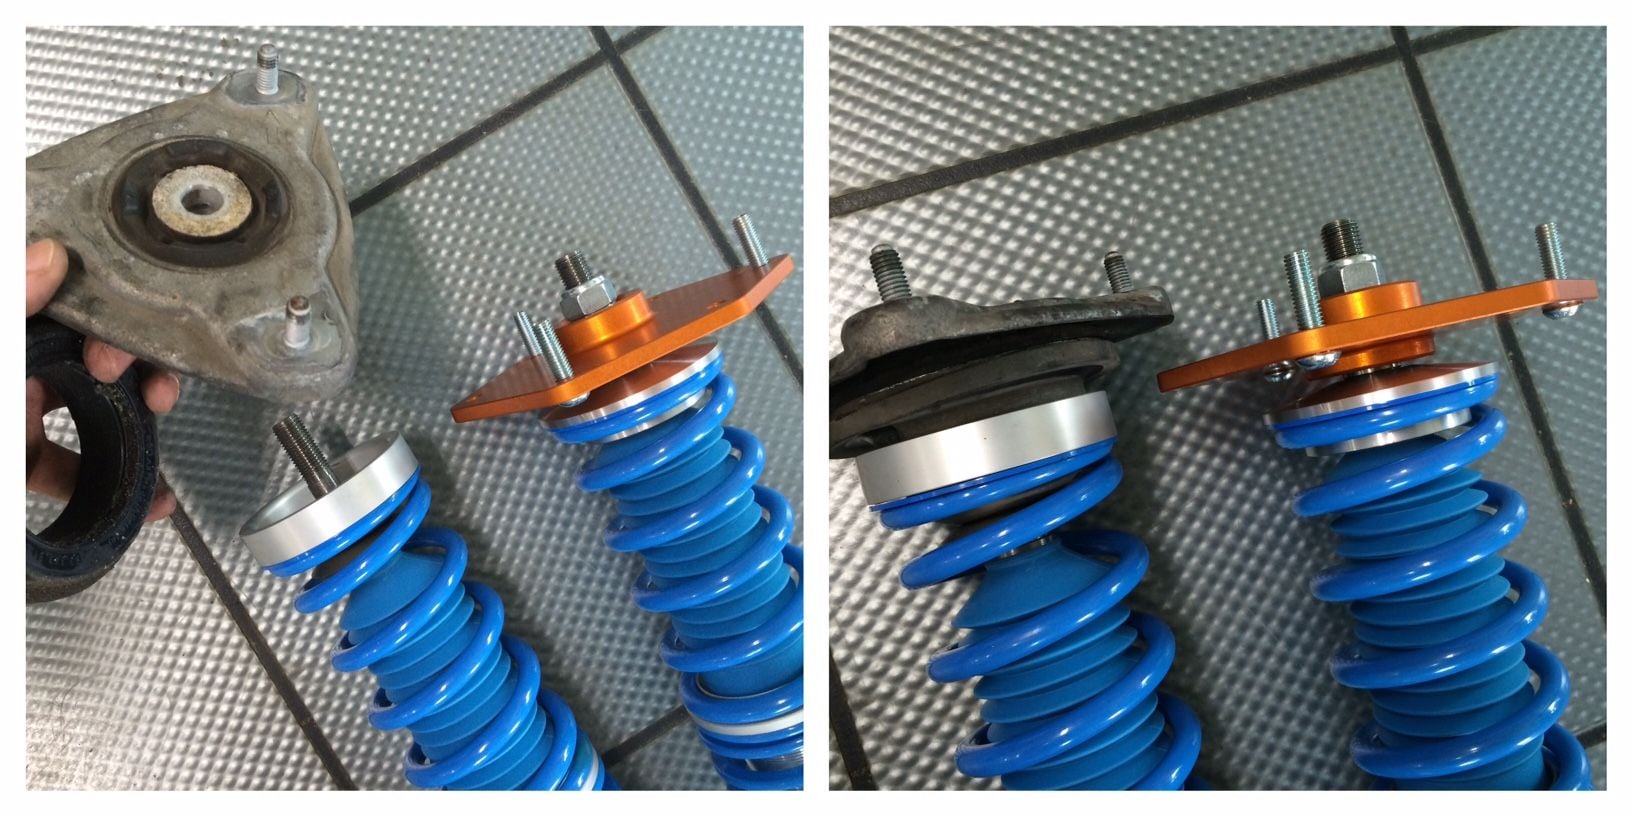
On the build we used to make the instructions, the customer decided to go with the Bilstein Damptronic B16 coilovers and opted for Tractive Top Mounts/Camber Plates. As you can see from the photo, the off-the-shelf B16 is intended for use with the stock rubber bushing upper mount that's subject to some flex that degrades the suspension geometry, particularly under heavy load. The Tractive hardware consists of billet aluminum and hi-carbon steel to eliminating unwanted movement in the suspension for precision handling.
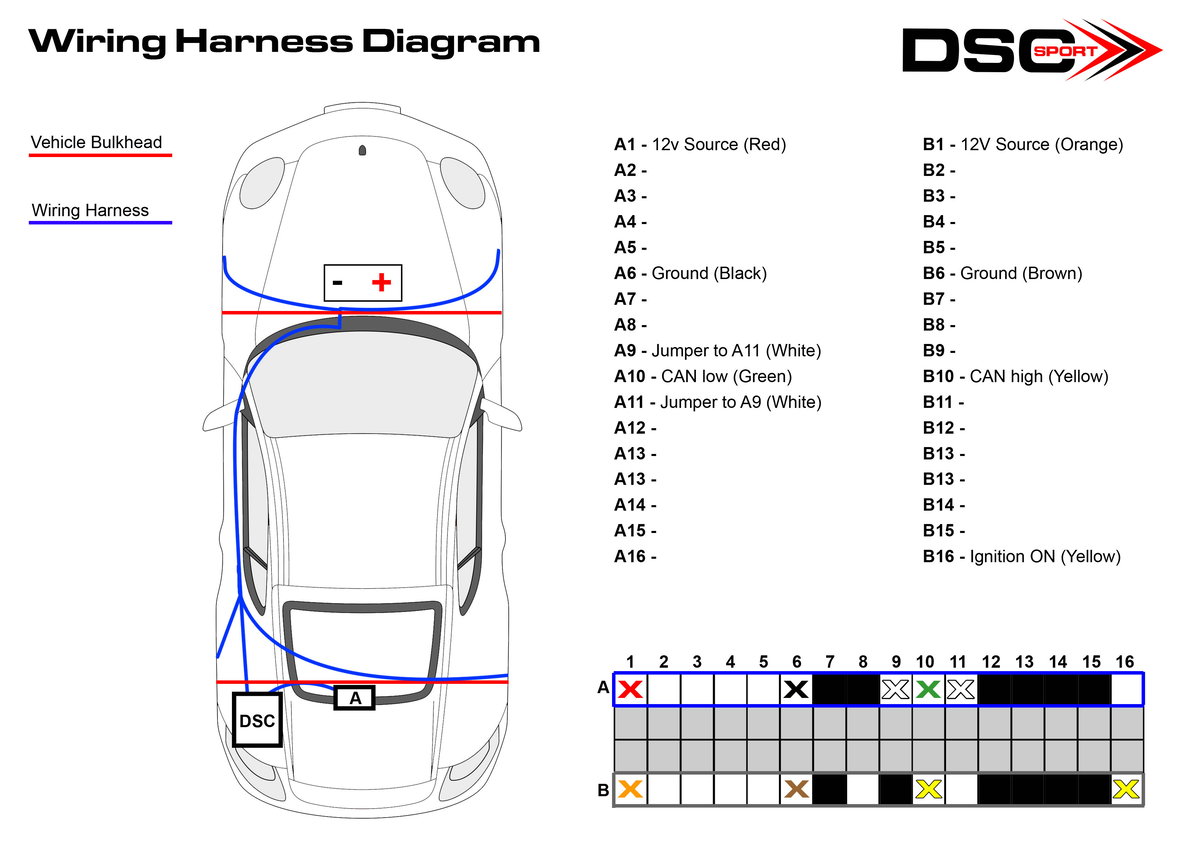
Included with new instructions is a detailed wiring diagram indicating the routing of the DSC Stand Alone wiring harness which connects the DSC module to the four dampers.
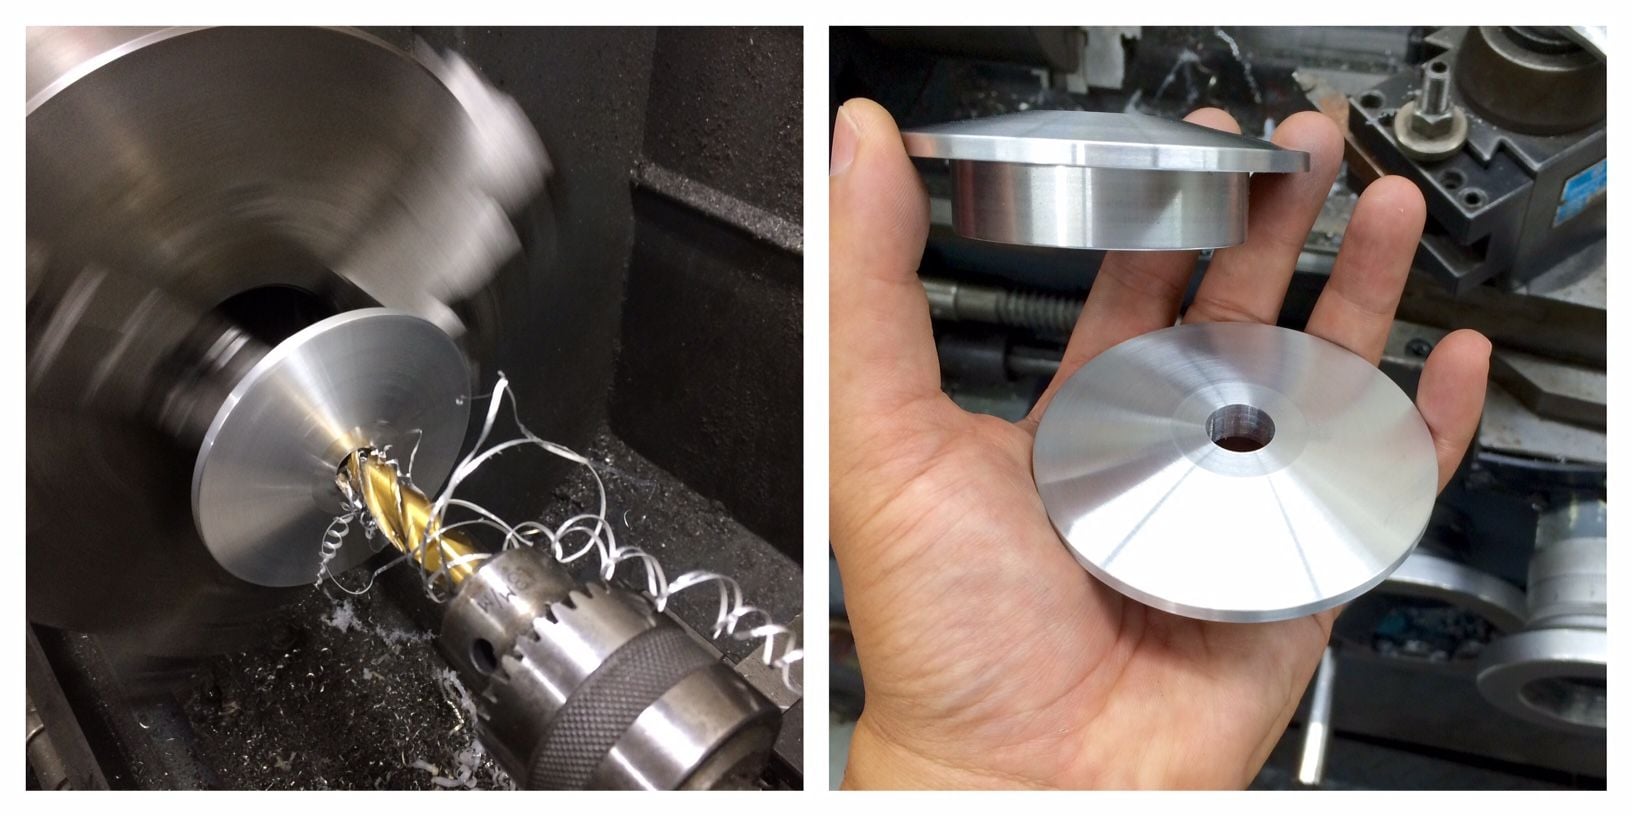
For this particular build, we had to do some custom machining to fit top hats to the B16. The Tractive DDA coilovers arrive built up and set to recommended ride height, ready to simply bolt on.
The DSC module(the system's brain) located at the left rear corner of the car.
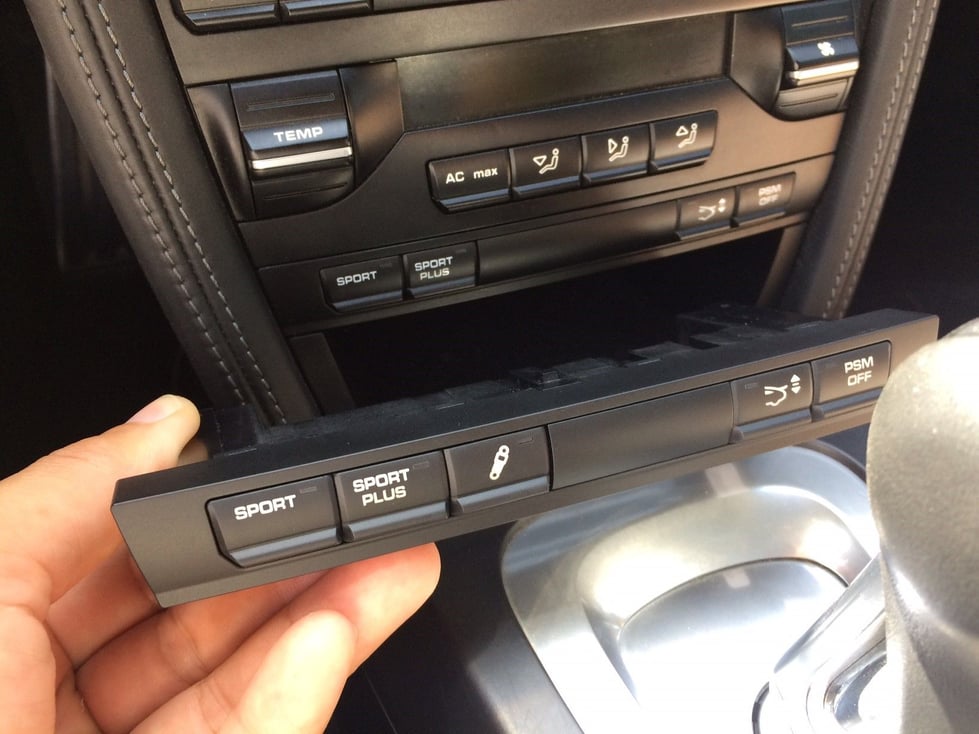
Installing the optional PASM switch panel for DSC mode switching. This truly makes it a factory level install.
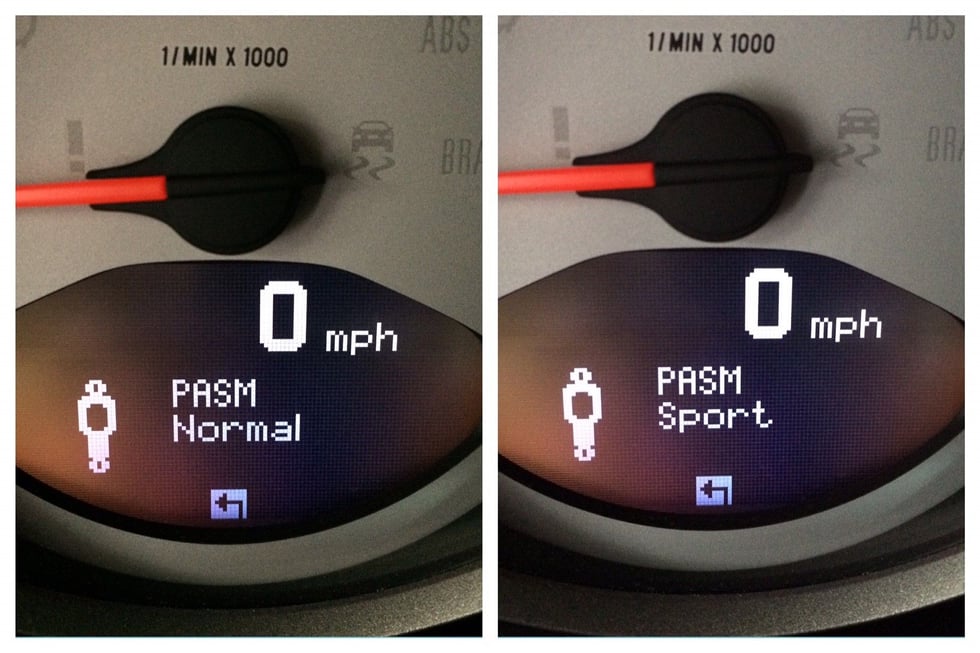
Once installed DSC Standalone system will activate the Normal and Sport display on the a non-PASM car!
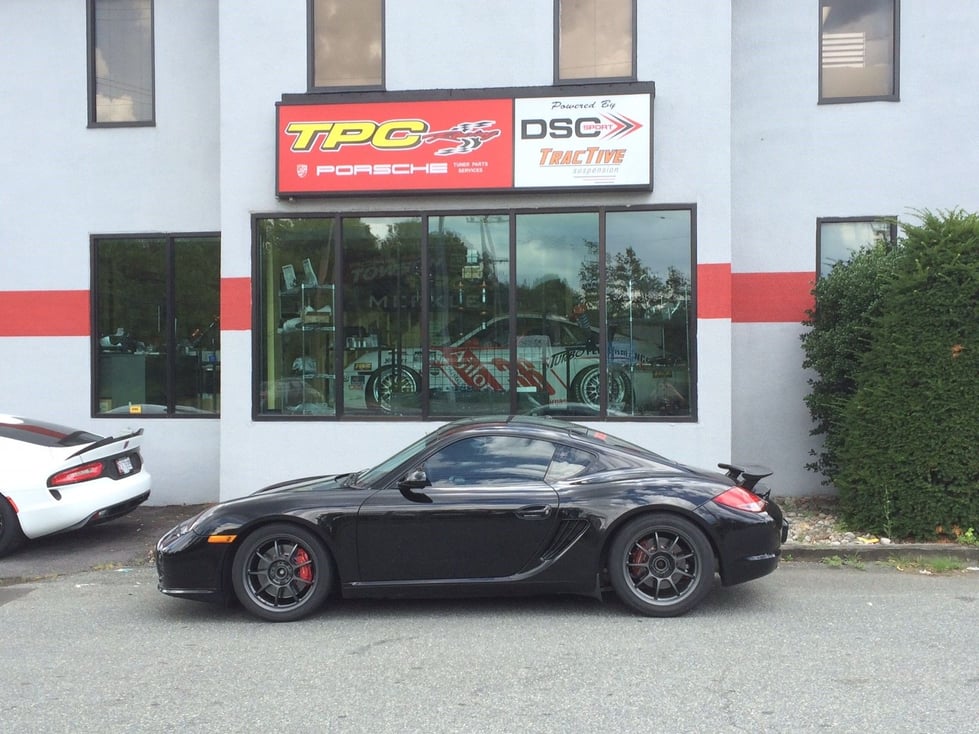
Cayman now fitted with DSC Sport fully dynamic suspension! We did the installation on this car back in the July, this customer has done a number track day since and he is happy over the moon with this package! Fun fact: The #36 car in the window was the test bed that allowed us to write much of the algorithm for DSC Sport. It was our main Grand-Am car and won the 2006 24 Hours of Daytona.
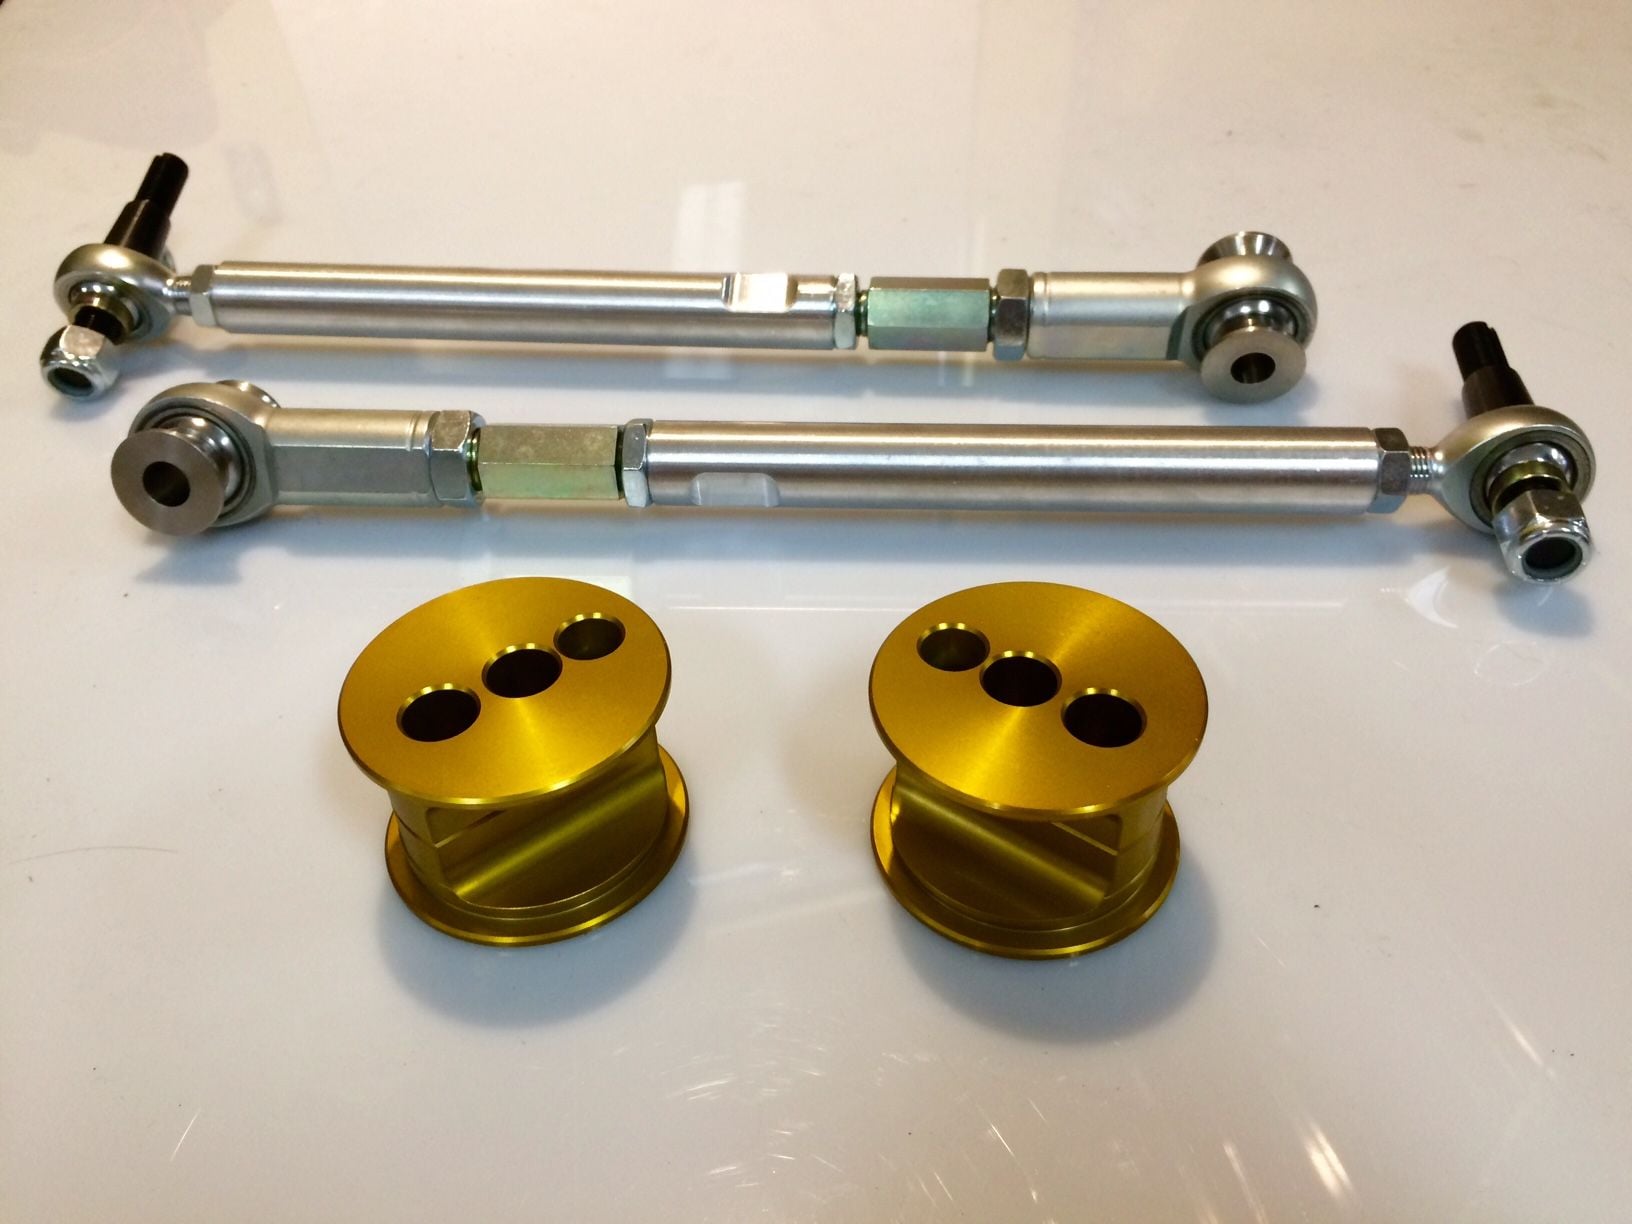
This car is also sporting TPC adjustable sway bars, TPC adjustable rear toe links, and TPC thrust bushings. With improved the geometry this car and DSC system, this car is really hooked up!

 09-27-2016, 12:16 PM