When you click on links to various merchants on this site and make a purchase, this can result in this site earning a commission. Affiliate programs and affiliations include, but are not limited to, the eBay Partner Network.
Unfortunately, I live in an area where I need a front license plate. My car still had the unused Porsche front plate bracket when I bought it, but I couldn't stand the thought of drilling in to my front bumper.
I'm also not a fan of the offset look with the tow hook plates.
I saw someone else do a version of this (may be on here,not sure...). Props to whoever you are for the inspiration.
I wanted a way to uninstall and reinstall the plate without reaching behind the bumper, which is how I ended up using the nut inserts so secure the bracket to the car.
Hope this helps someone.
Here's my work around...
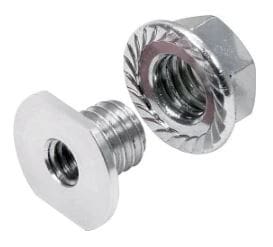
I bought some 3/8" OD 1/4-20 ID Nut inserts.
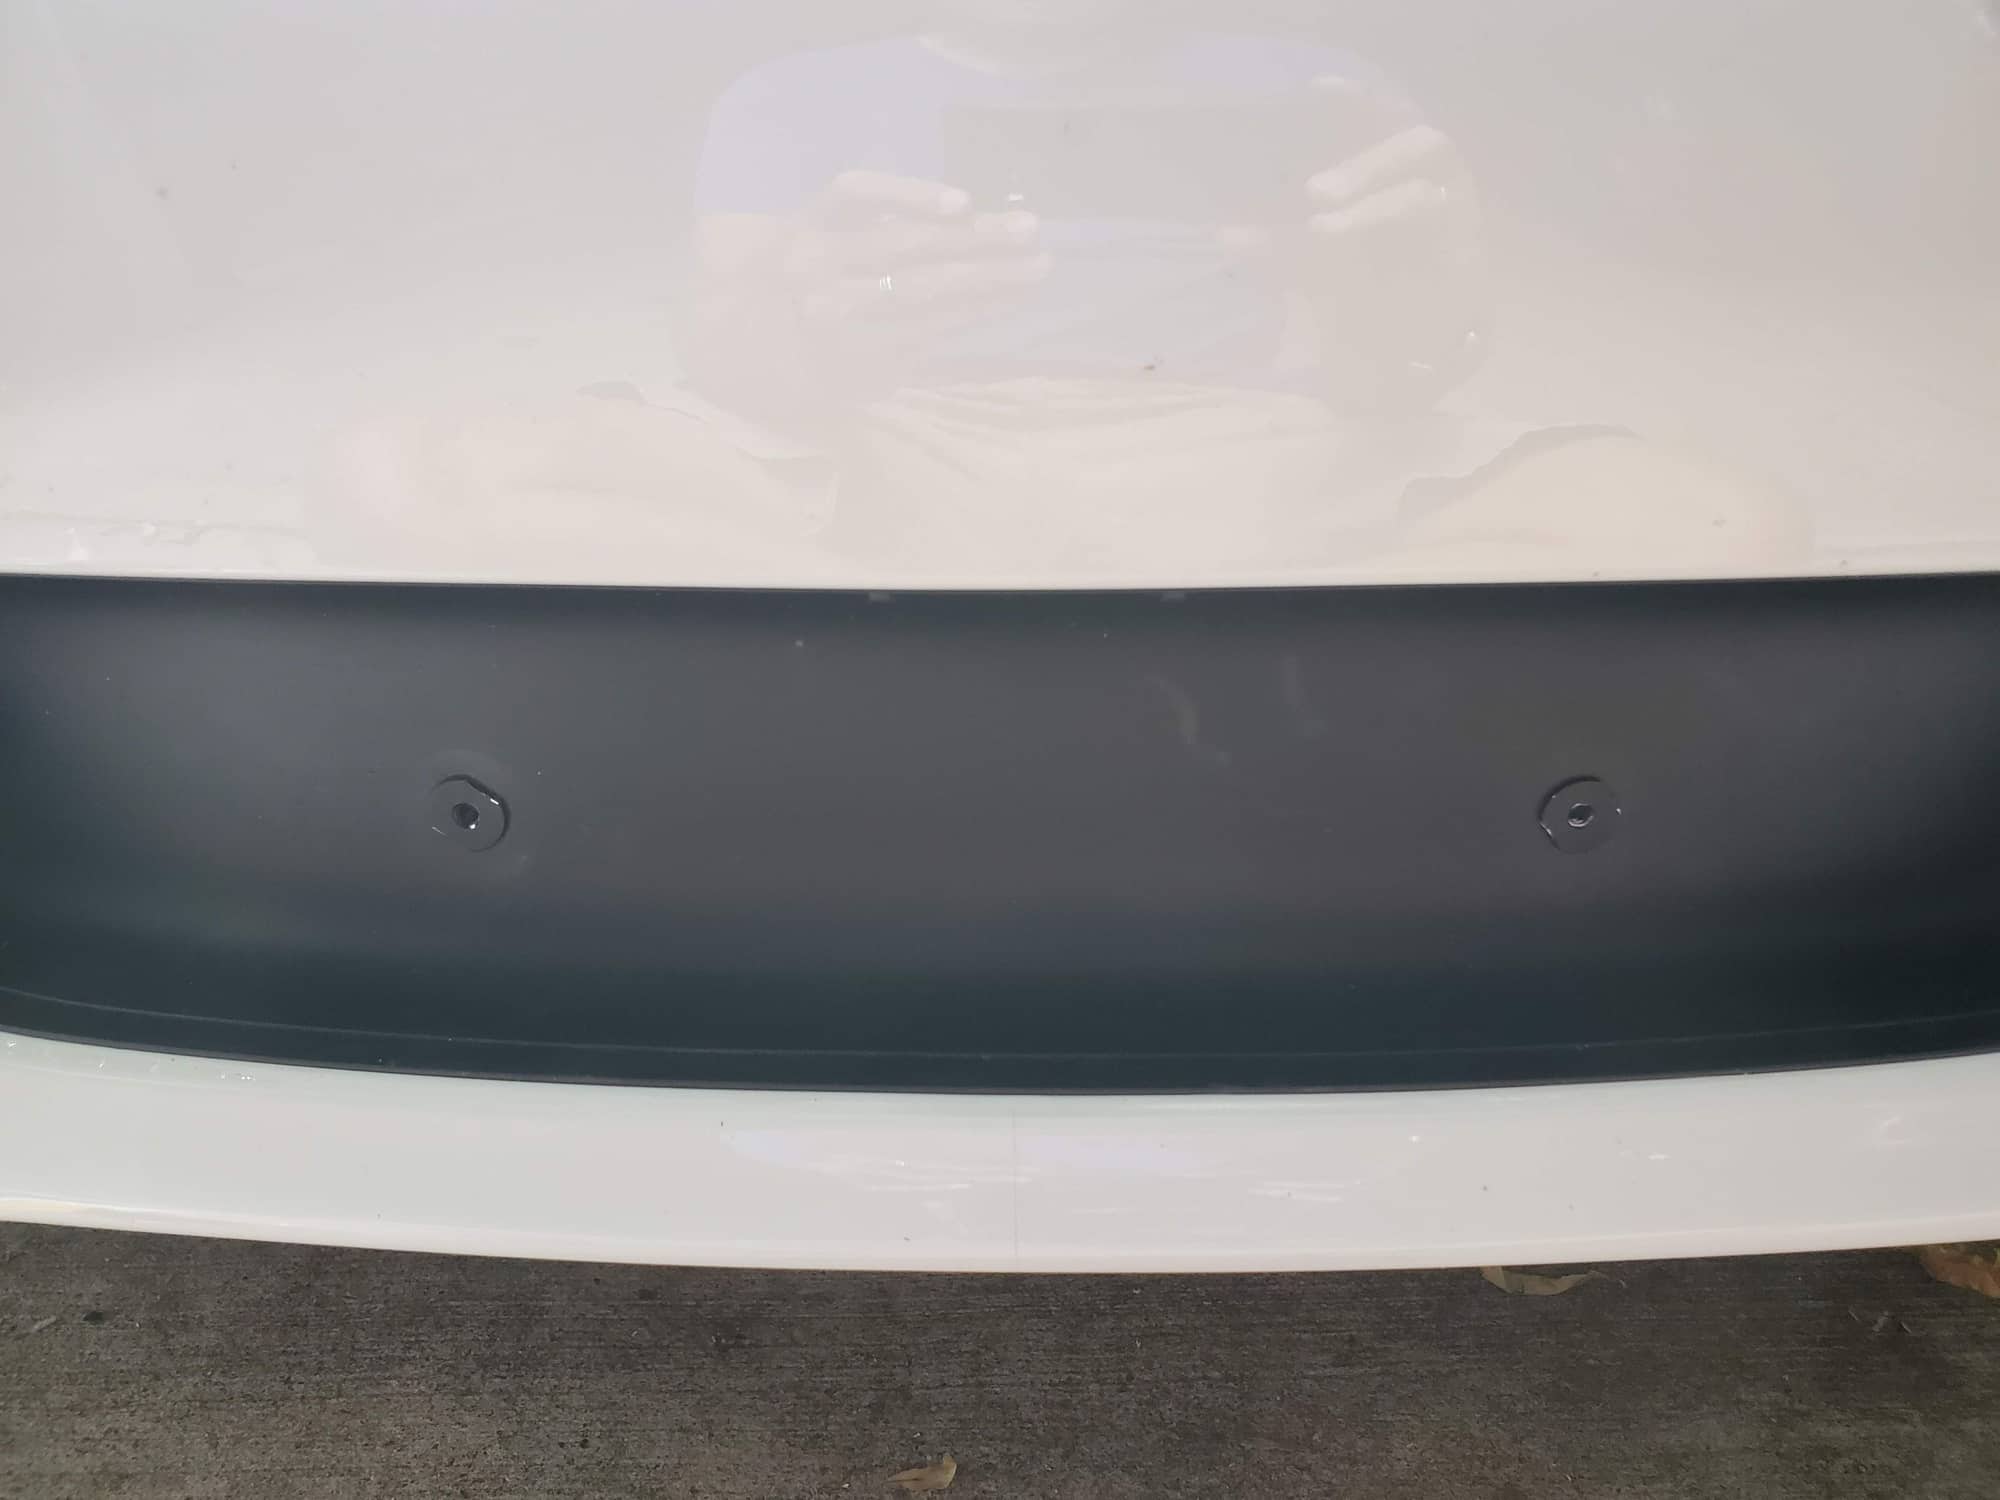
I painted the 1/4-20 portion of the inserts black to blend in to the center air dam area.
I drilled 2 3/8" holes in the black plastic area. These can be filled with 3/8" dia black hole plugs later if need be. I lined up the mounting holes by resting the inverted bracket on the lower lip of the bumper and dry fitting the SHCS in the brackets. Then I circled the screw tips with a pencil to mark the hole locations.
I was able to reach through the access holes in the lower bumper with a socket in my hand to tighten the back side of the inserts. The socket by itself gave me enough grip to torque the insert to the plastic.
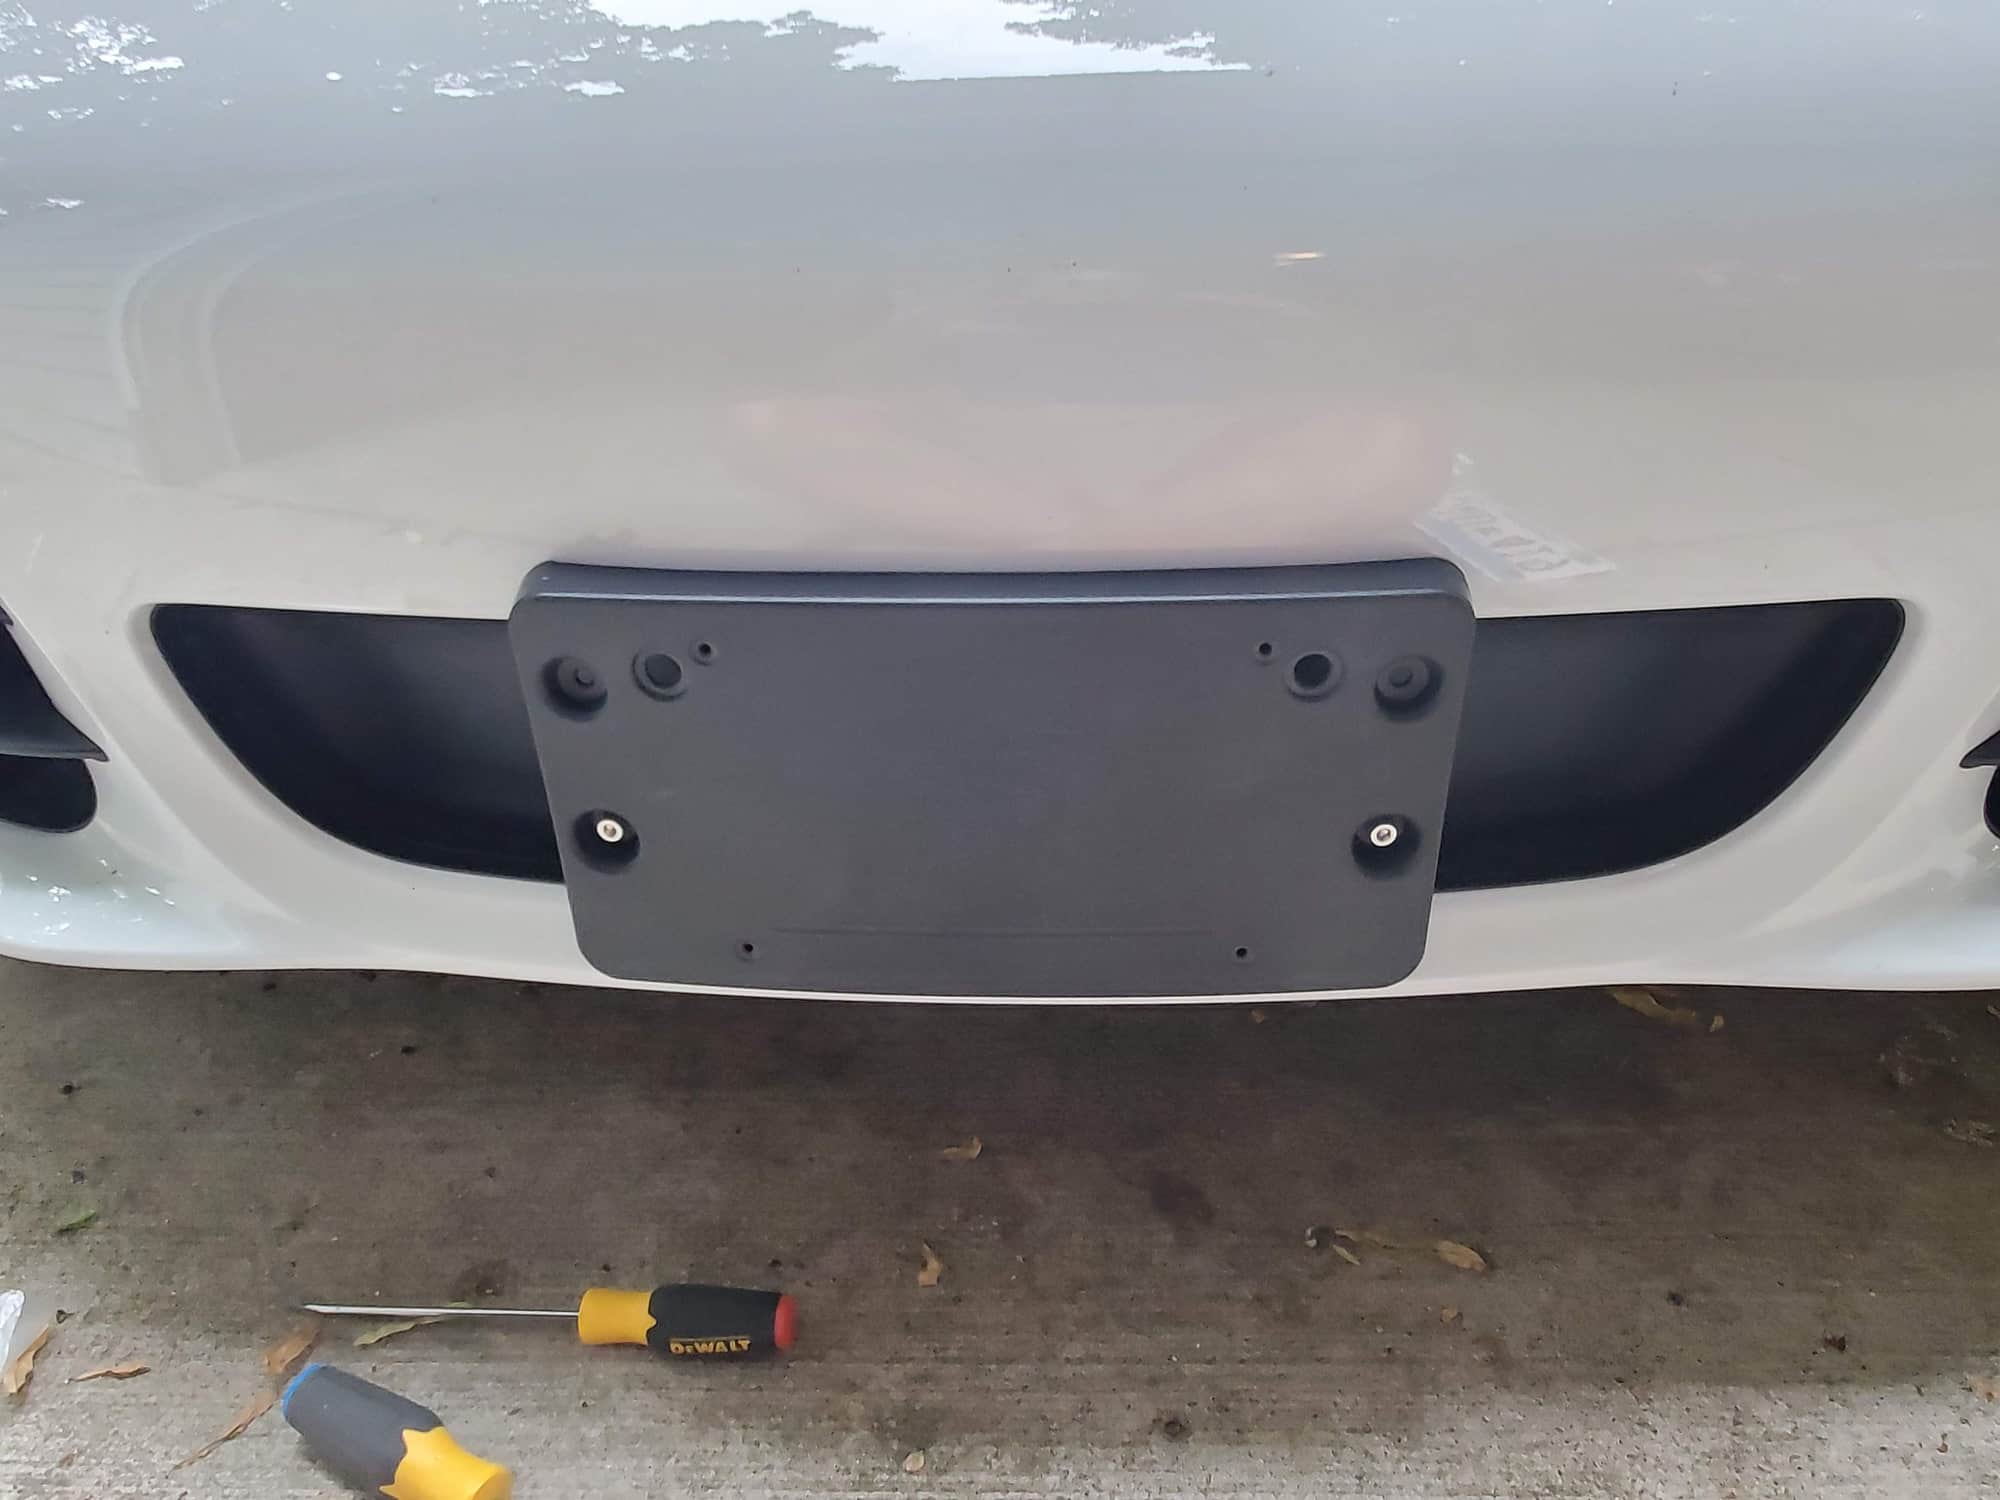
I used 3" long 1/4-20 Stainless SHCS to mount the bracket. Instead of painting the screws, I just wrapped them with electrical tape. These are nearly invisible in the final assembly anyway.
I inverted the bracket so the flange on the back rested on the lower lip of the bumper. Even though I have a clear bra in place, I wrapped the edges of the plate bracket with electrical tape to ensure against any abrasion on the paint.
This holds the plate very securely, and took just a few minutes to install.
3/8" OD, 1/4-20 ID Nut insert. I bought aluminum and painted them black, but steel black oxide coated ones were also available. These were $6.95. Here's the nut inserts once painted and installed. The look way more visible here that in person. even up close. It was tight, but I could reach inside the bumper through the access holes to tighten the jam nut with a socket. I didn't use a wrench, just hand held the socket. Here you can see the 3" long 1/4-20 SHCS. The black part is wrapped in electrical tape. Screw cost me $2.50. Here's the finished product before I mounted the frame and the plate.
thanks for sharing! best solution i have seen so far. i wish i would have known this before i had pulled the black piece back into the bumper, it would have worked much easier. but still, it seems to be not too crazy and i might go for it.
You guys really need to get onto this metric bolt stuff - it's all the rage with the cool countries these days...
All those 7/4 and 20/9ths and 5/3ds make my head spin.
You guys really need to get onto this metric bolt stuff - it's all the rage with the cool countries these days...
All those 7/4 and 20/9ths and 5/3ds make my head spin.
(Nice option regardless!)
Seriously?
Its called "part availability". Like it or not, imperial fasteners and inserts are more readily available at every hardware store in the US.
 06-25-2019, 12:00 AM