When you click on links to various merchants on this site and make a purchase, this can result in this site earning a commission. Affiliate programs and affiliations include, but are not limited to, the eBay Partner Network.
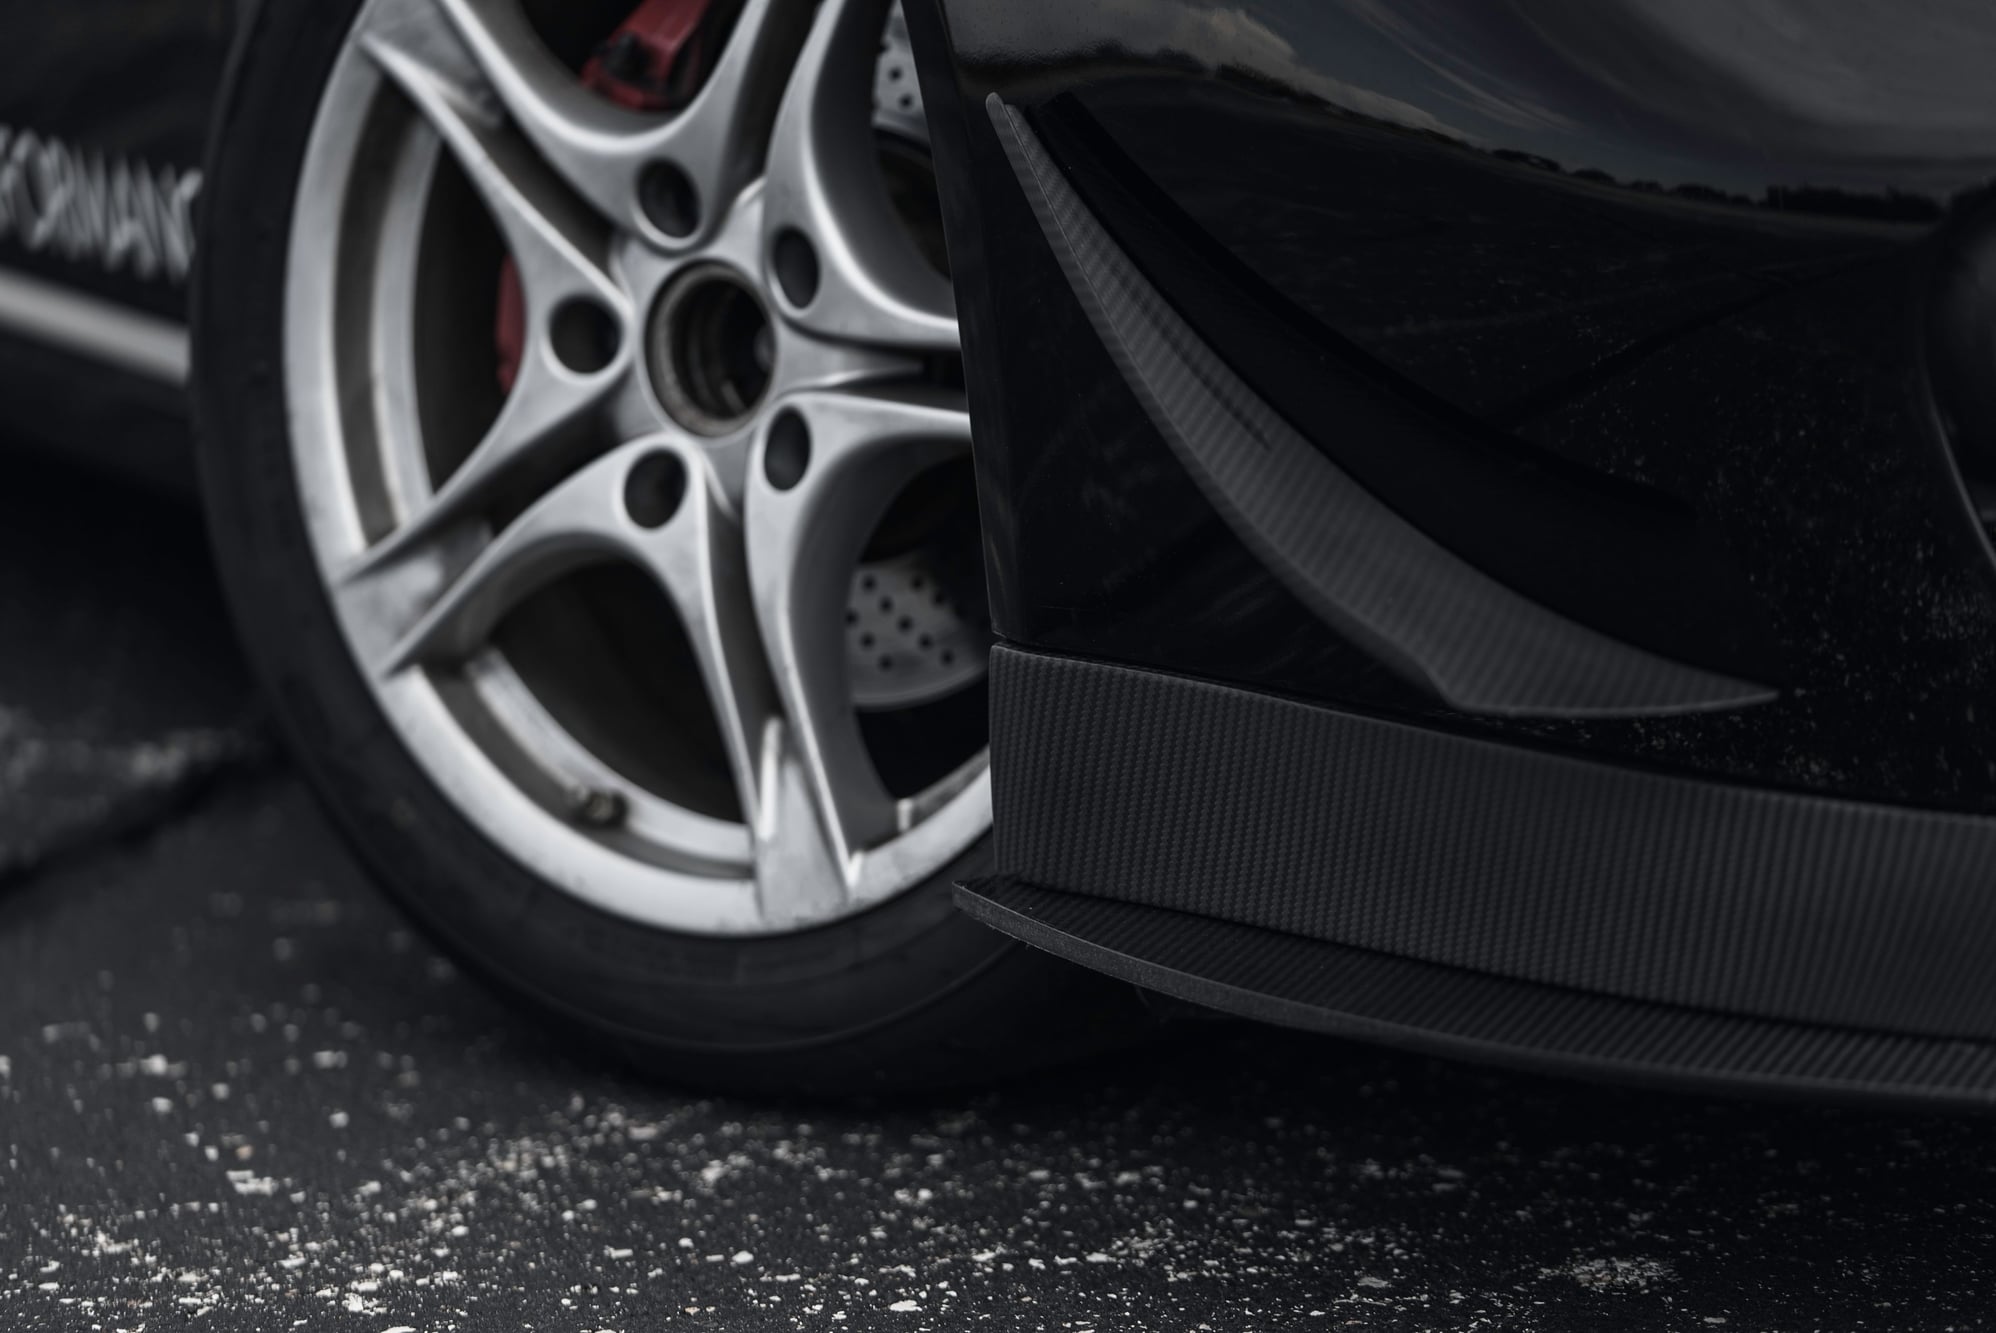
The Verus Engineering Dive Planes for the 987 fit both the .1 and .2 and increase front end downforce with minimal impact to drag. They are produced from 2x2 twill pre-preg carbon fiber and finished in a matte clear. These dive planes were designed to improve front end grip by shifting the aero balance forward and increasing downforce on the front wheels. These dive planes produce over 60 lbs of downforce at 120 MPH by increasing the evacuation of the front fender wells and helping seal the side of the vehicle; as well as generating high and low pressure above and below the dive plane surfaces.
Dive Plane with Front Splitter
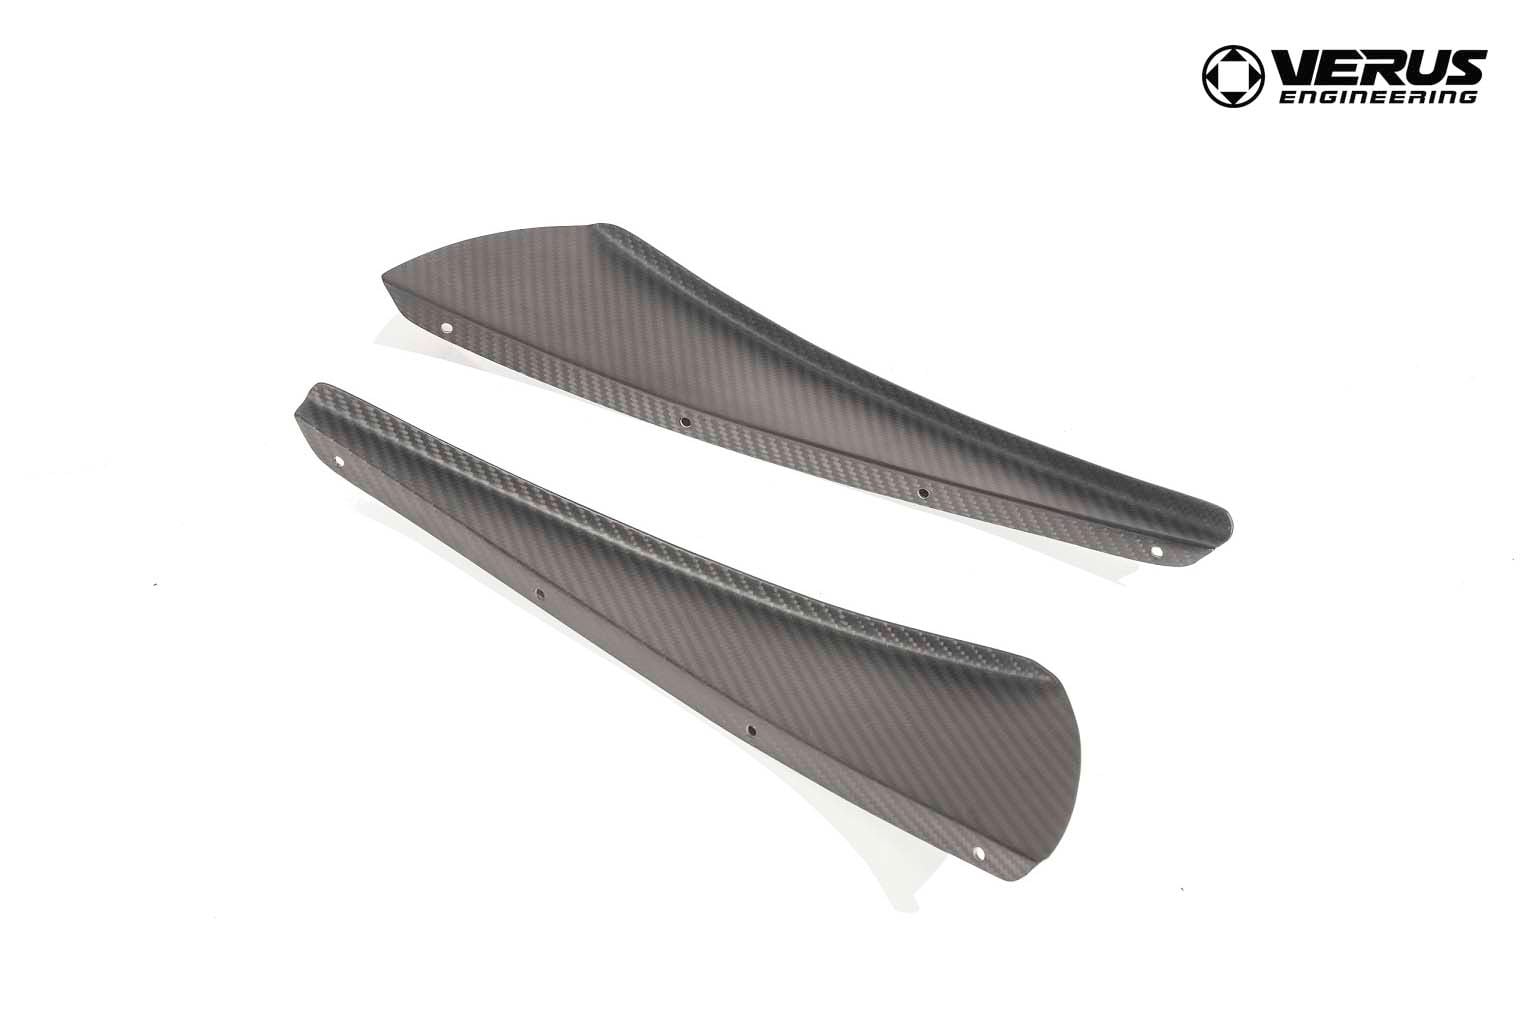
Dive Plane Construction
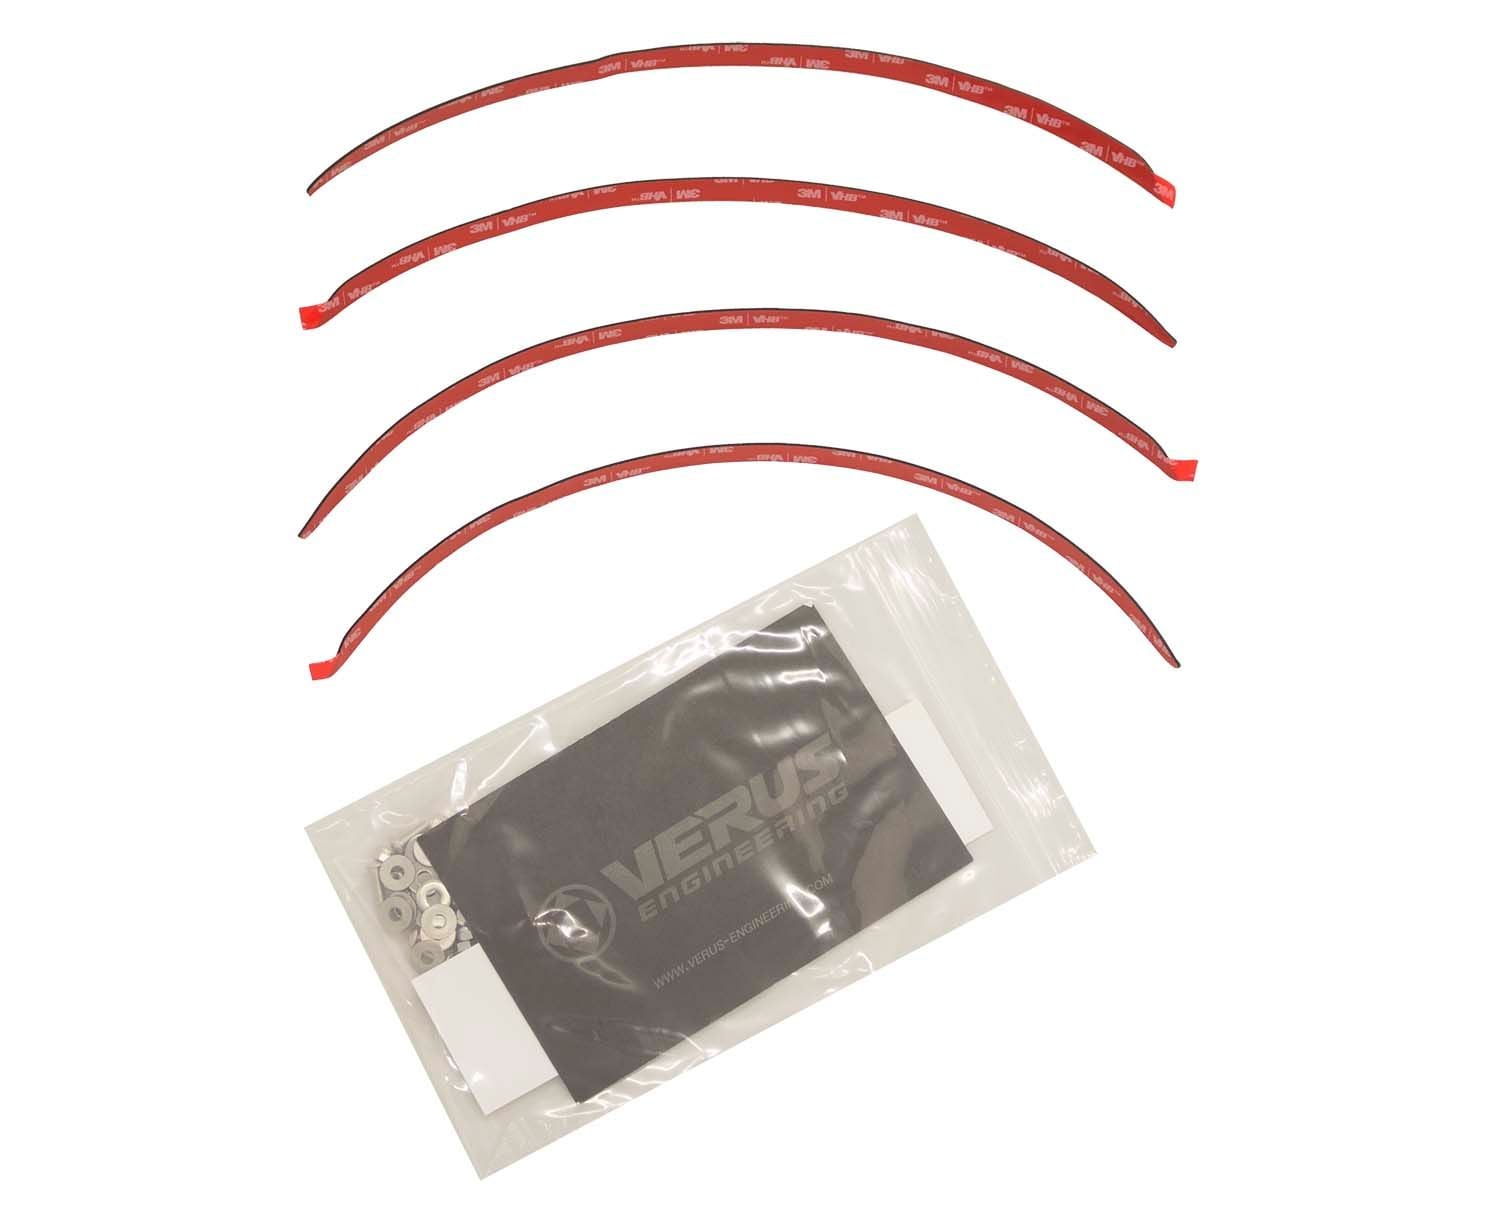
The units are produced by pre-preg 2x2 twill carbon, which is autoclaved cured for superior strength to weight properties. We provide a vinyl template which is used during install to ensure the dive plane is installed in the correct location for the best benefits to the Cayman. Stainless M4 hardware is also provided for rust free install. 987 Dive Plane Kit
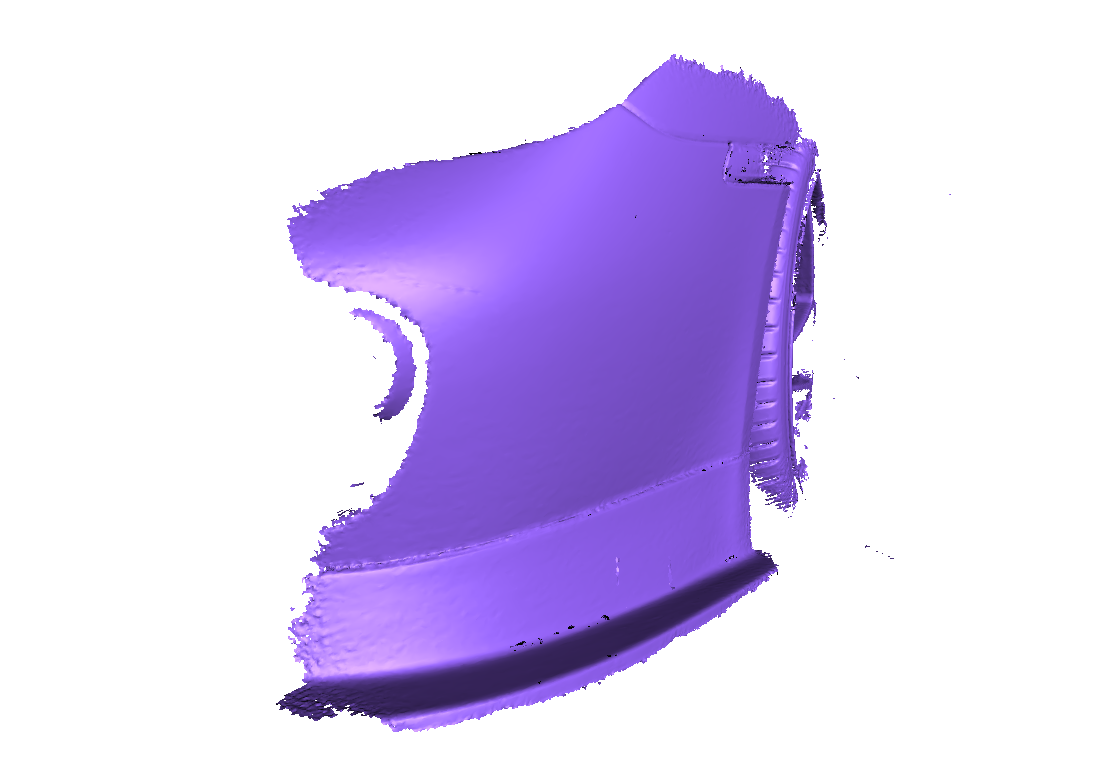
How did we design the components?
We utilize scan data to design components as well as utilize scanned vehicle models to produce CFD models for testing. All components are designed in CAD and then produced from this CAD geometry. Dive Plane Scan Data
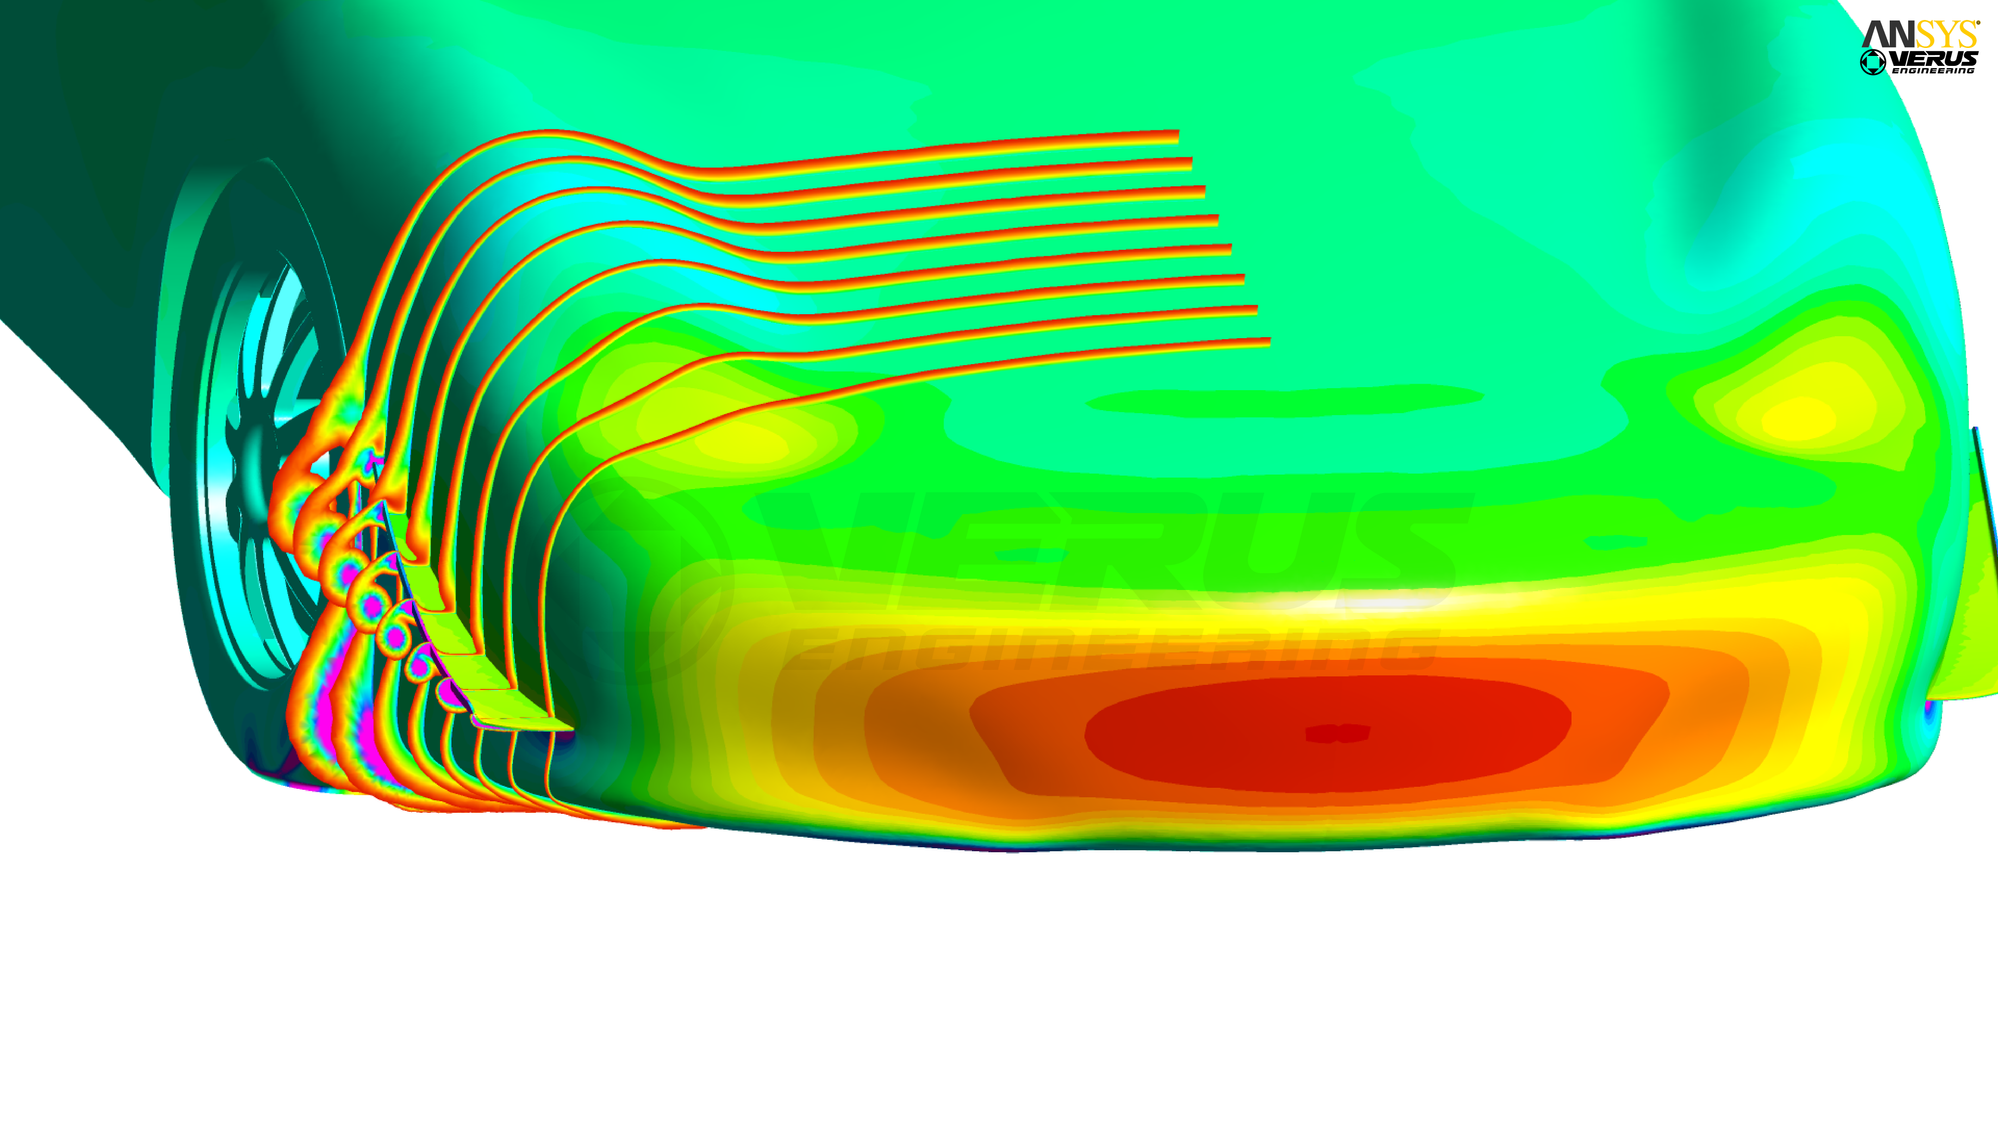
The design was tested thoroughly within CFD to ensure that the dive planes improve vehicle performance; whether in our aero kits or not. Dive Plane CFD Viewing Vortex Generation
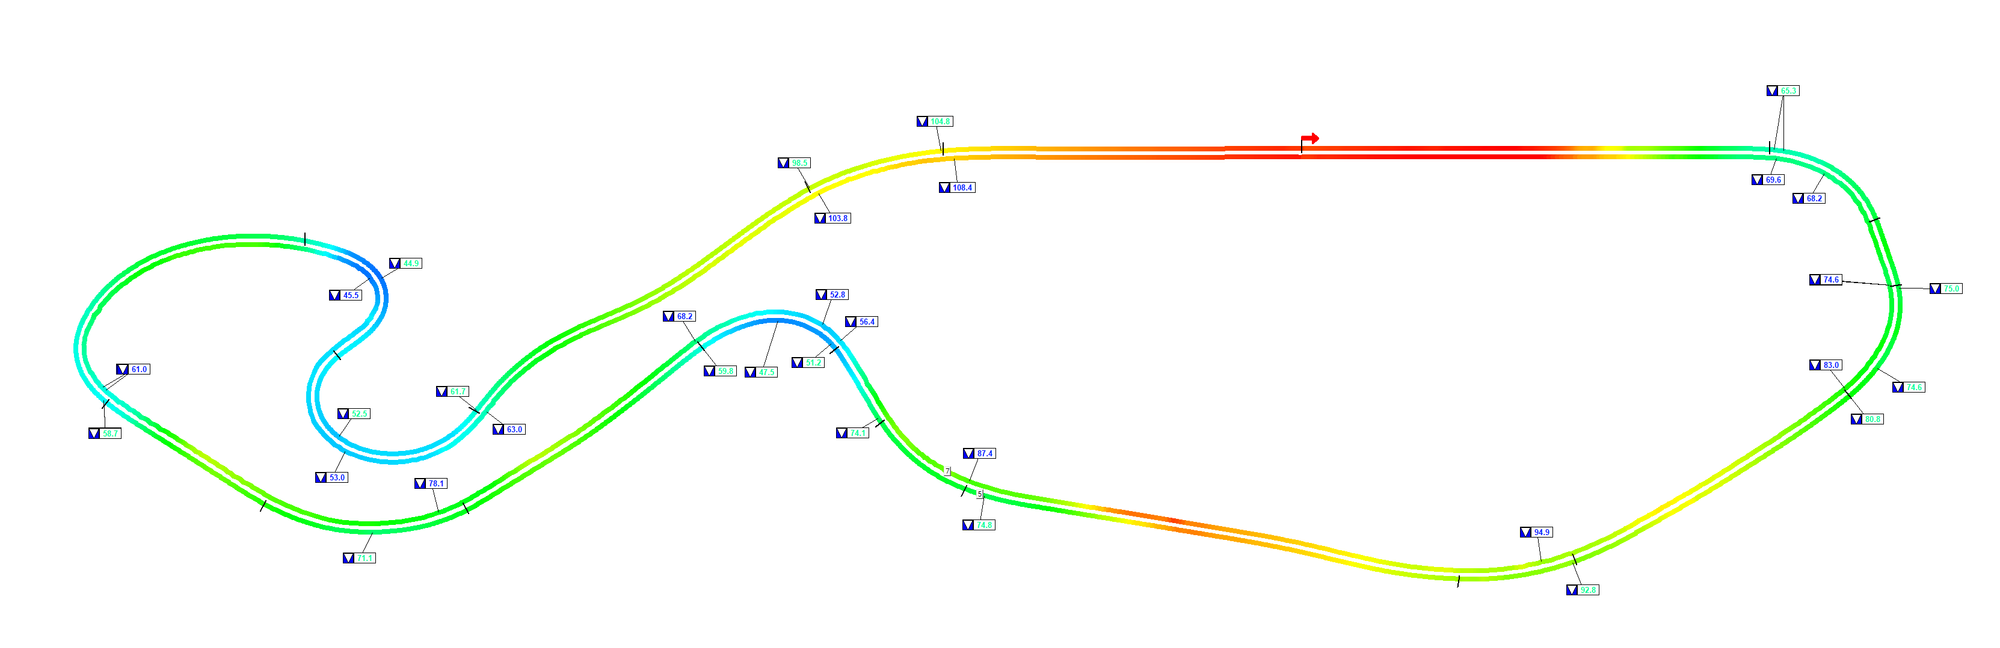
This was the first product we made for the Cayman initially. Gear One Performance was able to outfit their car with a kit and do a back to back test at their home track. They were noticing understeer before and after they noticed a better-balanced vehicle with higher corner speeds due to an increase in front end grip. Track Data - Improved Corner Speeds
Price
Pricing for the dive plane is $309.95.
Kit Question
If there is interest in a double-sided tape option as opposed to drilling and bolting; we can offer this as well. We did this with our GT4 dive plane kit and the 3M VHB double sided tape is working well thus far up to 150MPH. Who would be interested in this dive plane kit given a less invasive install? 981 GT4 Dive Plane Kit with Double Sided Tape
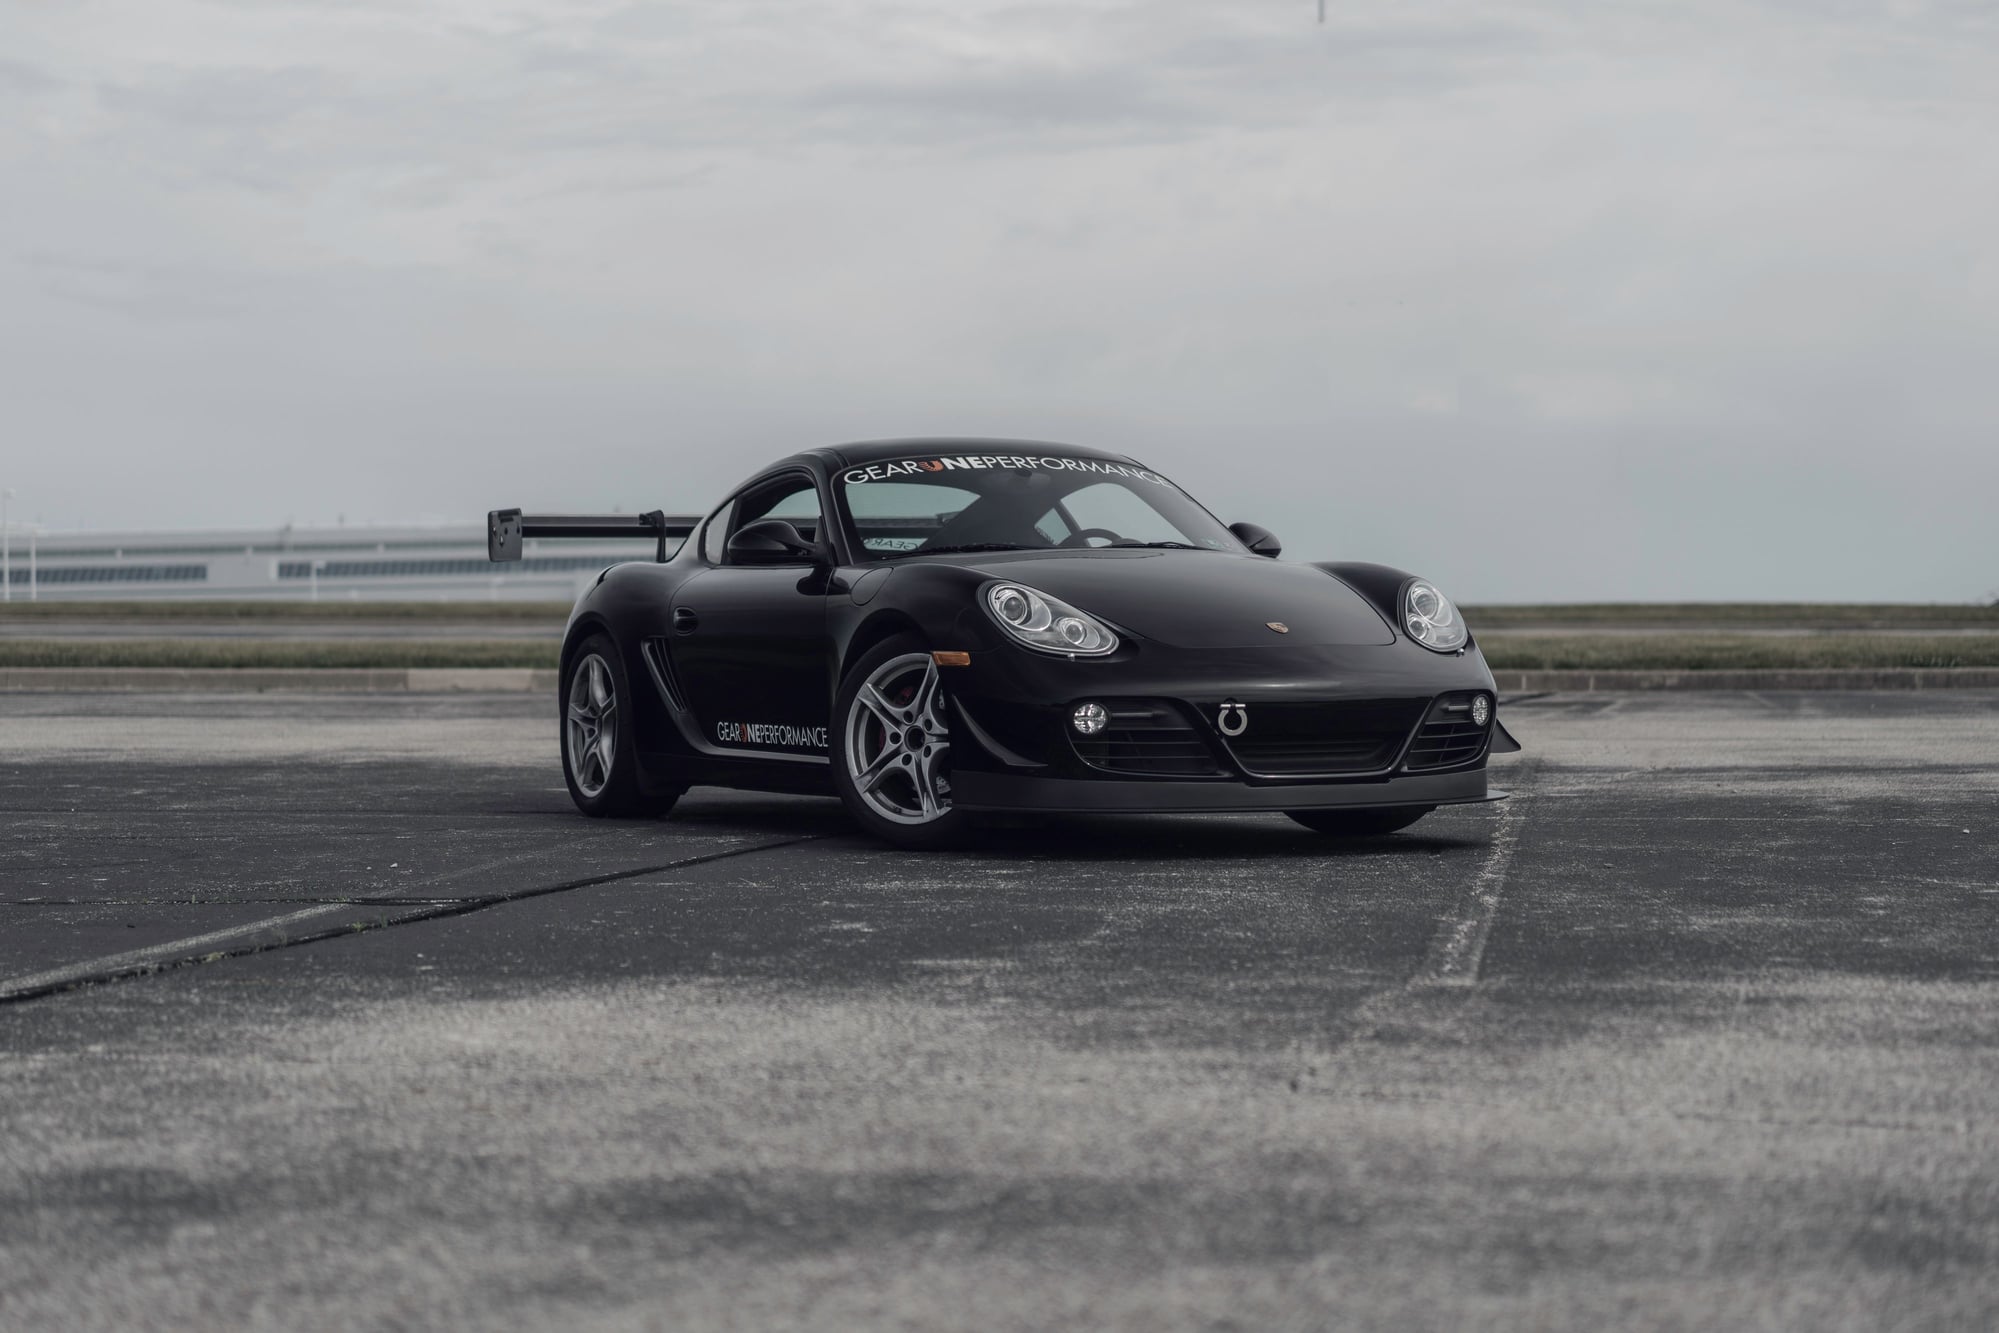
On Car Photos Dive Plane Installed on .1
Gear One Performance with Ventus 2 Kit
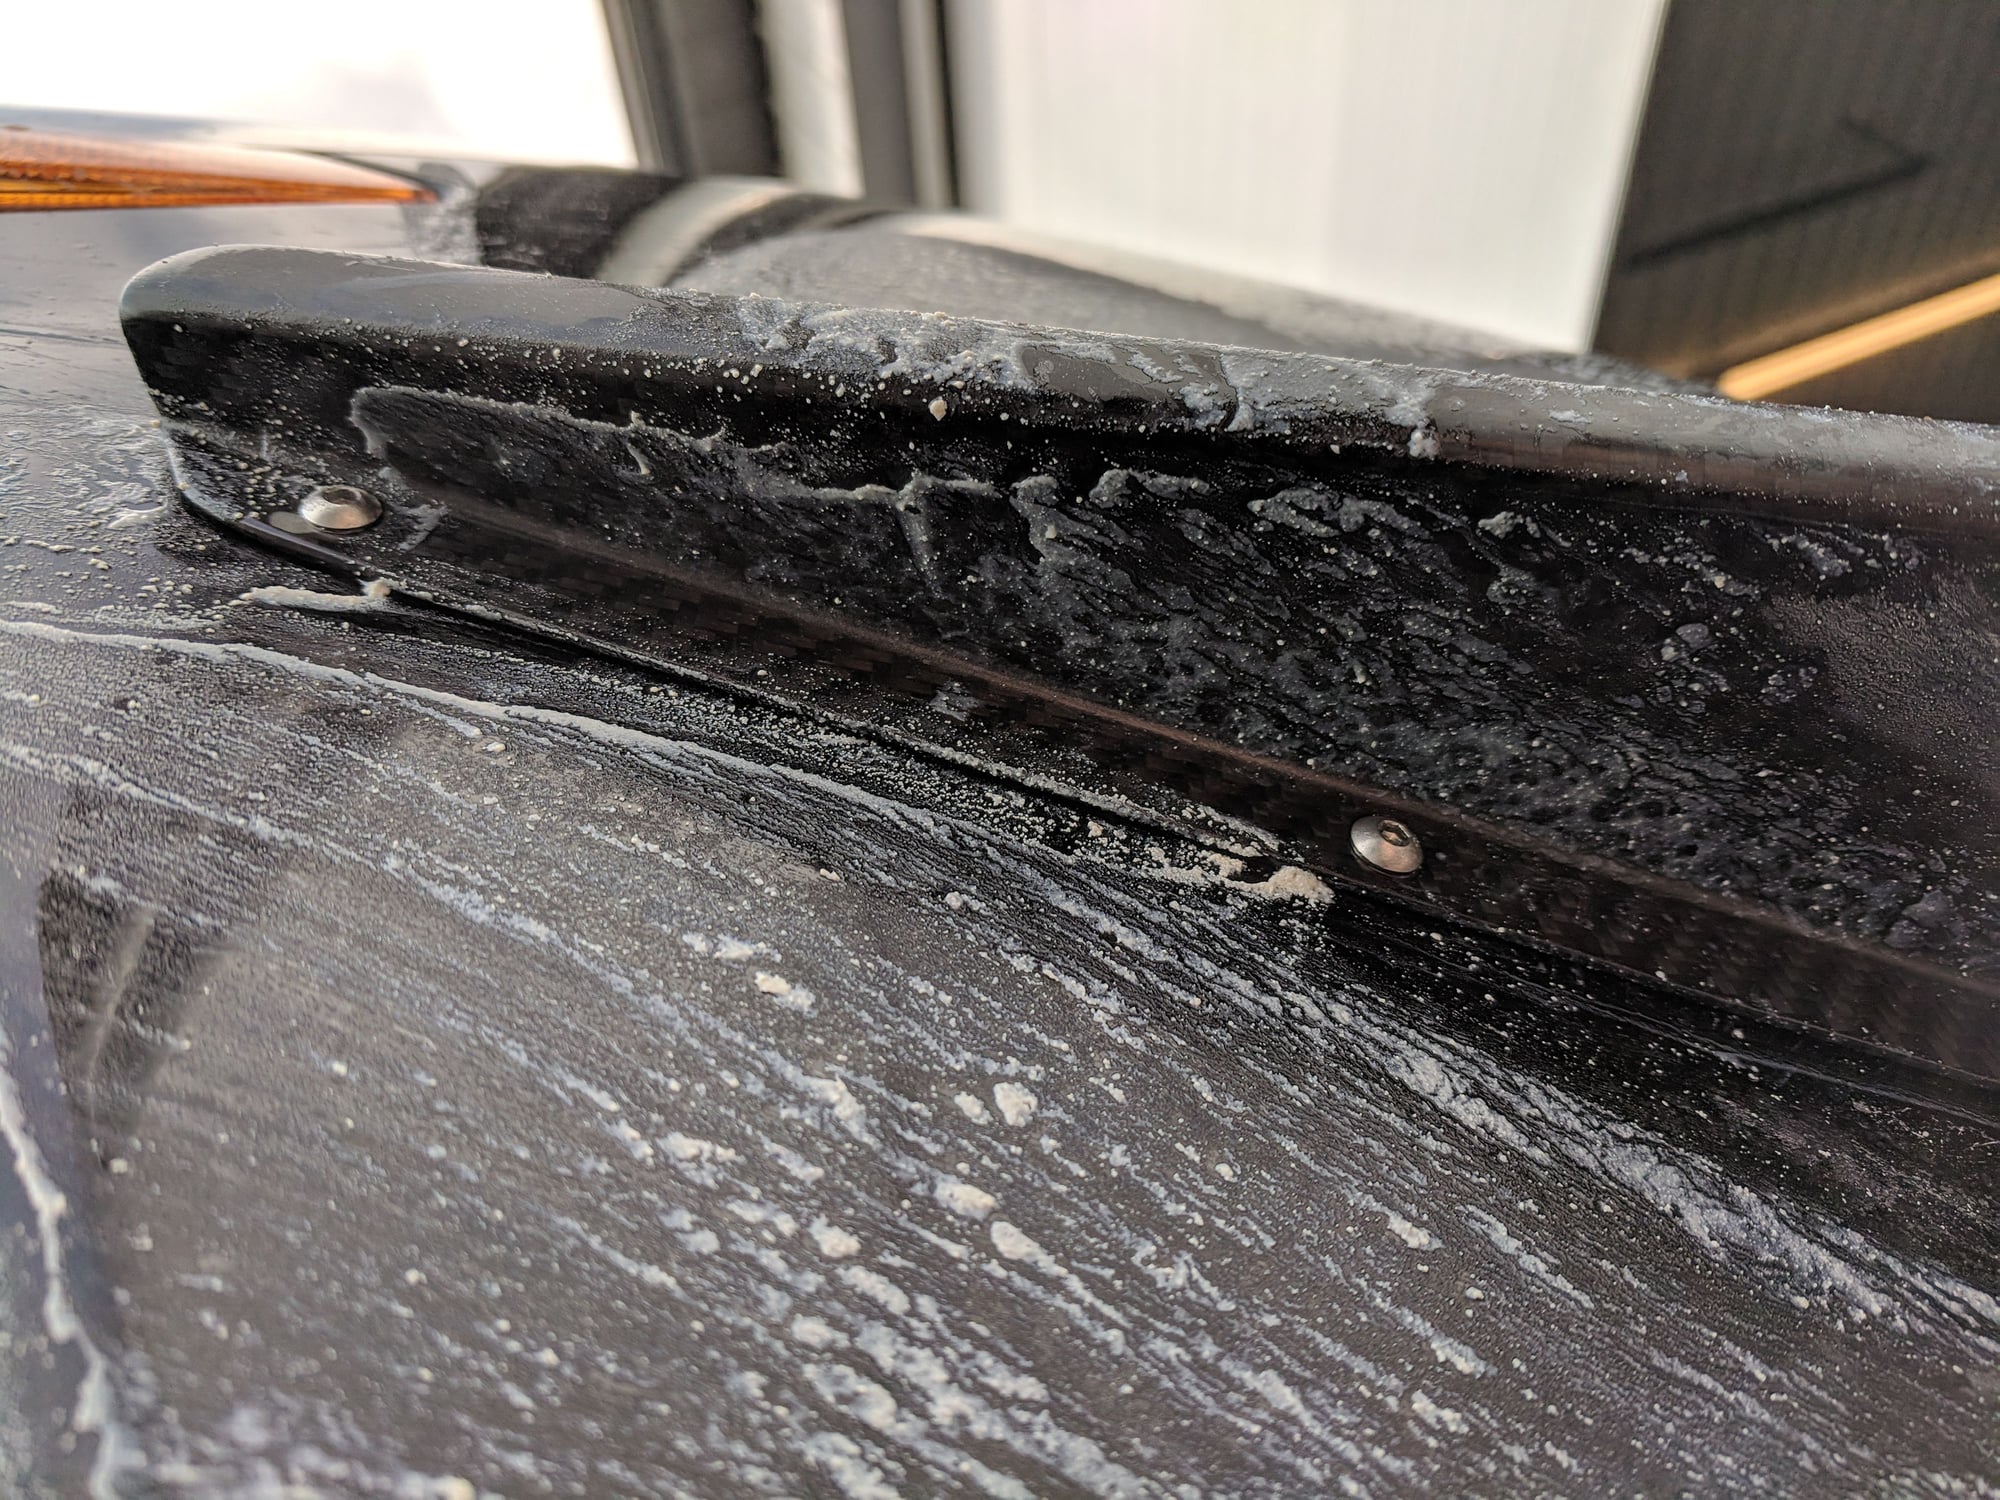
Flow Vis Fluid used to Correlate CFD and Actual Performance
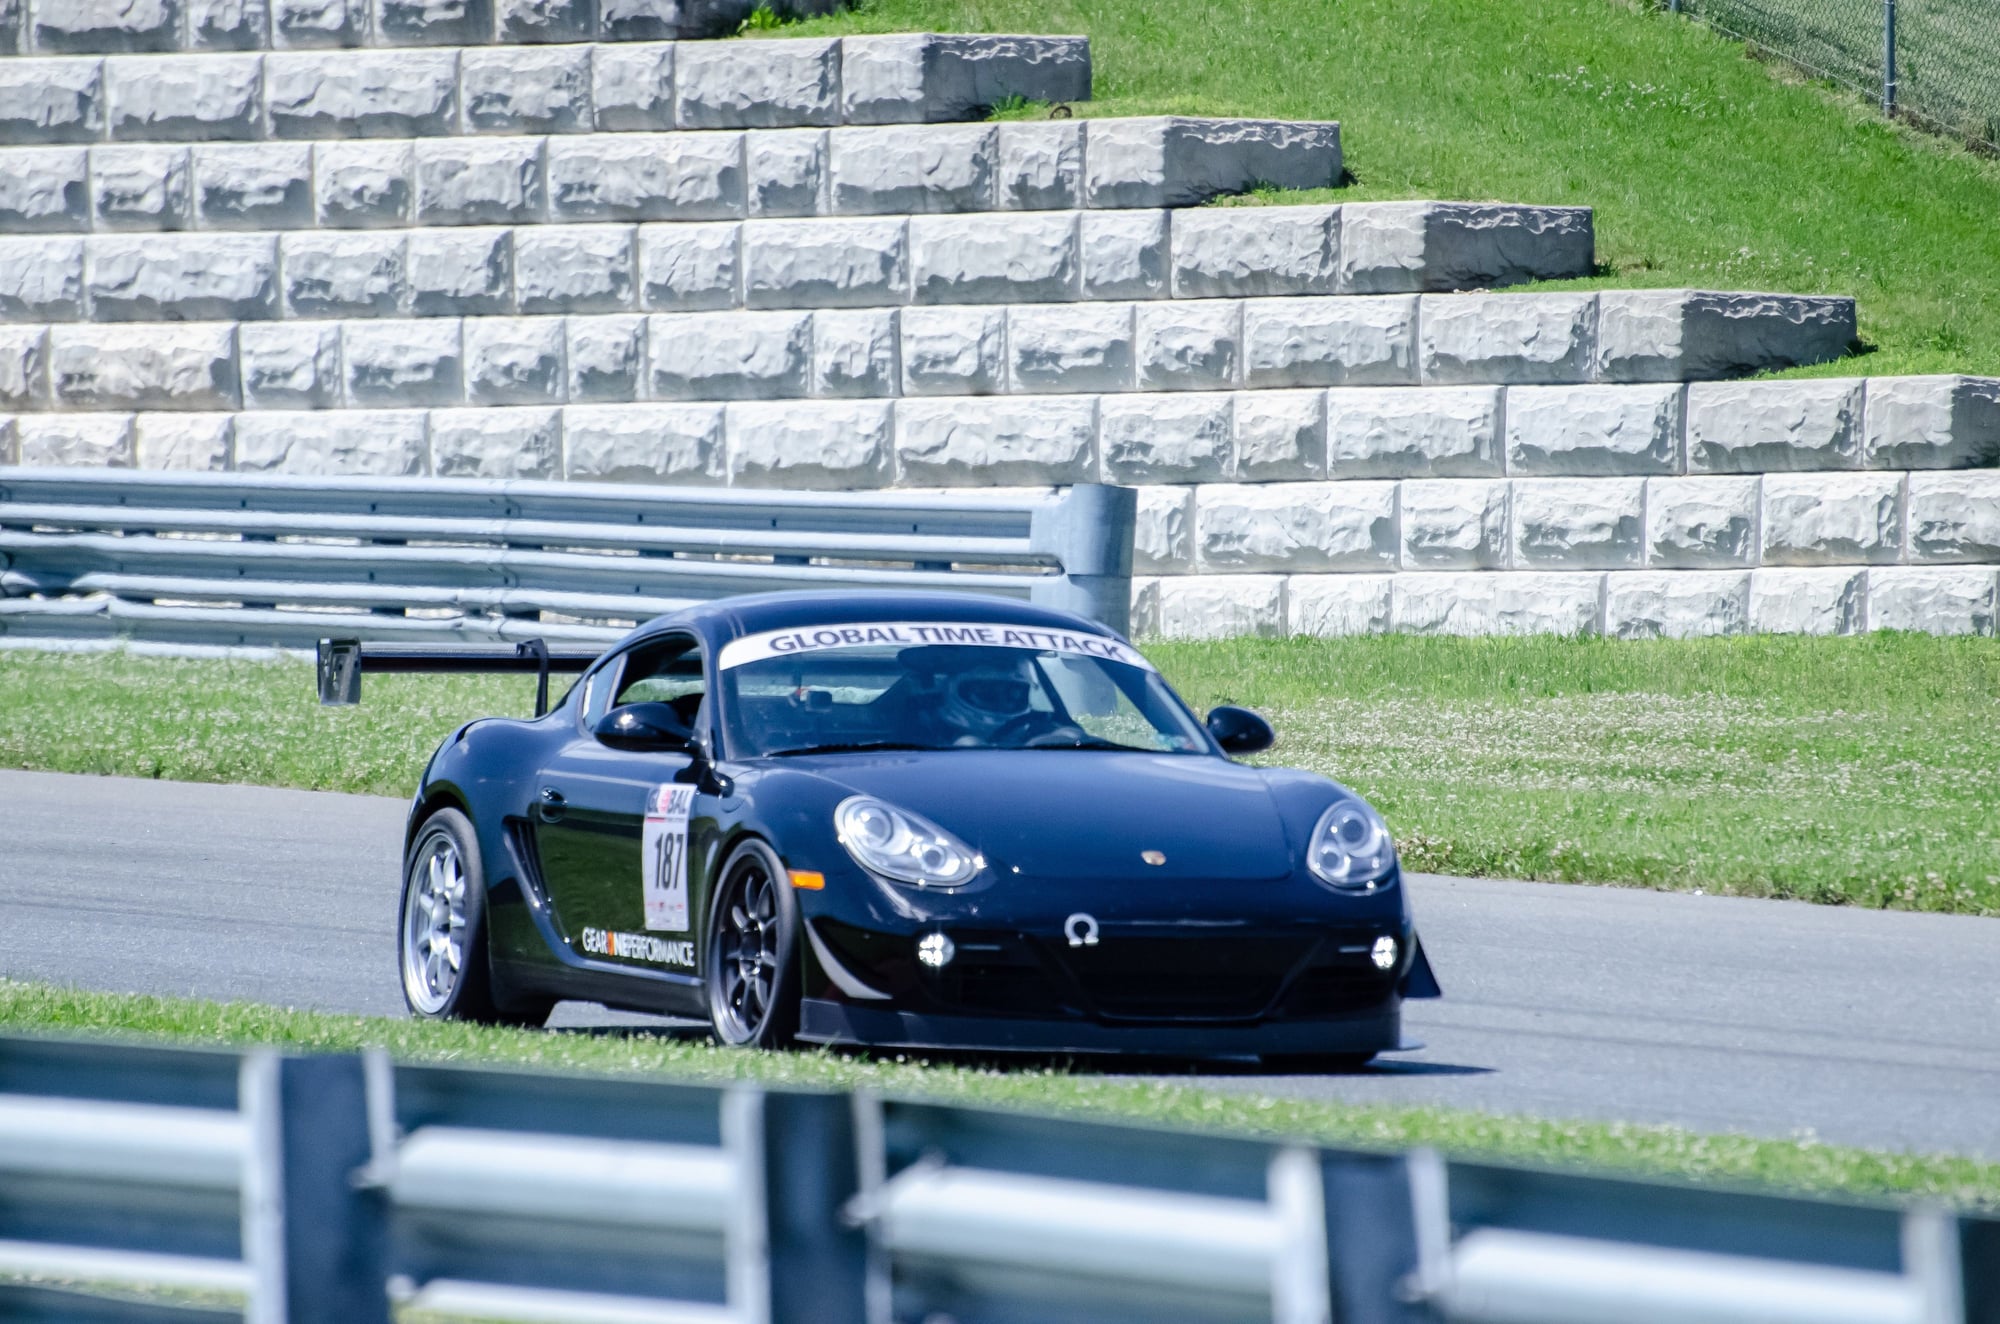
Gear One Performance on Track in 2018
As always; we are happy to answer questions regarding the parts and our analysis.
I was hoping to get some feedback regarding the double sided tape vs. bolts and nuts. The bolts and nuts are obviously a mechanical connection with the front bumper while double-sided tape would not be; but, if a non-invasive install is preferred we can design and cut out some double-sided tape and include it with the kits. Your opinions are greatly appreciated .
I�d be interested in a non invasive solution if it can handle 150 mph speeds. Can this be added independently of a rear wing or front splitter without upsetting balance?
I�d be interested in a non invasive solution if it can handle 150 mph speeds. Can this be added independently of a rear wing or front splitter without upsetting balance?
We will look into this and likely order enough to fulfill what we have in stock. I had a feeling that the tape would be a route to go after the GT4 customers seemed to all be installing the tape over the bolts/nuts. The GT4 dive planes with double-sided tape have seen speeds in excess of 150MPH. Ultimately I think bond strength depends on a proper install which we outline in the install manual and will begin putting a small list of steps in each kit as well.
The short answer is yes.
The slightly longer answer is it boils down to how the car is behaving at speed around a circuit. If the car is understeering at higher rates of speed; a front aero device would be recommended (dive planes, splitter, etc). However, if the car is oversteering currently, I would tend to steer away from adding dive planes or a front splitter to the setup. Of course, this is assuming the suspension is properly set up and keep in mind suspension setups can influence how a car behaves through a turn as well as the aero aspect.
How does the 3M tape hold at speed in 93* heat and high humidity 70 to 80* and heavy rain?
As long as you follow the 3M guidelines for VHB tape, it should hold. We send a label with the kits with directions specified by 3M for the best adhesion. We have not had any issues with the GT4 dive planes to date, at least no one has let us know of any issues. Similar to paint, prep work is of utmost importance.
As long as you follow the 3M guidelines for VHB tape, it should hold. We send a label with the kits with directions specified by 3M for the best adhesion. We have not had any issues with the GT4 dive planes to date, at least no one has let us know of any issues. Similar to paint, prep work is of utmost importance.
Thanks again for your help Eric. I've placed the order and I'm looking forward to getting them.
When you say prep work.. pls explain what you mean. I presume instructions for prep work will also be included?
Thanks again for your help Eric. I've placed the order and I'm looking forward to getting them.
When you say prep work.. pls explain what you mean. I presume instructions for prep work will also be included?
It is included in the kit as well as the install manual and various install videos. The cliff notes are below.
-Min. recommended install temp is 50 degrees Fahrenheit
-Thoroughly clean areas with 50/50 isopropyl alcohol / water mix and a microfiber towel
-Firmly press the product into the car body and ensure proper adhesion occurs
-At room temp, approximately 50% of ultimate bond strength will be achieved after 20 minutes, 90% after 24 hours, and 100% after 72 hours.
We recommend letting the car sit for 24 hours to ensure at least 90% bond strength is achieved.
Thanks Eirc. My dive planes are making the long trip to me as I type this.
Just received these today. Looks to be a very robust construction and high quality material. I think I'll have them screwed in as opposed to just 3M tape.
Only negative I think is the finish is a dull matte finish. I might add some 3M protective warp to give the gloss effect.
These will be going on next week together with my B8s and R springs.
Thanks for the feedback. We found through querying multiple Porsche owners that most liked the matte clear (more subtle) over the gloss clear. Good luck with the install!
Thanks for the feedback. We found through querying multiple Porsche owners that most liked the matte clear (more subtle) over the gloss clear. Good luck with the install!
Decided to 2k clear gloss coat my Verus carbon fibre dive planes which came with a matt finish. Didn;t take before pics unfortunately.
This is the 3rd coat and still very wet.
This is after an hour. The clear gloss coat really accentuates the carbon fibre weave. Not the best job but my first time doing this and I'm happy with the outcome.

 02-14-2019, 10:42 AM


 .
.


