When you click on links to various merchants on this site and make a purchase, this can result in this site earning a commission. Affiliate programs and affiliations include, but are not limited to, the eBay Partner Network.
Rear "PORSCHE" badge question for Spyder/GT4 owners
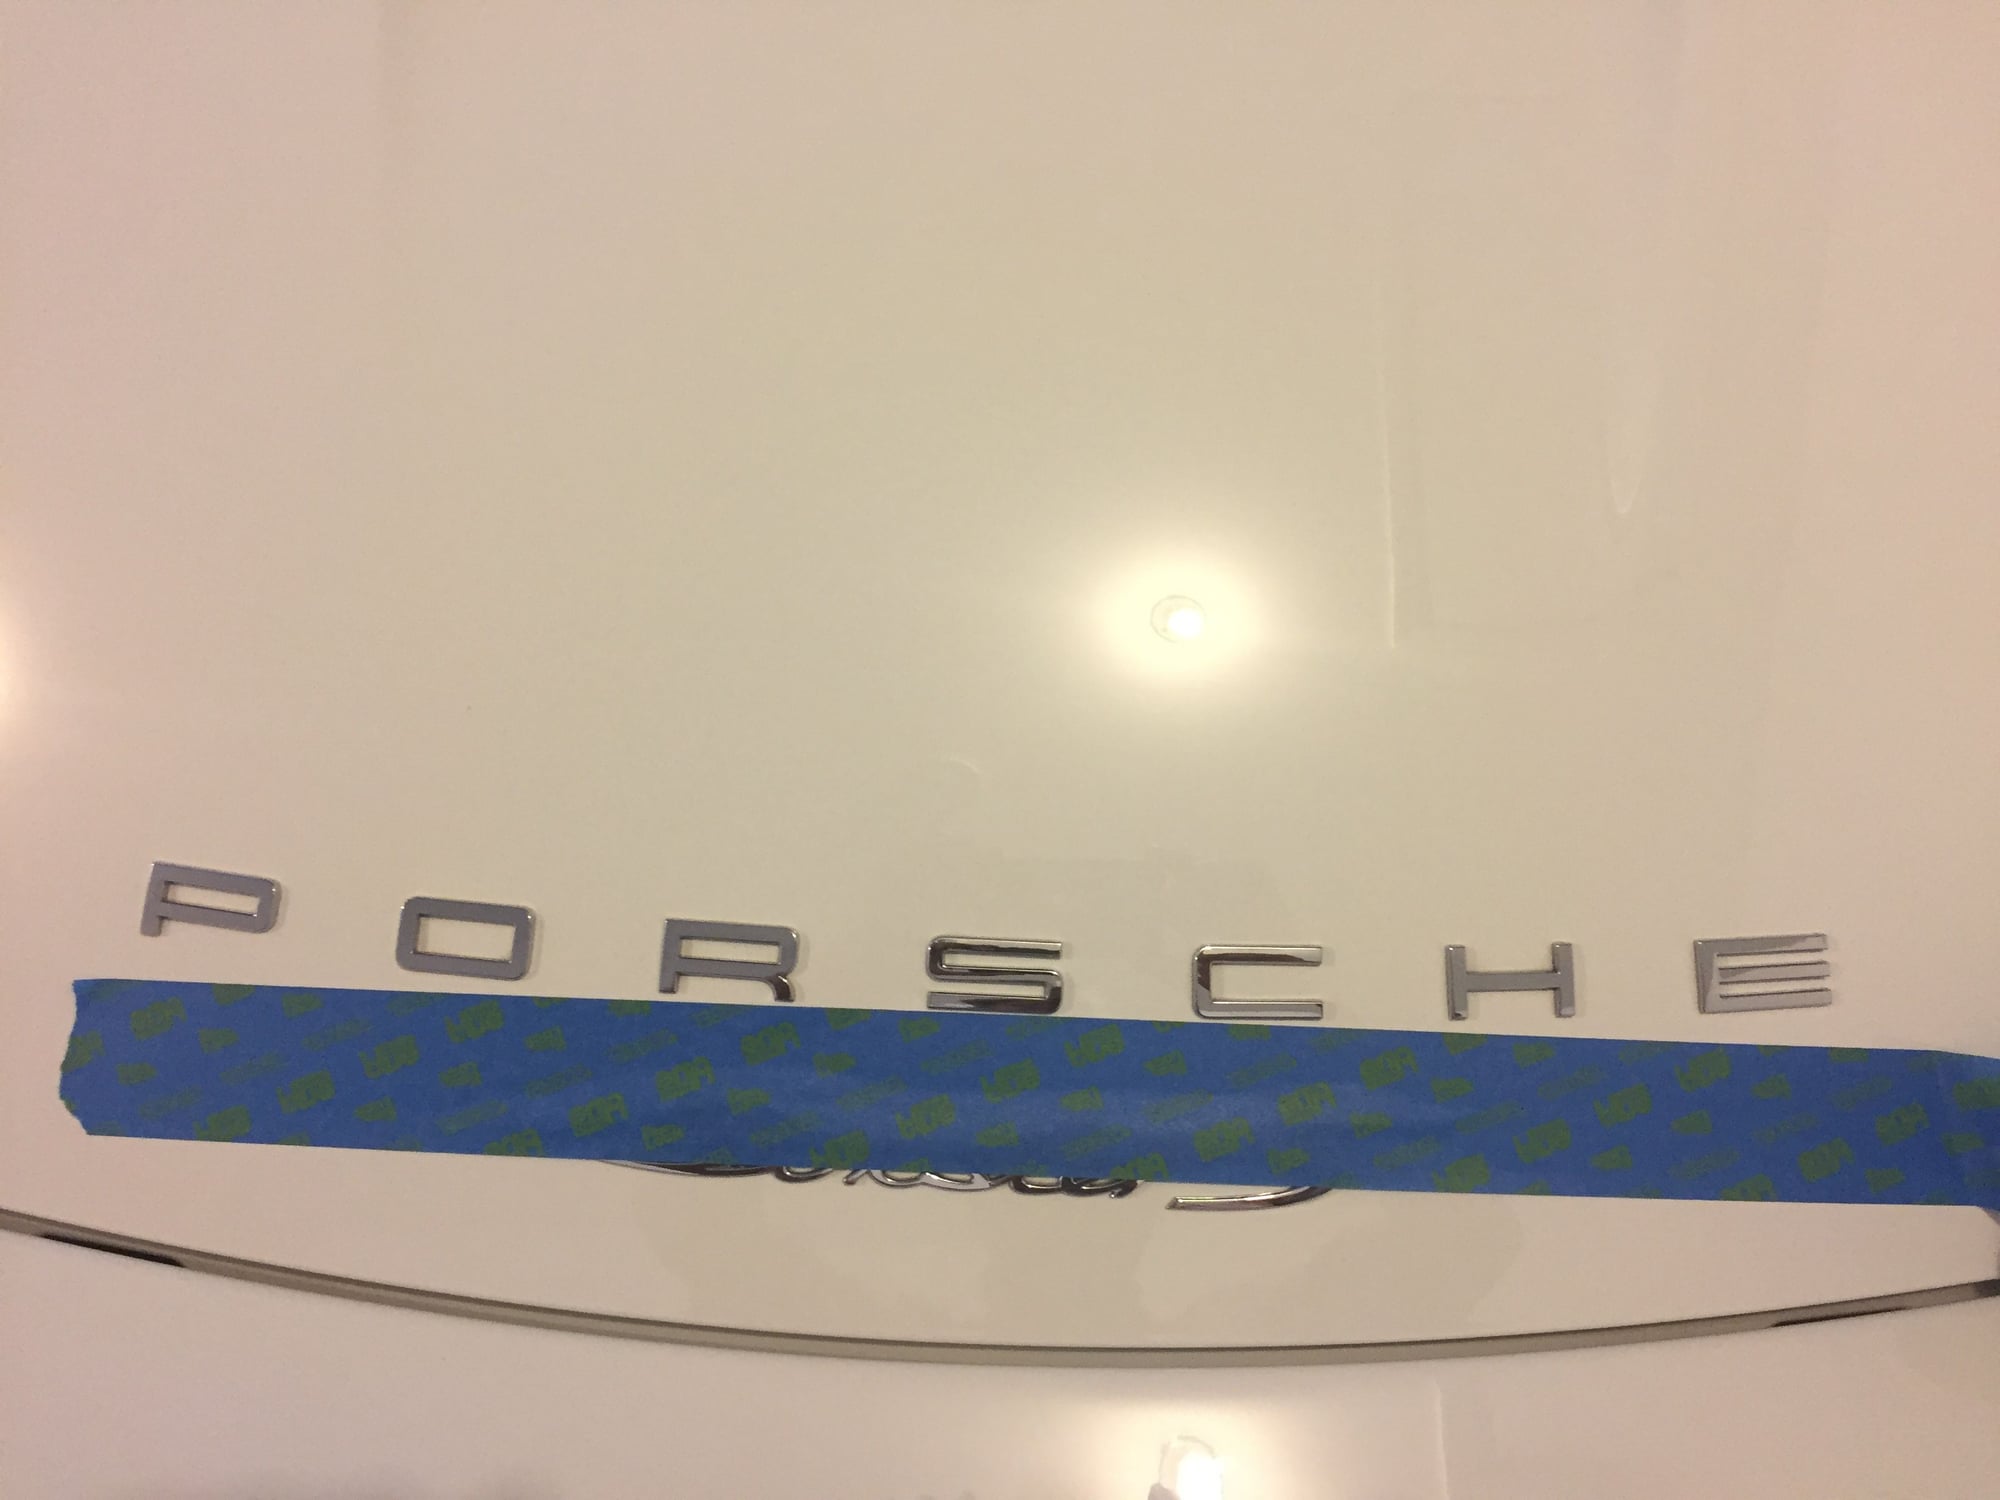
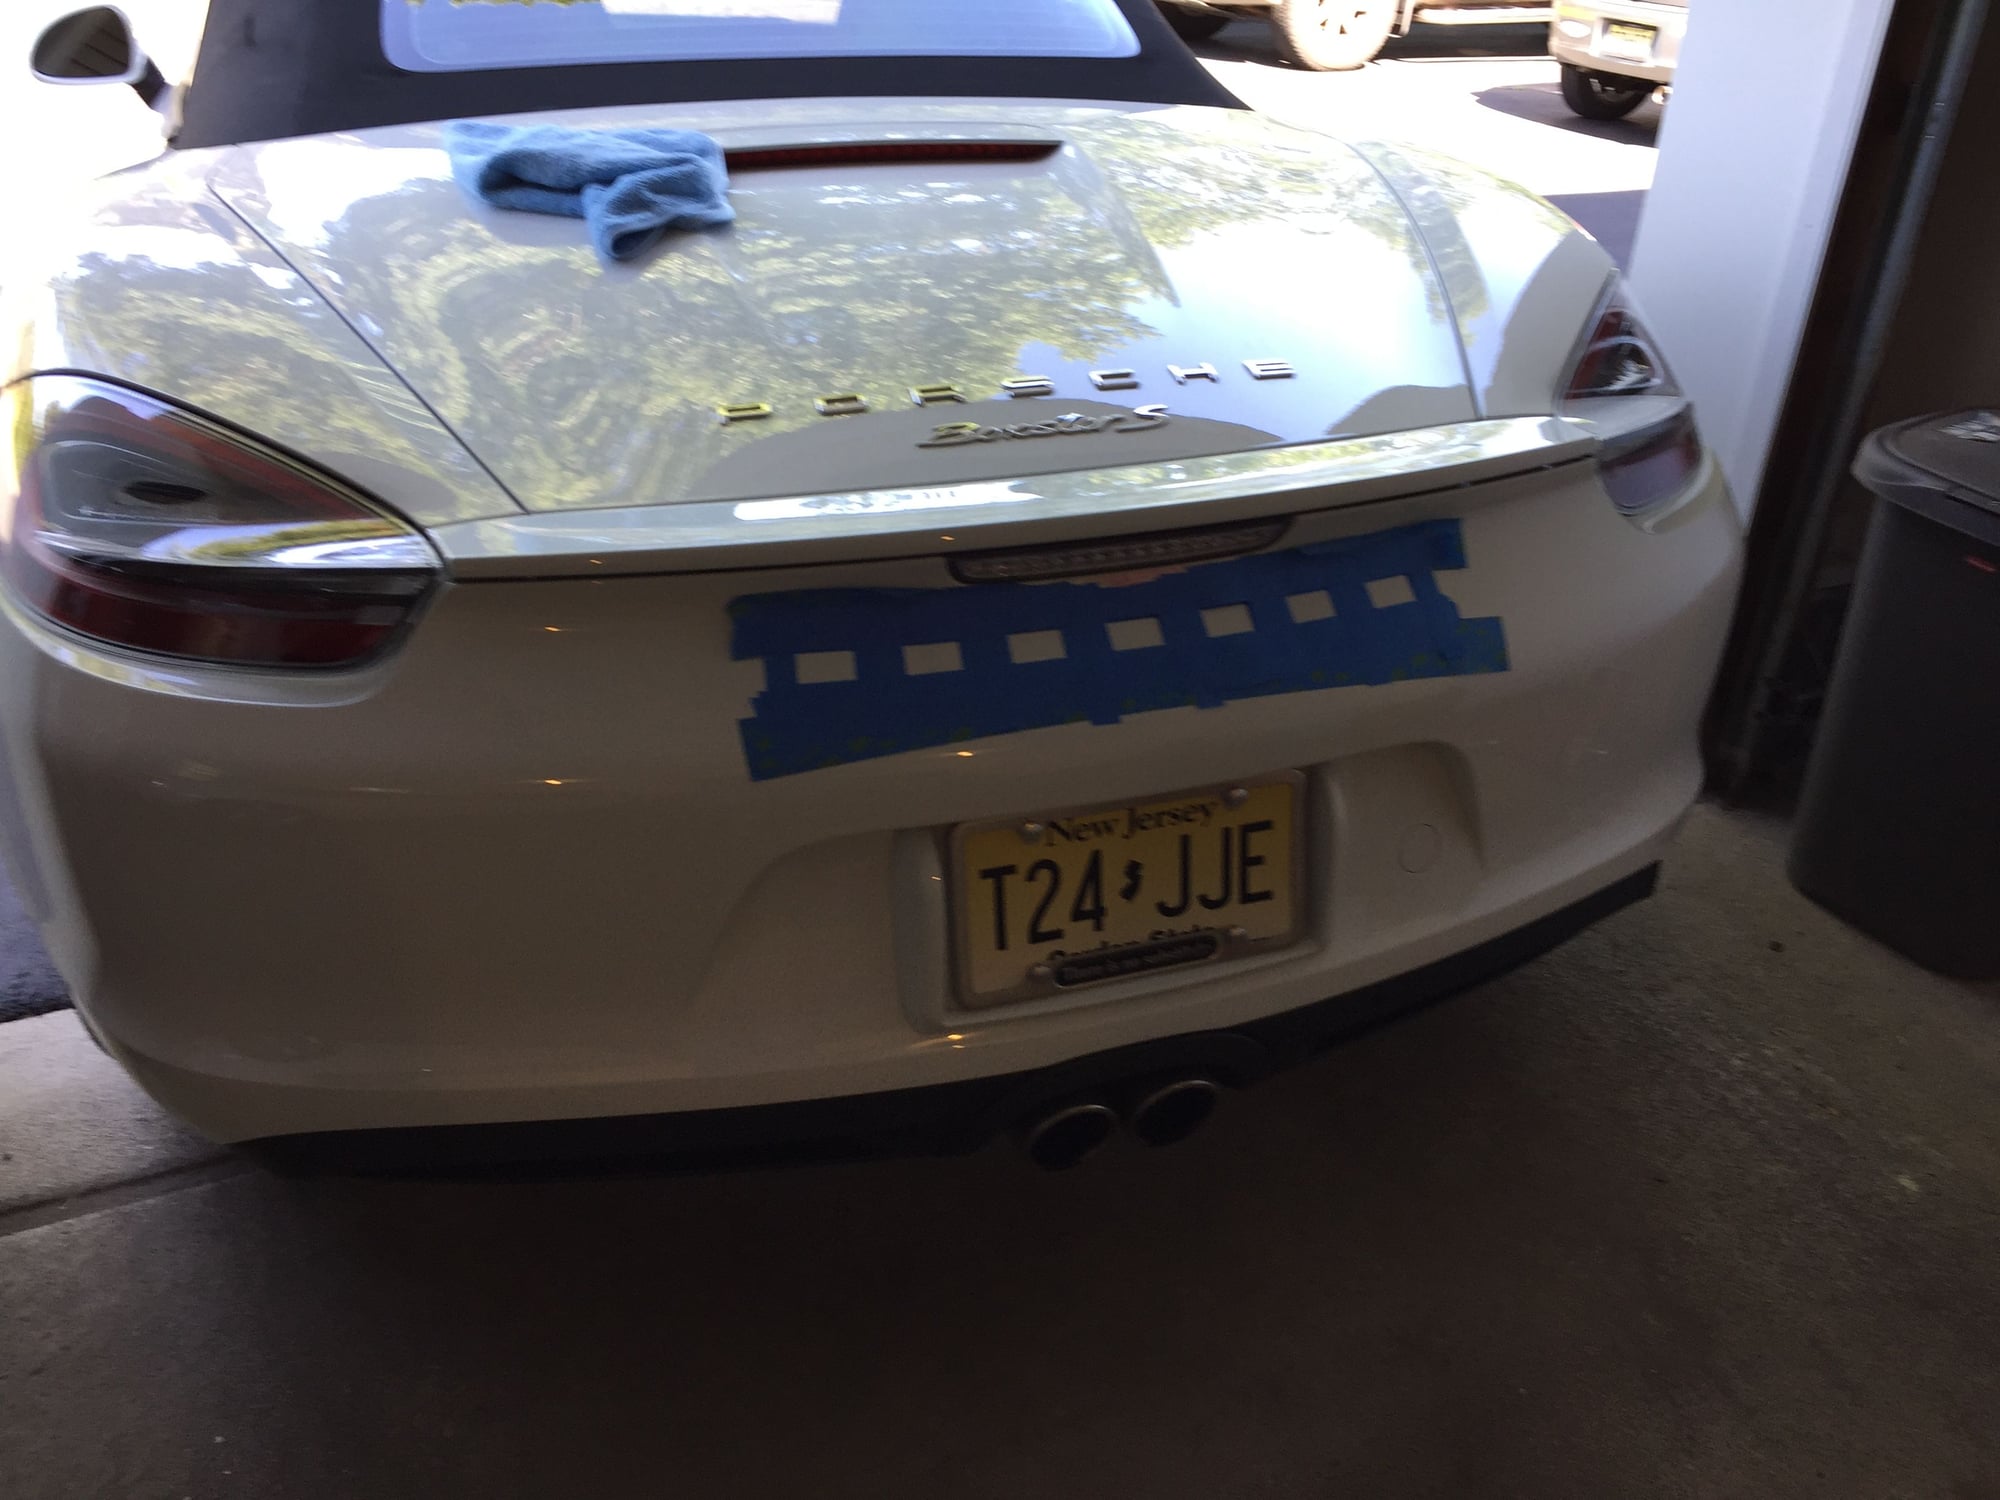
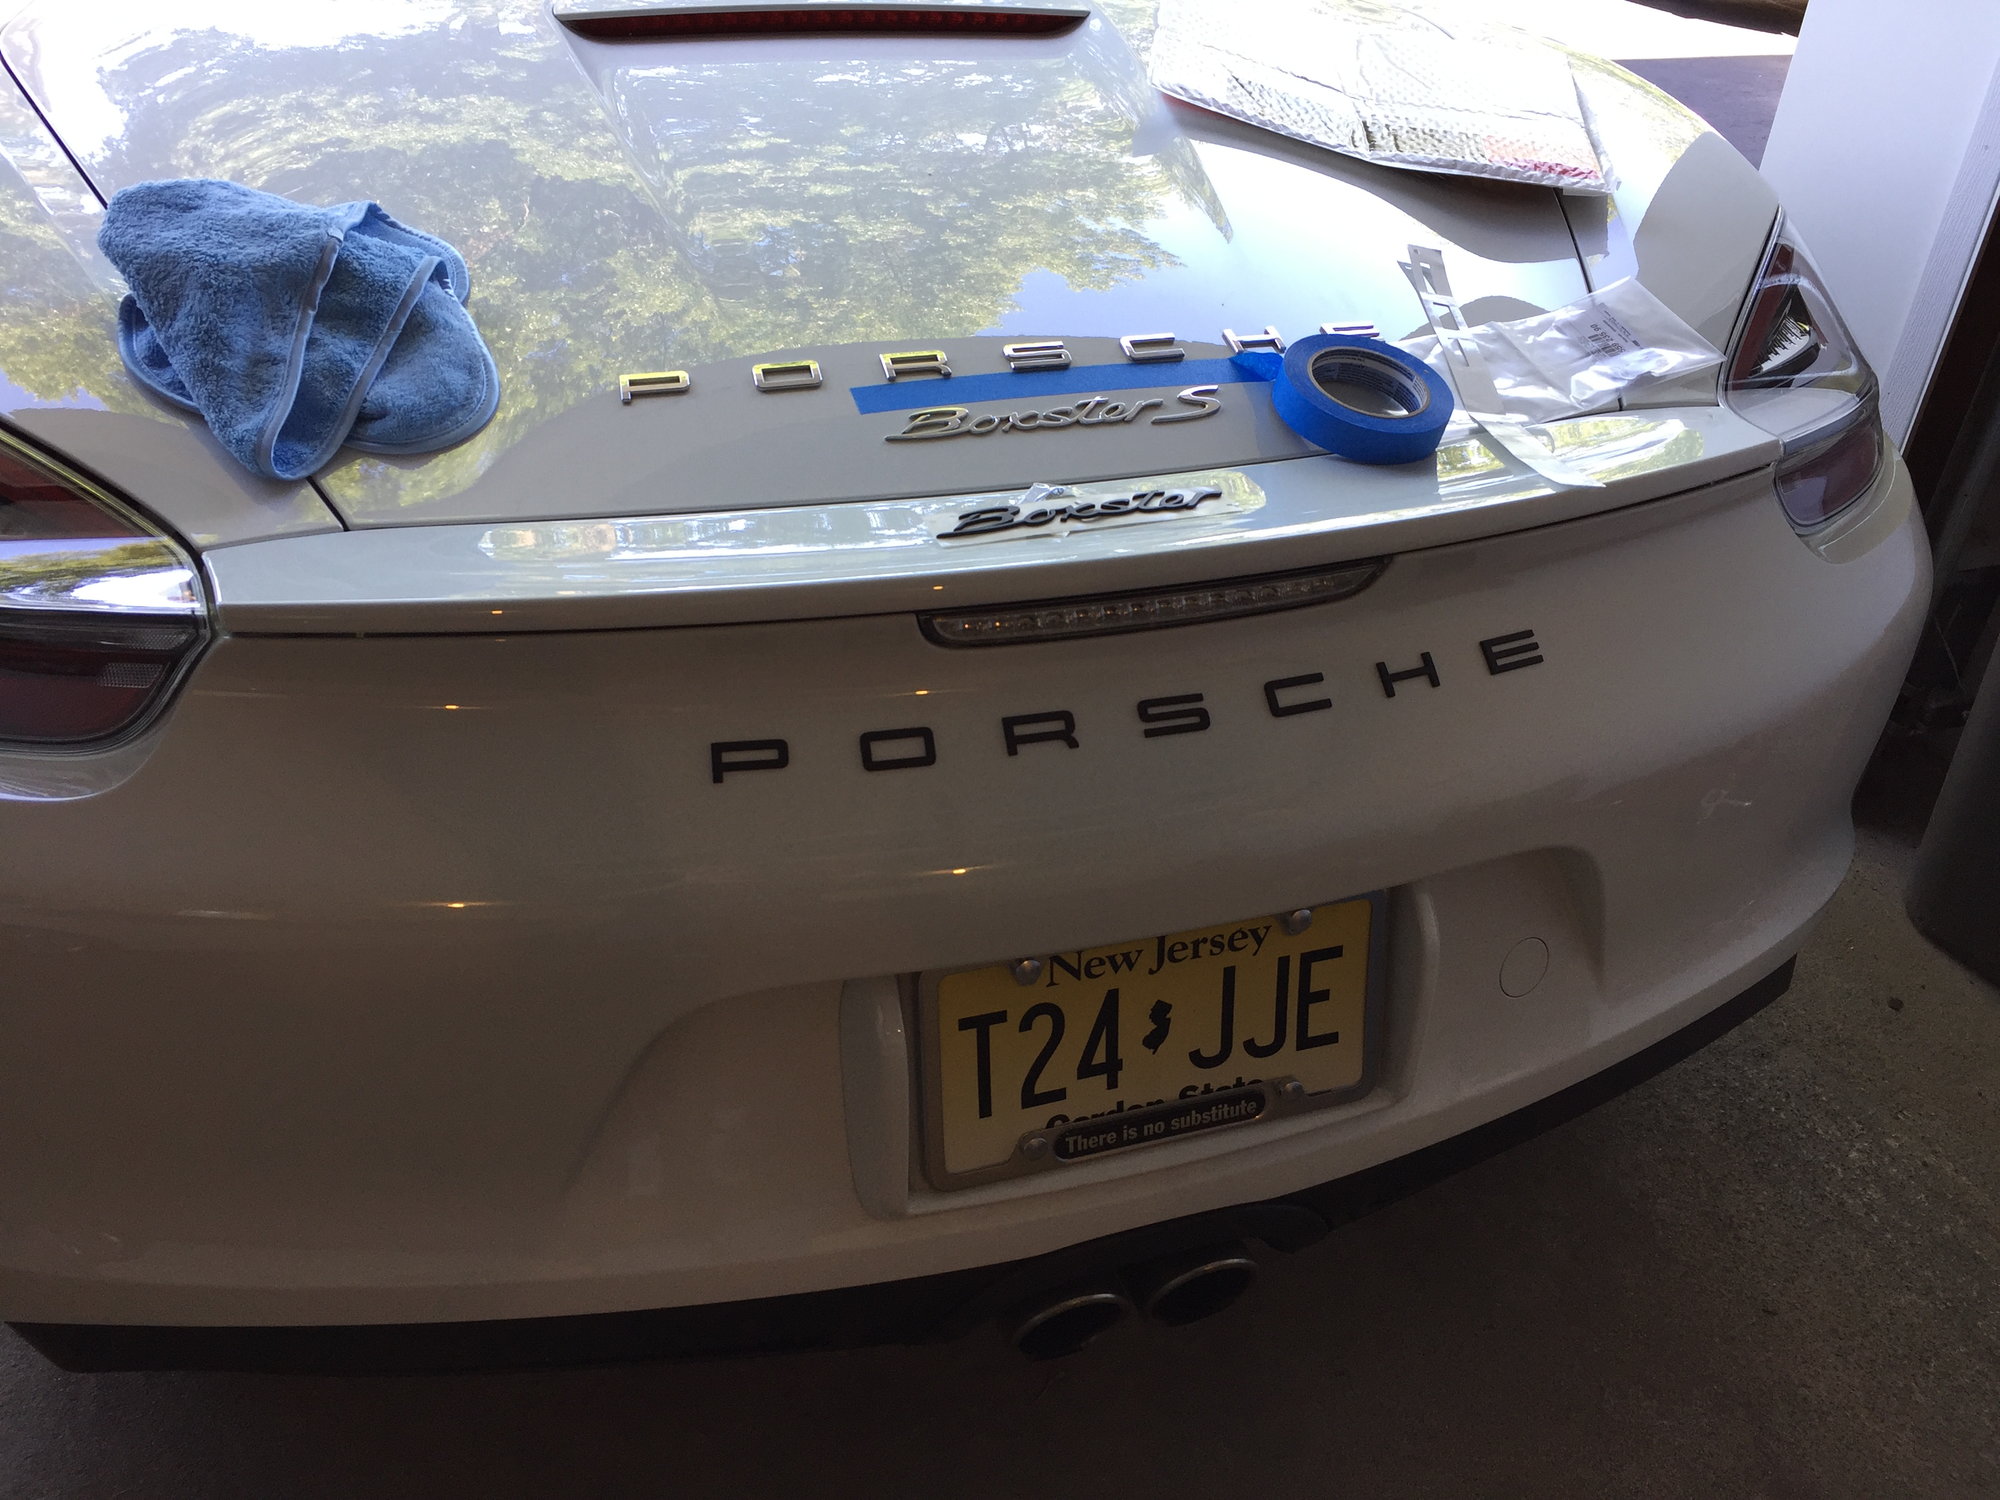
I want to relocate the "PORSCHE" badge along with the "Boxster S" badge from the rear trunk lid to the rear bumper just like the Spyder/GT4. I just think it looks better this way on the 981. I already have the new OEM badges in matte black and studying the pictures of the Spyders/GT4s here to determine the proper positioning. One thing I can't be sure is whether the "PORSCHE" badge on the Spyder/GT4 is straight or slightly curved. The "PORSCHE" badge on the trunk lid on my 981 BS is noticeably curved somewhat following the trunk lid line. The same badge on the rear bumper on the Spyder/GT4 looks to be straighter but I'm not sure if it's absolutely straight or ever slightly curved. I would appreciate it if the Spyder/GT4 owners here would take a look and tell me whether it's straight or curved. If it's curved, I think it will be almost impossible to recreate it without having a template.
Thanks SJ. I looked at the badge on my BS again and noticed that the curvature was not as pronounced as I had thought it was. I wonder if the amount of curvature is the same between the Spyder/GT4 and the base/S Boxster.
I wonder... If you lay the flat logo onto the bumper, will it curve on it's own? I'd be surprised if they hand-placed these letters... perhaps that is the curve of the bumper itself?
Definitely curved on mine. When looking from above, follows the line of the bumper.
Thanks John!
Originally Posted by daylorb
I wonder... If you lay the flat logo onto the bumper, will it curve on it's own? I'd be surprised if they hand-placed these letters... perhaps that is the curve of the bumper itself?
One way to find out is to lay a long strip of masking tape underneath the badge. Actually, I can find out if the amount of the curvature is the same as the existing badge on the trunk lid of my 981 BS by trying this method on both.
Originally Posted by BryanCO
Would be worth it to go to a dealership and take some measurements off of a GT4/Spyder.
Will make a trip to my local dealership this weekend to do the masking tape test. Their website is showing two GT4s in inventory.
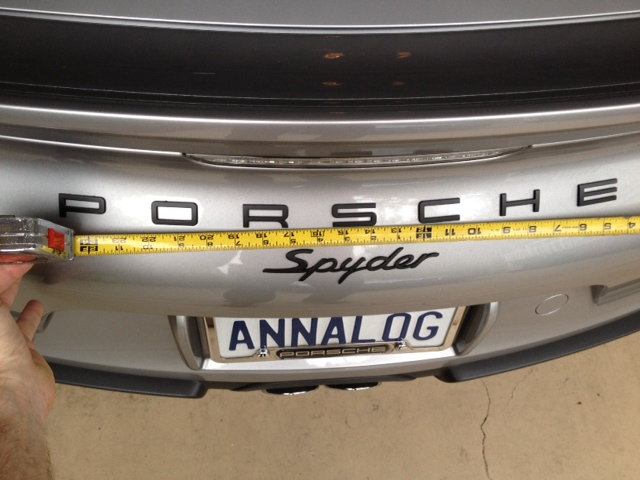
Ignore the crappy picture and totally unscientific approach, but I placed a straight-edge tape measure under the center letter "S" and as you can see the "P" "O" and the "H" "E" are noticeably higher. Tough to hold the tape measure level with one hand while stepping back far enough to get the whole picture in frame, and then snap the shot with the other hand, but you get the idea.
While the lettering looks great as it conforms to the curve of the fender/ducktail, I question whether it would look bad, or even be that noticeable, if the P 0 R S C H E script just went straight across. You might want to eyeball it before going through the machinations of trying to accurately measure the variations in height of each of the letters. Something tells me it might look fine straight.
Good luck!
SJ, this is great! Thank you so much for taking the time to do this for me. This confirms that there is a curve to it and the amount of curvature looks to be very similar to my existing badge. In this case, I can make a template from the existing badge on the trunk lid and use it to recreate the curvature. Thanks again!
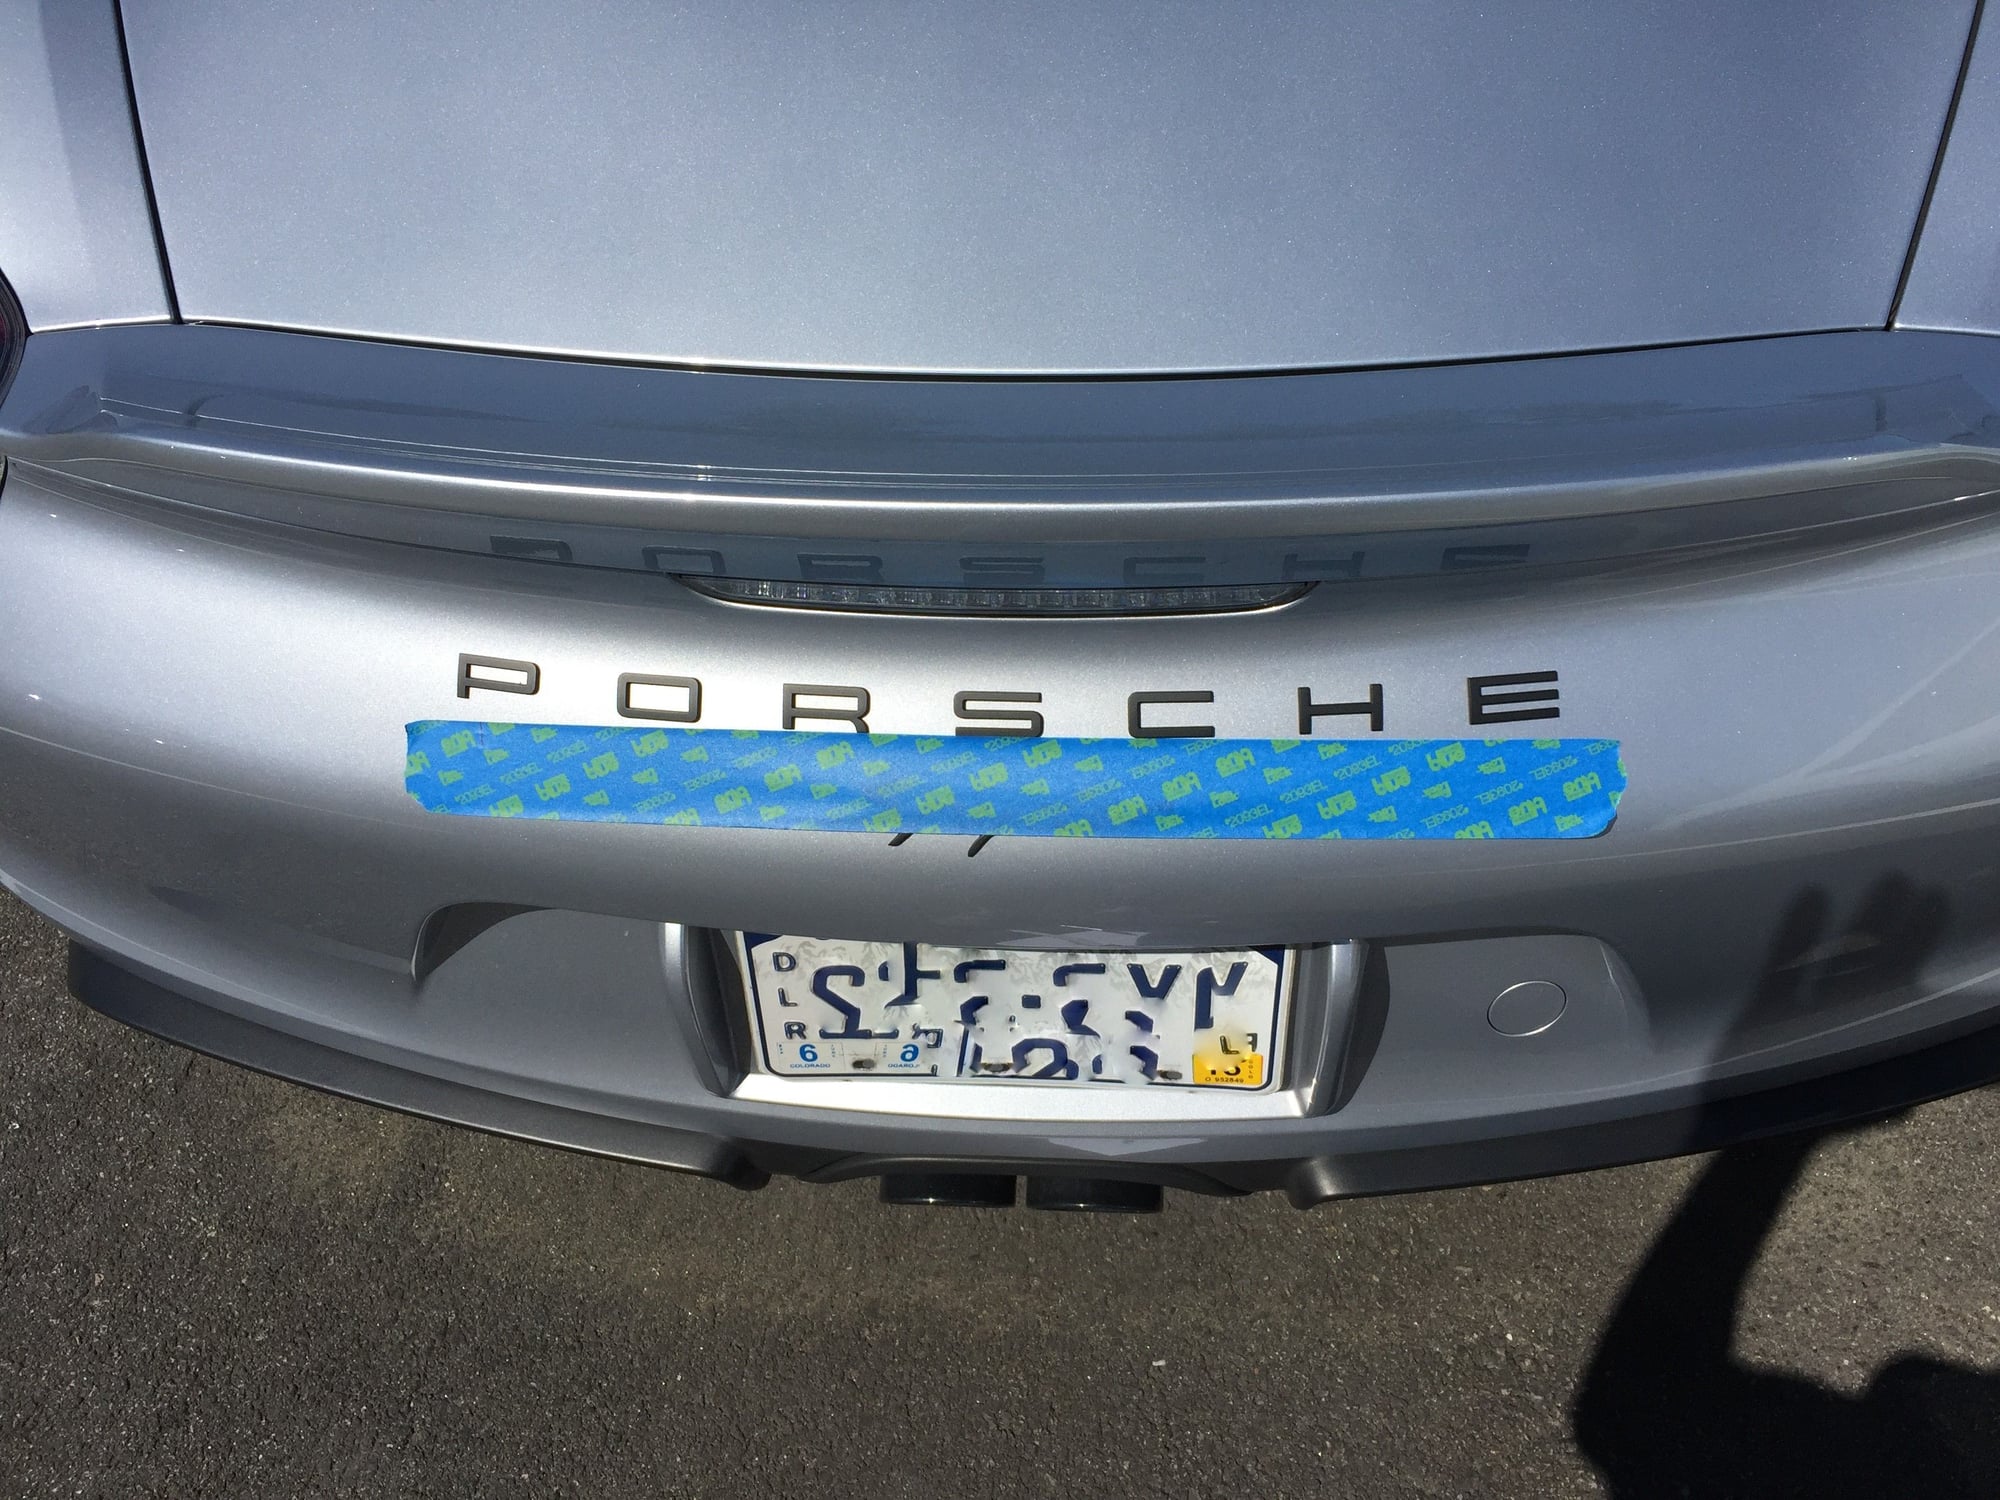
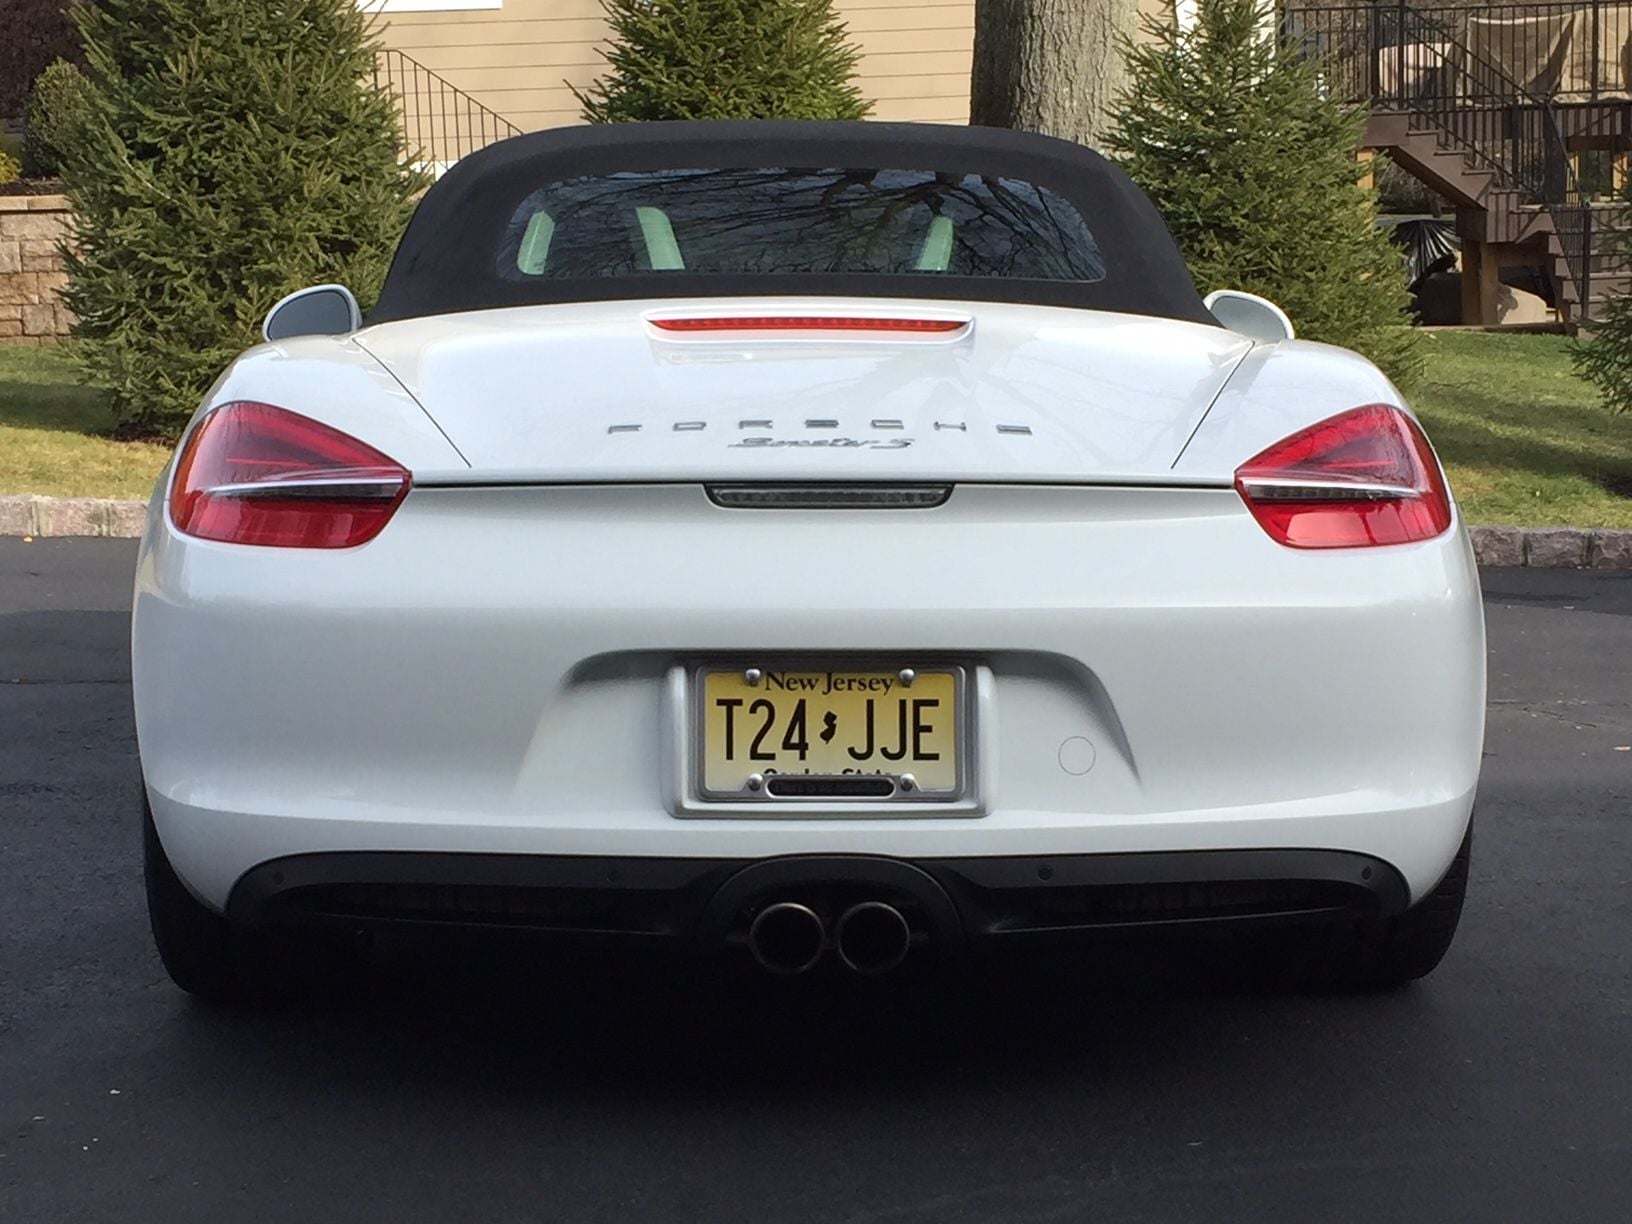
Comparing the two pictures below (SJ's Spyder and my 981 BS), the amount of the logo curvature seems to be equal or close enough at least. I will make a template based upon the badge on my trunk lid and apply it to the rear bumper. It should be close enough to the factory look. I will go to the dealership on Saturday and take some measurements on their GT4s.
@storii - the assembly line(s) uses template(s) to place the various letters/words/numbers, etc etc. It's in a few YouTube vids. Kinda cool.
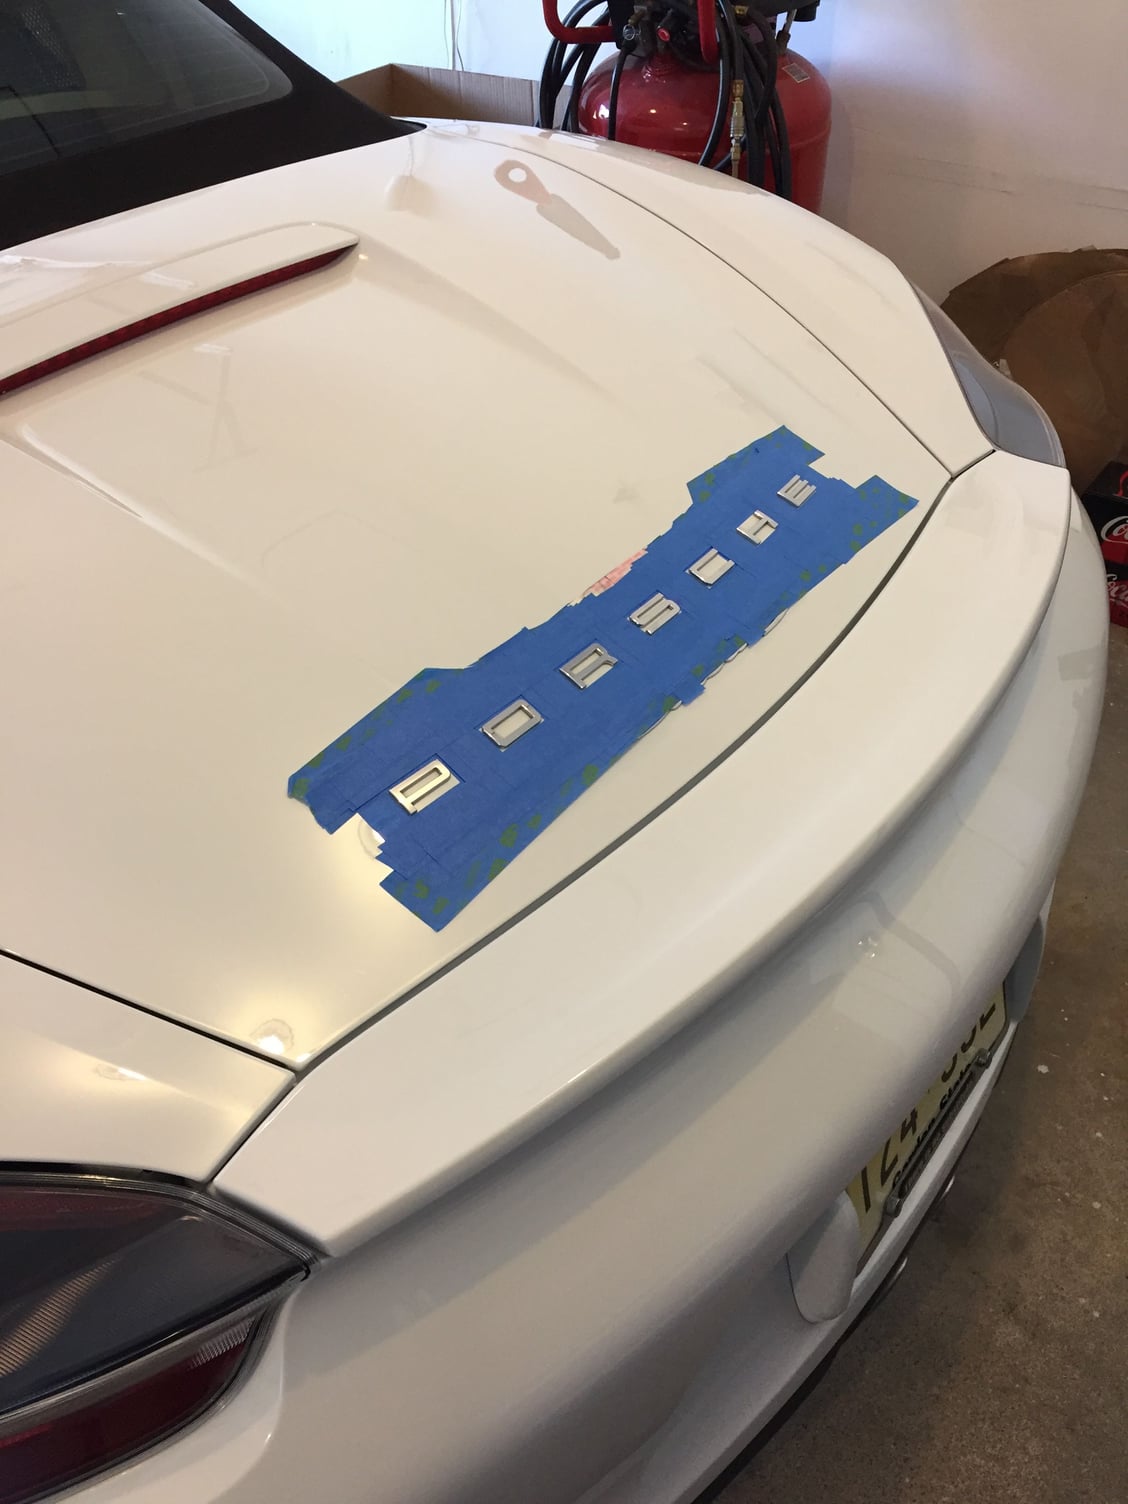
Yup, I'm aware of that and as a matter of fact know that the dealers have the templates. One thing I'm not sure is whether they have the template for the 981 Spyder/GT4 due to their relative rarity. Someone said they would charge one full hour labor for the 10-minute job. I will turn to a dealer (first I will have to locate the one who has the template for the Spyder/GT4) if this job proves to be too difficult and/or time consuming but it will be the last resourt.
Went to my local dealer this morning and immediately spotted a Guards Red GT4 in their lot. I approached its rear thinking this was too easy and found that the car had been debadged! Walked around their lot and found a GT Silver Spyder. Got my measurements and confirmed that the amount of the curvature is the same as the badge on my trunk lid. I'm ready to attack the job!
 06-26-2018, 06:47 PM