When you click on links to various merchants on this site and make a purchase, this can result in this site earning a commission. Affiliate programs and affiliations include, but are not limited to, the eBay Partner Network.
Is the installation process for the tail lights pretty straightforward? I searched and surprisingly didn't find much about these lights besides comments about cosmetics/differences, etc. Mine should be here tomorrow and I will want the install to commence within milliseconds of their arrival.
I just ordered the tinted tail lights for my 981S. They were $435 for a pair from Suncoast. I couldn't believe my eyes when I happened to look at the price of the regular all-red tail lights: $575 PER SIDE!!! Is this just a supply-and-demand thing or the tinted lights are made in china while the red ones are from Germany? Or the tinted version comes without bulbs or some other essential elements? I don't think so by reading all the reviews.
This means that, if you break one of the all-red tail lights, you will have to decide whether to pay $575 to replace the broken one or pay $435 to swap both lights to much cooler looking ones. Does this make any sense???
Here goes. I'm no expert at creating DIY posts so I'll do my best. This job is easy. You need one tool. A T30 Torx bit or 10mm socket. It helps if you can use a ratchet rather than a nut driver for reasons I will tell you about later.
Step 1 - Open the rear hatch or whatever the hell you call that Batmobile thing.
Step 2 - Raise the rear spoiler
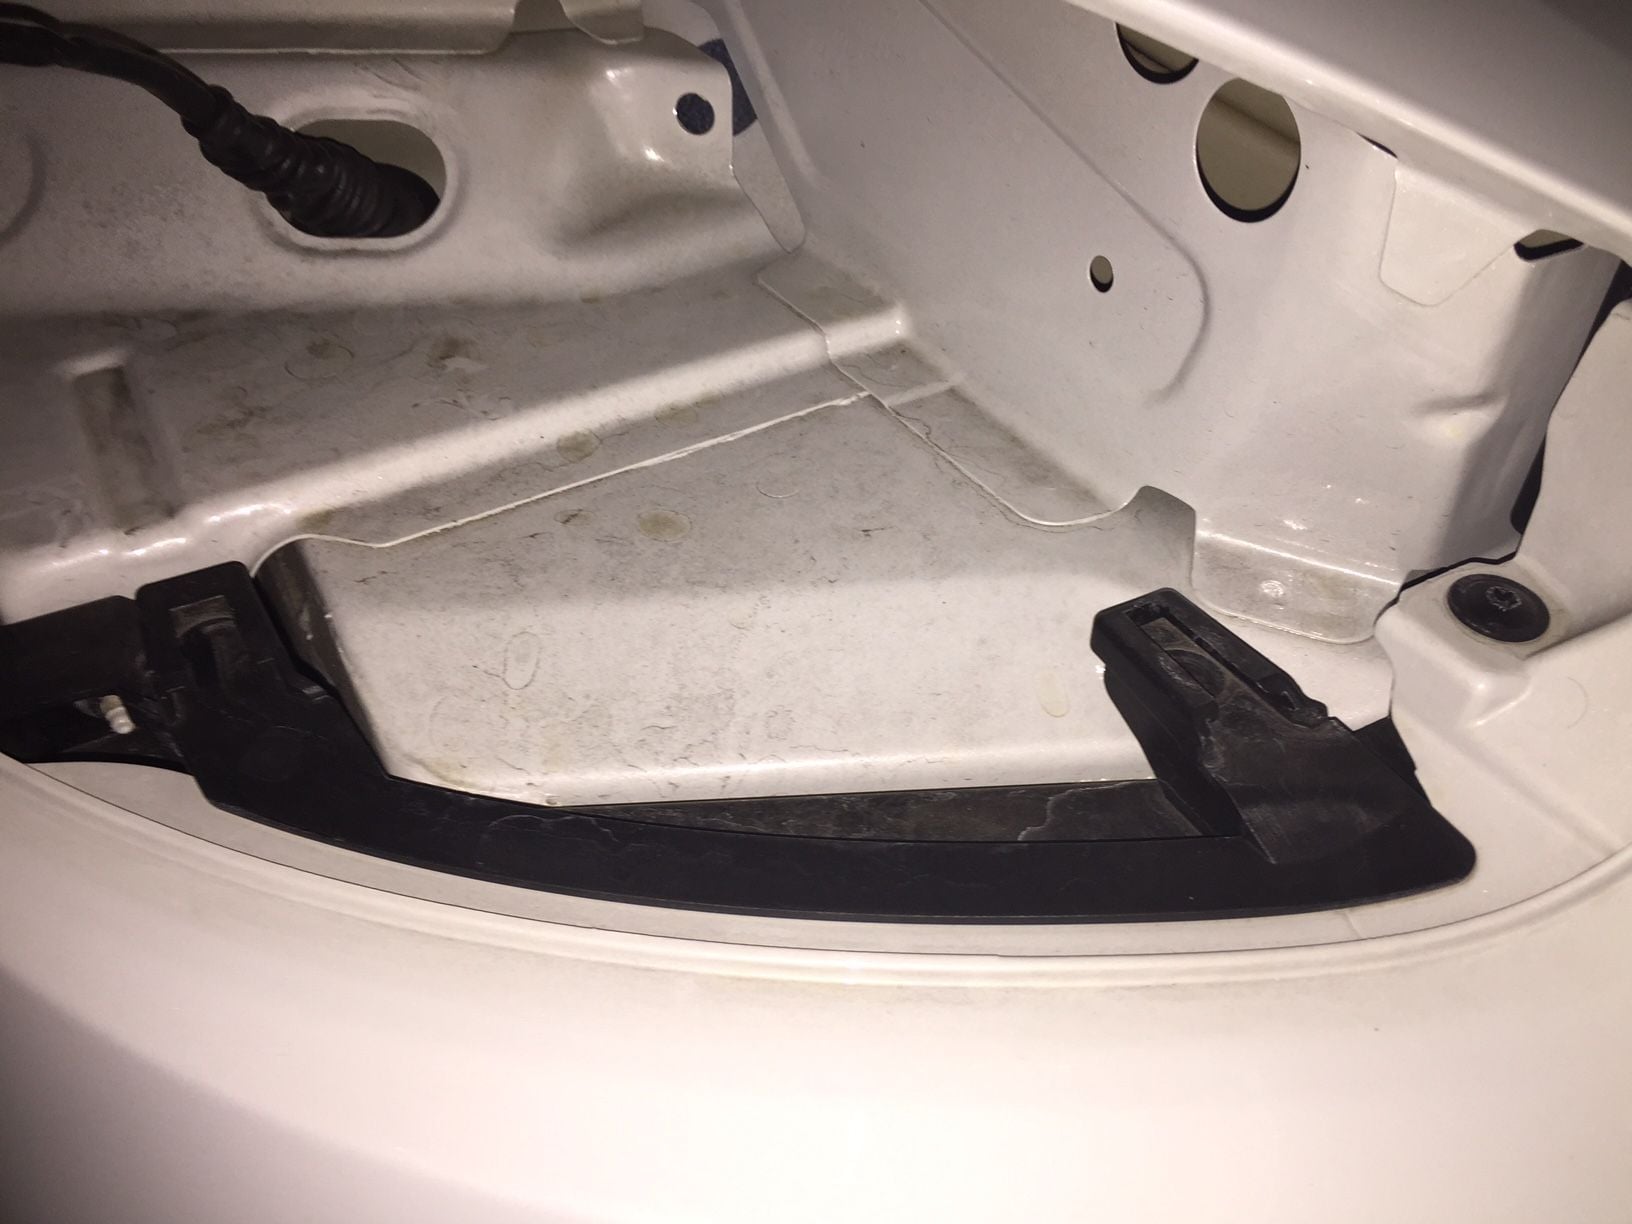
Step 3 - Remove the rubber grommet that is directly behind the tail light inside the trunk. There is only one per side.
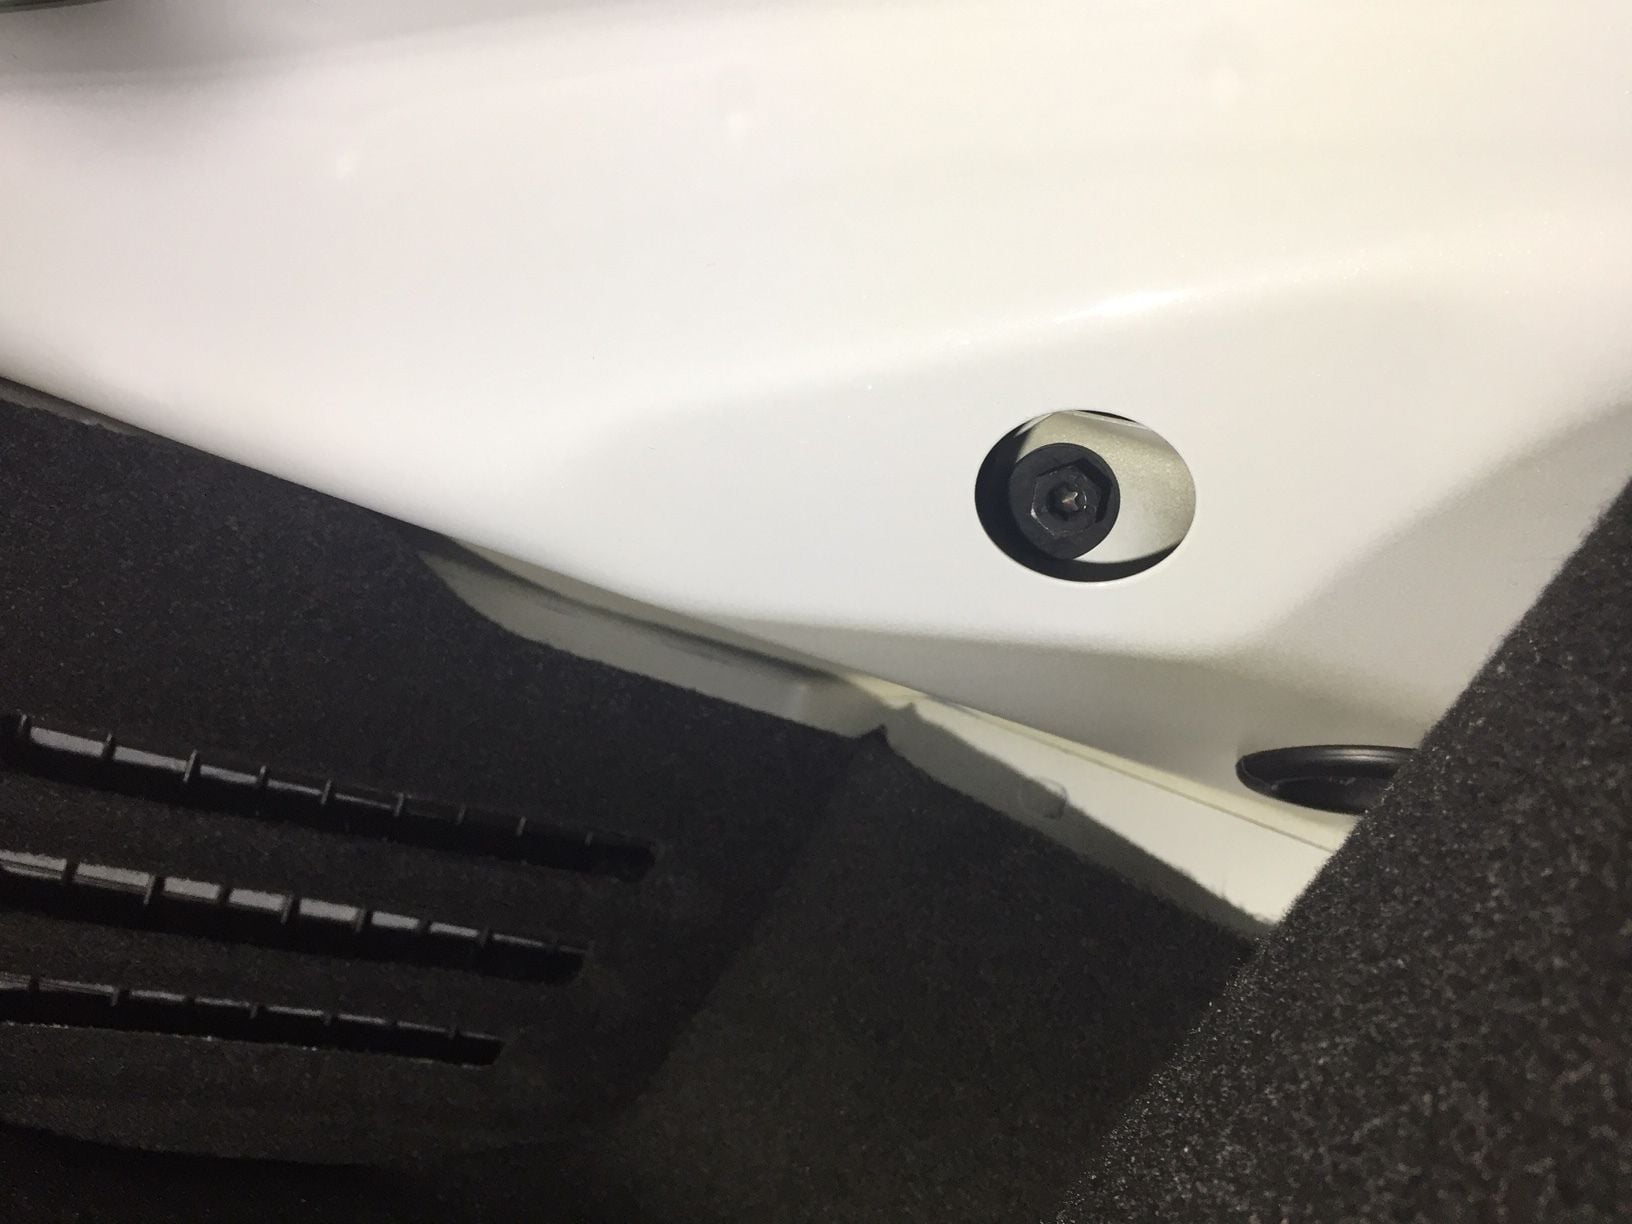
Step 4 - Remove the T30 or 10mm headed bolt that you can see in the hole below
Step 5 - Get yourself a piece of strong string, present wrapping ribbon or two long zip ties connected together to make one large loop (I used the zip ties and they worked like a champ). You will use this "tool" on the forward-most outer edge of the light to pop it loose. Slip the string/ribbon/zip tie around the back of the light (the edge forward-most) and pull toward you (rearward) fairly firmly with your outside hand while also using your inside hand to pull the inner edge of the lighting assembly away from the car's body. Don't pull too hard or you run the risk of the light flying off the car and maybe damaging the paint. After a few decent tugs, the outer part of the lamp will pop loose a ball/socket assembly. The ball is on the lamp. The socket is in the body of the car. The socket is depicted below.
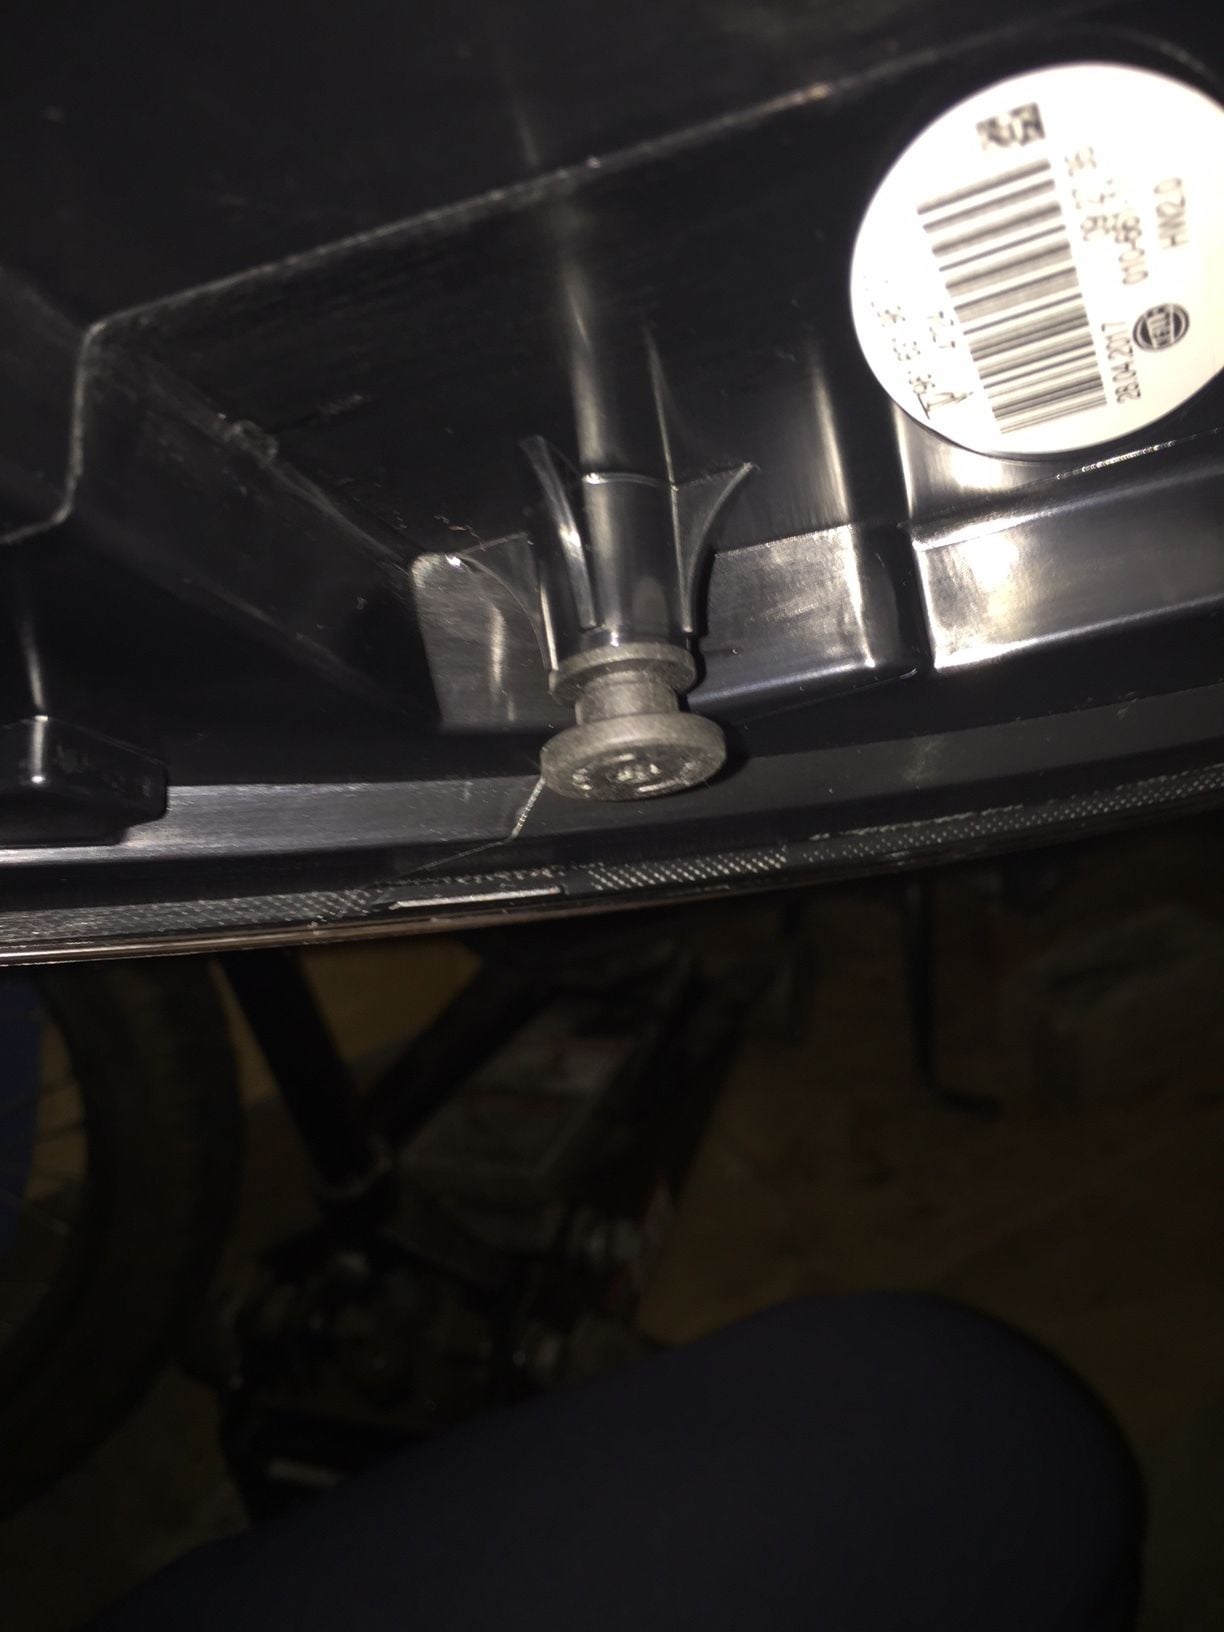
Below you can see where two points of attachment on the bottom edge of the lamp will slide into the two female slots (shown) holding the lamp secure on the bottom.
One of the male posts on the bottom of the lamp assembly that slides into the slots is shown below.
Once the light has popped free, all that is left to do is disconnect the harness connector. It is NOT the typical type of automotive electrical connecter where you squeeze a tab and it releases. You have to actually slide the tab backward toward the harness to release it. Squeezing will not work.
Reassembly is the reverse process.
You will center the new light such that the two posts on the bottom of the lamp assembly slide into the female slots and then just push forward firmly, giving a final nudge to the outside of the lamp that will pop the ball of the lamp into the socket of the car's body. You'll know when it's seated properly because it you will feel it pop into place and the gap between the lamp and the body will close up completely. Not much force is required. Just an abrupt jar is all it took me.
That's pretty much it. Reinstall that bolt you removed and you are good to go.
The only caveat, and the reason I say to have a ratchet handy instead of a nut driver, is that when you screw the bolt back in you are establishing threads into a brand new plastic nut that is not pre-threaded. It takes some force and I found the nut driver (because of the angle) kept allowing the bit to slip out of the bolt head and almost stripping it. Using a 10mm socket with a ratchet was much better at driving that bolt into the new retainer. For some reason I used the Torx on the first side. I don't know why. Probably just stupid.
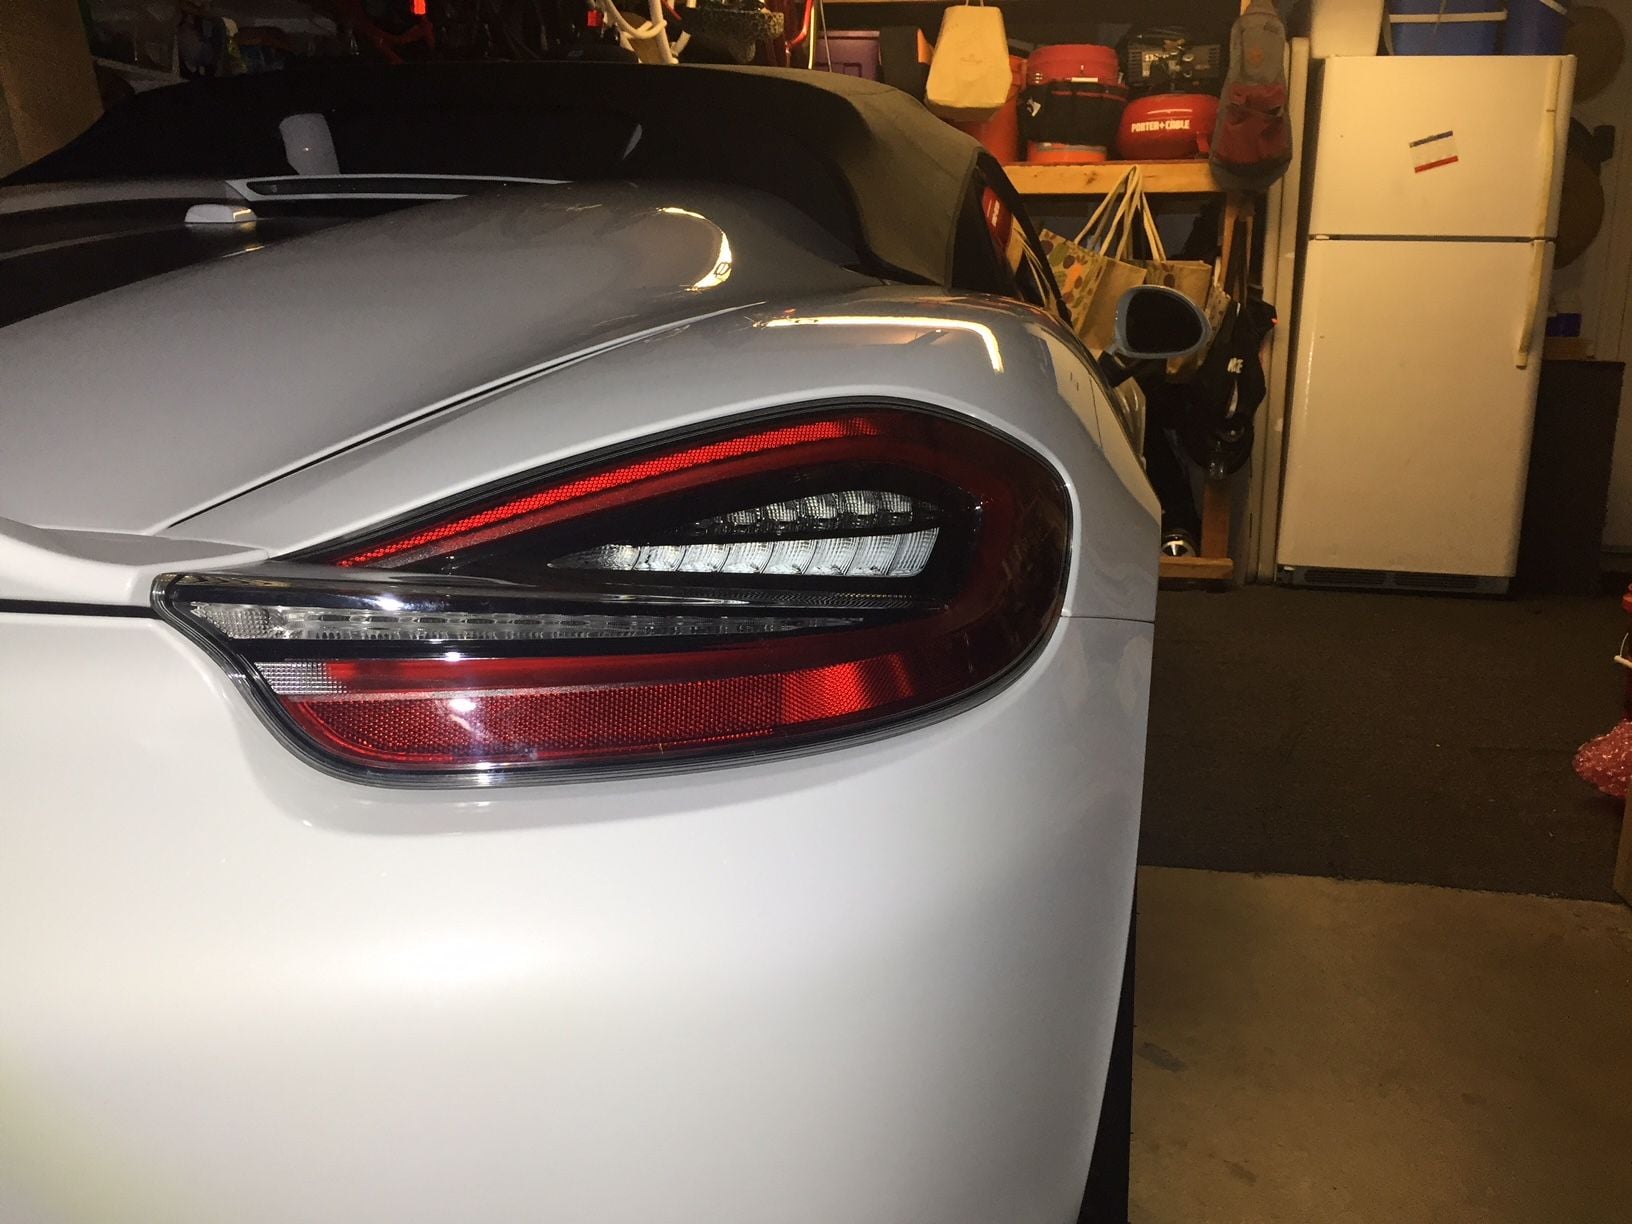
Piece of cake and an absolute bargain Porsche upgrade IMO.
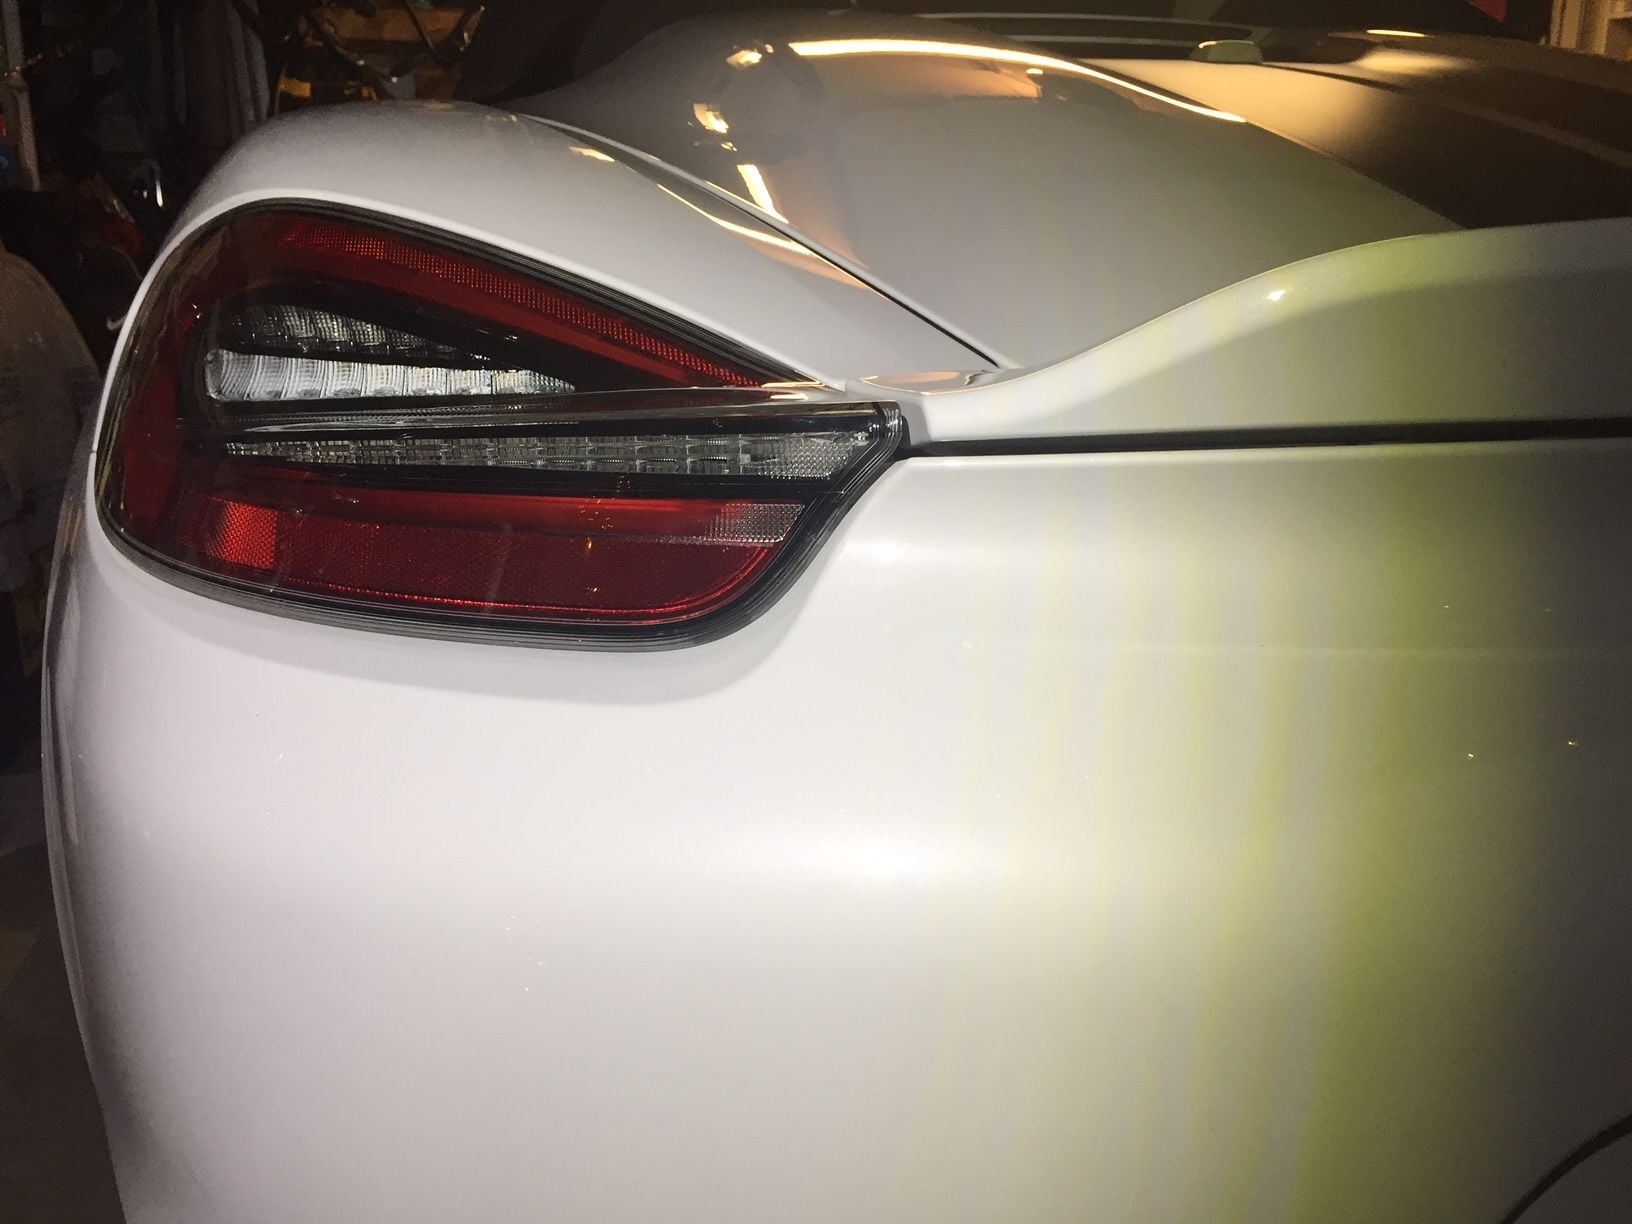
And there you have it! The finished product. For some reason I thought the smoked portion of the assemblies would serve some lighting purpose but it appears it does not. It just looks good.
Last edited by SpyderSenseOC; 12-14-2017 at 12:57 AM.
Many thanks! So far the best instructions I have seen. Can you tell how/where you threaded string/ribbon/zip tie in Step 4? The new lights look great!
The outer corner of the lamp assembly is where you loop the string. You'll see exactly where you need the leverage when you get the new lights and see where the post/ball is located.
The outer corner of the lamp assembly is where you loop the string. You'll see exactly where you need the leverage when you get the new lights and see where the post/ball is located.
Thanks! That means there will be a space between the light assembly and the body once the retaining screw is undone. I am getting them for Christmas!
By the way, congrats on your new Spyder. It looks very sharp. Lots of luck with it!
In case anyone is wondering, there is enough space to thread a zip tie or any other string on the outer end of the tail light assembly so that you can pull the it out. This method worked very well. In my case, the rubber socket came out with the ball on both sides. I had to remove the socket from the ball in the original tail light assembly and return it to the body.
FYI I would also advise on putting blue painters tape or whatever around the socket of the taillights before removal... just in case, so nothing get scratched... pulling them out can be hard. Also be aware there is a rubber grommet that is supposed to stay inside the socket... on one of my lights it came out with the light and was stuck on the "prong" on the back of the light.... took me a while to figure that out when trying to sort out reinstall..heh.
 12-12-2017, 12:02 PM


 Thanks for posting.
