When you click on links to various merchants on this site and make a purchase, this can result in this site earning a commission. Affiliate programs and affiliations include, but are not limited to, the eBay Partner Network.
Wow. Excellent info. The pics are very helpful to me as I prep to check the balance shaft alignment on my cab, and start to prep for belt replacement on my coupe. How do you get the cylinder head to look that good? Sandblast? Also, I should search on here for a guide to removing the engine - obviously makes the work so much easier. Thanks.
27 hours by an experienced mechanic familiar with 968s. No telling how many hours for a lesser mechanic.
Multiply by at least $100/hr - makes sense to take good notes and subscribe to this thread if your mechanically inclined and want to save some serious money.
Update: 12/9/2016
Made a lot of progress over the last few weeks.
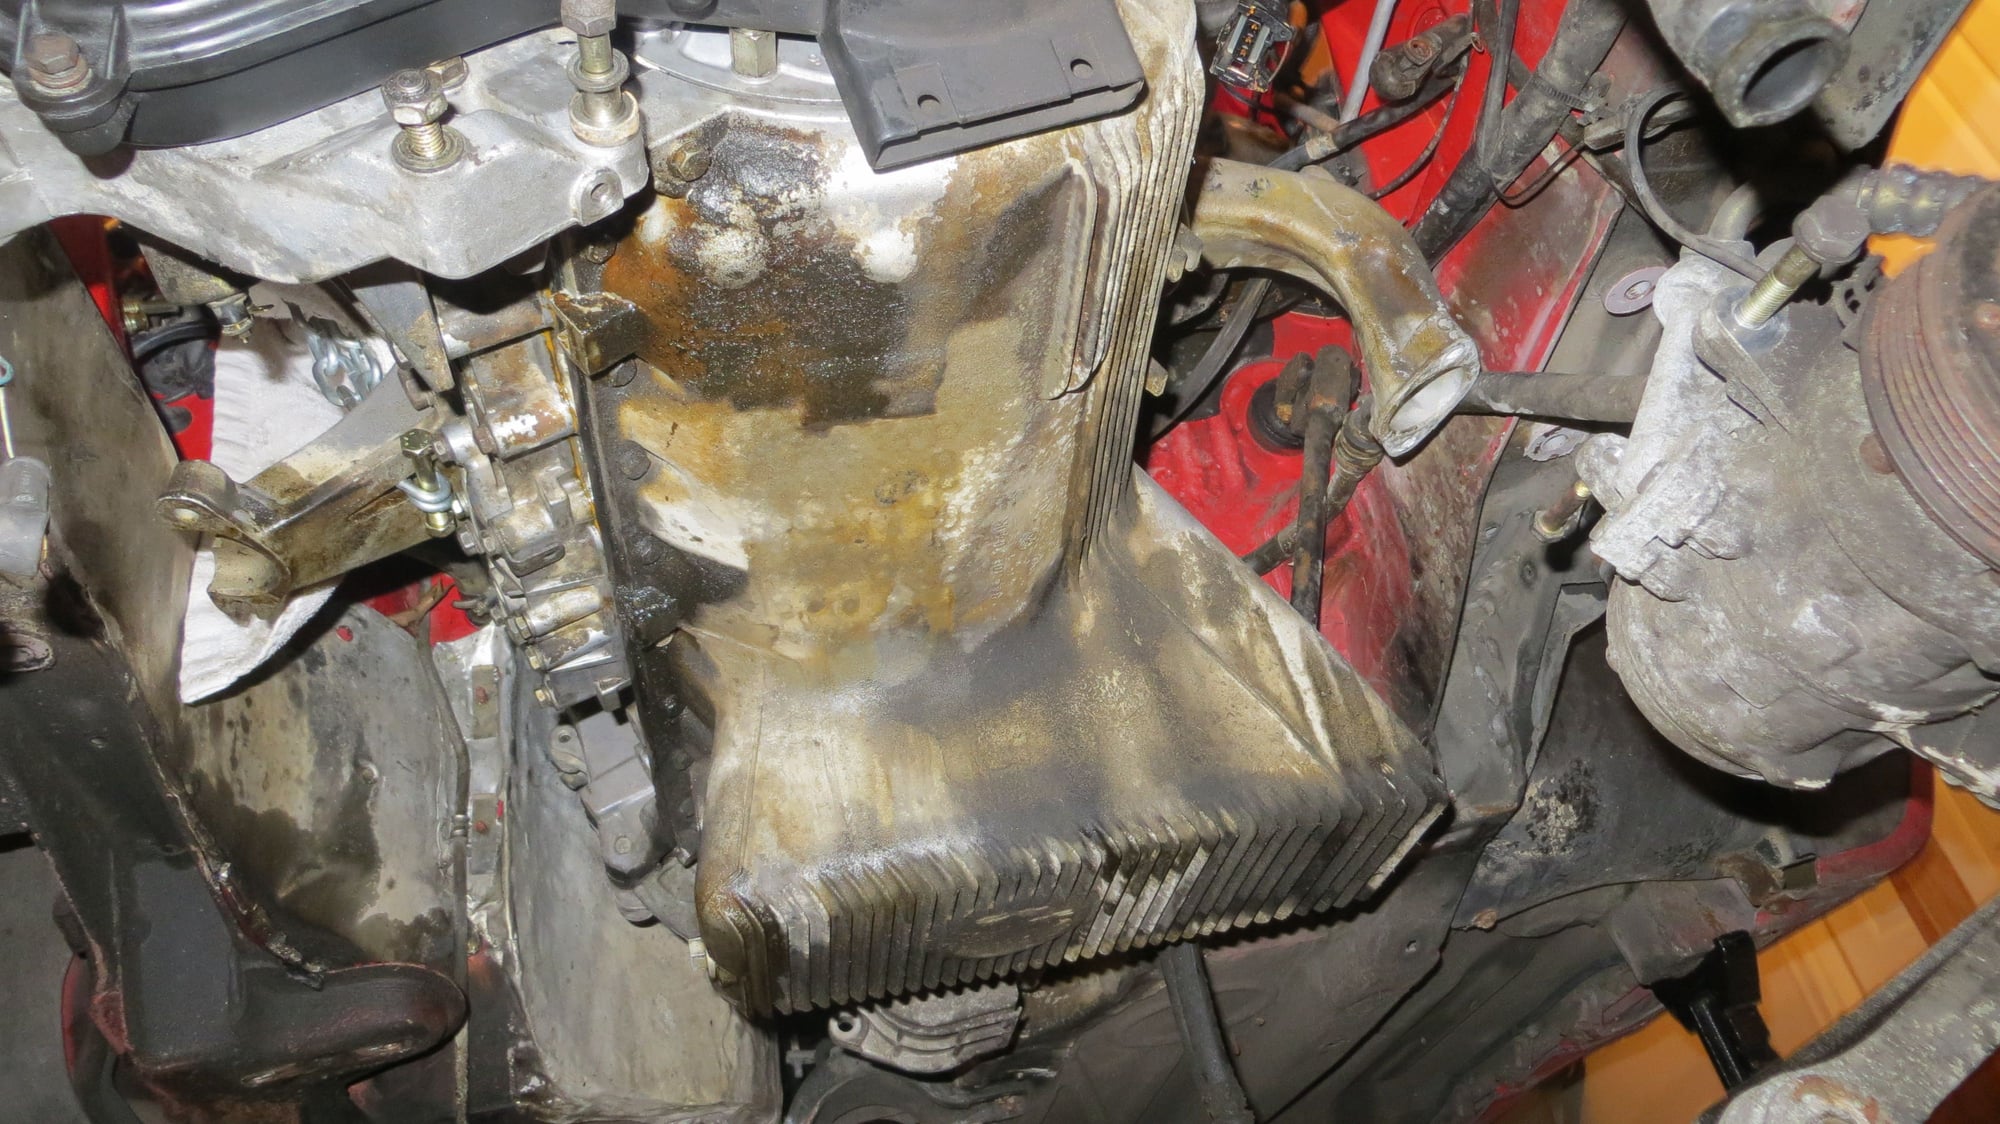
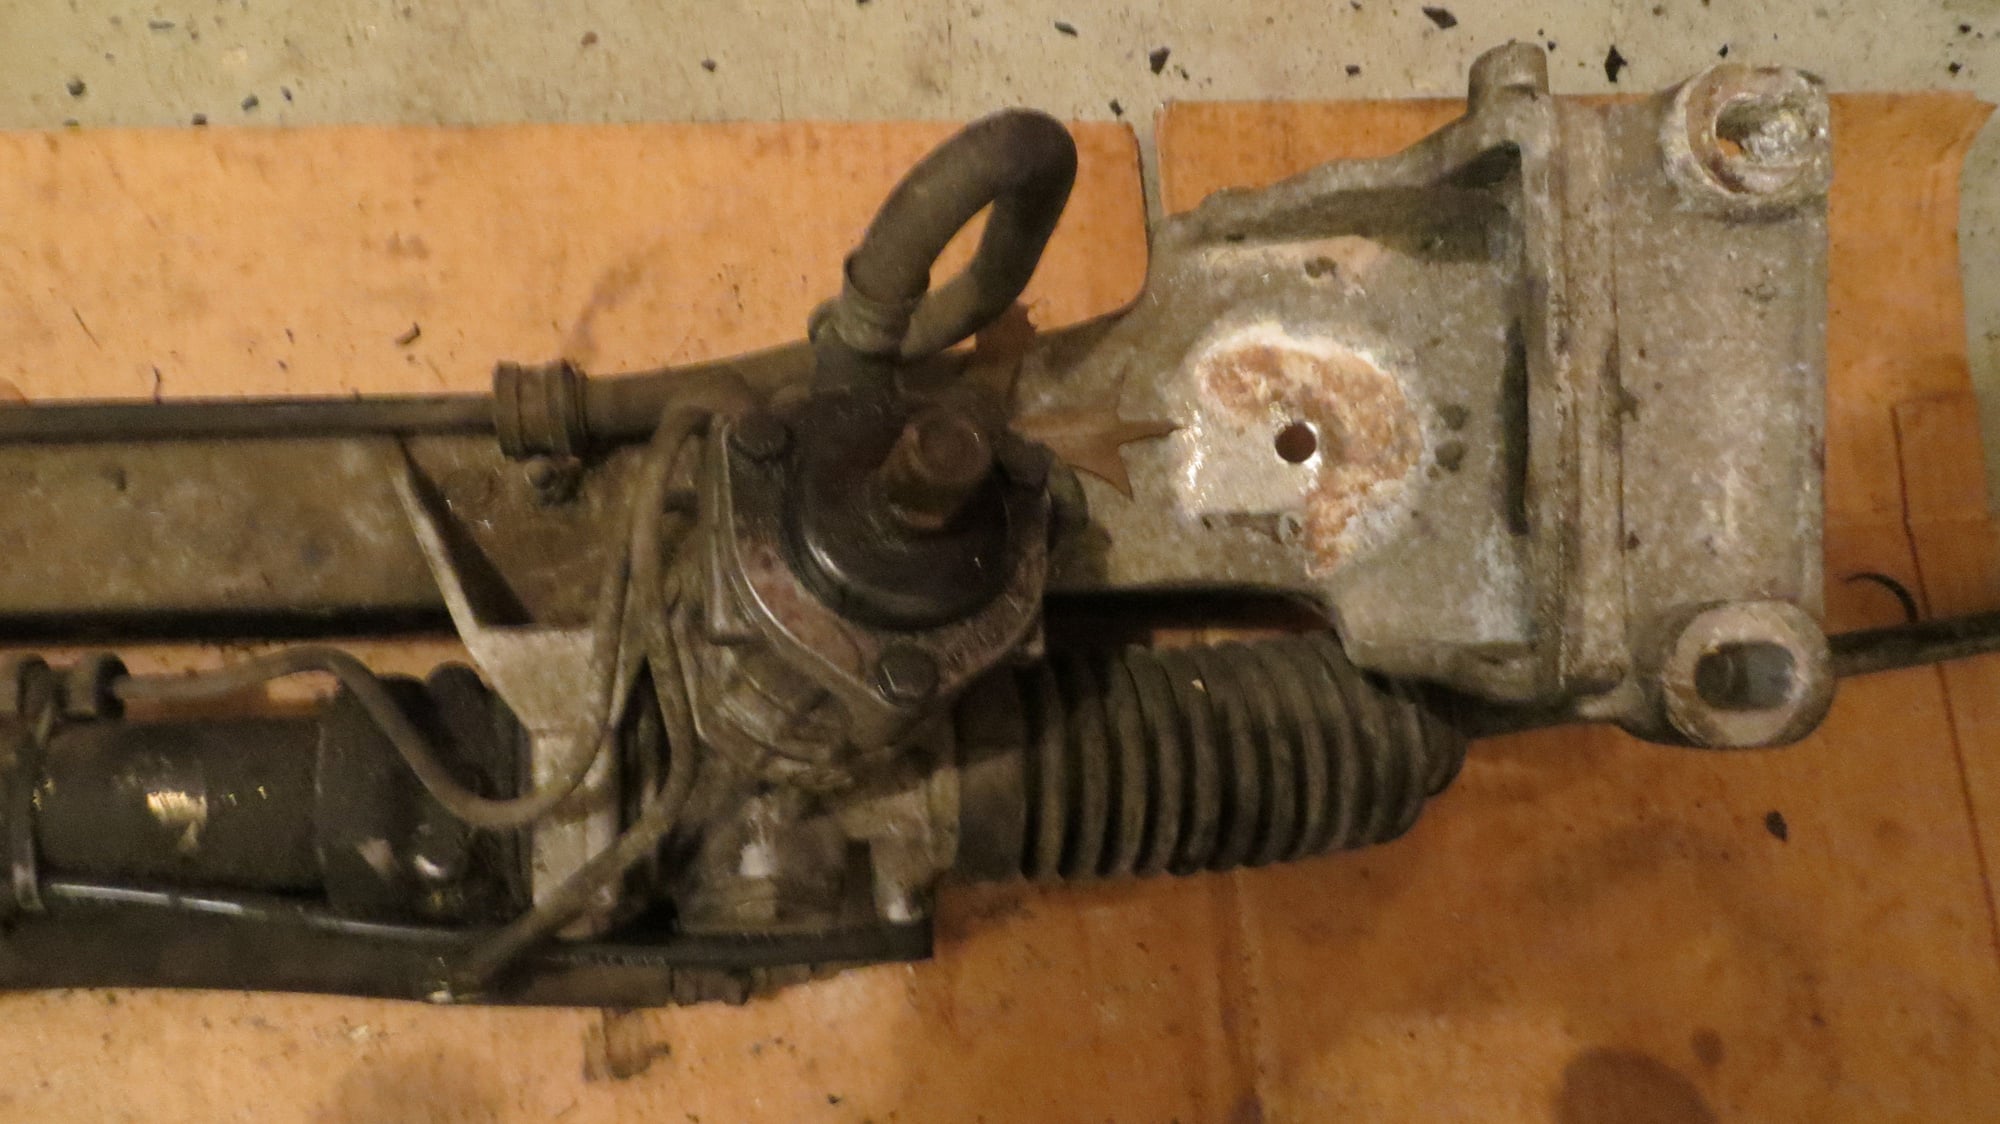
Removed the cross-member and steering rack as 1 unit. Even though this is not required to swap out teh engine mounts, I was trying to use this opportunity to get all the bits and pieces clean so I can track leaks better in the future. Also, with the car sitting for months at a time, I found a lot of leaves and dirt had found their way. The nice part about dirt and oil leaks, they love to protect your finish
Picture of engine suspended with cross-member removed.
Oil filter and cooler housing installed
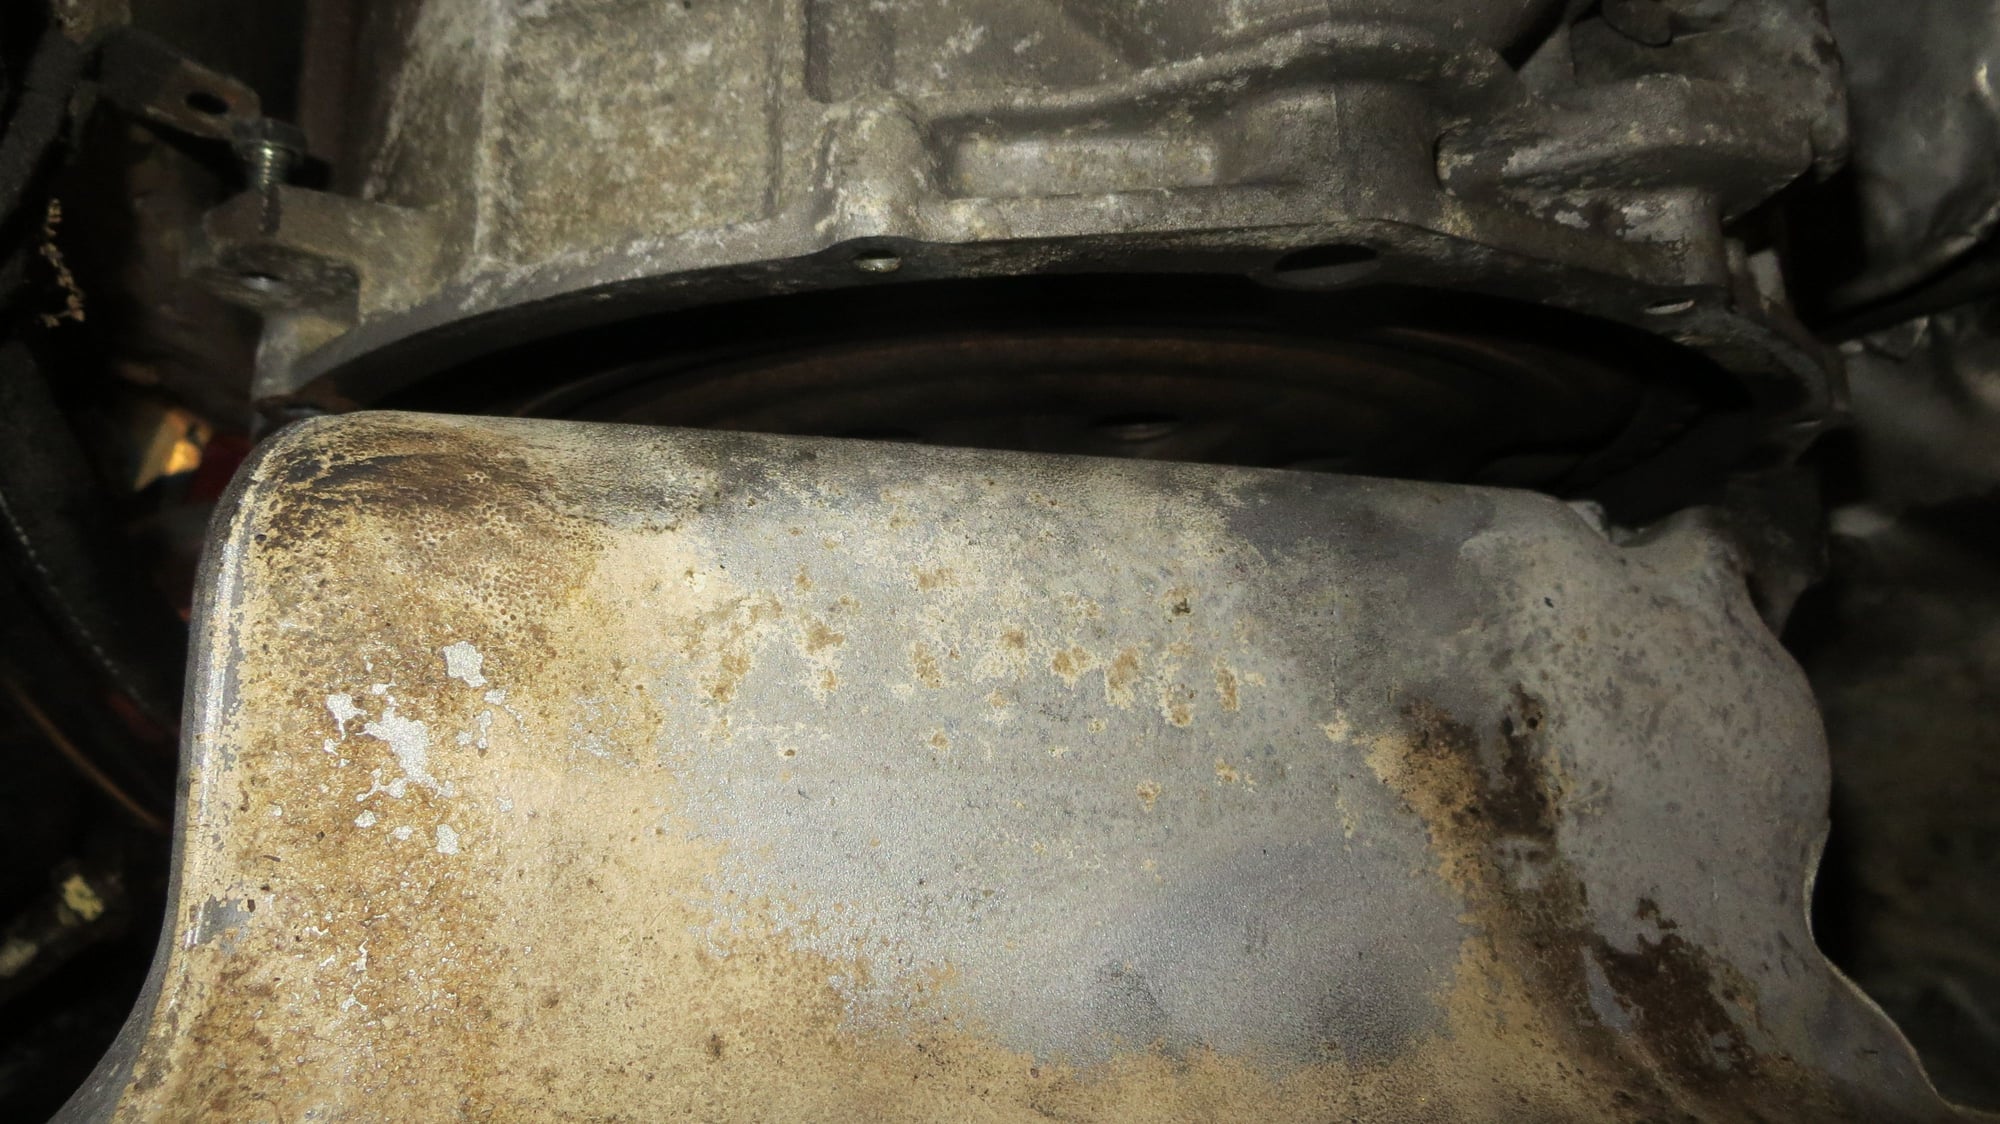
In order to drop the oil pan, the oil level sender needs to be removed. With constant oil level light warning from teh get-go I knew the culprit was not the unit because it was recently replaced with same results.
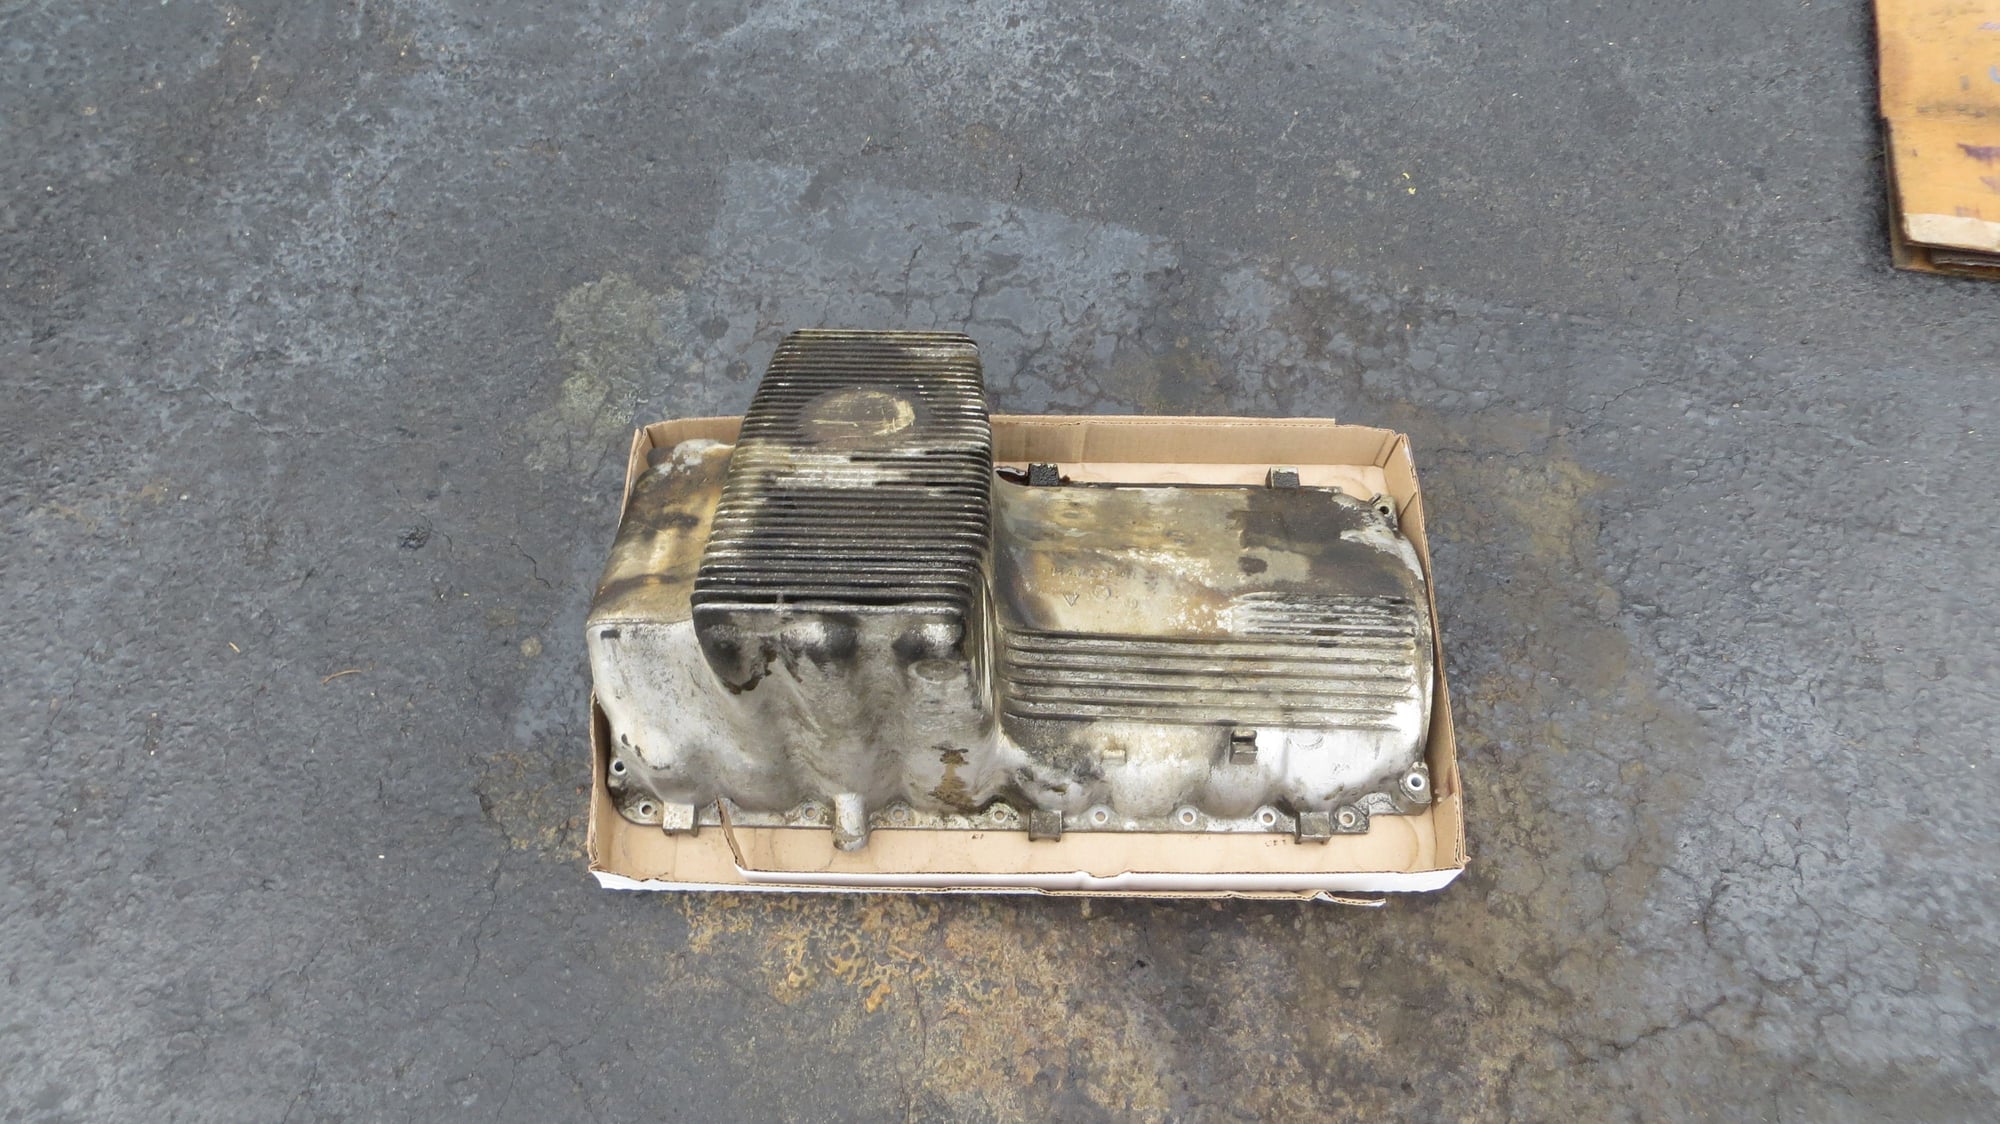
Glad I decided to do the oil pan as one can see it was leaking.
Cross-member, full of dirt and grime and leaves .
Oil pan ready for cleaning.
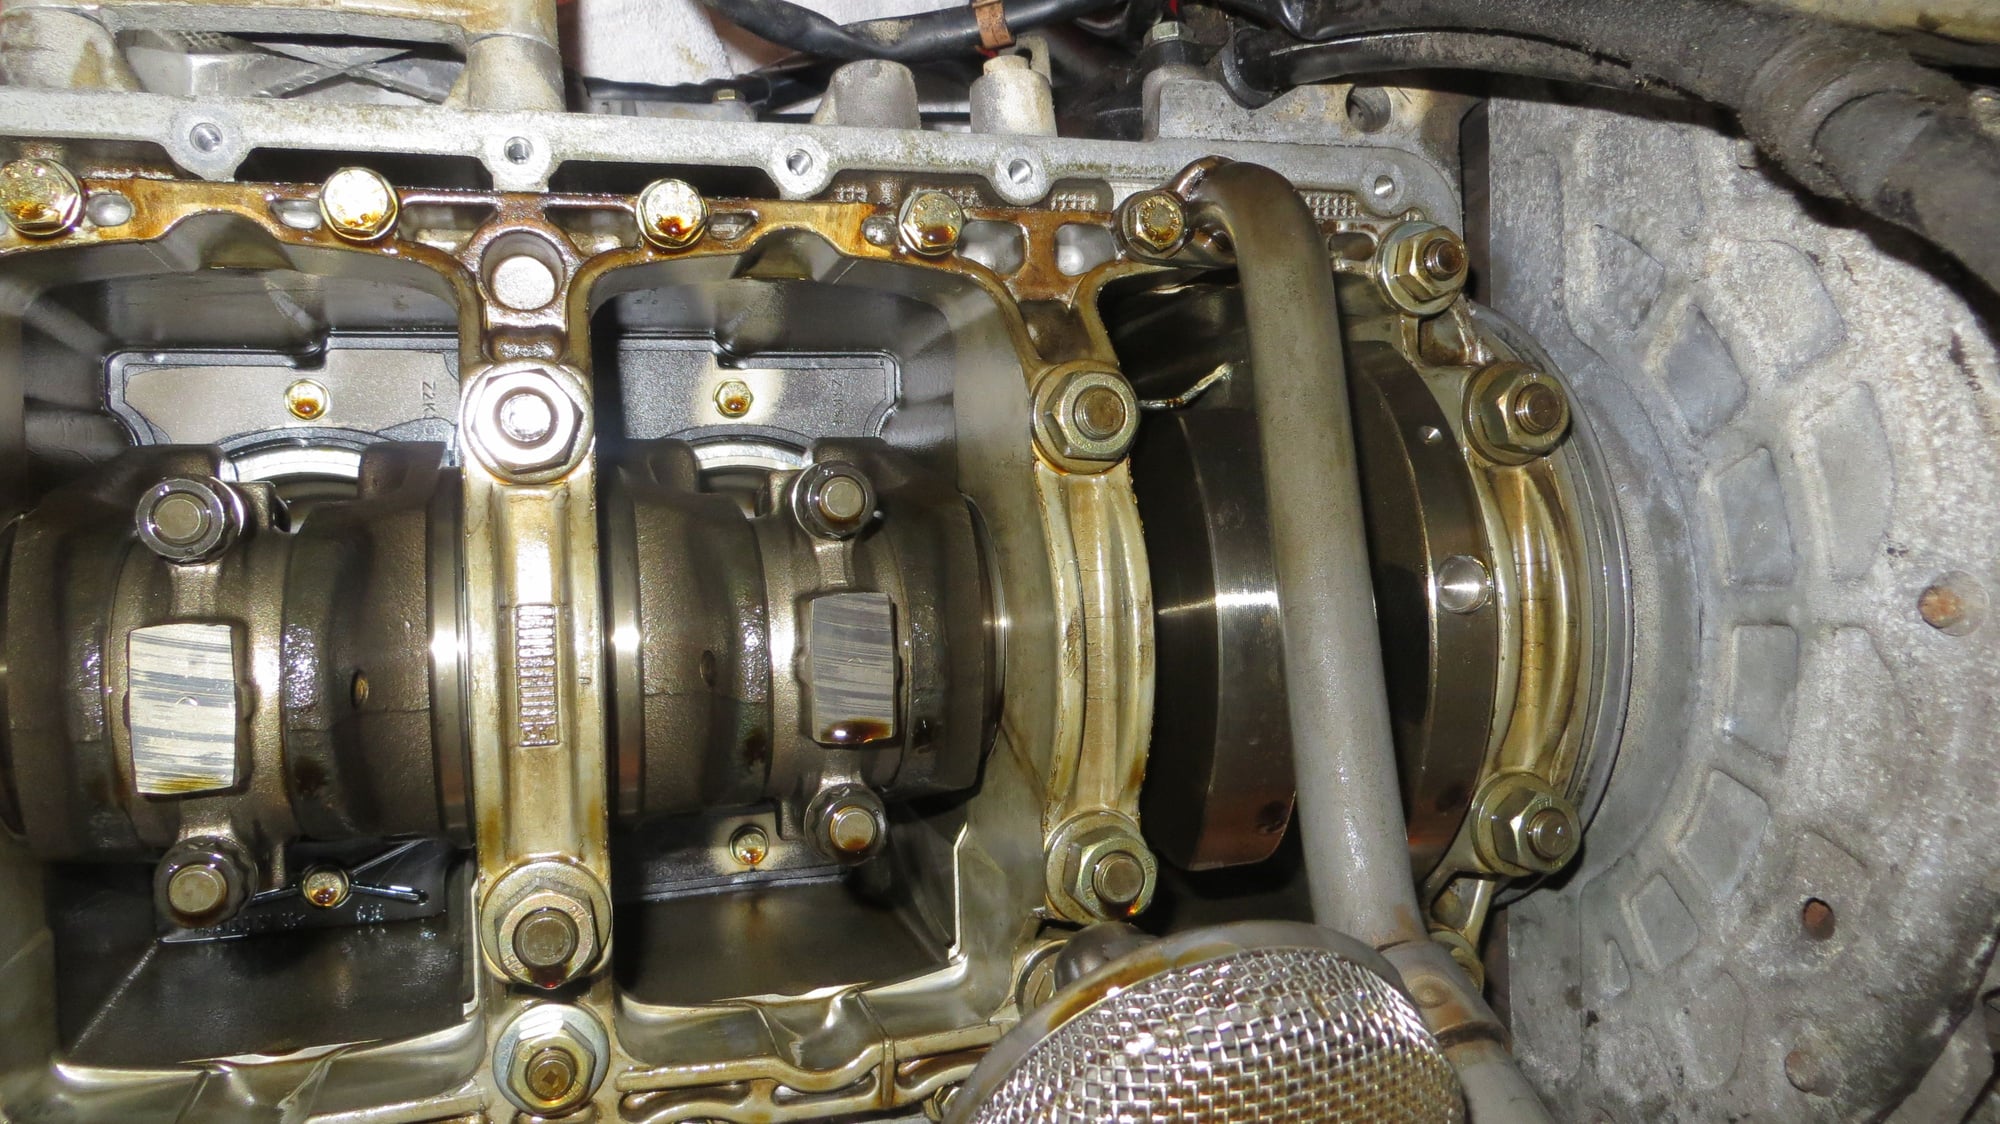
Bottom end of the engine looked amazingly clean. Checked oil pickup tube for cracks and everything looked perfect.
Removed bellhousing/flywheel cover to prep for installation.
Even though the engine mounts showed no signs of wear, they did show some fatigue. The heights between the new units vs the old unit was a few mm off.
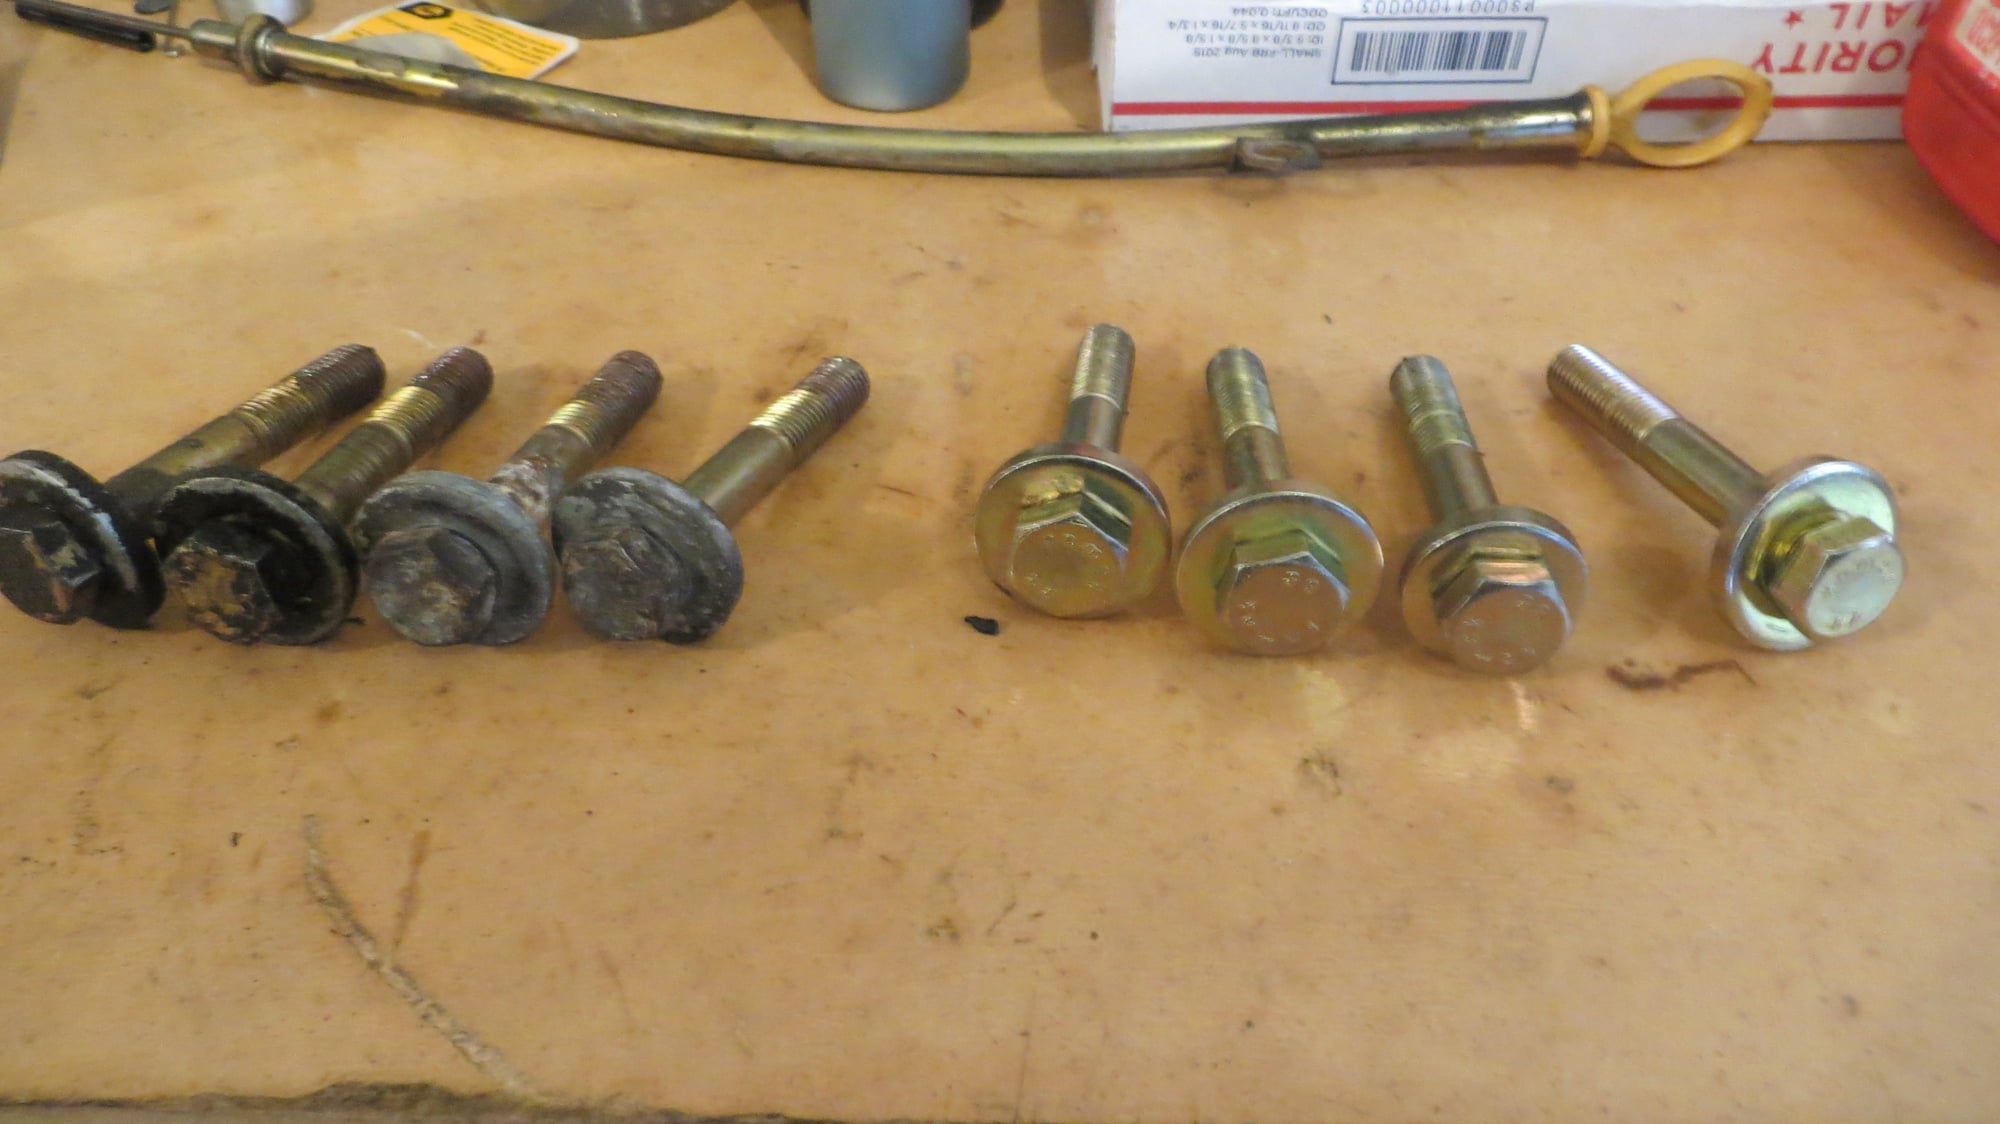
Also decided to swap out some worn looking hardware.
New mounts in place and now the engine standing on them, un-suspended from top. Steering rack connected again.
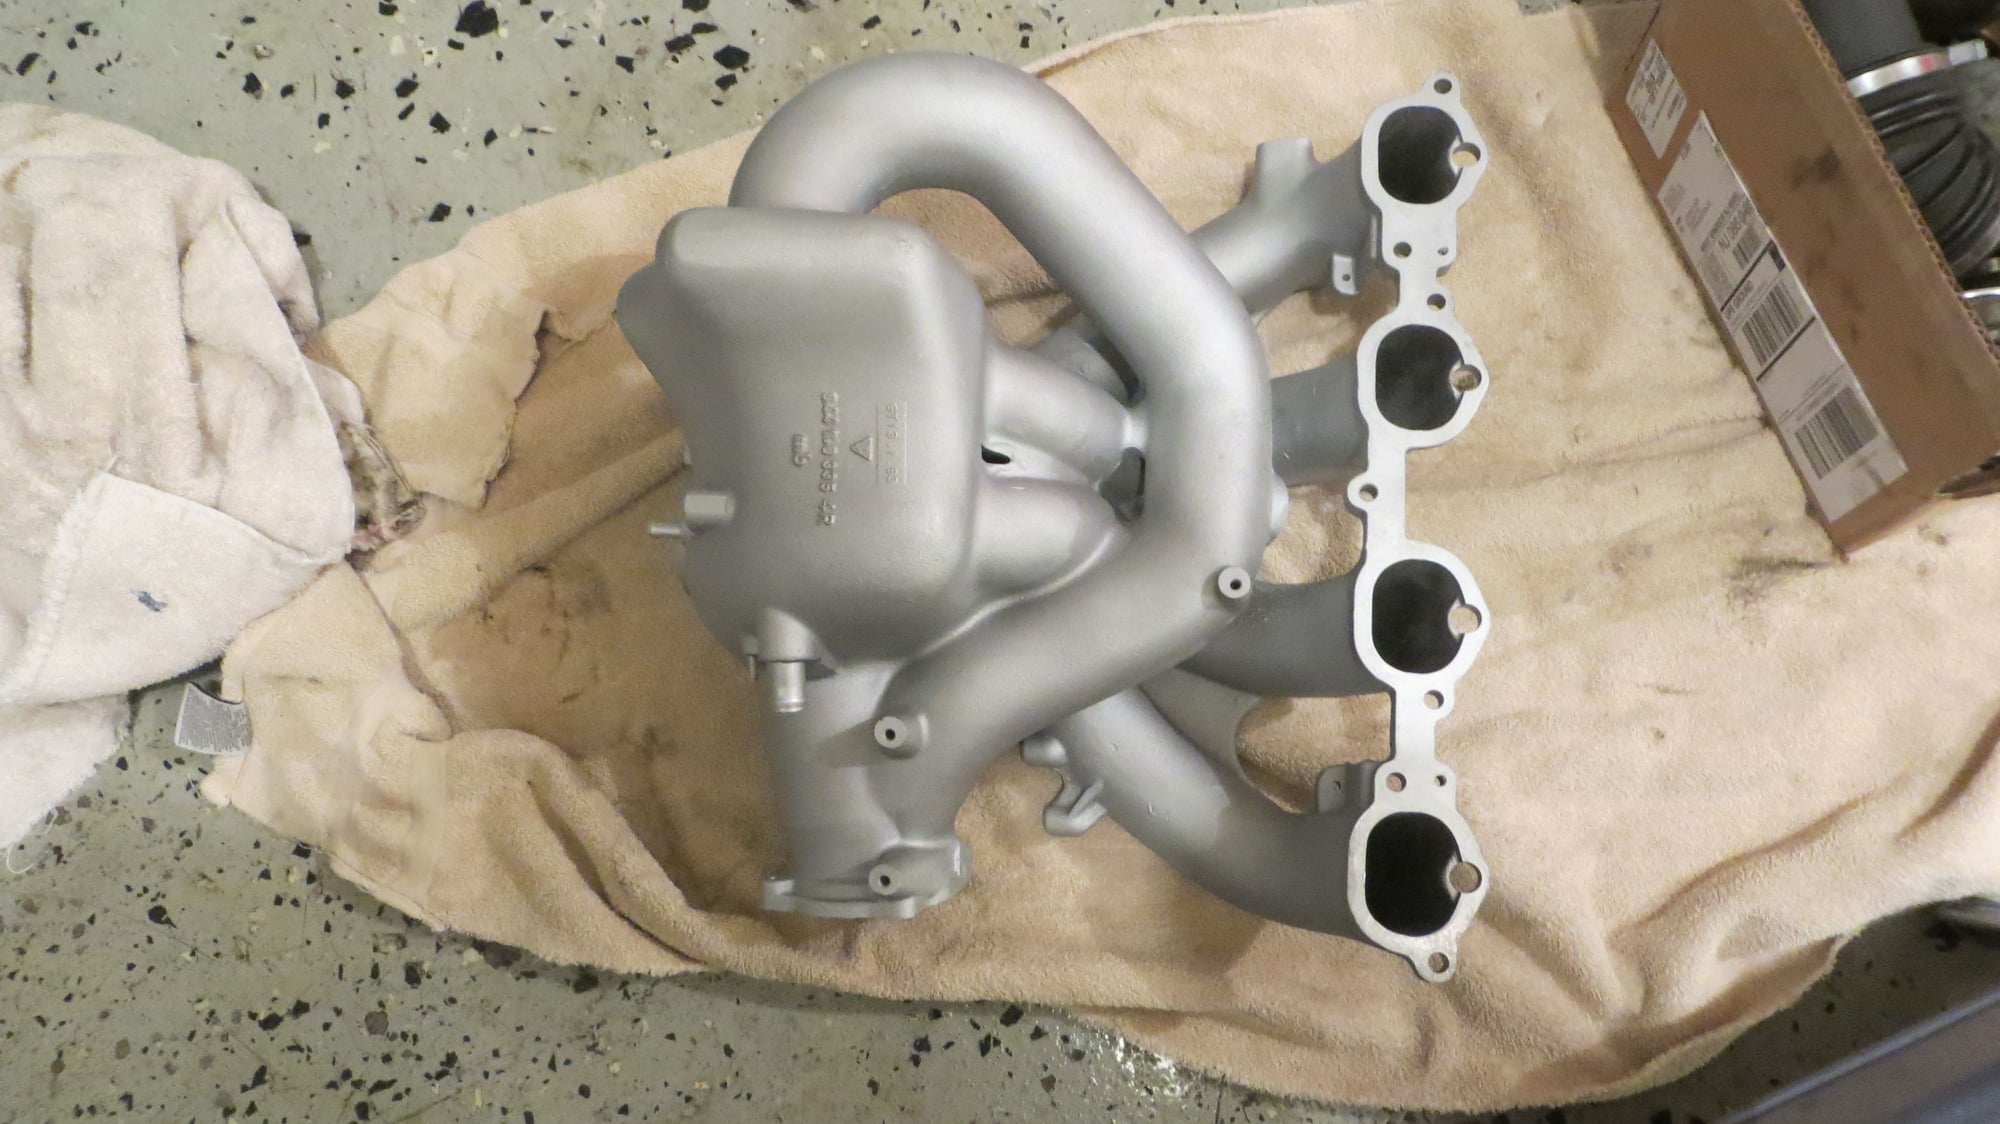
Had the intake cleaned and refinished. Prepped it for installation with all the accessories.
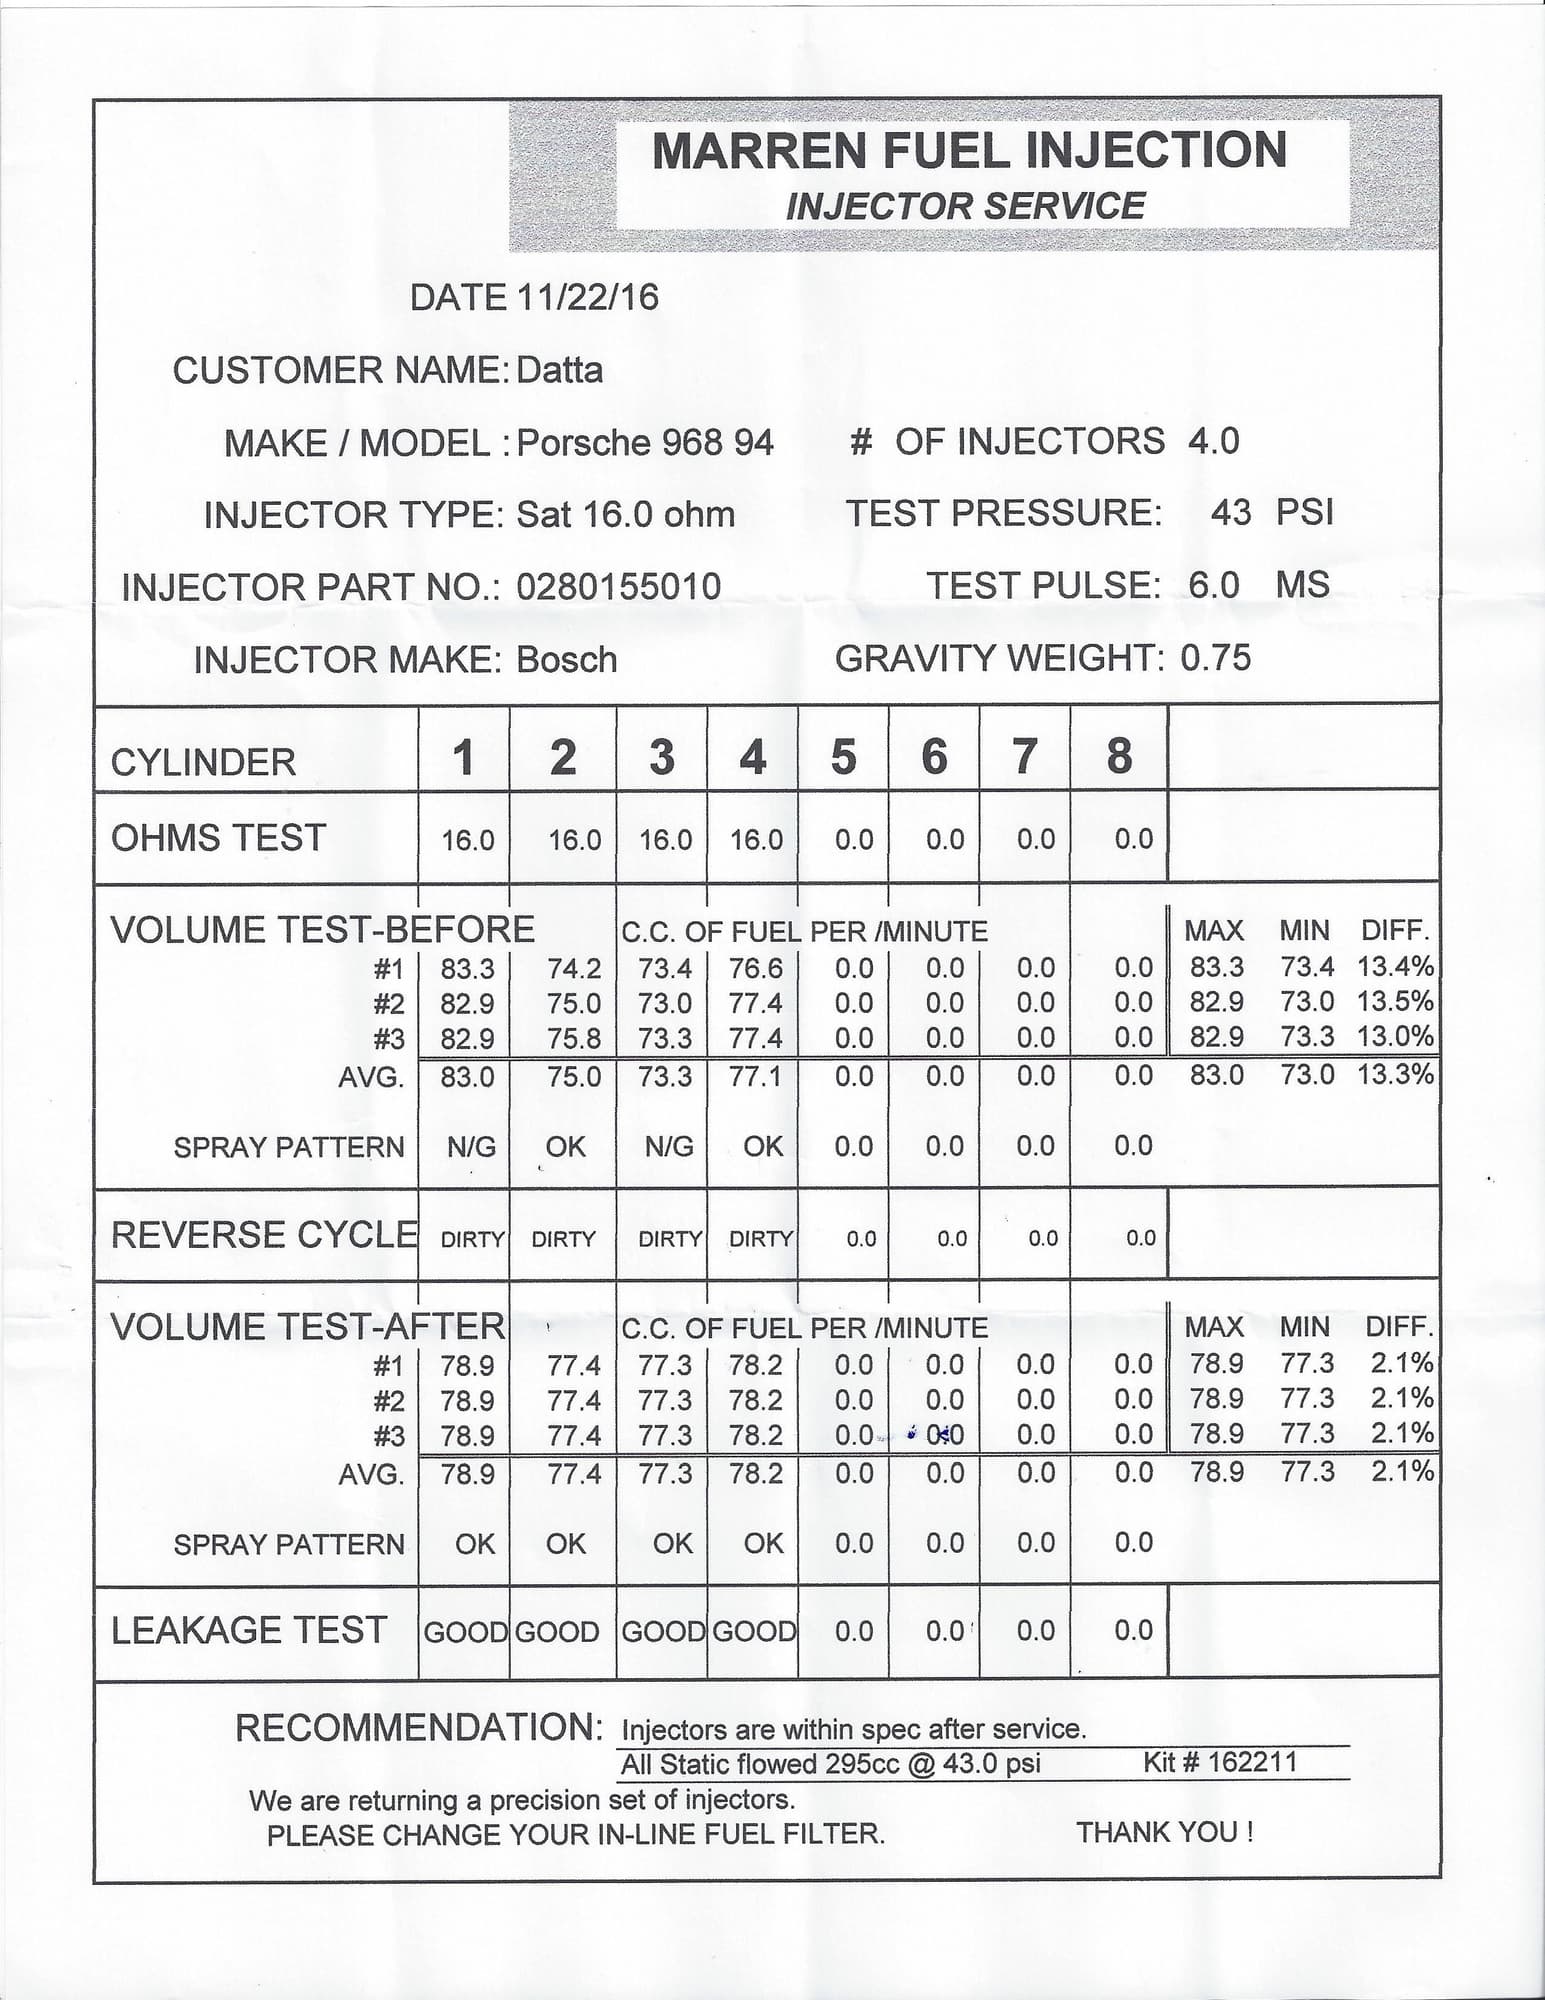
Injectors were sent for service prior to install. Interesting results. Glad that they all now flow within a few percent of each other.
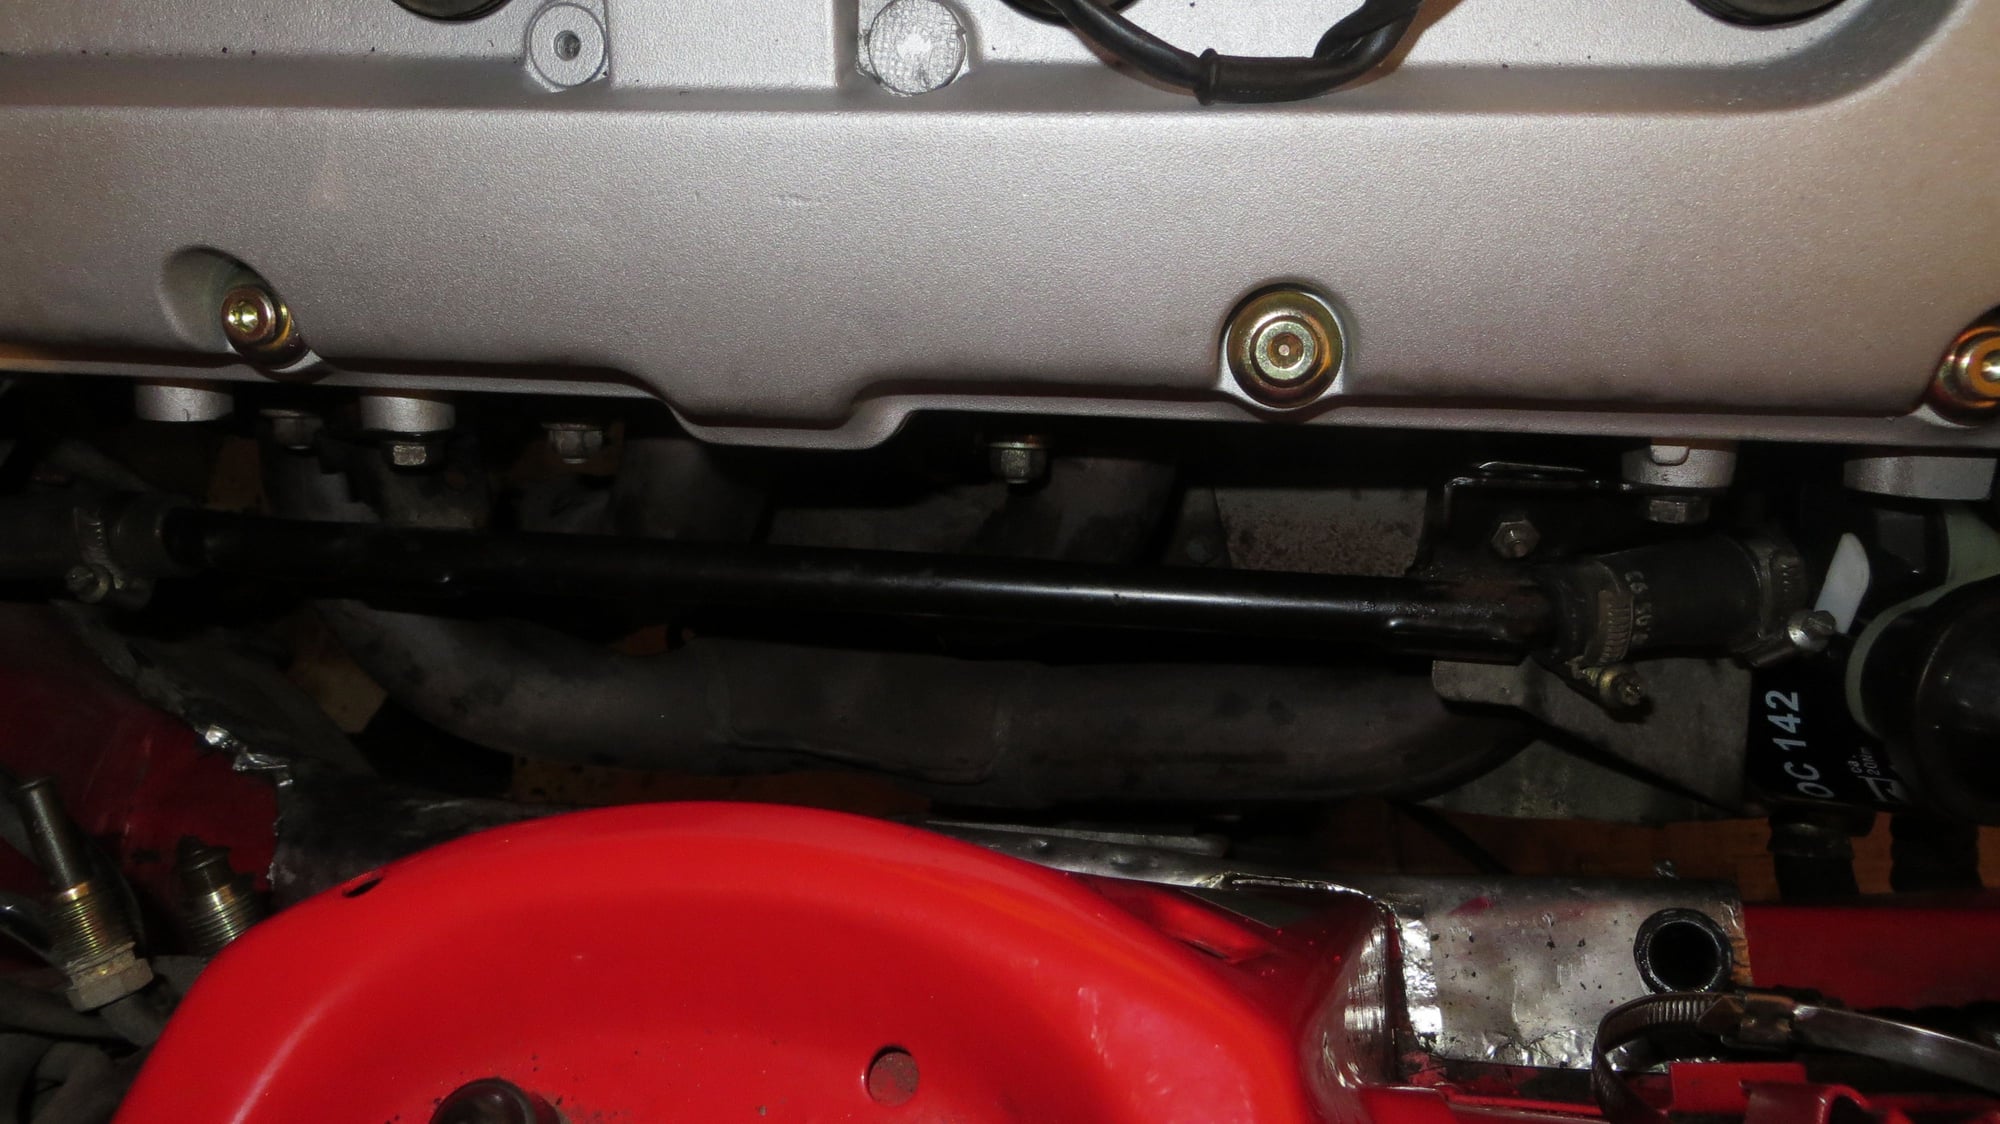
Installed the headers and the heat shields back on along with the coolant hardpipe.
Now it was all coming beginning to back together.
Intake back on.
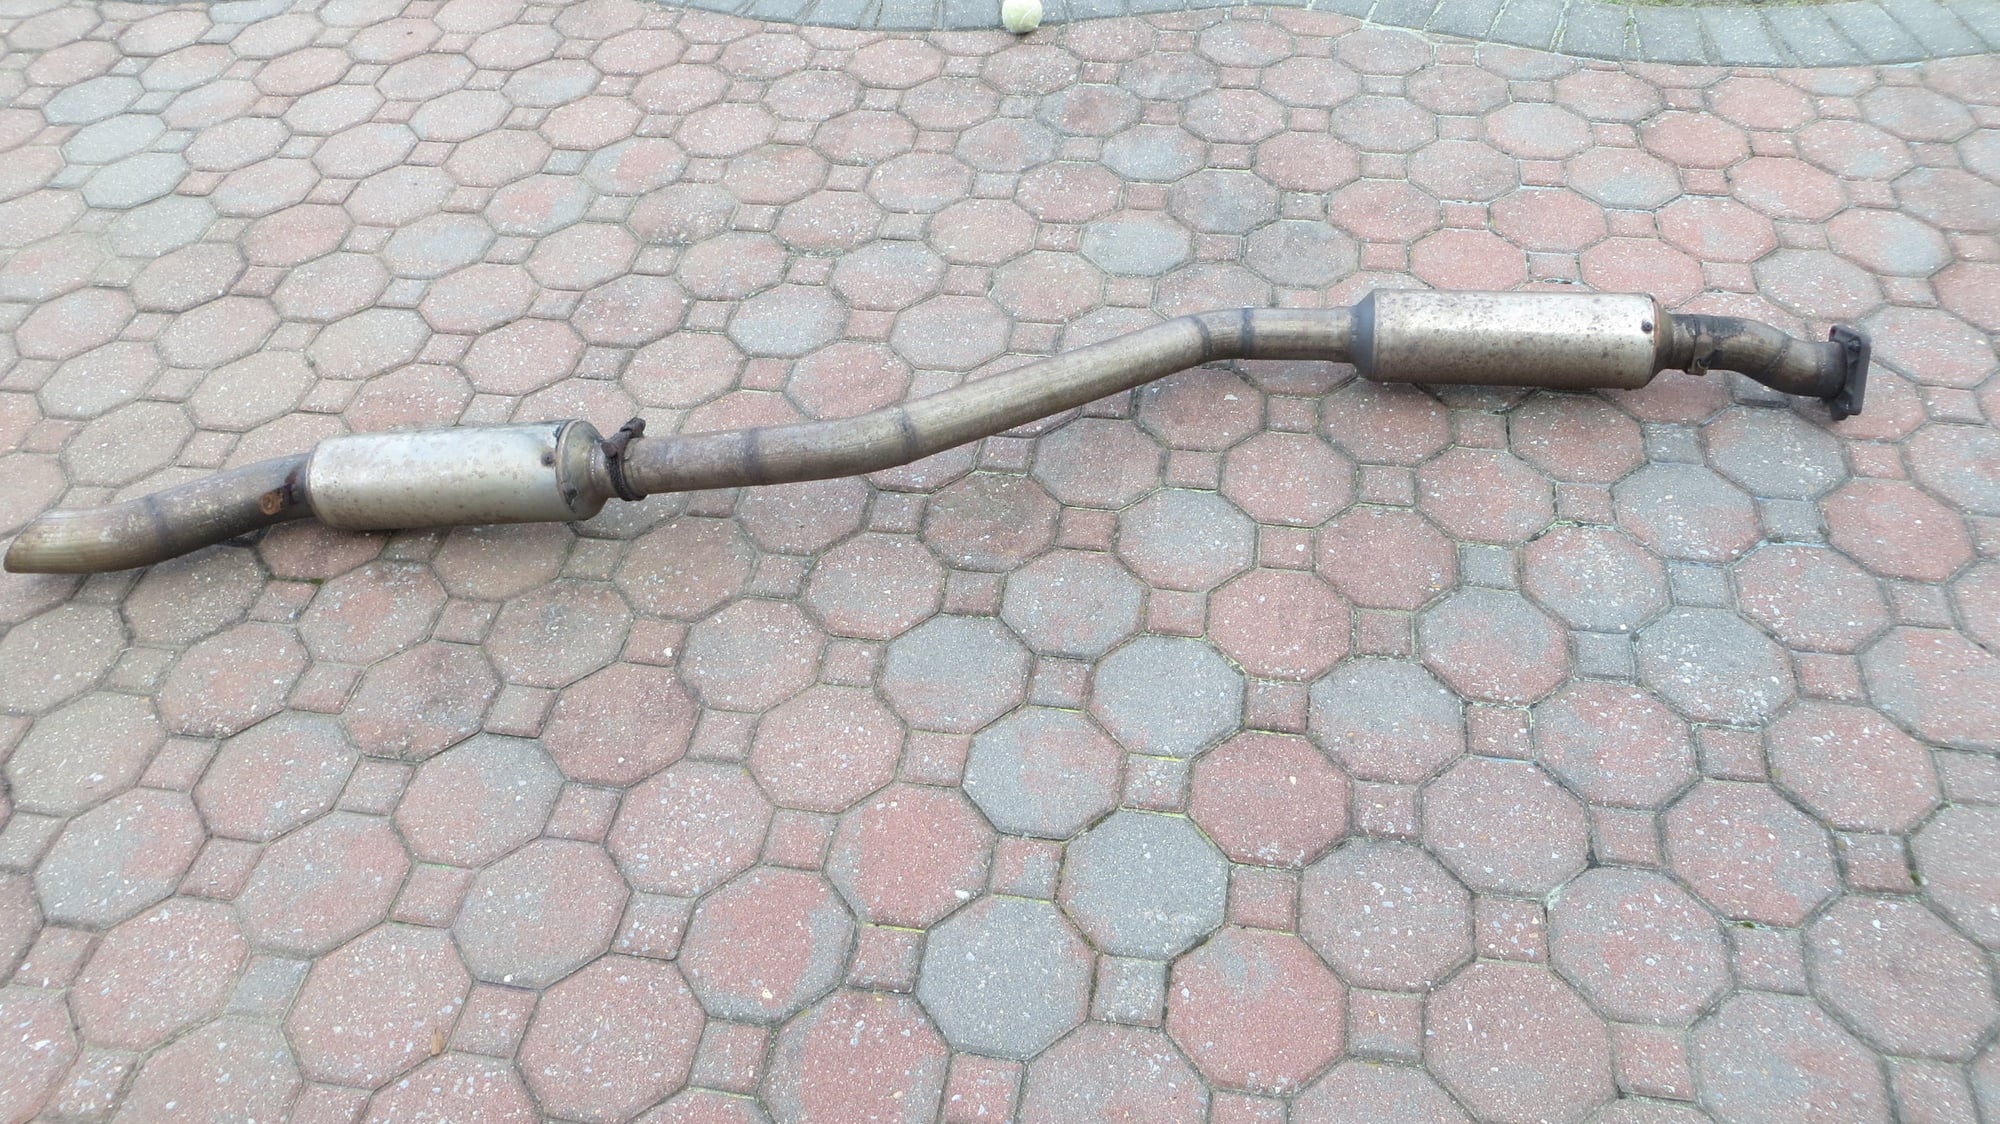
Aftermarket broadfoot racing exhaust. Decided to ditch it for stock.
Replaced cabin filters while at it.
Last Saturday, 12/3 came the big moment when I was ready to start her again. I was a bit anxious because quite a bit of work was done and there were many things that might not have gone right. Removed the coil to distributor wire and cranked the engine without spark plugs to get some oil pressure built up. After a few revolutions, decided it was time to give it a try. To my delight, the car cranked up in the 1st try and ran 100% right from the get go. It was truly a special feeling and I had a big grin. Ran it for a few, topped off coolant.
The control arms showed some play so a replacement set was ordered. The transmission had pinion bearing issues, so it was dropped and a spare transmission was installed for the time being while the pinion bearing issues were resolved. Existing control arms and other bits were put in place so it could be driven by 12/4. Installed a set of Cup2 wheels as replacements and now it was showtime. She was finally backed out of the garage on its own power.
Now that the car was running, time to look at some of the other issues.
On to the dash. The following lights were on once the car started.
ABS System Error
Speedo not moving
Odo not moving
Temp gauge only showing Celsius
Wipers in front and rear not working
Sunroof not working
Rear hatch release from under dash not working
Decided to start with the simple stuff. Found a 15amp fuse for the ABS pump that was blown. Also found the temp gauge fuse to be blown. Swapped both fuses, crossed my fingers and wondered, could it be this easy?
Viola!! ABS light gone, speedo and odo working. Temp gauge could now be switched to Fahrenheit.
Still need to work on the rest.
All in all, car is running great, no leaks anywhere and is pulling very well. A few more things to sort before I can concentrate on the cosmetics.
Very cool Raj....like DeJa Vu from your work on my Polar Silver 1992 which runs like the day it was new. Am a little jealous of the beaded valve cover and intake manifold:-) Wonder where those CupII wheels came from? All the best of luck on the little stuff....
Raj - love your attention to details and passion for these cars! Do you have a heated garage??
Also, given all the work you did and items removed, how much more work would have been required to drop the engine and do the work on a stand? Just wondering.
I live near Boston - can I send my car down to you for you to do your magic ?
Interesting how clean the crank and lower end of the crankcase stayed compared to the nearly jet black of the cam galleys in the head....Just had never thought about that as the oil in the cam galleys must just sit there and bake over time.....
Now came some missing interior pieces and both the wiper motors. I must say, swapping the front motor has to be one of the biggest PITA's. One must remove the blower motor to clear the wiper arms as its not possible to remove the motor by itself. This gave me the perfect opportunity to clean out the cowl area as well. Removed both wiper arms and wipers. Warmed up the cowl cover adhesive section with a hairdryer set to full hot and gently pried off the cowl cover. Removed the fan resistors for additional space, removed the battery and undid all the phillips screws holding the blower cover. Disconnected all attached wires and vacuum fittings and off came the cover. This was still not sufficient to clear the motor arms so off came the rest of the blower housing. Removed all six 8mm bolts and off came the blower housing. Removed the wiper motor, replaced it with a spare and tested it. Yes, we have liftoff! One more off the list. Put everything back together and now I felt comfortable driving the car in case I would get caught in a shower.
Both sunvisors were off the car when i had picked it up. The drivers side visor came in a bag and the passenger side was missing. Dug up a pair of nice visors from the stash and used a pair of brand new clips that hold them in place. Installed the visors and one more issue completed.
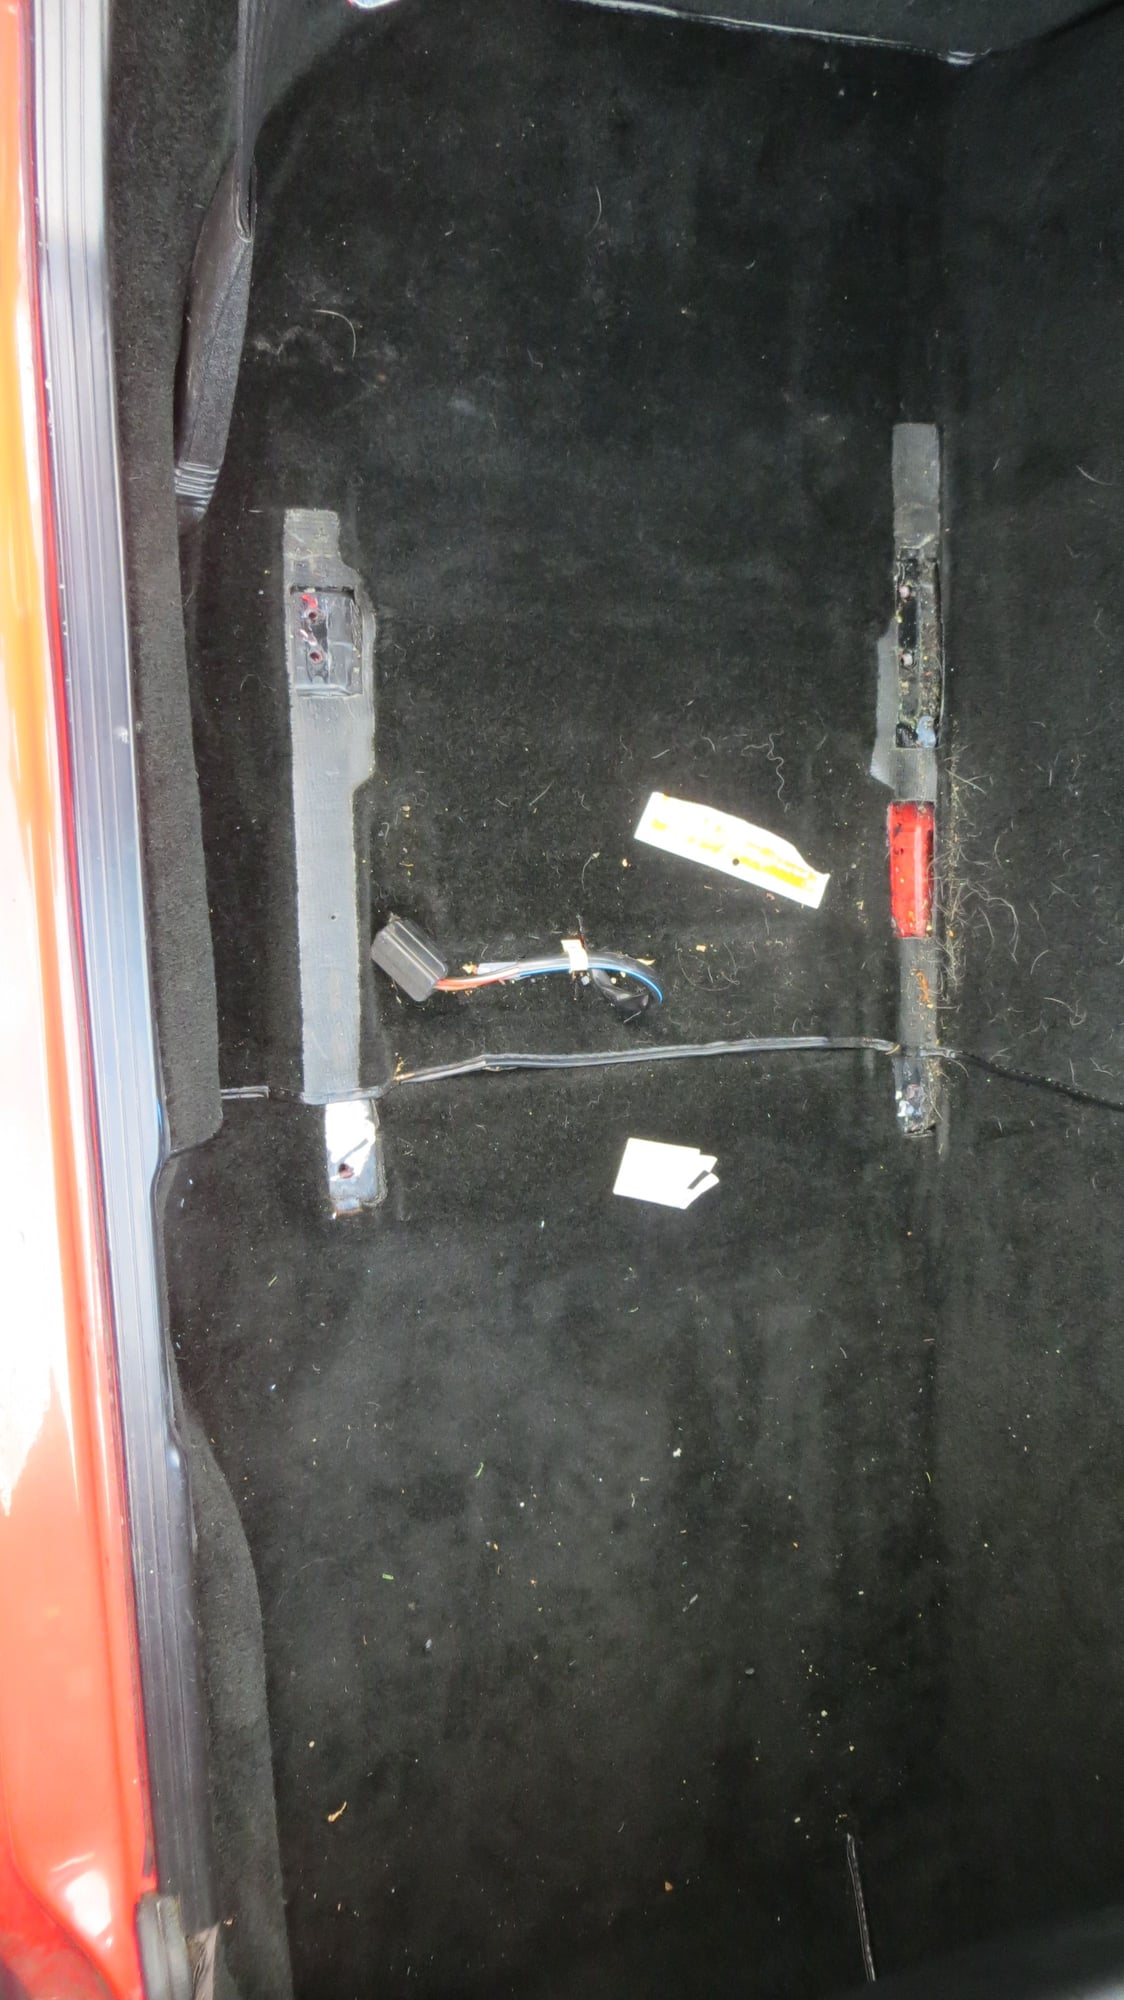
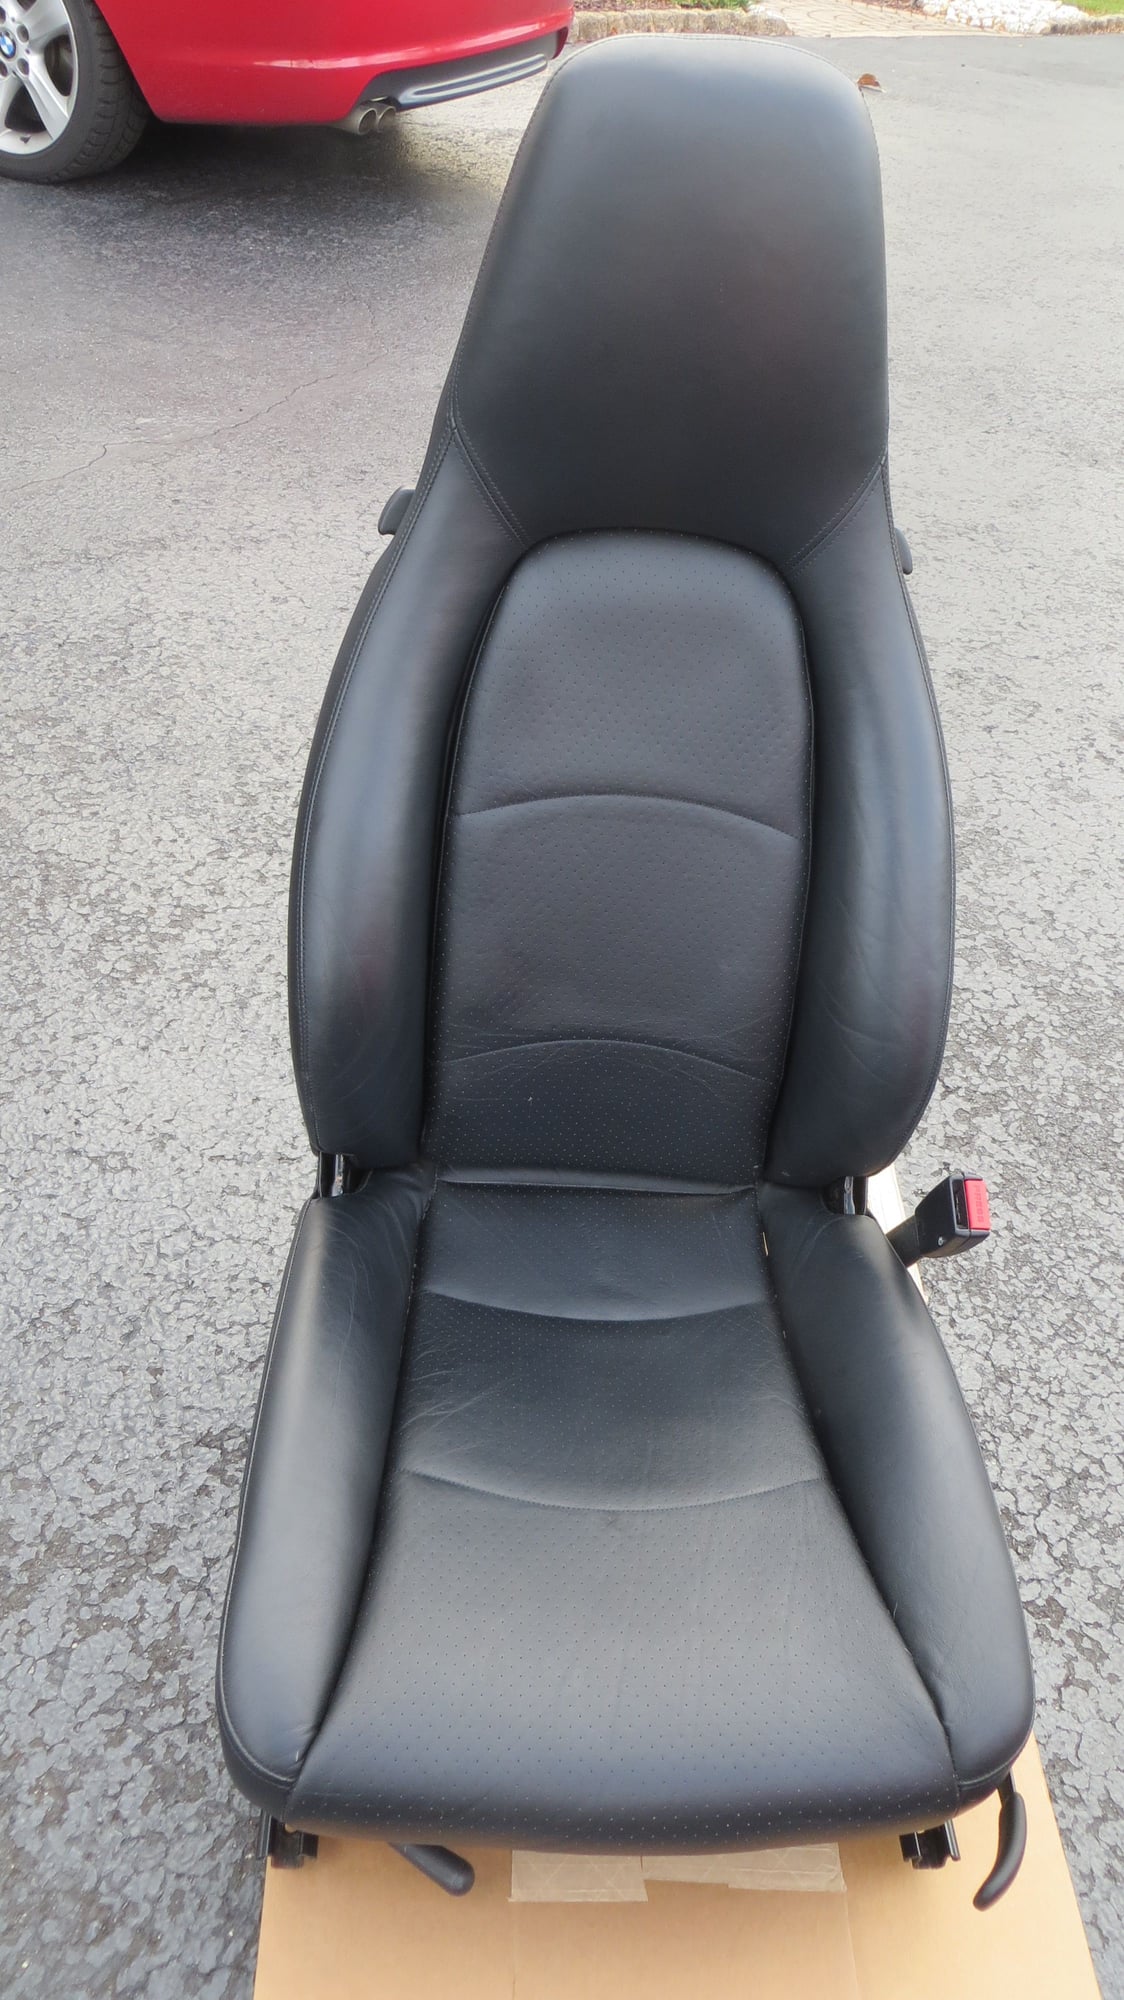
Next on list was the carpets. It was clear that the previous owner had a pet or a grandma that shed a lot of grey hair. Also, Jay's recent finding the jackpot under the seats had me wondering how rich I would get from removing the seats? So off came the seats. I was extremely disappointed to find less than $.25 worth of change. Why can't I be the one to hit the jackpot
After some vacuuming.
Installed floor carpets and one less things on the plate.
Late 12/11, swapped out the rear wiper motor. This has to be one of the easiest jobs ever. Took all of 10 mins and now I am down to one last item to address, the sunroof. Since its winter, I will hold off on troubleshooting that and plan to now start working on the cosmetics.
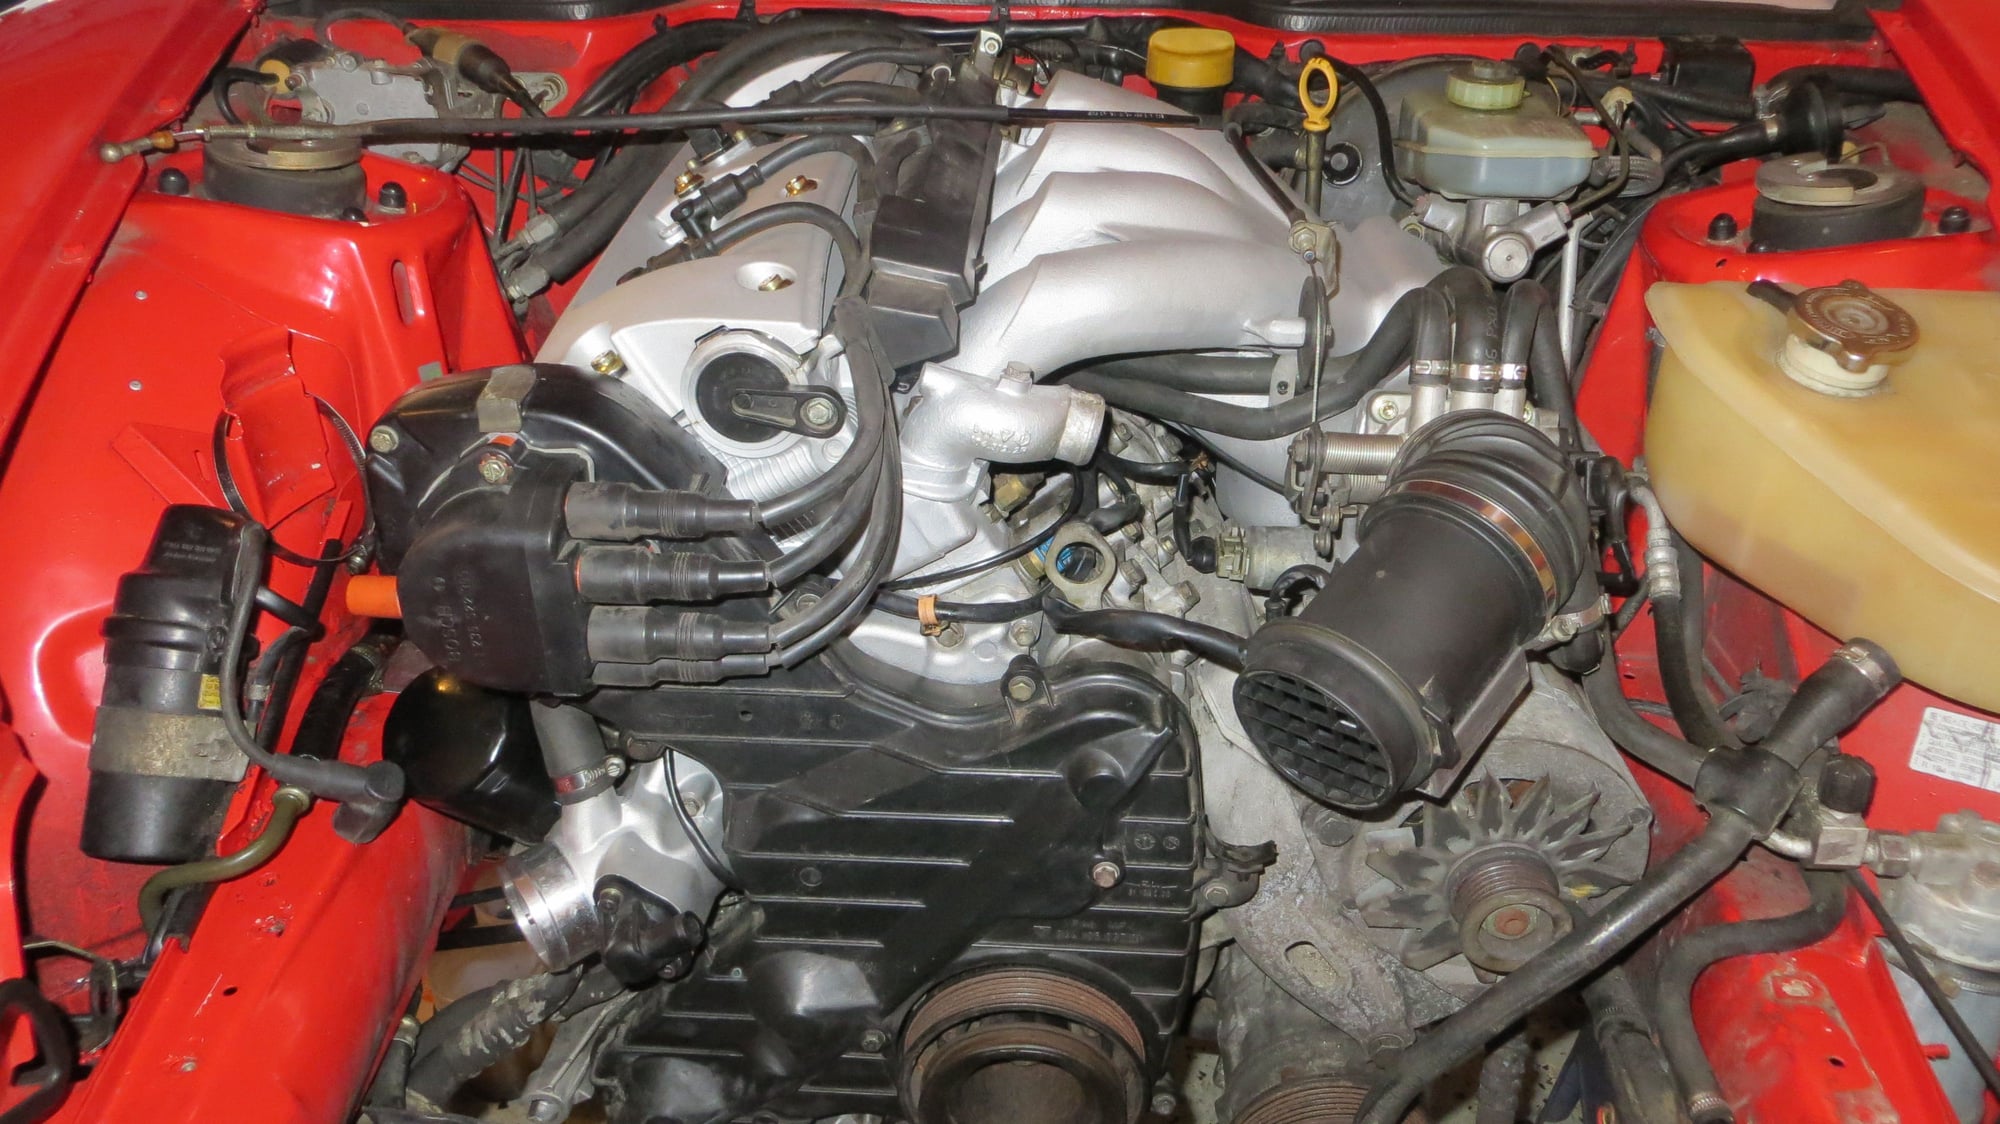
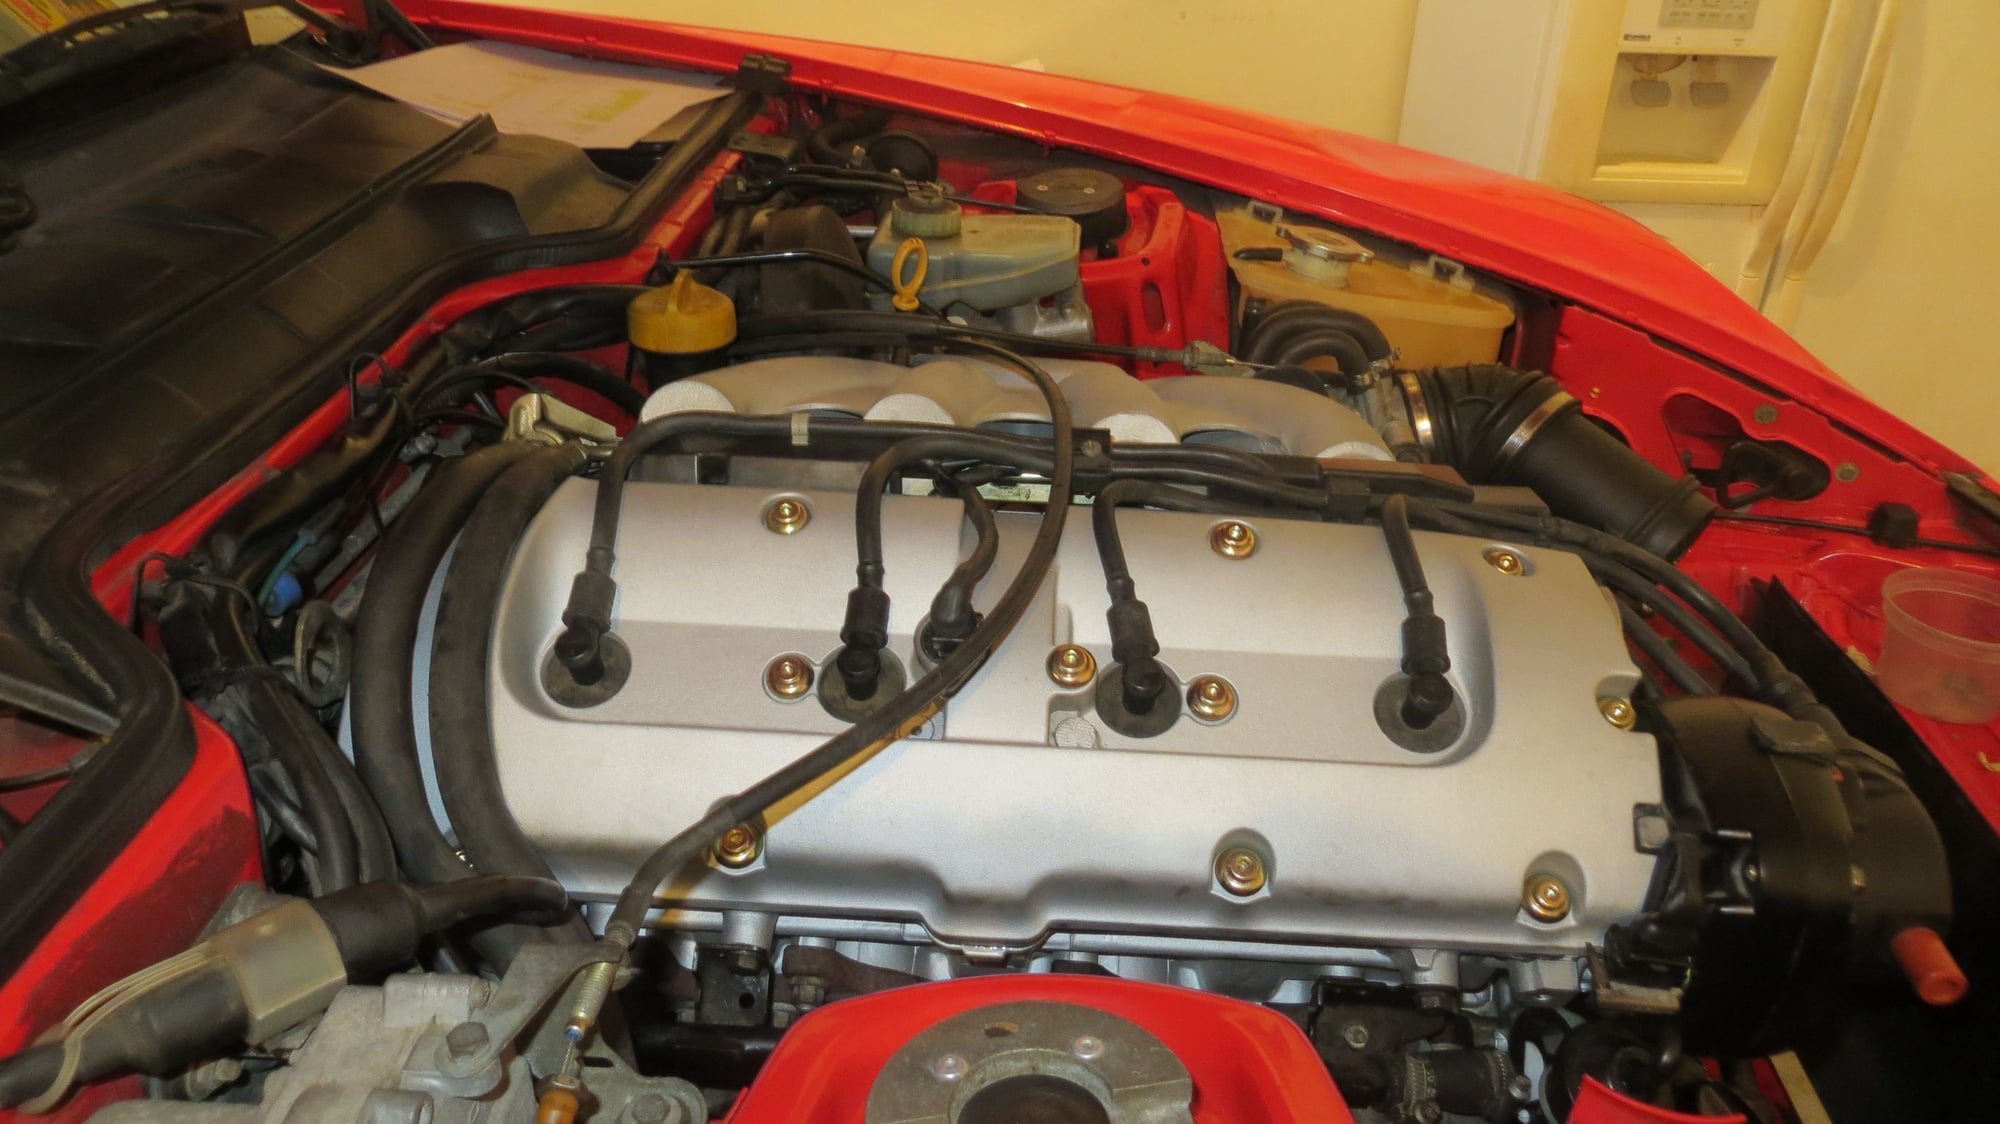
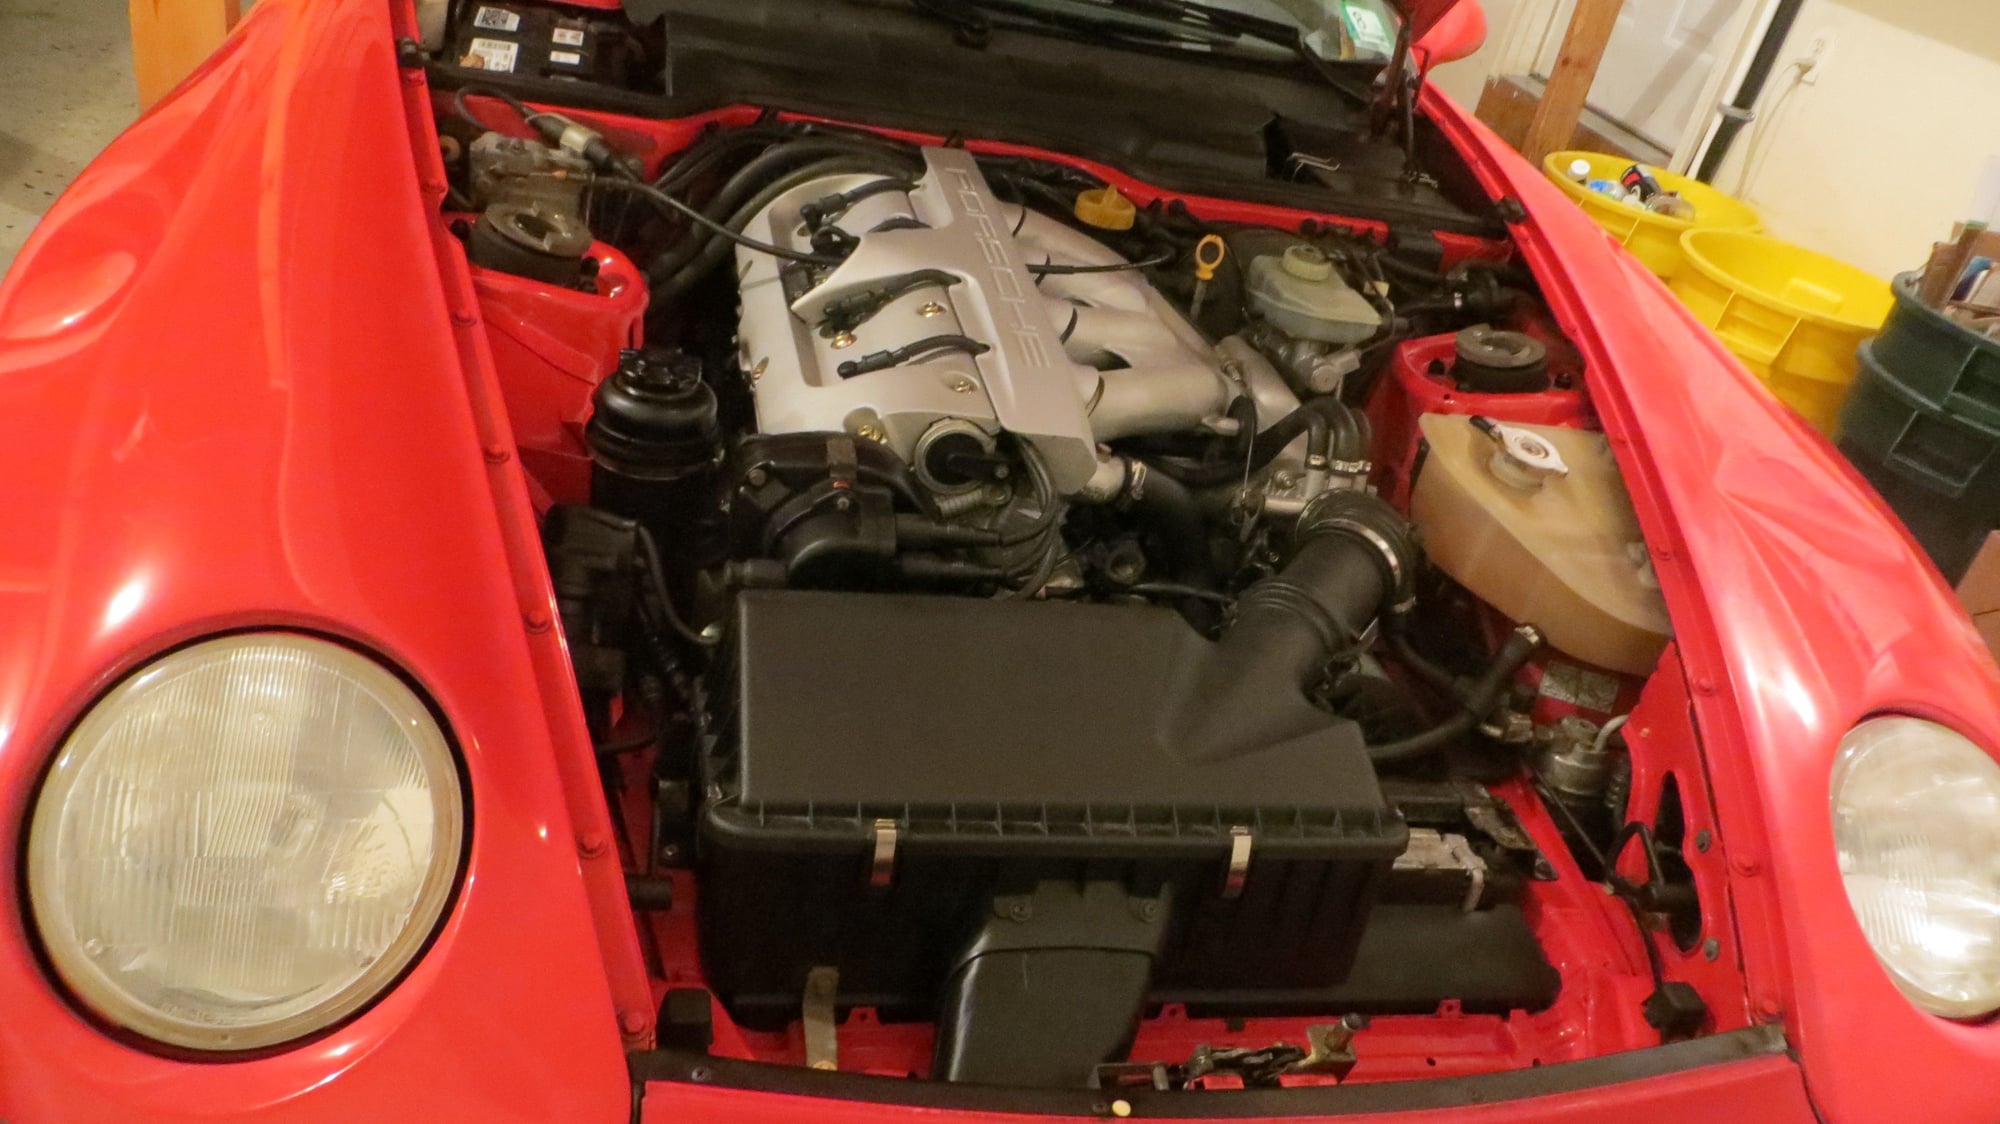
Some final shots of completed engine bay.
Total hours spent: 55
I have put about a 100 miles on the car since and she is performing flawlessly. Very happy with the outcome.
Thanks Jeff. I guess we are both sick in some ways, lol.
Originally Posted by Sdale944
Very cool Raj....like DeJa Vu from your work on my Polar Silver 1992 which runs like the day it was new. Am a little jealous of the beaded valve cover and intake manifold:-) Wonder where those CupII wheels came from? All the best of luck on the little stuff....
Steve, that is so true. We did almost identical work on your car as well. Thank you for the Cup2's. Glad you like your lightweight wheels.
Originally Posted by sm
Raj - love your attention to details and passion for these cars! Do you have a heated garage??
Also, given all the work you did and items removed, how much more work would have been required to drop the engine and do the work on a stand? Just wondering.
I live near Boston - can I send my car down to you for you to do your magic ?
Thank you. Yes, I added a Heating/AC unit last yr to protect the vehicles from moisture. It also helps with wrenching when its 30 degrees out.
Dropping the engine would either require help from a 2nd person, removing the hood or additional space for the engine hoist. I tried doing this with the vehicle intact and on jackstands. This is how I would expect most owners would be working on their cars. I have done it both ways. With my cab, I removed the engine and went totally nuts and had every nut and bolt replated. That took approx 4 months to complete. Here I have a running car in less than 1 month. The idea was to keep it a very nice driver and not to turn it into something I defer from driving because it is perfect.
Sure! lol
I will be up in Mystic in the next week or so in case you want to get together.
Originally Posted by Sdale944
Interesting how clean the crank and lower end of the crankcase stayed compared to the nearly jet black of the cam galleys in the head....Just had never thought about that as the oil in the cam galleys must just sit there and bake over time.....
Valve train has a lot more moving parts. Porsche engines run extremely clean in comparison to most other vehicles. There was absolutely no signs of sludge anywhere.
Originally Posted by Sdale944
Also Raj.....did you replace the valve cover fasteners or ave them re-plated ?
Steve, I had some spares so I decided why not just use them. I have been trying to avoid going down that slippery slope of restoration.
 11-23-2016, 01:29 PM