Body Restoration
#78
Rennlist Member
Thread Starter
Again, pic uploading sucks… This time the text disappeared….
Anyway, I had some time to work again.
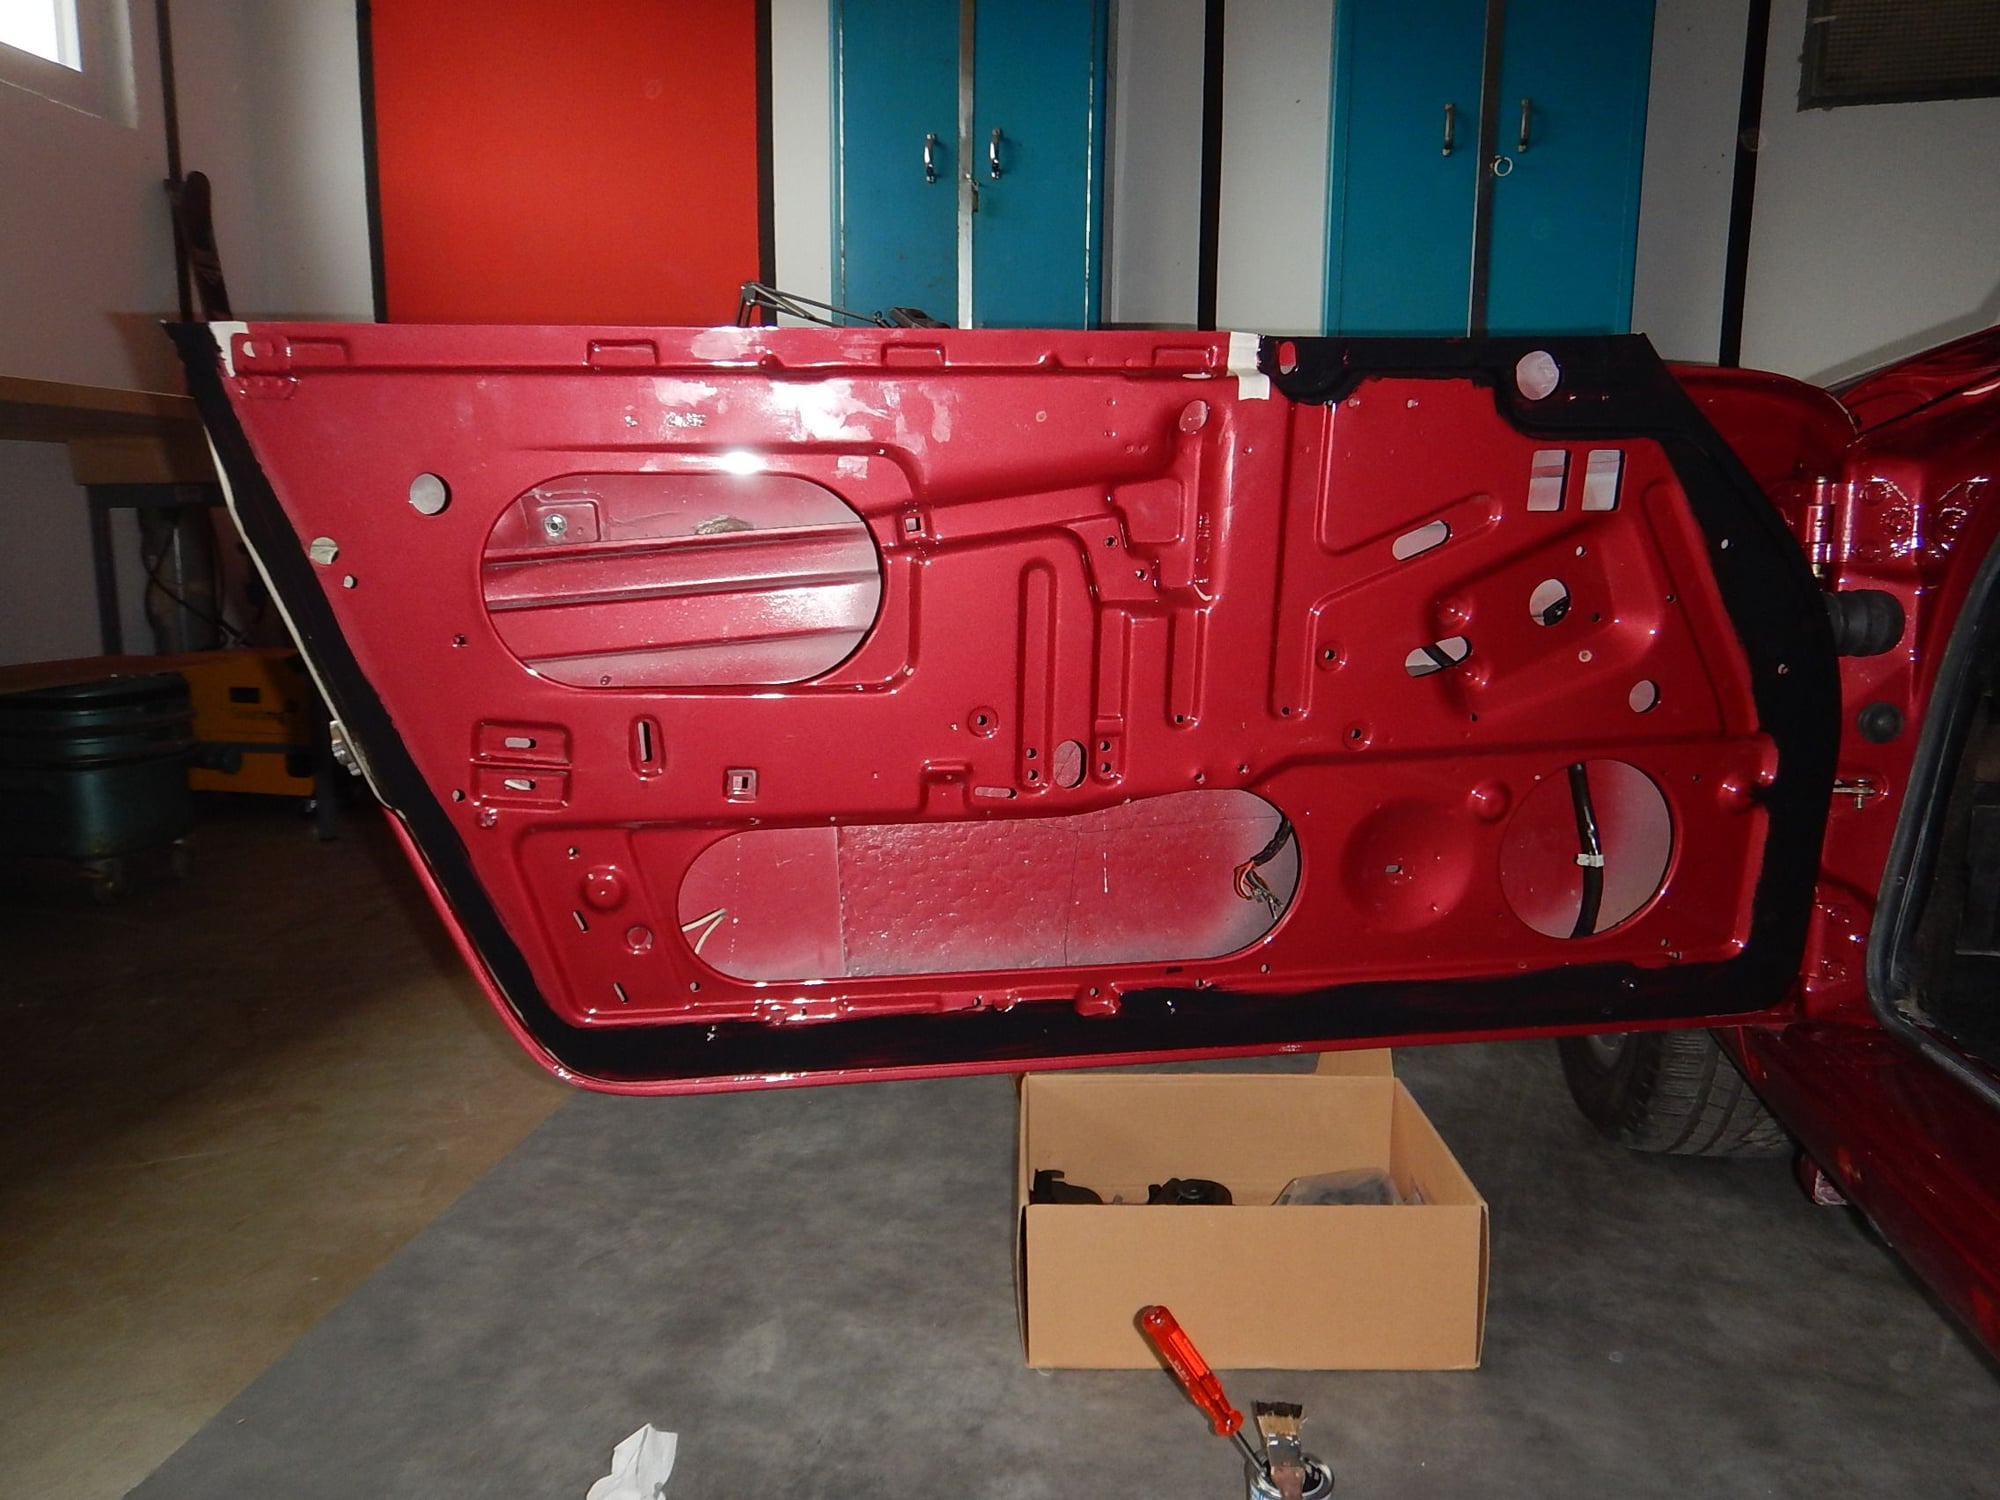
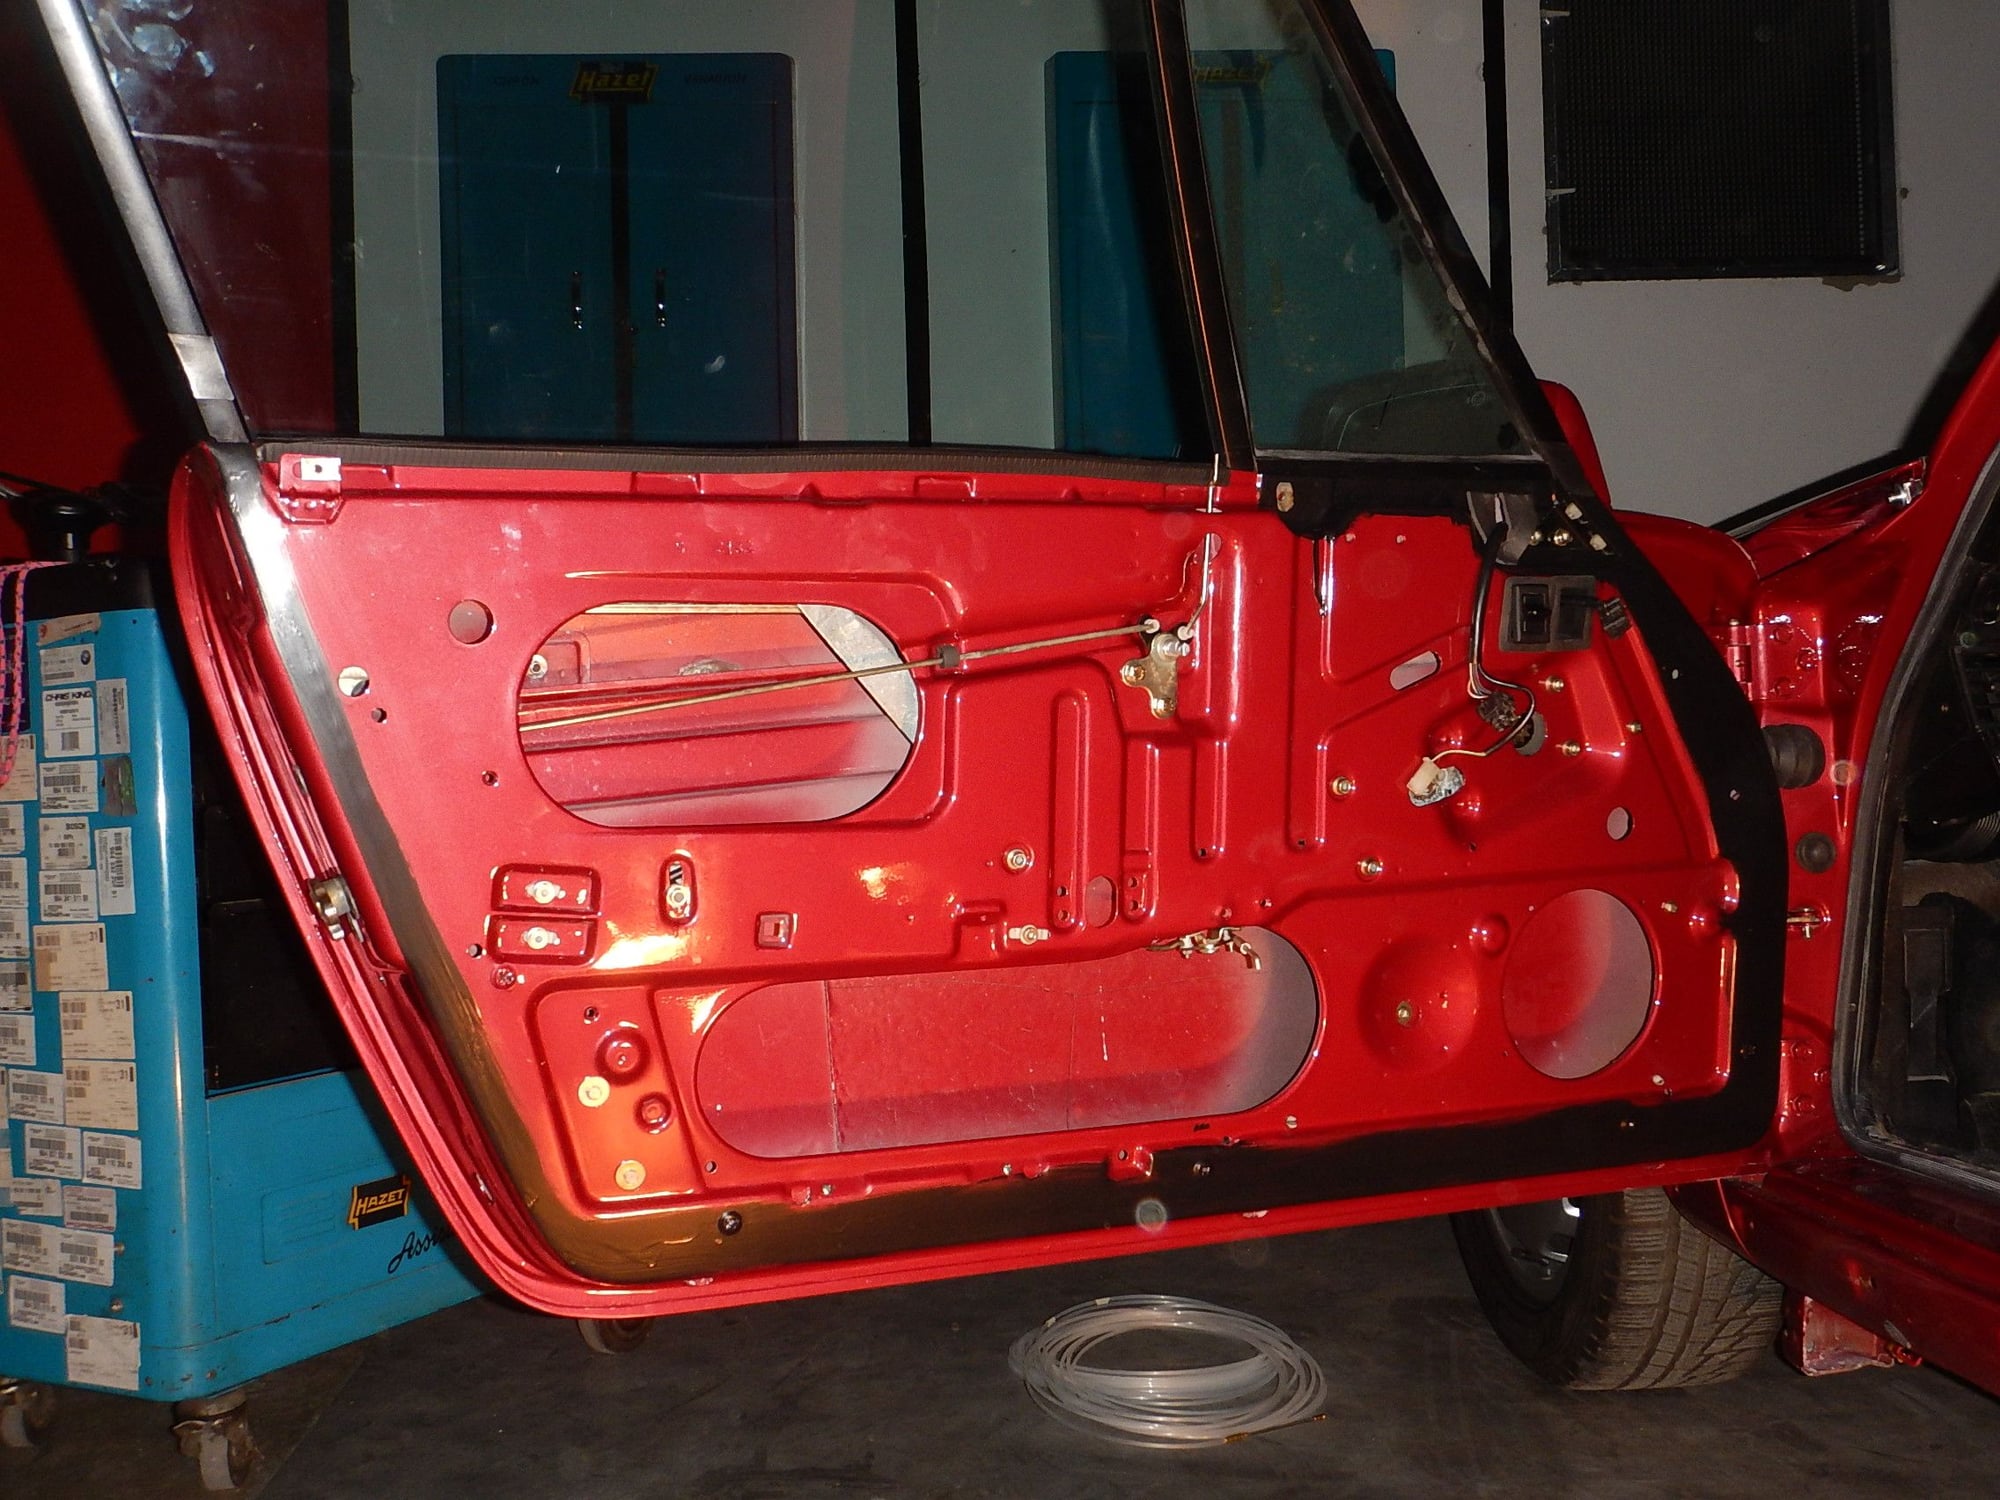
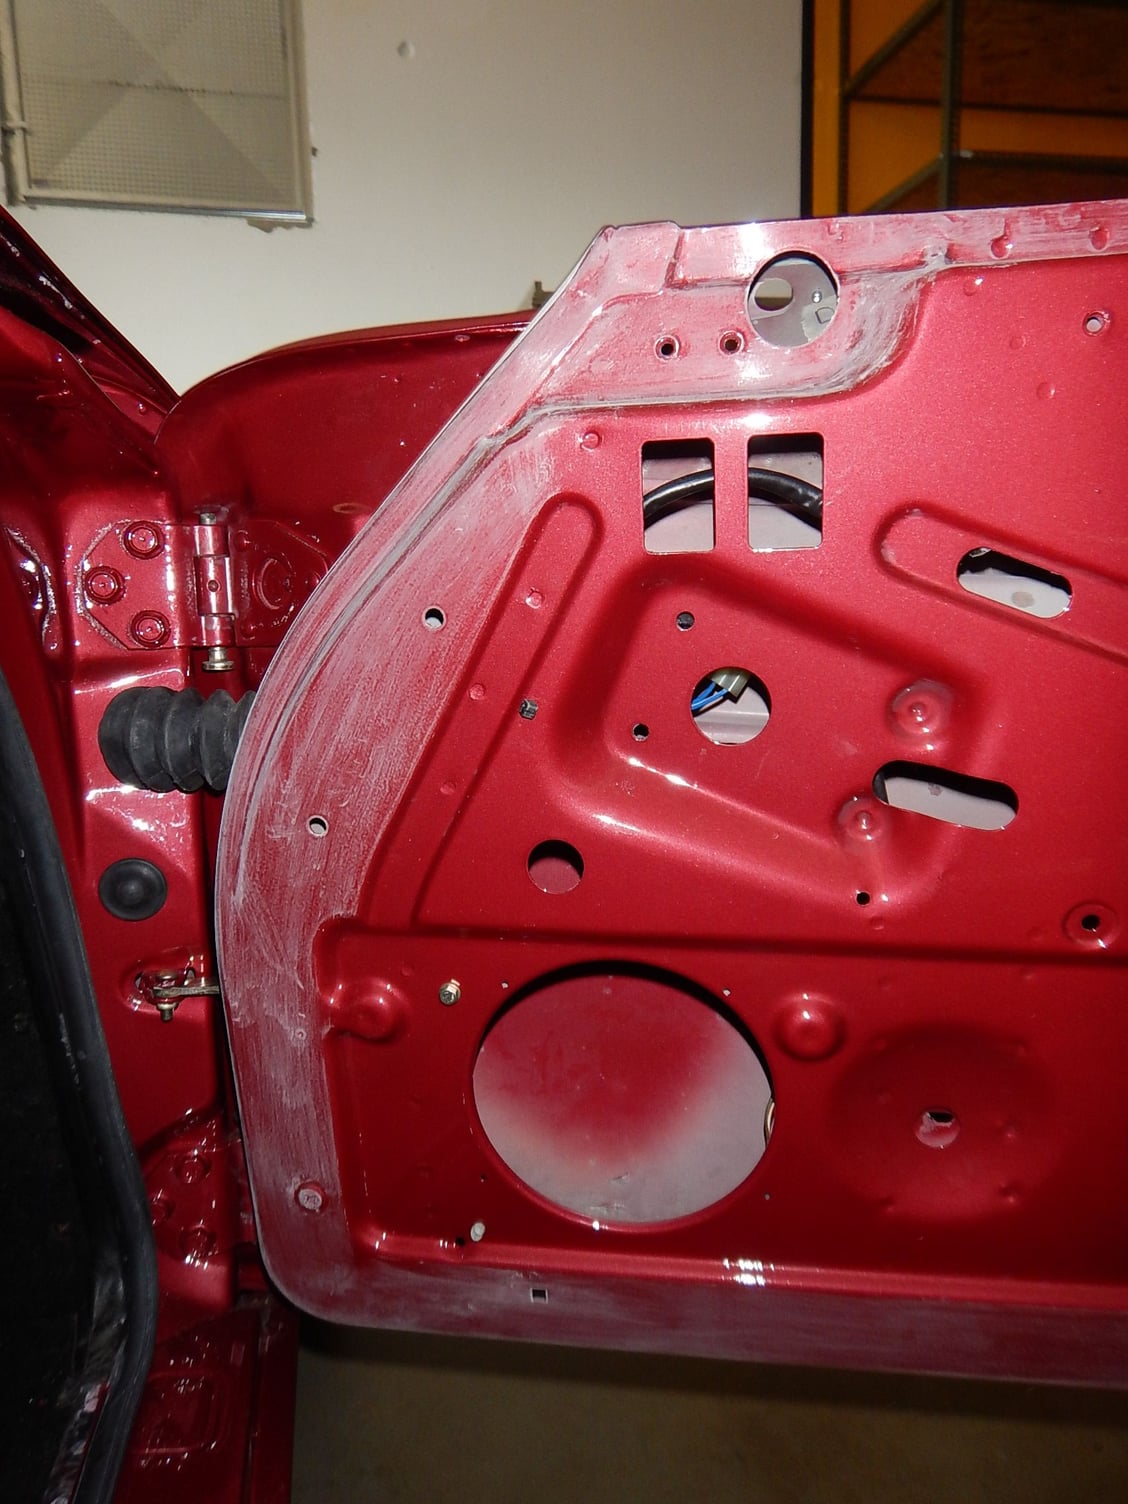
Painted the satin black in the driver's door, Not too happy, will need a 2nd layer.
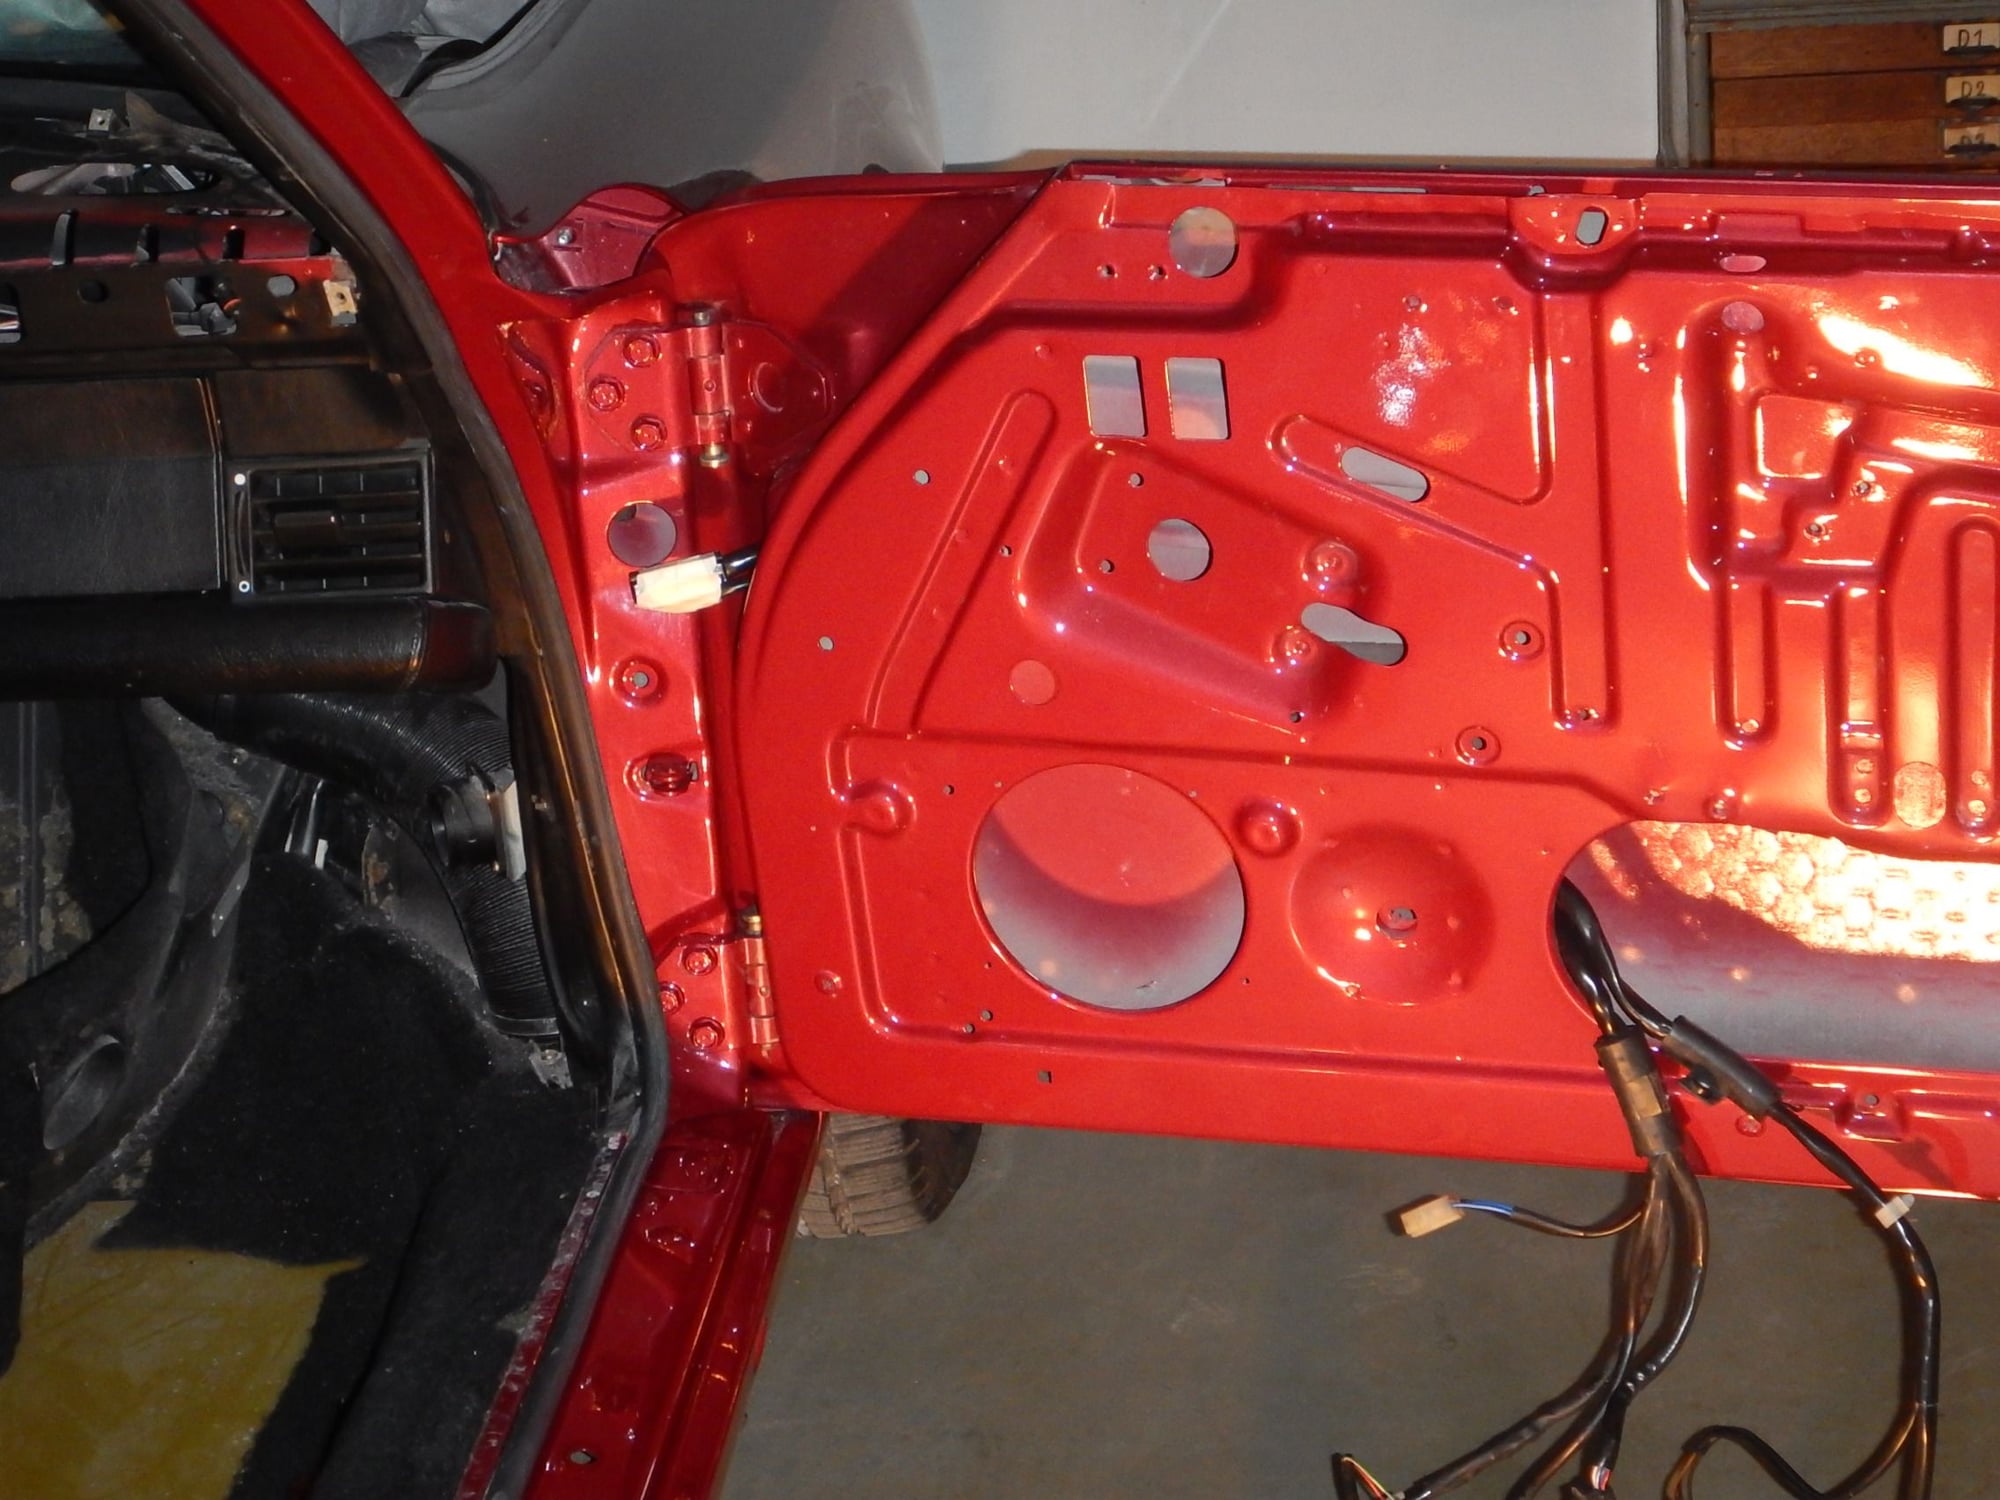
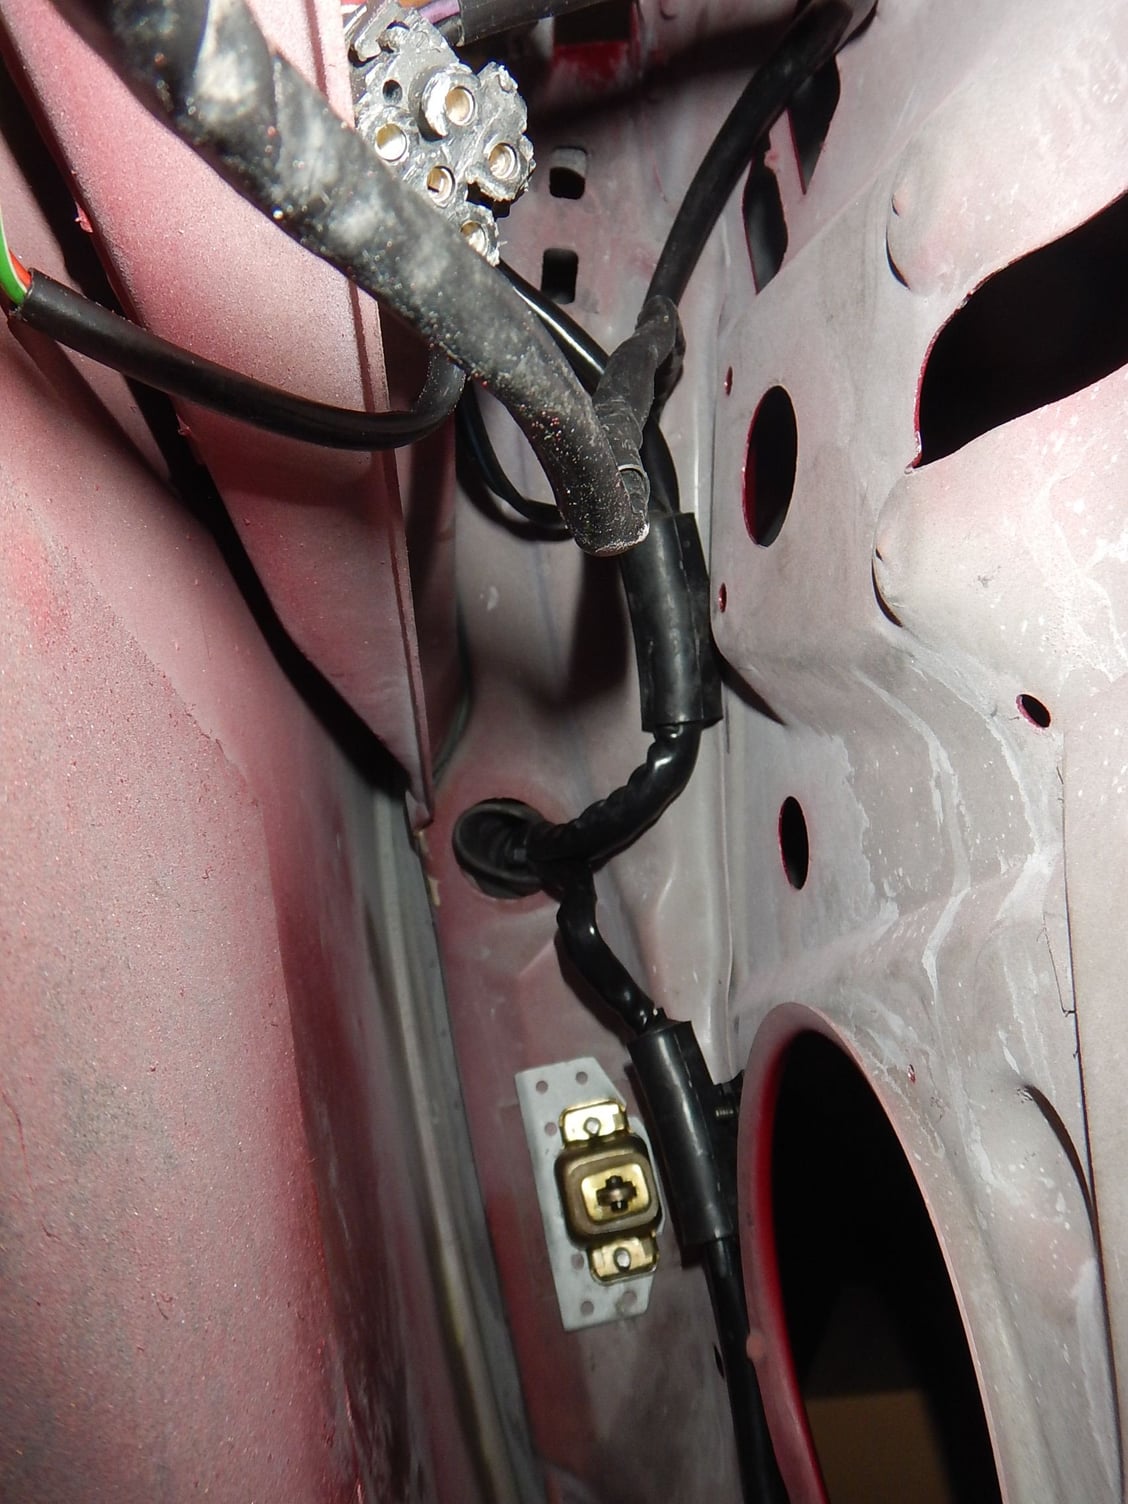
Pulled the harness into the pass. door. Harness went easy, door switch was hell to snake through.
Attached the harnesses in the doors. They are cleverly separated in upper and lower bundles for the locks/speakers, and for the window switch/motor/mirror adjust and lock button alarm LED.
Put the check strap and door handle on the pass. door.
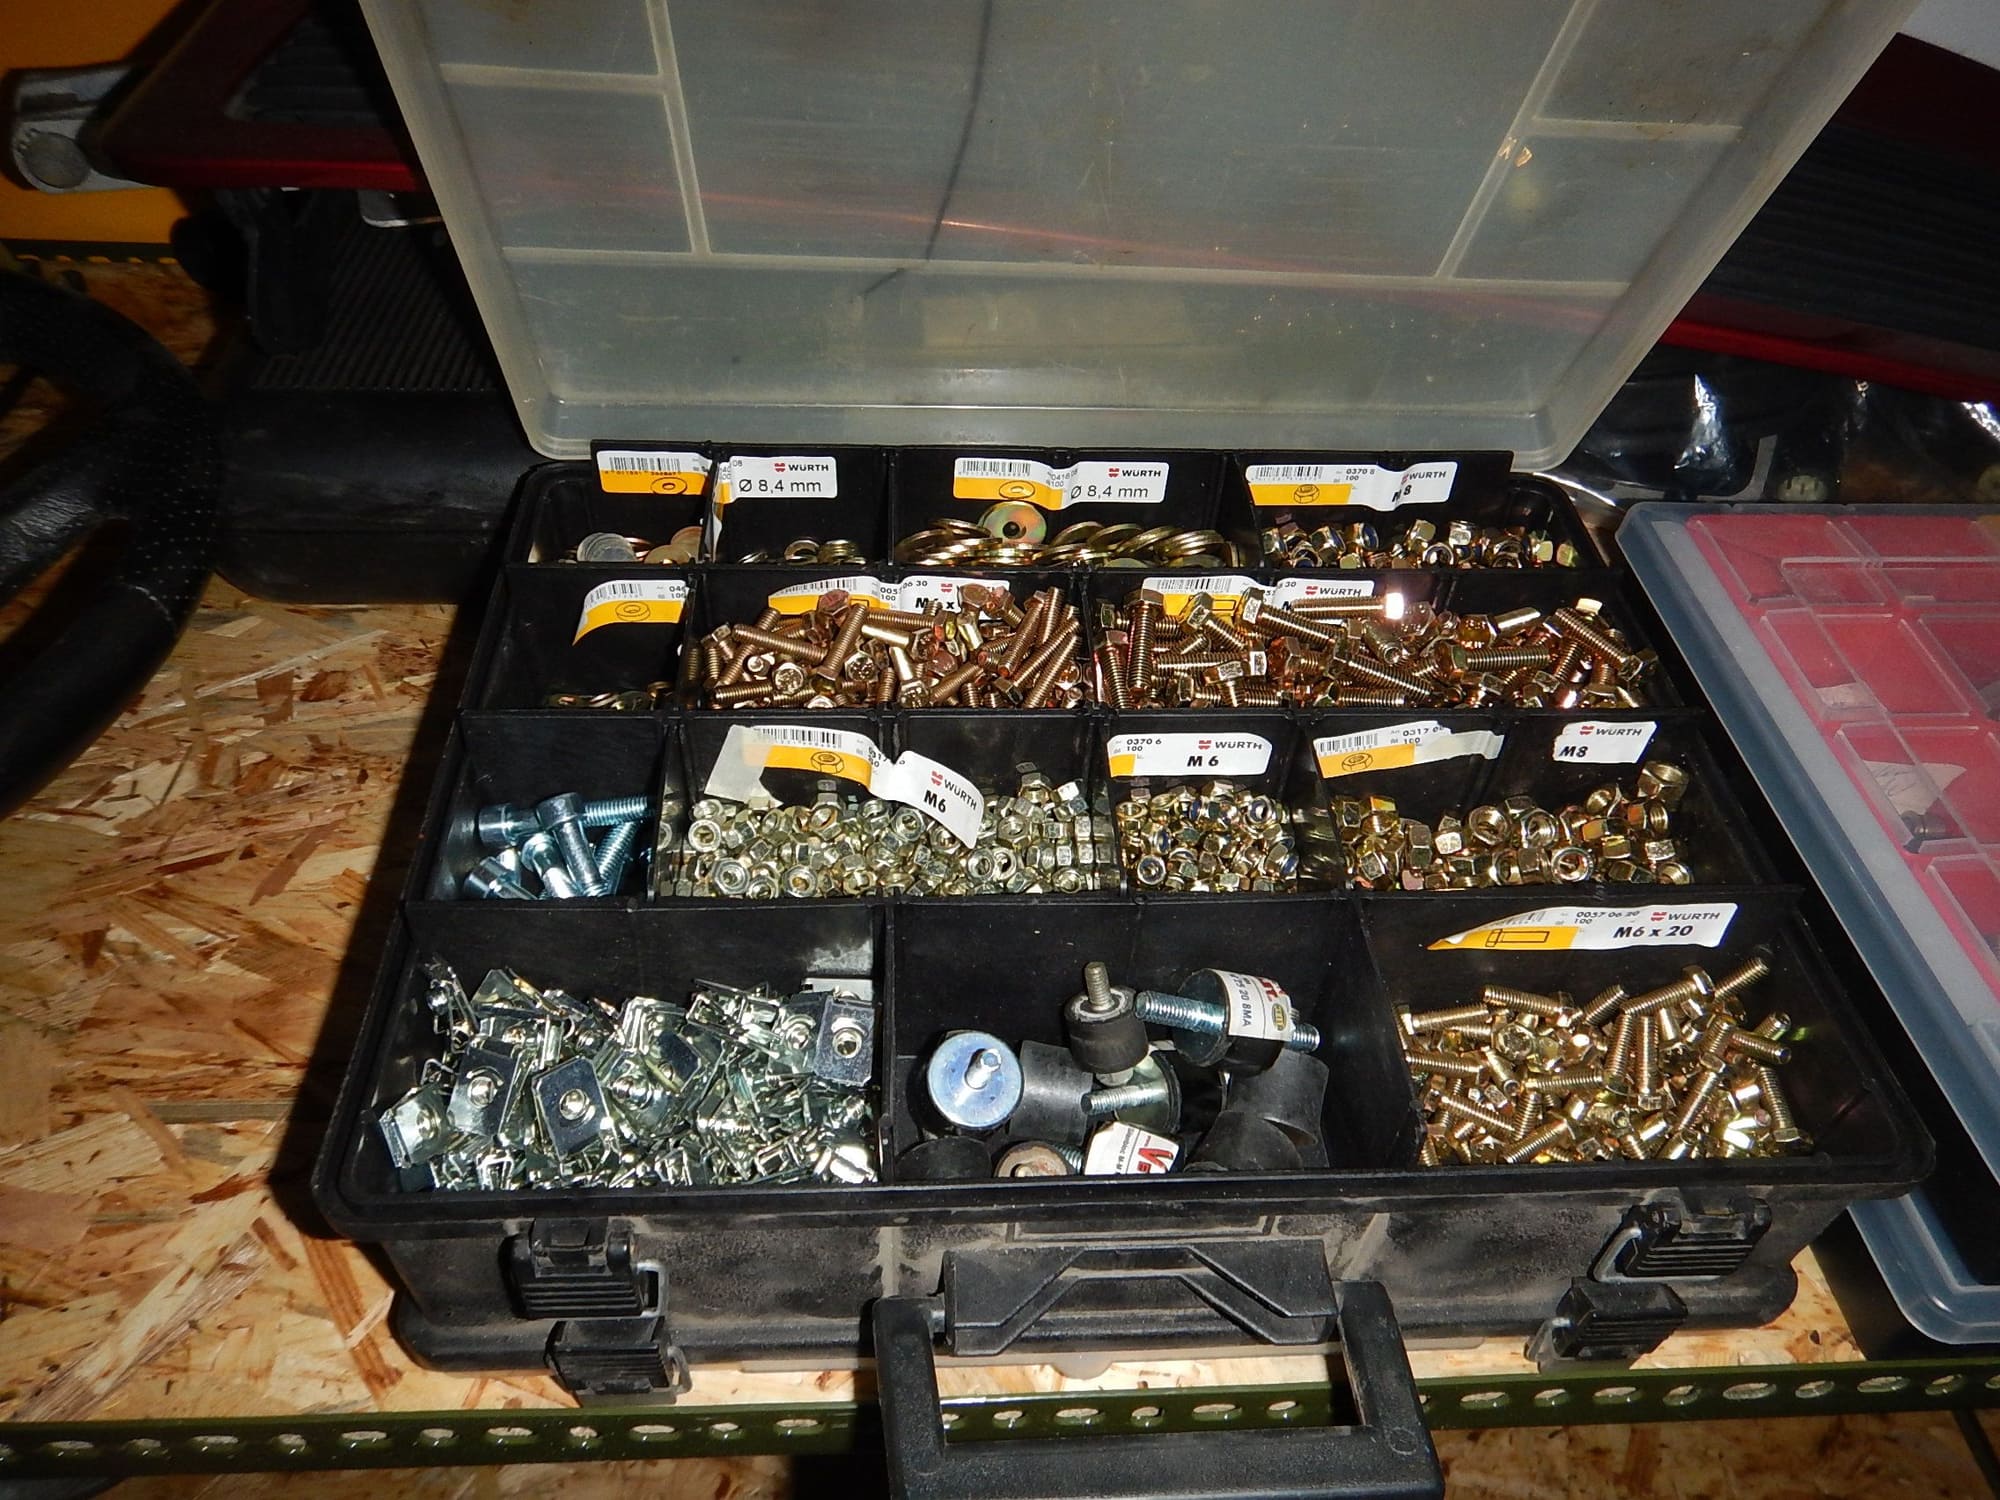
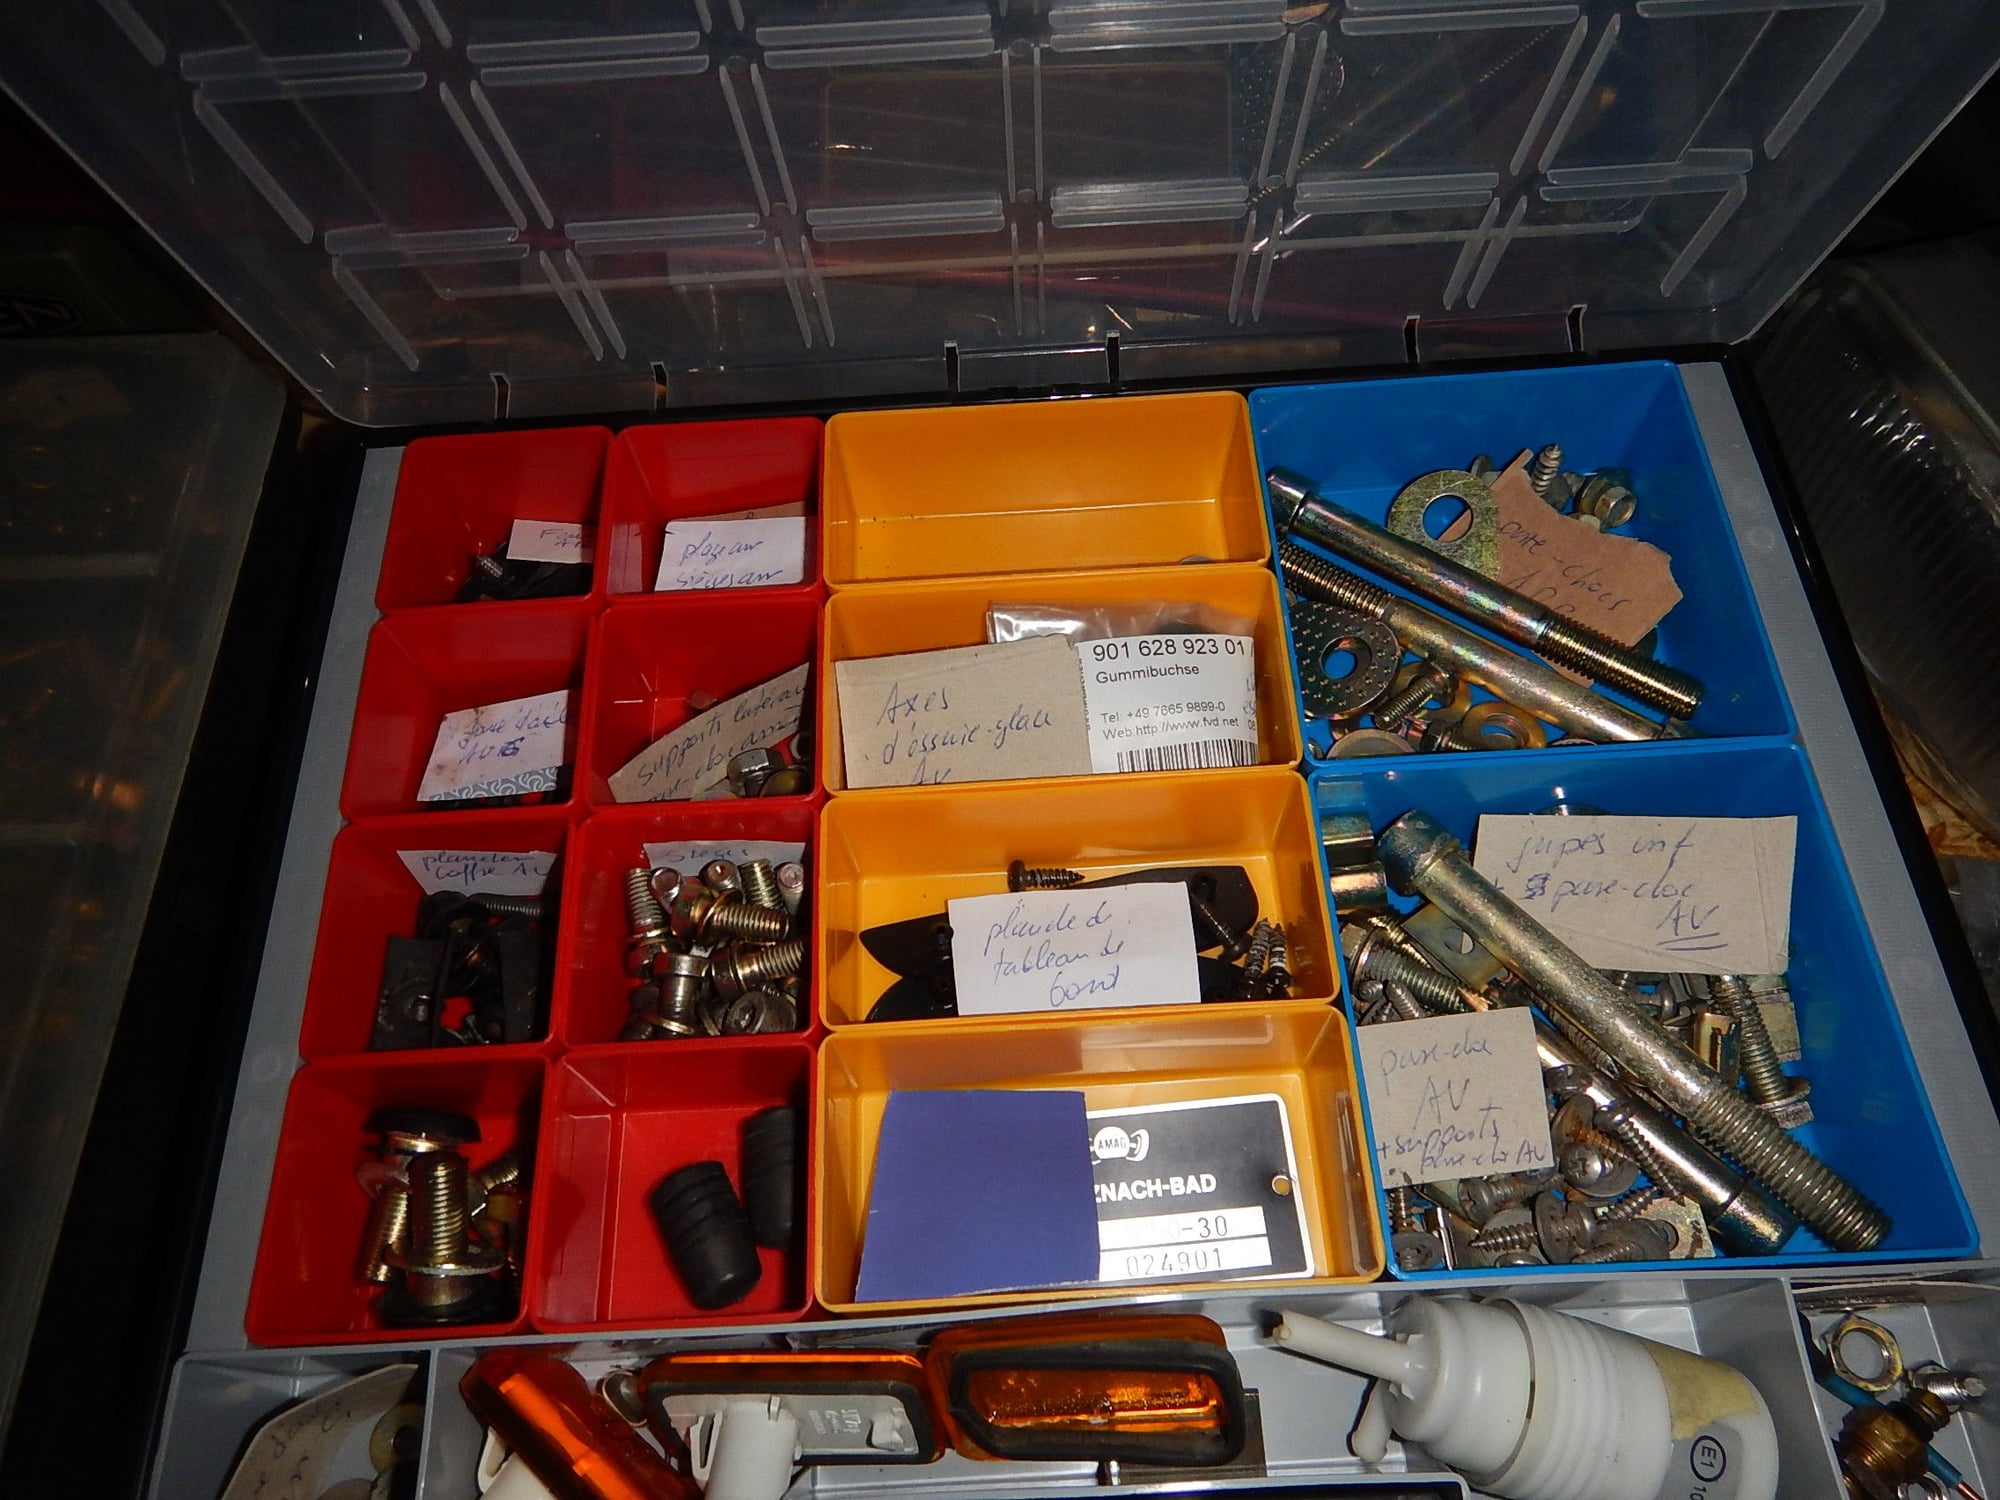
Working with cleaned parts and freshly zinc plated hardware makes things so much more pleasurable.
#81
Rennlist Member
Thread Starter
Today's work:
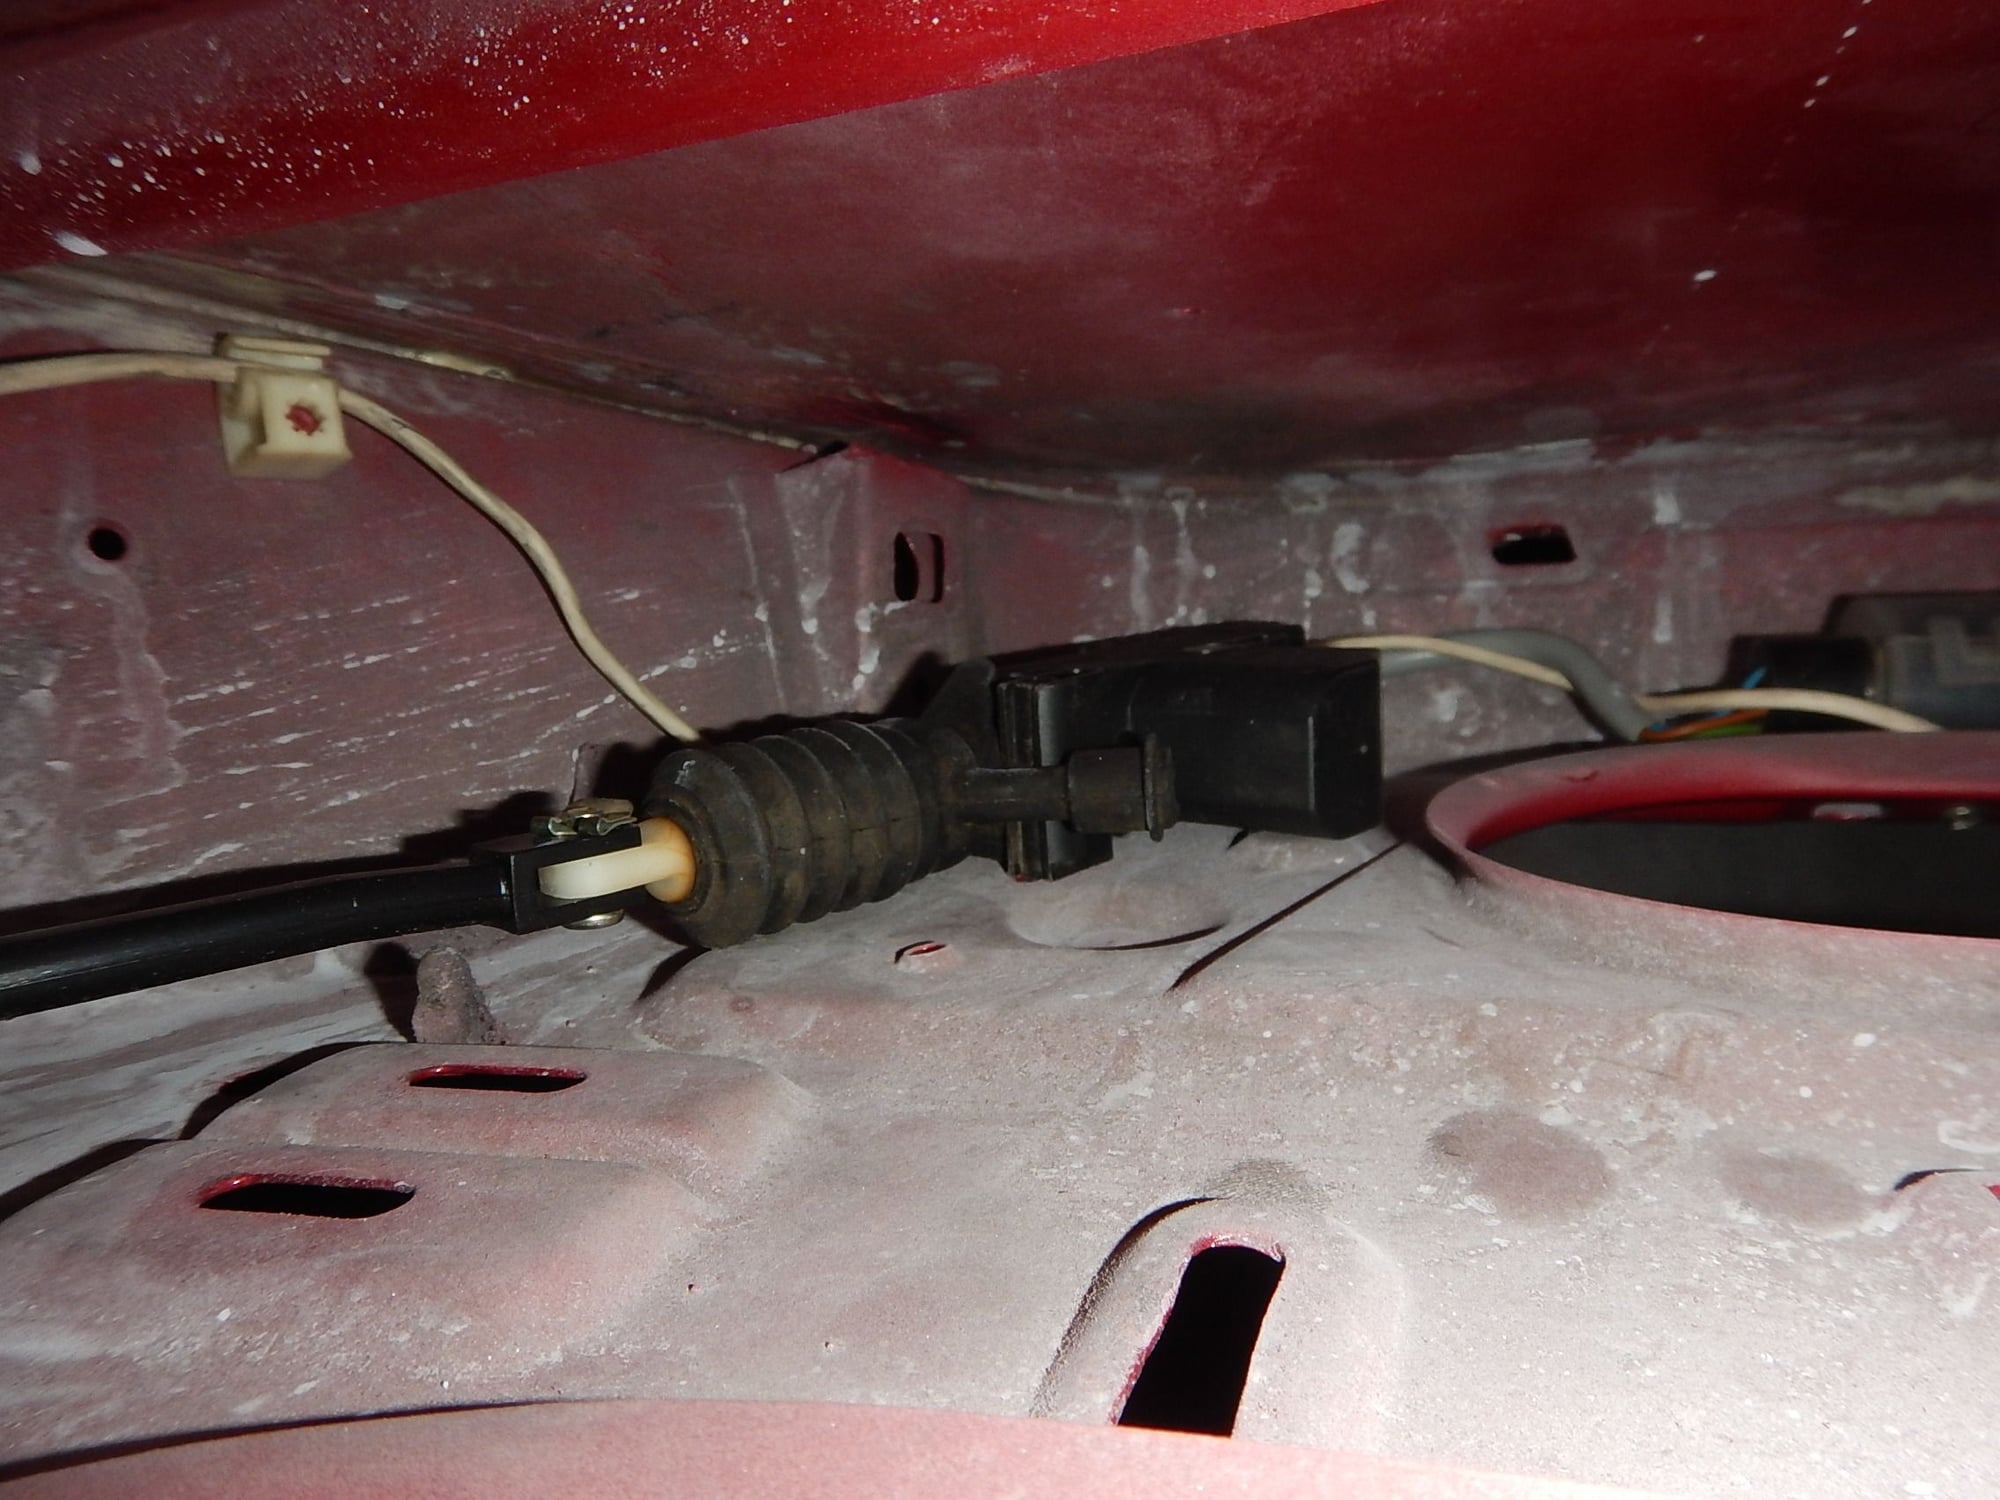
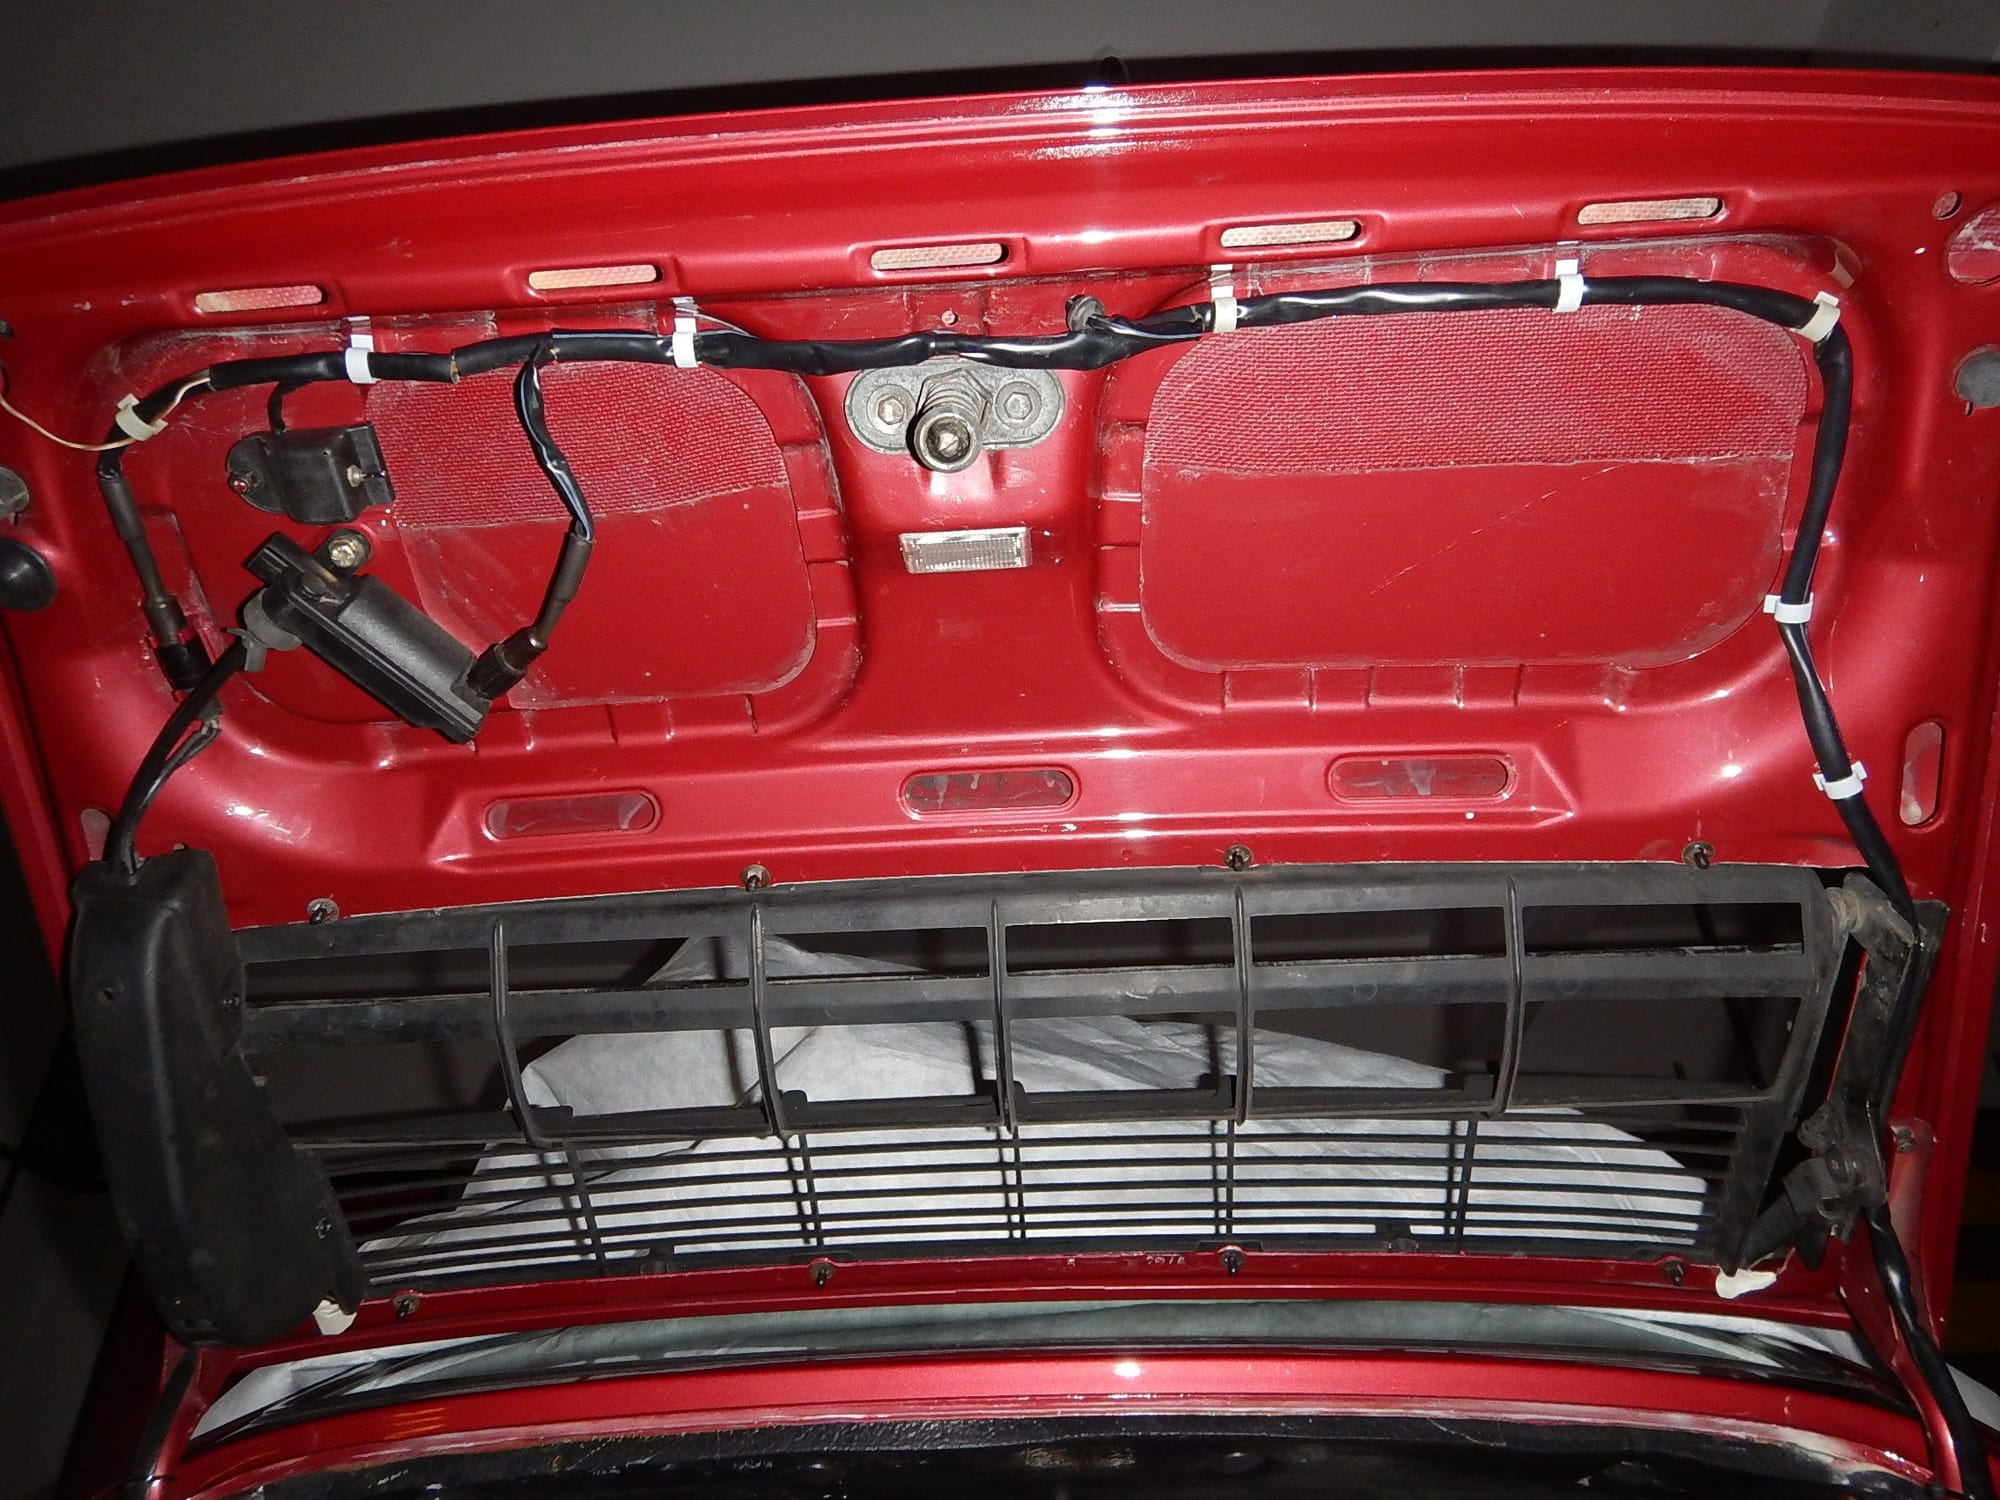
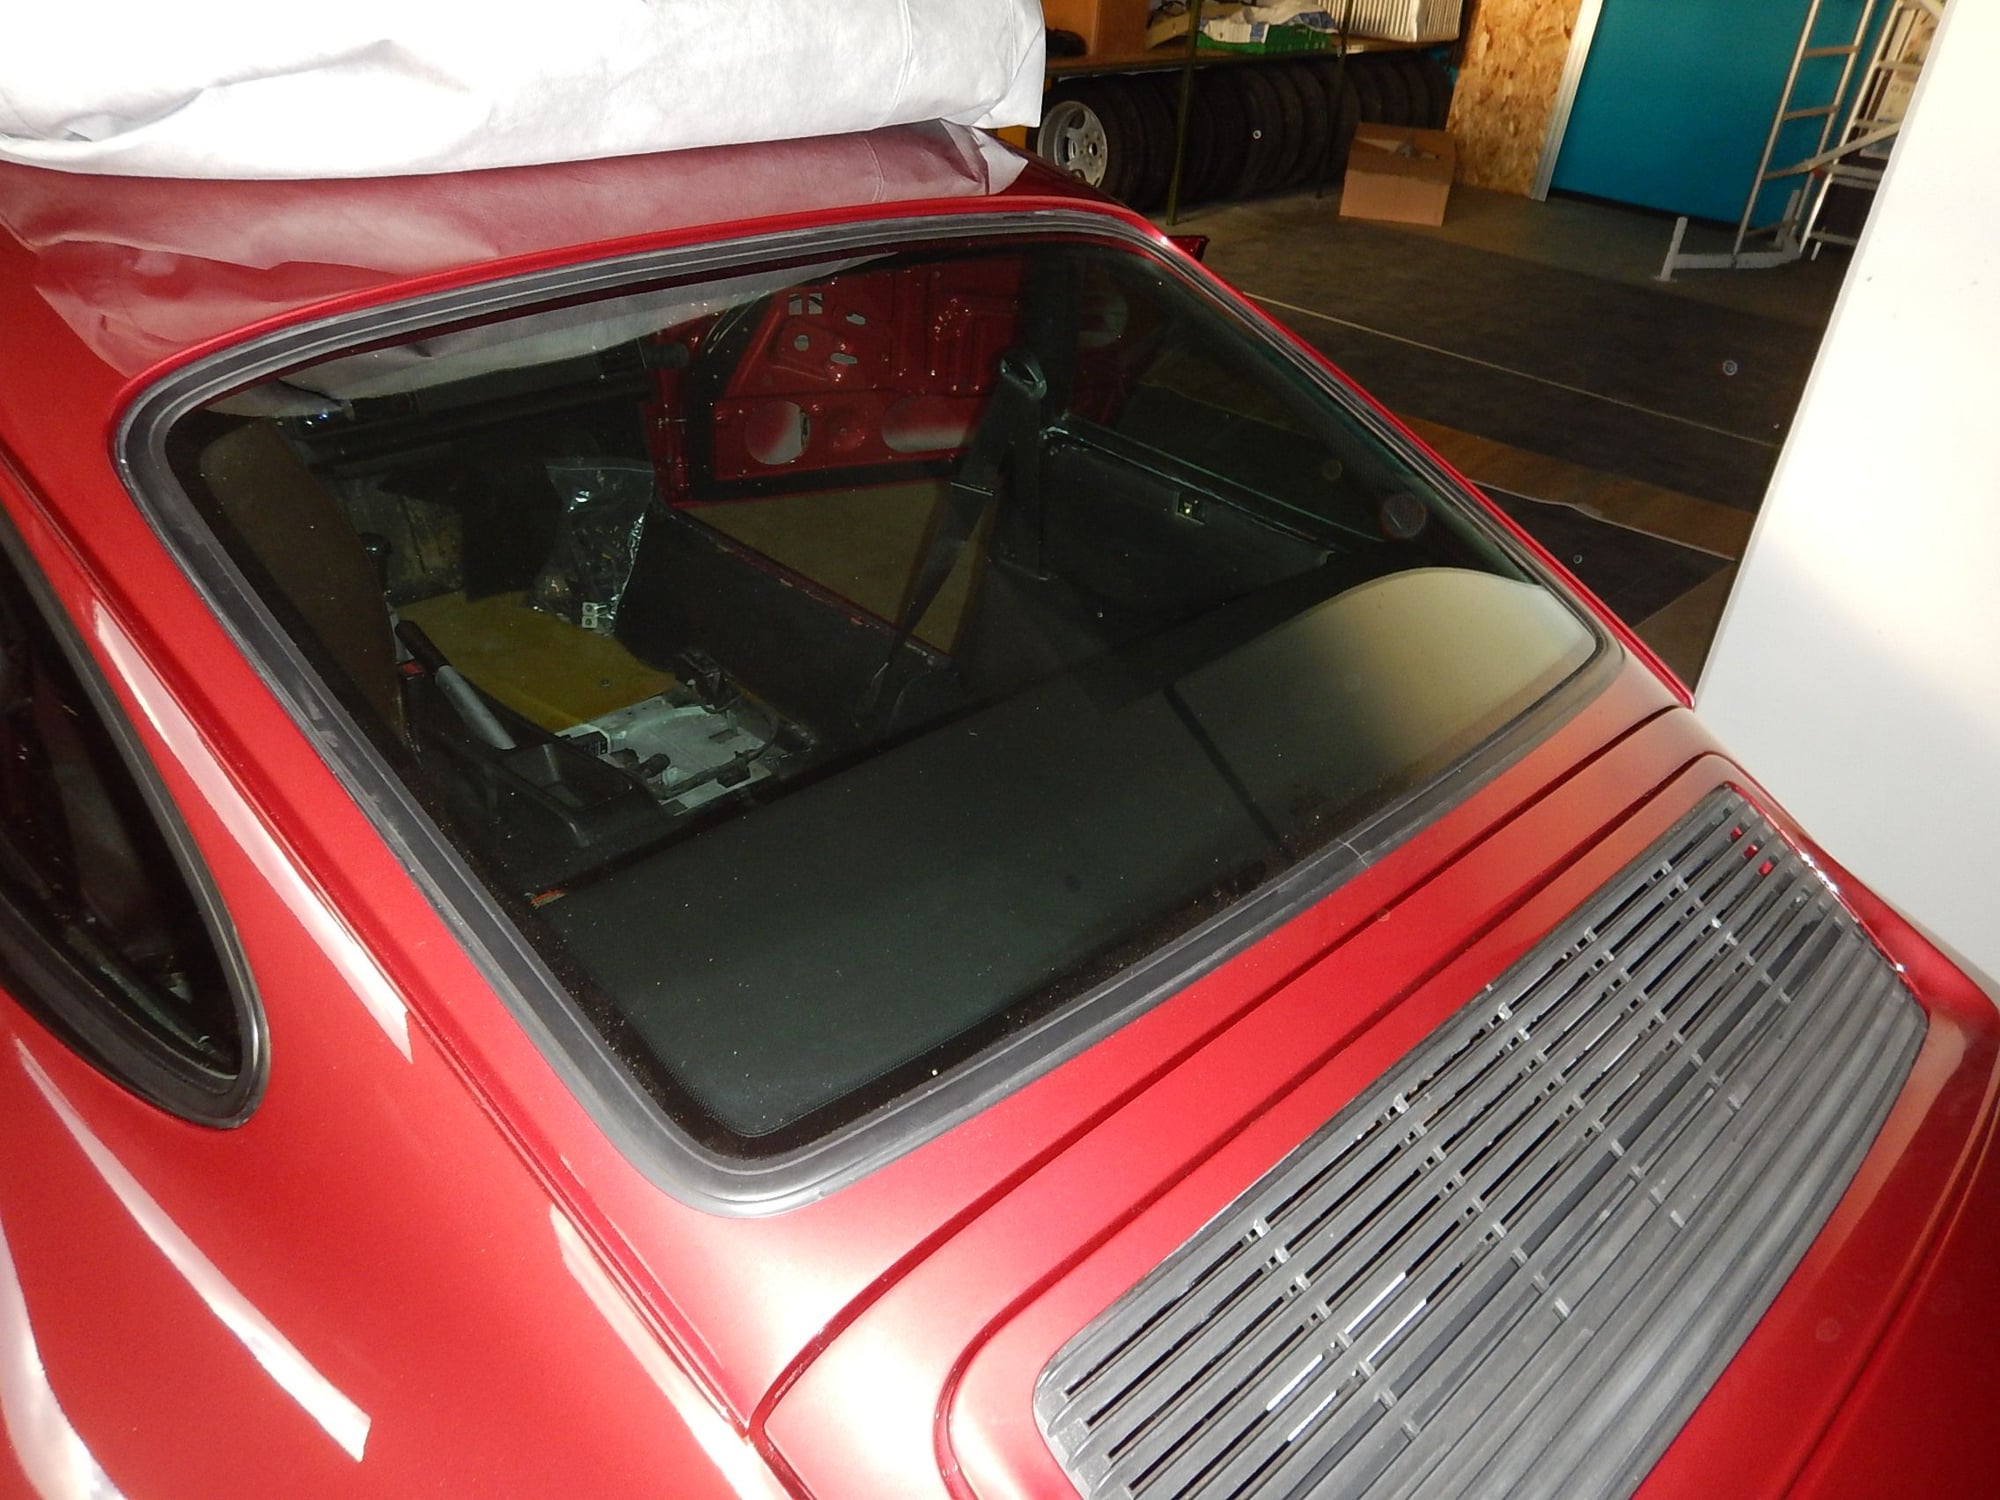
Finished the rear lid. I noticed on the picture above that the engine compartment light wiring's grommet wasn't set, and that a cable binder was missing by the latch. Corrected. I also fitted the spoiler, and its plastic fence. What a nightmare! I Don't know if it's the specific part that I had, but I had to remove the spoiler and fit the fence on it on the workbench, and it was VERY hard.
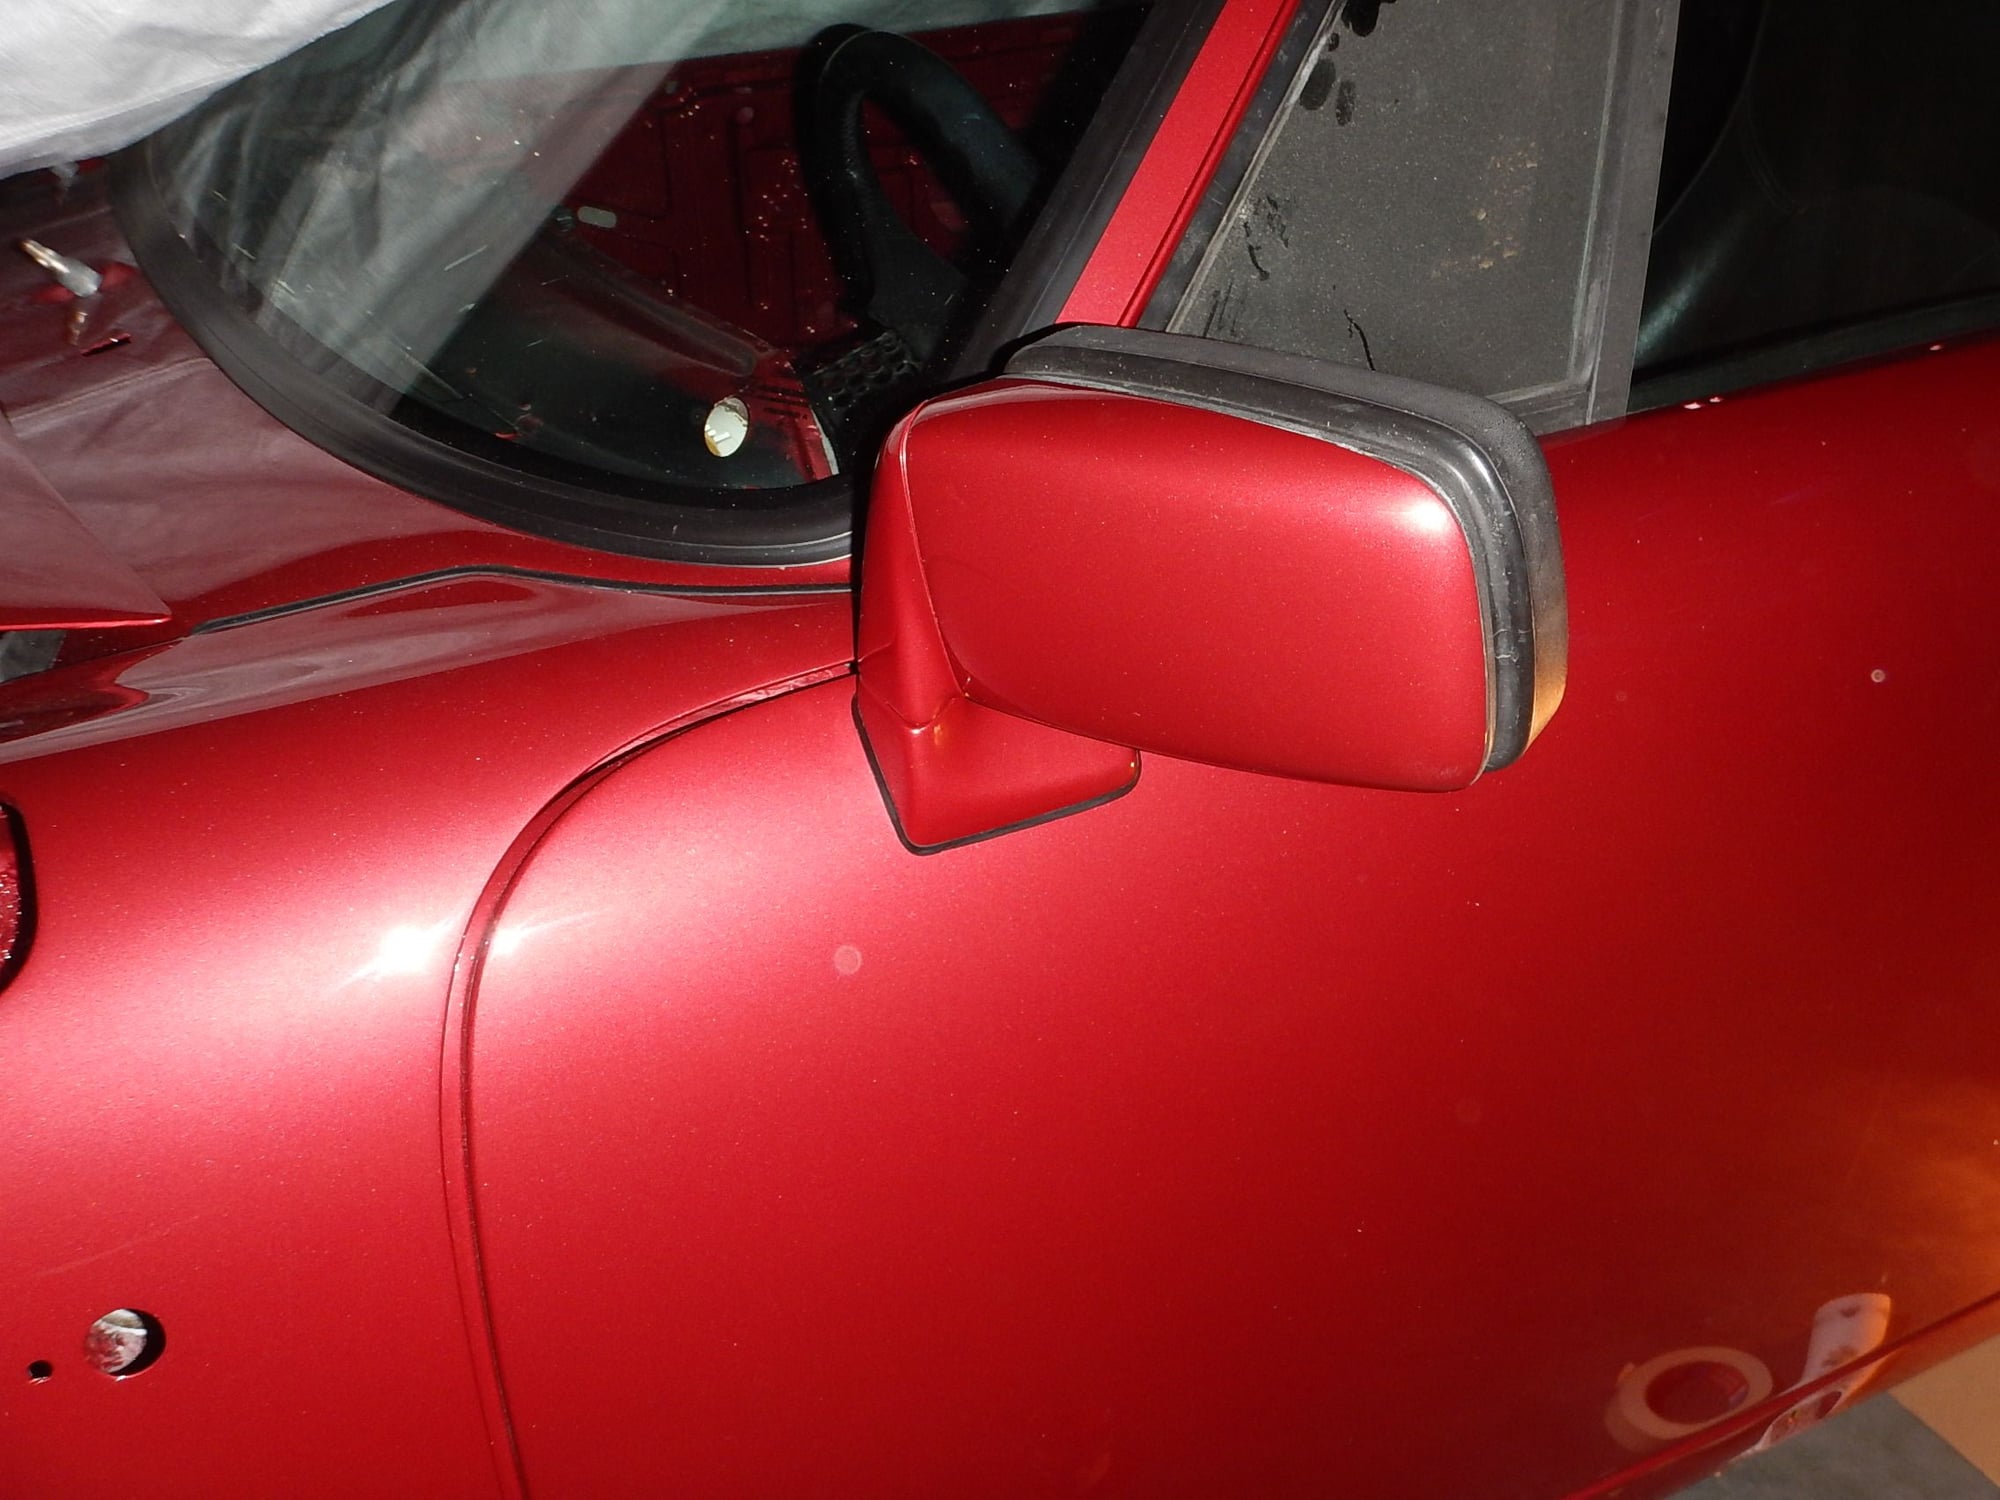
I also assembled the driver side door so far that it is functional. Mirror, window, central and manual locking, all works. 6 hours to do this correctly without damaging anything.
LM, yes Velvet Red.
#83
Addict
Rennlist Member
Rennlist Member
I also found the rear air damn to be a huge pain in the rear to install! My fingers were nearly bleeding I was pushing it so hard. I don’t recall now what I did but I did find a trick that made installation easier.
Note that 303 Aerospace will spruce up all of your black plastic trim, apply it with a microfiber and use medium pressure. It will clean and condition the parts and bring them back to life.
I love watching this progress.
Note that 303 Aerospace will spruce up all of your black plastic trim, apply it with a microfiber and use medium pressure. It will clean and condition the parts and bring them back to life.
I love watching this progress.
#84
Rennlist Member
I also found the rear air damn to be a huge pain in the rear to install! My fingers were nearly bleeding I was pushing it so hard. I don’t recall now what I did but I did find a trick that made installation easier.
Note that 303 Aerospace will spruce up all of your black plastic trim, apply it with a microfiber and use medium pressure. It will clean and condition the parts and bring them back to life.
I love watching this progress.
Note that 303 Aerospace will spruce up all of your black plastic trim, apply it with a microfiber and use medium pressure. It will clean and condition the parts and bring them back to life.
I love watching this progress.
"I was expecting a 15 minute job but it became 45 minutes because the top of the wall would not clip into the spoiler without some problem solving. In the end I removed the spoiler (four hex head bolts), used a heat gun to soften the clip end of the wall, then pushed it onto the spoiler with a screwdriver. I then reattached the spoiler and clipped the wall's lower portion to the frame and tested it. All good now, It's not going anywhere now it's cooled"
I have a new one to do when I get my spoiler painted.
#85
Rennlist Member
Thread Starter
Morning's surprises:
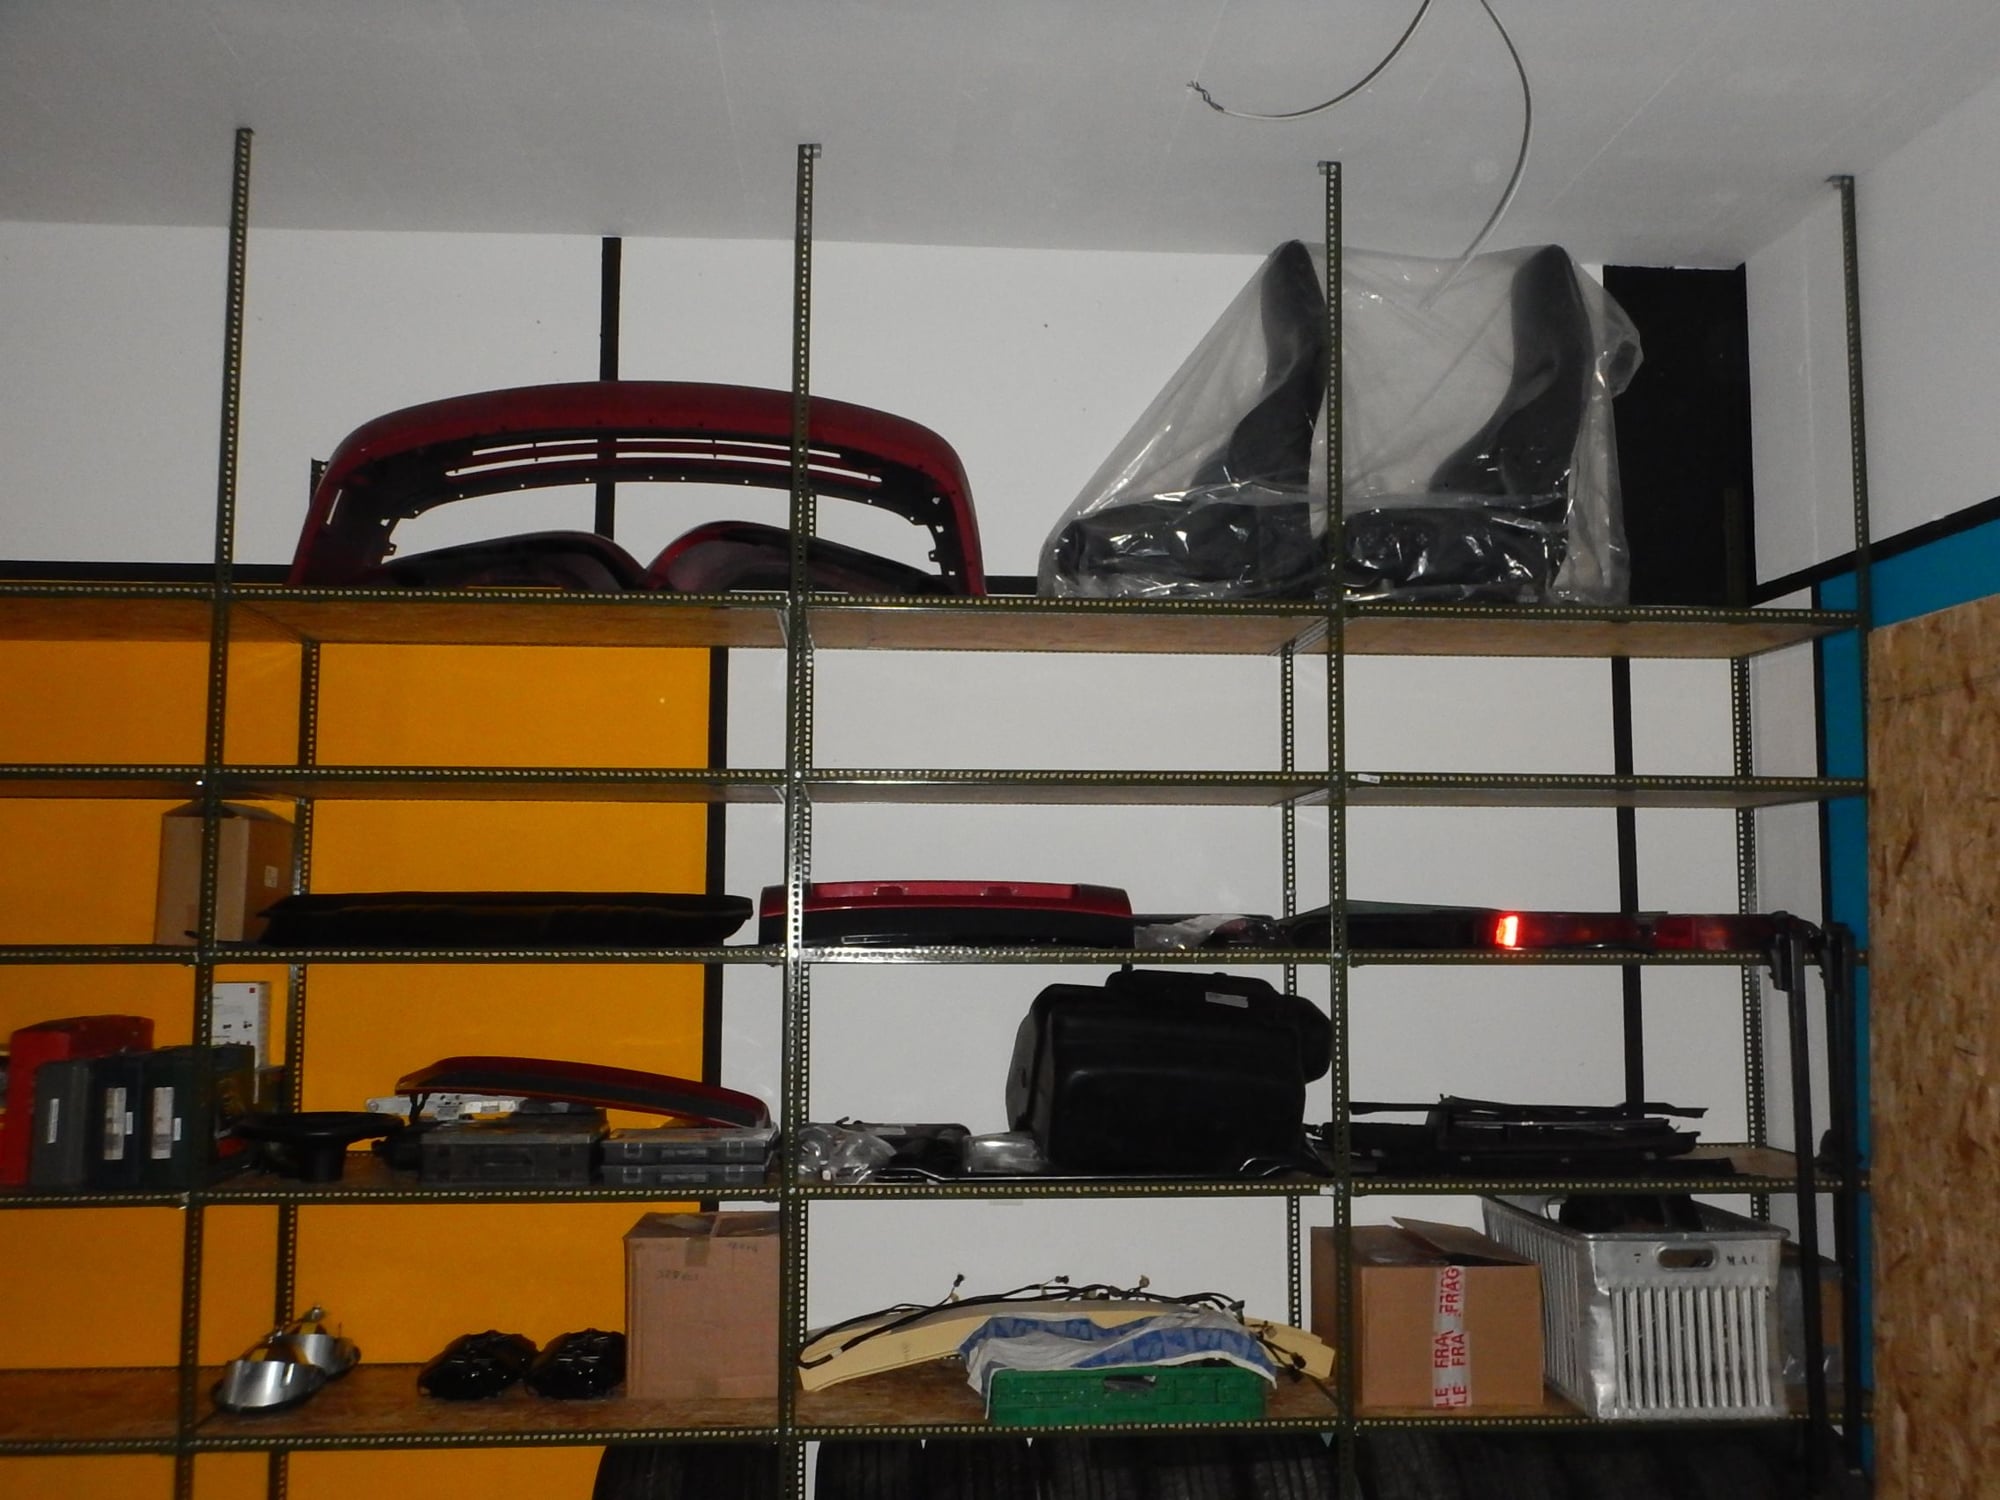
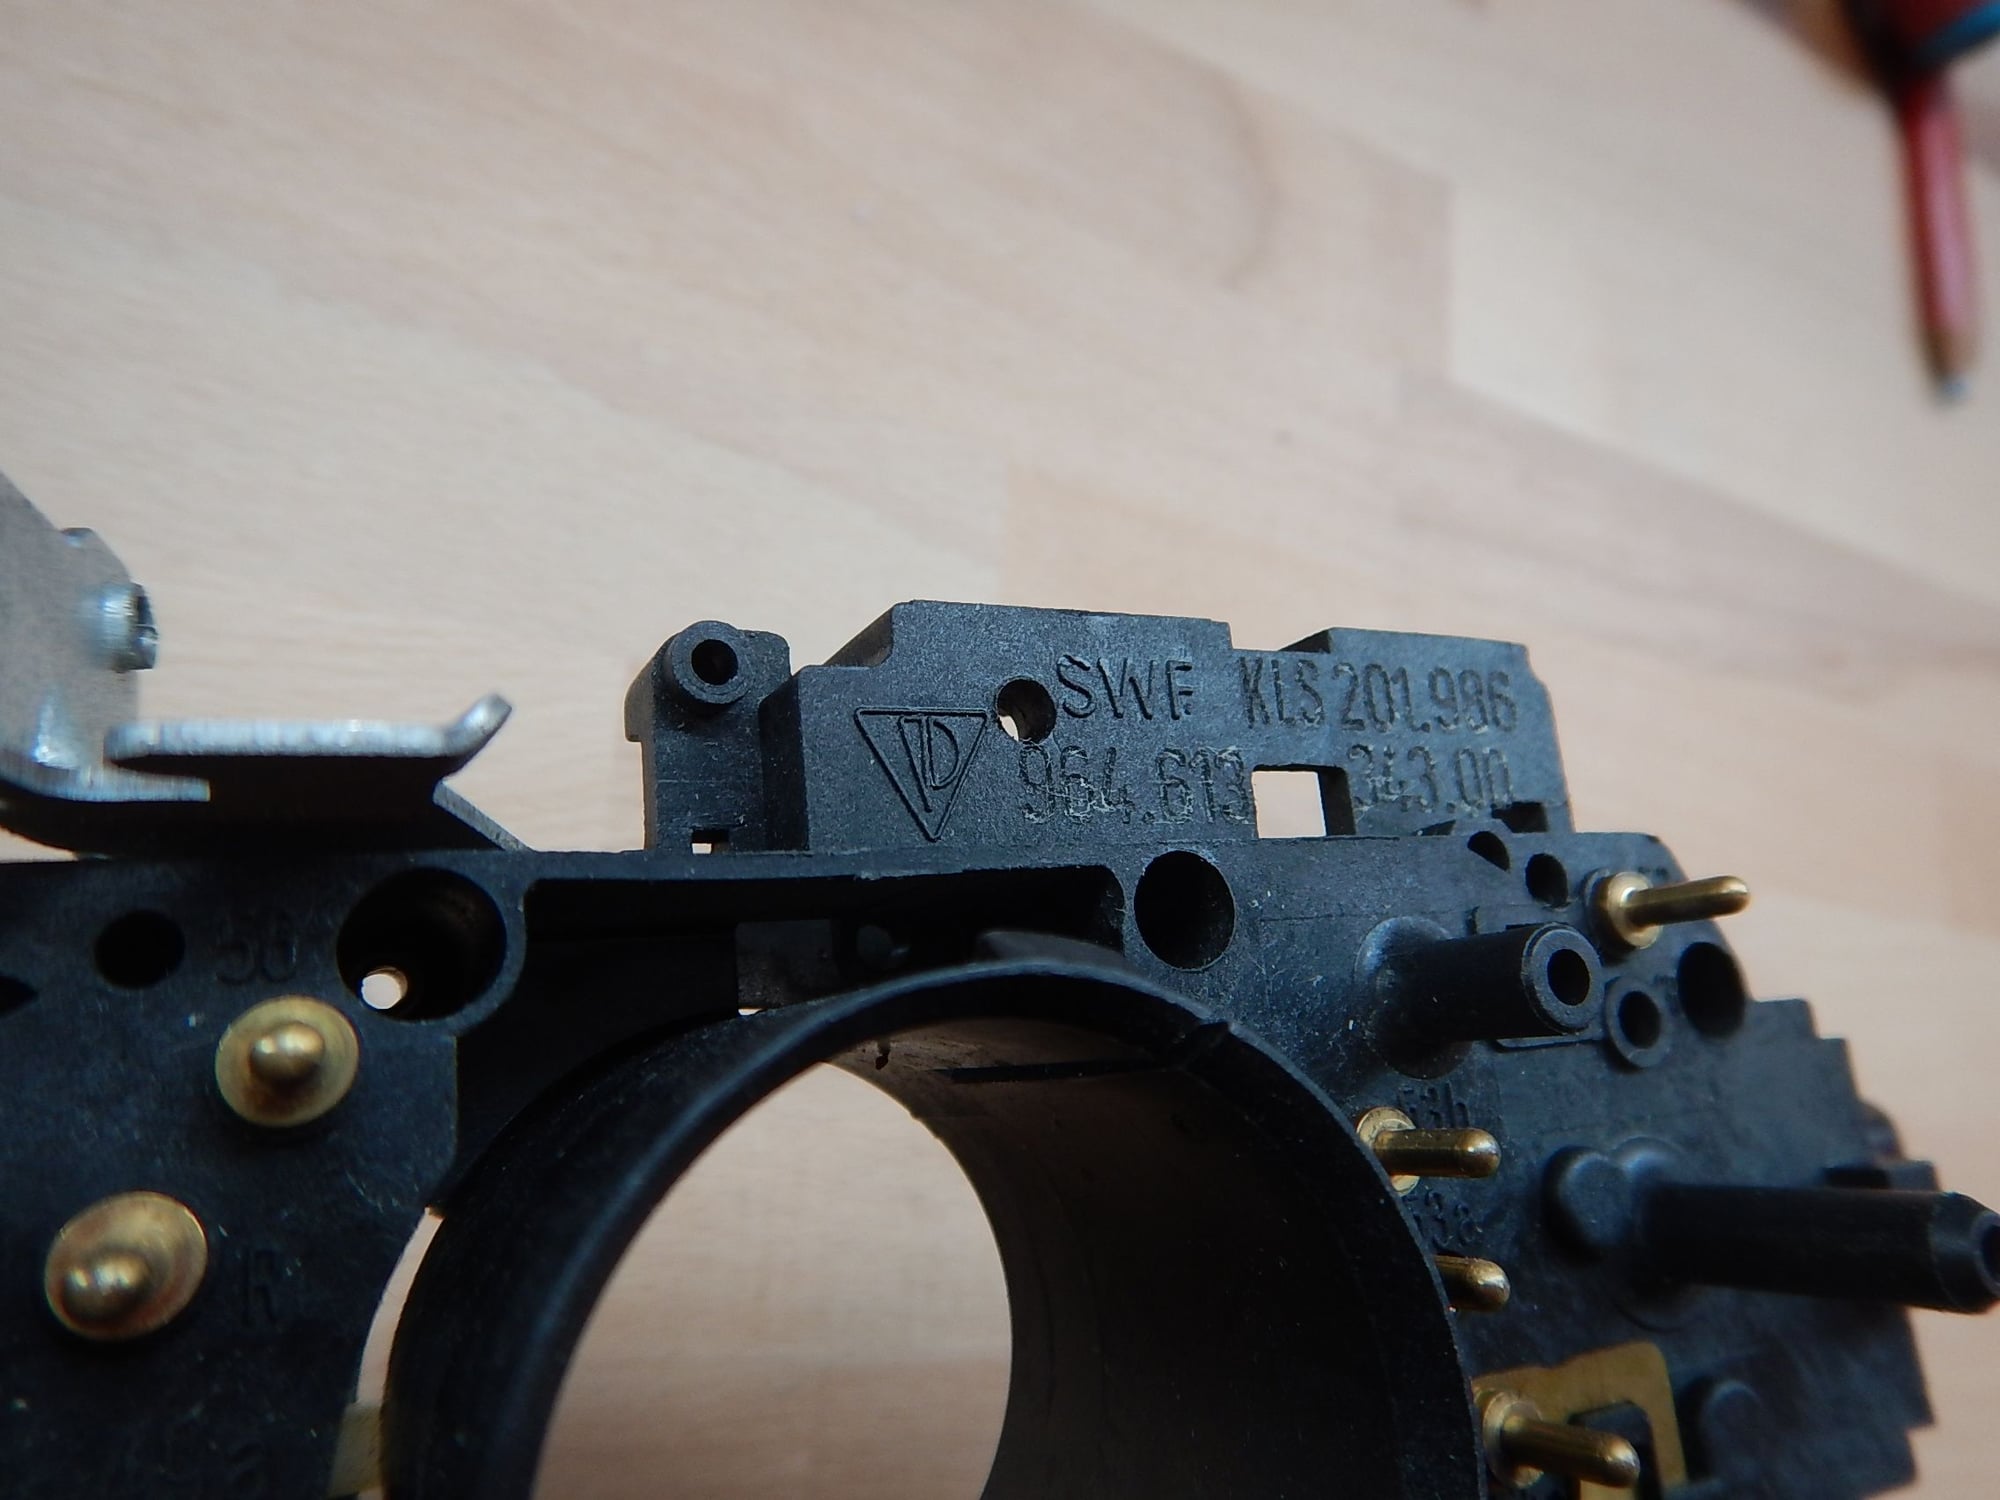
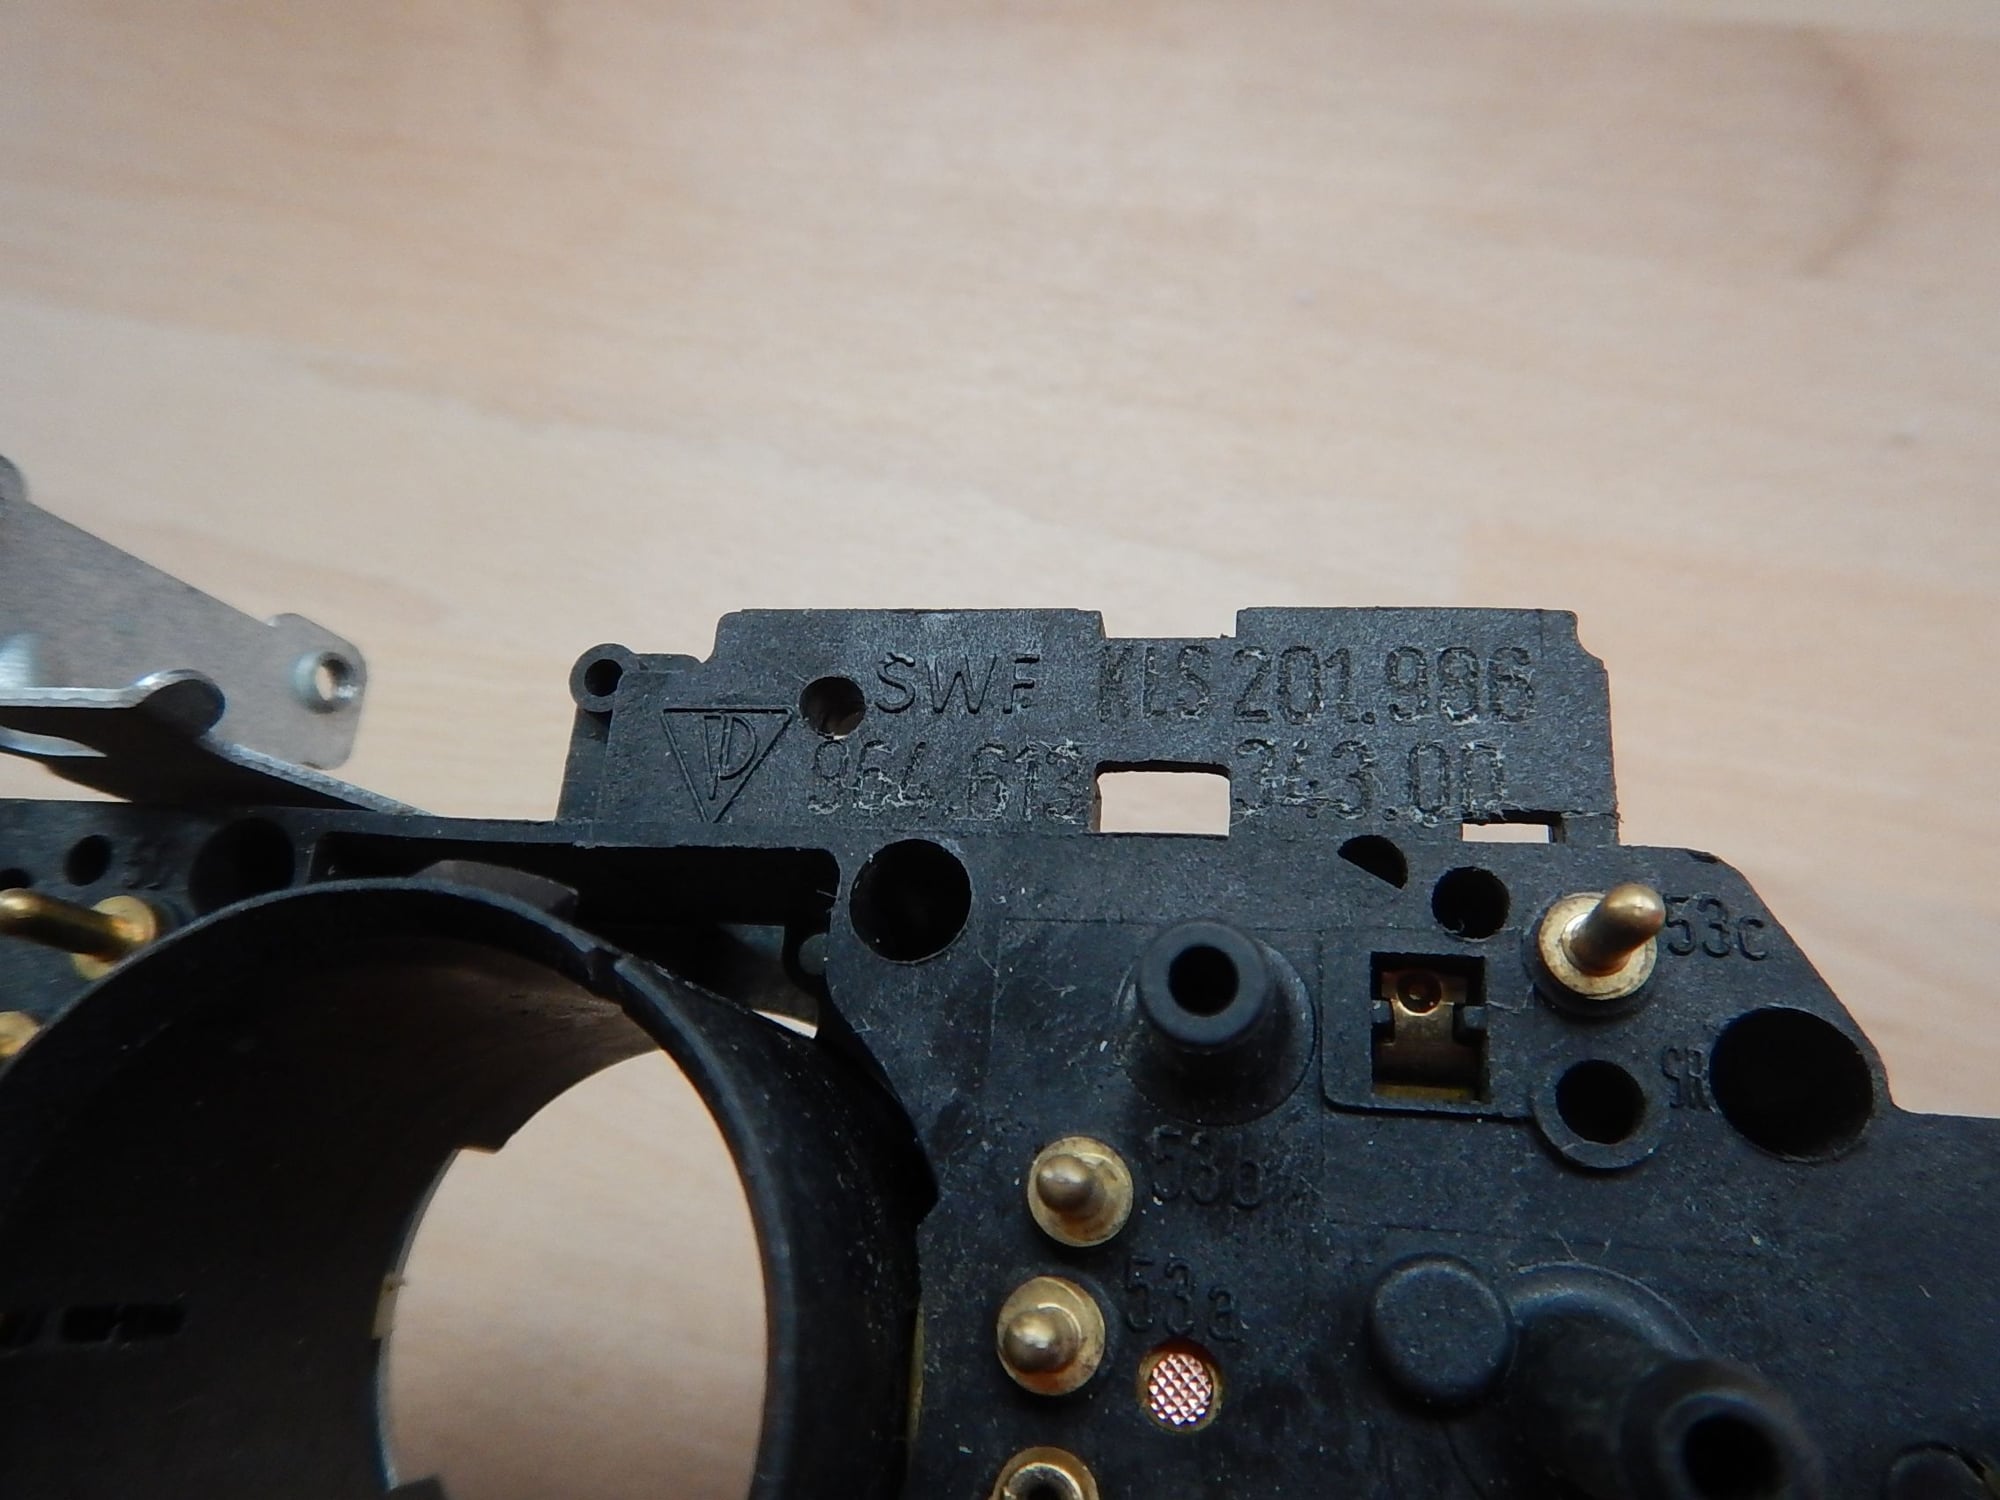
Since I had to change the front bumper cladding (one too many hit), I took the opportunity to get one without headlight washer holes. Since I won't be driving in winter anymore, and since I almost never used them, they can go. Of course, that leaves my OCD mind in trouble, as the logo sits prominently on the right steering wheel stalk. I thought I was more clever and found a right side stalk without headlight wash function on the 'bay.
Well, no. The pins are all different size, and there is a large plastic protrusion that determines which harness can be connected to which stalk.
So if anyone wants a right side stalk without washers, contact me, pay for shipping and it is yours. See part number below.
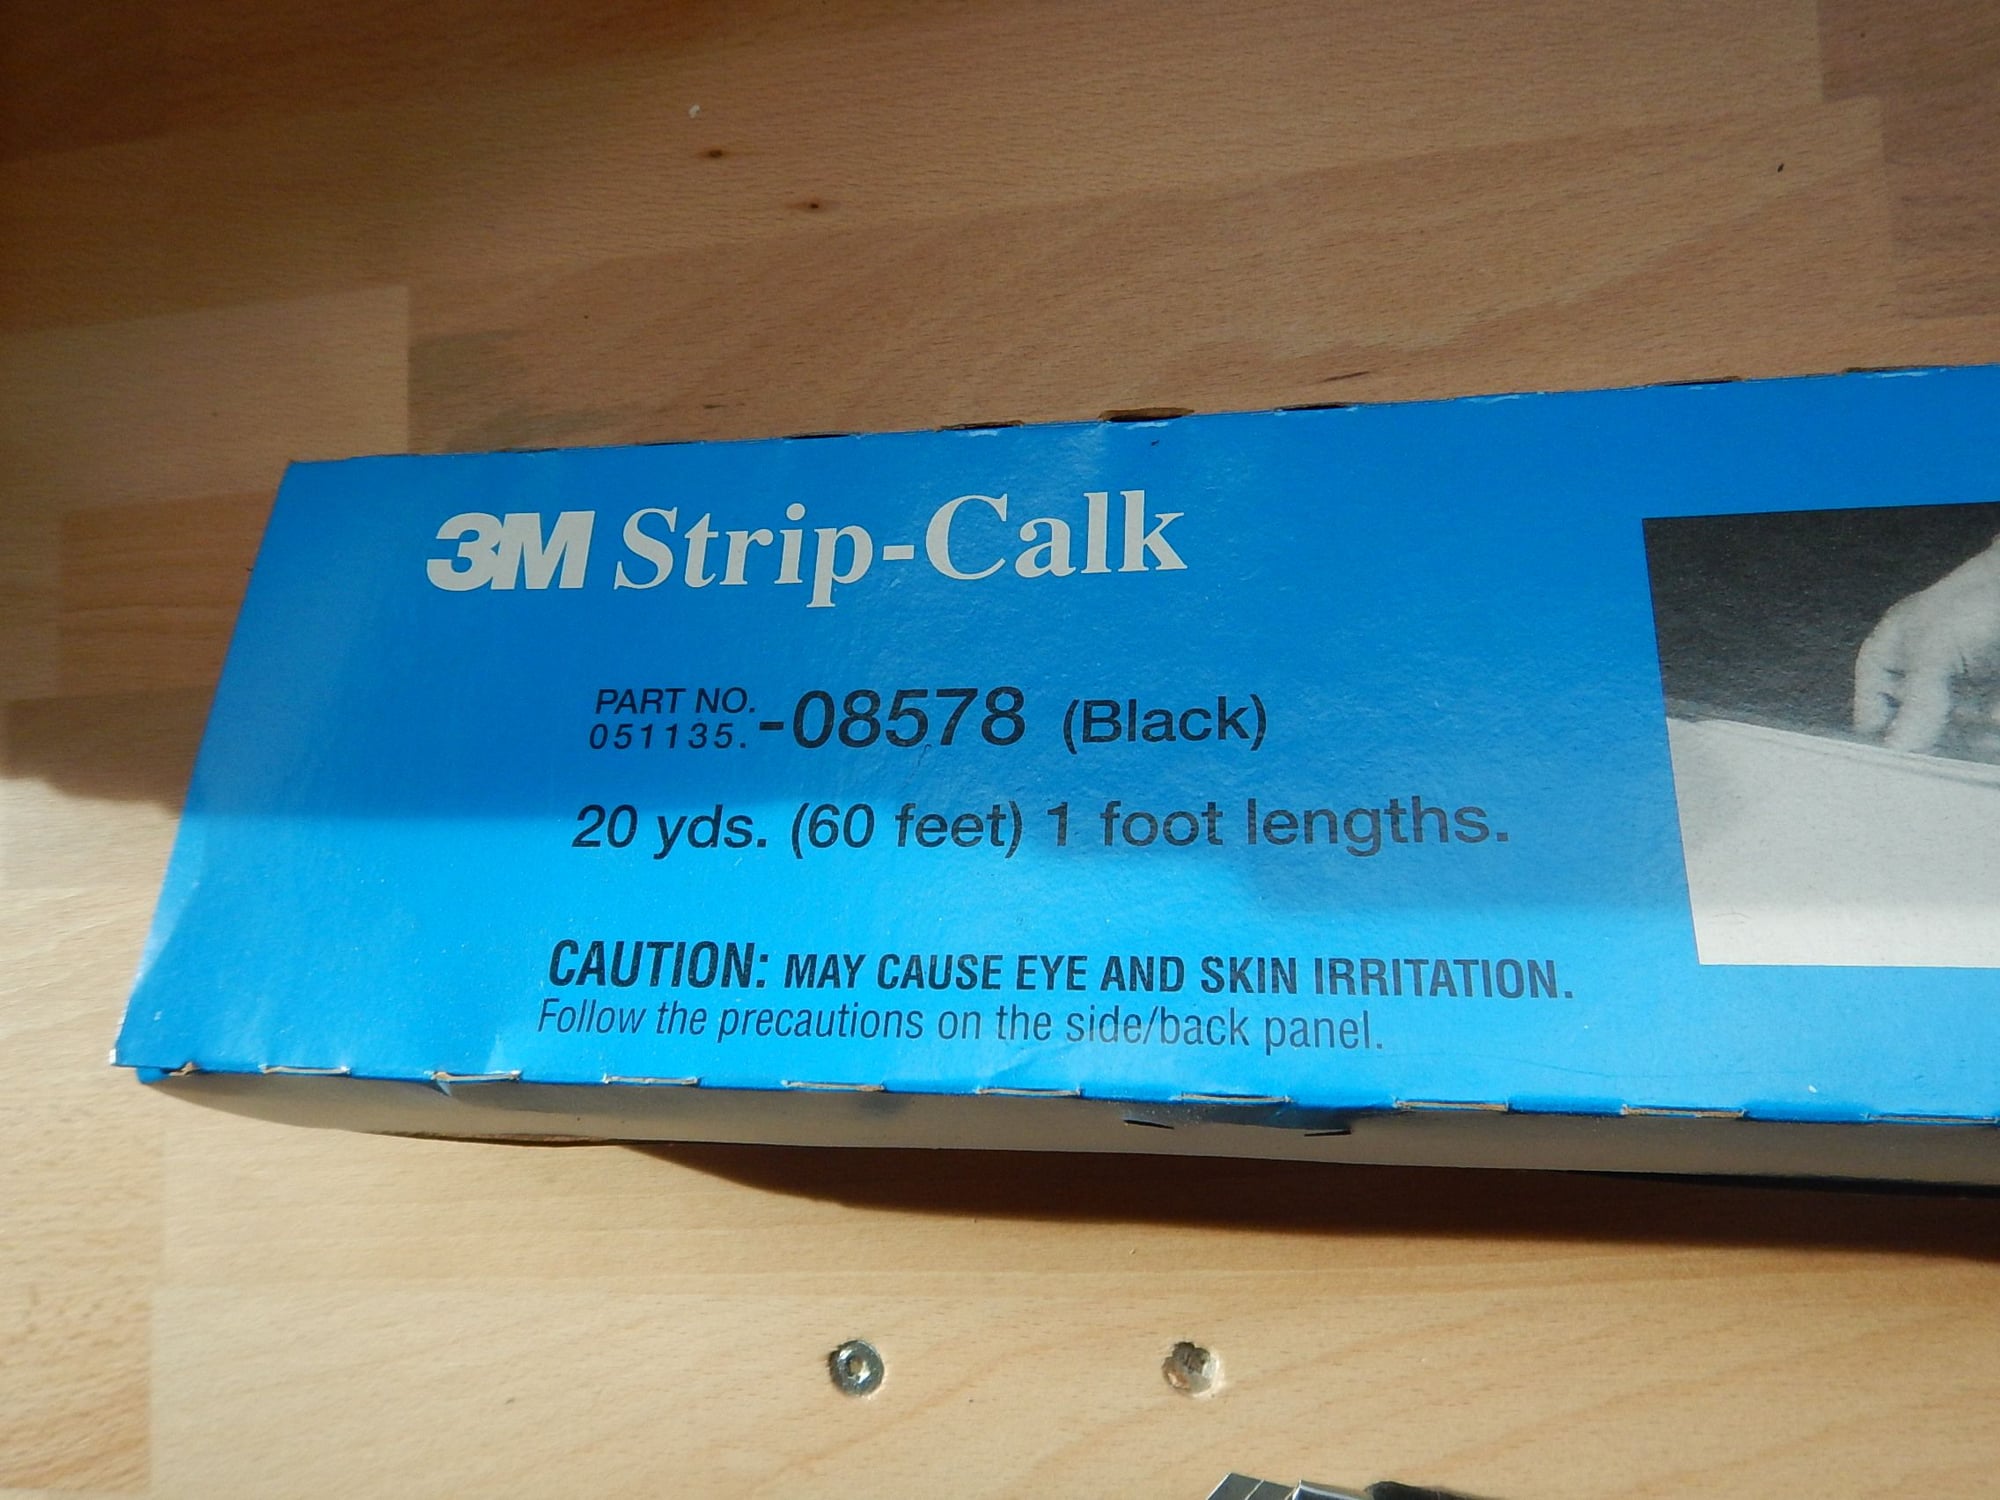
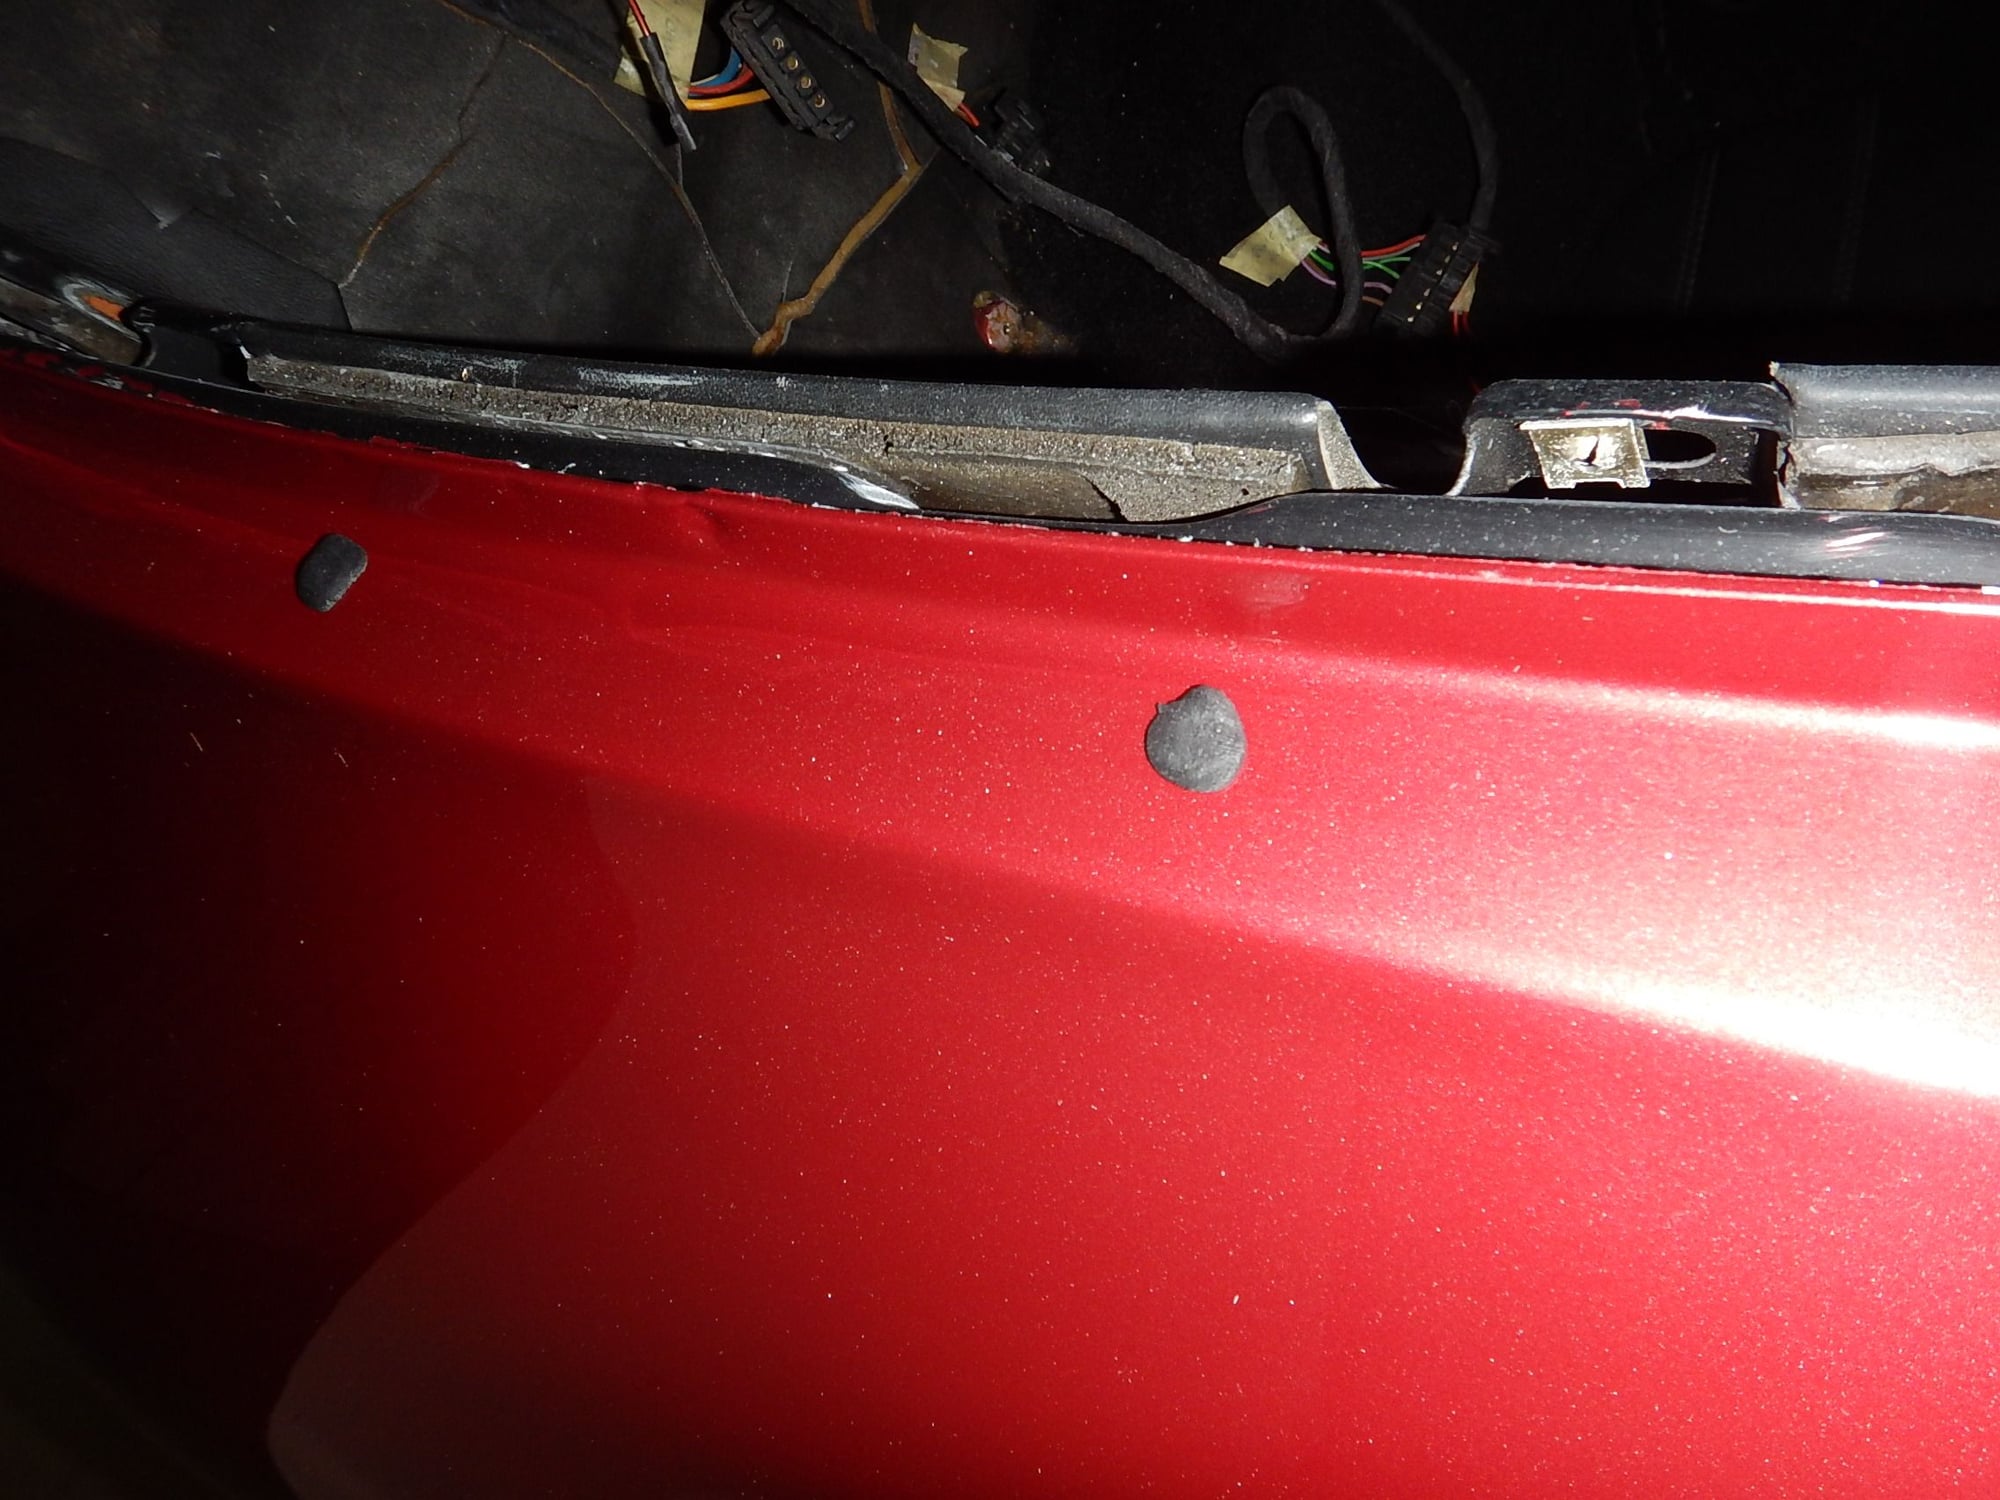
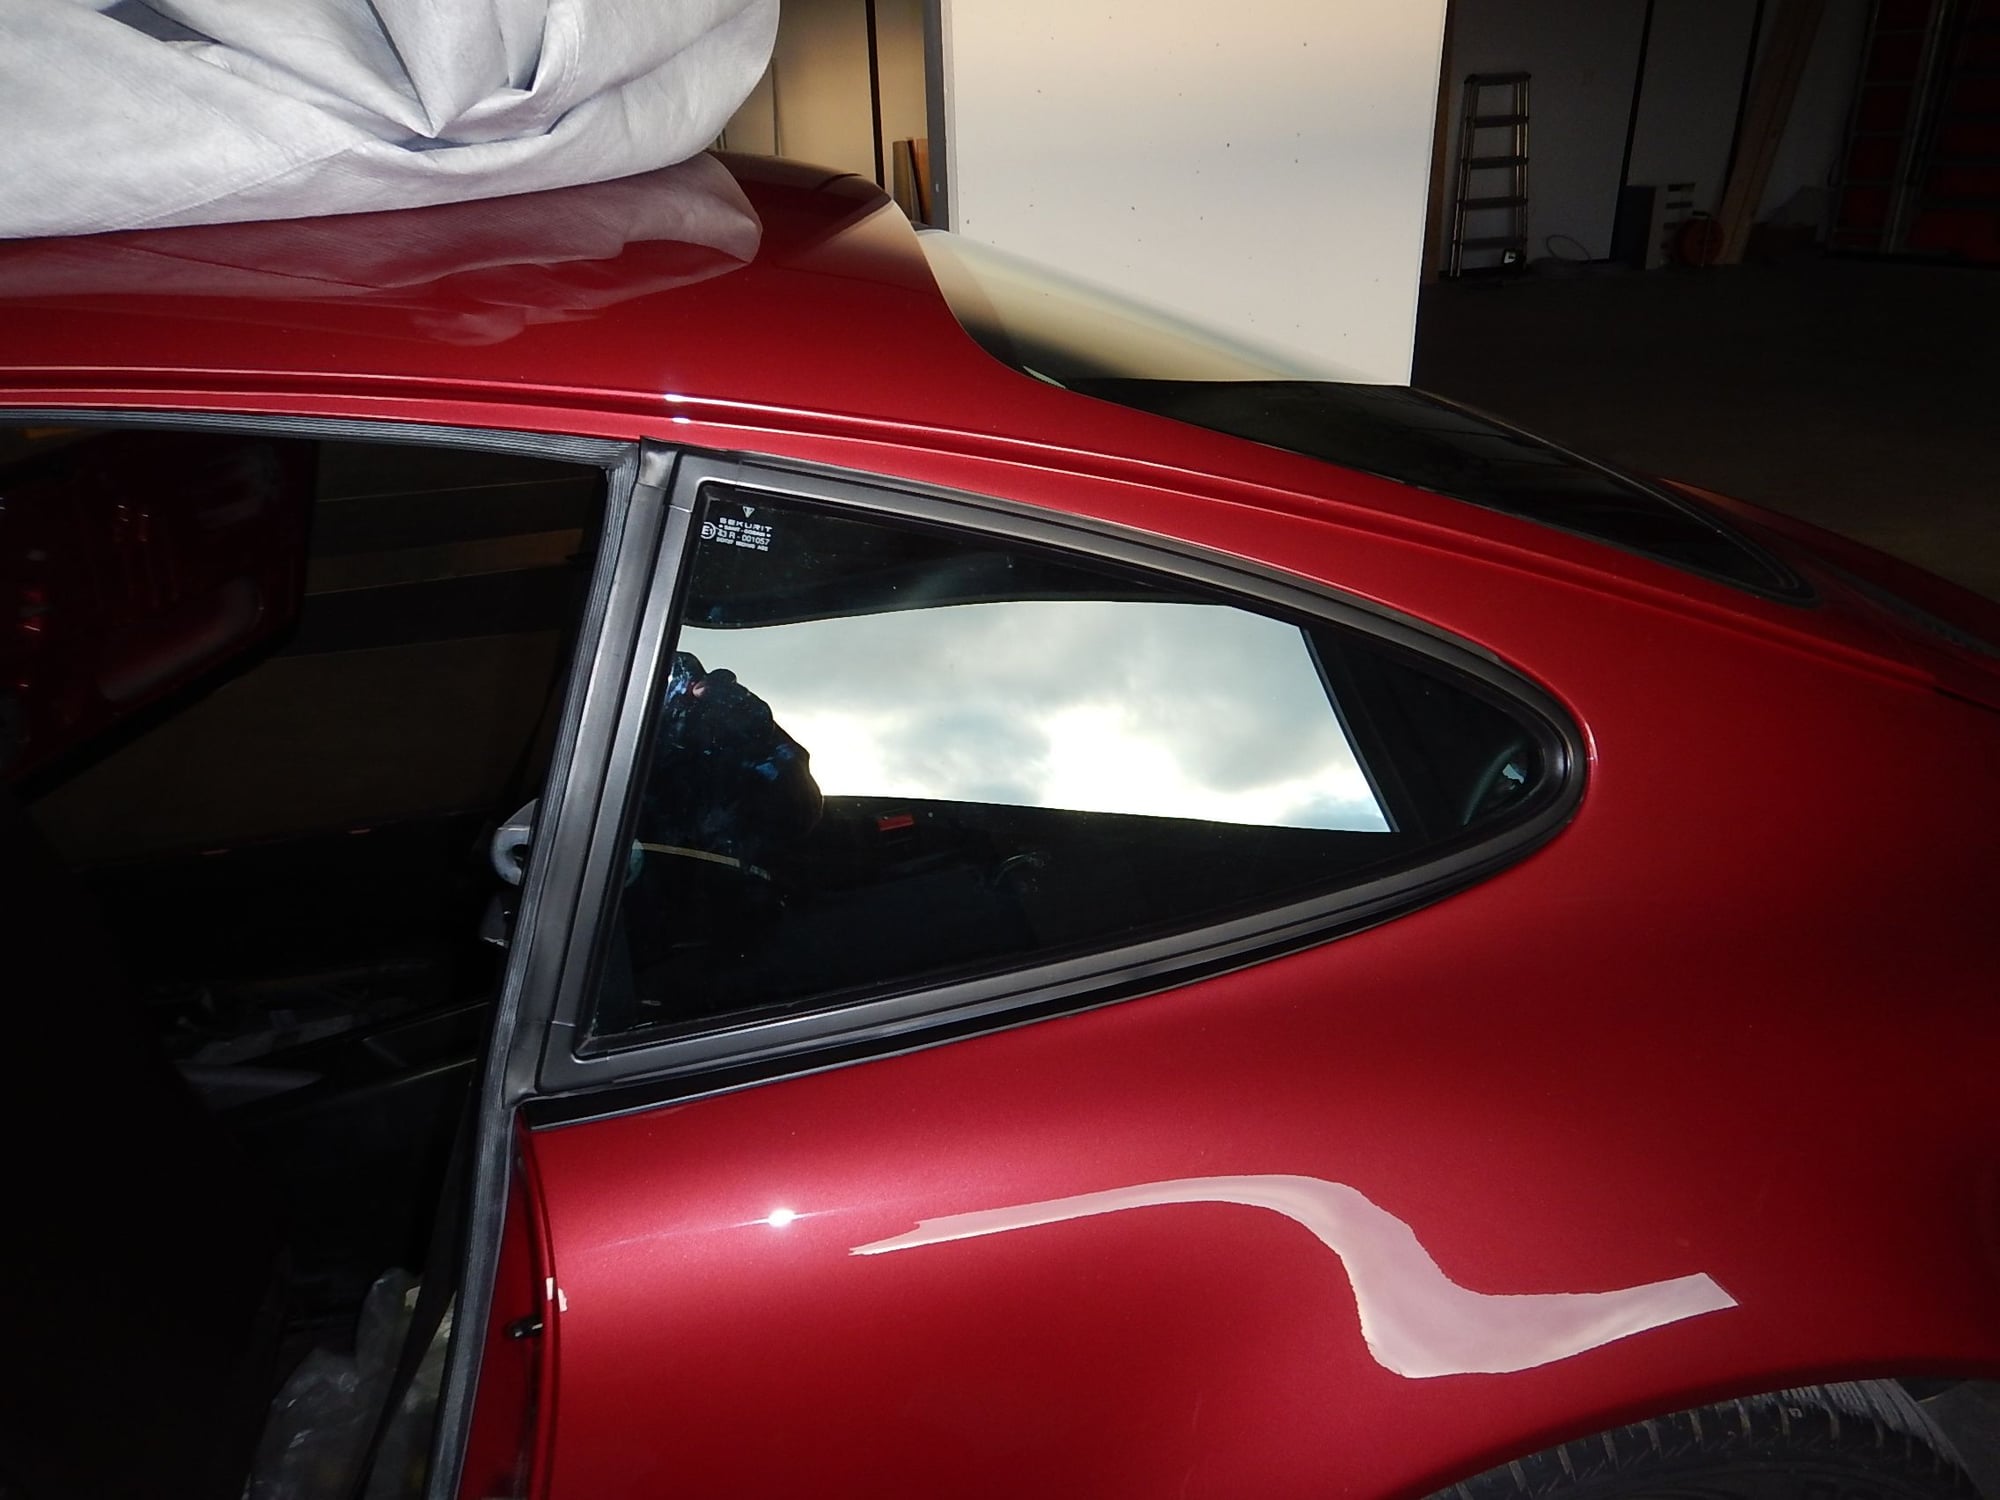
I installed the rear side glass trim, with 3M strip calk. Free tip: mark the hole position once the calk pieces cover the holesů
And, I sanded the fresh paint. with 400 grit.
On the door Inside edge, where the satin black paint goes. Swallowed hard, taped the edge and went to town.
Pics in Following post.
#87
The project is looking great. Comparing one of your first posts in that small and cozy garage space to your new one is also night and day difference....both the car and garage space.
#88
Rennlist Member
Thread Starter
Next work from hell: rear quarter windows. That seal trim piece…. Fingers. Hurt. Pain. At least they are both in now.
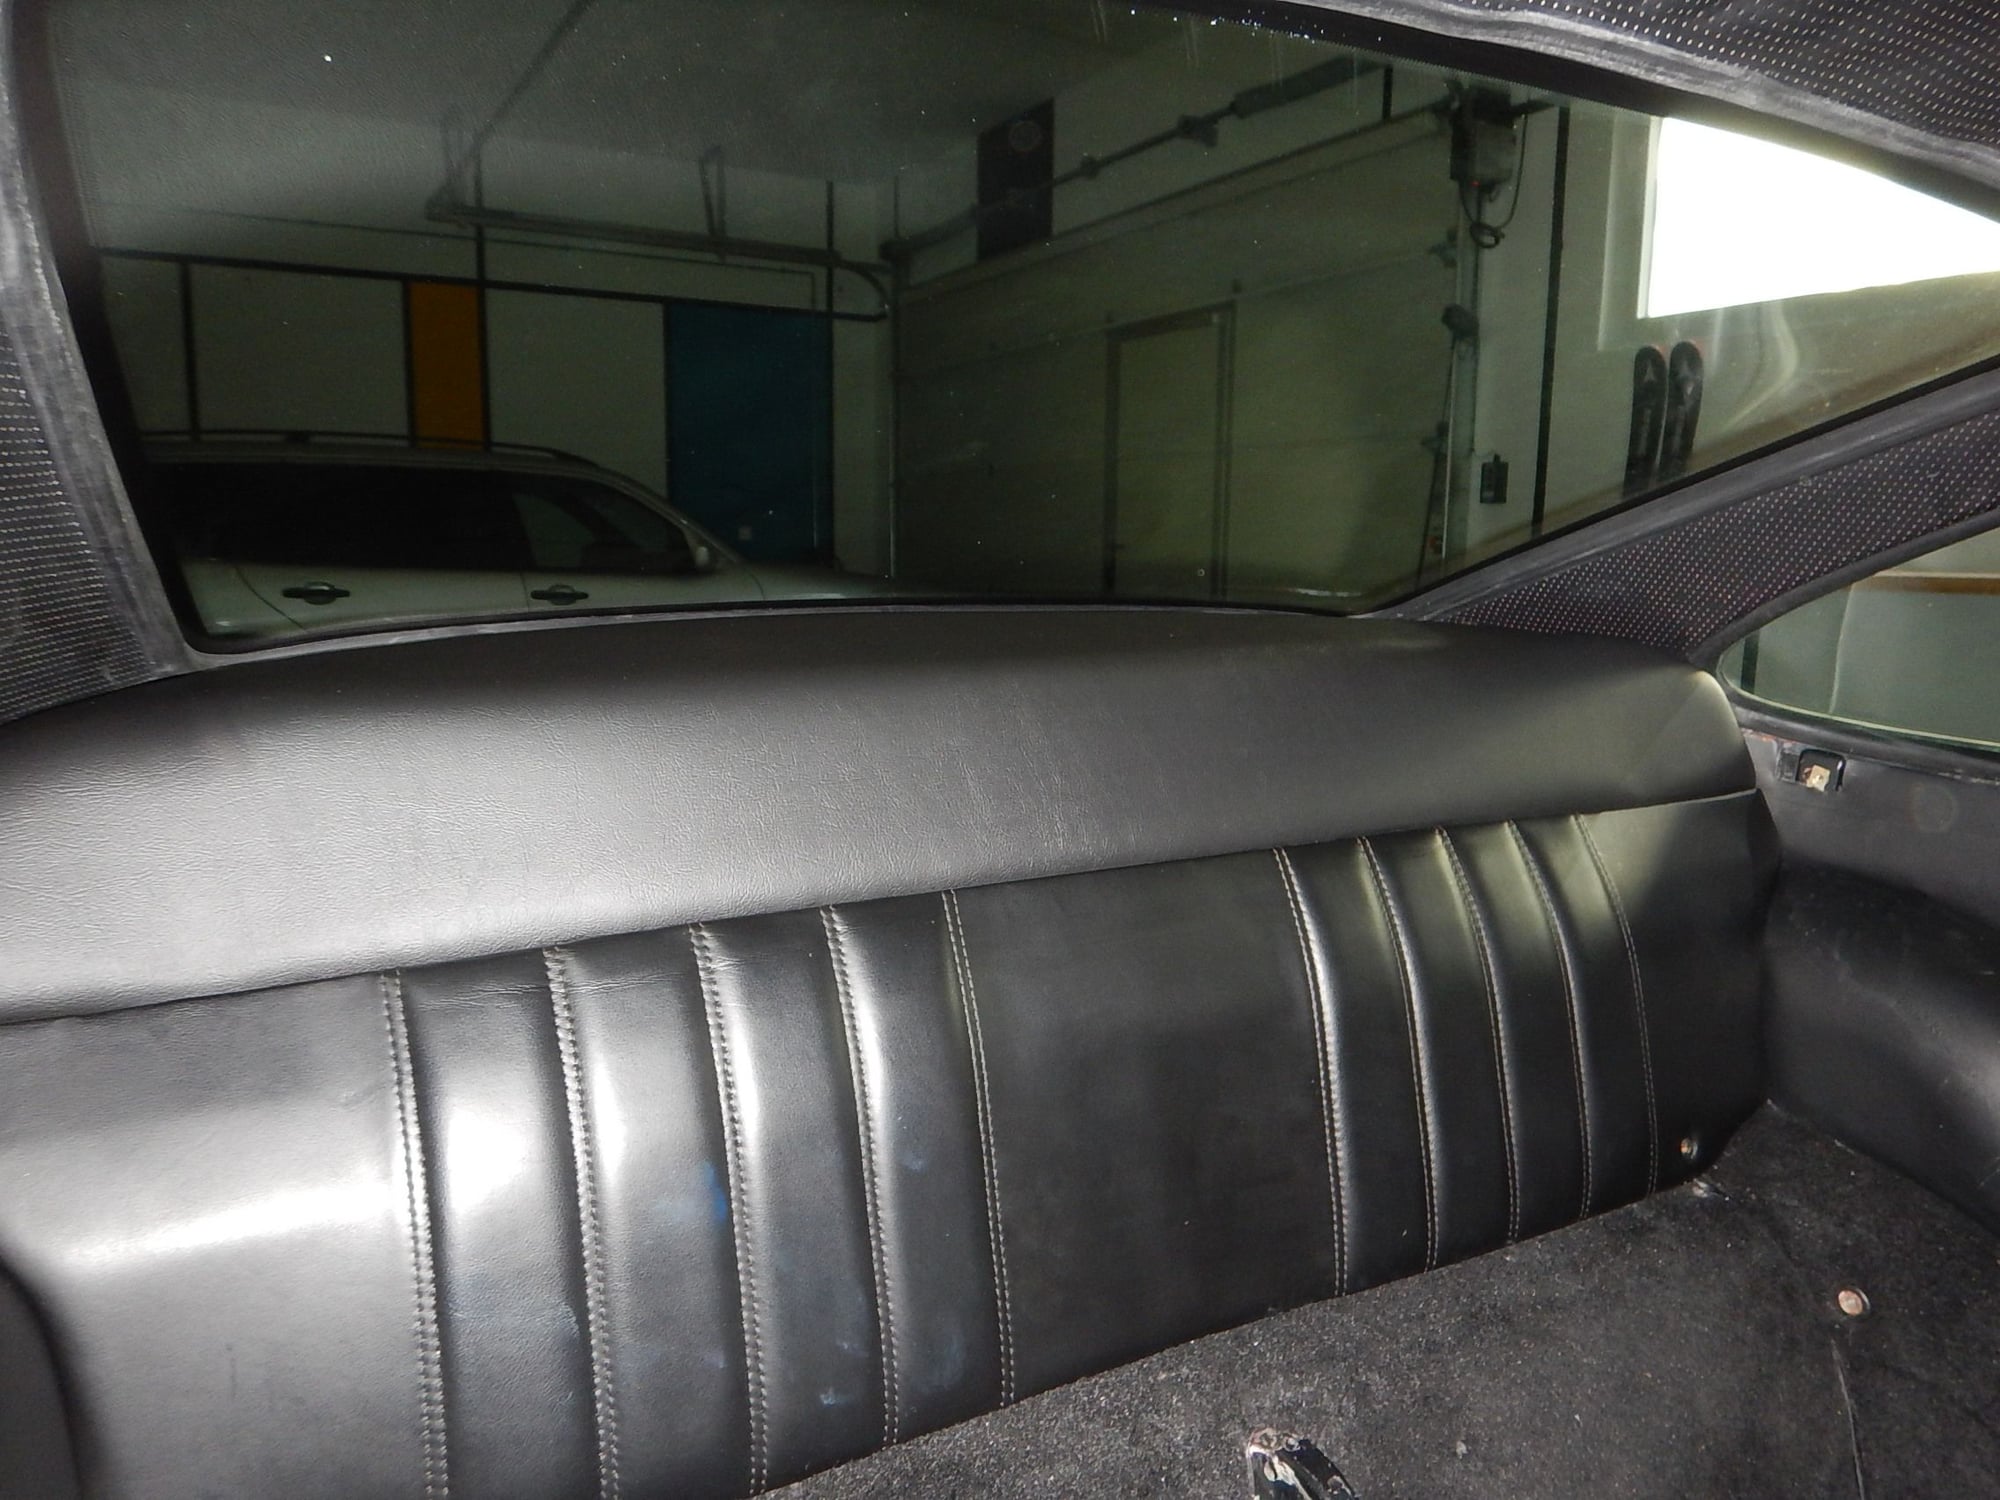
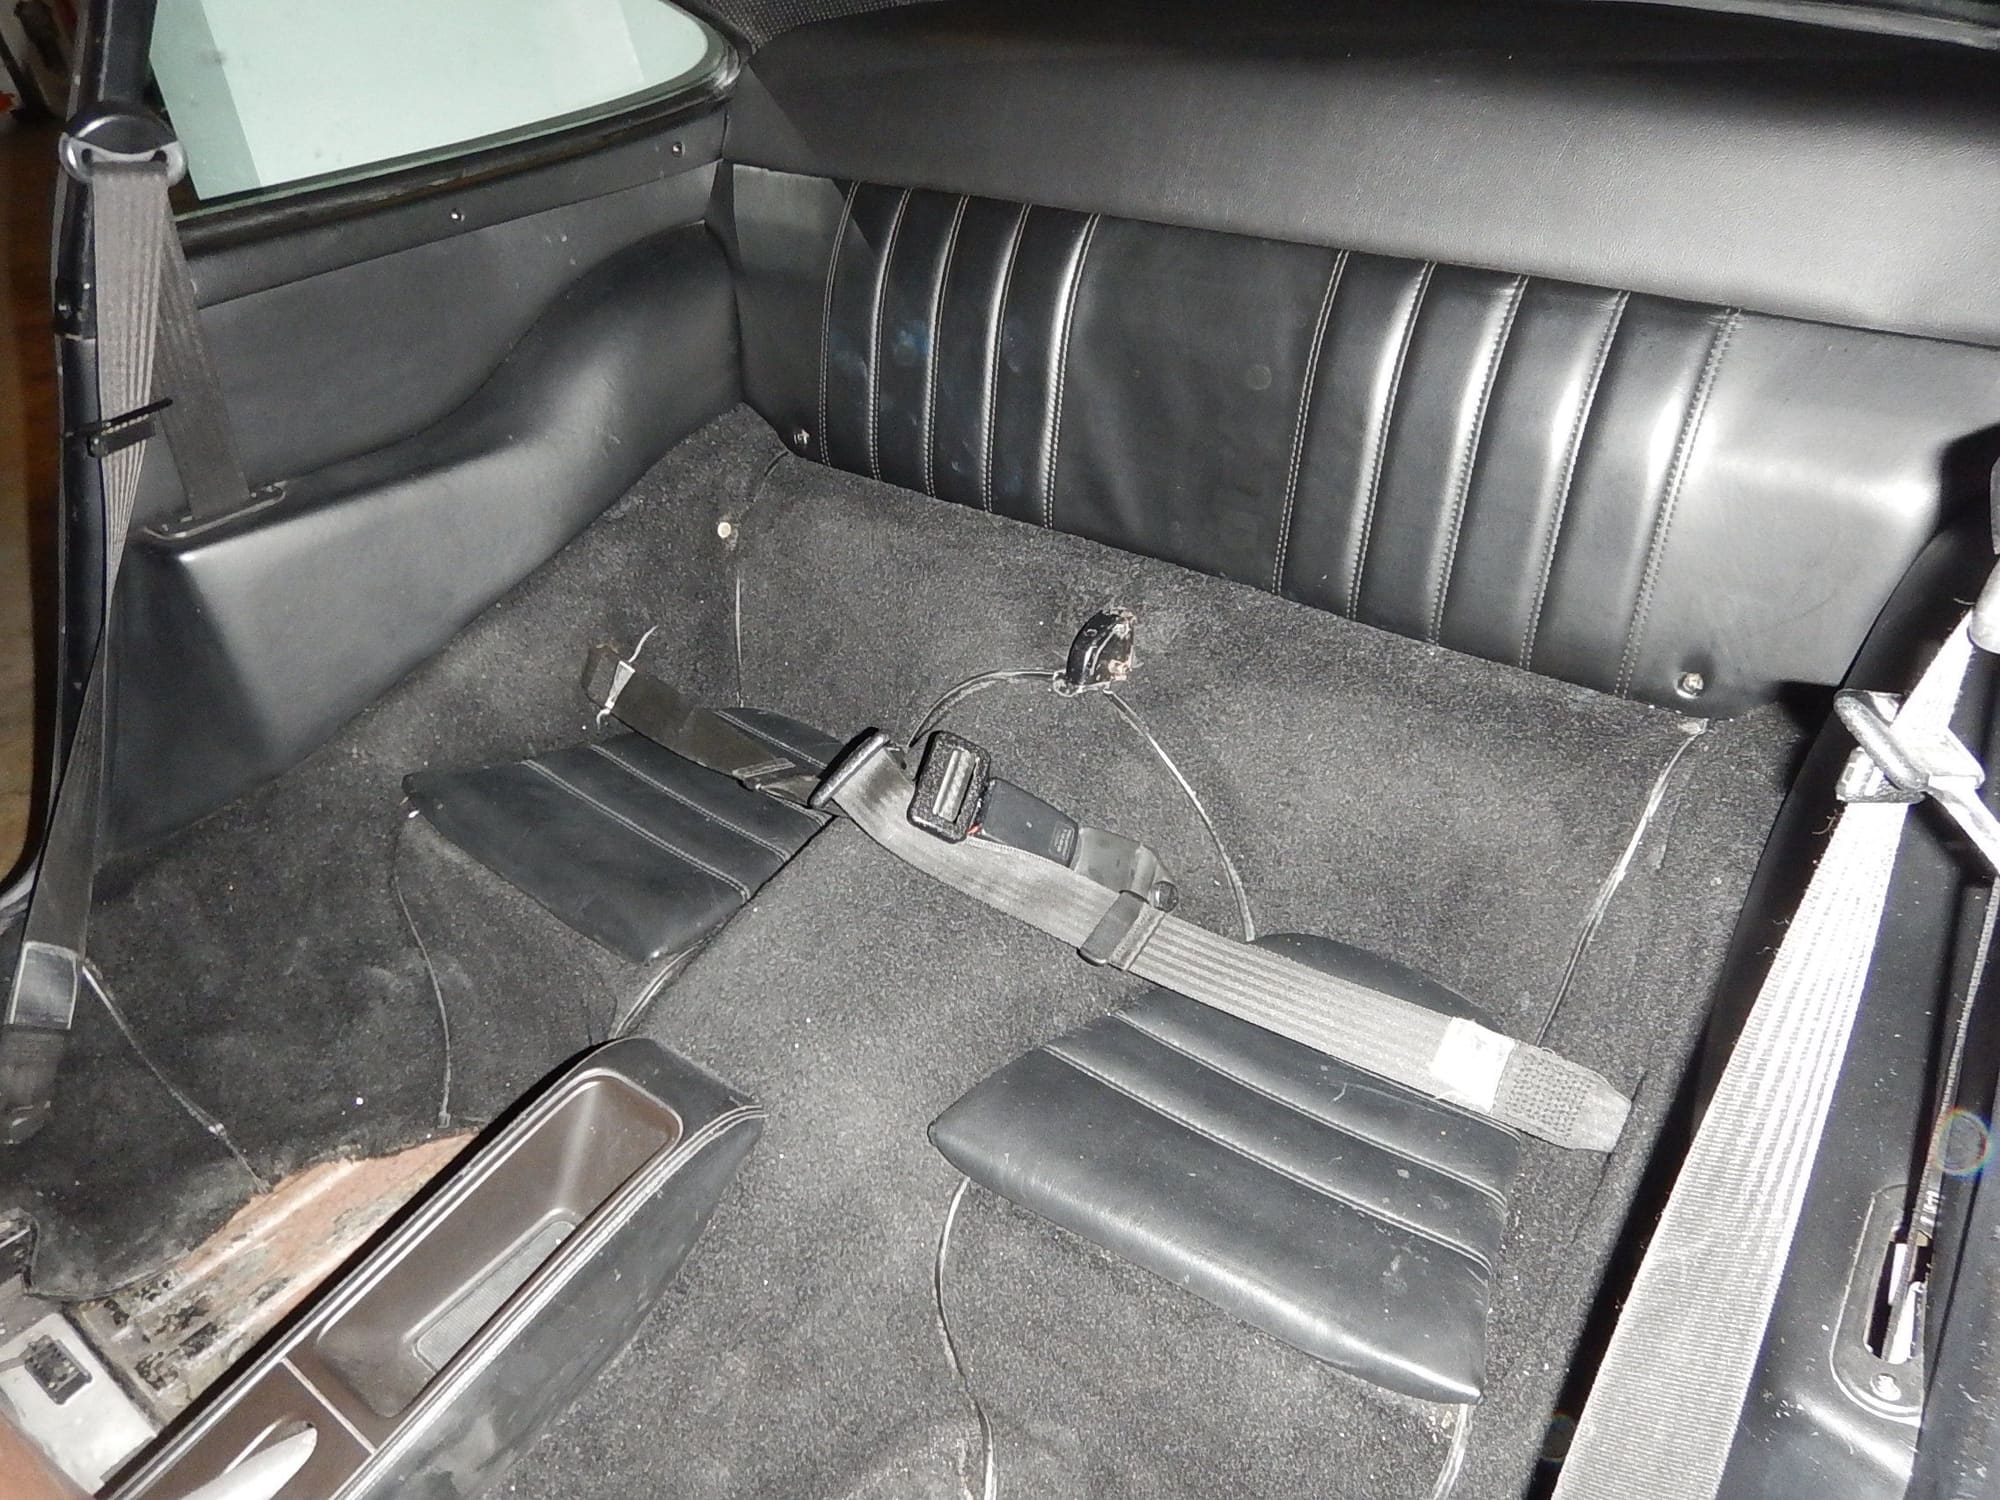
I also fitted the redone rear deck, without speakers/wiper/belt receptacles., and the side window mouldings. New black screws spruce up the look. I then re-fitted the original 2 point belts to the rear, now that the kid is too tall to fit in there. Makes for a cleaner look.
I also fitted the redone rear deck, without speakers/wiper/belt receptacles., and the side window mouldings. New black screws spruce up the look. I then re-fitted the original 2 point belts to the rear, now that the kid is too tall to fit in there. Makes for a cleaner look.
#90
Rennlist Member
Thread Starter
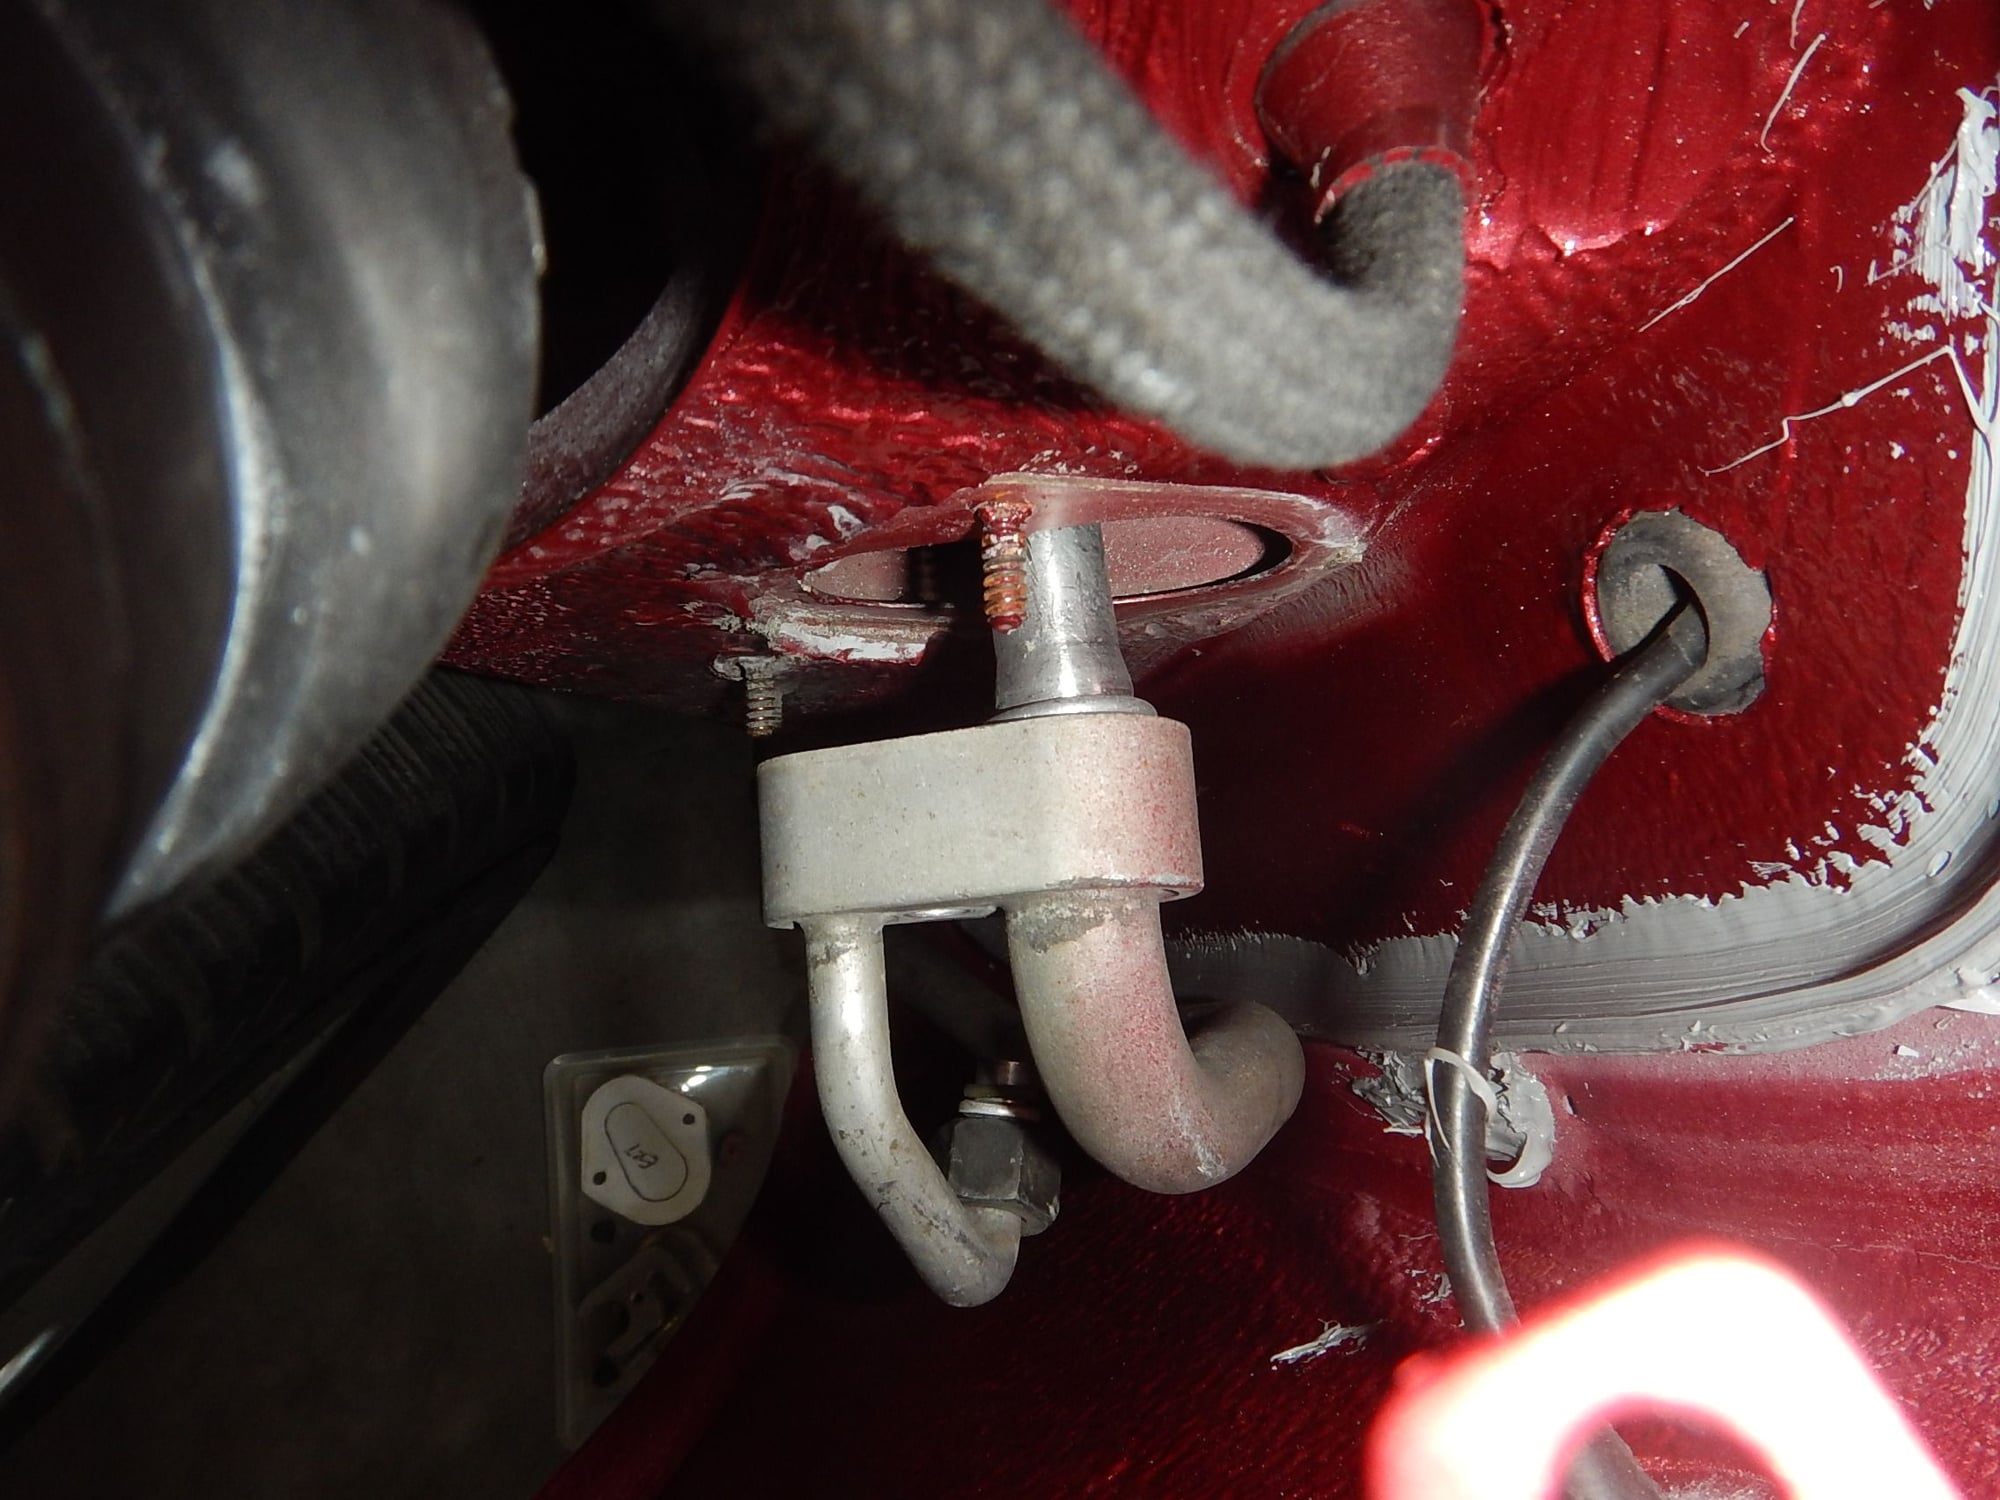
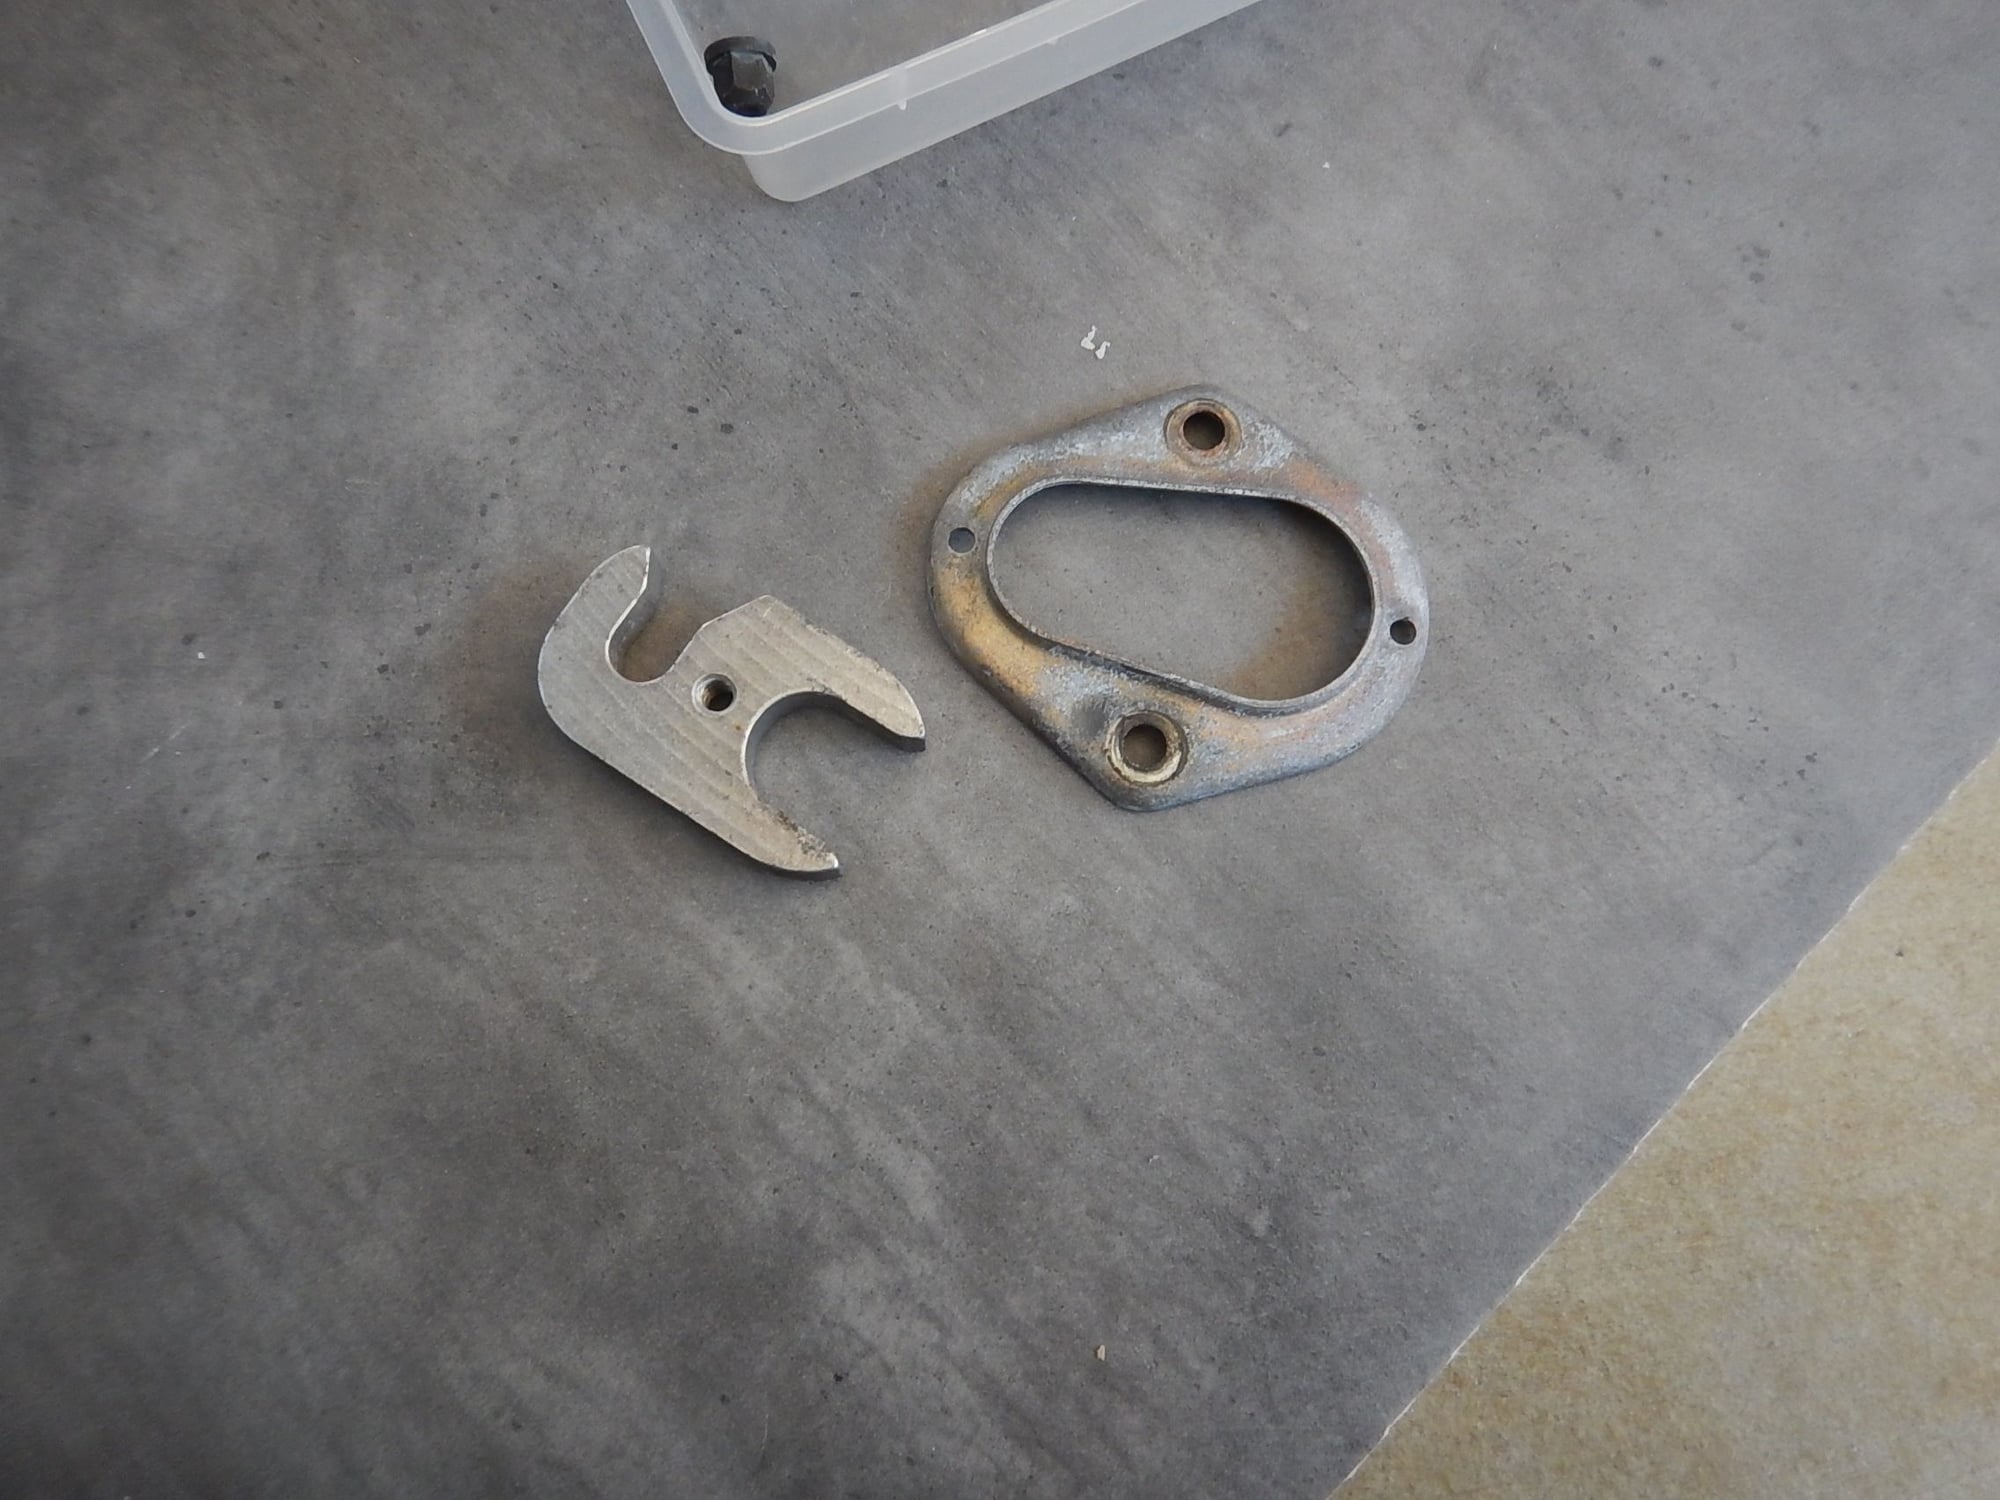
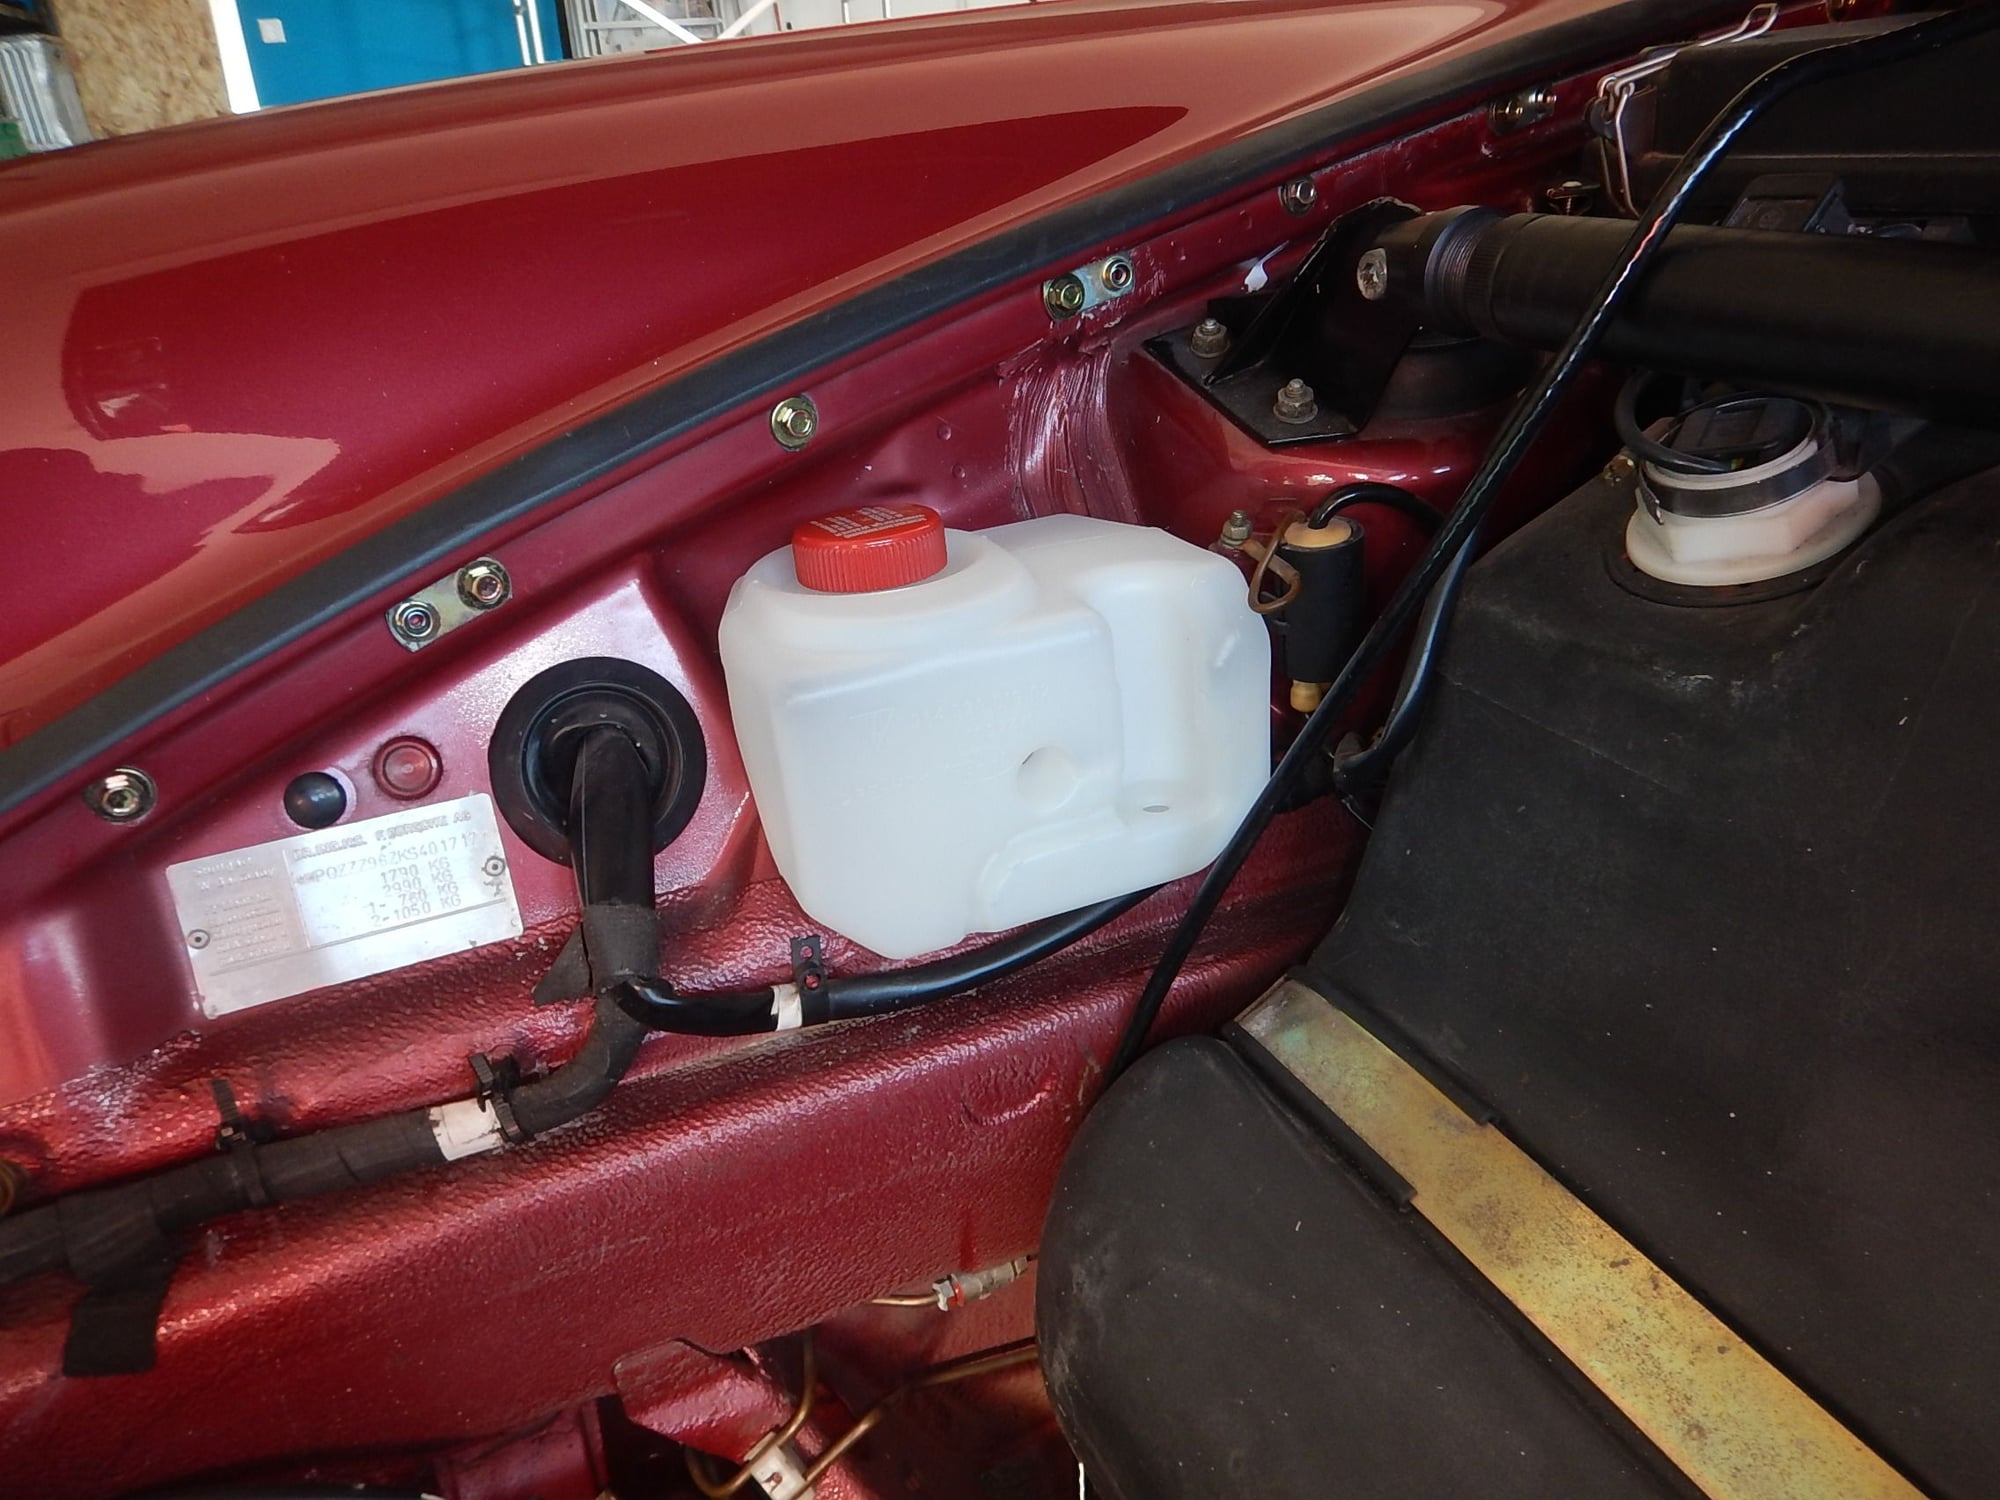
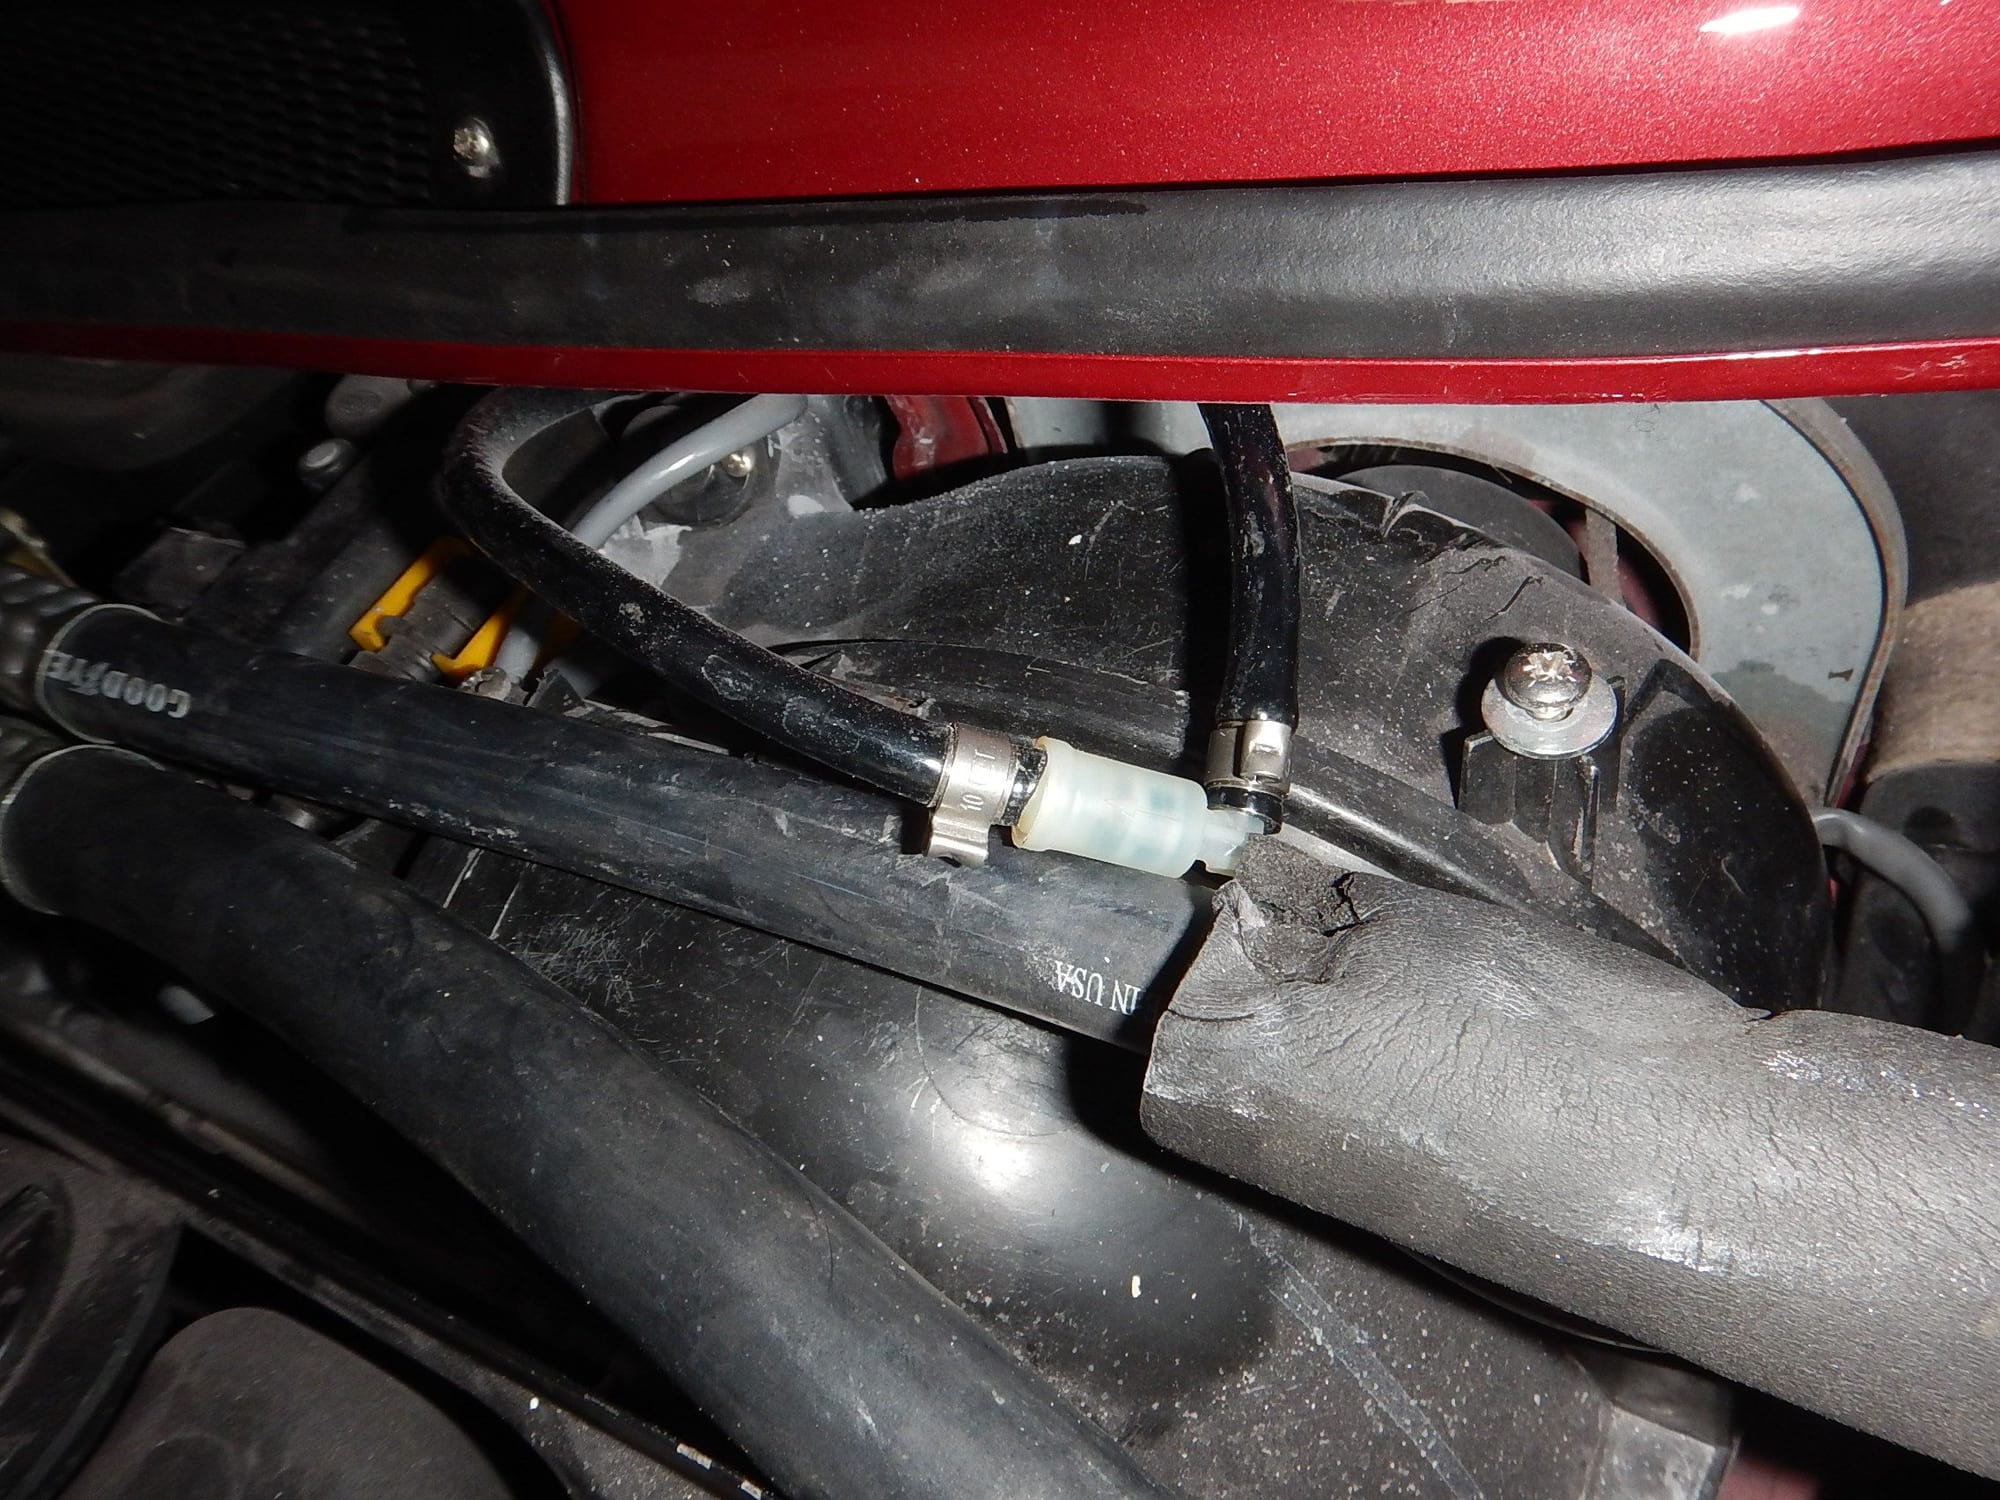
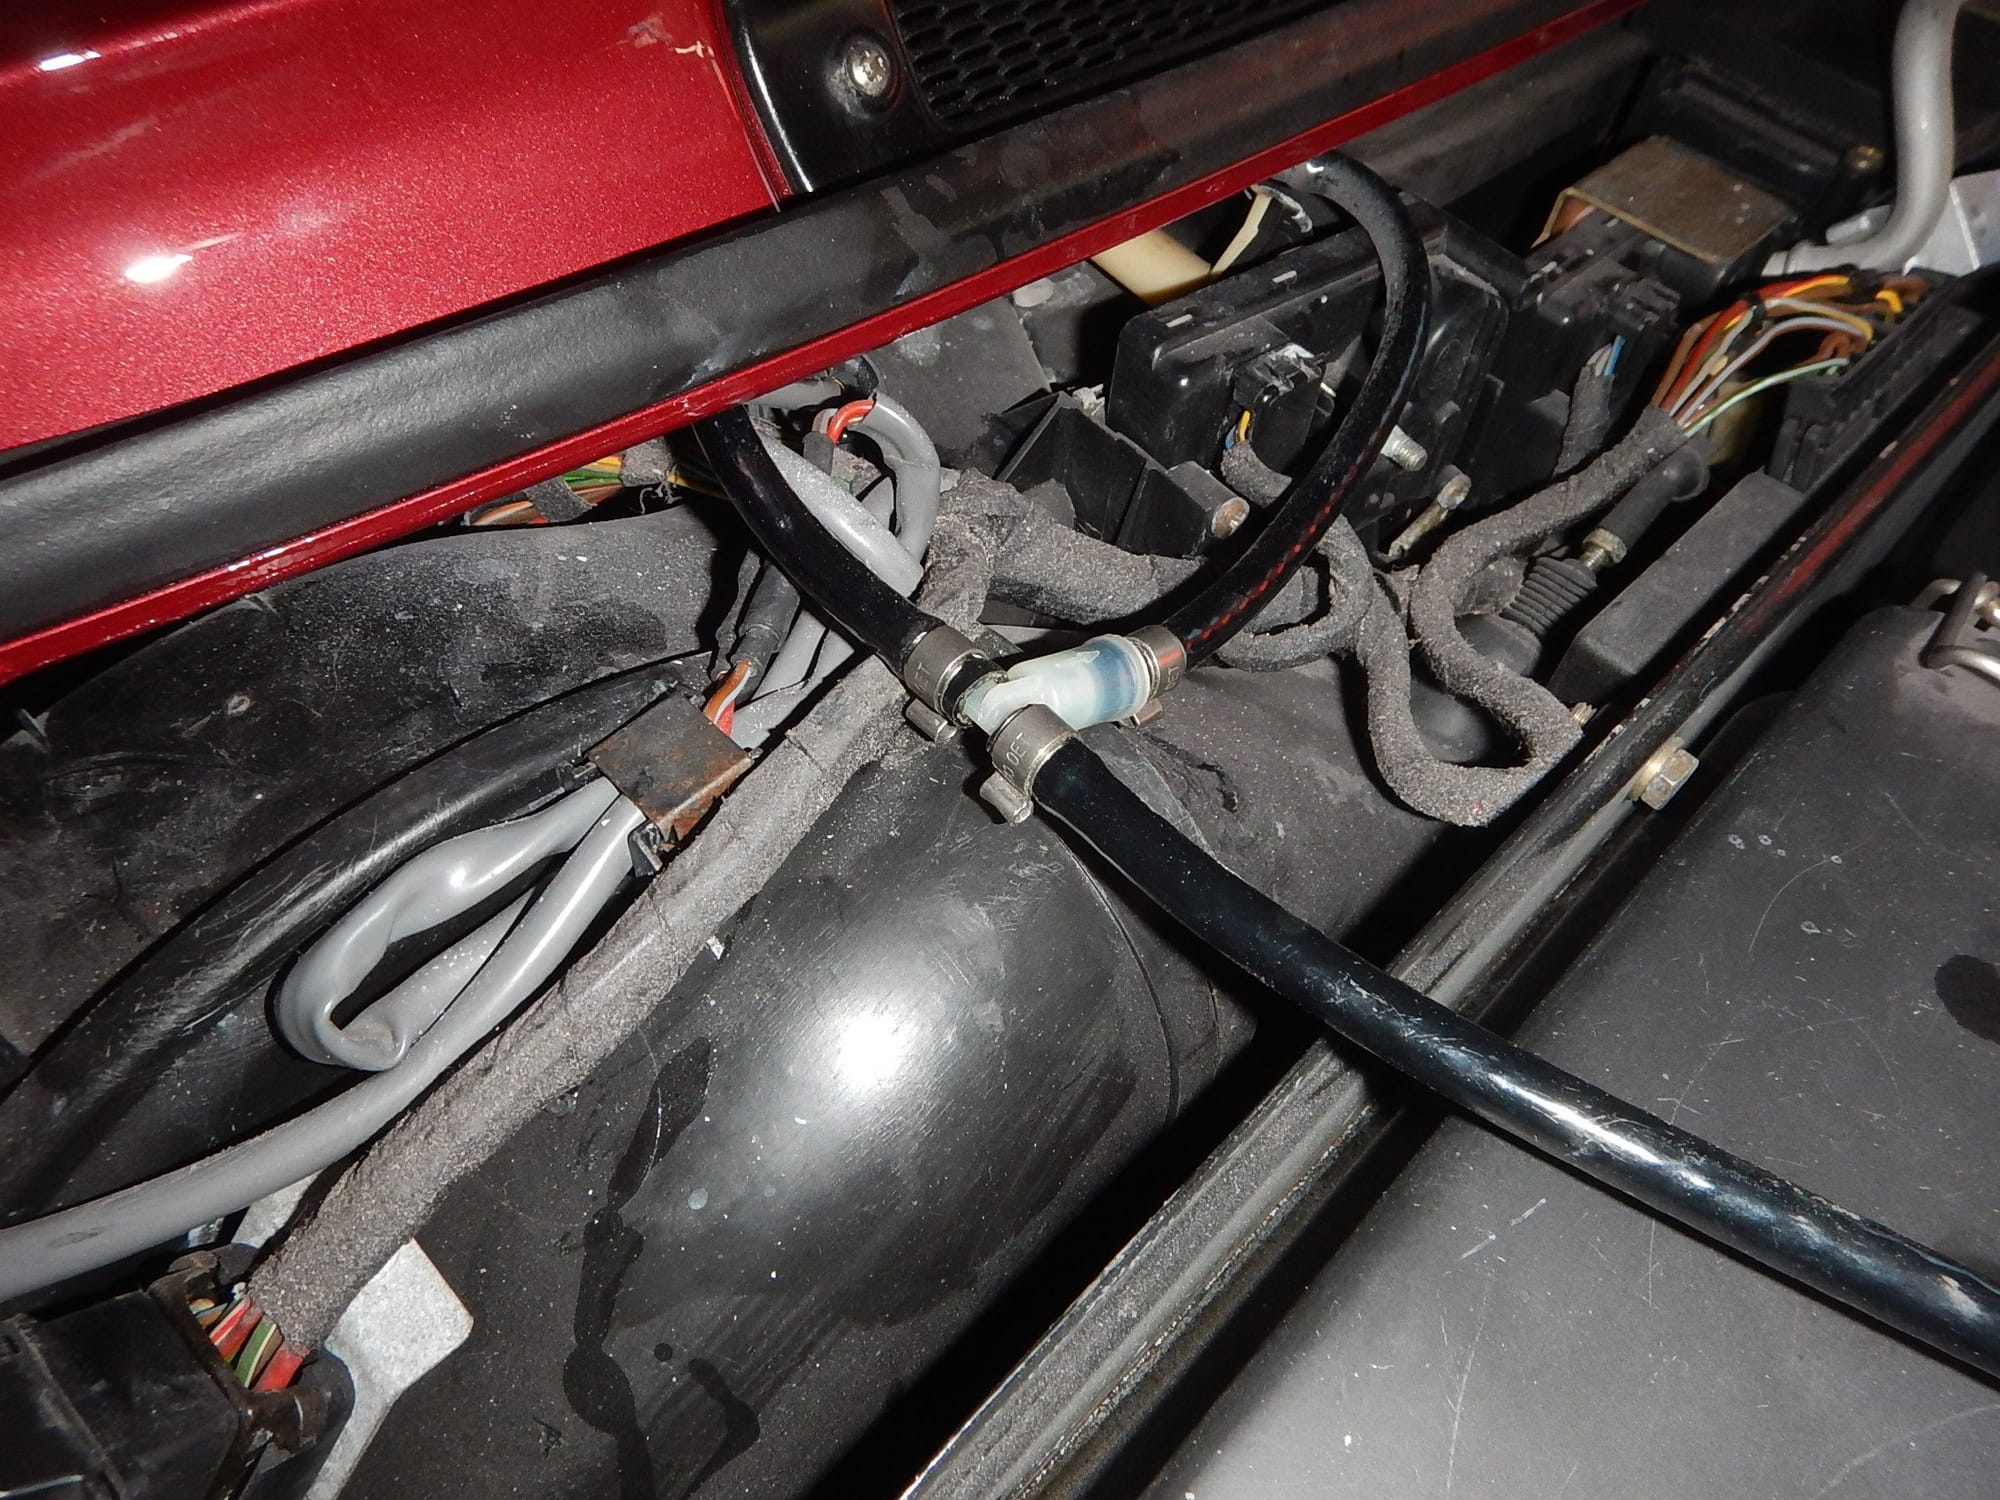
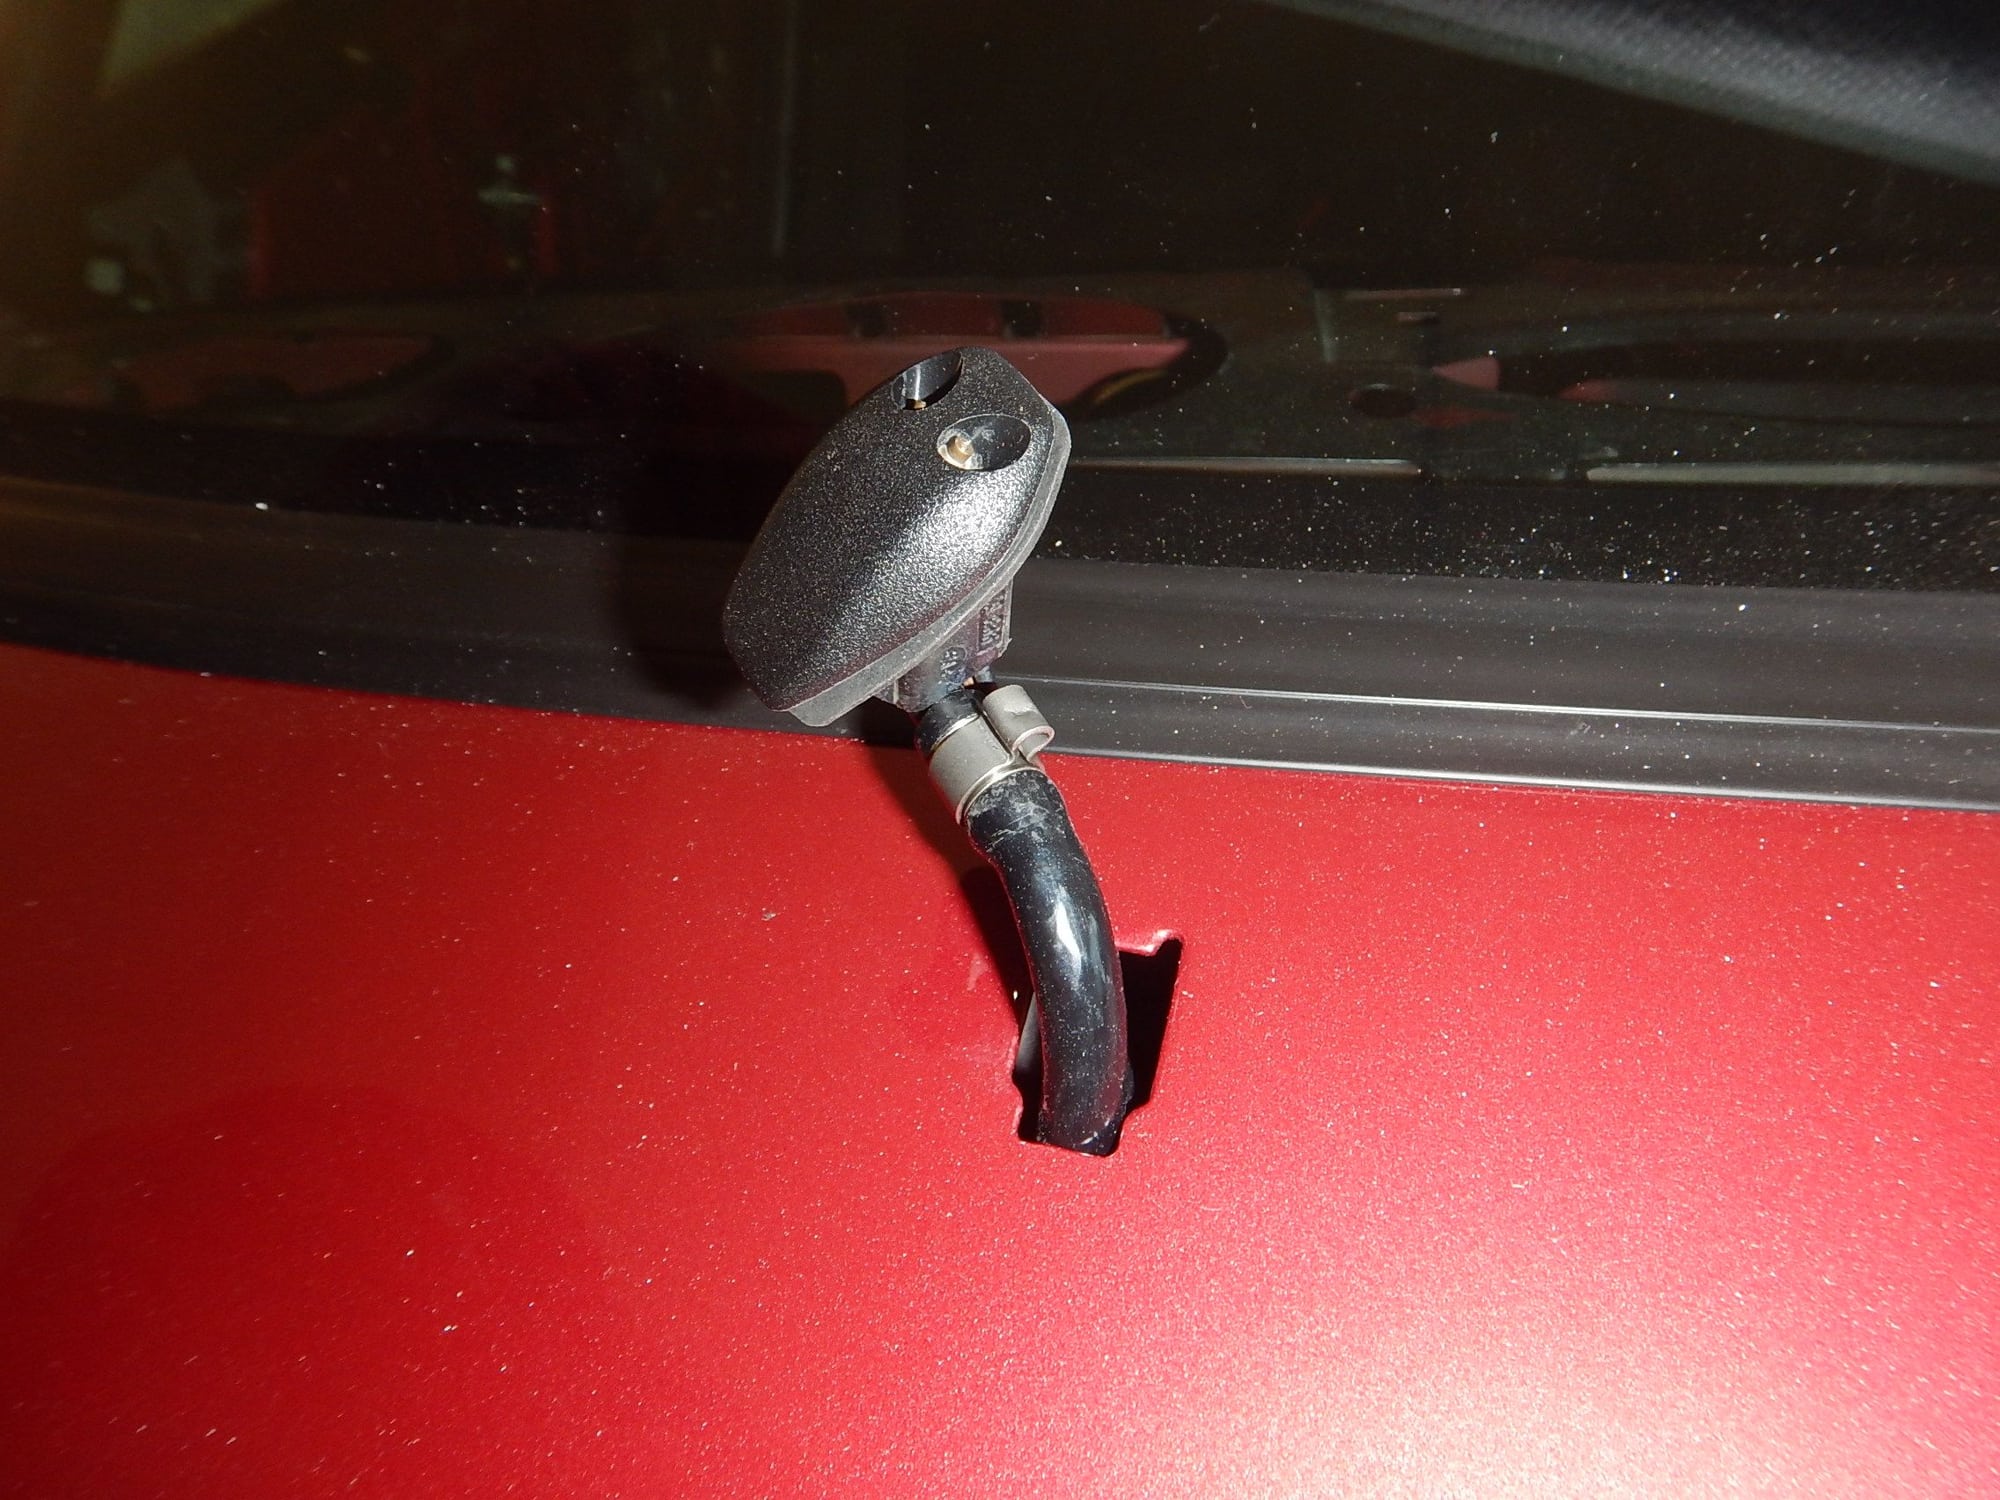
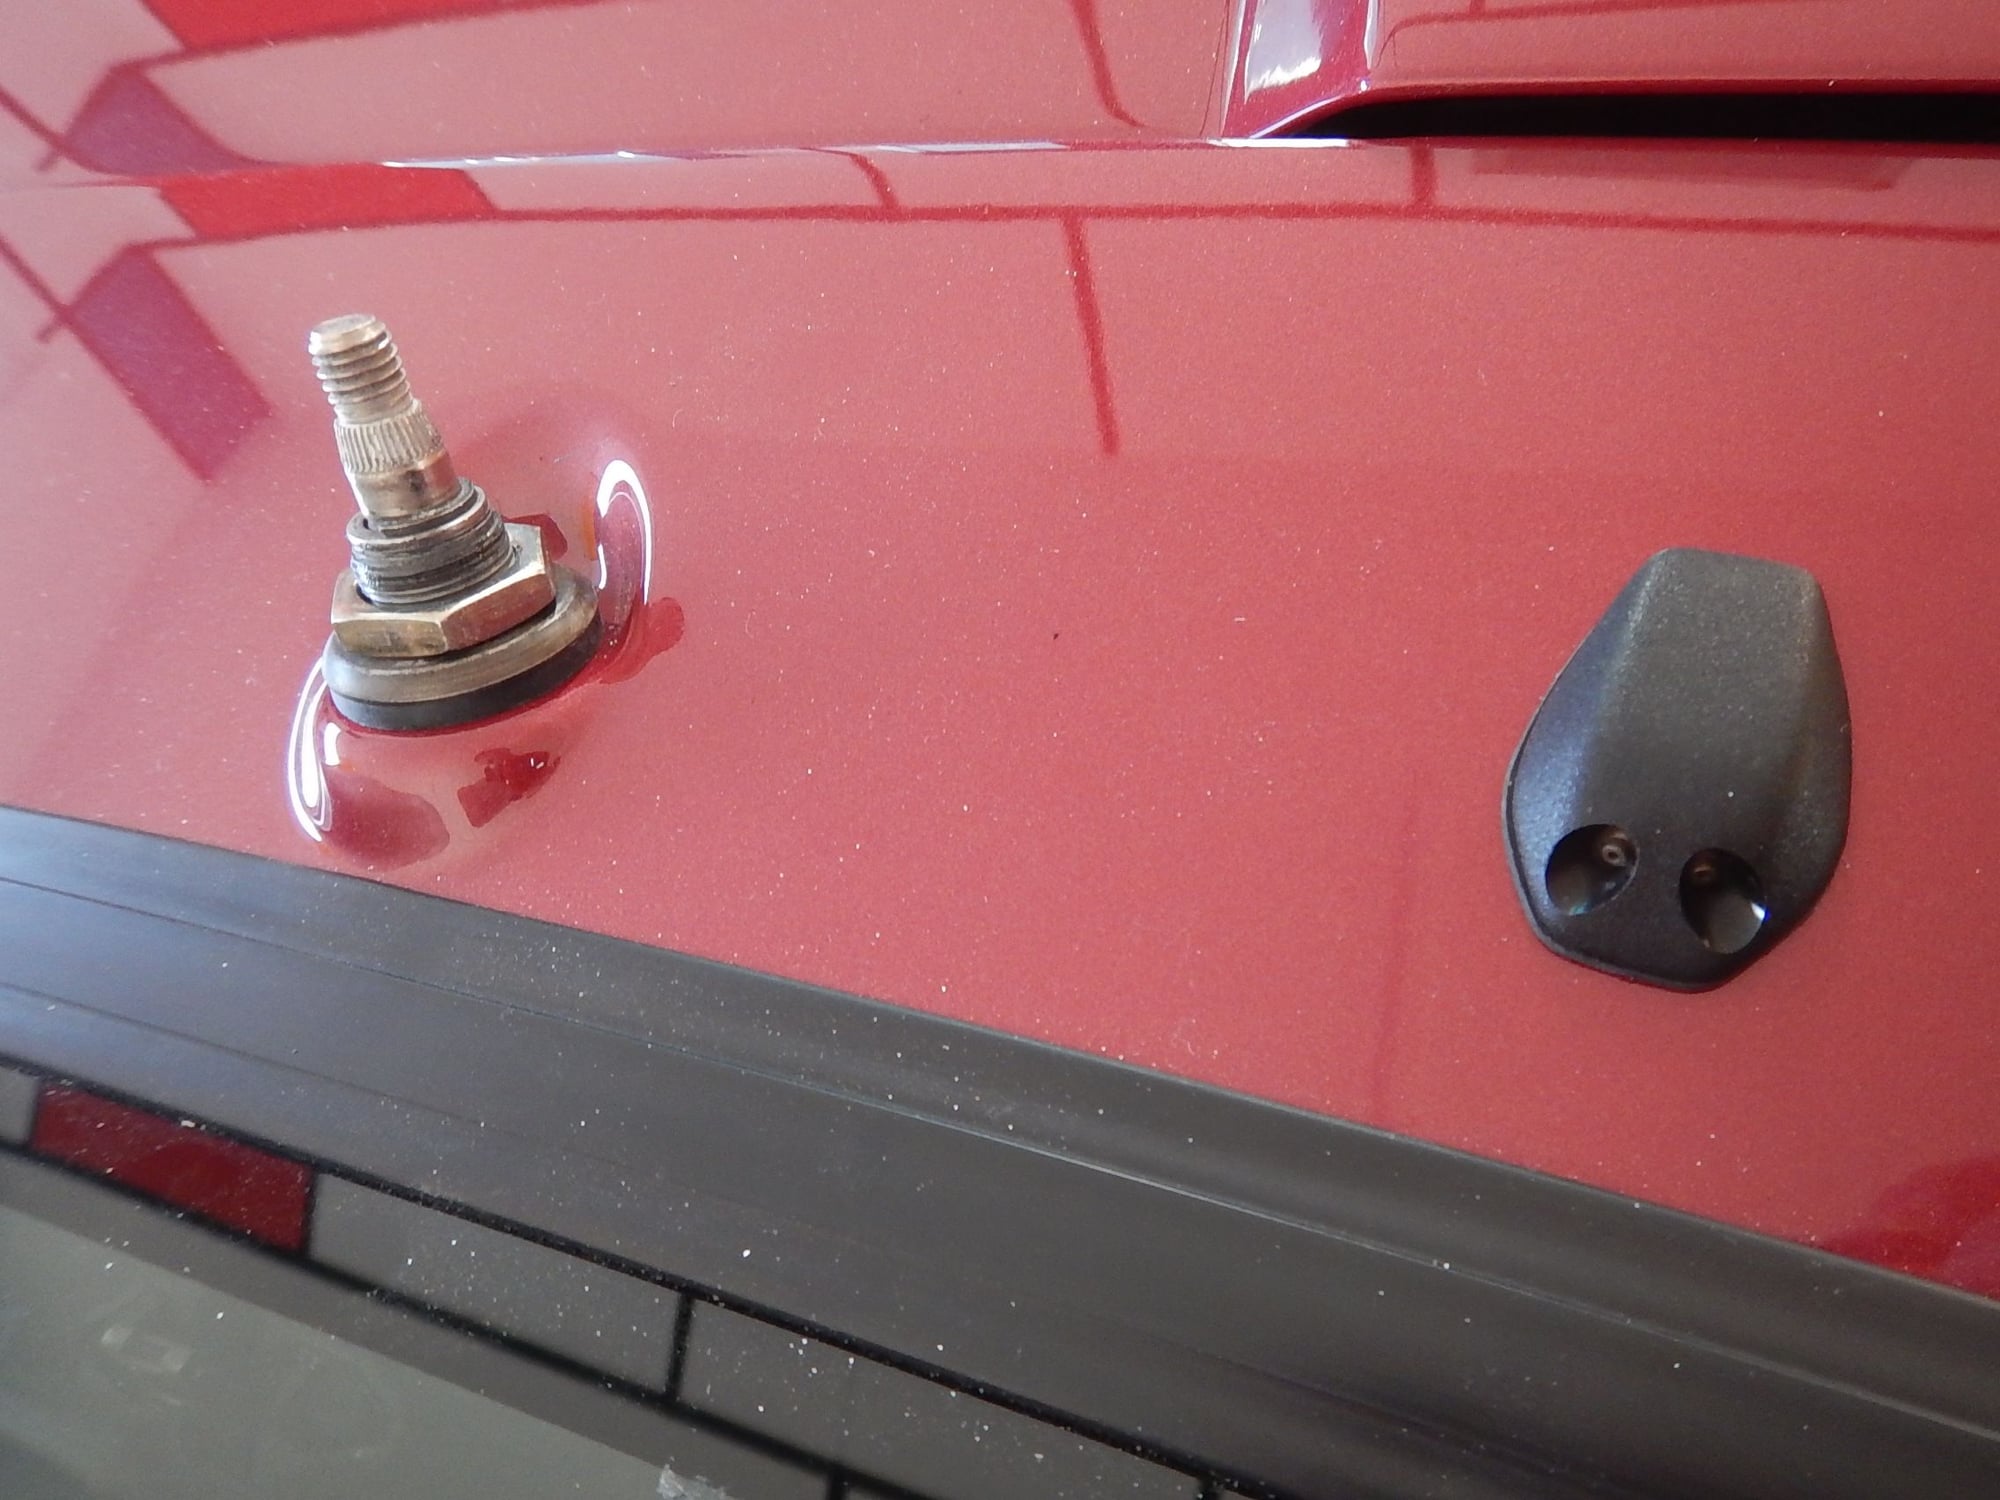

Now I need the general knowledge of this forum.
I am reassembling the AC components. The lines have all been refurbished, but it seems one has been done wrong. The large line that goes from the evaporator in the back of the frunk to the left inner fender seems about 4cm (1 3/4") too long, and goes way past the evaporator when connected in the inner fender and routed correctly (so it seems).
Would someone have a picture of the left front inner fender line connection (behind the fuel filler, from underneath)? I seem to be missing one gasket, and can't figure if the thick metal part that holds the lines goes inside the car, or outside the inner fender.
Otherwise, headlights are in, as are the headlight washers and windshield wipers. New seals/gaskets, to ensure the area remains water tight.


