964 C4 light refurb
#393
Rennlist Member
Thread Starter
Went to start dismantling the front suspension, only to find the Allen key needed is a 7mm and every set I have jumps from 6 to 8mm.
So I decided to fit the RS style engine mounts instead. Easy work although the old ones didn't look that shot. Into the spares cupboard they go for the next 964.
Also did the rear engine lid struts. Huge difference using heavy duty ones designed for the turbo. One is enough to hold up a NA tail, but I fitted two. Overkill.
Now time to make like the cat and get some sleep.
#396
Rennlist Member
Thread Starter
Front struts out in 90 minutes. Probably 3 hours to change over springs and reinstall them. Might get both ends done in time before I go away for work again. Love working with the AC Jack and Esco stands.
#398
Rennlist Member
Thread Starter
Nothing to confess, just me in my happy place. Every day there are professional mechanics doing these jobs with no issues or need to share. I hope that a few people will read this and take on the DIY challenge and keep their cars well maintained. The previous owner of the Silver car could have used some encouragement!
#400
Rennlist Member
Thread Starter
All geared up to change the springs over when I realized I didn't have the gear strong enough to undo the top nut. Instead I fitted the bonnet lid struts. I got it in the end but I won't volunteer for that job again. It would help to have a very long narrow screwdriver. I bent a pair of tweezers and taped them go another screwdriver. It took me 90 minutes to do both. A few additions to the swear jar.
#401
Rennlist Member
Thread Starter
I sourced the materials for the seat re-padding.
This type of foam is meant for auto seats and will last years. The thin foam will cover my reworked areas so the surface comes out nicely for the covers.
This type of foam is meant for auto seats and will last years. The thin foam will cover my reworked areas so the surface comes out nicely for the covers.
#403
Rennlist Member
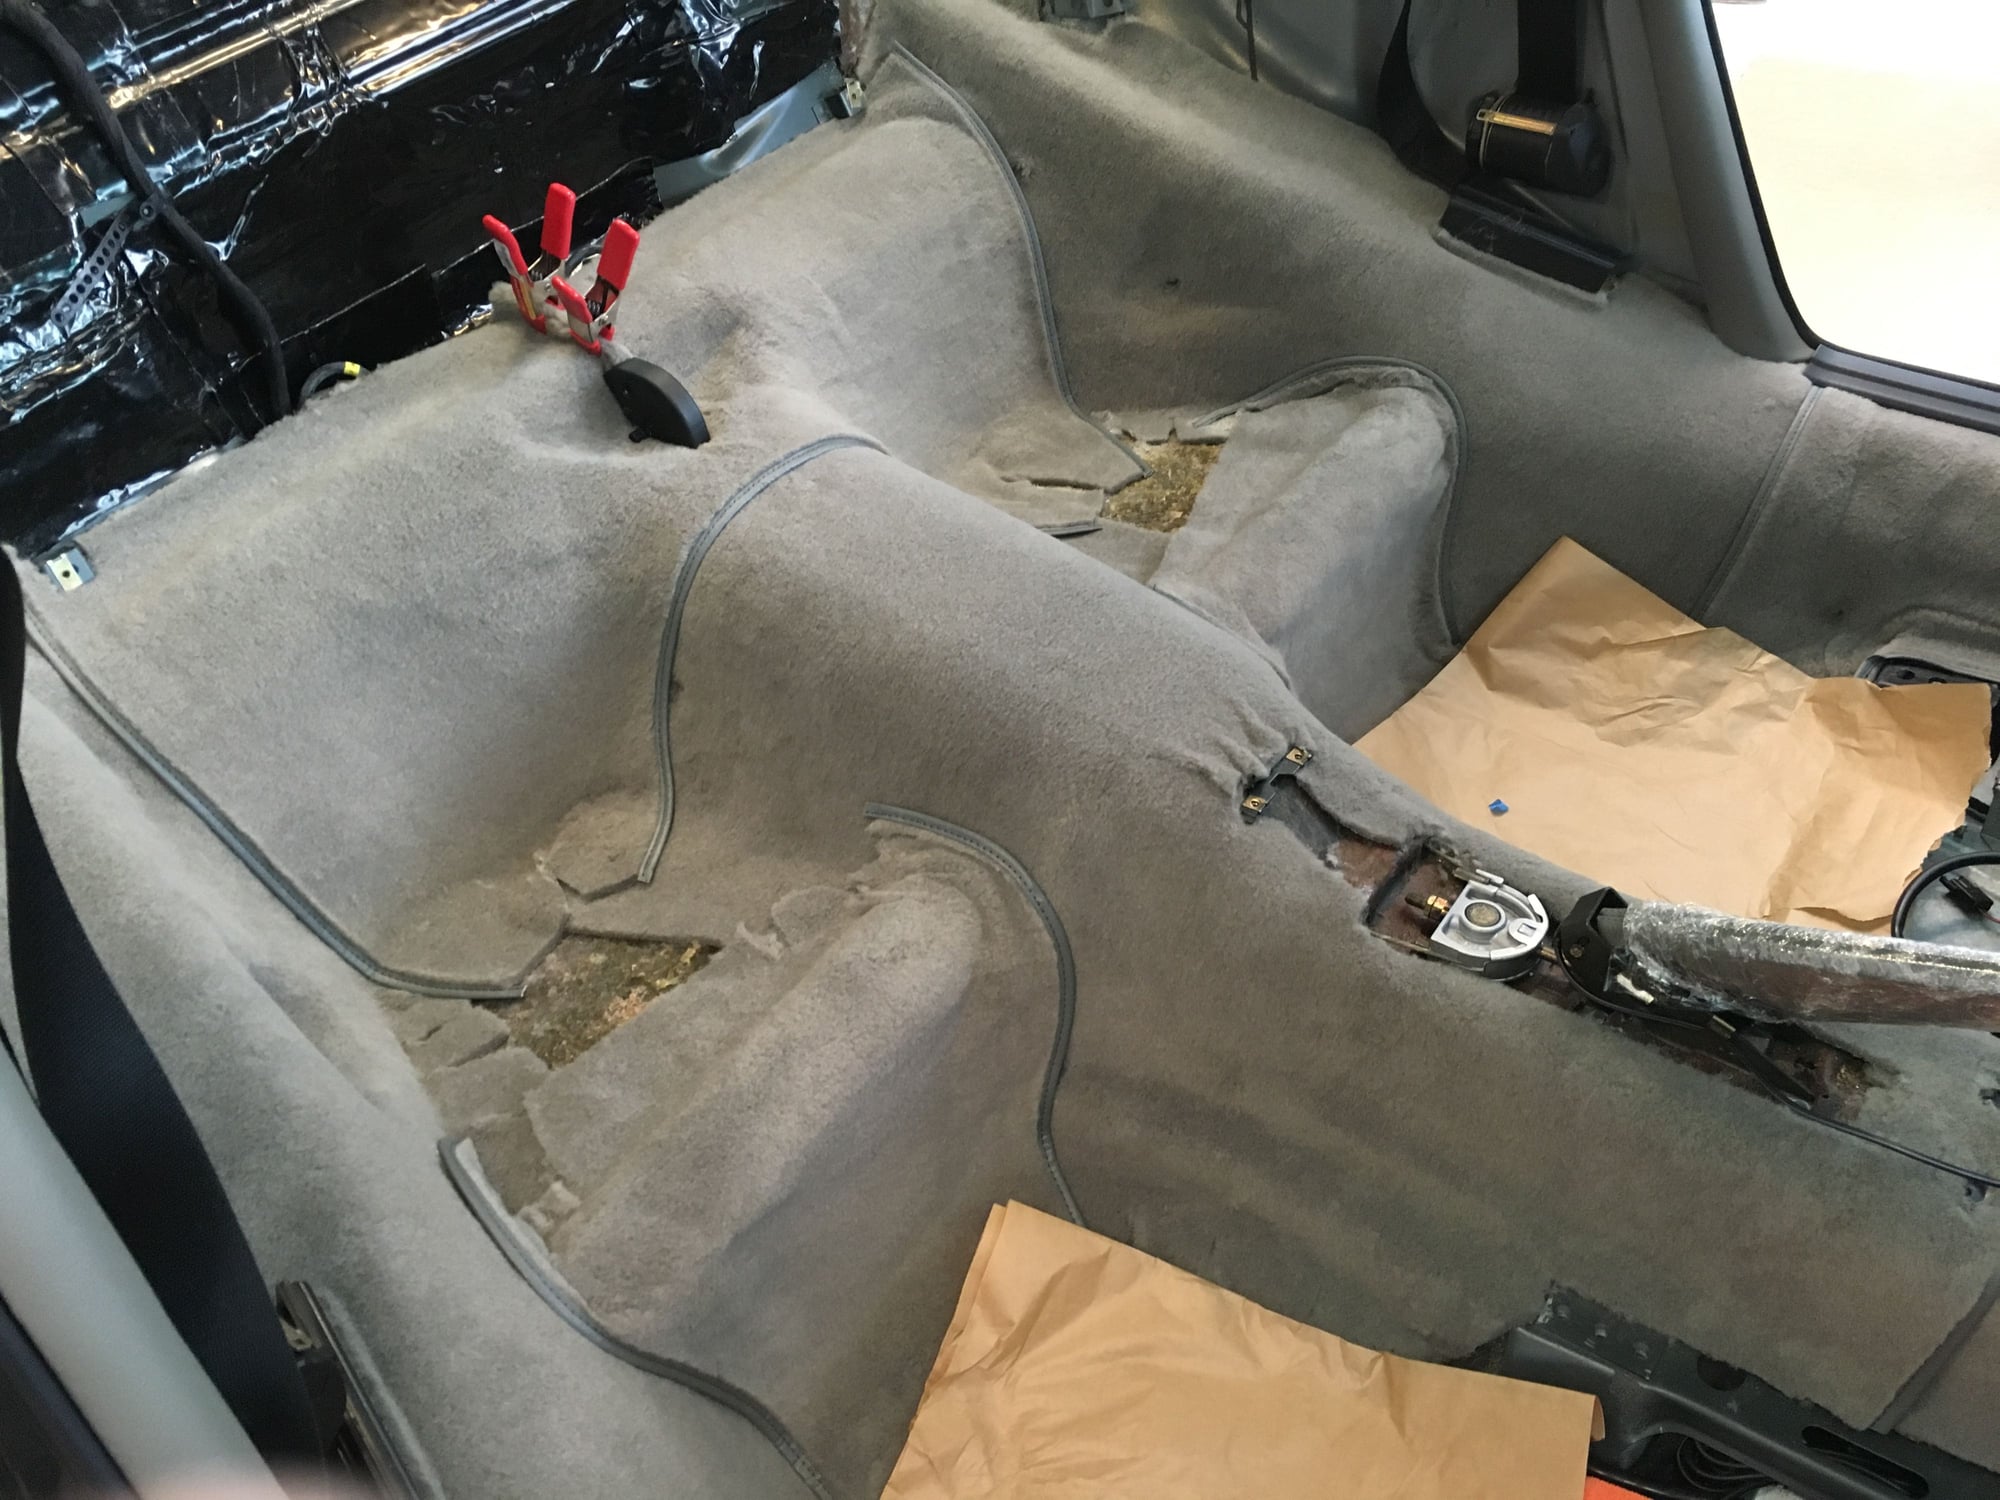
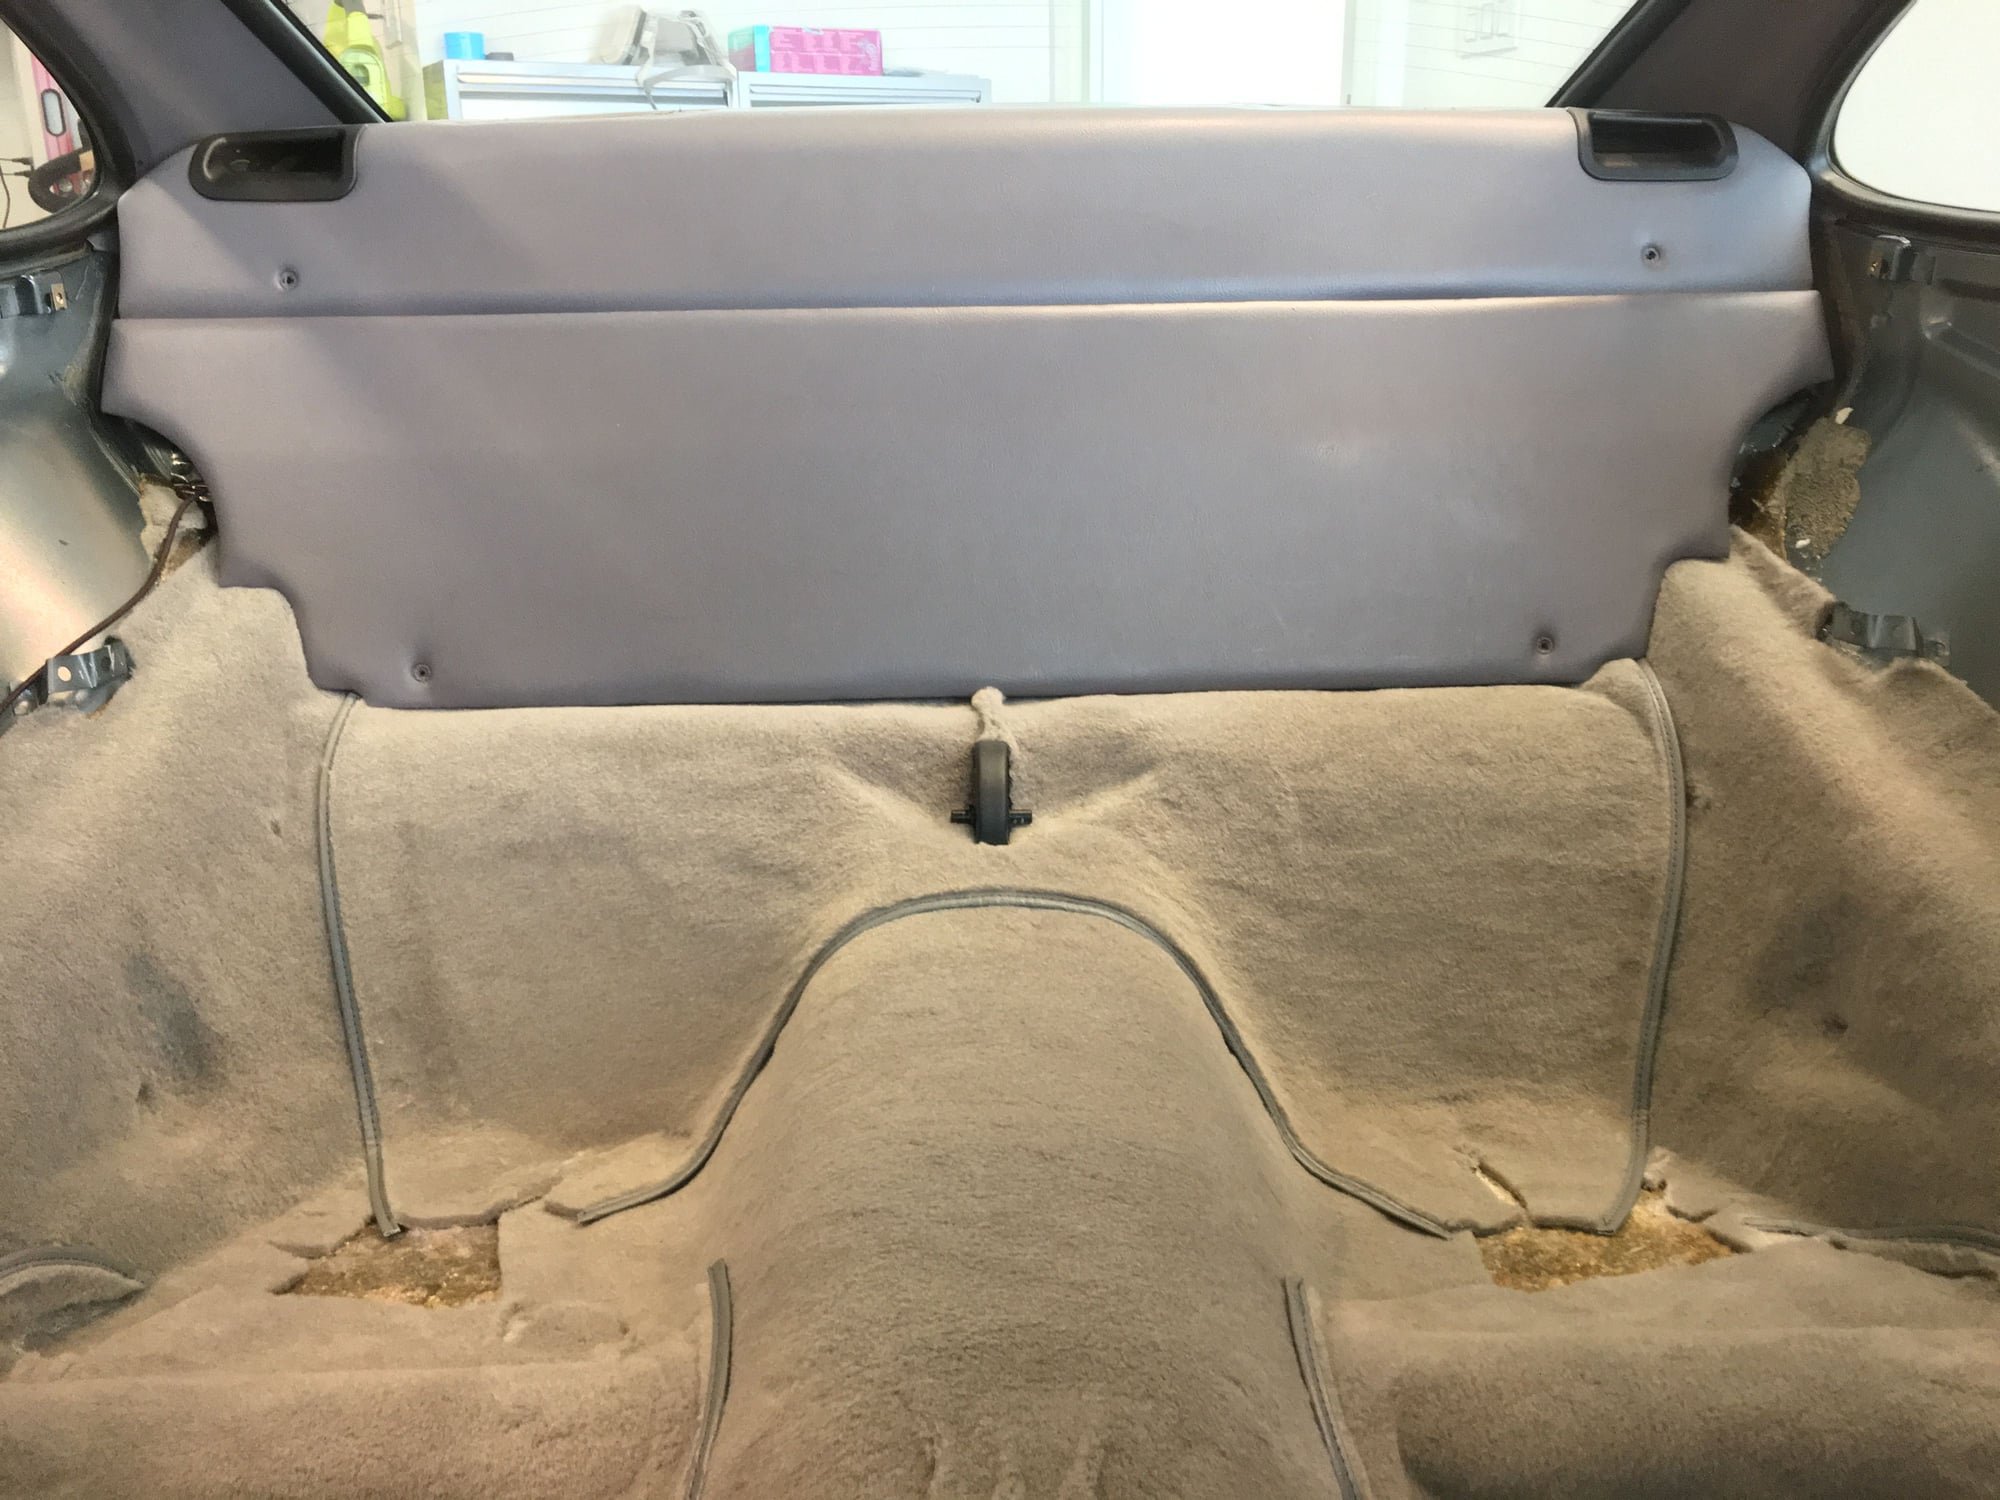
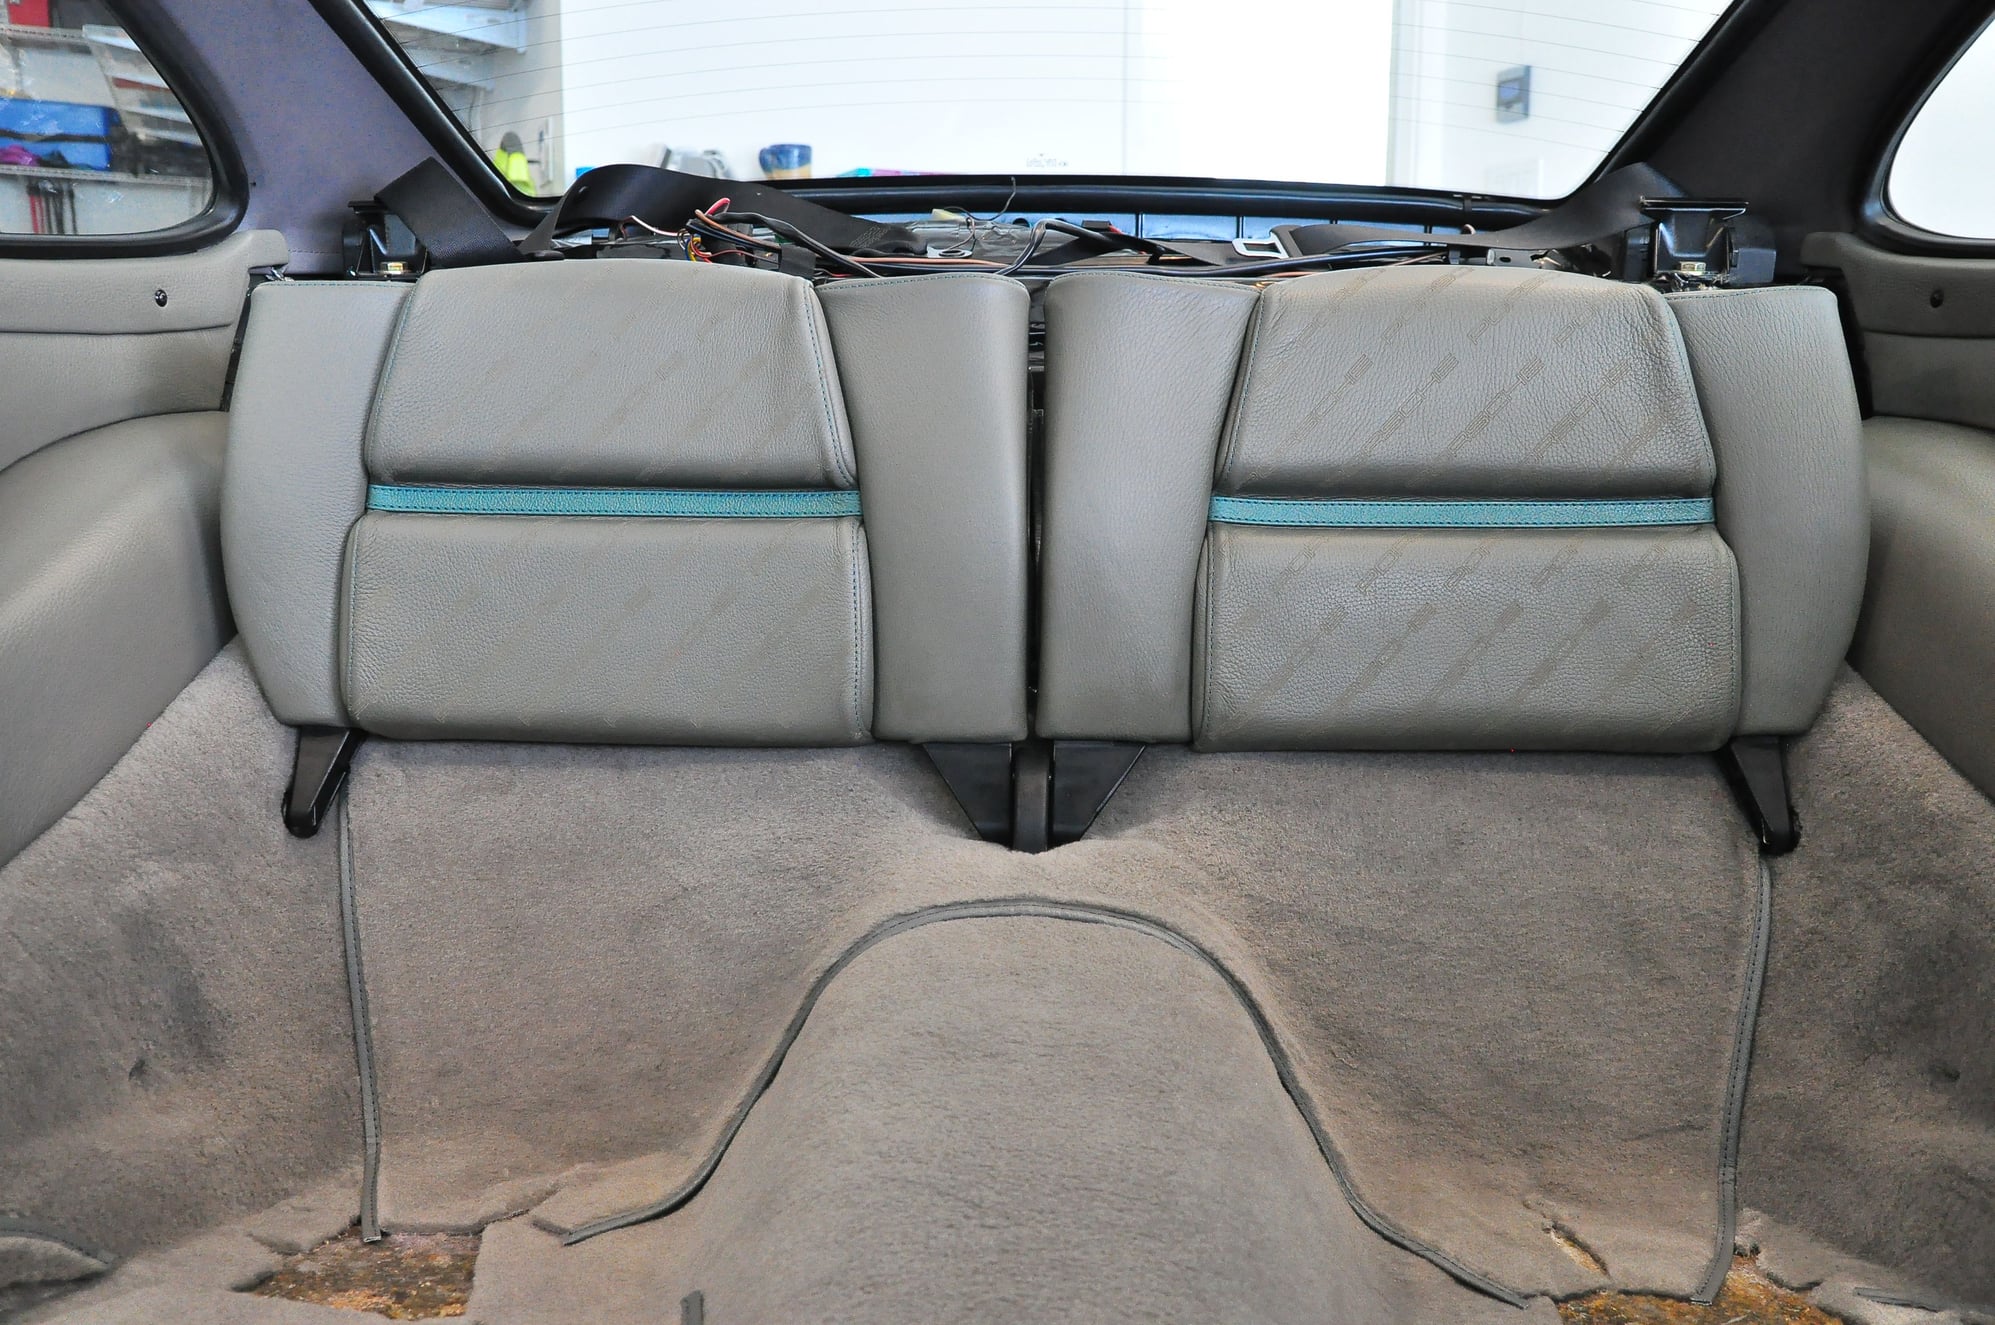
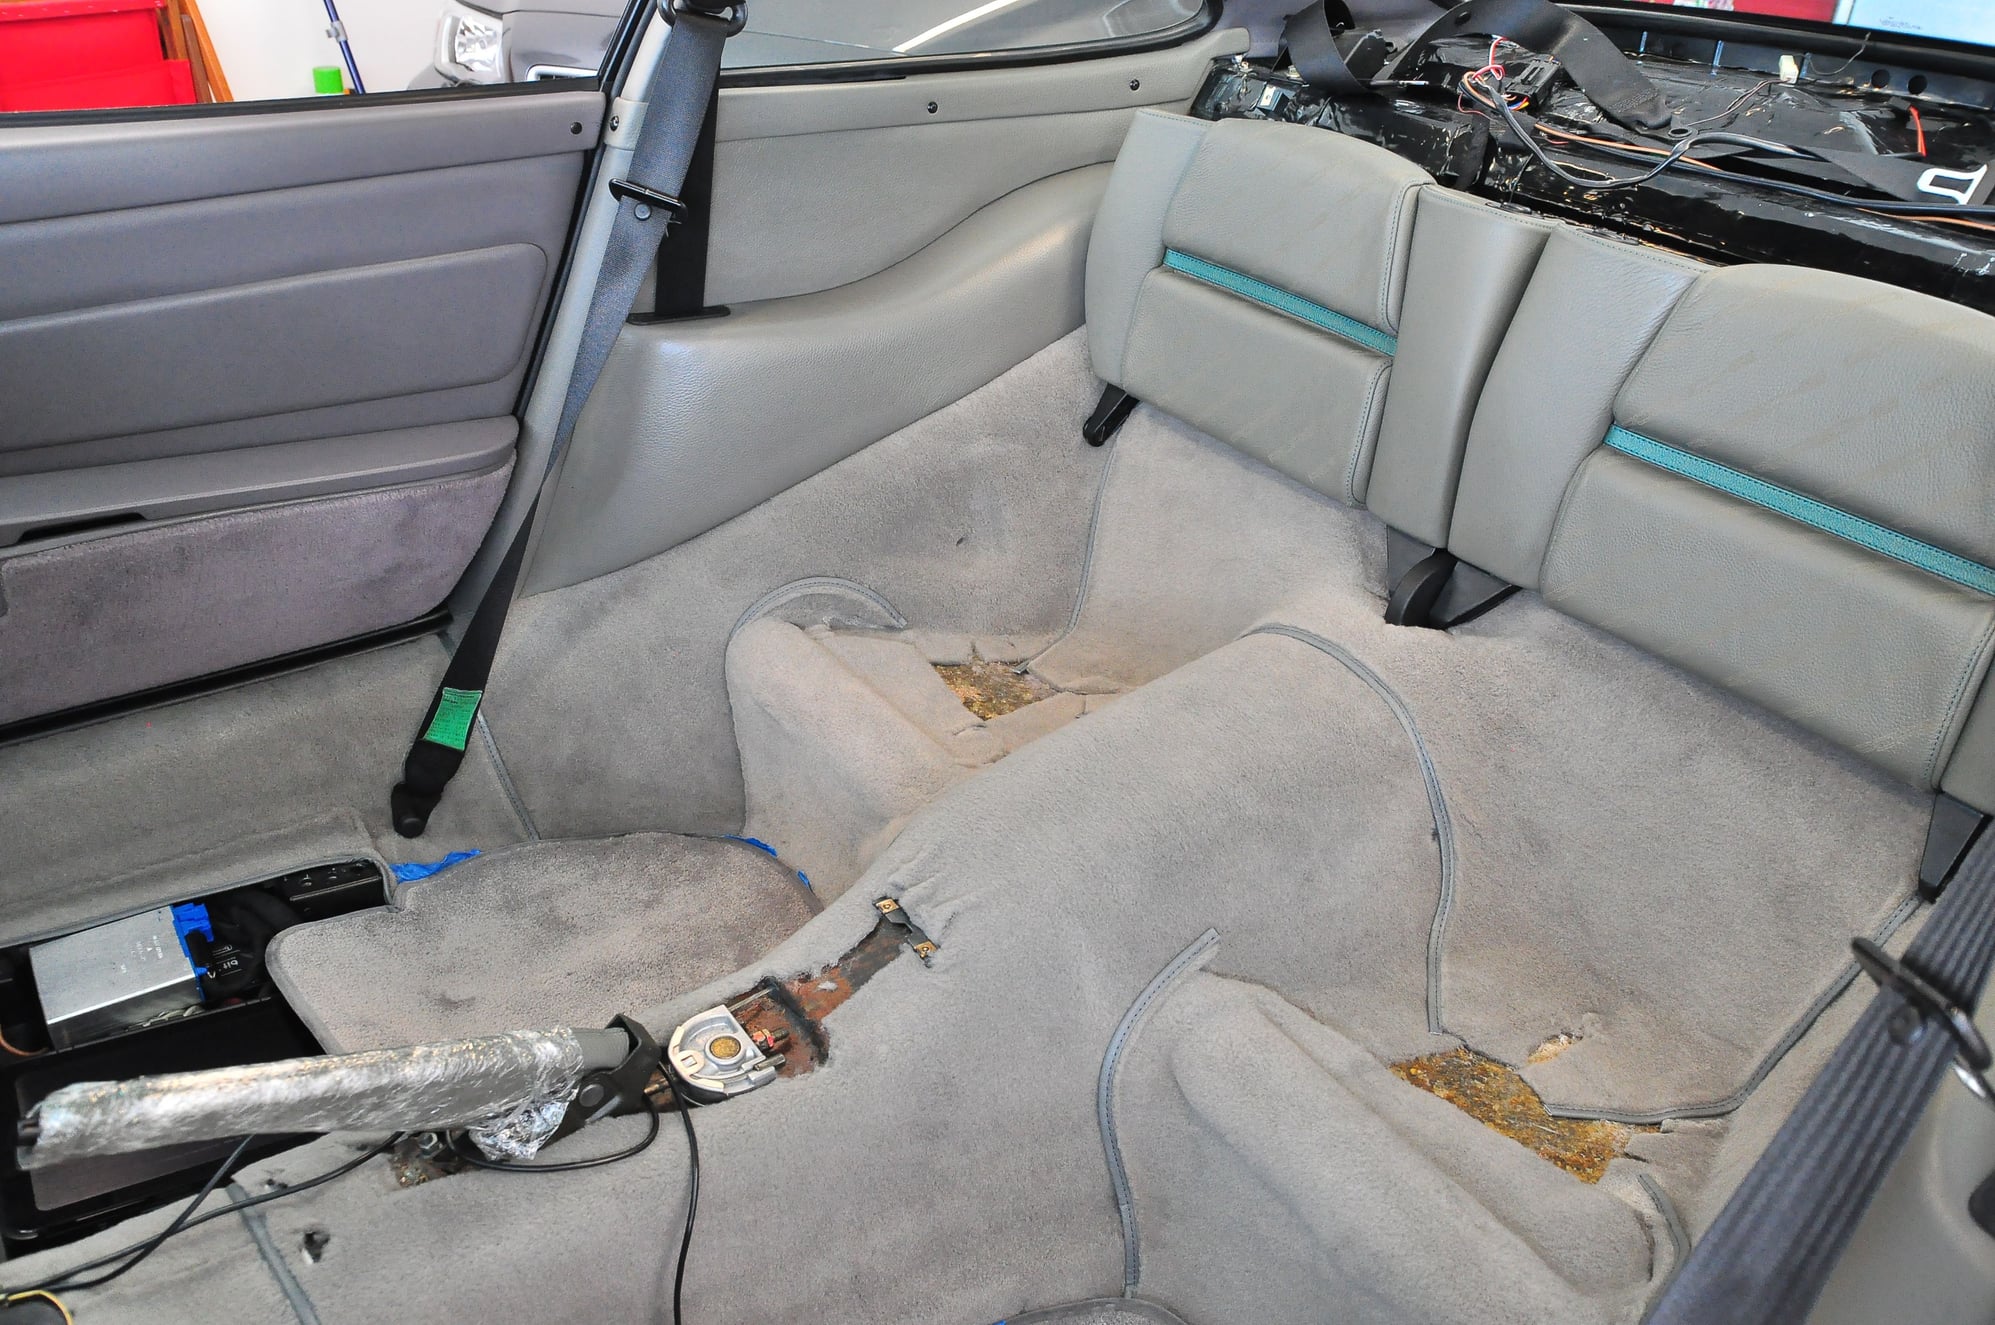
Looking at the position of your "collar" piece relative to the outboard rear seat back hinge points, my installation is similar to yours ... Skewed to one side of the car by a centimeter or two. I also had some unfixable bunching right behind the center hinge point so
I slit the collar in an undetectable place.
Kudos to your install! You did a very nice job!


#404
Rennlist Member
Thread Starter
Good job with the first time carpet install! I just finished up my own first time carpet installation a week ago as well, and, like you, had some difficulty with the compound curves on the center tunnel. Looking at the position of your "collar" piece relative to the outboard rear seat back hinge points, my installation is similar to yours ... Skewed to one side of the car by a centimeter or two. I also had some unfixable bunching right behind the center hinge point so I slit the collar in an undetectable place. Kudos to your install! You did a very nice job!
#405
Rennlist Member
Thread Starter
I admitted defeat on the shock top nuts and went to a specialist. Five minutes and they were both off. No charge.
I knew the shocks were stuffed (check out the bump stops), however unfortunately the springs are missing part of their coating so I'm going to replace them.
BTW I asked them to check the spring stiffness. A simple setup with a jack and a meter. The double progressive nature seemed too hard to measure e.g. At mid range it was 96 lb for a one inch move.


