

Teardown begins. Suspension madness...
 06-21-2019, 10:34 PM
#1171
Rennlist Member
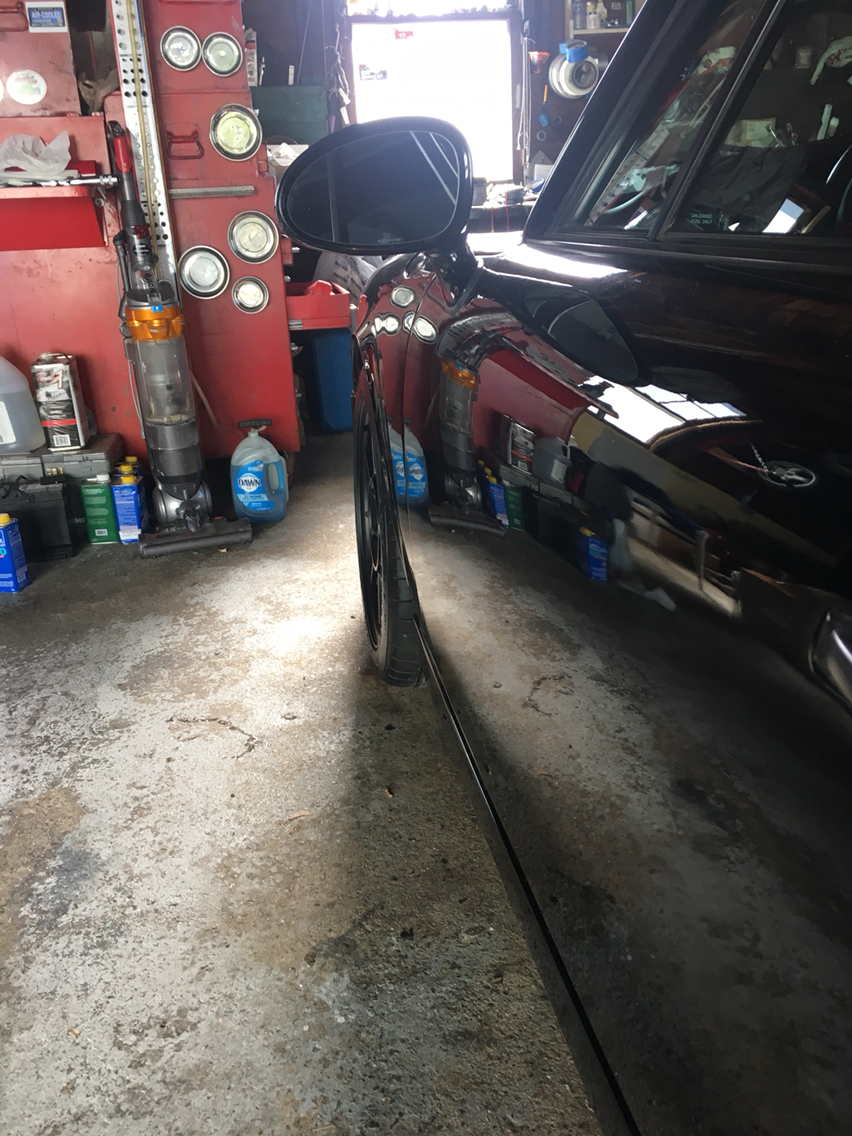
Not yet - to be honest, this isn't my car. It was sent to me by a guy that found me through another rennlister- and I've been sorting it ever since...it's on old tires on the oem 16 inch wheels- we have a set of 17 inch campy sport wheels coming from Augment, which will have wider tires and sticky rubber...
So for the moment, i have not driven it anywhere near hard enough to lose the back end. But i have driven it "sprightly", and it feels great. It's going to be way better w the new tires, so when i install those I'll tweak the alignment and make it right.
So for the moment, i have not driven it anywhere near hard enough to lose the back end. But i have driven it "sprightly", and it feels great. It's going to be way better w the new tires, so when i install those I'll tweak the alignment and make it right.
 07-15-2019, 10:40 PM
#1172
Race Car
Thread Starter
I keep saying i should have done a "rebuild madness" thread on this cab. It came to me with so many issues i can't begin to list...but the two big ones were "no one can get it to run" and "i haven't used the top in 18 years because it doesn't work".
Needless to say, it was running in 2.5 hours, and the work then began. Still needs a bunch of normal maintenance work, fuel filter, plug wires, brake pads, but let's just say there was soooooo much other stuff to do, that these were good enough to not bother with, as we need to get the car out to the beach for the summer. So maybe i hit that bunch over the winter when it comes back.
However - on the fluff side of life- we did a rack brace, rack bushings, springs (it already had bilstein b6, so we kept those), rear swaybar, rs tie rods, new end links....most of the standard suspension madness stuff...i kept the oem front swaybar, had to keep the car a little soft, since the feel and handling need to fit the purpose.
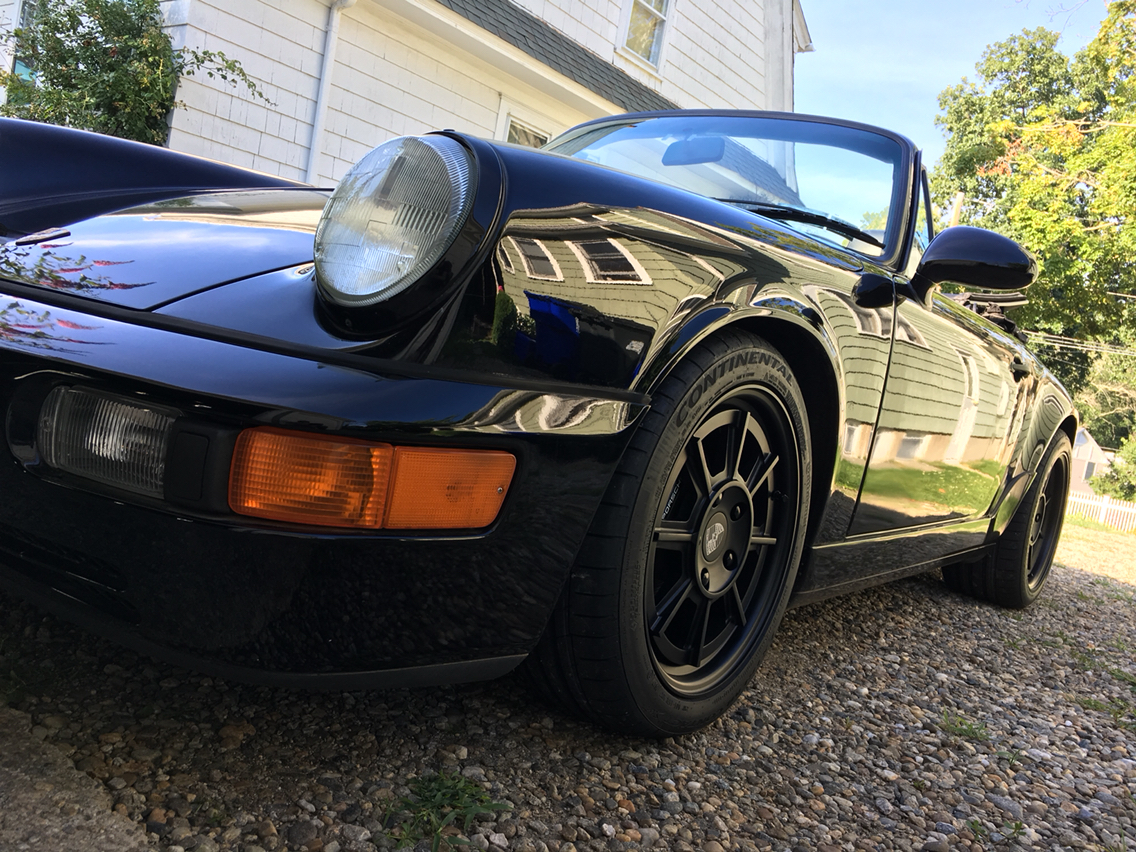
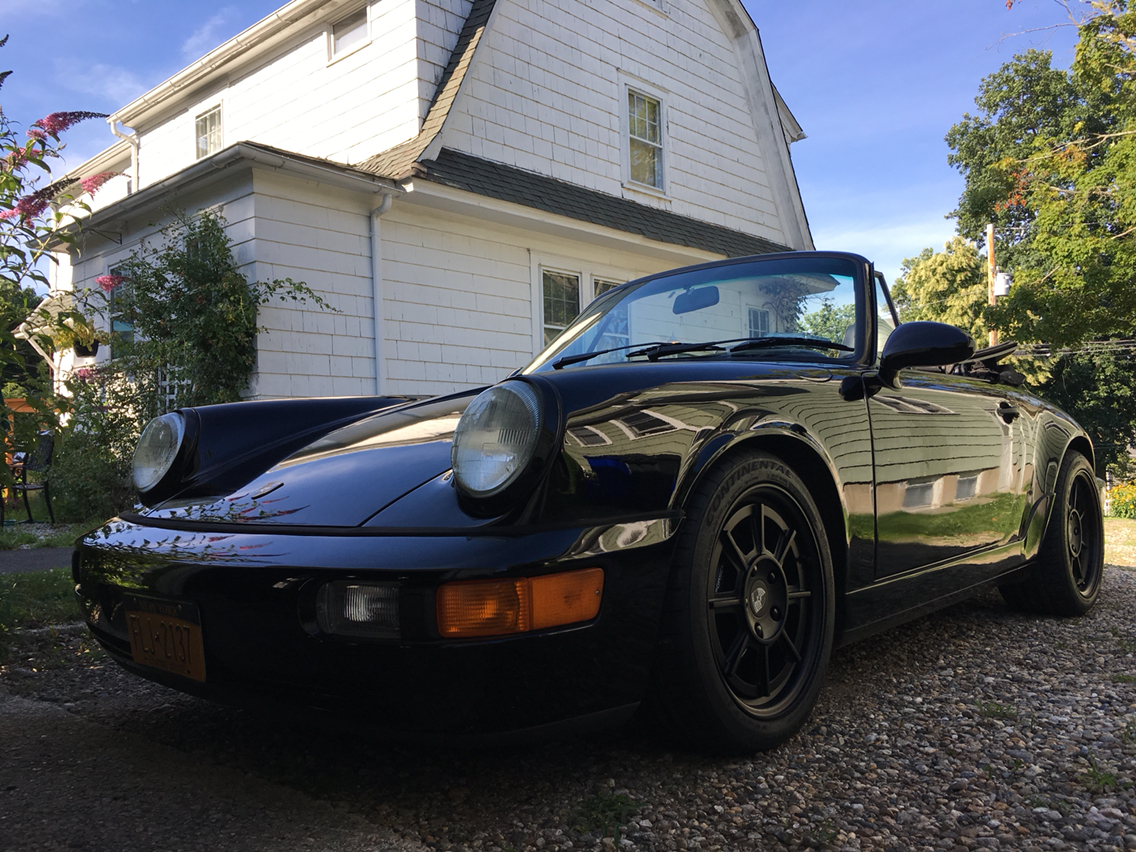
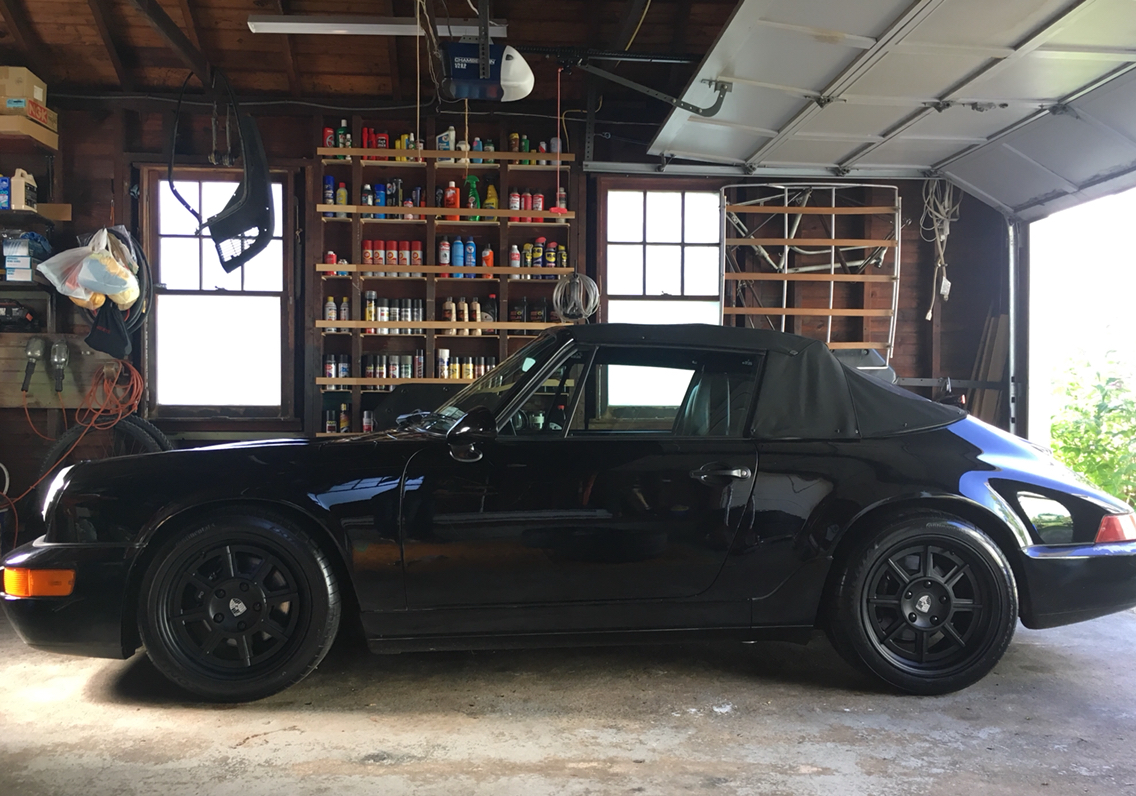
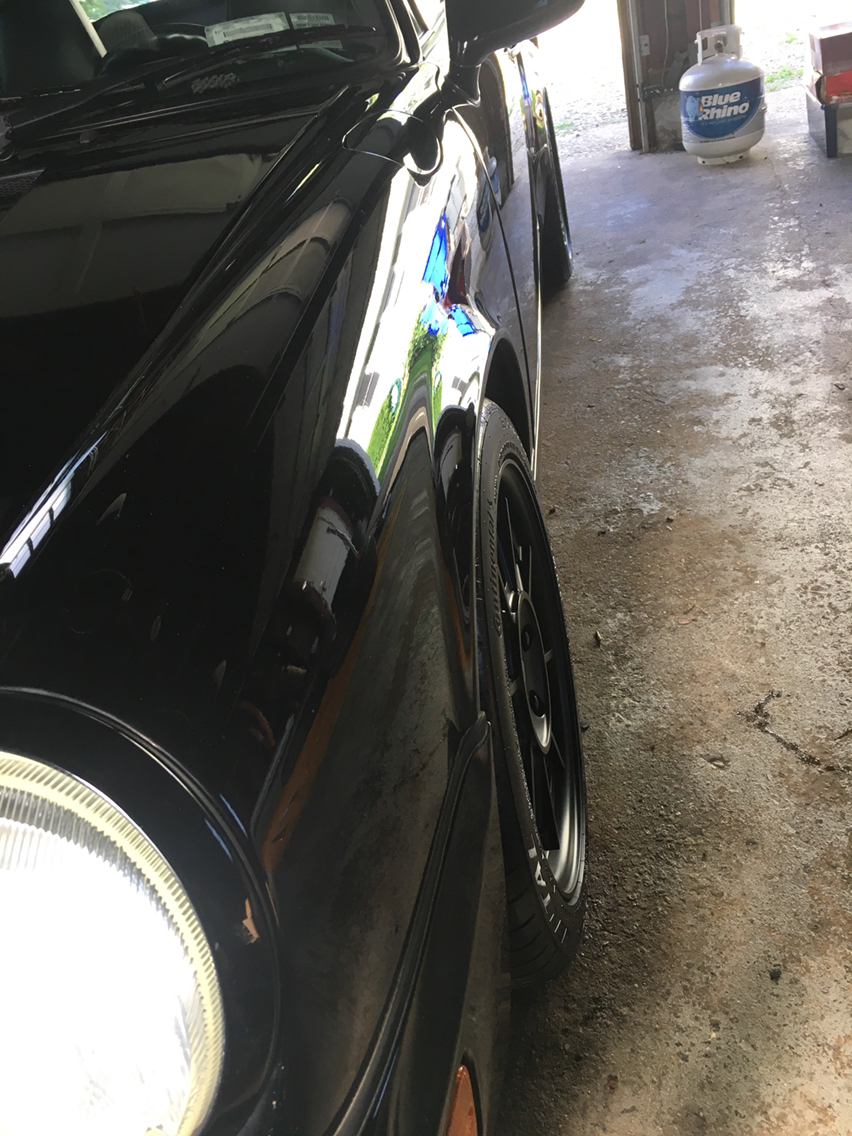
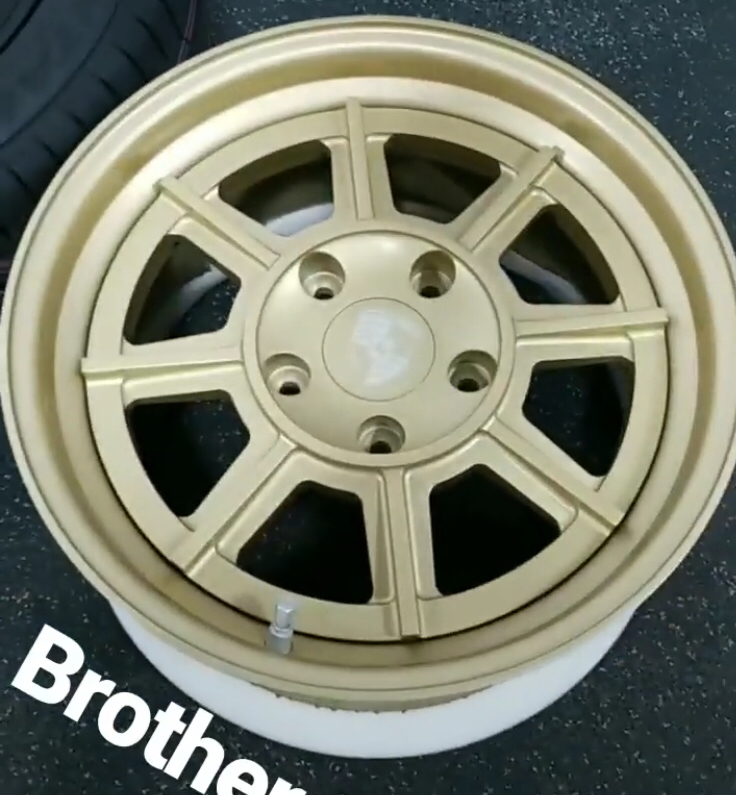
And then there are these wheels...
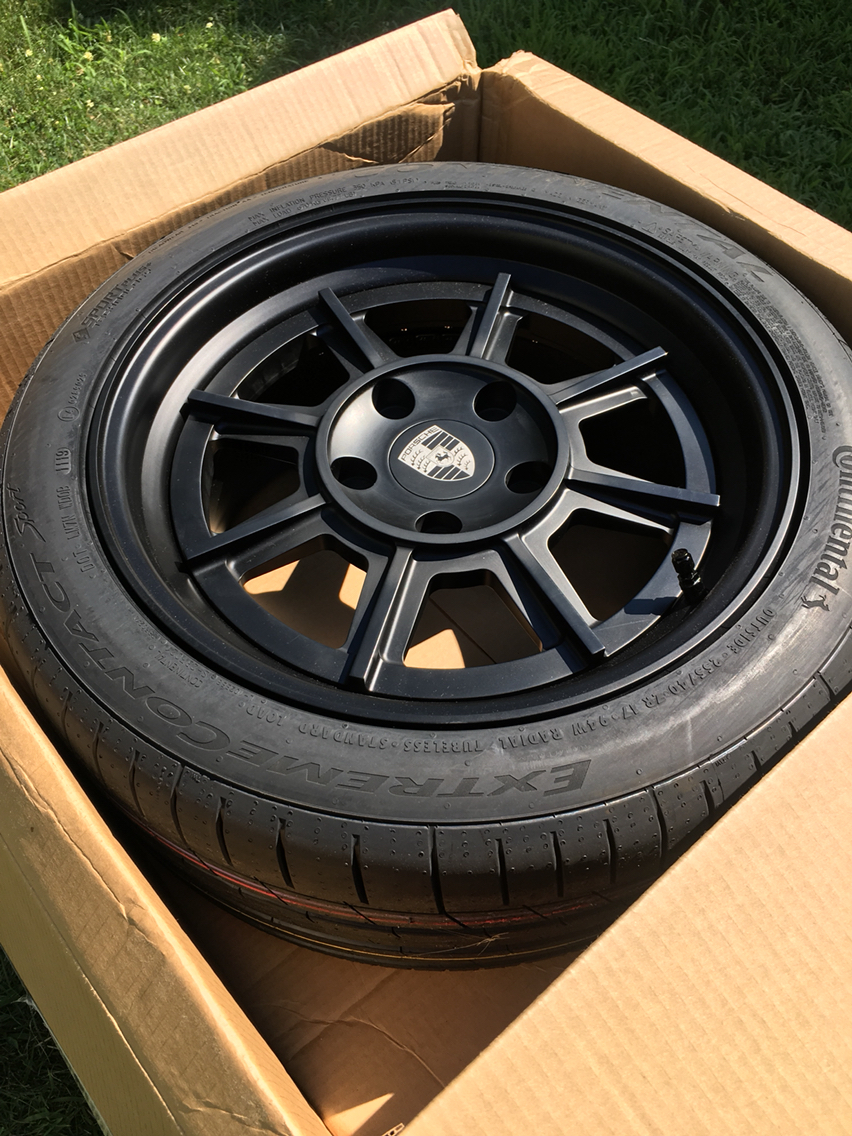
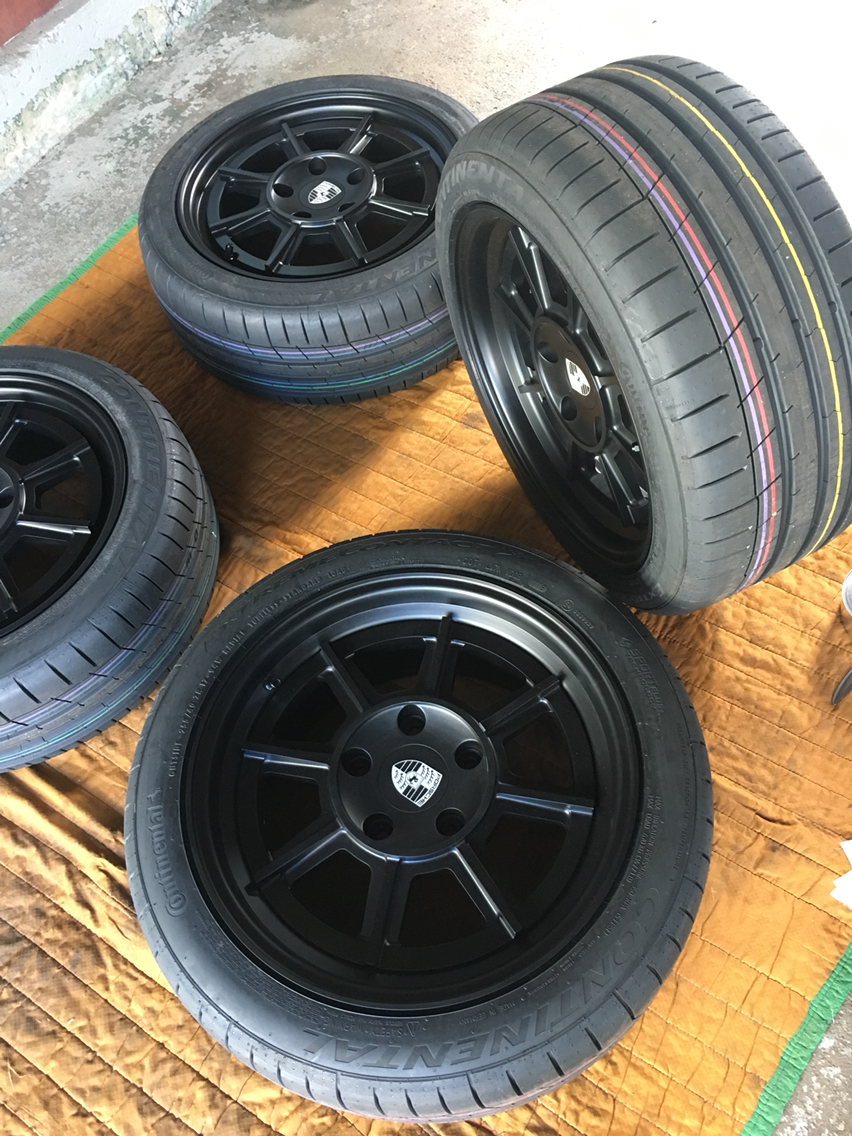
Campy Sport by Augment in Canada. Build quality, fantastic, support from Augment, fantastic, finish, fantastic. We are very happy w them. This is my second goround w Augment. First were Larry's 17" d90, but i was in the background and not in direct contact w Augment. (And that was design from scratch, where this was spec'ing his already designed Campy Sport). Dan was great with design docs for the wheels, super helpful in getting the offsets correct so we could be spot on and still clear the calipers. He was very patient as i am very particular, which was cool, cuz most guys would have gotten frustrated w me. Lol.
Can you tell I'm a fan?
Anyway I'm excited to be temporarily done. Another suspension madness job on the books, and next time, when i get a sloppy jaloppy, it's getting its own thread. Those locally here got the full scoop, but i feel remiss that i didn't share, cuz it was basically tearing into the entire car in the end.
And on one last note- there is no good reason to convert the convertible top to manual out of frustration. Convert it only if you want a manual top. If you like a functioning power top, then fix it- it's very simple once you understand how it all works.
The following 2 users liked this post by Goughary:
964Luftballoon (03-13-2020),
HiWind (11-02-2020)
 07-16-2019, 09:51 AM
#1174
Rennlist Member

Those wheels look great. Nice to see something different on a 964.
09-27-2019, 01:21 PM
#1175
Can I add to the other comments that this thread is an excellent read and hugely informative (and tough on the wallet).
It seems you’ve fitted a fair few sets of steering rack polybushes now, so I wondered if there were any tricks to the job.
I had a go at fitting mine recently, but was unable to get them round the top of the rack as they were so stiff. I tried lubricant,
and leaving them in hot water for a bit, with no luck.
I had decided to wait until the subframe is out and my new sway bar goes in, but it’s bugging me that I’ve failed!
09-27-2019, 03:25 PM
#1176
Rennlist Member
Originally Posted by willmip
Can I add to the other comments that this thread is an excellent read and hugely informative (and tough on the wallet).
It seems you’ve fitted a fair few sets of steering rack polybushes now, so I wondered if there were any tricks to the job.
I had a go at fitting mine recently, but was unable to get them round the top of the rack as they were so stiff. I tried lubricant,
and leaving them in hot water for a bit, with no luck.
I had decided to wait until the subframe is out and my new sway bar goes in, but it’s bugging me that I’ve failed!
It seems you’ve fitted a fair few sets of steering rack polybushes now, so I wondered if there were any tricks to the job.
I had a go at fitting mine recently, but was unable to get them round the top of the rack as they were so stiff. I tried lubricant,
and leaving them in hot water for a bit, with no luck.
I had decided to wait until the subframe is out and my new sway bar goes in, but it’s bugging me that I’ve failed!
 09-27-2019, 10:25 PM
#1178
Race Car
Thread Starter
The bushing is super tight- i remember the first one i did, i had the same feelings as you- and failed for the same reason- cuz i was worried about breaking something.
So first- stop worrying about breaking anything on these cars- cuz if it breaks, you get to install new stuff!
Secondly, In this case, this is a total pain, but it does go in. Just work it in there and be forceful, it'll snake up there.
Hot water will do zero good. As will grease. Lubricants actually make it harder because it makes it harder to hold the bushing.
Sometimes I'll put a little dish soap on the top side of the rack, to allow a little slip, but that's all. You don't want lubricant up there in the bushing really. So keep things clean. It'll eventually slot into place.
09-28-2019, 03:01 AM
#1179
Patience then. The one thing I don’t have!
09-28-2019, 08:02 AM
#1180
Rennlist Member
Originally Posted by willmip
Patience then. The one thing I don’t have!
03-13-2020, 04:55 PM
#1182
Rennlist Member
Hey Goughary-
Doing all my suspension work- your thread is so helpful.
Funny thing, I was taking the air ducts off the control arms and on both control arms, nearest the ball joint it seems the screw is fused to the control arm.
I see the first one you did is the same - did you end up tapping the broken screw? I broke one and the other is just stuck!
03-13-2020, 05:36 PM
#1183
Race Car
Thread Starter
In most cases, that can be pressed out. But soak it with kroil or pb blaster for a bit...then clean it and hit it with heat...and then if those don't work, try pressing it out.
However- if time has value- it's actually cheeper to buy a used control arm on eBay, as we fiddle with these things for hours...and then in the end, aside from when we accidentally break the arm, we find that we could have spent 200 dollars for a good used one and been done!
Good luck with it. Pm me if you have any questions - happy to talk through any of this stuff...
06-16-2020, 04:41 PM
#1184
Instructor
1. Are the part numbers for the lower metal trim you're referring to 911.543.195.00 (left) and 911.543.196.00 (right)?
2. As far as seals go for these windows, are the correct part numbers 901.543.901.20 (left) and 901.543.902.20 (right)?
06-16-2020, 10:58 PM
#1185
Race Car
Thread Starter
I don't remember off hand.
Here is what i remember - you need to use the 901 parts catalog to get the current part numbers for the seals. You should take the windows completely apart and get all the rest of the seals and rebuild them as new and refurb all the metal.
The lower trim- the early trim doesn't fit without modification- so i re-used the 964 trim and ran the pinch welt all the way around and made that work...it was a few years ago and i haven't done mine yet. It's on the docket to be done at some point when i have time...
But for now i have a car going through suspension madness and engine drop madness in my garage - and steering rack madness...
I have a stack of intakes to make for other guys - more intake madness...
And i just bought the cohline oil line tool because I'm sick of buying ****ty oem oil lines for too much money. And I'll just be making my own, and for others with the right materials and tooling.
Good luck w the project - post pics here so we can follow the progress!