
Teardown begins. Suspension madness...

 10-10-2015, 09:50 PM
#47
Rennlist Member

Join Date: Jul 2005
Location: Kent, UK
Posts: 156
Likes: 0
Received 0 Likes
on
0 Posts
Nice project(s)! Deffo subscribed from me.
I'm also looking to install Elephant Racing kit as a phase-2 project for my 964 Turbo, so very interested in hearing your thoughts as/when it's back together again.
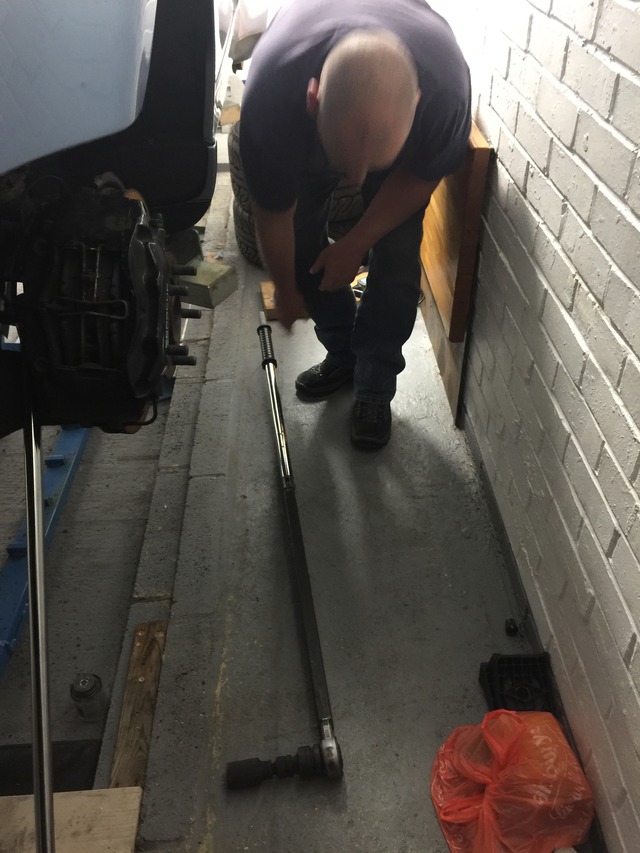
I also just bought a torque multiplier - a surprisingly rare tool for folks to have, none of my mates have one, nor a pal who owns a garage down the road. I completely lucked-in the other week, I was about to purchase a Sealey (think Harbor Freight sort of quality), when I did a final search on eBay for a Snap-On one - far too OTT for my needs, but hey. Long story short, got a brand new 1" drive (3/4" input) 2000lb/ft rated multiplier, and it's accompanying 3/4" drive ratchet, 600lb/ft rated, for �200 delivered (just over $300).
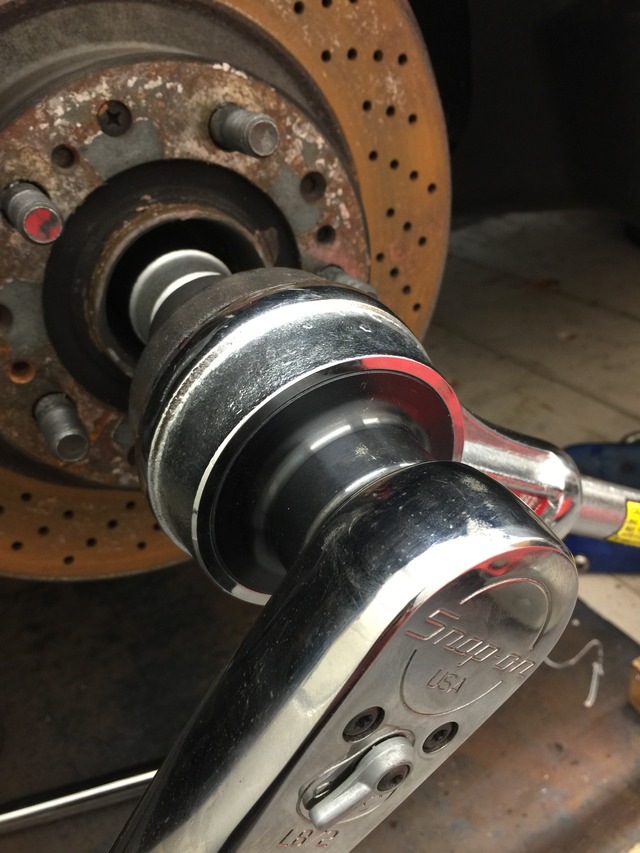
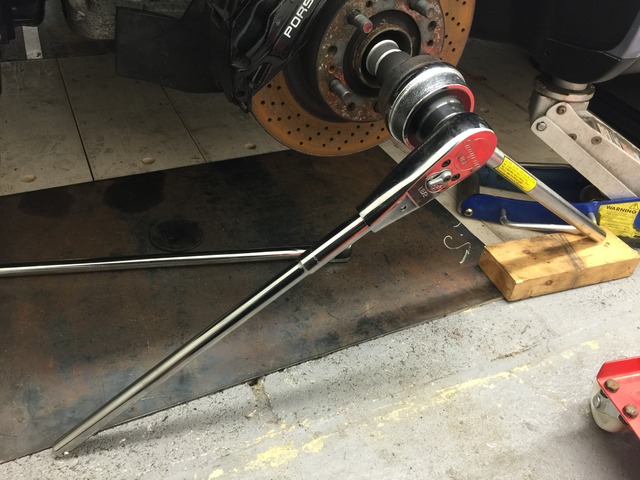
Agree, made the front hub nut removal very easy (I needed to remove them in order to fit timing wheels for 4-channel traction control)....the most effort being exerted was from my Brother in the drivers seat, applying the brakes to assist the 3ft breaker bar being used on the inside of the hub!
I'm also looking to install Elephant Racing kit as a phase-2 project for my 964 Turbo, so very interested in hearing your thoughts as/when it's back together again.
I also just bought a torque multiplier - a surprisingly rare tool for folks to have, none of my mates have one, nor a pal who owns a garage down the road. I completely lucked-in the other week, I was about to purchase a Sealey (think Harbor Freight sort of quality), when I did a final search on eBay for a Snap-On one - far too OTT for my needs, but hey. Long story short, got a brand new 1" drive (3/4" input) 2000lb/ft rated multiplier, and it's accompanying 3/4" drive ratchet, 600lb/ft rated, for �200 delivered (just over $300).
Agree, made the front hub nut removal very easy (I needed to remove them in order to fit timing wheels for 4-channel traction control)....the most effort being exerted was from my Brother in the drivers seat, applying the brakes to assist the 3ft breaker bar being used on the inside of the hub!
10-10-2015, 10:47 PM
#48
Race Car
Thread Starter
Nice one. Make sure you do the calc correctly when you retorque. You get so much force that you can over do it...
I just used mine again today to break the spring plate bolts loose from the trailing arms. So many bolts on this car have been completely seized...crazy.
On the elephant bushings, I'm impressed that it's so cheep for them to do the work for you...they only charge a few hundred dollars to blast and paint and completely rehab your control arms with their bushings. I'm thinking that for anyone doing this job once, it's worth it. I'm going to doing five cars. So made sense to buy the tools and do it...
Chris Wolrod bushings, btw, are made to press into the oem steel sleeves that remain in the control arms when you remove the old bushings. So that's one huge plus for his products. That would basically mean that in a few hours you could instal his poly bushings and send the car out for alignment...but I like rubber for street cars. Jmho.
On another note. Pelican sells cv boots as "inner or outer" . And there is a 10mm difference in the diameter of the outer cv boots on my c4. So I would have to stretch their boot too far for my comfort. Just throwing that out there. Not happy w them at the moment. There boots are fine for inners.
10-12-2015, 09:52 AM
#49
Race Car
Thread Starter
Waiting on parts.
In the meantime, can anyone give me pointers on how to remove the steel sleeves that are left inside the control arms when you pull out the rubber bushings...is there another way beside the hack saw method?
In the meantime, can anyone give me pointers on how to remove the steel sleeves that are left inside the control arms when you pull out the rubber bushings...is there another way beside the hack saw method?
10-12-2015, 09:58 AM
#50
Drifting
I used the hack saw method but learnt after sleeve number one that it is enough if you make a slot near the end on one side of the sleeve. Then you can bend on that slot inwards and that's enough to make the tension go away and you can hammer out the sleeve.
10-12-2015, 11:14 AM
#51
Race Car
Thread Starter
Originally Posted by ThomasC2
I used the hack saw method but learnt after sleeve number one that it is enough if you make a slot near the end on one side of the sleeve. Then you can bend on that slot inwards and that's enough to make the tension go away and you can hammer out the sleeve.
 10-12-2015, 02:26 PM
#53
Rennlist Member
Join Date: Jul 2005
Location: Kent, UK
Posts: 156
Likes: 0
Received 0 Likes
on
0 Posts
I hate using the hacksaw method - have used it before but the tiniest of overruns and you're wrecking the arm. I may try a die grinder with a long reach grinding bit, to thin the sleeve along the length in one strip, to enable it to be deformed inwards.
10-12-2015, 02:32 PM
#54
Rennlist Member
Join Date: Jul 2005
Location: Kent, UK
Posts: 156
Likes: 0
Received 0 Likes
on
0 Posts
I just used mine again today to break the spring plate bolts loose from the trailing arms. So many bolts on this car have been completely seized...crazy.
On the elephant bushings, I'm impressed that it's so cheep for them to do the work for you...they only charge a few hundred dollars to blast and paint and completely rehab your control arms with their bushings. I'm thinking that for anyone doing this job once, it's worth it. I'm going to doing five cars. So made sense to buy the tools and do it...
Chris Wolrod bushings, btw, are made to press into the oem steel sleeves that remain in the control arms when you remove the old bushings. So that's one huge plus for his products. That would basically mean that in a few hours you could instal his poly bushings and send the car out for alignment...but I like rubber for street cars. Jmho.
On another note. Pelican sells cv boots as "inner or outer" . And there is a 10mm difference in the diameter of the outer cv boots on my c4. So I would have to stretch their boot too far for my comfort. Just throwing that out there. Not happy w them at the moment. There boots are fine for inners.
Cheers for the advice, will keep track of your progress!
S
10-13-2015, 01:09 AM
#55
Race Car
Thread Starter
Today my new 89 C4 calipers arrived. I'm not doing a big brake kit since I use D90s in the winter for my snow tires and don't need fit issues, and the stock brakes are fantastic as-is and have no need for further cooling unless I were planning to do track sessions longer than a half hour at a shot...but the 89 calipers are my second favorite (first being the earlier brembos with the big cooling fins) and they are a bolt on replacement, so easy enough.
Now I want to replace my proportion valve to add bias to the rear. Not much, but just a bit more rear bias would be good. Any experienced help there would be appreciated. Turbo proportion valve? I remember reading something about which to use with a stock set of brakes a while back, but don't have the info in front of me. Anyway, I'll rebuild these and install and do the rest later.
The idea is, I rebuild these, install, then rebuild mine, and they go to the next car, rebuild his and pass them to the next, and onward till all five cars are fresh.
10-13-2015, 01:15 AM
#56
Race Car
Thread Starter
And after brake caliper **** arrived, I started in on my extra front control arm to see about the hack saw method to remove the bushing sleeves...what a pita...
I cut a slit in the outer edge, careful to not cut into the arm, bent the lip up and started hammering on it with a punch. Bending it farther with a pair of vise grips every so often. Spraying in a bit of pb blaster in the hopes of loosening a bit of corrosion. The sleeves were fused to the arm...eventually put it came.
There has to be an easier way. And I do have tools arriving from elephant that may help. But I needed to see what all the fuss was about...and yeah, can be done, not ideal.
10-13-2015, 04:38 AM
#58
Rennlist Member
Join Date: Jul 2005
Location: Kent, UK
Posts: 156
Likes: 0
Received 0 Likes
on
0 Posts
Nice job Goughary!
Curious as to why you want to adjust the F>R proportioning though...iirc, there were comments in robt964's rebuild thread about switching to a 993 valve ...think it was around this page, give or take, but again, iirc it was very much around needing to change the unit when using 4-pots at the rear (from a 993).
Bound to be some detailed info from Bill Verburg, either on here or over in the Pelican 964/993 Forum
10-13-2015, 04:41 AM
#59
Rennlist Member
And after brake caliper **** arrived, I started in on my extra front control arm to see about the hack saw method to remove the bushing sleeves...what a pita... I cut a slit in the outer edge, careful to not cut into the arm, bent the lip up and started hammering on it with a punch. Bending it farther with a pair of vise grips every so often. Spraying in a bit of pb blaster in the hopes of loosening a bit of corrosion. The sleeves were fused to the arm...eventually put it came. There has to be an easier way. And I do have tools arriving from elephant that may help. But I needed to see what all the fuss was about...and yeah, can be done, not ideal.
10-13-2015, 07:51 AM
#60
Seared
Rennlist Member
Rennlist Member
Incorrect. The steel sleeves get removed and the polyurethane bushings are pressed directly into the control arm. I've rebuilt a few dozen 993 control arms using Walrod bushings.

I initially burn the inserts out (these get cleaned & reused), then I use a 30-ton press to remove the large bushings. The small bushings are zipped out in a few minutes using an air chisel. I have this down to a two-hour process, and the arms look like this when finished:


Andreas