
Teardown begins. Suspension madness...
 01-08-2016, 09:22 PM
#406
I agree the D90 wheels look better. Mine came with the original D90 wheels, and on a black car I think they look great. Never cared much for them but they are growing on me.
The BBS wheels might look nice blacked out with yellow calipers peaking out from behind them
The BBS wheels might look nice blacked out with yellow calipers peaking out from behind them
 01-08-2016, 09:24 PM
#407
01-08-2016, 09:48 PM
#408
Race Car
Thread Starter
Thanks lee...
I'm still waiting for you to drop me a car and a budget...we could make you the perfect "corrected" 964...
How about you let me do the cab...it'll be my first cab...
I'm still waiting for you to drop me a car and a budget...we could make you the perfect "corrected" 964...
How about you let me do the cab...it'll be my first cab...

 01-09-2016, 12:27 PM
#410

Can't wait to hear test results. Any feedback on the trans mount insert?
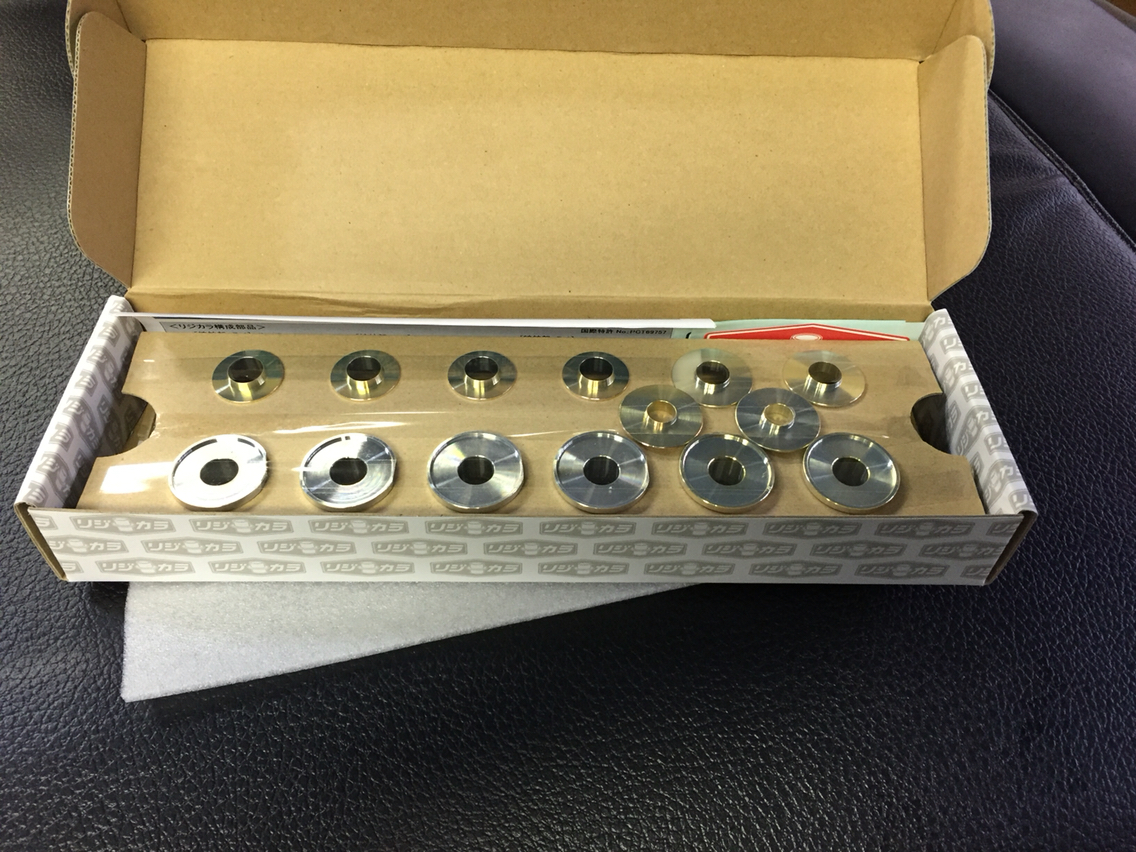
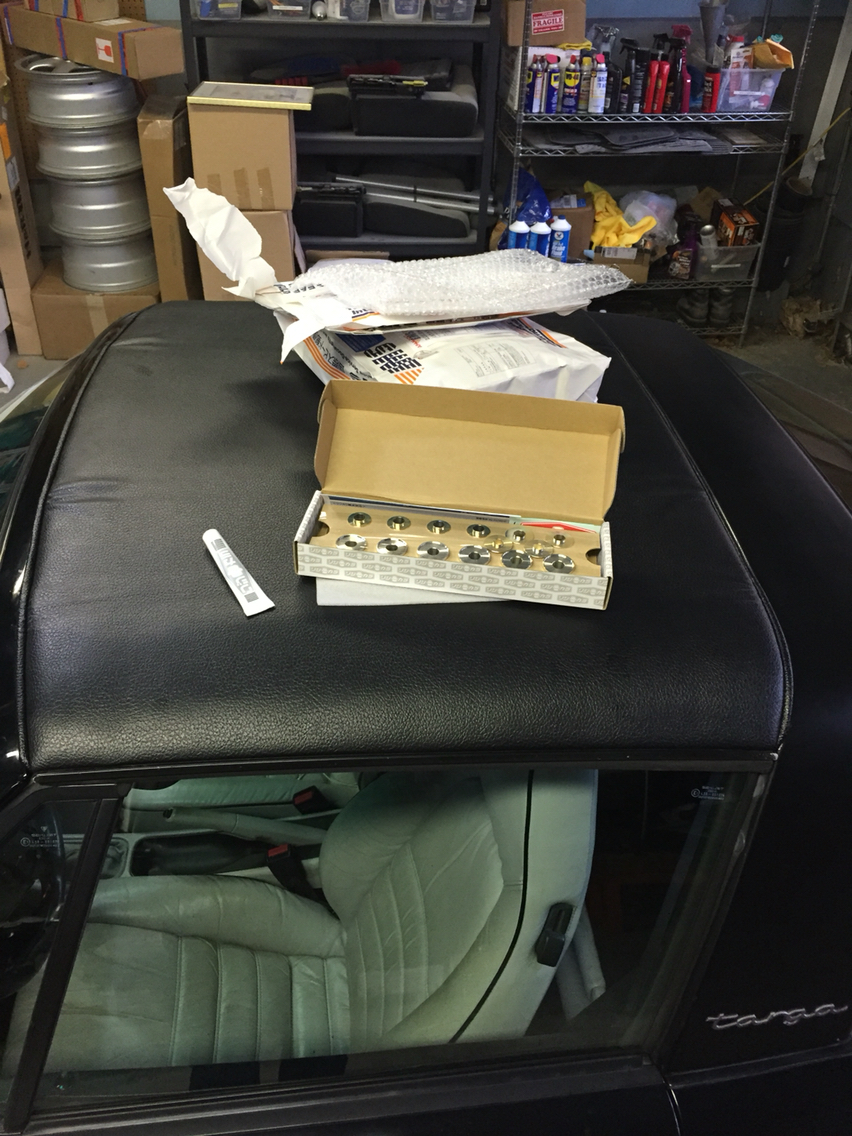
Ok fellas...its rigid collar day.
I'm not a fan of untested products. But this is going to be interesting.
Attachment 1008971Attachment 1008976Attachment 1008974Attachment 1008975Attachment 1008972Attachment 1008973
I'm not a fan of untested products. But this is going to be interesting.
Attachment 1008971Attachment 1008976Attachment 1008974Attachment 1008975Attachment 1008972Attachment 1008973
01-09-2016, 01:28 PM
#411
Rennlist Member
Ok fellas...its rigid collar day.
I'm not a fan of untested products. But this is going to be interesting.
Attachment 1008971Attachment 1008976Attachment 1008974Attachment 1008975Attachment 1008972Attachment 1008973
I'm not a fan of untested products. But this is going to be interesting.
Attachment 1008971Attachment 1008976Attachment 1008974Attachment 1008975Attachment 1008972Attachment 1008973
01-09-2016, 09:37 PM
#413
Very cool, and faster shipping than I would have thought. From all the searching I did I found no installation diagram online, but apparently it exists. Is it possible to just loosen everything enough to slip these in, or do you reckon everything has to come down.
01-09-2016, 10:10 PM
#414
Race Car
Thread Starter
Yes you can just loosen things. It's a pretty easy install actually.
I have pics coming. It's hard to sort through the 100 pics a day I'm taking during this whole process, and figure out how to get things sorted for this thread.
But the are coming...
I have pics coming. It's hard to sort through the 100 pics a day I'm taking during this whole process, and figure out how to get things sorted for this thread.
But the are coming...
01-09-2016, 10:57 PM
#415
Race Car
Thread Starter
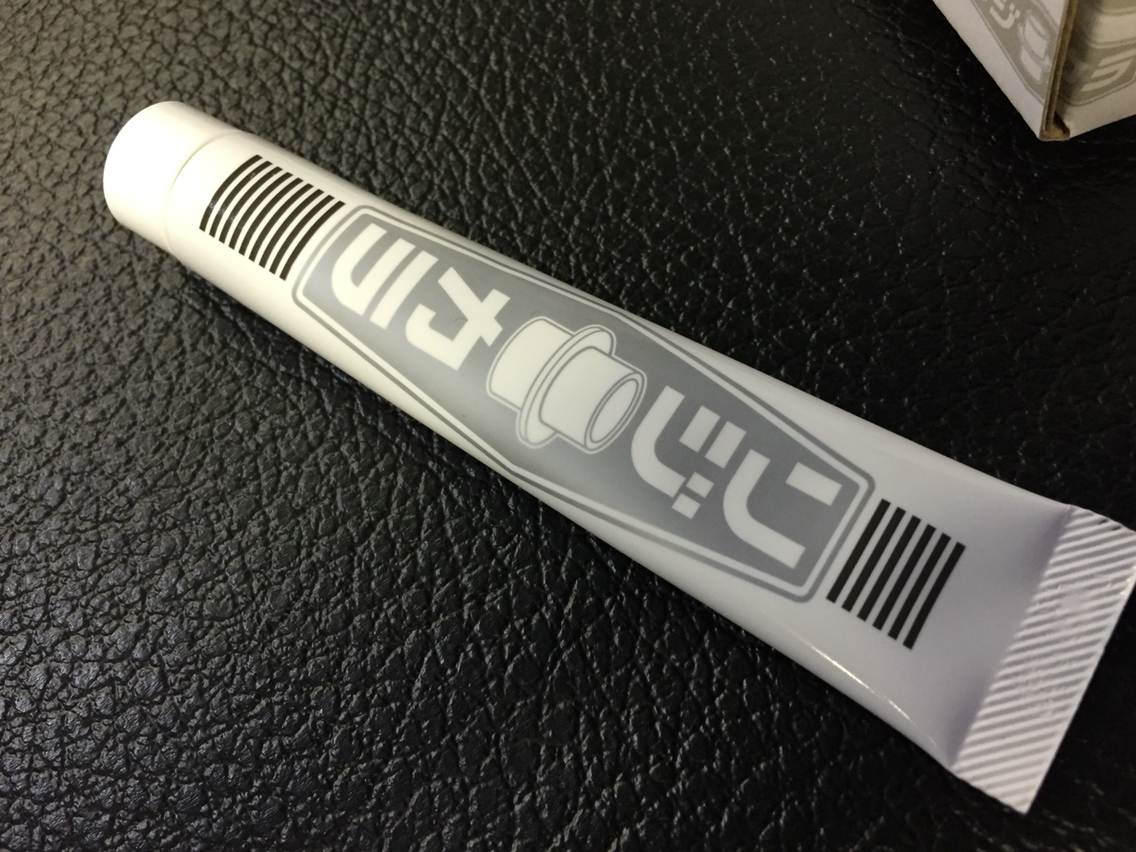
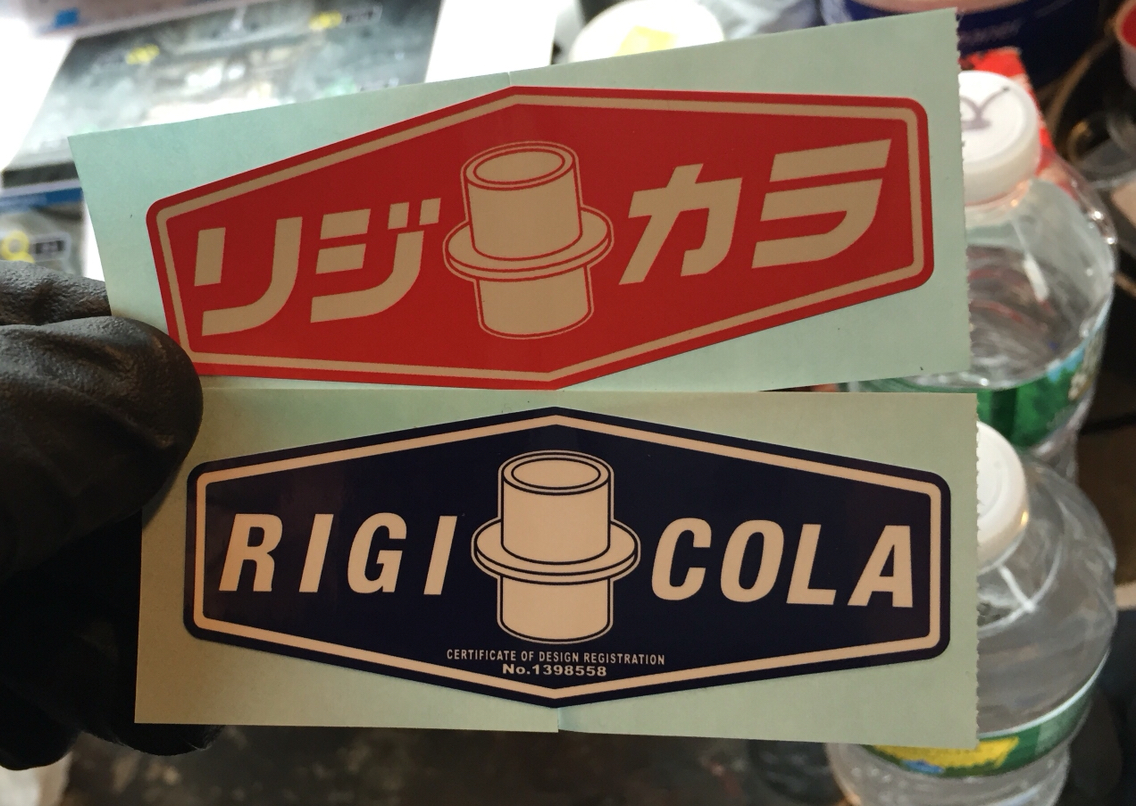
First off....if for nothing else, these rigid collars are worth it for the sticker...
Secondly, the Make Awesome Happen shirt relaunched https://teespring.com/dbfd_awesome which is ...awesome...
And thirdly, here we go. I'll try to make this sound as easy as it was to do.
Secondly, the Make Awesome Happen shirt relaunched https://teespring.com/dbfd_awesome which is ...awesome...
And thirdly, here we go. I'll try to make this sound as easy as it was to do.
01-09-2016, 11:17 PM
#416
Race Car
Thread Starter
I had the subframes bolted back in there..so really my install wouldn't be too much different than you starting from scratch.
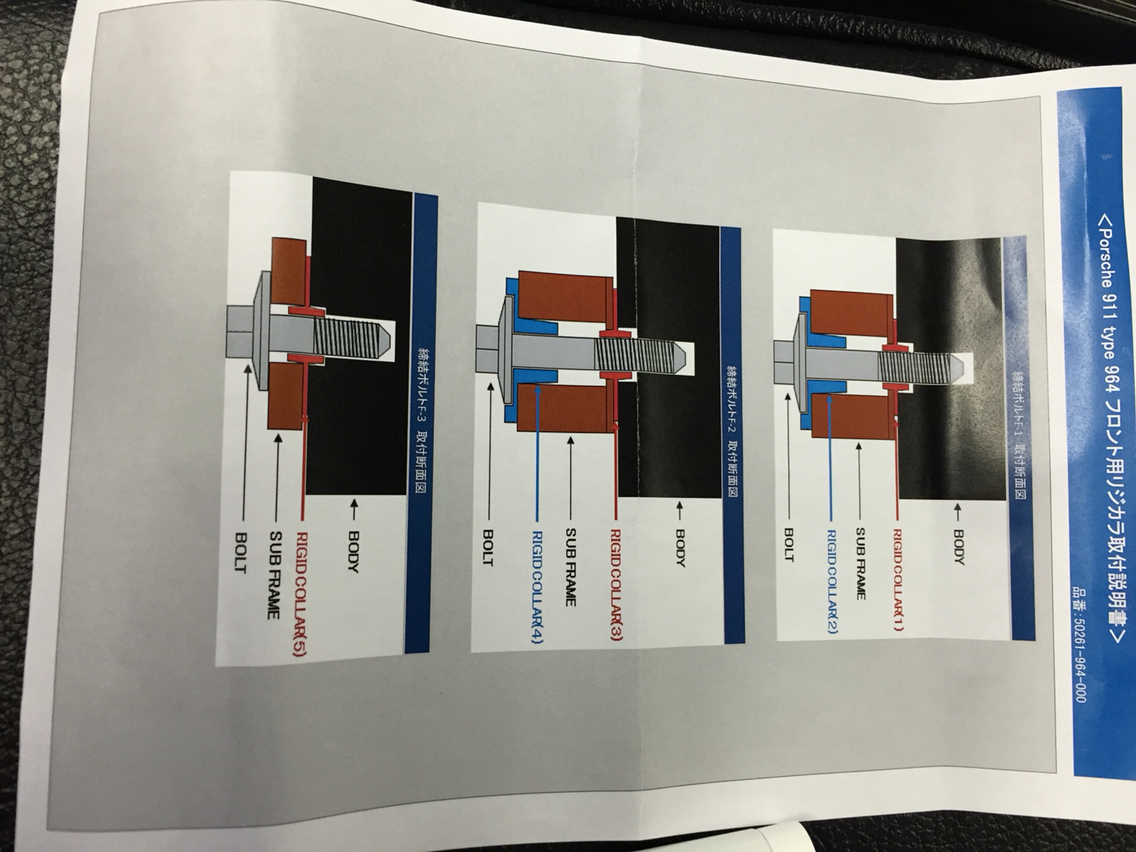
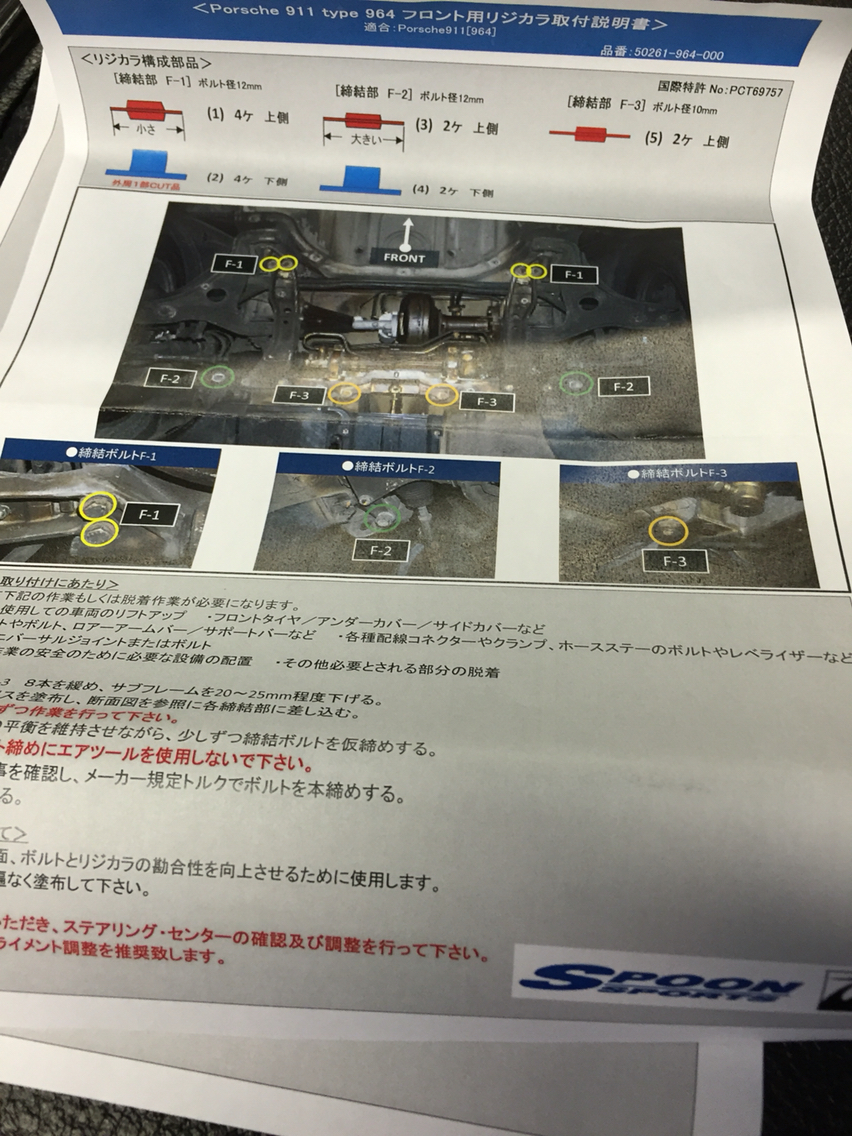
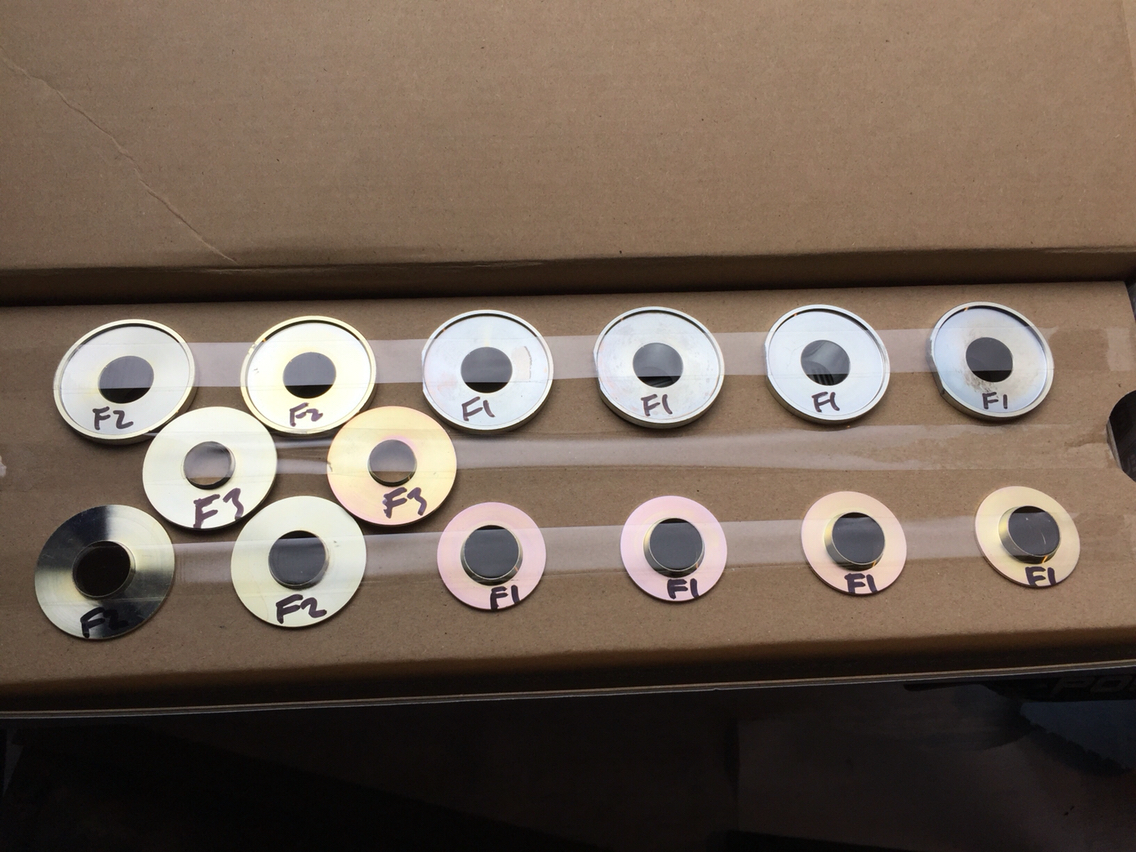
The first thing was to determine which collars go where, which is sorta easy and sorta not. Since I had never seen these before, I spent some time marking them with a sharpie and double checking. I don't read characters...so I only had the pics and metric sizes to go by.
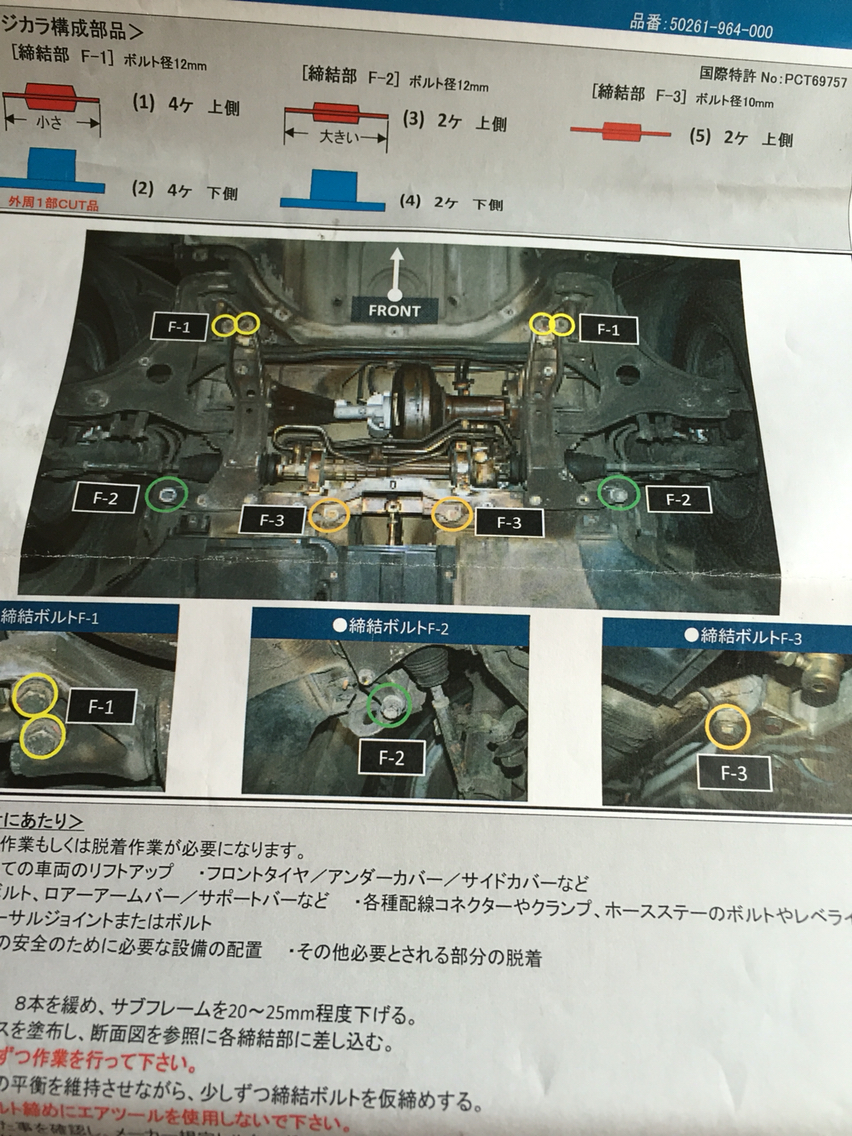
Then it was time to lower the cross member and sub frames. Important note. You only need to take out the four bolts on the cross member, the two outer m12 bolts and the two short inner m10 bolts (btw, I couldn't find torque specs for these so I used 63ft/lbs for the m12 and 34 ft/lbs for the m10 which is what the specs are on the sub frames.) and then take out the two front m12 bolts on the sub frames. But leave the two m10 subframe bolts in place. These are the two rear subframe bolts. They aren't getting touched so no need to take them out. The cross member and the the two sub frames will now fall slightly down. I used a stand under the cross member to not allow it to fall too far.
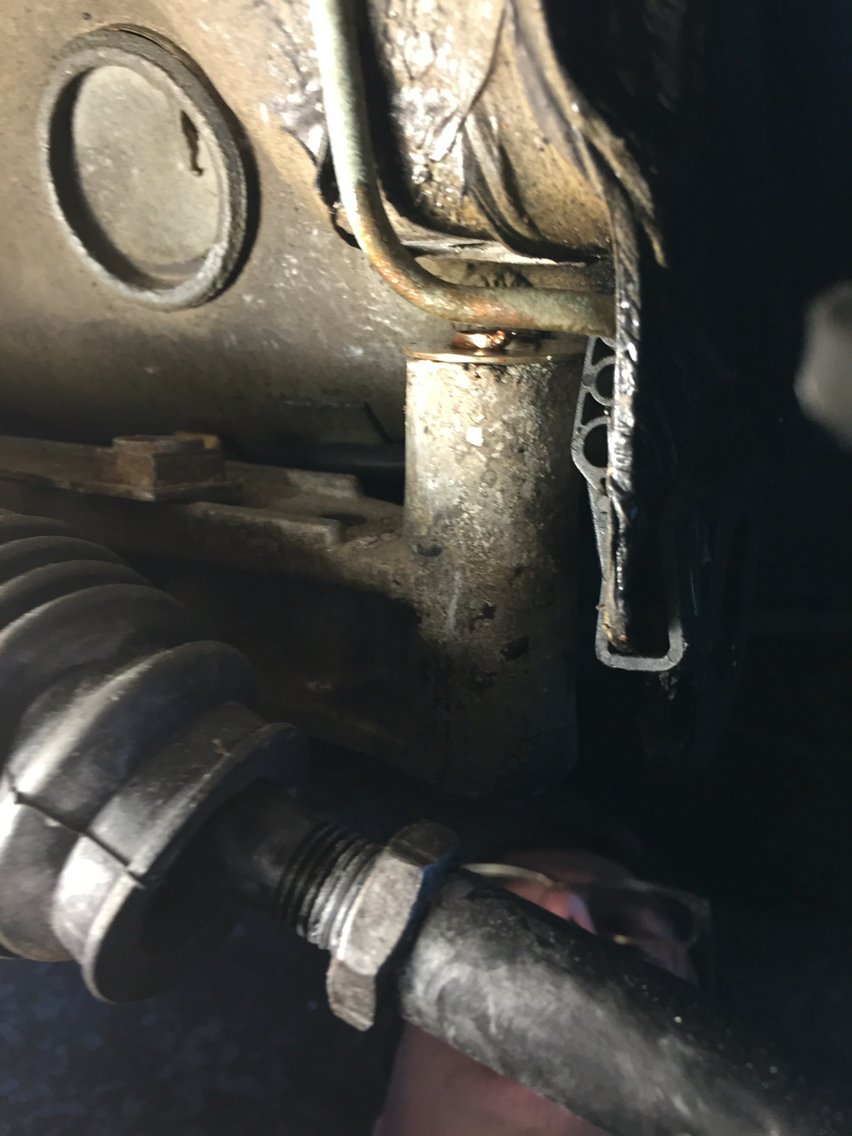
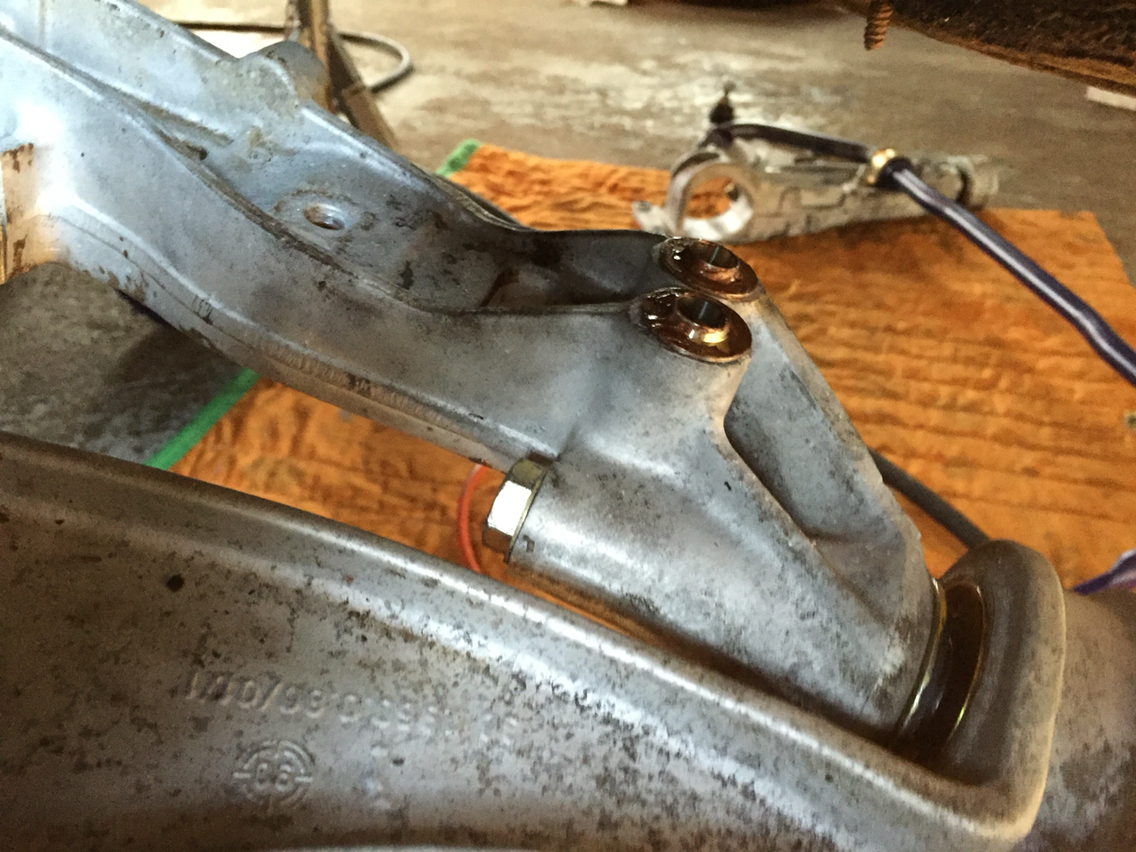
This is looking up from under the m12 cross member hole. You can see the collar up top.

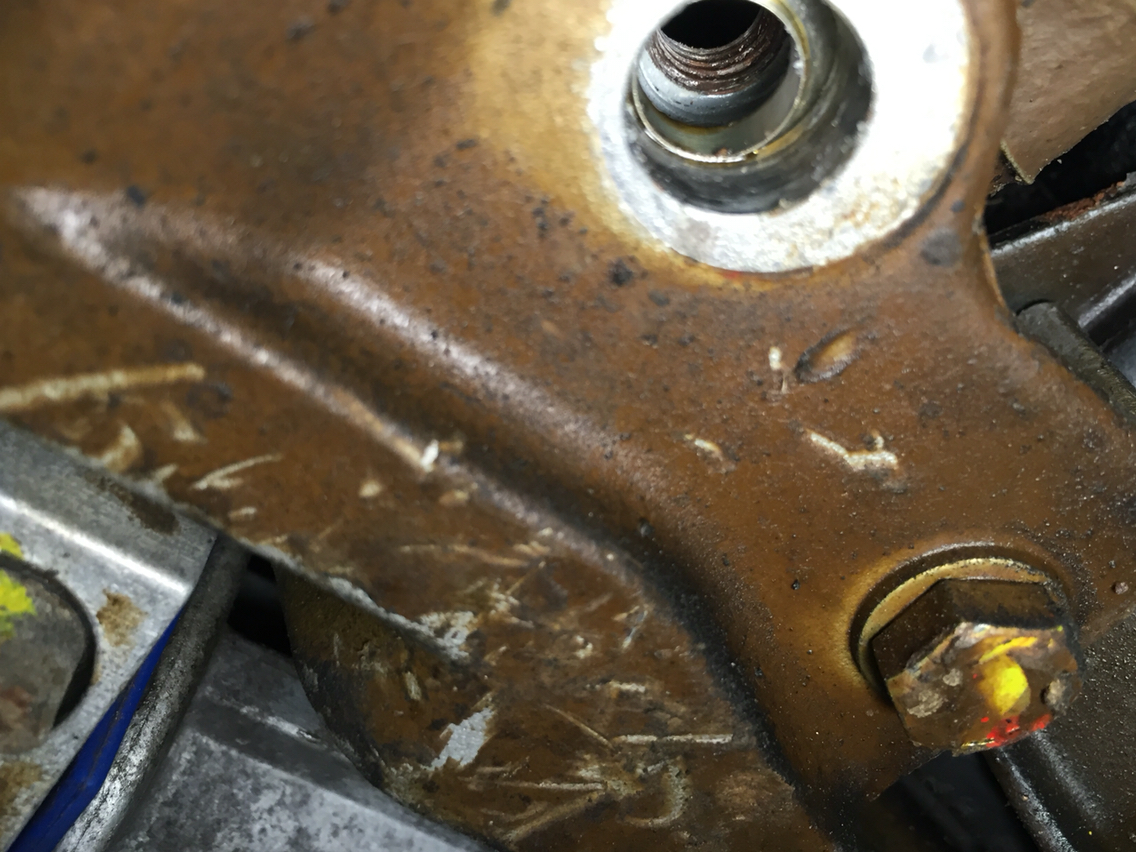
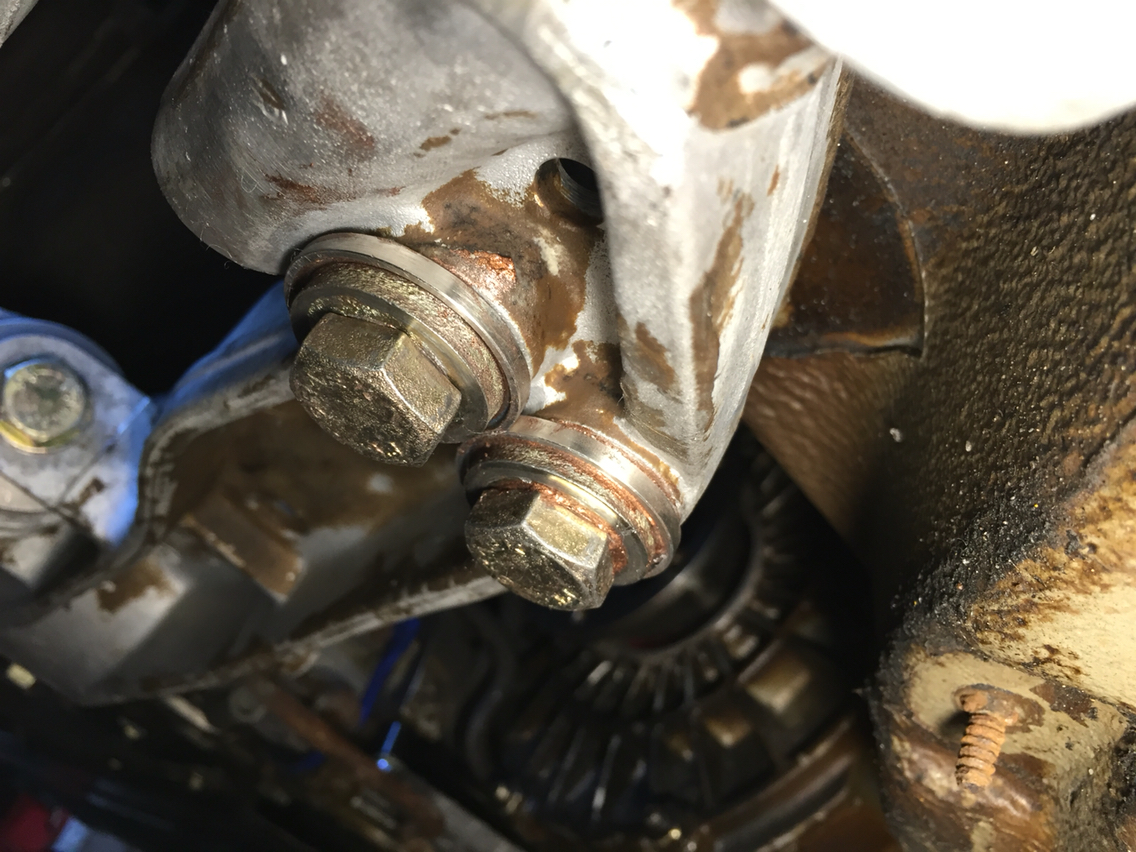
And this is the same but looking from the wheel well straight at it.
Then looking up at the m10 hole in the middle of the cross member.
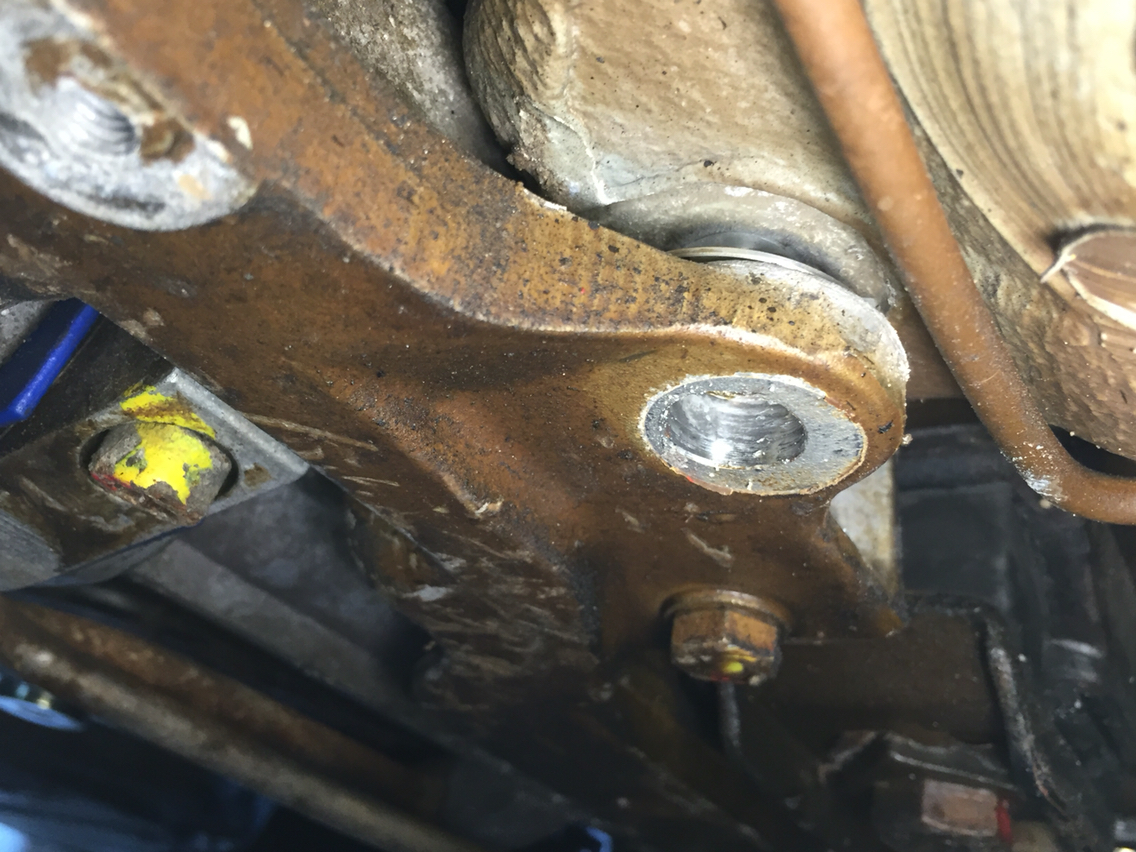
Then you just put the larger collar on the m12 and button up both sides of the cross member. Not too tight until the rest are in. The m10 only have the upper collars. No lower there.
Then for the front of the subframe. Just behind the front control arm bushing, there are two sets of collars. Upper and lower. Notice in the packaging above, if you look close, all of the collars for these m12 bolts have a notch filed out of the side. They didn't make this notch big enough, so onto the bench grinder we went
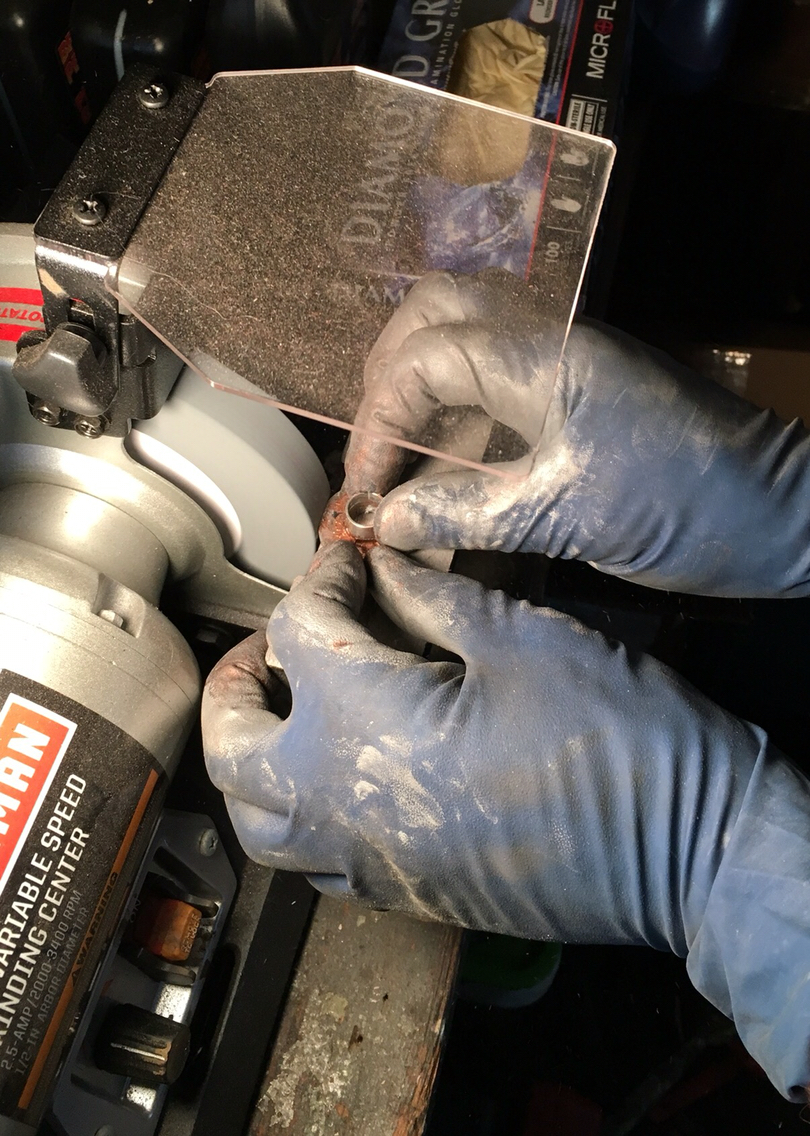
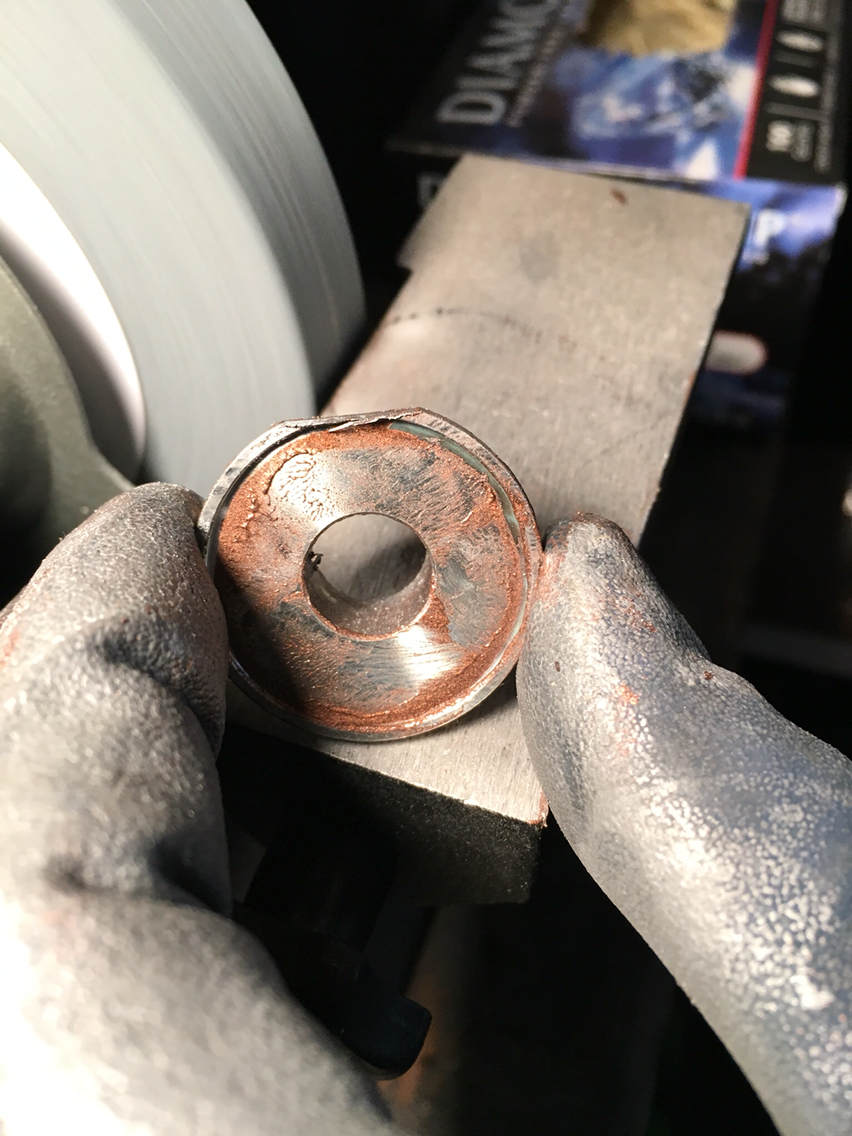
These are the lower collars. In the front of the control arm they are too close and over lap. This notch allows them to sit side by side. So you slip the uppers in and then put the lowers on the m12 bolts and button it up.
Torque and done.
I have no idea if these will collapse further with use. So I intend to check the torque again after some use. But all in all, I'm pretty happy with them. To be truthful, there will be no way, in light of all the changes I am making to these cars, to be able to tell you if they make any difference. But let's see. Maybe I can drive mikes vs John's and determine something...
More to follow.
Make Awesome Happen
The first thing was to determine which collars go where, which is sorta easy and sorta not. Since I had never seen these before, I spent some time marking them with a sharpie and double checking. I don't read characters...so I only had the pics and metric sizes to go by.
Then it was time to lower the cross member and sub frames. Important note. You only need to take out the four bolts on the cross member, the two outer m12 bolts and the two short inner m10 bolts (btw, I couldn't find torque specs for these so I used 63ft/lbs for the m12 and 34 ft/lbs for the m10 which is what the specs are on the sub frames.) and then take out the two front m12 bolts on the sub frames. But leave the two m10 subframe bolts in place. These are the two rear subframe bolts. They aren't getting touched so no need to take them out. The cross member and the the two sub frames will now fall slightly down. I used a stand under the cross member to not allow it to fall too far.
This is looking up from under the m12 cross member hole. You can see the collar up top.
And this is the same but looking from the wheel well straight at it.
Then looking up at the m10 hole in the middle of the cross member.
Then you just put the larger collar on the m12 and button up both sides of the cross member. Not too tight until the rest are in. The m10 only have the upper collars. No lower there.
Then for the front of the subframe. Just behind the front control arm bushing, there are two sets of collars. Upper and lower. Notice in the packaging above, if you look close, all of the collars for these m12 bolts have a notch filed out of the side. They didn't make this notch big enough, so onto the bench grinder we went
These are the lower collars. In the front of the control arm they are too close and over lap. This notch allows them to sit side by side. So you slip the uppers in and then put the lowers on the m12 bolts and button it up.
Torque and done.
I have no idea if these will collapse further with use. So I intend to check the torque again after some use. But all in all, I'm pretty happy with them. To be truthful, there will be no way, in light of all the changes I am making to these cars, to be able to tell you if they make any difference. But let's see. Maybe I can drive mikes vs John's and determine something...
More to follow.
Make Awesome Happen
01-09-2016, 11:23 PM
#417
Race Car
Thread Starter
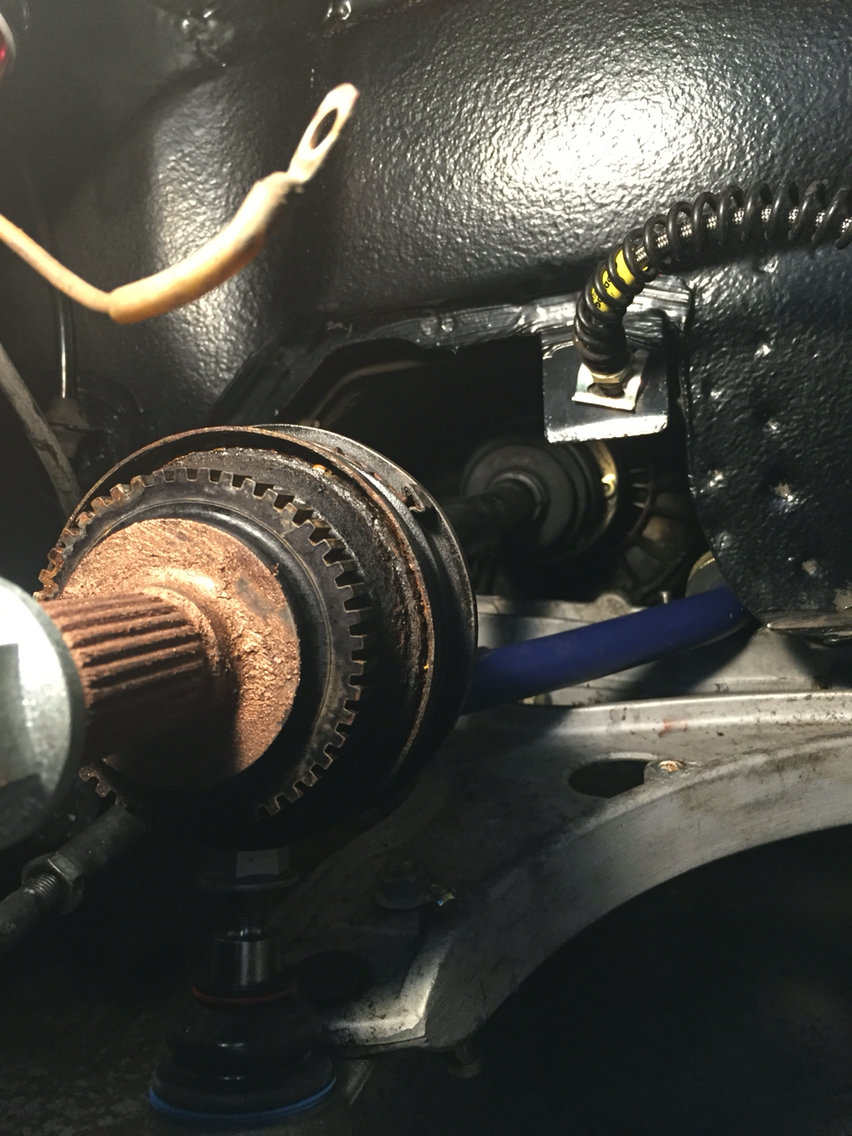
And then it was business as usual...finally getting back to reassembly.
Axles are in, but not torqued yet. Control arms are in and torqued. Swaybar in , Godspeed coilovers and strut brace. In. Torqued.
Hopefully wheel carriers and all the rest for the front tomorrow.
For the rear, we are waiting on some parts, an axle from cv of Ocala (right rear axle was completely shot, so that's getting replaced) and an MPL slave and a slave hose.
 01-10-2016, 02:08 PM
#419
some s2k guys have these installed. seem positive.
http://www.s2ki.com/s2000/topic/1036...-on-stock-ap2/
http://www.s2ki.com/s2000/topic/1036...-on-stock-ap2/
01-10-2016, 10:53 PM
#420
Race Car
Thread Starter
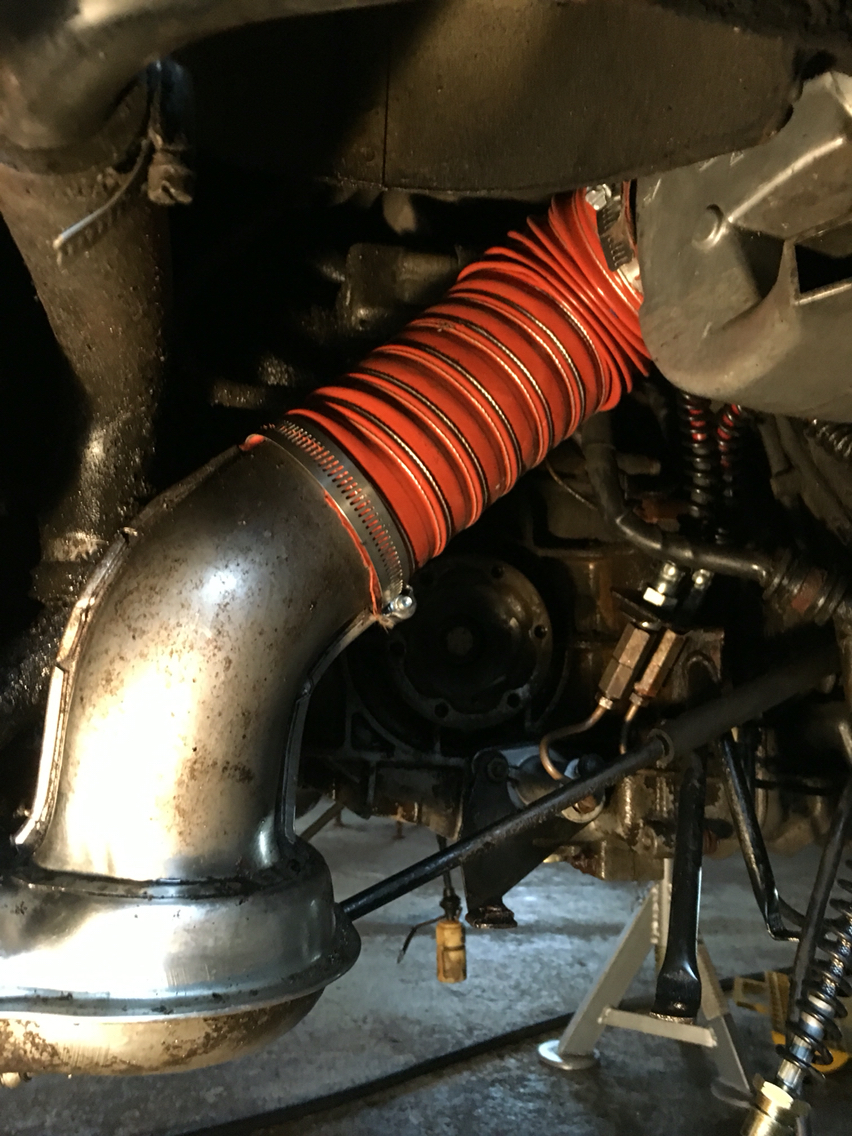
New heater hoses went in today. Many thanks to Dave for getting those together and installing. Brilliant.
And then he graciously pressed out the rear wheel bearings and pressed in the new ones...after having done a terribly dirty job in the right rear wheel well...well, not hat he did a dirty job, but that the job was dirty, and he did it...didn't even hear him complain once...I on the other hand would have likely been bitching...
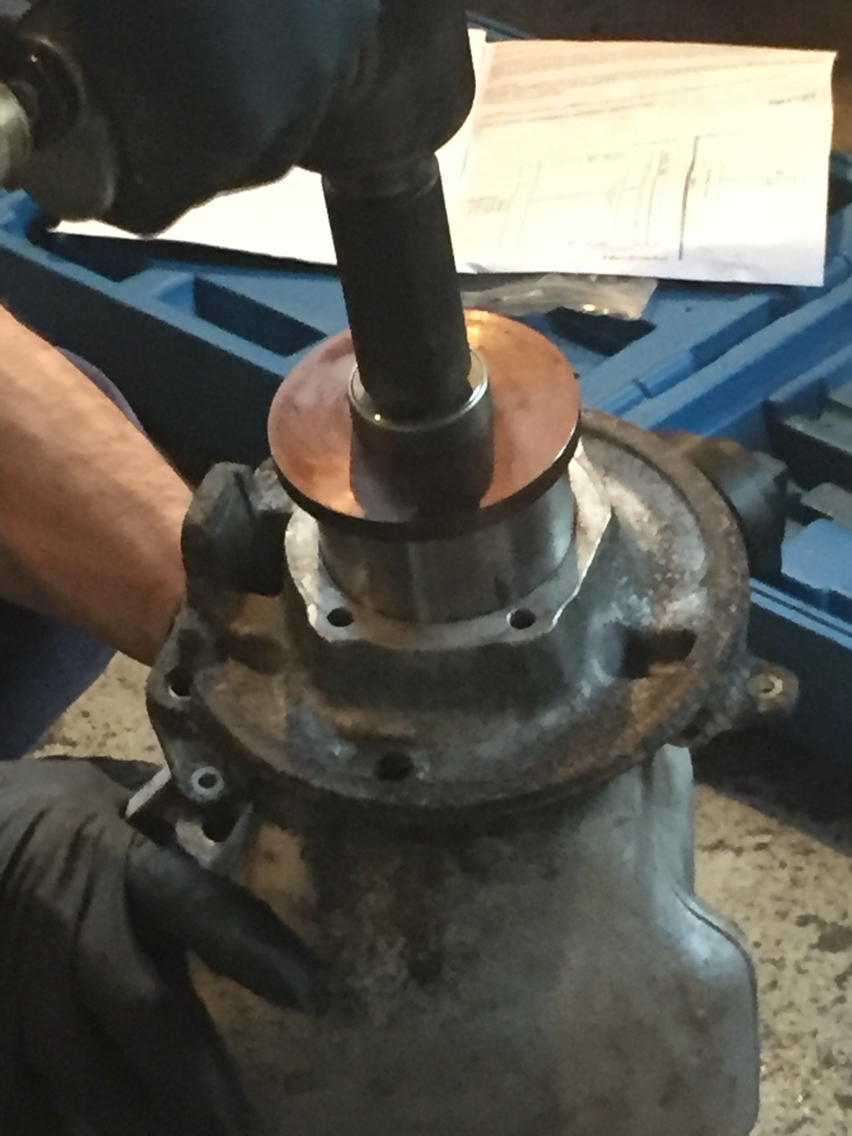

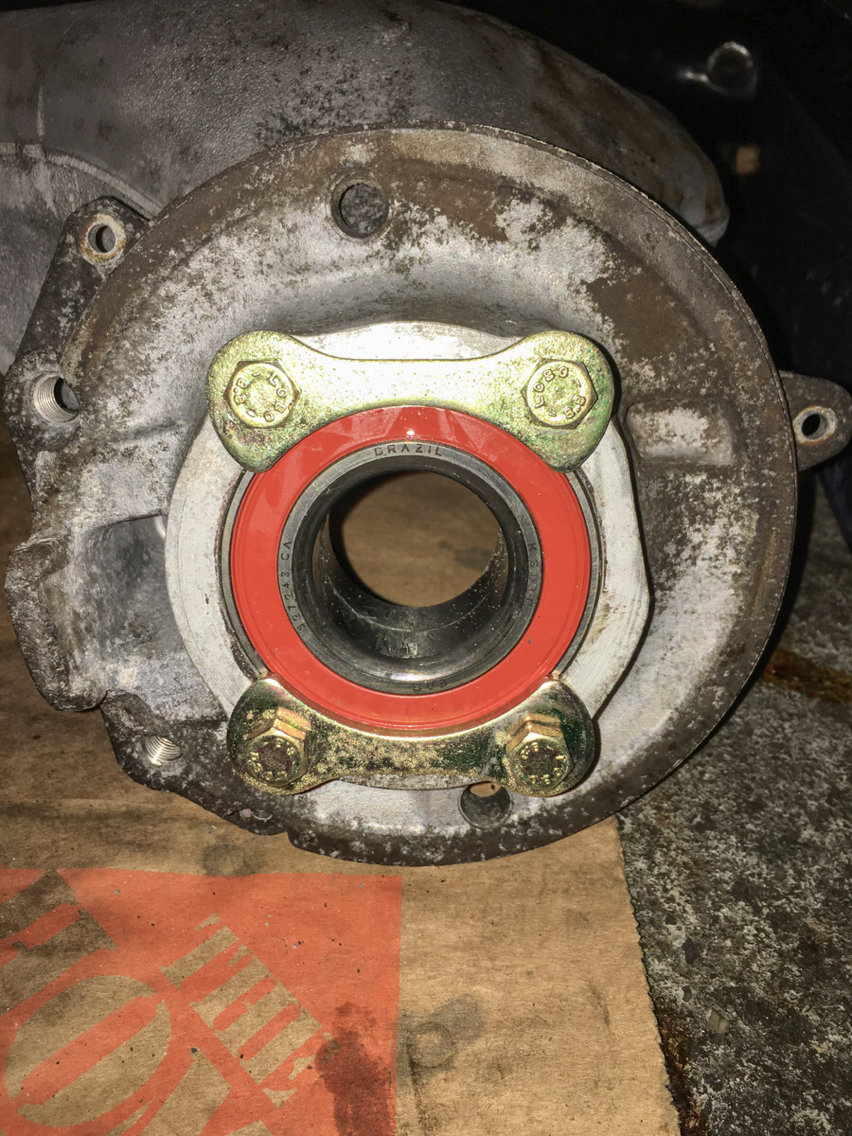
And then he graciously pressed out the rear wheel bearings and pressed in the new ones...after having done a terribly dirty job in the right rear wheel well...well, not hat he did a dirty job, but that the job was dirty, and he did it...didn't even hear him complain once...I on the other hand would have likely been bitching...