When you click on links to various merchants on this site and make a purchase, this can result in this site earning a commission. Affiliate programs and affiliations include, but are not limited to, the eBay Partner Network.
Nice.
I have the same project in process.
Interesting to drill the triggers. I considered drilling but I thought the holes would conflict aesthetically with the handle holes.
Today I paint, silver handles w/holes, black triggers-solid. I,ll post pics tomorrow.
It will be fun and interesting to see the re-assembled final results.
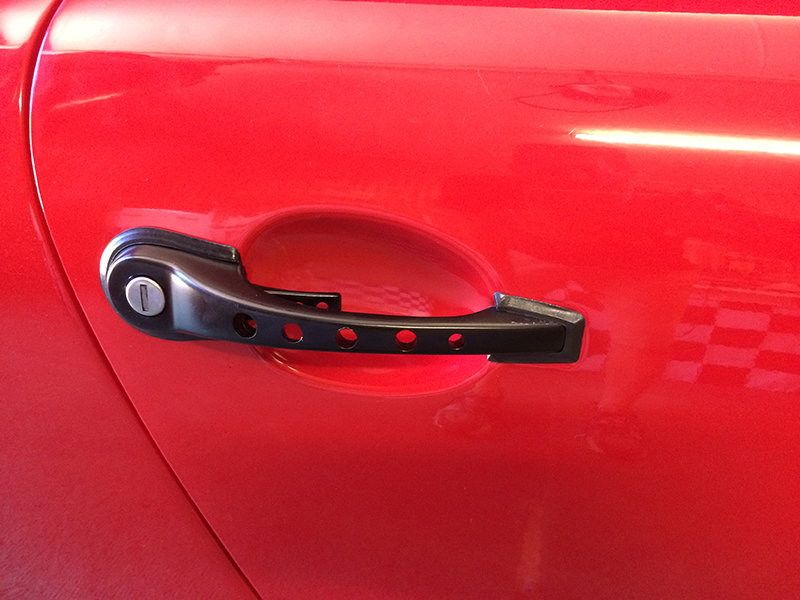
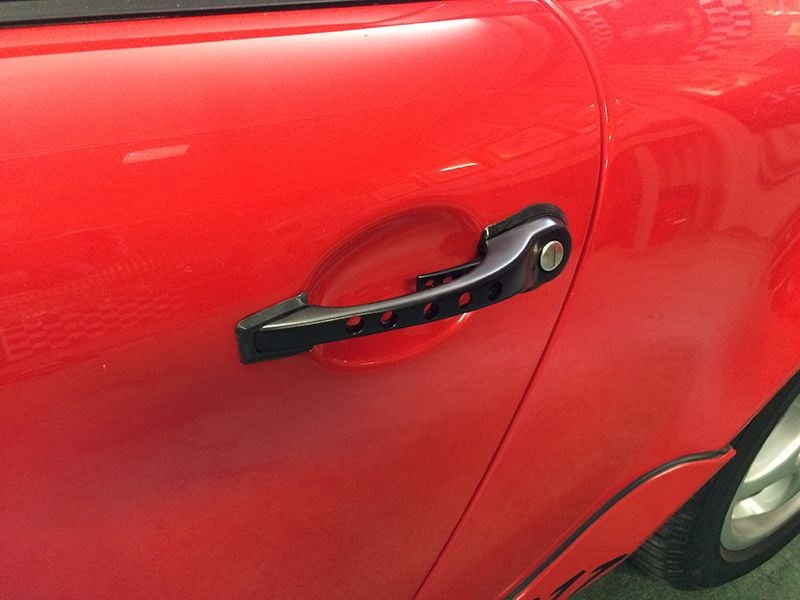
Finally got around to drilling the other side door handles. As promised, some pictures and words to go along with how I did it.
Of course, first step is to take off the door trim. Plenty of threads on this forum show you how to do this. I usually also disconnect the battery (you don't have too), just in case.
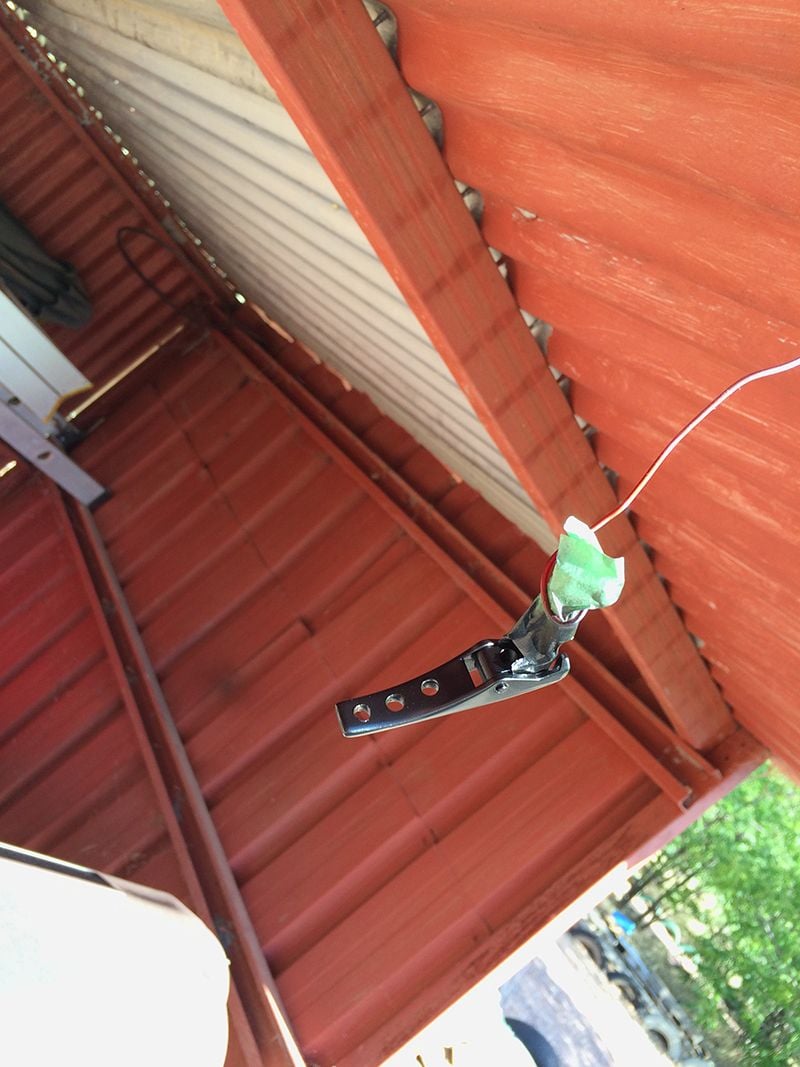
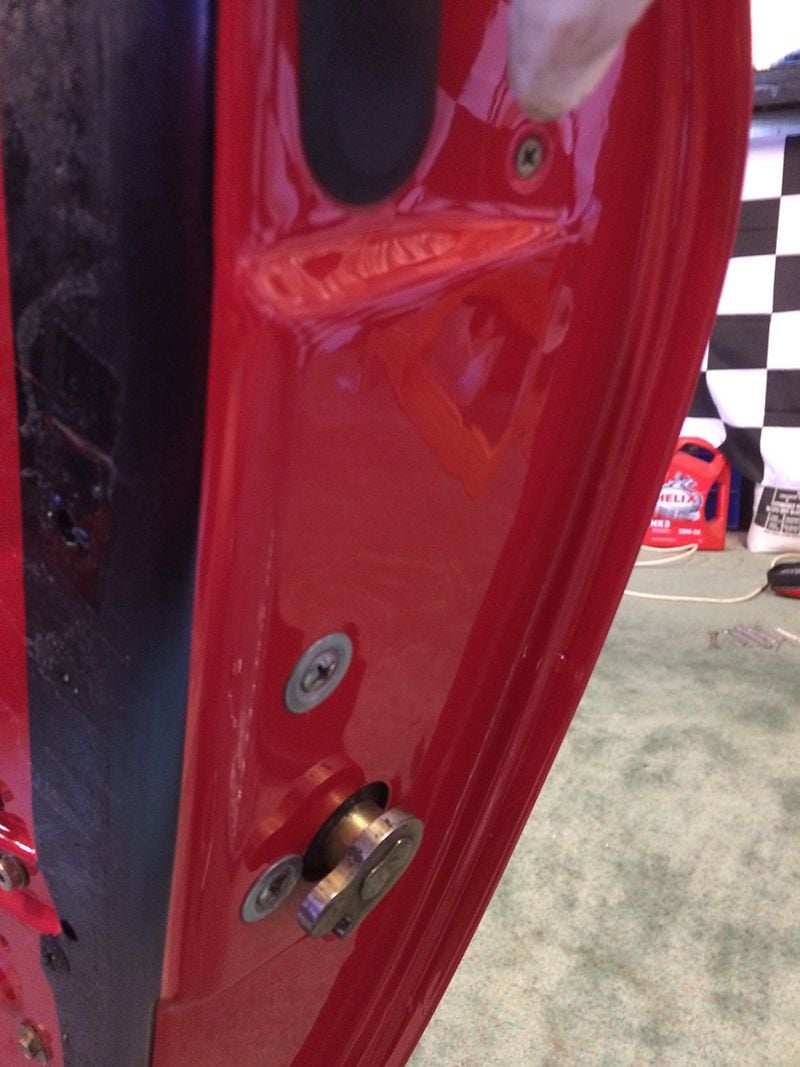
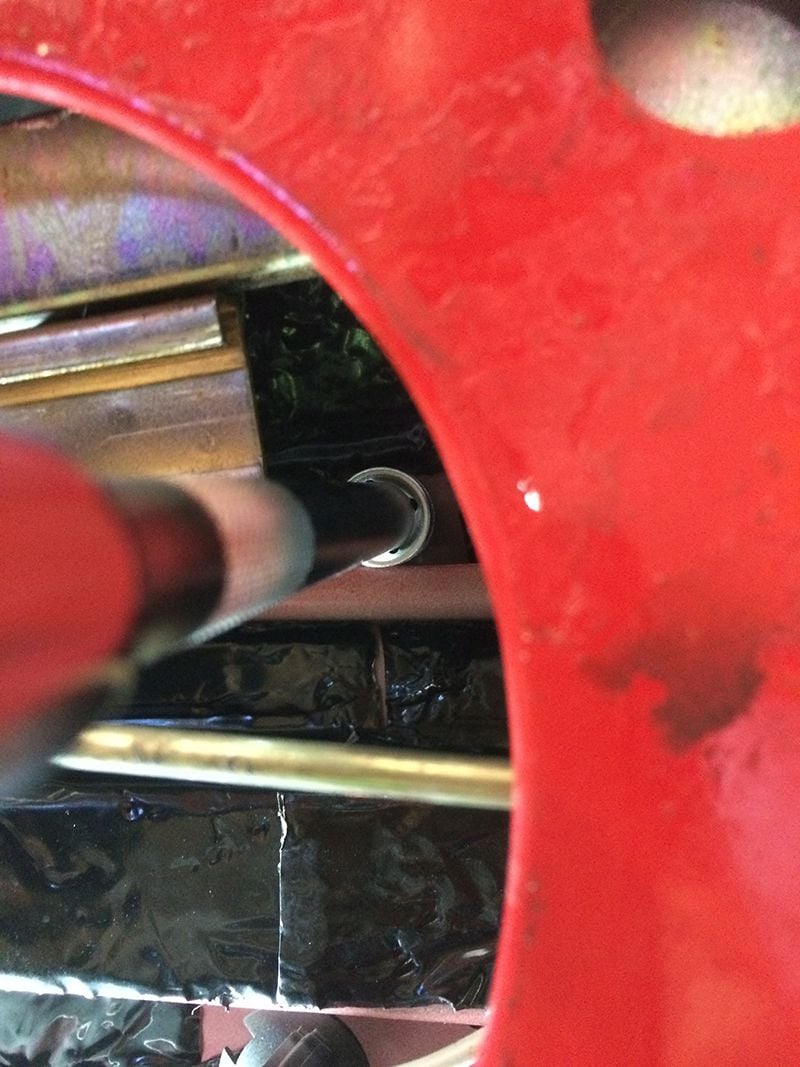
Once the door trim is off, you'll need to carefully peel back the water proofing plastic from the top right hand corner. If you look through the hole, you'll see one of the door handle nuts. These are 8mm.
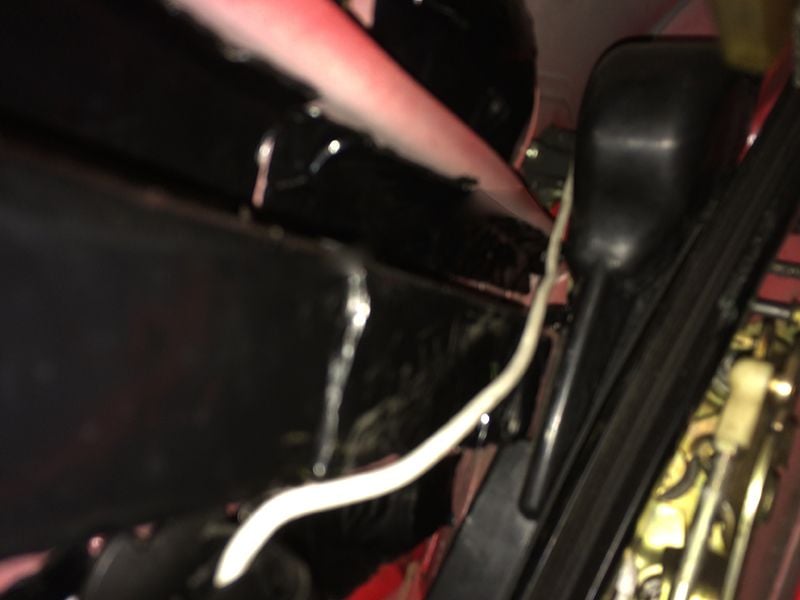
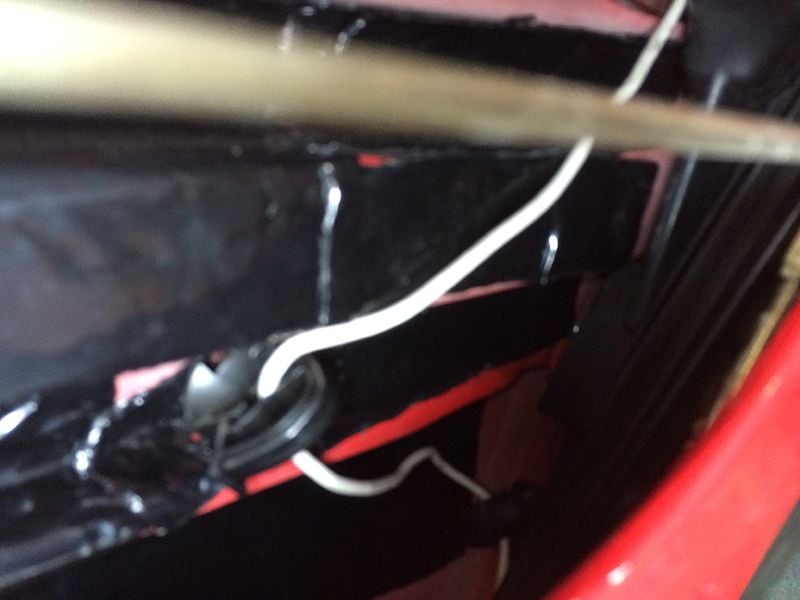
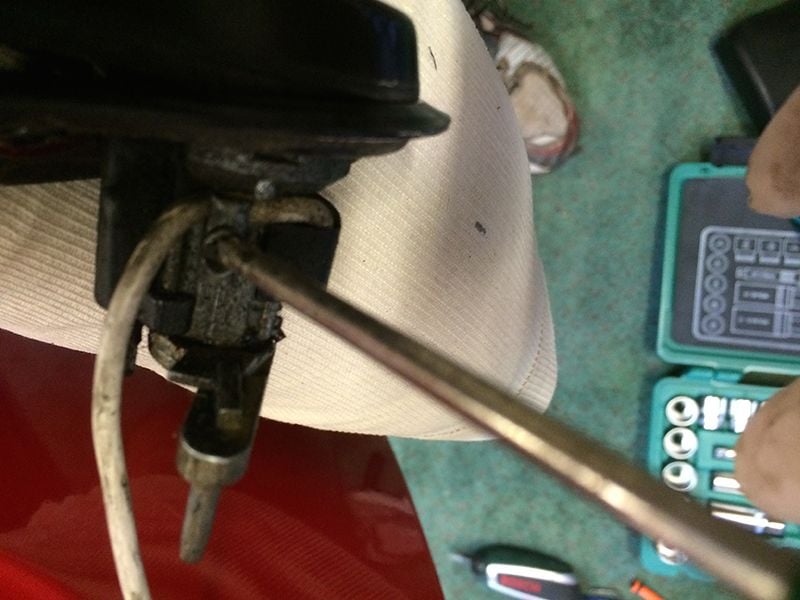
You will also notice the white wire (which is the central locking) that you will need to unhook from the black round holder. Against the inside of the door jamb at the top, you'll see a black t-shaped (kind of) plastic cover about 10 inches long. This covers the door mechanism and to get to the other door handle nut, you'll need to remove this. You do NOT need to take it out entirely though. There are two phillips head screws on the outside of the door jamb - take them out - then reach in, put your fingers behind the cover and pull it forward and down - just enough to expose the door handle nut.
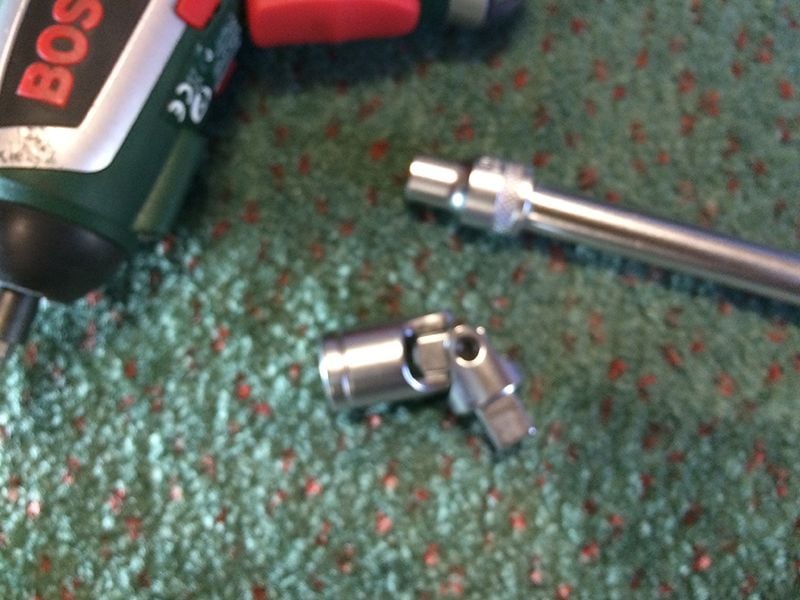
You will need a flex-extension piece to get in at this nut.
Once the nuts are off - you will be left with a washer on each thread. I always manage to drop these inside the door
Ok, you will not be able to remove the door handle from the door - gently... there is still a white wire attached !
Use a small phillips head screw driver and remove the phillips screw and bracket holding the wire - DON"T lose it !!
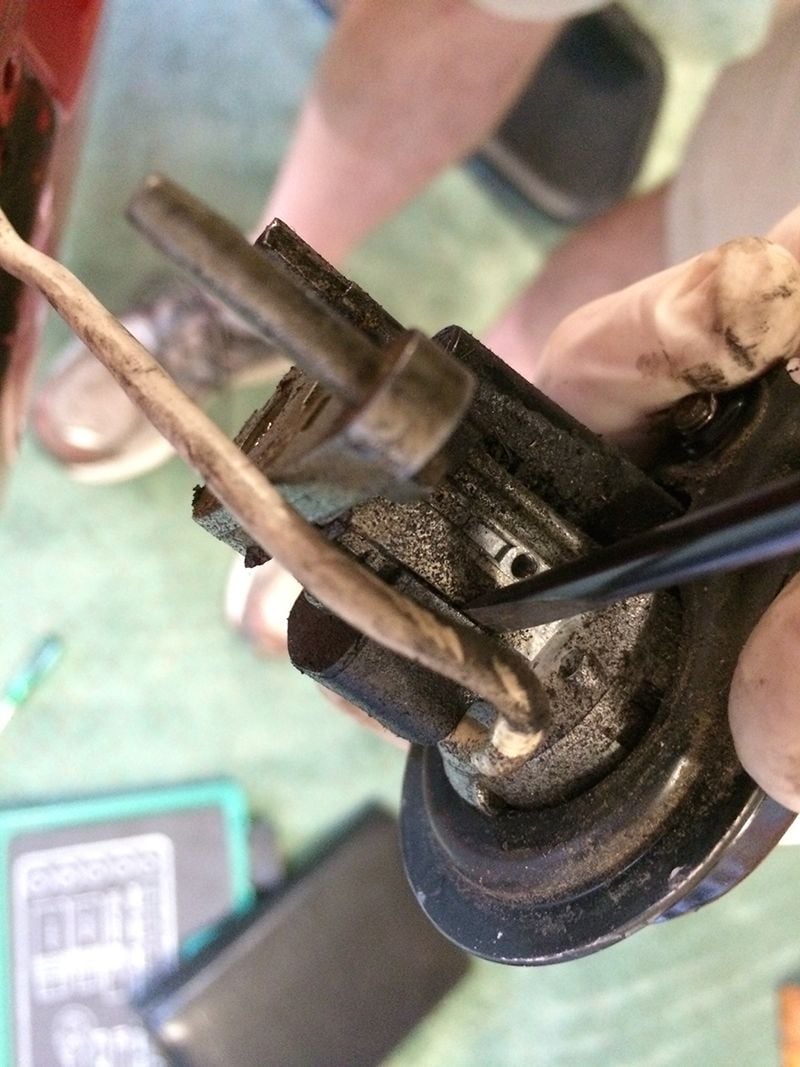
Then, use a thin flat head screw driver and place UNDER the black square plastic piece - this is the central locking actuator - and pry up CAREFULLY !
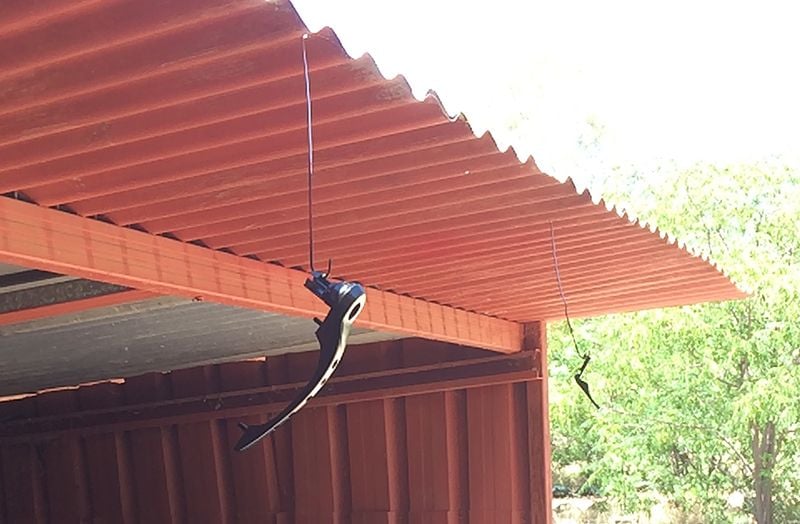
You should now be free to remove the handle and just leave the wire hanging there.
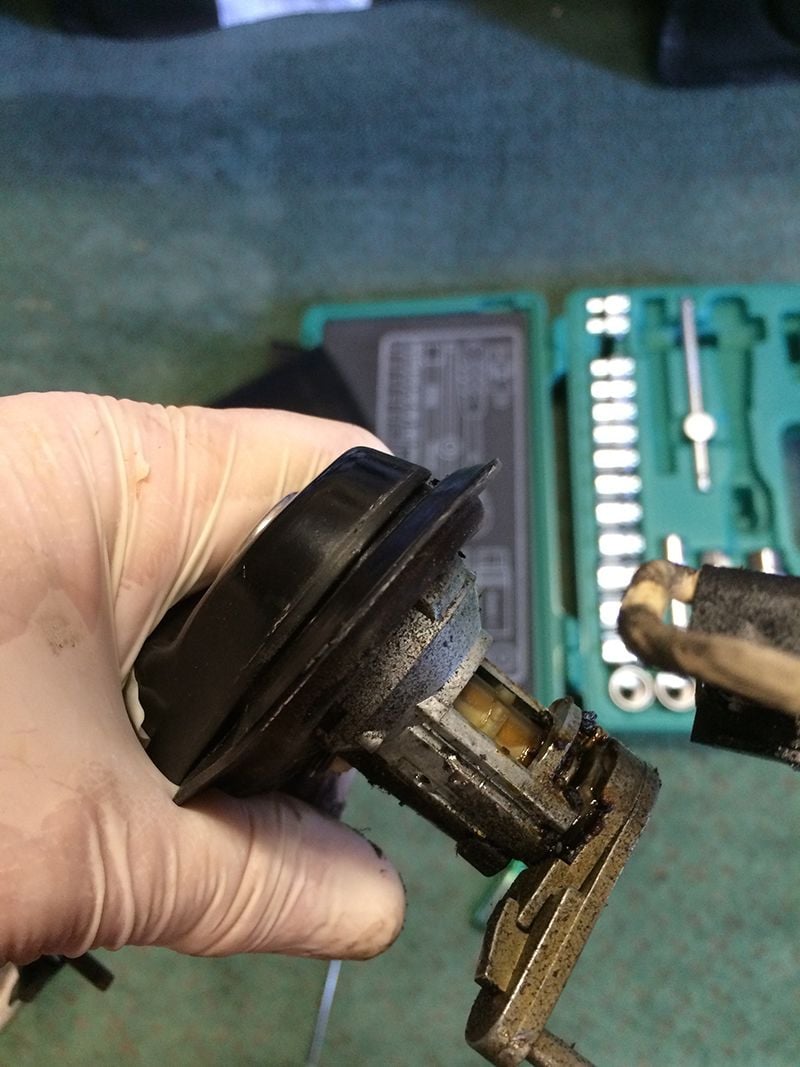
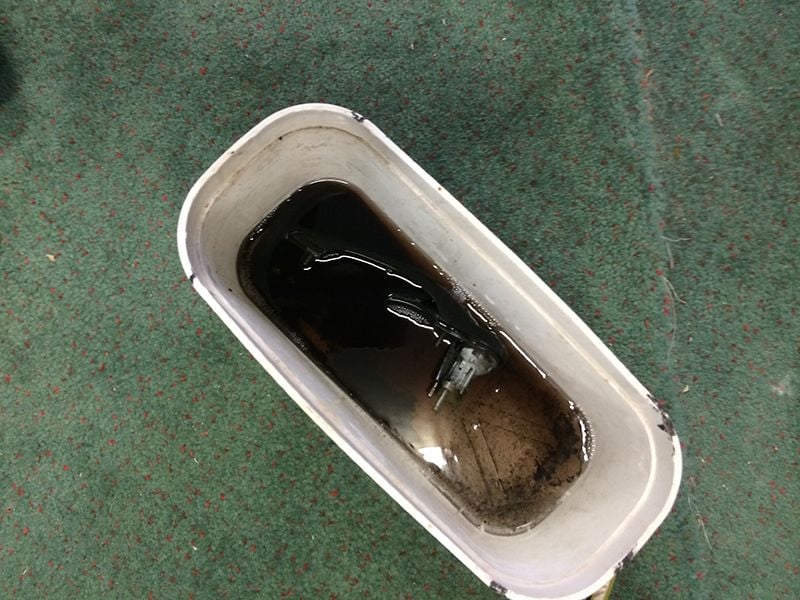
If your handles are anything like mine, then they are full of gunk and crap. So, take off the gaskets and soak them in some warm soapy water and meanwhile, an ice cream container, some petrol and a tooth brush is next !!
Once clean, we need to disassemble the handle further. It is very simple to do - however, take note of where things go. Take pictures
First, note the orientation of the locking mechanism and remove the phillips screw.
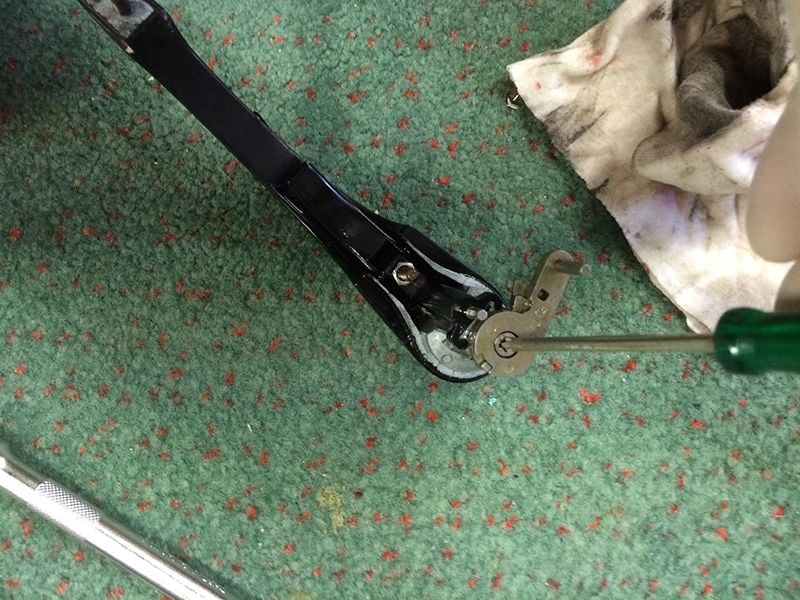
You can now GENTLY remove the locking cylinder from the handle. There are brass key pieces (with minute 'you'll never find me again' springs underneath, so just slide our carefully. There is a cylindrical plastic piece at the end of the locking mechanism that comes out too - note its orientation.
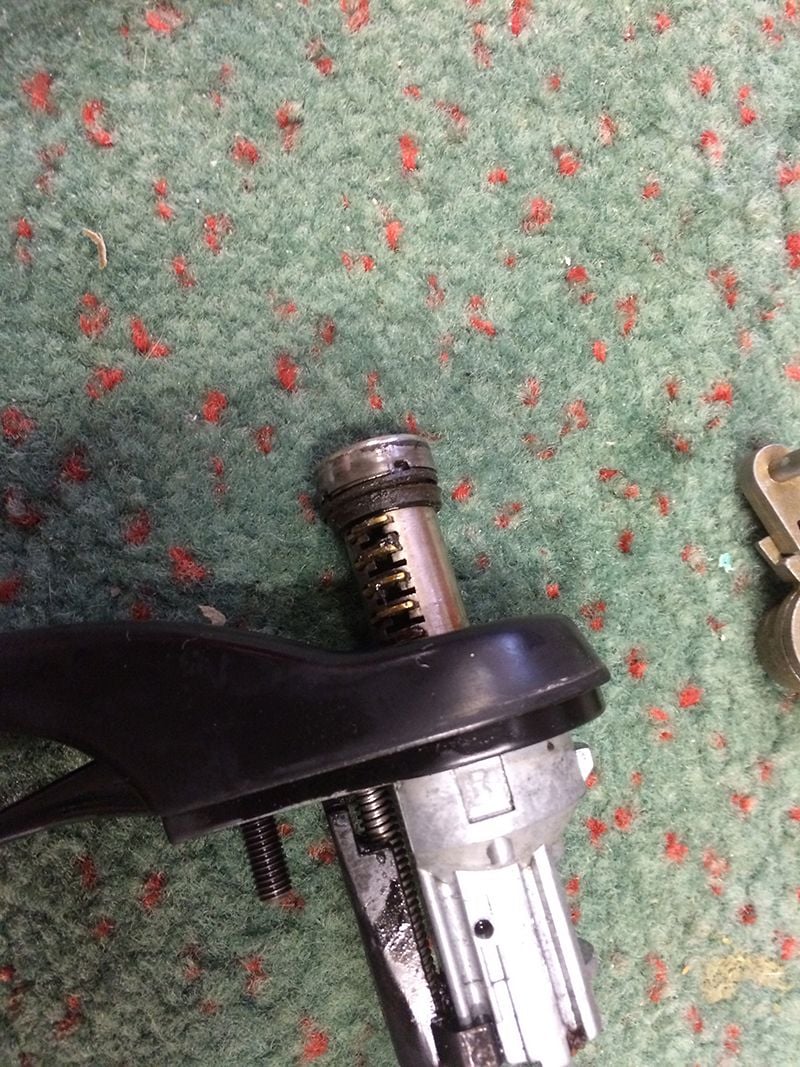
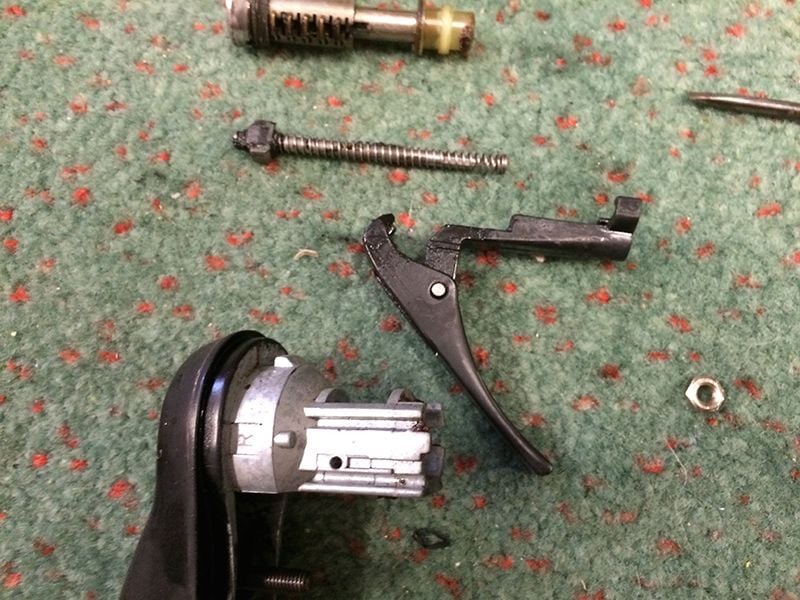
Now, you can take off the door actuator lever. It has an 8mm nut that you remove - you'll note that there is a washer that sits on top of it , remember to put it back again later as this sits against the door when assembled. Once the nut is off, the handle lifts off - CAREFUL as it has a metal rod with a spring and t-piece on the end, it is under pressure. It wont' launch off into space, but you don't want to lose it anyway. Again, note the orientation.
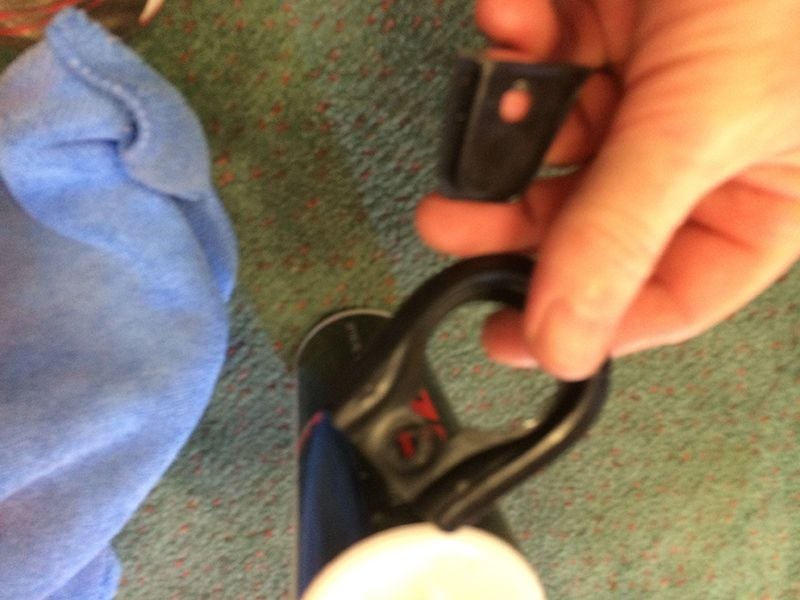
Here are the parts you should now have:
Now, the fun part !!
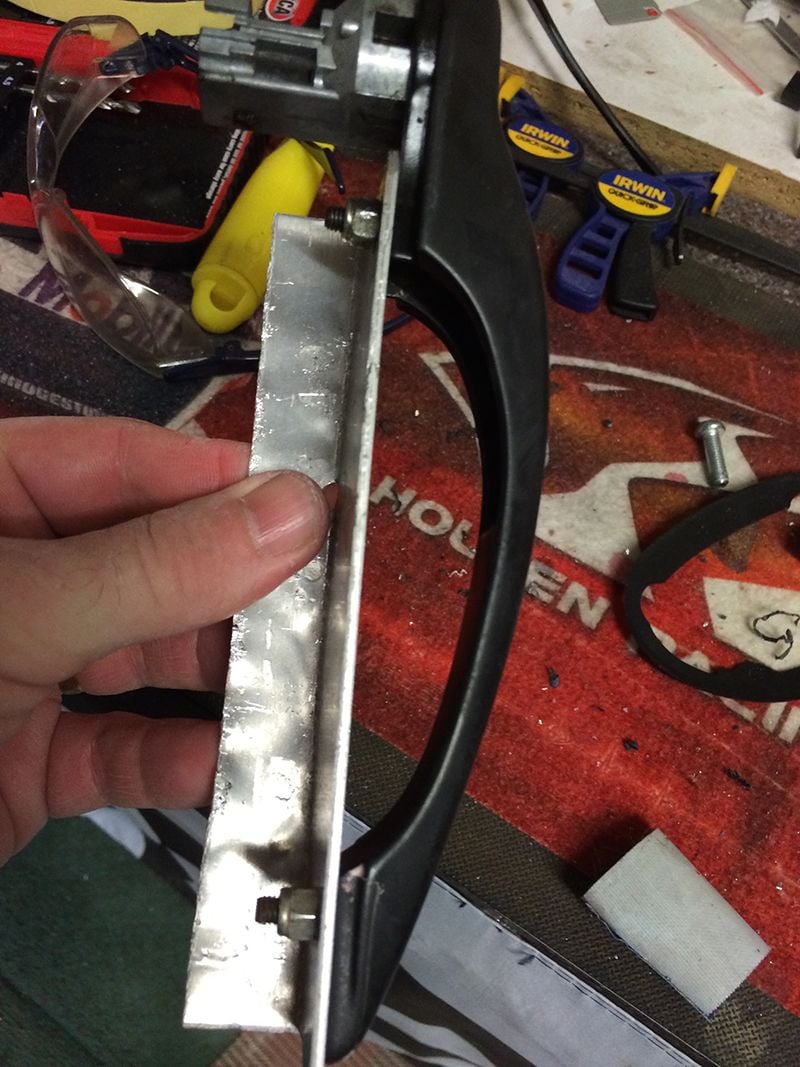
In order to drill the holes in your handle, you WILL need a drill press. Do NOT try to do the handle with just a hand drill or you'll stuff it (as me how i know ). Also, as the handle is curved, you will need to make a bracket to hold it and which will allow you to adjust the angle when drilling. I just grabbed a bit of aluminum, bent the end, then drilled two holes in it that lined up with the door handle threads and used the door handle nuts to hold it on.
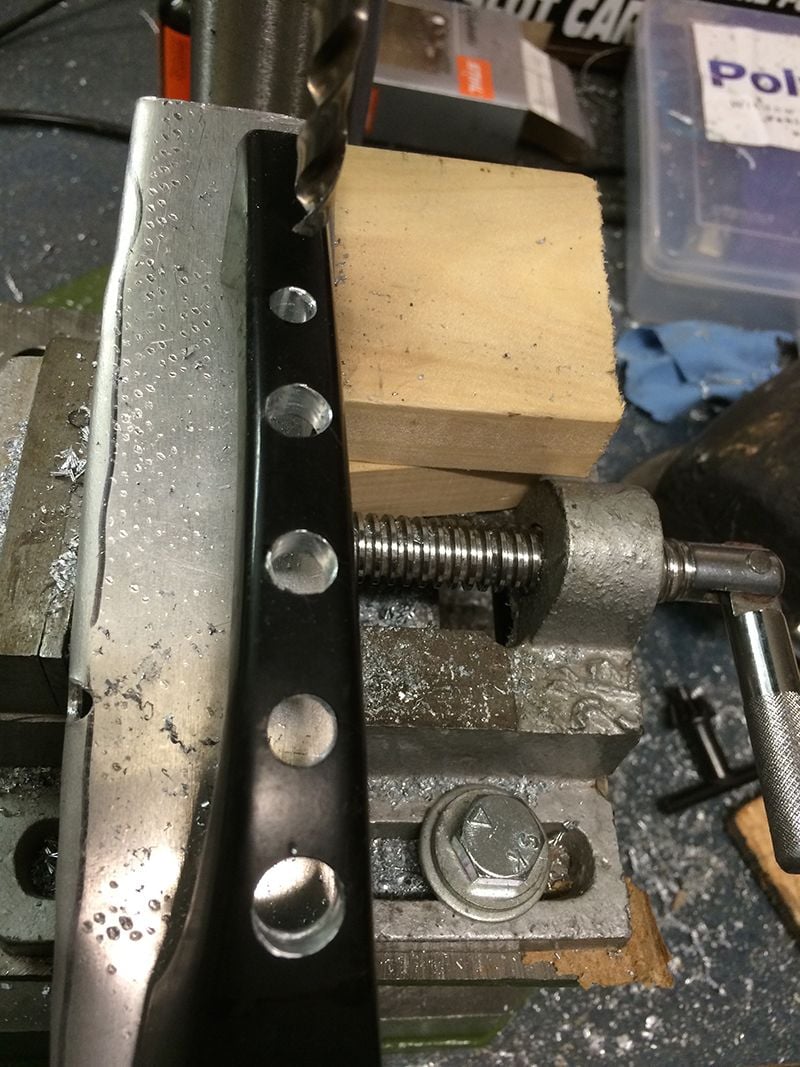
Now it's time to mark our where your holes are going to be. This is a personal choice, but look UNDER the handle as you will see where you can and can't drill holes. Also, don't make them too big as there will not be enough handle to use and it will break. For mine, I used 10mm for the first one, 8mm for the rest except the last which is 6mm.
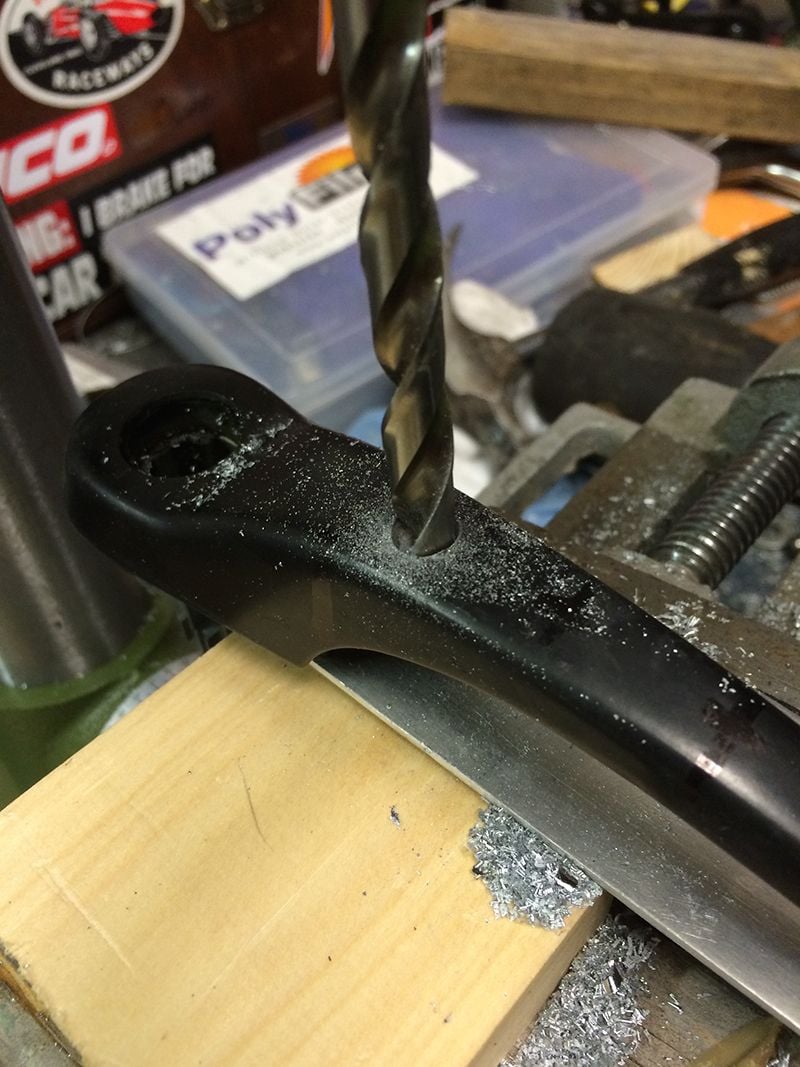
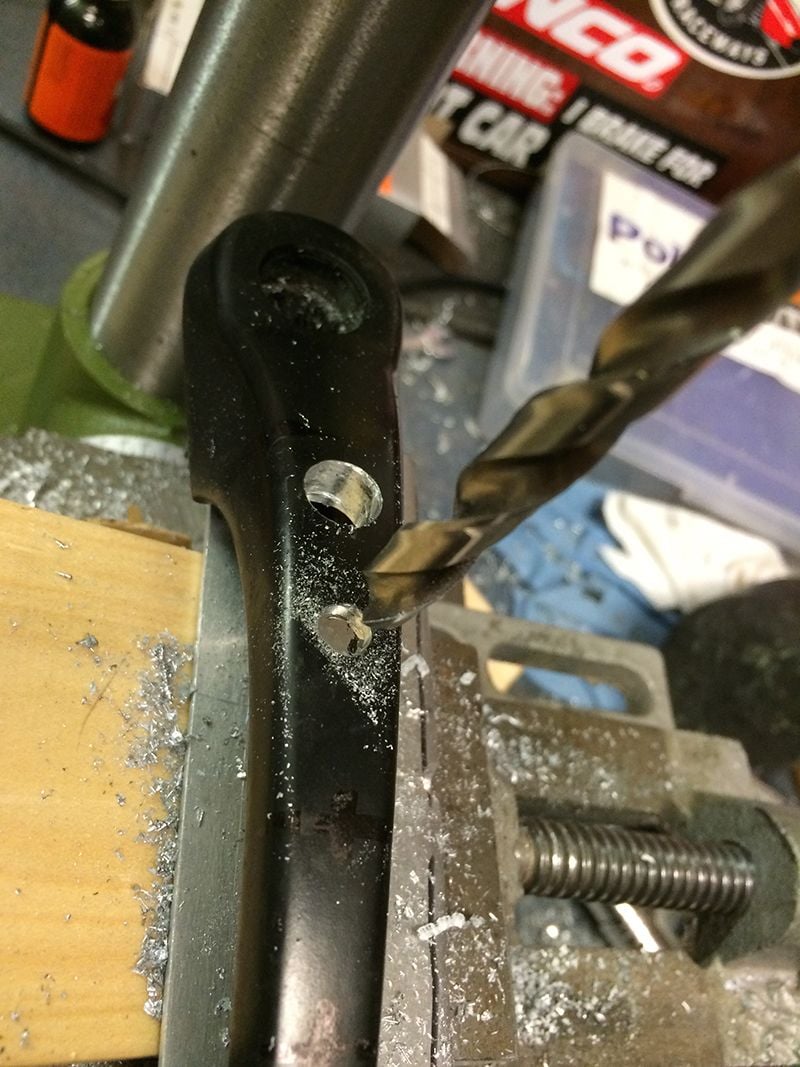
If you've never drilled cast metal before, it is pretty easy to do - HOWEVER, do not just try to drill straight through. Cast is a soft metal and when it heats up on the drill piece, it will 'bond' to the drill piece and jamb. So, go SLOWLY a little at a time and continually pull back OUT of the drill hole and let the material fly off the drill bit. If it does not - STOP the drill, use a rag and wipe of the drill bit, then continue this process.
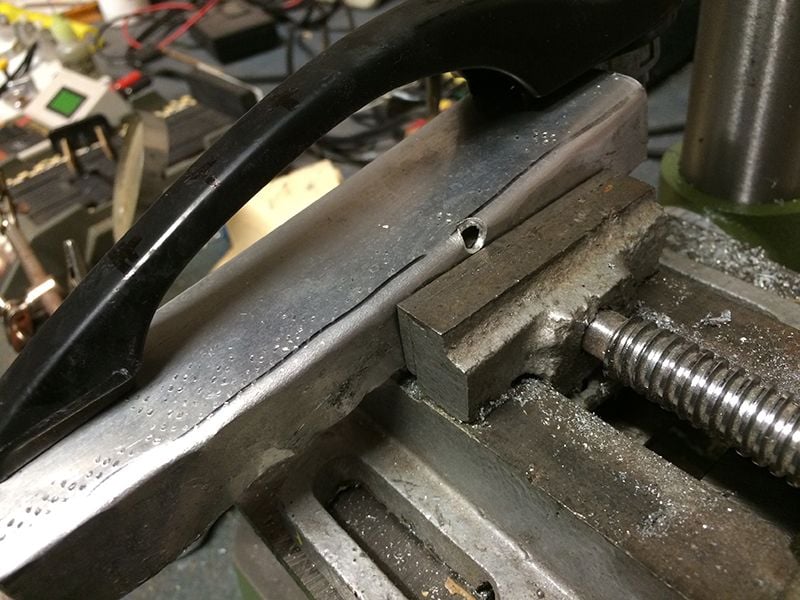
First, put your handle with the bracket in a small vise - line everything up - adjust the bracket so it is LEVEL to the drill bit, in the middle of the line you drew and in the middle of the handle. This is not hard to do, but it can be fiddly - check, and check again - then check one more time. I found that if you tighten it all up and have a rubber mallet handy, you can use the mallet to fine tune the position.
Leaving the drill OFF, just move the drill bit down till it is just touching and you'll soon see if you're right or not - adjust until you are.
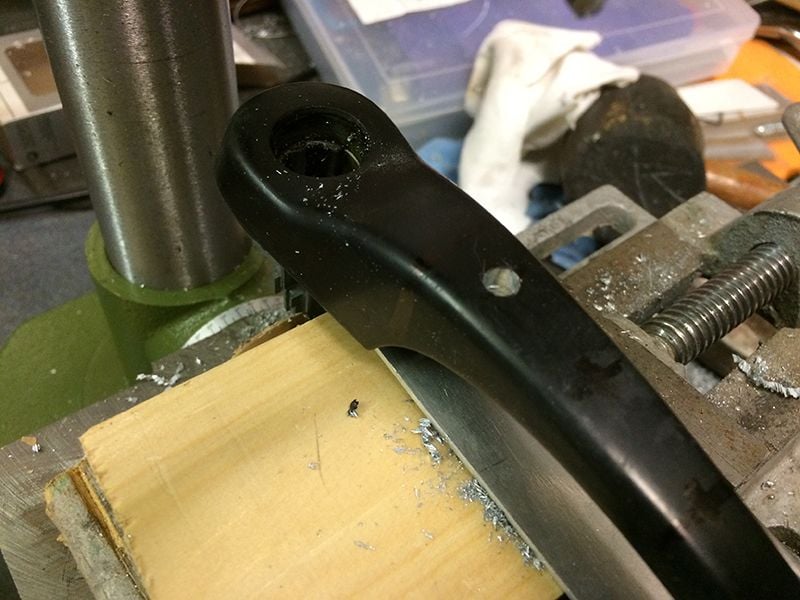
I found the easiest way to drill was to drill a SMALLER hole first, that way if you are NOT completely in the middle when you're done - you can use the next size up, only drill slightly over to the left or right of centre where you are out to compensate. Again, go SLOWLY removing the material as you go.
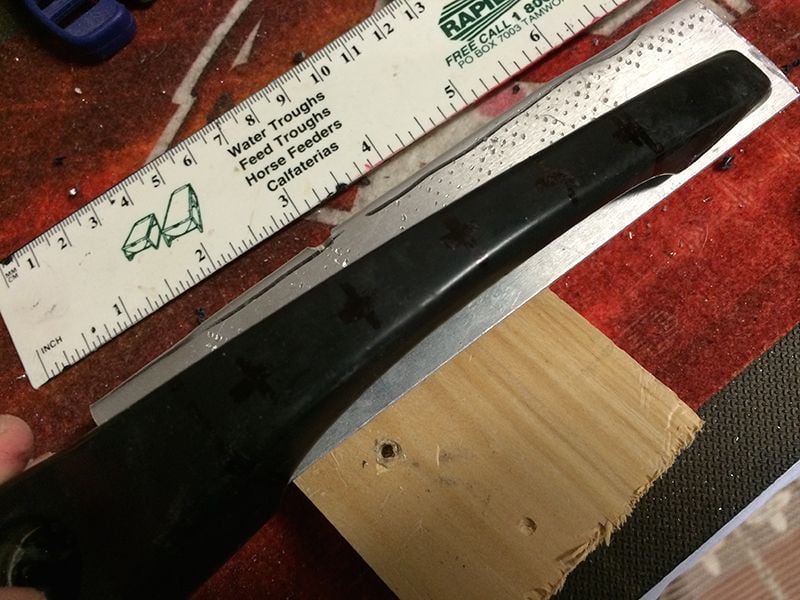
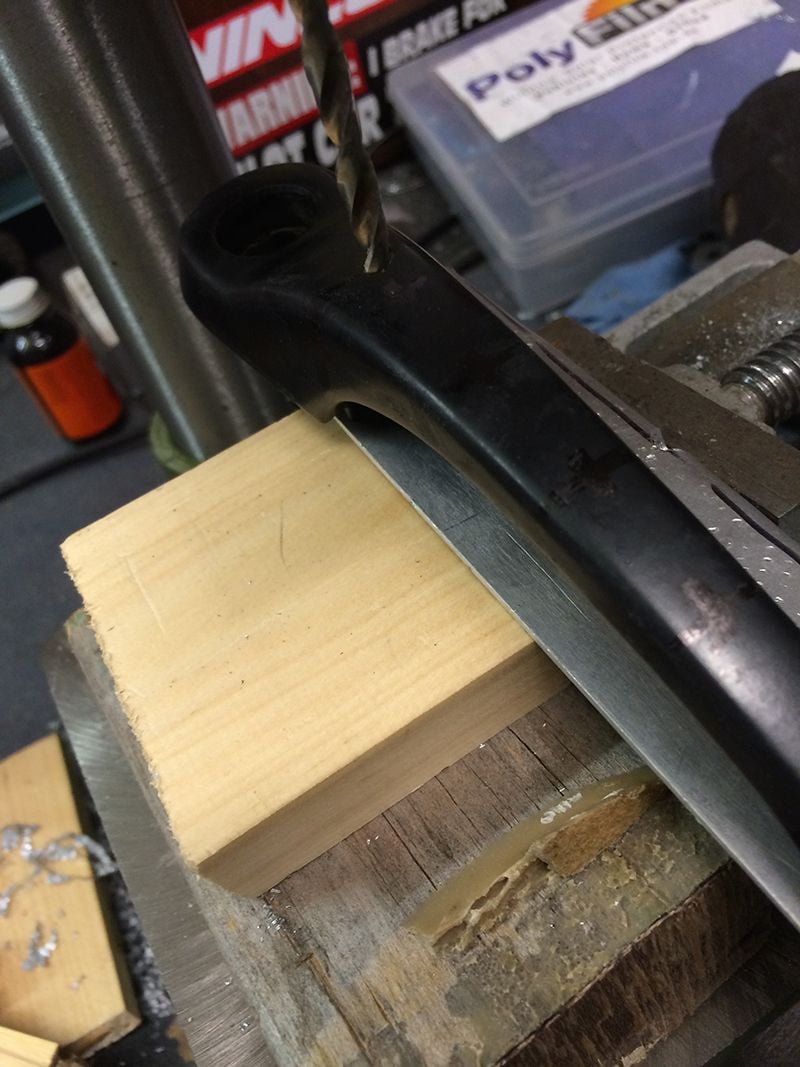
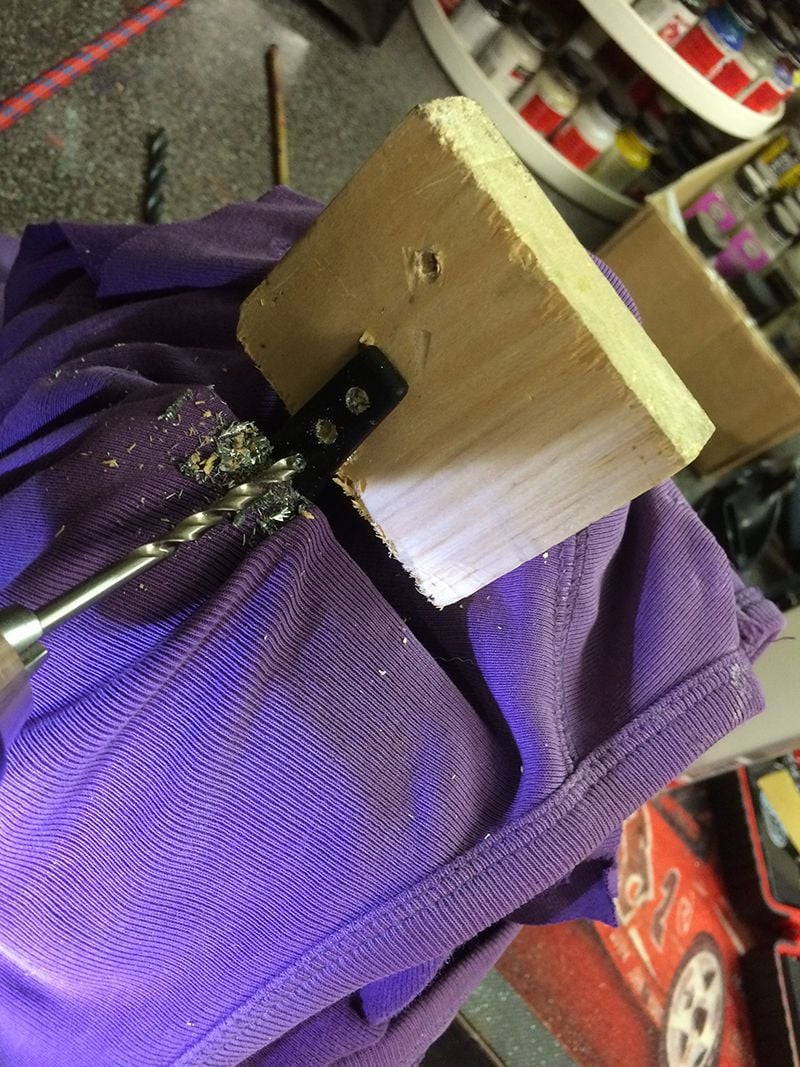
I decided to to the door lever in a vise by hand. Easy enough with a block of wood between.
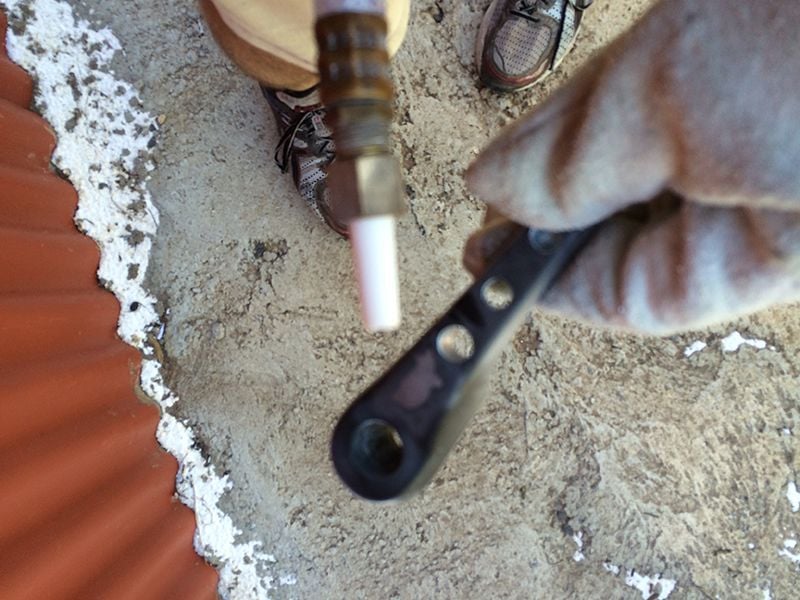
So, time for the soda blaster
Some Werth Black Satin ...
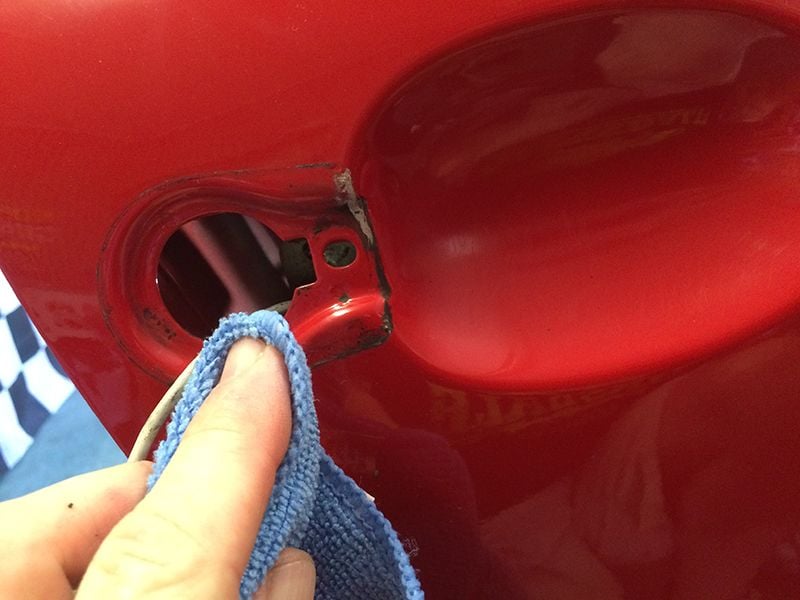
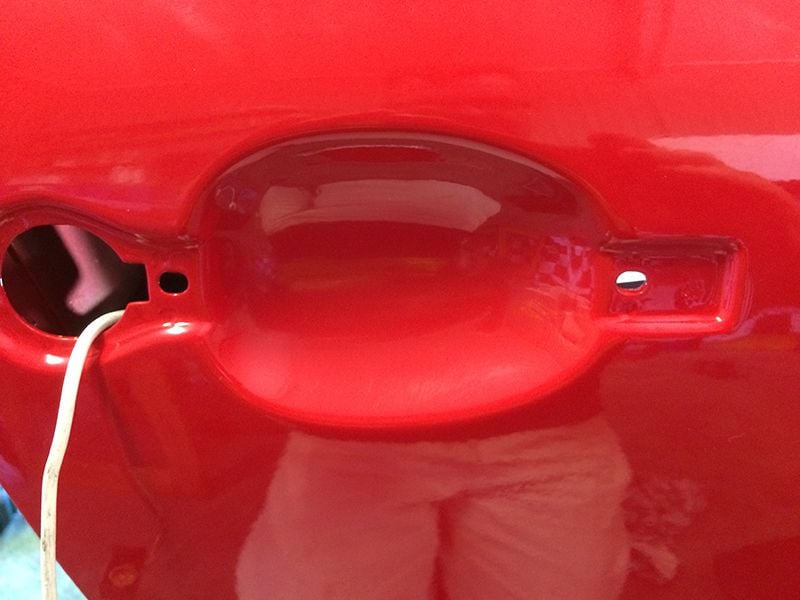
Remember to clean your gaskets (or use new ones), clean/polish around the door handle area too
Put your gaskets on NOW, before connecting the white wire
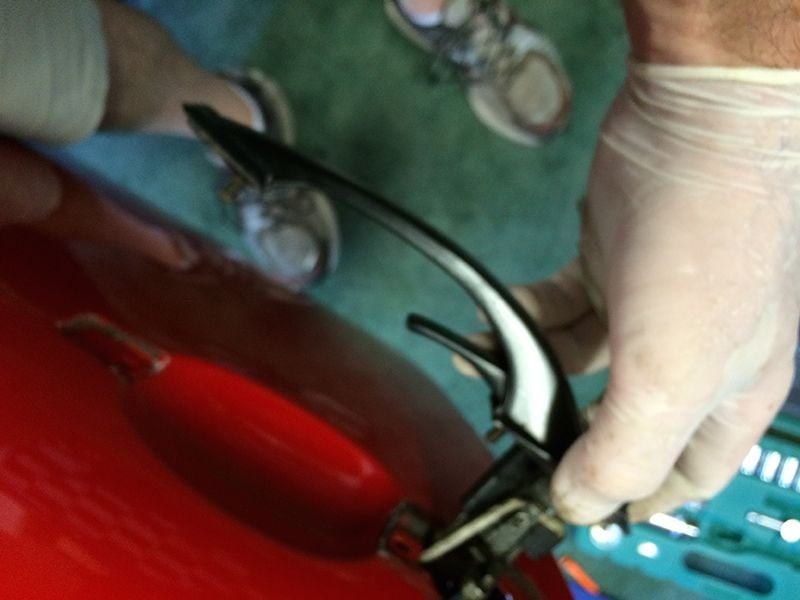
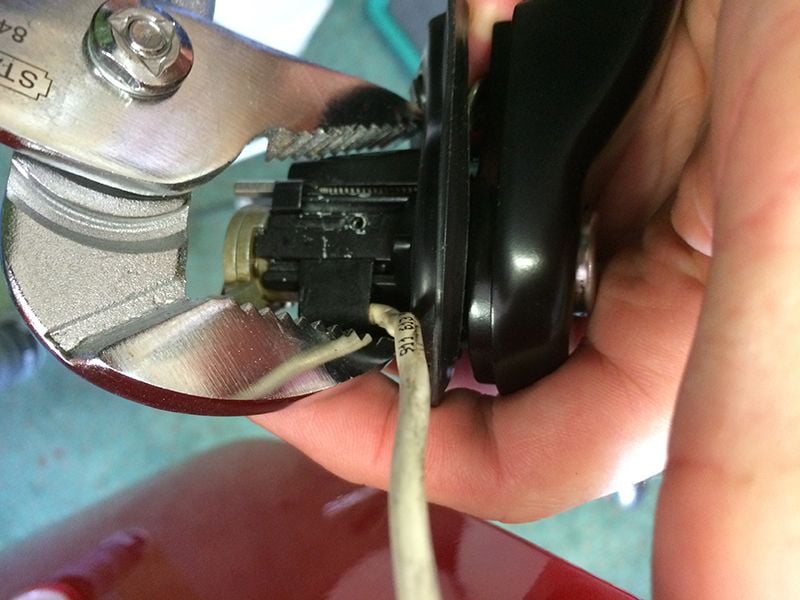
Attaching the central locking white wire plastic block is a tad tricky. If you look at it, you'll see it hooks under a locating slot. The way I do it is to hook one end, then using some multigrips, GENTLY squeeze until it clicks into place. Can take a few goes to get it. Just work slowly
Attach the small bracket and phillips head screw to the white wire.
Put the door handle back in the door, then working from the inside (whilst holding the door handle from the outside) reach in and put a WASHER on each thread and then start the nuts on each thread.
You can now work from the inside only - and using minimal pressure, do up the two nuts. Putting back the black plastic cover can be a challenge - lots of wiggling and swearing usually Keep in mind the white central locking wire, you don't really want to break that - so make sure you put it back in the retaining clip.
Once the black cover is in place, screw it back in from the outside and then finish reassembling the door panel.
It looks great Steve and thanks for the pics and extra steps on how to take them apart. I need to remove mine to have the tumblers rekeyed and this really helps out.
You can now GENTLY remove the locking cylinder from the handle. There are brass key pieces (with minute 'you'll never find me again' springs underneath, so just slide our carefully. There is a cylindrical plastic piece at the end of the locking mechanism that comes out too - note its orientation.
Interesting pictures.
I have the lid of the cylinder lid, key input, broken.
Do I have to remove the individual brass pieces and put them on a cylinder with a whole window?
Is the outer cover of the cylinder with a hatch replaceable? Is there a guide? thank you all

 02-13-2015, 05:05 PM

 )
)