When you click on links to various merchants on this site and make a purchase, this can result in this site earning a commission. Affiliate programs and affiliations include, but are not limited to, the eBay Partner Network.
Fuel Pump and Fuel Gauge Sender Replacement DIY (image heavy)
After eventually concluding that the cause of an annoying whine in my car was coming from the fuel pump I decided to replace it. I could not find a DIY (I am sure there must be one) so decided to write my own after the event. This might not be the best way but it worked for me, total time to do the job was about three hours but I spent one of those hours wrestling with a stubborn banjo fitting, I reckon I could do it in two or less if I ever have to do it again.
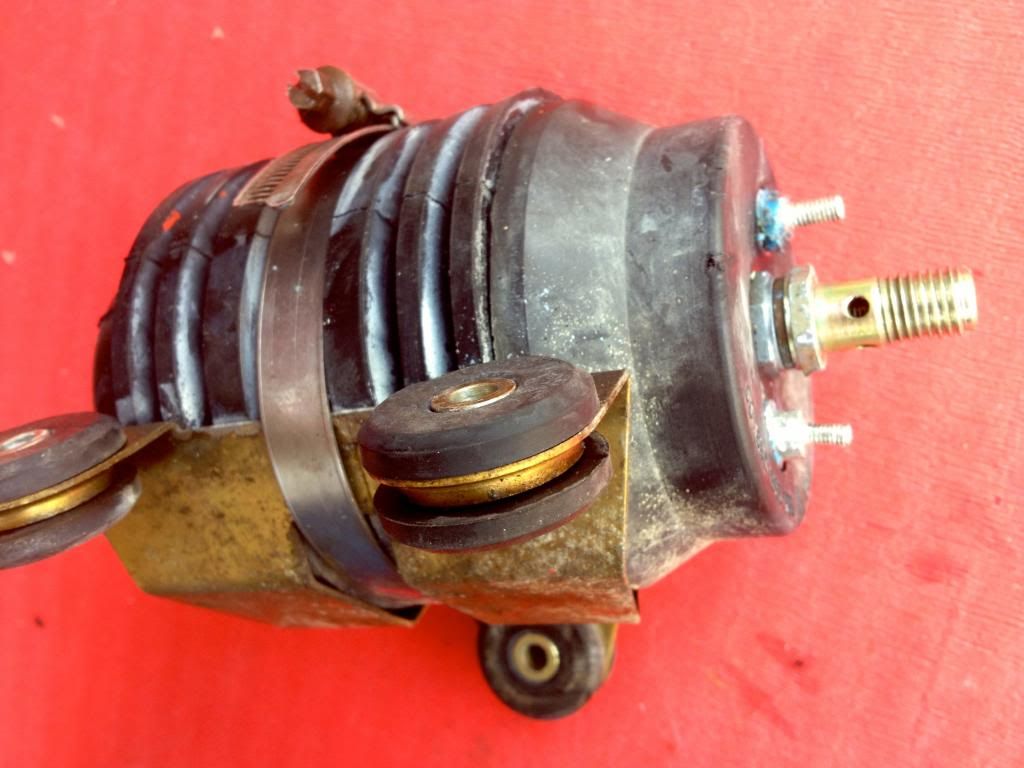
First photo is the new pump, just for familiarisation. Notice the electrical terminals have different thread sizes so that it is easier to get the positive and negative connections correct (more on that later). The outlet is at the same end as the terminals, the inlet has the green cap.
Safety always comes first so please make sure you disconnect your battery and then drain the fuel tank, I removed the fuel with a hand suction pump inserted into the tank gauge sender port.
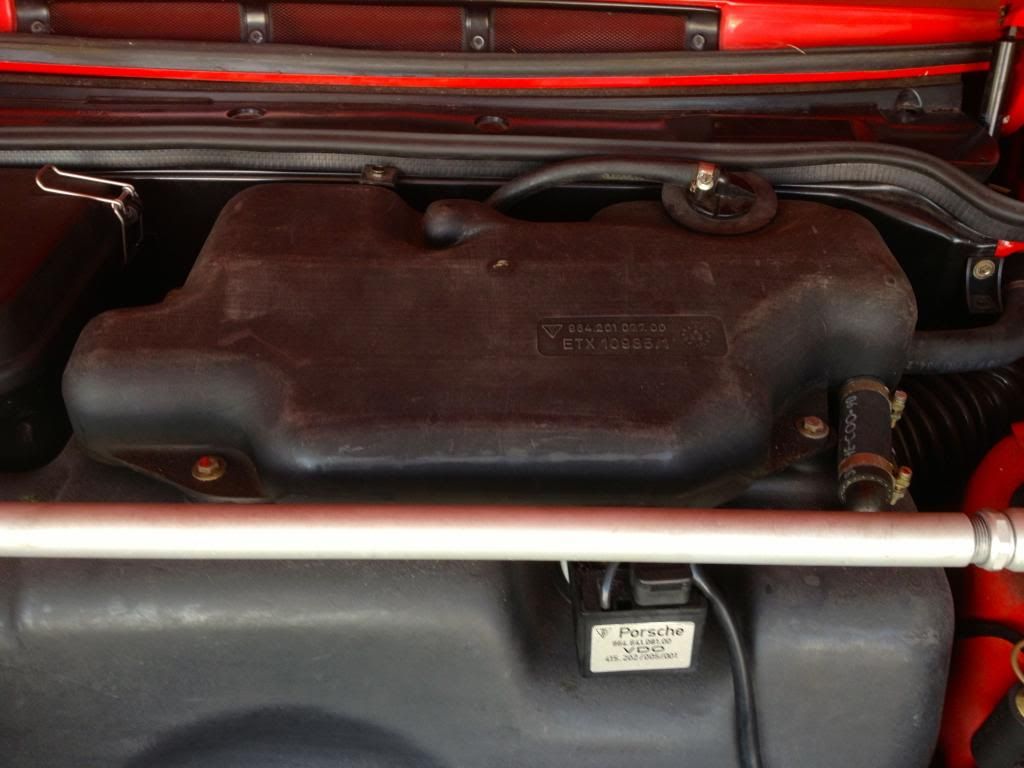
Photo below � Remove the fuel expansion tank by loosening the three fuel hoses and three M6x22 screws (10mm socket) and lifting it away - take care not to lose the three plastic spacers that are between the expansion tank and fuel tank. At this point it is worth mentioning that these three M6 screws look remarkably like the three M6 bolts used to secure the pump to the chassis, only the length (and threaded portion that differentiates between a screw and a bolt) prevents them being used in the incorrect place � I found this out the hard way by trying to use the pump bolts to secure the expansion tank during reassembly and discovering they were too long.
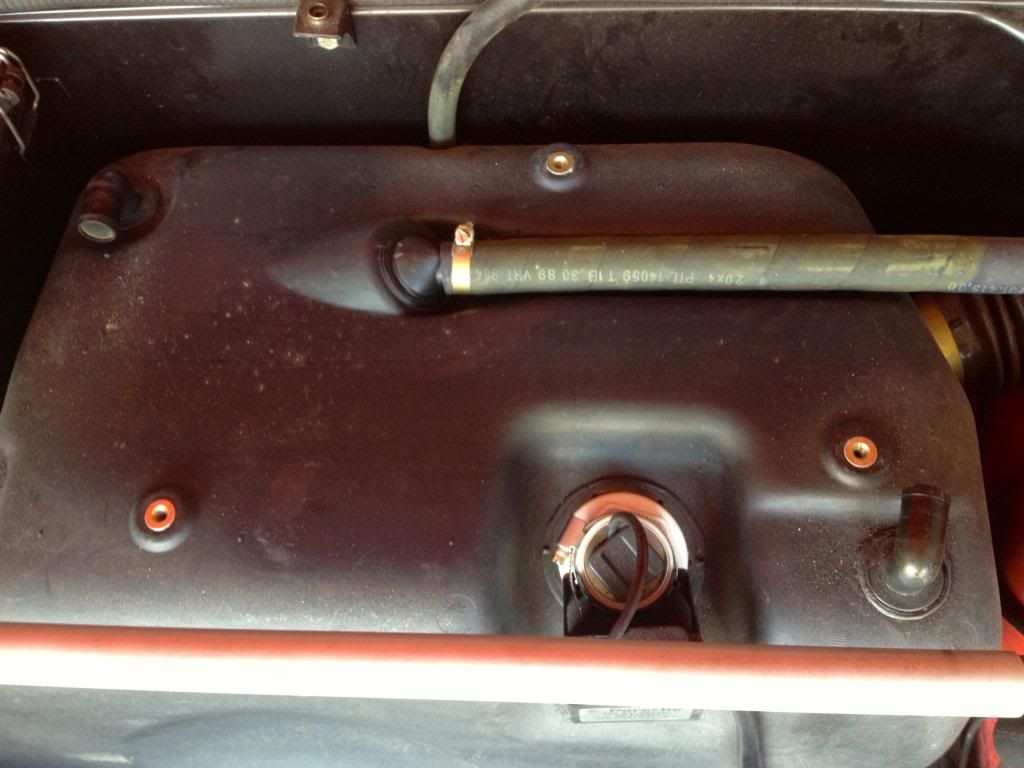
Photo below shows the fuel tank after removal of the expansion tank. You now need to remove the fuel gauge sender by loosening the jubilee clip, moving the gauge control unit and pulling the electrical connector from the white sender cap. I used an adjustable wrench and after removal measured the cap at 49mm across the threads.
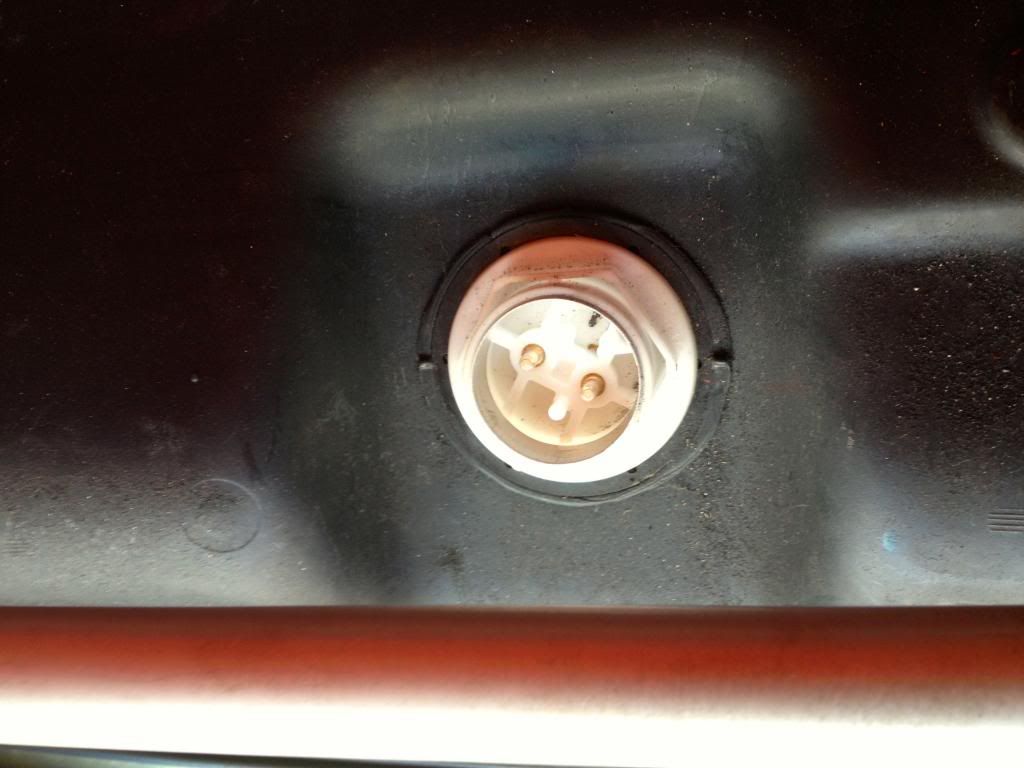
Photo below � this is the sender cap with the electrical connector removed.
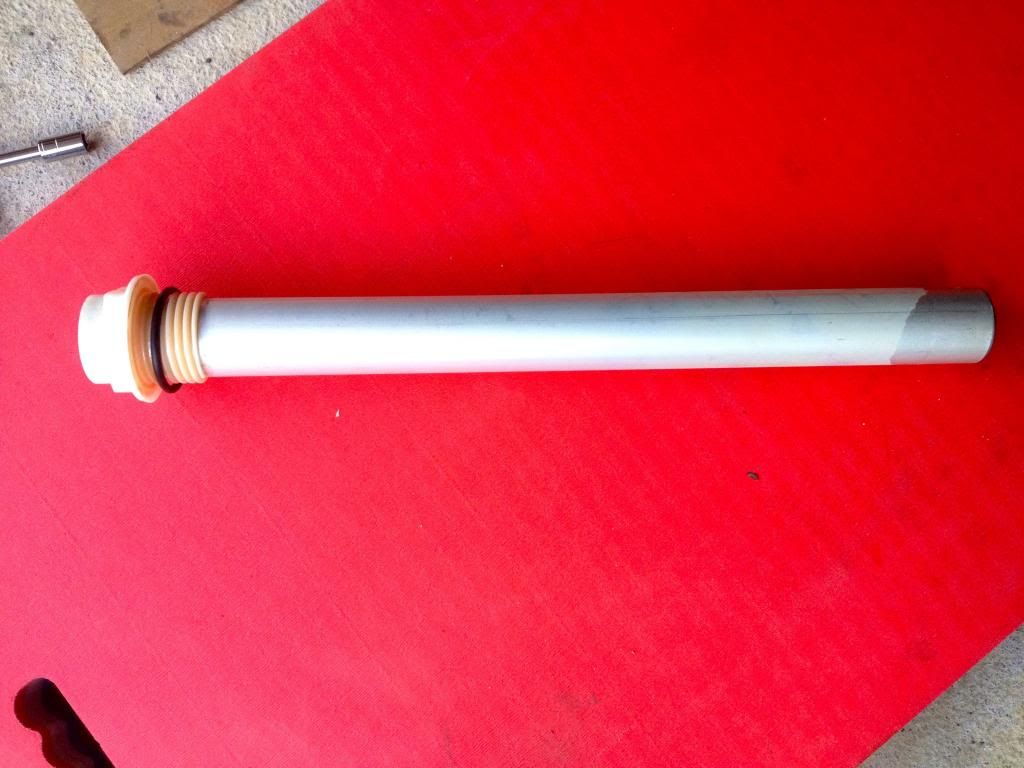
Photo below � and this is the sender. Looks like something you might buy from a plumbers merchants.
With the sender removed you can now siphon off the fuel. Now I thought I had pumped out all of the fuel only to find I had a few litres left when I loosened the fuel pump inlet hose � needless to say I had a decent fuel flood on my garage floor. If I do this again I will use the good old siphon method with a longer tube rather than a pump with a short one!
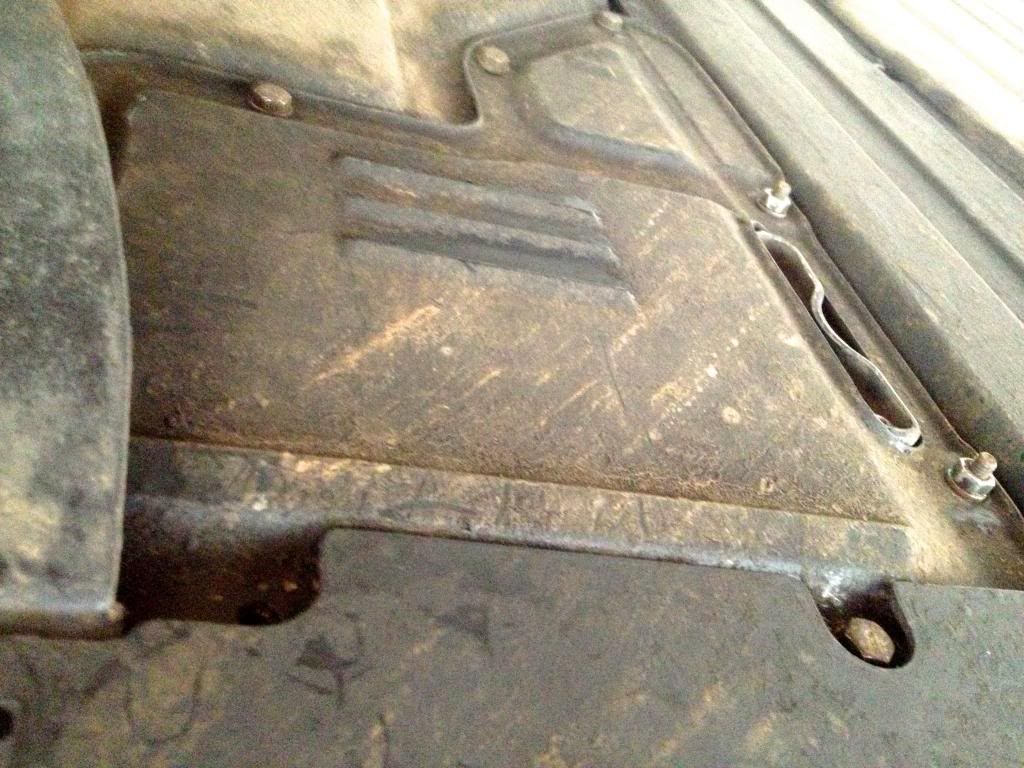
Photo below � Now we remove the fuel pump. Get the front of car up on ramps/axle stands and find the pump cover plate, it is located roughly mid-way between the front wheels and looks exactly like the one in the photo. Remove the 6 screws and 2 nuts using your 10mm weapon of choice.
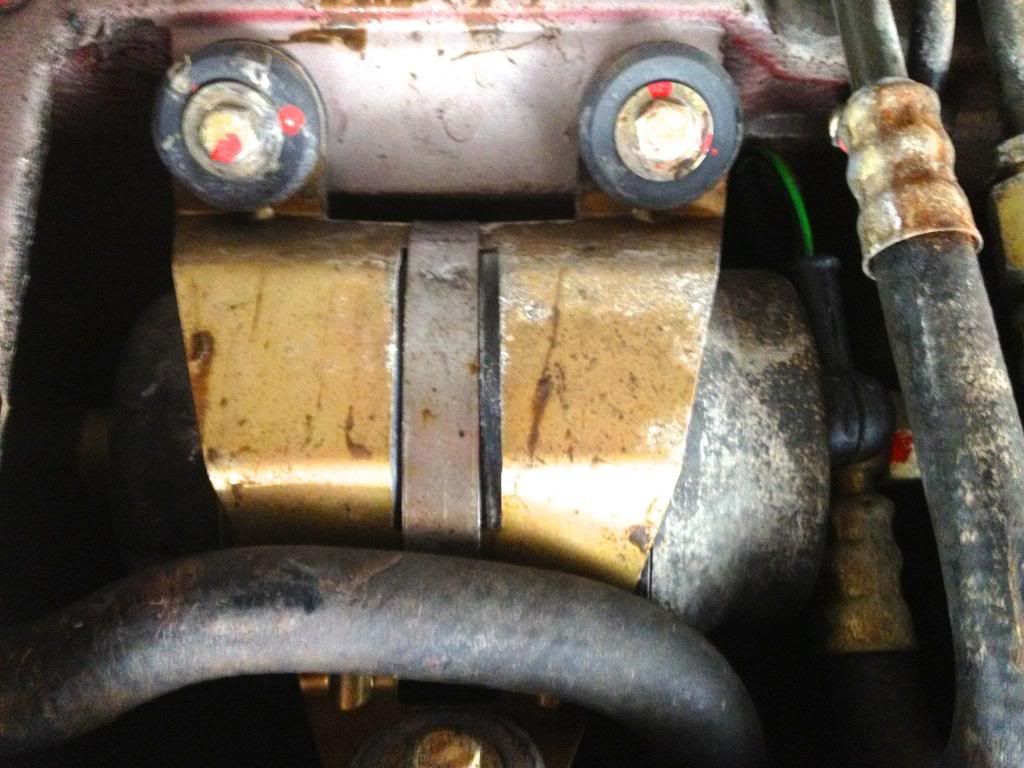
Photo below � The fuel pump is wrapped in a two-piece rubber jacket in turn held to a frame with a large jubilee clip, it has fuel pipes connected to either end, the inlet is secured with a jubilee clip and the outlet is a banjo fitting. There are two electrical connections at the outlet end. The frame mounts to the chassis with M6x30 bolts, remove these with an 10mm spanner or socket.
Photo below � In order to loosen the fuel and electrical connections you need to get the pump out of its aperture, at first this looked a little tight but actually it is quite easy to remove. All you need to do is push the pump over toward the side with the electrical connections and then pull the inlet hose that you can see below past the lip of the aperture, the pump can then be lowered and will hang on the hose.
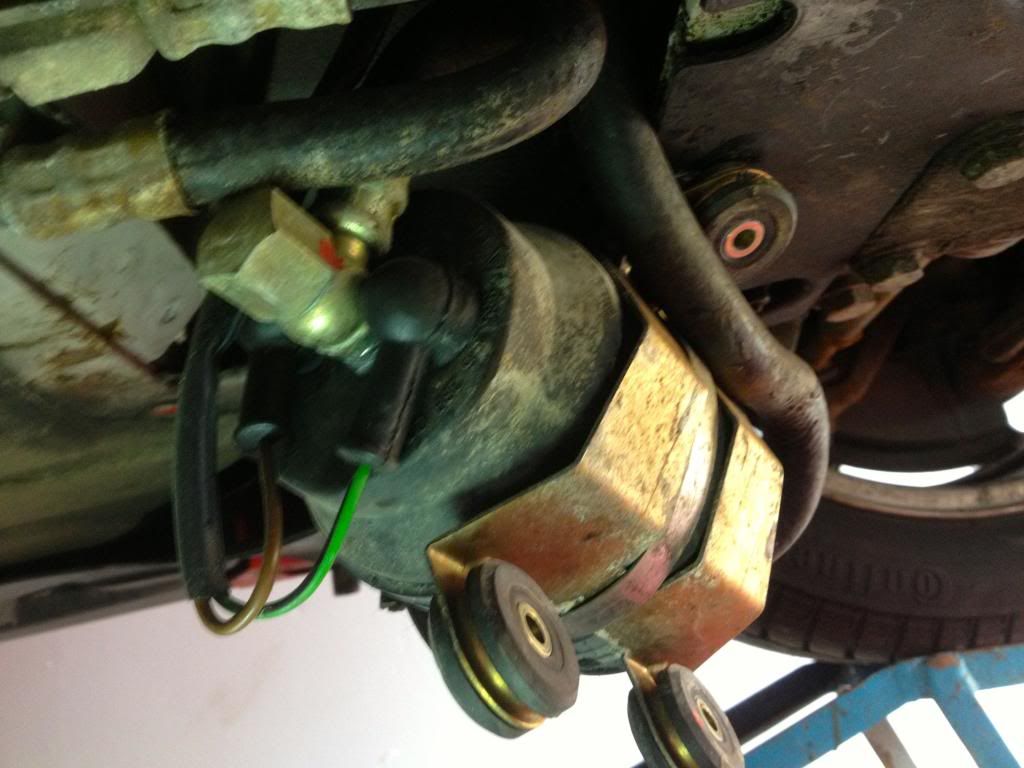
Photo below � fuel pump hanging ready for removal. The big nut at the top is the banjo connection of the pump outlet, the hose at the other end is the inlet. Remove the inlet hose by loosening the clip with a screwdriver and gently pulling it off. This is the point when I became a bit wet smelly and attractive to naked flames!
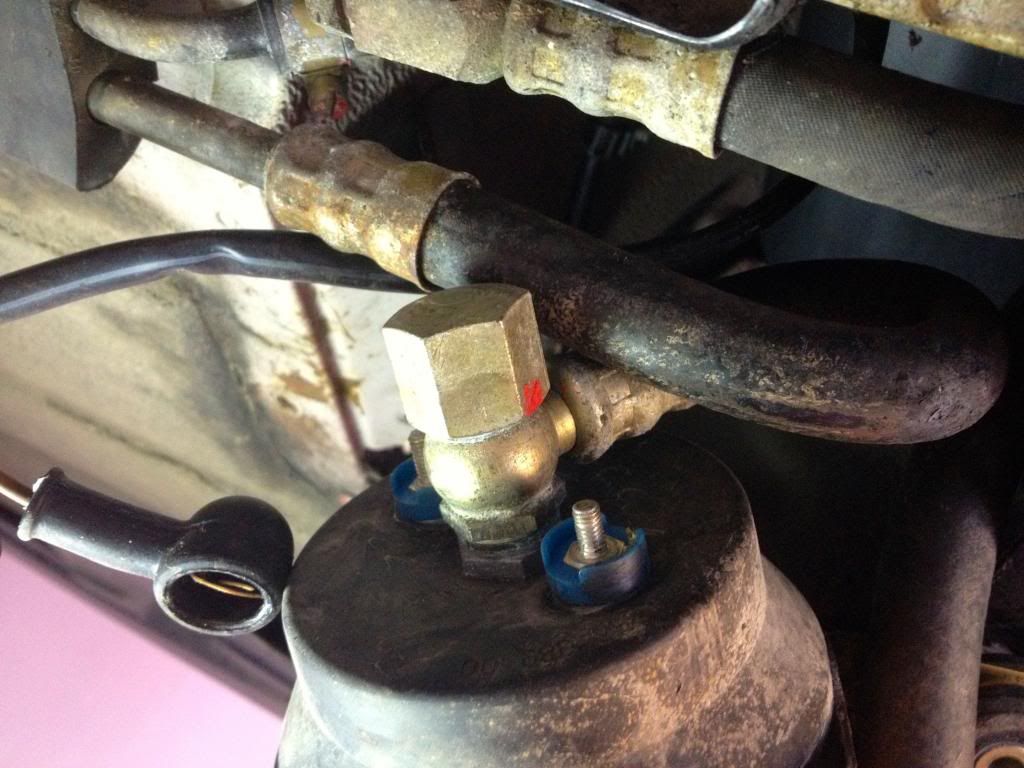
Photo below � close up of the outlet side. The electrical connections have been removed using 7mm and 8mm sockets, you might be able to spot that one terminal (in the foreground) is larger than the other. On my pump the smaller was the positive and the larger negative but whilst I was making the disconnections I made sure I noted that the green wire went to the smaller terminal as I could not determine the polarity until the pump was removed and out of its rubber jacket. Don't trust me at this point, make sure you know exactly how your pump is wired or you will be in trouble.
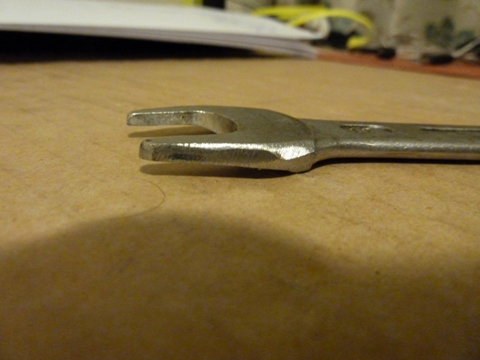
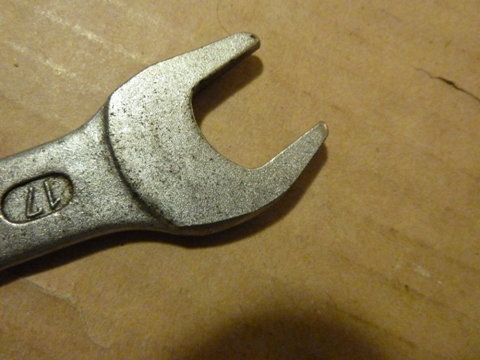
This is where my trouble started as my attempt to loosen the large nut on the banjo resulted in the complete outlet fitting loosening from the pump and I could not get a 17mm spanner on the lower nut to hold it due to the blue plastic insulations surrounding the terminals. My eventual solution was to carve off the blue insulation to provide more clearance for the 17mm spanner. By the way, the large nut requires a 19mm spanner. Be careful not to lose the two sealing washers when you remove the inlet hose, I did not have any replacements but I will make sure I do if I ever have to do this again.
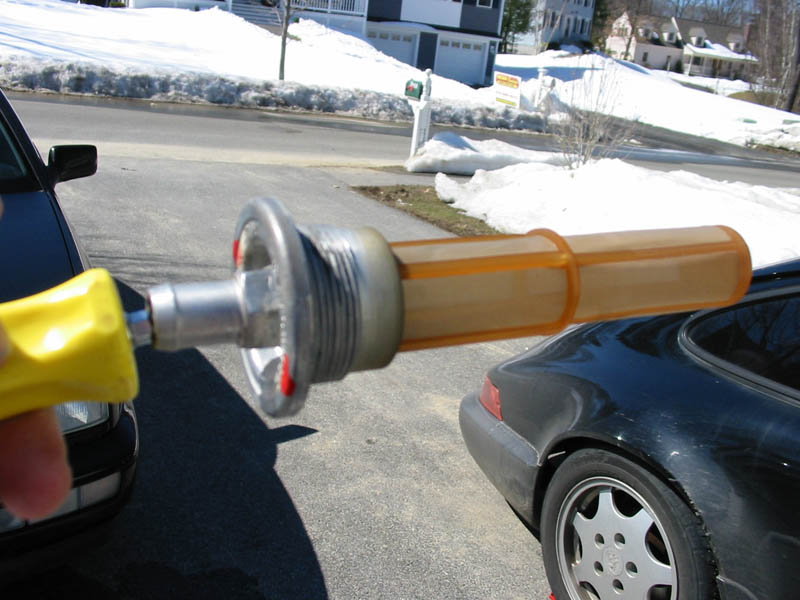
Photo below � this is the pump assembly after removal. Loosen the giant jubilee clip and remove the mounting bracket. The next step is to remove the pump from the rubber jacket, the top section just pulls off and then you pull the pump from the bottom section (it takes a bit of pulling). That completes the removal.
Installation of the new pump, as the saying goes, is a reversal of the removal process. Nothing too much to remember other than those sealing washers for the banjo fitting, making sure you have the correct wiring connections and making sure that you have not nipped or kinked any of the fuel hoses during the process.
I guess it is best to end this by saying that the noise from the new pump is considerably less than that of the old pump, I could only really hear the new one with my ear close to it whilst the cover plate was still off. The old pump was the original as best I can tell and had lasted a good old 147,000 miles.
nice pics, thanks - well done DIY with lots of detail.
Is yours a 92+ car? That looks like the newer sender unit ...
was it faulty?
Thanks.
I don't know if it was ever faulty to be honest. My car is an MY90, no record of a sender change in my service history spreadsheet. Maybe it was changed and the receipt not retained by the previous owner.
Good write up. When I changed my fuel pump, I just let the gas drain out of the banjo fitting. You can control the flow somewhat, but be sure to have enough containers ready to catch the gas. Also be sure to keep and heat source/light bulb away.
Ok, I'm stuck with the same nut mentioned above, the inner nut for the banjo joint. Isn't there another way than removing the blue plastic from the terminals?. Feels a bit strange to remove these from the new pump, or don't you need to counter hold when mounting the banjo on the new pump?
Great photos in this thread! Wish I would have seen them when I put my pump back in after replacing the lines...
Thomas- if your old pump is bad, then nothing to worry about when cutting the plastic on it to remove the nut. I managed to grip the metal part of the hose to counter the twist of my wrench and the nut came free without much trouble. Maybe just lucky.
To install the new pump, you only need to hold the pump and torque the nut to spec (17ft lbs or so?). Be sure to align the hose correctly before you tighten the nut.
It was the new pump I was worried about. I have no problem with messing up the old one.
The current pump is fully OK, but as a winter project I decided to finally remove the evaporator. Rest of the A/C ssytem is long gone. So with the fuel tank out I thought it was a good idea to replace the pump to. It's the original pump with 185.000 KM's and 23 years on it so it makes sense.
While you're in there you should check the fuel strainer in the tank as well, it's where the supply fuel hose to the pump comes from in the tank.
A friend changed his fuel pump twice before checking the strainer who had started to disintegrate so the fuel pump was eating plastic...
Looks like this.
You can also see it in the bottom of the tank when you remove the fuel level sender.

 07-24-2013, 04:47 PM