
Another interior strip and RS style carpet install thread
 02-11-2013, 05:39 AM
#46
Nordschleife Master
Thread Starter
Pukka Porsche part. They are self adhesive and cost about 20 GBP each (left and right are different). I've previously tried glueing on Polythene sheet and it just does not seal. Nb. you still need to cut some holes for Speakers and the like once it's on - I didn't get that far this weekend.
 02-11-2013, 08:27 AM
#47
Burning Brakes
Join Date: Feb 2004
Location: Derbyshire, England
Posts: 898
Likes: 0
Received 0 Likes
on
0 Posts
If you are using the genuine Porsche membranes you can apparently heat them to form them into speaker holes etc. rather than cut big circles out. Southbound told me this, so I haven't actually tried it myself, though my door membranes appear to have been shaped with heat - neat finish and more water tight.
02-11-2013, 11:38 AM
#48
Three Wheelin'
Hi boxsey,
So how do you get the top of the gear stick off to leave just the shaft as shown in your picture? I've been tugging away at mine (scoff-scoff) but to no avail !
So how do you get the top of the gear stick off to leave just the shaft as shown in your picture? I've been tugging away at mine (scoff-scoff) but to no avail !
02-11-2013, 11:50 AM
#49
Nordschleife Master
Thread Starter
I presume you have already disconnected the gator from the console, if not do that first.
02-12-2013, 09:06 AM
#50
Rennlist Member
When I wanted to get my own standard gear **** off to replace with a Rennline one, I noticed a tear in the rubber at the top, so I thought a squirt of WD40 would help and it did. Just keep a good grip and steady, constant upward pressure and it should come off. Brian
02-12-2013, 09:17 AM
#51
Three Wheelin'
Thanks chaps. I can happily report it's now off :-)
My car is looking in a bit of a state now. Totally stripped interior, rear bumper off, rear impact bar off, primary and secondary exhaust off, entire oil system removed and next the PSP is coming out (for good)
I only started out to replace the oil level sender :-)
My car is looking in a bit of a state now. Totally stripped interior, rear bumper off, rear impact bar off, primary and secondary exhaust off, entire oil system removed and next the PSP is coming out (for good)
I only started out to replace the oil level sender :-)
02-17-2013, 12:52 PM
#52
Nordschleife Master
Thread Starter
Again this weekend I was short of time but still made some progress. Here's what got done:
Lower carpet pieces for the wheel arches were fitted:
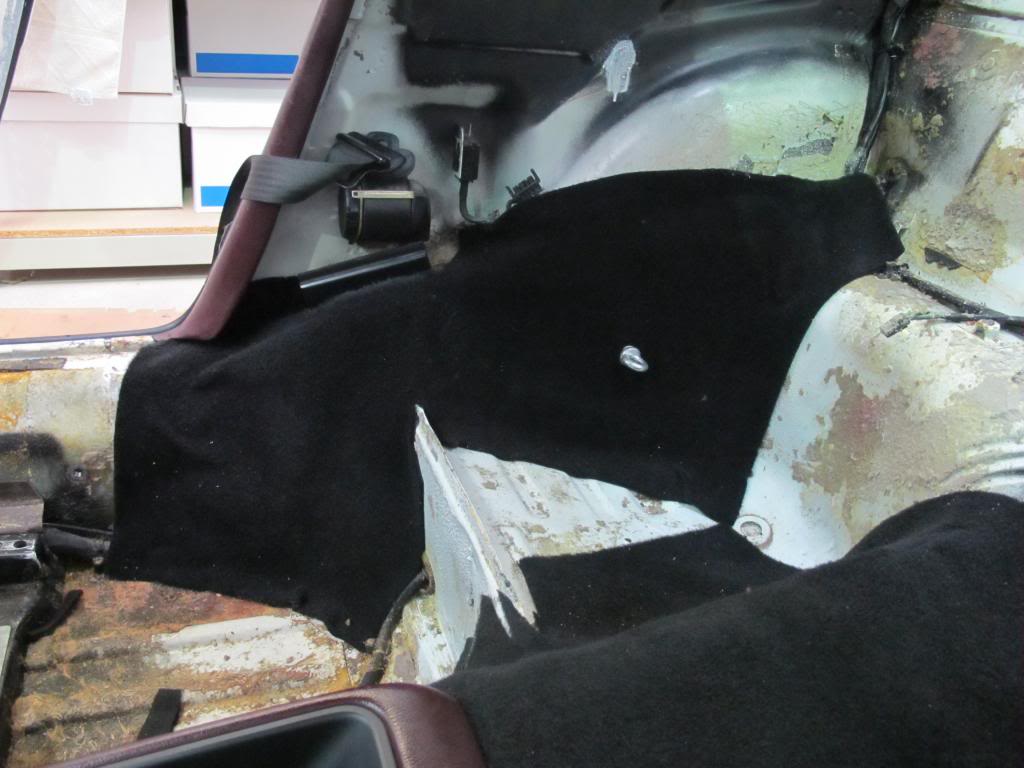
Followed by the sill carpets:
This pic shows how the RHD sill carpet has vinyl on near the pedal box. Also the small piece of carpet that needs to be fitted behind the bonnet release handle:
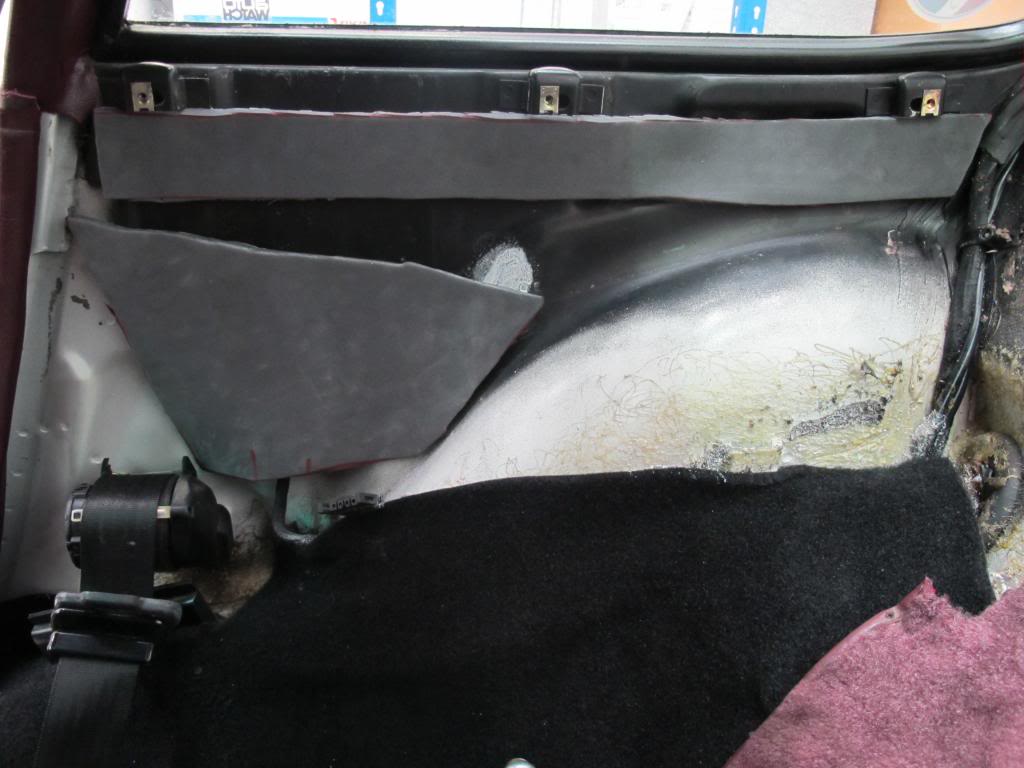
The recovered passenger side kick panel re-fitted:
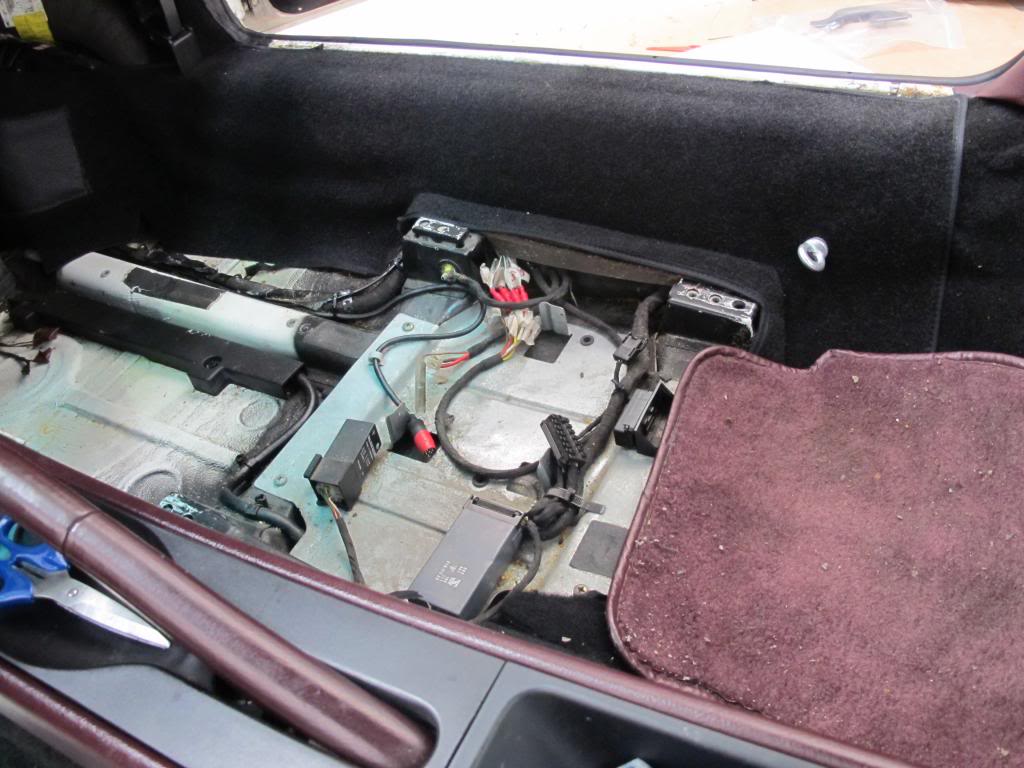
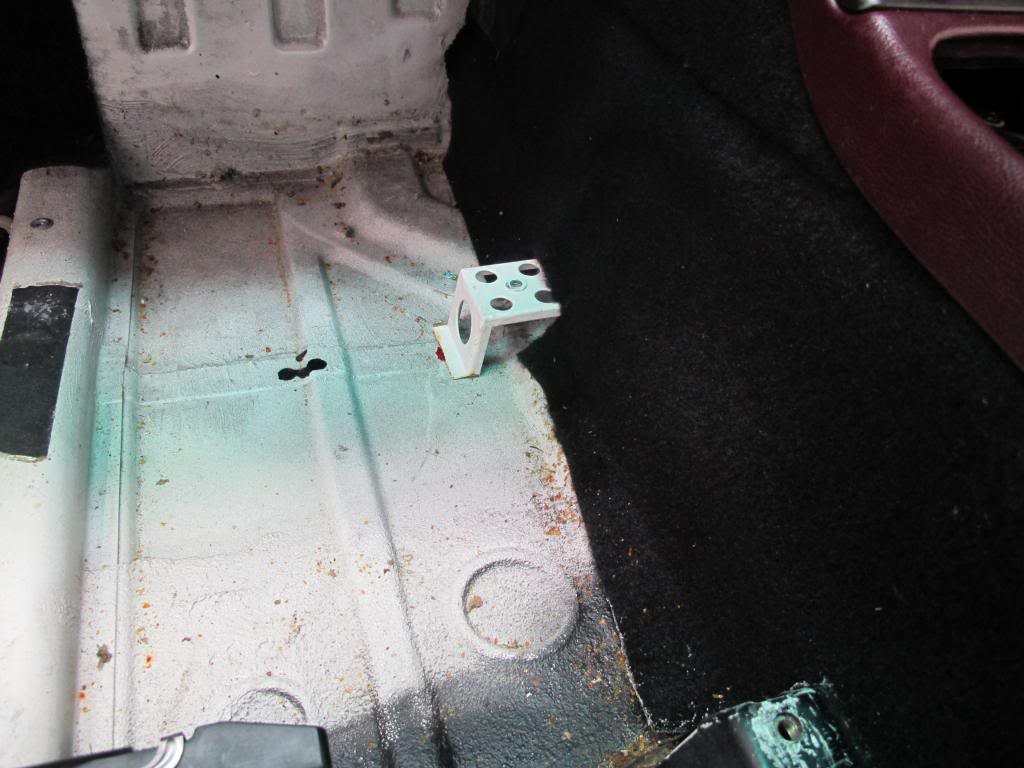
Replica cup brackets re-glued into place so that the floor boards can be re-fitted:
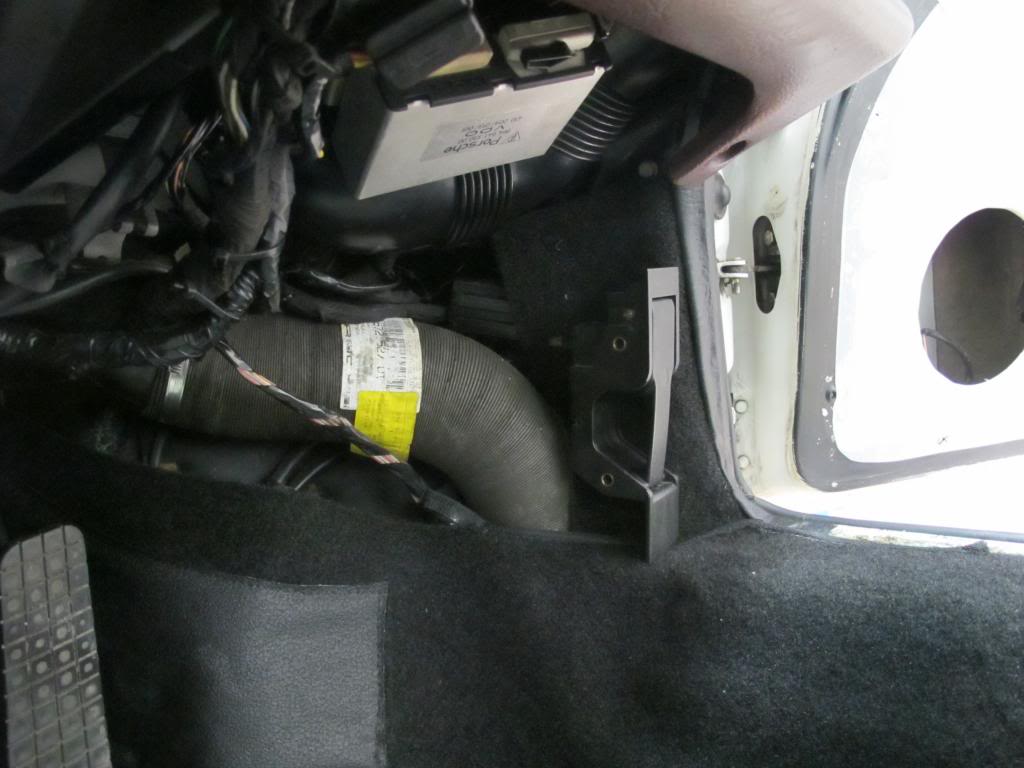
Before fitting upper carpet pieces on the wheel arches I had to put some padding on the walls:
The vinyl strips on the carpet pieces were folded back and glued:
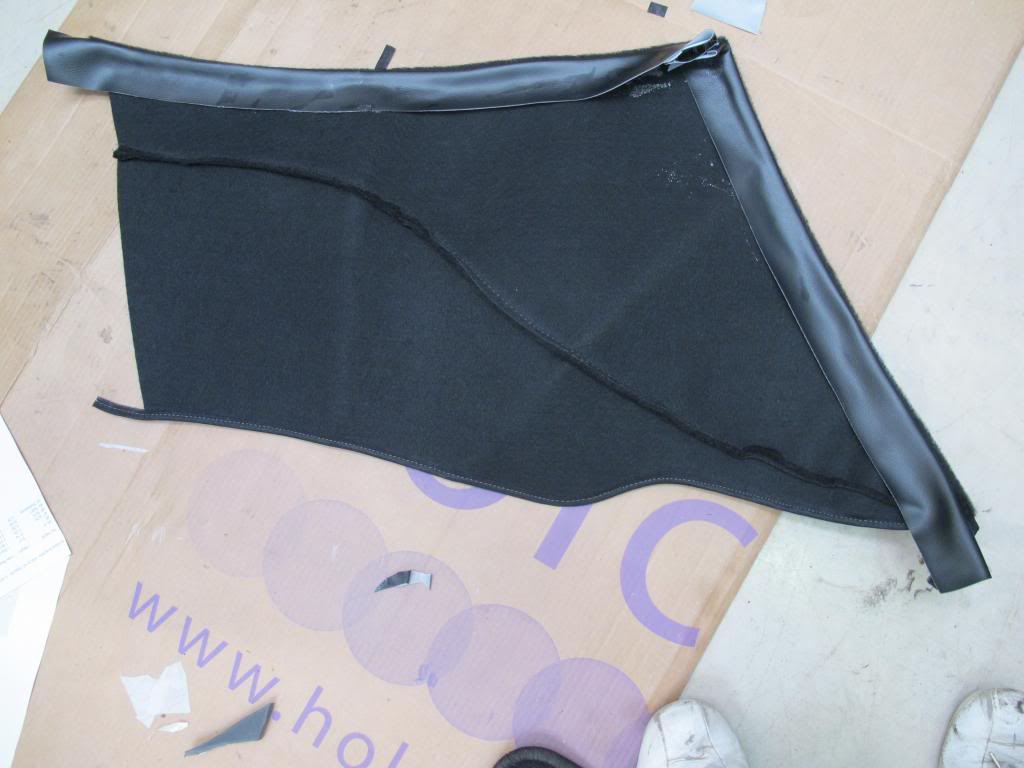
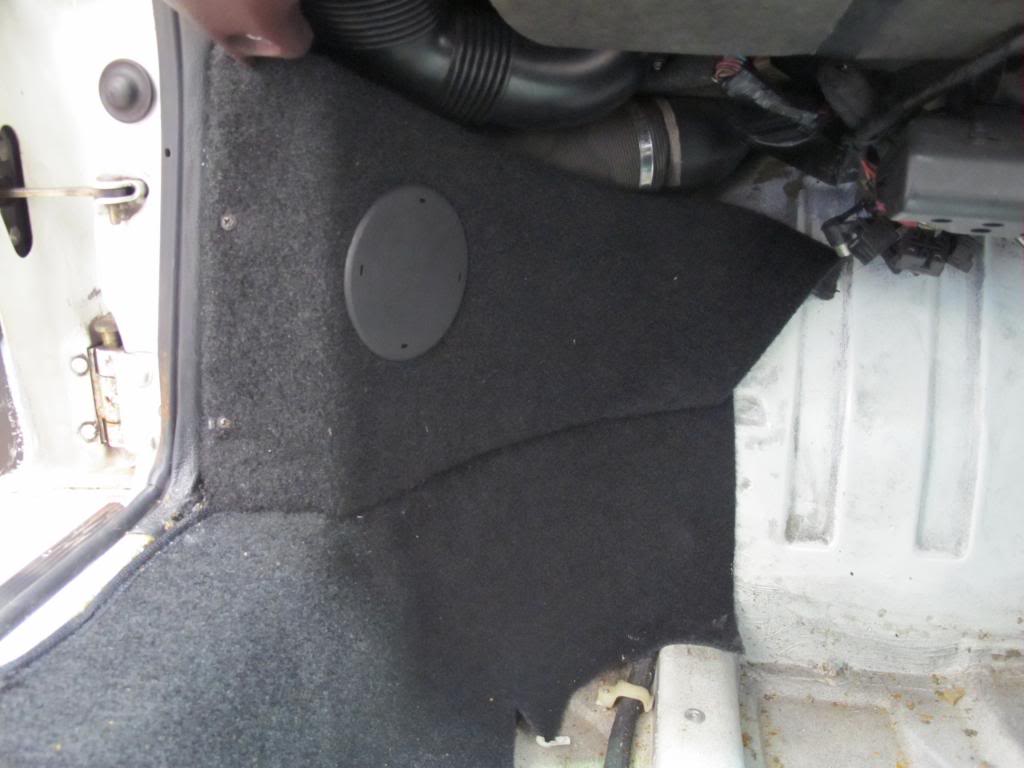
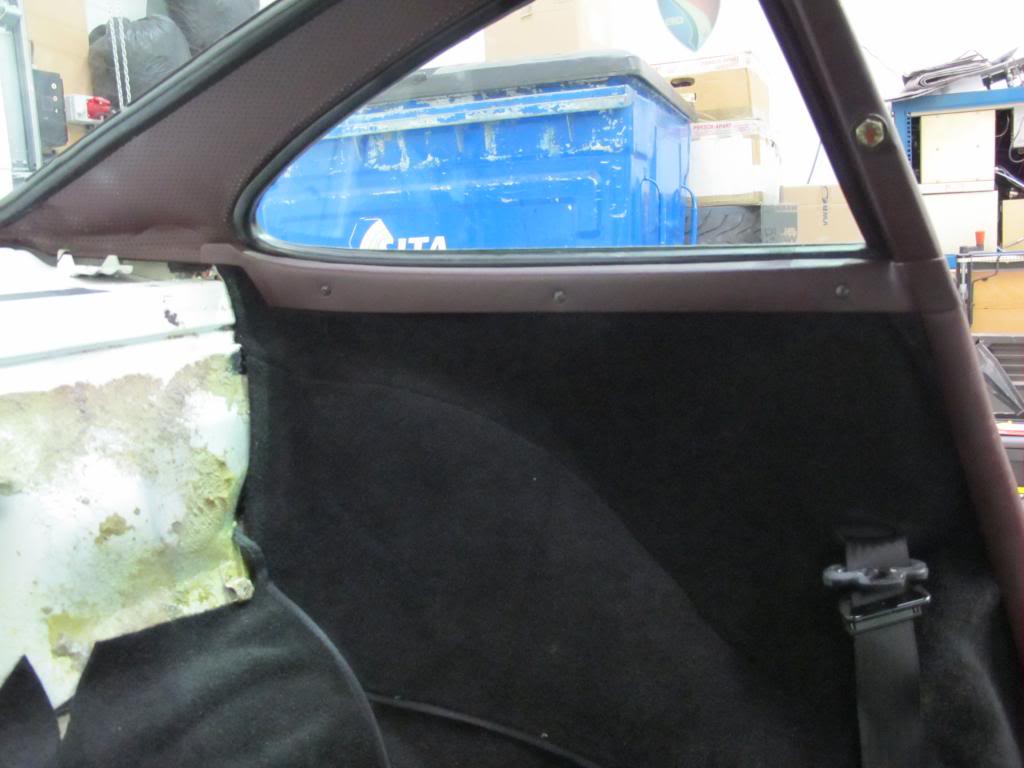
The carpet could then be fitted and the pieces cut out of the top for the trim brackets. I also had to remember to make a cut for the seat belt and feed it through before glueing:
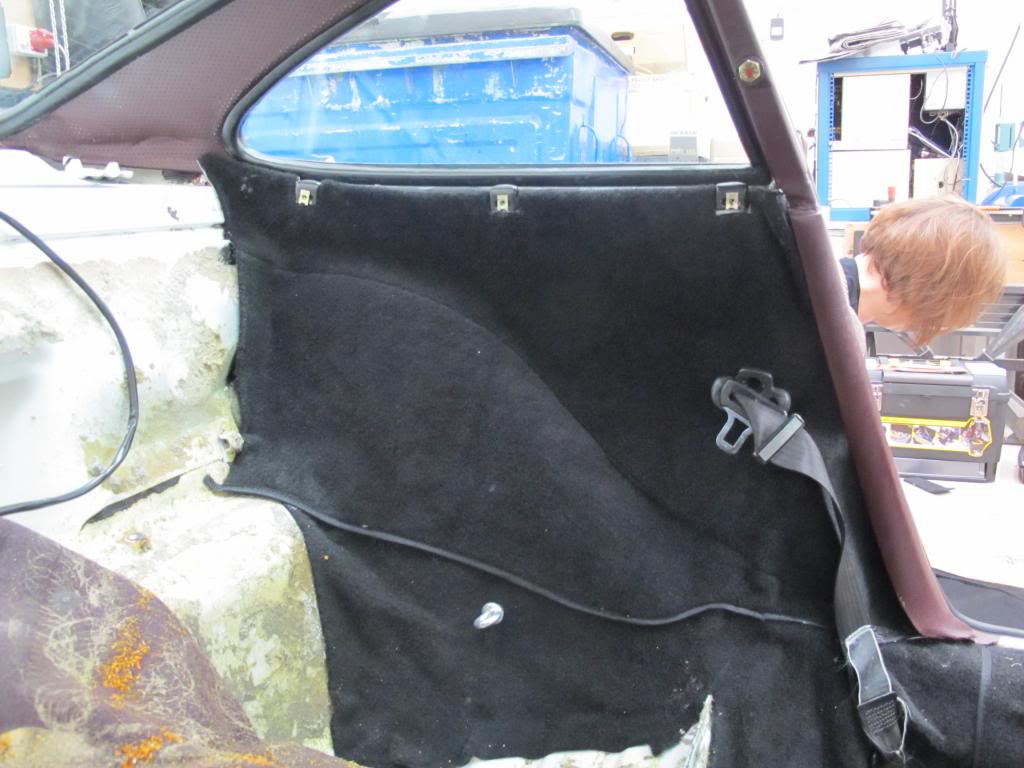
Finished carpet with the top trim fitted:
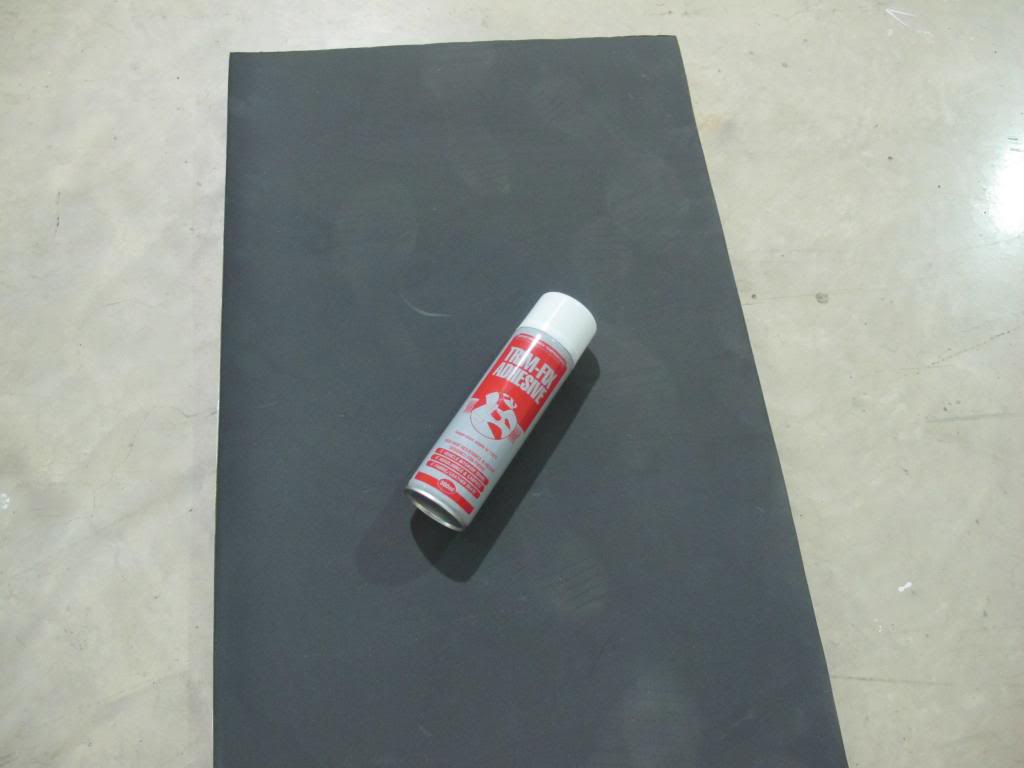
Work also came to a premature end due to running out of glue. Two 500 ml cans were obviously not enough! Below is the glue I've been using along with the self adhesive closed cell foam for the odd bit of padding that has been needed:
Lower carpet pieces for the wheel arches were fitted:
Followed by the sill carpets:
This pic shows how the RHD sill carpet has vinyl on near the pedal box. Also the small piece of carpet that needs to be fitted behind the bonnet release handle:
The recovered passenger side kick panel re-fitted:
Replica cup brackets re-glued into place so that the floor boards can be re-fitted:
Before fitting upper carpet pieces on the wheel arches I had to put some padding on the walls:
The vinyl strips on the carpet pieces were folded back and glued:
The carpet could then be fitted and the pieces cut out of the top for the trim brackets. I also had to remember to make a cut for the seat belt and feed it through before glueing:
Finished carpet with the top trim fitted:
Work also came to a premature end due to running out of glue. Two 500 ml cans were obviously not enough! Below is the glue I've been using along with the self adhesive closed cell foam for the odd bit of padding that has been needed:

 02-19-2013, 09:03 AM
#56
Nordschleife Master
Thread Starter
 ). Hoping to have the finished article and pics for you this weekend.
02-20-2013, 01:30 AM
). Hoping to have the finished article and pics for you this weekend.
02-20-2013, 01:30 AM
#58
Instructor
Join Date: Sep 2009
Location: Houston, TX
Posts: 191
Likes: 0
Received 0 Likes
on
0 Posts
Looking good! I got lazy and had another Porsche enthusiast in town finish mine up while I was away on business. Shame on me I know but I just wanted the car back on the road as soon as possible!
 02-20-2013, 05:24 AM
#60
Rennlist Member
Join Date: May 2009
Location: Bucks, Herts, Beds Tri-Border, UK
Posts: 1,134
Received 84 Likes
on
68 Posts
Yup, used the same Promax bung, filed down a tad (male side) and used a better/wider washer. I believe ROW/U.S. 964's had different/thicker rear glass so the bung may fit out of the box...