
1991 C4 - Seat Restore and Dye

 07-10-2010, 04:03 PM
#18
Burning Brakes
Got inspired by this thread and bought a Leatherique kit.
Amazing how much of the cracks come out with sanding, after I sanded the seats down there is almost no need for filler.
Bet i have been sanding for almost 4 hours now, started out with 400 grid, moving to 600 and ending up with 800.
Now would be the perfect time to rob a bank as my fingerprints have smoothed out as well
07-14-2010, 03:05 PM
#20
Instructor
Thread Starter
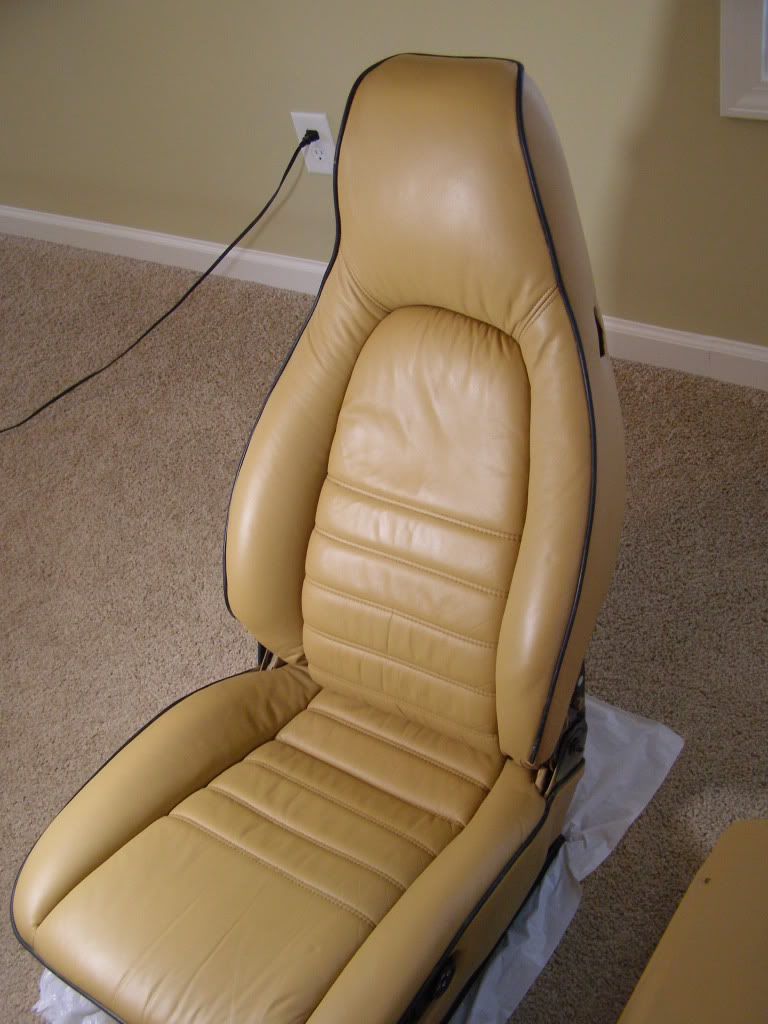
I finished the seats Friday evening and was finally able to re-install them Monday night. I managed to contain myself long enough to thoroughly vacuum and clean the carpetting. The third picture includes the new shift boot cover which after weeks of drama is finally happily installed. I bought one directly from Porsche after far too much hassle and poor quality with an aftermarket provider.
As discussed I used a spray gun and air compressor to apply the final finish. It came out nice and smooth as expected. I also sprayed the center console so as you can see the entire pilot's area matches very well. I used a pressure setting of ~40 psi, gun set to the finest setting, and the dye diluted 20%. The first picture shows the tent I constructed using 1mm plastic dropclothes.
This Fall I may "paint" the door panels and rear seating area but doubt I will do the rigorous cleaning and conditioning executed on the seats. As suggested in the instructions which came with the kit I also applied a carnuba wax. For the next couple of monthe I will take extra care with these to keep them clean and supple. Then, the newness will wear off and I will move on to some other obsession...like replacing the outer rubber trim.
One final thought, when installing the seats, make sure your hands are clean!
And: on a scale of 1 - 10, I would give the result an '8'. My expectations were extremely high.
>> I hope you find this narrative of my journey through this helpful. I tried to be very detailed about each step so the next person who tries this will have an easy time. Please post or PM me with any questions. John out////


