When you click on links to various merchants on this site and make a purchase, this can result in this site earning a commission. Affiliate programs and affiliations include, but are not limited to, the eBay Partner Network.
Hi all,
Was an excellent day 'down under' today and I took the opportunity to install my new Cult Werks Ducts.
I chose the Cult Werks ones after a lot of research. They seemed to be (in my opinion) to be the best quality and best fit. They also have the advantage of two 'hidden' mounting points which makes the end result quite neat.
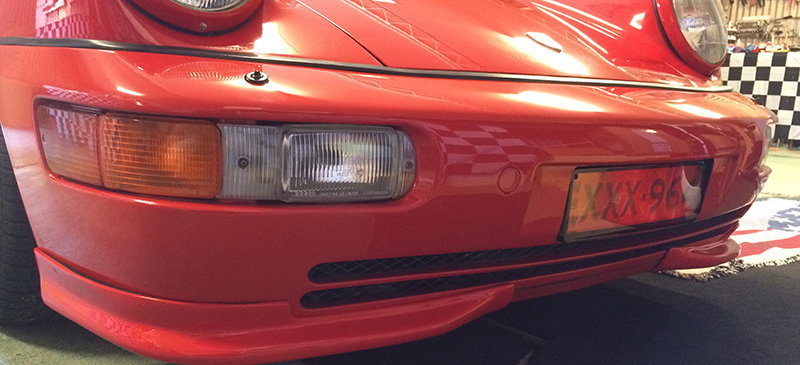
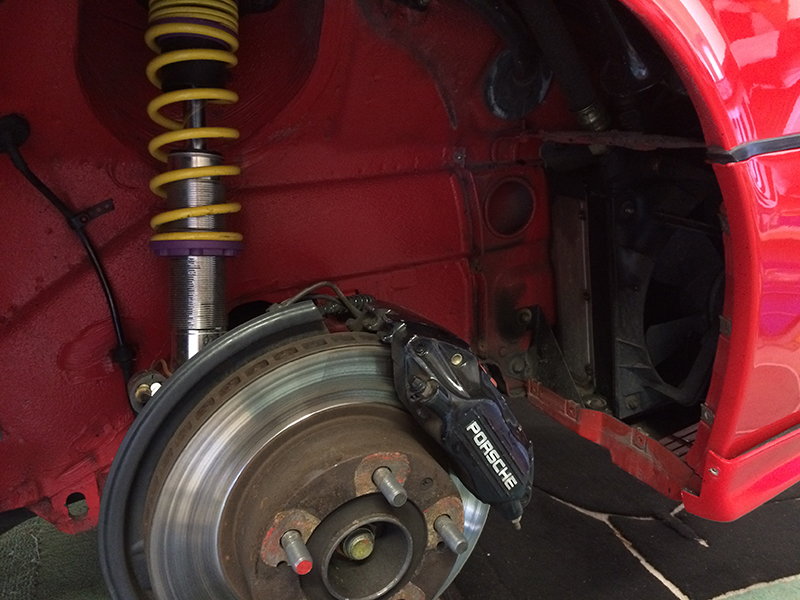
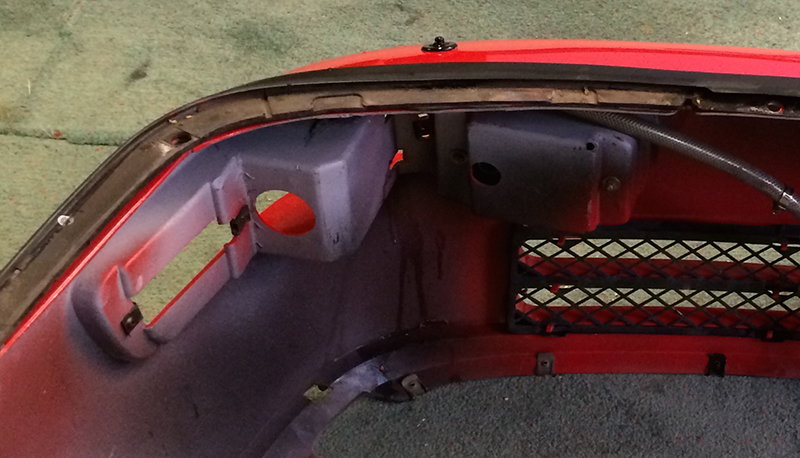
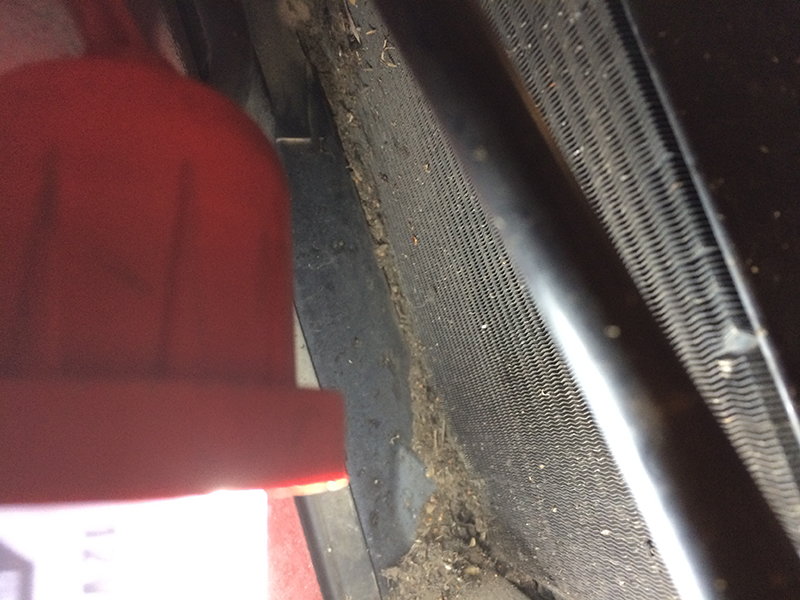
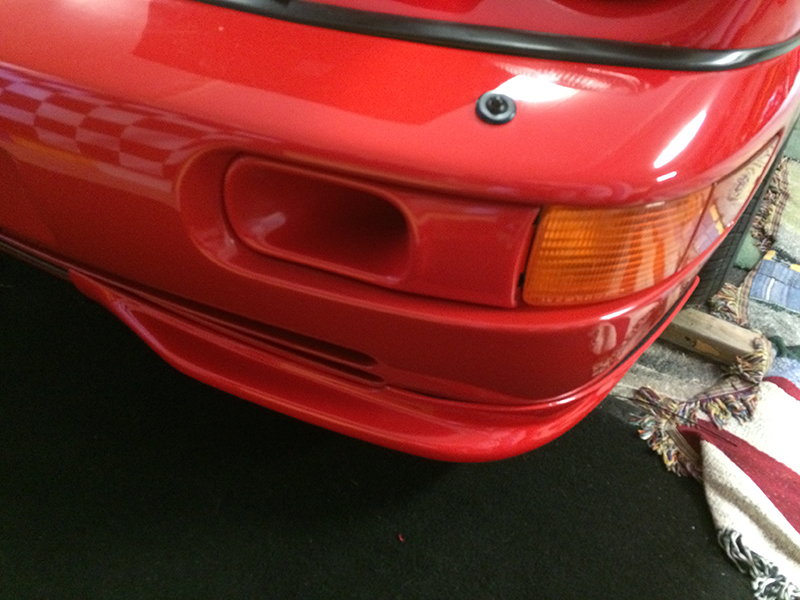
So, this is what I started with:
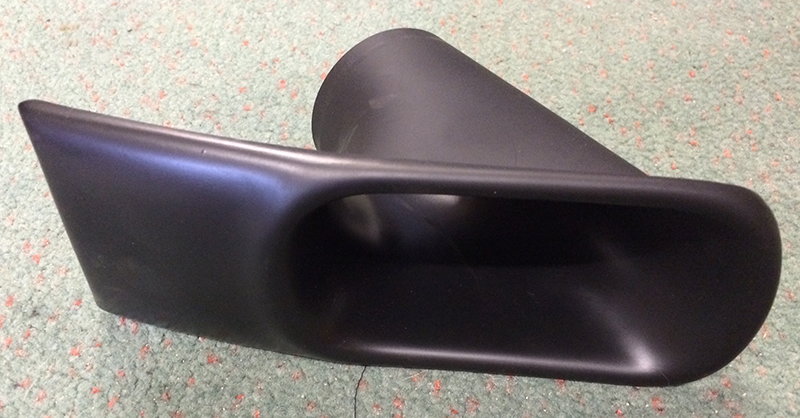
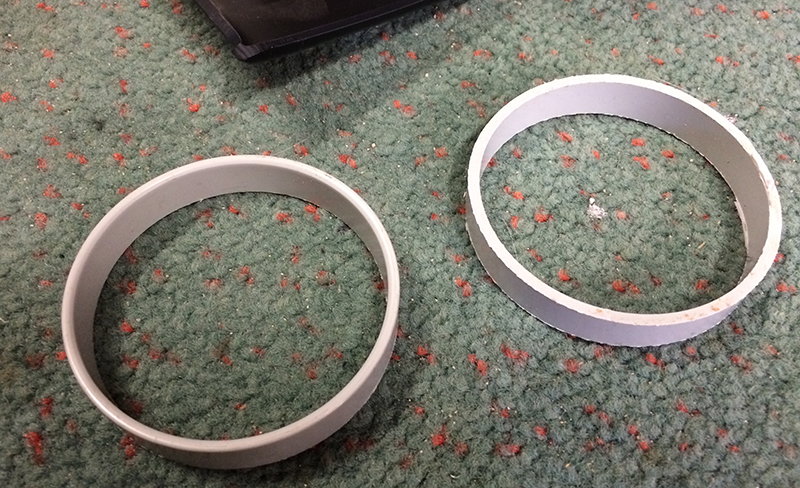
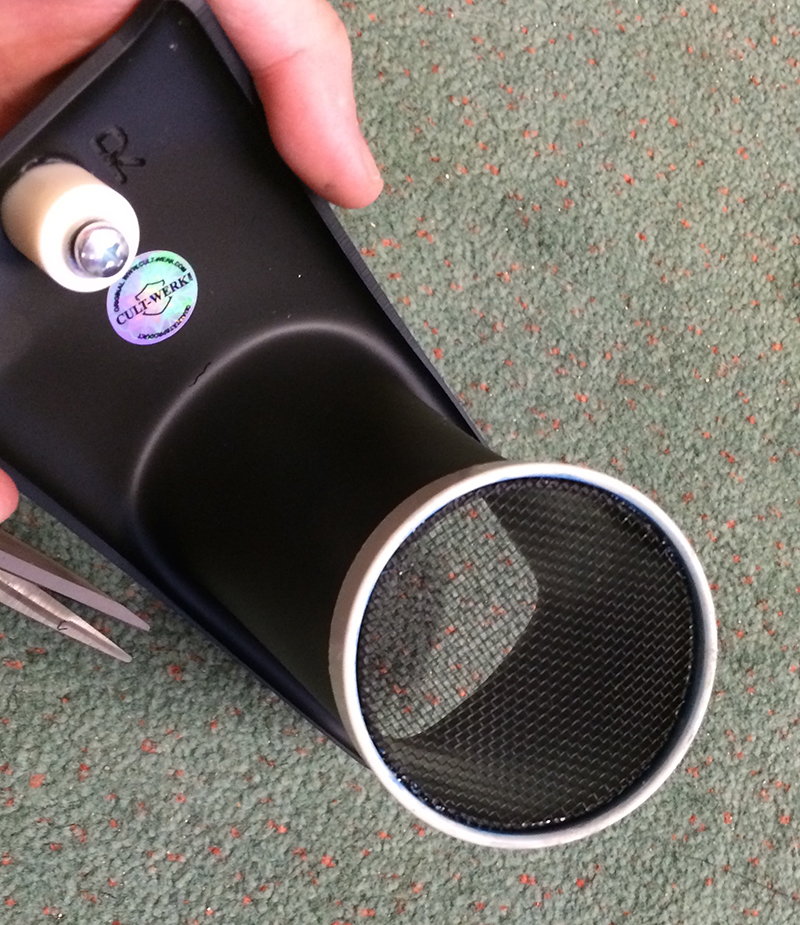
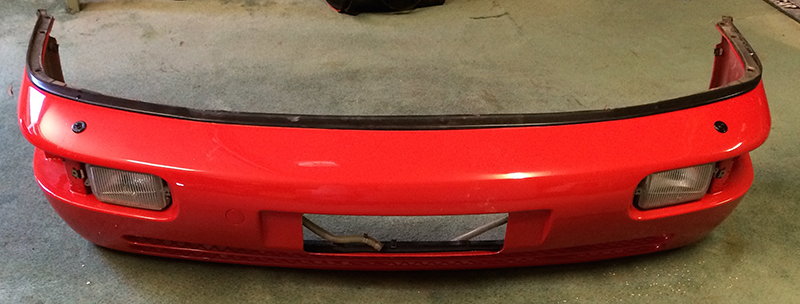
Here are the Cult Werks ducts:
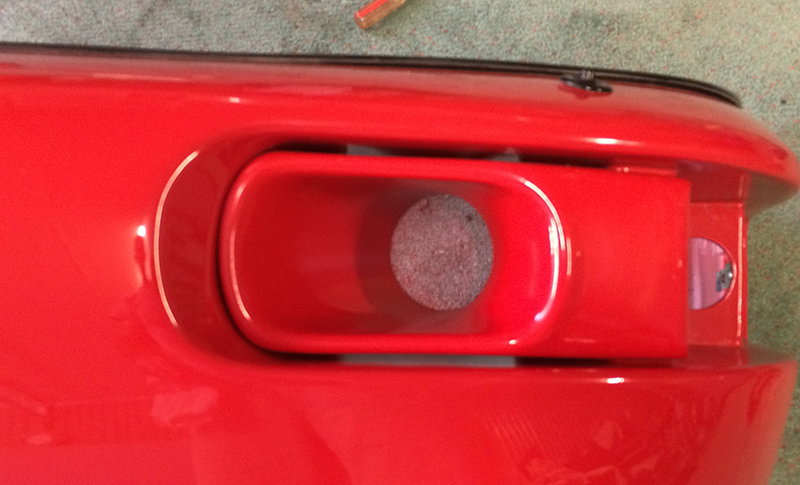
Now, I decided not to use them to 'cool the brakes' as they are supposed to be used for - instead going for the more popular use of extra cool air for the air conditioner and oil cooler radiators. This meant that I had to use some screen to stop foreign entities from flying in to the area ! Most popular that I have seen is to use some flyscreen wire. Living in Australia, we always have plenty of this lying around !! I have seen a few methods of attaching the wire to the back of the duct, most just fold it over and glue it. I decided that i was going to do mine a little different.
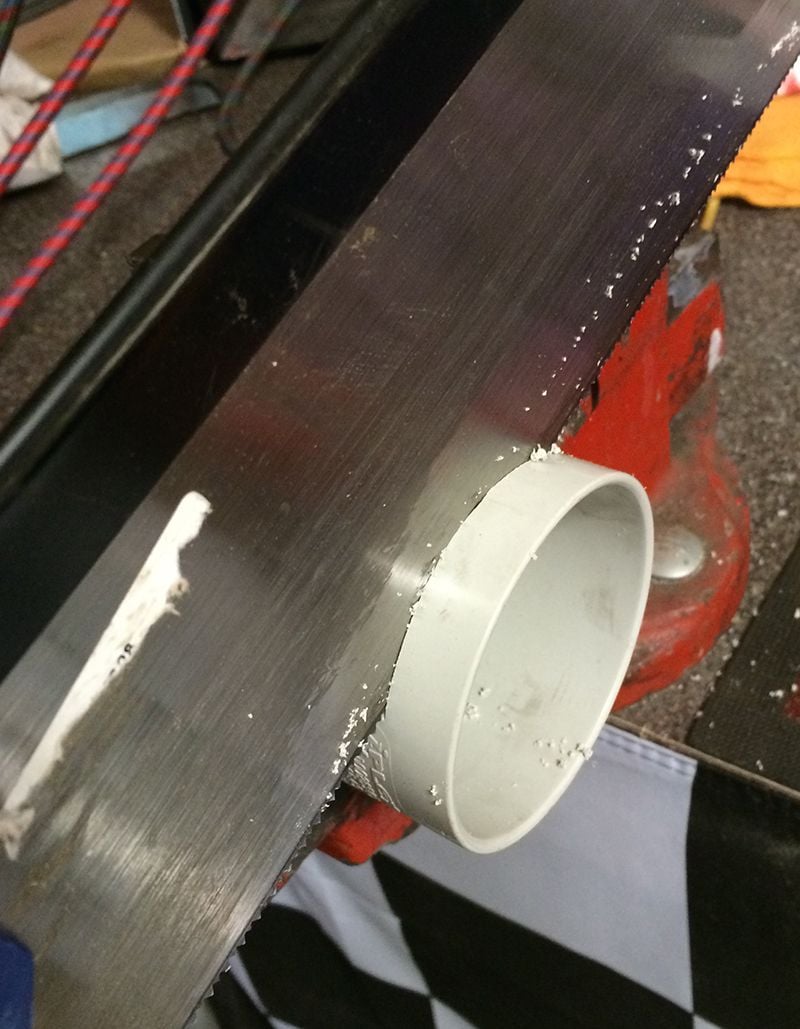
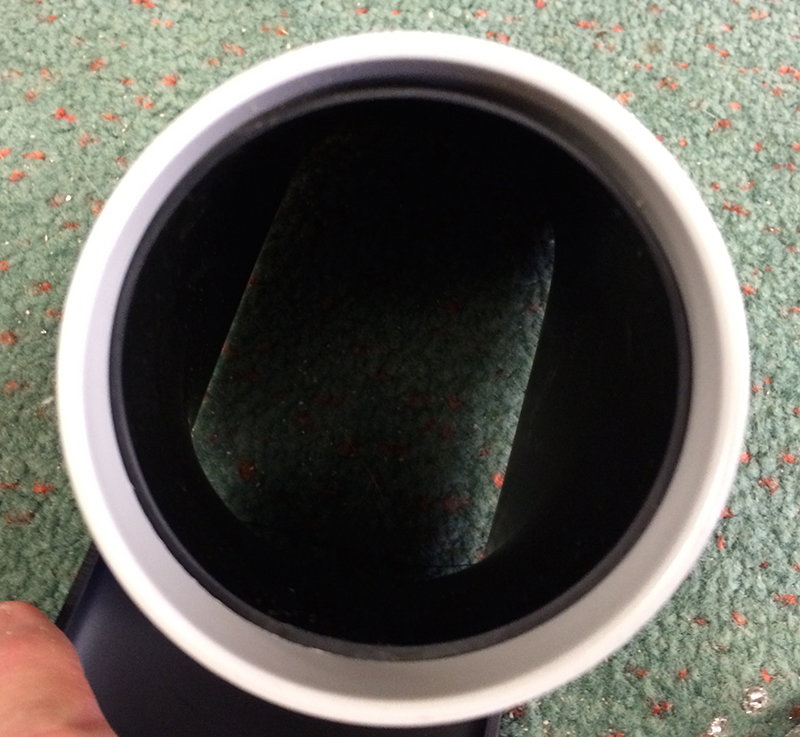
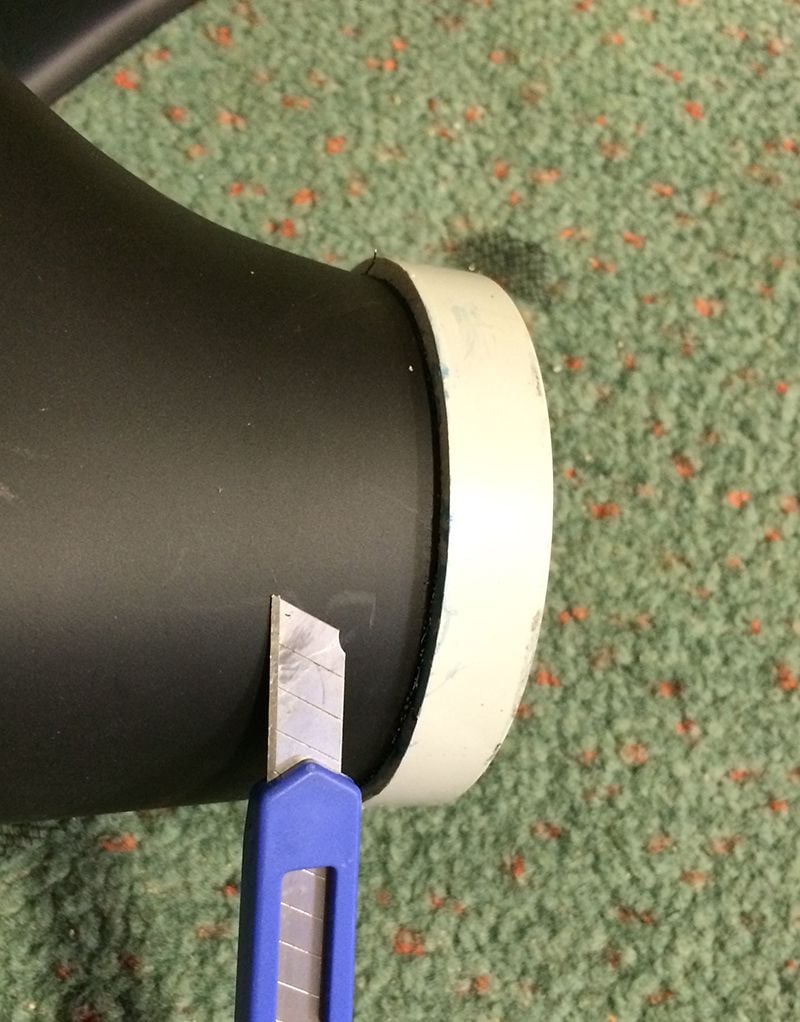
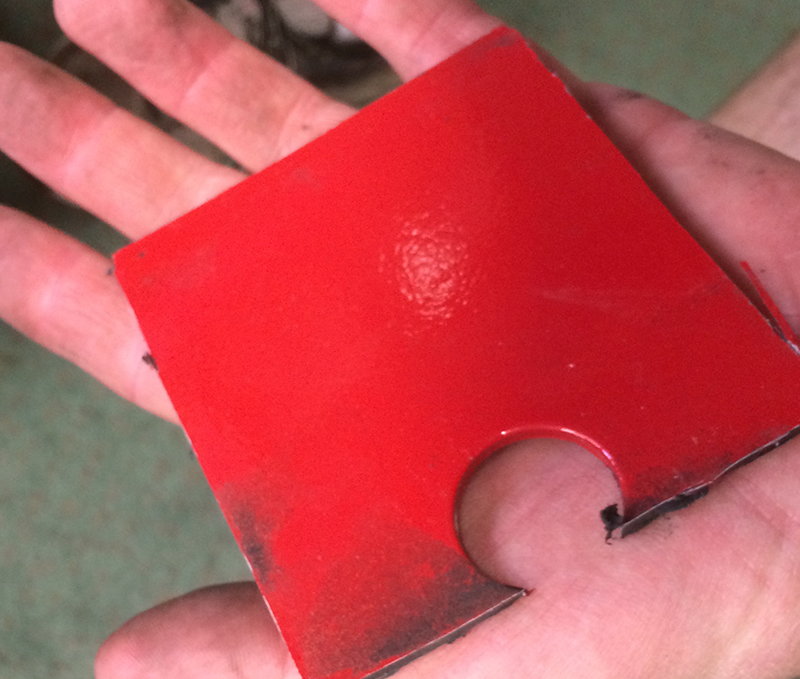
I started by cutting a square of wire, then using a piece of PVC pipe that I had lying around, I tested it and it was a perfect tight fit over the end of the duct.
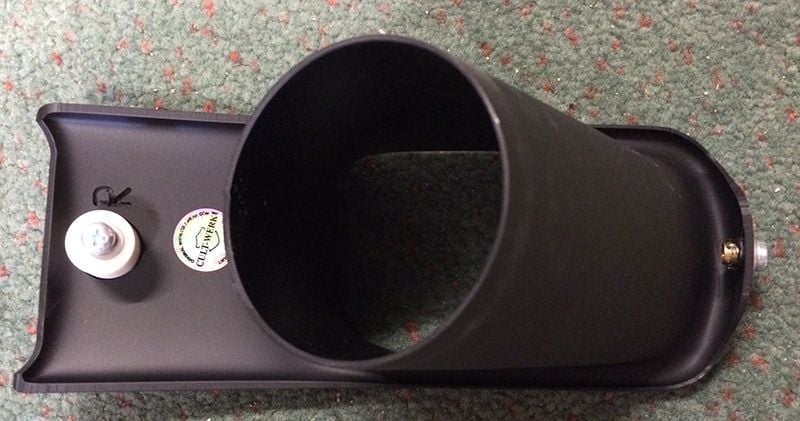
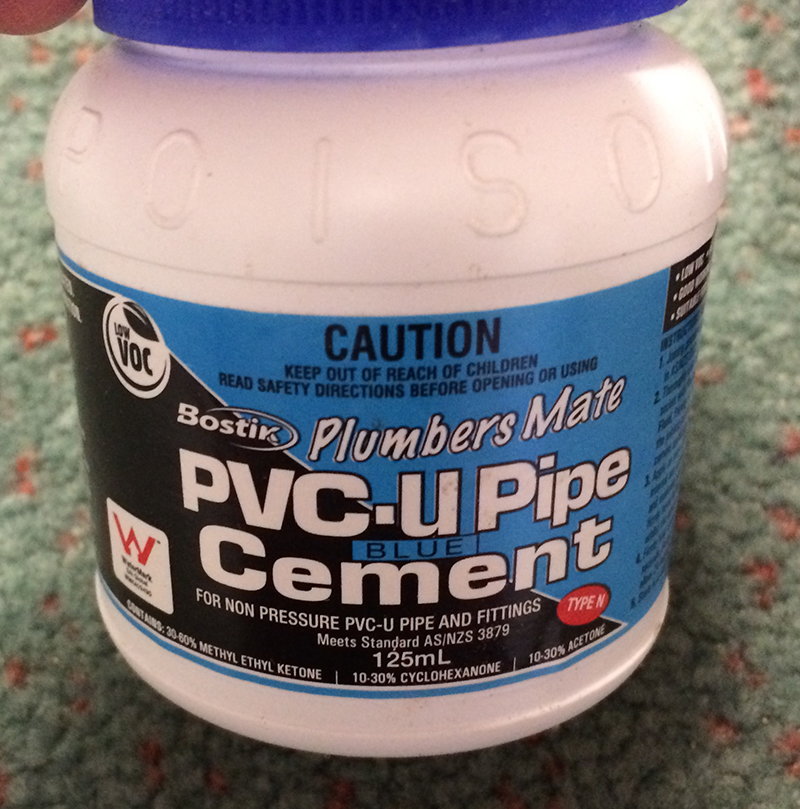
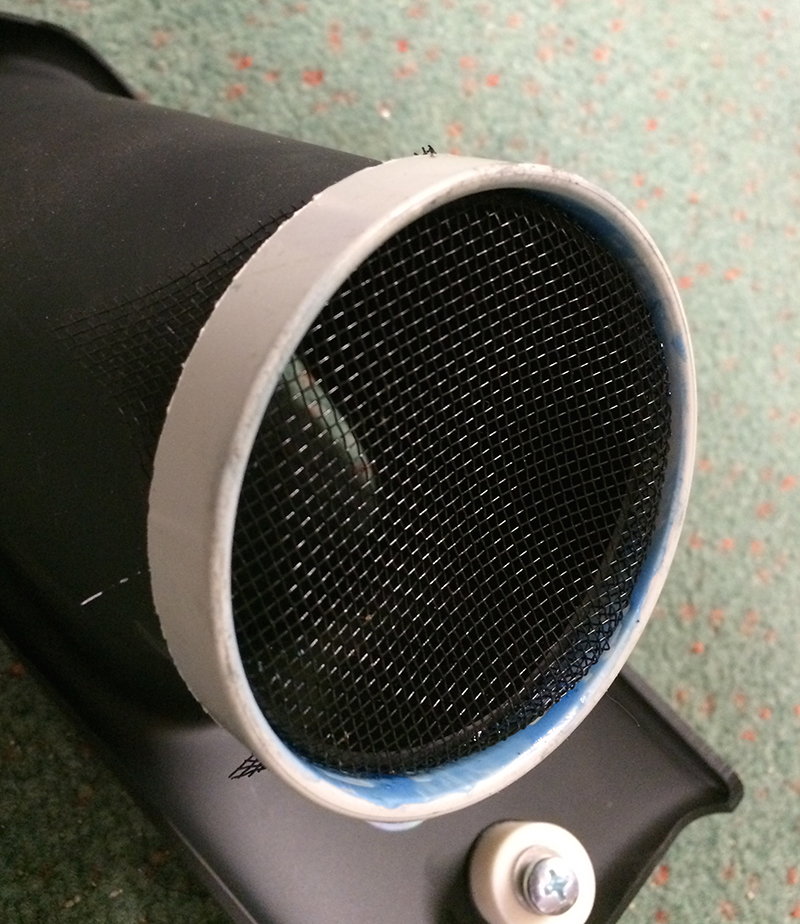
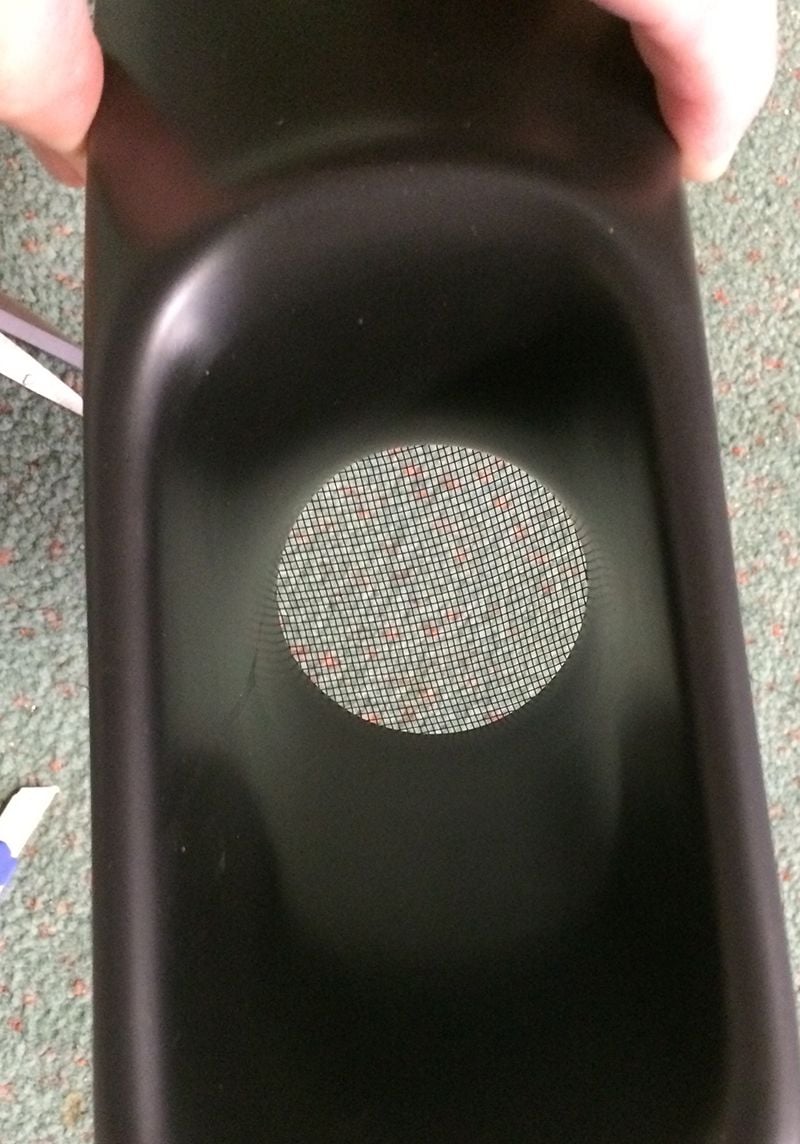
I cut off two 'rings' of the pipe then using some PVC weld glue, coated the inside of the ring, folded the wire over the duct and then pushed the ring over the end of the duct and the wire. I finished by tapping it on very firmly with a rubber mallet. The plumbers weld is an excellent product and dries almost instantly. I then finished off trimming the excess wire with a razor knife.
I think the end result is very neat.
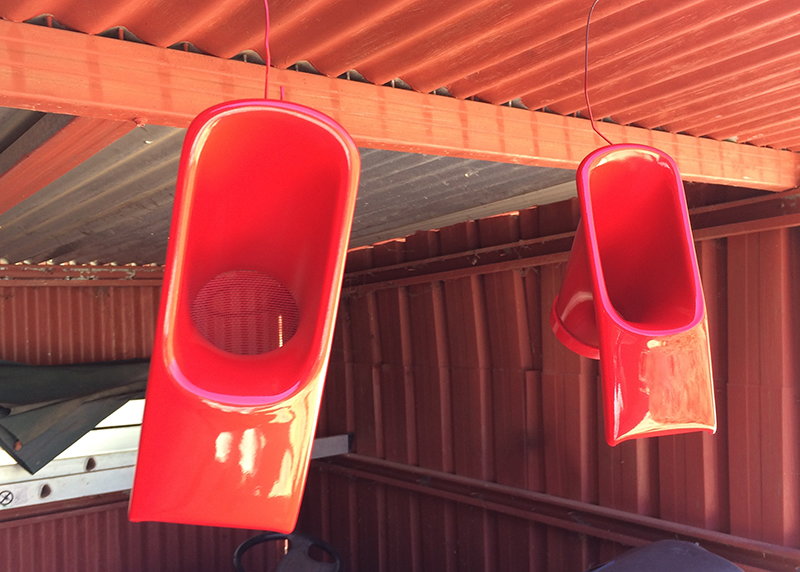
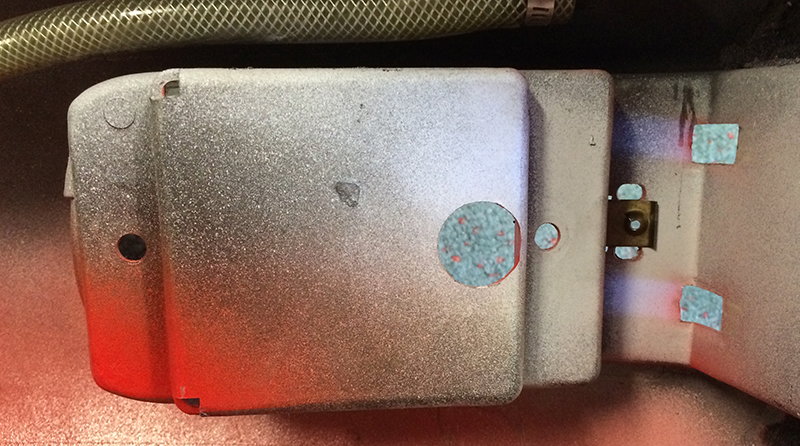
Time to paint them with some Guards red
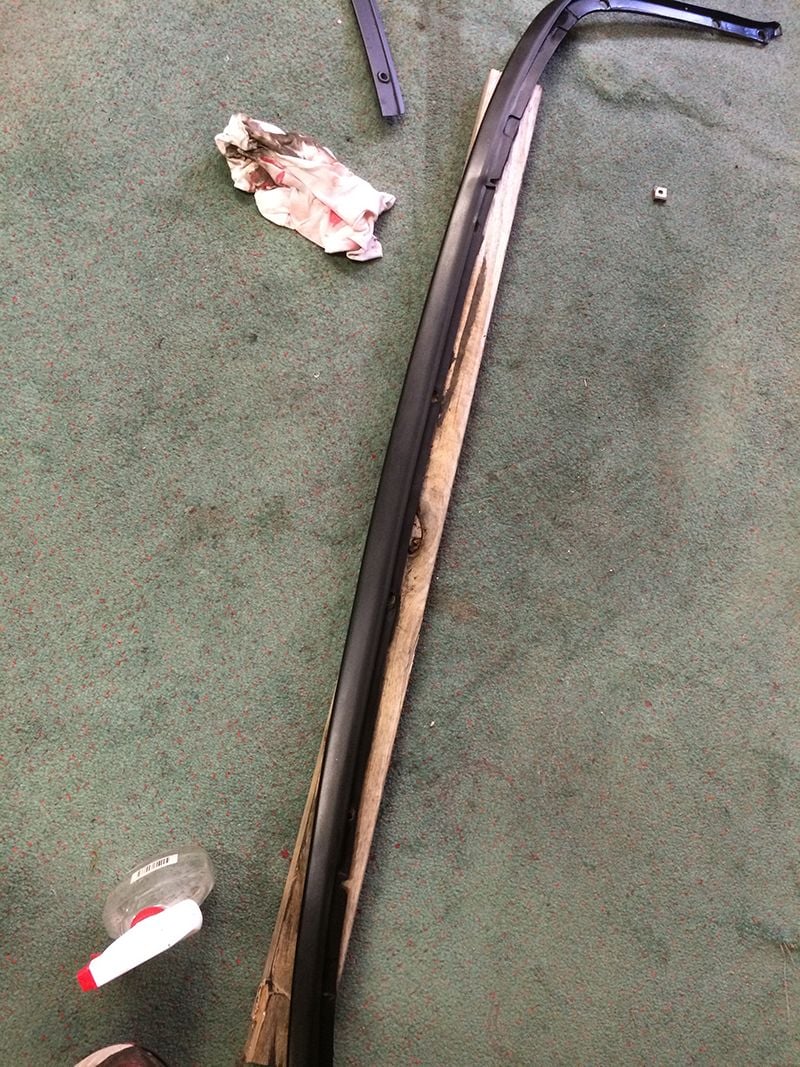
While the ducts were drying - it was time to take off the front bumper. This has been documented many times before on this site. It is certainly not difficult to do - but a little time consuming. I also find it a lot easier to jack up the front of the car and take the wheels off too.
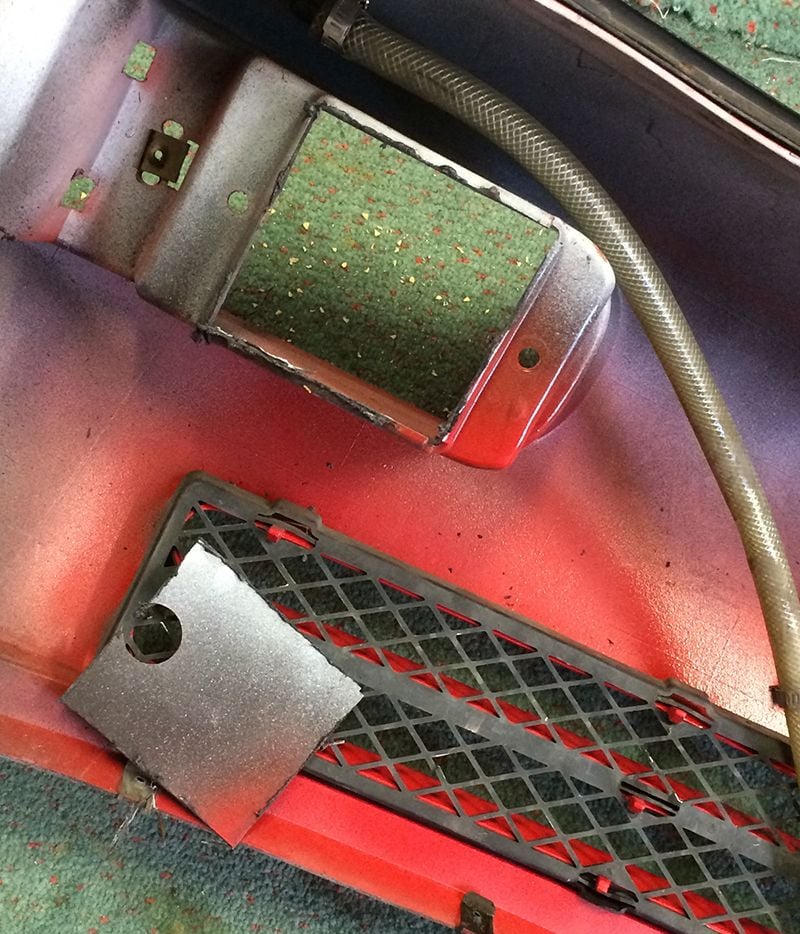
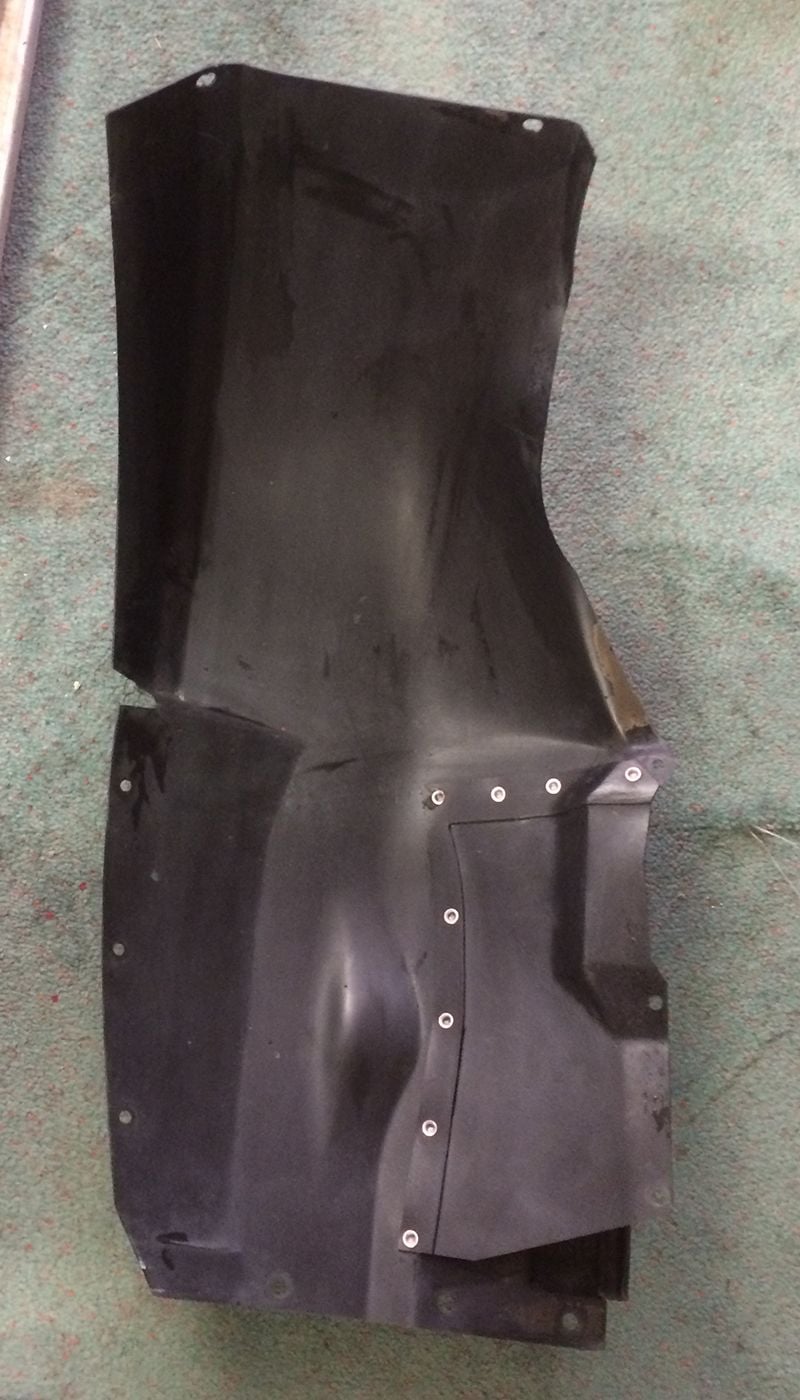
As the ducts are replacing the Fog Lights, it is necessary to remove the back panel from behind where the Fog Lights sit. Those that know me, know that my dremel is my favourite friend
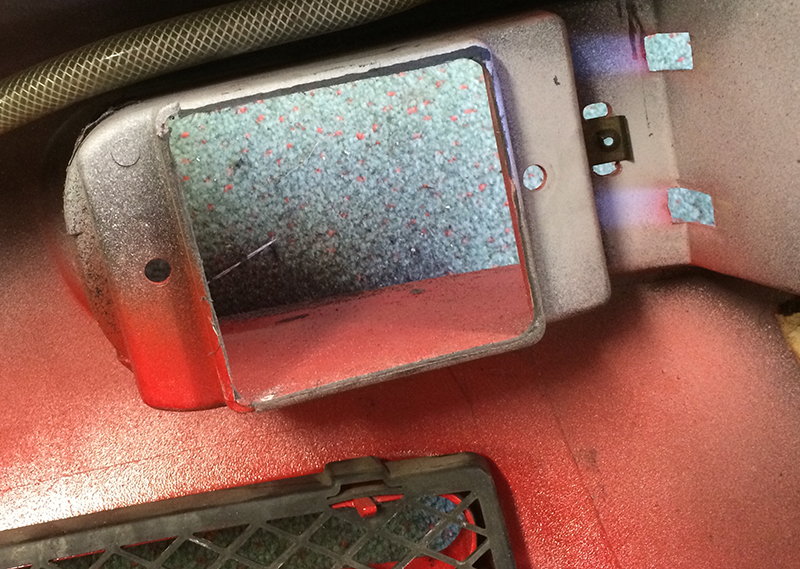
Doesn't take long to cut it out. Then a quick clean up with the sanding attachment:
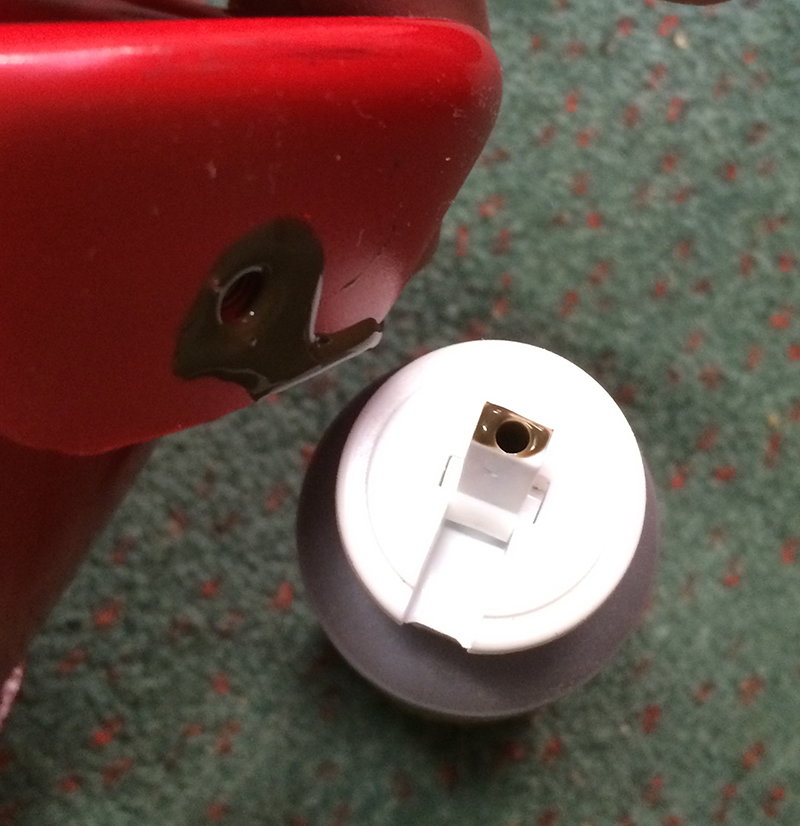
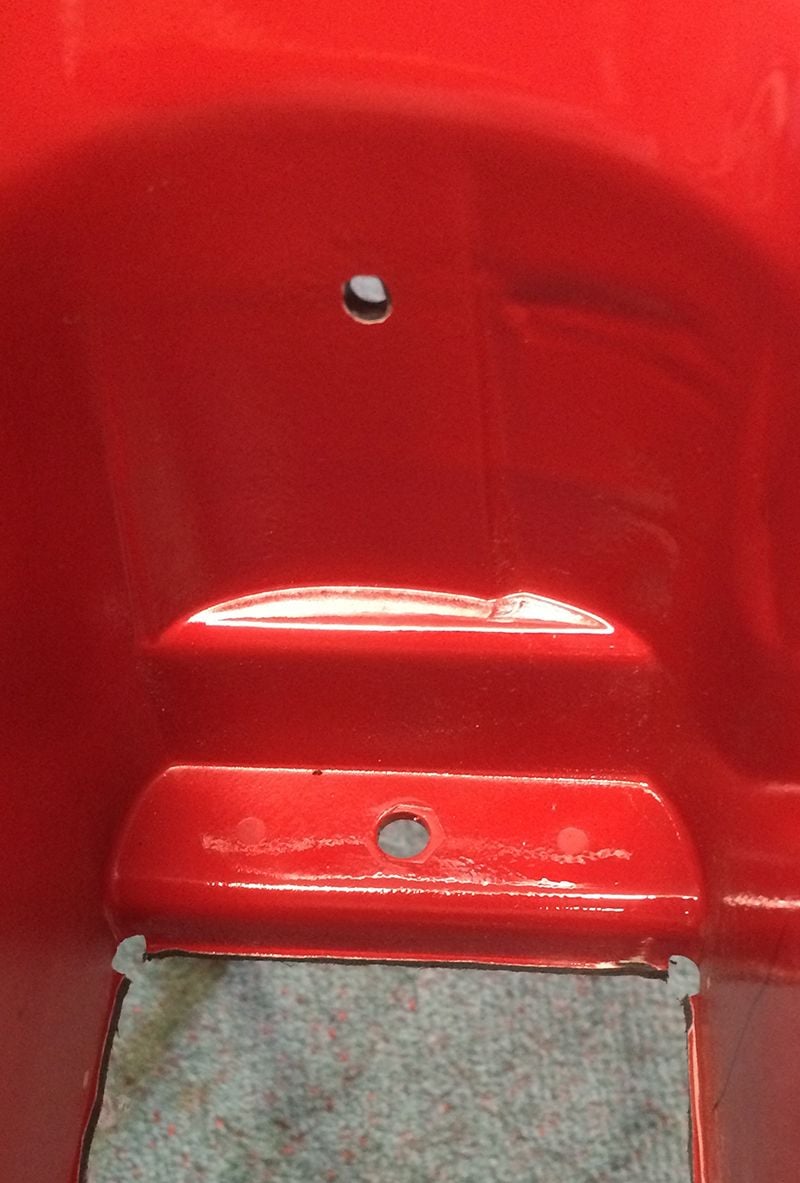
Now fitting these is a little bit of a challenge. One of the mounting holes lines up perfectly with an existing hole from the Fog Light - however, the other one does not. It requires you to drill a hole.
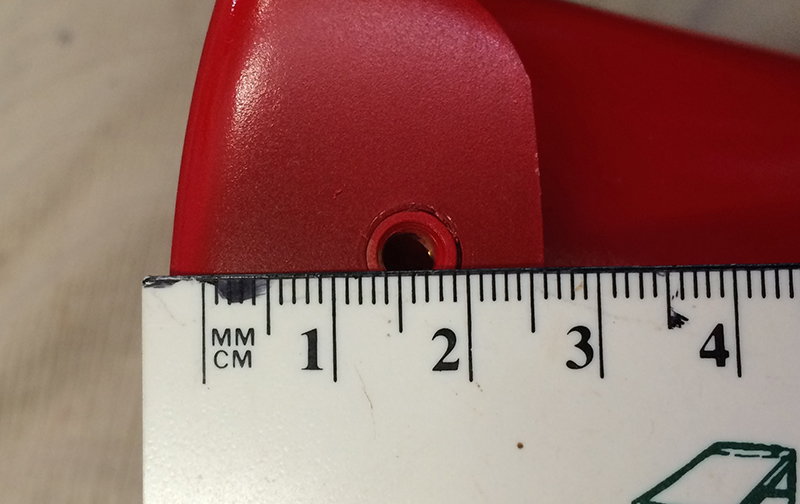
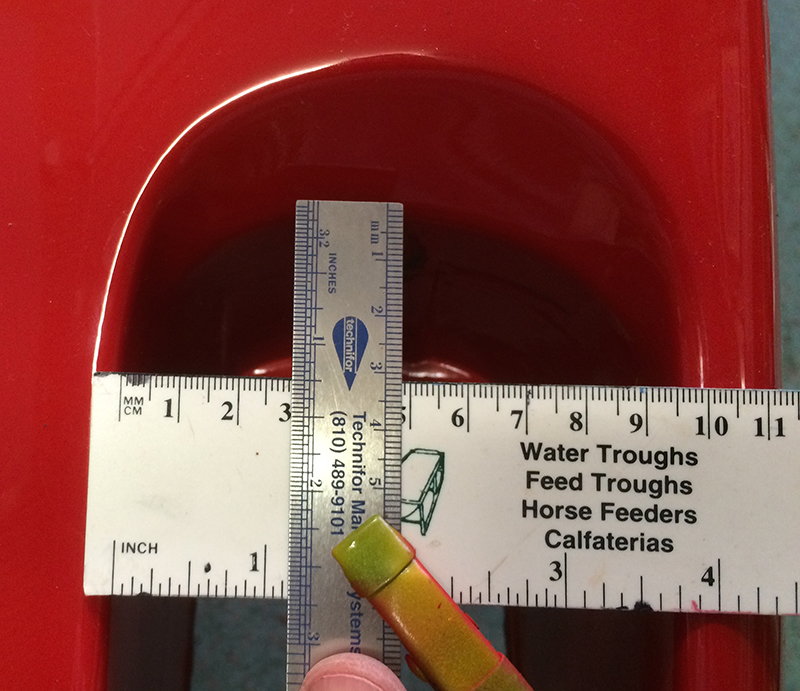
No matter how you bend your head, there is no way to see where to drill the hole. So, there are probably better ways to go about it, but what I did was use a bit of water based paint and put it over the screw hole. I then attached the duct with the other screw and then gently pushed it into the position. I then carefully removed it and I was then left with an imprint of where the hole should be. I then measured the screw hole on the duct, found the dead centre of the opening and then measuring down 1.5cm drilled my hole.
Lucky for me, it was a perfect line up !!
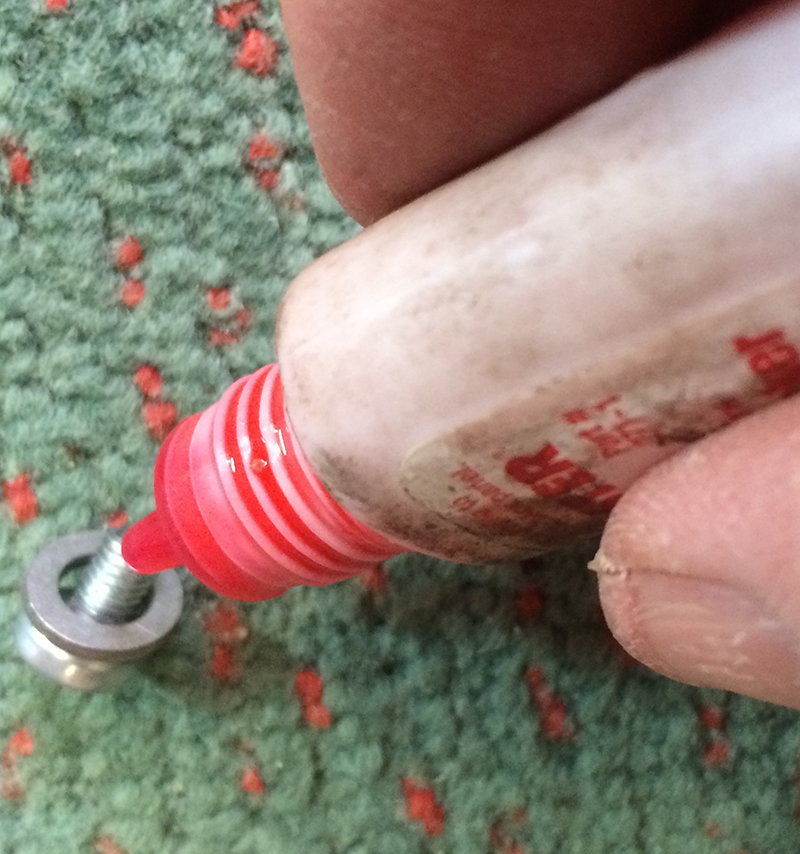
Now, just to screw the two screws in - NOT too tighly and of course remembering to use some lock tight on the threads
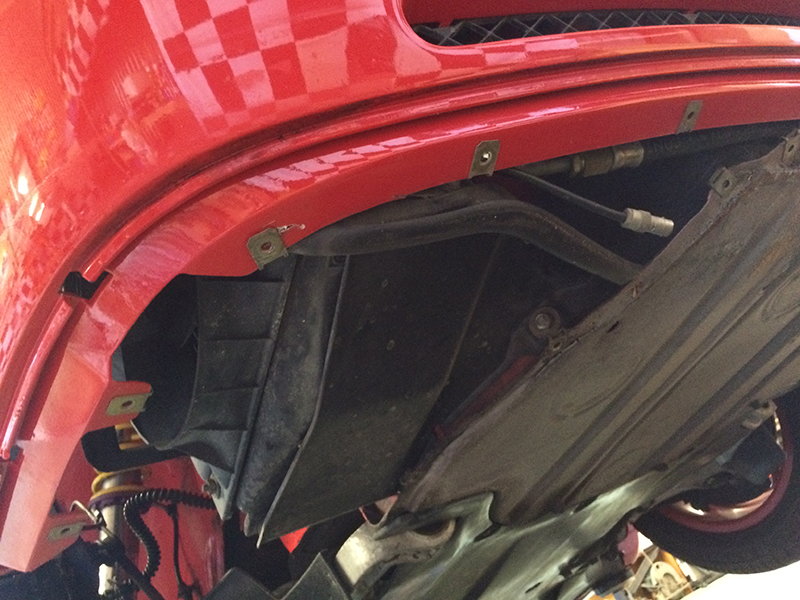
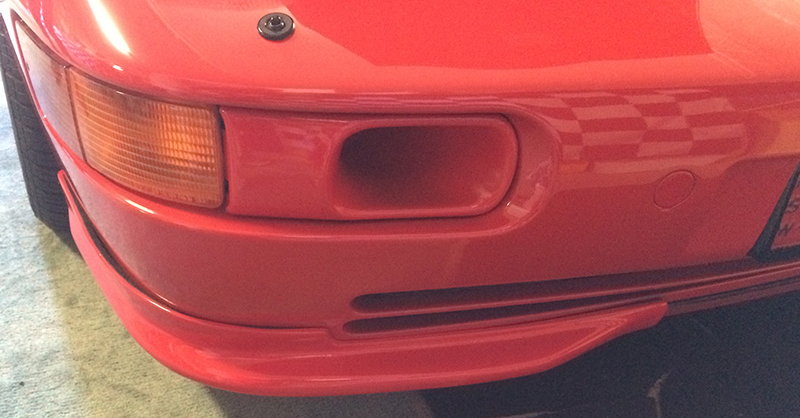
And there we go - one side in !
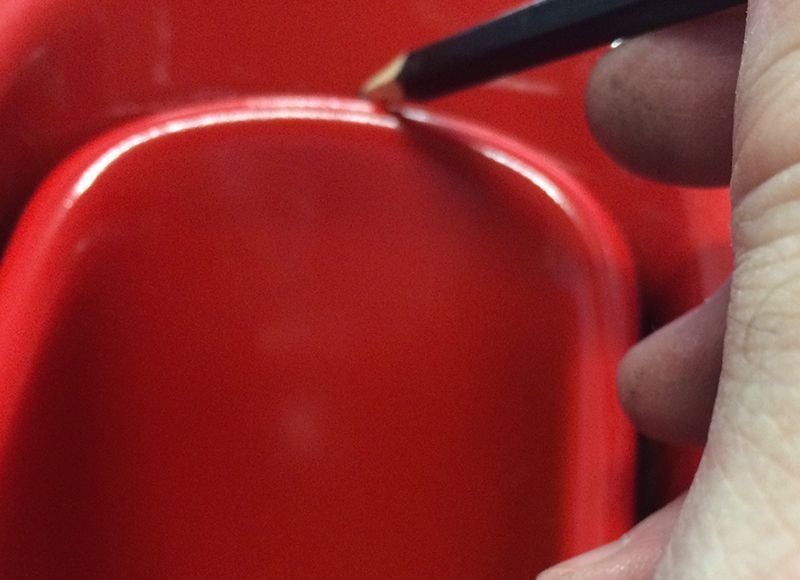
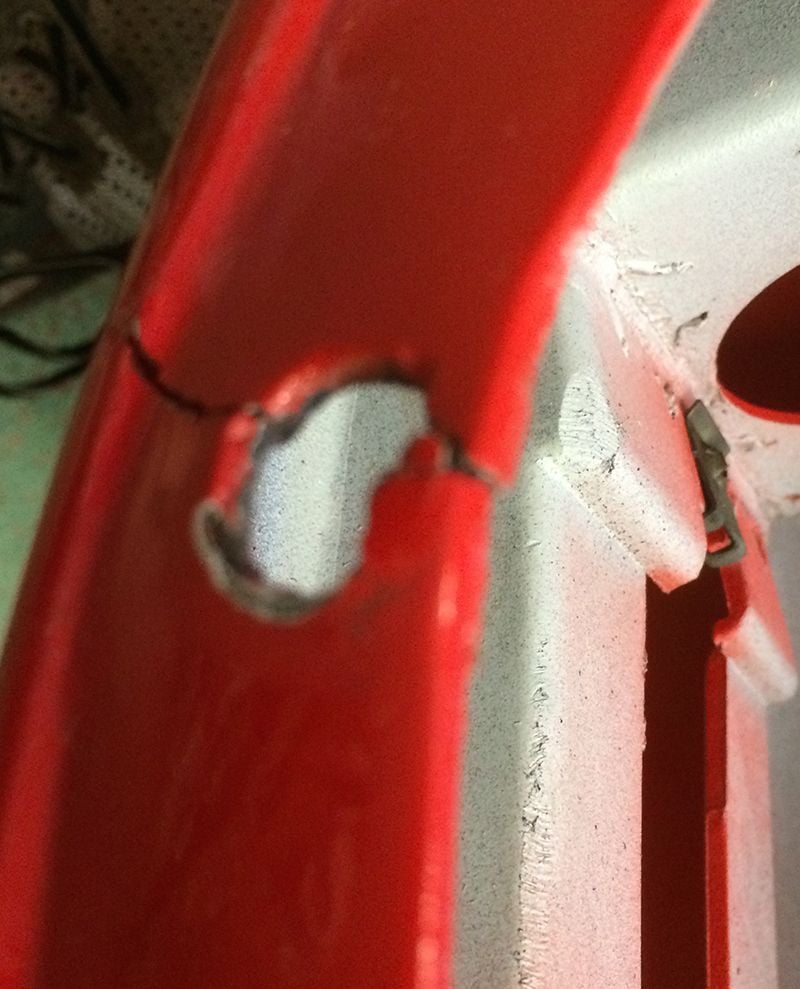
The other side was done the same and after it was fitted, I decided to take the 'smile' from the bumper so I could clean it. It was then that i noticed some damage around one of the holes. Best I thought to fix it now before it got worse.
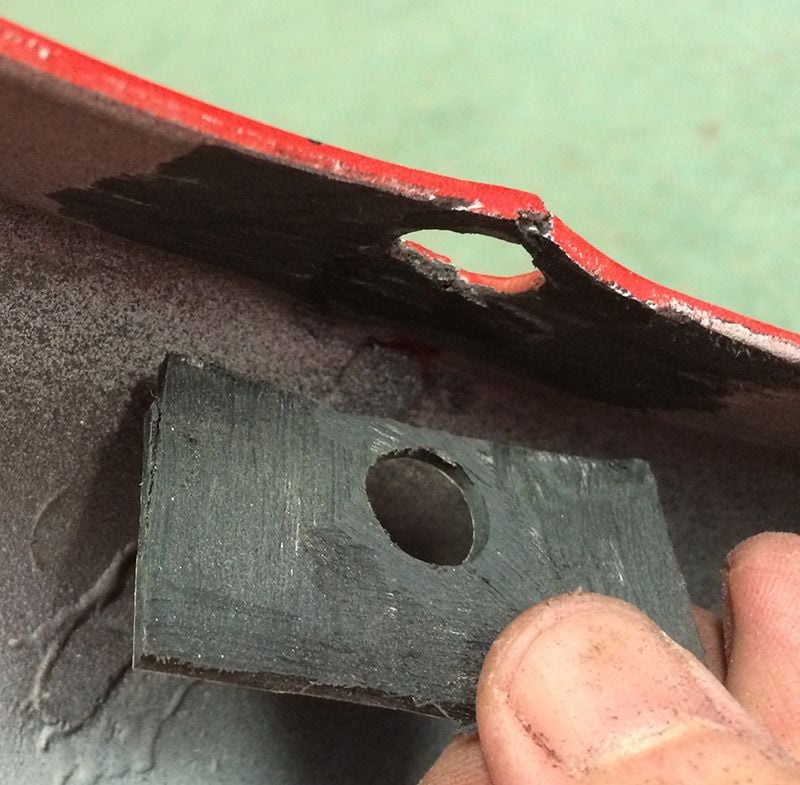
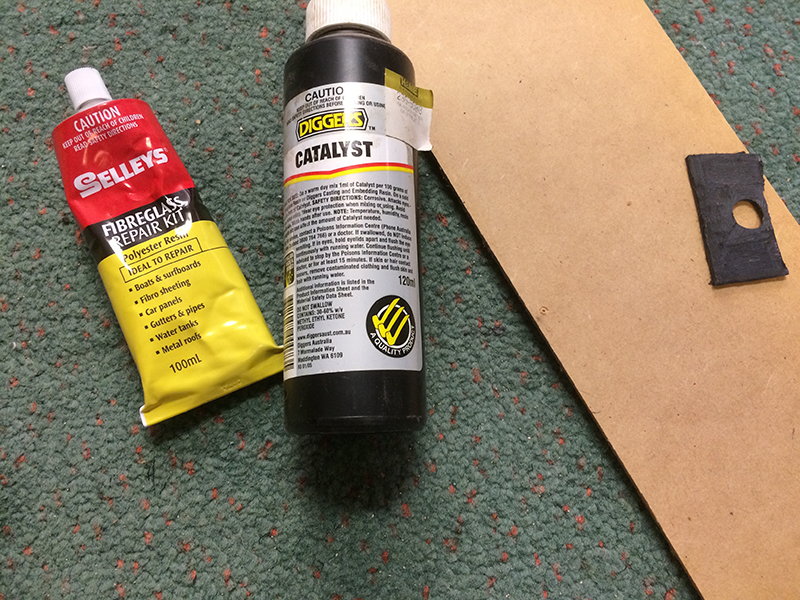
I used some of the scrap fibreglass that I had just cut from the back of the fog light mounts and then cut it to size, drilled a hole in it and used my trusty dremel to rough it and the underside of the hole on the bumper up a bit.
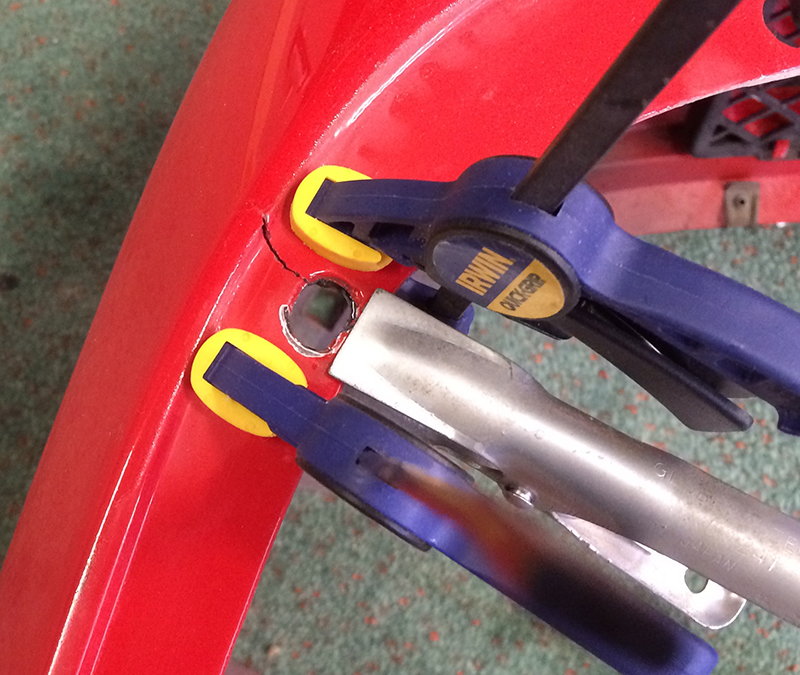
Then, using some fibreglass applied it to both sides and clamped it up. It sets pretty quickly - so was happy with the finished result.
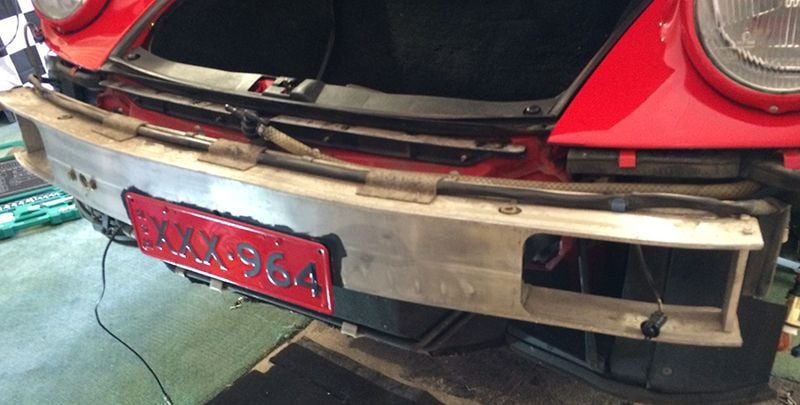
Whilst that was drying, I went back to the front of the car and cleaned up all the old bugs and stuff that had worked its way in to the openings.
I also took the opportunity to give the 'smile' a really good clean and a fresh coat of 'forever black'
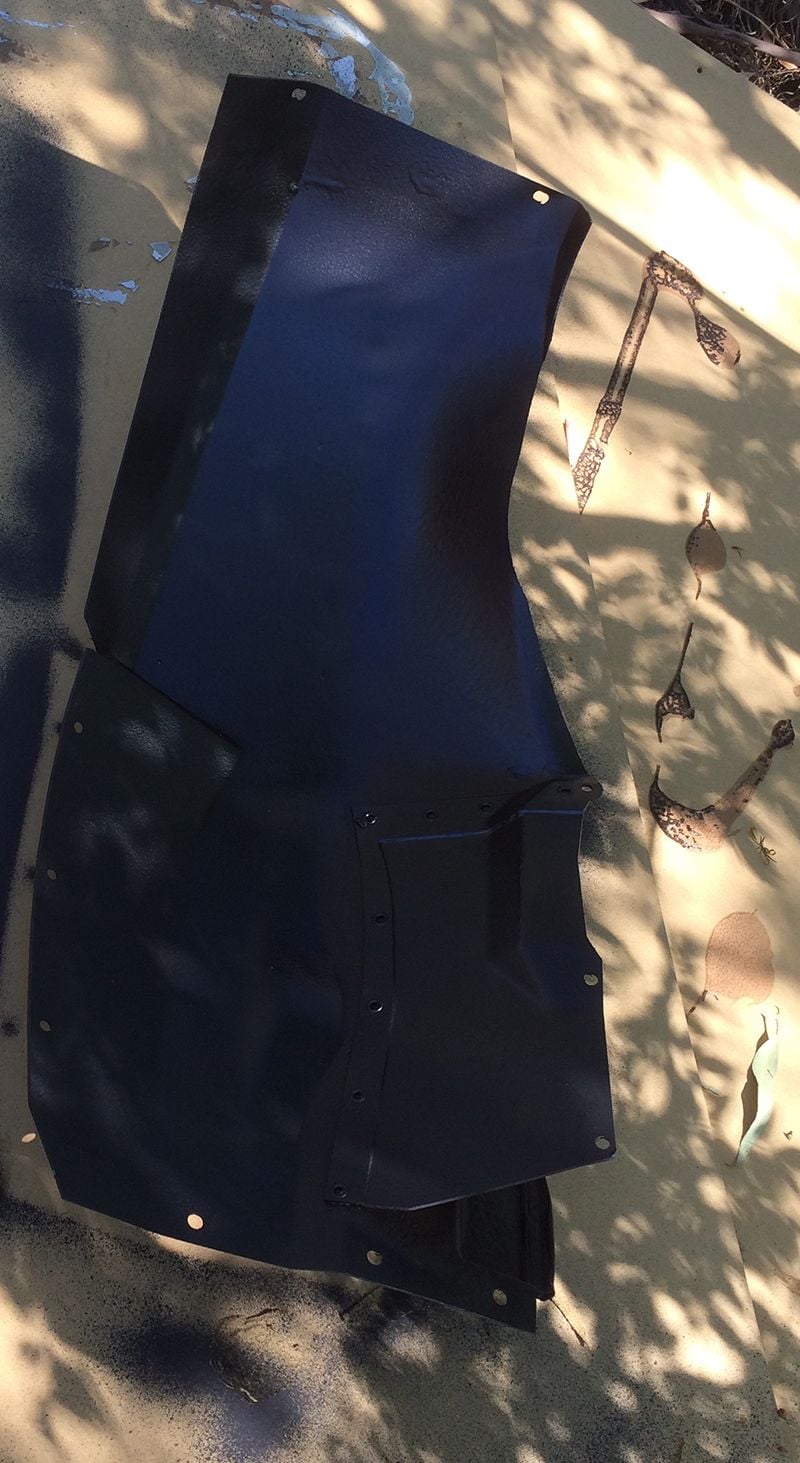
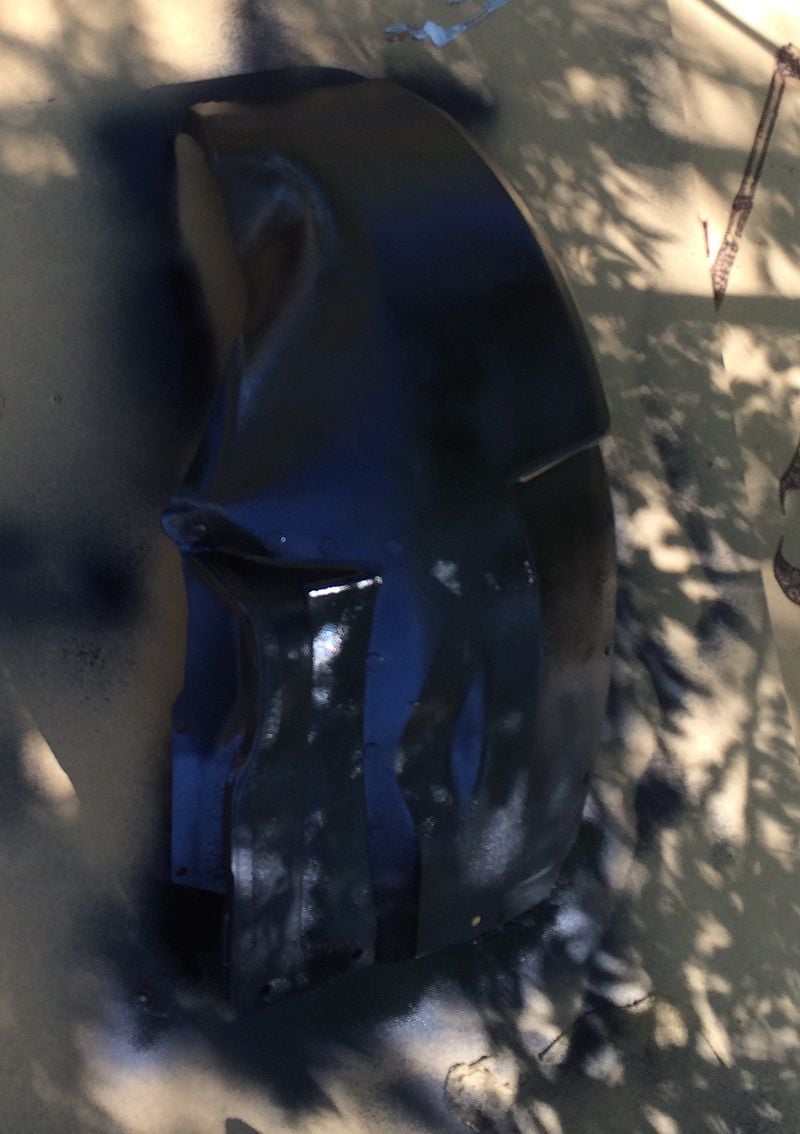
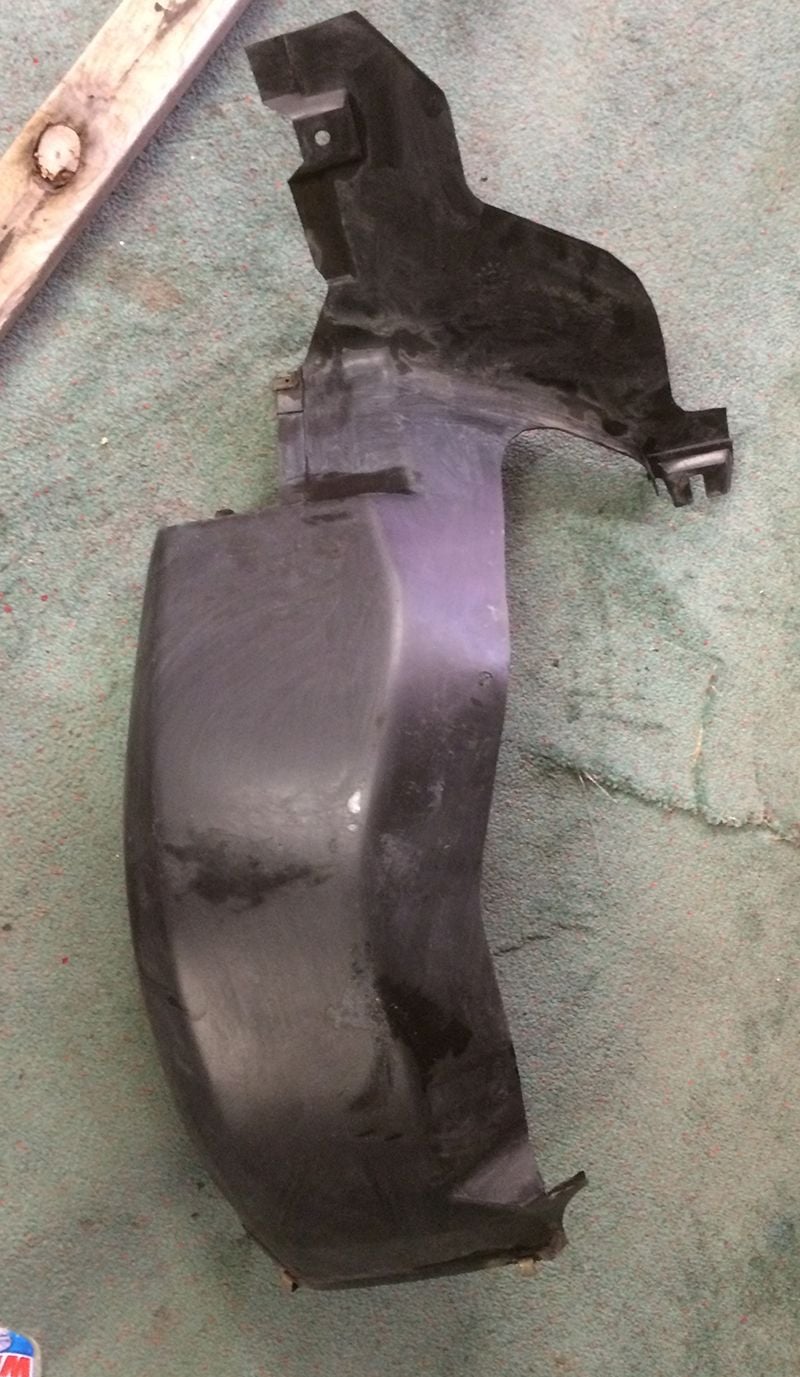
I had half a dozen cans of 'rubberised coating' and decided I might as well do the inside guards whilst I was at it and had them out. The came up really well. Not sure what other benefit it has (maybe a tad of sound proofing), but they look good anyway
My under trays were pretty stuffed to start with when I got the car and I had painted them last year pretty roughly with a rattle can. I took the opportunity to 'touch' them up again whilst they were off too.
And all back together - I was pretty happy with the end result.
It took about half a day to do - but that was painting the ducts as well as cleaning up the front of the car.
Nice write up. I have just ordered these ducts too. I have FVD ones already but the mounting holes also did not line up! I was hoping the Cult Werk ones would! Dammit!
Nice write up. I have just ordered these ducts too. I have FVD ones already but the mounting holes also did not line up! I was hoping the Cult Werk ones would! Dammit!
They do Stan - kind of... one side does , you just have to drill the other. As long as you get the depth (from the front) correct, you can afford to miss the hole sideways as you can elongate it some.
the other thing you could do, is screw the screw into the other hole all the way, then put some (water based) paint on it, then put it in carefully and that should give you a mark to drill.
Thanks for taking the time and lots of detailed pics. Great improvement and a good idea to use the fly screen. I always wondered about debri getting into the ducts.
Nice mod but how much of a real functional improvement is it until you attach hose and route to the brake / hub to actually get the air to the brake disk instead of just flowing into the wheel well area.

 01-31-2015, 04:21 AM