When you click on links to various merchants on this site and make a purchase, this can result in this site earning a commission. Affiliate programs and affiliations include, but are not limited to, the eBay Partner Network.
It took over a year to get them to acknowledge they had been (for years) selling people the wrong replacement belt for the dual distributor. I could go on and on...
Um, when did this happen? I just bought a Contitech belt earlier this year but have not installed it yet.
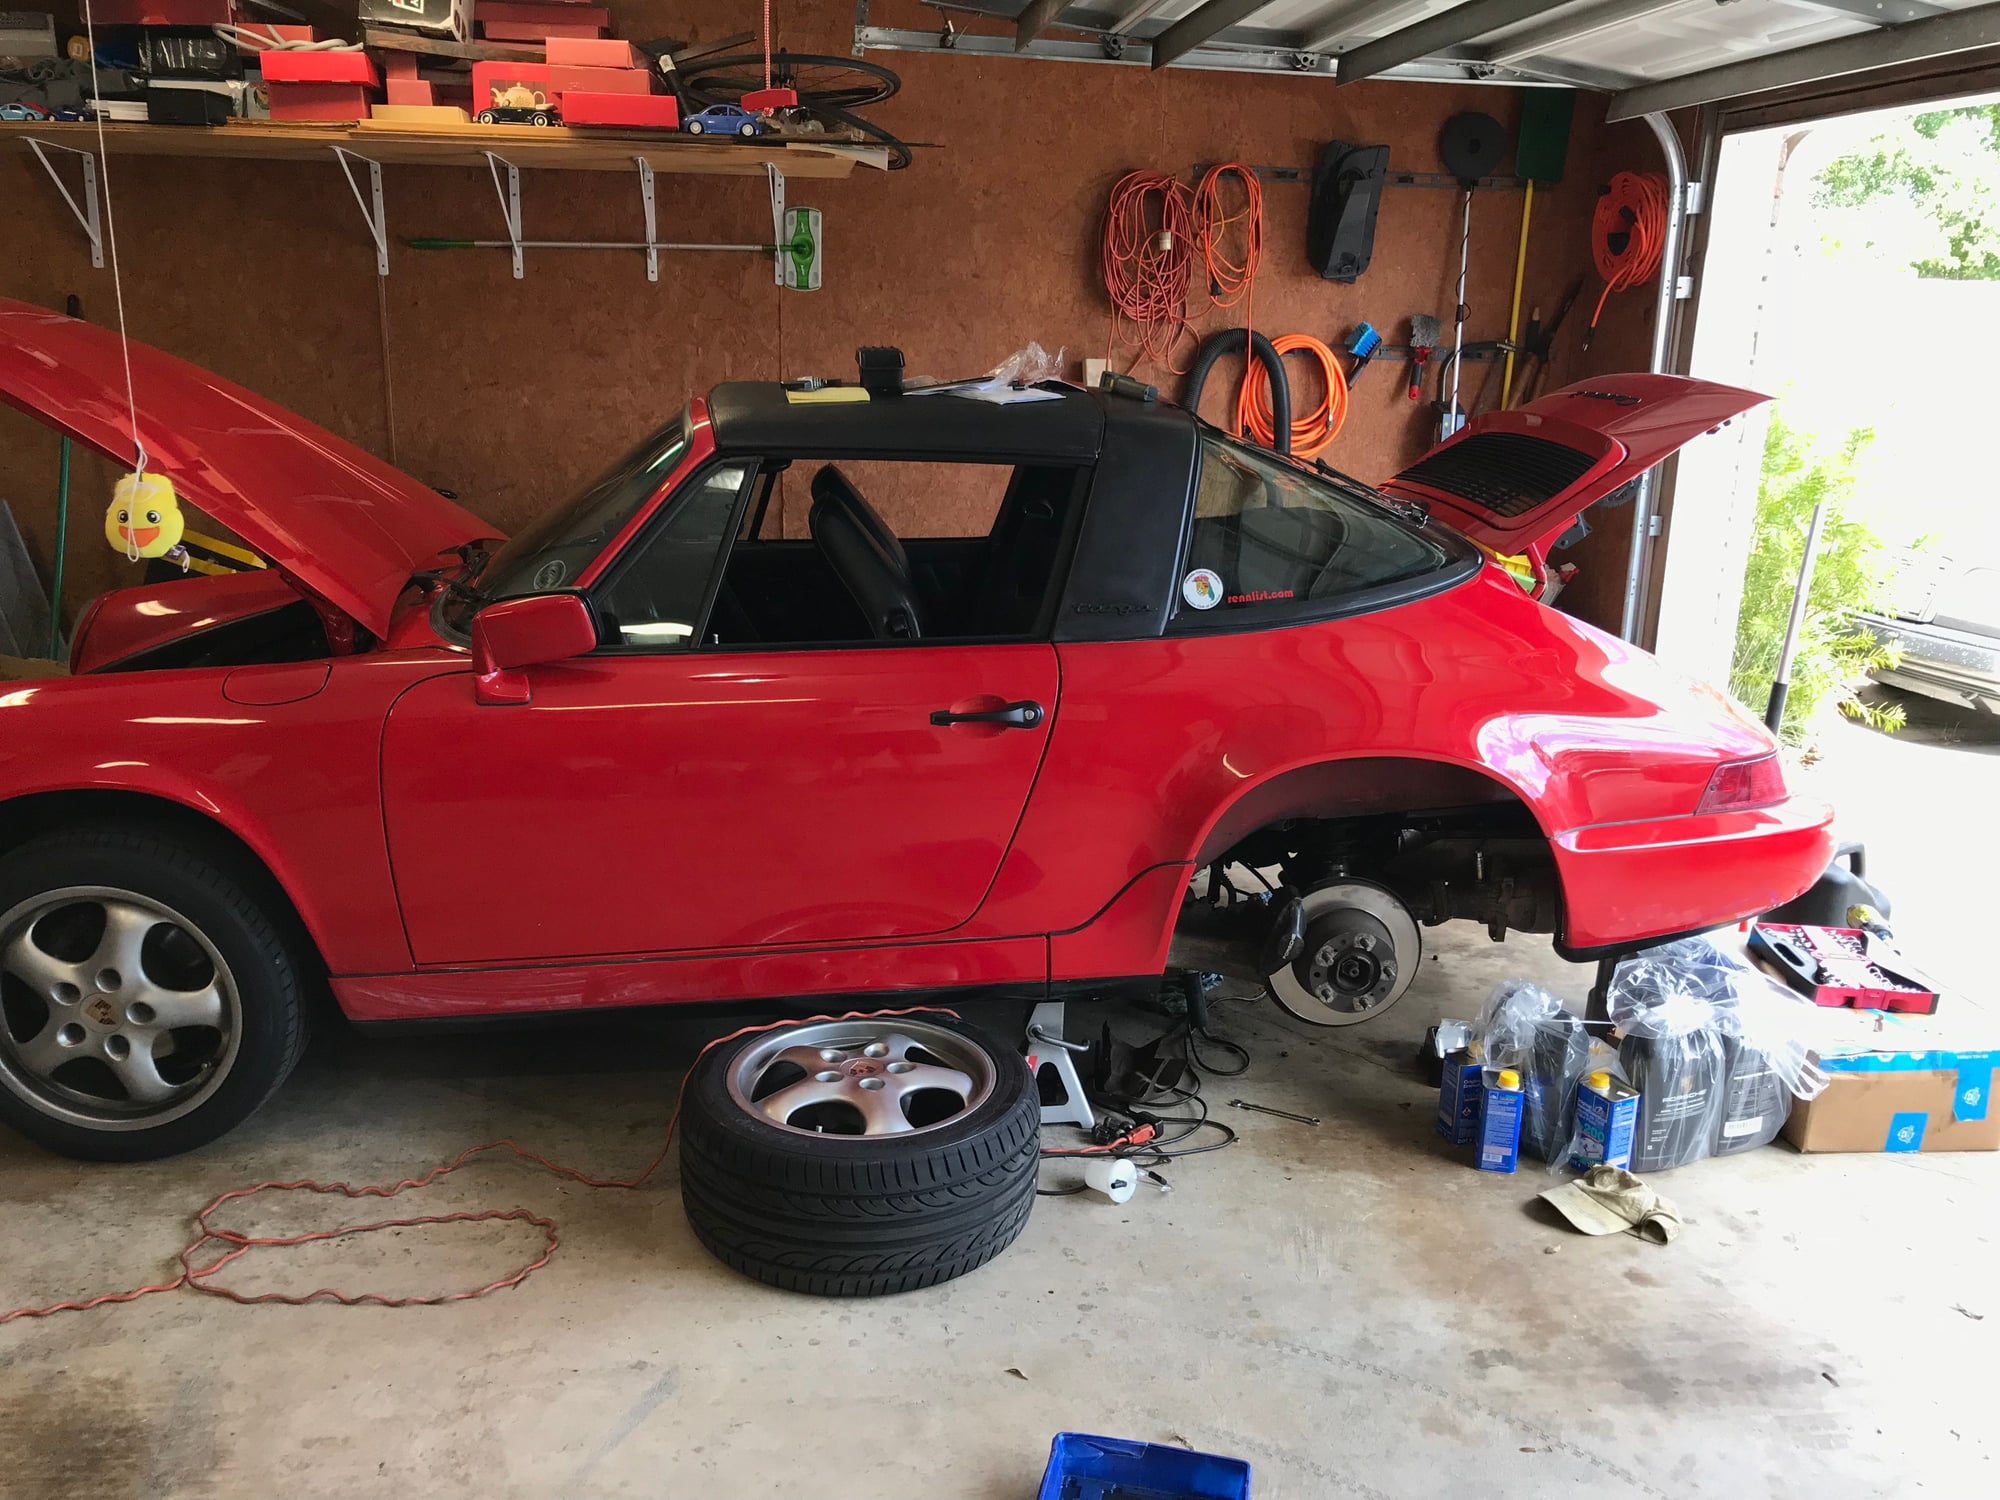
Exhaust came off without a hitch. One bolt that joins the two small heat shields forward of the catalyst had its floating nut in the clip spin with the bolt, the impact gun took care of that. New hardware to reaffix all of that. Also it's a good time to examine replacing the O2 sensor and dumping the secondary muffler for a G-pipe.
For today, only planning on blasting the underside clean once I remove the remaining engine tins and heat shields. So much oil and grease buildup. The chain box covers might be dripping but could be the feed lines or something else higher up and migrating down.
So far I've completed cylinders 1-6-2, currently on #4. I've had to set the lash a few times on each due to my own paranoia of being wrong, though the feeler gauge has been confirming I'm okay. Intake on #1 was a little bit loose. Three valve cover studs came out on the right lower cover, will get that sorted shortly. Today I should be able to finish, then can go through everything and ensure accuracy and install new spark plugs.
It seems (some of) my oil drips may have been coming from the upper covers - the gaskets on both sides were absolutely roached. Bent one and it snapped, while the lower gaskets are still pliable. A new O2 sensor arrived yesterday, and have non-nylock nuts to install the valve covers.
How did you find the Kirk Tool. I struggled fitting it on some valves. I liked the back method for my check.
I love the Kirktool and had the whole job done in 30 minutes with a mates help to set the locking nut. Very easy to tell if the clearance moves during tightening and to adjust for it. But I did have the whole exhaust system and engine tins off and the car on a hoist. I wouldn't be as confident with it on stands or with less working space under the car.
Ok. Look. I get your paranoia, I was the same years ago. Guy's like Rocket, Andreas, Nick etc were invaluable. These guys are perfectionists. No need to change the oil, you'll lose half a quart at most, just use a harbor freight feeler gauge, go backside method and relax. You'll get the feel pretty quick. Everyone makes a huge deal about a valve adj, not the big deal the boys mentioned above, they are just super careful and super smart Engineer type. Haha.
I am the moron that did have a rocker once come loose, but it's no biggie to drop some crap and go back. Frustrating yes, but as I'm sure you read better loose then tight. Put it this way, I beat all 3 my 91' 964 and they all reward and thank me with zero problems. Good luck. Any real world questions, feel free to ask. Oh bye the way, heard a starter motor replacement years ago was a 5 hr event before I had 2 lifts...yeah ok..,,3 beer job on jack stands.
Reinstalled the valve covers a few days ago, and no leaks (yet). Last night the heat shields/tins and exhaust went back on, and the engine sounded normal (no hard starting, no tapping or other concerning noises). Once the clutch hose is replaced I can get it back on the ground.
I love the Kirktool and had the whole job done in 30 minutes with a mates help to set the locking nut. Very easy to tell if the clearance moves during tightening and to adjust for it. But I did have the whole exhaust system and engine tins off and the car on a hoist. I wouldn't be as confident with it on stands or with less working space under the car.
Neil
THIS!. The kirk tool I found the Kirk tool was great if I had a third hand available.
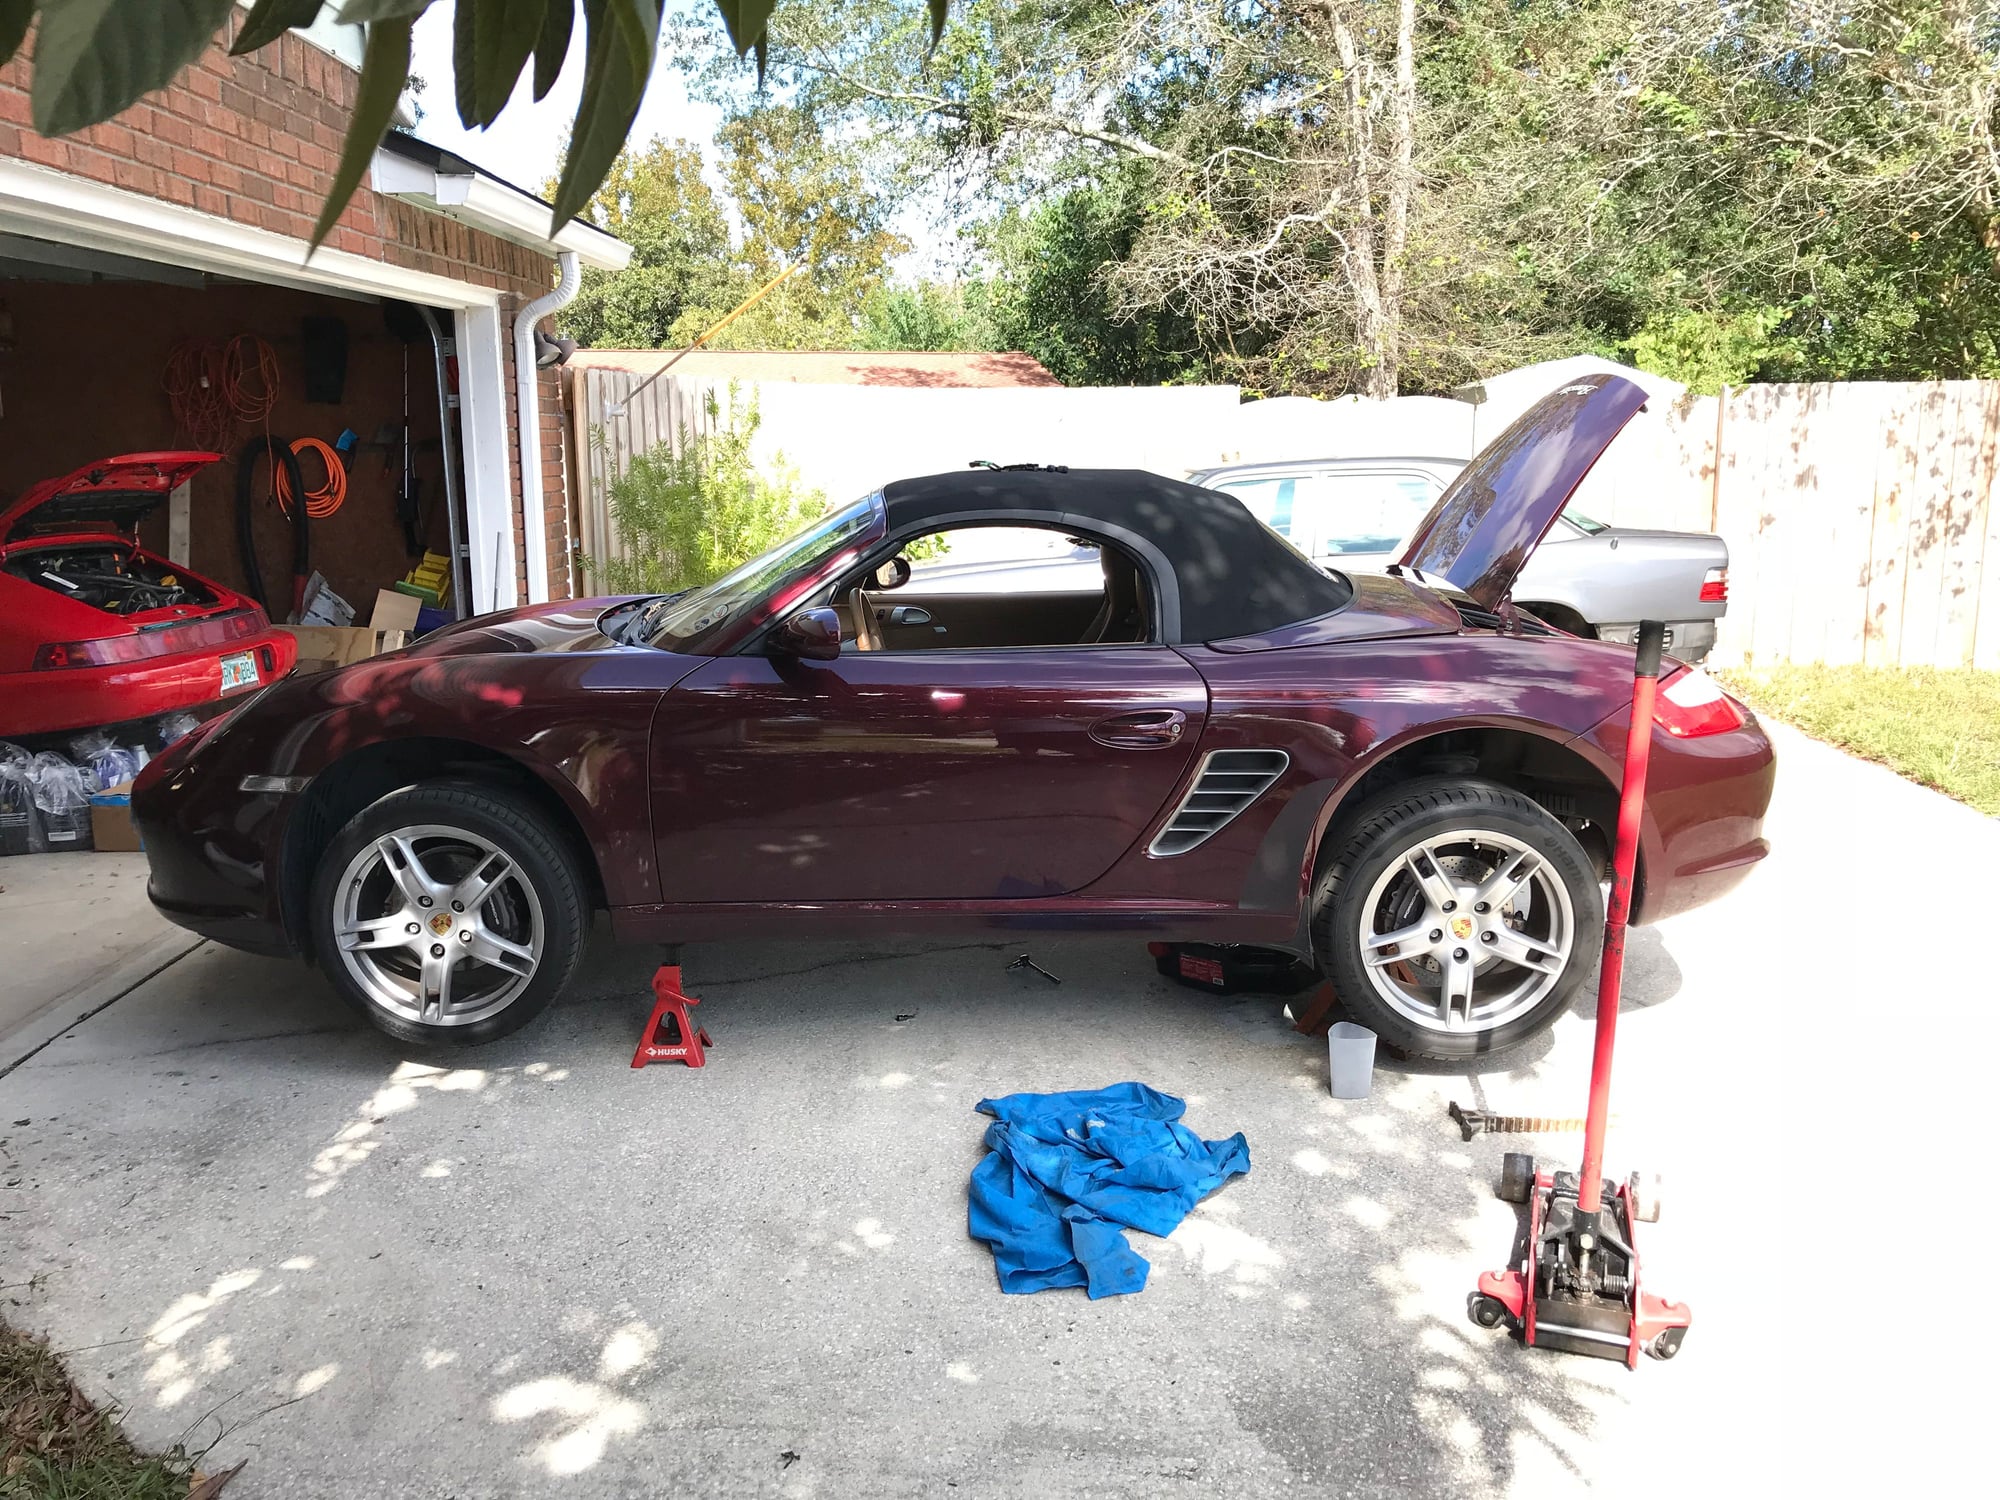
While I was handling the clutch hose I pulled the slave cylinder to make the process simpler (why are both ends right-hand thread...). Will have a new cylinder installed tomorrow as the existing isn�t operating smoothly.
In the meantime I�m handling other Porsche maintenance.
The clutch hose gets attached to the space first, and then to the hard line. Sometimes what happens is the fitting at the end of the hard line doesn't rotate as it is seized, or it just doesn't turn well. You need to un-seize this in order to install the new clutch hose. (If this is why it was difficult)
The clutch hose gets attached to the space first, and then to the hard line. Sometimes what happens is the fitting at the end of the hard line doesn't rotate as it is seized, or it just doesn't turn well. You need to un-seize this in order to install the new clutch hose. (If this is why it was difficult)
Thats the thing, I had attached to the slave first and then the hard line. Neither end was binding, but would fight the movements in trying to tighten. It�s good that I removed the slave though, definitely needed to be swapped with a fresh example.
And in other news of the �universe laughing at me� type, the hose on my Motive blew and sprayed down the frunk with fluid. Completely my fault for not replacing the hose sooner, but having been using it dry recently apparently I had been complacent. So far no damage except to my pride.

 10-03-2018, 07:35 PM

 One bolt that joins the two small heat shields forward of the catalyst had its floating nut in the clip spin with the bolt, the impact gun took care of that. New hardware to reaffix all of that. Also it's a good time to examine replacing the O2 sensor and dumping the secondary muffler for a G-pipe.


 Completely my fault for not replacing the hose sooner, but having been using it dry recently apparently I had been complacent. So far no damage except to my pride.