When you click on links to various merchants on this site and make a purchase, this can result in this site earning a commission. Affiliate programs and affiliations include, but are not limited to, the eBay Partner Network.
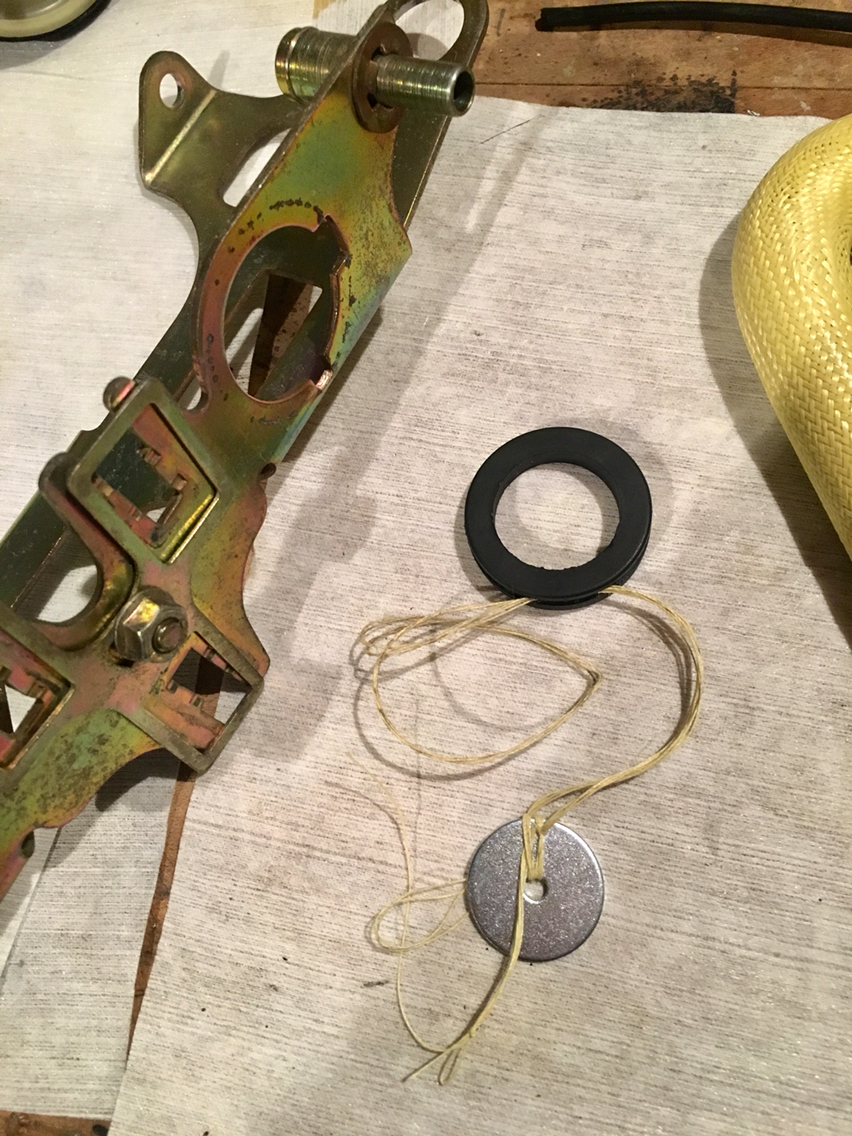
The intake manifold seals have been shrinking nicely. They are getting close. Nice and soft. So hopefully this works. Cuz then i can comfortably say the wintergreen oil and alcohol is a good idea.
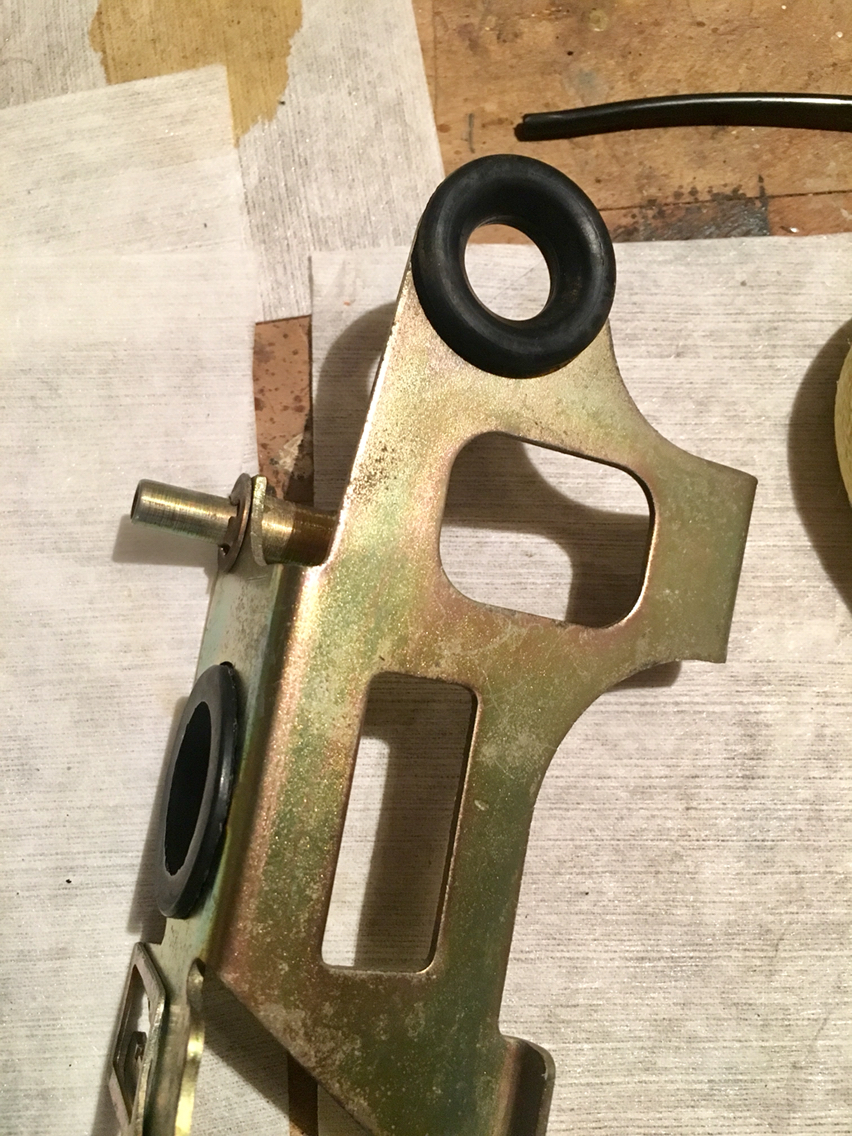
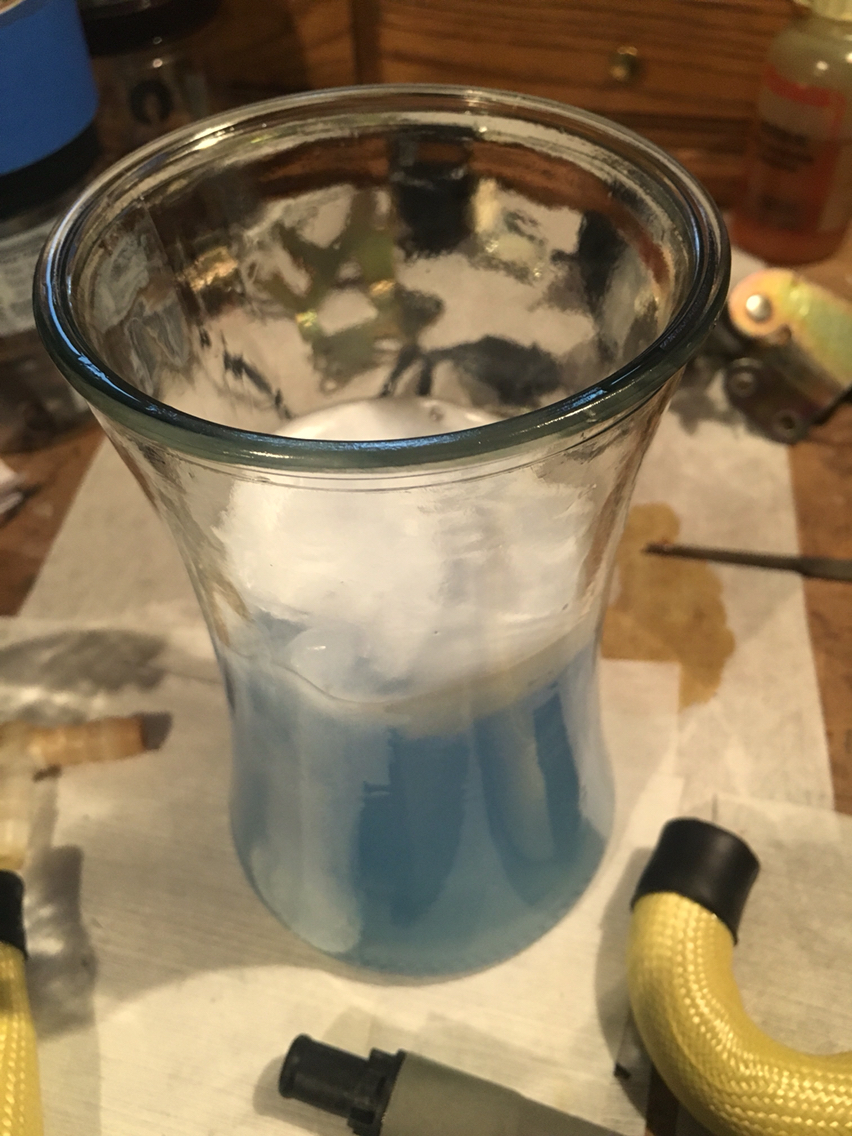
And so i then took all the grommets and tossed them in the wintergreen solution.
Cuz they were hard as well. So hopefully they will come out soft and shrink back to the right size. The ones currently in my car are hard as rocks. So having fresh ones...life's little pleasures.
I love your style and attention to detail - Tinkering and really trying to understand how these engines work. So much of that is lost in today's rip and replace world.
When we got into the whole dbfd thing - that was kind of the entire idea...cuz we went from a bunch of old car guys tinkering on expensive old cars and a bunch of younger car guys tinkering on cheaper cars like bugs and 914s...to a bolt on, look at my wheels kinda world...and nothing wrong with hiring someone else or doing stuff for show...but i found a lot of guys on both sides that really wanted to do this stuff, but either didn't have the time or didn't have the expertise but wanted it- and just never had anyone around to say "not that way, this way"....or "yeah, no one has ever done that, let's figure out if this could work"....
So out came the dbfd community- drive it break it fix it...drive it again. If it has to go to a shop, so be it, but most of ownership of a Porsche doesn't have to cost much, and if you pick up a wrench, won't have to. And if you hit the maintenance areas early, and change fluids often, these cars are pretty bullet proof. And in my case, the best daily driver you can find.
I'm dreading the day when they are worth so much that daily driving will be impossible, not because i won't drive it everyday, cuz It'll still be my daily...but that's the day that I'm the only one left...it's all about the community.
We will have to make up more dbfd window stickers, cuz honestly everyone here reading this is part of it and needs a qtr window sticker...
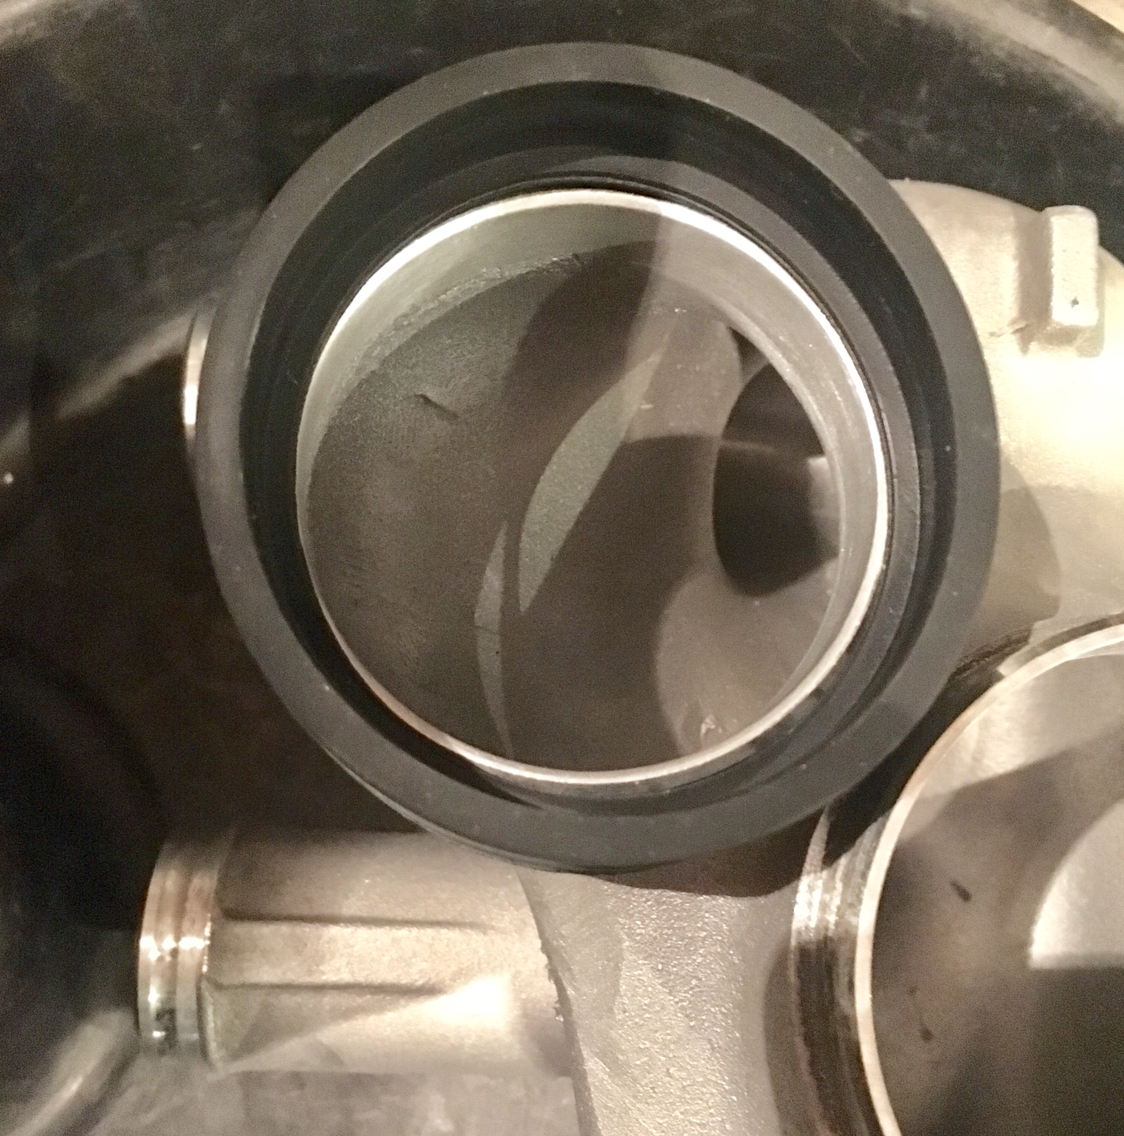
I get 15 minute blasts of time to get to my intake project...so here is tonight's...
First up... the grommets came out of the wintergreen oil and alcohol...nice and soft like new and smelling minty!
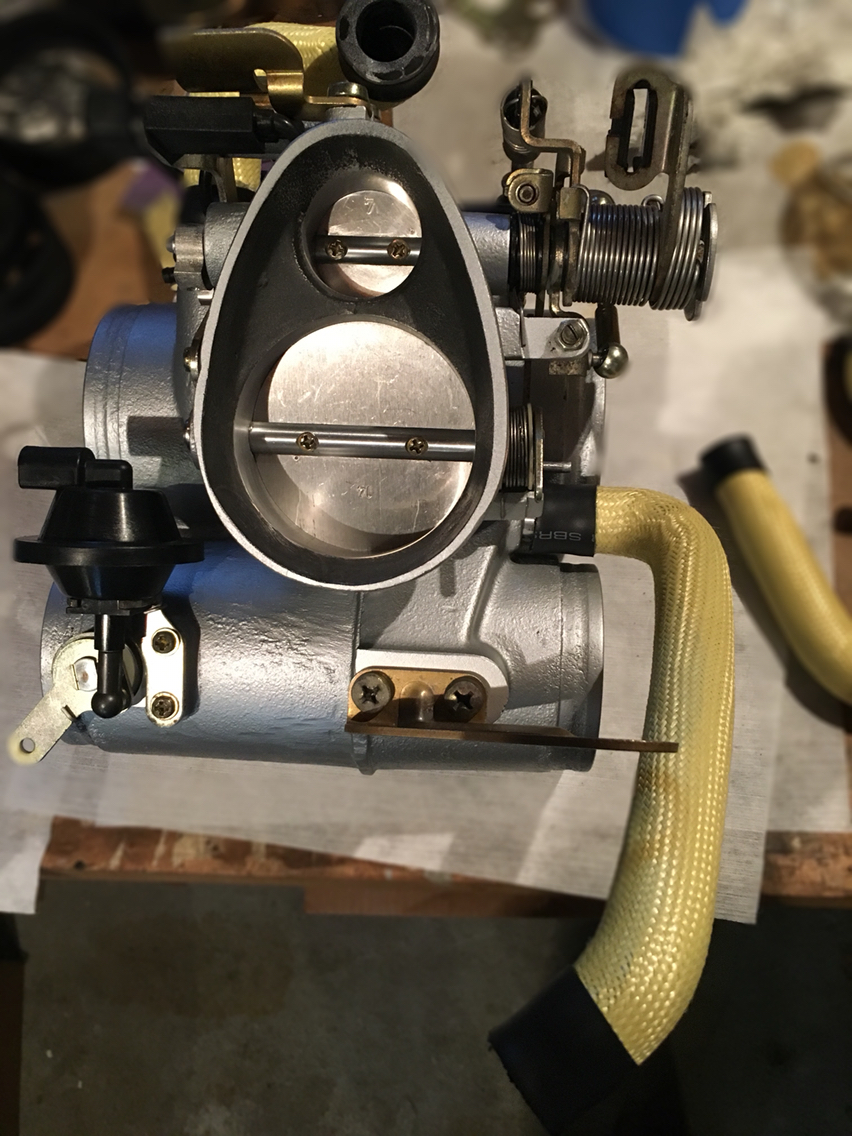
I didn't need the string, so in they went with a little bending and prodding. Had i not soaked them, btw, they likely would have torn. But reinstall was easy.
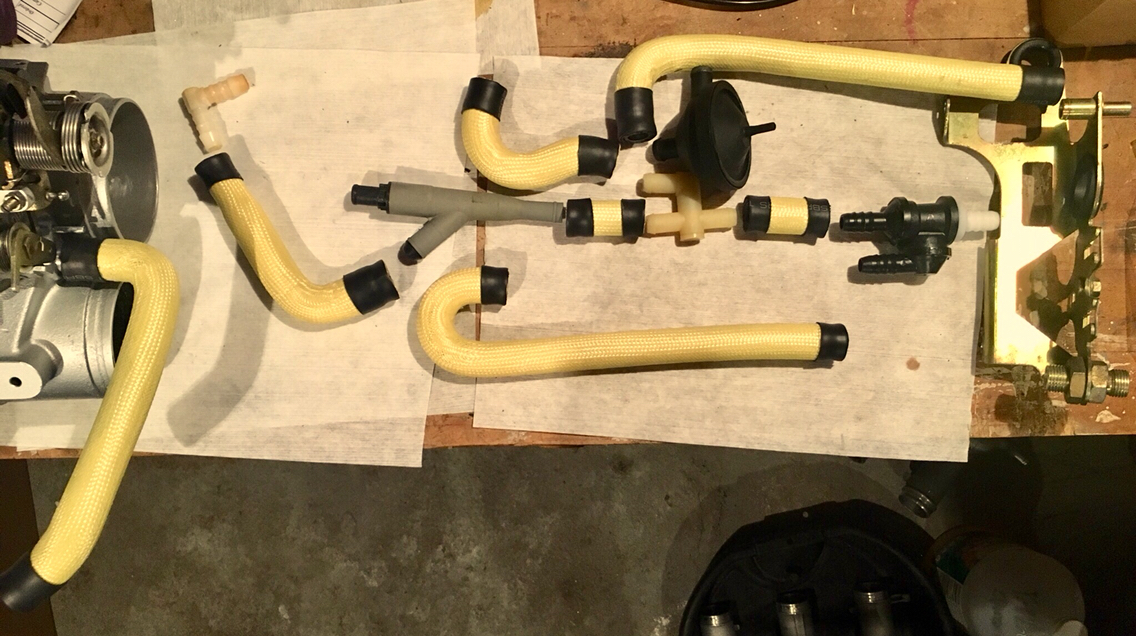
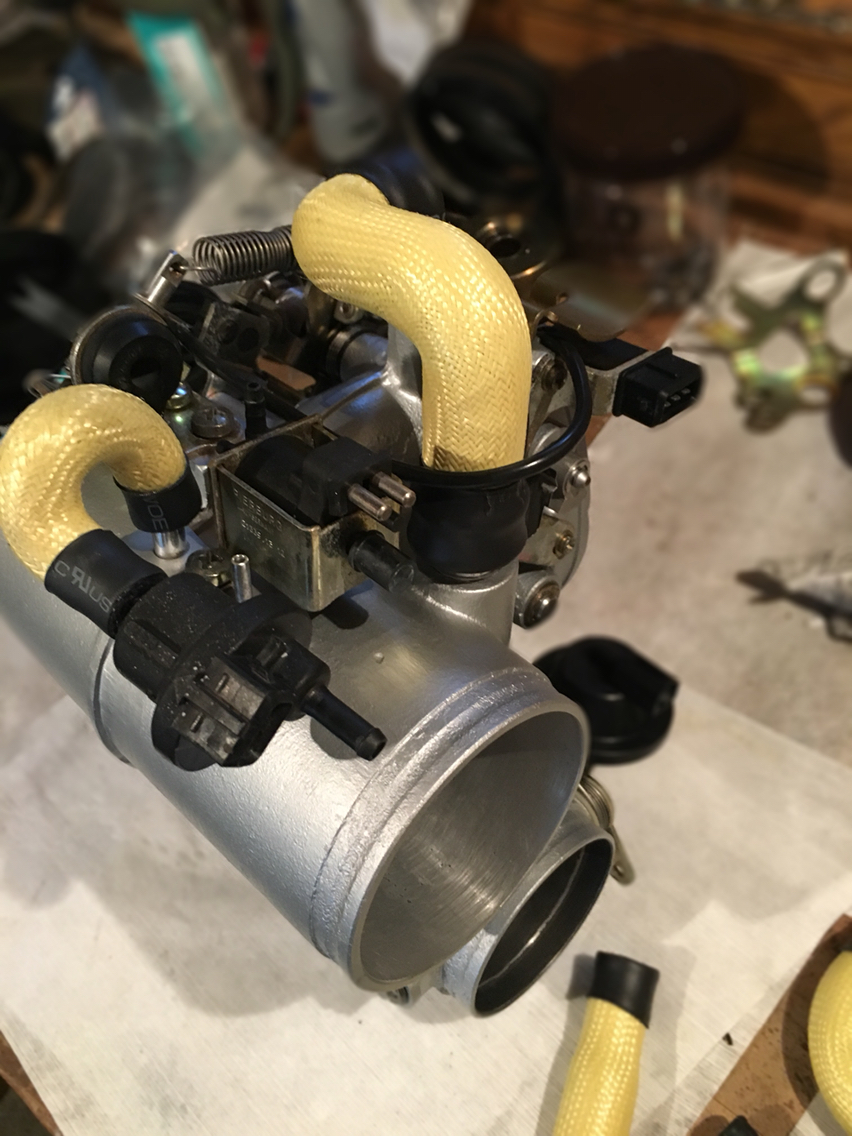
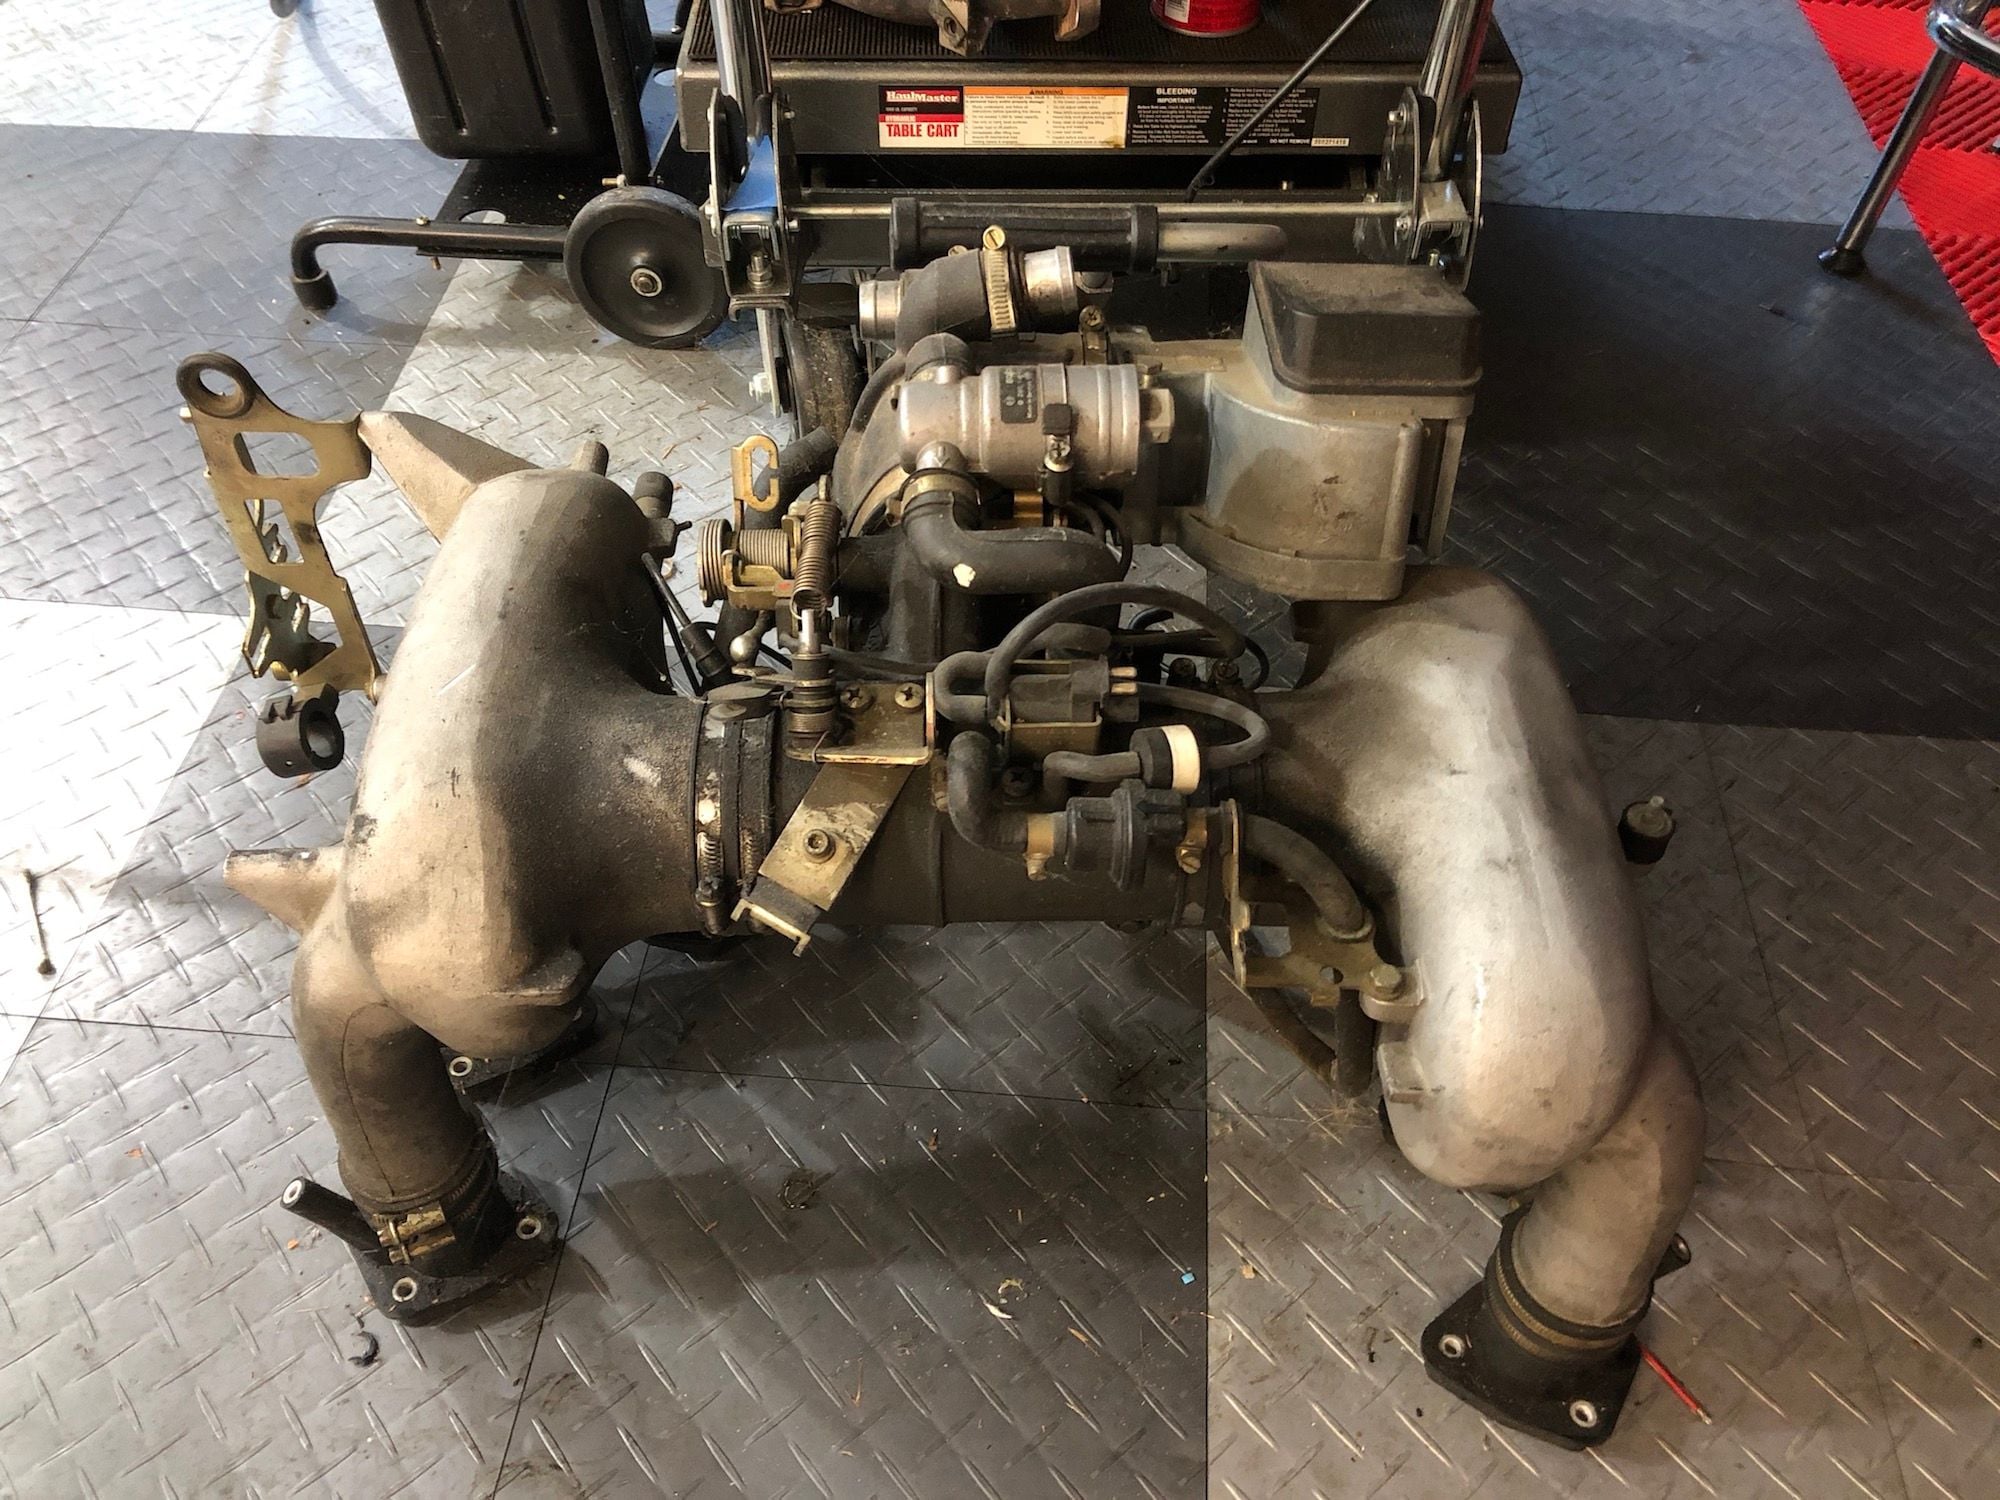
And now the hard part...how the hell does this mess of hoses and connectors go back together?.
Thank god i took a lot of pics before disassembly. I'm going to get all the clamps together and fit it, but nothing will be tightened down until the full rebuild.
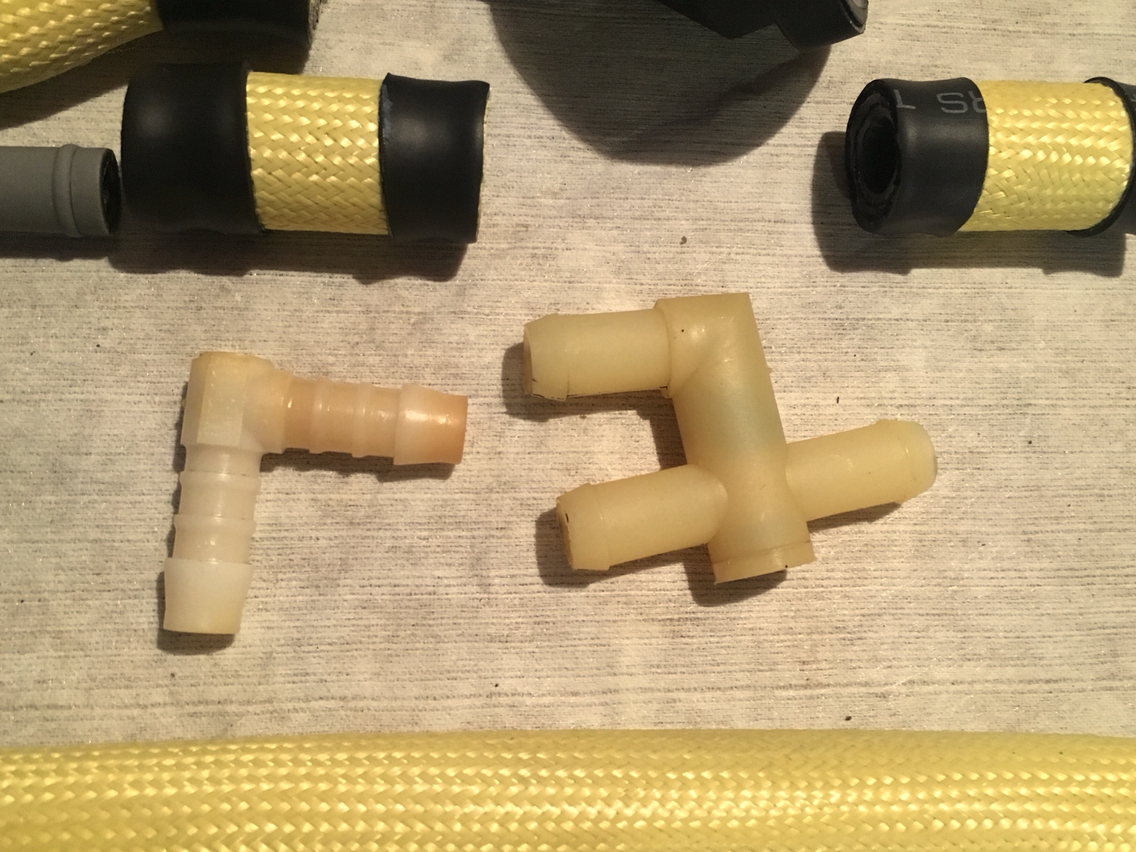
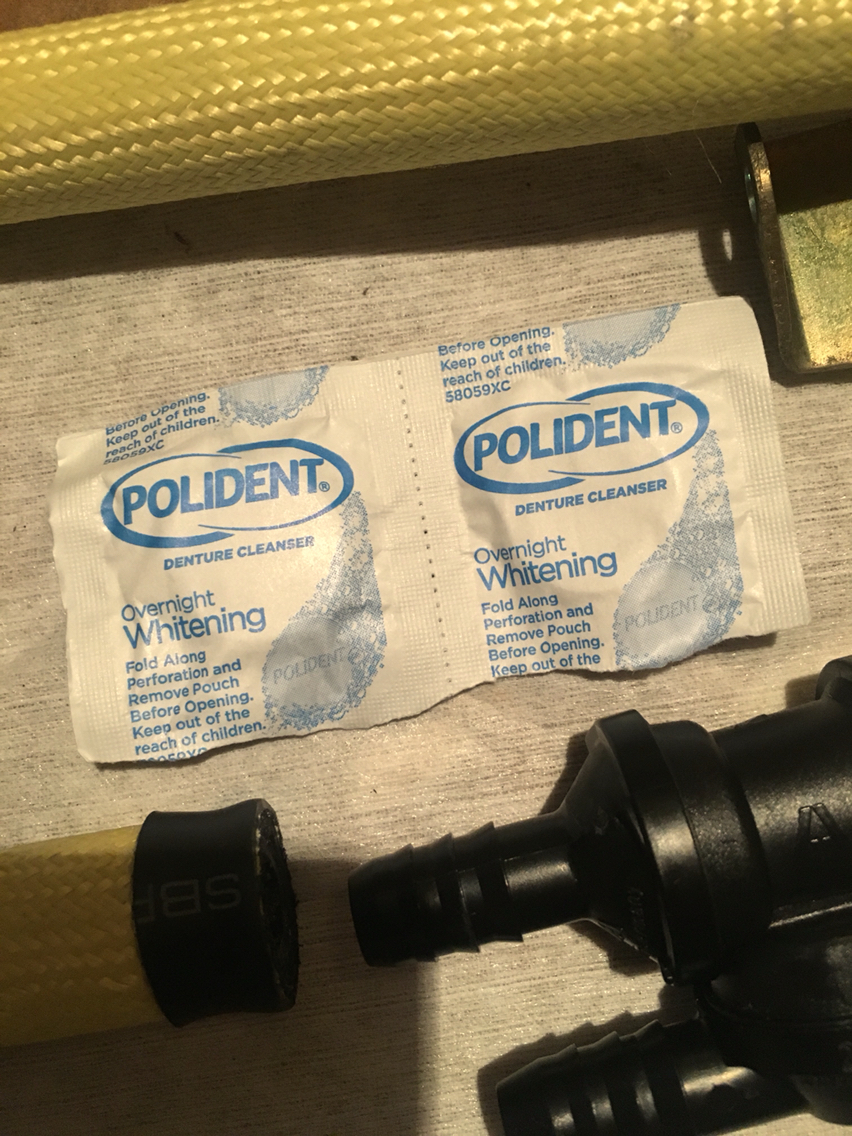
I figured today was a good day for whitening. I didn't order new white plastic connectors. The ones i have are fine and hold vacuum. So better idea is just clean them.
So here is the trick.
Whitening denture tabs. Old yellowed plastic comes out "whiter". Won't make them new. But they will be a lot whiter tomorrow.
I'll check back after i pull them out , with some results.
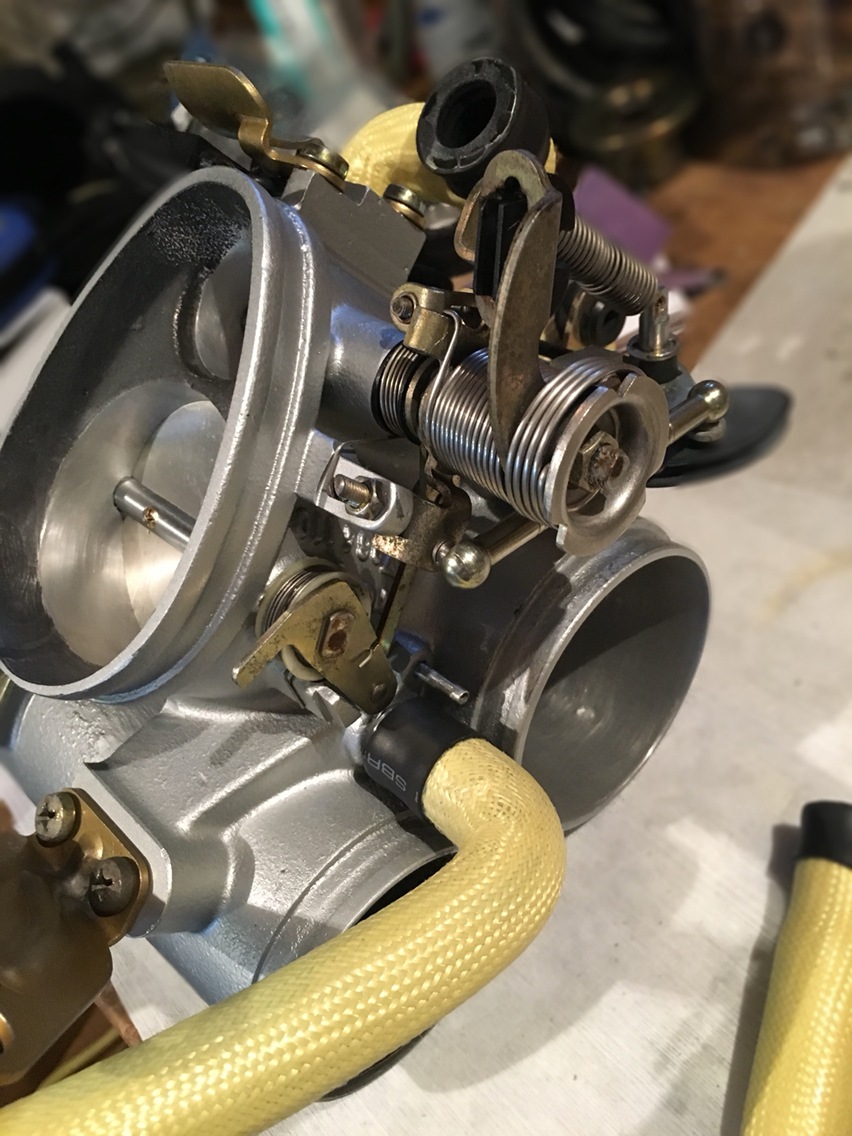
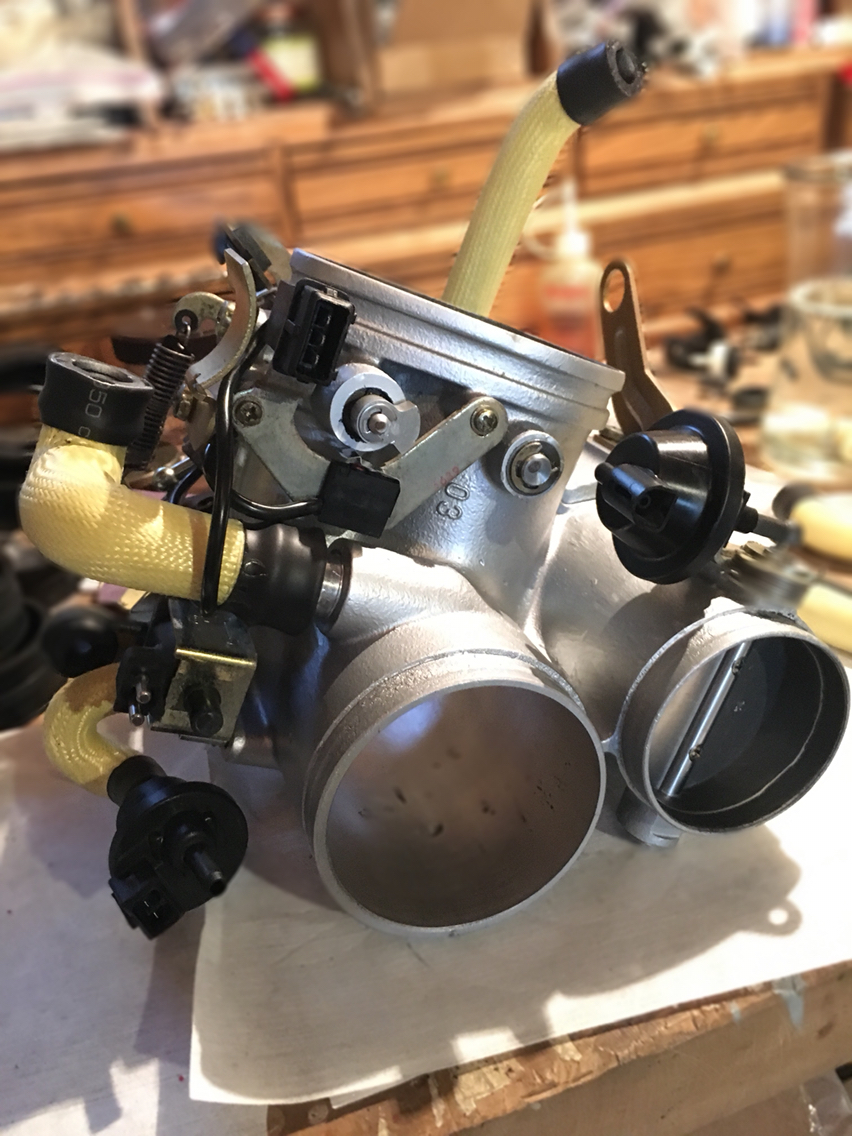
and then so i could clean up the bench a little, i fit the rest of the pieces to the throttle body and stuck the hoses on. Not all the way, just enough to see them in place. They are coming off again, so no need to go crazy.
But looks good. Progress feels good. The hard work is coming soon.
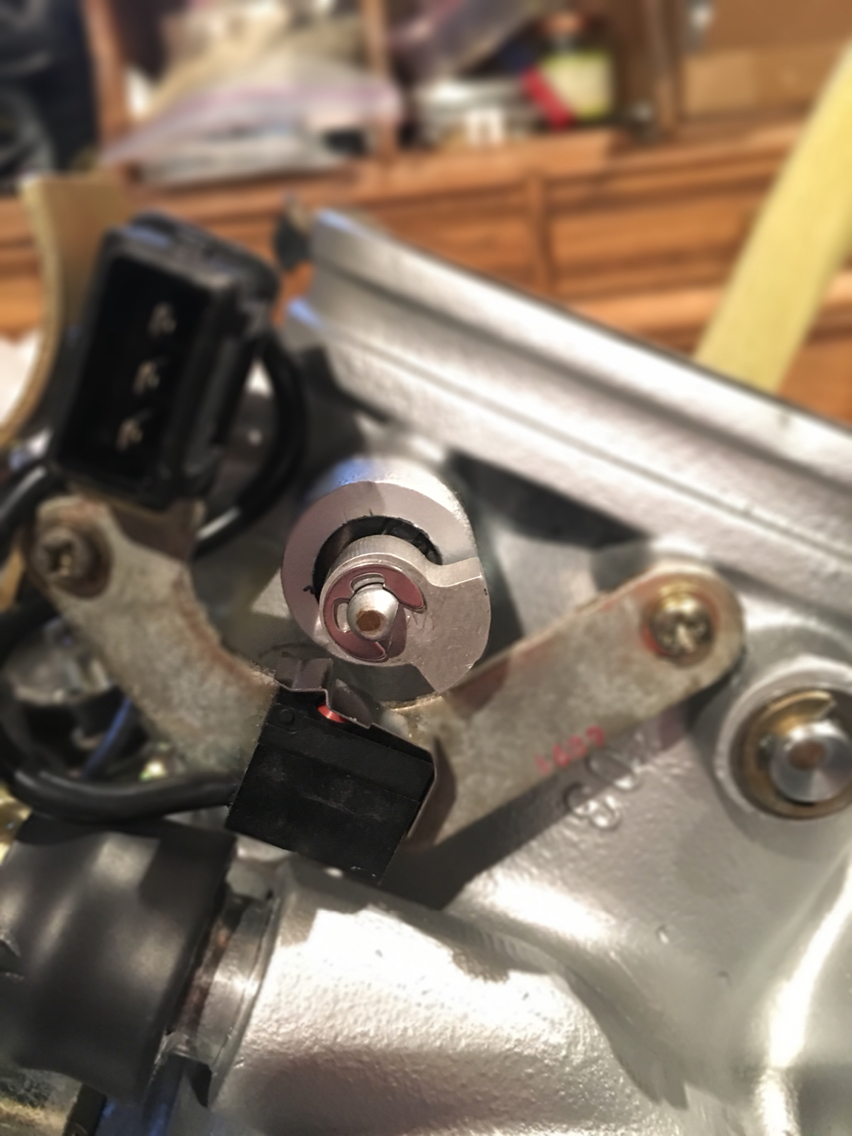
And my little maestro pezzo...the oh-so-wonderfully named...Wot dodad...
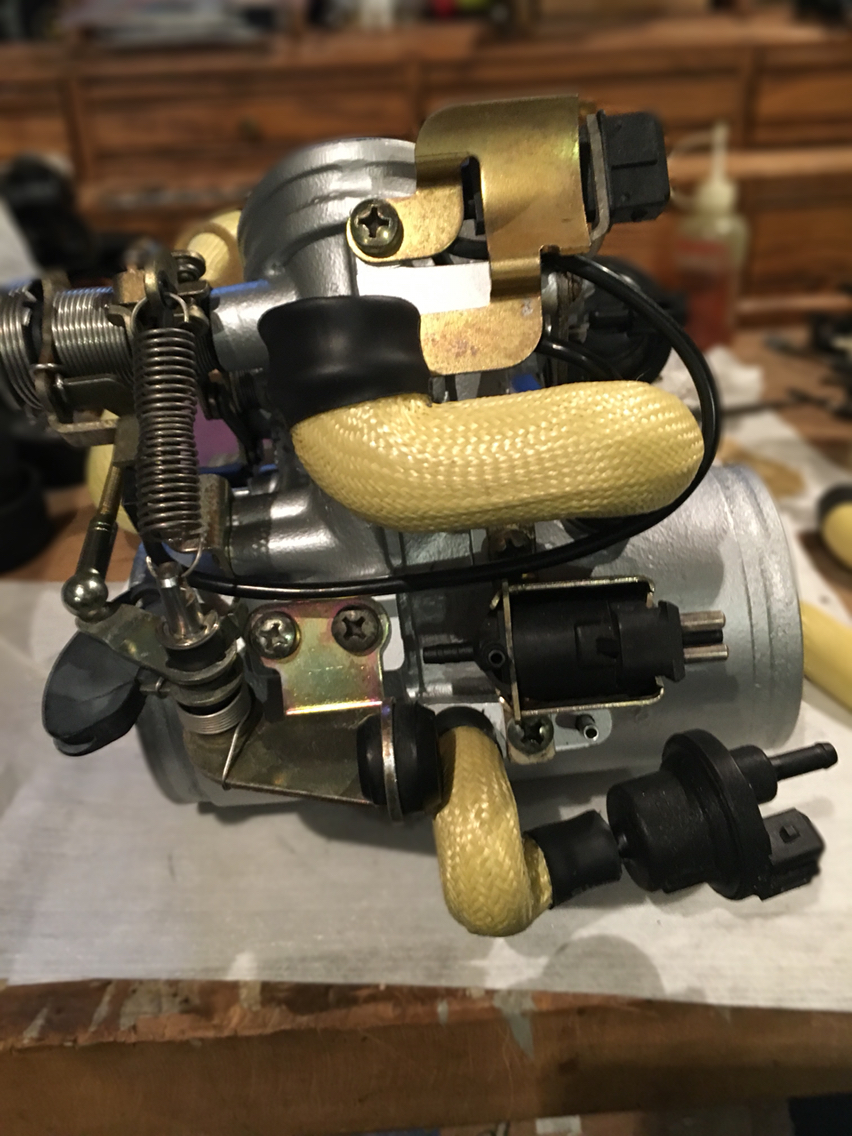
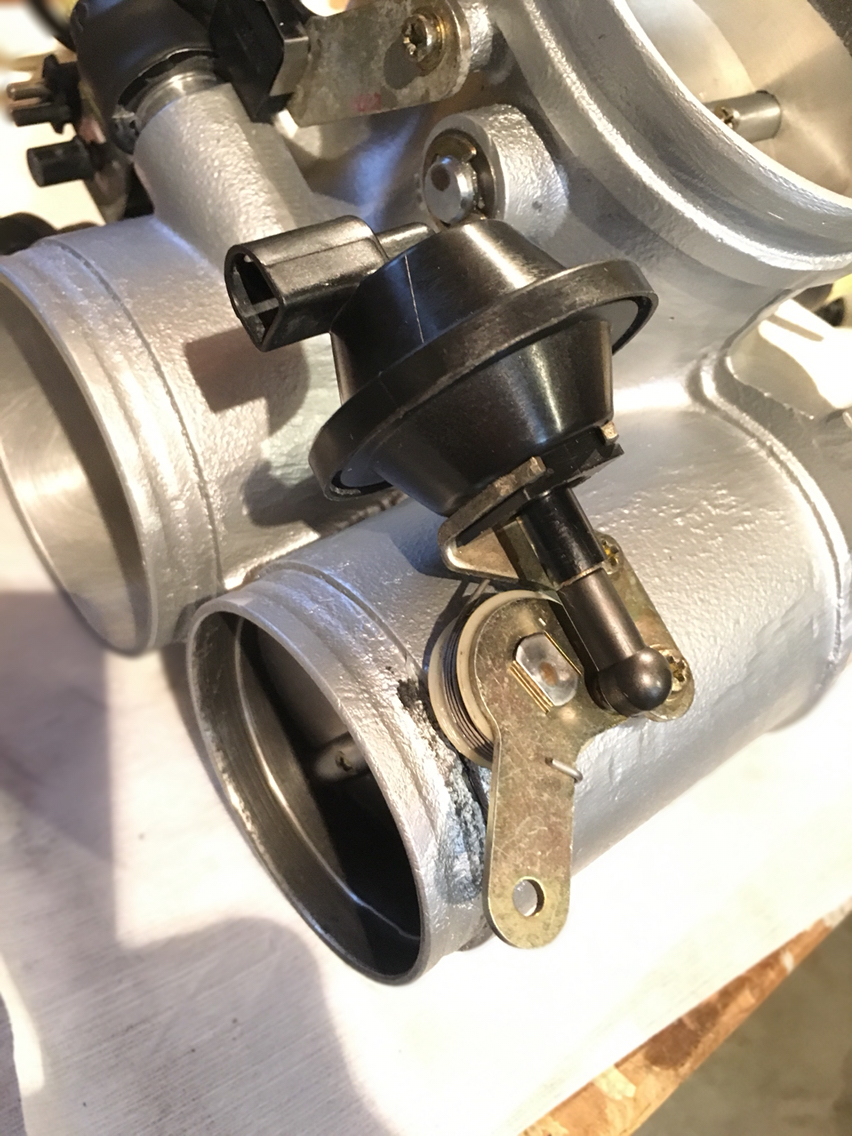
And lastly for today. I installed the vacuum hose that runs to this guy:
And sucked on it.
Insert funny comment:
----here----
Anyway, i am amazed at how much vacuum pressure is necessary to work the resonance flap. I had thought that the resonance flap was sticky before. Or that there was an issue with the vacuum actuator. But now that it's together and fully renovated. And since i have another throttle body as "control group" to test back and forth from, here's the finding:
1. Takes huge vacuum pressure to fully open the flap.
2. As i had originally feared, the rubber hose Porsche used collapses under the vacuum load.
So. Not much i can do about the amount of vacuum needed. I assume Porsche designed it to function with the vacuum provided. And if there are no leaks or clogged vac valves, all should be ok.
But...the hose collapse thing is silly. It's a 4mm id line. And it should be a 4mm id hard line. Or at least something that won't collapse. So I'm off to find a solution. I had been looking a few weeks back, but didn't find a better line than Porsche's, so gave up and was going to use oem line. But no. In my car, when that system is telling the flap to open. It's just going to open.
6 dollars at sunset. Which is fine. They are 4 dollars if you find the same ones not labeled "Porsche" on the website. But 4 to 6...not worried. They are 6+ elsewhere.
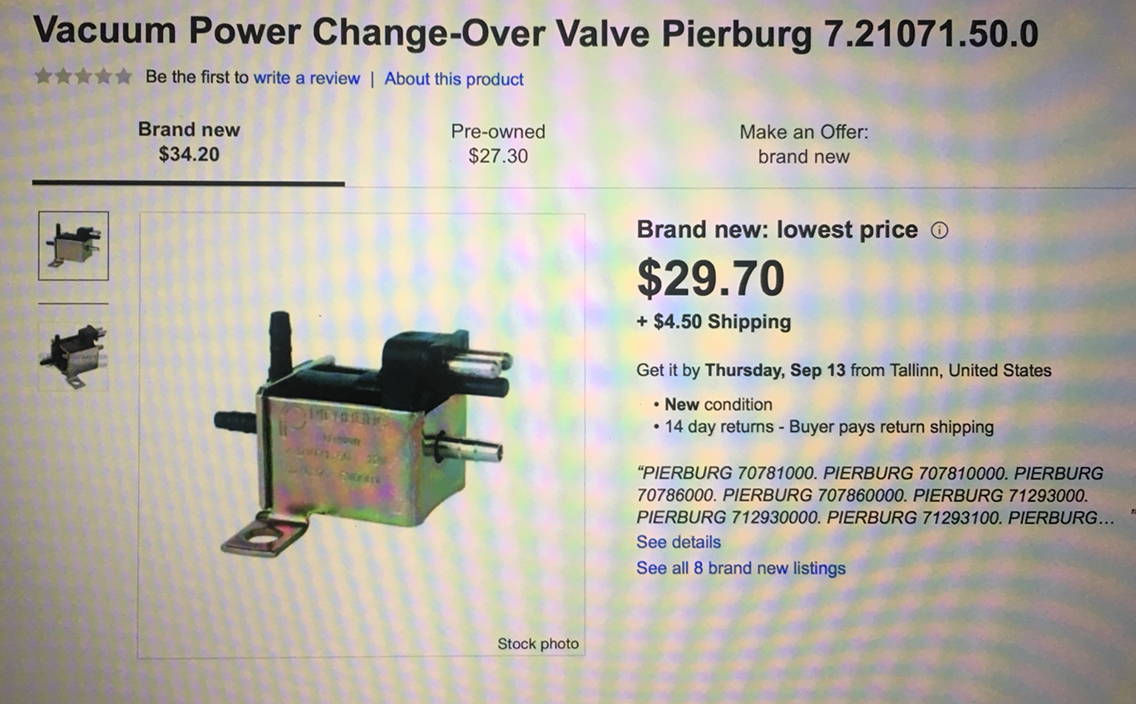
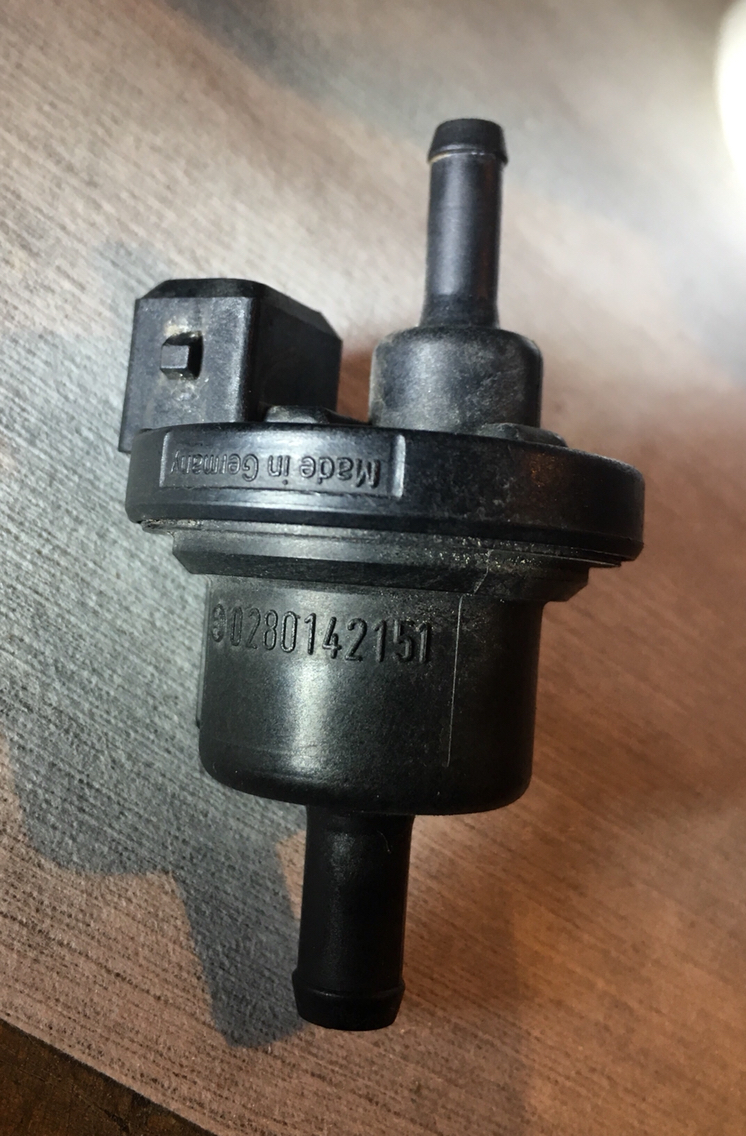
That vacuum check valve by Pierburg that i listed back in the beginning. Yes i found the Volvo one on amazon for 19 dollars. I have since seen them cheaper. I think 14 is the lowest so far.
So here is something i have run across now quite a few times....
When our cars were new, and Porsche used parts that were in manufacture by Bosch, Pierburg, etc, that weren't exclusively made for this car, they simply went to the 1991 Amazon.de website and ordered them. Or rather, dialed their distributor and spoke with a human, and placed a nice happy order for the fellows in the plant that were at that point, standing around with a throttle body in hand wondering where their parts were.
Anyway...a few weeks, or maybe months later, with that poor guy still waiting for his parts, in rolls the huge truck for the Pierburg parts, and out comes this:
And you know...there was another guy in another department, that, rather than using the Pierburg part number, made up a Porsche one. Cuz why not. 911-618-123-01
Rather than using the Pierburg number clearly marked on the side of the unit.
Well here we are, and 20 years later, we have a Porsche part number from PET. And a 30 year old part number on the side of a unit that Porsche didn't make. And no one to tell us how their part numbers changed over the years.
So we look up the part in pet, and there it is, still available after all this time. 85 dollars. Must be special. Costs a lot, and it's being bought direct from PORSCHE. Oooooooooo
Ok. But they didn't have amazon.de...and we do. We also have the googleZzz...
And with a bit of detective work, all of Ten minutes.
On the ebays...
So 85 went to 30.
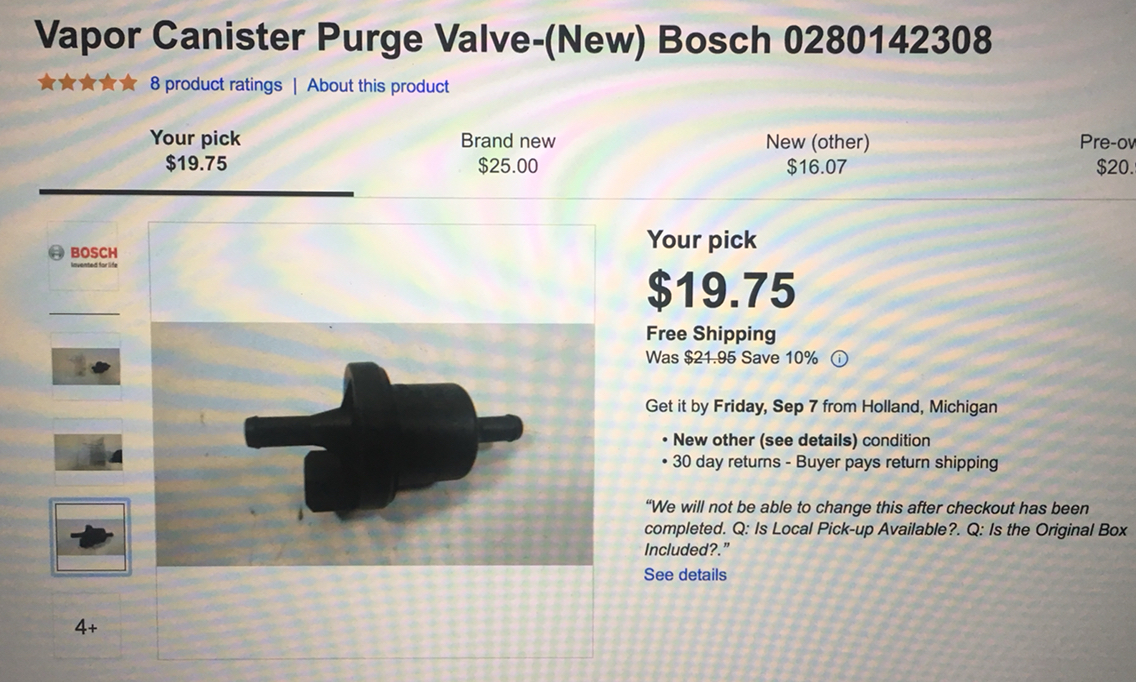
Next up, the fun one....
Take a wild guess how much Sunset lists this part for....
Two Hundred Eight Dollars....and thirty seven cents
Really? Is that possible?
What is it? Sunset calls it "vacuum solenoid"
What it is, however, is a purge valve. It's a common part on many cars. And so...it has to be available. And of course Bosch has changed its parts numbers a million times. So go looking for the part number on the side of the unit, and no dice. Are you really going to buy the part from Porsche? For 208.37 ??? Cuz you will be sent this part:
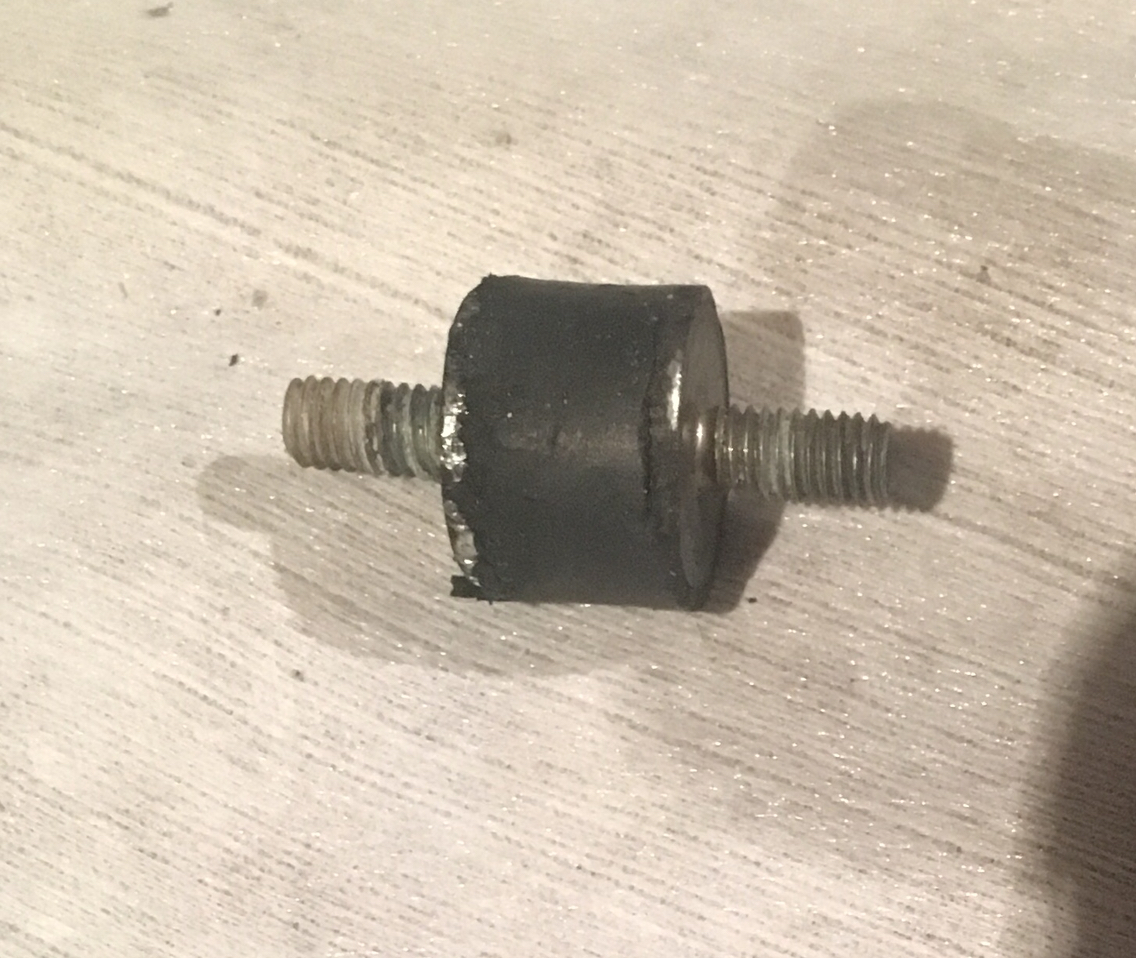
Now back to the less insane world of "does it need to be a real Porsche part...
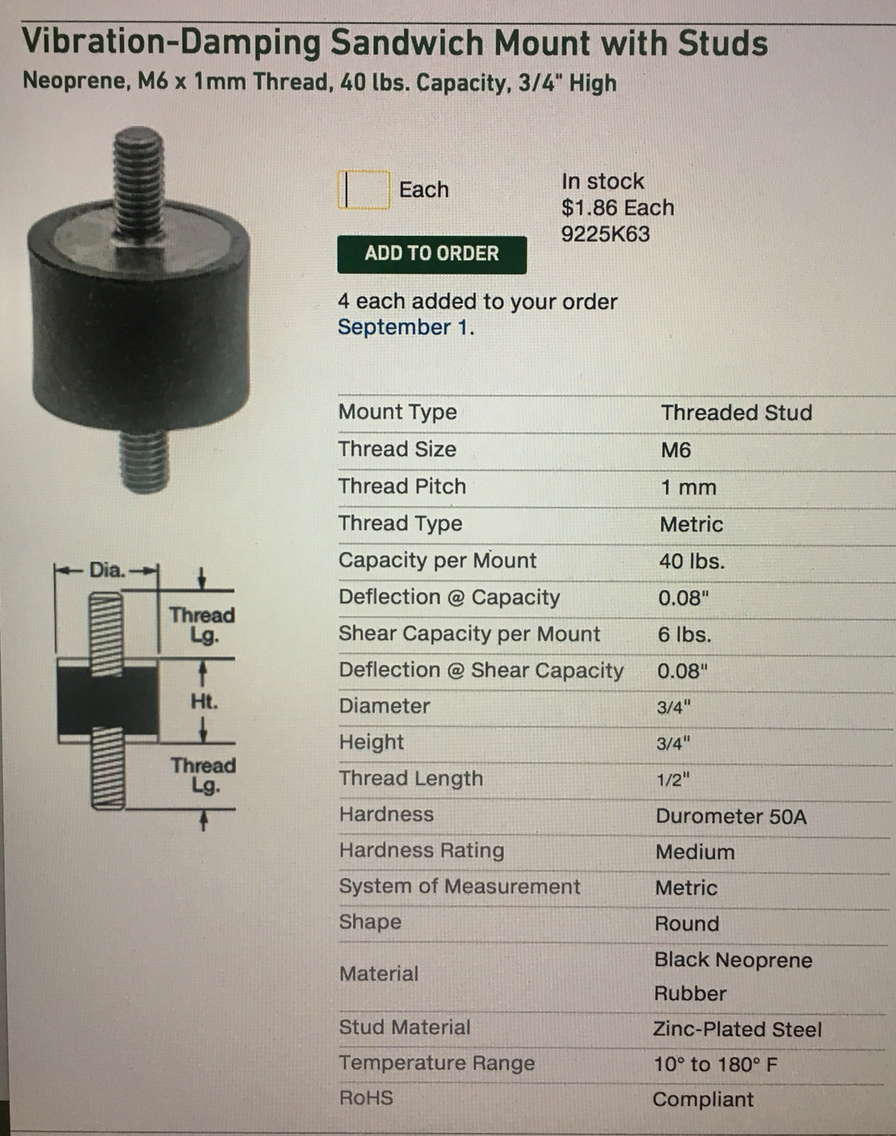
Cuz these things suck, and they tear all the time because everyone tightens them too hard.
Those are 12 dollars each from Porsche. And again. An extremely common thing.
Same exact (or rather....virtually identical) part at McMaster Carr
1.86 each.
Lastly. Please install these with silver antiseize. It kills me when they get stuck.
I ordered a bunch of other stuff tonight as well. But these were the funny ones.
Long and short, if it's made by Porsche, you likely have to get it from Porsche and find the best price. If it's not made by Porsche, they likely produced as many as they could for as many manufacturers as they could. And so it's likely available for a lot less if you dig. Don't always go by just the part number on the side of the thing. If that part number doesn't exist, more often than not, it means it changed to a new part number.
I want to see how your car run's with one micro switch. my car had two switch's one to tell the computer idle and one for wide open throttle. mybe your car is not wired like this.
I want to see how your car run's with one micro switch. my car had two switch's one to tell the computer idle and one for wide open throttle. mybe your car is not wired like this.
Mine has two. They all do. I just haven't featured that anywhere. But it's there. It runs on the same wiring as the wot switch. Somewhere back there you will see two wires running across the front of the body. Those are the switch wires. They both run to the plug just next to the bracket that holds the ISV on top.
Btw- fwiw. When bill was starting up the motor he rebuilt (SK993 thread)...we spent a little time prior to starting it up testing and making sure both of those switches worked properly. And the off-throttle switch wasn't working. So for anyone out there re-installing a motor.....there are two things to look for.
1. Proper extension of the throttle cable, which can be adjusted for full length or to shorten.
2. Is the throttle cable is installed properly, the bracket that holds the switch is slotted, so you can loosen the screws on the bracket and move the switch into place. And tighten them down.
For the WOT switch. Only the reward screw on the bracket is slotted, so you loosen the front and rear screws slightly, and slide the rear of the bracket up and down to position the WOT micro switch.


 08-29-2018, 08:17 PM