When you click on links to various merchants on this site and make a purchase, this can result in this site earning a commission. Affiliate programs and affiliations include, but are not limited to, the eBay Partner Network.
When I saw this pic, I actually thought you were already red/tan:
Clearly my morning coffee had not kicked in as it is easy to see the black interior in the other pics. Nothing wrong with red/black either! 964 Targas are special and I look forward to seeing your updates.
No worries. Hopefully I'll have the wheels ready this weekend.
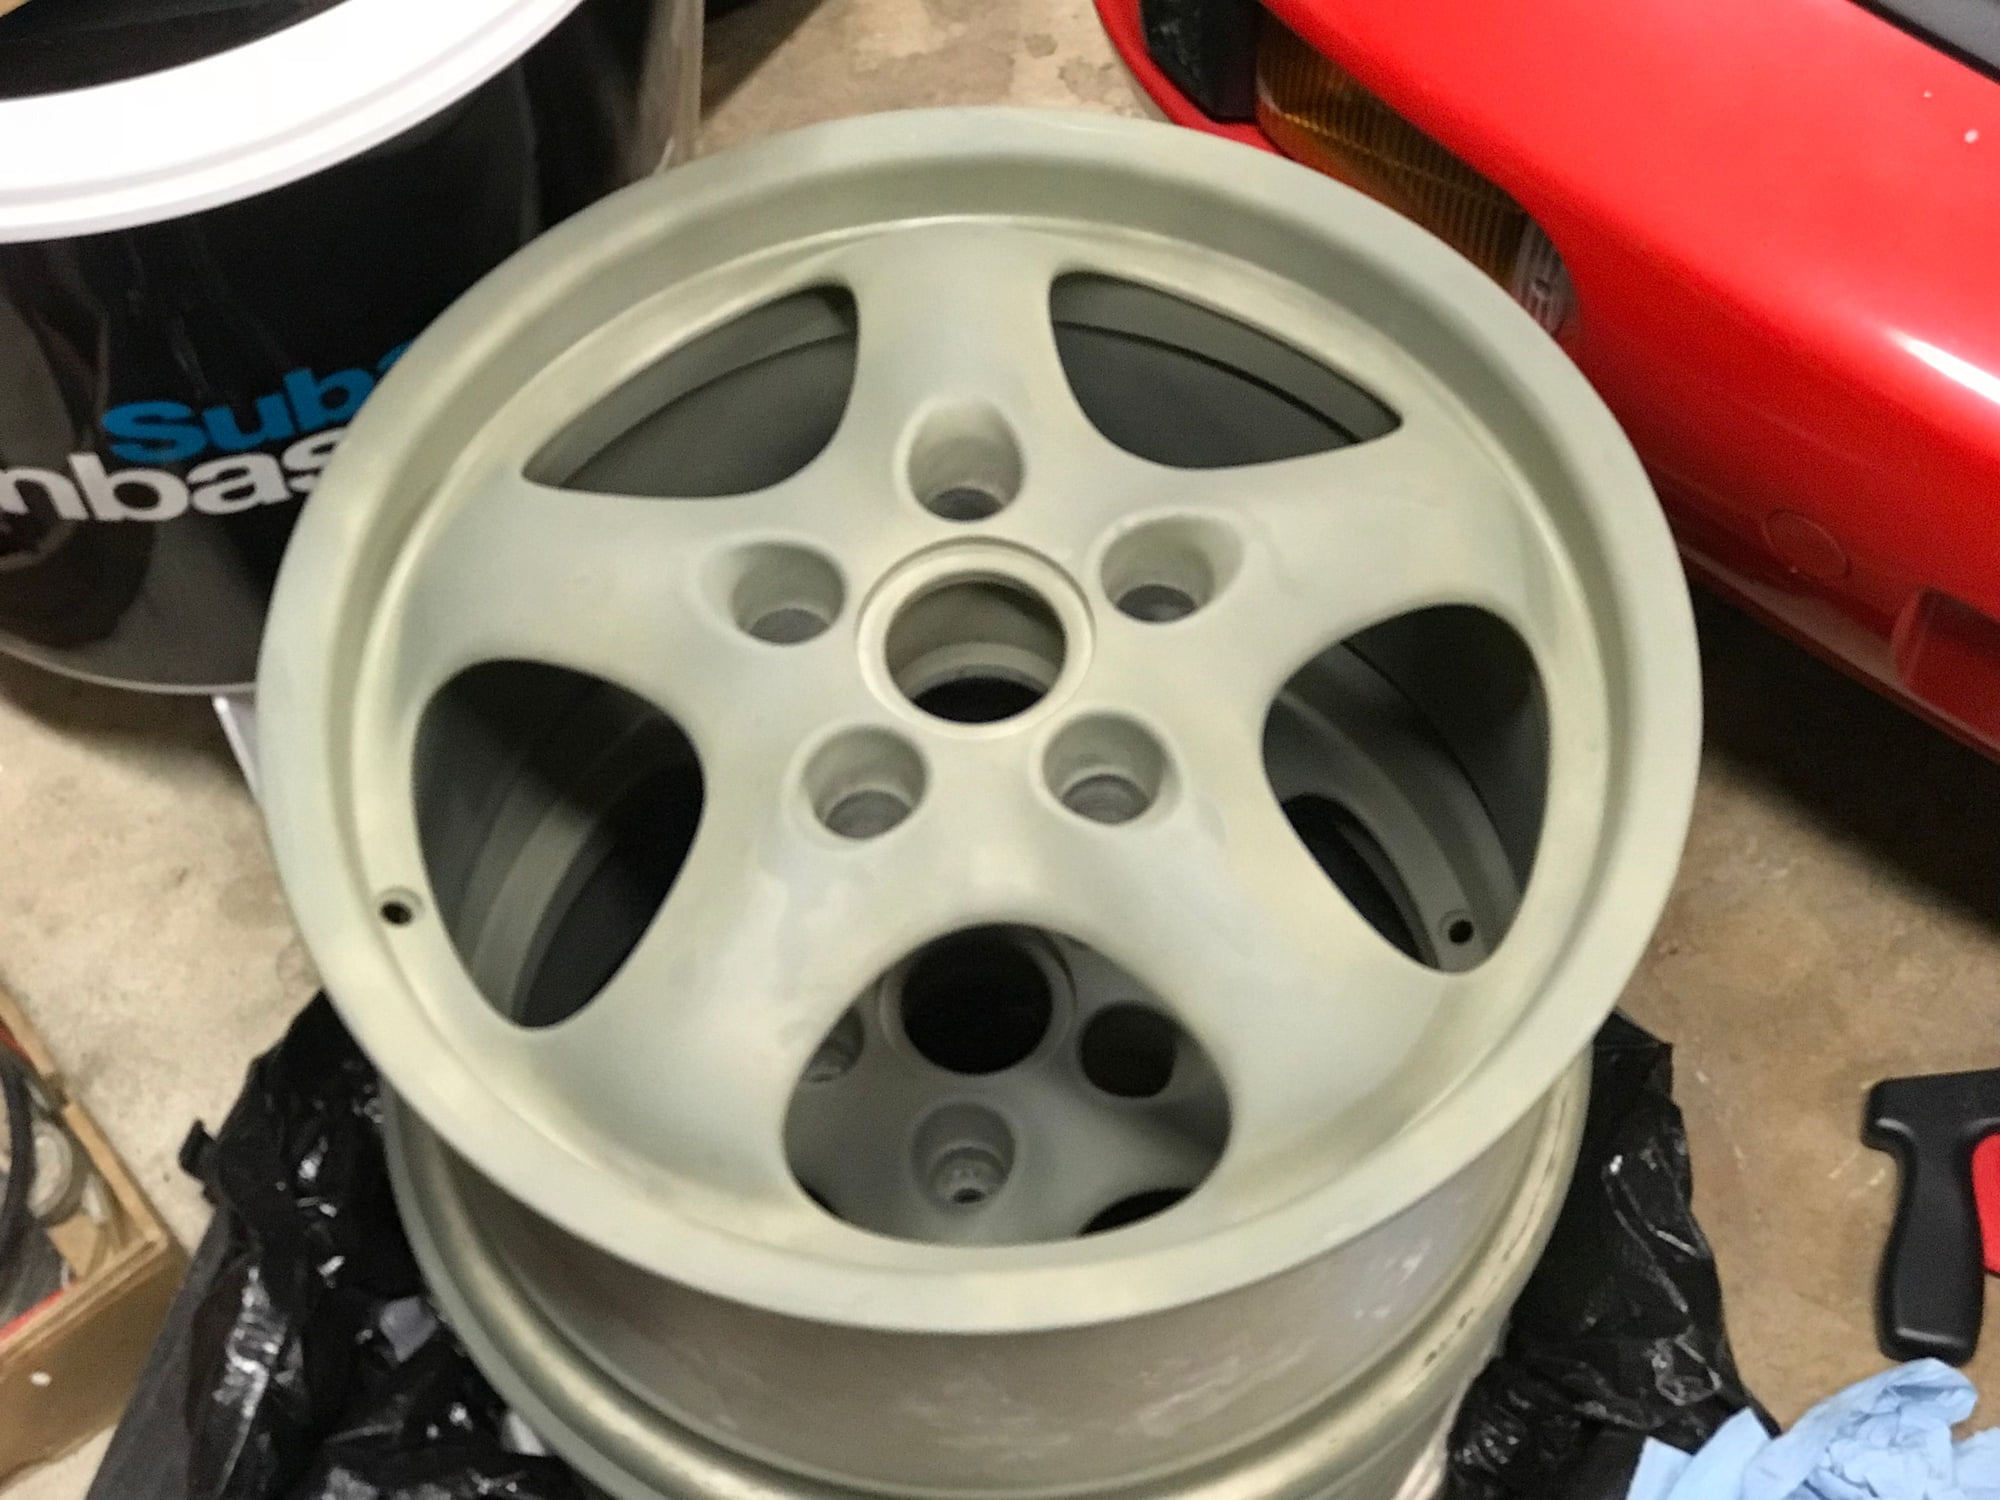
A bit behind on the wheels, but they turned out �okay�. Now that the paint has been drying for a few days, it�s easier to spot my mistakes and areas I didn�t feather smoothly enough. A learning experience, but I�ll likely redo them in a few months. Want those fresh tires on now!
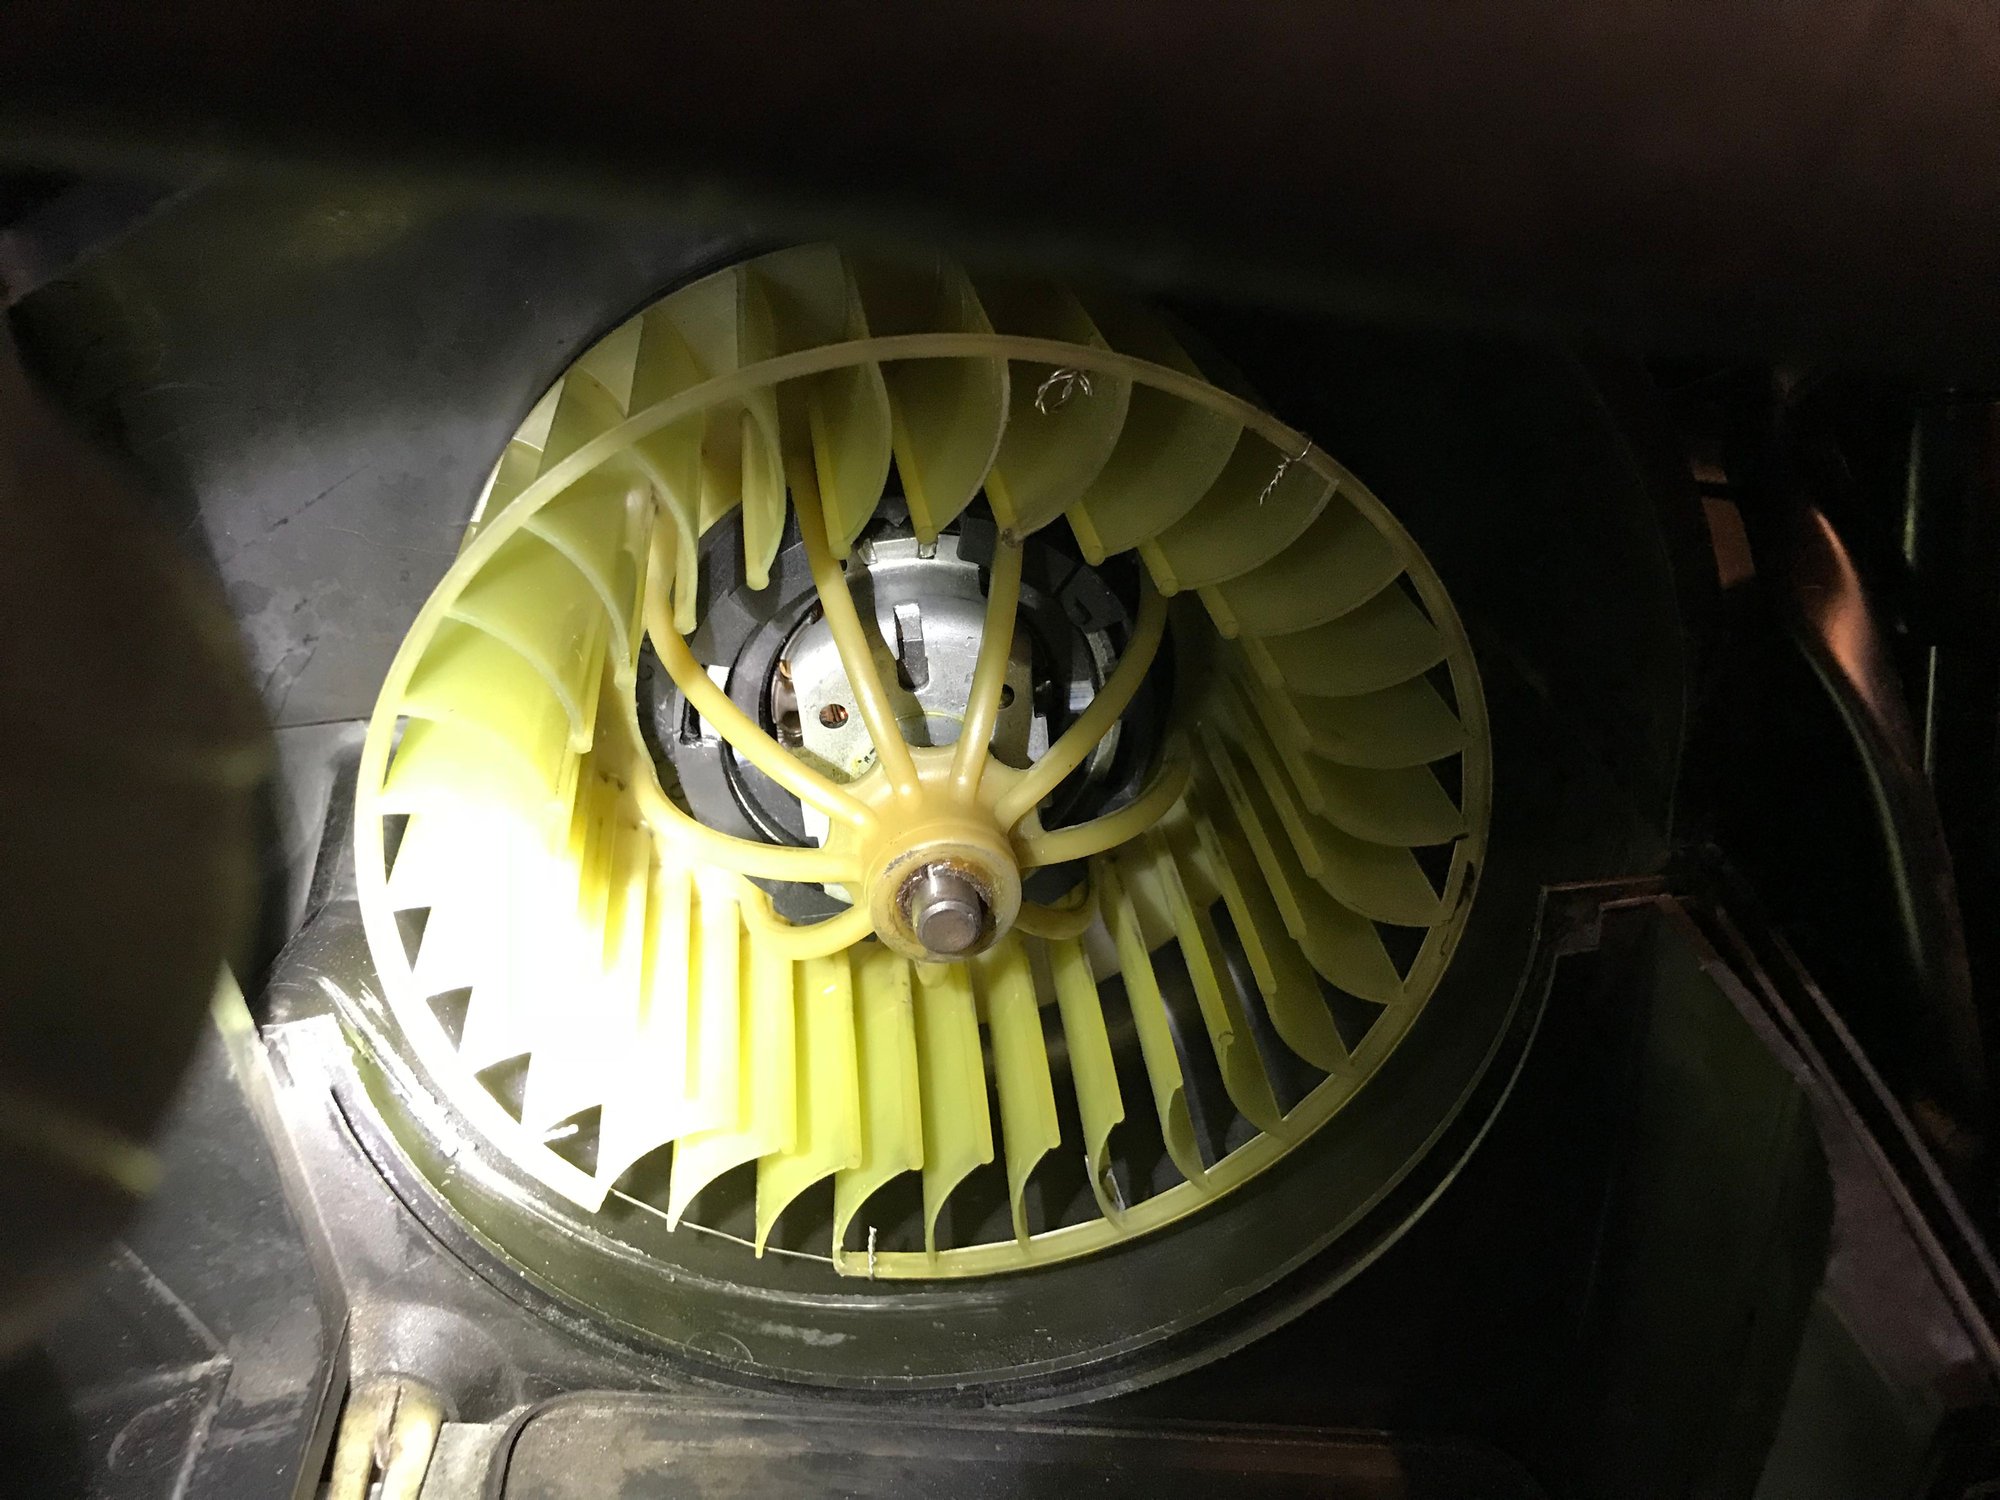
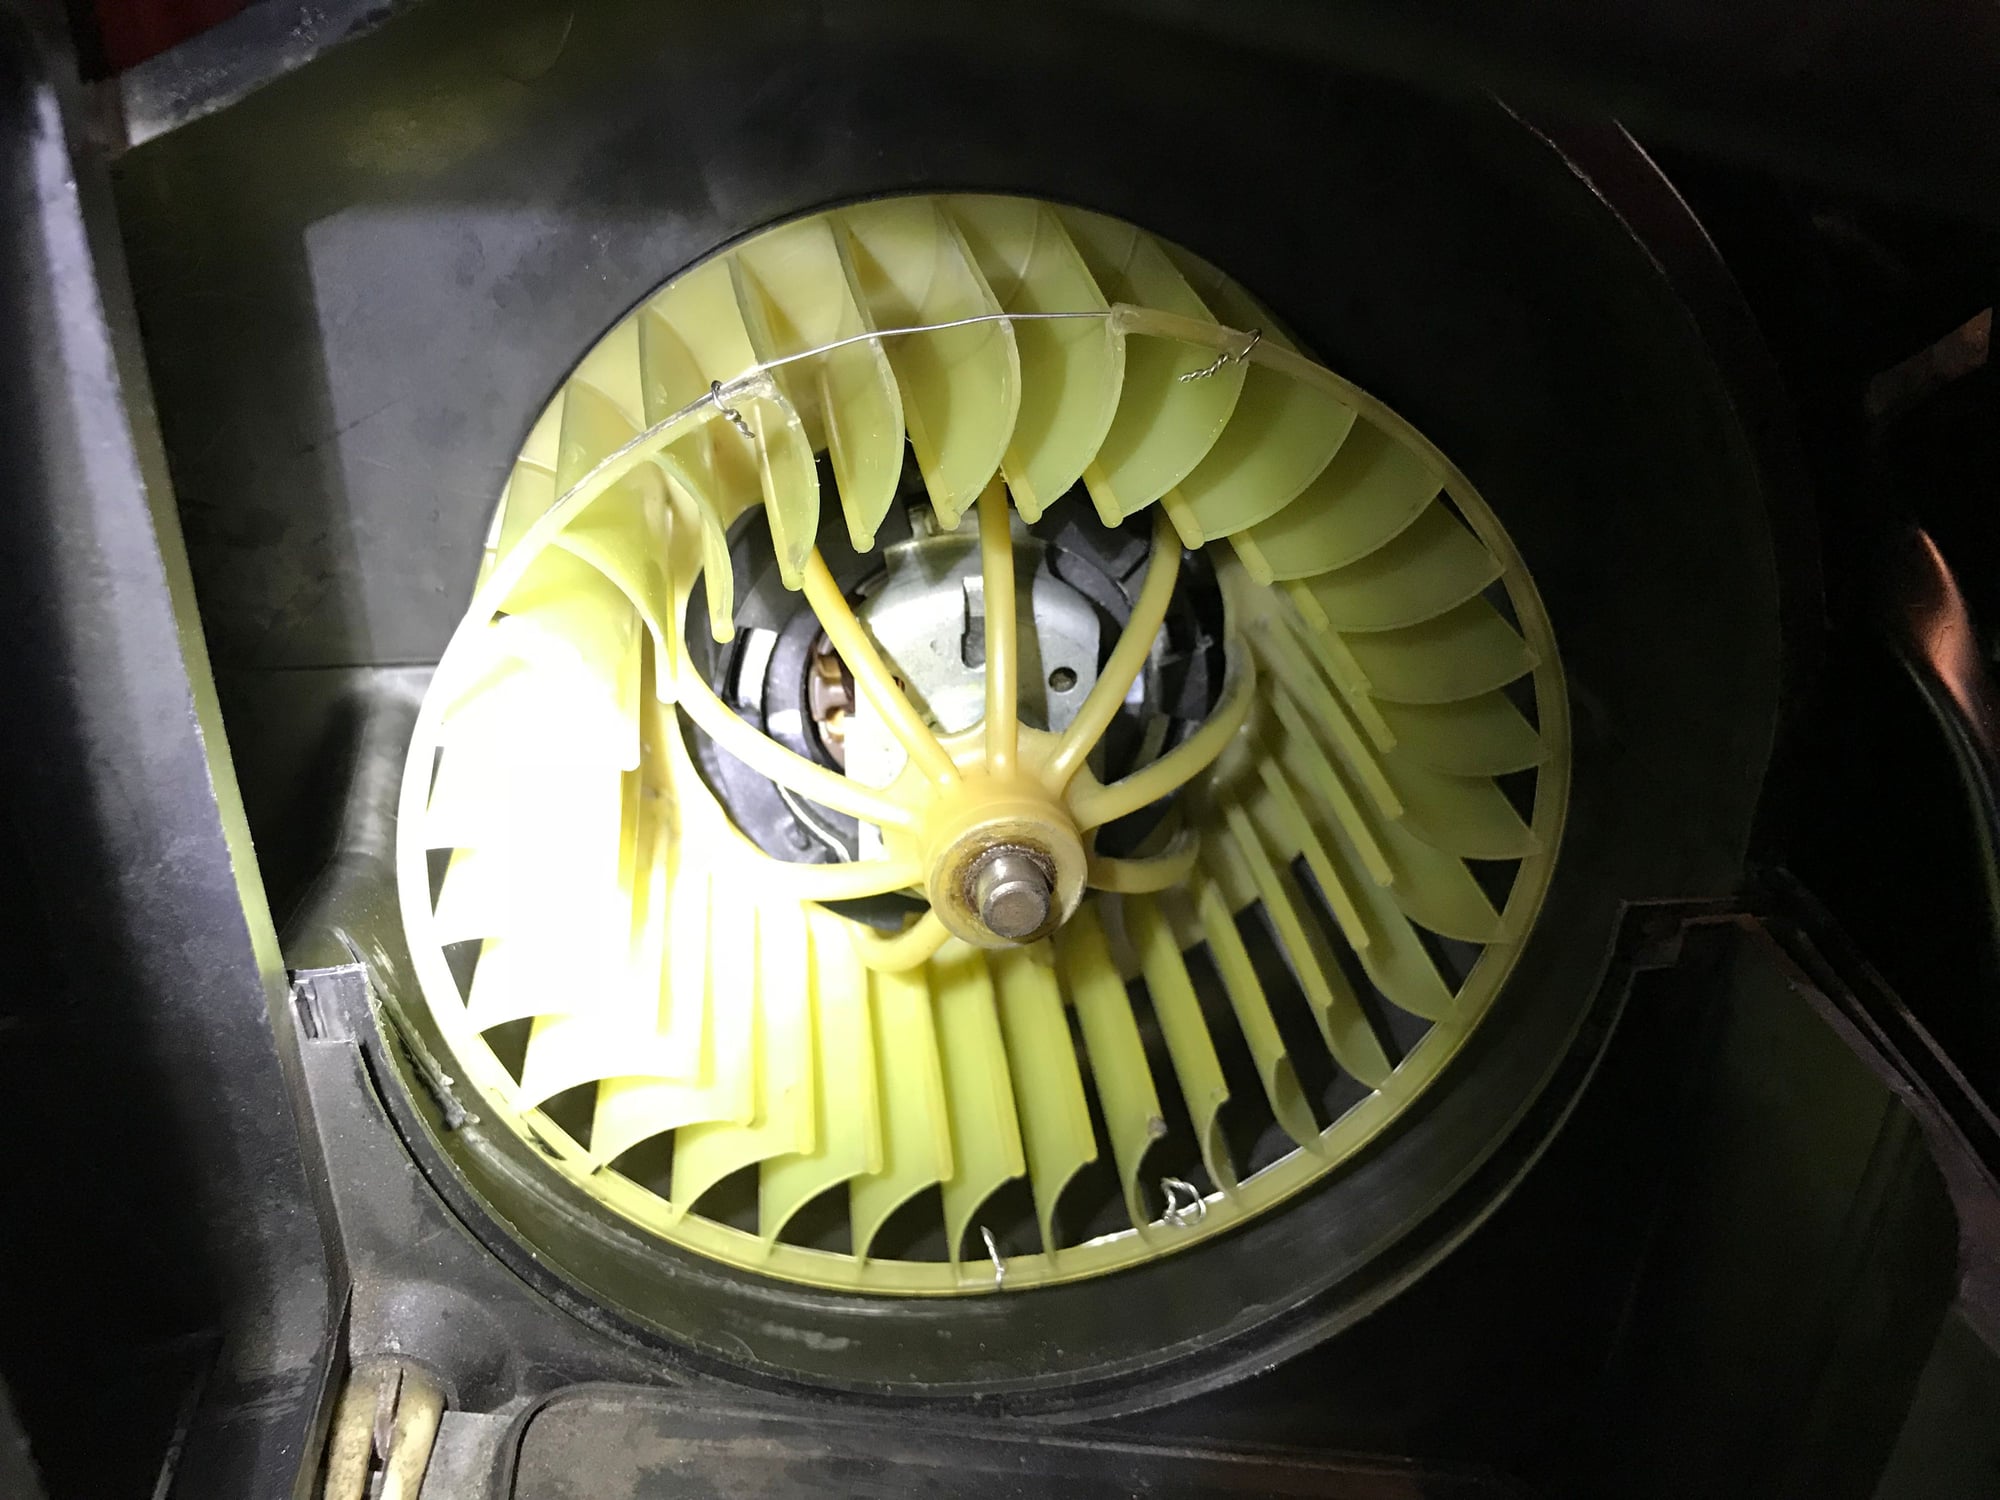
I also fixed my fan cage issue (for now at least). I had accidentally cracked the outer frame when removing it and the rest let go, and despite several attempts to readhere the part wouldn�t permanently stay. This caused the fan to expand at speed 3+ and strike the housing. A little safety wire and that issue has been put to bed. It�s a touch off from the hoop being a slightly too snug, but it�ll do until I perform the evaporator replacement.
Looks great Chris! I found that switching from 16” to 17” made a dramatic difference on the handling.
Now you just need some new springs to get the ride height down.
As far as Targa’s go, unless you’re tracking the car I really don’t see any disadvanges to owning one. The chasis is plenty stiff for canyon carving and you have the benefit of a coupe with the top on and convertible with the top off. There really aren’t many other cars like it.
Finally having success with the CDR-210 I acquired for a steal from a 986 junkyard. It was pretty dusty and wasn�t playing discs well so the laser was swapped. But with my luck, that didn�t work and wound up having the CDs just spin and not even read. My new disc drive arrived from China today and I eagerly installed it - held my breath and the discs were reading! But no audio at all (was on FM). Dejected, I pondered for a while. I had the idea to swap the circuit boards between the old and new units, and now I also have sound! I need to tweak it a bit to keep it from ticking, but it�s functional. Has some quirks to operation, and the adapter from Tore works beautifully.
The CDR-210 is working wonderfully now, after I had to swap the 12v lines in the harness. It dawned on me after looking at which color wire was going in which pin, and that the radio kept wanting the security code when I turned it on. In speaker news, it dawned on me that the existing speakers I had removed from the door panels were 6.5", not 5.25" as I had assumed. Those 6.5s fit in the door hole, so I ordered another set of 6.5s to install directly to the steel. It turned out those new ones were a hair too bit to fit properly, and also would mean I couldn't retain the OE woofer grilles as I'd need to enlarge the panel speaker hole. I'll wait for the new woofer brackets to arrive and will install them in the factory manner. I know the audio won't be as good, but it'll be adequate and look stock.
I've been removing the gauges to clean inside the lenses as there was haze making it quite annoying to me at night. To me it's odd how only the tachometer and clock have glass lenses while the rest are poly with vinyl protectors on the tanks and oil gauges. Now the issue I have is the plastic lip on the tach that the bezel rolls over was 7/8s broken off, so that's my next repair project.
Chris being a noob to the air cooled cars I am curious how you remove the gauges and remove the lenses to clean them. I noted dust in mine and a slight haze and it would be nice to get them cleaned up. Any tips or instructions you can offer would be greatly appreciated.
The gauges come out with a plastic trim tool - once one is out, it's possible to push the next one over from behind. Should wiggle out without much of a fuss.
The bezel is held on with the edge rolled over the gauge housing lip, much like the lip of an aluminum pie pan with a lid. A small flat-blade screwdriver is used to go around the gauge and bend it upward to allow the bezel to rotate off. I've been using a small punch to gently push the bezel edge back into place. If done carefully, it shouldn't mar the bezel edge much - my first one doesn't look all that great, but they will eventually be covered with the Rennline gauge kit.
A few days ago I made some adjustments to the latches on the roof panel, and I'm happy to report that the wind noise has been drastically reduced. There is still room to improve, especially around the vent windows. I'll tweak it again once my parts (rear pin covers, among others) come in today from Delaware Porsche Parts. As an aside they were cheaper for me over Sunset/Sonnen once shipping was calculated in.

 08-03-2018, 12:15 PM
 Hopefully I'll have the wheels ready this weekend.


 It dawned on me after looking at which color wire was going in which pin, and that the radio kept wanting the security code when I turned it on. In speaker news, it dawned on me that the existing speakers I had removed from the door panels were 6.5", not 5.25" as I had assumed. Those 6.5s fit in the door hole, so I ordered another set of 6.5s to install directly to the steel. It turned out those new ones were a hair too bit to fit properly, and also would mean I couldn't retain the OE woofer grilles as I'd need to enlarge the panel speaker hole. I'll wait for the new woofer brackets to arrive and will install them in the factory manner. I know the audio won't be as good, but it'll be adequate and look stock.