When you click on links to various merchants on this site and make a purchase, this can result in this site earning a commission. Affiliate programs and affiliations include, but are not limited to, the eBay Partner Network.
Installed the rear alignment pin covers. I had presumed they would be hard plastic and not the firm vinyl (I think) they actually are. The process was a bear, took plenty of effort to get them on but they are. Cleaned the silentbloc bearings in the rollbar since the prior covers left pieces in there, and reinstalled the roof. Definitely takes more effort to install but should fix the rattle.
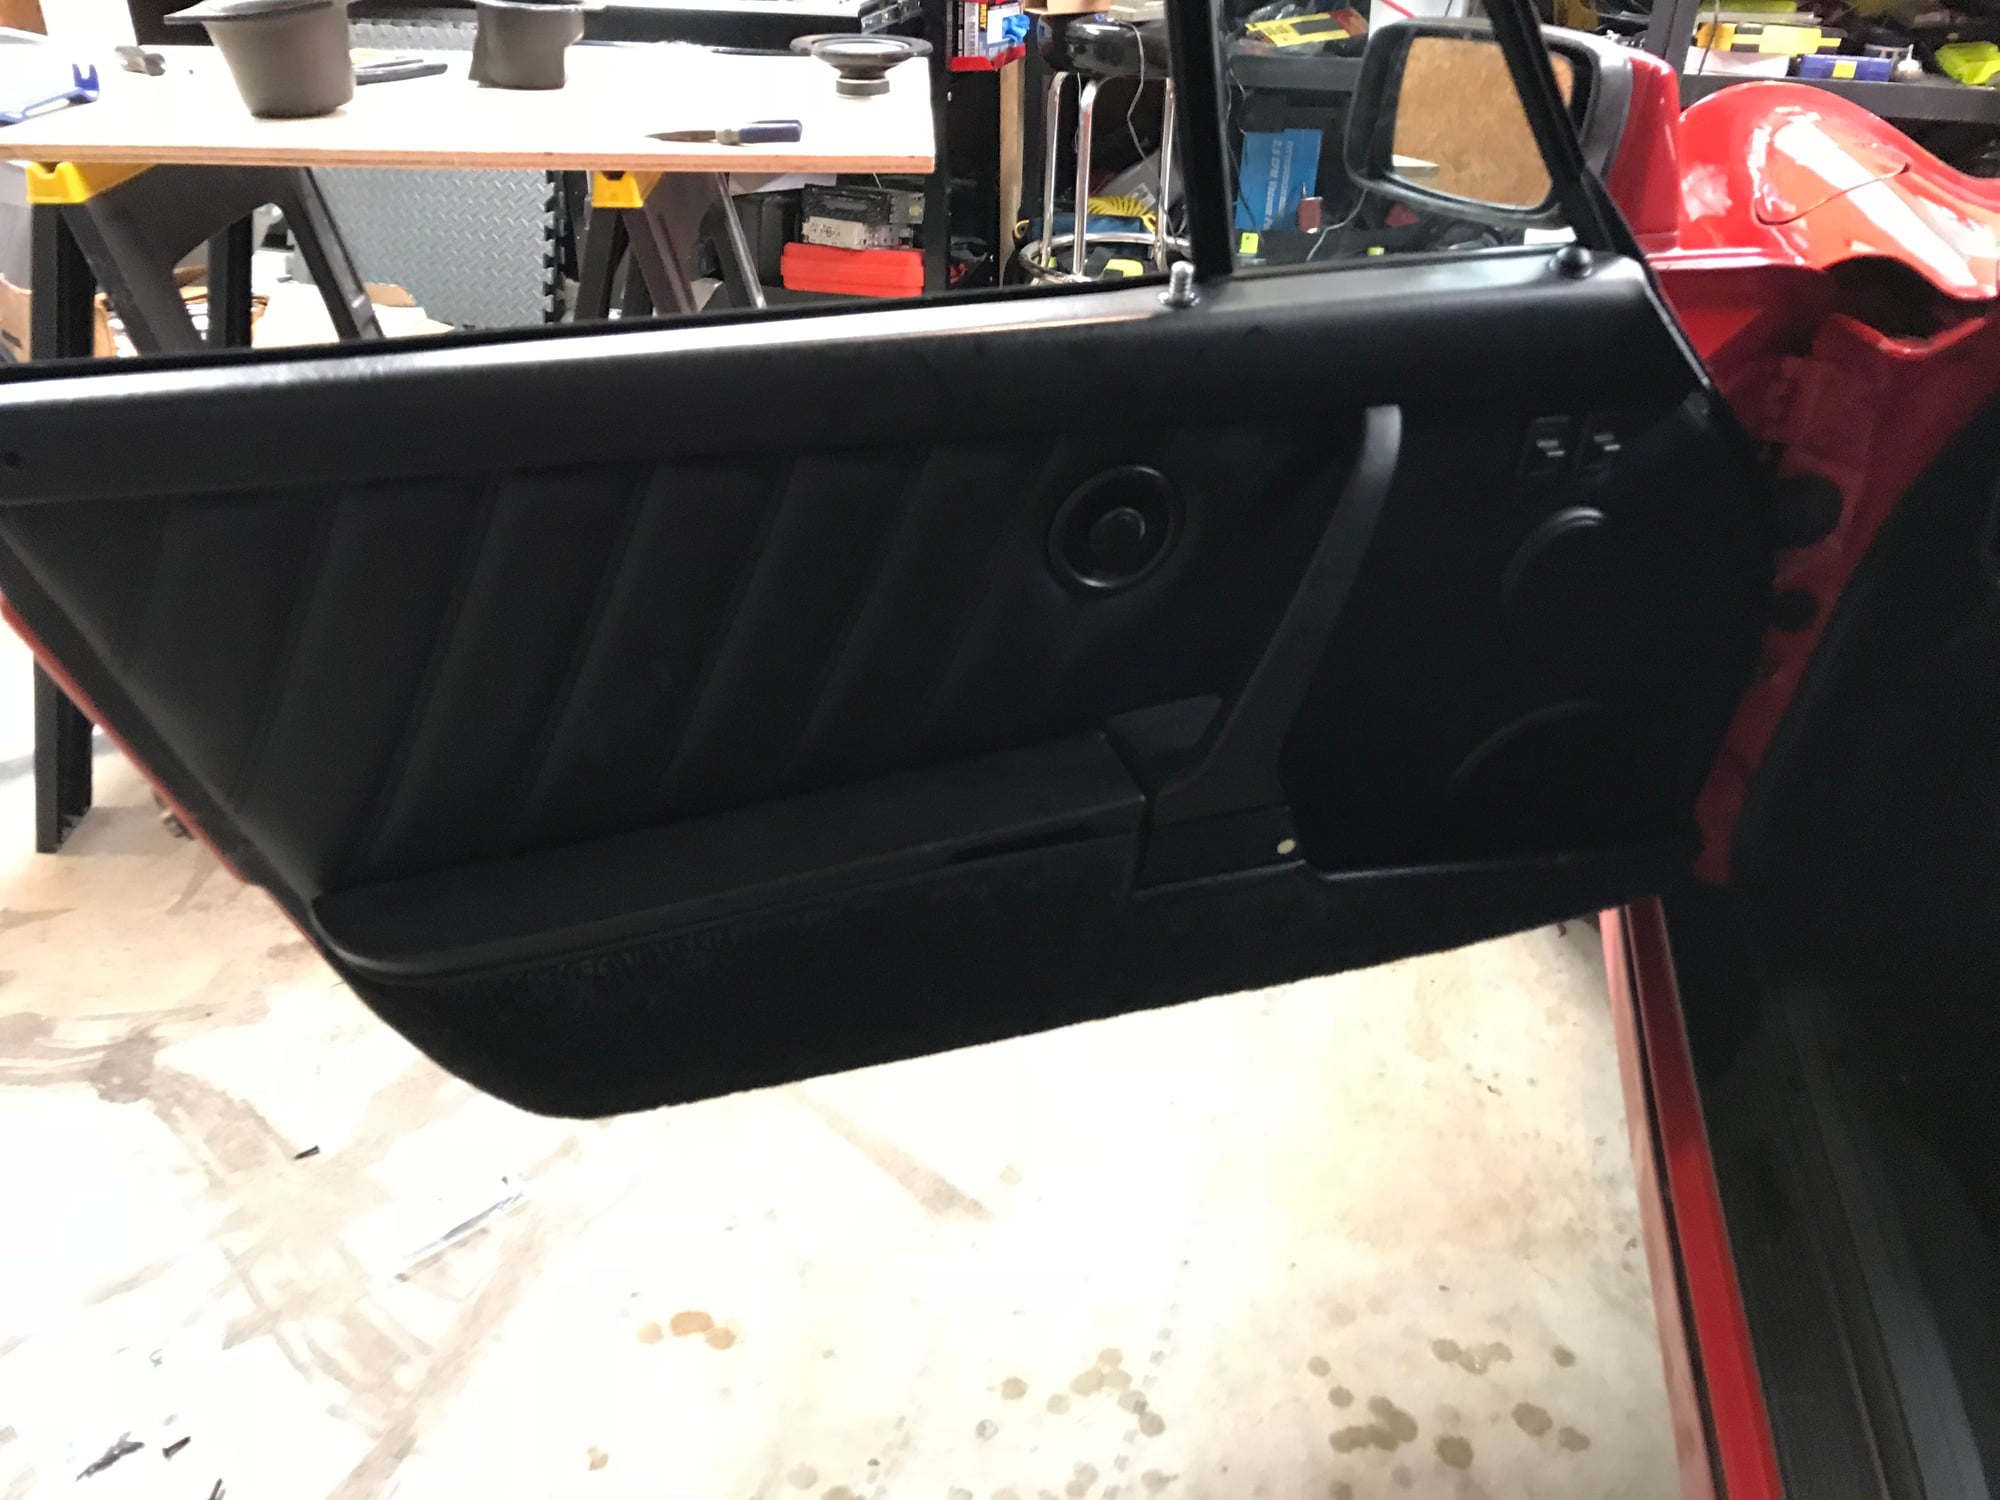
I had planned on getting the driver's side speakers into the door panel though I ran into issues - such as installing the tweeter bracket on the panel backside reversed. With that corrected and the tweeter adhered into the new mount, then that side will be ready. All I have left for the passenger side is to locate the foam ring and original weather baffle.
Drivers side speakers are done and the door is all buttoned up (until I remove it from the car for check strap welding). Also the Rennline goodies from Dukmon arrived today as well.
After I got home yesterday from handling a beer run, I dug in to determine why the spoiler didn't come up (and the warning light came on). Driveshaft was secure in the motor, hmm. Oh wait, the driveshaft came out of the transmission... and turns out the transmission case split apart as the epoxy I used when I replaced the bearing in 2016 failed.
I did get the brakes flushed with fresh DOT4 on Saturday, which led to the discovery of a crunchy-looking clutch line when I got in there to bleed that. The new line should arrive today and I'll swap that while it's on stands for the valve adjustment. A few weeks back I installed the 993 rubber plug for the master cylinder reservoir vent line, secured with a 9.5mm Oetiker clamp. Allows the Motive to keep nice pressure.
After I got home yesterday from handling a beer run, I dug in to determine why the spoiler didn't come up (and the warning light came on). Driveshaft was secure in the motor, hmm. Oh wait, the driveshaft came out of the transmission... and turns out the transmission case split apart as the epoxy I used when I replaced the bearing in 2016 failed.
I had this problem repeatedly, in the end I stumped up for a new transmission.
Spoiler transmission is fixed, with a better epoxy this time. I have had good experience with the Hardman/Double Bubble line. Comes in small packets and easy to get the right ratio. Also used that on fixing the bezel lip on the tachometer a few months ago.
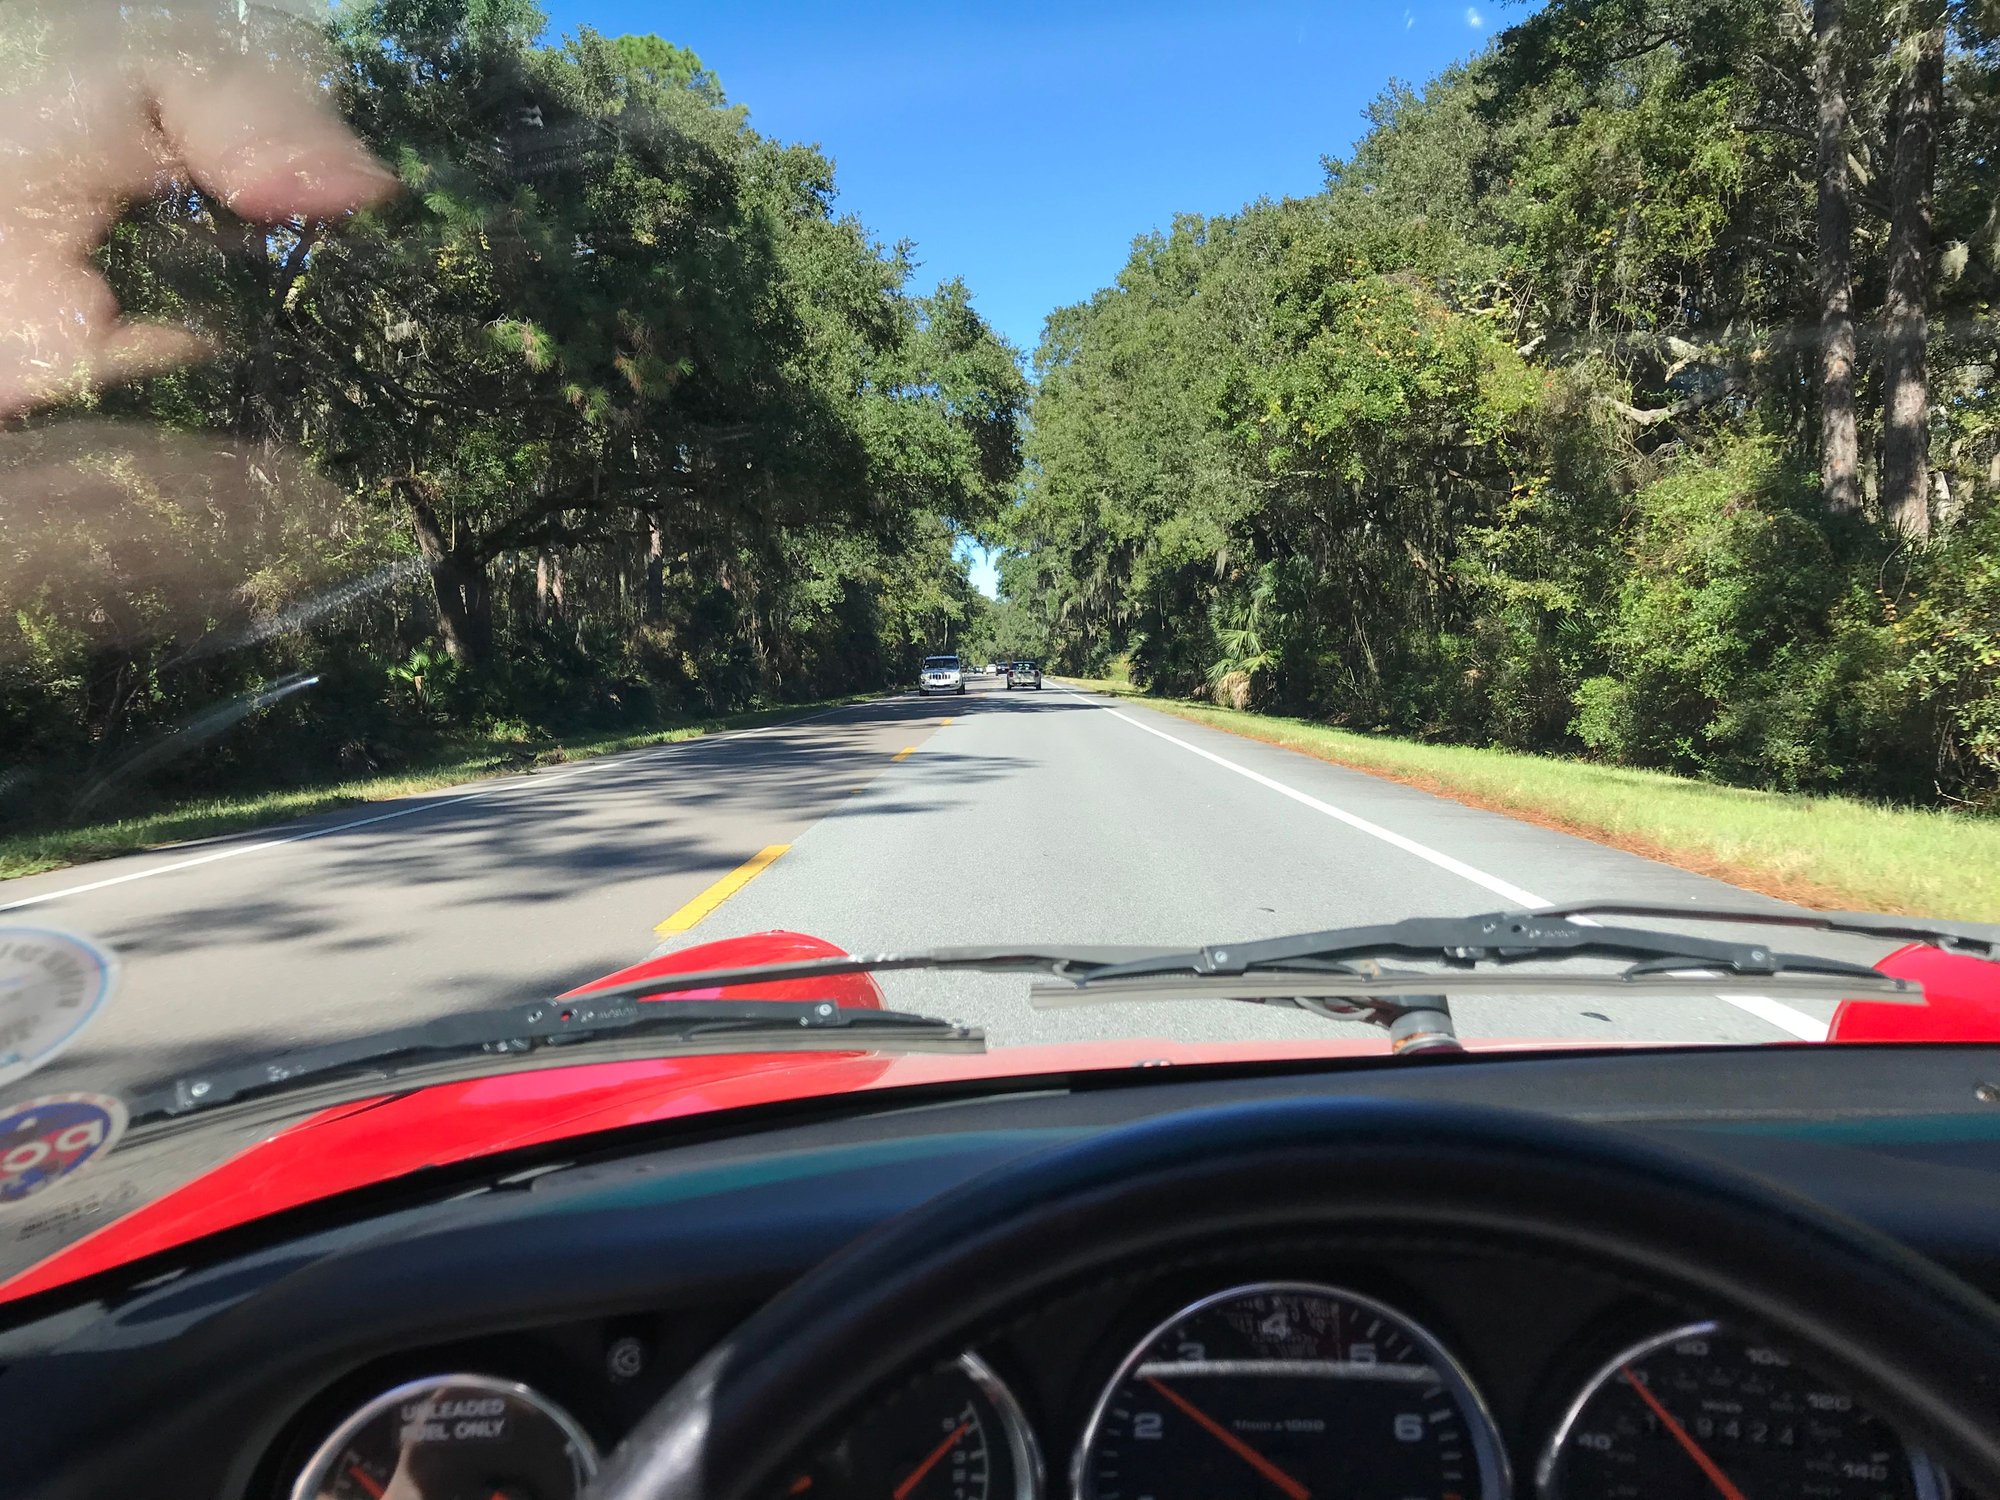
Took a day trip on 11/3 with mom and her 987 - was my dad�s birthday. It�s something he would�ve enjoyed.
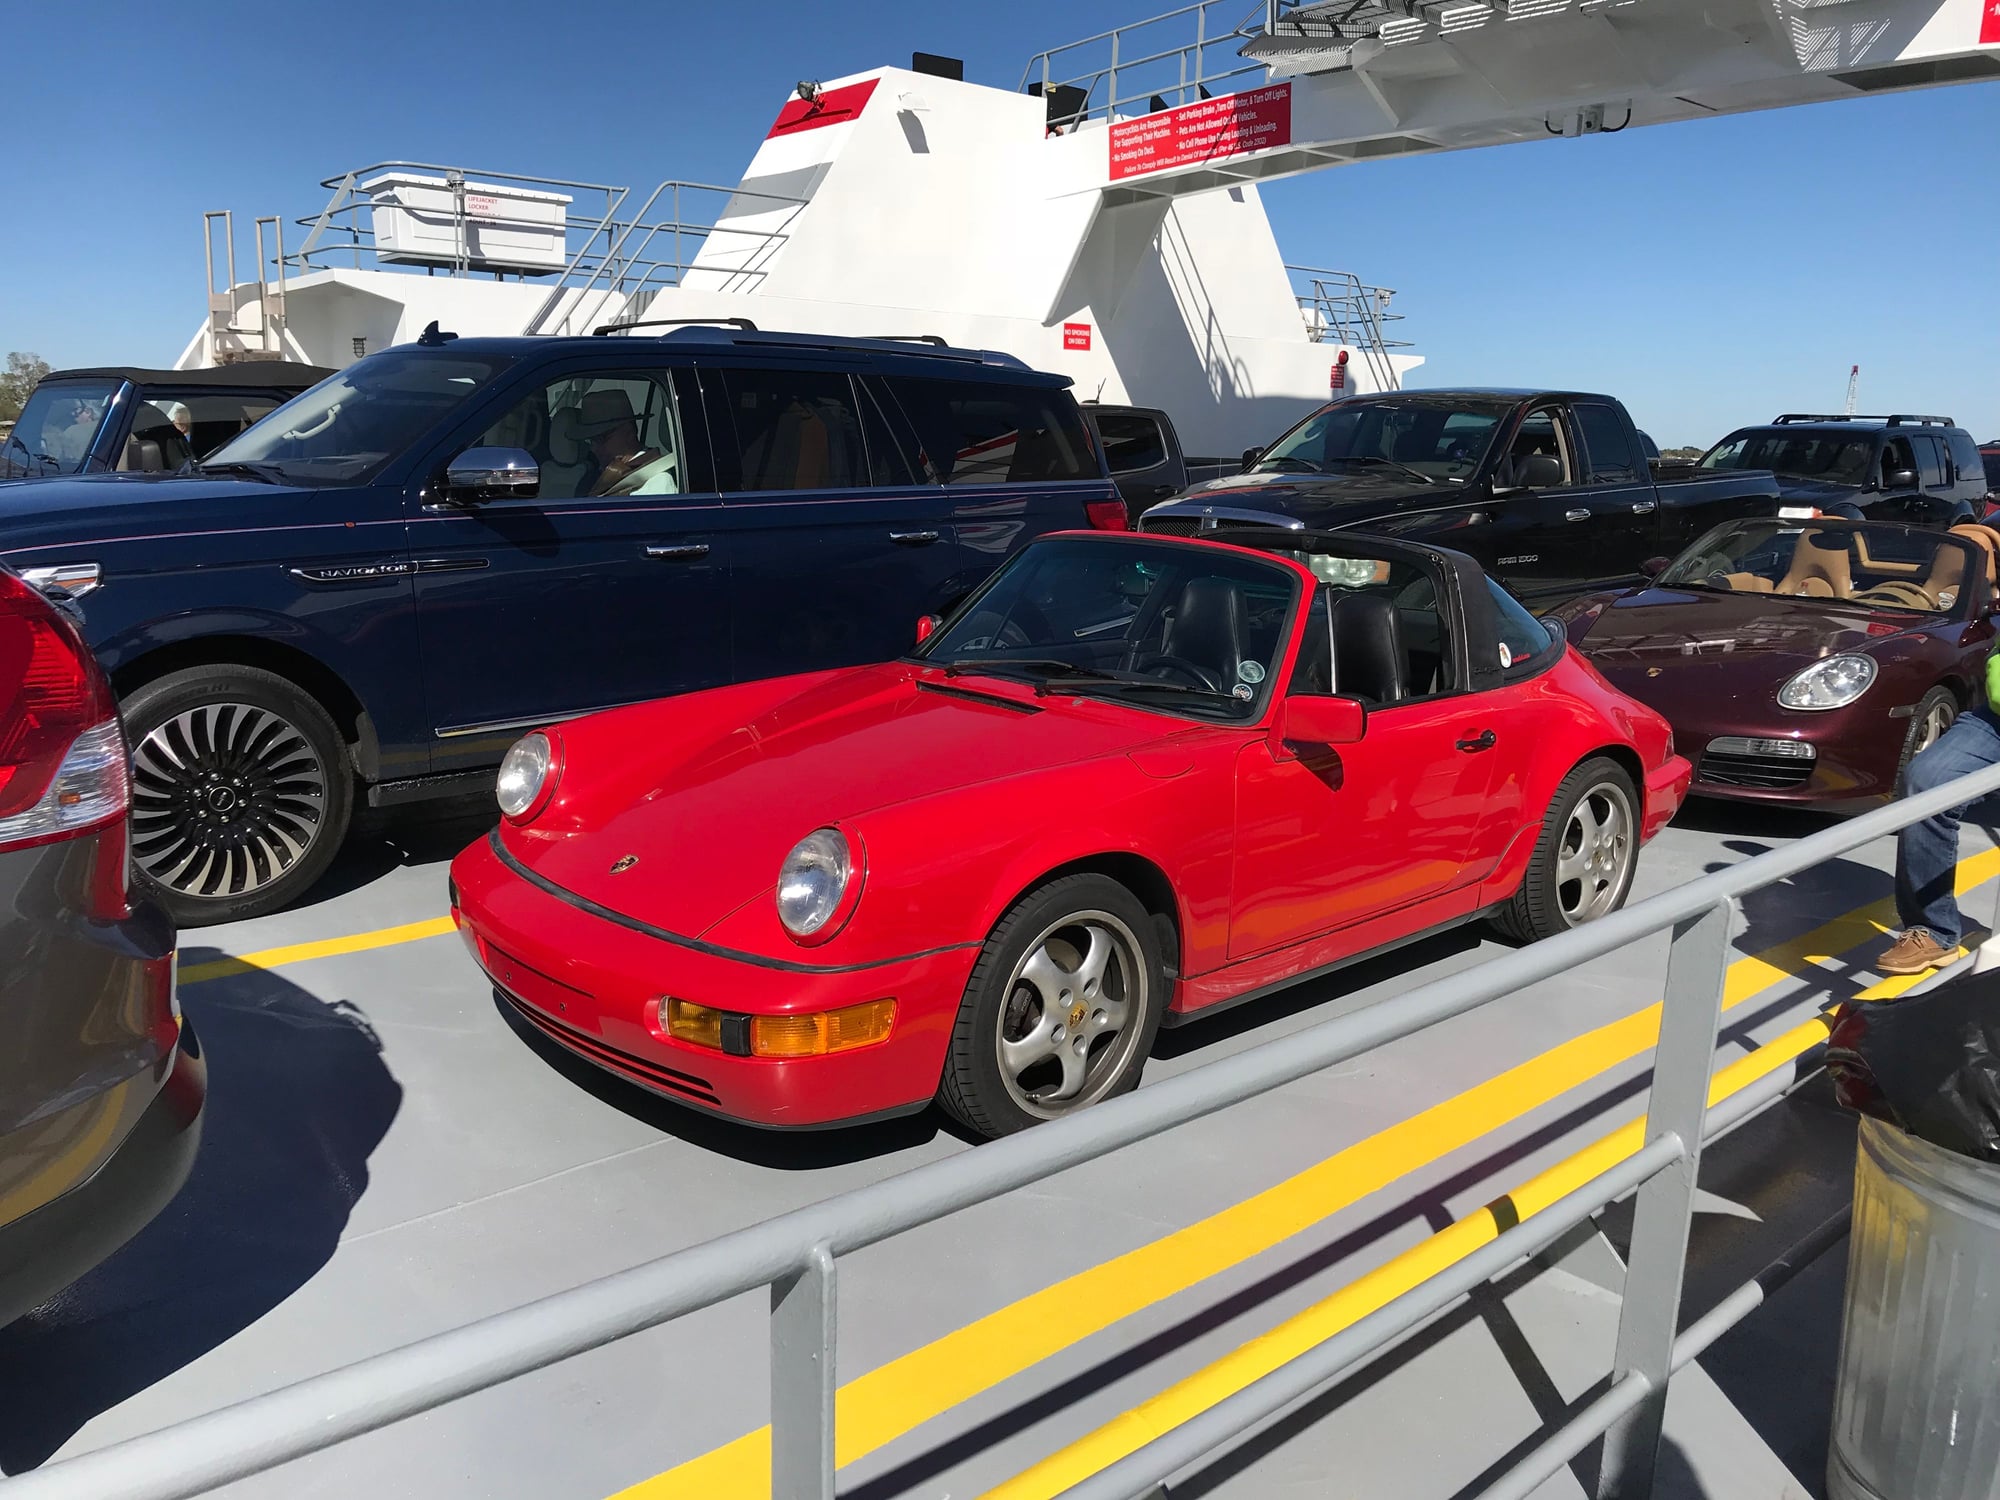
Pardon the filthy wheels. Carmon Red �06 2.7L
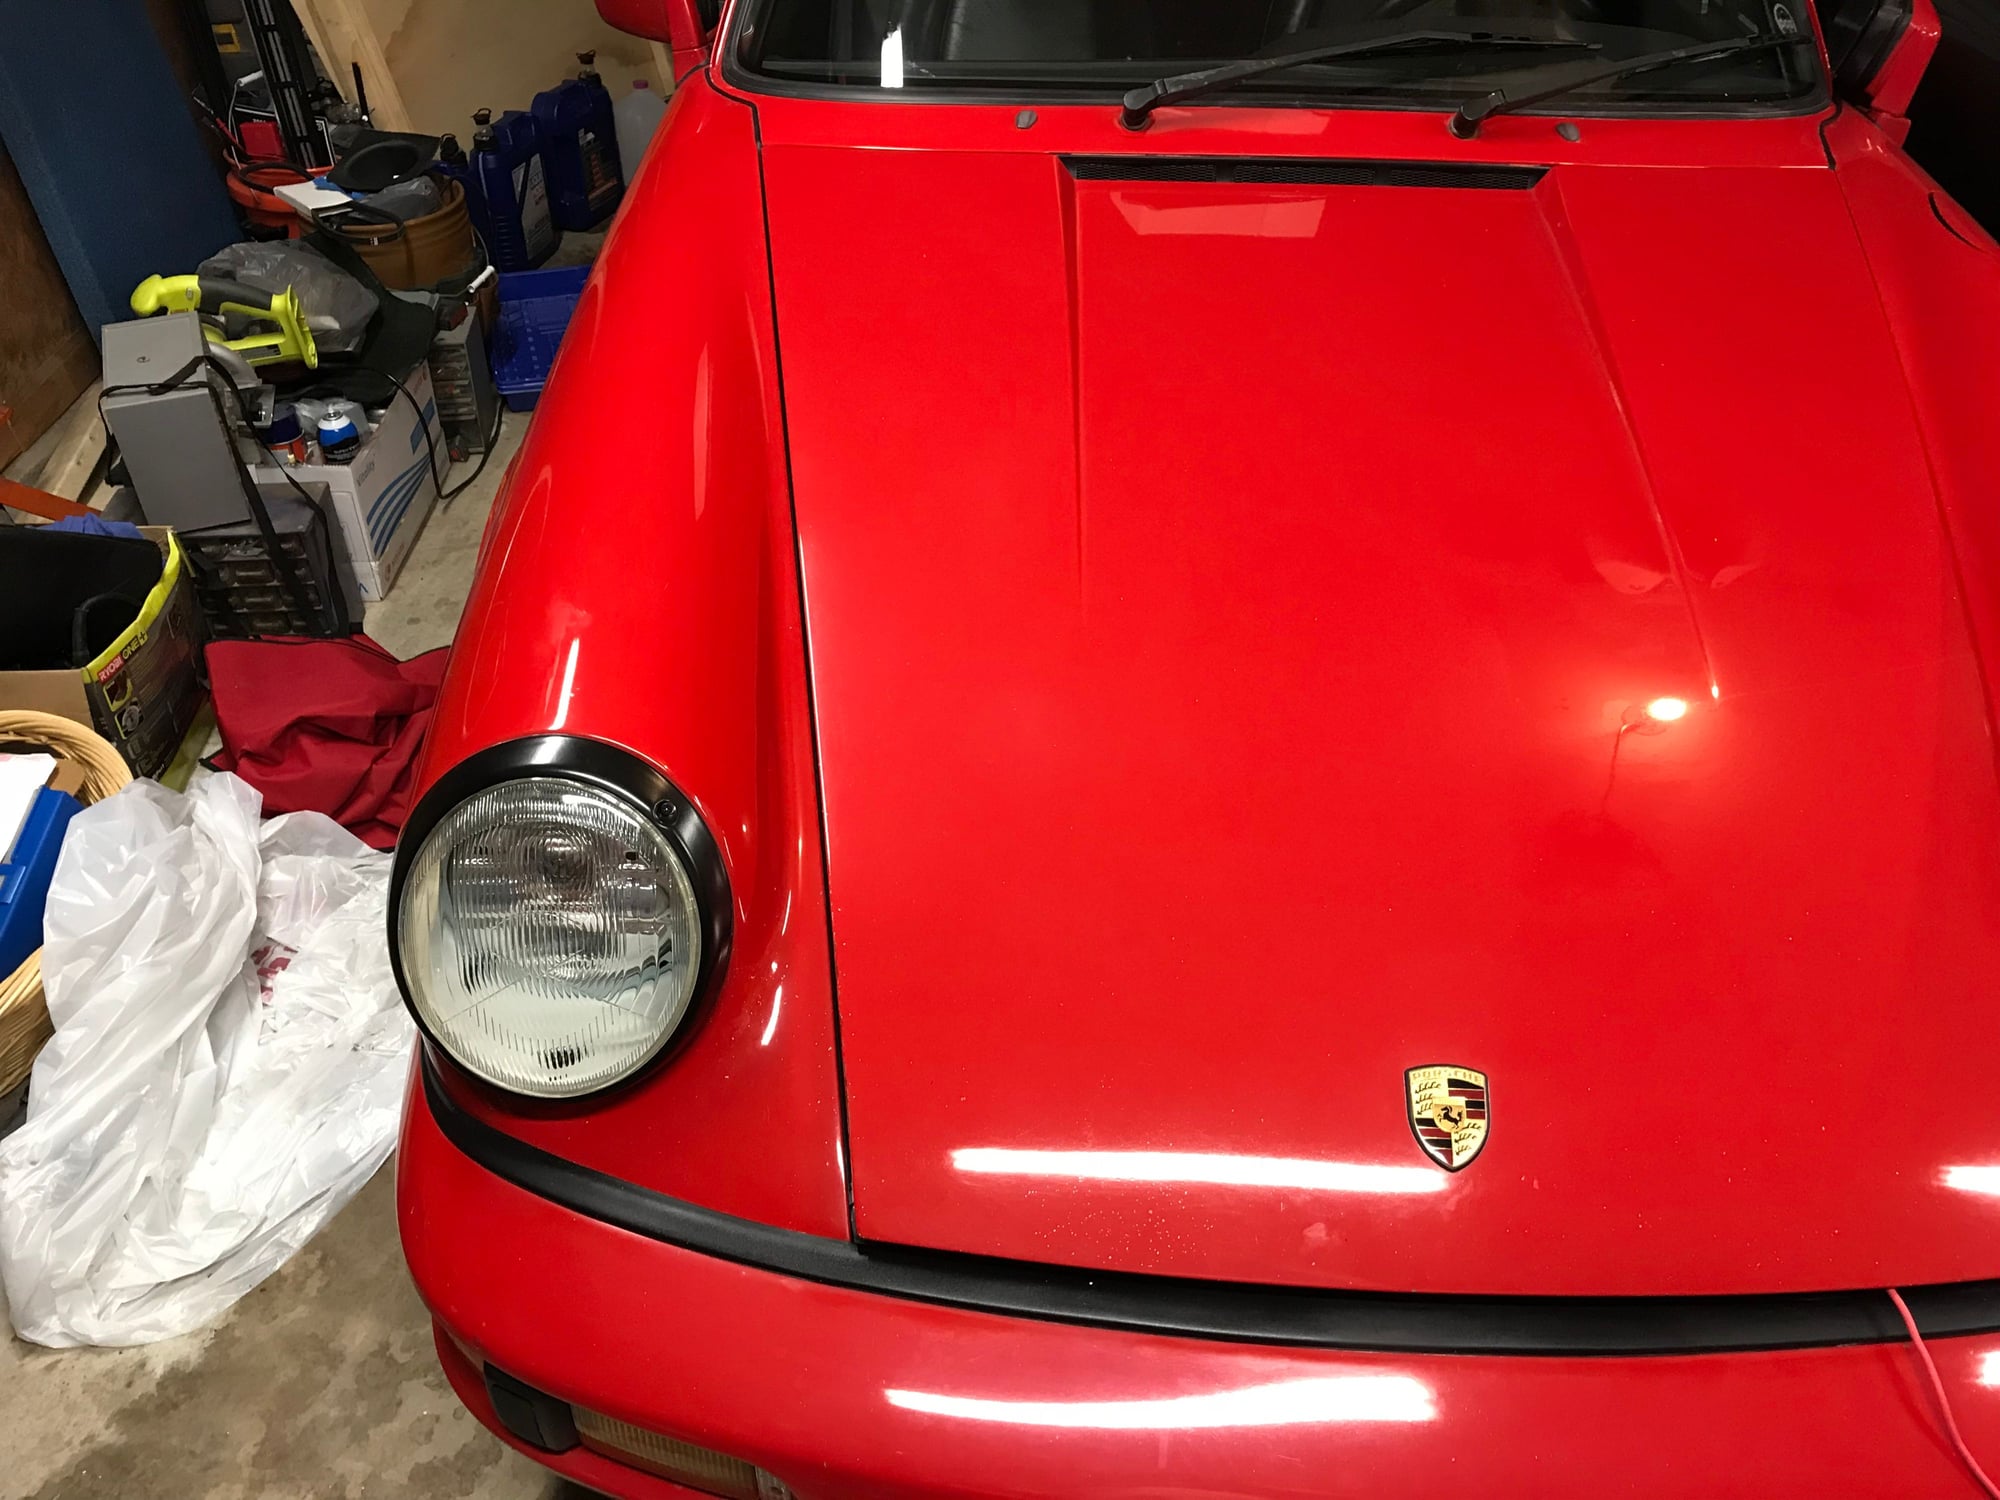
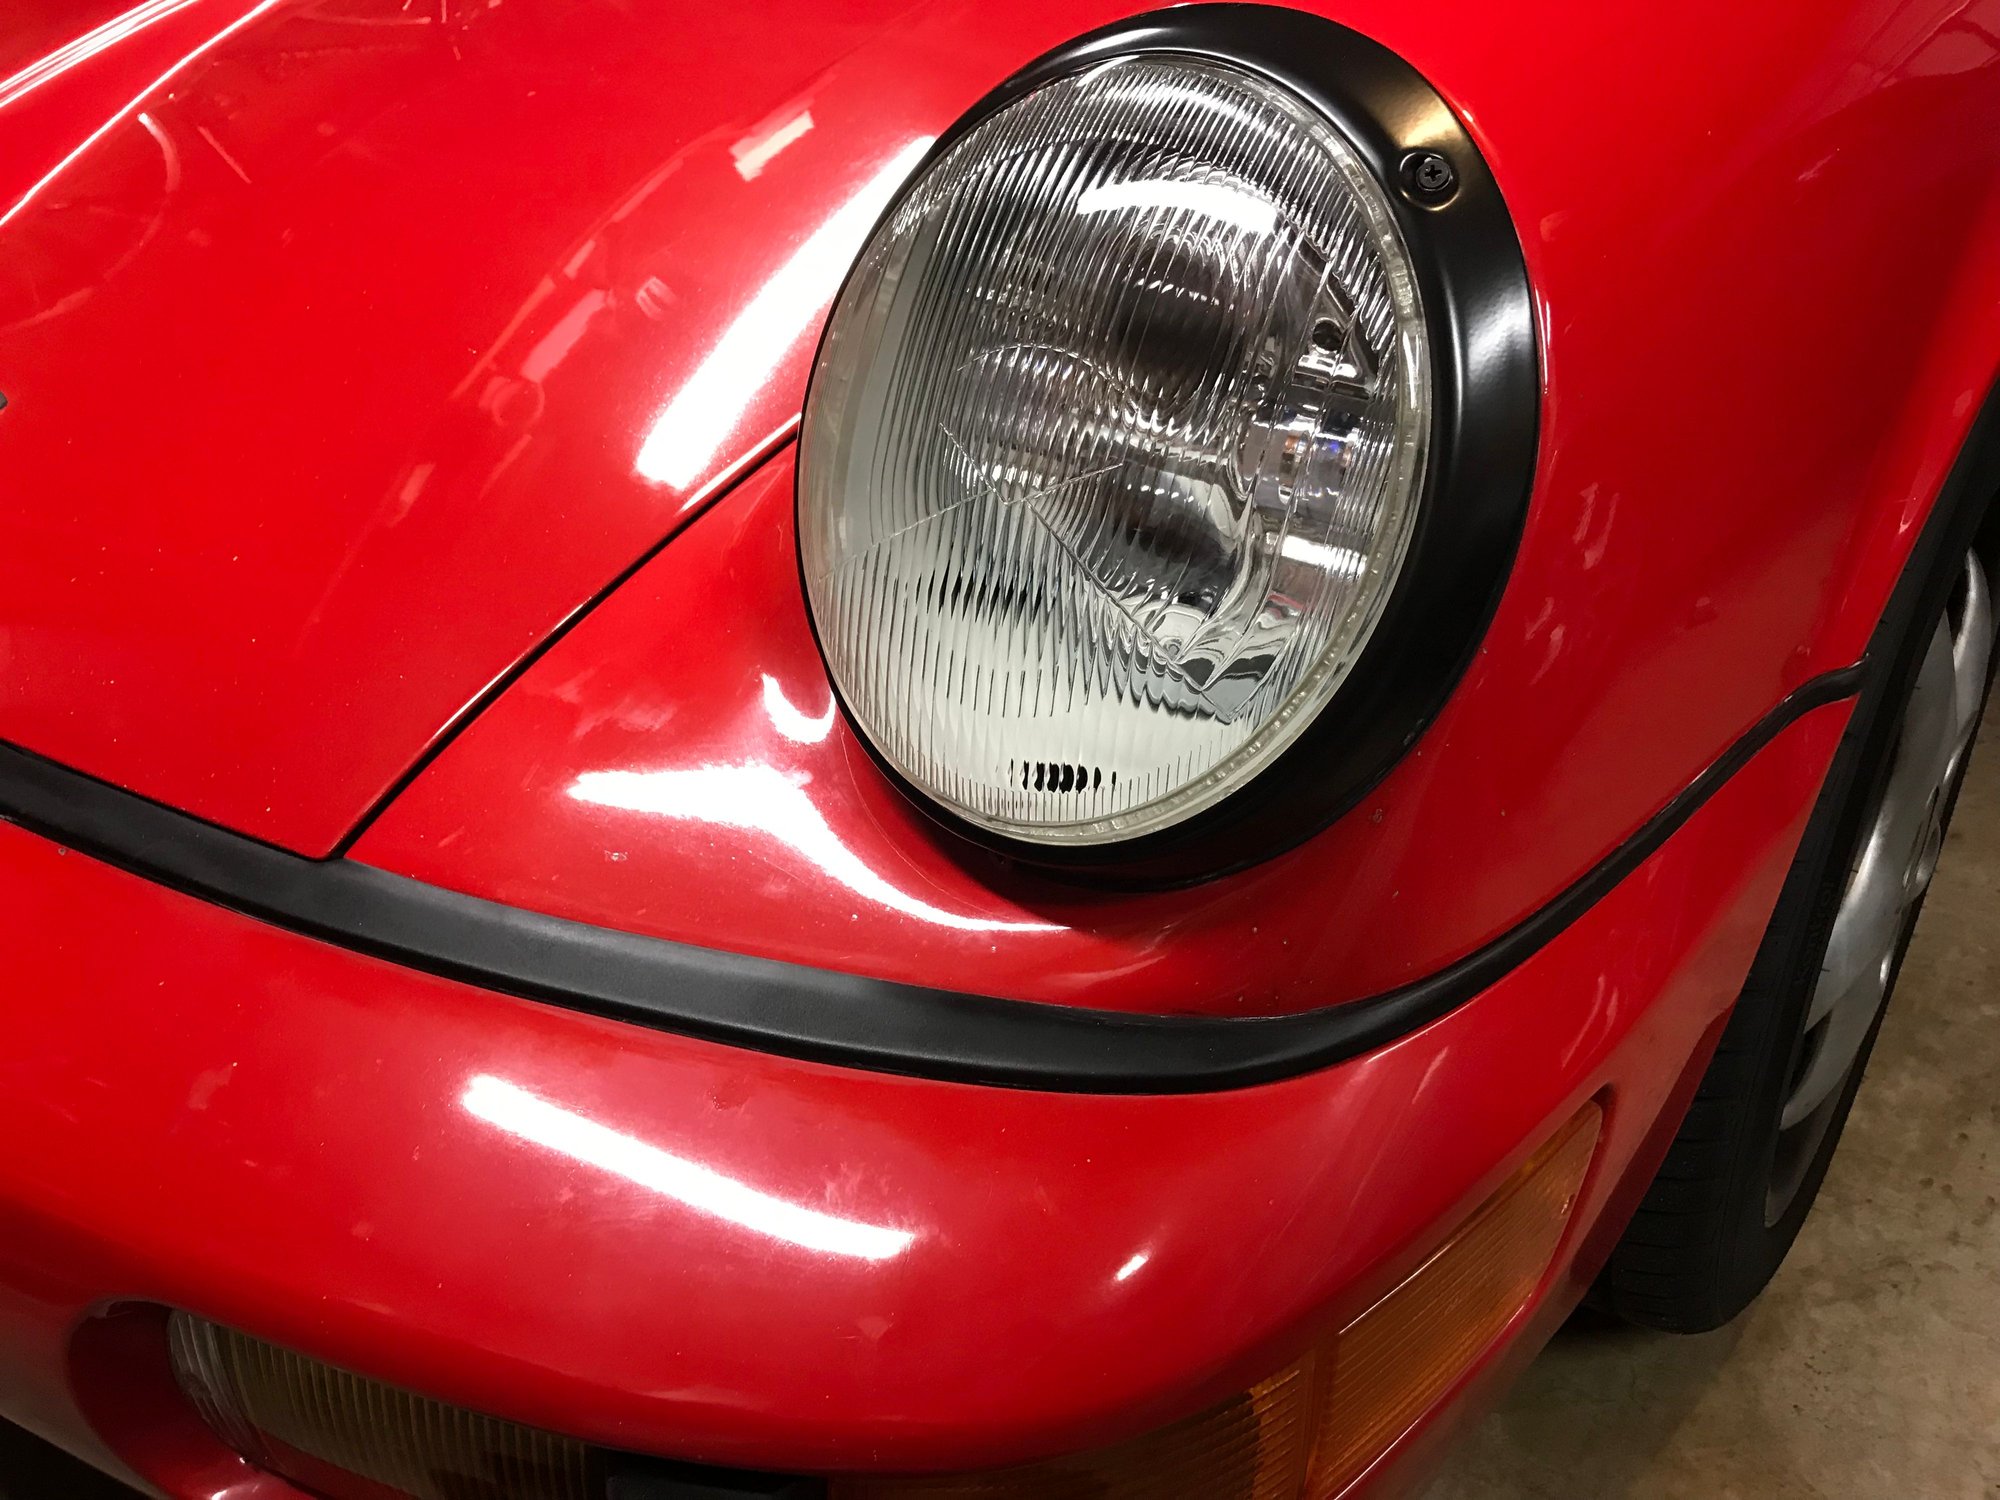
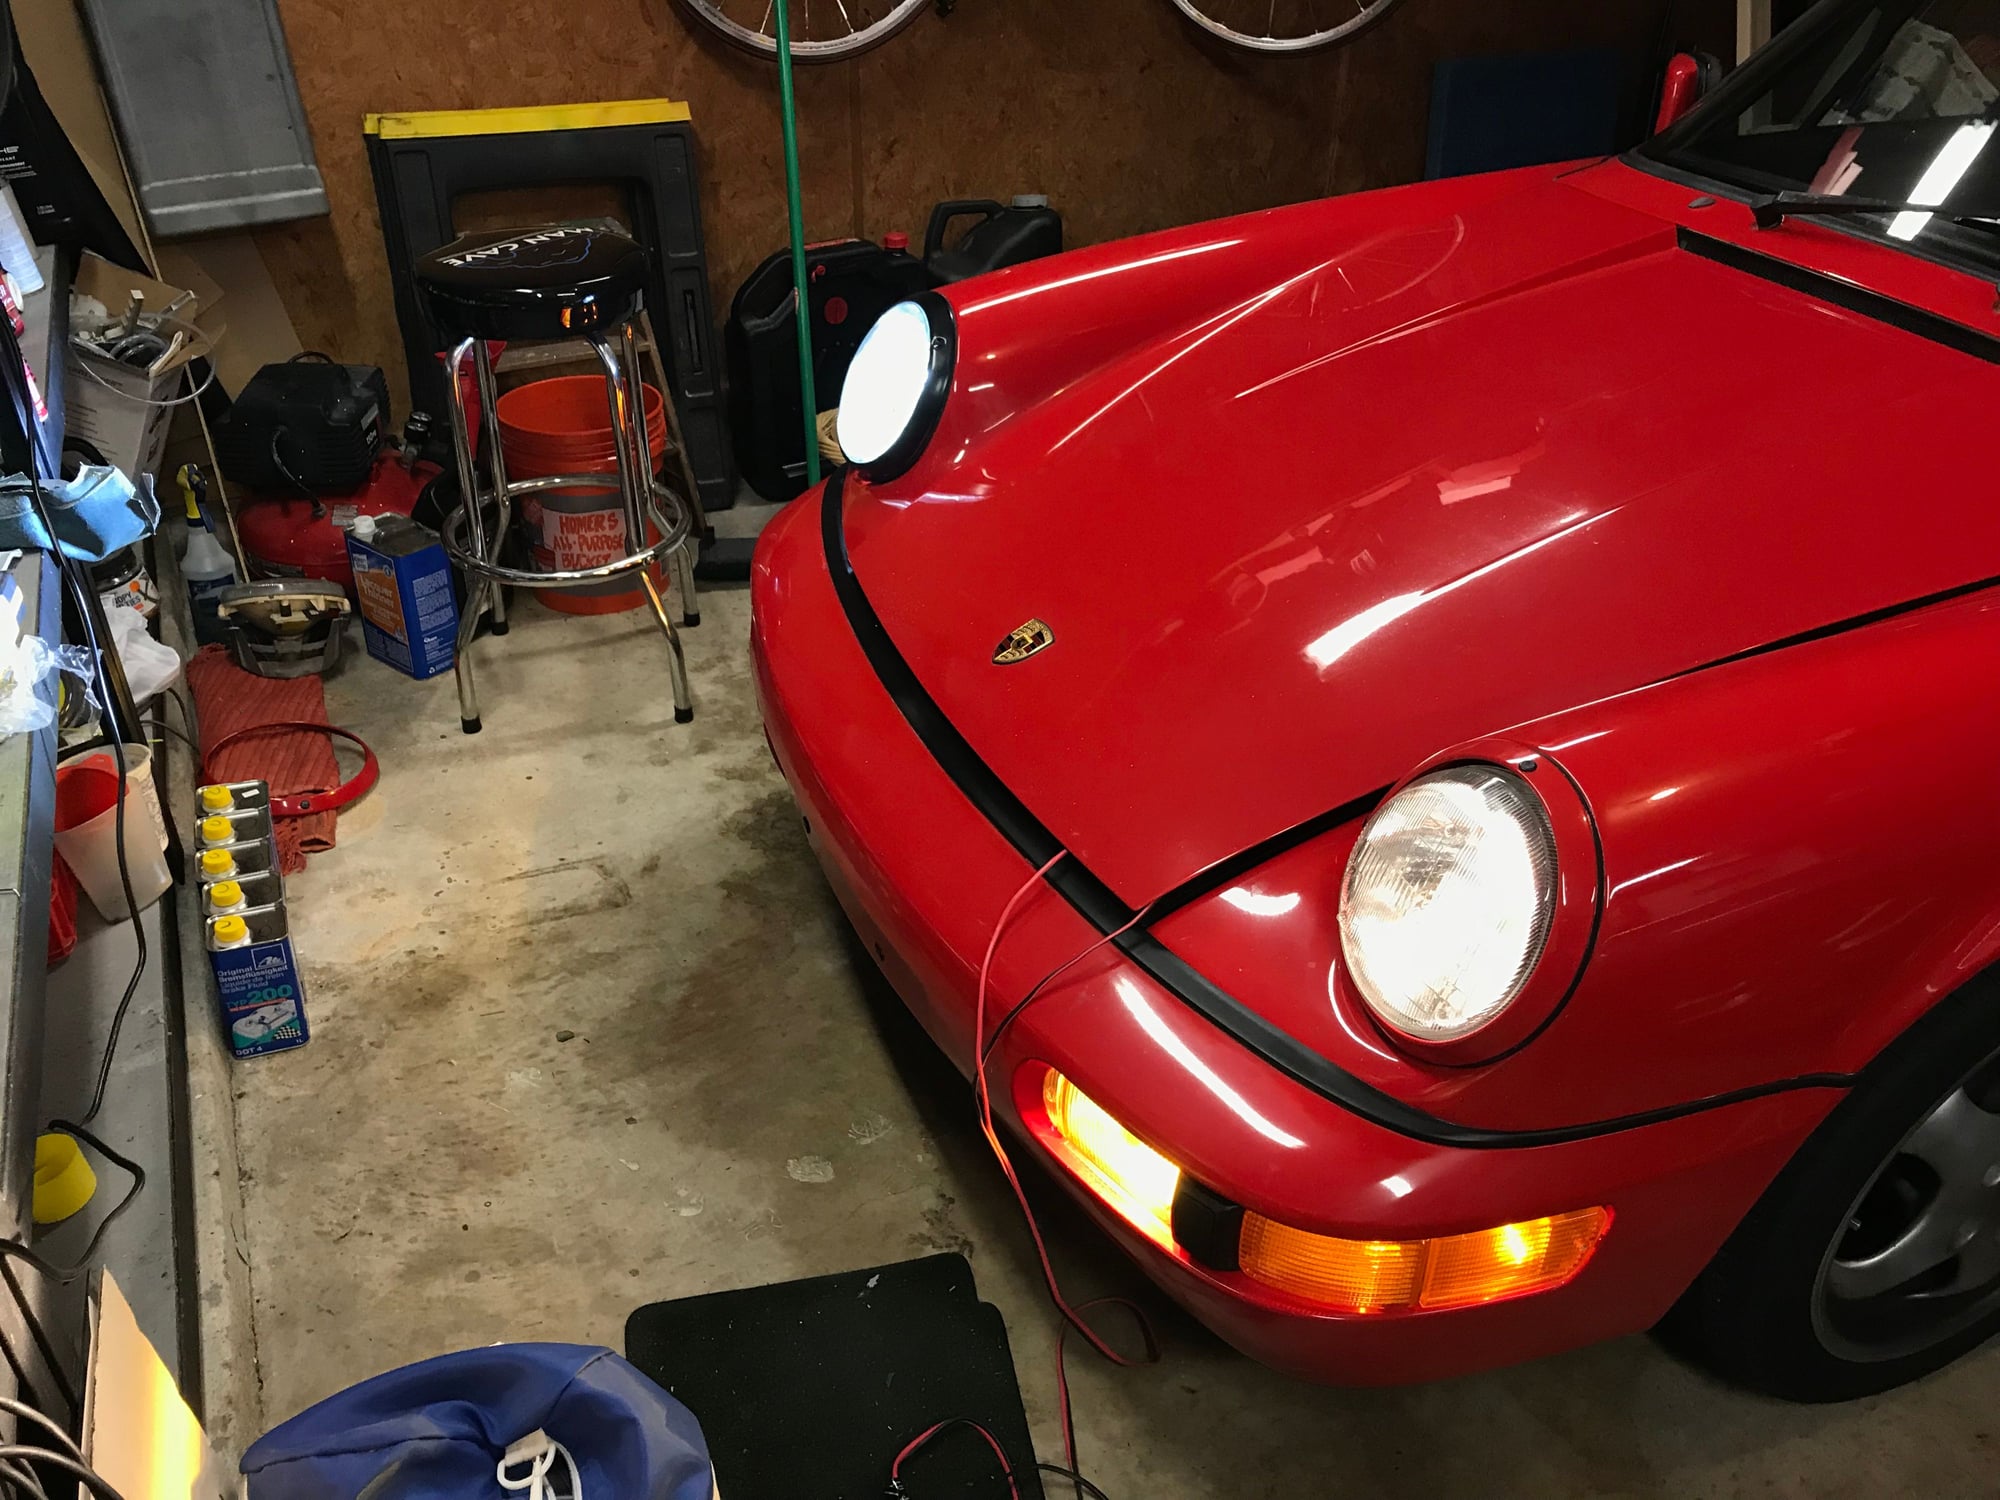
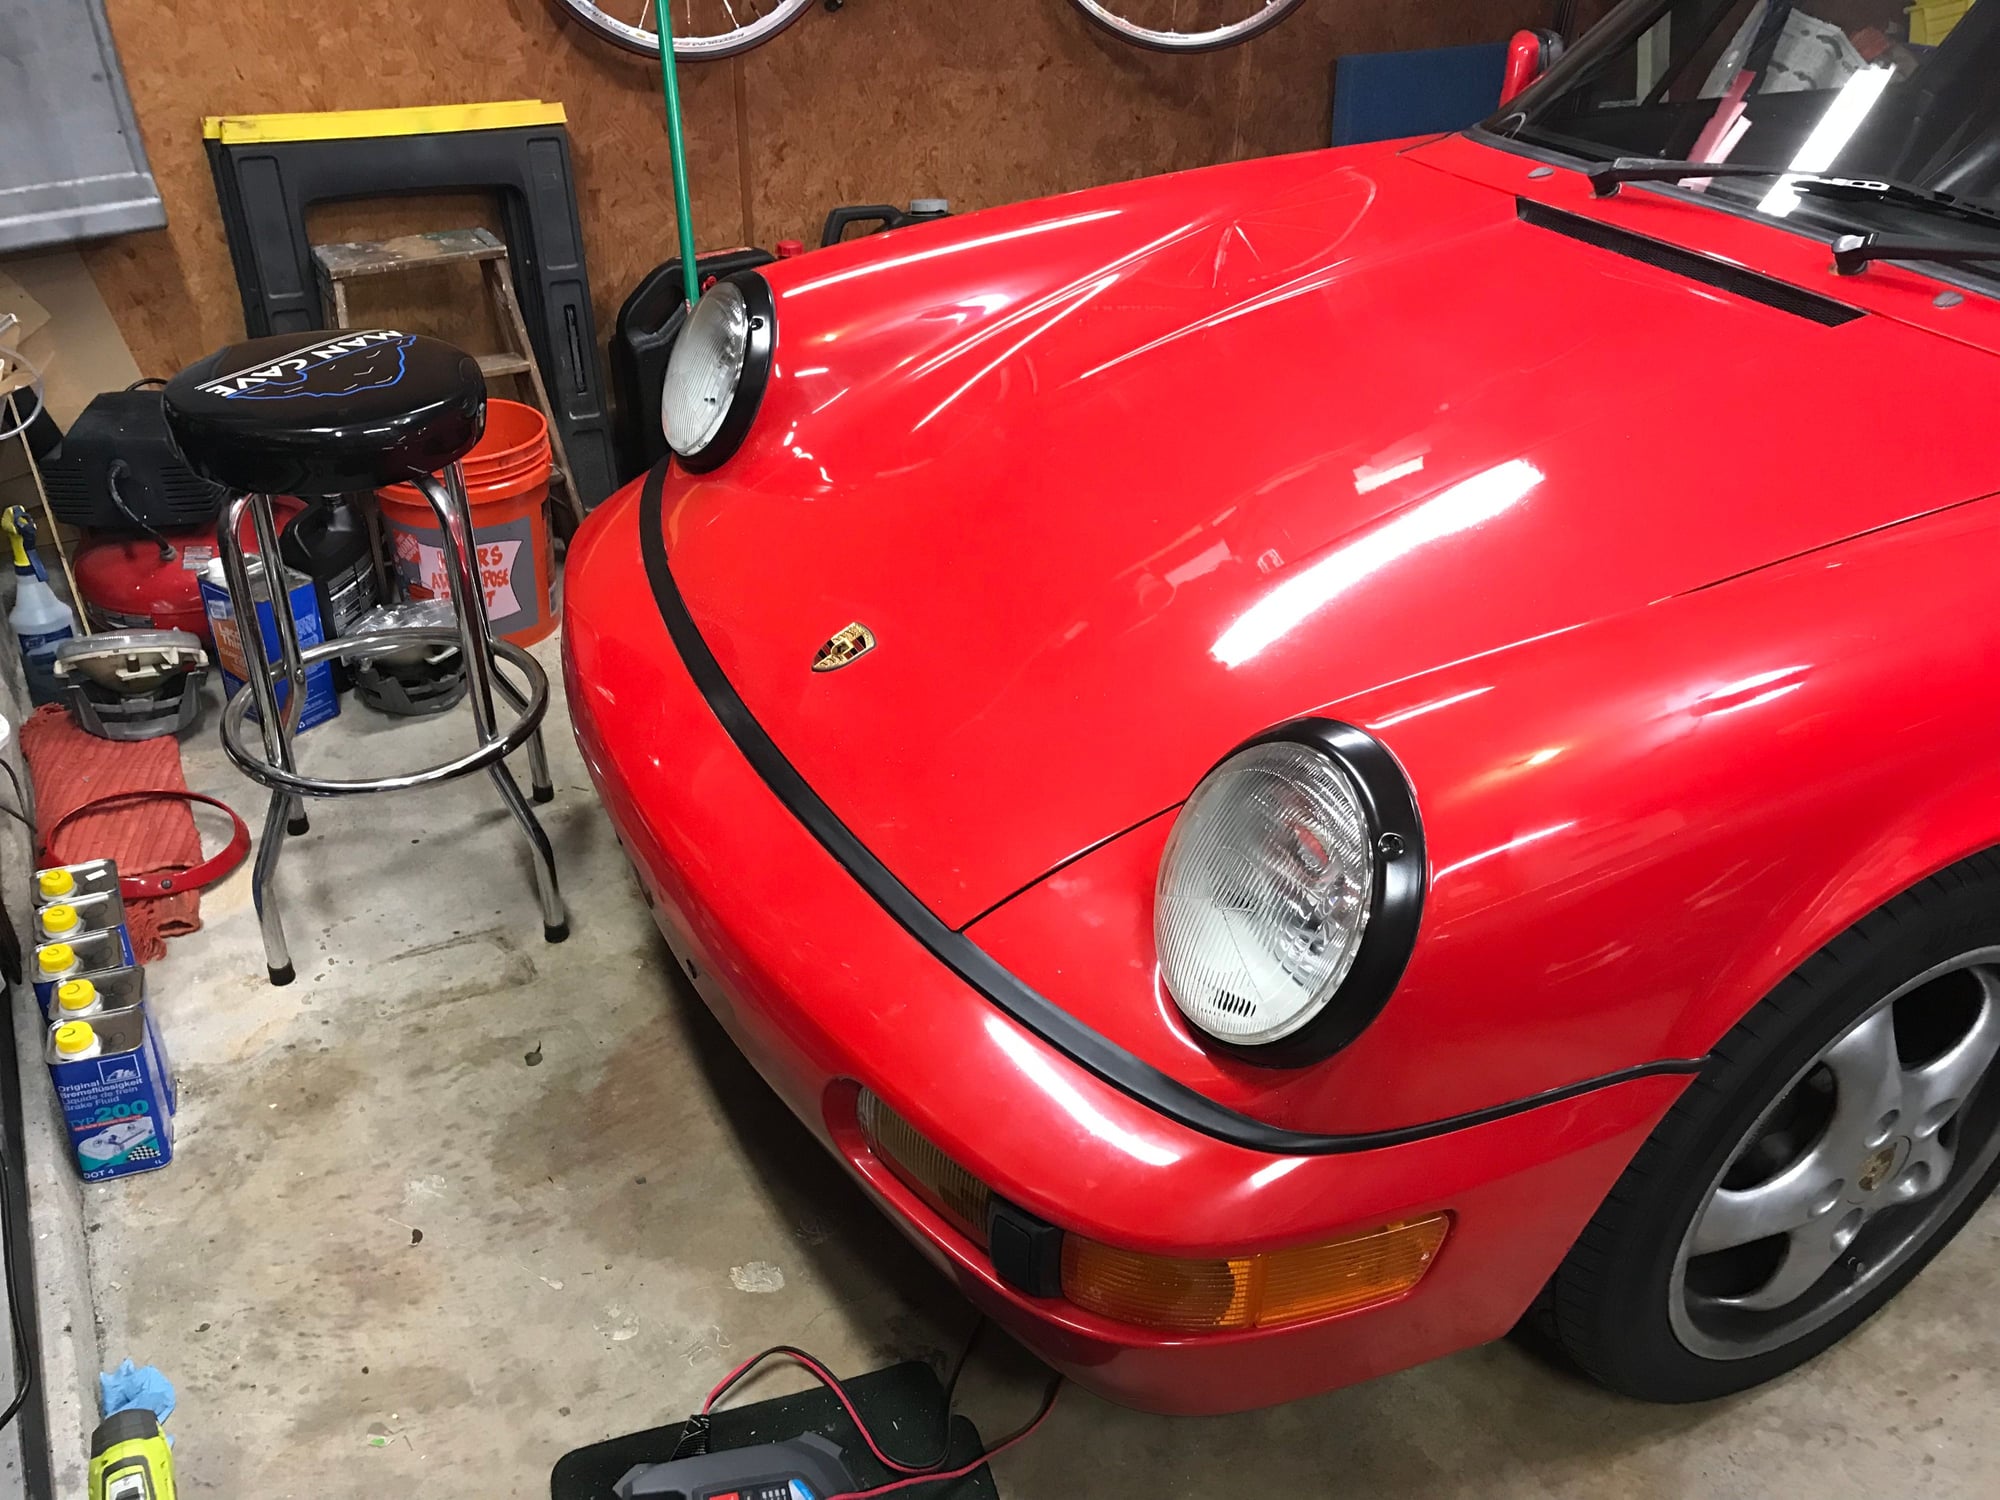
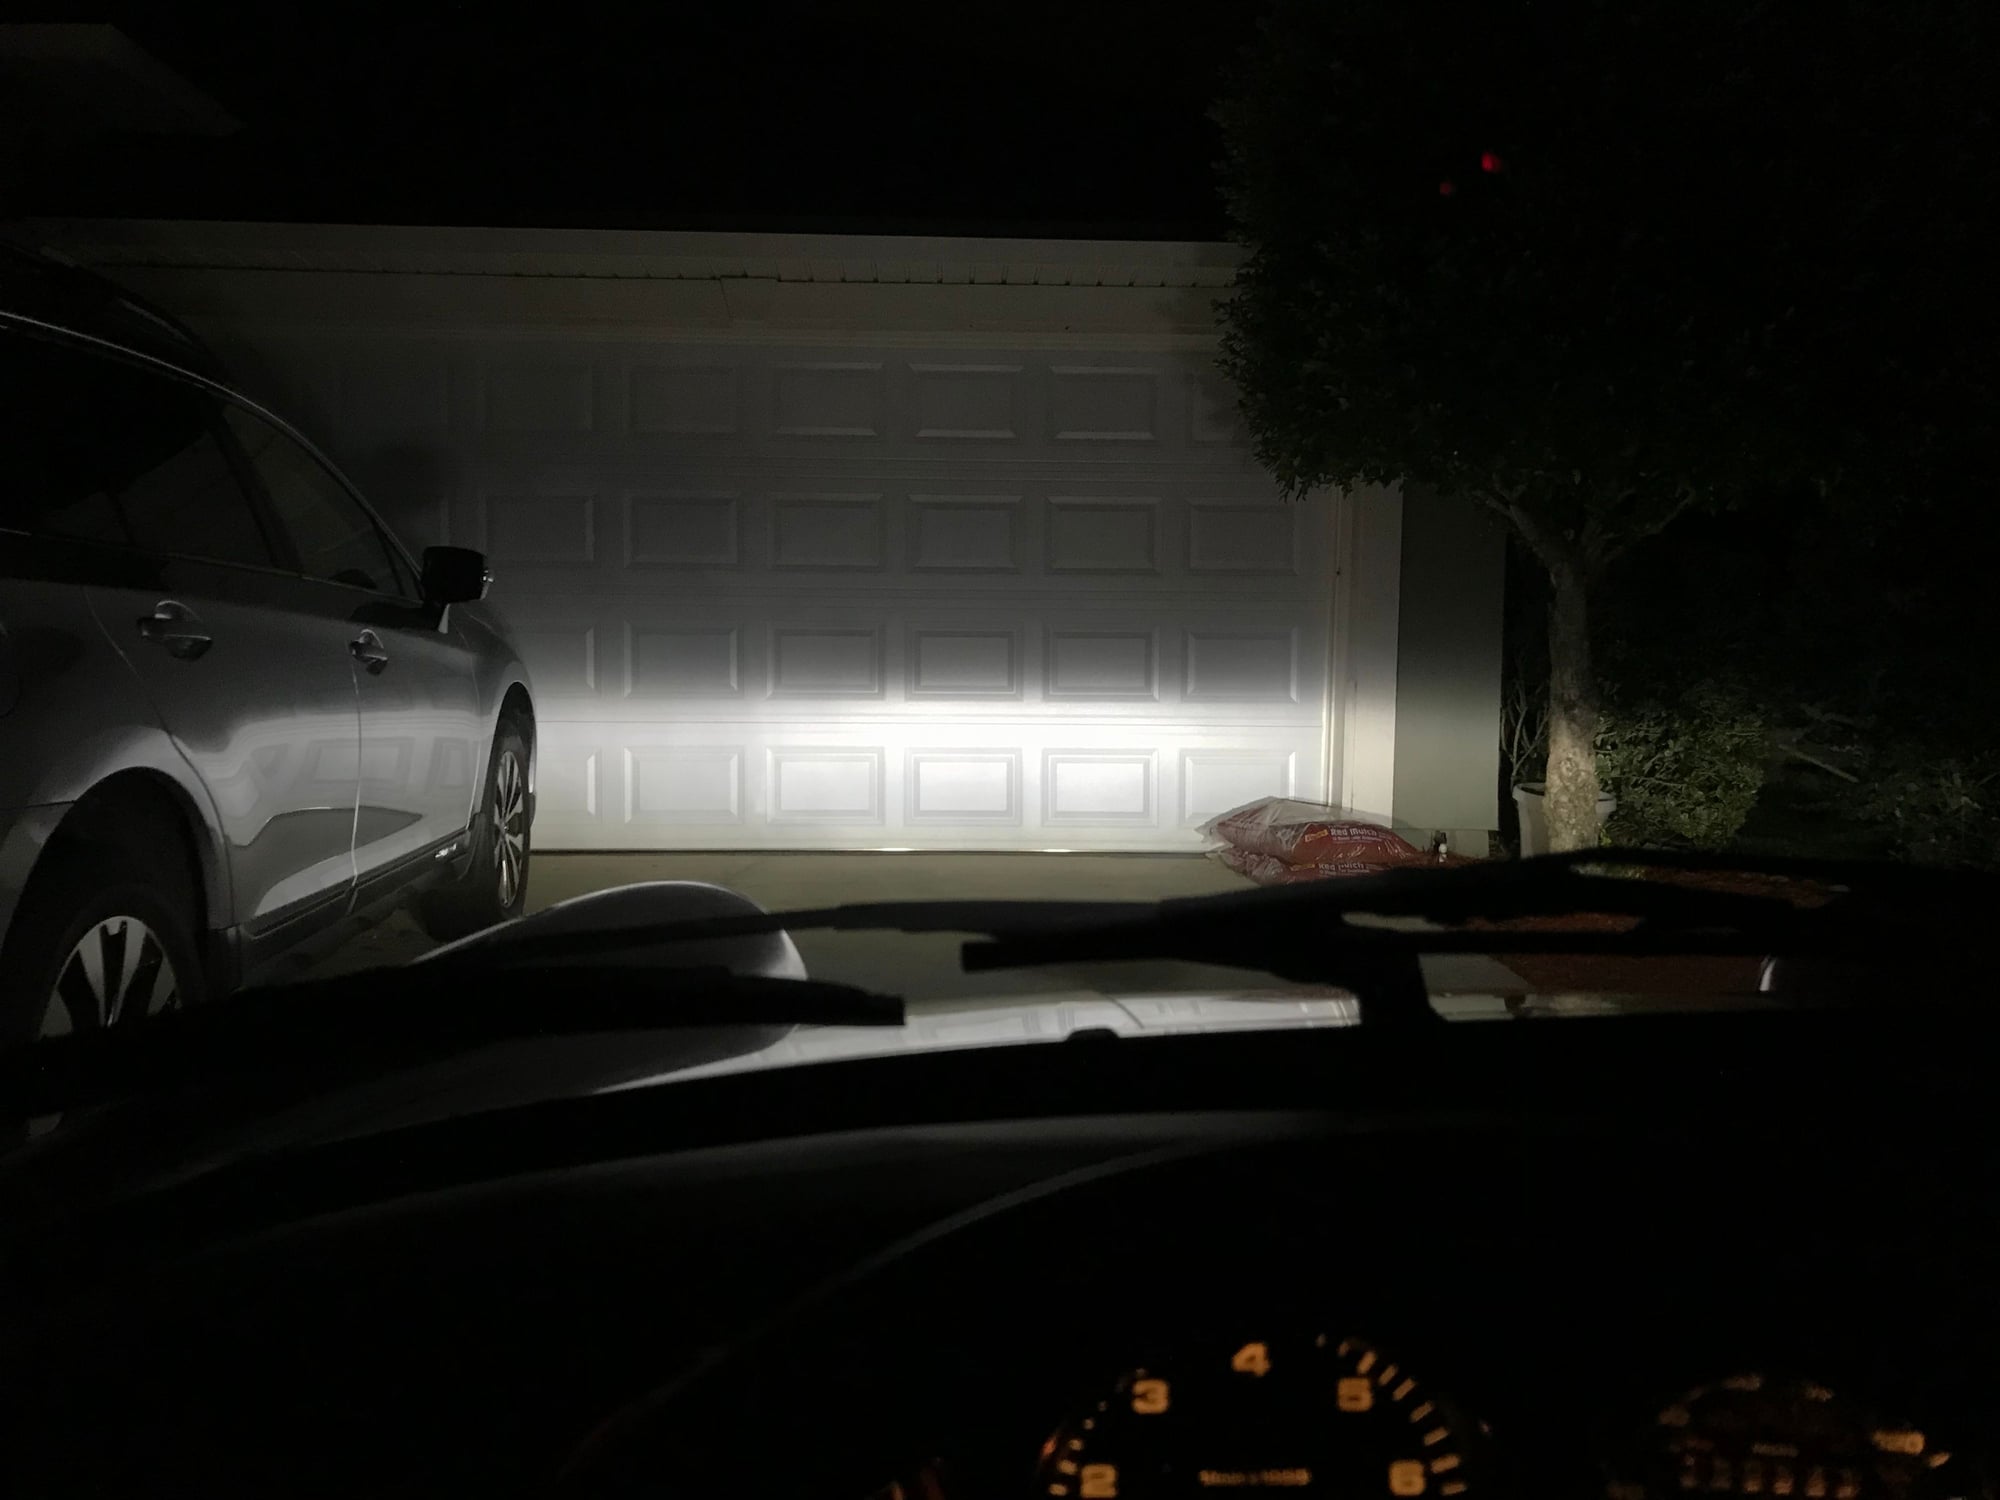
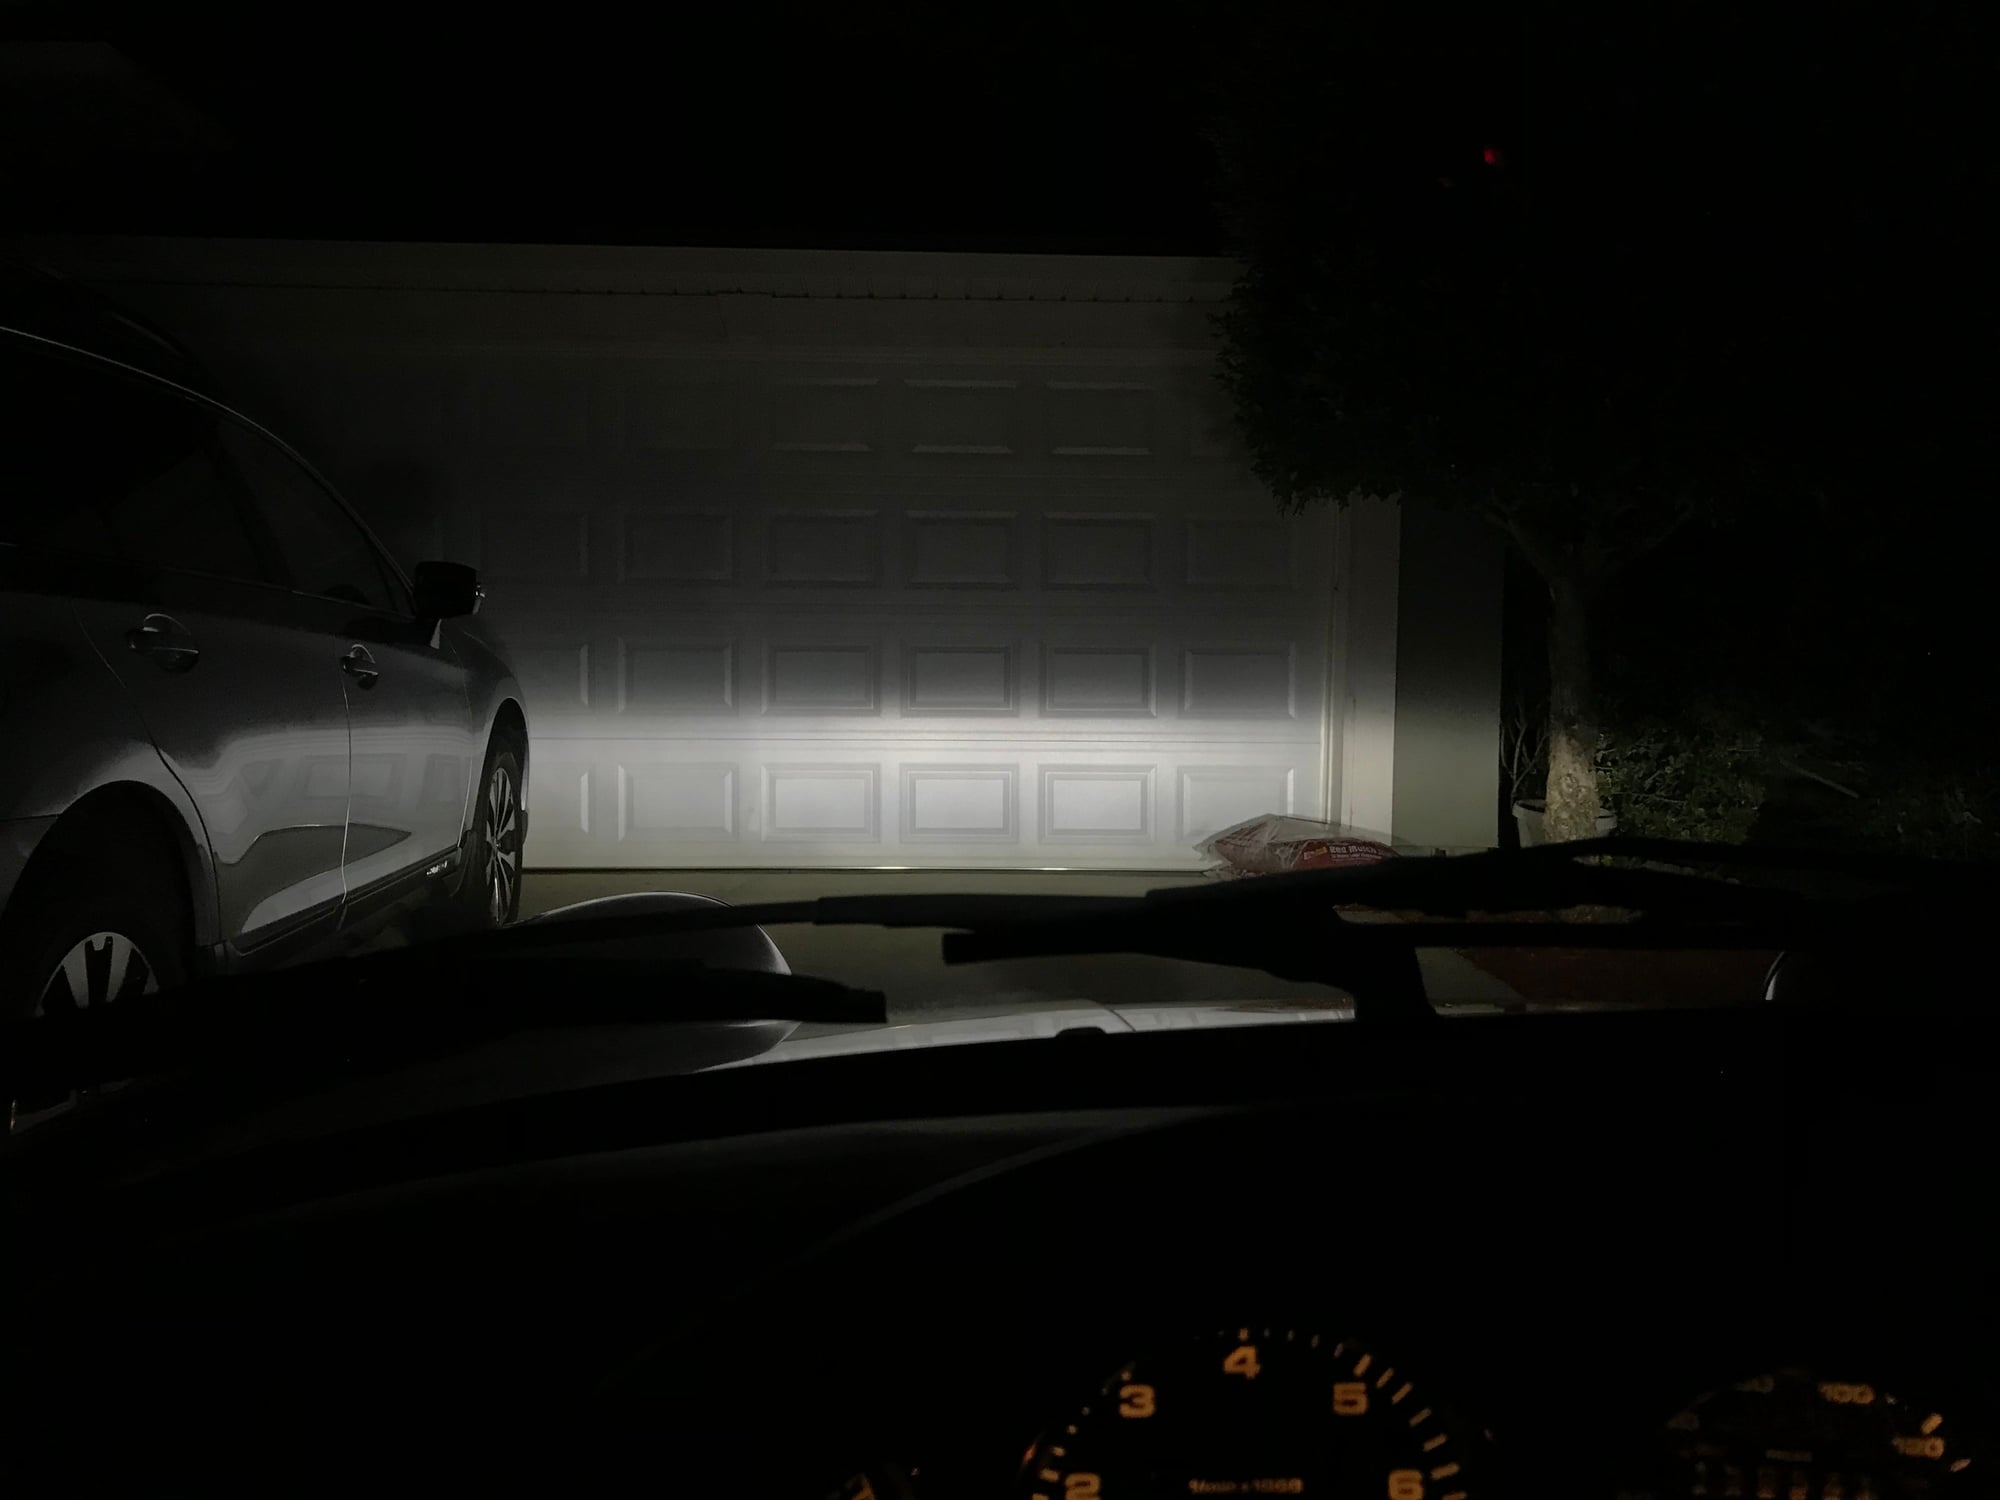
In other news, I finally updated the headlights! While I wanted to jump on one of the great pre-made offerings, those were a touch out of my budget. So I made my own.
I ended up using Morimoto Sealed7 LED units in Beetle/356 housings with fluted lenses. I tried getting the housings from Pelican, but they�re now showing their ECS ownership with the site showing inventory while they tell me they haven�t had them in a long time. Went through JBugs for those parts. While not excellent, it�s acceptable. I�m not entirely pleased with the fit so I will have to fiddle with them a bit more. I also need to bring the beams up a touch, though the improvement is drastic. Later on I will likely buck-up for JW Speaker LED units and OEM H4 lenses.
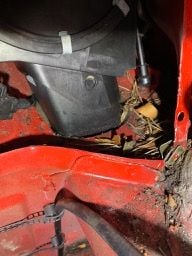
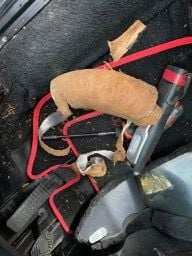
This current project started as an evaporator cleaning with an expansion valve and drier replacement. Simple enough, right?
Getting the HVAC suitcase out was a chore, and ended up breaking both heater duct elbows in the process (protip: the bars in the middle can be removed to allow the sides to flex inward). I made several attempts to clean the evaporator as it had no signs of any leakage, but that was going nowhere and I didn't want to reinstall it with such restricted airflow. New evaporator received along with CEET hose for the heater, and I removed all of the dashboard ducting to clean out the almost 29 years worth of nasty.
Now that the suitcase was out, I gave the entire frunk a good cleaning and figured it was a good time to replace the washer nozzles. More parts from Delaware Porsche and Belmetric later the new washer hose was ran and the tank removed/replaced for a cleaning. But being in the wheel well I figured it was pointless to do all of this work and leave the old hoses...
All six soft lines are now replaced with new Goodyear barrier hose. A new Behr serpentine condenser is installed in the housing after some finagling. The compressor is rebuilt and all of the old mineral-ester oil mix removed. All of the lines are cleaned, the suitcase is spotless, the drains are cleared with new o-rings, the defroster flap and mixing chamber doors are re-foamed, a new Denso trinary switch is on, and new pass-through gaskets for the hard lines received. Today I should have the wiper linkage removed to replace the arm shaft seals, then the suitcase is going to get back in.
Right after I fix a spade connector on the left evaporator blower motor.
I managed to save mine, more by luck than judgement. I ruined the paper tubes under the dash though. The whole thing is a bear of a job but it did make for a much simpler hood strut replacement task.
There's not a lot left to wrap up, the car is back on the road and yesterday's test drive yielded an increased satisfaction with the HVAC. Having actual working A/C in this car is novel.
As with most projects I tend to do, additional parts were broken and required replacement. While it's not critical it does allow some time to work out a few small kinks and massage the refrigerant lines into slightly better positioning. As the hoses are new the lines in the engine bay are still getting settled in and need a bit more coaxing so they won't stick out a bit farther than they should.
I still need some time to determine if I want to keep the new J-pipe on or move to a G-pipe. The counter guy at O'Reilly said it "sounds mean", and so far I do like it though I have not tried it on the highway just yet. If that drone is too much then it'll be time to change - also don't want to be "that guy" in my neighborhood on a morning I chance to drive it to the office.

 09-14-2018, 01:09 PM


")