Notices
964 Forum 1989-1994
Sponsored by:
Sponsored by:

Chronicling the restoration and rebuild of Wilbur, the Pig

Thread Tools
 
Search this Thread
 
Old 03-27-2018, 02:08 AM
  #46  
Foxman
Rennlist Member
Thread Starter
 
Foxman's Avatar
 
Join Date: Aug 2014
Location: Massachusetts
Posts: 4,428
Received 485 Likes on 360 Posts
Default

The quest to add lightness continued. I tried to shave a few pounds off the car each day.

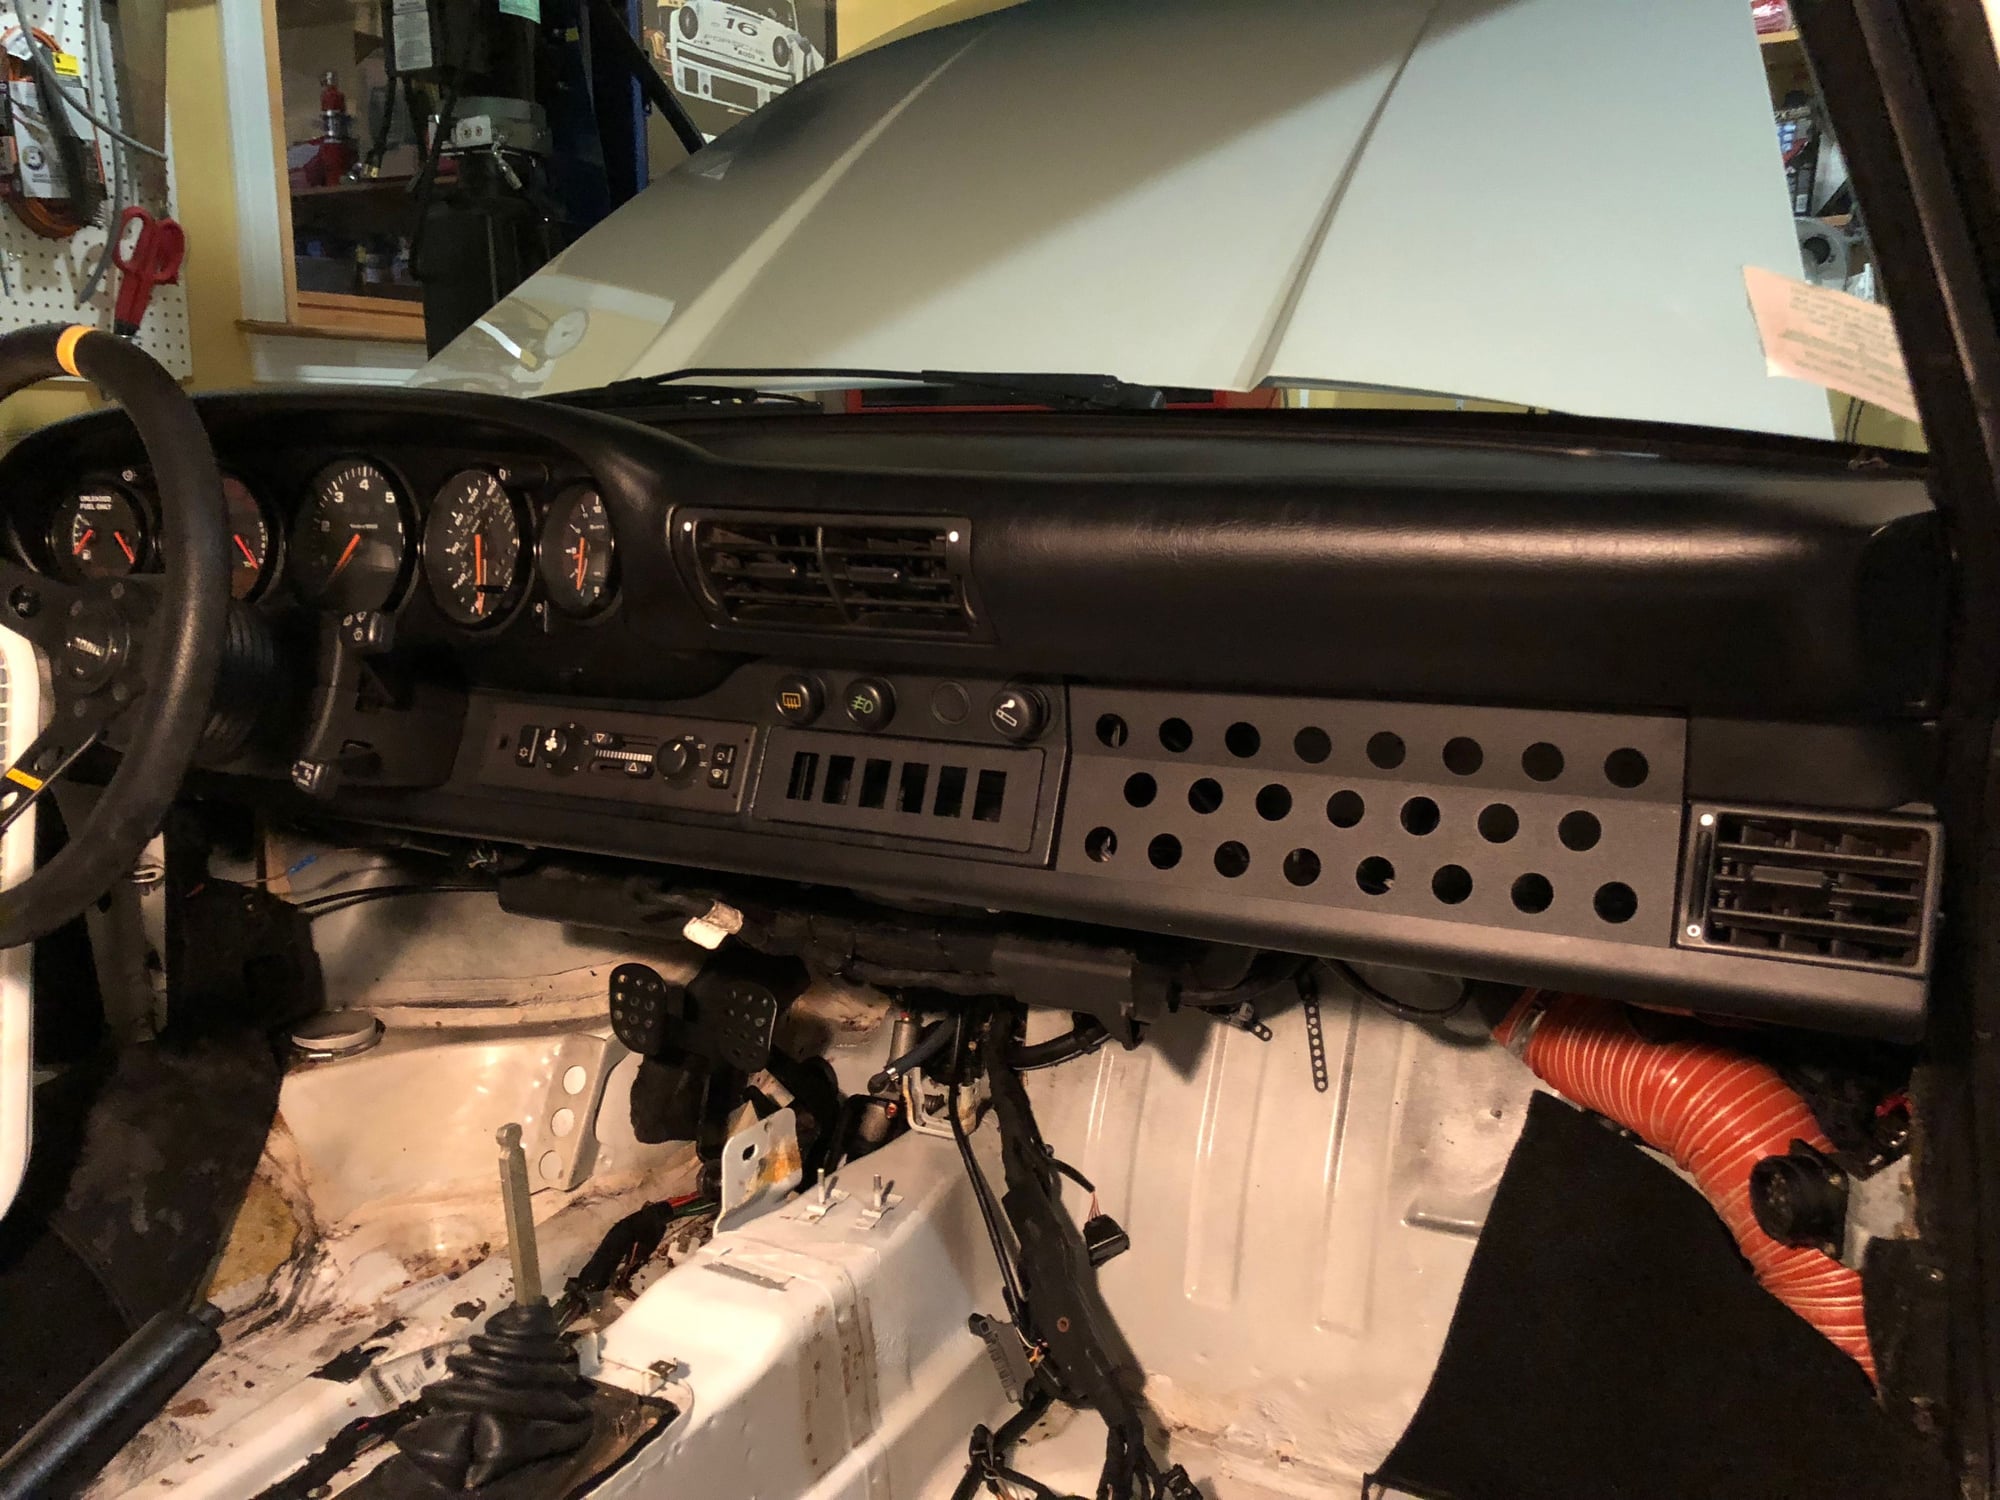
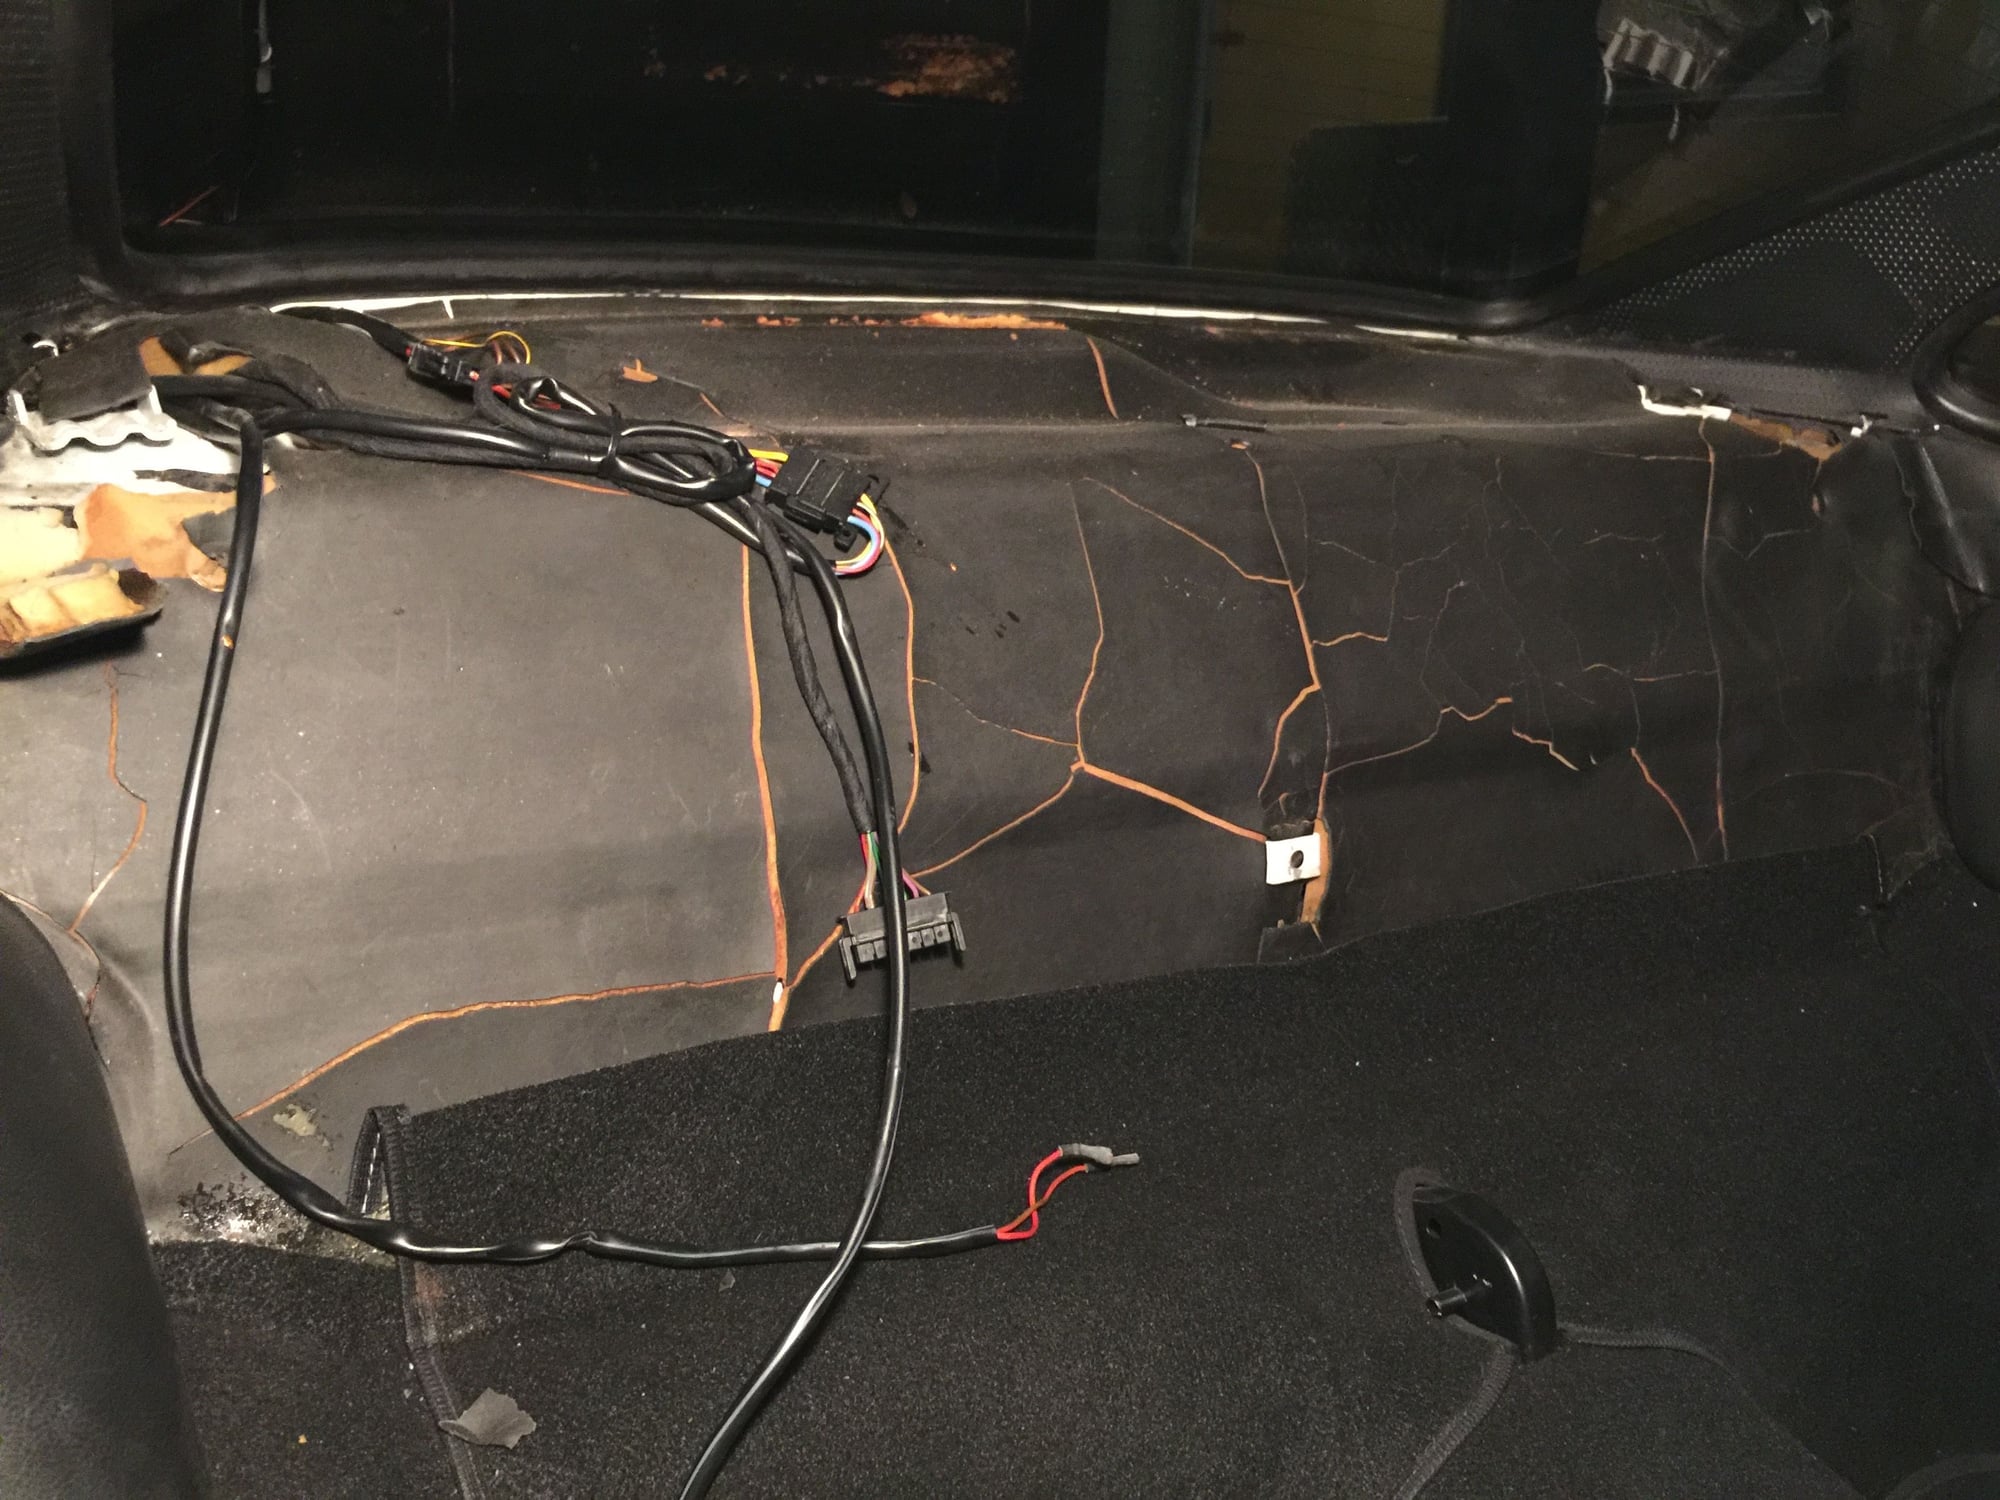
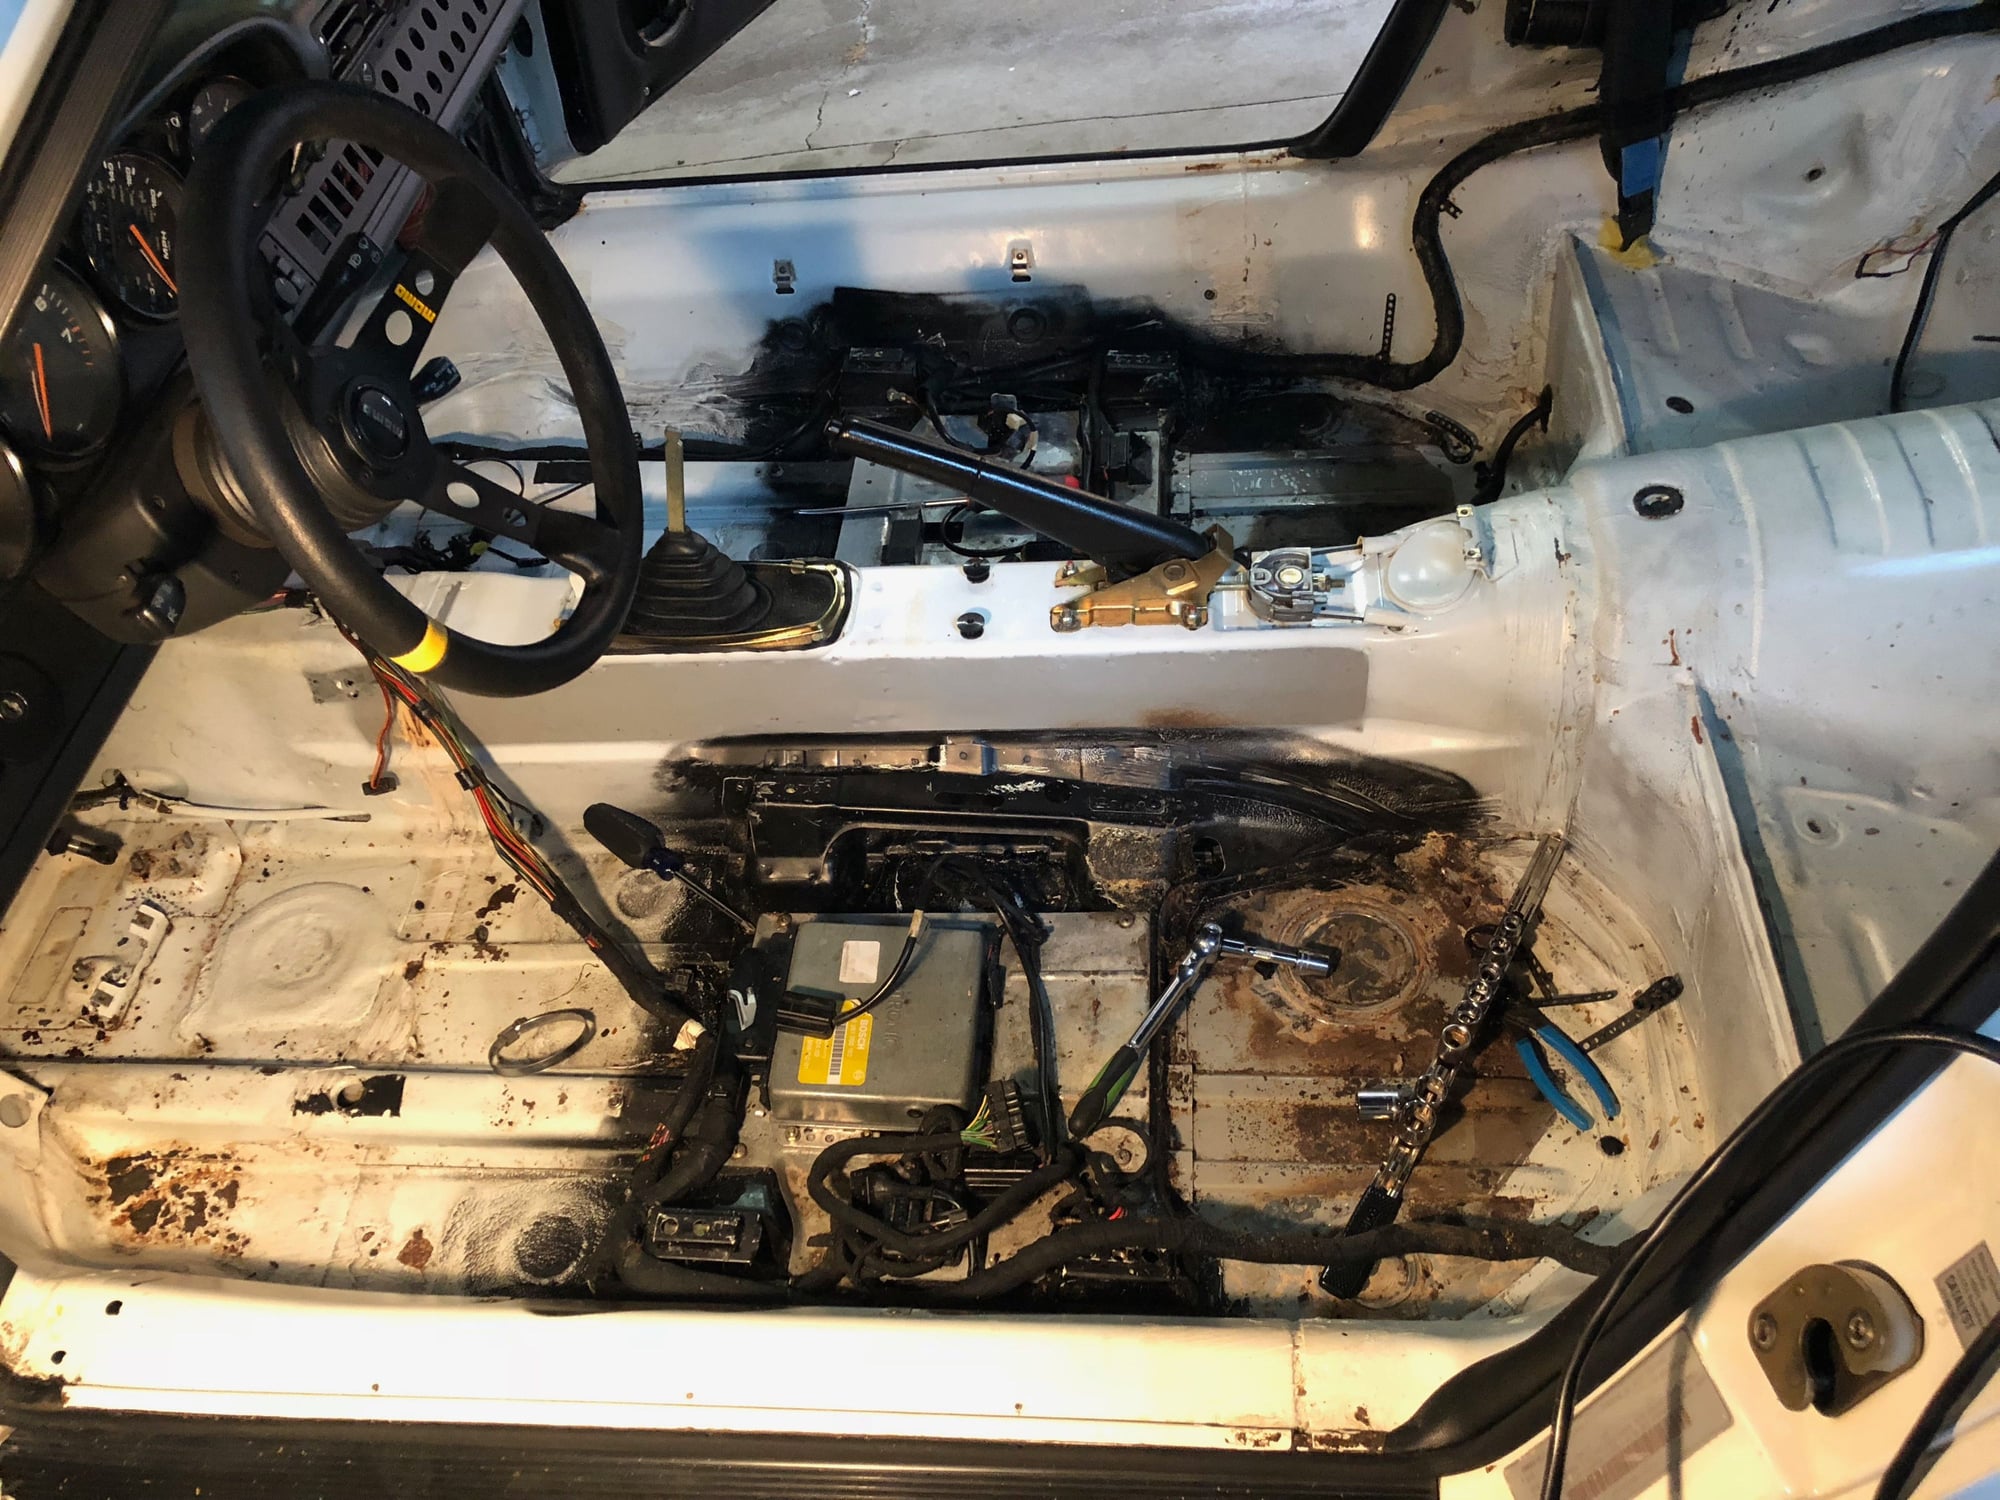
With the Rennline radio delete plate installed, it seemed like a good time to delete the upper center console and move a few controls to the dash. I also began carefully removing the insulation out from underneath the RS carpet. The RS carpet was one of the best features of the car, but it was installed on top of the existing stock insulation. That largely defeats the purpose of an RS carpet, which is incredibly light. The plan was to carefully pull up as much insulation as possible without damaging the carpet. But as the project progressed, I decided to toss the RS carpet altogether and leave the car bare. All was going smoothly, but rust never sleeps. I had detected some rust under the driver footwell last summer. That one footwell had already had the insulation removed. I assume the insulation was water damaged. I didn't remove the make-shift wooden floor board completely, but there was some minor surface rust visible. With the floor board now out completely, and the pedal board out as well, the surface rust on the floor board was far more extensive than I had imagined. The pedal assembly was rusting as well. Thankfully it was just surface rust, so I got to work...


Radio Deleted, Insulation coming out


Stock insulation had not been removed despite the RS carpet


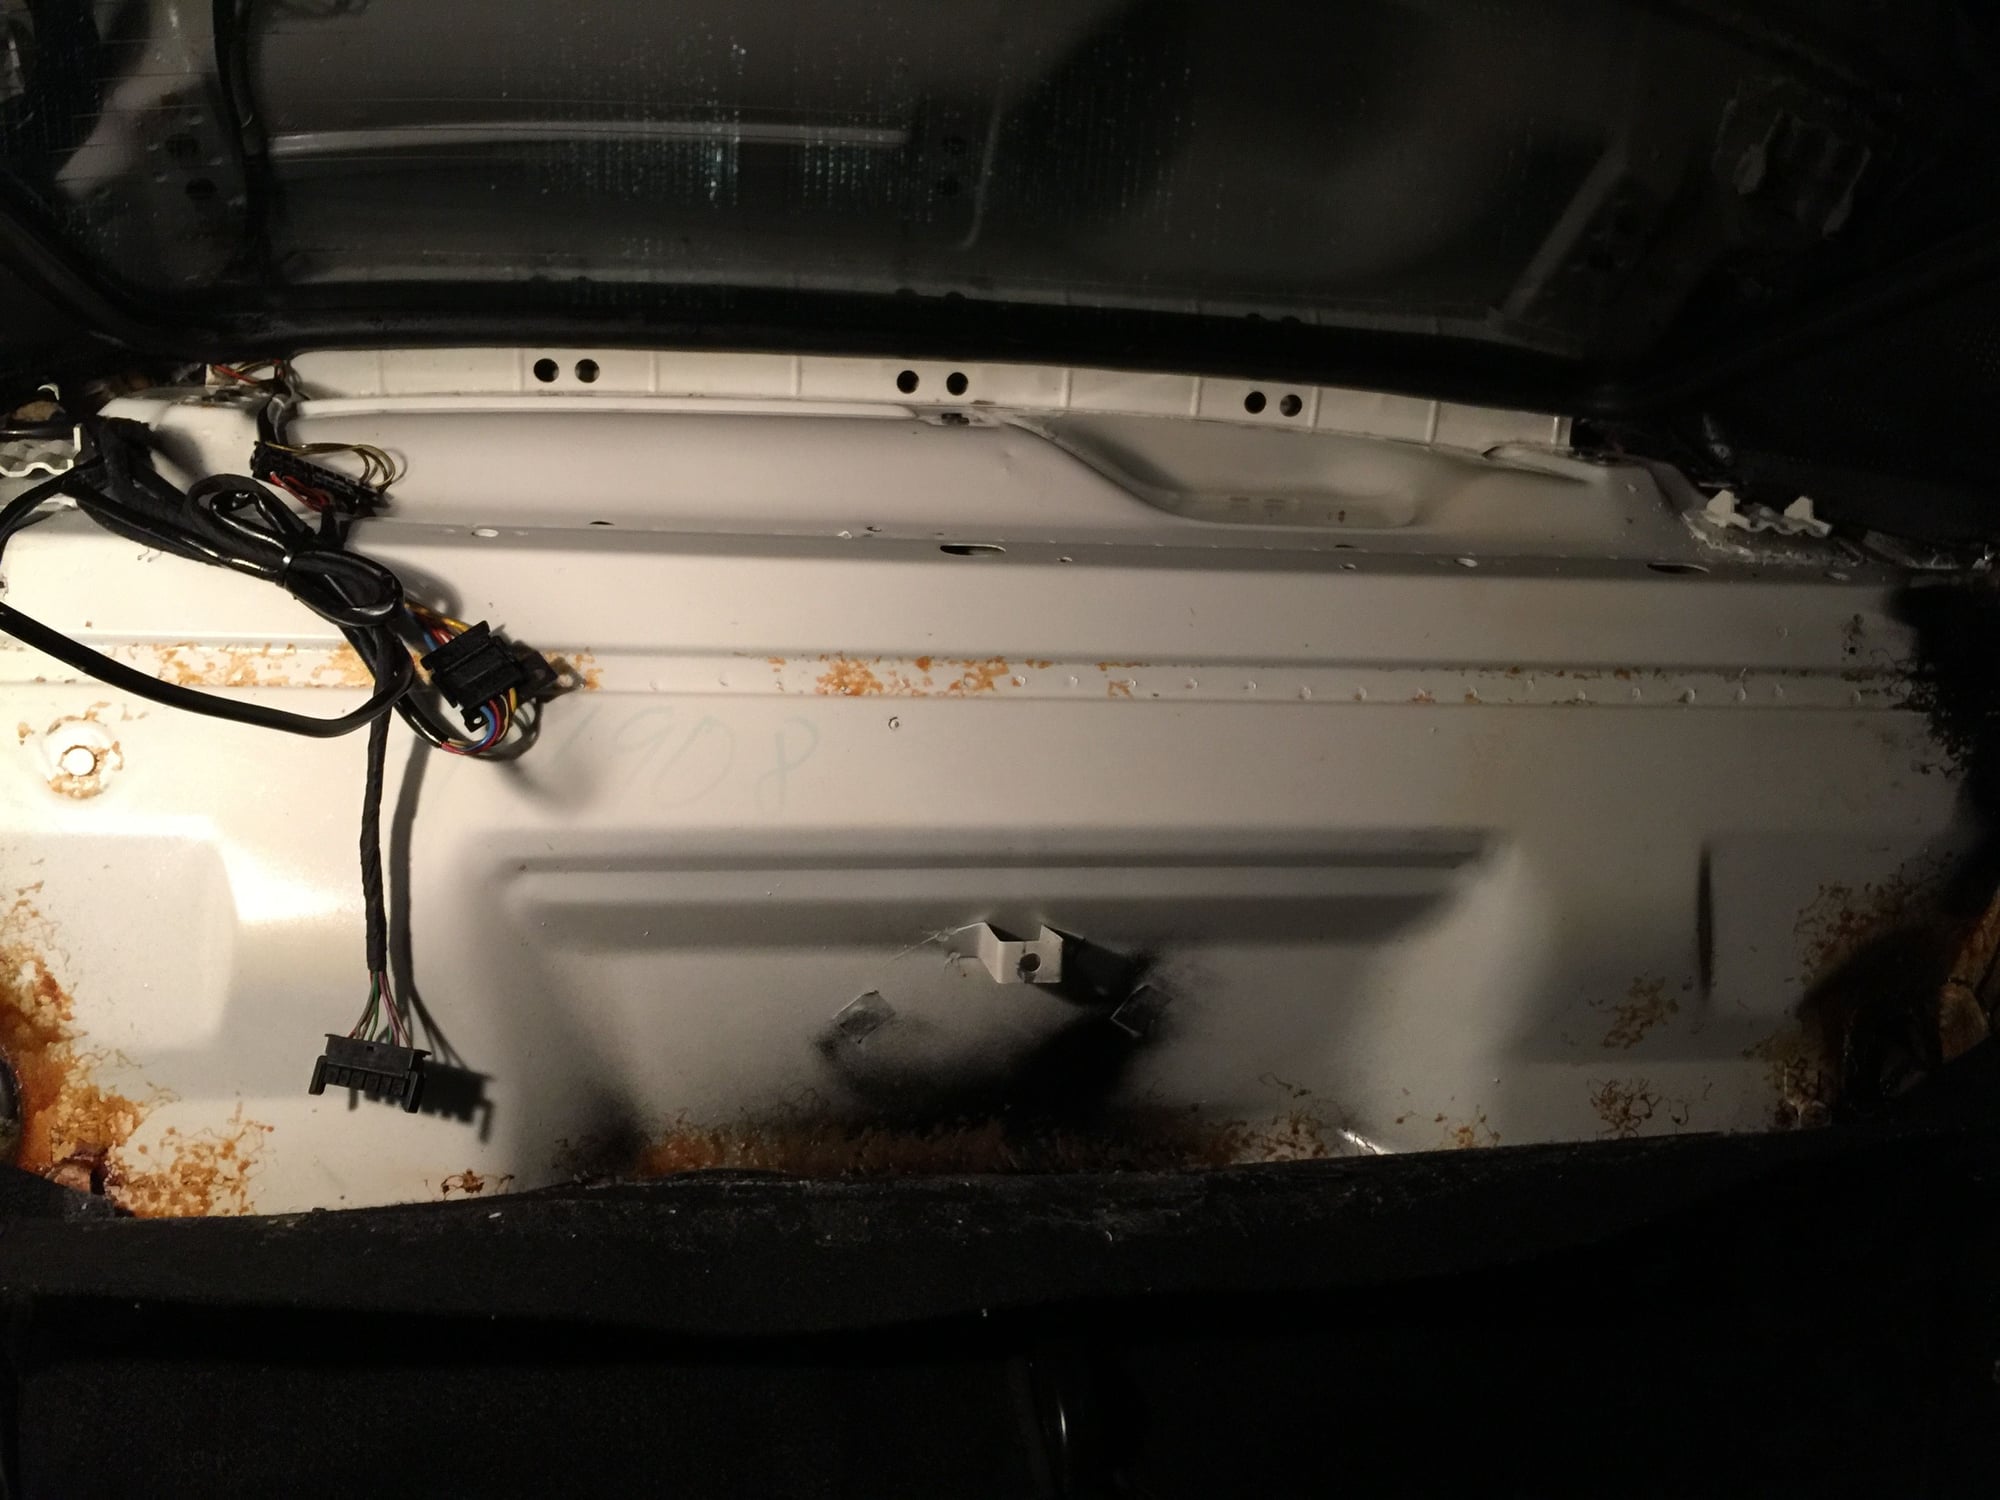
The insulation and glue were easy to remove here


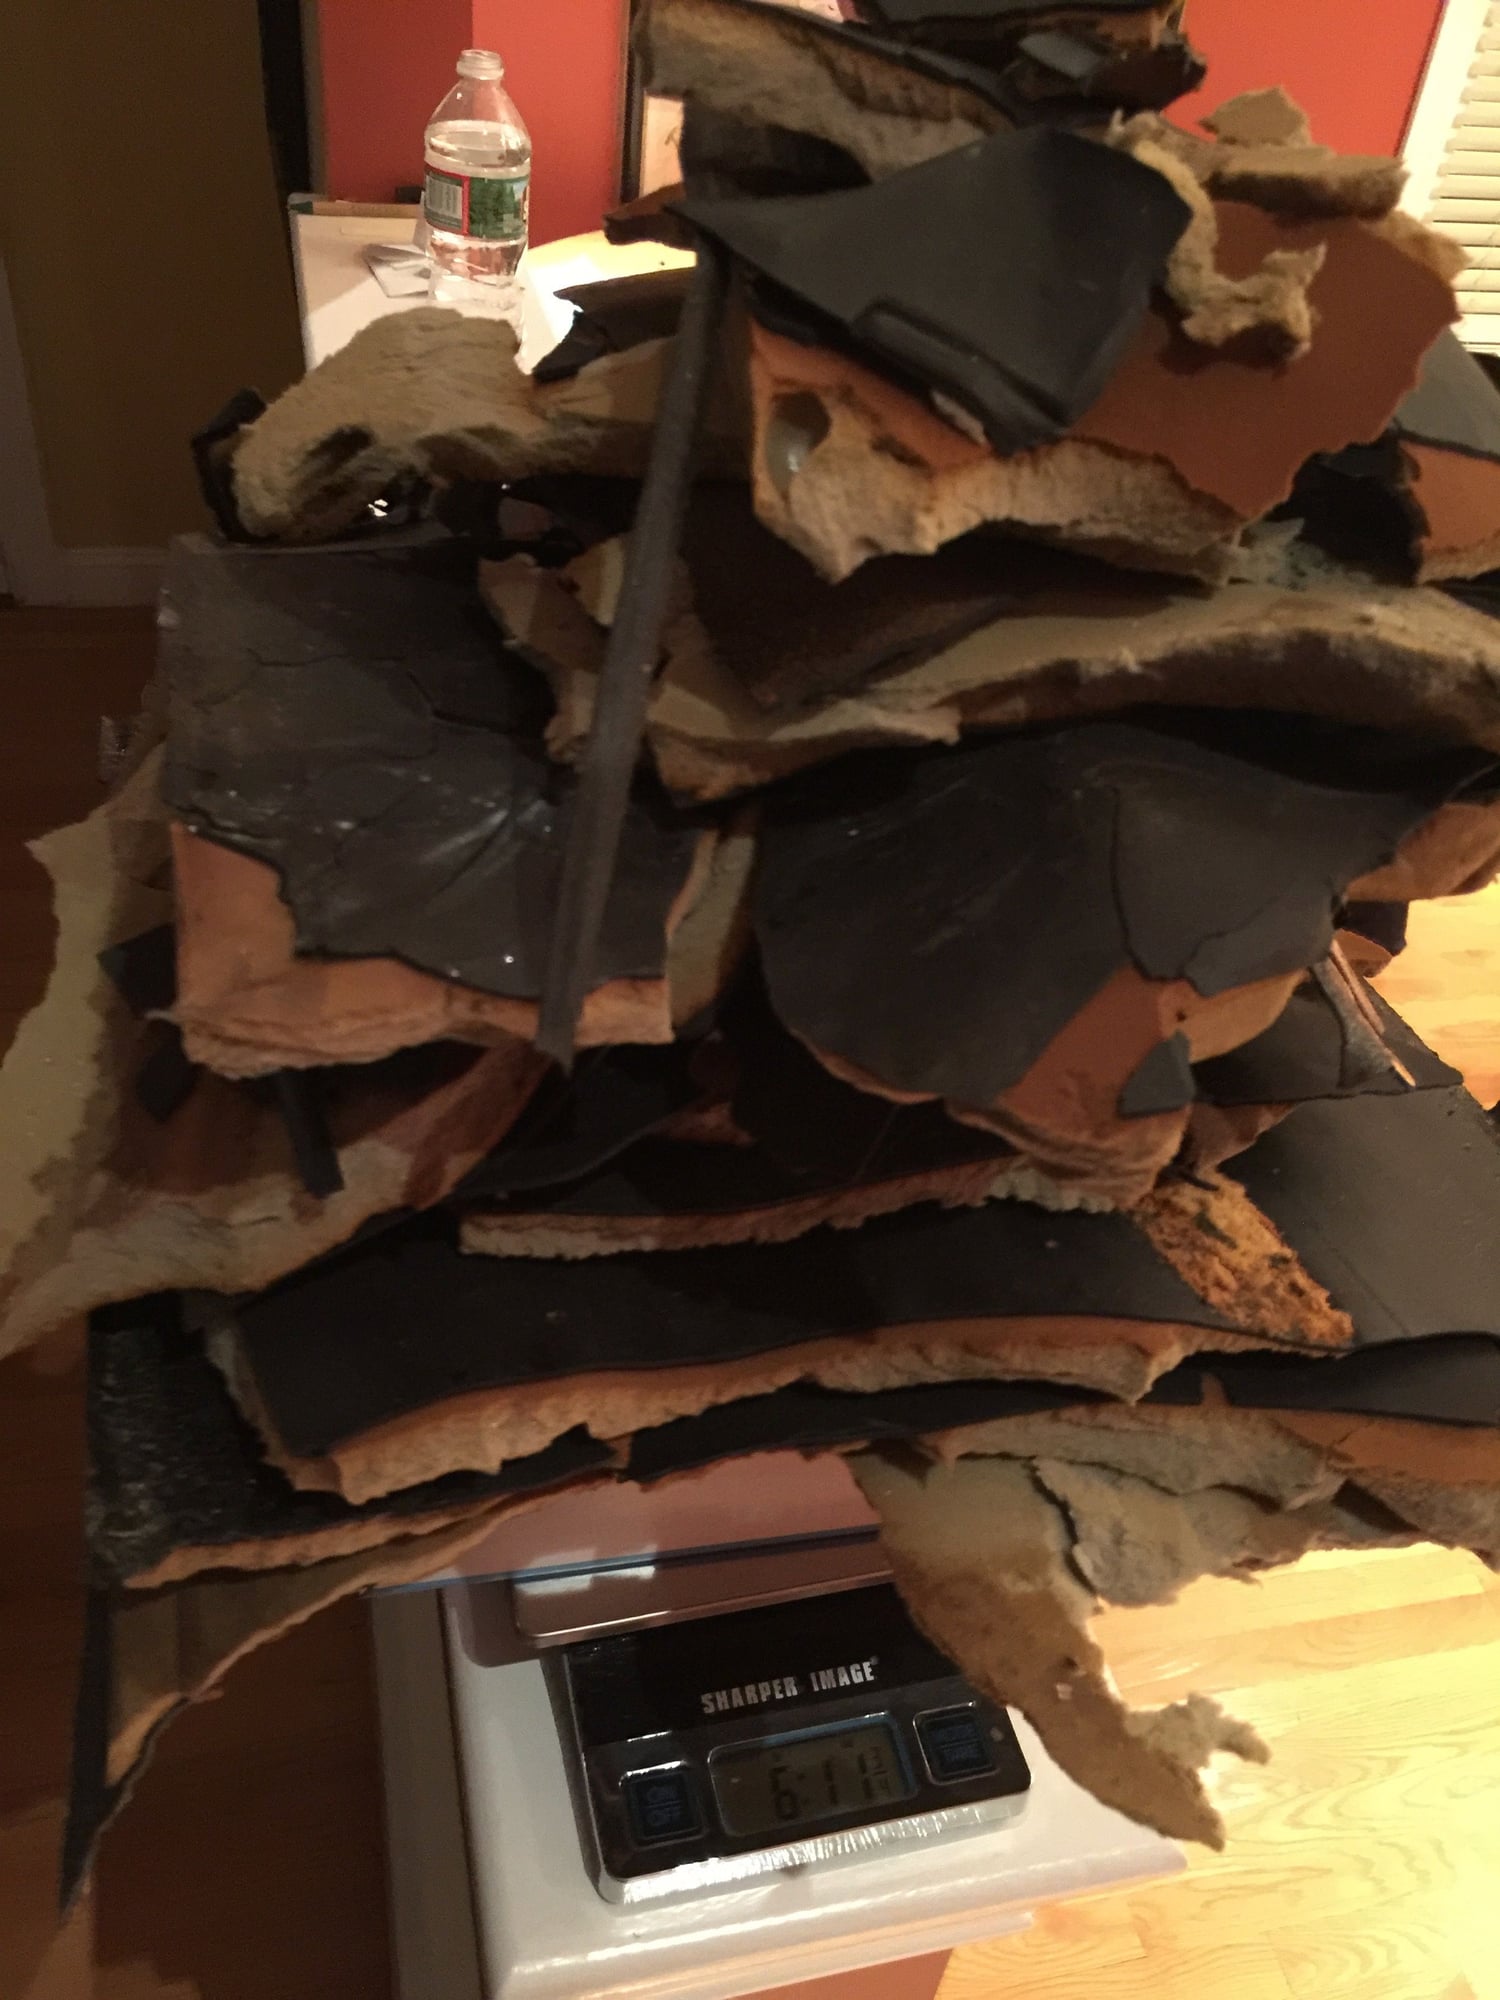
The weight really adds up


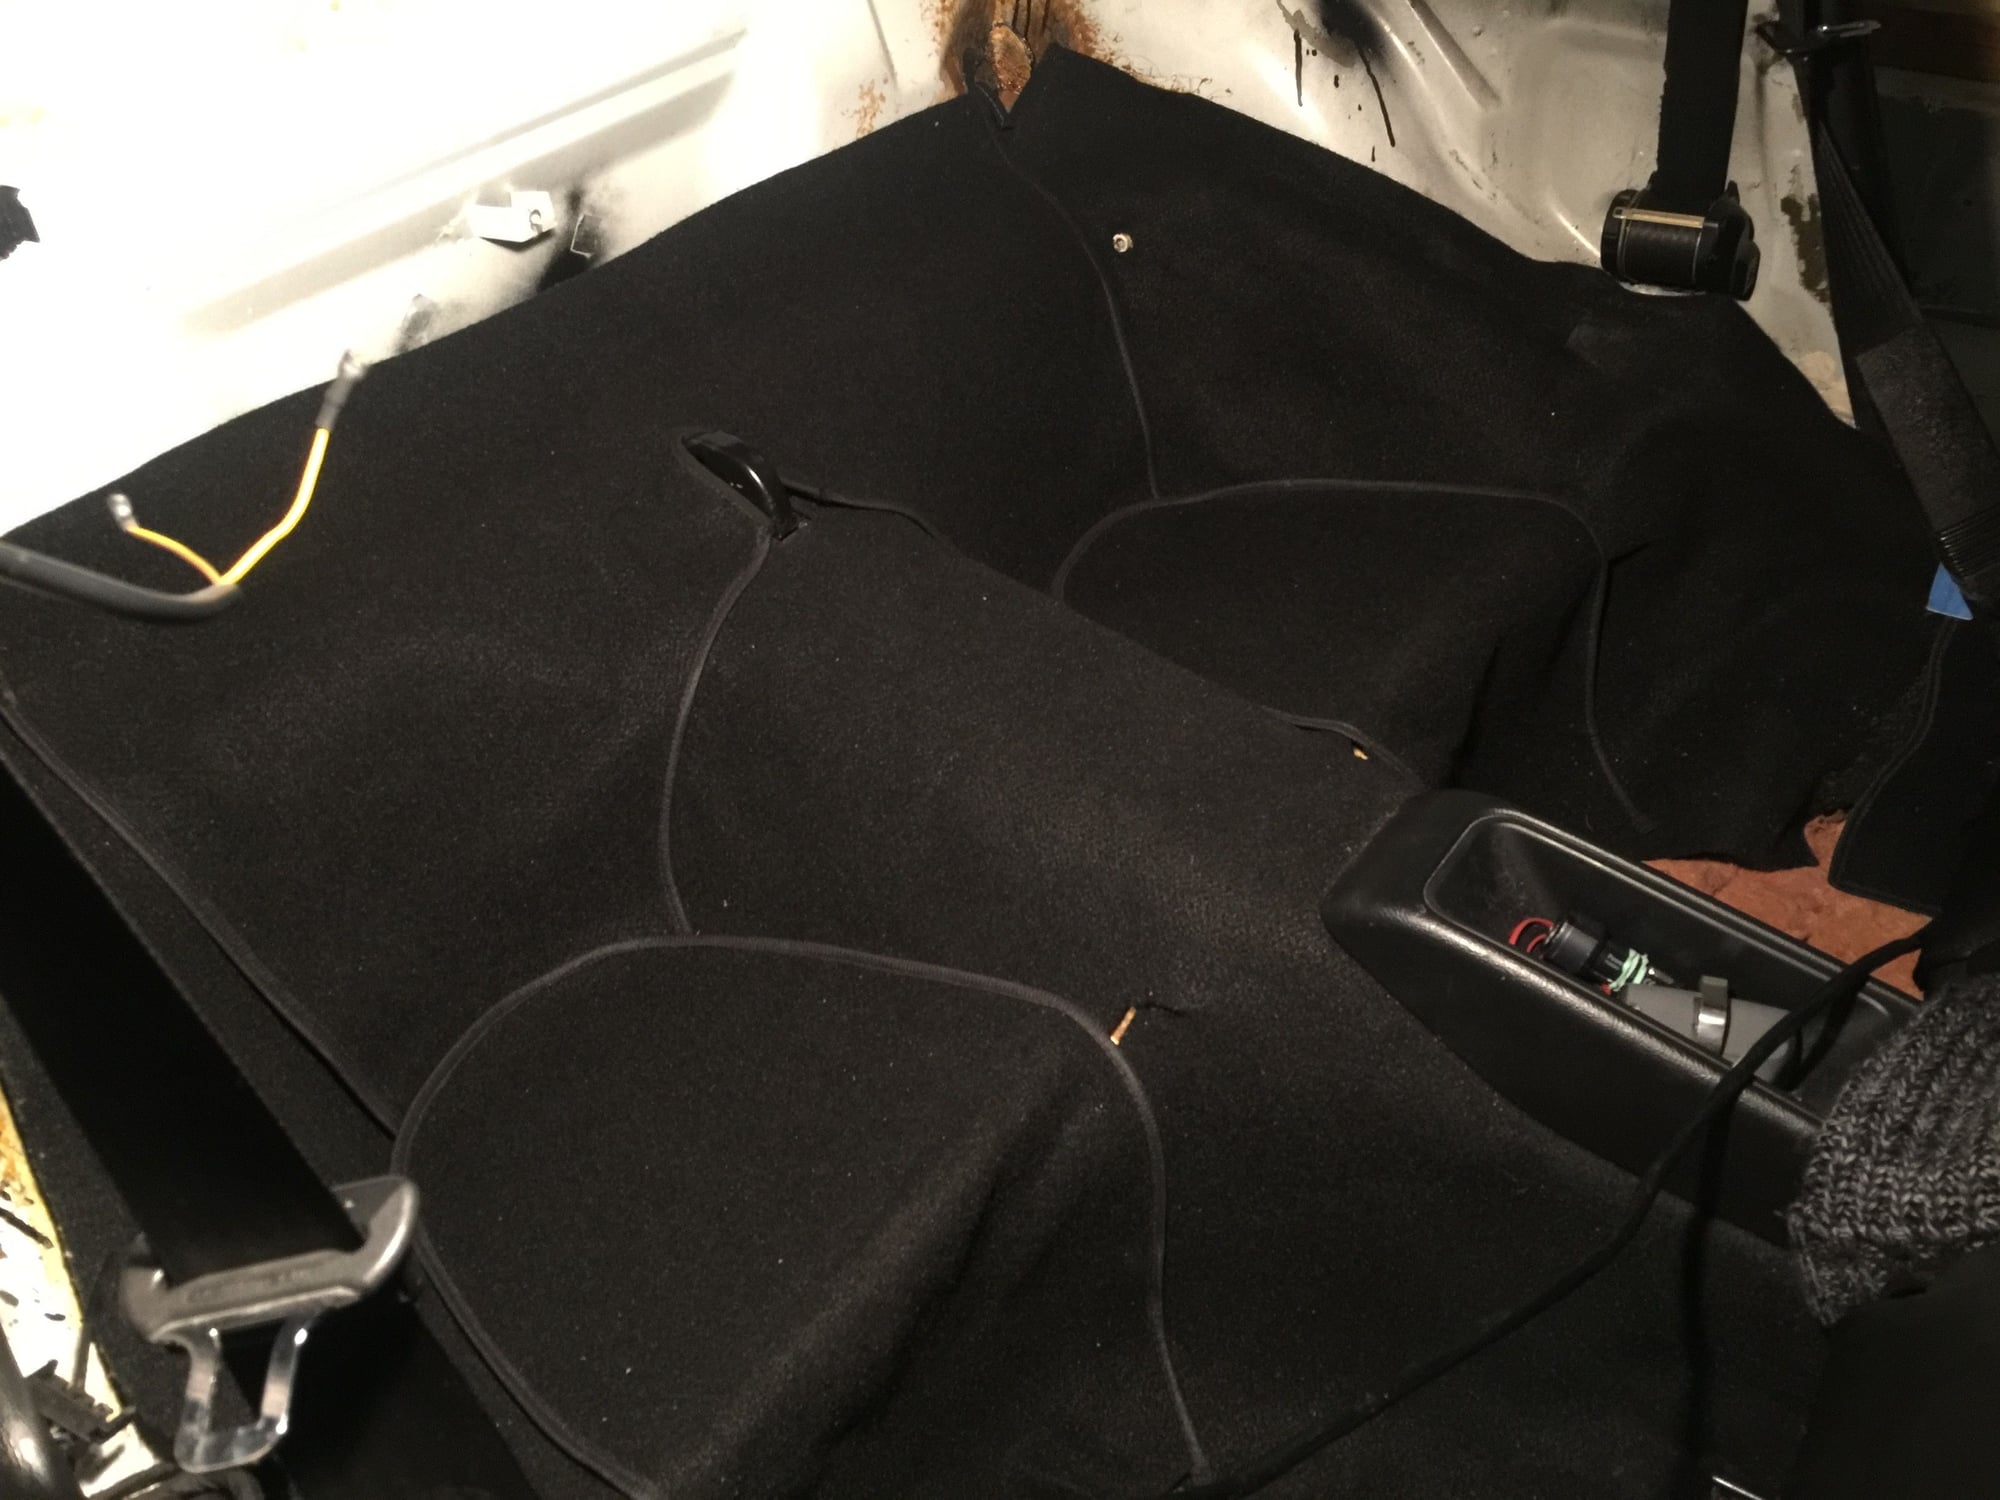
Original plan was to retain RS carpet after removing insulation like this


Not so easy cleaning this section up
Old 03-27-2018, 02:17 AM
  #47  
Foxman
Rennlist Member
Thread Starter
 
Foxman's Avatar
 
Join Date: Aug 2014
Location: Massachusetts
Posts: 4,428
Received 485 Likes on 360 Posts
Default


Mice really seem to love this spot in the back seat


Insulation pulled up here in a jiffy


Arsenal for the glue. I'm a big fan of Goo Gone, but thanks to Cobalt for recommending the Xylene!


Did they use roof tar back here?


Center console delete, really


Progress
Old 03-27-2018, 02:37 AM
  #48  
Foxman
Rennlist Member
Thread Starter
 
Foxman's Avatar
 
Join Date: Aug 2014
Location: Massachusetts
Posts: 4,428
Received 485 Likes on 360 Posts
Default


The brackets, and oiher bits all start to add up


Removed the door sills (1/4 lb.)


Removed the sun visors (2 3/4 lbs.)


Rust in driver side footwell


Rust on and around the pedal cluster - what a cluster-*-ck


Thankfully the gas pedal is plastic - but the hardware really rusted here


Bolts securing pedal cluster - PB Blaster worked nicely here


Pedal cluster needs to come out


But the push rod for the brake is rusted solid and isn't going anywhere


Torched the mono-ball on the push-rod, but still won't budge


There's more than one way to skin a cat. Jacked up the car, took the left front wheel off


And disconnected the other end of the brake push-rod here under the boot
Old 03-27-2018, 02:55 AM
  #49  
John McM
Rennlist Member
 
John McM's Avatar
 
Join Date: May 2001
Location: Auckland, New Zealand.
Posts: 13,205
Received 564 Likes on 339 Posts
Default

Good work. Looks like the ARB bracket might be weakened by corrosion.
Old 03-27-2018, 03:02 AM
  #50  
Foxman
Rennlist Member
Thread Starter
 
Foxman's Avatar
 
Join Date: Aug 2014
Location: Massachusetts
Posts: 4,428
Received 485 Likes on 360 Posts
Default


While the left wheel was off,


Pedal Cluster is out!


The rust on the bearing bracket (964 355 321 03) was extensive, but the unit was salvagable


The bearing tube ((964 423 069 00) was too far gone


Pedal Cluster refurbish in progress


The clutch felt a bit stiff - now I know why. It was also double-sprung (Note extra hole in the spring support


All the hardware and bushings are removed sand replaced with new ones


Grind off as much rust as possibe


All the pedal bits
Old 03-27-2018, 03:06 AM
  #51  
Foxman
Rennlist Member
Thread Starter
 
Foxman's Avatar
 
Join Date: Aug 2014
Location: Massachusetts
Posts: 4,428
Received 485 Likes on 360 Posts
Default

Originally Posted by John McM
Good work. Looks like the ARB bracket might be weakened by corrosion.
Good catch John, thanks. It seems the whole car is like that. New RS sway bars and brackets are in the basement, ready to go in shortly.
Old 03-27-2018, 03:14 AM
  #52  
Foxman
Rennlist Member
Thread Starter
 
Foxman's Avatar
 
Join Date: Aug 2014
Location: Massachusetts
Posts: 4,428
Received 485 Likes on 360 Posts
Default


With the push-rod finally out of the car, a puller makes easy work of breaking the rod free


But that darn mono-ball is still frozen solid!


Bill Pfister at Eurotech finally cuts the darn thing off


That was a PIA


I knocked off as much rust as possible


All the major bits are sent off to be powder-coated while various new parts are ordered to refurbish the cluster
Old 04-06-2018, 09:34 PM
  #53  
Foxman
Rennlist Member
Thread Starter
 
Foxman's Avatar
 
Join Date: Aug 2014
Location: Massachusetts
Posts: 4,428
Received 485 Likes on 360 Posts
Default

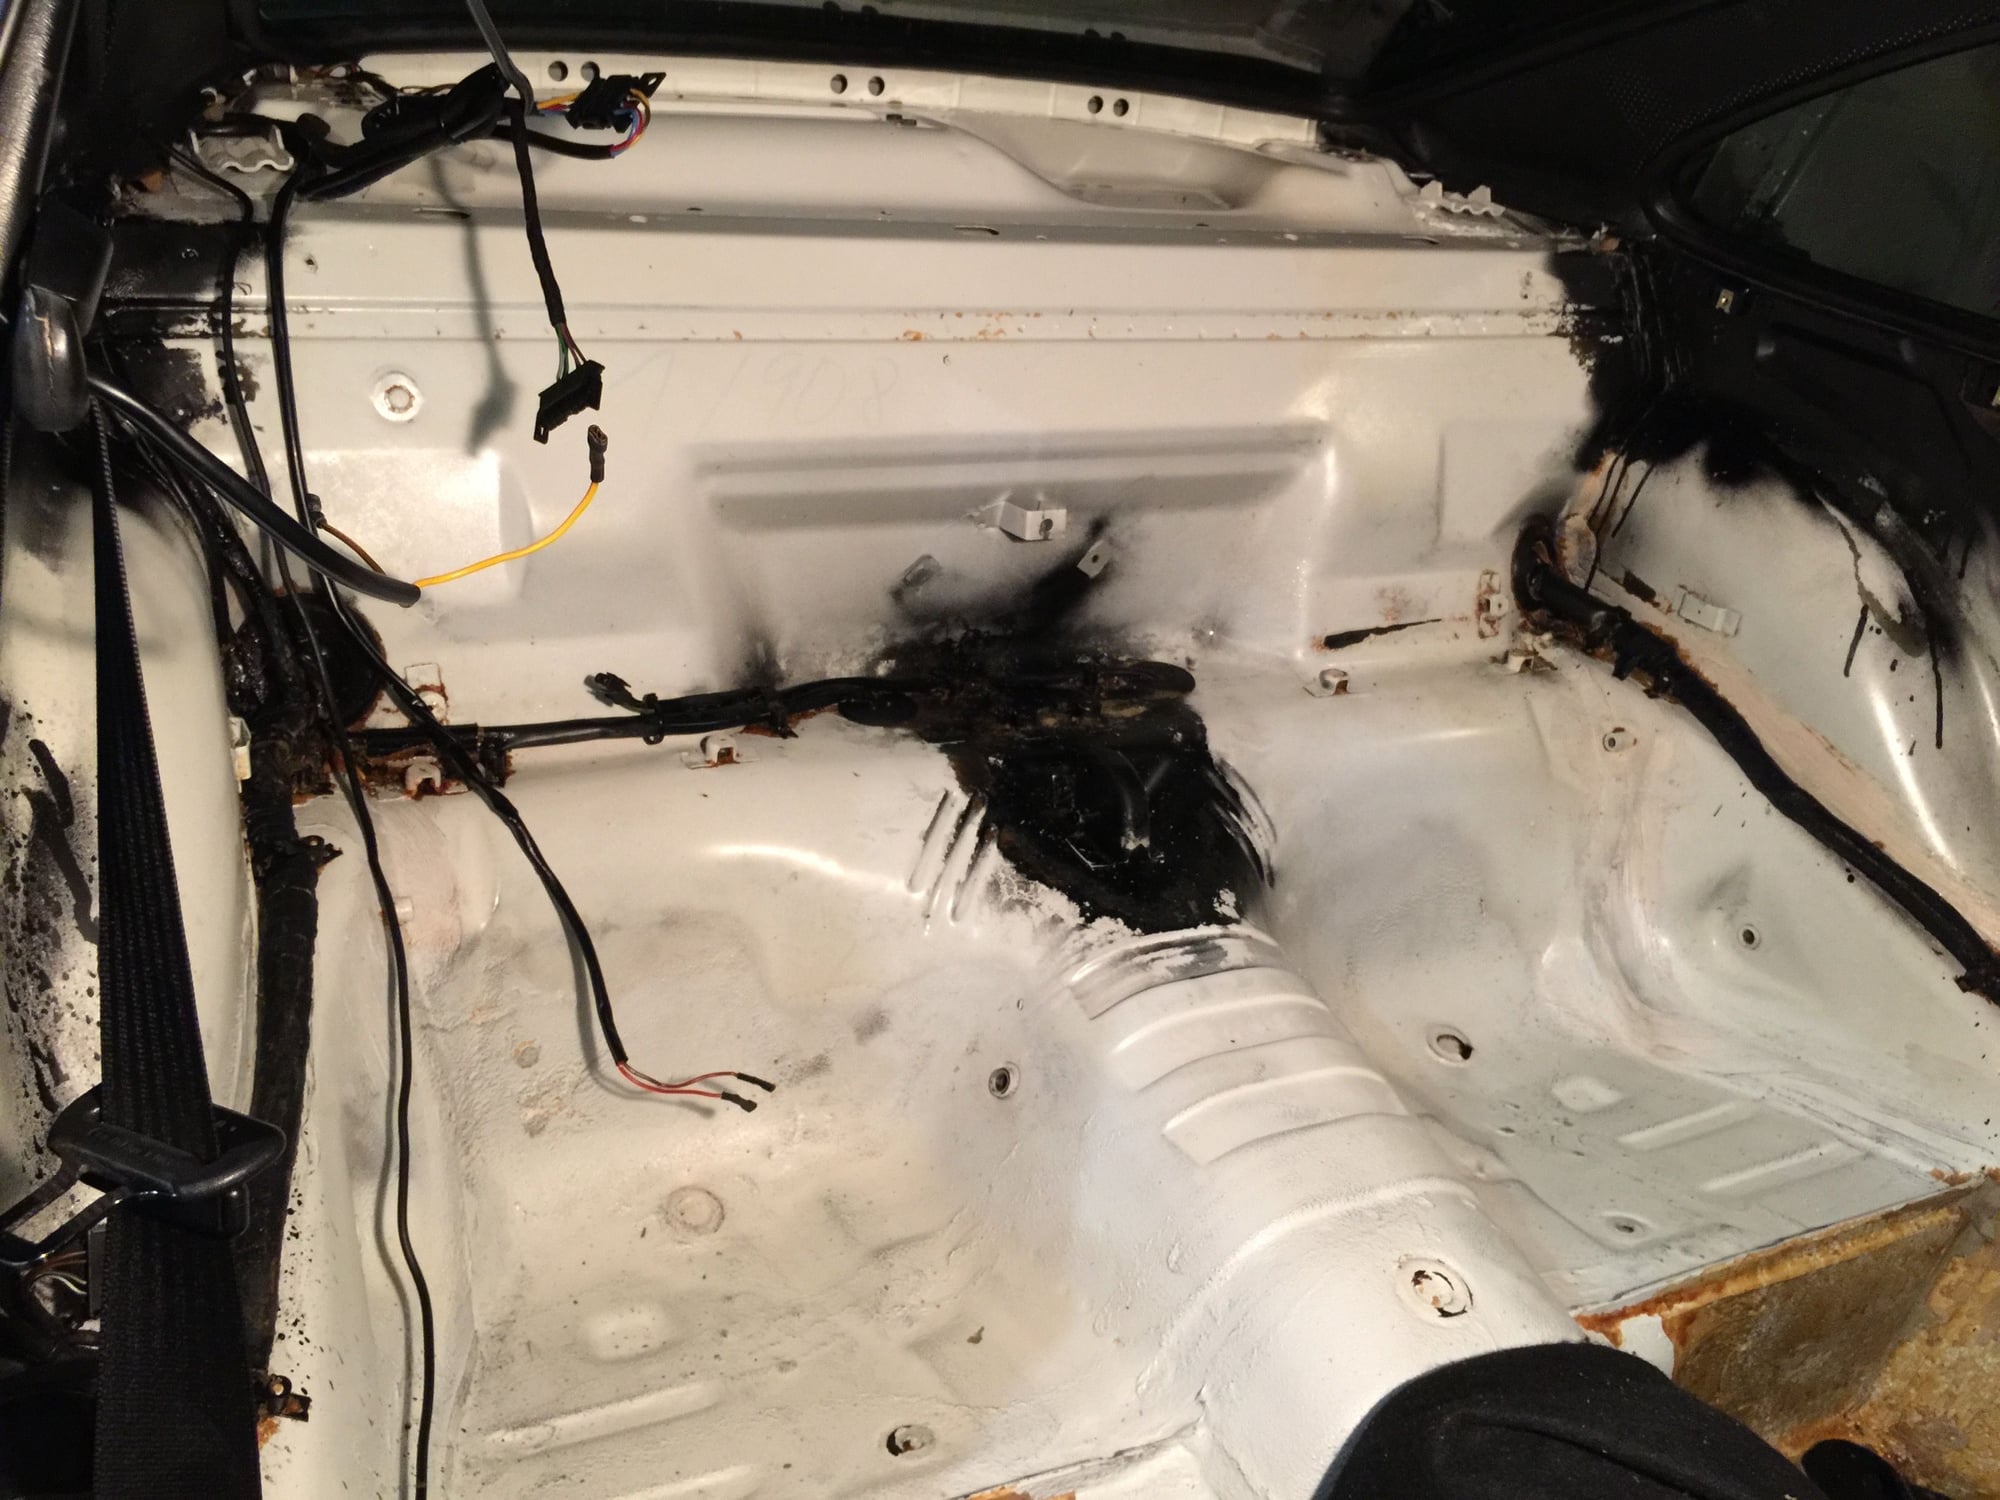
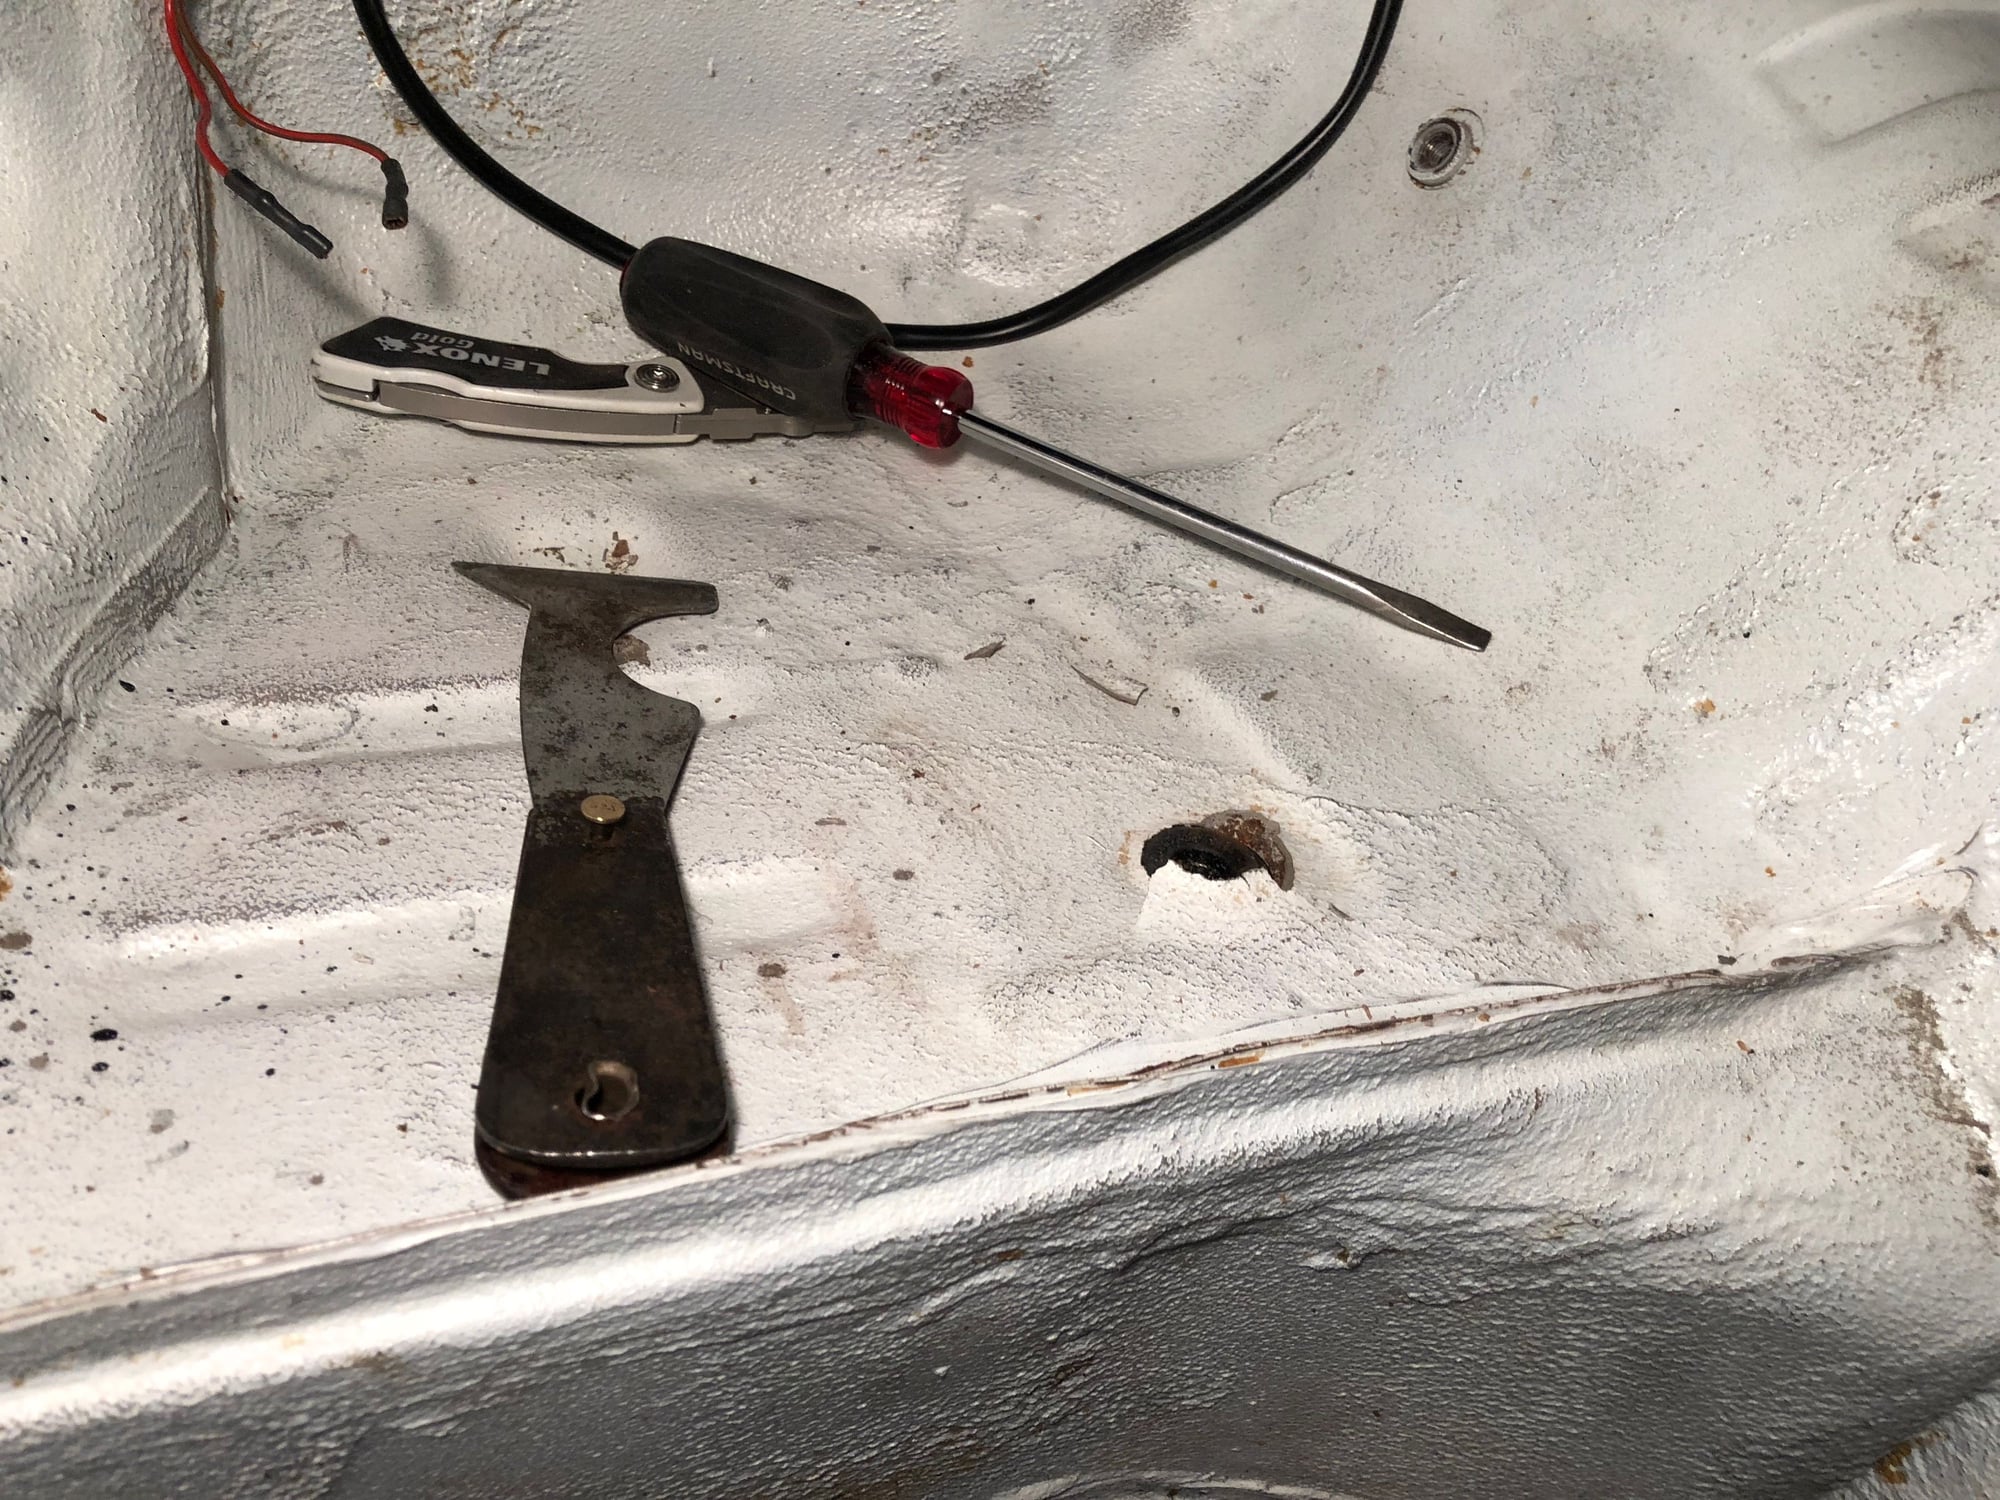
Here's where things start to go sideways. The plan was to use a wheel wire brush and drill to remove the surface rust off the driver side floor board. Heck, I had already ordered a rattle can of paint from Touch Up Direct. Easy. But as I peaked under the rubber covering the center drain holeI, I discovered that the rust was far more extensive underneath. The rubber appears to have trapped the moisture from inside, and it was literally eating away at the car. And someone at the factory really loaded it on heavily when applying the rubber on my 964.

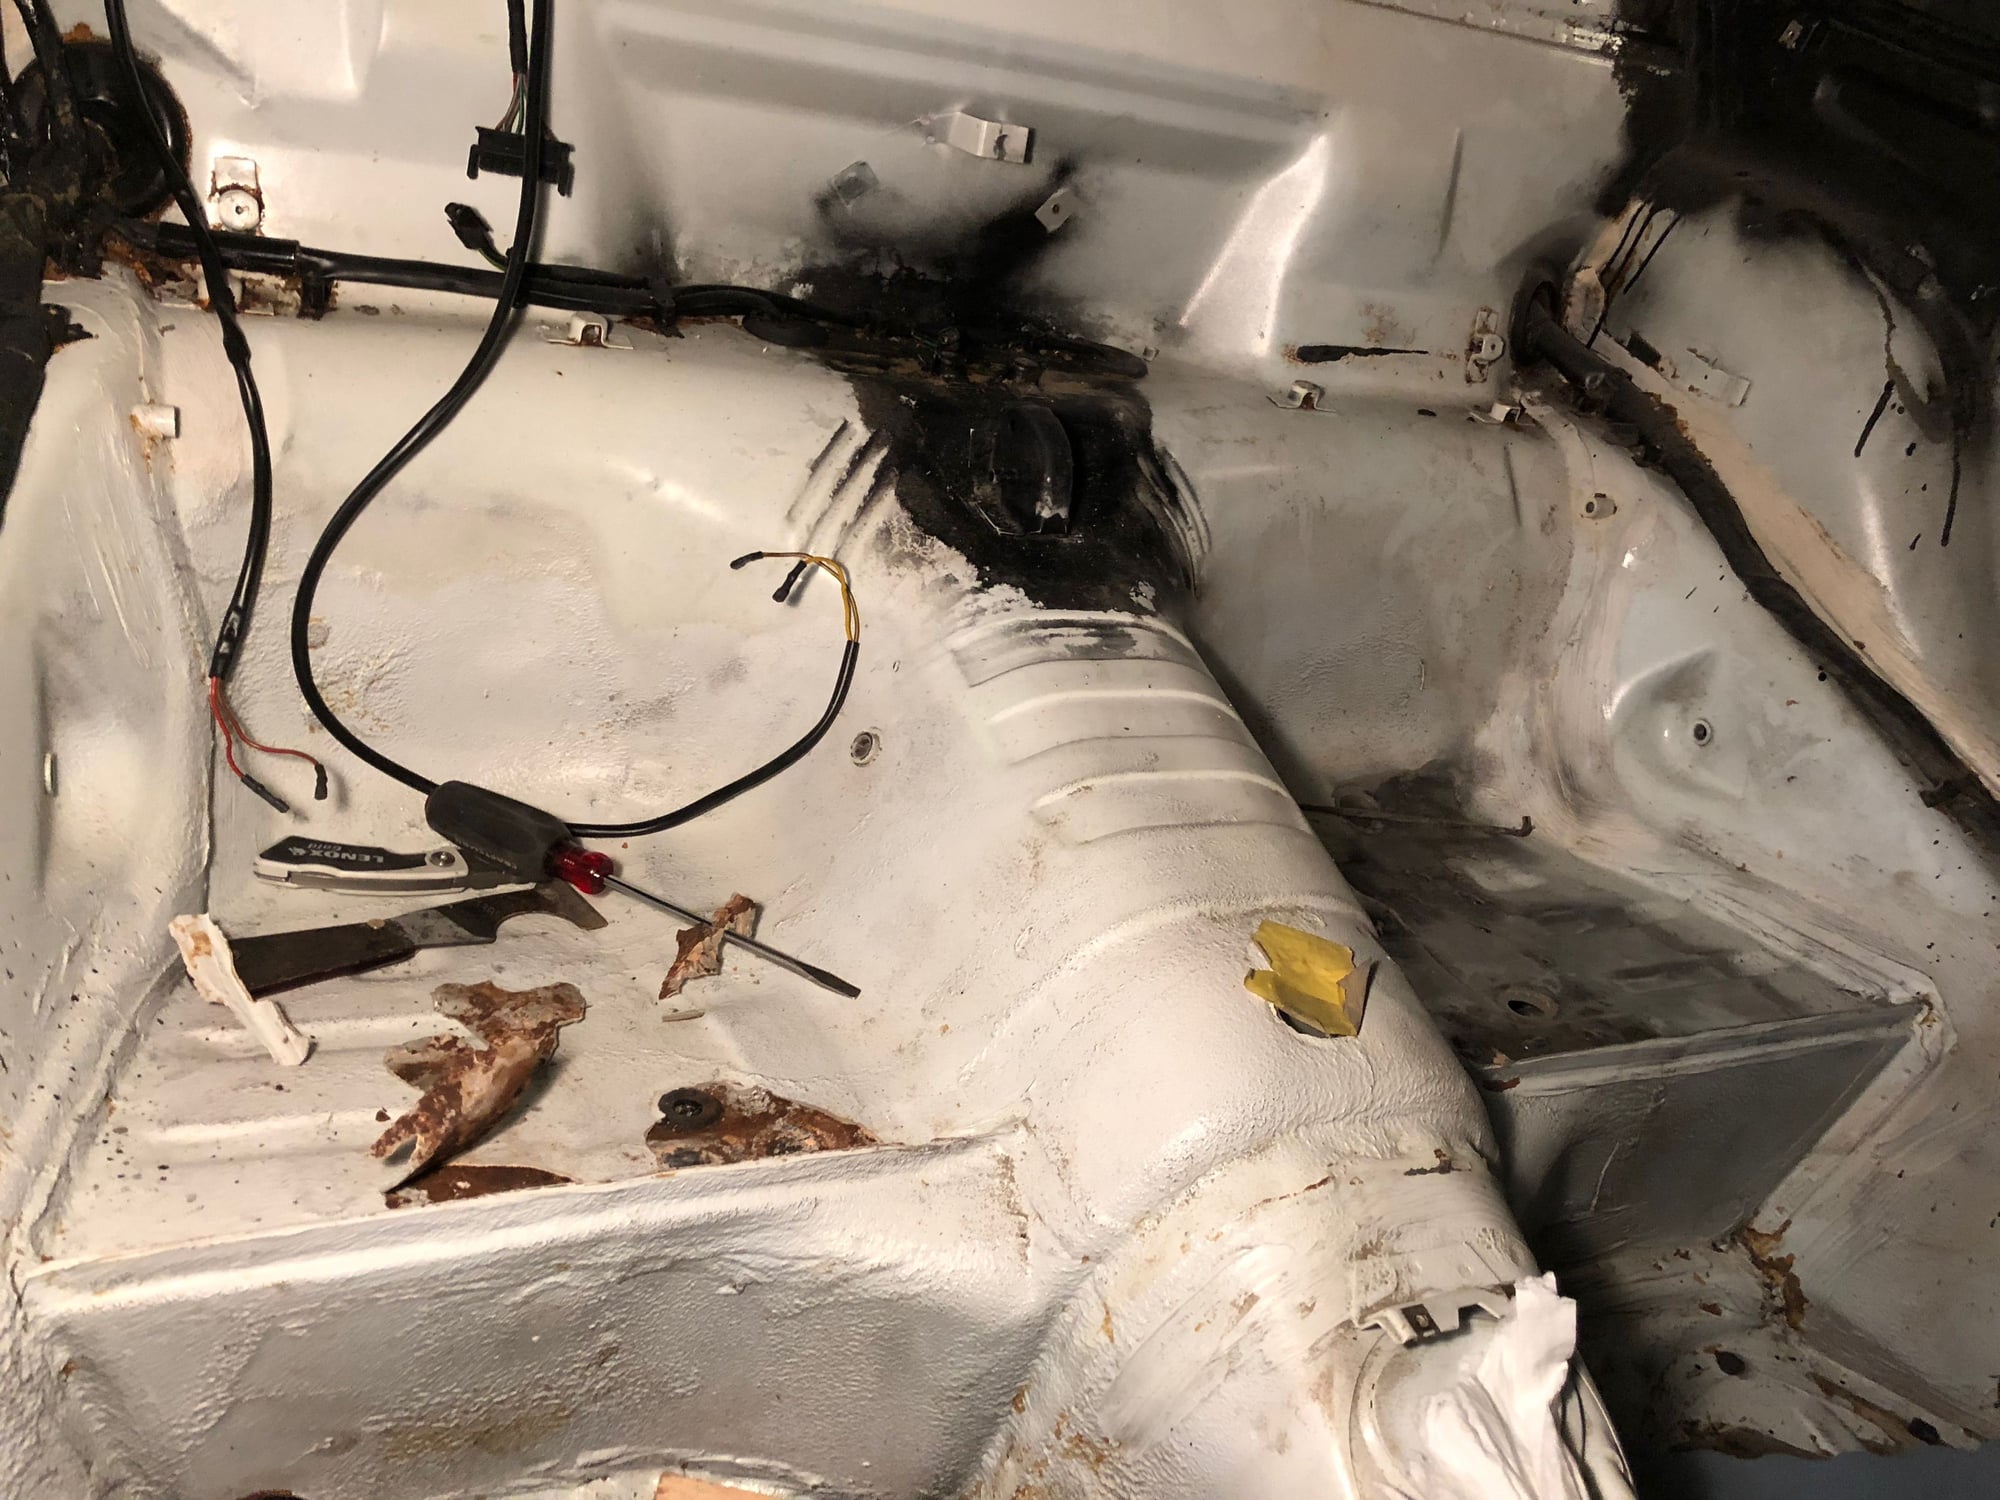
Armed with this realization that rubber was a breeding ground for interior rust, I began inspecting the whole car more closely. Sure enough, there was rust under all of the rubber on the floor boards. Worse, there rust on the rear seats. Heck, there's rust everywhere... The one saving grace was that I caught this in time, while it was still just surface rust. So it's grind, grind, grind the rust away.


Plan is to brush away the rust on the front floor board and do a quick touch up


Peaking under the rubber, it looks like more rust hiding underneath


Yup, surface rust under the rubber


The back seat appeared to have avoided any rust


But probing under the paint proves otherwise


Wherever there's rubber, there's rust
Old 04-06-2018, 09:42 PM
  #54  
Foxman
Rennlist Member
Thread Starter
 
Foxman's Avatar
 
Join Date: Aug 2014
Location: Massachusetts
Posts: 4,428
Received 485 Likes on 360 Posts
Default


Where there's rubber...


Grind


Grind


And grind some more


Kicked to the driveway so I can work on the 993 for a bit...
Old 04-06-2018, 10:03 PM
  #55  
golfnutintib
Rennlist Member
 
golfnutintib's Avatar
 
Join Date: Sep 2014
Location: ..............
Posts: 3,859
Likes: 0
Received 44 Likes on 36 Posts
Default

labor of love depicted

nice to see u document it

so pretty from 12-15 ft,,, so many signs of age and environment down below and in the innards
Old 04-07-2018, 05:15 AM
  #56  
Dingo
Three Wheelin'
 
Dingo's Avatar
 
Join Date: Dec 2017
Posts: 1,484
Received 120 Likes on 87 Posts
Default

Good work mate, lucky you got to the rust before it got any worse. Man I can't wait to see the interior finished. You should just polish it lol
Old 04-10-2018, 04:39 PM
  #57  
Foxman
Rennlist Member
Thread Starter
 
Foxman's Avatar
 
Join Date: Aug 2014
Location: Massachusetts
Posts: 4,428
Received 485 Likes on 360 Posts
Default

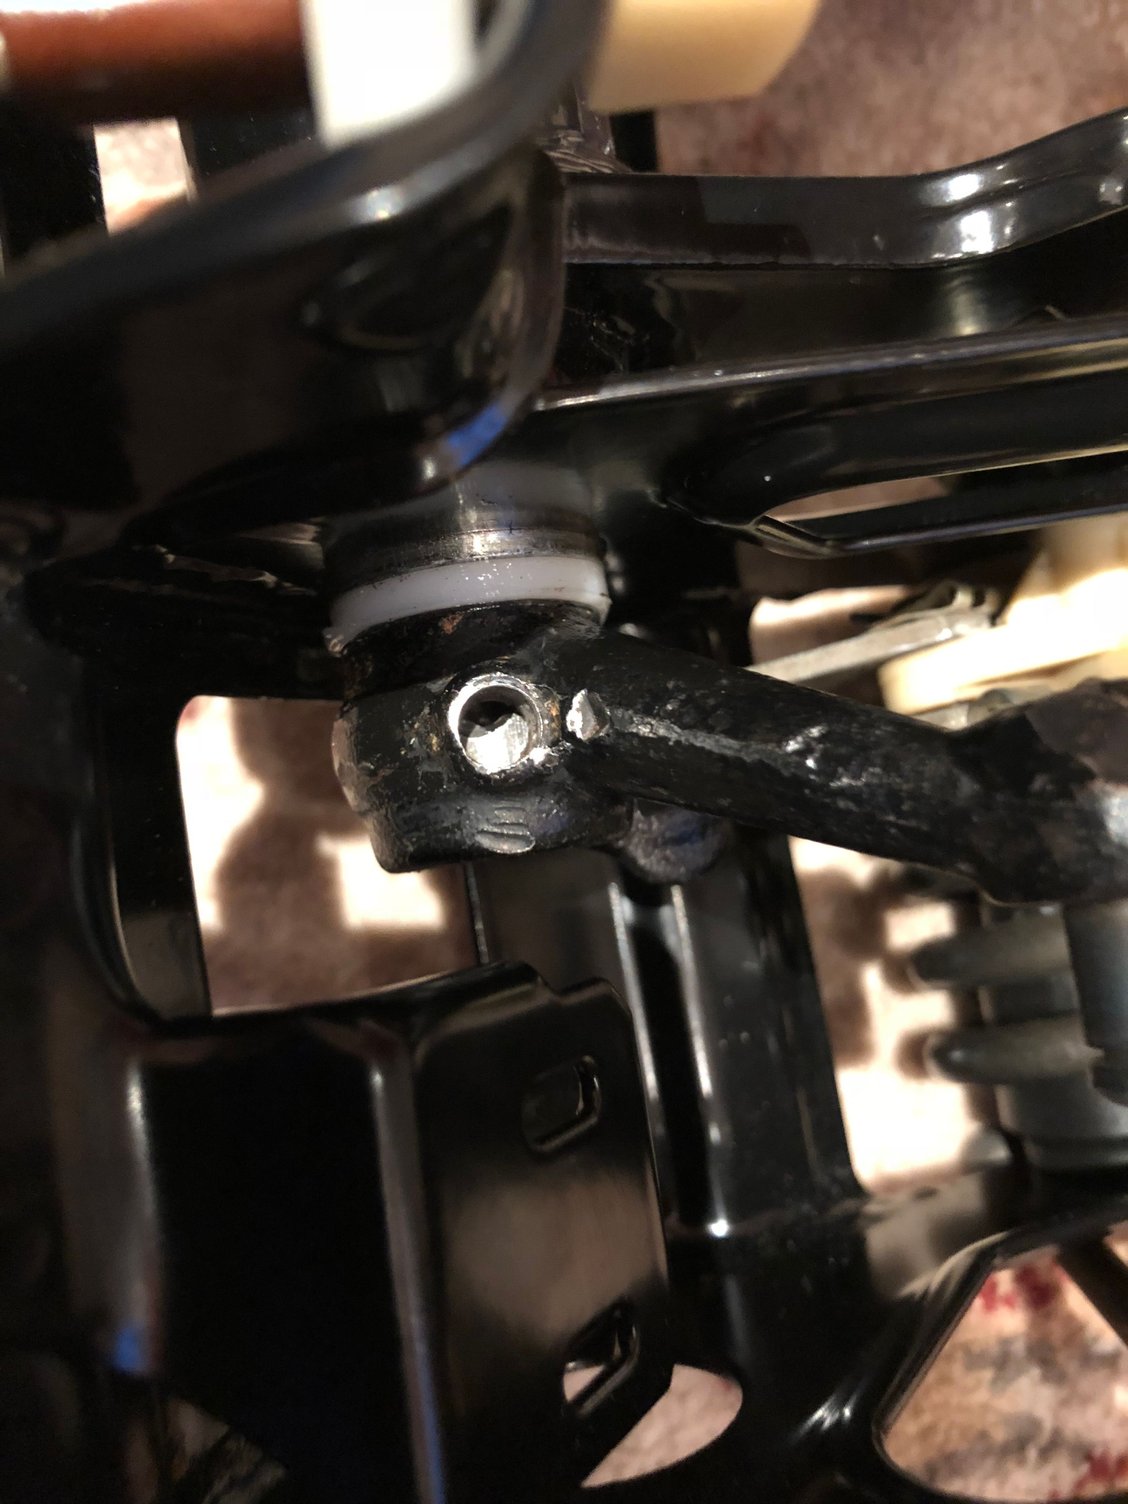
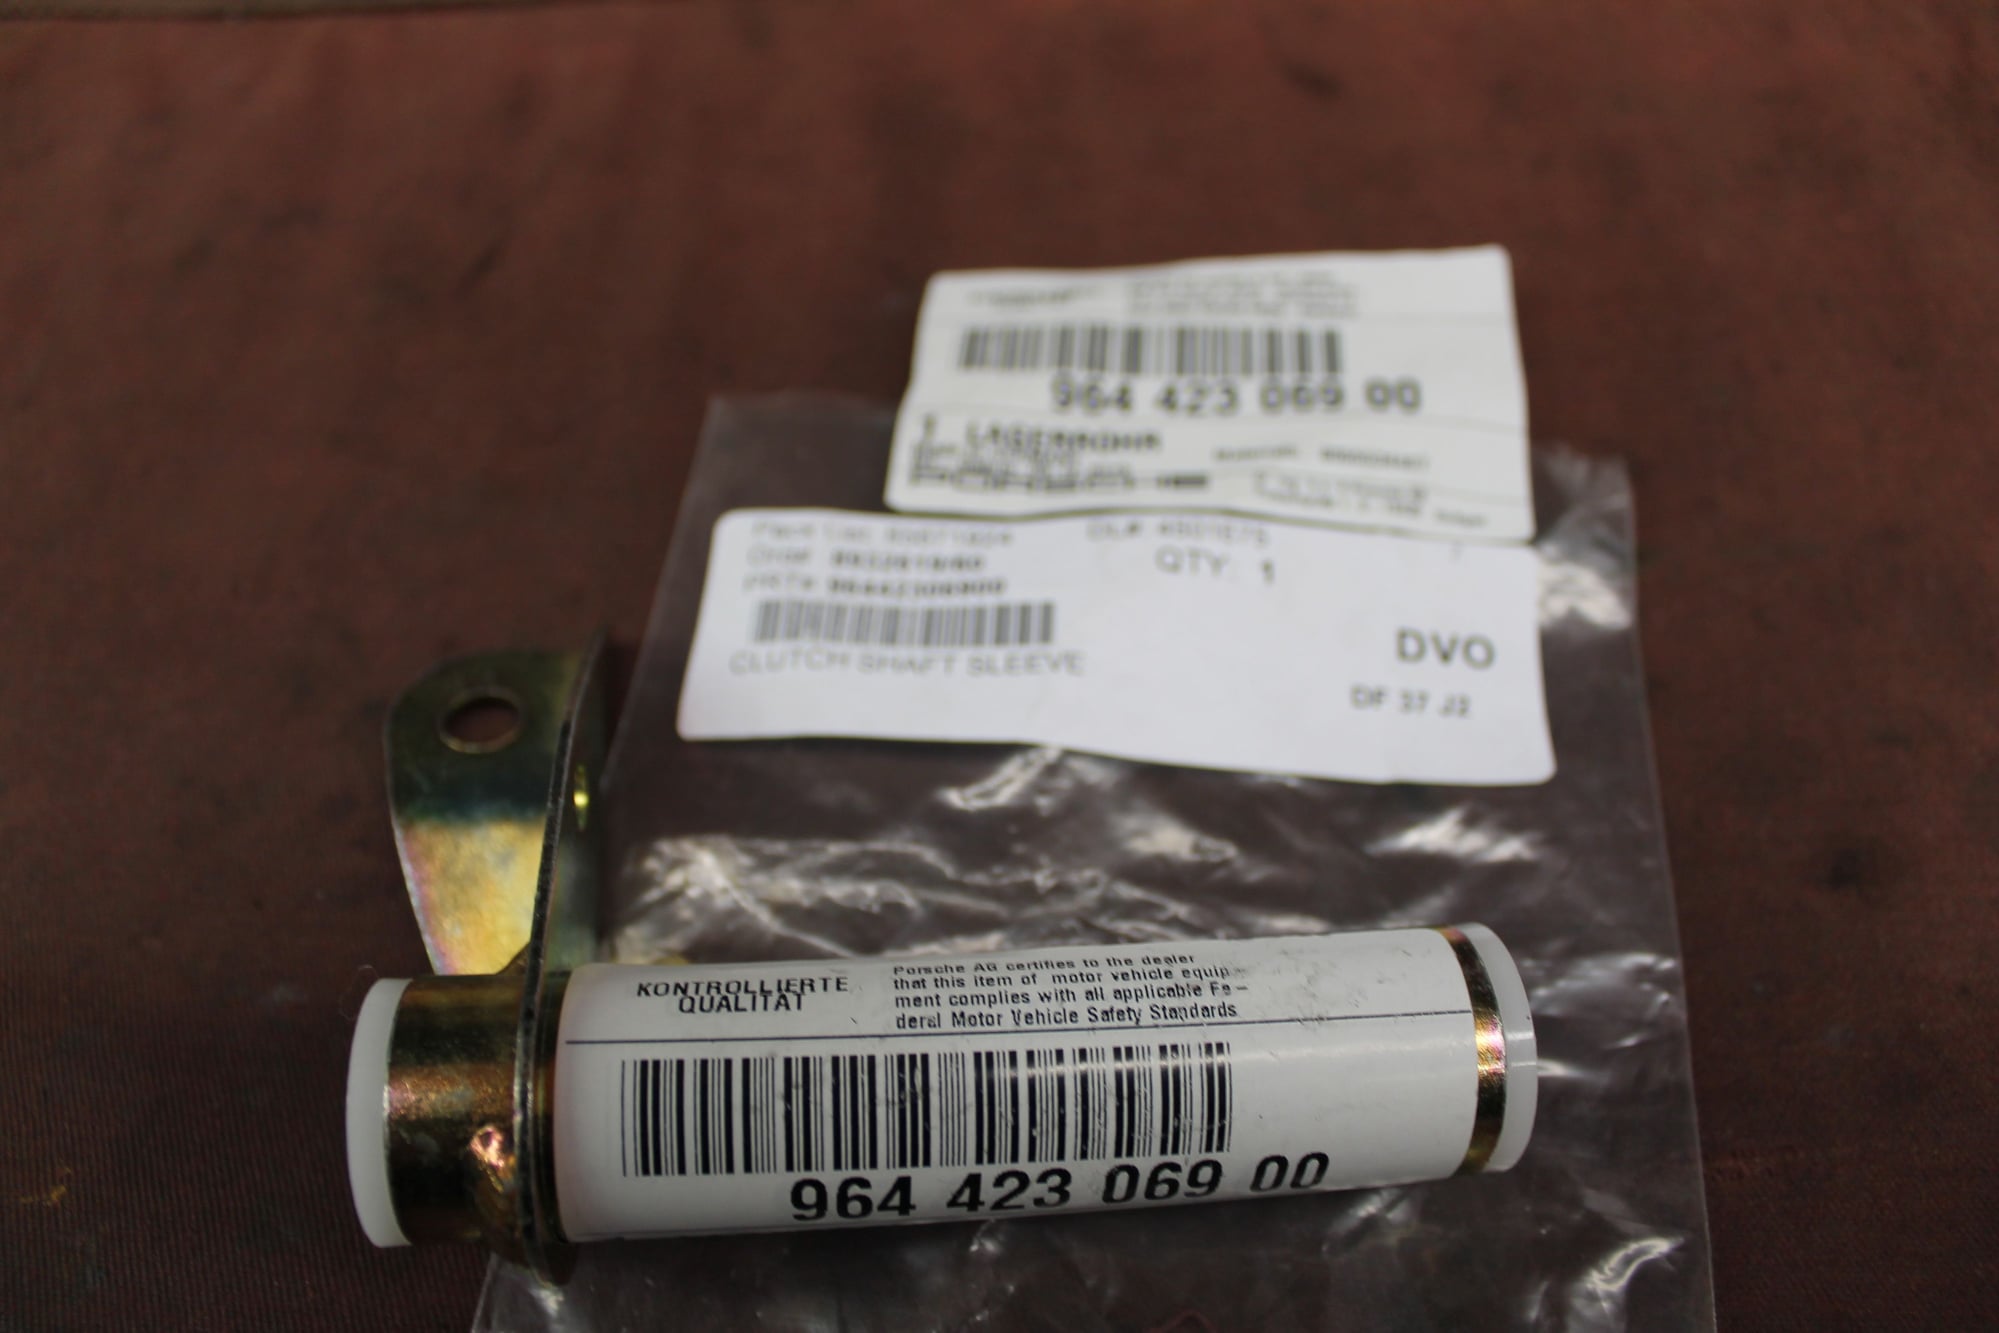
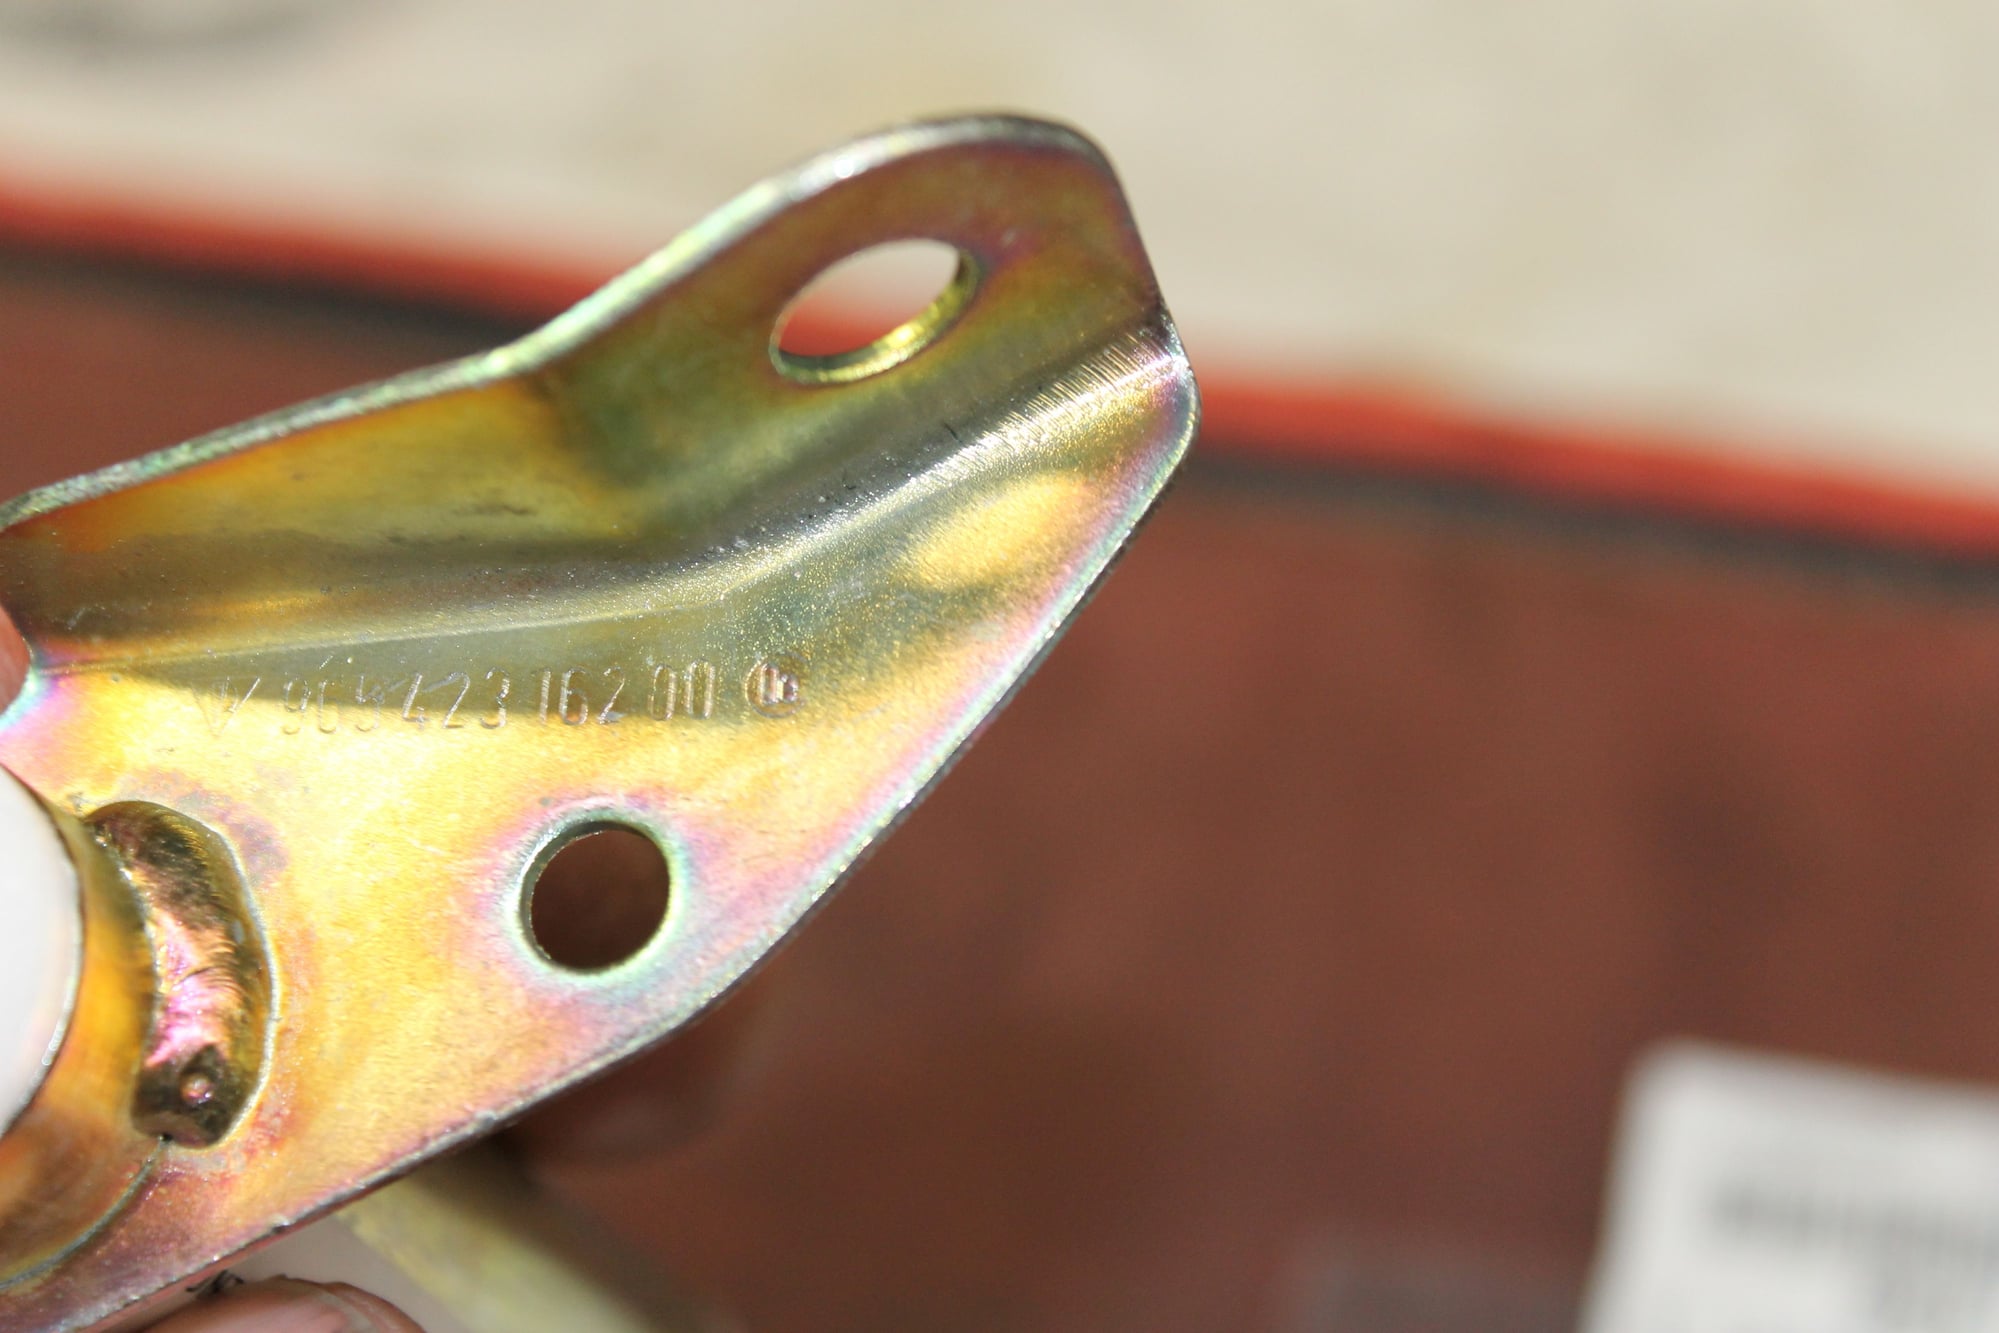
The pedal cluster box and pedals look great after a fresh powder coat. I purchased new bushes and hardware and reassembled the pedal cluster. But the hole in clutch arm didn’t line up properly with the kinematic lever. It seemed like the clutch tube was 4mm longer than the original tube, but it’s the same part number! Hold the phone. It turns out Porsche messed up and mislabeled all of the clutch tubes now in stock in the US. They’re all labeled 964 423 069 00, but the part number stamped on the clutch sleeve is 965 423 069 00. That’s the sleeve for the turbo. It looks exactly the same but for the fact it’s 4mm longer.

New correct part en route now, from Germany...


Pedal assembly powder coated, all new hardware and bushes.


Clutch sleeve seems too long and hole doesn’t line up.


Correct 964 part number labeled


But the part is stamped 965. Part was mislabeled
Old 04-10-2018, 04:54 PM
  #58  
honduh
Intermediate
 
honduh's Avatar
 
Join Date: Mar 2018
Posts: 30
Likes: 0
Received 3 Likes on 3 Posts
Default

Nice work on everything!
Old 04-10-2018, 04:59 PM
  #59  
Foxman
Rennlist Member
Thread Starter
 
Foxman's Avatar
 
Join Date: Aug 2014
Location: Massachusetts
Posts: 4,428
Received 485 Likes on 360 Posts
Default

Originally Posted by honduh
Nice work on everything!
Thank you, Sir!
Old 04-10-2018, 07:53 PM
  #60  
CBA
Rennlist Member
 
CBA's Avatar
 
Join Date: Sep 2014
Location: California
Posts: 375
Received 13 Likes on 10 Posts
Default

Wow... keep it up, be interested in the end product, that is if it ever ends..


Quick Reply: Chronicling the restoration and rebuild of Wilbur, the Pig


All times are GMT -3. The time now is 10:32 AM.