When you click on links to various merchants on this site and make a purchase, this can result in this site earning a commission. Affiliate programs and affiliations include, but are not limited to, the eBay Partner Network.
I thought that it would be better to document my 964 journey, and hopefully get some answers to my questions, rather than posting a new thread every time I hit a problem. I have already had help from many rennlisters which is invaluable and has settled my mind and helped me resolve a few issues already.
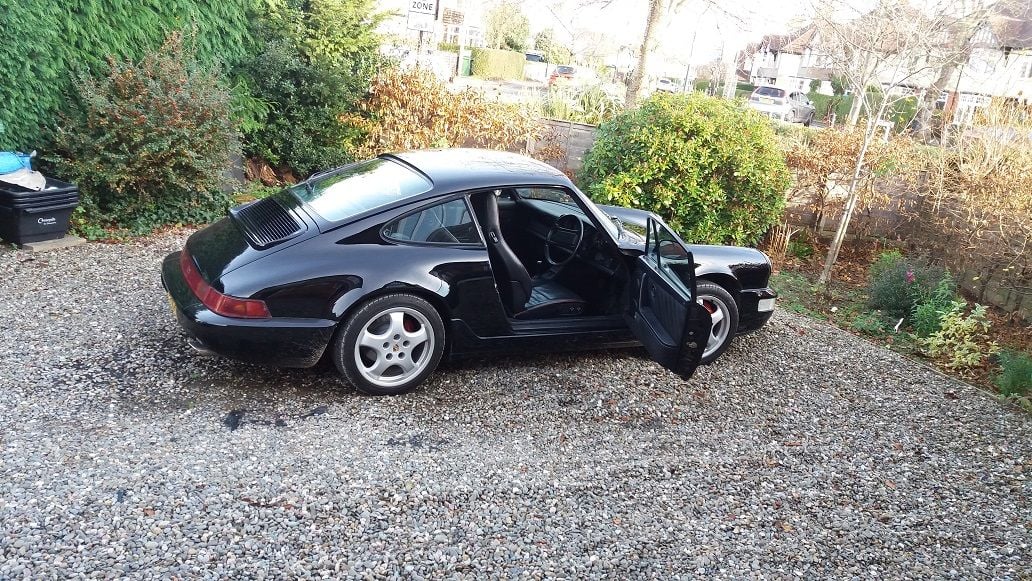
The story begins in the usual way, I had been looking out for a decent 964 on and off for a couple of years, wanted RHD, so nothing imported. Everything I saw was either a full ground up resto, or out of my price range. Just before Christmas I hit lucky and a Black C2 came up in the price range, it looked okay and bonus, it was 15 miles away. I went to see it and it seemed pretty good, Cat C, but with a very good repair and a low mileage '92 engine fitted 30k ago. The next day, I was the owner of a 964. I jumped in and drove the 15 miles home, stopping to get petrol, leaving the lights on, and almost draining the battery (or so I thought). Parked up and took a photo.
Parked up day 1.
The next day I was expecting to get out and drive, but that was not going to happen.
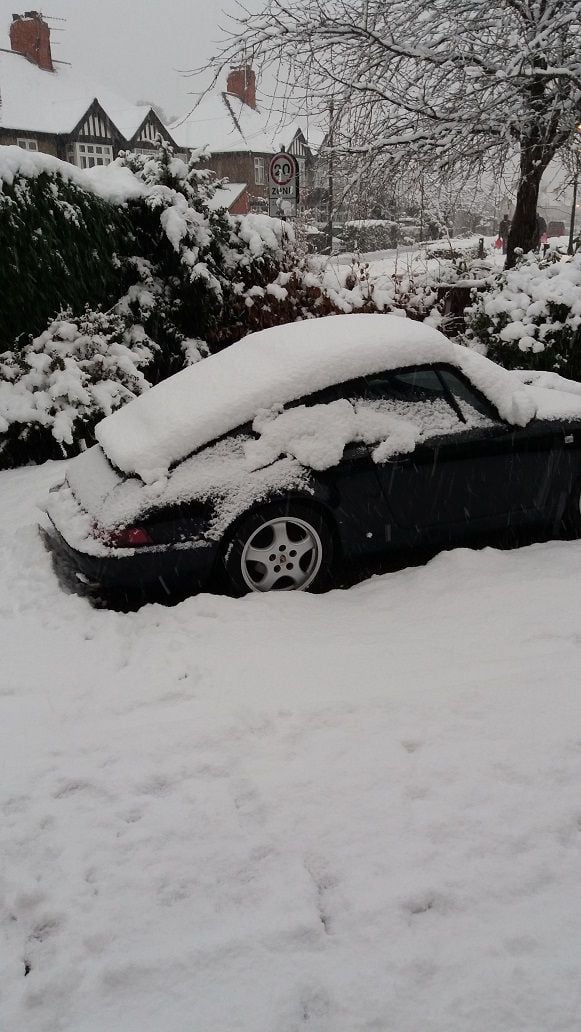
Parked up day 2
For about the next 10 days it just sat there, no cover, lots of snow building up on the roof, leaking through the sunroof! As soon as the weather cleared up I was out there, keys in hand, ready to drive. Got in, turned the key ....... nothing. That was when I asked my first rennlist question,
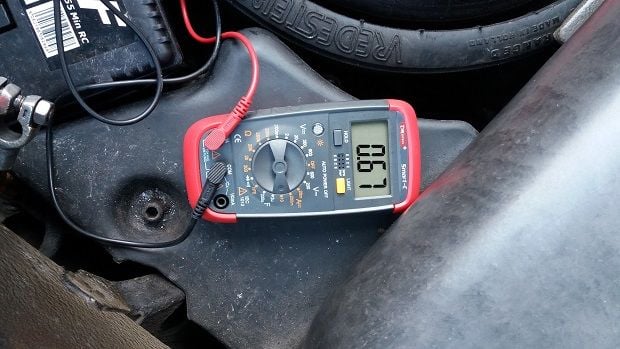
I need help, I have a Battery Drain Dilemma ( I am fairly confident I have resolved this, but please look if you have a similar problem) I got some really good advice and systematically worked through all the suggestions.
It started out over 1 Amp, this is some way through, its down to about 20mA now.
The battery draining pinpointed another problem, the CCU and the rear fan. It was not turning off, so draining the battery. It had been disconnected so didn't solve the initial battery problem. CCU circuit board rebuild I had a go at trying to sort it and solder in a new resistor, but the pcb started coming apart so I decided to send it to ToreB, who has sorted it out and come up with 10 fault codes that need checking!!
Last edited by 5hrine; 03-09-2018 at 02:25 PM.
Reason: spelling
Congratulations on the car purchase. Looks great. As for the sunroof leaks, check your sunroof drains. There are 4. One at each corner. Make sure they are clear. Over time, dirt and debris will accumulate and clog them. Running a wire or cable thru them is sufficient to clear them.
Congratulations on the car purchase. Looks great. As for the sunroof leaks, check your sunroof drains. There are 4. One at each corner. Make sure they are clear. Over time, dirt and debris will accumulate and clog them. Running a wire or cable thru them is sufficient to clear them.
I think it was the volume of water when the snow melted, but I will take a look at the drains, or I may just delete the sunroof as I am trying to simplify the car by removing a few extras such as the headlight washers, headlight adjusters, heated seats etc.
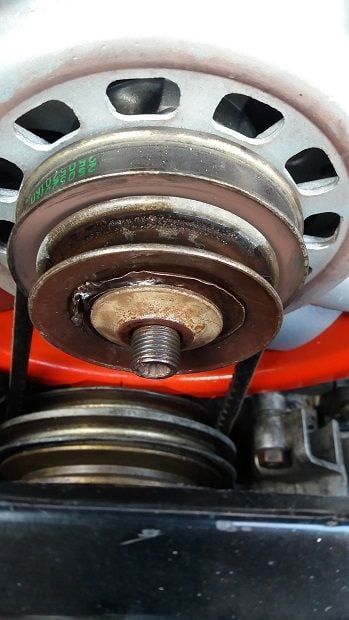
Next thing was trying to change the belt for the fan. The P.O had just changed it, but as the car was idling a load of smoke started to pour out of the engine compartment and then after a high pitched squeal the warning lights came on. I took a look at the engine and the (new) belt had snapped. It was a non Porsche belt with slightly different dimensions. I got hold of a new Porsche belt, well two as I wanted to change the alt belt too. When I came to try to take the old pulley apart and remove the spacers, they were stuck. So I asked for help Shims, spacers and other belt removal issues
The spacers were almost welded to the alternator shaft.
I am not sure what the P.O had done, but I found out later that the alternator was a refurb and they have a habit of being slightly out of tolerance I managed to open up the spacers a little and smooth out the groves in the alternator shaft.
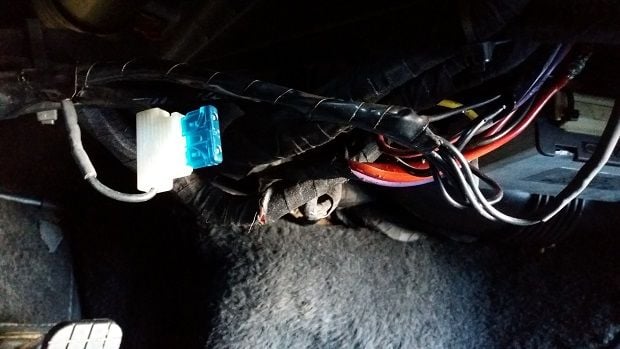
Back onto the battery drain, I decided to take a look at the alarm as even pulling the fuses did not lower the drain. It must be something direct from the battery. alternator, starter or alarm. I thought the alarm was likely.
Some sort of fuse for the after market alarm.
Ultrasonic sensor wires were hanging out of the unit.
More alarm wiring, some had no insulation at all.
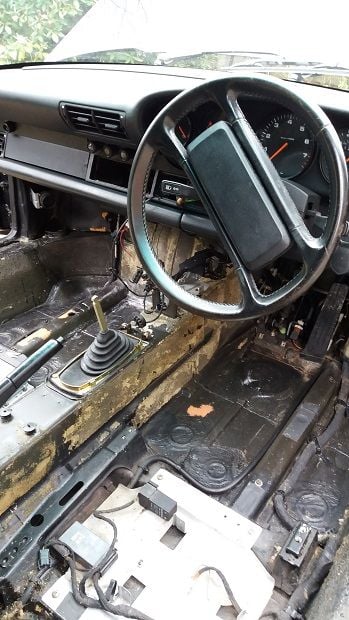
Managed to trace most of the wires and disconnect them, re wrapped the ignition wiring as a couple of wires were soldered, but with no insulation. In the process of tracing the wires I took most of the interior and carpet out finding a few wet soggy areas of foam under the sound proofing layer.
So now having successfully removed most of the battery draining problem ... I thought I better tackle the water ingress. Where is the water coming from? helped, but I needed even more help More water ingress
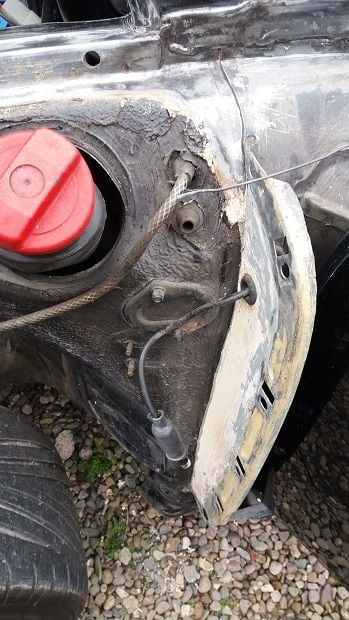
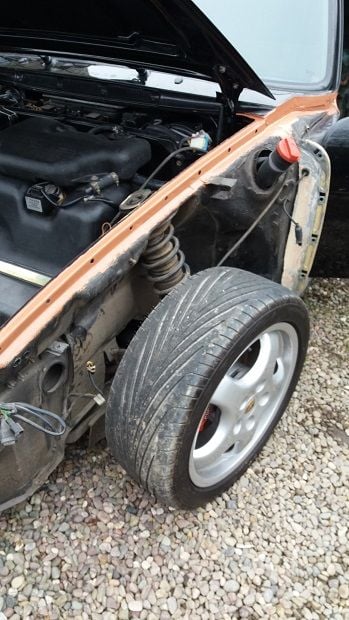
I am now once again, systematically working through areas of the car where water could be getting in. I think I have traced it to a bad bonnet seal and an ill fitting pair of heater elbows, but like all small jobs I ended up doing a lot more and I have decided to take the wings of to sort any rust issues that may be lurking.
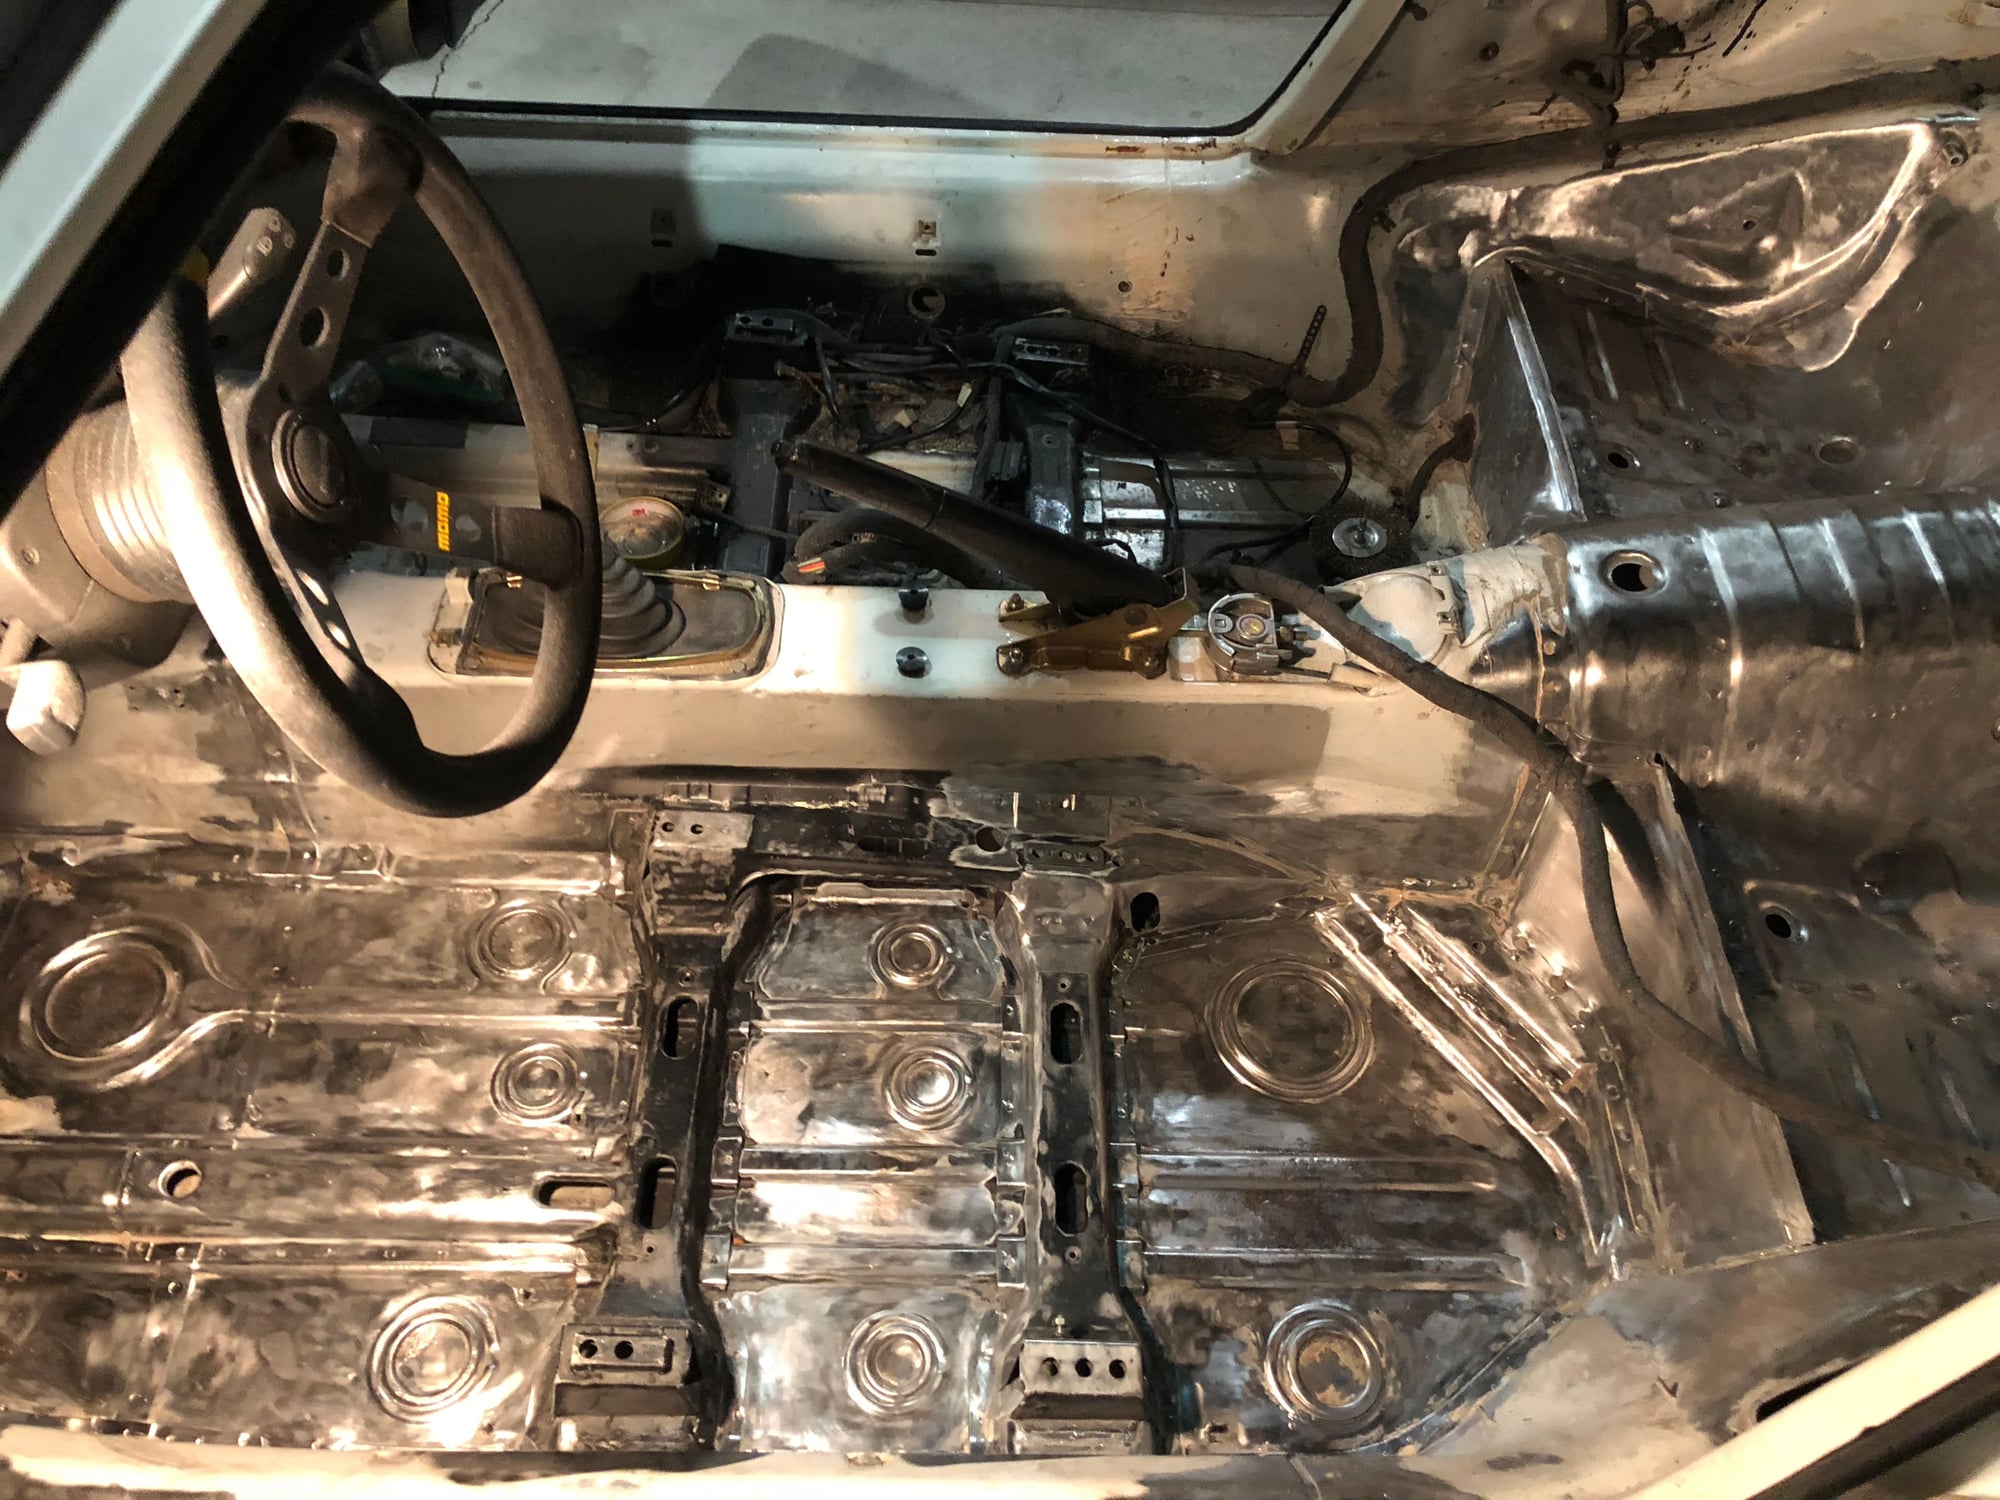
Stripped out driver side
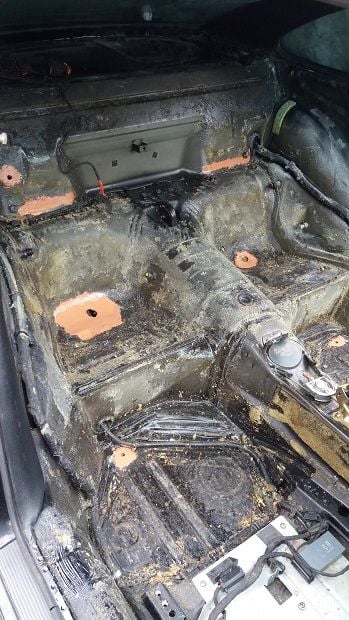
Stripped out rear, the paint is where the water had got in I have treated it with Corroless rust inhibitor.
I rubbed back the rust and have treated it with Corroless rust inhibitor and will cover that with another Corroless product which has a sort of glass matting in the paint to protect and seal the surface. as used on oil rig platforms apparently.
When the first wing came off it was not to bad. it was a replacement, metal, wing red underneath. I am treating all areas that may rust with the Corroless 2 part process and then using a underseal for the inner wings. Interior will get the same 2 part Corroless treatment before installing new sound proofing using a 2mm aluminium backed mat topped with closed cell foam. Should be quite lightweight too.
First wing off - not too bad.
Not sure what the wrapped up two extra wires at the very front are for.
Most of the galvanizing still intact, cleaned back wing seam to bare metal and treated the rust.
First part of the Corroless process done.
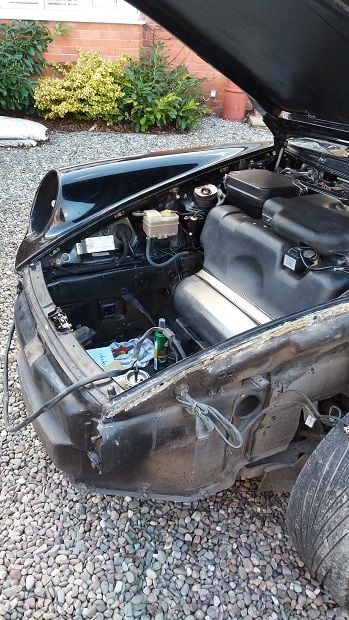
Next on the list is to tackle the other wing. I did the "easy" side first as the drivers side has the oil cooler to remove in order to access the inner wing bolts. So all in all it seems to now be quite a bit more work than I had first anticipated. Hopefully the other wing will play ball and I can sort out the new bonnet seal and get the inside watertight before the good weather arrives!
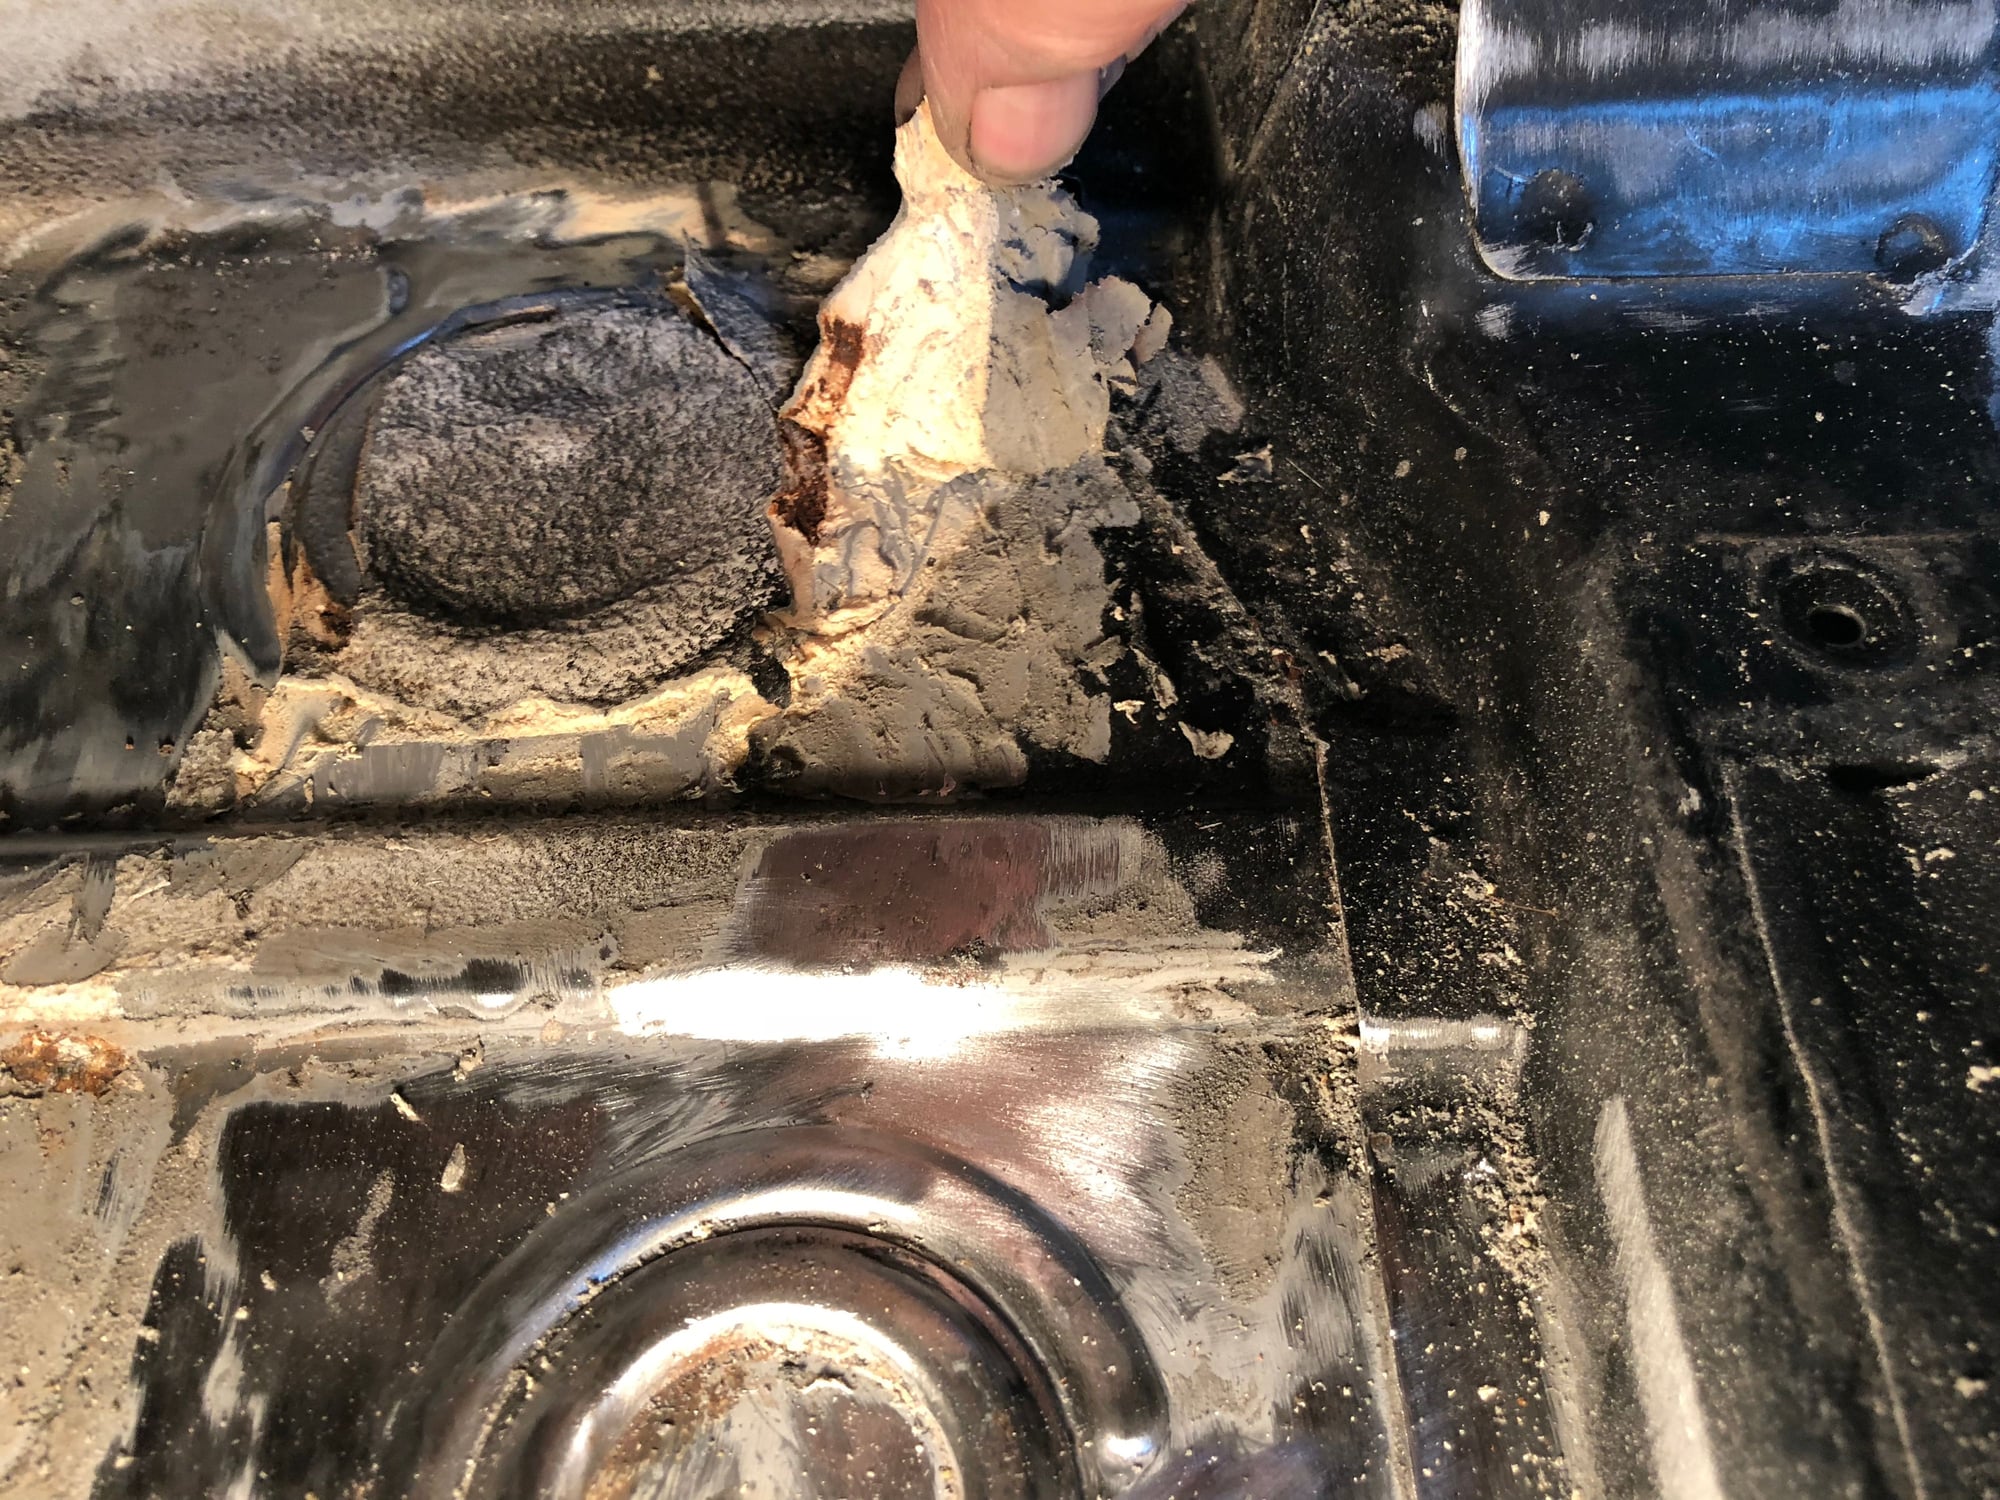
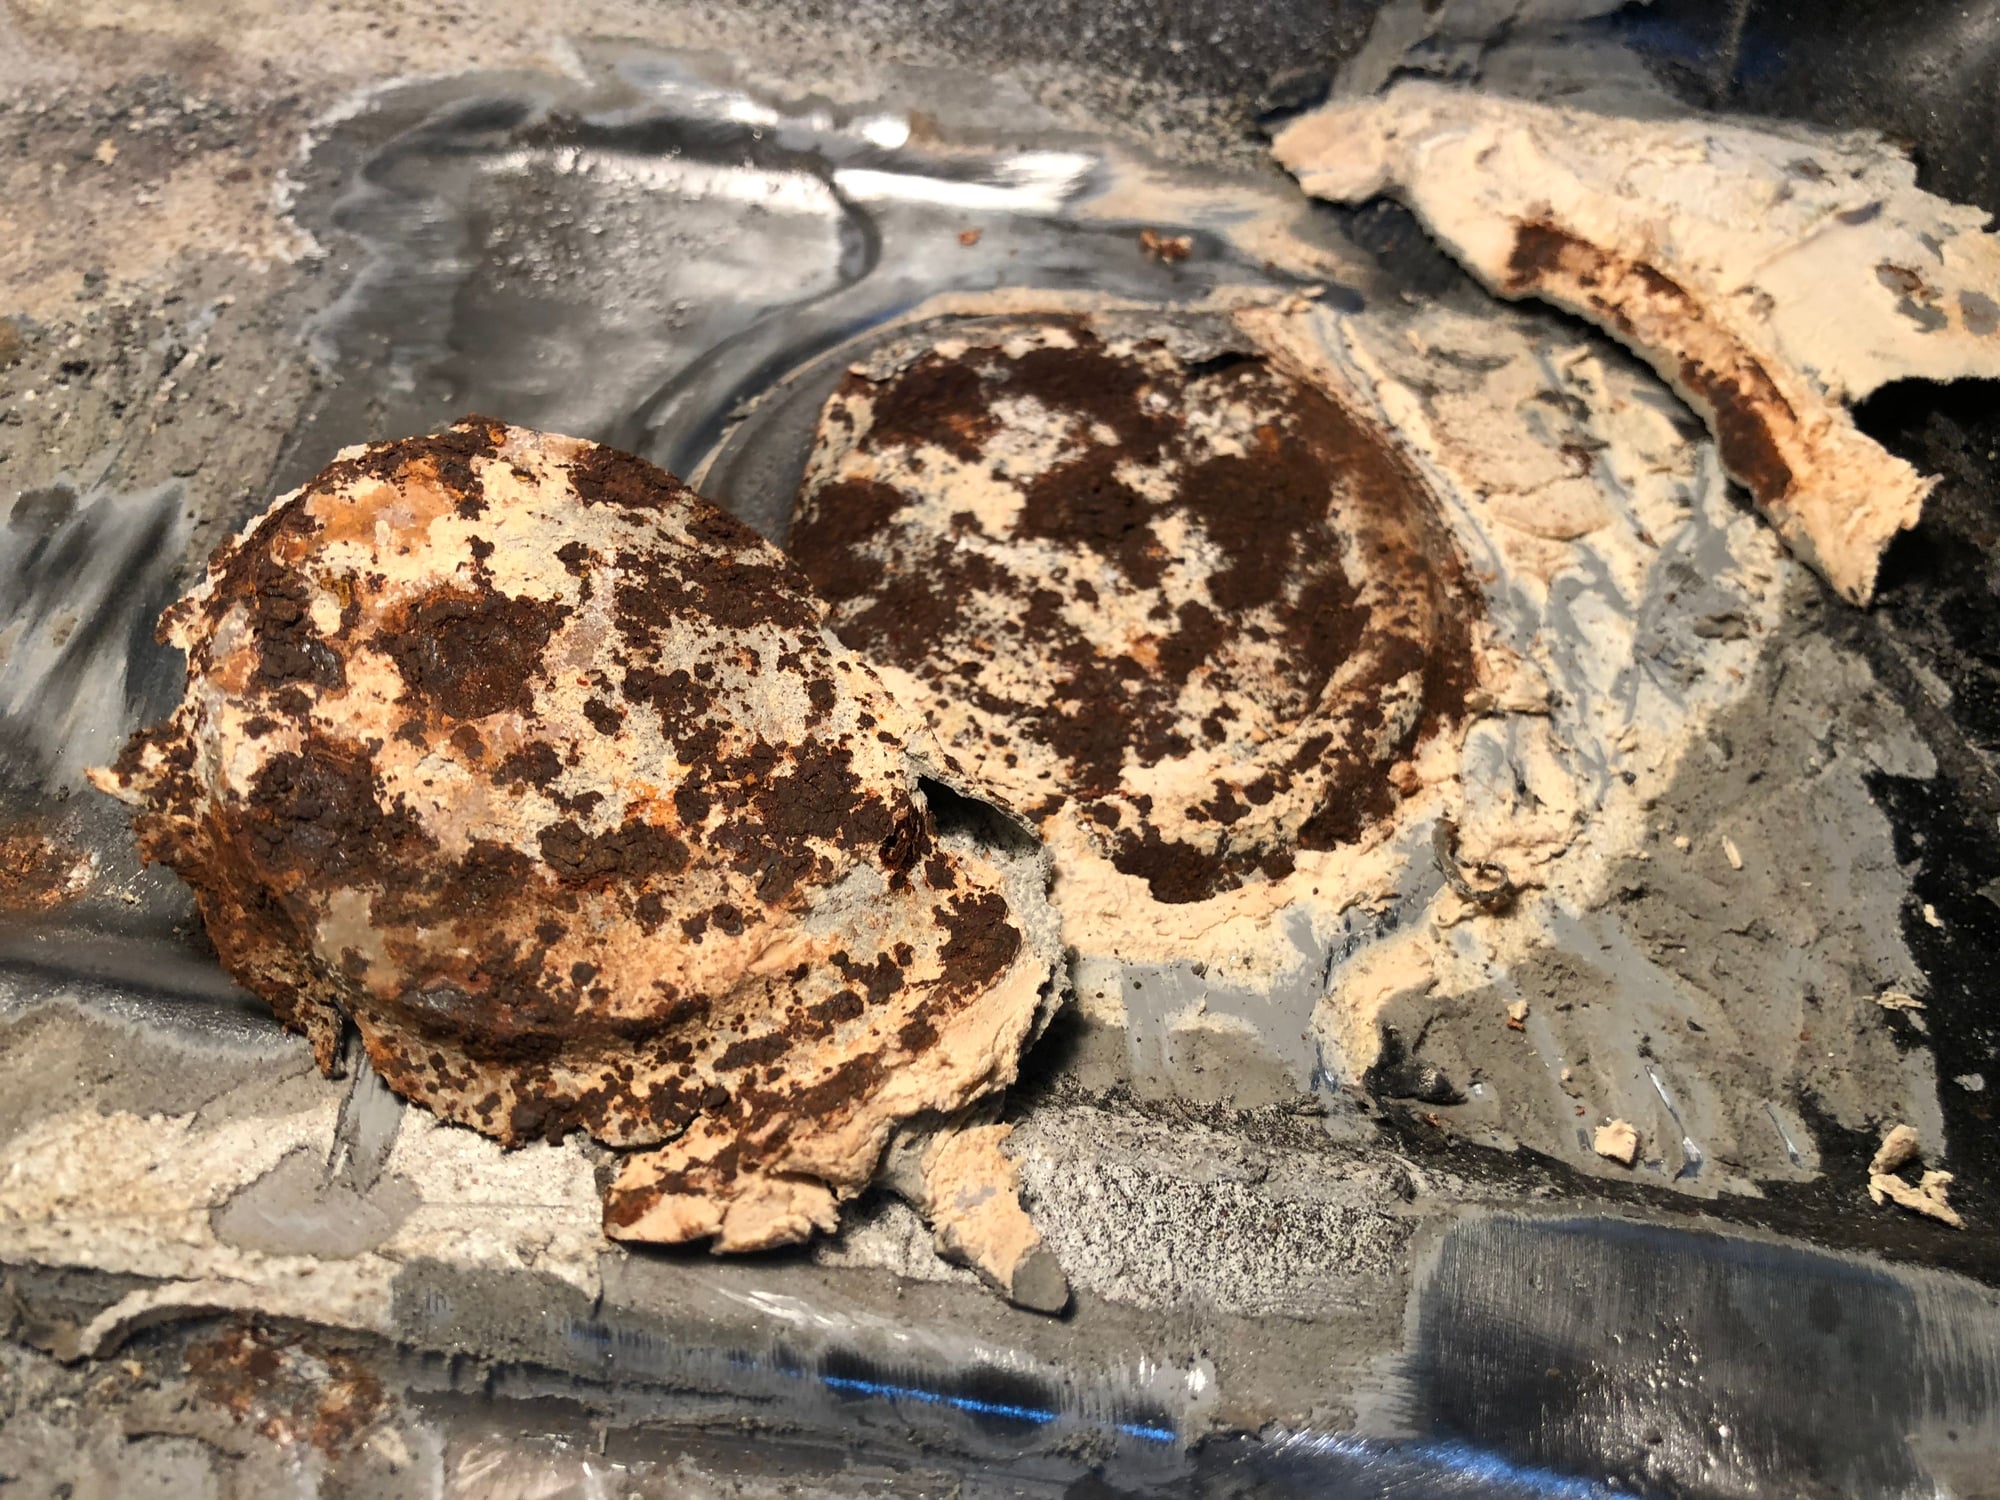
Good to see you getting the car sorted properly. I also discovered rust in the interior of my 964, and I would strongly urge you to look very carefully for any more rust. I thought the rust in my car was confined to the floorboards, but I quickly realized that it was under the paint in a variety of other places including the rear seart and even on the side panels. Porsche laid down a lot of rubber in these 964’s, and that’s where I find the worst rust. The water apparently soaks into the insulation and then the water creeps under the rubber where it can’t breathe and it festers. Spraying rust inhibitor over that rubber will not address the rust festering underneath. I’ve now stripped most of the car down to bare metal, and it needed it.
Check carefully underneath the rubber for rust
This rustvwas a very common occurrence in many of the holes covered with rubber.
Good to see you getting the car sorted properly. I also discovered rust in the interior of my 964, and I would strongly urge you to look very carefully for any more rust. I thought the rust in my car was confined to the floorboards, but I quickly realized that it was under the paint in a variety of other places including the rear seart and even on the side panels. Porsche laid down a lot of rubber in these 964�s, and that�s where I find the worst rust. The water apparently soaks into the insulation and then the water creeps under the rubber where it can�t breathe and it festers. Spraying rust inhibitor over that rubber will not address the rust festering underneath. I�ve now stripped most of the car down to bare metal, and it needed it.
Check carefully underneath the rubber for rust
This rustvwas a very common occurrence in many of the holes covered with rubber.
Slowly knocking down all the rust
I have stripped all the insulation and fortunately the rust seems to be isolated to around the rubber bung areas. I have taken them back to bare metal before applying the rust inhibitor. I am not sure how to seal the grommet holes to stop water getting in. I thought of using some sort of seam sealer or window silicone, but I am still wary as I dont want any water to get in and sit under the new sound proofing.
Glad that you took the time to grind to bare metal. In my case the water wasn't coming in through the grommet holes, it was leaking out through the holes after the insulation soaked up all the water that leaked through the sunroof. In any event, I just ordered new rubber plugs (there are 7 large ones, and two medium at back of the rear seats). I will report back with the part numbers when I get home tonight - they weren't easy to find.
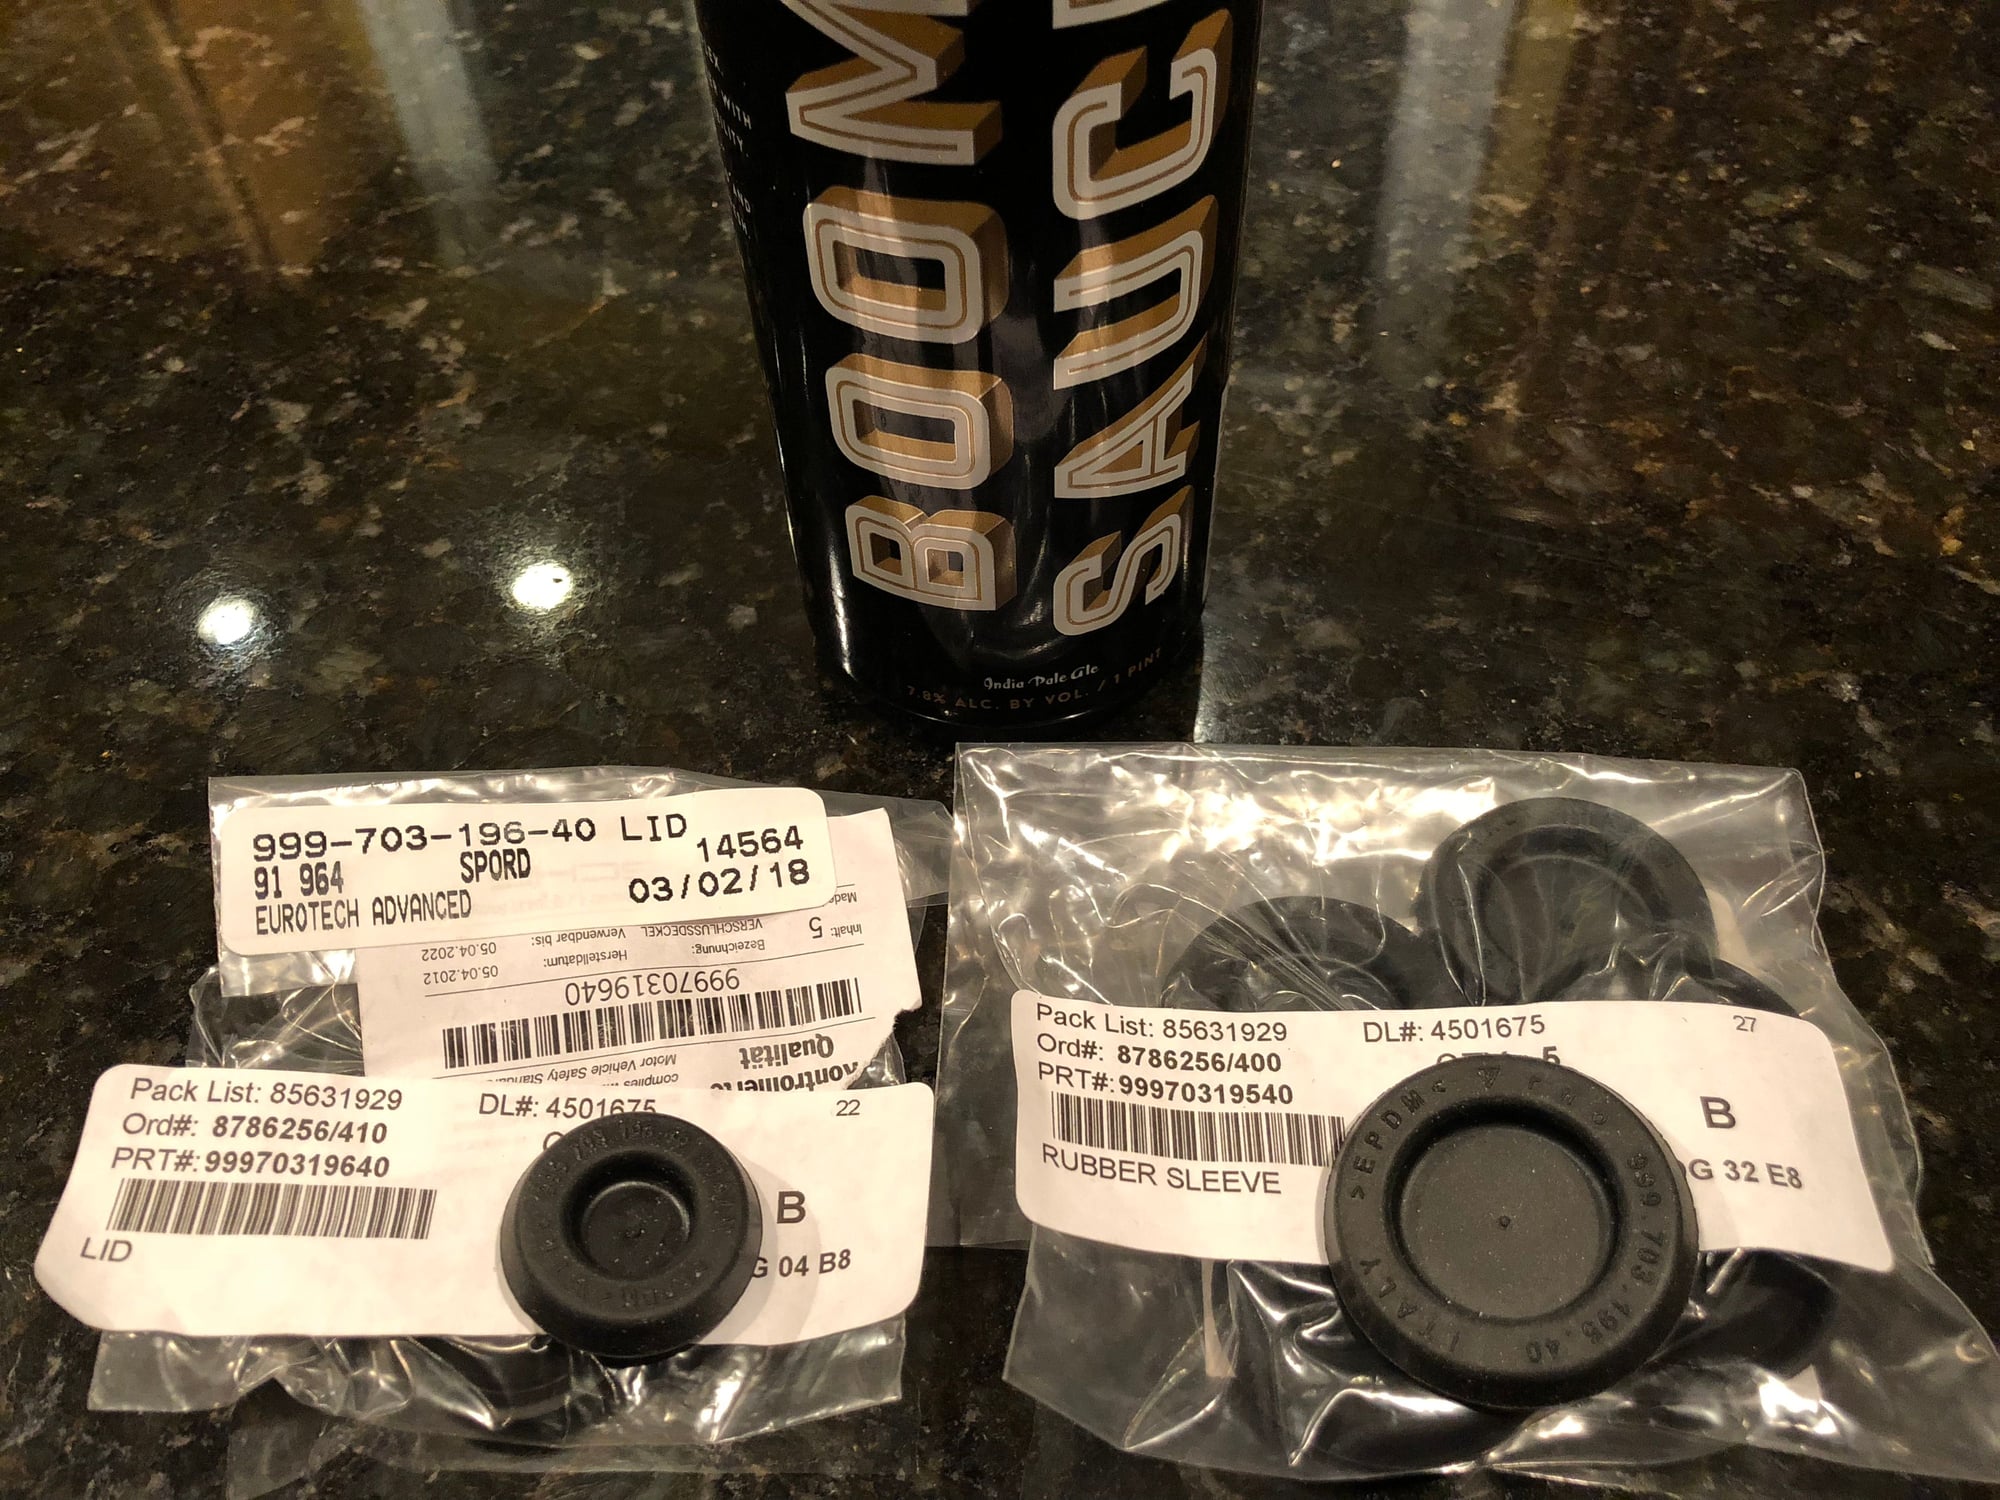
The large rubber plugs (7) are part no. 99970319540, and the smaller plugs (2) are part no. 99970319640. I thought I found the part number for the two little cone shaped plugs in the floor, but the ones I found are too small. If anyone has the part no. for the cone shaped plugs (2), please share. Thanks
The large rubber plugs (7) are part no. 99970319540, and the smaller plugs (2) are part no. 99970319640. I thought I found the part number for the two little cone shaped plugs in the floor, but the ones I found are too small. If anyone has the part no. for the cone shaped plugs (2), please share. Thanks
Replacement plugs
Good find with the plugs, I had searched for those too, but could never find them. I had assumed the grommets were leaking as the water was in the area of them, but they are at the low point of the seats etc. so maybe the water was creeping in somewhere else. strangely my back seat backs were wet too. I have checked all window seals and they are okay. I know the front water problem is the heater vents and bonnet seal and also an area where the bumper bracket fits, but I may need to revisit the water ingress in the back. I have also been searching for the diamond shape paper gasket between the front panel and the bumper mounts , would be good to know the part number so I can order a couple.
Need the green gaskets as water is getting in around here and above too.
Good find with the plugs, I had searched for those too, but could never find them. I had assumed the grommets were leaking as the water was in the area of them, but they are at the low point of the seats etc. so maybe the water was creeping in somewhere else. strangely my back seat backs were wet too. I have checked all window seals and they are okay. I know the front water problem is the heater vents and bonnet seal and also an area where the bumper bracket fits, but I may need to revisit the water ingress in the back. I have also been searching for the diamond shape paper gasket between the front panel and the bumper mounts , would be good to know the part number so I can order a couple.
Originally my issues started with the drivers footwell being soaked, passenger side was bone dry.
Excessive condensation is the sign of water ingress!
I�ve been without the sound deadening for ages now on the drivers side and have been keeping a constant eye out for puddles in that area?
Then recently I noticed a lot of condensation in the cabin again!
The rear screen was particularly bad and could be the cause of your rear seat backs being damp as there was massive water droplets on the inside!!!
Turns out the passenger side was soaked this time, so that�s been junked.
Happy to report that since replacing the bonnet/hood seal, I�ve had no condensation problems other than a little fogging on the dials.
Which is probably just due to weather and maybe the remnants of the cabin drying out...
Door seals will be my next replacement along with fitting 993 rear quarter seals that I have, really want to strip out my interior too
Originally my issues started with the drivers footwell being soaked, passenger side was bone dry.
Excessive condensation is the sign of water ingress!
I’ve been without the sound deadening for ages now on the drivers side and have been keeping a constant eye out for puddles in that area?
Then recently I noticed a lot of condensation in the cabin again!
The rear screen was particularly bad and could be the cause of your rear seat backs being damp as there was massive water droplets on the inside!!!
Turns out the passenger side was soaked this time, so that’s been junked.
Happy to report that since replacing the bonnet/hood seal, I’ve had no condensation problems other than a little fogging on the dials.
Which is probably just due to weather and maybe the remnants of the cabin drying out...
Door seals will be my next replacement along with fitting 993 rear quarter seals that I have, really want to strip out my interior too
Are the 993 rear quarter seals better than the 964 's ?. One additional problem was that my CCU was broken and the heater hoses were ripped, so there was no fresh air or heat and it was hard to get rid of the condensation. I have stripped the interior and will replace/repair as I re assemble and I have removed the rear wiper and plugged the hole as I thought that may be a place for water to get in and I am going to fix the sunroof closed ( using the original panel) and change the headliner so maybe a good time to do the seals. I keep mine outside so it's always misted up and feels damp. I am thinking of building some sort of cover for it as it would be nice to have a dry car!
Last edited by 5hrine; 03-14-2018 at 06:16 AM.
Reason: spelling
Are the 993 rear quarter seals better than the 964 's ?. One additional problem was that my CCU was broken and the heater hoses were ripped, so there was no fresh air or heat and it was hard to get rid of the condensation. I have stripped the interior and will replace/repair as I re assemble and I have removed the rear wiper and plugged the hole as I thought that may be a place for water to get in and I am going to fix the sunroof closed ( using the original panel) and change the headliner so maybe a good time to do the seals. I keep mine outside so it's always misted up and feels damp. I am thinking of building some sort of cover for it as it would be nice to have a dry car!
The 993 rear quarter seals are more aesthetically pleasing and a flusher fit, doing away with the external metal frame, I'm on a big weight loss drive and every lb helps
I've just had the dash fans replaced in my HVAC so it gets nice and toasty in the cabin now, to be fair it was warm before with just the heat turned up and no fans going, but now there is movemont of air around the cabin too, which is good.
I've also removed my rear wiper and plugged with a glass insert from the VW crowd, looks so much better.
When you say fix it closed, are you having it welded shut? I like the idea of it but love the sunroof in the summer.
My car also lives outside but I'm hoping that now the bonnet seal has been replaced, most of my issues will be resolved.

 03-09-2018, 02:08 PM