When you click on links to various merchants on this site and make a purchase, this can result in this site earning a commission. Affiliate programs and affiliations include, but are not limited to, the eBay Partner Network.
Love the Pepita on the seats, bonus points for the adding to to the shift boot. Nice touch
Thanks! I'm happy with the outcome and i have an extra black one if i ever decide i want to go back.
Originally Posted by dukmon
Seats look nice.
Thank you!
Originally Posted by andy928
Loving the tread well done! (Isla is also my dogs name)
Just a quick question where did you get the clear corner lenses from as they fit very nicely?
keep up the great thread
Thanks! I found them online from a seller on eBay, they are definitely a new manufacture compared to the older ones. They do fit nice, took a bit of trimming behind to get them to fit properly, but nothing too bad. The older ones are more metallic/chromish and i really like those, but they are difficult or impossible to find. I placed orders with 4-5 different online retailers for them, but all were backordered and they ended up just refunding my money so i went the eBay route.
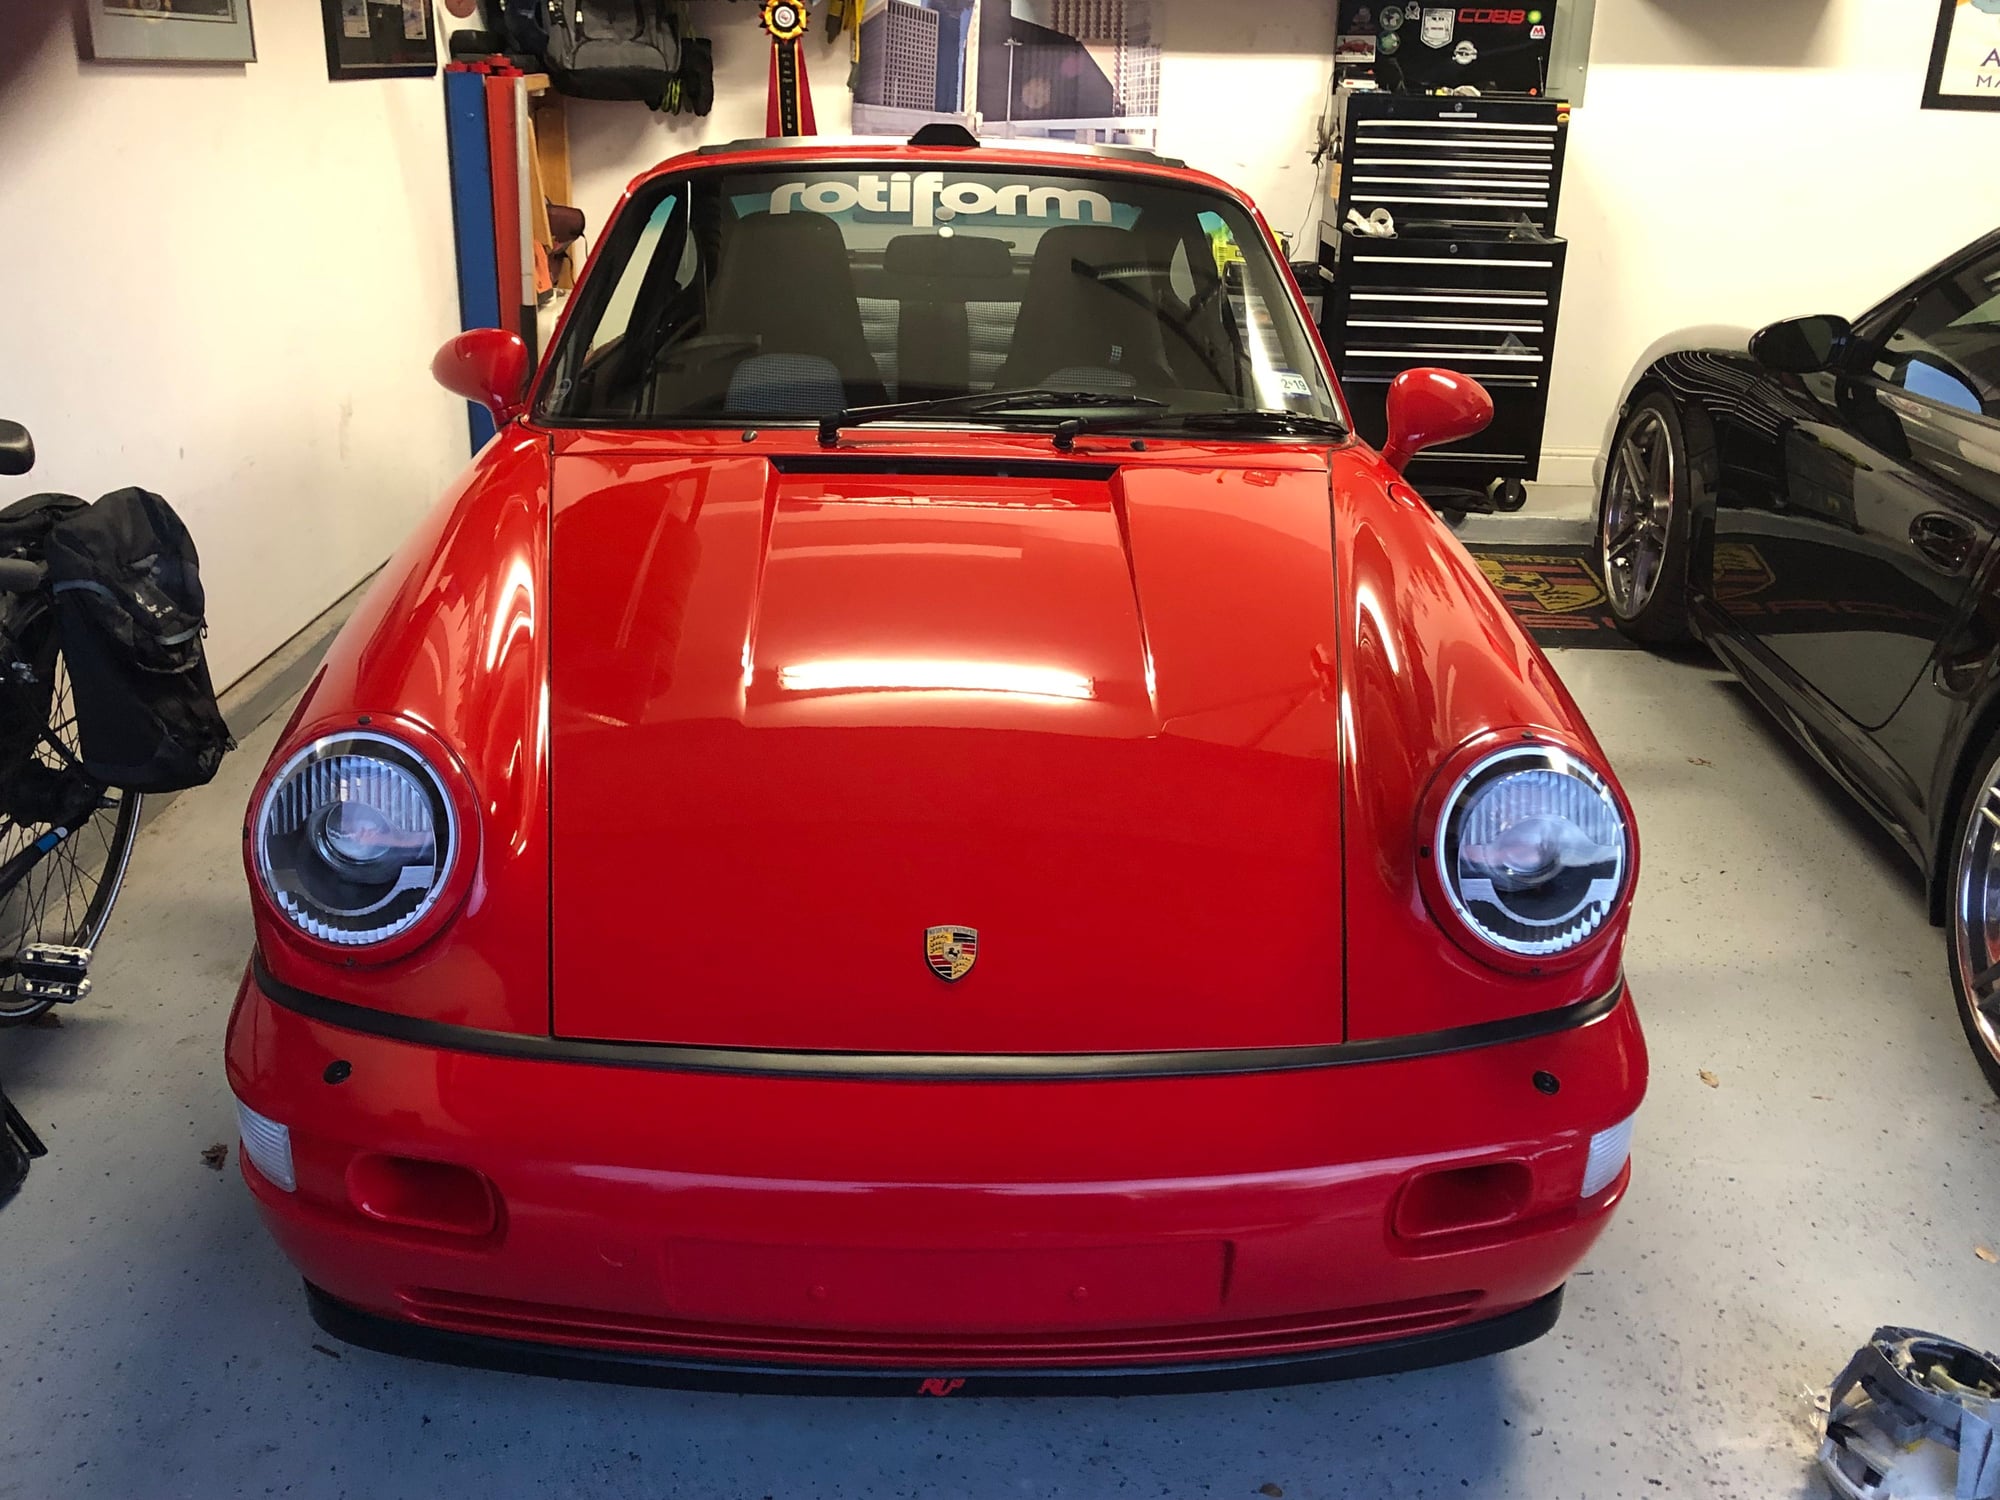
Here are a few pictures of the install - i will have night pictures/lit up probably later this week/weekend hopefully.
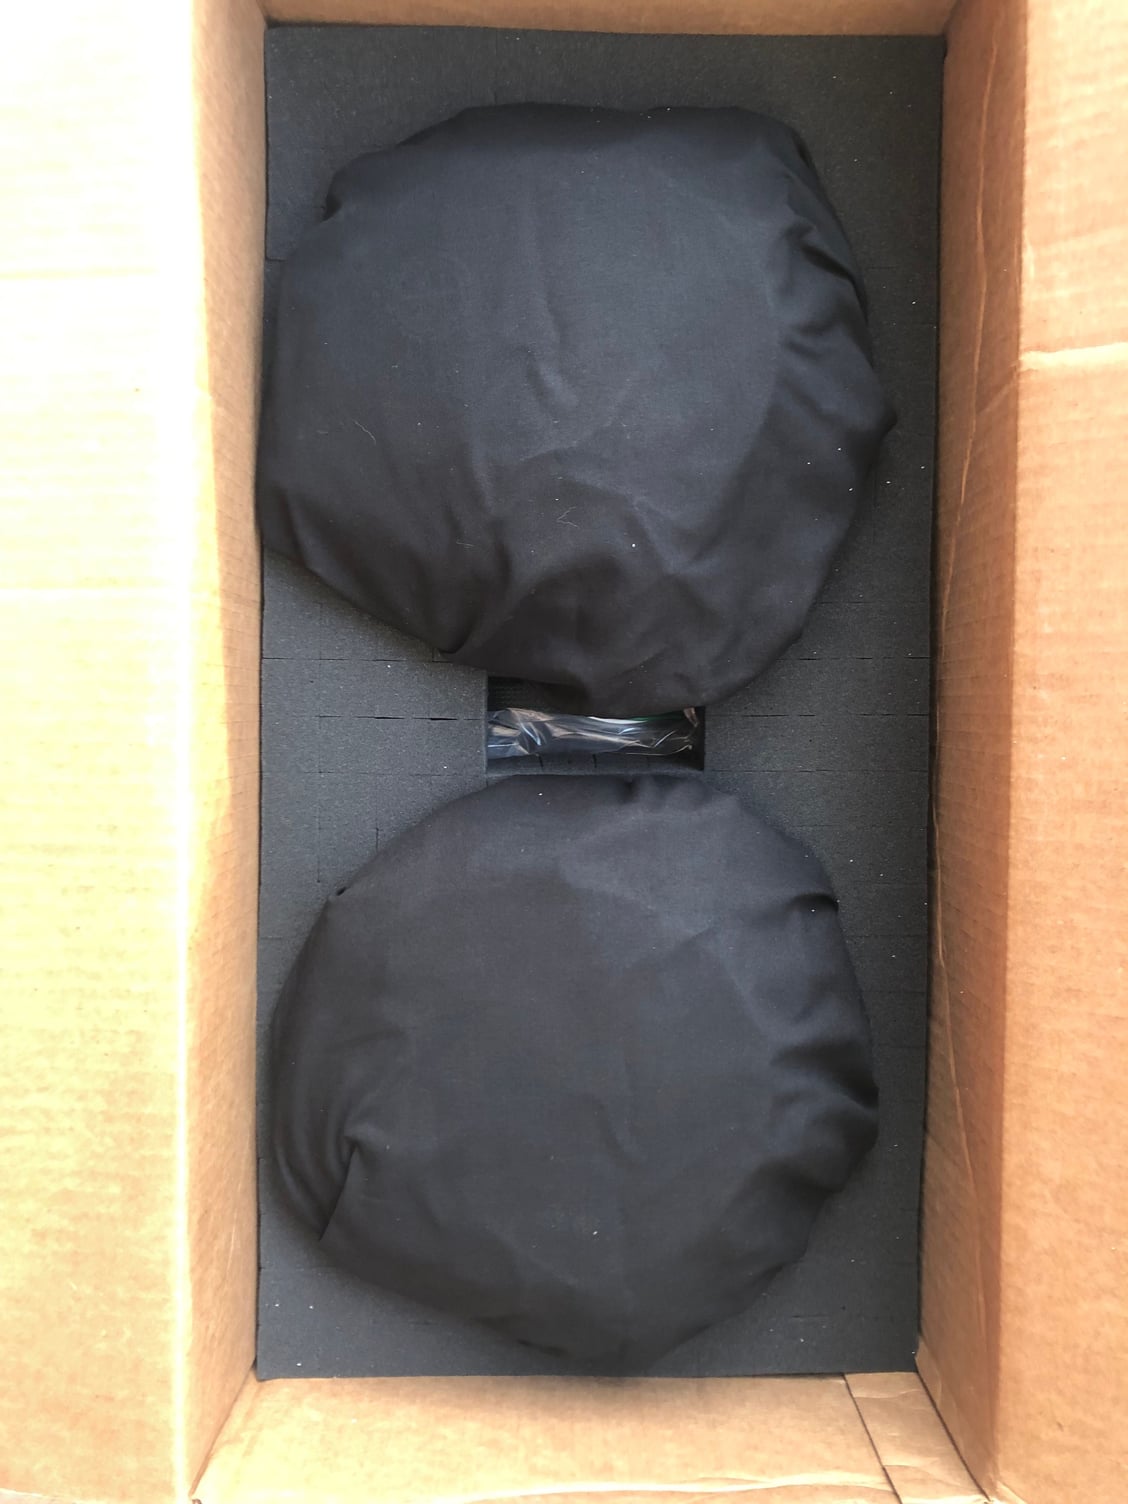
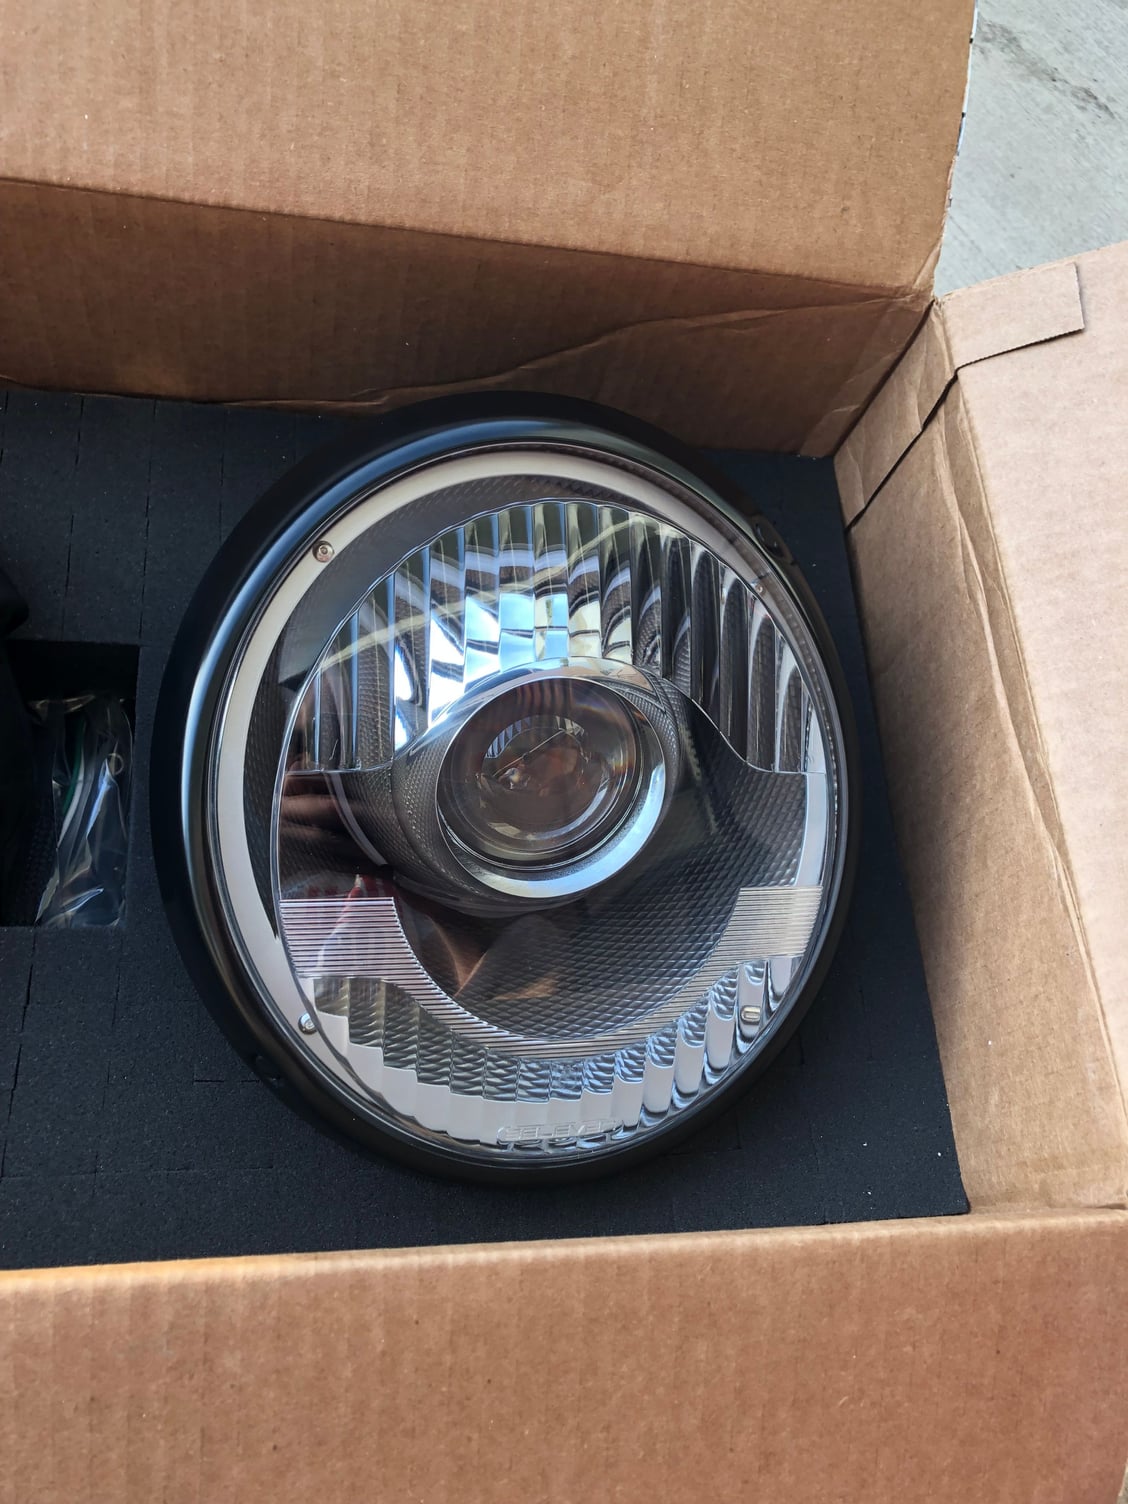
Unboxing:
These things are really nicely built. And the best part is actually hidden from the world tucked back behind the projectors! I chose the Raven S in gunmetal.
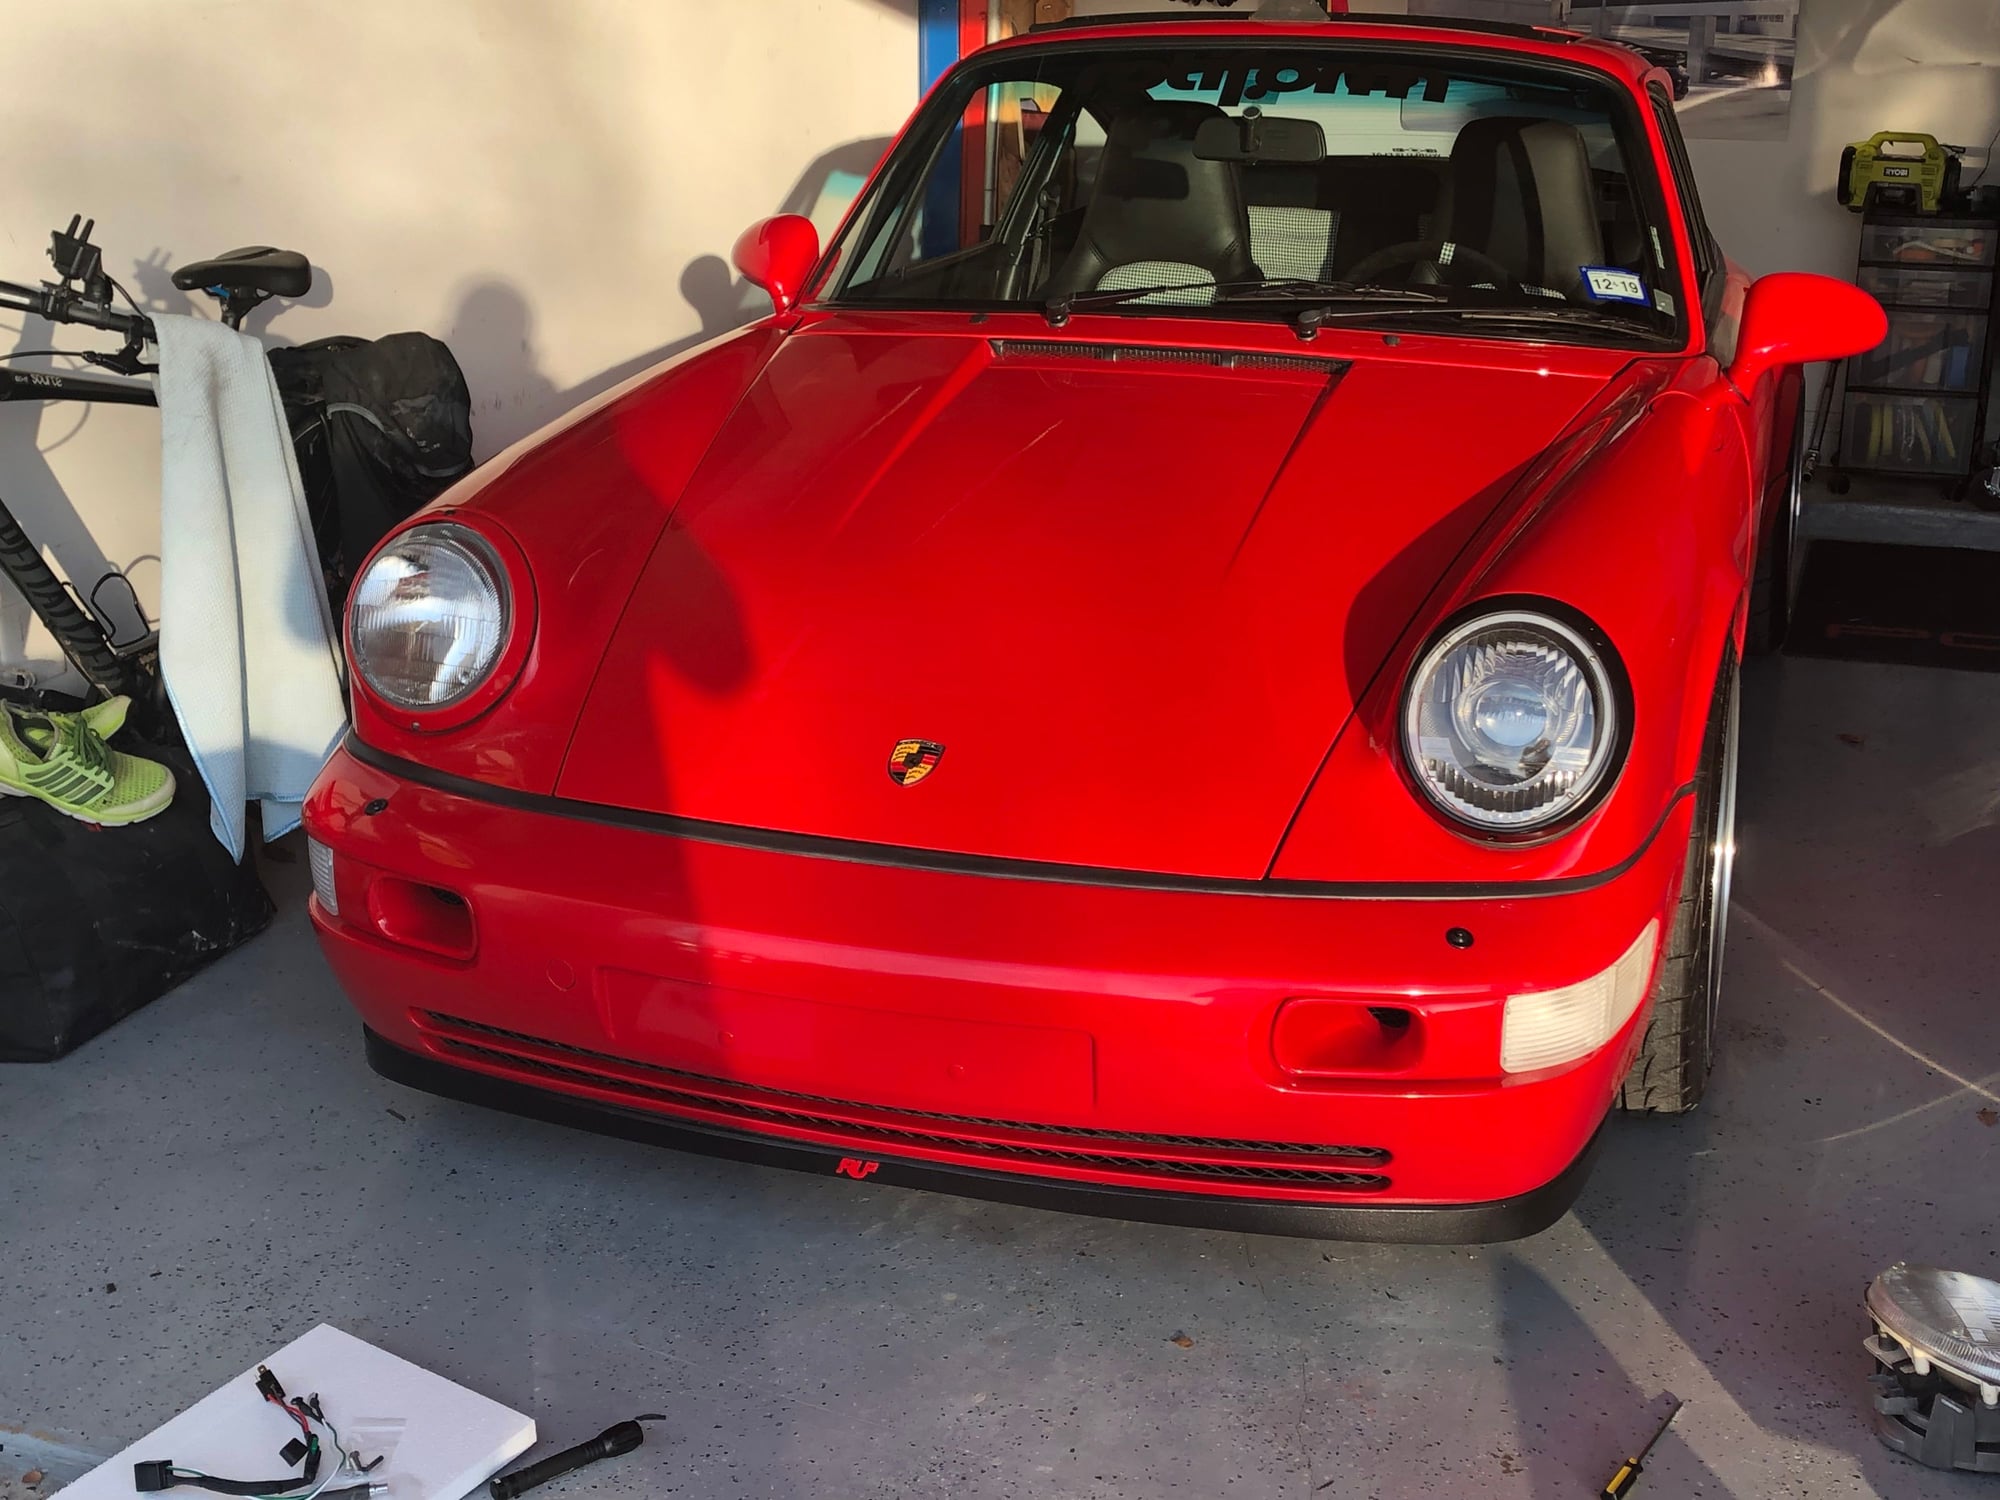
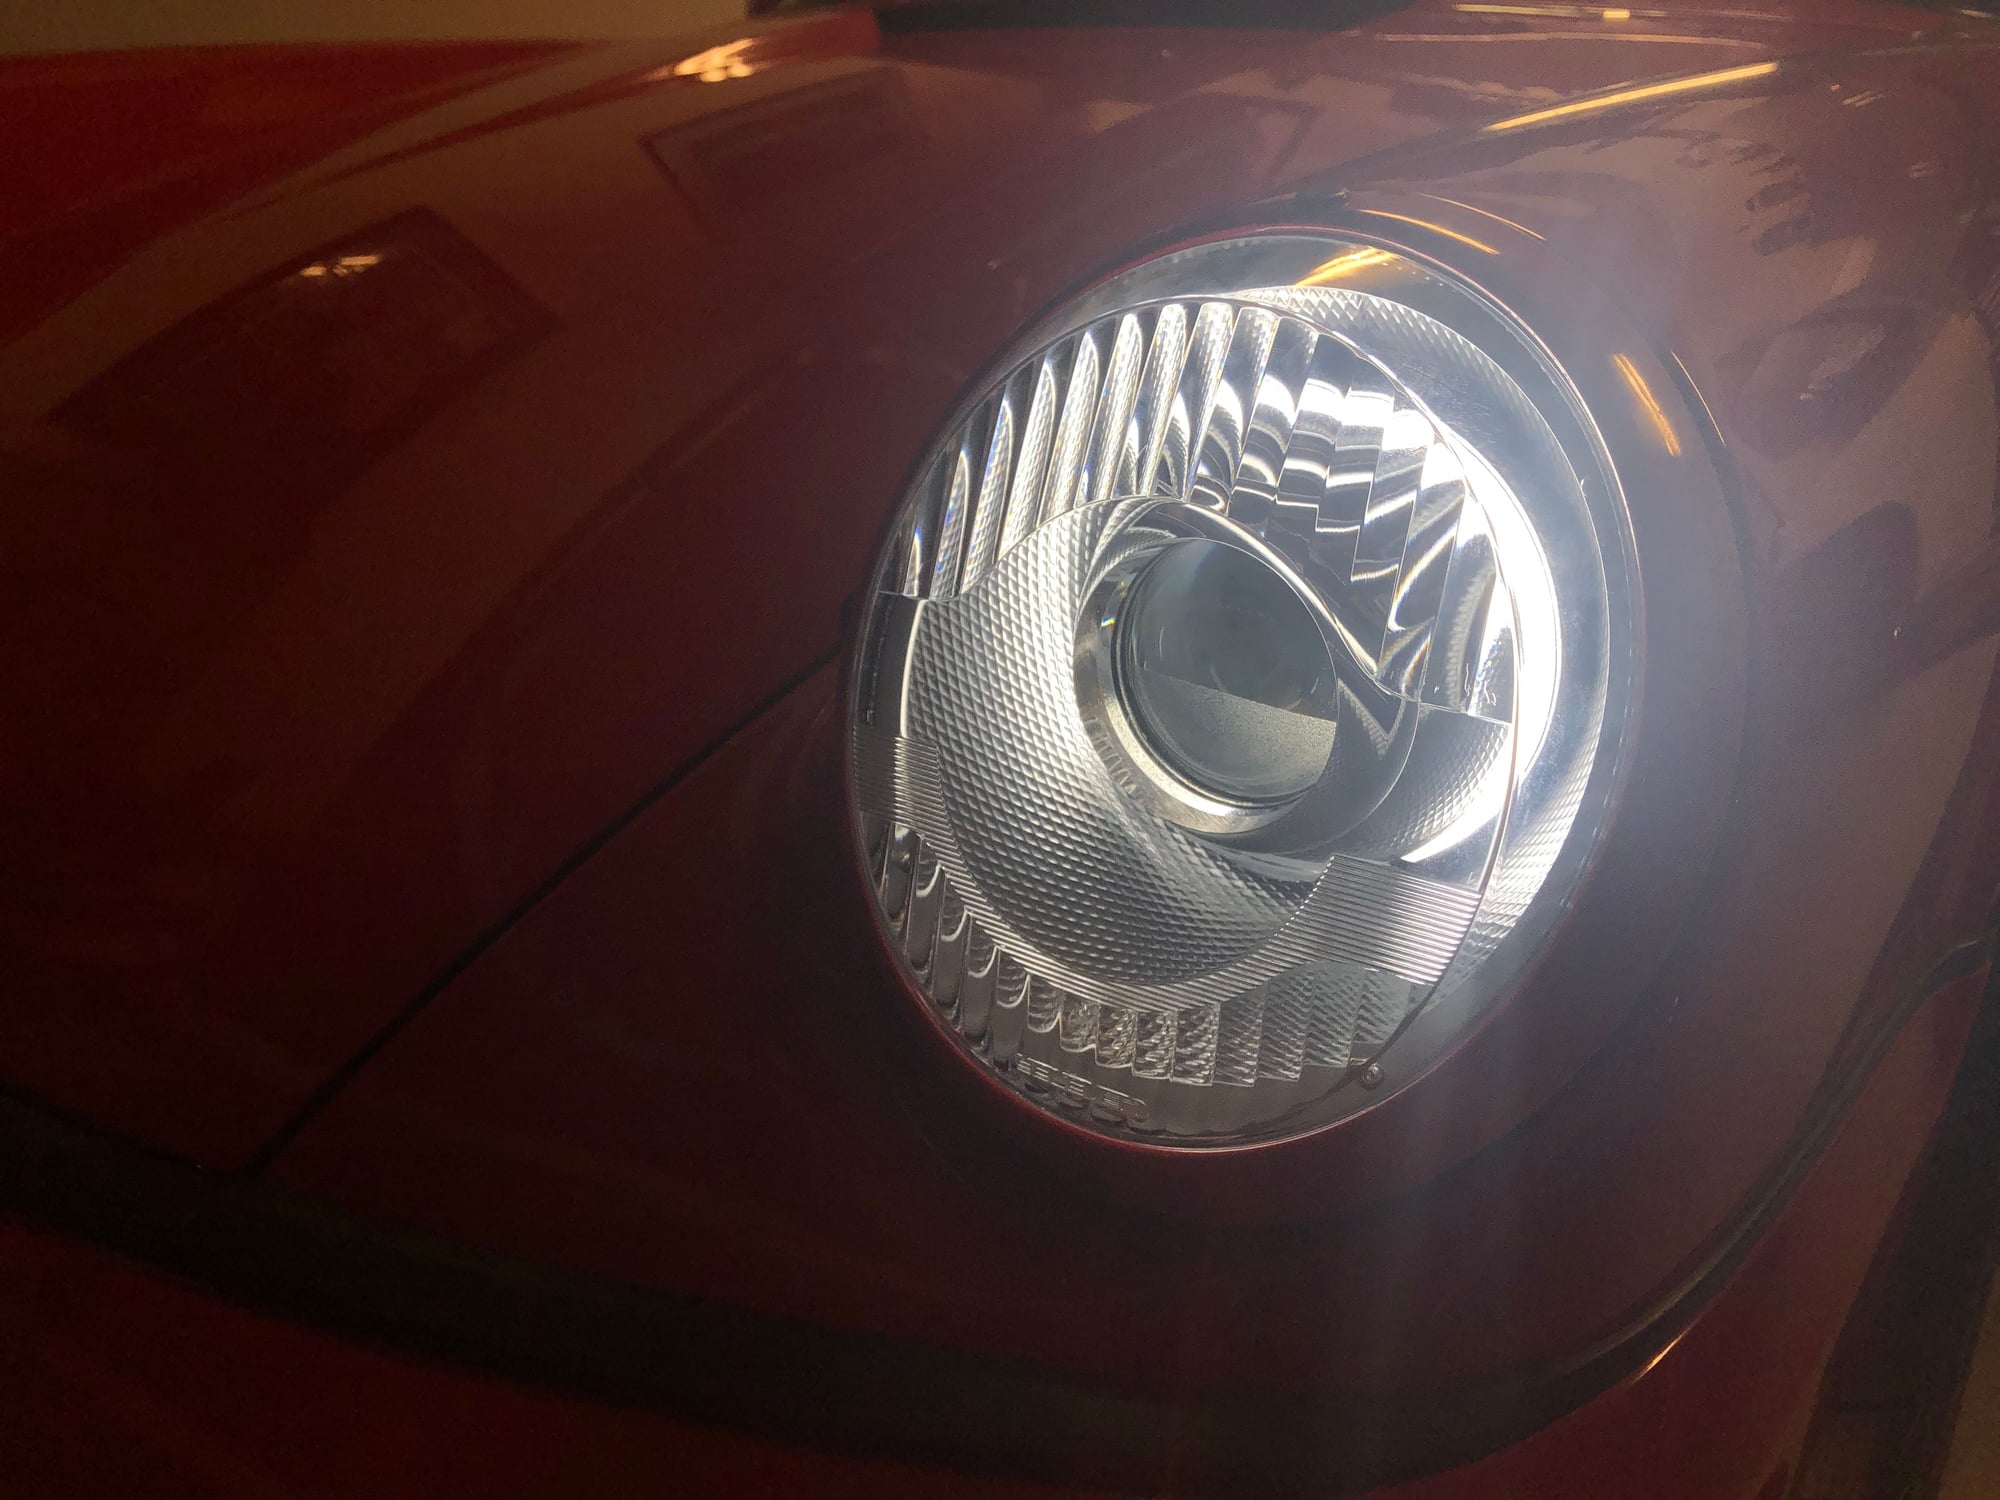
This pic shows the install with the provided black trim rings and shows comparison to OEM on the passenger side.
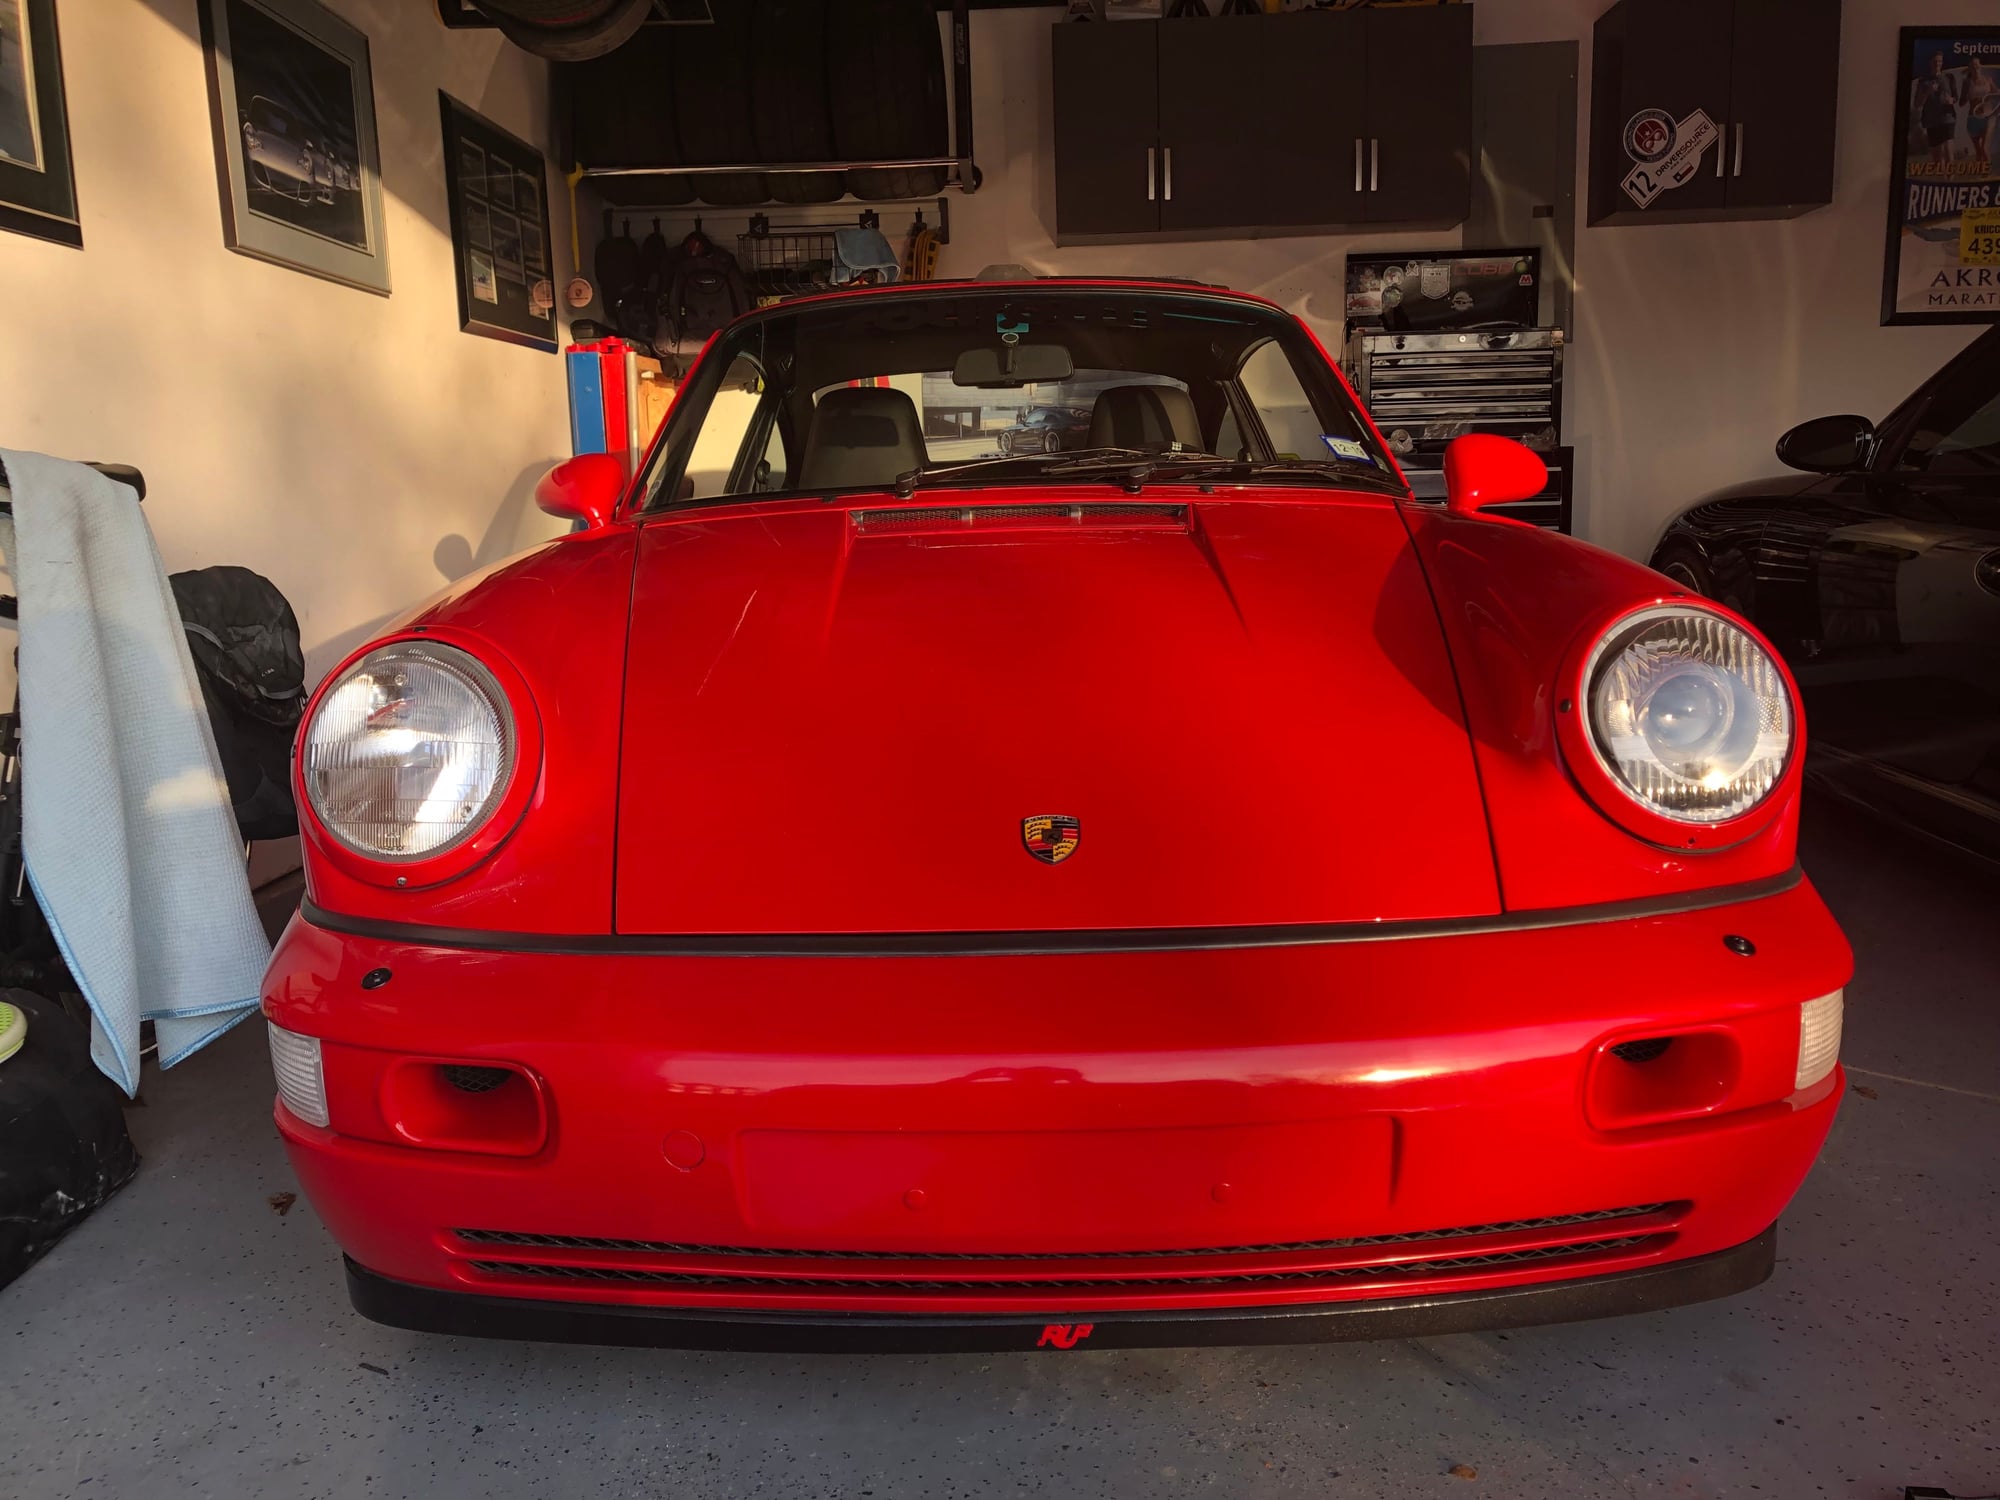
Same idea as above, but with the red painted trim ring i was using with my OEM lights.
This is the final install pic:
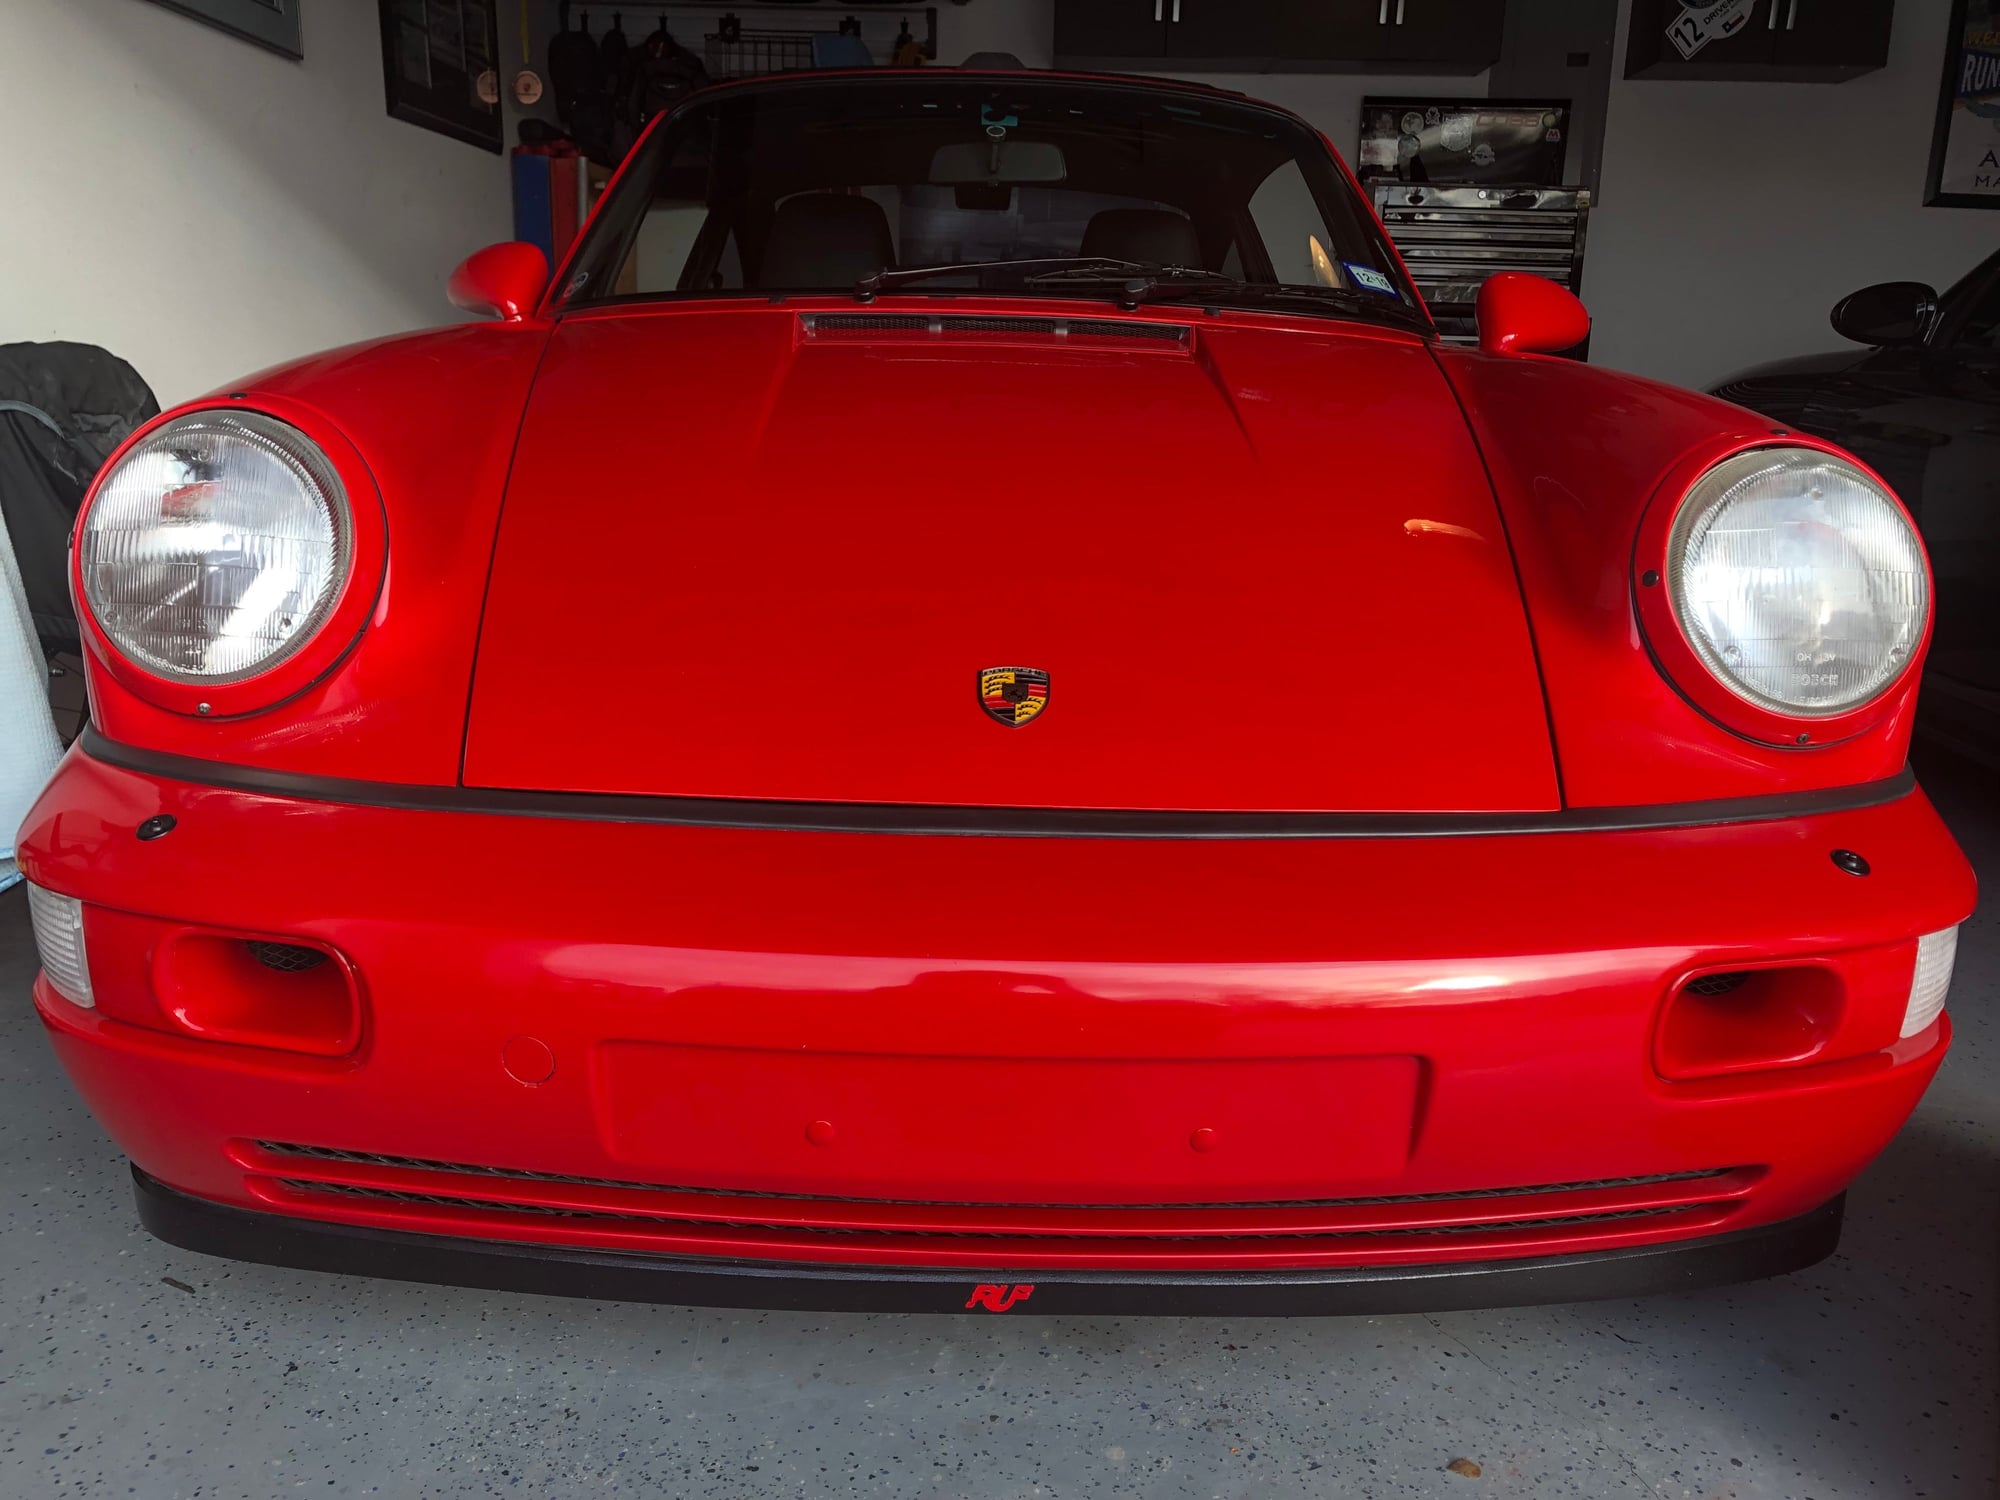
OEM:
The quality of the parts from 9eleven is top notch. The installation is very straightforward and easy. Highly recommend Lee and his products. Eagerly awaiting the night bloomers for the rear taillight which i know he is working on for the 964 currently.
Thanks! I found them online from a seller on eBay, they are definitely a new manufacture compared to the older ones. They do fit nice, took a bit of trimming behind to get them to fit properly, but nothing too bad. The older ones are more metallic/chromish and i really like those, but they are difficult or impossible to find. I placed orders with 4-5 different online retailers for them, but all were backordered and they ended up just refunding my money so i went the eBay route.
Originally Posted by andy928
Just a quick question where did you get the clear corner lenses from as they fit very nicely?
keep up the great thread
Andy & Kricci - I think those are same as mine - got them from Rennspd (no affil). I also noticed how plain & almost 'ricer' they looked compared to the more metallic ones, so I ended up opening them up and painting the inners before sealing them back up again. Just scuffed and sprayed with a metallic chrome type paint and they turned out WAY better. I haven't installed as I'm modding & painting the bumper but I did test fit and they looked great. Made them look less 'white' and more subtle.
Great thread! Love the mods... it's hard to stop once you start. I know the feeling.. with a garage full of parts waiting for me..
Checking the first one for appropriate power prior to installing.
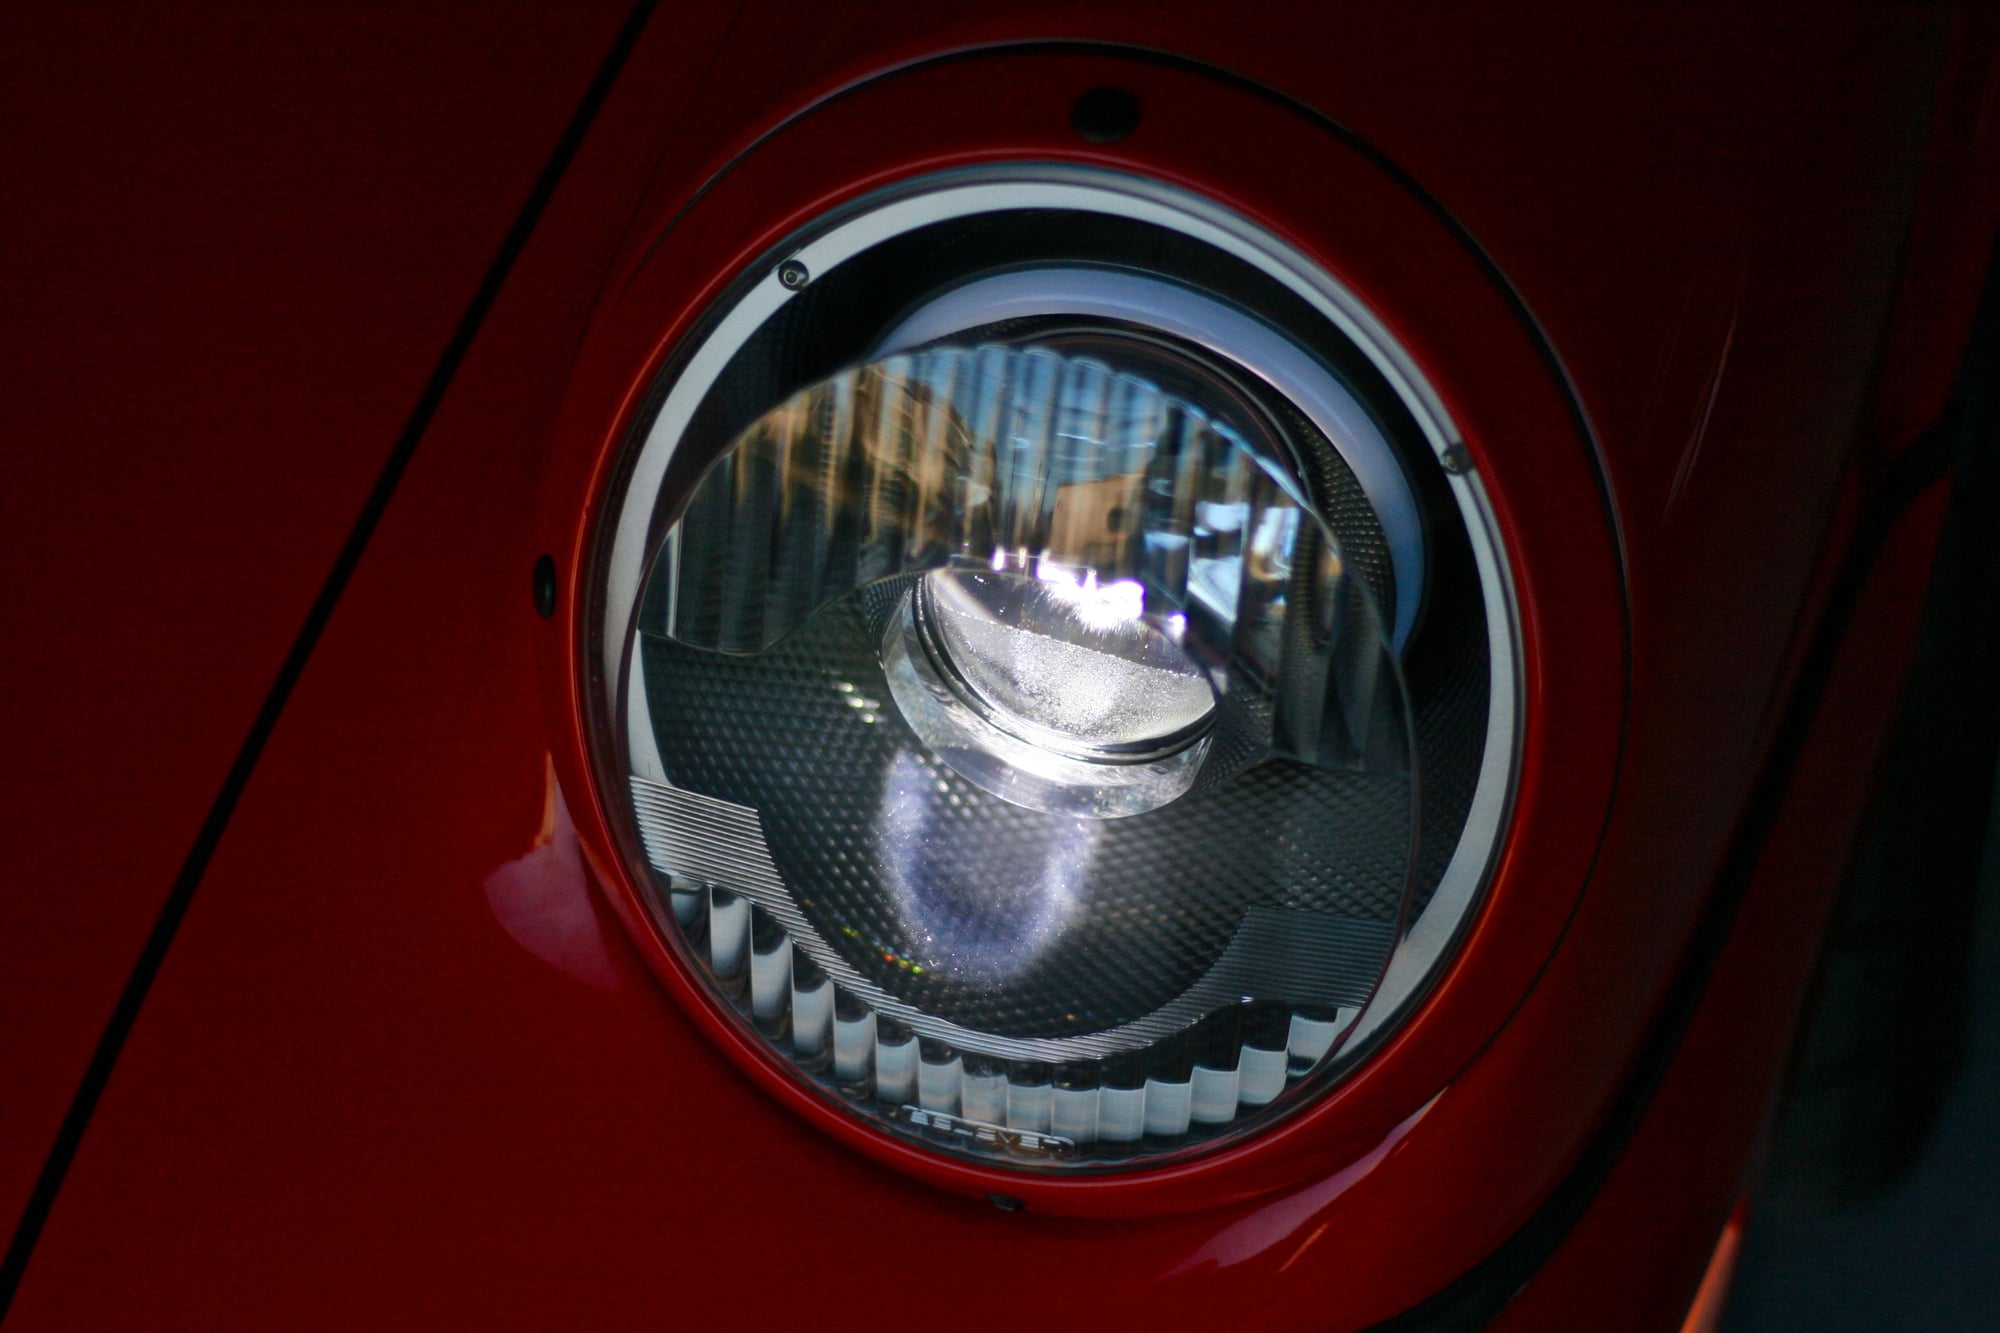
This is the DRL ( i think the light output on the DRL is actually the same as the OEM lights lol) These things are bright!
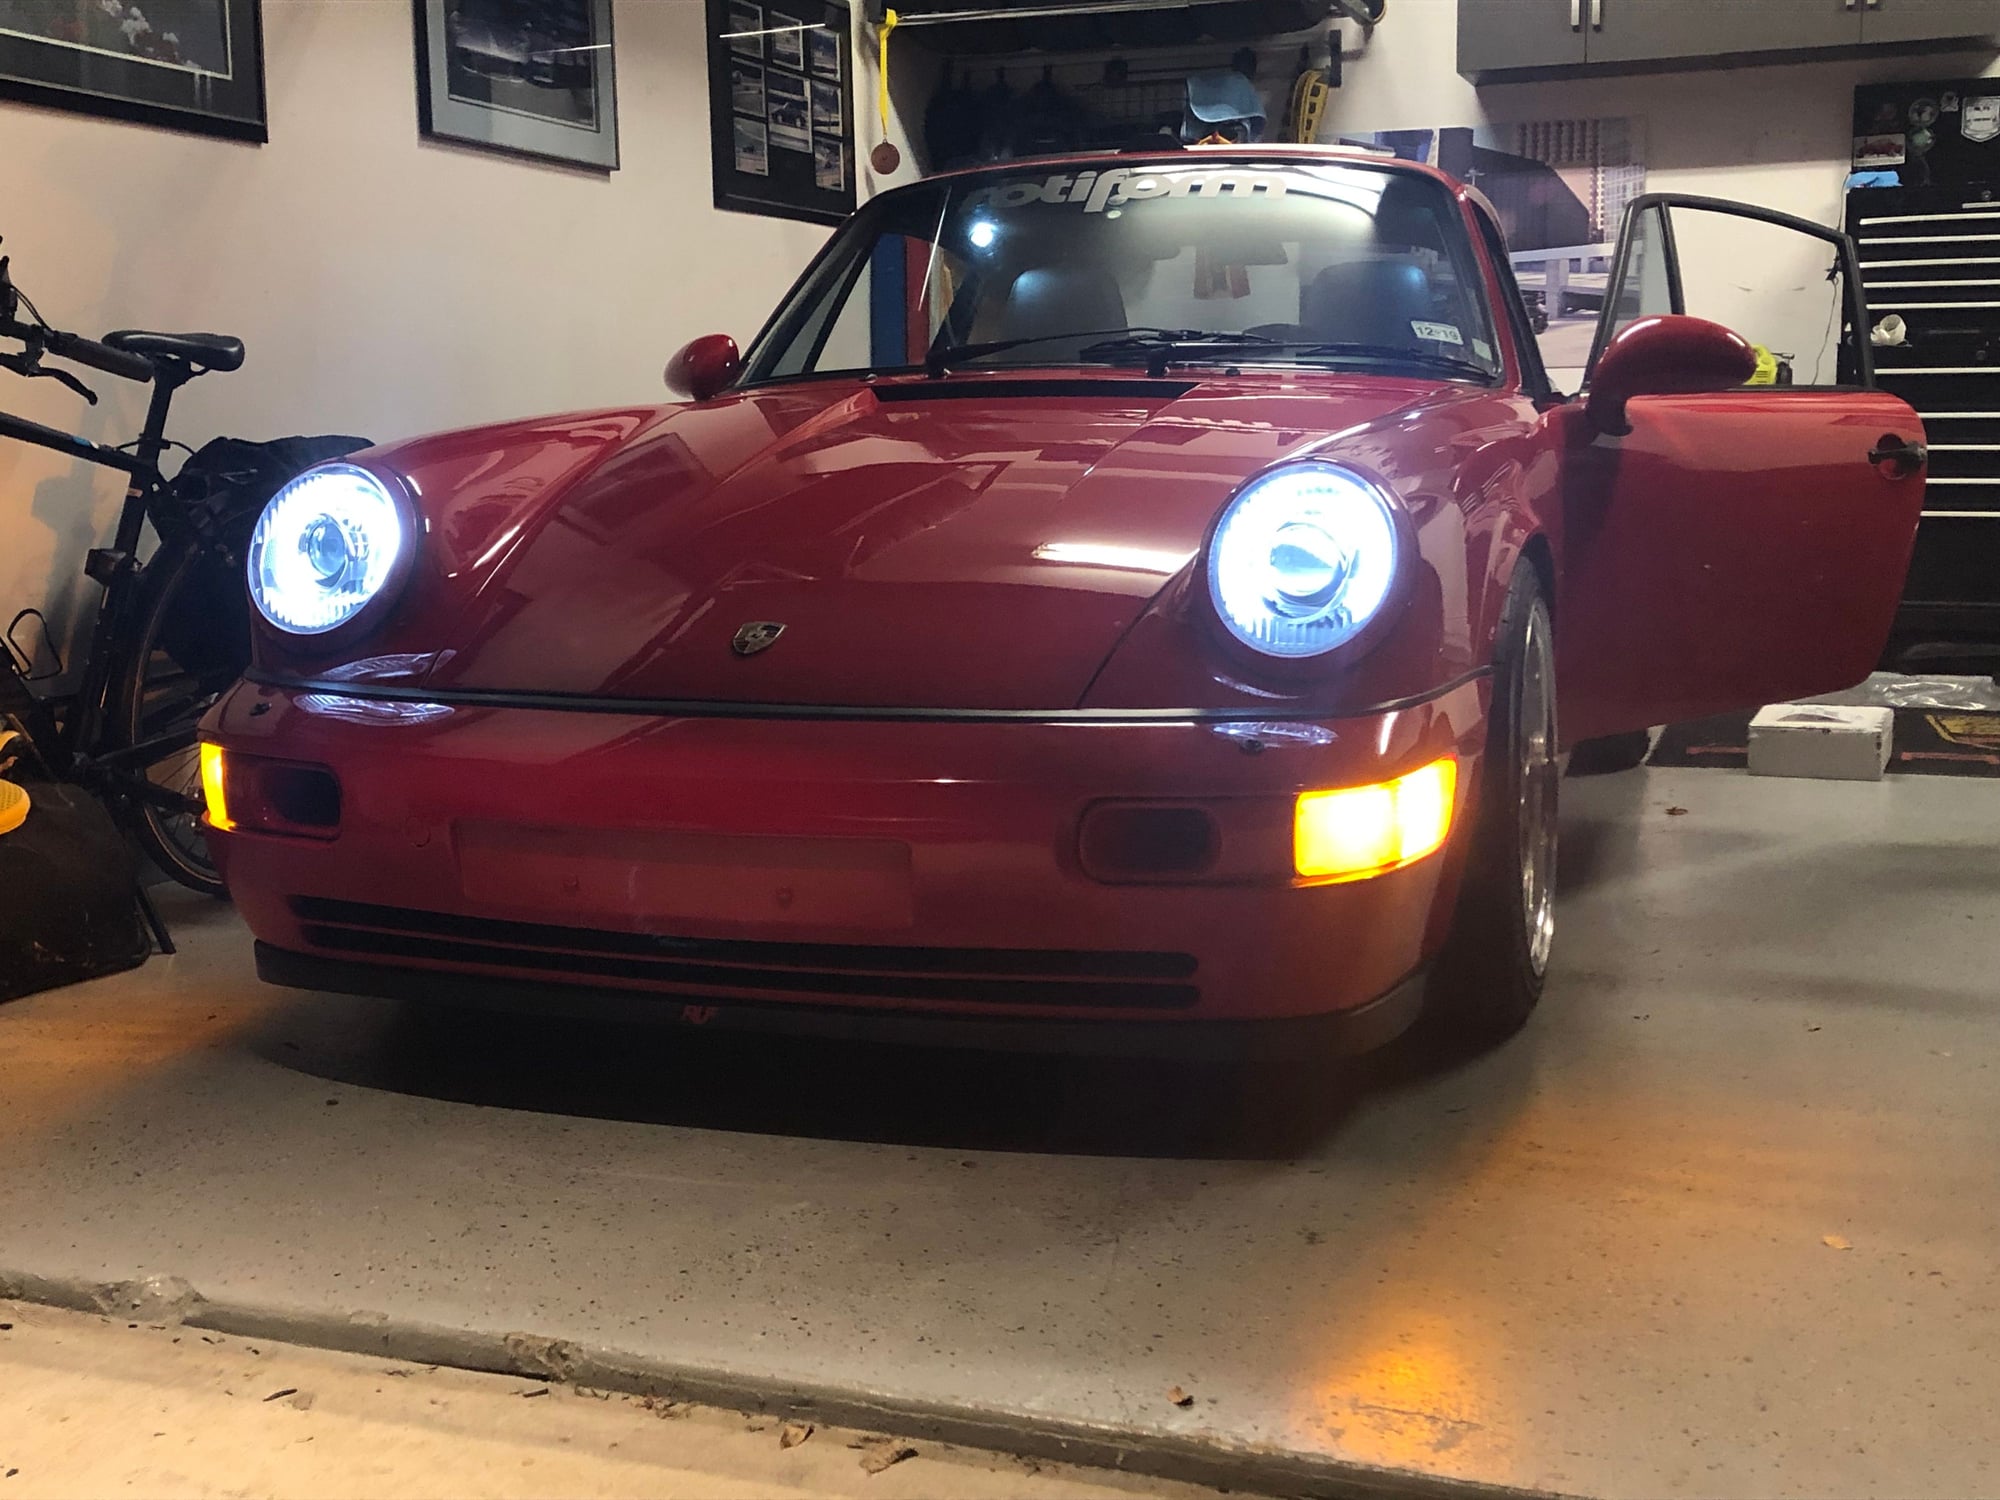
Both installed and lit up. I would say the output with these is similar if not better than that on my 997. I am very impressed with the light output, much better than anticipated.
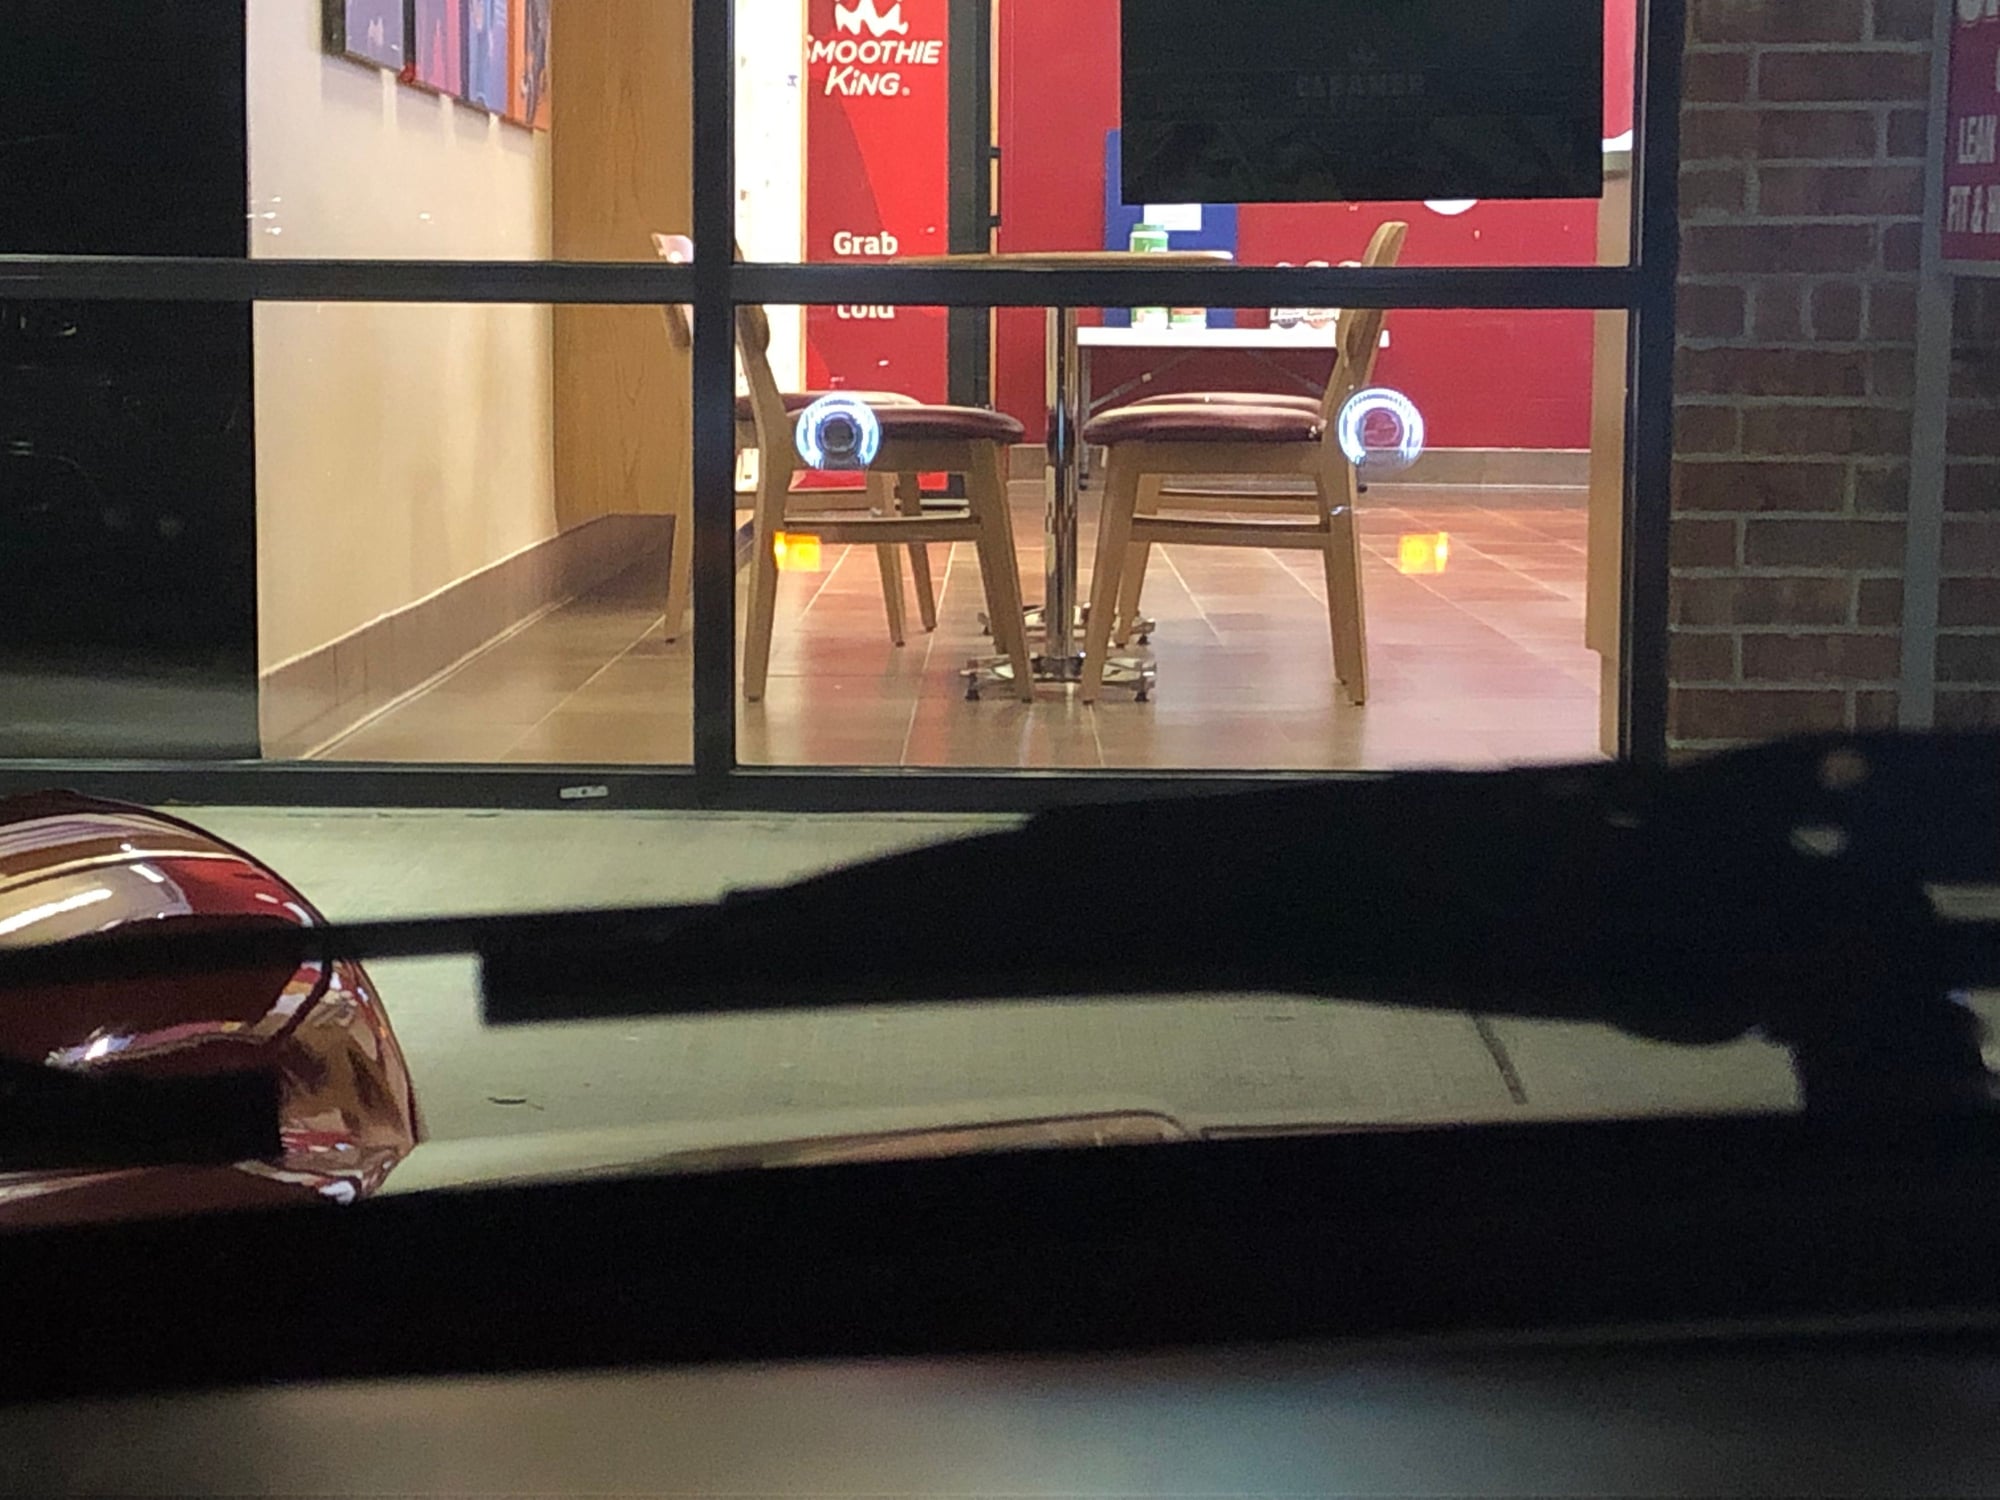
Just a quick reflection pic to show the DRL's - looks pretty sweet i think!
I need to adjust the passenger light a bit, and i will likely do that this weekend, simple adjustment, just have to remove the lights to do it, but that isn't very difficult.
Andy & Kricci - I think those are same as mine - got them from Rennspd (no affil). I also noticed how plain & almost 'ricer' they looked compared to the more metallic ones, so I ended up opening them up and painting the inners before sealing them back up again. Just scuffed and sprayed with a metallic chrome type paint and they turned out WAY better. I haven't installed as I'm modding & painting the bumper but I did test fit and they looked great. Made them look less 'white' and more subtle.
So after exchanging some PM's with SRM - i decided to try doing something similar on the clear corners, so here are a few in progress pics. Should have them back together and installed later this evening, so we will see how this goes! I use amber LEDs and i am not sure how much the white backing really reflects the LED lighting so will be curious to see what sort of lighting this puts out...
Those look very good, I would have never installed the original with the white backing but I really like the silver backing.
How difficult is it to remove the lenses from the white backing and what procedure did you use?
Agreed - the white backing always seemed a bit off - but very happy with the look of these. I likely was going to swap back to the orange OEMs soon before doing this.
It is very simple.
You can place on cookie sheet in the oven at 200* for 5-8 minutes or so to heat up the glue a bit to pull them apart. Once apart, i painted the housings using the paint in this thread, it has a primer and dries super quickly so it is a one step process/paint. I then used super glue to reseal them (not much glue/bonding in the lenses originally). Wiped off any extra glue residue from sealing back up. Then placed a bit of clear caulk/sealant over the seams to try and keep moisture out and reinstalled.
Of all the lights on other cars where i have done something similar, these were incredibly easy.

 01-08-2019, 02:47 PM