Engine rebuild....ground zero
#78
Rennlist Member
Thread Starter
Thanks Rob. Just pressed it in tonight @ a friends house.
Not sure how deep the bearing is supposed to seat or if it should be able to spin (it doesn't move).
I'm in research mode at moment. Lots of other stuff to tackle in the meantime....
Not sure how deep the bearing is supposed to seat or if it should be able to spin (it doesn't move).
I'm in research mode at moment. Lots of other stuff to tackle in the meantime....
#84
Rennlist Member
Thread Starter
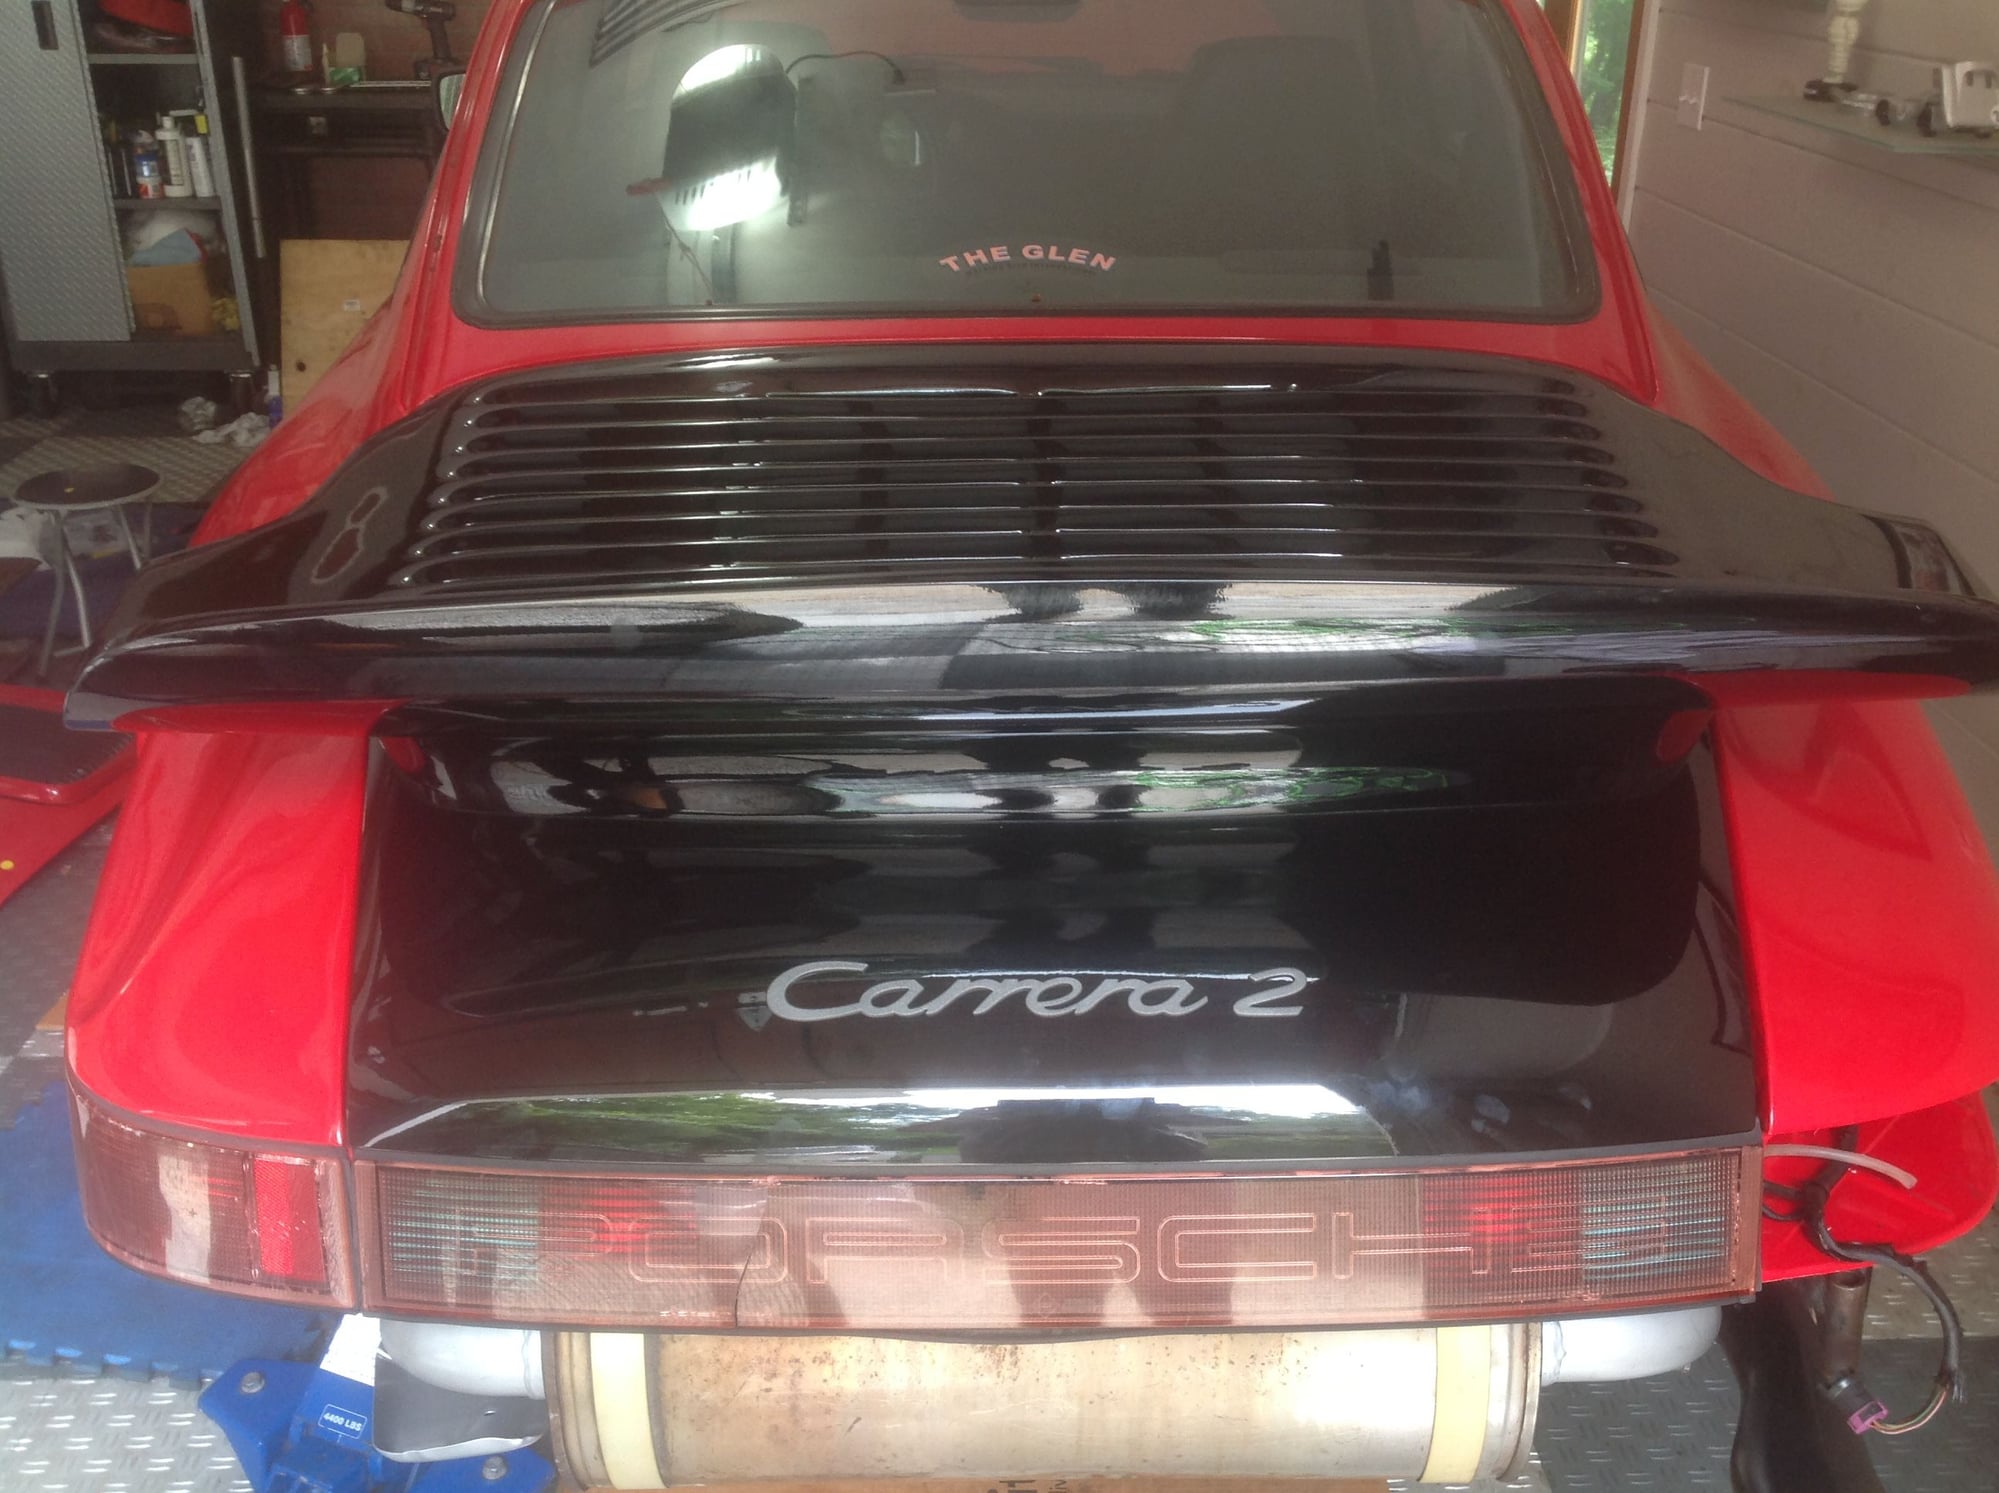
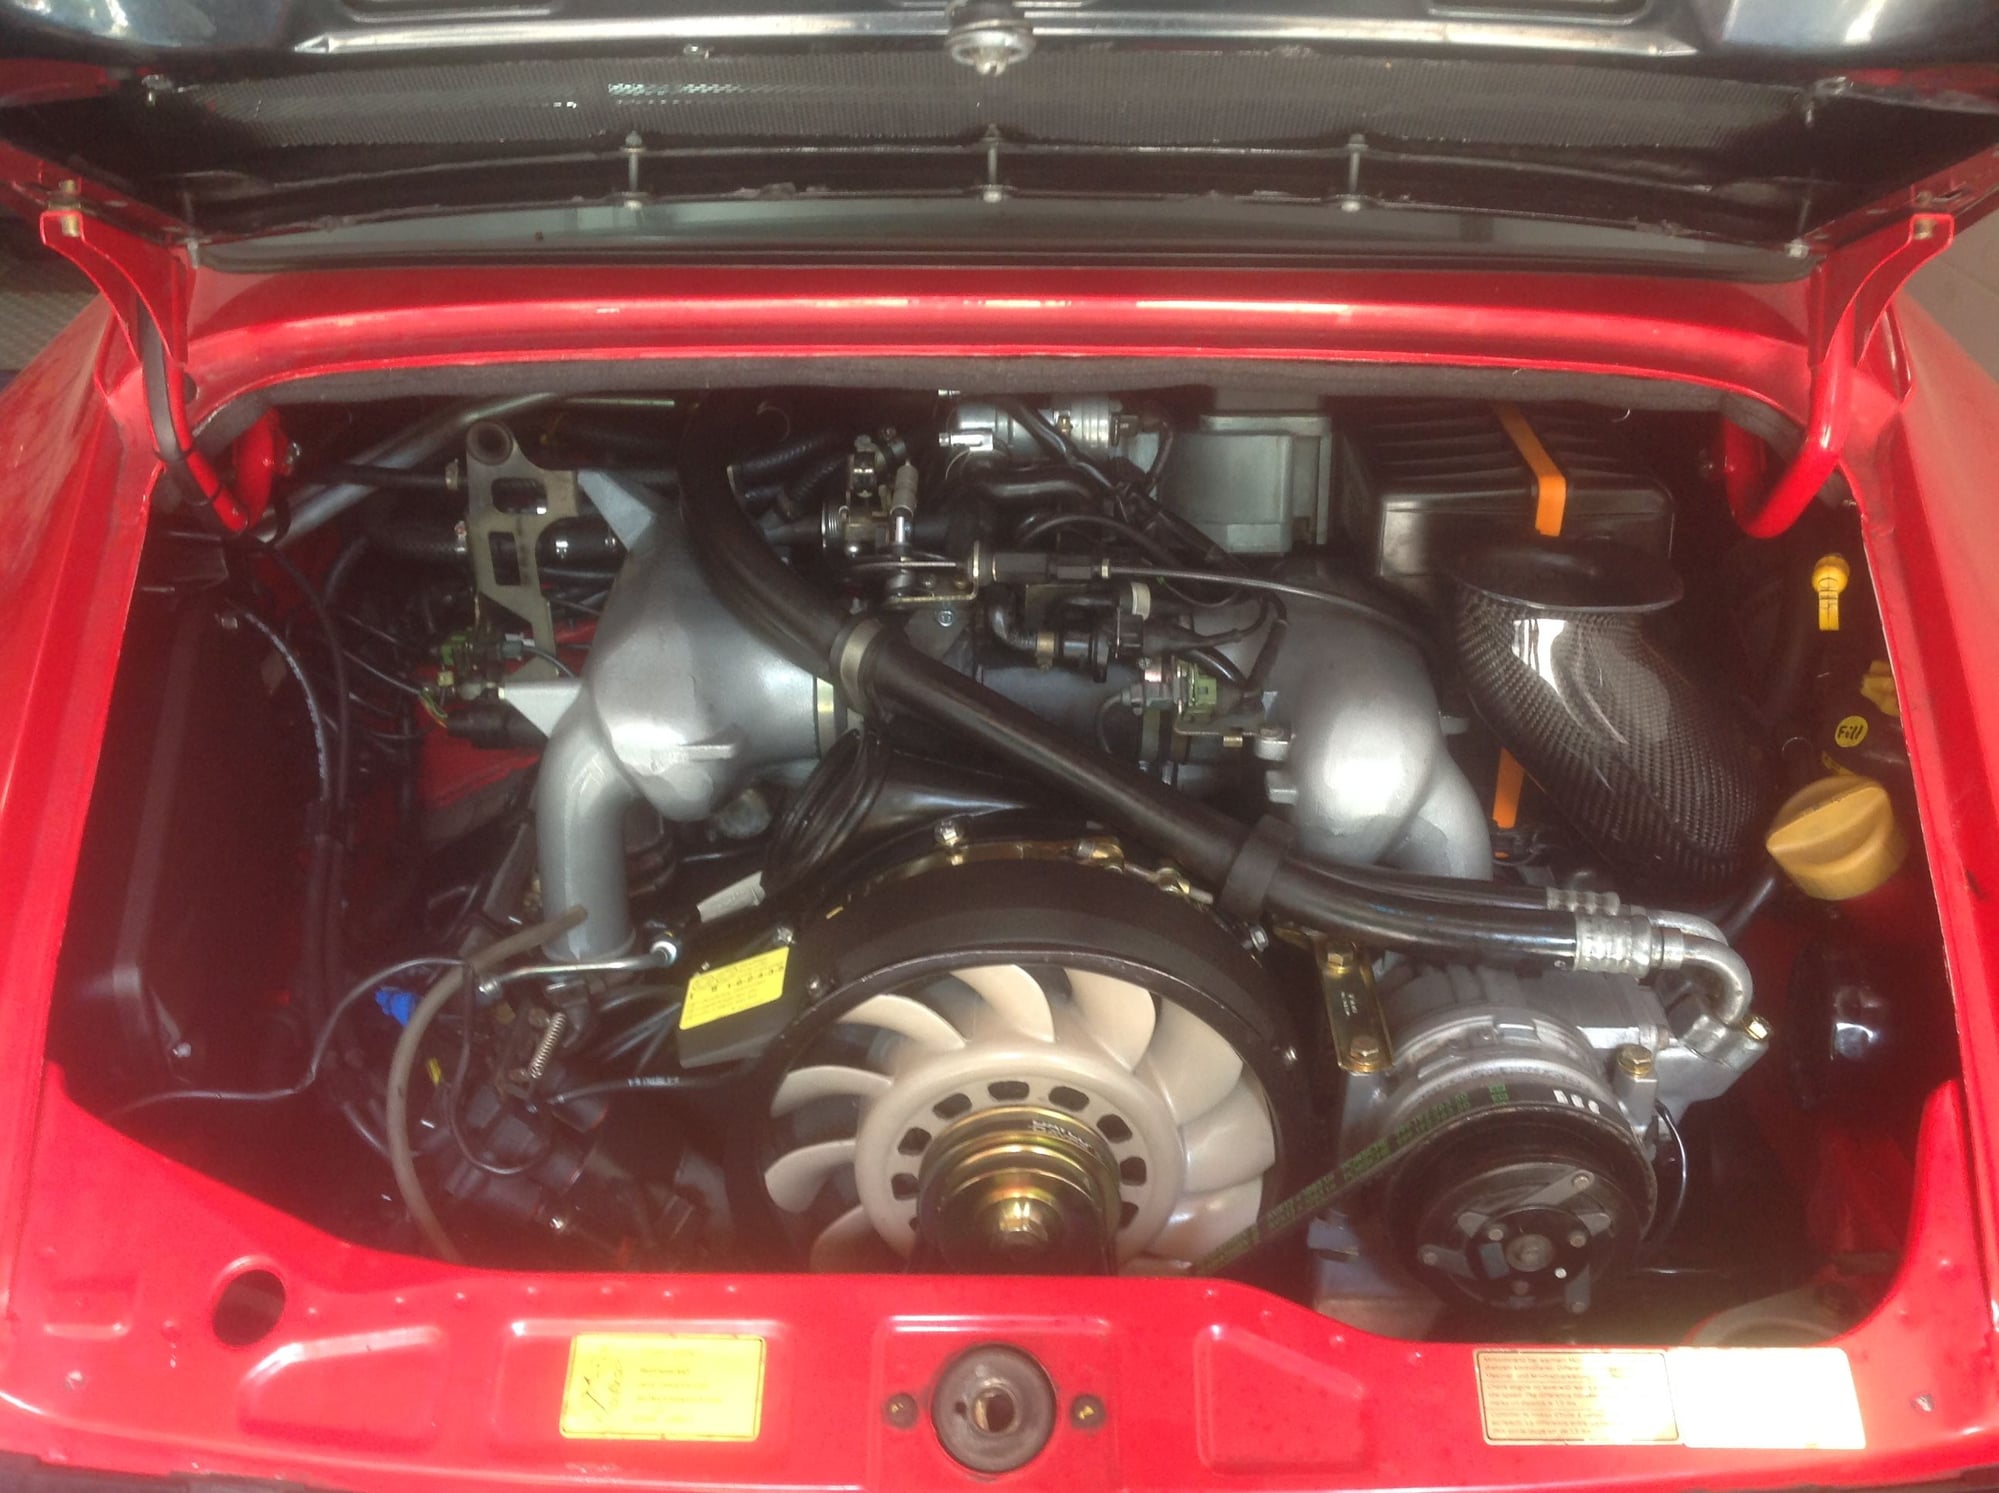
Ok latest update: engine installed, everything attached. Projecting the 1st start-up this Sunday morning. It's been 1year & 9 months since I began this journey....super excited (& a bit nervous).
All that is left to do is:
1. p/u a fresh battery
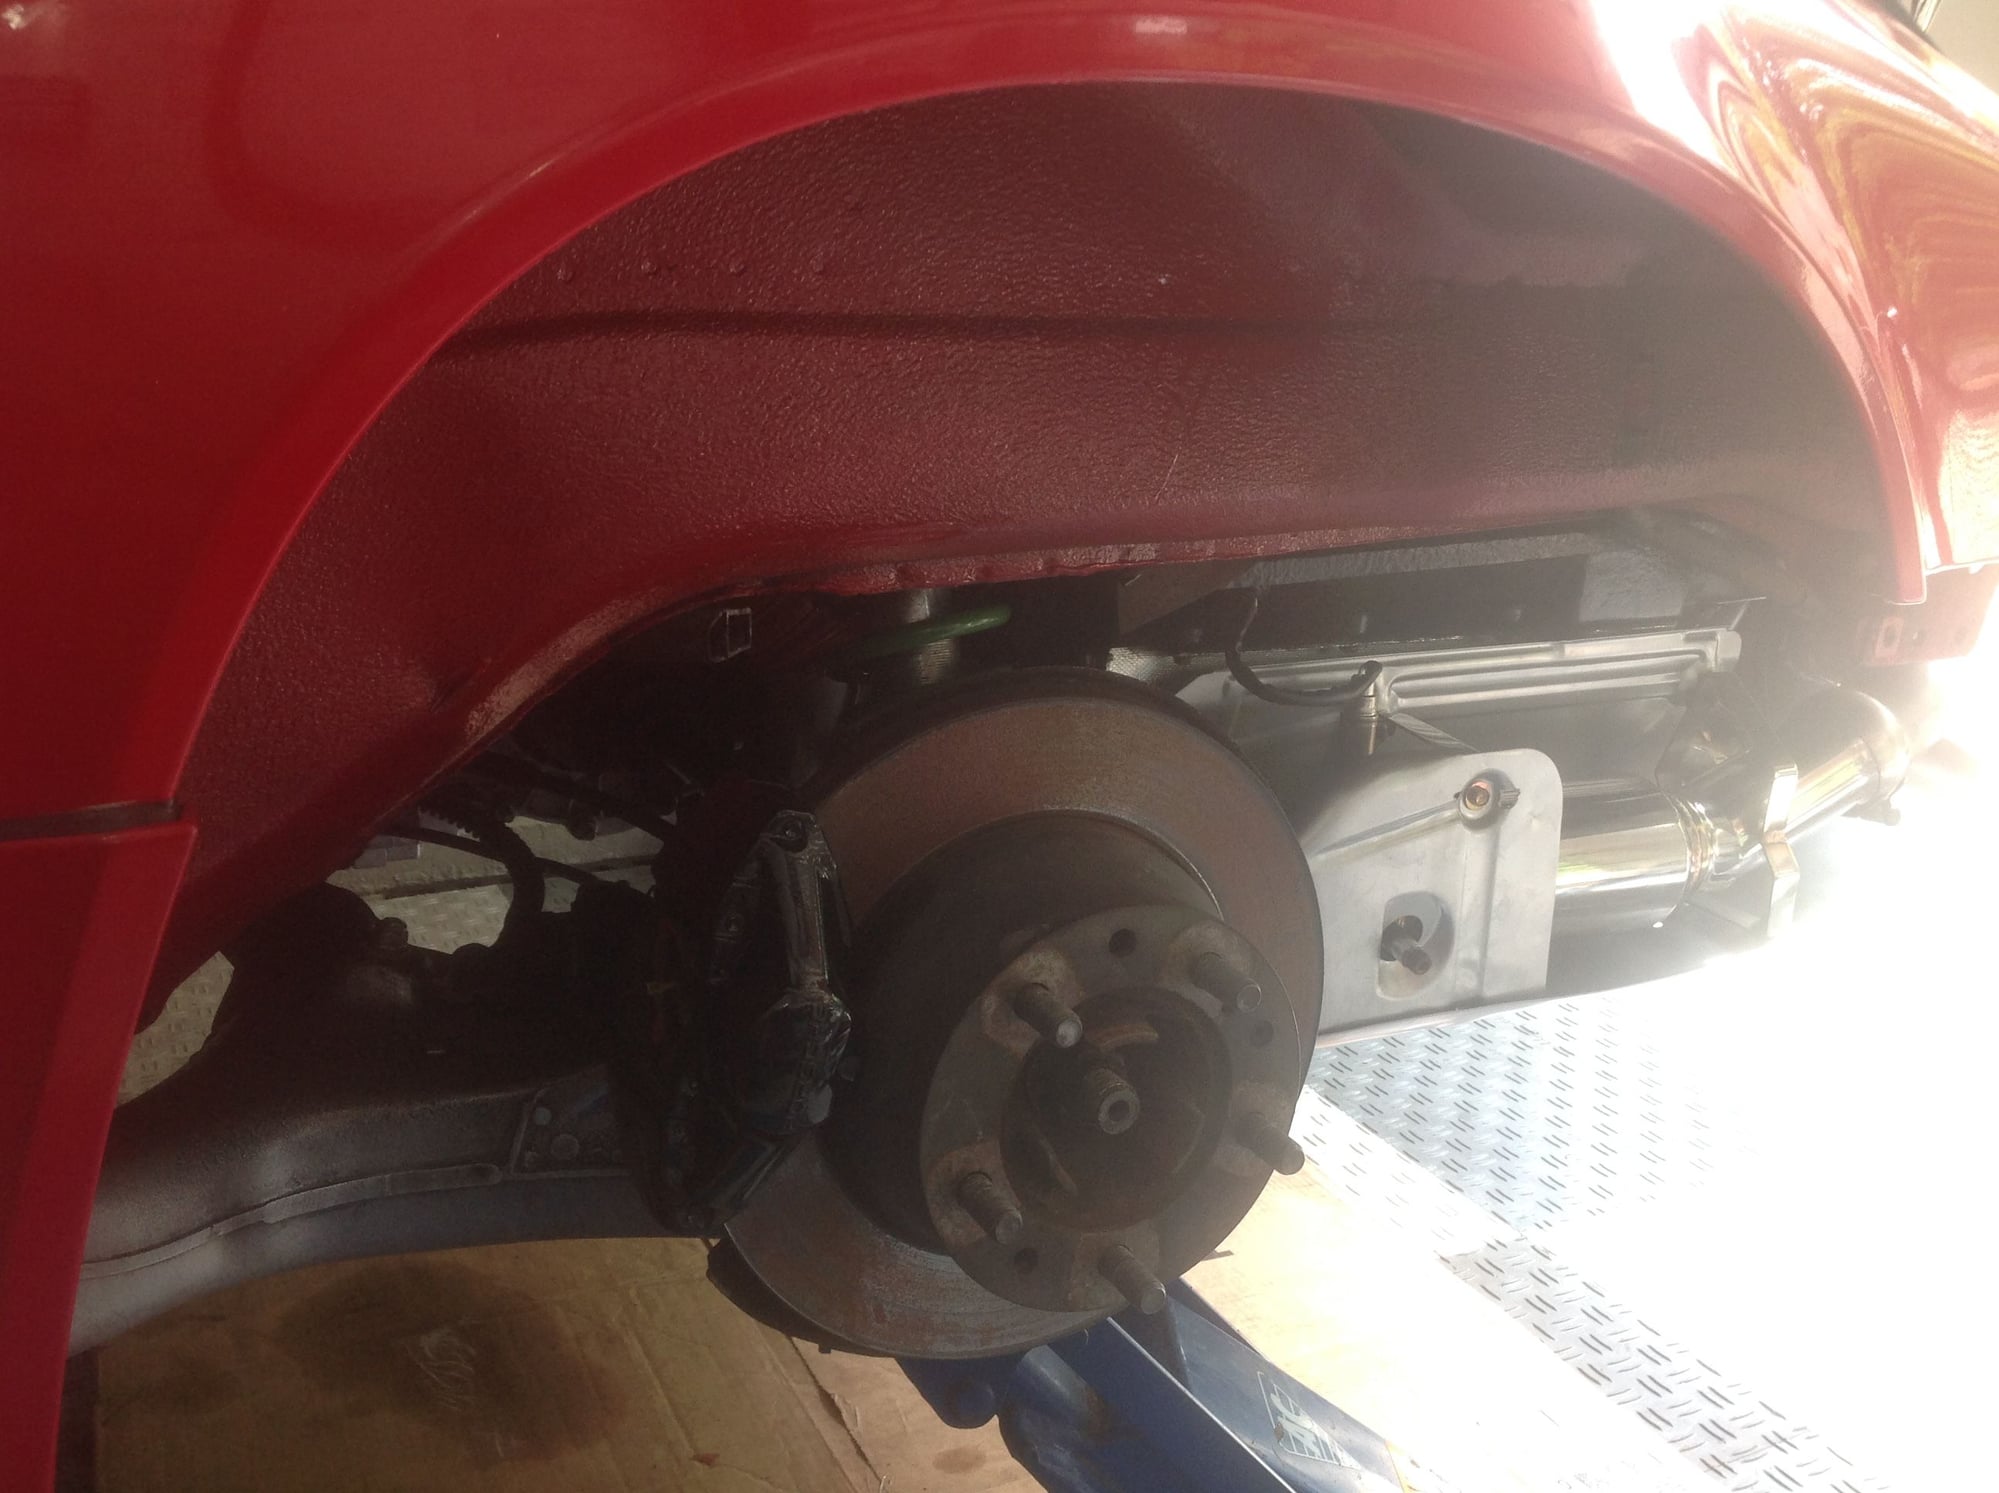
2. Torque all the spring plate bolts. BTW I have no idea where that eccentric (cam) is supposed to sit. An alignment will be forthcoming obviously.
3. Fill w/break-in oil. The engine is completely dry (clean oil tank/oil cooler). I'm guessing she will take between 12-12.8 quarts so I'll check the dipstick as I fill.
Pull the DME, build oil pressure (check for leaks) plug-in then fire up! Anyone that has been down this road feel free to chime in. Lots of great advice from many here that have been generous w/your knowledge & experience. I shall pay it forward. Video forthcoming......
#86
Rennlist Member
Great work Bill, I’m not going to throw shade on you day by linking to my first start video. However I can share the following:
1. You will be a nervous as heck, and don’t need a lot of people watching on the day, unless they are holding fire extinguishers or the video camera.
2. The oil pressure you will get on the ex DME run will barely register on the gauge as it’s related to RPM. It’s enough to have some pressure.
3. My engine took what seemed like an eternity to start, but I could hear it catching and persisted.
4. Sitting in a garage for 20 minutes at 2,000 rpm was too much. I went for a drive around the block at constant revs as close as I could get to 2,000 rpm
5. Even after a successful start I still wondered about all sorts of things I.e. the initial excitement is tempered by concerns over oil leaks etc.
6. Paying it forward is like going through a photo album of your favourite vacation. You get to relive the experience.
Fingers crossed.
#87
Rennlist Member
Thread Starter
Thanks John. Your build thread was very helpful to me. Yeah, lots of new parts that have never met before so I'll expect some strange mechanical noises as well as some smoke perhaps?...will see. As you know, the break-in is really a 2 stage process. Initially the 20 min no load start-up breaks in the cams & followers; then the 1st 50 mile drive is for the pistons/rings to seat. I think every drive going forward will be a nervous event until the 1st valve adj. lol
#88
Rennlist Member
Thread Starter
Success !
The fan pinging (tight belt) went away shortly after this video. Refill & test drive next to seat the rings/pistons (later in the week).
Super excited !!!! Many thanks to goughery & S4magman as this was a total team effort !
The fan pinging (tight belt) went away shortly after this video. Refill & test drive next to seat the rings/pistons (later in the week).
Super excited !!!! Many thanks to goughery & S4magman as this was a total team effort !
#89
Race Car
Maybe after i take madness, I'll swap you the rebuilt intake and start over!
Great job Bill. It's been fantastic to watch you dive in. I have your dbfd decklid badge here waiting for you!

Congrats on the build! She's alive!!!
Also- on the gasket for the thermostat- put the gasket on the cap first, then install. That way the cap won't push it out of the groove.
Great job Bill. It's been fantastic to watch you dive in. I have your dbfd decklid badge here waiting for you!

Congrats on the build! She's alive!!!
Also- on the gasket for the thermostat- put the gasket on the cap first, then install. That way the cap won't push it out of the groove.


 . Do google search on it...