When you click on links to various merchants on this site and make a purchase, this can result in this site earning a commission. Affiliate programs and affiliations include, but are not limited to, the eBay Partner Network.
IMO painting the cross over pipe and associated hardware looks like a cheap spray bomb rattle can job.
Originally Posted by Jay Wellwood
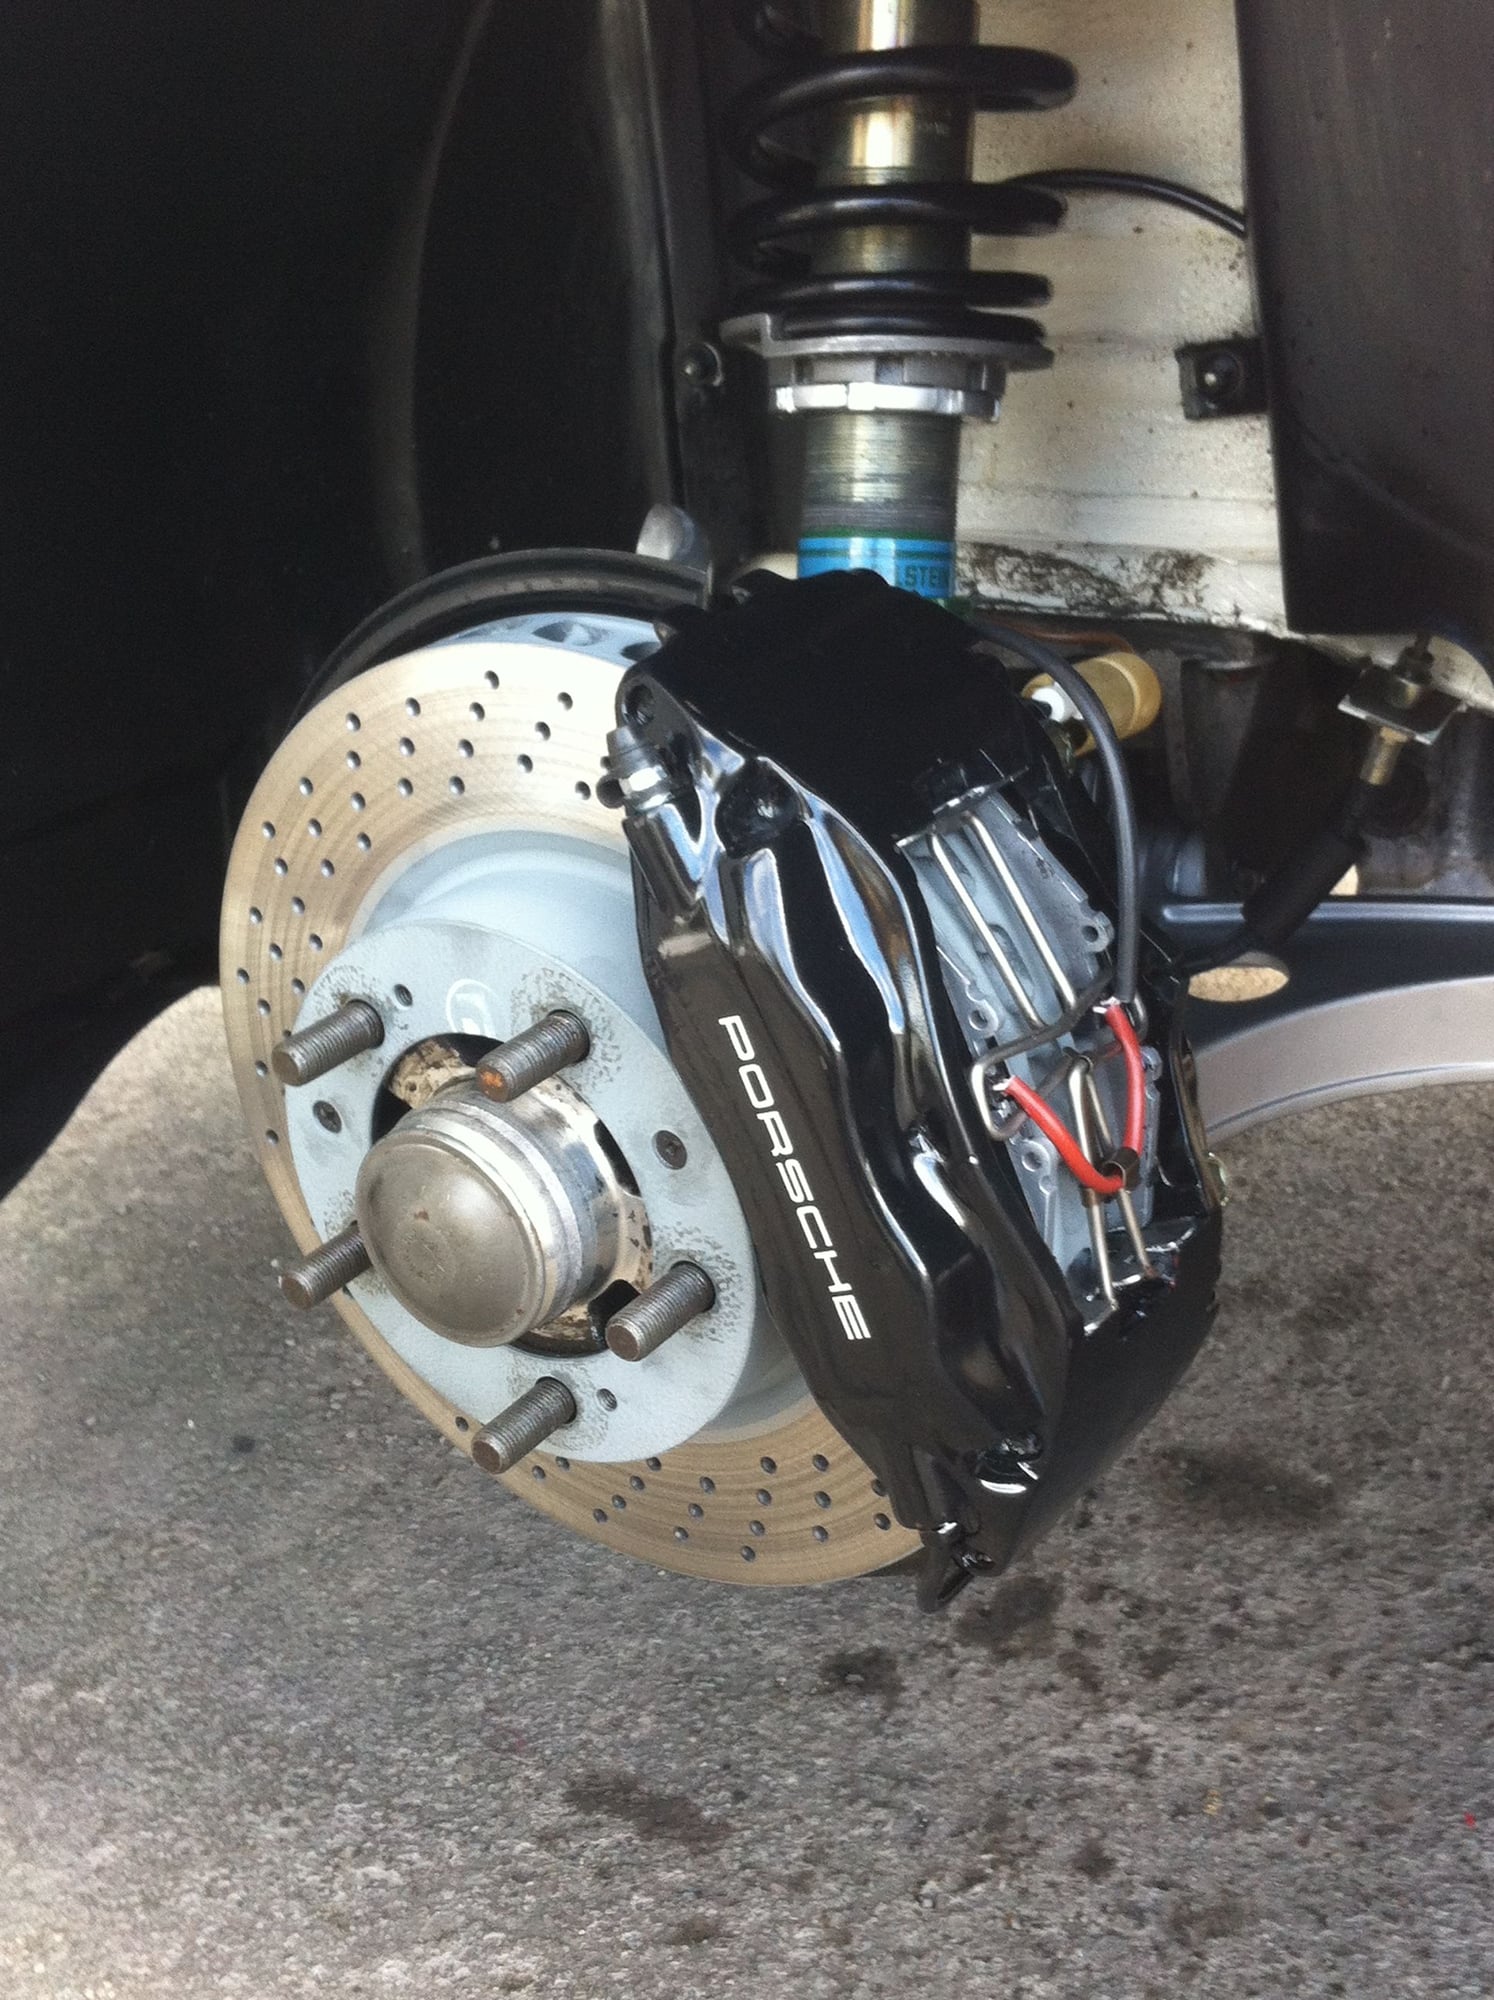
^+1 Crossover line should remain stock color. Good eye Hacker. Should also have new bleed screws and caps too.
+1 and +1, I'm glad I'm not the only one that thinks about details like this. IMO the bolts holding the two halves are also important, they should show their cadmium plated brilliance and not be painted.
I like the look but I disagree with not coating the crossover. If it is a stock crossover the heat protection is built in with heat shield(looks good not painted and functions as heat protection to the oil pan if the asbestos is still between the pipe and shield), however if they are removed then I would ceramic coat them in some way due to the heat that will transfer to other parts of the engine, like the oil pan. Custom crossovers without heat shields I would definitely get coated. Yes I like the color change of new uncoated custom crossovers but that is not the best way to get heat out of the engine bay as well as other benifits that coating a crossover due. However, that's a really cool setup.
And what's bad about powder coating brake calipers if prepped properly?
The OEM detail is that the bolts retaining the halves and the crossover pipes are painted.
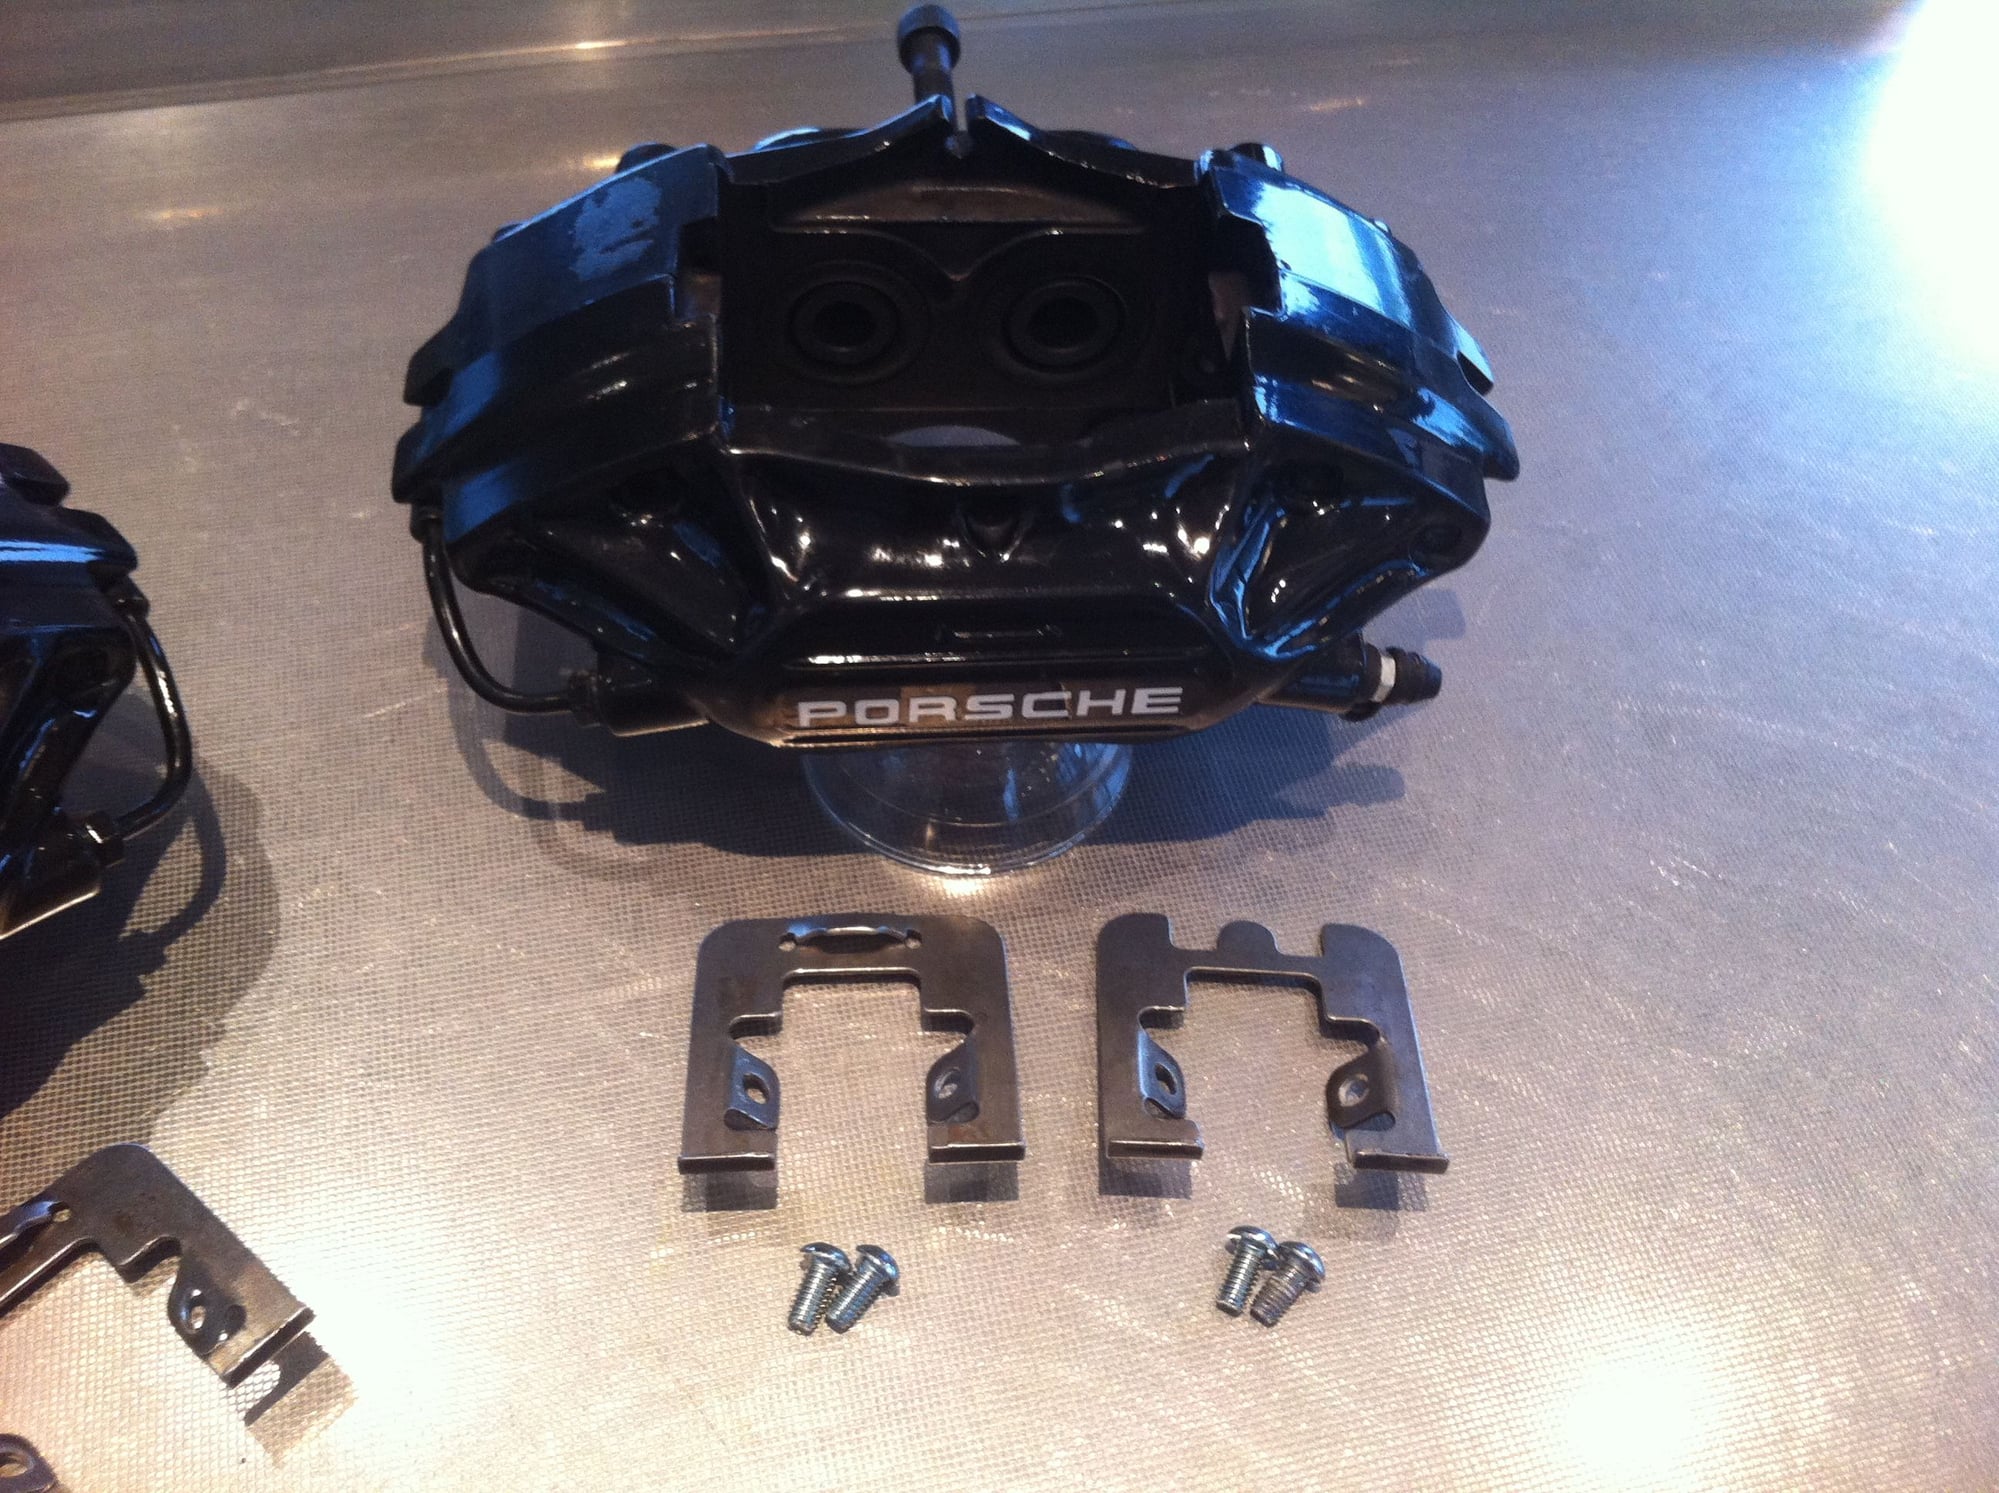
Be wary of splitting the calipers. I see that the early workshop manual shows them split but the '91 version of Turbo supplement is clear that they should NOT be split. My understanding is that after being heat cycled that they can distort if split and cannot be correctly reassembled. I have split them before and got away with it but others I know haven't been so lucky. My recollection ios that there are no seals between the halves. The hydraulic pressure is transferred not through the halves but via the cross over pipe.
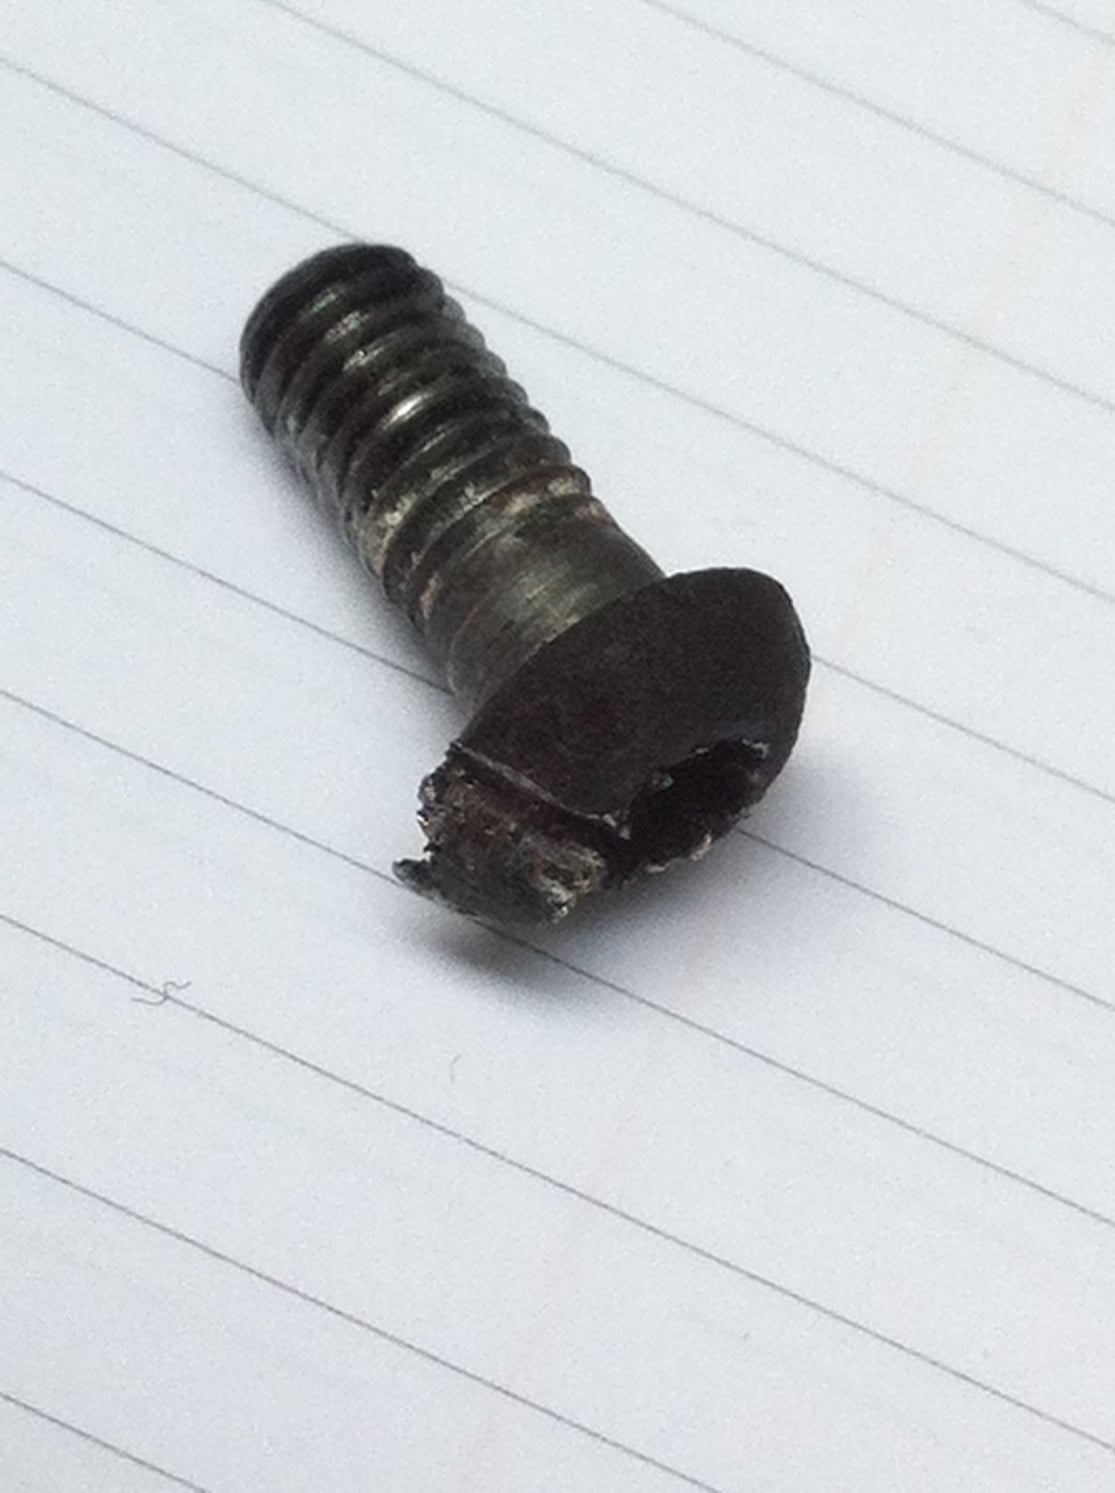
The 4 small screws that hold the spring plates can be very difficult to remove. The workshop manual suggests heating to 150C. I have had some luck by heating them with the point of a soldering iron, placed in the torx/allen recess for approx 1 min. If that fails and the head starts to strip I break them loose by tapping them anti clock wise with a small sharp cold chisel. Not pretty but effective. I've never failed to remove one but you do need to be patient.
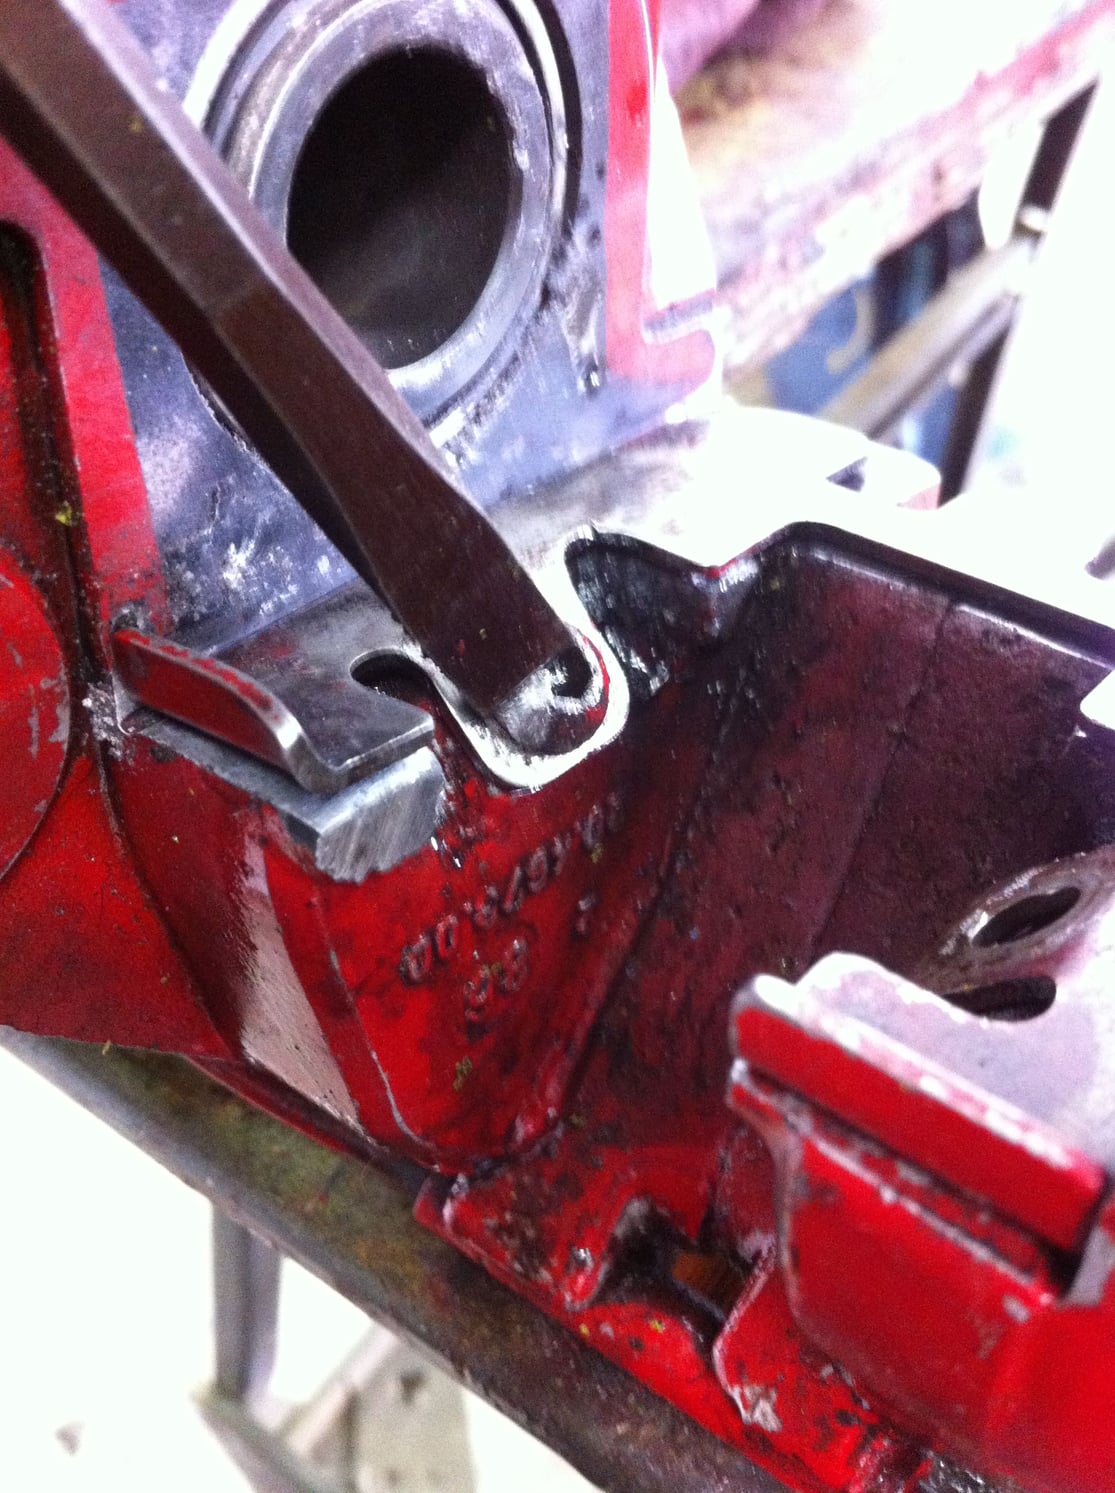
It is a really good idea to remove these plates and clean and repaint behind them because there is often a galvanic reaction between the stainless and the aluminium which can push the plates forward the extend that they start binding on the brake pads. On reassembly I coat the back of the the spring plates with ceramic grease which is rated at $1200C. This isolates the stainless and the aluminium, but a good coat of paint should suffice.
Be careful with heating the calipers at temps above 220C. Brembo is very clear that 220C is the max operating temp for this style of caliper and at 240c they state that calipers should be rebuilt because the rubbers denature above that temperature.
Hmmmm... Would a toaster oven work? Are the calipers too big? They are portable, affordable, can hold tools when not in use on the self and you won't get in trouble for curing your calipers in the kitchen oven with the wife. And you won't taste the paint in the food that's baked in the kitchen oven later.
The OEM detail is that the bolts retaining the halves and the crossover pipes are painted....Be wary of splitting the calipers. I see that the early workshop manual shows them split but the '91 version of Turbo supplement is clear that they should NOT be split.
Beamishnz you do excellent work and thank you for your insight of the process. Both my current 86 and the previous one had cadmium-plated bolts holding the two halves of the calipers together. They had some sort of clear coat applied over them but no paint color, you can see the clear pealing away in the picture. I presumed they came stock from the factory that way, maybe they were previously rebuilt. Yes I saw that the later calipers should not be split, I had no issues with the early ones.
It is a really good idea to remove these plates and clean and repaint behind them because there is often a galvanic reaction between the stainless and the aluminium which can push the plates forward the extend that they start binding on the brake pads.
Very important to note. Especially on the 968's - it has become common to discover the plates bulged out due to the buildup of corrosion particles which can hamper the operation of the brakes. A big
So back in 2010 I did a bunch of powder coating on my car for corrosion protection on suspension parts.
I have only put on about 20000km since doing the work.
Other than the durability of powder coating I would not do it again. Chris White joked on a post that it will end up looking bad over time.
He is 100% correct. It looked great for the first 5 years and then it mutated into looking dirty as hell from road grime. I am going to re-prep and paint over top of it this time.
Everything was bead blasted and done at a local shop. It was done properly.
It definitely does not clean up like a nice quality paint job.
My pic you see to the left is all the powder coated parts. Luckily it was ridiculously cheap to do the powder coat so no big loss. I will be painting things myself since using my SATA HVLP4000 paint gun.
There are pro's and cons re powder coating. I use Duplicolor caliper paint aerosol (I find it impossible to get a decent brush finish). The aerosol gives great a great finish and the paint seems reasonably resistant to brake fluid but it does chip easily if you knock it when fitting wheels ... saying that it is easy to touch up chips with a small brush.
Powercoating is a tougher finish but it does tend to go flat over time and lose its gloss finsisah.
I suspect the OEM finish is a powder coat finish followed by a sprayed clear coat. That is probably the best of both worlds but I've yet to try that because I find it relatively quick and easy to rub down and spray the calipers.
I rub down with 180 followed by 320 wet and dry and use the anti vibration pads to mask off the seals.


 06-19-2017, 09:59 PM