Notices
944 Turbo and Turbo-S Forum 1982-1991
Sponsored by:
Sponsored by: Clore Automotive

Hinton'a Hybrid Stroker

Thread Tools
 
Search this Thread
 
Old 04-06-2017, 09:07 AM
  #61  
hinton
Racer
Thread Starter
 
hinton's Avatar
 
Join Date: Jan 2016
Posts: 489
Received 106 Likes on 60 Posts
Default

Originally Posted by blown 944
You better take a look at it. You should not see anything with just hand rotations. I always use the oil pump to pull the cradle forward before torquing the girdle down. Better to find an issue now rather than after its installed. Could be a mis aligned main cap that walked. or ?? Also make sure the thrust surfaces of teh crank are polished as well as the journals. It has been missed in the past.

Also I watched a couple vids and the clearance you are wanting on the piston skirts is .0045 to .0055. I would also look into the torque spec on the rods. From all the ones I know of it is 43 pound ft with those rods and bolts.
Thanks for the info. I will pull it apart and see what I'm working with. I will use the oil pump this time around to confirm girdle alignment. Only other oddity to consider is the crank scraper. When the counter weights are "in" the teflon portion of the crank scraper, end play drops to .001". Obliviously this will change after the crank self clearances the teflon but it may be pushing the crank into the thrust bearing causing issues. Regardless, I'll pull it apart to be safe.

Piston to wall clearance was .0050, i just screwed up in the video.

I'll check the rod bolts as well. I just hopped on Eagles website and it looks like the under head length of the bolt not just the head size and material matters. 1.500" is 43 ft lbs, 1.600" and 1.800" lengths are 75 ft lbs. I must have looked at the wrong ones? Nice catch.
Old 06-07-2017, 02:55 PM
  #62  
hinton
Racer
Thread Starter
 
hinton's Avatar
 
Join Date: Jan 2016
Posts: 489
Received 106 Likes on 60 Posts
Default

Ok guys, finally another update. I screwed up when i was talking about the rod bolt torque, it should be 43 ft lbs not 35. Finally starting to make some more progress and will continue in the coming weeks.
Old 06-09-2017, 11:50 AM
  #63  
hinton
Racer
Thread Starter
 
hinton's Avatar
 
Join Date: Jan 2016
Posts: 489
Received 106 Likes on 60 Posts
Default

Well, I had to tear it back down last night. Even after using the oil pump to line up the girdle I was only seeing .004" crank end play.

I took ot apart, removed the sealant from the oil pump and cleaned everything up real good. Reassembled and still .004". It felt really tight and took some force to even get that much play.

Per anothers recomendation I tore it down again and lightly sanded the thrust bearing, just a few strokes on each side with 600 grit. Finally looks right after reassembly, .007" end play and a nice audible click when sliding back and forth.

Hopefully that's the last time I the bottom end comes apart for a while!
Old 06-21-2017, 02:50 PM
  #64  
hinton
Racer
Thread Starter
 
hinton's Avatar
 
Join Date: Jan 2016
Posts: 489
Received 106 Likes on 60 Posts
Default

Here's another quick update, installed the fitting for the LR steam vent kit in the cylinder head and got the head bolted on and torqued down. Progress!


Coming together!
Old 06-21-2017, 02:51 PM
  #65  
hinton
Racer
Thread Starter
 
hinton's Avatar
 
Join Date: Jan 2016
Posts: 489
Received 106 Likes on 60 Posts
Default

Old 06-22-2017, 12:12 AM
  #66  
refresh951
Rennlist Member
 
refresh951's Avatar
 
Join Date: Jun 2010
Location: Marietta, Georgia
Posts: 3,365
Likes: 0
Received 22 Likes on 9 Posts
Default

100 ft/lbs is on the edge of pull out. Should work if everything is good but very little margin. I would probable back it off a bit. I have been using 87 ft/lbs.
Old 06-22-2017, 12:28 AM
  #67  
hinton
Racer
Thread Starter
 
hinton's Avatar
 
Join Date: Jan 2016
Posts: 489
Received 106 Likes on 60 Posts
Default

Originally Posted by refresh951
100 ft/lbs is on the edge of pull out. Should work if everything is good but very little margin. I would probable back it off a bit. I have been using 87 ft/lbs.
Thats with ARP studs? Are you still sneaking up on it in 3 steps? Thanks for the heads up!
Old 06-22-2017, 08:48 AM
  #68  
refresh951
Rennlist Member
 
refresh951's Avatar
 
Join Date: Jun 2010
Location: Marietta, Georgia
Posts: 3,365
Likes: 0
Received 22 Likes on 9 Posts
Default

Originally Posted by hinton
Thats with ARP studs? Are you still sneaking up on it in 3 steps? Thanks for the heads up!
Block threads are the weak link here.
Old 06-22-2017, 08:55 AM
  #69  
ealoken
Three Wheelin'
 
ealoken's Avatar
 
Join Date: Aug 2016
Posts: 1,331
Received 114 Likes on 72 Posts
Default

Originally Posted by refresh951
Block threads are the weak link here.
Whats the next size up on studs?
Old 06-22-2017, 09:54 AM
  #70  
hinton
Racer
Thread Starter
 
hinton's Avatar
 
Join Date: Jan 2016
Posts: 489
Received 106 Likes on 60 Posts
Default

Gotcha, i will back them down. Thanks
Old 07-05-2017, 01:22 PM
  #71  
hinton
Racer
Thread Starter
 
hinton's Avatar
 
Join Date: Jan 2016
Posts: 489
Received 106 Likes on 60 Posts
Default

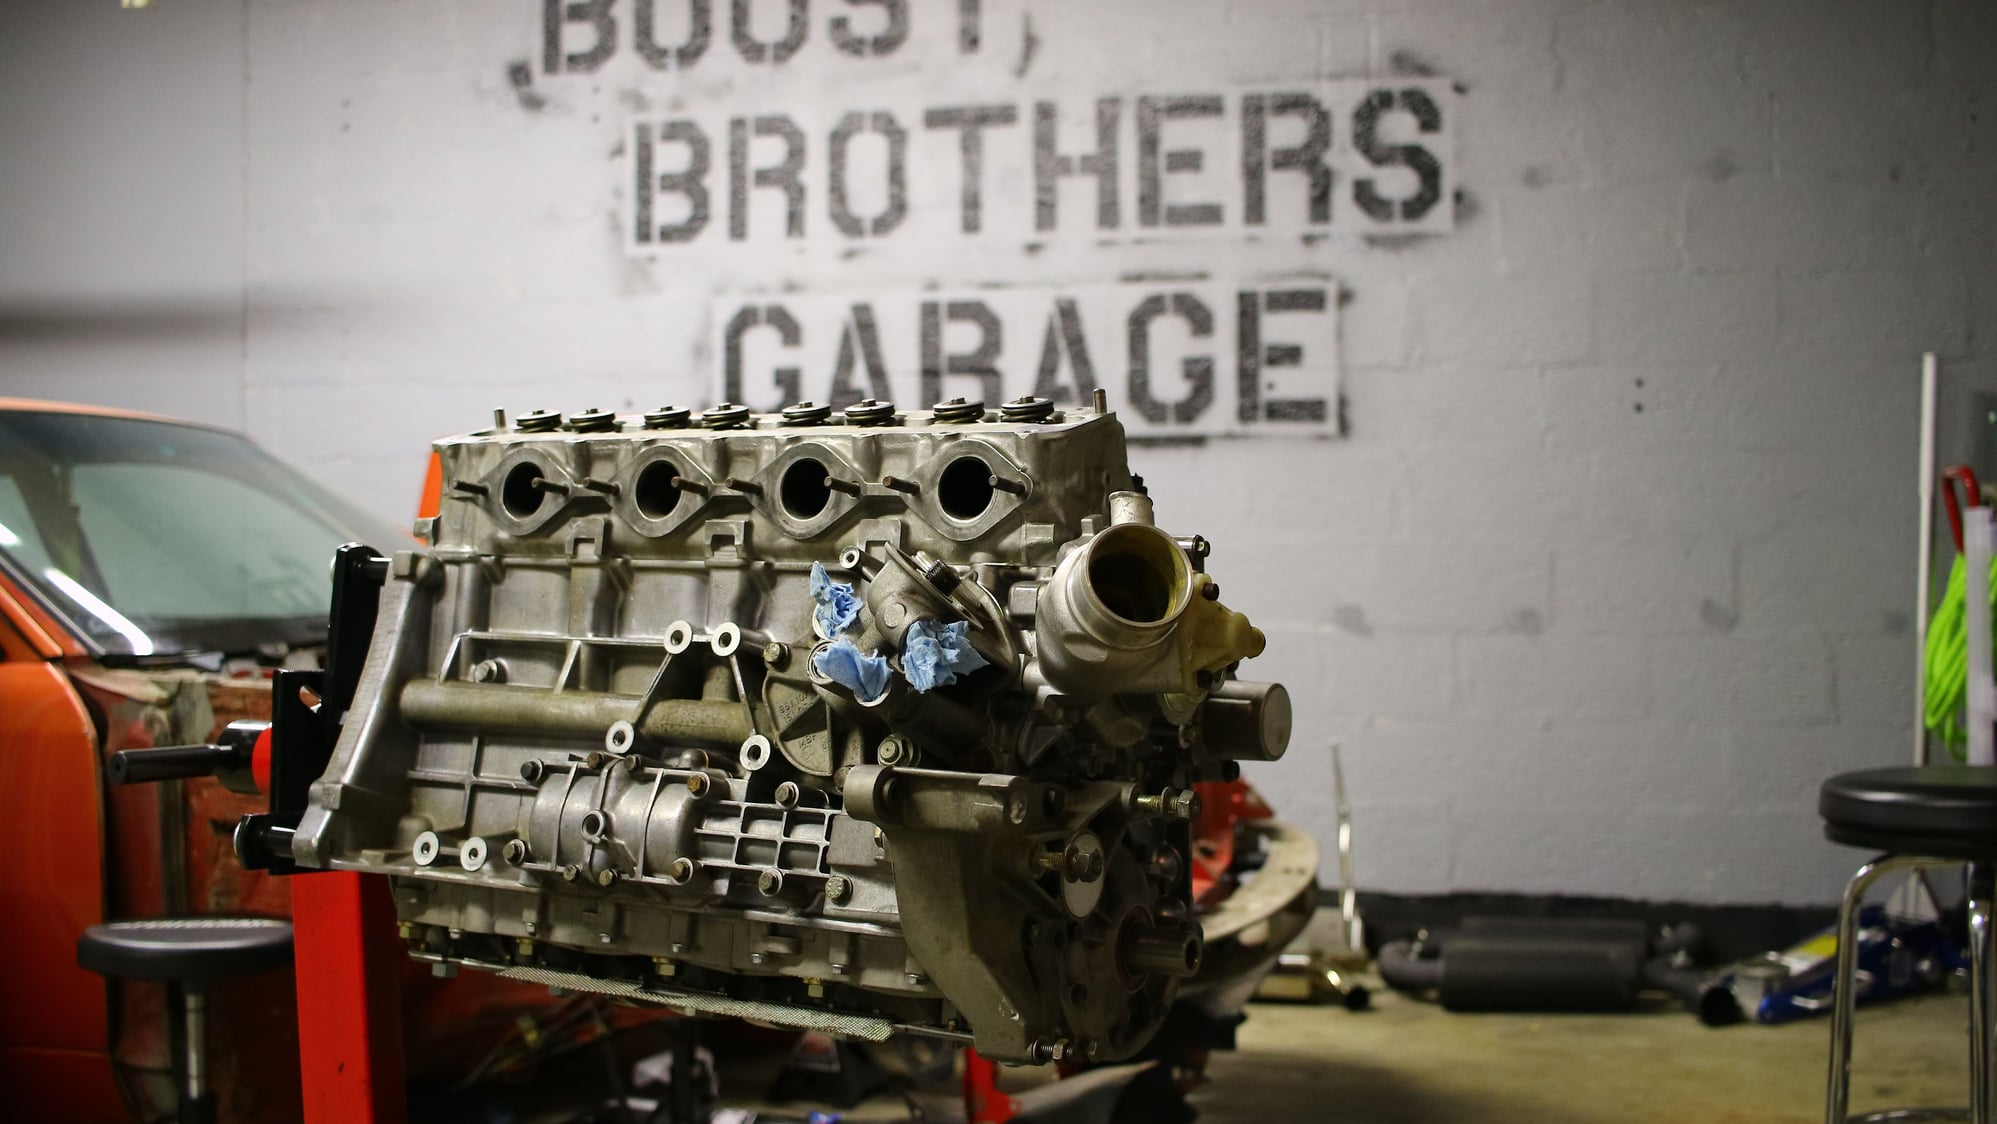
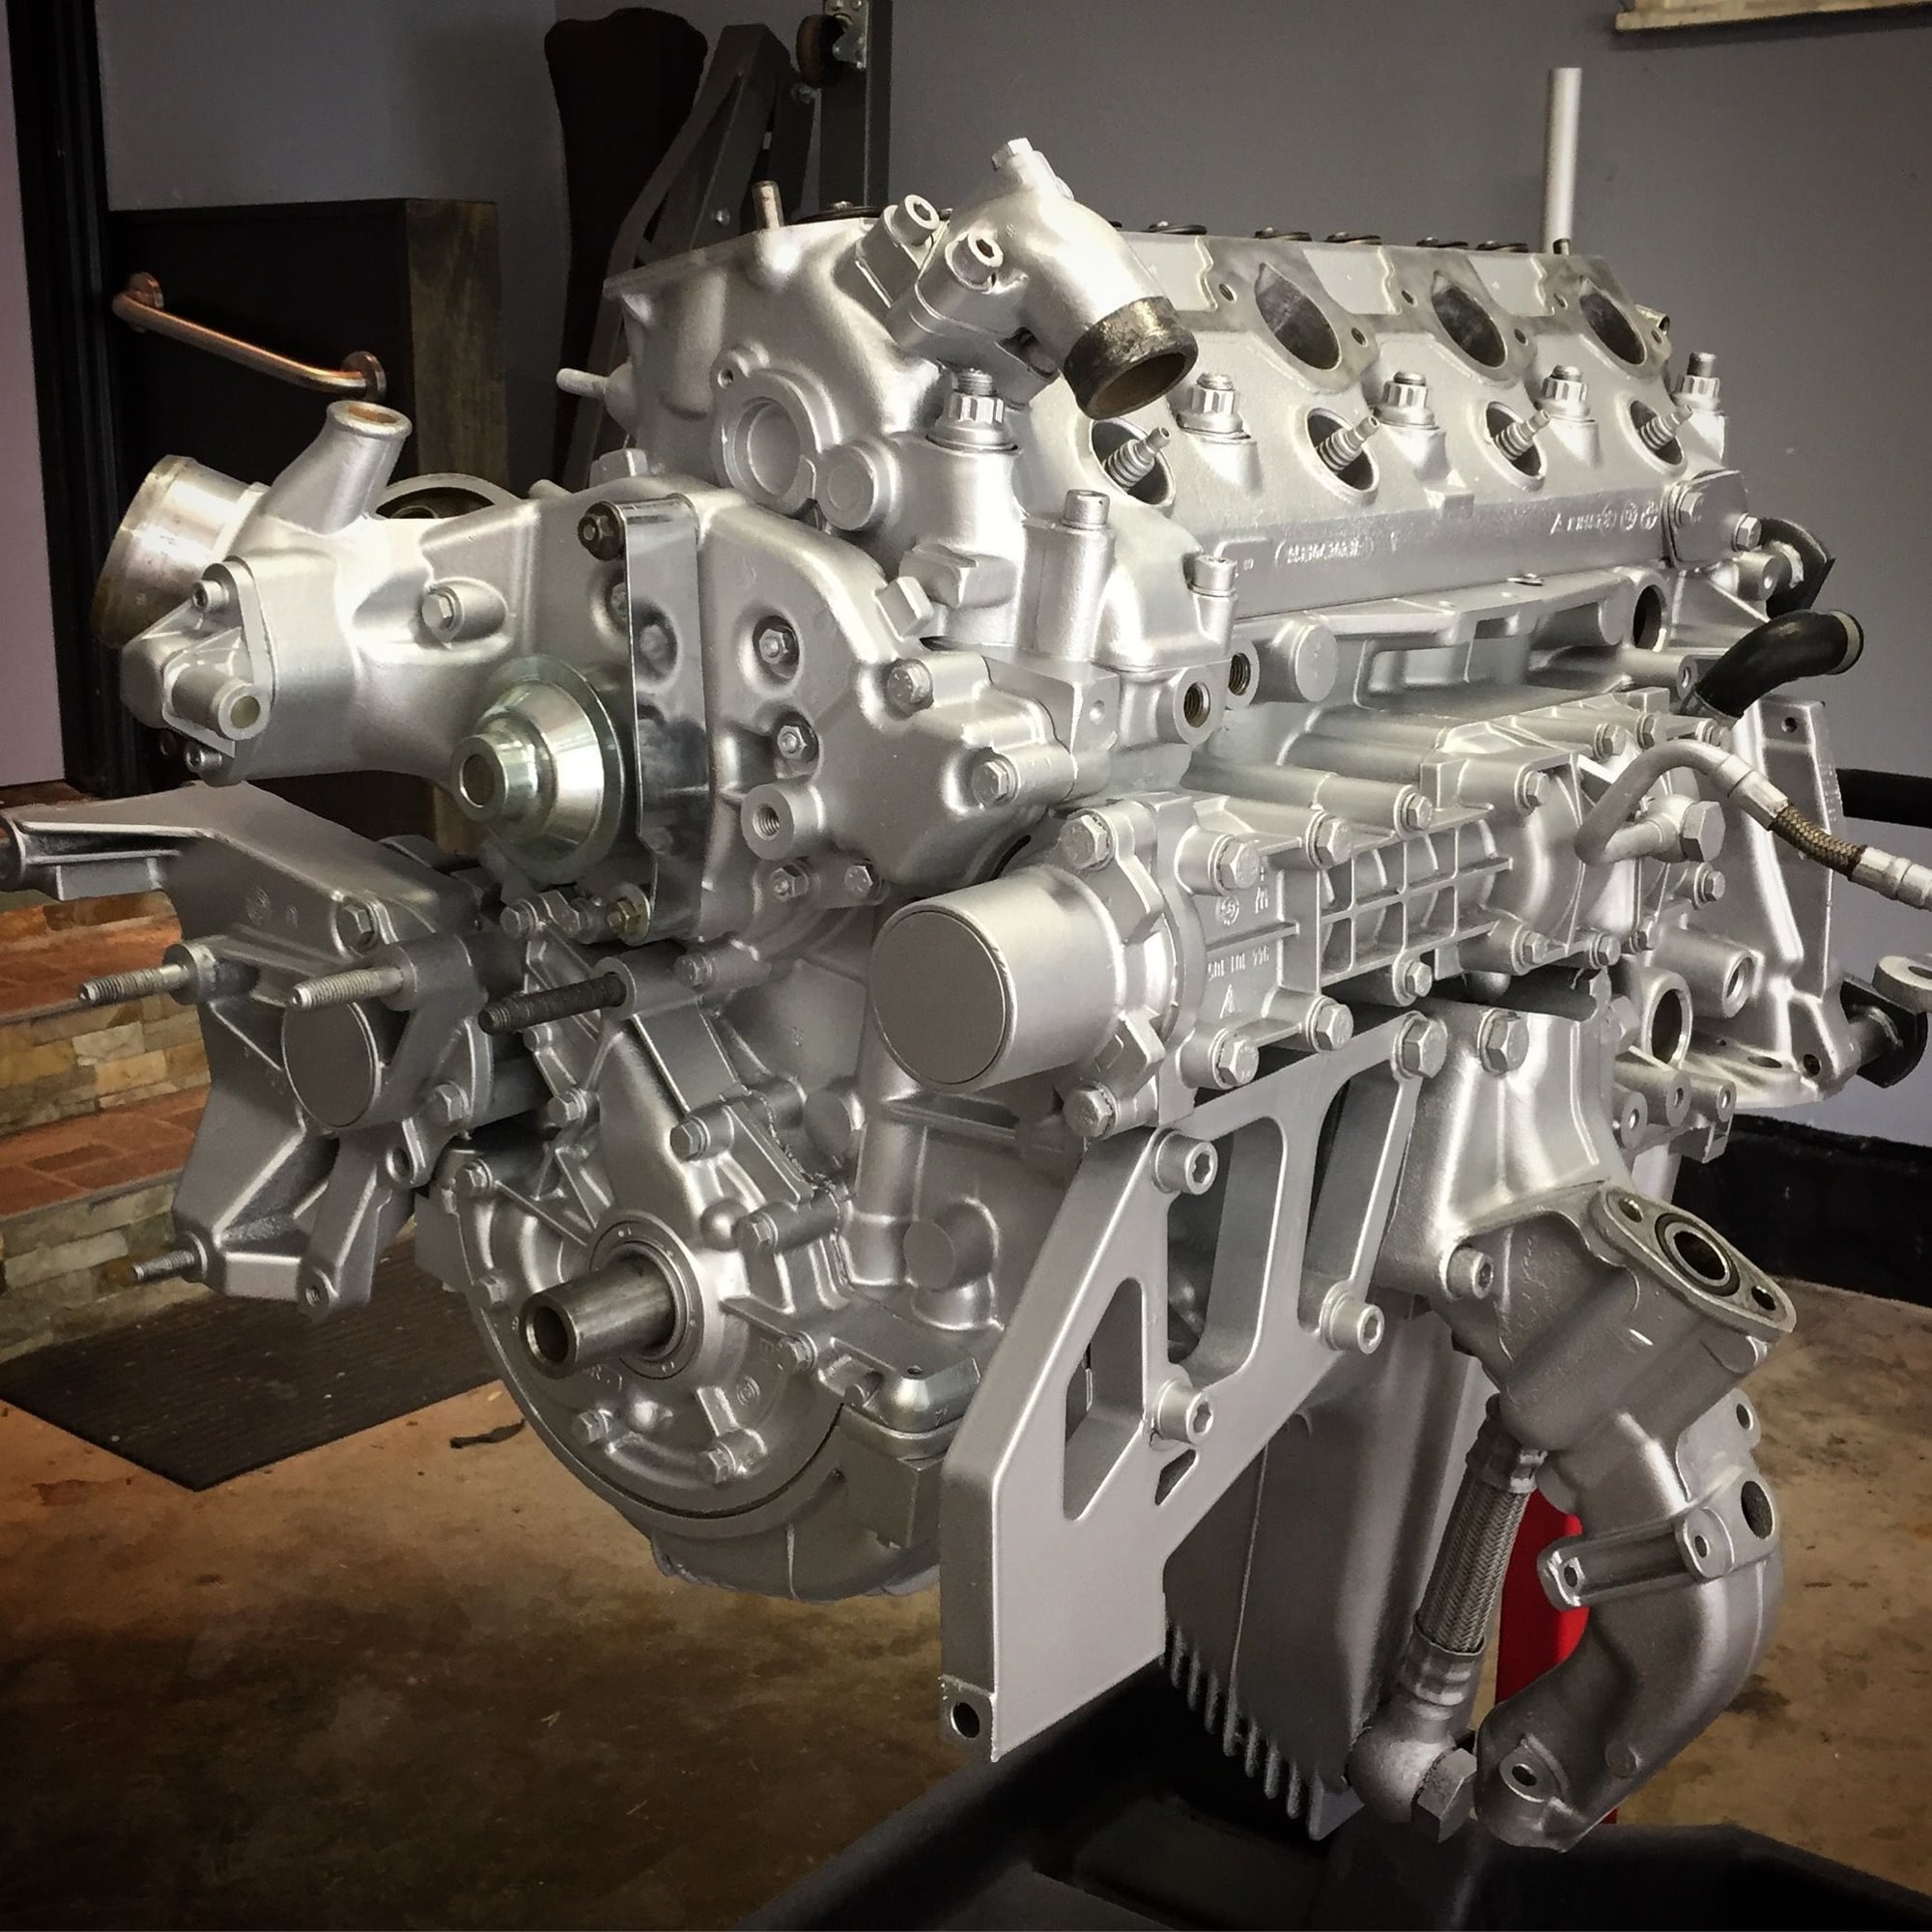
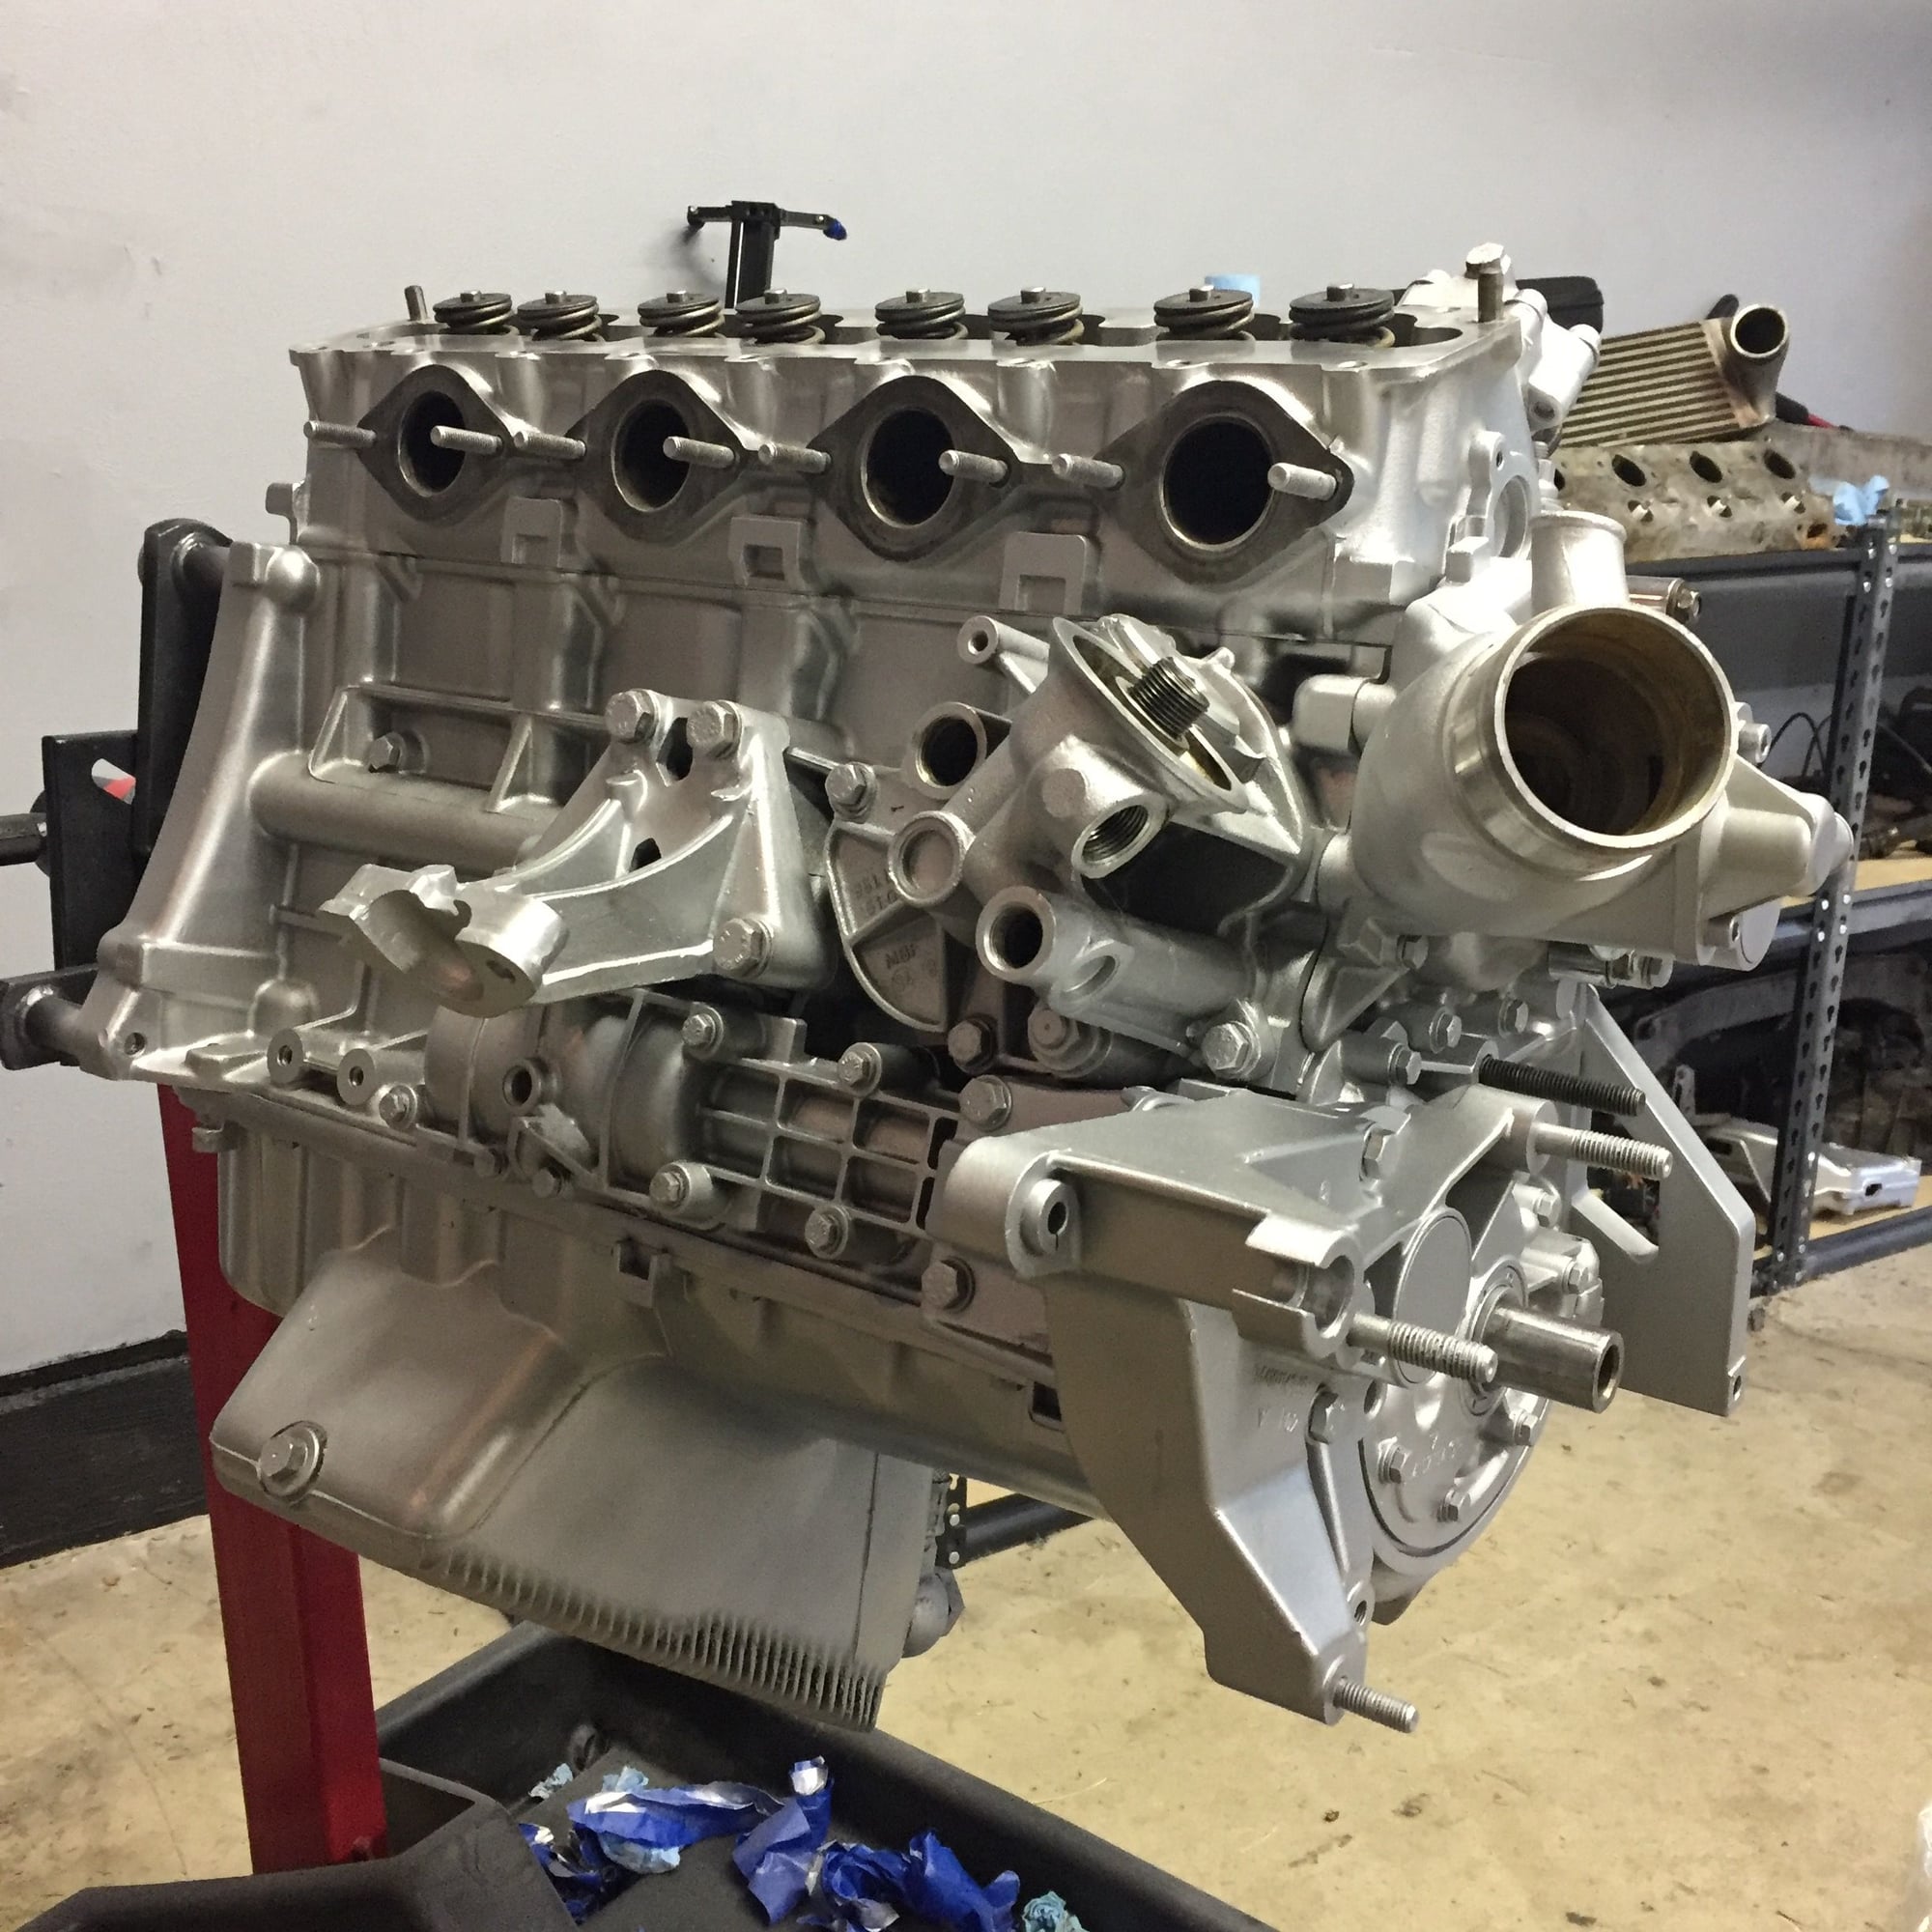
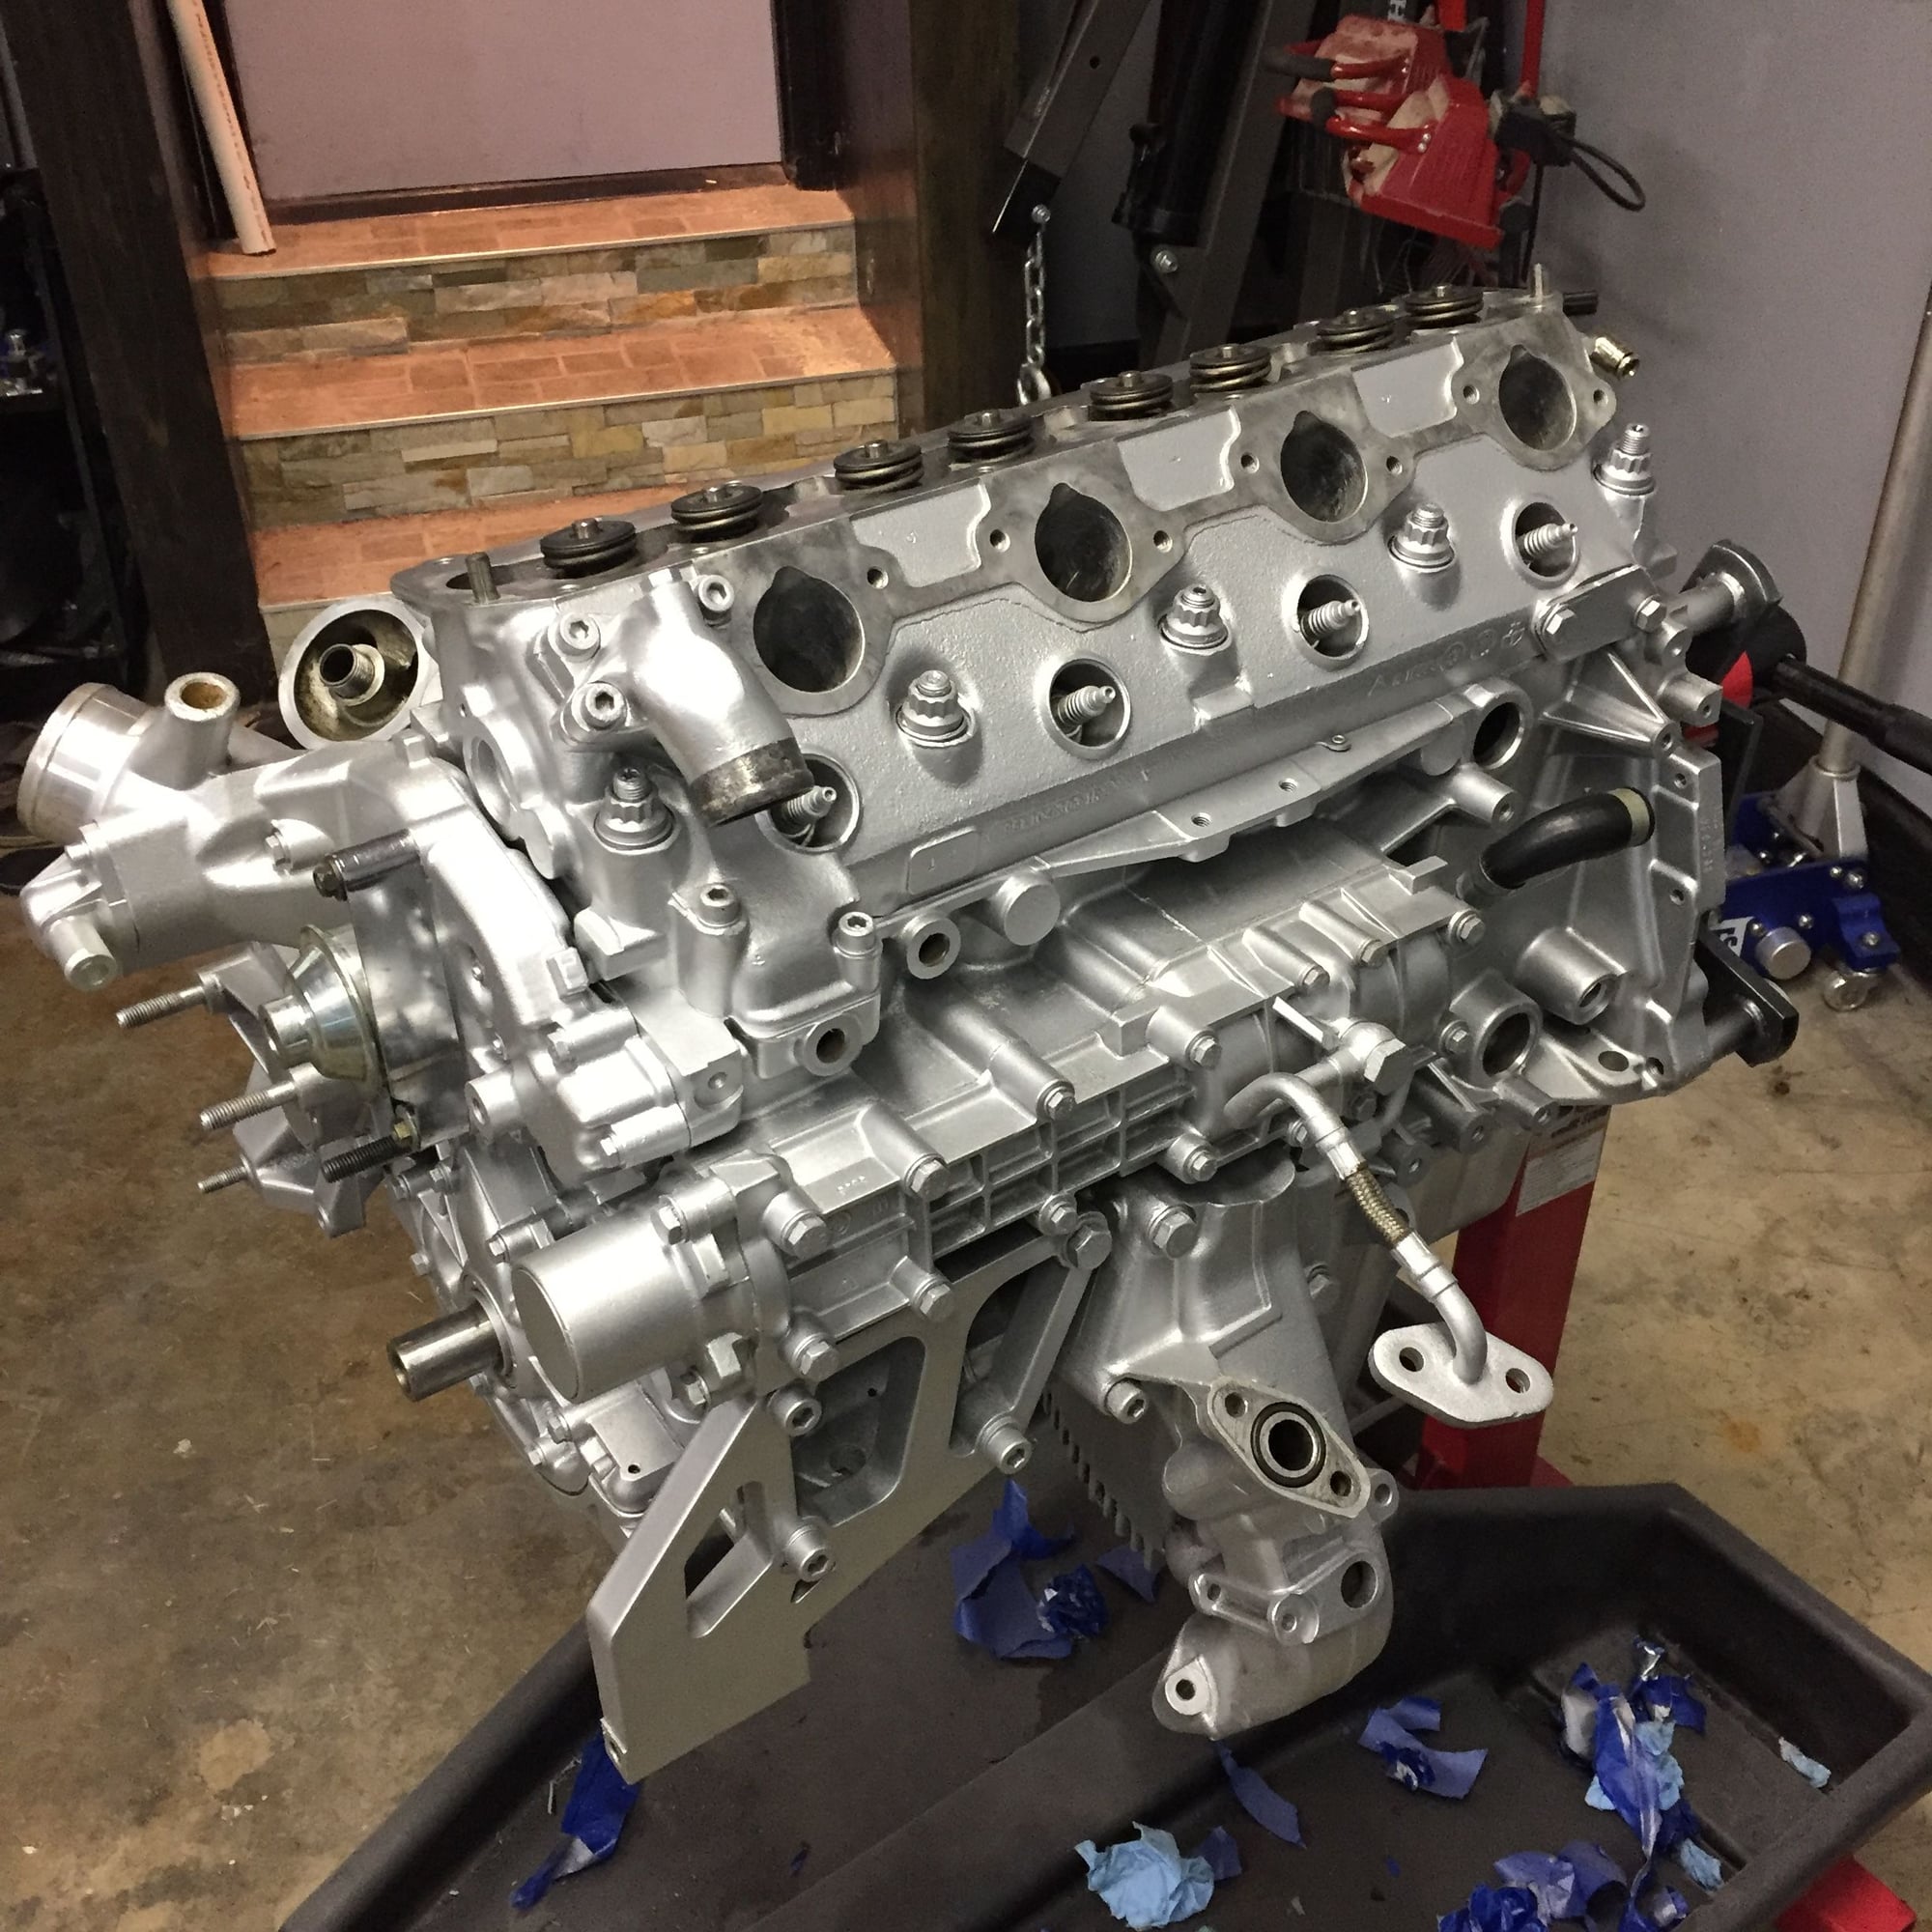
It's been really hectic lately but I made some time to get a little more work done. The oil pan mods (LR baffle, pickup tube extension and IJ pickup tube support) were installed and the oil pan was bolted on. I also got the long block cleaned up and painted. It's basically complete now!
Old 07-06-2017, 10:32 AM
  #72  
hinton
Racer
Thread Starter
 
hinton's Avatar
 
Join Date: Jan 2016
Posts: 489
Received 106 Likes on 60 Posts
Default

Obligatory engine stand shots


The following users liked this post:
Jay Wellwood (12-01-2019)
Old 07-06-2017, 11:12 AM
  #73  
ealoken
Three Wheelin'
 
ealoken's Avatar
 
Join Date: Aug 2016
Posts: 1,331
Received 114 Likes on 72 Posts
Default

NIce


Ps, the guide on the water pump must go off to install the inner cam cover
Old 07-06-2017, 11:38 AM
  #74  
V2Rocket
Rainman
Rennlist Member
 
V2Rocket's Avatar
 
Join Date: Jan 2007
Location: Nashville, TN
Posts: 45,497
Received 632 Likes on 490 Posts
Default

looks like you painted everything? looks great.
Old 07-06-2017, 11:51 AM
  #75  
hinton
Racer
Thread Starter
 
hinton's Avatar
 
Join Date: Jan 2016
Posts: 489
Received 106 Likes on 60 Posts
Default

Originally Posted by ealoken
NIce


Ps, the guide on the water pump must go off to install the inner cam cover
I'm not going to run the belt cover. I still need to figure out how to mark TDC on the crank pulley once it's installed though!


Quick Reply: Hinton'a Hybrid Stroker


All times are GMT -3. The time now is 01:00 AM.