
Racers Edge Trailing Arm Bolt
 02-02-2015, 12:48 PM
#1
Three Wheelin'
Thread Starter
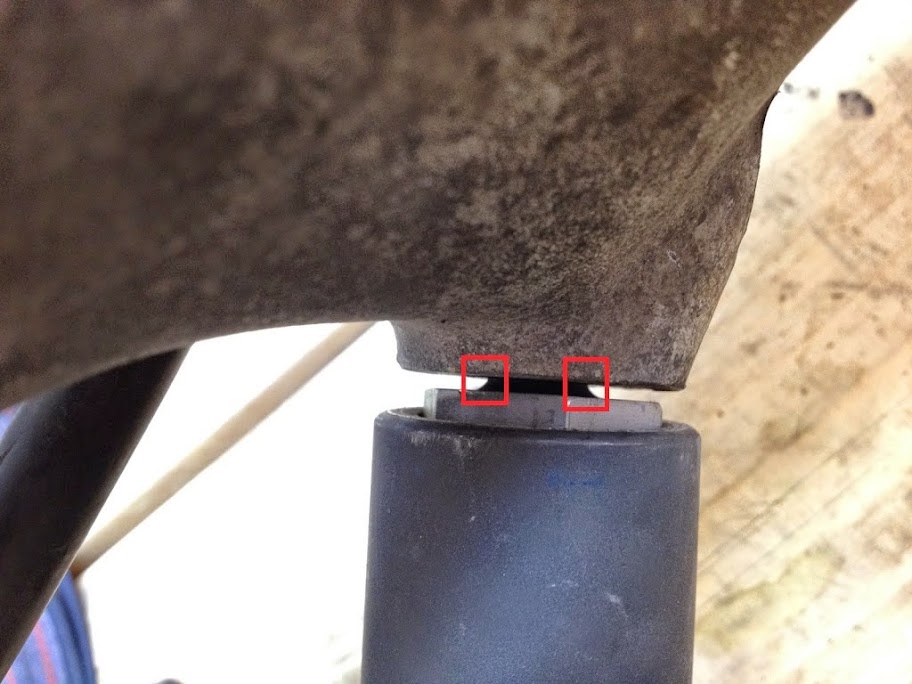
Just want to confirm this looks normal. I've cleaned the threads with a tap, removed all debris, the bolt threads in nicely by hand. At this point it stops, if I apply the required 150 ft/lbs I should see these to surfaces mate up nicely, correct? The base of the bolt increases in diameter at the end, but the hole does not, will the hole deform around the bolt? Is that the idea? I just don't want to Gorilla this thing if something isn't correct.
Last edited by chrenan; 02-02-2015 at 01:32 PM.
 02-02-2015, 12:57 PM
#2
Race Director

I've had an issue with this. Apparently the thread depths are inconsistent in the trailing arms. After breaking two lower shock mounts (Ground Control) and buying racers edge, I went over to Van's for a hand in removing the broken remains and double checking the install of the RE mounts when we noticed that I had a smaller gap than you when the bolt was torqued - obviously this won't work and you will need to modify the bolt or tap further into the trailing arm.. unfortunately, this was years ago and I forgot what we ended up doing.
Long story short, don't run it like that.
Long story short, don't run it like that.
02-02-2015, 01:32 PM
#4
Three Wheelin'
Thread Starter
Just to be clear, this has not be torqued down. This is the point where I can no longer finger tighten the bolt anymore. Having measured the hole and the bolt, there is thread depth for the bolt. However, the widening of the shank (inside the red boxes in the picture) is what is stopping it from going further, will 150ft/lbs solve this problem?
I added a big washer when I used this bolt for my rear coil overs as helpers. I am currently doing a torsion bar delete so this bolt will now hold the weight of the car. Everything I've read says this bolt should be run without a washer and be tight and flush against the trailing arm to avoid breaking.
I added a big washer when I used this bolt for my rear coil overs as helpers. I am currently doing a torsion bar delete so this bolt will now hold the weight of the car. Everything I've read says this bolt should be run without a washer and be tight and flush against the trailing arm to avoid breaking.
02-02-2015, 03:32 PM
#5
Rennlist Member
I don't see a problem with using a large washer. The need is to widen the load-bearing area between the bolt and trailing arm. Alternatively, tap the trailing arm bore a few millimeters more.
Trending Topics
02-02-2015, 09:39 PM
#8
Three Wheelin'
Thread Starter
Well, it turns out it was my own forgetfulness that led to the confusion. When I bought these years ago I got the ground control version which are supposed to use a washer according to the instructions I had them email me this afternoon when I remembered. These are not the racers edge version of the bolt. Washer fitted and that takes up the space. Old age is a hell of a thing.
 02-03-2015, 12:36 AM
#10
Three Wheelin'
Thread Starter