When you click on links to various merchants on this site and make a purchase, this can result in this site earning a commission. Affiliate programs and affiliations include, but are not limited to, the eBay Partner Network.
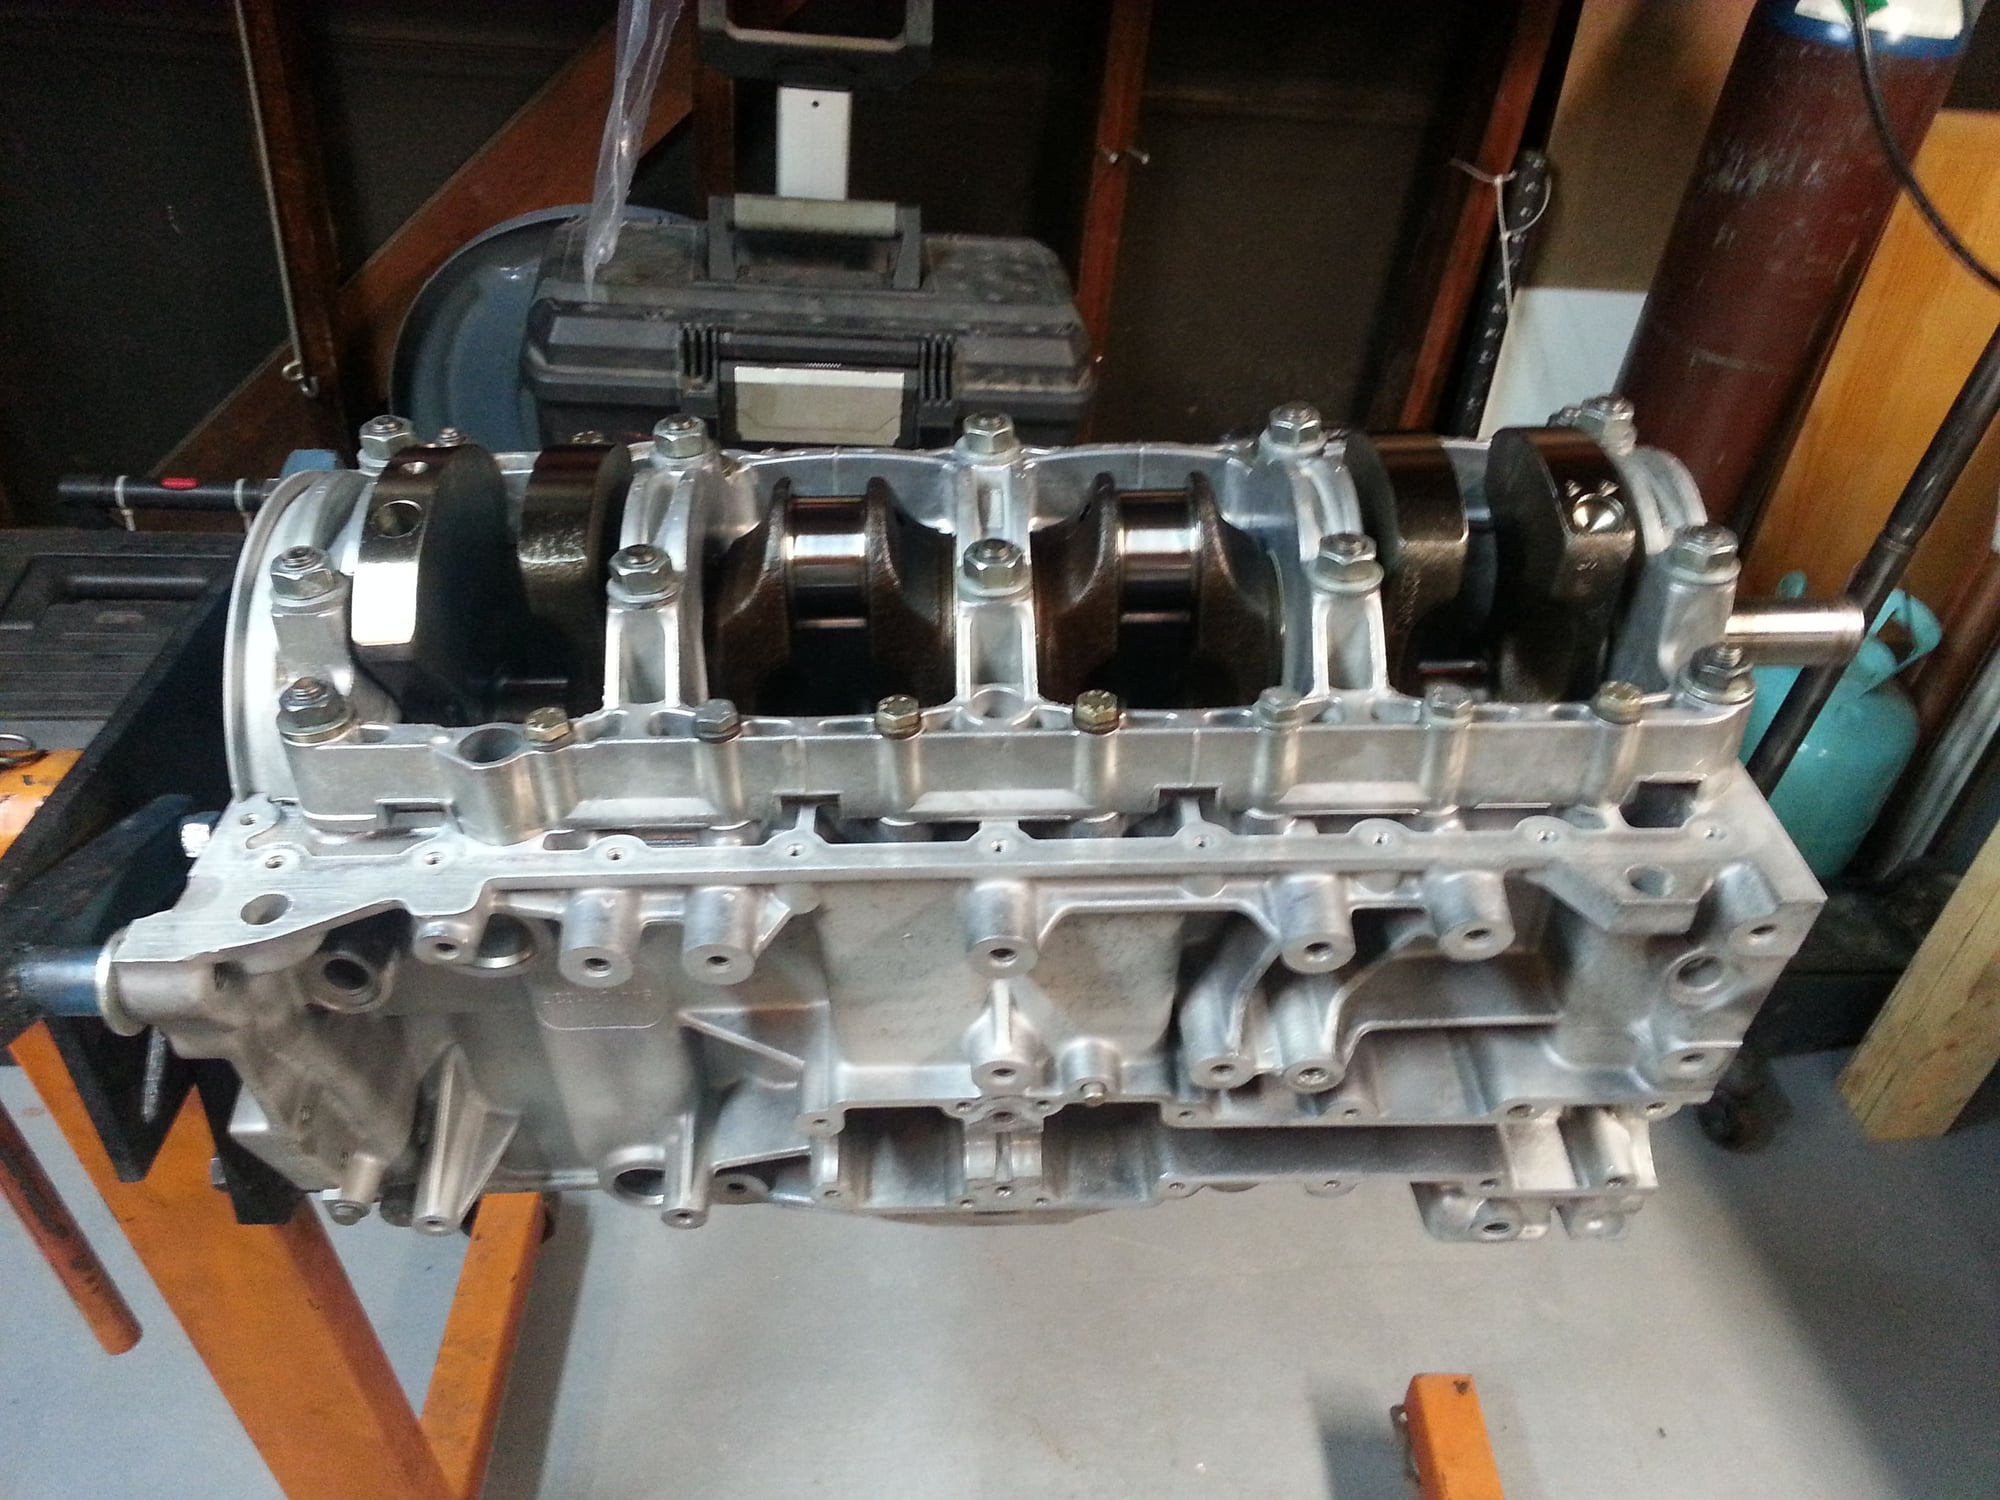
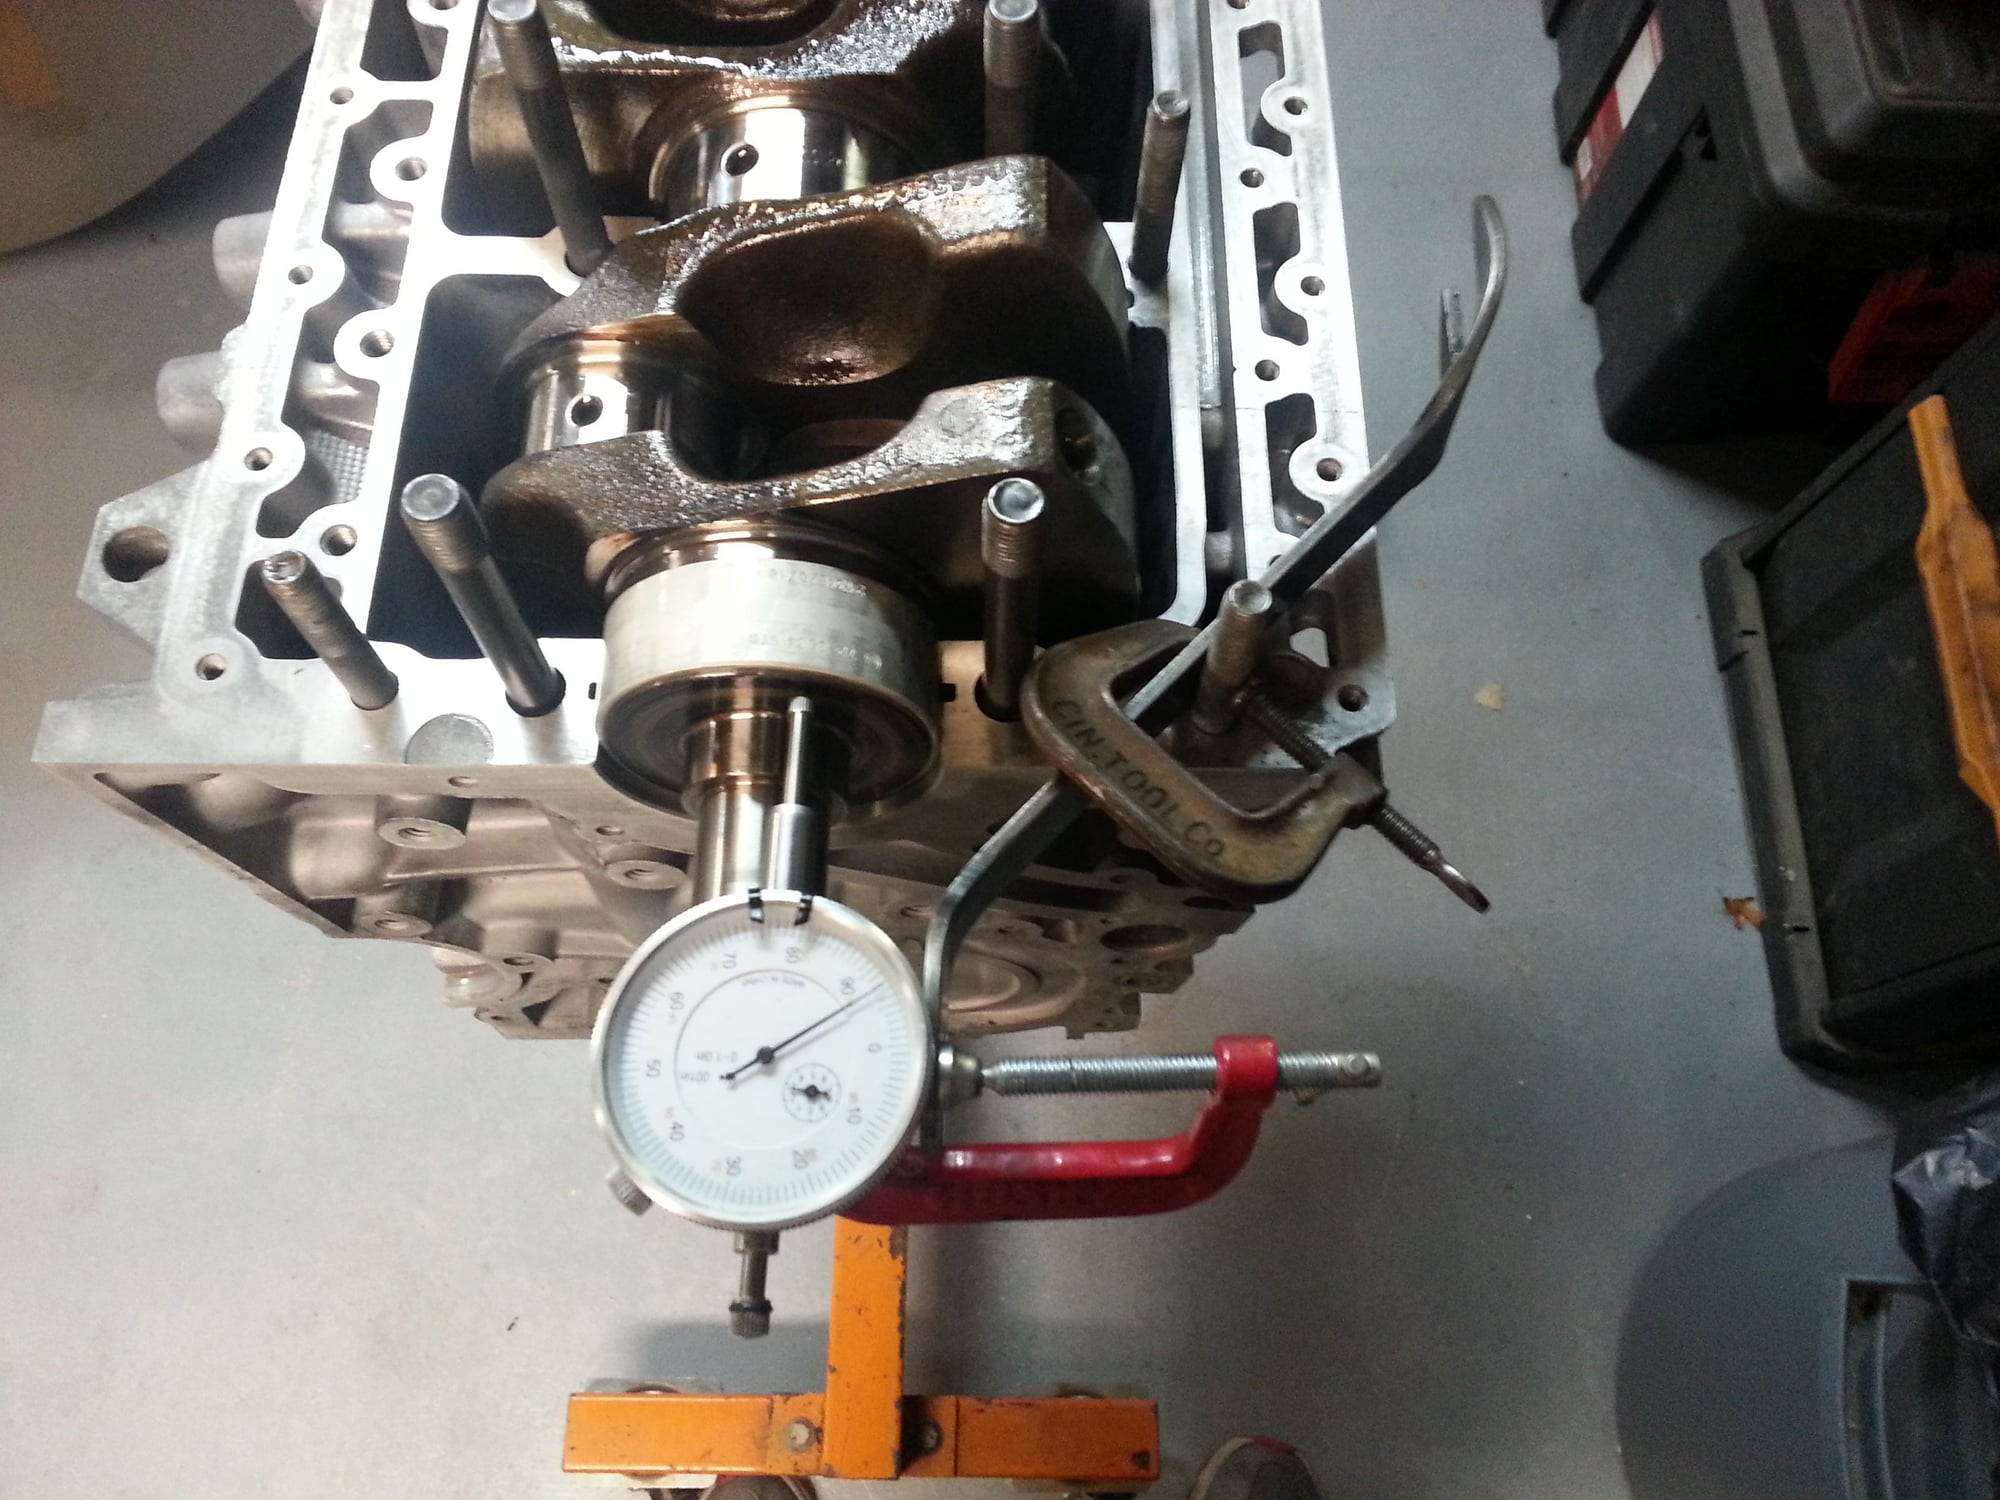
Crankshaft finally installed. It was a long time coming, but the last couple days I spent cleaning and measuring. I spent literally 4 hours cleaning every last speck of dust off the bearings and journals. All within spec. Plastigage on mains (except number 1) 2) .076mm 3) .051mm 4) .076mm 5) .051mm Thrust bearing measured .206mm. I didn't have Special Tool VW 387 so I made my own. Oh and I had an extra number 1 bearing sent along with the rest of the mains, which was very confusing for a while.
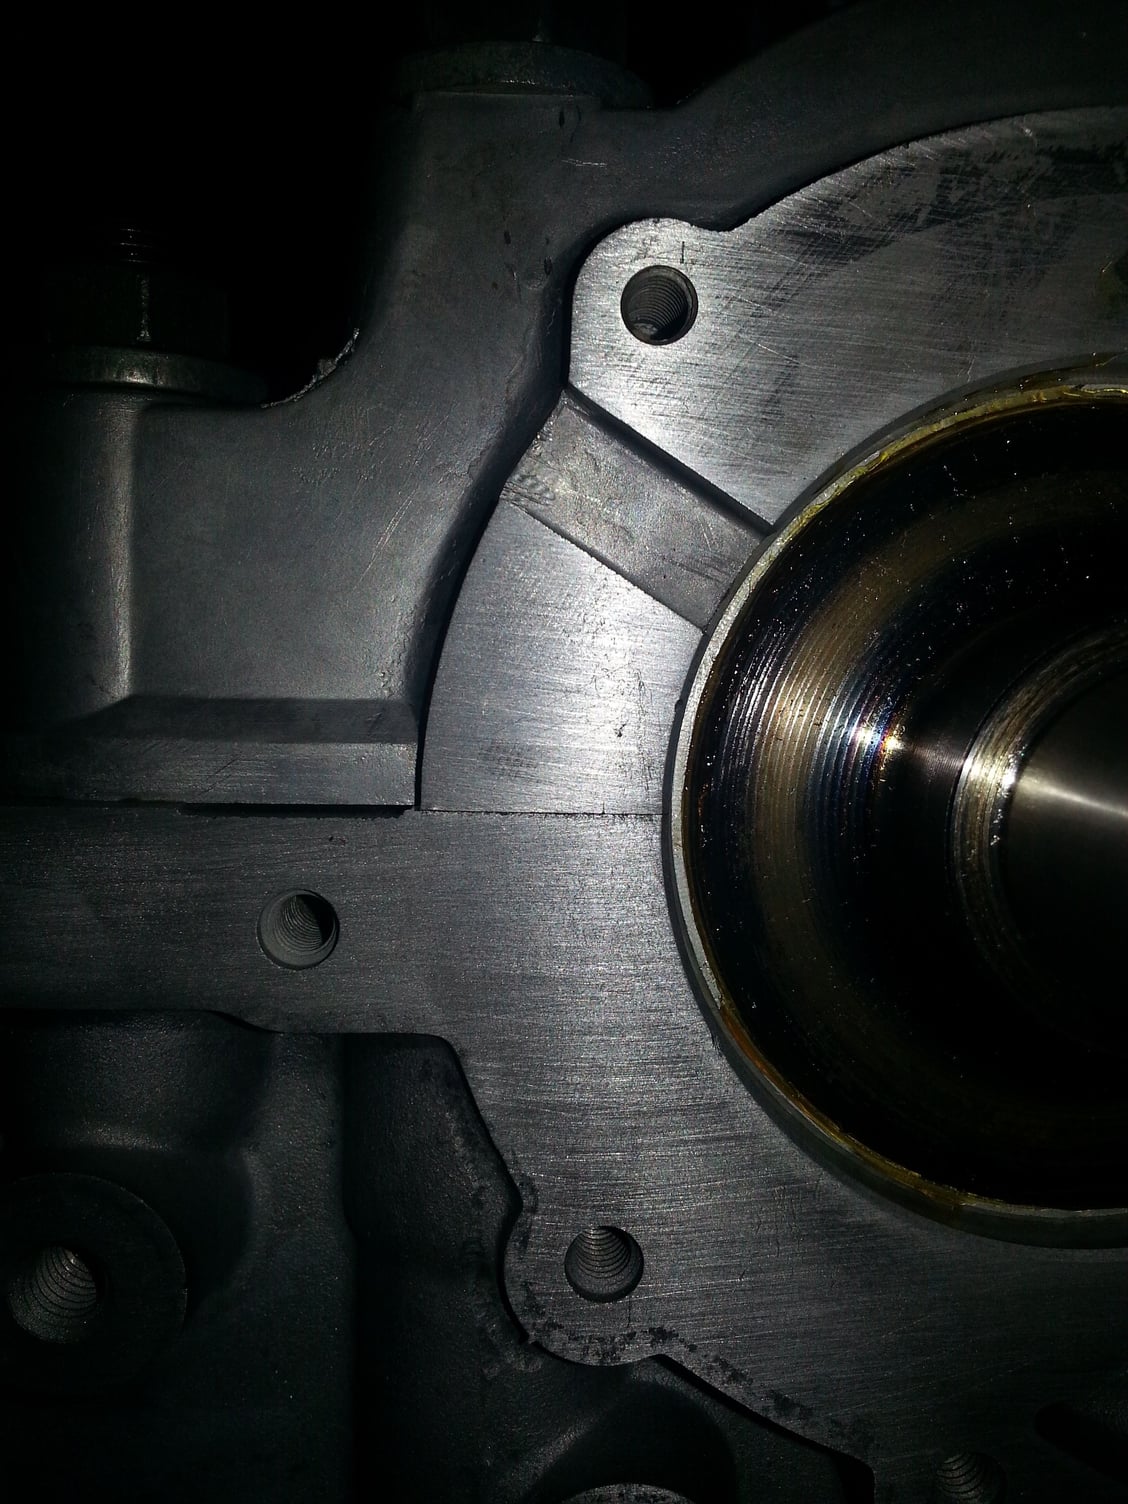
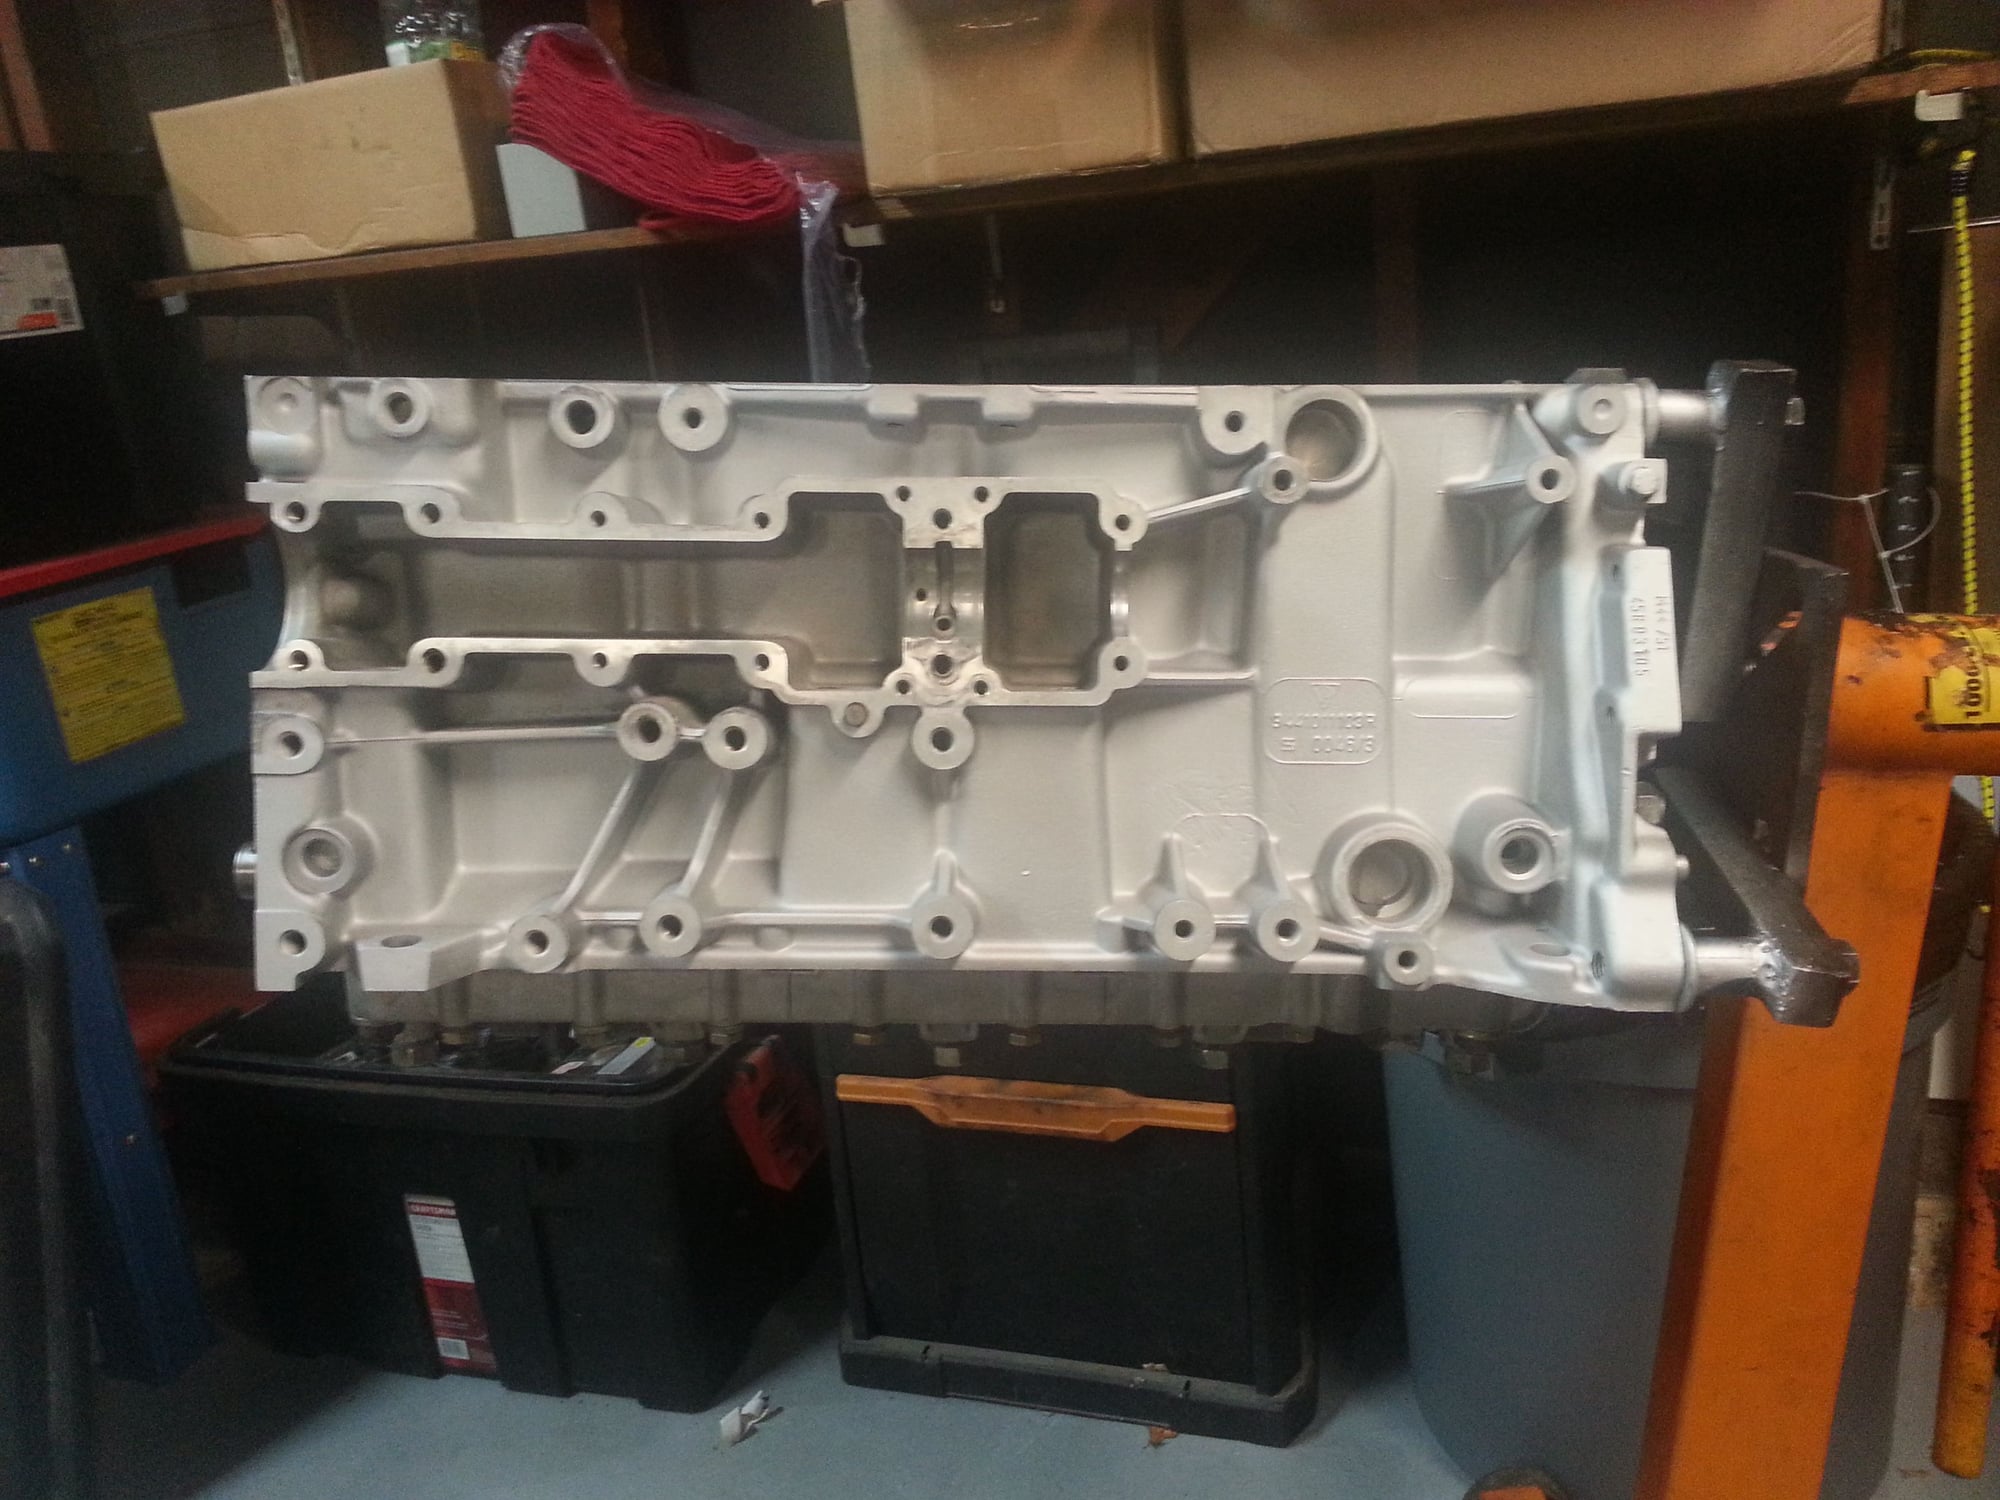
Seems like I have quite a big lip in the front where the oil pump is supposed to sit (girdle to block). I know i have to oil stone it to make it smooth, but seems like a big lip to fix. Has anybody else ran across this before?
Seems like I have quite a big lip in the front where the oil pump is supposed to sit (girdle to block). I know i have to oil stone it to make it smooth, but seems like a big lip to fix. Has anybody else ran across this before?
Try to refit the girdle. If installed correctly there should be no need to smooth out the joint. Depending on how/where they were stored, you may have to let them normalize for temperature and make sure they're both out of the sun.
I tried doing what the book called for. Tightened to the first torque, then used a plastic hammer to make it as close as possible. Finally torqued the 60 degrees. It took a few hours, but the oil stone smoothed the lip out to where it doesn't catch on my fingernail. I feel its enough where the sealant will seal the pump to the block/girdle. You cannot really see the lip, but in the second one (after using the oil stone) it looks a lot smoother.
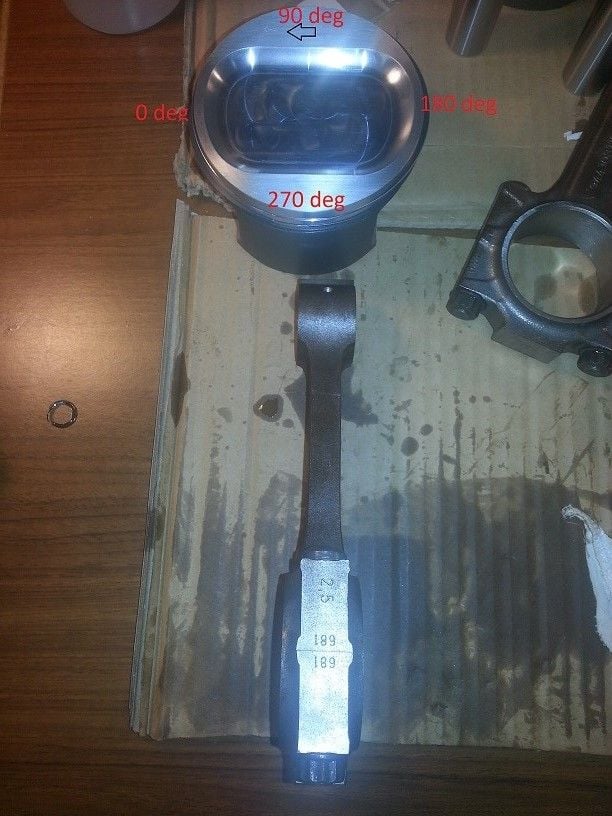
Just want to confirm that the correct orientation of the con rods on the piston is such that the number on the side of the con rod faces the left side of the engine (the driver's side in a LHD car). On the pistons there is an arrow which will face the front of the engine. So if that arrow is pointing towards 0 degrees, then the number on the con rod will face 270 degrees.
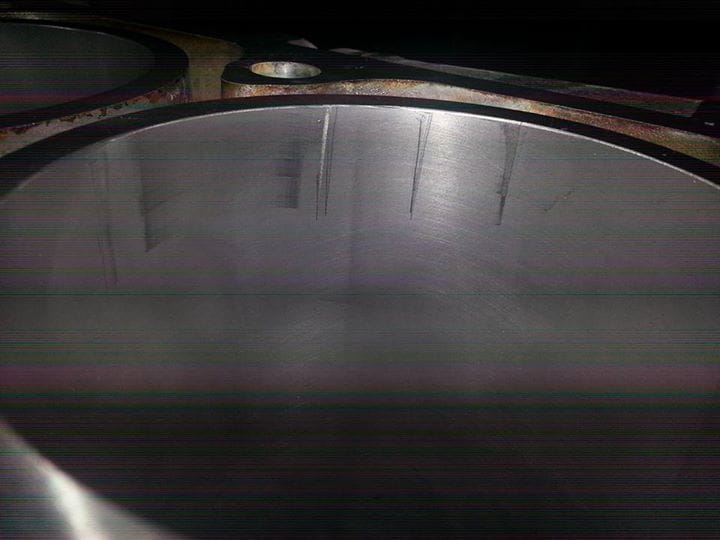
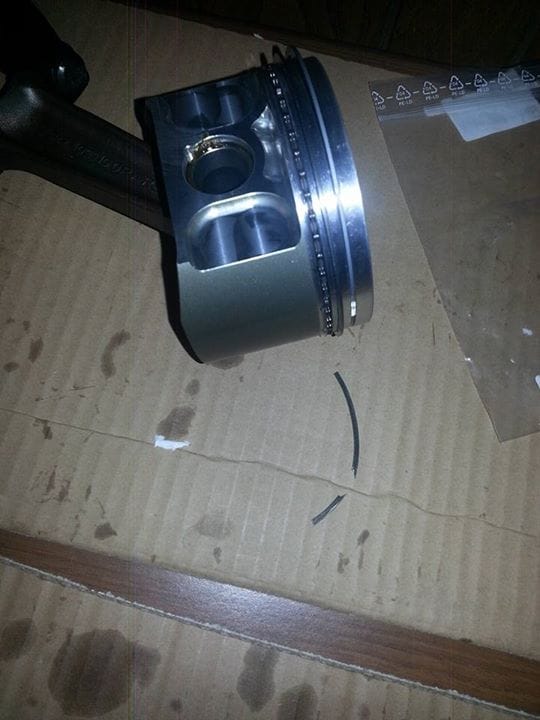
So just got all the pistons assembled and ready for installation. The progress is coming along well, untill...
...this.
I shattered an oil ring while installing number 3 and it scraped the cylinder wall. Hopefully it isn't enough to cause a huge problem. I can feel the scratch, but it doesn't go down too far. The one I worry about the most is the left-most one. That is the only one I can feel with my fingernail.
I'm pretty disappointed with my mistake, but life goes on. I'll get another oiling ring and install it. Once the engine is assembled with the head on, i'll check the compression and see what I need to do from there.
Last edited by PorscheFanatic202; 11-22-2015 at 07:39 PM.
Sorry to hear. Any thoughts on how it happened? Would you not want to get that cylinder fixed?
Originally Posted by PorscheFanatic202
So just got all the pistons assembled and ready for installation. The progress is coming along well, untill...
...this.
I shattered an oil ring while installing number 3 and it scraped the cylinder wall. Hopefully it isn't enough to cause a huge problem. I can feel the scratch, but it doesn't go down too far. The one I worry about the most is the left-most one. That is the only one I can feel with my fingernail.
I'm pretty disappointed with my mistake, but life goes on. I'll get another oiling ring and install it. Once the engine is assembled with the head on, i'll check the compression and see what I need to do from there.
Maybe I was too soft with it. I didn't want to hit the piston too hard and break the ring, but at the same time I could have missed where the oiling ring came out of the compressor and while i was tapping the piston in, it snapped and went into the bore. I have been reading that you should use a solid hit so that the ring doesn't come out of the compressor.
Ideally I would like to have it fixed, but that is going to take some time to figure out. They were already bored to 100.5 and I am fairly certain that the only fix will be to have the cylinder bored to the next oversize. Then i will need new pistons and the list goes on. If the wall is trashed, I will have to get a new block and have it worked to the pistons I have.
Sorry to hear about this. I have been rebuilding my striker motor for a year now. I have a thread here on rl. Have had to drop the motor 5 times now
Take your time. If something seems wrong it probably is. Nothing should have to be forced. Also don't skimp on tools. It's too late now but throw the old style ring compressor in the trash. Buy a tapered one for your bore. You will simply press in the Pistons.
I'm still going to get the tapered ring compressor. Its well worth it to not screw up again. Do you just buy the tool the same size as the bore so 100.5mm = 3.957"?
I have decided that it will be best to get another ring and install it and then check the compression once it is installed. If it is good, then awesome. If not, then i'll go from there. I talked with Mike at Lindsey Racing and he has seen engines with gouges the whole way down the wall have the better compression between all the cylinders so there is a good chance that it will be just fine.
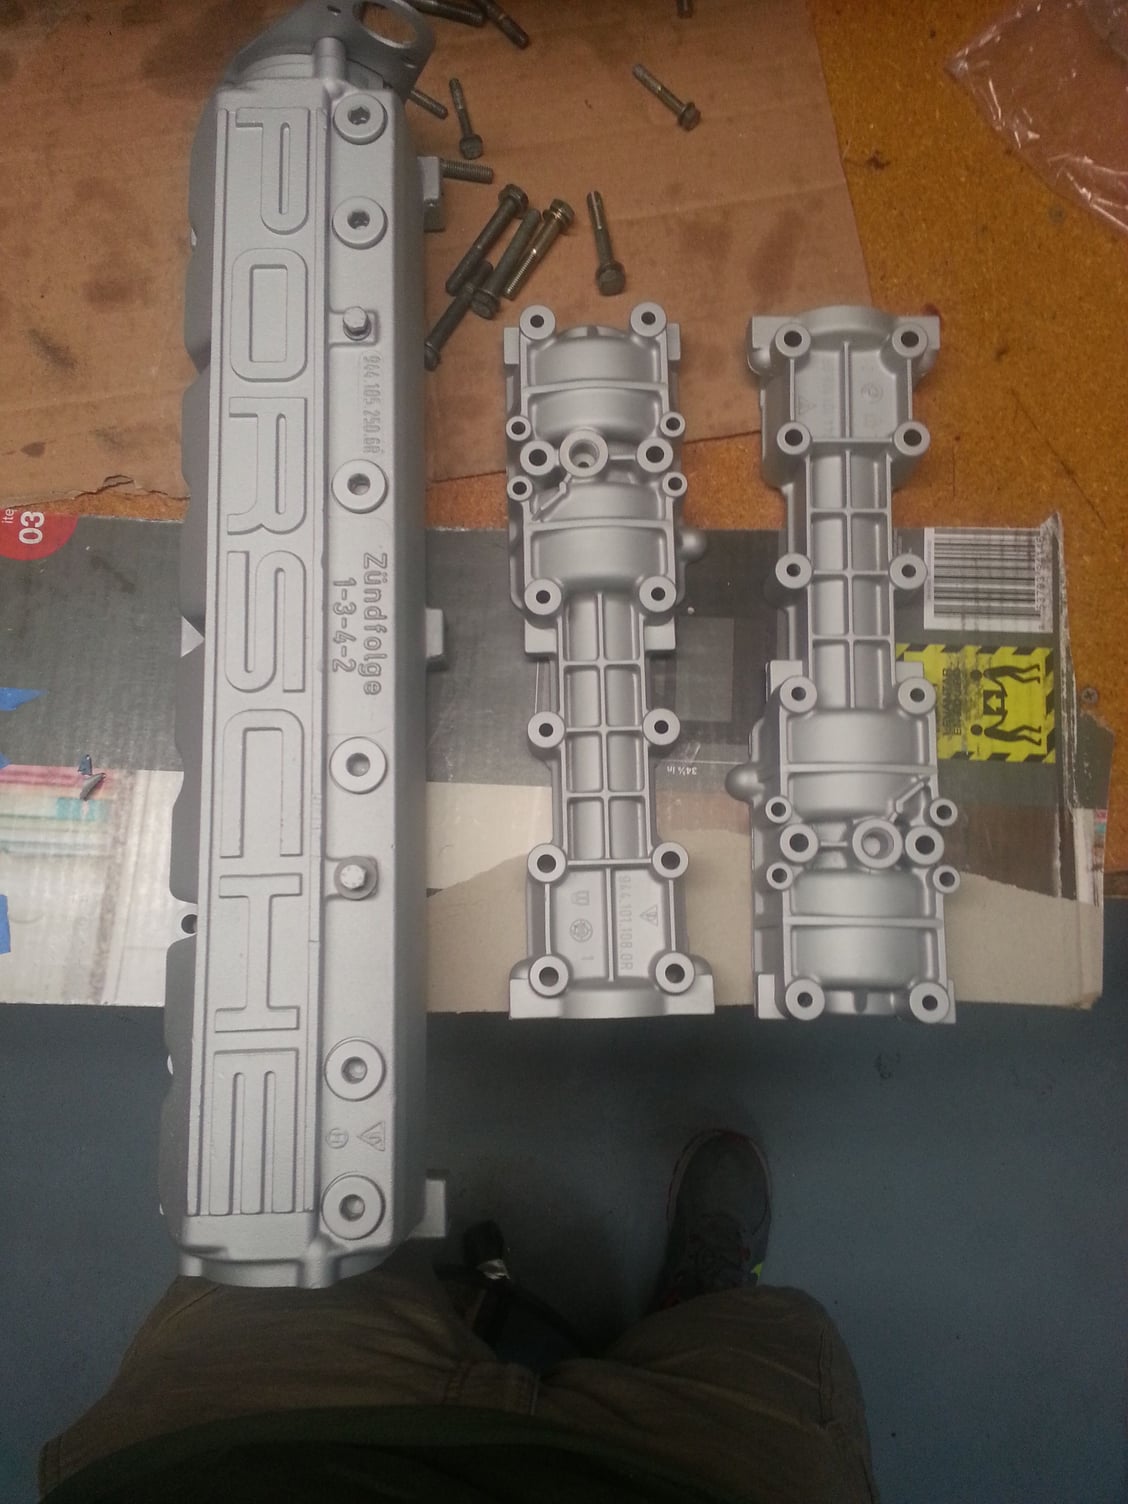
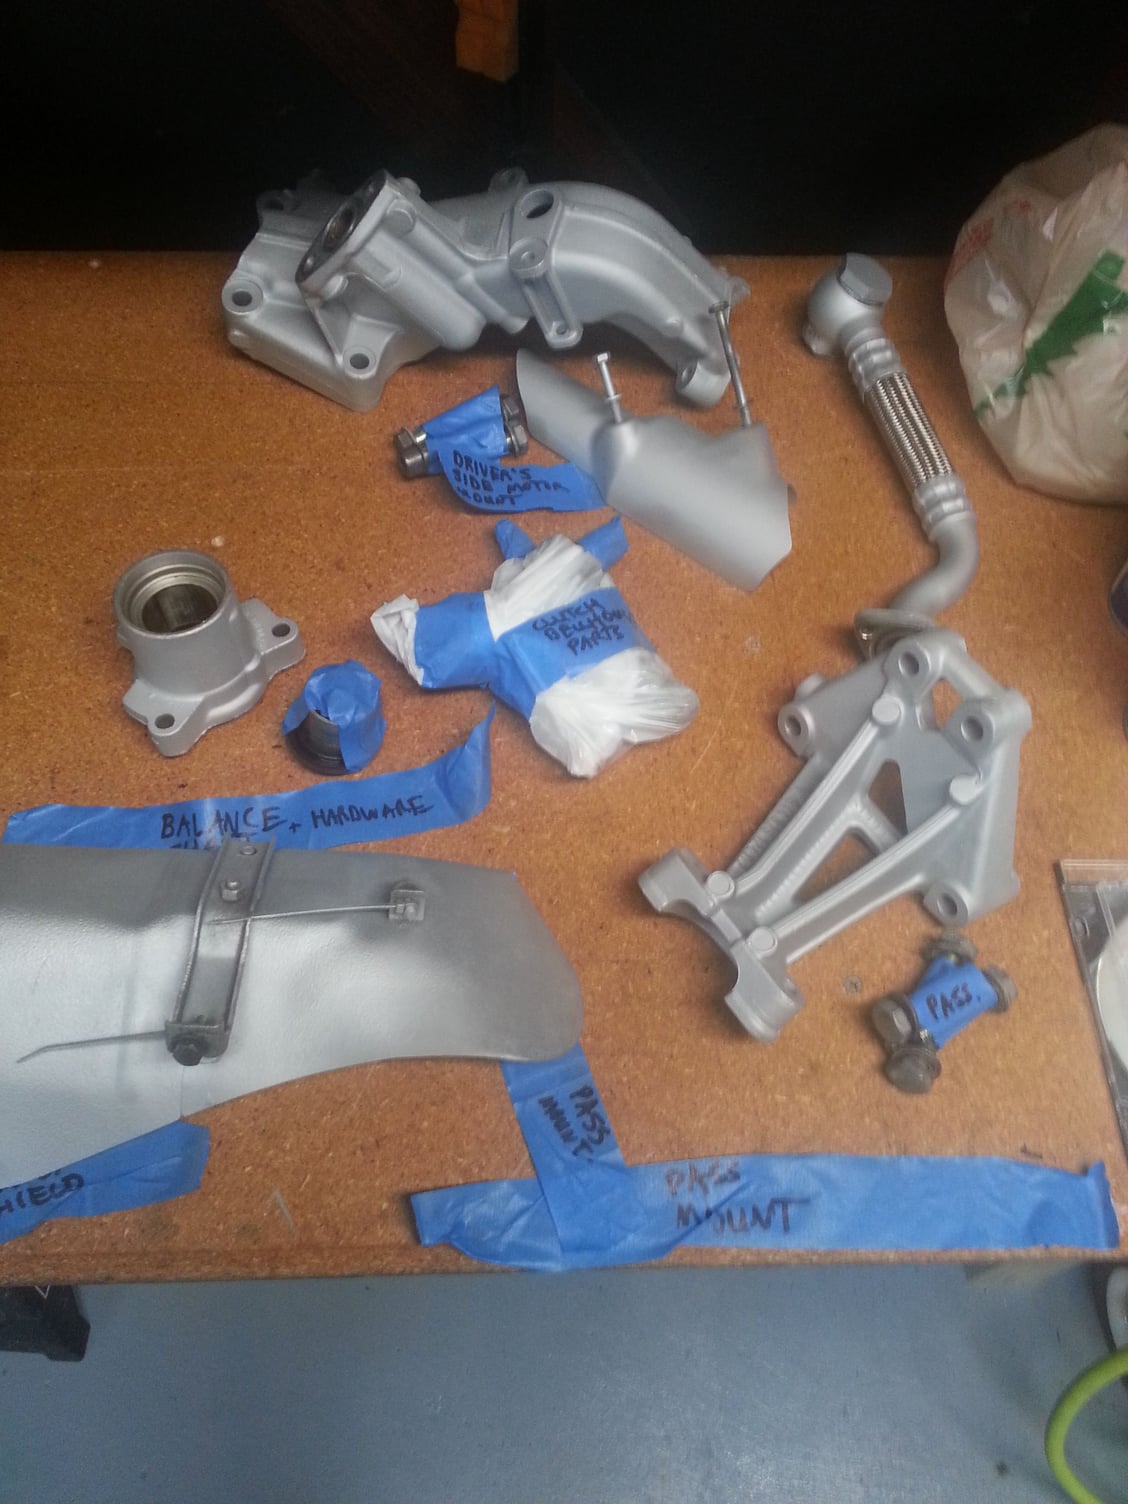
Got my hands on some high temp silver paint to give it that nice clean aluminum look. I had to do something while the new rings are coming in. Turned out great!
Other news, ordered a better ring compressor and also sealed the garage doors. Hopefully it will keep the garage temps up a bit more than before.

 11-15-2015, 07:12 PM