Notices
944 Turbo and Turbo-S Forum 1982-1991
Sponsored by:
Sponsored by: Clore Automotive

Dillon's Chassis Swap Project/ Adventure! "Updated 3-30-12"

Thread Tools
 
Search this Thread
 
Old 02-24-2012, 10:31 AM
  #1  
dillon410021
Race Car
Thread Starter
 
dillon410021's Avatar
 
Join Date: Dec 2007
Location: LaPorte, IN 46350
Posts: 3,840
Likes: 0
Received 10 Likes on 10 Posts
Default Dillon's Chassis Swap Project/ Adventure! "Updated 6-2-12"

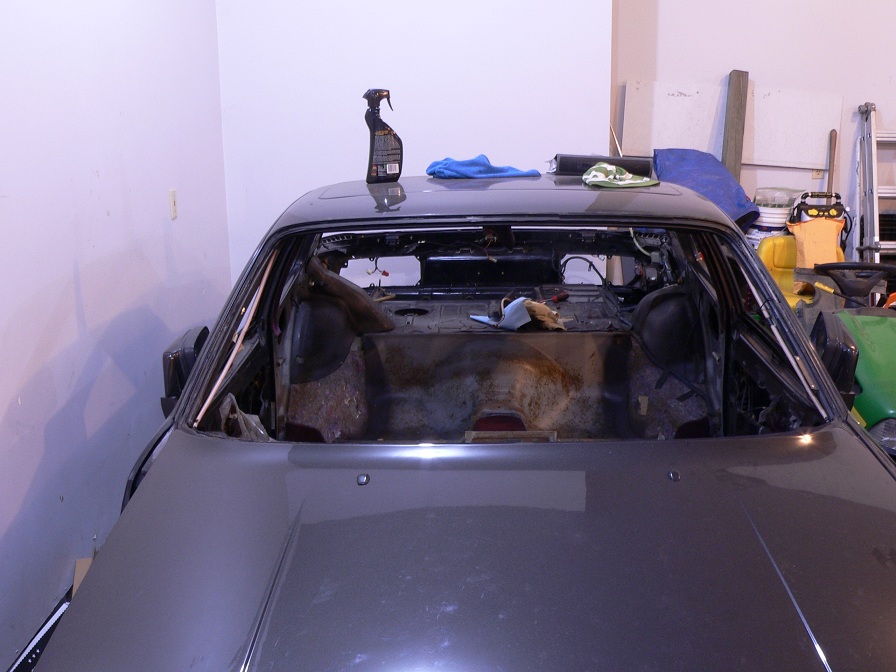
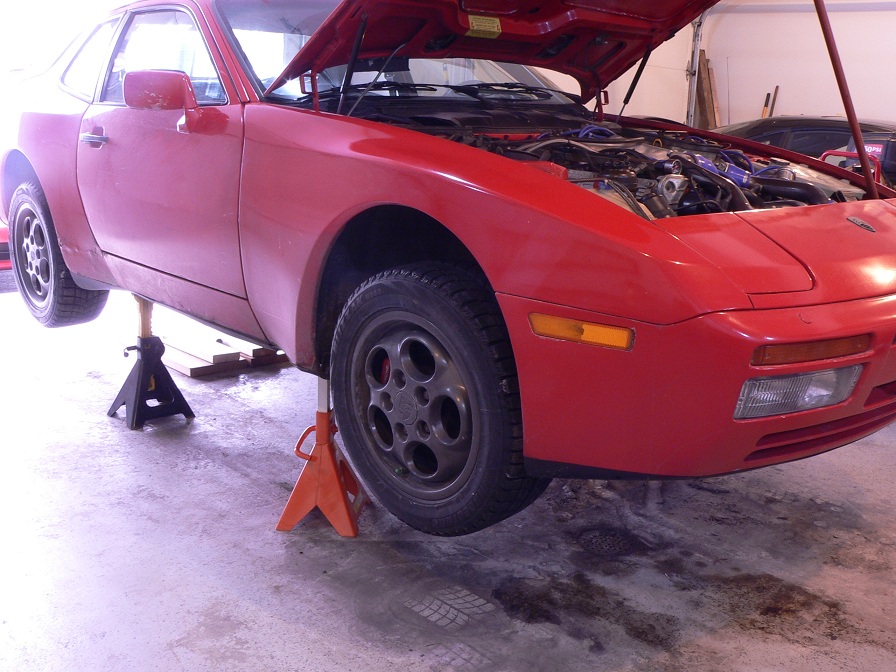
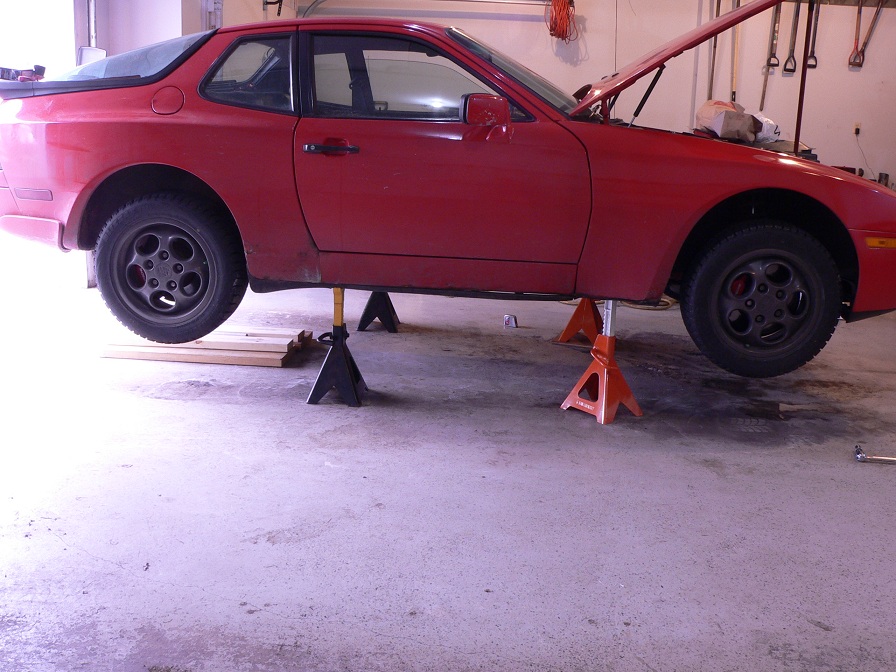
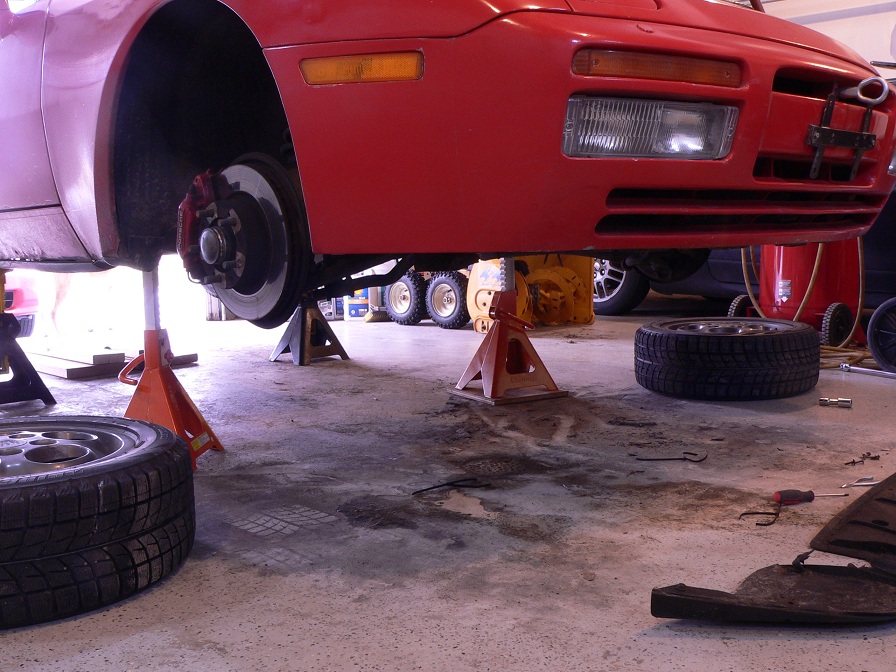
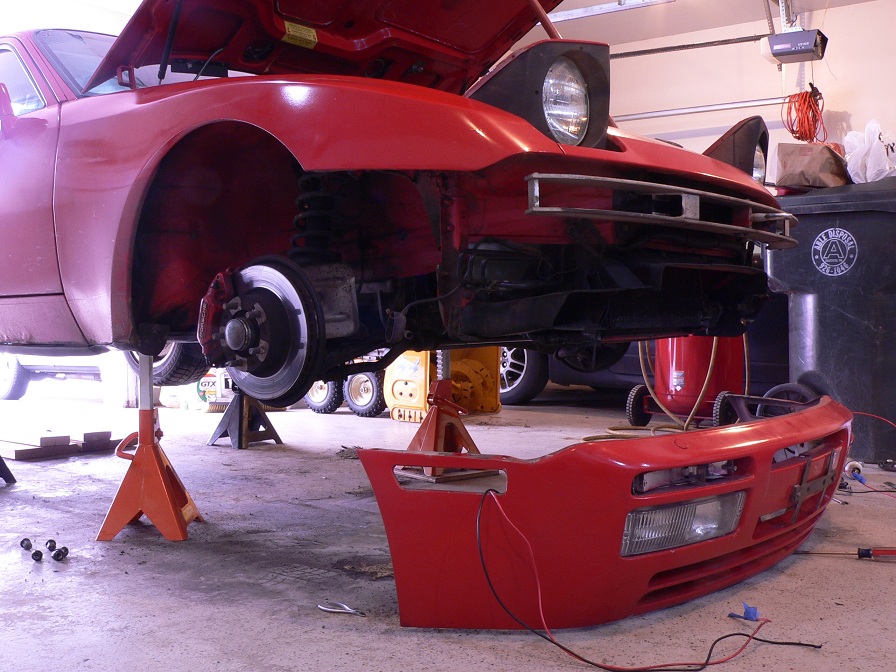
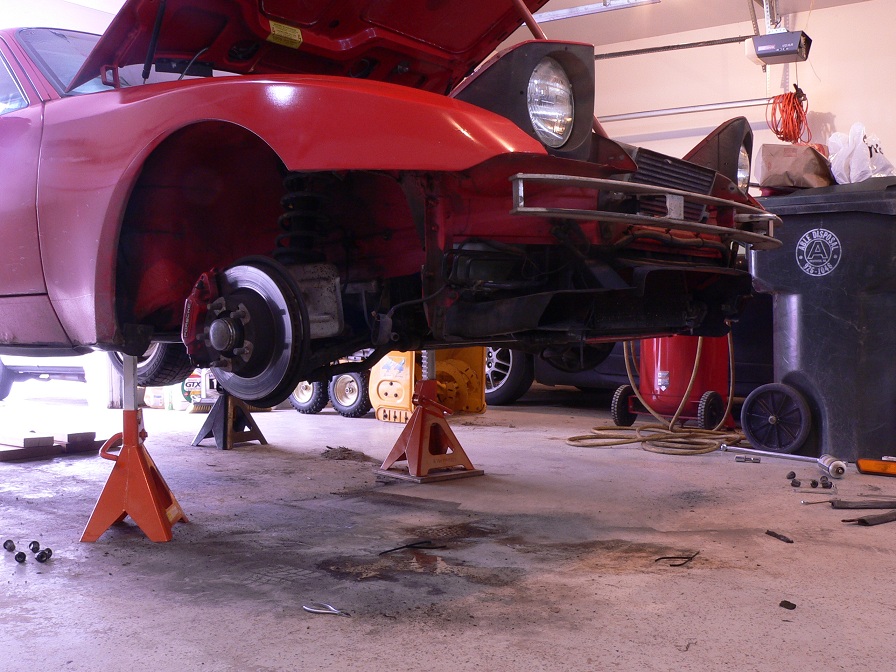
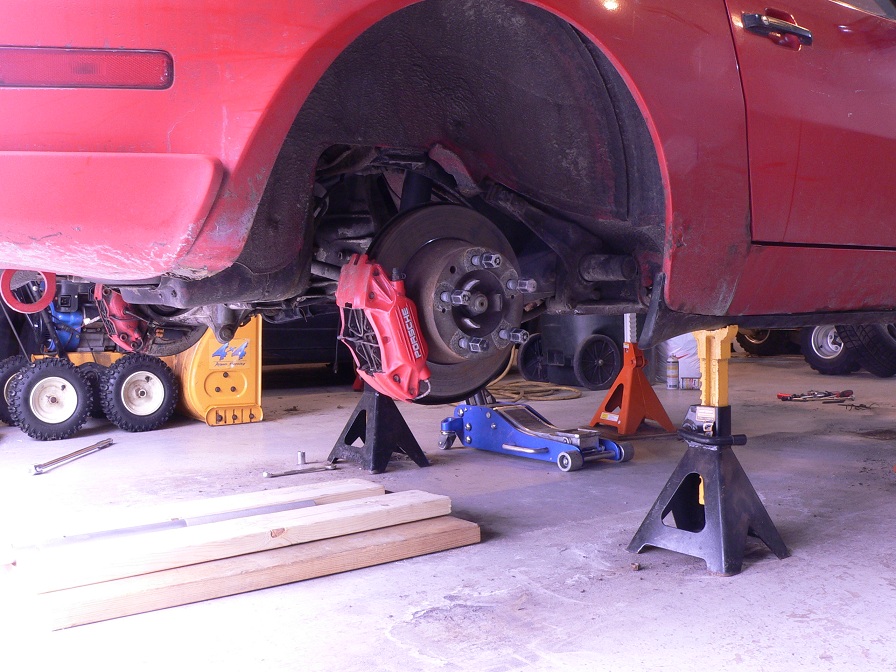
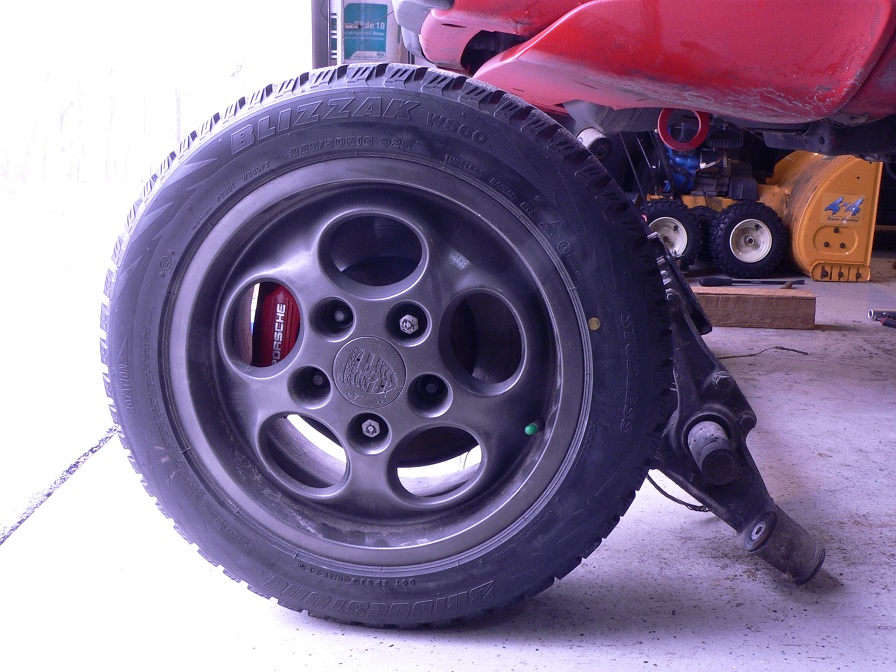
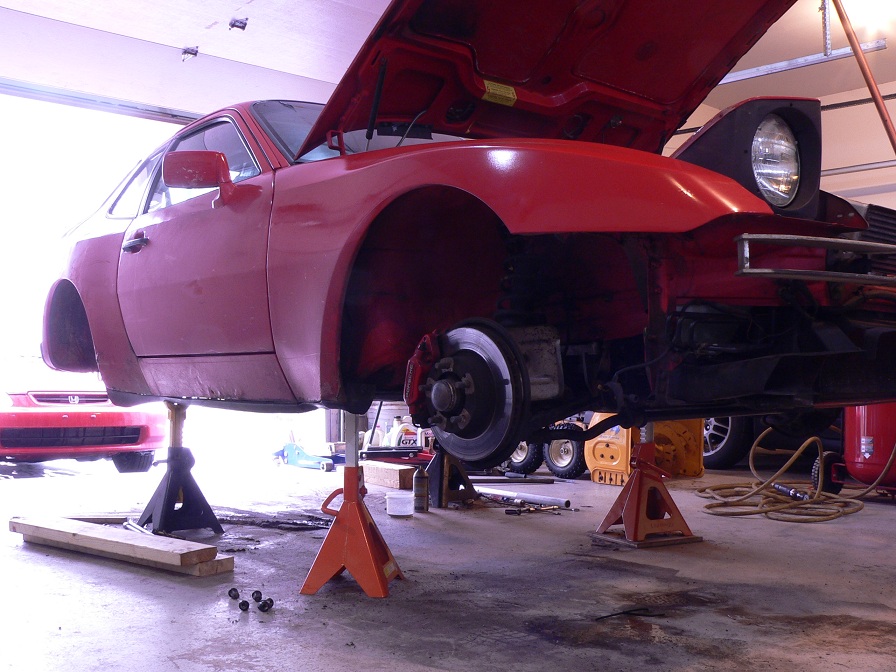
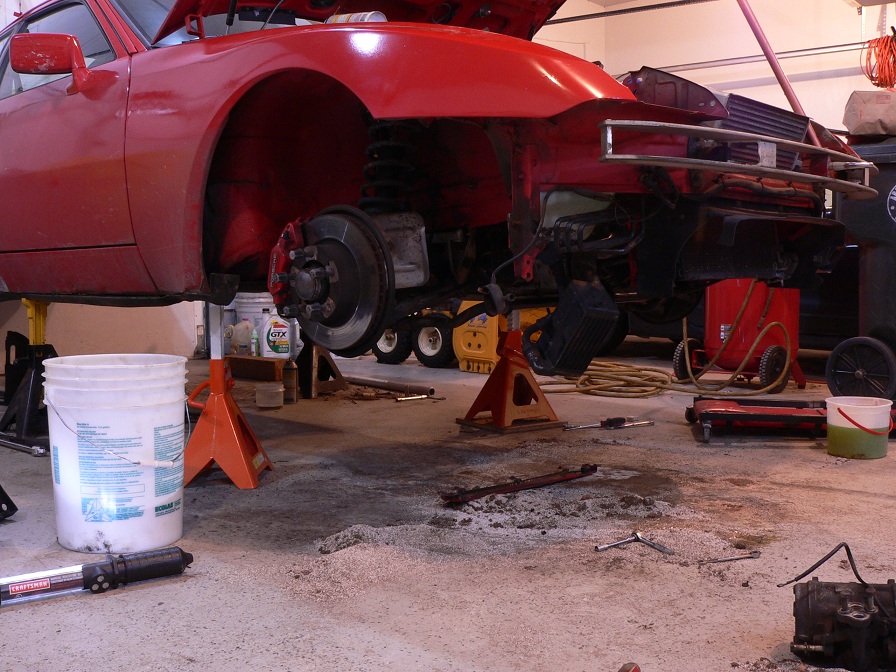
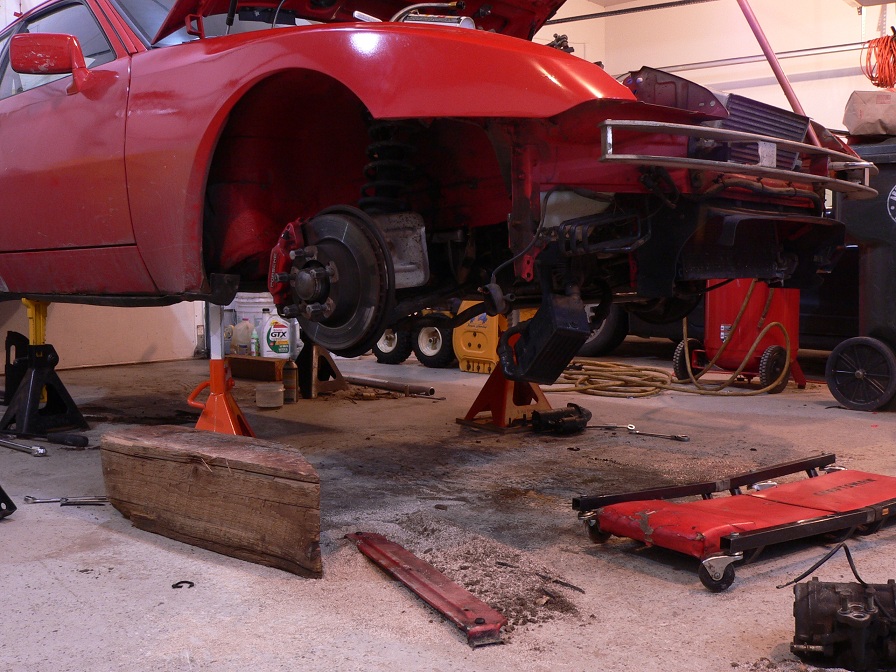
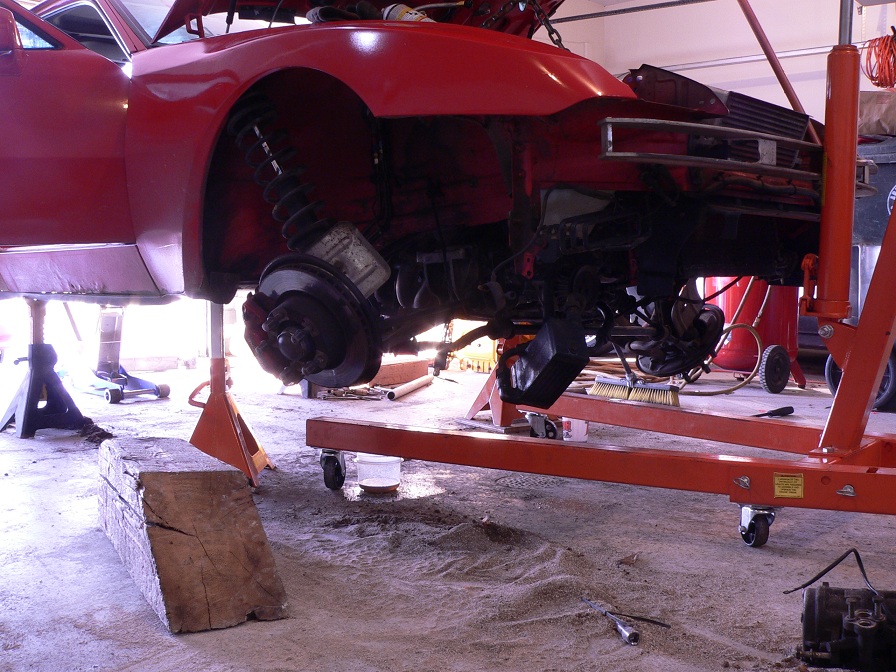
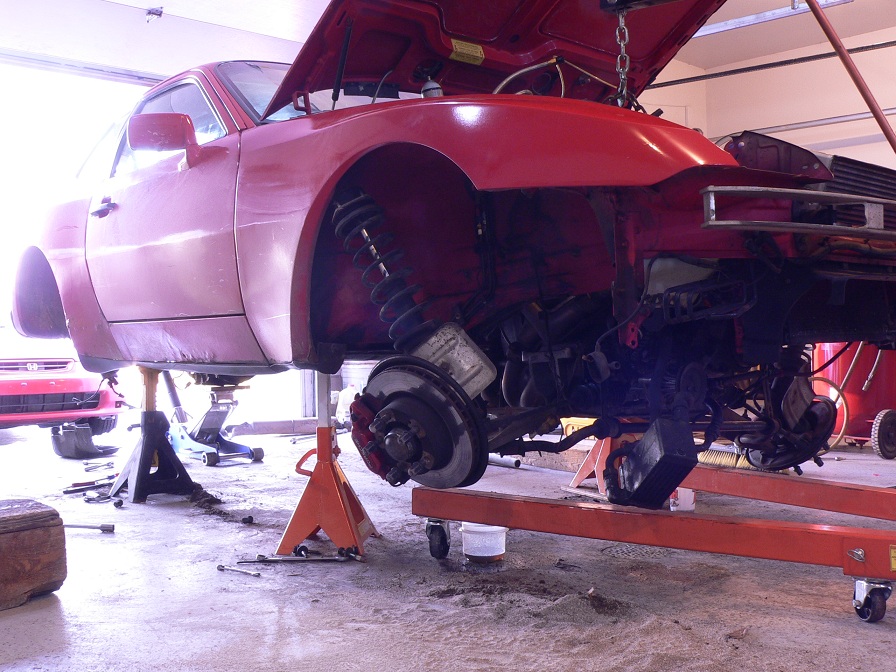
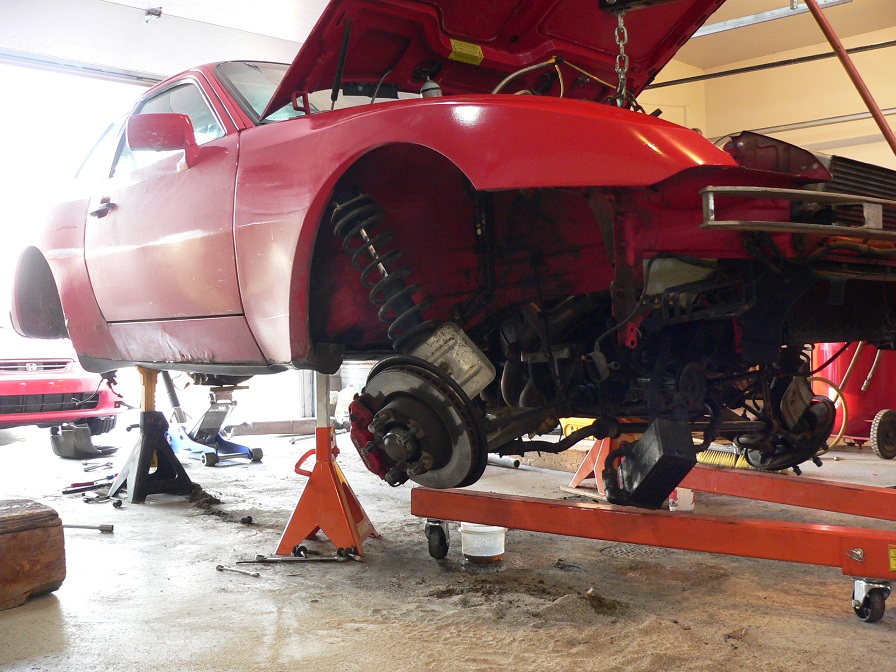
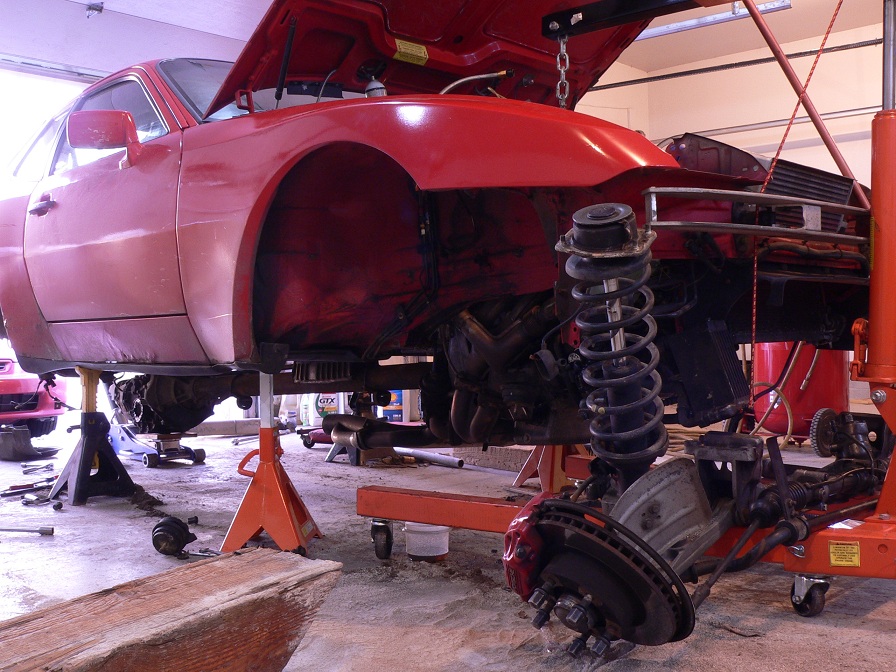
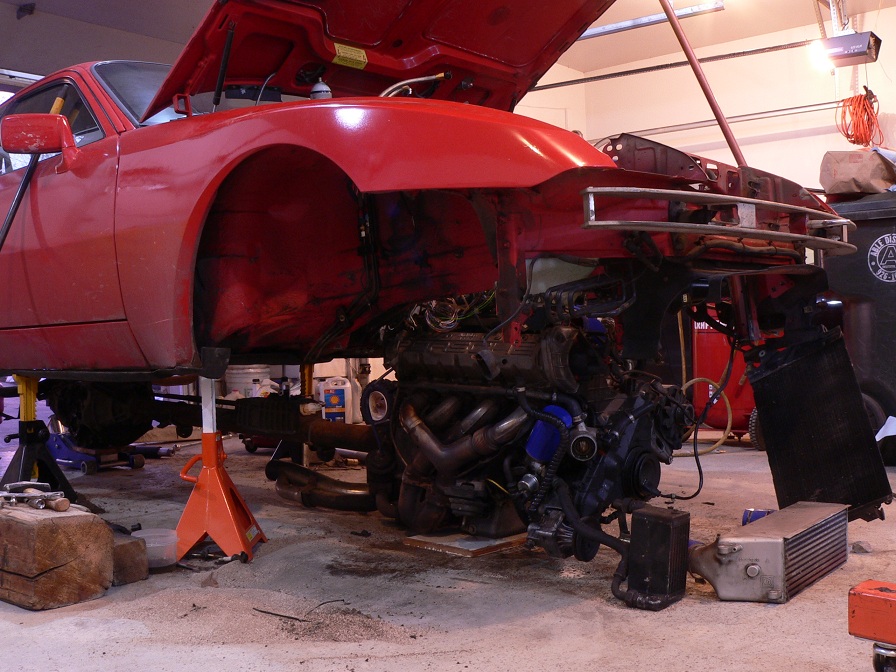
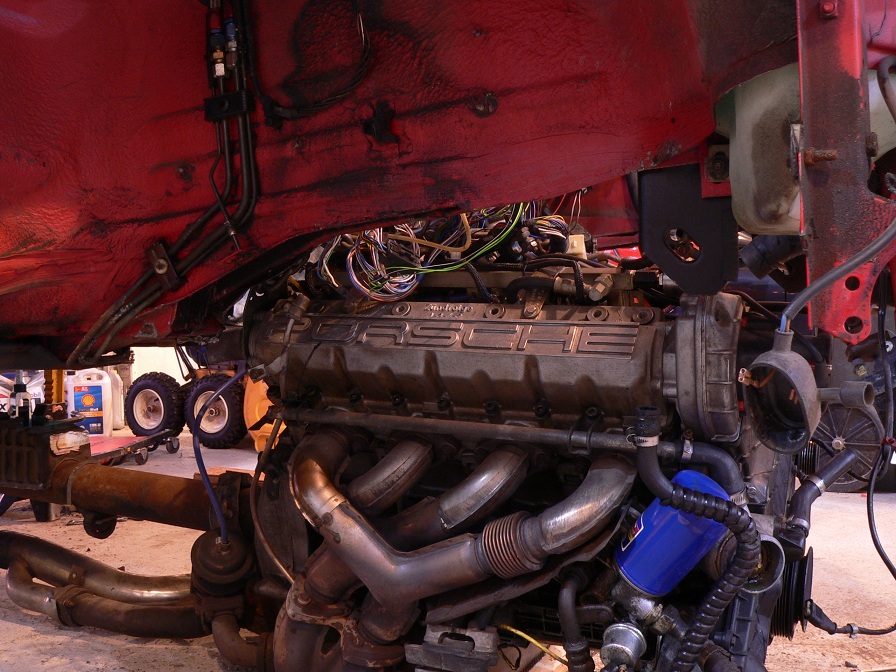
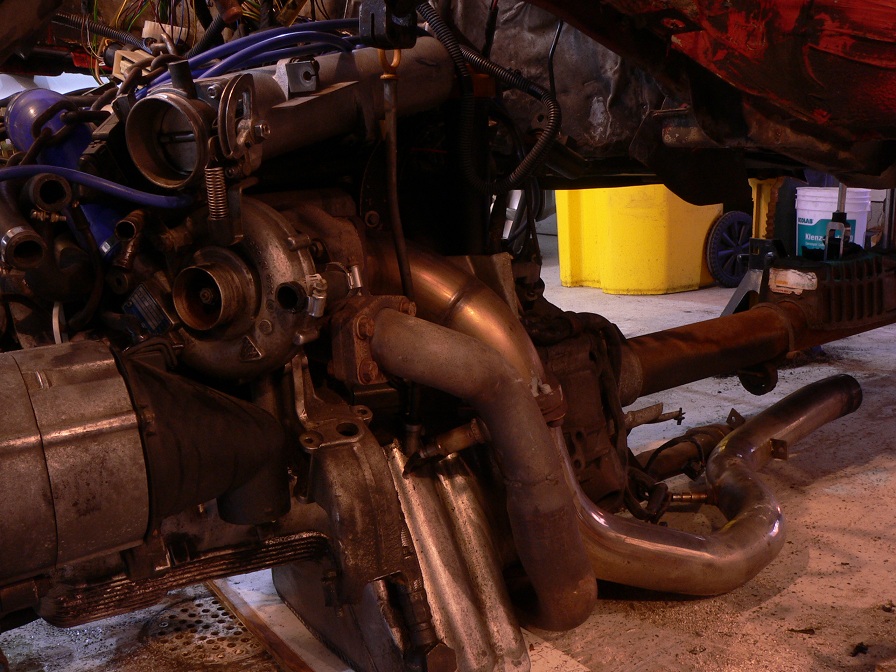
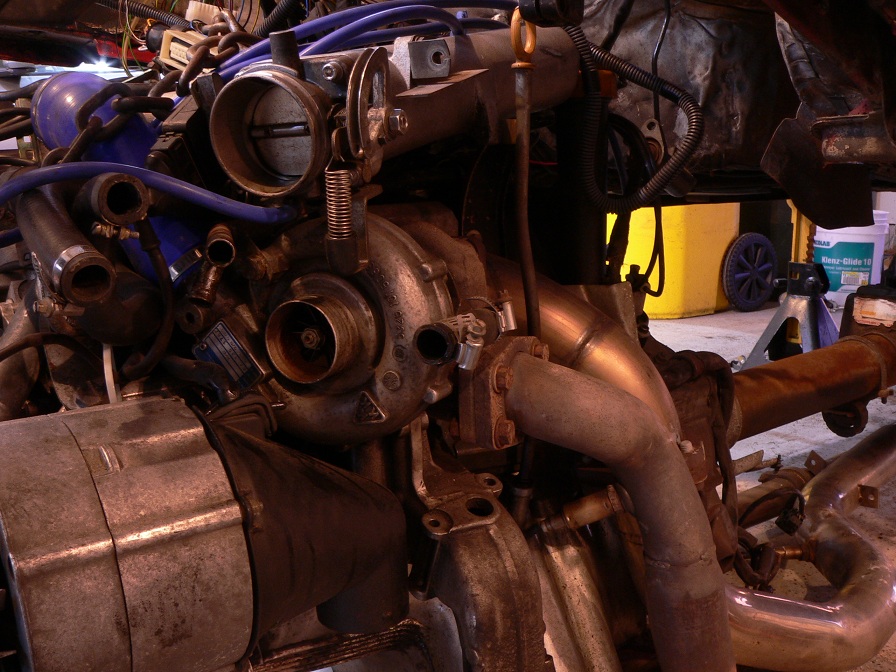
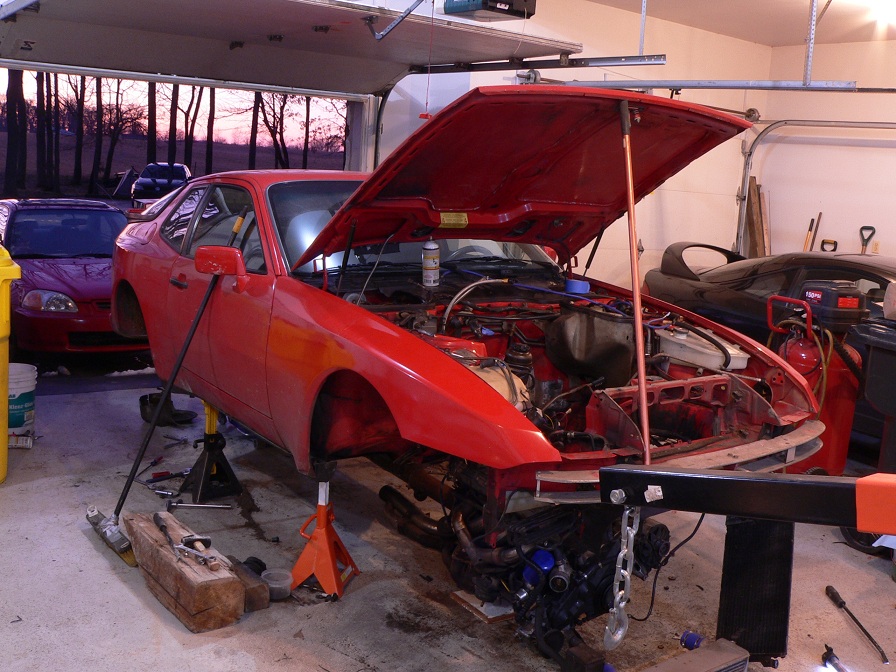
Yesterday, I stated working on my latest project. I am taking my 951( used to be my daily driver, now I have a civic) and taking everything out of it and putting all of that stuff in a new / better body/ chassis(which is Dan's [XSBOOST90's]old car). The reason i am doing this is because my car was rusting out and the paint was ****. This way, I can clean every part and start new. I am trying to take lots of photos on the way and this will take a while to complete since I work/ go to school. Yesterday, I worked on the 951 for 7 hours and was able to remove some stuff. Its easier doing this now as I have done a chassis swap before with my 944S and a turbo shell.
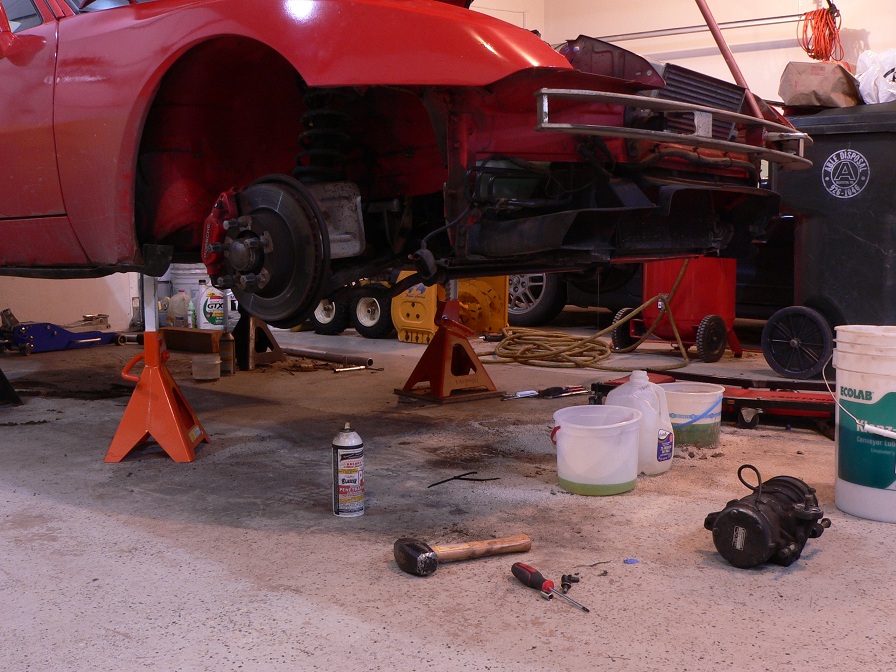
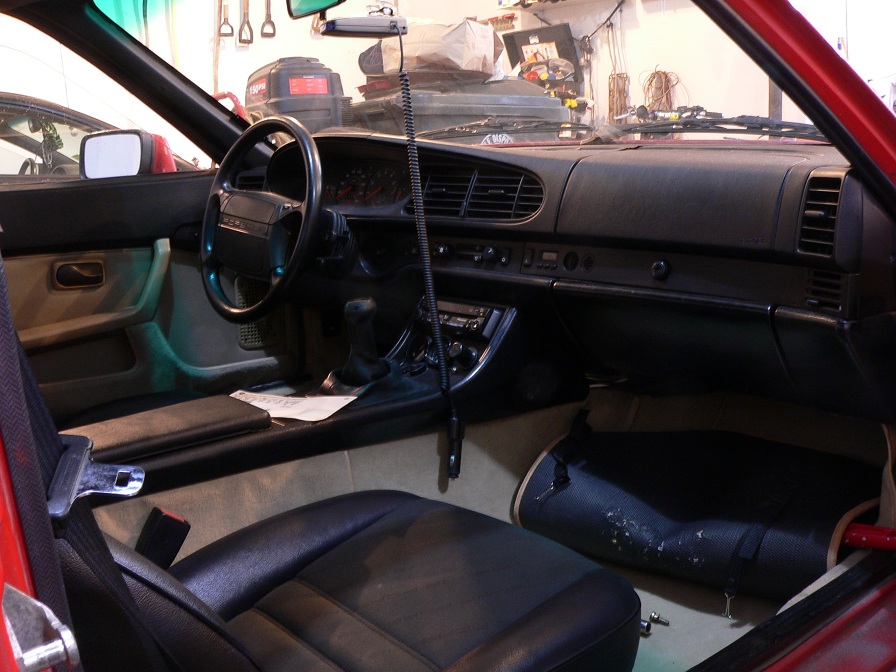
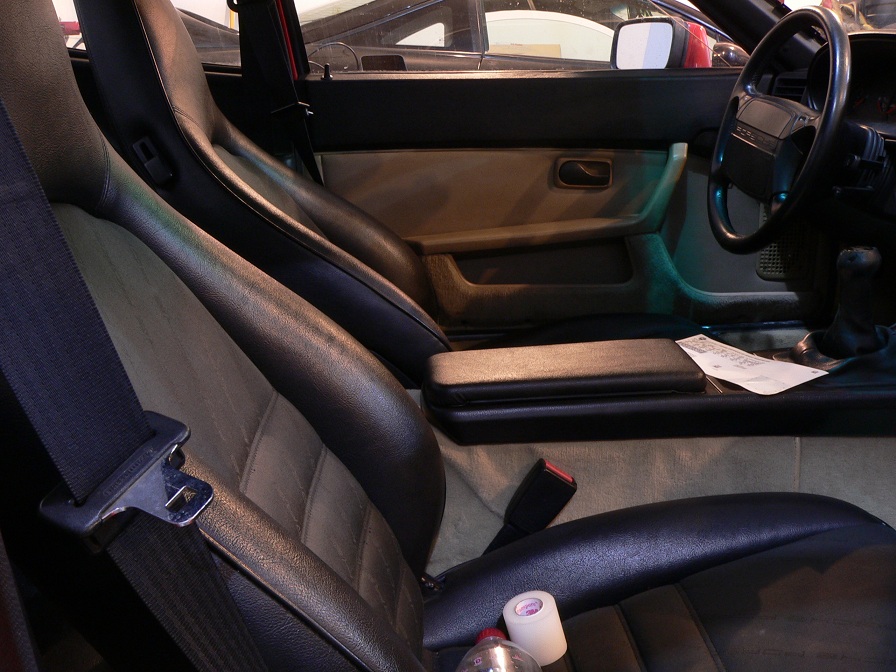
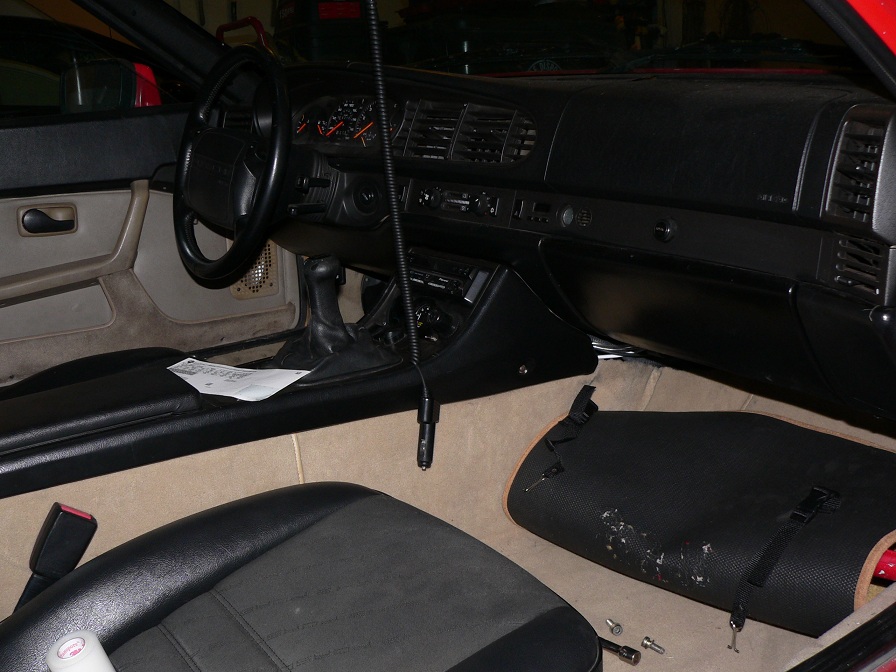
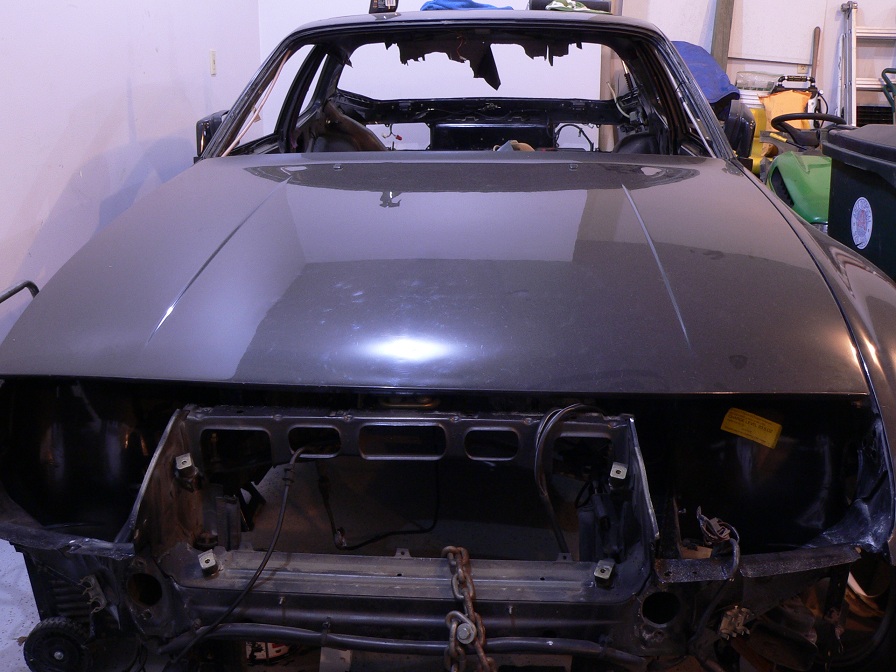
Here is the work from 2-23-12:

Name:  P1110510.JPG
Views: 364
Size:  198.2 KB

Name:  P1110511.JPG
Views: 301
Size:  207.1 KB

Name:  P1110512.JPG
Views: 276
Size:  180.9 KB

Name:  P1110513.JPG
Views: 253
Size:  175.7 KB

Name:  P1110515.JPG
Views: 252
Size:  185.3 KB

Name:  P1110516.JPG
Views: 281
Size:  195.6 KB

Name:  P1110519.JPG
Views: 287
Size:  194.1 KB

Name:  P1110521.JPG
Views: 281
Size:  186.7 KB

Name:  P1110525.JPG
Views: 276
Size:  226.4 KB

Name:  P1110527.JPG
Views: 249
Size:  183.9 KB

Name:  P1110529.JPG
Views: 235
Size:  200.9 KB

Name:  P1110530.JPG
Views: 261
Size:  173.9 KB

Name:  P1110532.JPG
Views: 244
Size:  214.3 KB

Name:  P1110534.JPG
Views: 290
Size:  173.6 KB

Name:  P1110535.JPG
Views: 267
Size:  188.2 KB

Last edited by dillon410021; 06-02-2012 at 11:51 AM. Reason: Updated again!
Old 02-24-2012, 10:34 AM
  #2  
dillon410021
Race Car
Thread Starter
 
dillon410021's Avatar
 
Join Date: Dec 2007
Location: LaPorte, IN 46350
Posts: 3,840
Likes: 0
Received 10 Likes on 10 Posts
Default more

Name:  P1110536.JPG
Views: 244
Size:  168.4 KB

Name:  P1110537.JPG
Views: 254
Size:  227.4 KB

Name:  P1110539.JPG
Views: 257
Size:  224.4 KB

Name:  P1110540.JPG
Views: 237
Size:  216.2 KB

Name:  P1110541.JPG
Views: 254
Size:  205.3 KB

Name:  P1110542.JPG
Views: 239
Size:  226.3 KB

Name:  P1110543.JPG
Views: 234
Size:  236.7 KB

Name:  P1110544.JPG
Views: 250
Size:  224.7 KB

Name:  P1110545.JPG
Views: 287
Size:  234.8 KB

Name:  P1110546.JPG
Views: 251
Size:  226.4 KB

Name:  P1110547.JPG
Views: 276
Size:  239.1 KB

Name:  P1110548.JPG
Views: 302
Size:  236.0 KB

Name:  P1110549.JPG
Views: 246
Size:  239.2 KB

Name:  P1110550.JPG
Views: 284
Size:  216.7 KB

Name:  P1110551.JPG
Views: 277
Size:  202.7 KB
Old 02-24-2012, 10:37 AM
  #3  
dillon410021
Race Car
Thread Starter
 
dillon410021's Avatar
 
Join Date: Dec 2007
Location: LaPorte, IN 46350
Posts: 3,840
Likes: 0
Received 10 Likes on 10 Posts
Default more

Name:  P1110552.JPG
Views: 229
Size:  233.1 KB

Name:  P1110553.JPG
Views: 231
Size:  224.2 KB

Name:  P1110554.JPG
Views: 222
Size:  240.7 KB

Name:  P1110555.JPG
Views: 248
Size:  245.2 KB

Name:  P1110556.JPG
Views: 269
Size:  214.7 KB

Name:  P1110557.JPG
Views: 221
Size:  268.2 KB

Name:  P1110558.JPG
Views: 254
Size:  209.7 KB

Name:  P1110559.JPG
Views: 250
Size:  228.9 KB

Name:  P1110562.JPG
Views: 238
Size:  210.5 KB

Name:  P1110563.JPG
Views: 250
Size:  238.7 KB

More updates will follow as i work on the car
Old 02-24-2012, 11:14 AM
  #4  
reno808
Rennlist Member
 
reno808's Avatar
 
Join Date: Mar 2005
Location: In the garage trying to keep boost down
Posts: 8,809
Likes: 0
Received 0 Likes on 0 Posts
Default

Keep up the work. I want to do the same but to a 968
Old 02-24-2012, 01:21 PM
  #5  
ian
Nordschleife Master
 
ian's Avatar
 
Join Date: Jun 2001
Location: Charlotte, NC
Posts: 5,694
Received 66 Likes on 38 Posts
Default

I did something similar about a decade ago, it is a lot of work for sure, but rewarding too.

Good luck, looks like you are making some nice progress so far.
Old 02-24-2012, 03:38 PM
  #6  
black944 turbo
Rennlist Member
 
black944 turbo's Avatar
 
Join Date: Mar 2003
Location: Charlotte
Posts: 4,261
Received 30 Likes on 20 Posts
Default

Very cool, Dan's car was very nice.
Old 02-24-2012, 03:48 PM
  #7  
alxdgr8
Rennlist Member
 
alxdgr8's Avatar
 
Join Date: Sep 2006
Location: Seattle, WA
Posts: 3,818
Received 55 Likes on 37 Posts
Default

Originally Posted by reno808
Keep up the work. I want to do the same but to a 968
I've had this idea lately too. Too bad 968 shells don't come up very often.
Old 02-24-2012, 05:02 PM
  #8  
APKhaos
Drifting
 
APKhaos's Avatar
 
Join Date: Oct 2002
Location: McLean, VA
Posts: 2,579
Likes: 0
Received 1 Like on 1 Post
Default

UUgghh... brings back memories of retubbing my race car a few years back. Moved everything, including brake lines [ABS into a non ABS tub] and harnesses.

Easy Guide to Re Tubbing:
Step 1 - completely diss-assemble TWO cars
Old 02-24-2012, 05:26 PM
  #9  
aben8057
Drifting
 
aben8057's Avatar
 
Join Date: Sep 2003
Location: New Jersey
Posts: 2,141
Received 0 Likes on 0 Posts
Default

I just finished the same project....its a long and dangerous road. While the motor was what turned out to only be "install a new head gasket" ended as a complete rebuilt engine. Every seal, gasket, bearing was replaced and I can assure you that every tool in your collection will be used.
Old 02-25-2012, 08:22 PM
  #10  
dillon410021
Race Car
Thread Starter
 
dillon410021's Avatar
 
Join Date: Dec 2007
Location: LaPorte, IN 46350
Posts: 3,840
Likes: 0
Received 10 Likes on 10 Posts
Default 2-25-12 (Day 2)

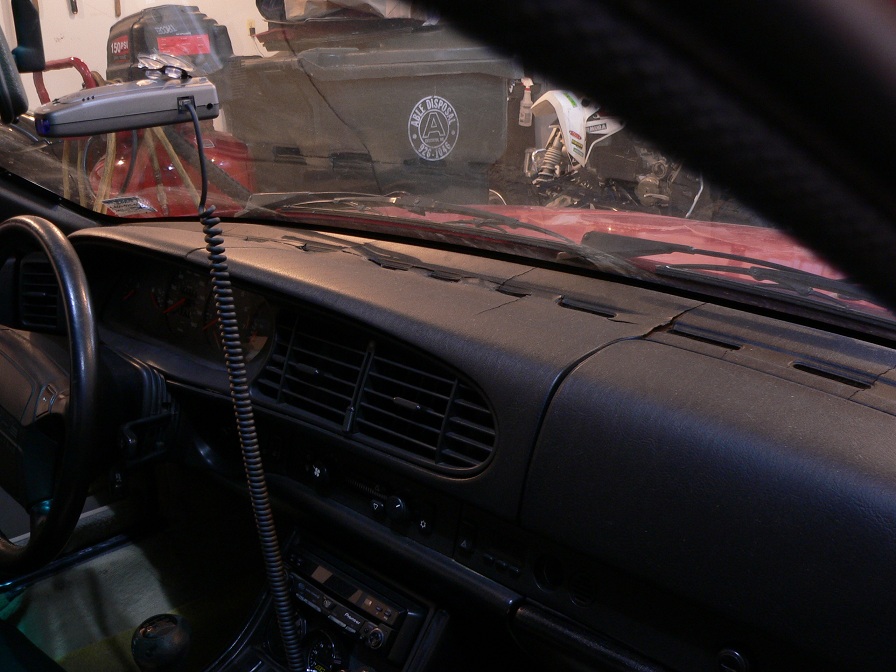
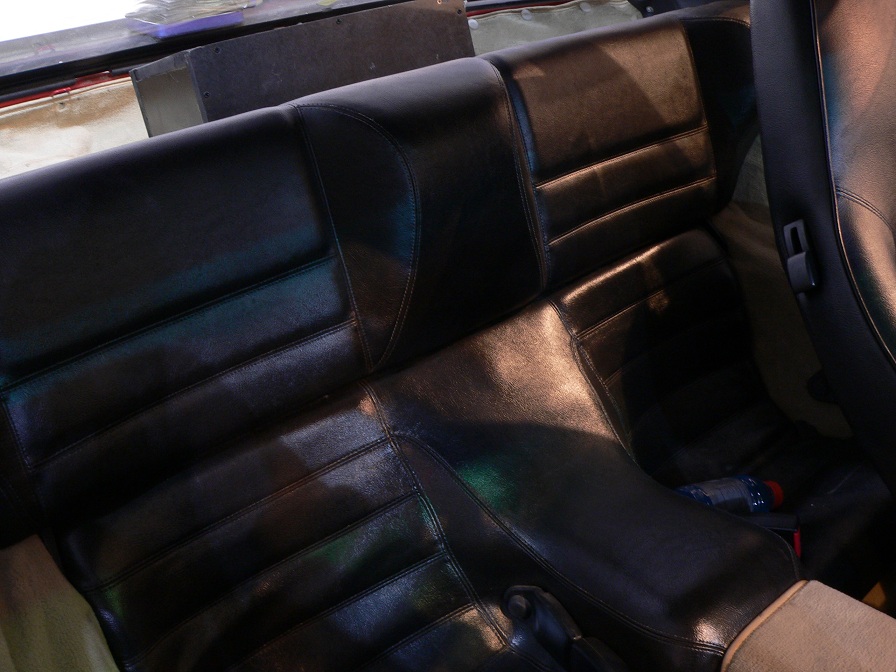
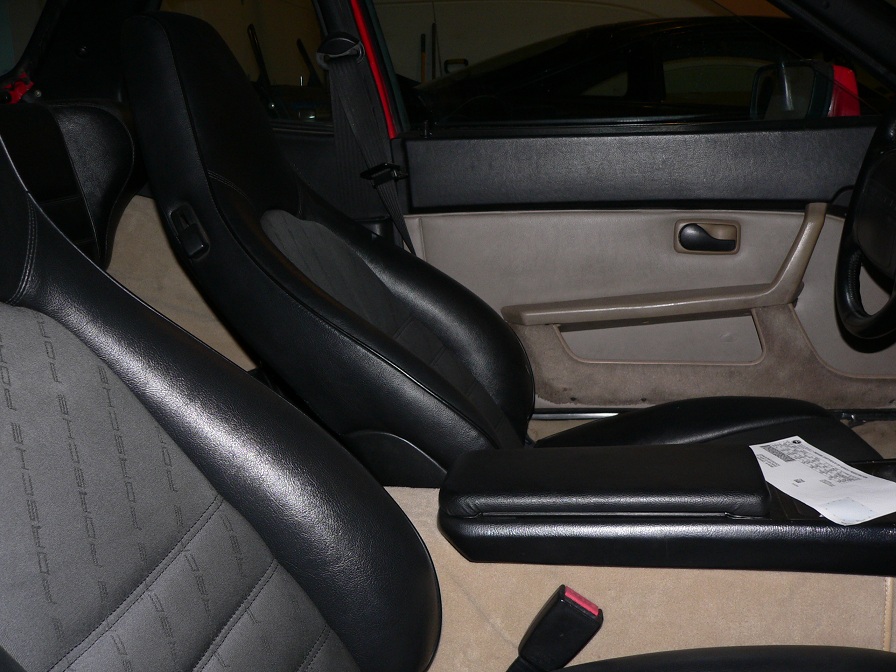
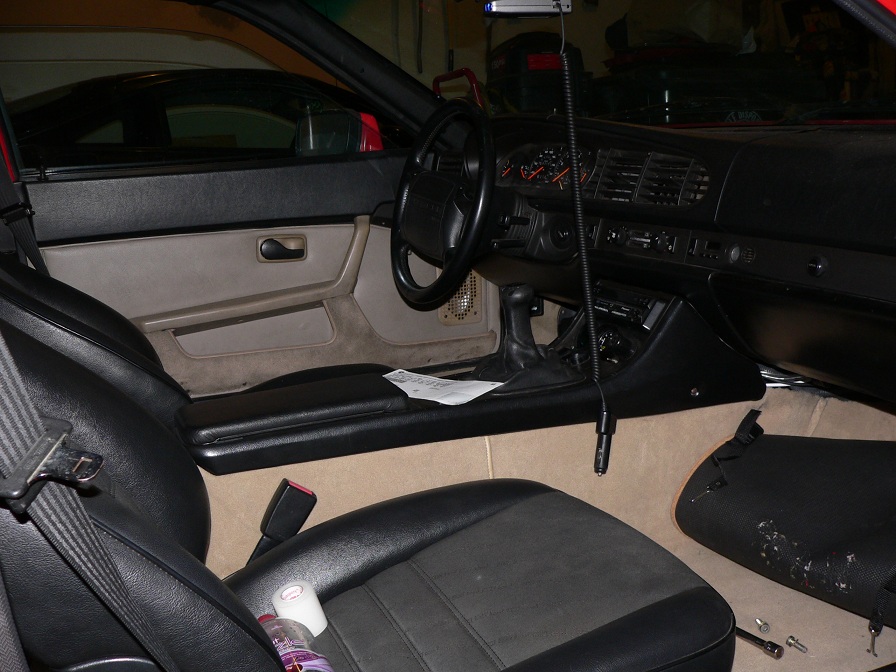
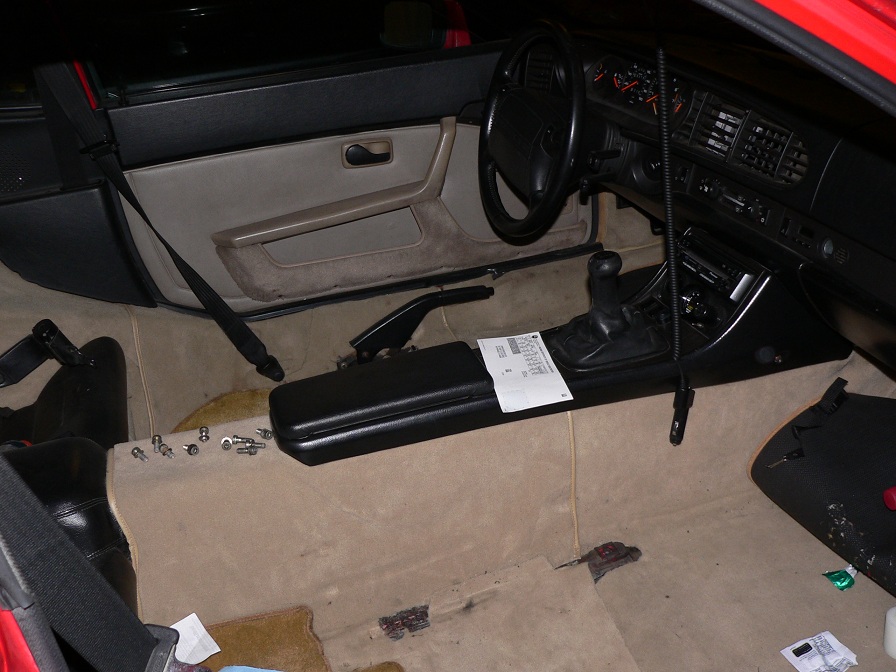
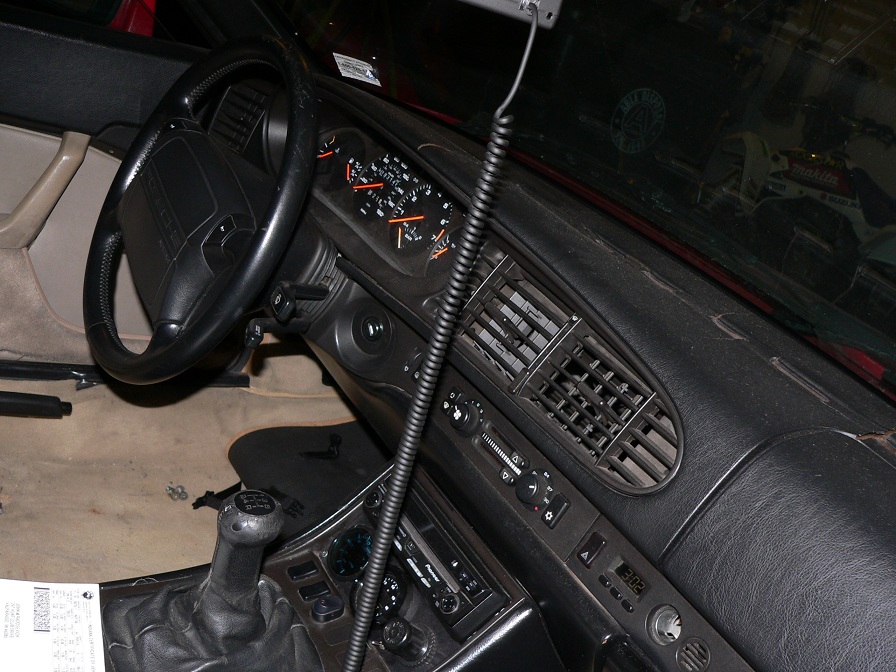
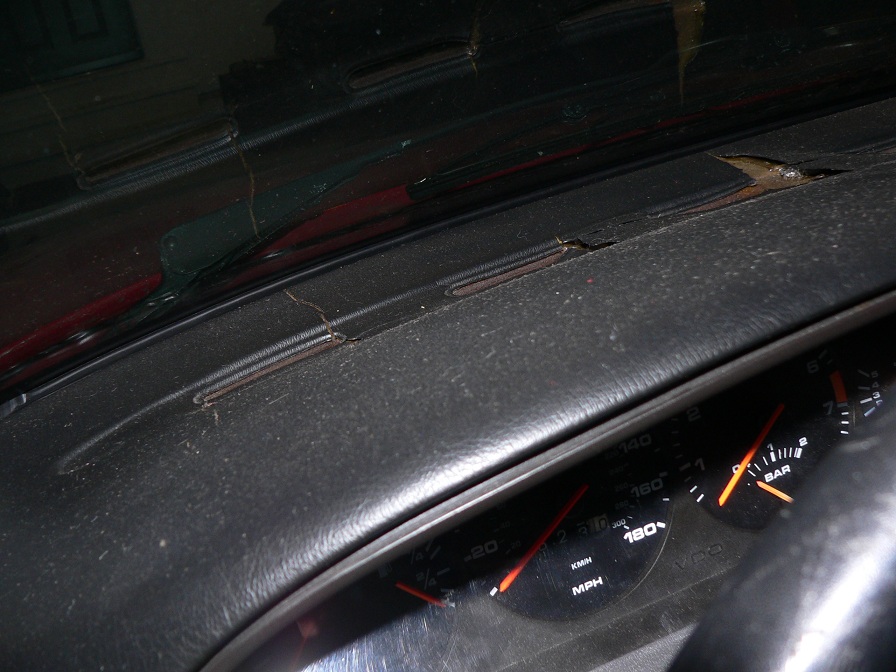
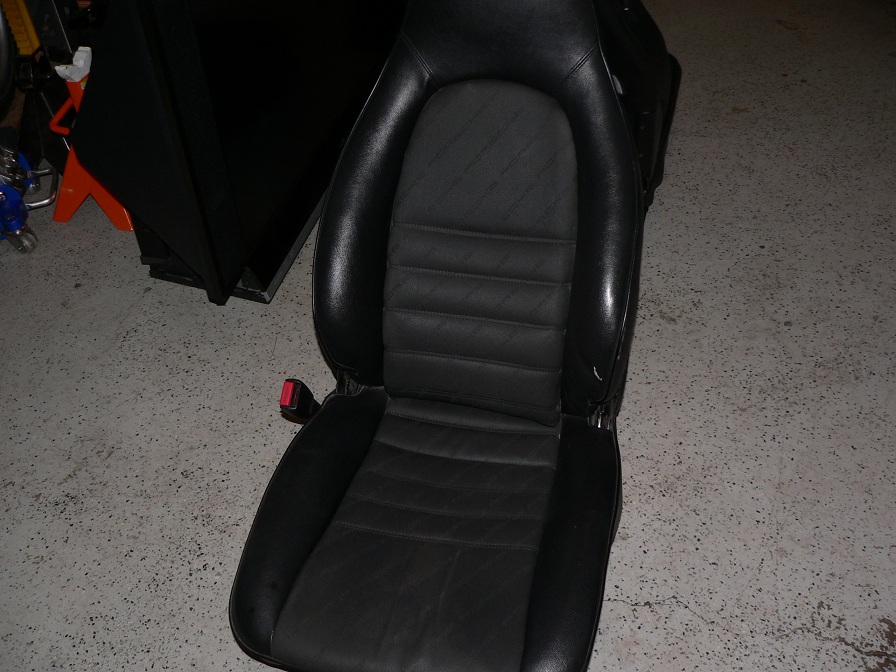
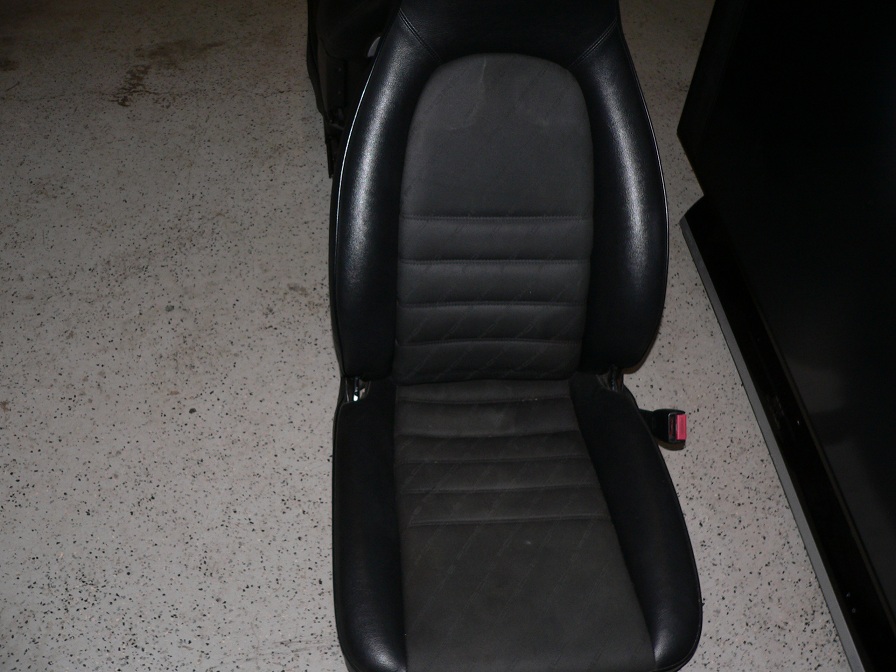
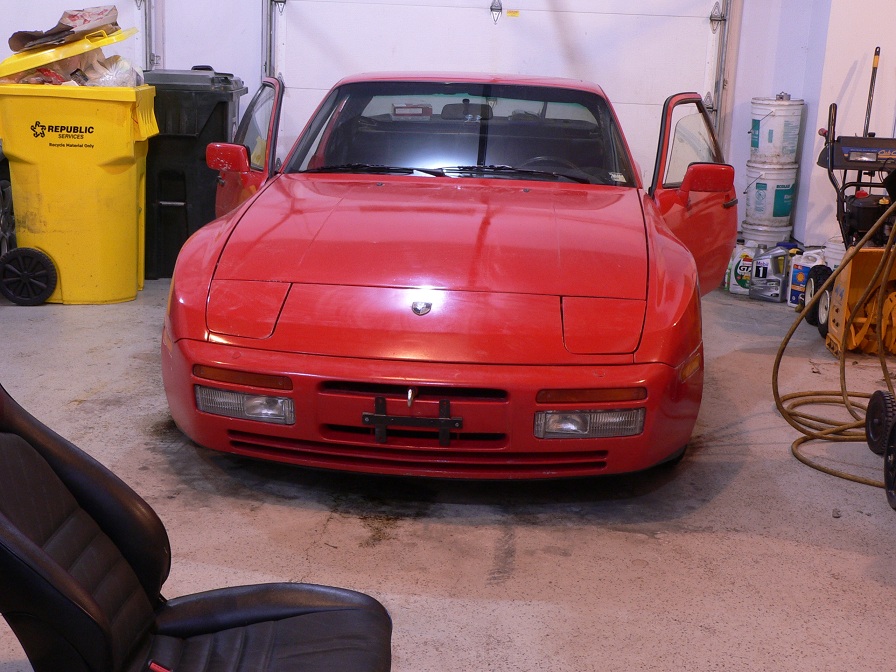
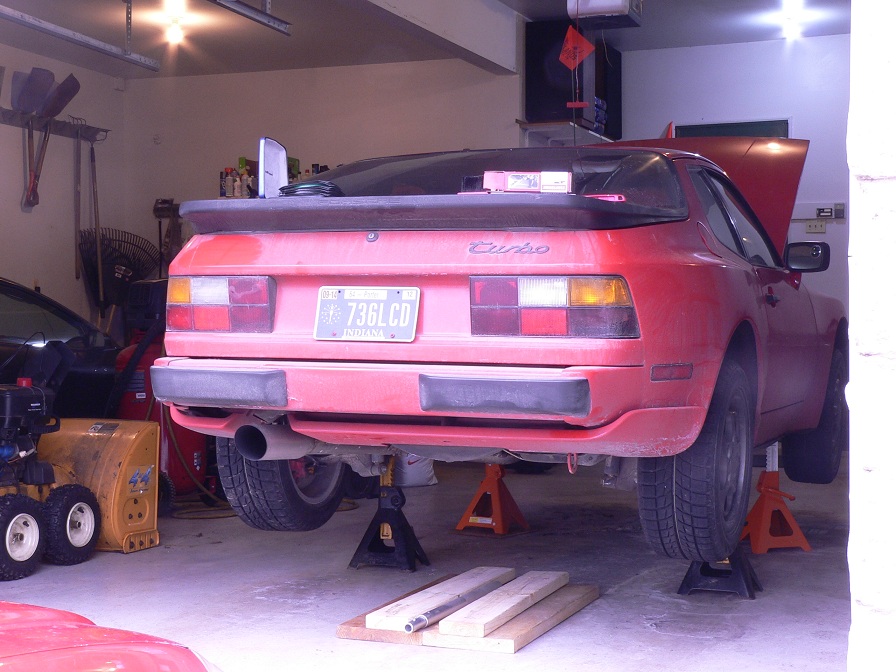
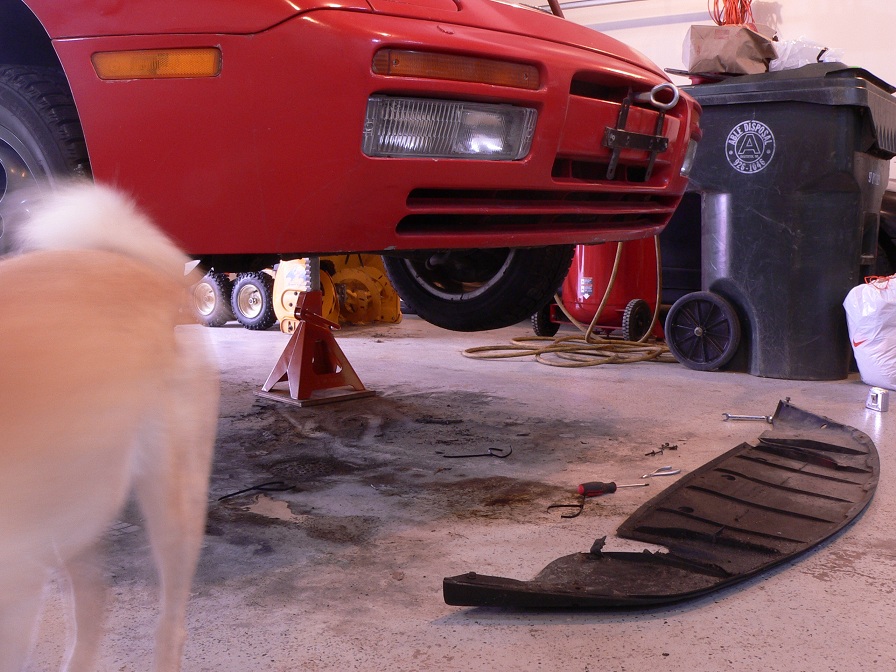
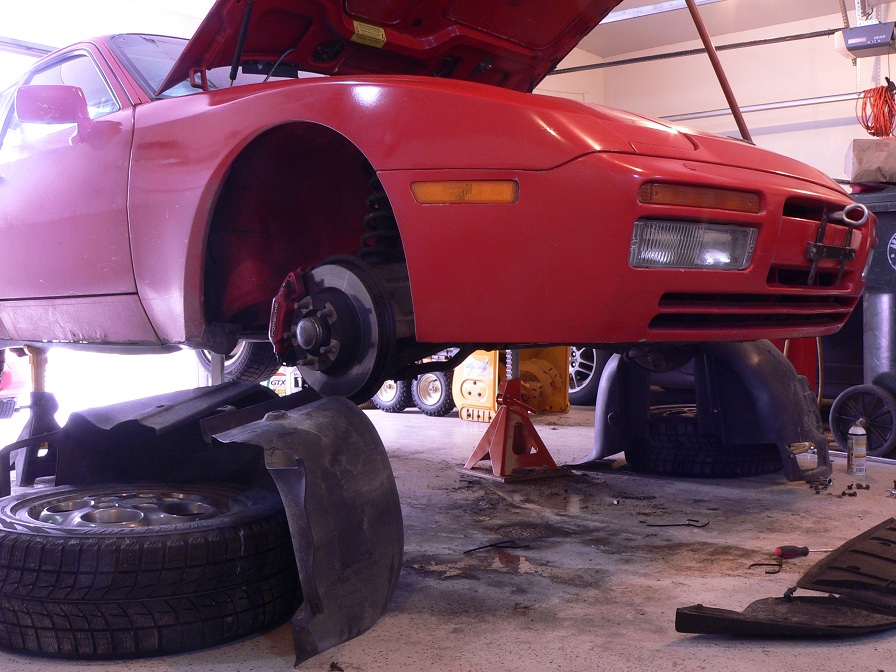
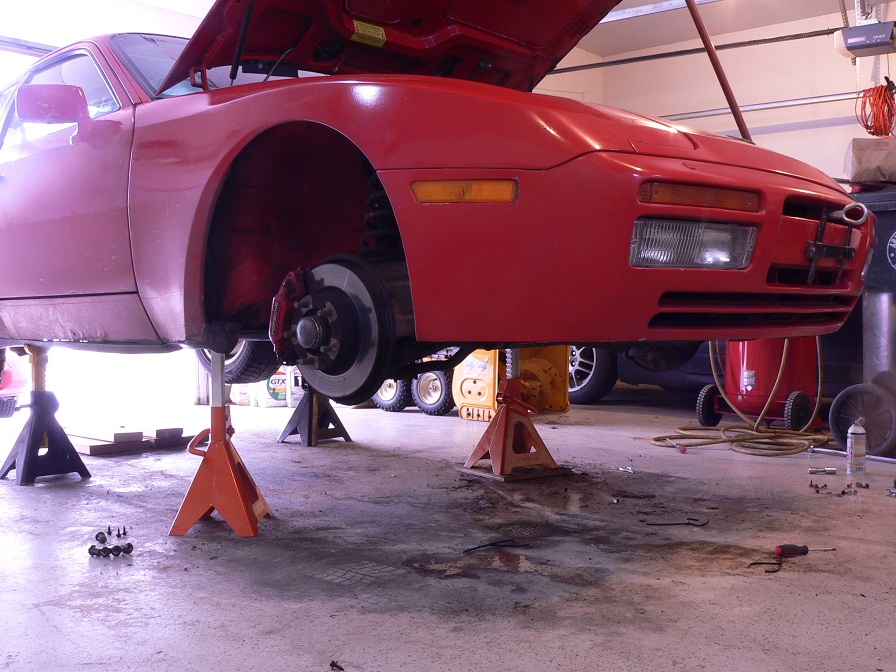
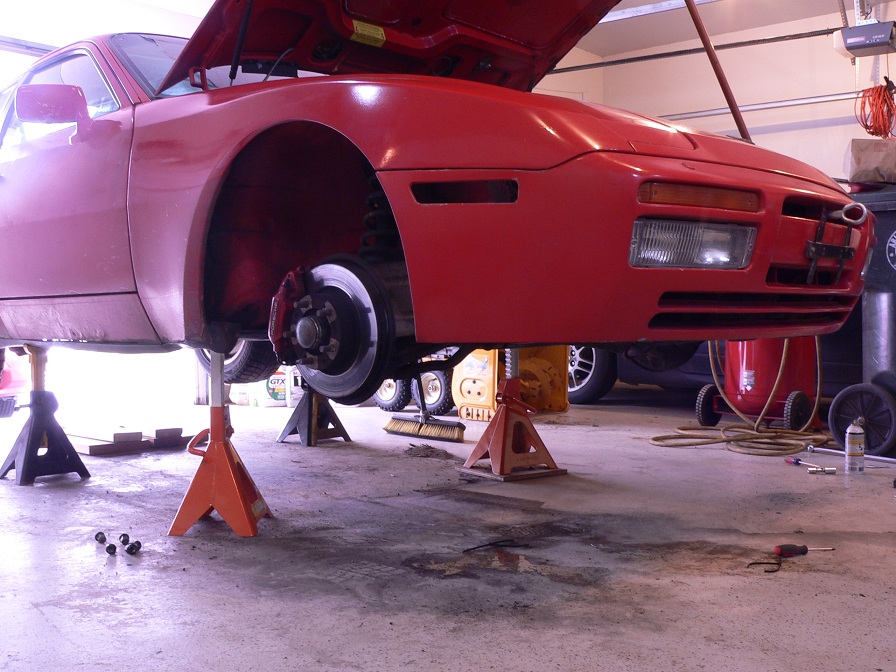
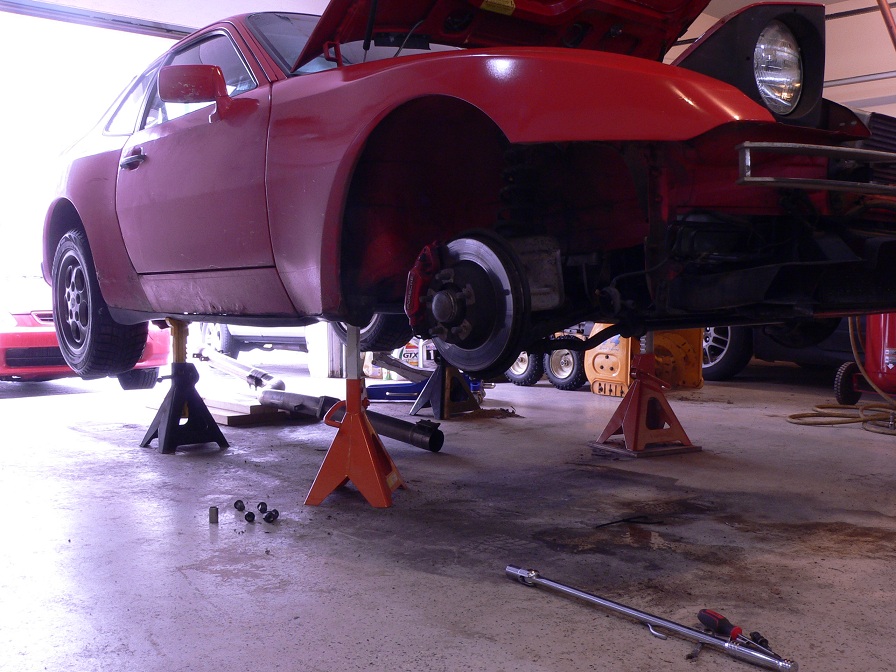
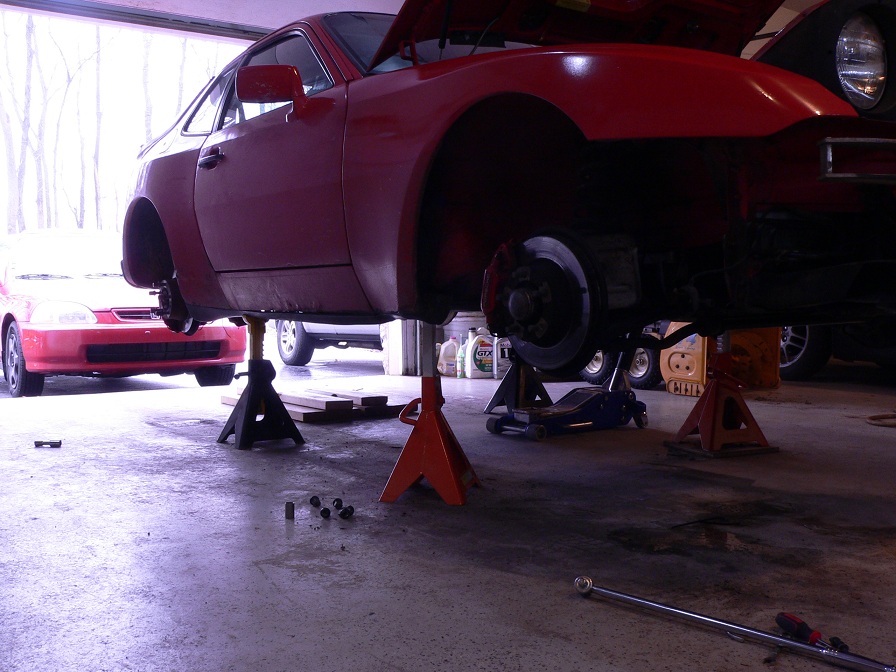
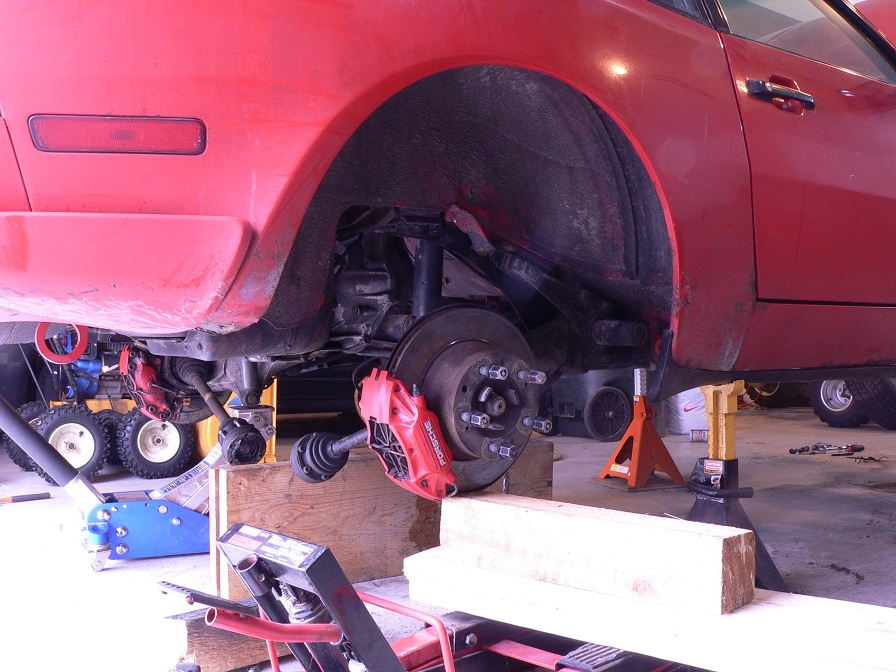
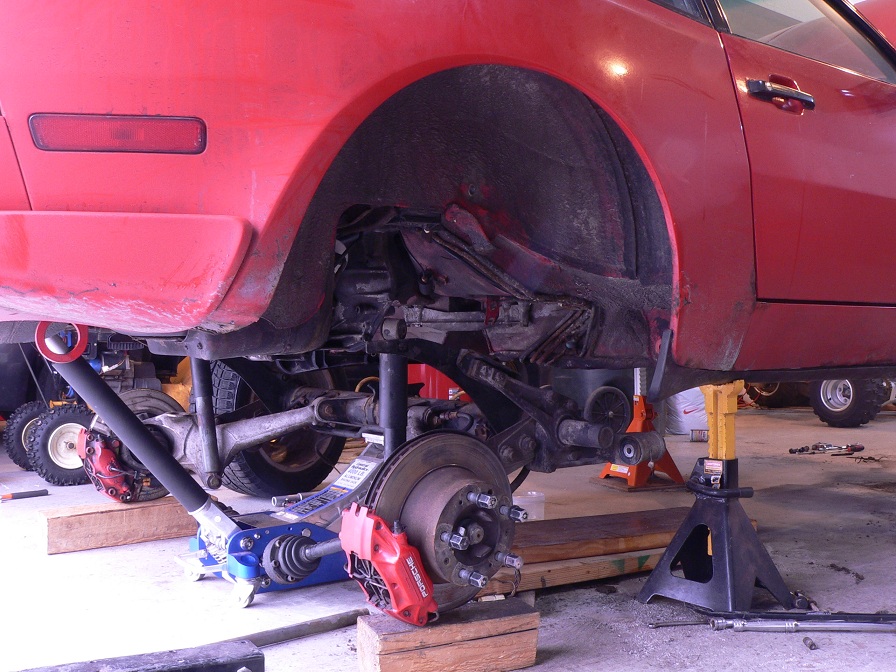
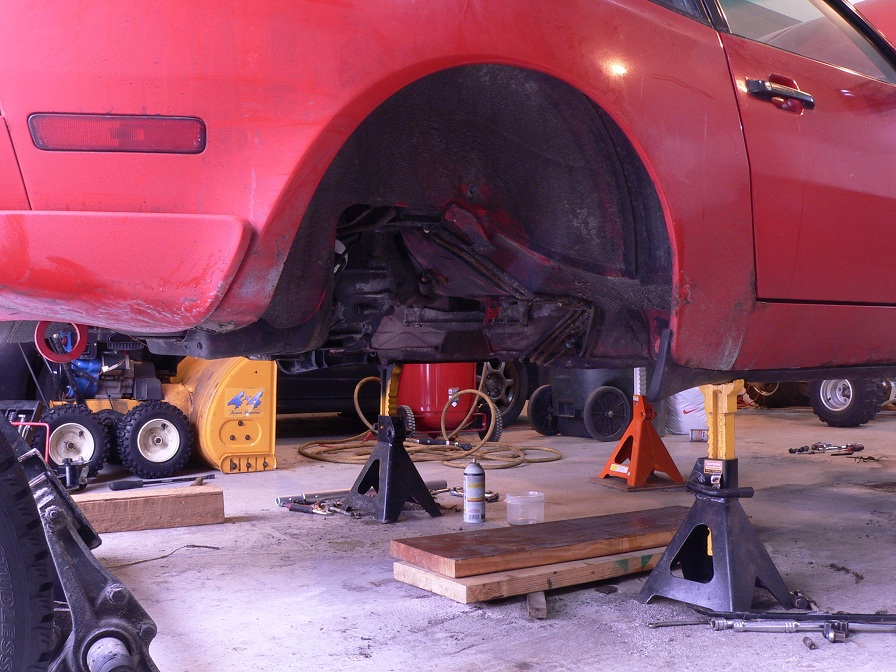
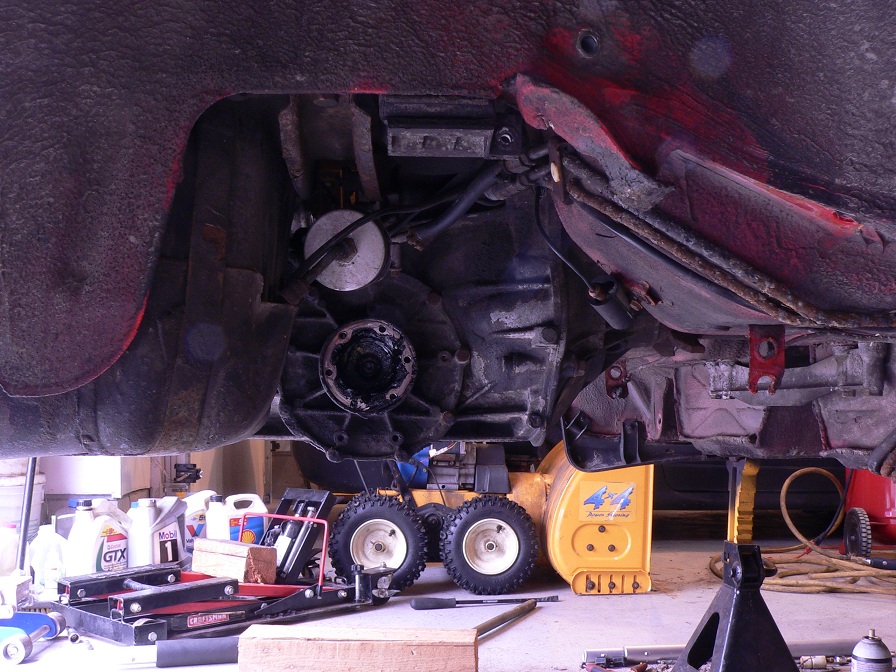
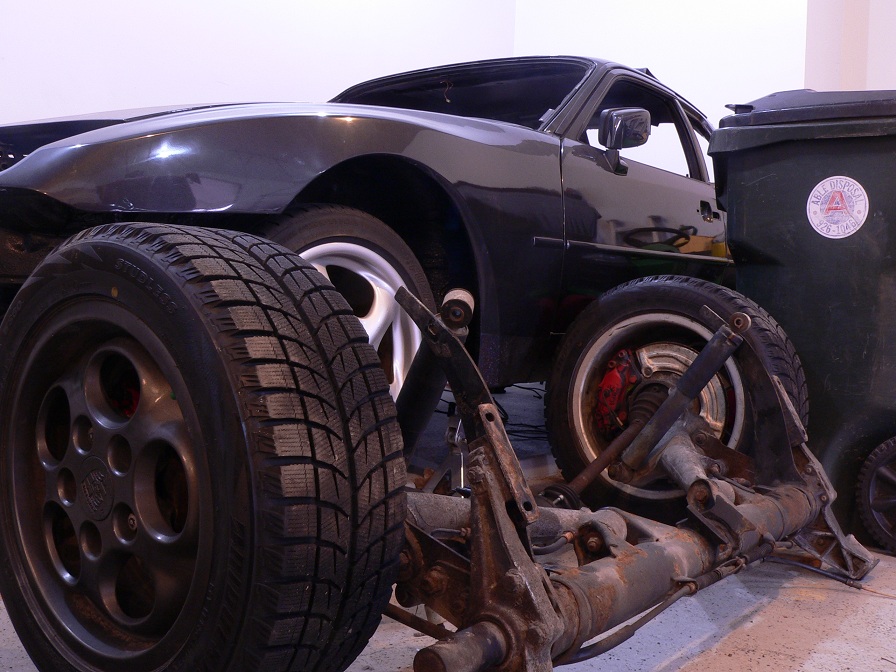
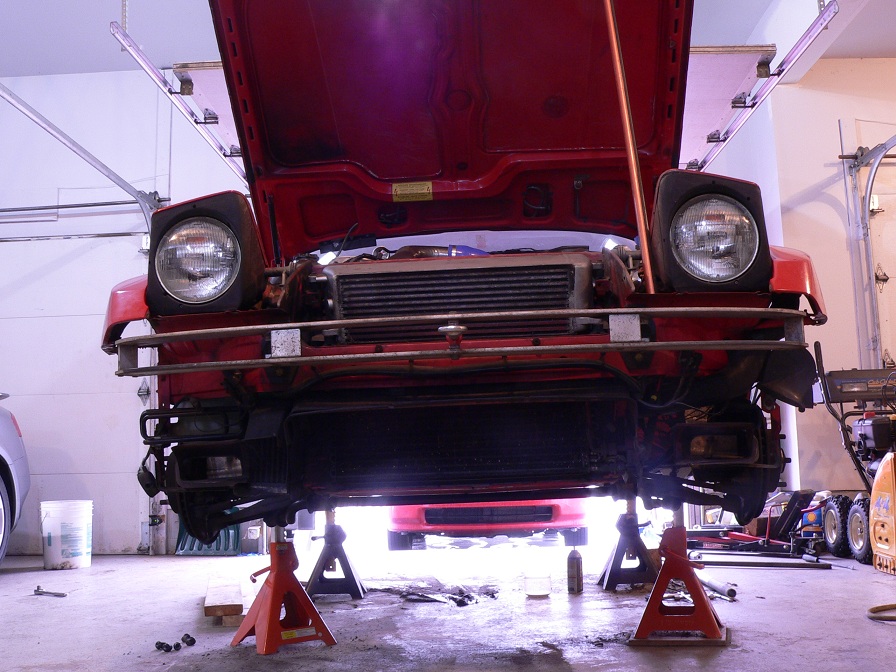
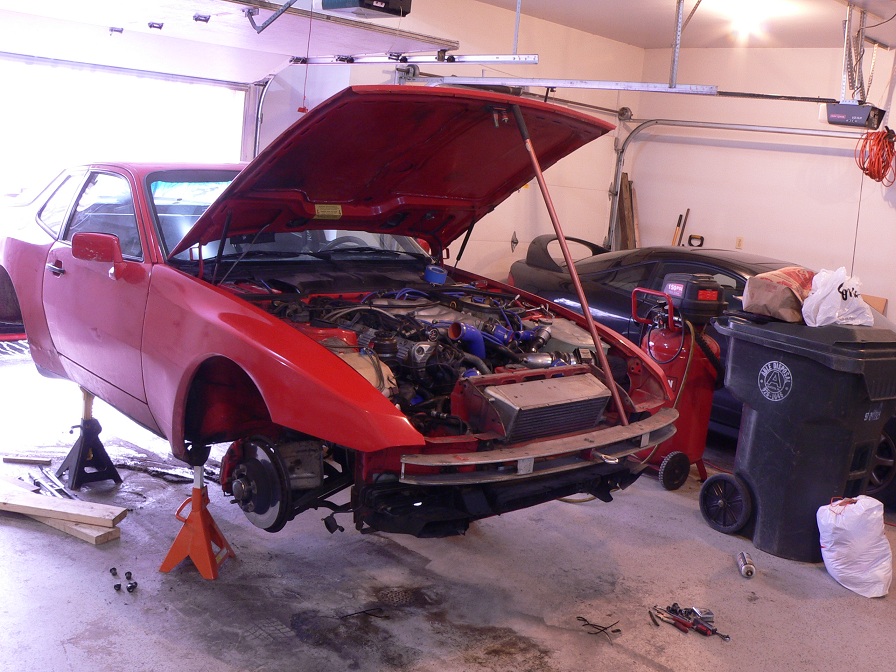
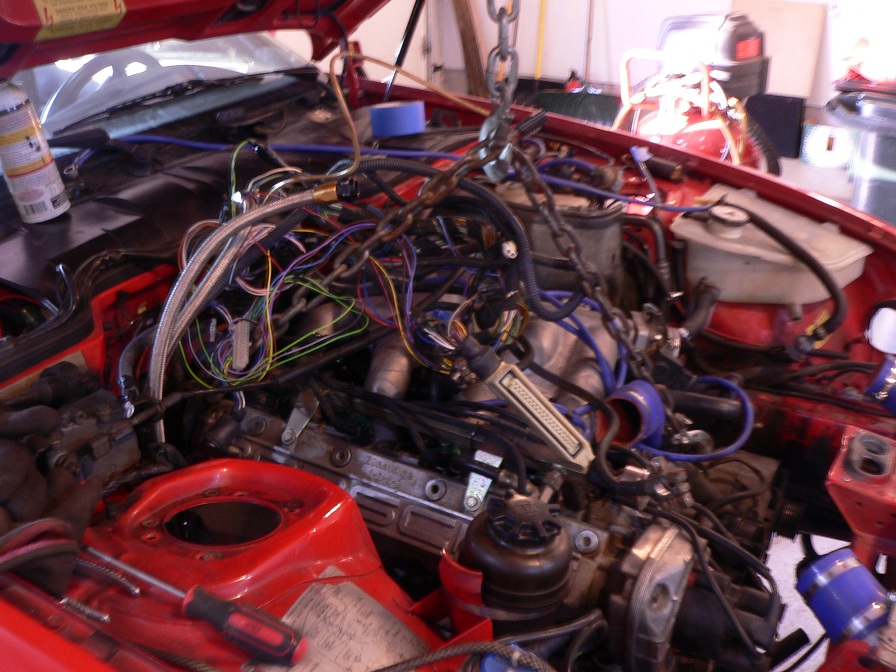
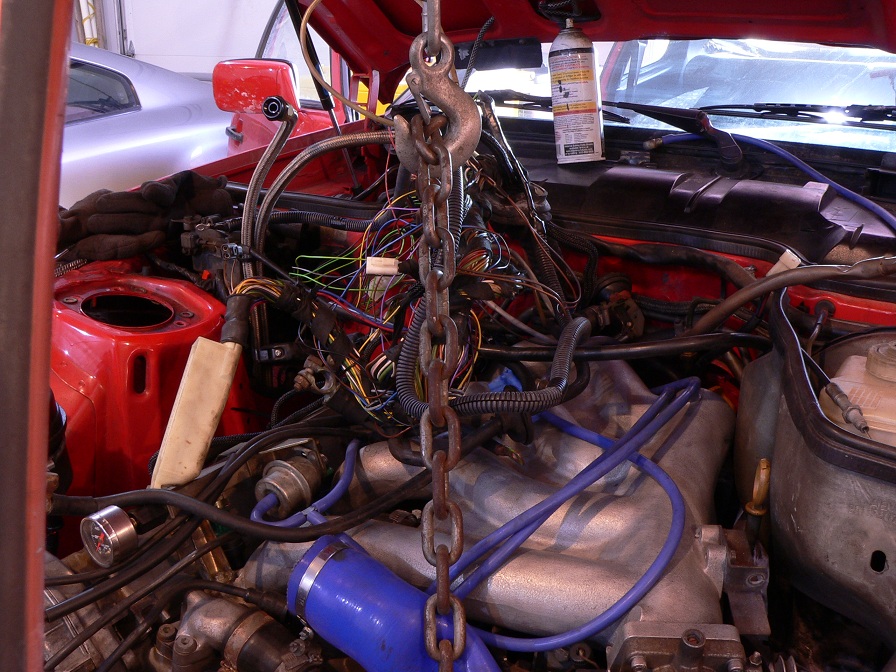
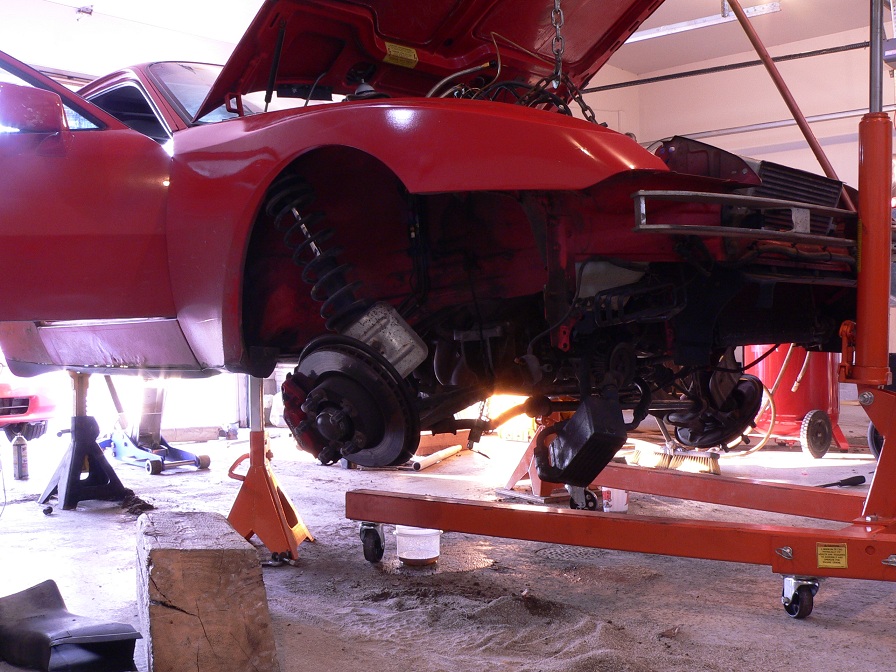
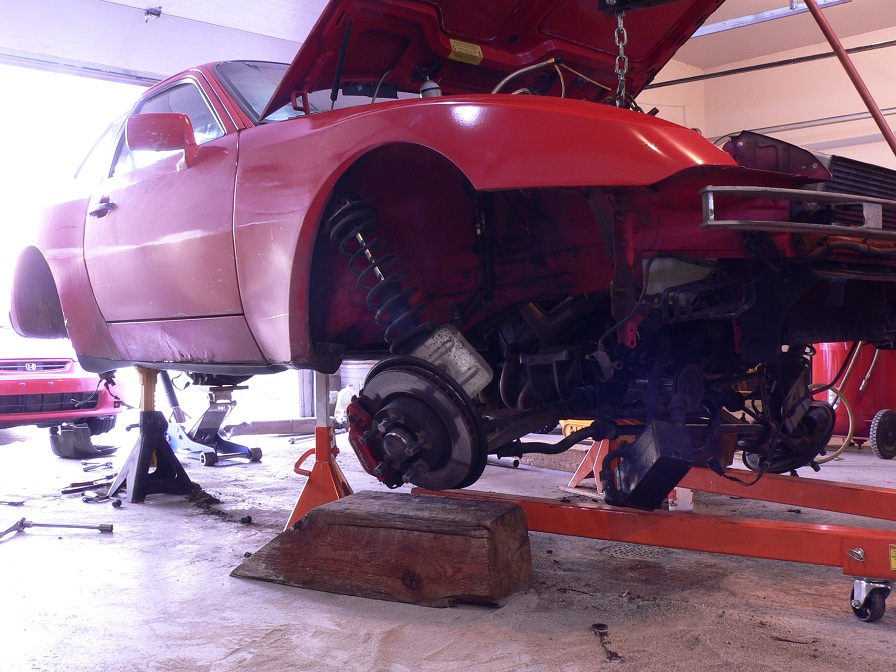
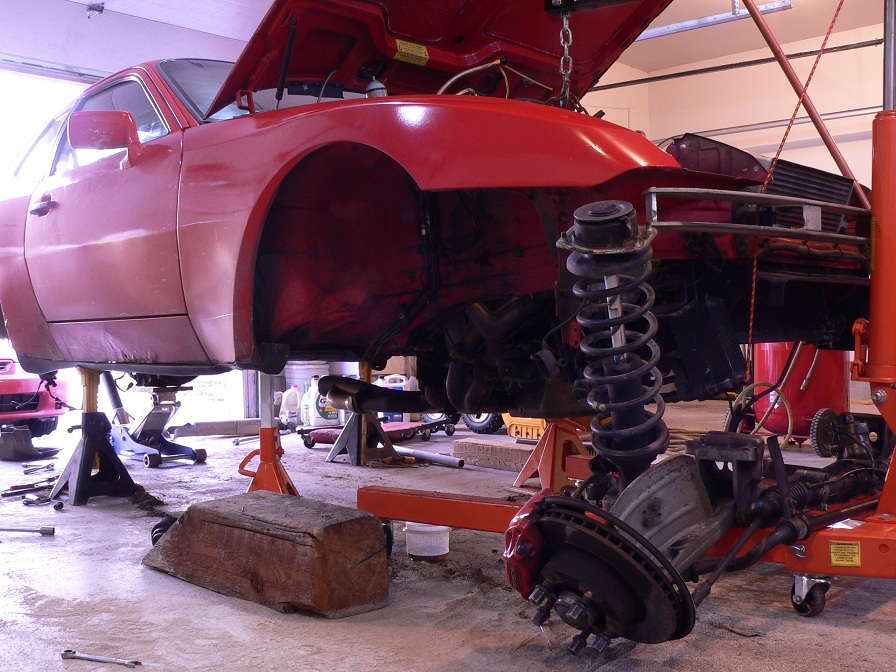
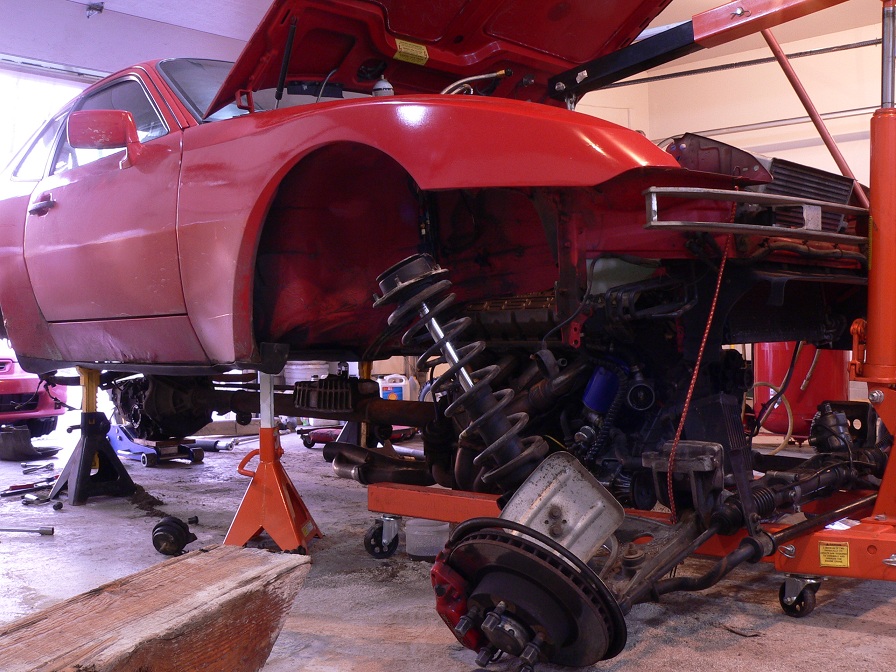
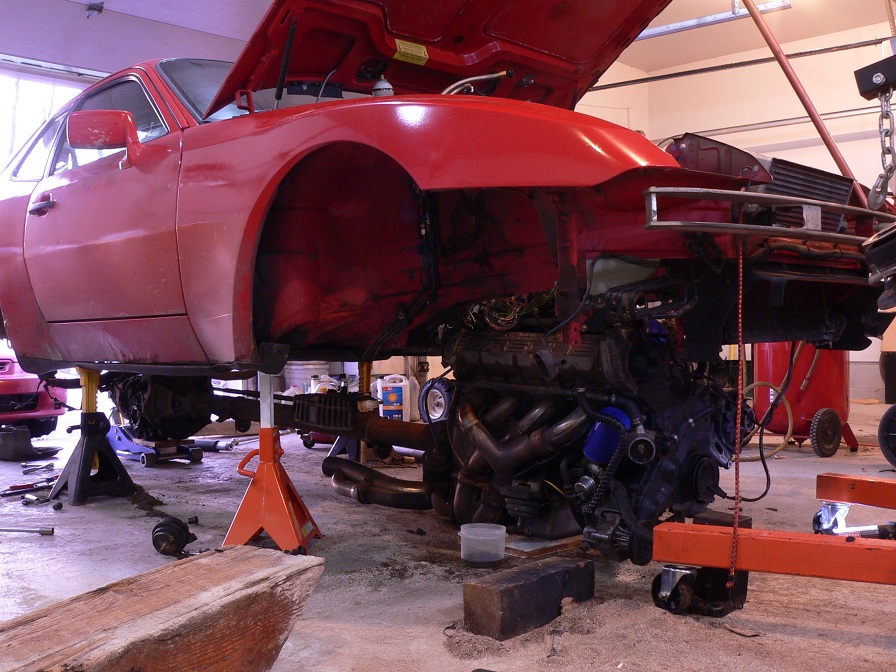
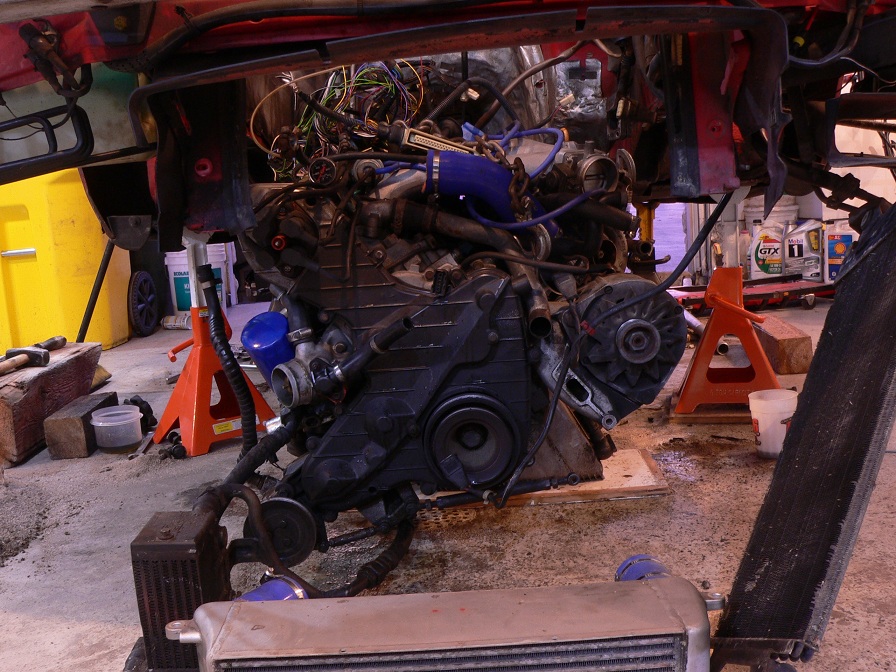
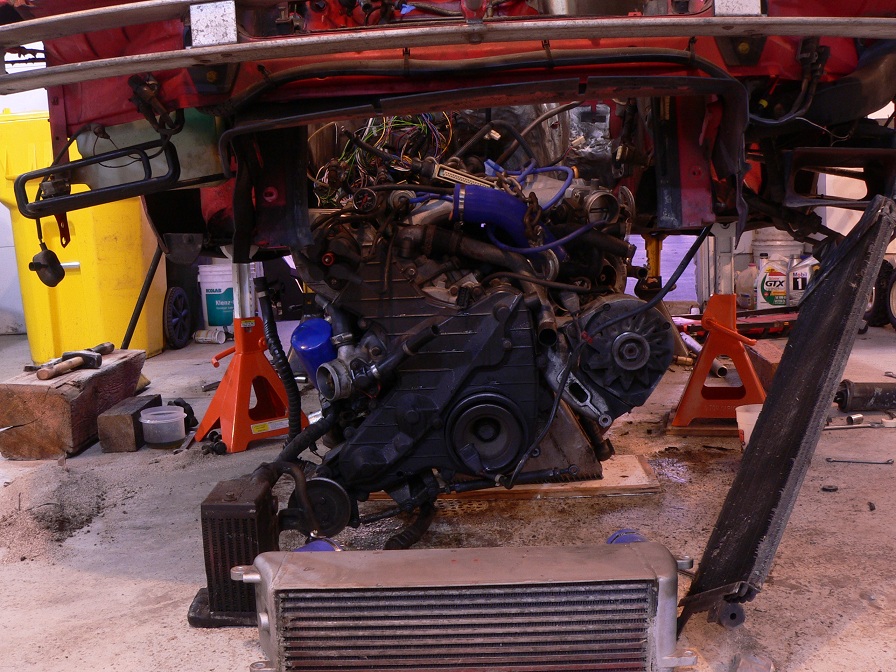
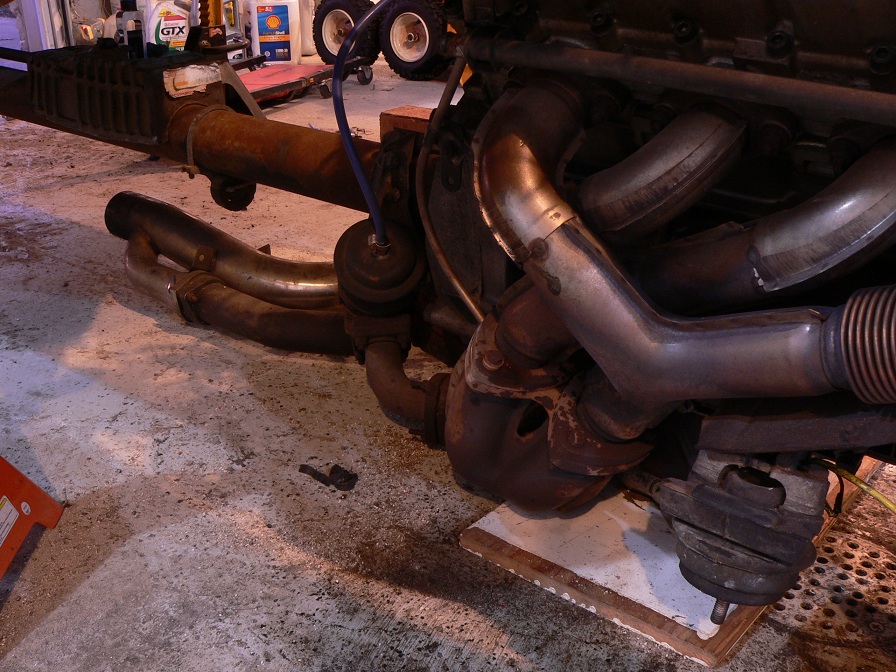
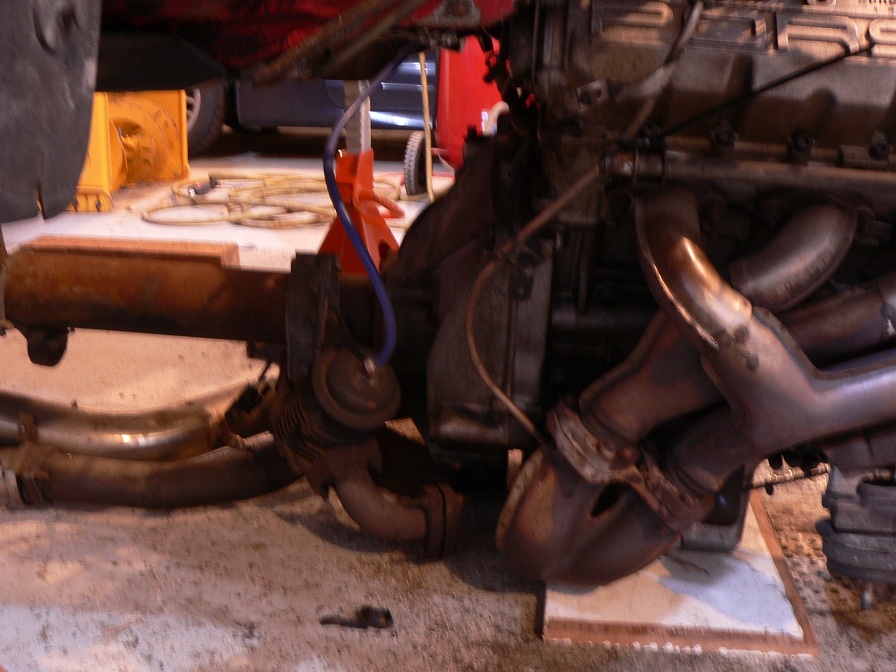
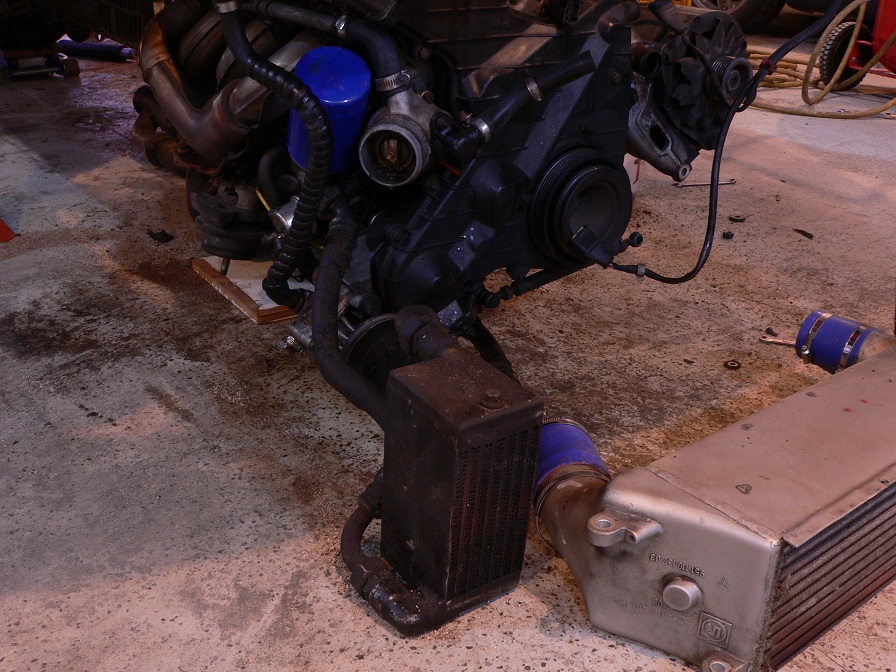
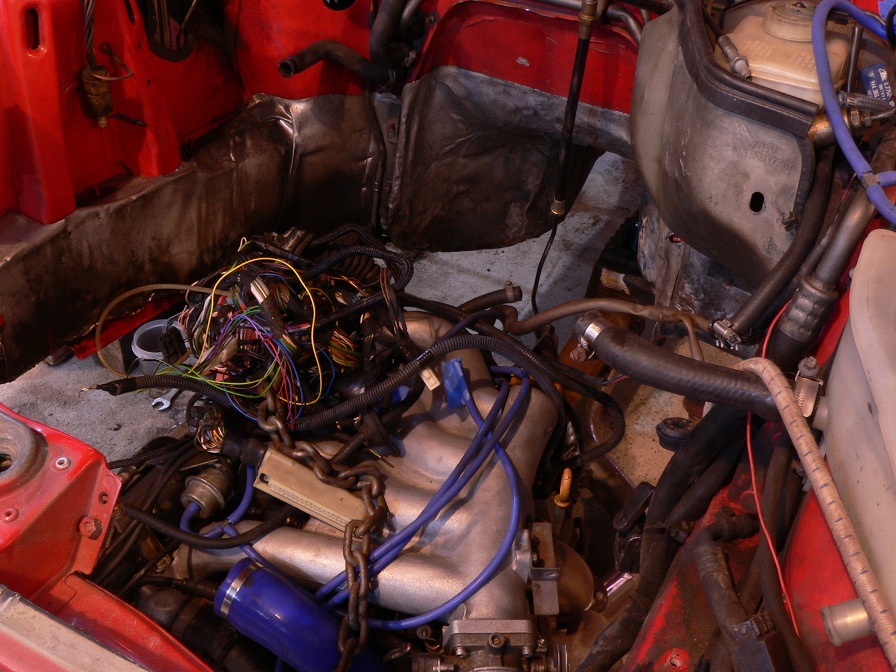
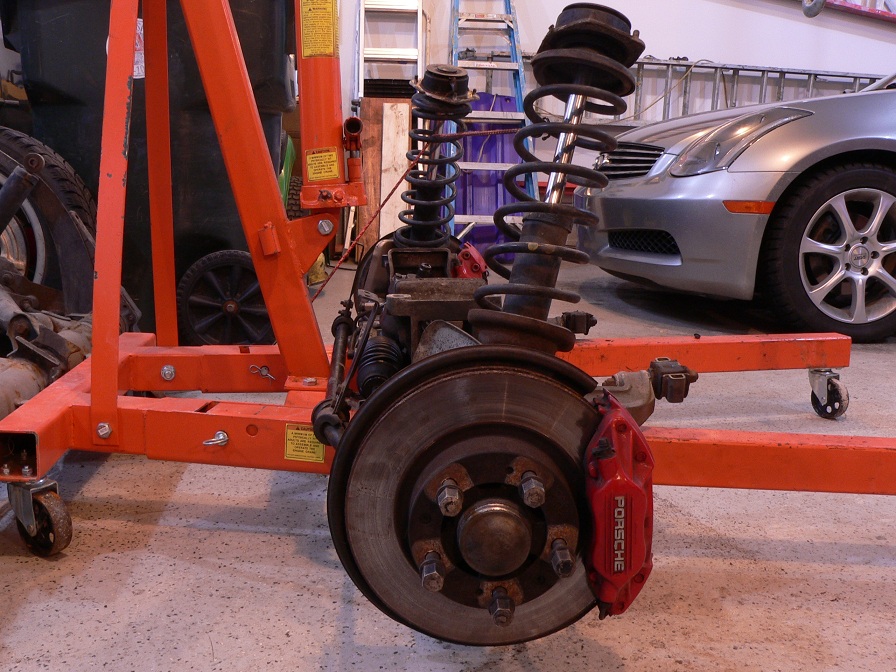
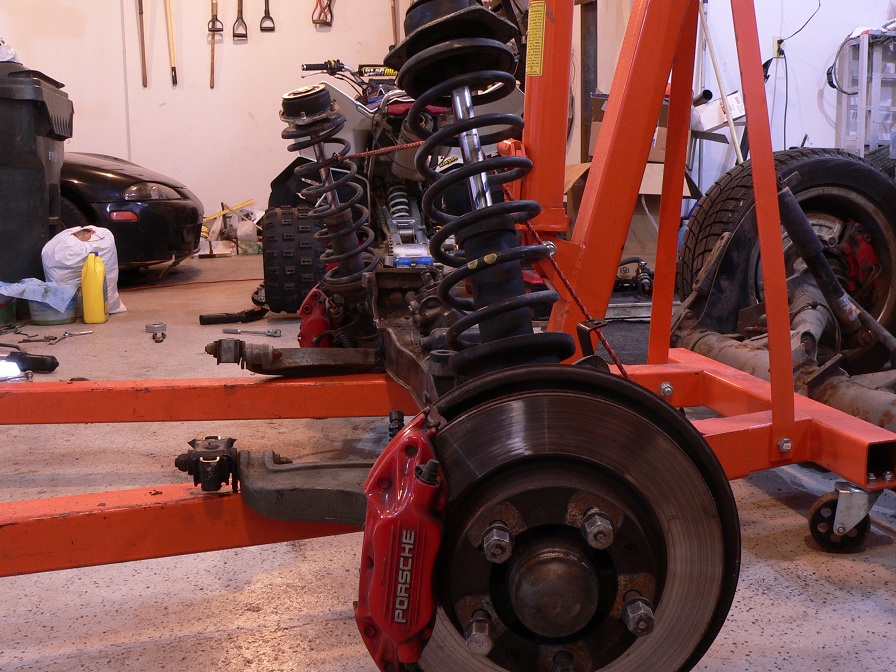
I just finished up working on the car for another 9 hours. I did manage to break 3 things on the way which I am not happy about. The first was the radiator drain plug which many people break. The other two were the bolts that hold the trans x- member on. Both were hammered to break free and torched yet both still snapped in half. The hardest thing was getting the dme and klr and piggyback wires up to the engine bay. To do this, I recommend removing the glove box.
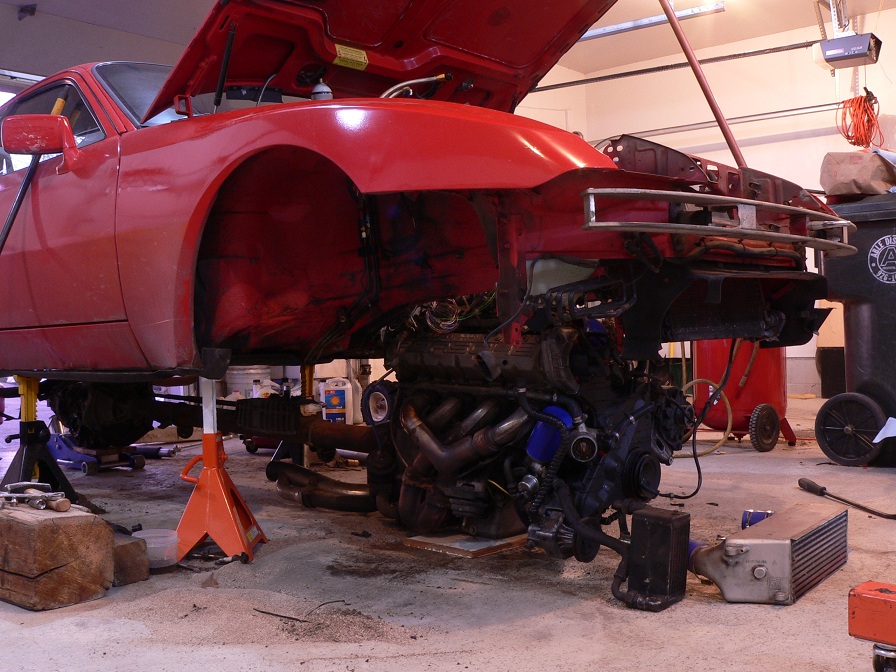
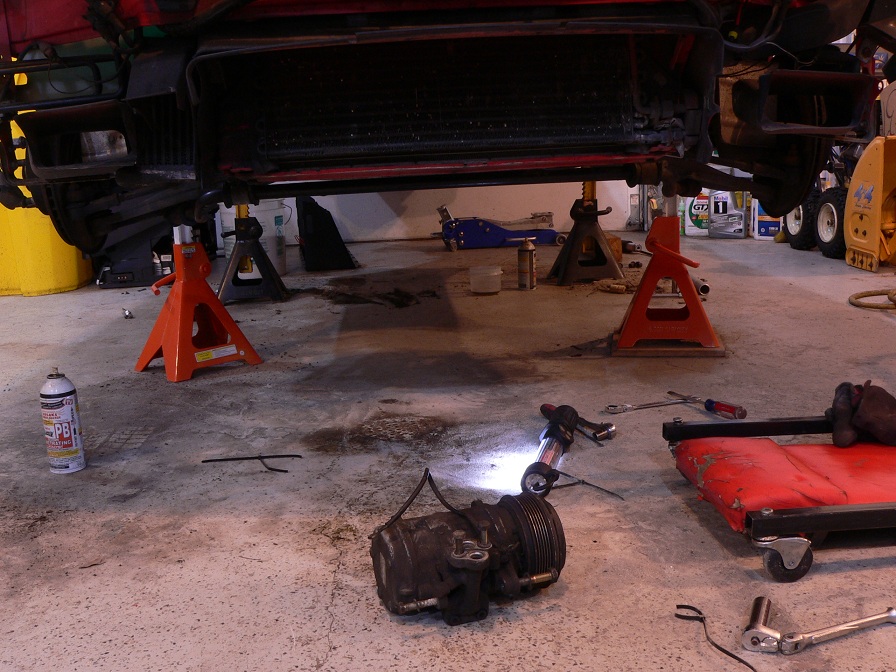
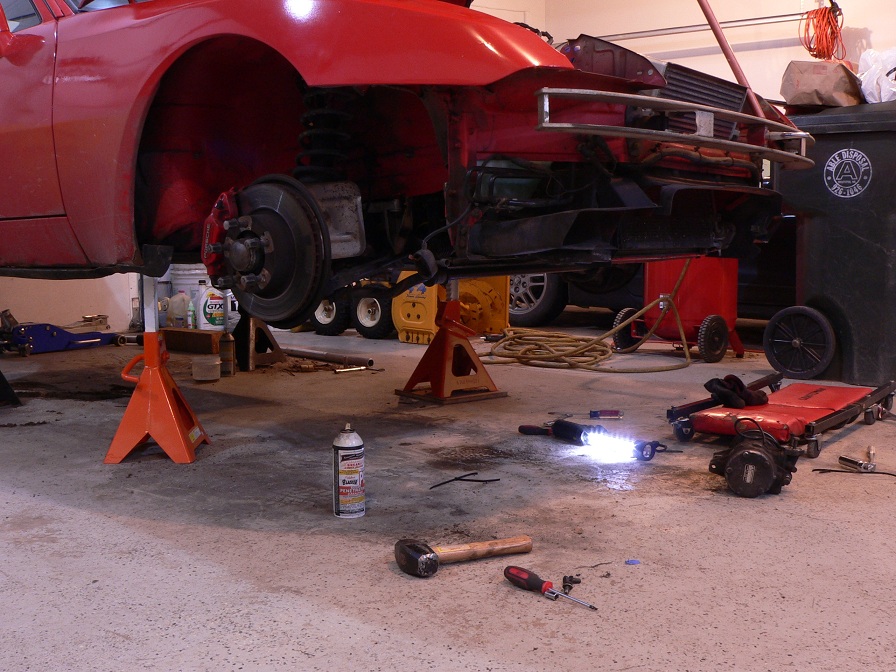
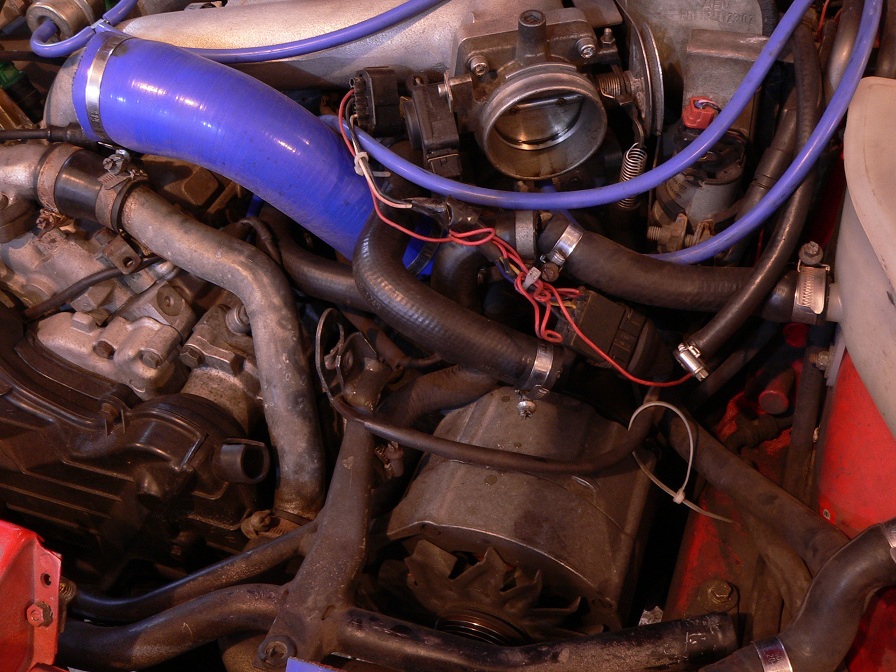
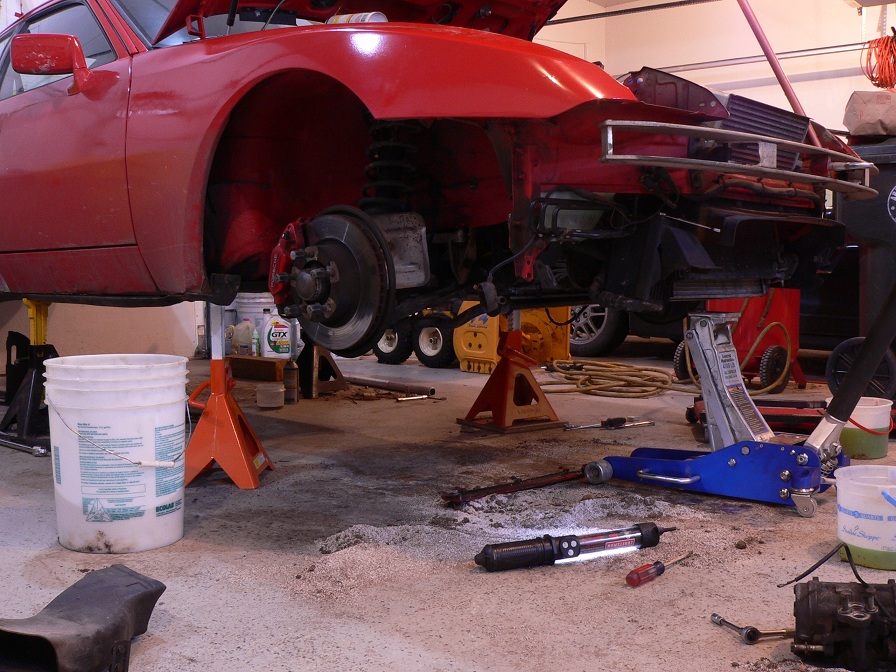
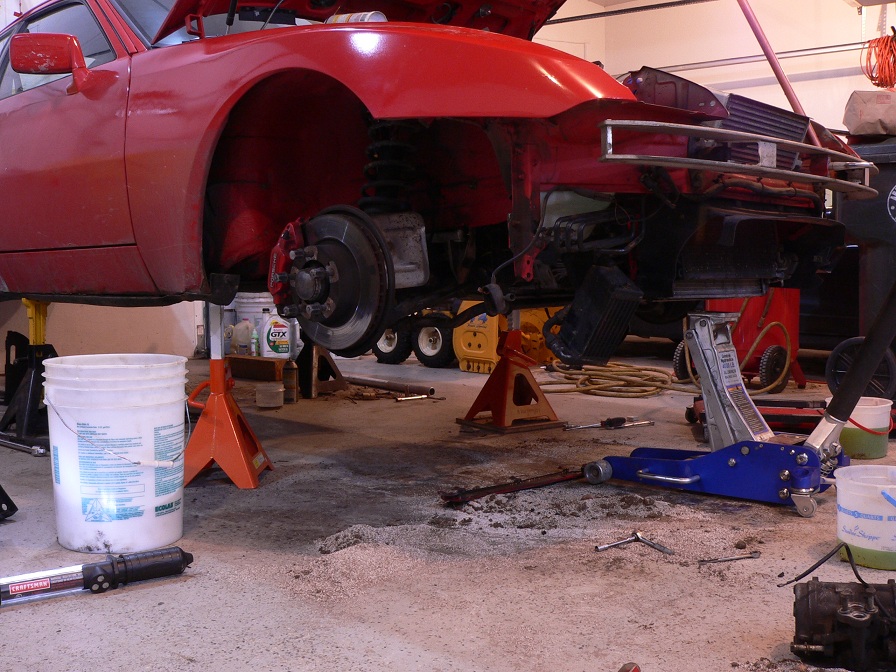
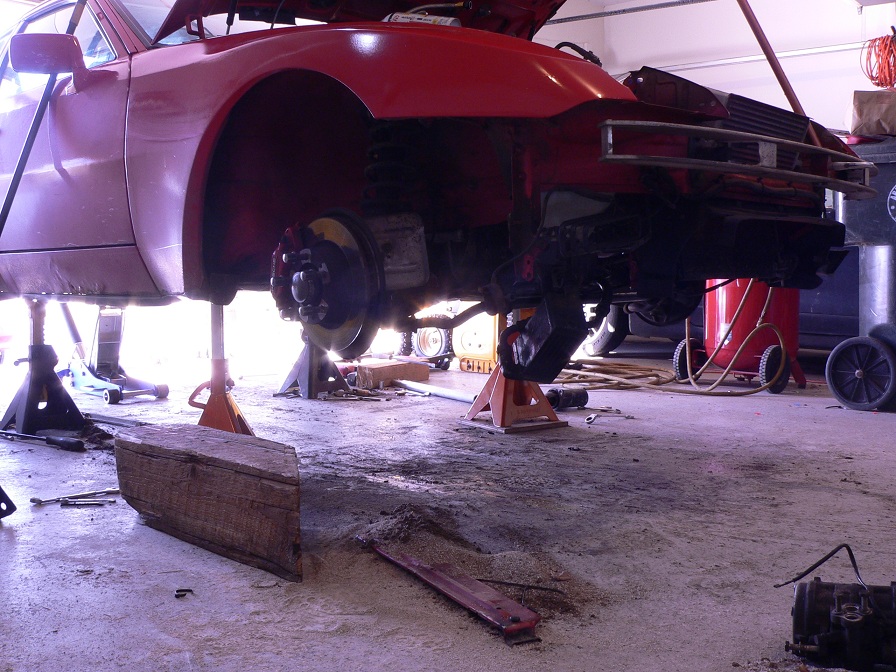
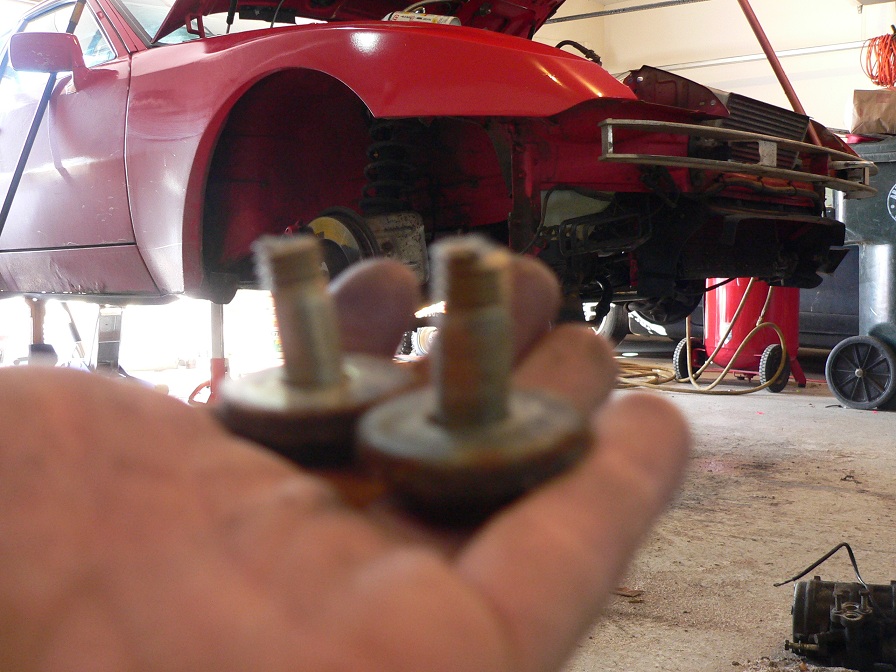
here are the pictures of the day:


Name:  P1110589.JPG
Views: 258
Size:  238.4 KB

Name:  P1110590.JPG
Views: 256
Size:  239.2 KB

Name:  P1110591.JPG
Views: 221
Size:  242.5 KB

Name:  P1110594.JPG
Views: 266
Size:  243.1 KB

Name:  P1110595.JPG
Views: 260
Size:  252.0 KB

Name:  P1110596.JPG
Views: 218
Size:  251.8 KB

Name:  P1110597.JPG
Views: 222
Size:  248.7 KB

Name:  P1110598.JPG
Views: 287
Size:  250.4 KB

Name:  P1110599.JPG
Views: 232
Size:  255.6 KB

Name:  P1110601.JPG
Views: 246
Size:  206.4 KB

Name:  P1110604.JPG
Views: 250
Size:  258.3 KB

Name:  P1110605.JPG
Views: 218
Size:  235.2 KB

Name:  P1110606.JPG
Views: 212
Size:  268.9 KB

Name:  P1110607.JPG
Views: 237
Size:  245.3 KB

Name:  P1110608.JPG
Views: 229
Size:  244.1 KB
Old 02-25-2012, 08:25 PM
  #11  
dillon410021
Race Car
Thread Starter
 
dillon410021's Avatar
 
Join Date: Dec 2007
Location: LaPorte, IN 46350
Posts: 3,840
Likes: 0
Received 10 Likes on 10 Posts
Default more

Name:  P1110609.JPG
Views: 219
Size:  245.3 KB

Name:  P1110610.JPG
Views: 272
Size:  235.0 KB

Name:  P1110611.JPG
Views: 259
Size:  258.4 KB

Name:  P1110612.JPG
Views: 264
Size:  255.5 KB

Name:  P1110613.JPG
Views: 237
Size:  258.9 KB

Name:  P1110614.JPG
Views: 262
Size:  255.5 KB

Name:  P1110615.JPG
Views: 227
Size:  253.6 KB

Name:  P1110616.JPG
Views: 224
Size:  251.4 KB

Name:  P1110617.JPG
Views: 242
Size:  242.0 KB

Name:  P1110618.JPG
Views: 234
Size:  235.1 KB

Name:  P1110619.JPG
Views: 259
Size:  236.2 KB

Name:  P1110620.JPG
Views: 270
Size:  253.8 KB

Name:  P1110621.JPG
Views: 233
Size:  270.1 KB

Name:  P1110622.JPG
Views: 238
Size:  280.1 KB

Name:  P1110623.JPG
Views: 302
Size:  233.2 KB
Old 02-25-2012, 08:27 PM
  #12  
dillon410021
Race Car
Thread Starter
 
dillon410021's Avatar
 
Join Date: Dec 2007
Location: LaPorte, IN 46350
Posts: 3,840
Likes: 0
Received 10 Likes on 10 Posts
Default more

Name:  P1110624.JPG
Views: 224
Size:  216.0 KB

Name:  P1110625.JPG
Views: 228
Size:  253.3 KB

Name:  P1110626.JPG
Views: 222
Size:  237.4 KB

Name:  P1110627.JPG
Views: 215
Size:  256.5 KB

Name:  P1110628.JPG
Views: 196
Size:  191.0 KB

Name:  P1110629.JPG
Views: 241
Size:  260.0 KB

Name:  P1110630.JPG
Views: 227
Size:  242.5 KB

Name:  P1110631.JPG
Views: 260
Size:  256.6 KB

Name:  P1110632.JPG
Views: 219
Size:  259.0 KB

Name:  P1110633.JPG
Views: 249
Size:  252.9 KB

More updates soon
Old 02-25-2012, 09:26 PM
  #13  
alxdgr8
Rennlist Member
 
alxdgr8's Avatar
 
Join Date: Sep 2006
Location: Seattle, WA
Posts: 3,818
Received 55 Likes on 37 Posts
Default

Good progress! Looks like things are rolling right along.
Old 02-25-2012, 09:36 PM
  #14  
reno808
Rennlist Member
 
reno808's Avatar
 
Join Date: Mar 2005
Location: In the garage trying to keep boost down
Posts: 8,809
Likes: 0
Received 0 Likes on 0 Posts
Default

very nice. I have the same jack and the same combo of jack stands. How was dropping the engine with the TT? i never done like this before. I assume its way easier.
Old 02-26-2012, 12:21 AM
  #15  
dillon410021
Race Car
Thread Starter
 
dillon410021's Avatar
 
Join Date: Dec 2007
Location: LaPorte, IN 46350
Posts: 3,840
Likes: 0
Received 10 Likes on 10 Posts
Default

Originally Posted by reno808
very nice. I have the same jack and the same combo of jack stands. How was dropping the engine with the TT? i never done like this before. I assume its way easier.
not bad at all since i am removing everything anyways. plus it sits on its own very nicely


Quick Reply: Dillon's Chassis Swap Project/ Adventure! "Updated 3-30-12"


All times are GMT -3. The time now is 08:47 AM.