When you click on links to various merchants on this site and make a purchase, this can result in this site earning a commission. Affiliate programs and affiliations include, but are not limited to, the eBay Partner Network.
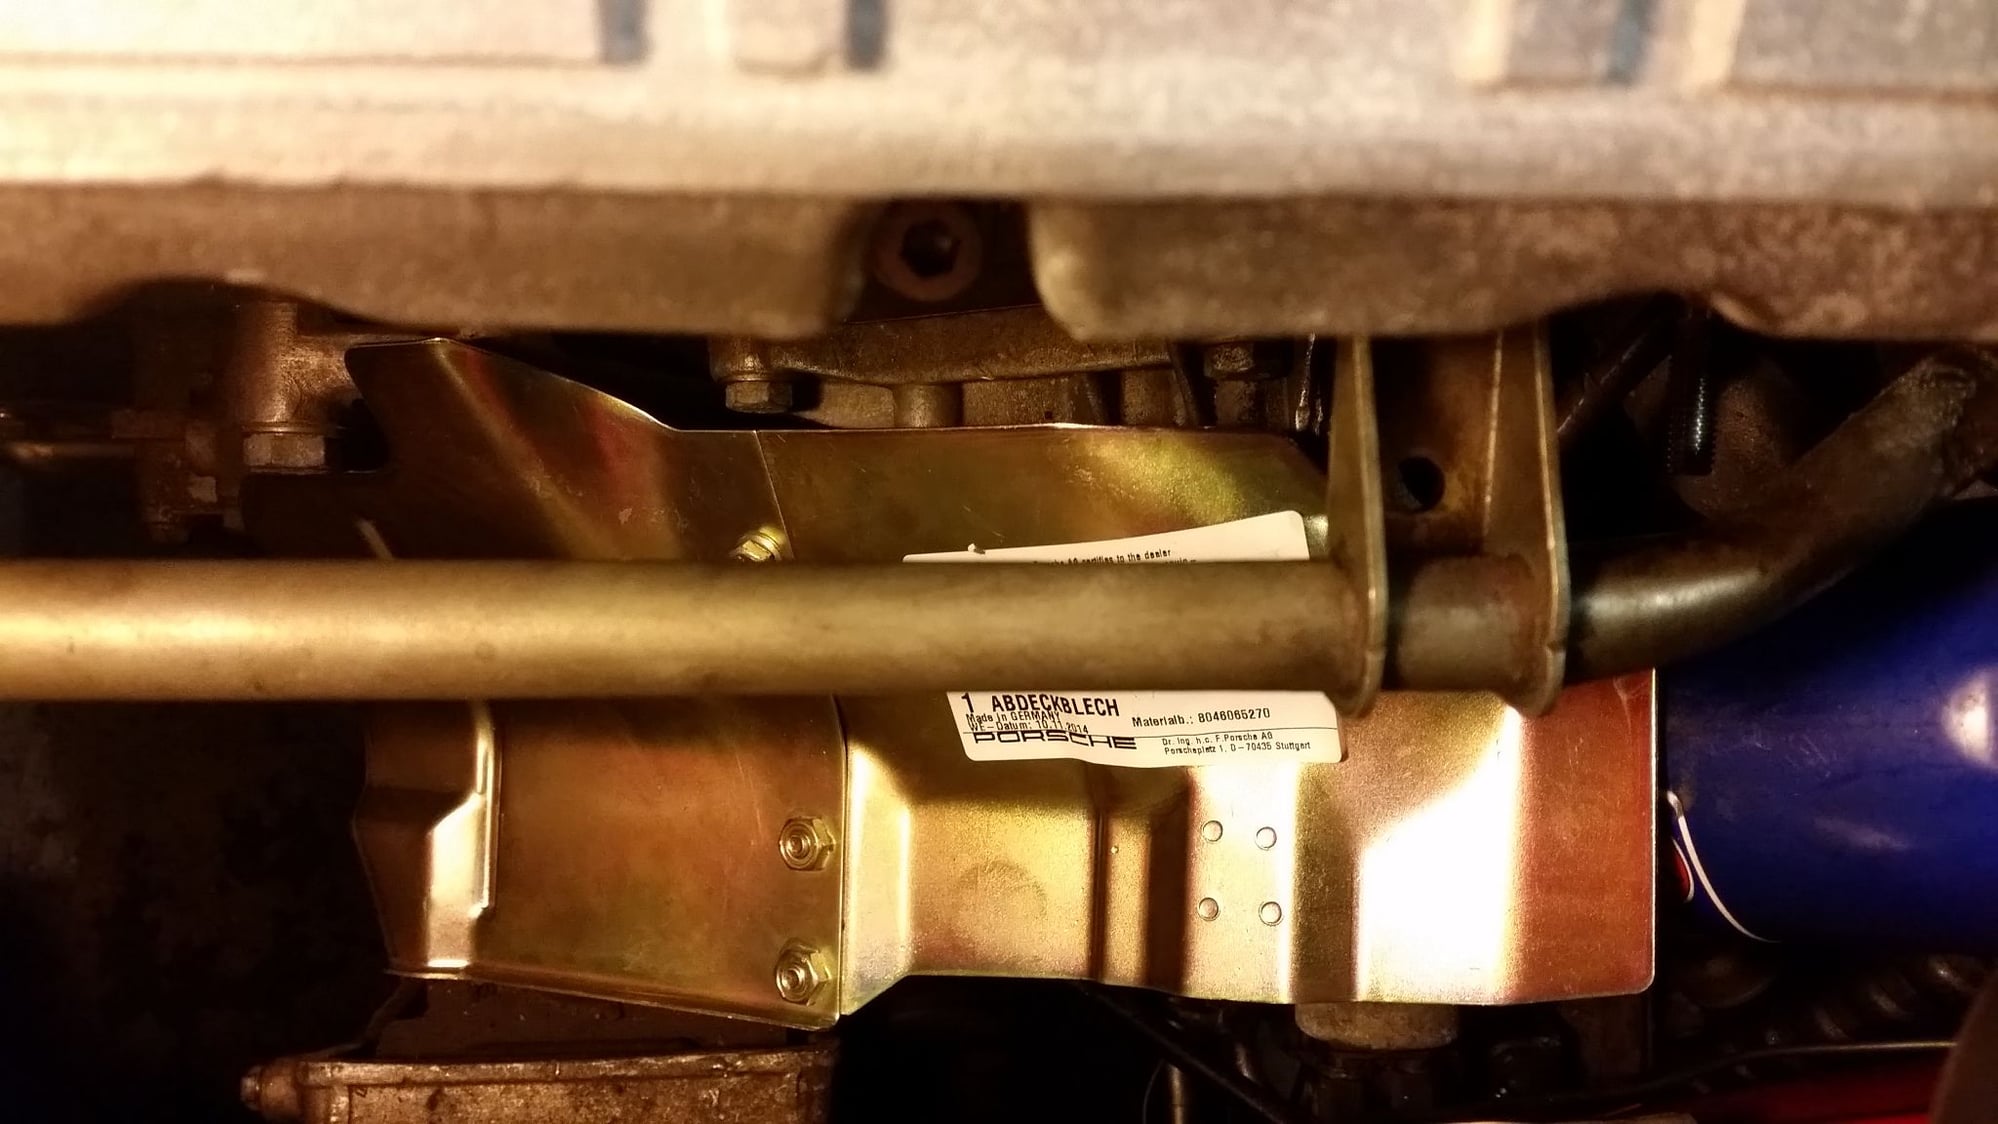
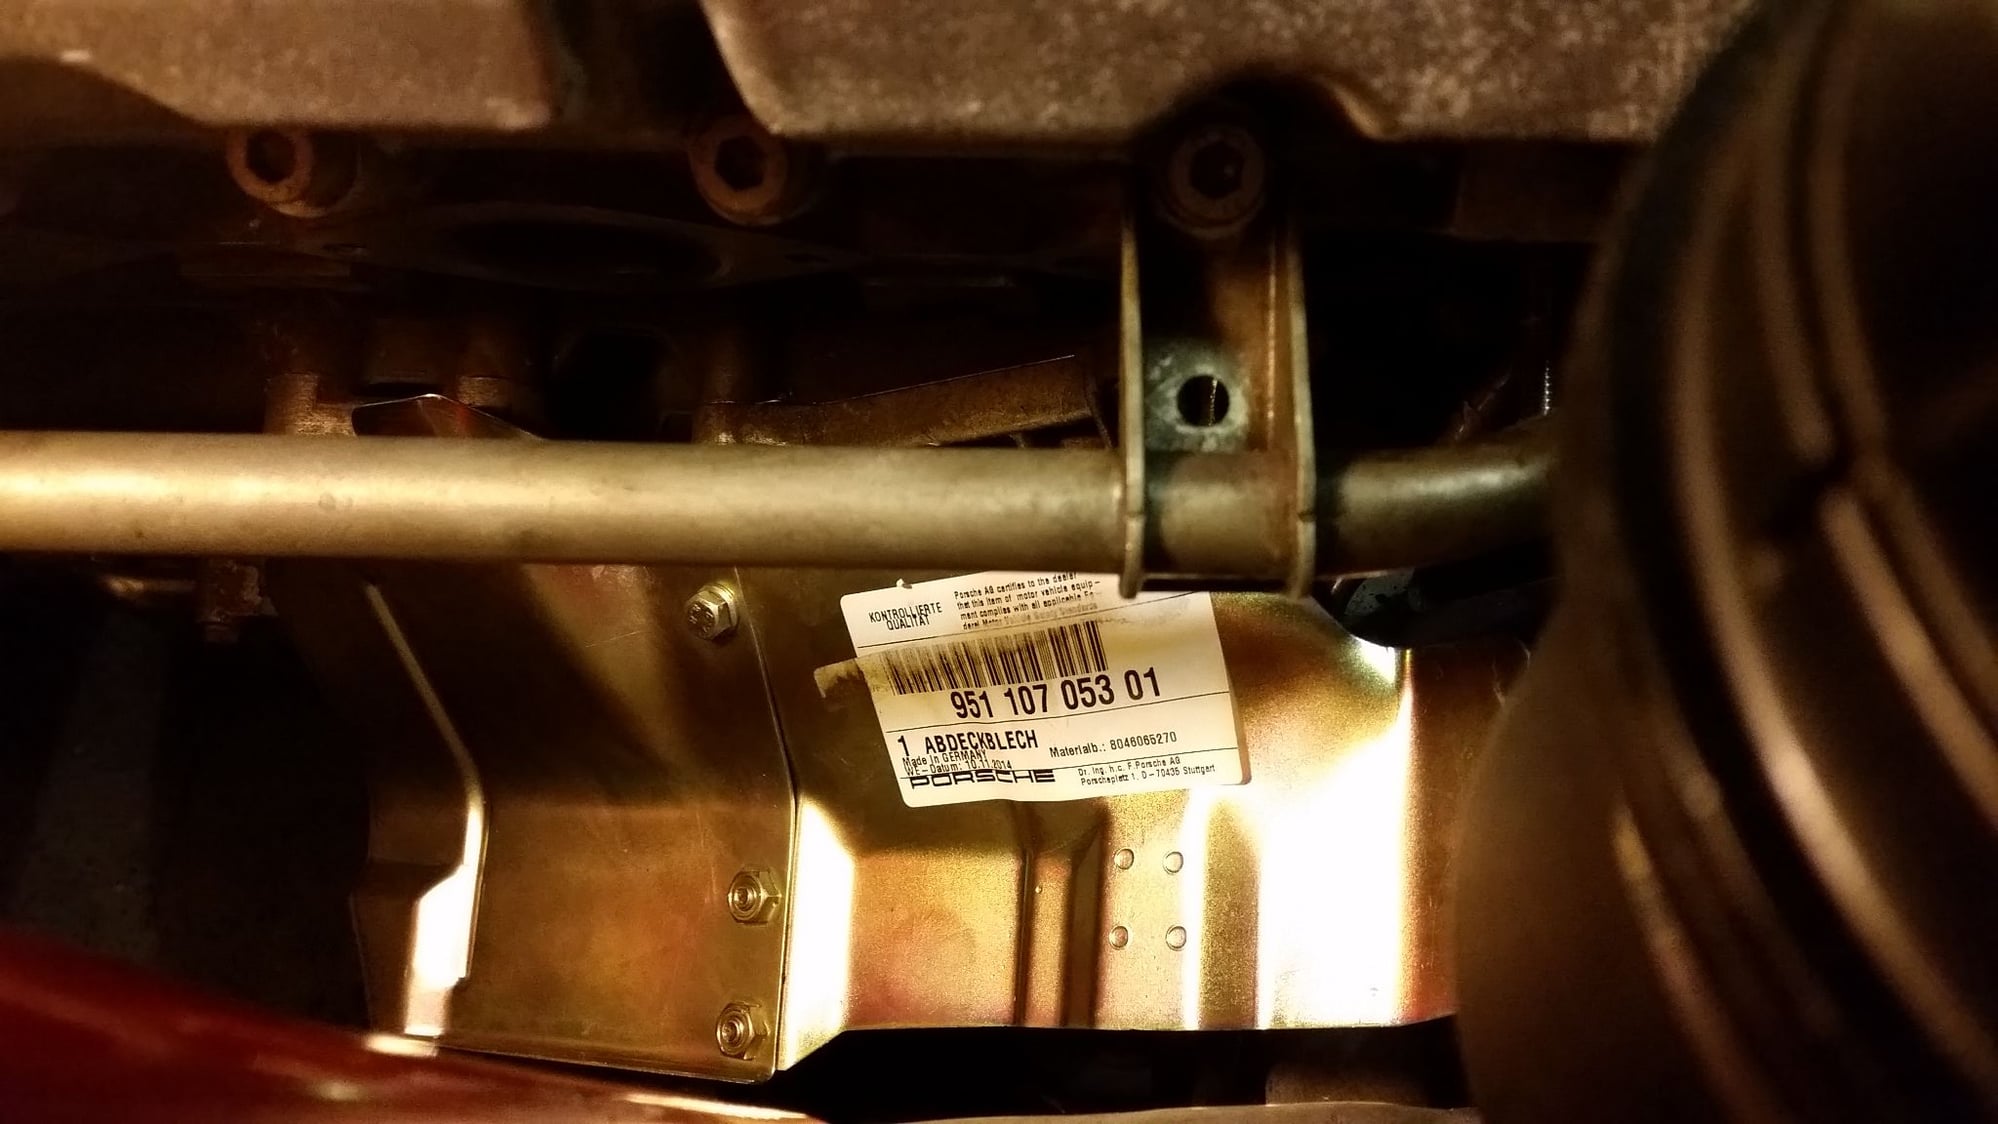
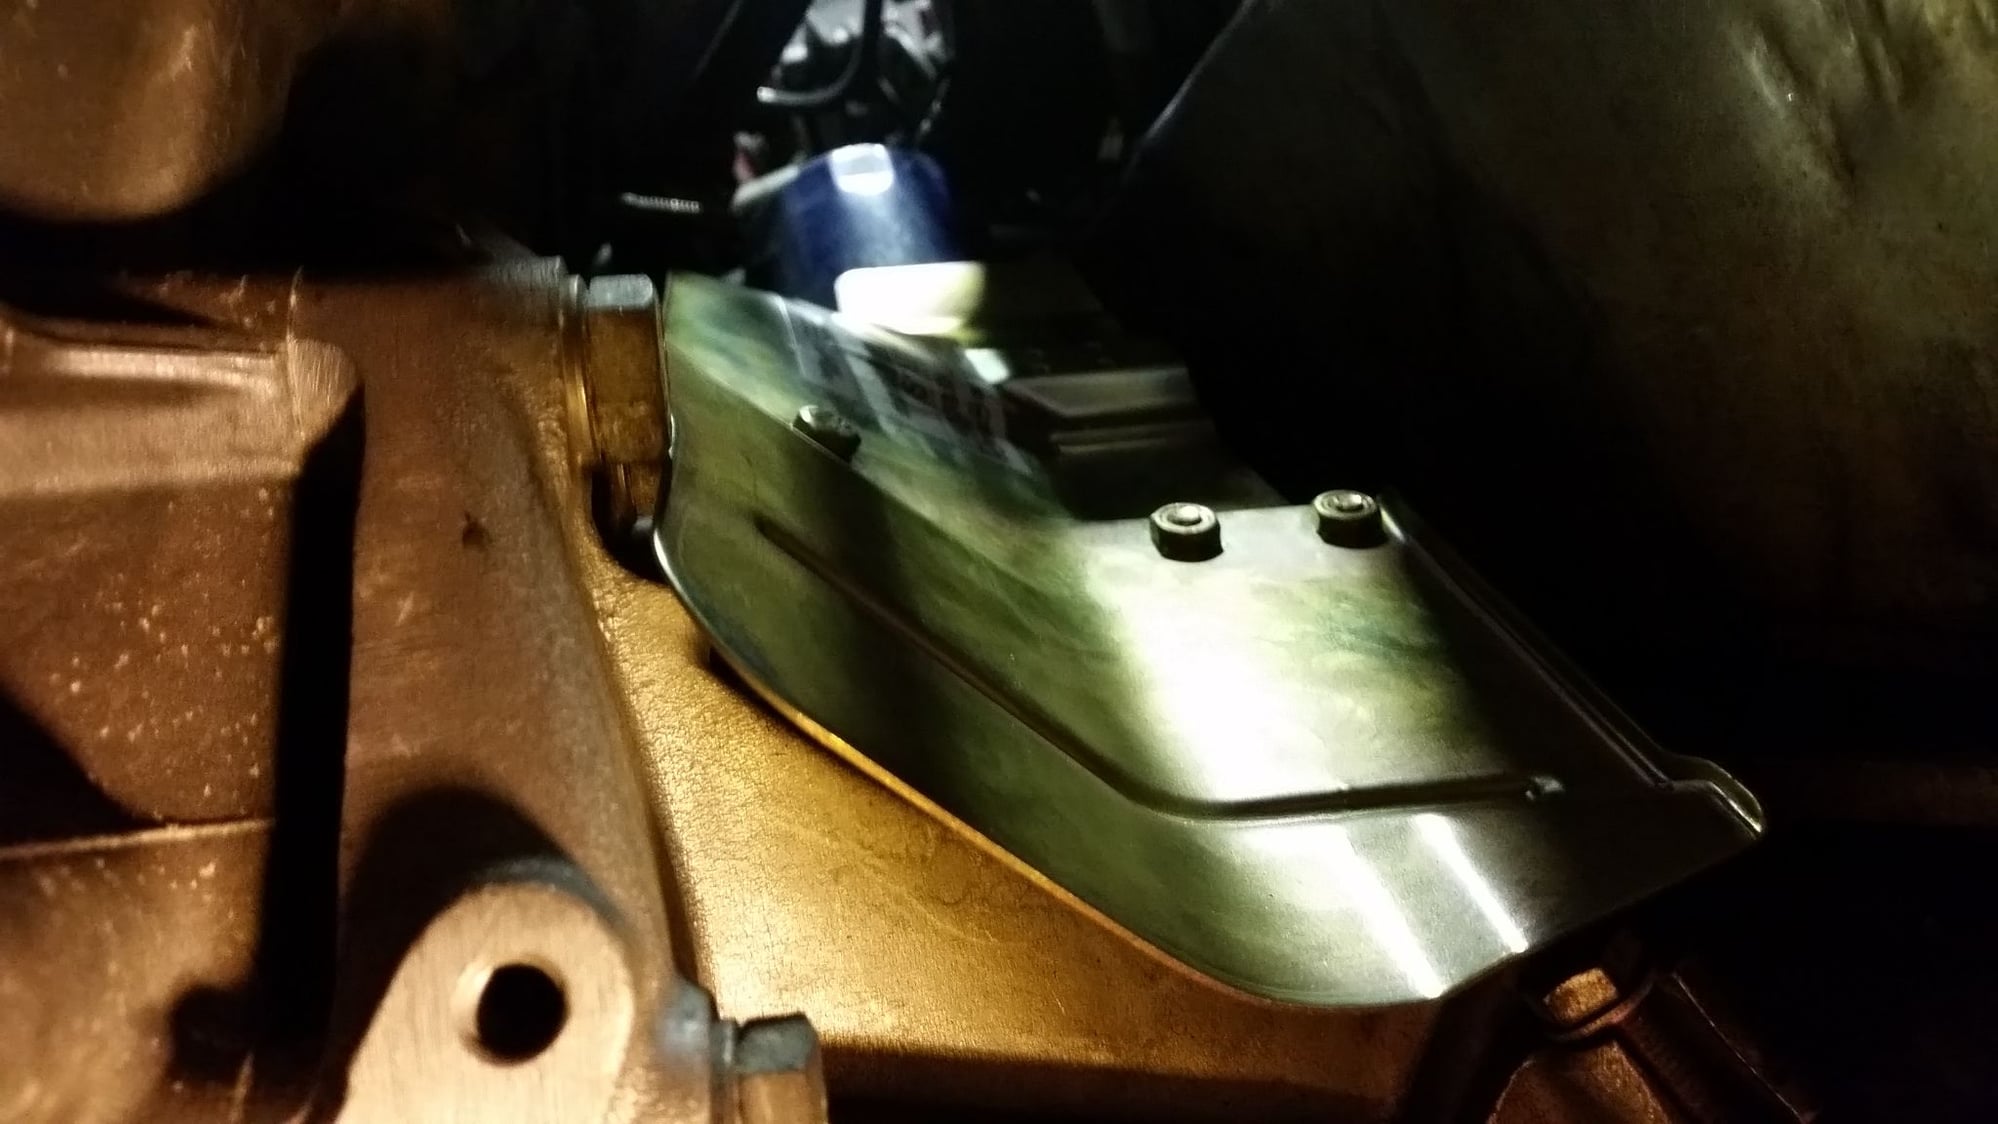
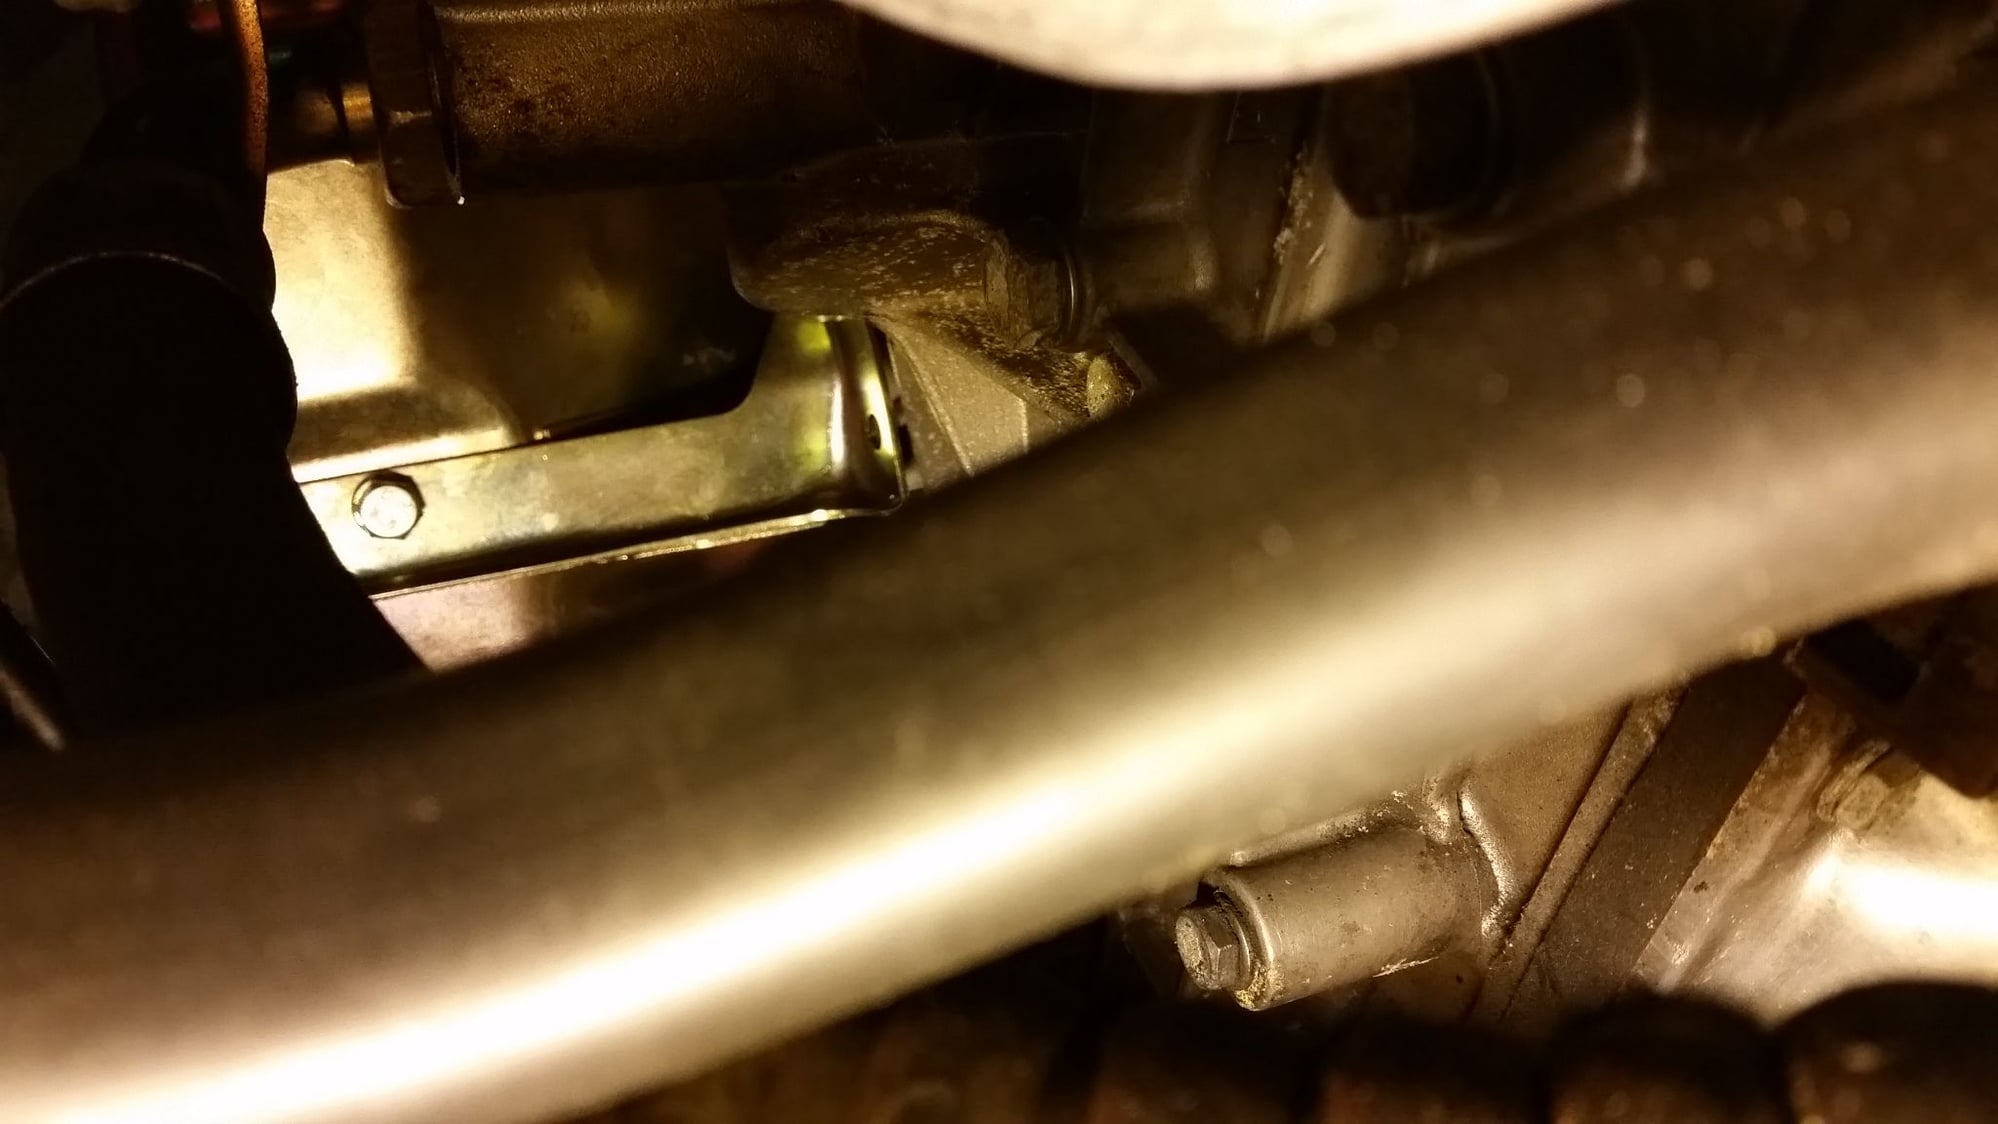
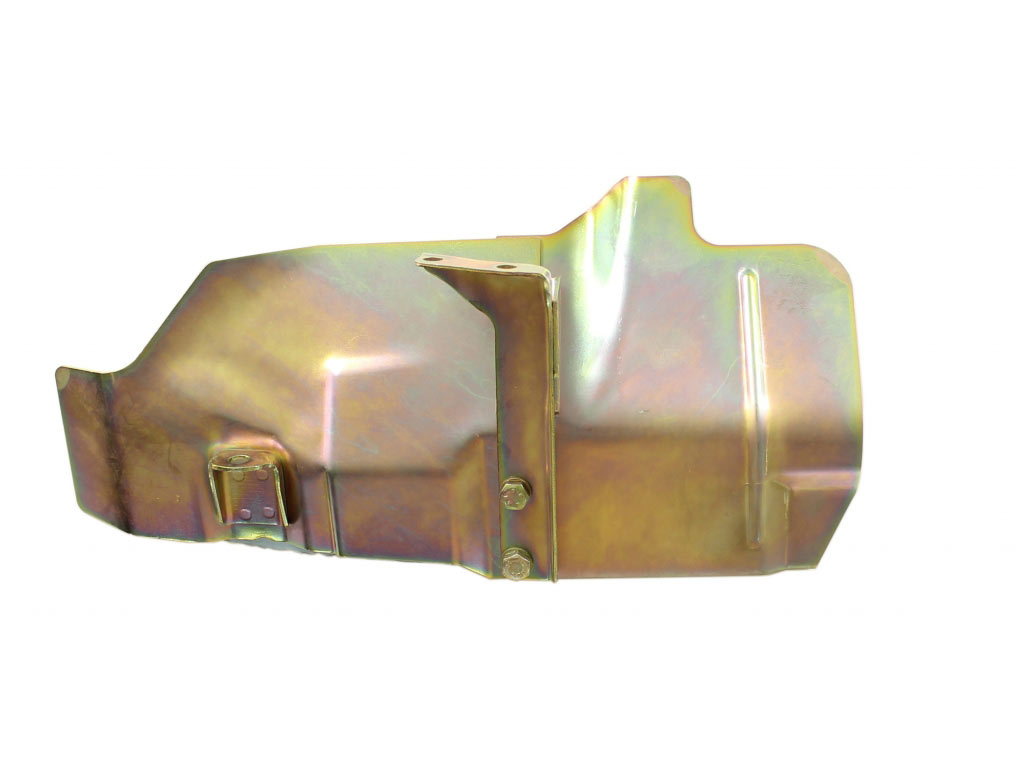
I now understand why so many 951s are missing the heat shield under the headers by the oil filter and motor mount. They are a MF'er to get on! I literally spent two hours on the job and that was with the use of a lift. There is definitely an order that the parts need to be installed. Top view Another top view View up topside of shield from rear looking forward Bottom view of mounting bracket to block
I looked all over the web for pics of this shield installed. I Couldn't find any for the 951. Some for a 944s which is similar but not exact. I had questions on how it attached as did others. So for future reference I'm posting this.
There are 3 pieces that make up the part # 95110705301
There is the center bracket that attaches to the block and the front and rear shields attach to it and each other.
I started by disassembling the three pieces. There are three bolts that attach the pieces. There is one captive nut on the bracket and 2 captive nuts on the rear shield.
Start off by attaching the bracket to the block. There are two holes in this bracket. Use the top-most hole when the bracket is orientated properly. Leave the bolt loose so you can move the bracket. Next position the front shield. This one has a tab that also attaches to the block near the oil filter. This one is the most difficult to get to. I used a combination of a long 1/4" drive extension and wobble head 10mm socket. Don't tighten any of the bolts until all are in place.
Next set the rear shield in place and install the two bolts from underneath that will hold the two shield halves to the bracket.
Next move to the top and install the last bolt from the opposite side. All three of these bolts go through both halves and the bracket. Once all the bolts are started then you can proceed to tighten them up.
I did this with just the under-trays and headers removed. I don't think it can be done with the headers in place.
Last edited by GJB928; 01-05-2019 at 09:21 PM.
Reason: Typo
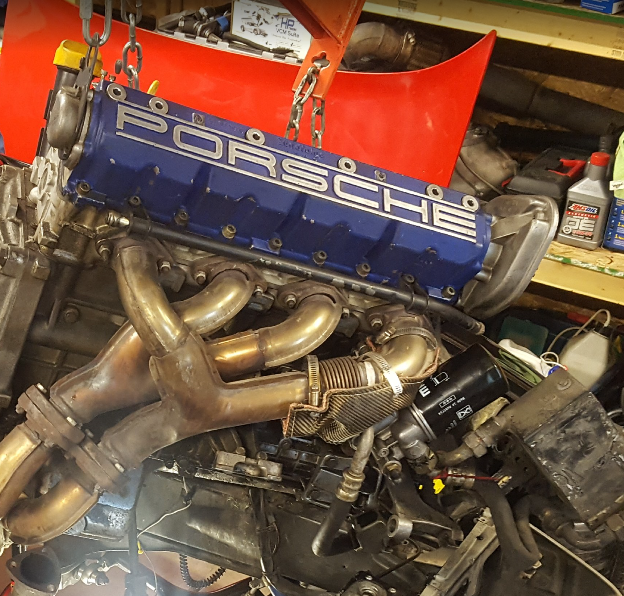
Yeah eff that thing. When I took that off to replace my oil cooler seals that thing was never going back on. Went with a turbo blanket and never looked back.
Where to get thermal blanket for this application?
Alternatively, what DIY material to use to fabricate? Ironing board reflective fabric? Re-purposed potholder mitt? Soft aluminum roof flashing? (I'm experimenting with a small piece of alu. foil sandwich, attached with magnets, so far a work in progress. The magnet idea assumes the lightweight piece will self-align a magnet taped to the piece with another magnet stuck to the oil filter. Sorta works so far, hopefully mo better with some lighter aluminum material, such as recycled Coors can, etc.)
And, if reinstalling the original abortion heat shield, why not just remove the front header for cylinders 1 & 4? Would that not make enough space to get at the oil cooler assy. from above?
Sounds like you have some interesting DIY ideas! It's surprising how effective those types of solutions can be, plus it's a good excuse to experiment.
And, if reinstalling the original abortion heat shield, why not just remove the front header for cylinders 1 & 4? Would that not make enough space to get at the oil cooler assy. from above?
That does make sense. But removing the headers comes with the risk of snapping hardware off in the head and/or leaks due to misalignment/poor sealing on reassembly.
Sounds like you have some interesting DIY ideas! It's surprising how effective those types of solutions can be, plus it's a good excuse to experiment.
That does make sense. But removing the headers comes with the risk of snapping hardware off in the head and/or leaks due to misalignment/poor sealing on reassembly.
I read somewhere that one must remove the exhaust manifold studs to get the manifold off. Is that true? It looked to me like with removal of the exhaust pipe flange nuts, the header should come right off: In that case no need to remove lower panels, steering pump, etc. or even jack up the car, if you have proper tools to come in from above. Otherwise, unbolting the stabilizer bar and letting it hang from the control arms will allow decent tool access from below. I'd read about snapped exhaust studs, so I chickened out of removing the manifold.
Also, I did not drain the oil, but simply caught some minor oil spillage. I also caught some coolant spillage, leaving the balance of oil and coolant in the car, as neither oil nor coolant were cross-contaminated, i.e., no milkshake or any non-normal indication of either fluid beyond a little crud in the coolant reservoir. In hindsight, just draining some coolant from the radiator would surely drop the level in the engine below the oil cooler housing, preventing spillage when removing the OC housing.
I simply dislodged the oil cooler/filter assembly, rotated it 90 degrees so it faced up, cleaned the housing and block surfaces, replaced the perimeter and two O ring seals, used some silicone sealant to hold the perimter gasket in place, and bolted it back together. This for an '86 951, which has the original and superior three piece OPRV in a stainless steel sleeve in the block. A plastic Hi-Liter marker is perfect to use as an alignment tool for the '86 model OPRV, which alignment is less critical than later cars, since the '86 OPRV piston travels only within the fixed stainless sleeve, which itself helps align the oil cooler housing.
I read somewhere that one must remove the exhaust manifold studs to get the manifold off. Is that true?
That's a good question and unfortunately I think the answer is, it depends. The information below is from Clark's Garage. Personally, I don't think I have ever tried to pull the manifolds off separately. For me they are usually coming off for a head gasket replacement and in that case I always pulled them off with the head as described by Tim.
I've never tried it personally but, Tim Richards suggests removing the cylinder head with the exhaust manifolds still attached. According to Tim, it saves a couple hours of work. The cylinder head can also be installed with the exhaust manifolds attached. Thanks for the suggestion Tim.
Recently, a Garage Shop Manual user reported that he was unable to remove the head using Tim's method described above. So, if you decide to try it and it doesn't work, don't be surprised.
Also, in talking to a Porsche mechanic friend of mine, he claims that the exhaust headers can be removed without removing the exhaust manifold studs. However, you first have to remove the center exhaust header (2-3) first. Then the outer header (1-4) should come out without having to remove the exhaust header (manifold) studs.
Now, having said all of the above, here's my personal experience. All of the above depends, in large part, on the condition of the engine mounts. With newer engine mounts, the engine sits higher in the engine compartment than it does with older engine mounts. You wouldn't think it would make that much difference but it does. The higher the engine sits in the engine compartment, the easier it is to remove the exhaust manifold. If you have trouble removing the exhaust manifolds because they will not clear the studs, remove the bottom nut from the engine mount on the exhaust side of the engine and jack the engine up on that side until the exhaust manifolds will clear the studs.
In my experience, some but not all need to be removed to get the exhaust headers off. But I'm using a lift and pulling them out from the bottom of the car.
down from the fender bracket connection down from the front.
Thank you GJB928 for this thread.. After several months, I couldn't remember how the heat shield oriented to go back on. Here are a couple pictures with clear angles when it is installed. I'm just putting the engine back together, so there isn't much in the way. My only question is whether I'll to have to remove it to get the headers back in?
I just noticed on my 86 turbo that this shield is just sitting there loose and unbolted. I guess some mechanic just left it there at some point. Can I get to it from underneath? Thinking of just removing it and putting in a blanket as mentioned above. This car has been a mess!
You can get to it from underneath, no matter which way you approach it be prepared to get aggravated. There is no ez way to get at it with the manifold in the car.

 01-05-2019, 08:27 PM