When you click on links to various merchants on this site and make a purchase, this can result in this site earning a commission. Affiliate programs and affiliations include, but are not limited to, the eBay Partner Network.
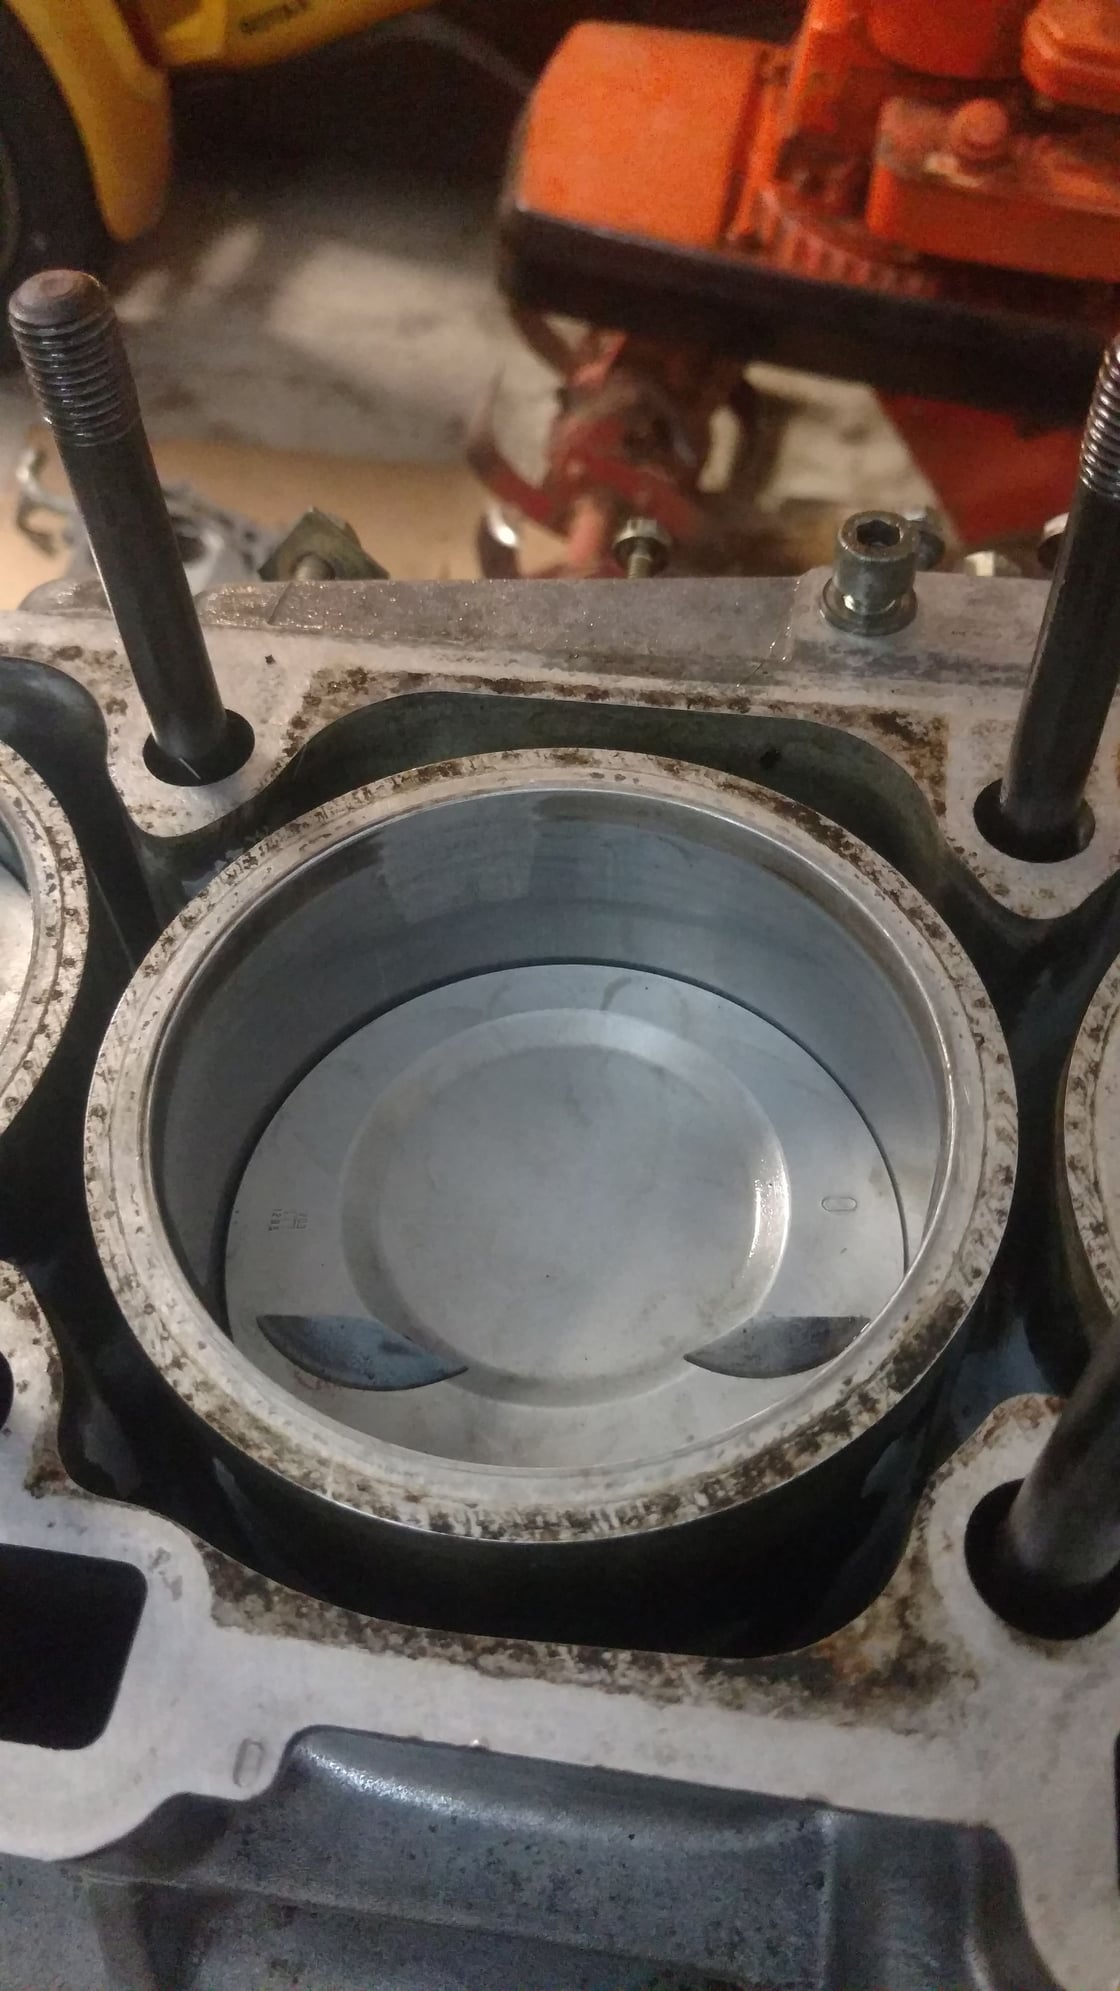
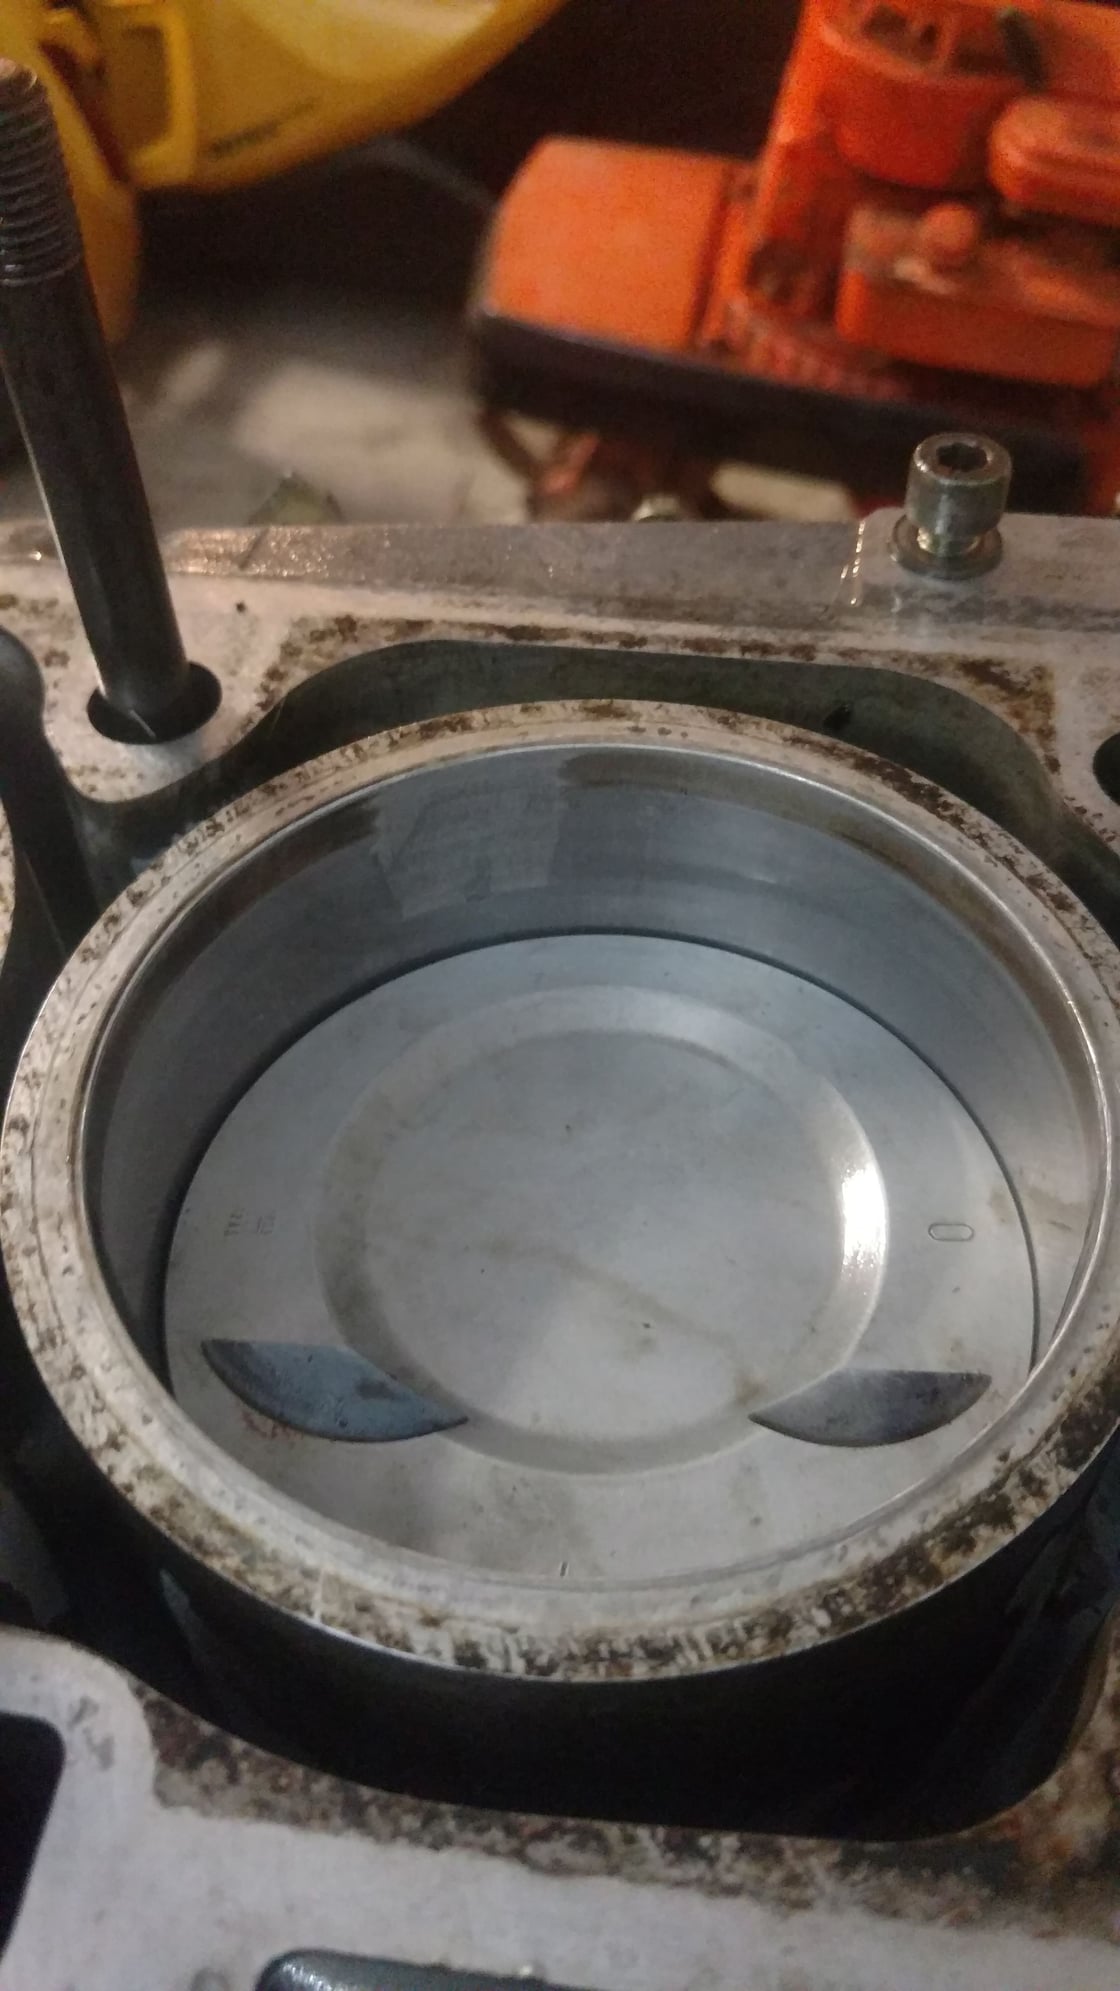
I have this stuff on my #3 cylinder wall. It's not deep enough to catch a finger nail, and it does not extend past what is shown. What are the risks of running it as is? I plan on doing an engine out leak down test as soon as I get the head on and crankshaft installed to see if it still holds compression
Last edited by dreygata; 08-11-2017 at 01:53 PM.
Reason: mispell
I have this stuff on my #3 cylinder wall. It's not deep enough to catch a finger nail, and it does not extend past what is shown. What are the risks of running it as is? I plan on doing an engine out leak down test as soon as I get the head on and crankshaft installed to see if it still holds compression
Those pistons can't have more than a couple hundred miles on them since last time they were cleaned.
What's the whole story on this engine....?
Why did you remove it and why is the head off...?
Looks to me like somebody used an abrasive or an abrasive tool to clean up a defect, Most likely corrosion or actual aluminum flaking or pitting due to the engine sitting with water on top of a piston.
Is it a foreign material that's not the same as the cylinder, like epoxy or some kind of metal filler...?
If it would be caused by a normal movement of the piston, it's a strange place for it.
Question, it could be a trick of the camera but it looks like the piston isn't oriented in the cylinder correctly, is the "0" on the piston facing directly forward in line with the crankshaft like the other 3...?
The pistons have zero miles on them with their current rings.
I'm rebuilding the engine because it shredded a rod bearing and I figured why not give engine building a go since I pulled the engine out anyways. I bought the car used and I figured doing all of that would give me piece of mind from any future problems. Plus I ended up doing a bunch of cleaning of the parts, which is why those pistons have little to no carbon on them.
I was in the process of installing the pistons (new rings) and this particular piston's top ring must have had a small piece of debris get caught in it while I was installing the rings or fit it into the compressor. Piston went in, but only just. I tried moving it, and ended up pulling it back out.. I believe the top ring scraped that spot. I pulled the ring off, cleaned it again with degreaser, sprayed it with compressed air, reinstalled ring, and the piston went in with no issues or tightness.
As for the position of the pistons, the crankshaft isn't installed. I was going to do that next when I flipped the engine upside down on the stand.
I'm going to try to take the block to a specialty classic car shop to get their assessment in around an hour. I'm just worried as hell that I'm going to end up needing a new/used block which really screws up my budget and timeline.
I'm going to try to take the block to a specialty classic car shop to get their assessment in around an hour. I'm just worried as hell that I'm going to end up needing a new/used block which really screws up my budget and timeline.
Hmm...
Will be interesting to hear their take on it.
Just a tip or two - Dirt and debris will kill one of these engines.....quick. You should have taken the opportunity to scrape/clean away all old head gasket material and cleaned the block thoroughly while the pistons, crank, etc were all off.
You stand the chance here of getting foreign material that's hard enough to scrape a piston or damage your cylinder (worse) on startup. That's not to mention what kind of crud has entered your oiling system.
In other words, you are not giving yourself a fair shot at even being successful.
Install crankshaft 1st, then each piston and connect them to the rod journal one at a time.
That "0" on the piston is tolerance 0 for the pistons, same as the 0 ID on your block in the pics, meaning the piston and cylinder dimensions are the smallest of the 3 tolerance groups. You should really check your rings pressed evenly to a depth in the cylinder to check that ring gaps meets specs before proceeding.
Regarding cleaning, I actually vacuumed, used degreaser, permatex gasket remover, brass hand brushes, and incredibly careful usage of a razor blade plus pressure washer on the disassembled engine components prior to doing this. Components that were small enough went into an ultrasonic cleaner. What discoloration you see there is really, really smooth.
I've been trying to be really cautious and organized, but I'm also new to some of these things, like installing pistons. No amount of watching videos or reading up on techniques can give you the actual feel of the force, or lack of, when you go about performing it.
How would I go about checking that the rings are pressed evenly?
Remove all rings from one piston at a time. Place them in the organizer that they came in if you think might mix them up by mistake.
Compress ring #1 compression by hand or with installer into the cylinder it will be assigned to.
Press the ring down an inch (app) using the piston turned upside down and a little force tapping with you hand.
If you have a depth mic, you can verify depth every 90 degrees is close to equal.
Alright, I managed to get it to the specialty shop (Martin's Classic Cars in Huntsville, AL) and two of the mechanics (one being the owner) said it was alright. The scuff isn't deep, and it doesn't extend to where it'd contact the oil rings so it shouldn't cause any issues.
Well, 30% of the damage is in an area that even the top compression ring will never see.
While gapping your rings, true one up to that depth and put a couple drops of transmission fluid on top the ring with the block leaned enough where it will puddle there.
If you don't get seepage past the ring, you'll be ok.
Don’t know how you are doing it or what kind of compressor you have but if it's the band type with the square drive key, after your rings are in the grooves and you have spaced the gaps according to the manual, lay your piston on a table, top of piston down and flat before you compress the rings. This way the compressor is trued to the piston and the band overlaps of the compressor are all even with the flat table.
There should be a 30 degree chamfer at the very top of the cylinder to aid your ring start.

 08-11-2017, 01:29 AM