When you click on links to various merchants on this site and make a purchase, this can result in this site earning a commission. Affiliate programs and affiliations include, but are not limited to, the eBay Partner Network.
Alex, thanks, I’ll pull the pins tomorrow. I didn’t catch that part of the install. I have the same issue with the relay. Let me know if the other relay works.
I did not replace the third brake light with a led bulb.
FWIW if possible please make a note somewhere near the CE panel about the modifications your doing,
so when someone brings the car to the mechanic and asks to fix the whatever,
He will have some clue about the changes that were made.
That way he wont put the right relay into the correct slot and damage something,
Thanks
Alex, all installed with correct relay for turn signals, BUT, the front led turn signal bulbs (1157-A18-T) do not flash, or actually flash just a very little, not really noticeable. I put the original bulbs back in and they flash when turn signal is on. Did you see the same?
FWIW if possible please make a note somewhere near the CE panel about the modifications your doing,
so when someone brings the car to the mechanic and asks to fix the whatever,
He will have some clue about the changes that were made.
That way he wont put the right relay into the correct slot and damage something,
Thanks
In this case it would not harm anything if someone put in the original relay BUT that is a really great point in general. Any deviations from stock configurations should be noted and maybe left in the glove box or on the CE panel cover. Great idea.
Originally Posted by voskian
Alex, all installed with correct relay for turn signals, BUT, the front led turn signal bulbs (1157-A18-T) do not flash, or actually flash just a very little, not really noticeable. I put the original bulbs back in and they flash when turn signal is on. Did you see the same?
You got me at a good time as I checked in here before lunch. Mine work great but I think I figured this out. I pulled the bulb out but there are no part numbers on it then I looked through the little boxes they ship in and I found this one with part 1157-A27-T which was not what I ordered.
Looking on their website it looks like a match for this one (1157-A27-T):
And NOT like 1157-A18-T (which I ordered), this has less LEDs on it:
Long story short, I ordered 1157-A18-T but was sent the brighter 1157-A27-T instead. Actually I think I will exchange the rear signal bulbs to the brighter version which would be 1156-A27-T.
(The 1156 code means single function, on/off, and 1157 is dual function, half bright/full bright/off.)
Now I don't know for certain this is your problem, the bulbs you have should still work but I did a little video to show how mine are working. In which mode are yours faint? With all lights off or when marker or headlights are on? In that mode the front turn signals are always on but pulse brighter for the indication.
Alex, thanks for getting back. The 1157-18A-T bulbs I got do not really flash when the parking lights are on, the light intensity difference is hardly noticeable. Seams that the 1157-27A-T bulbs you have flash brighter with extra chips. I'll get a couple of the 1157-27A-T bulbs and see if that fixes the problem.
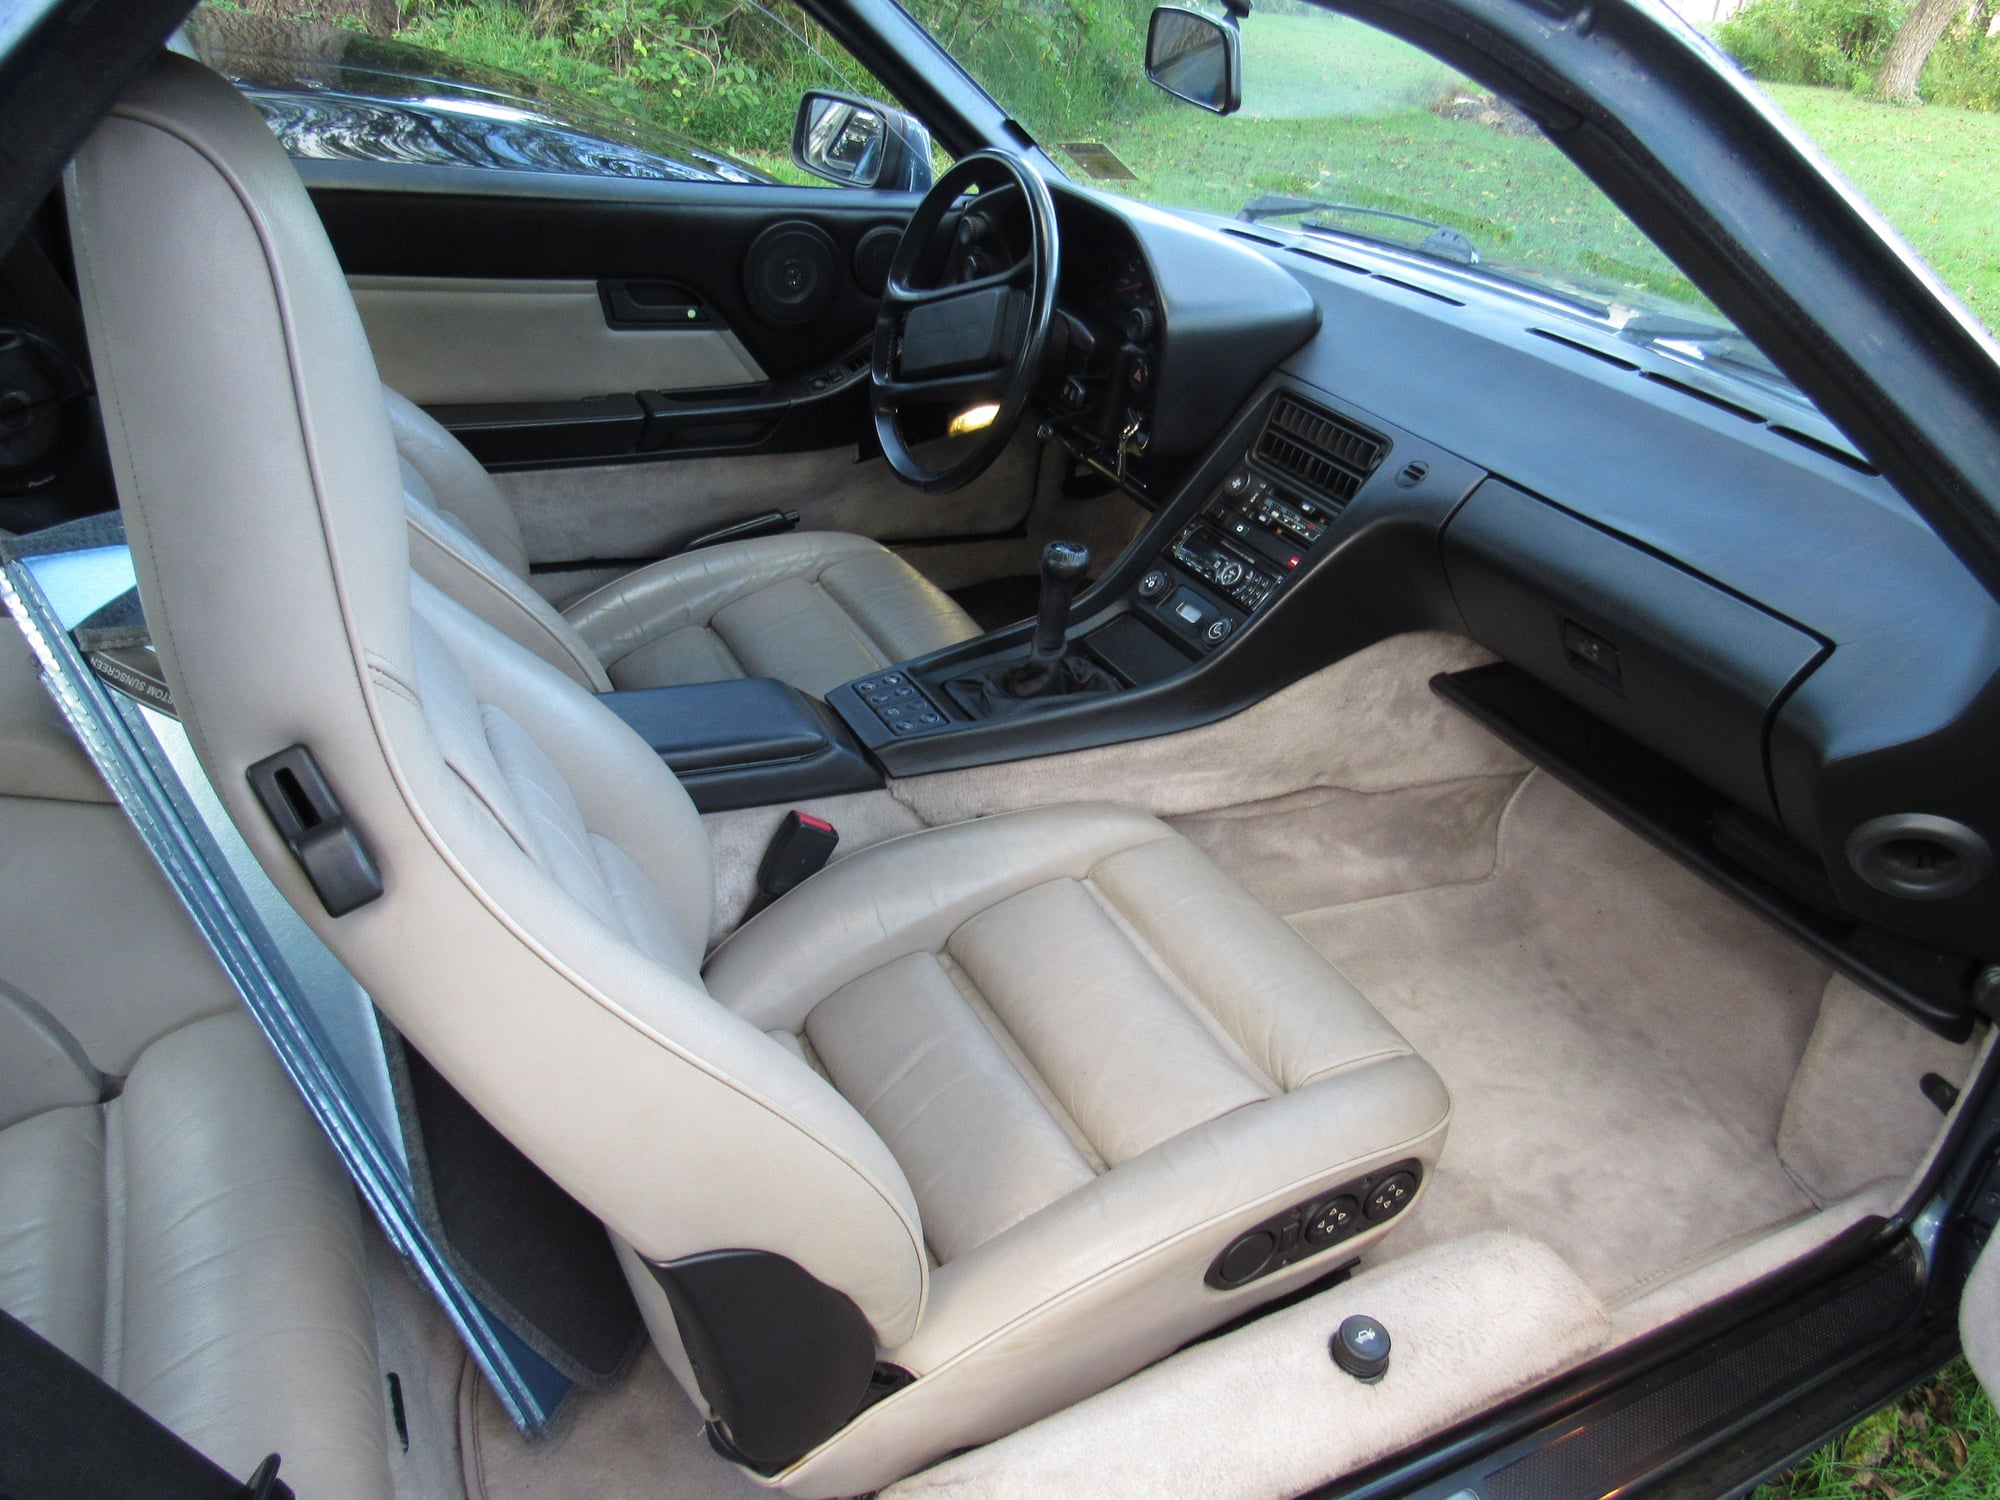
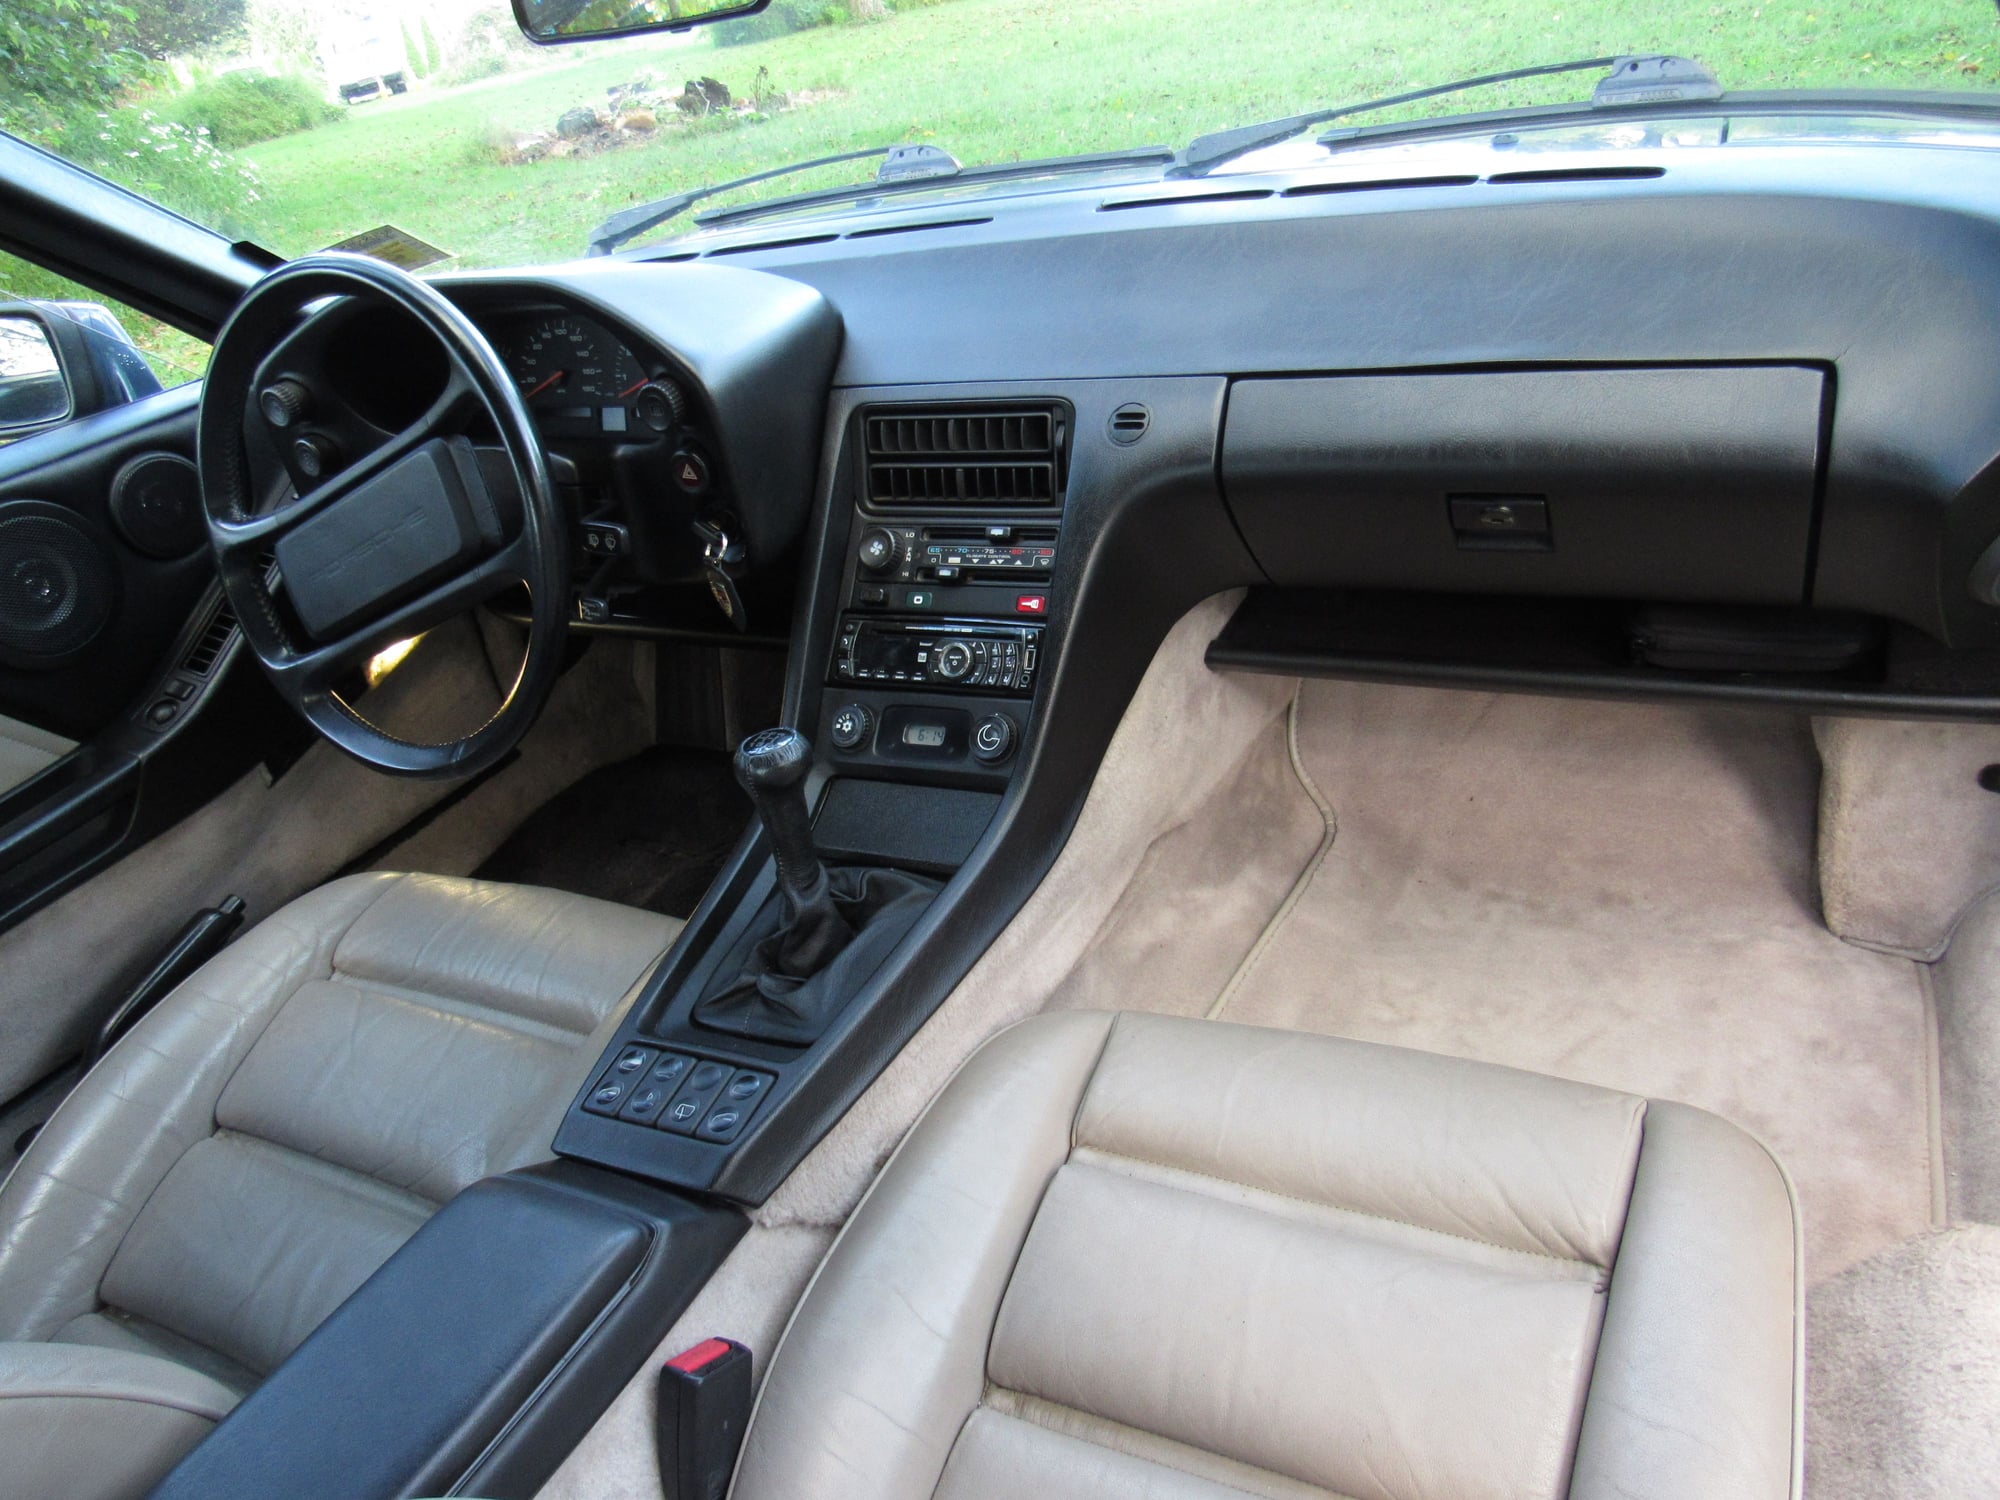
I forgot to include interior photos here. It is excellent except the rear quarter panels are warped.
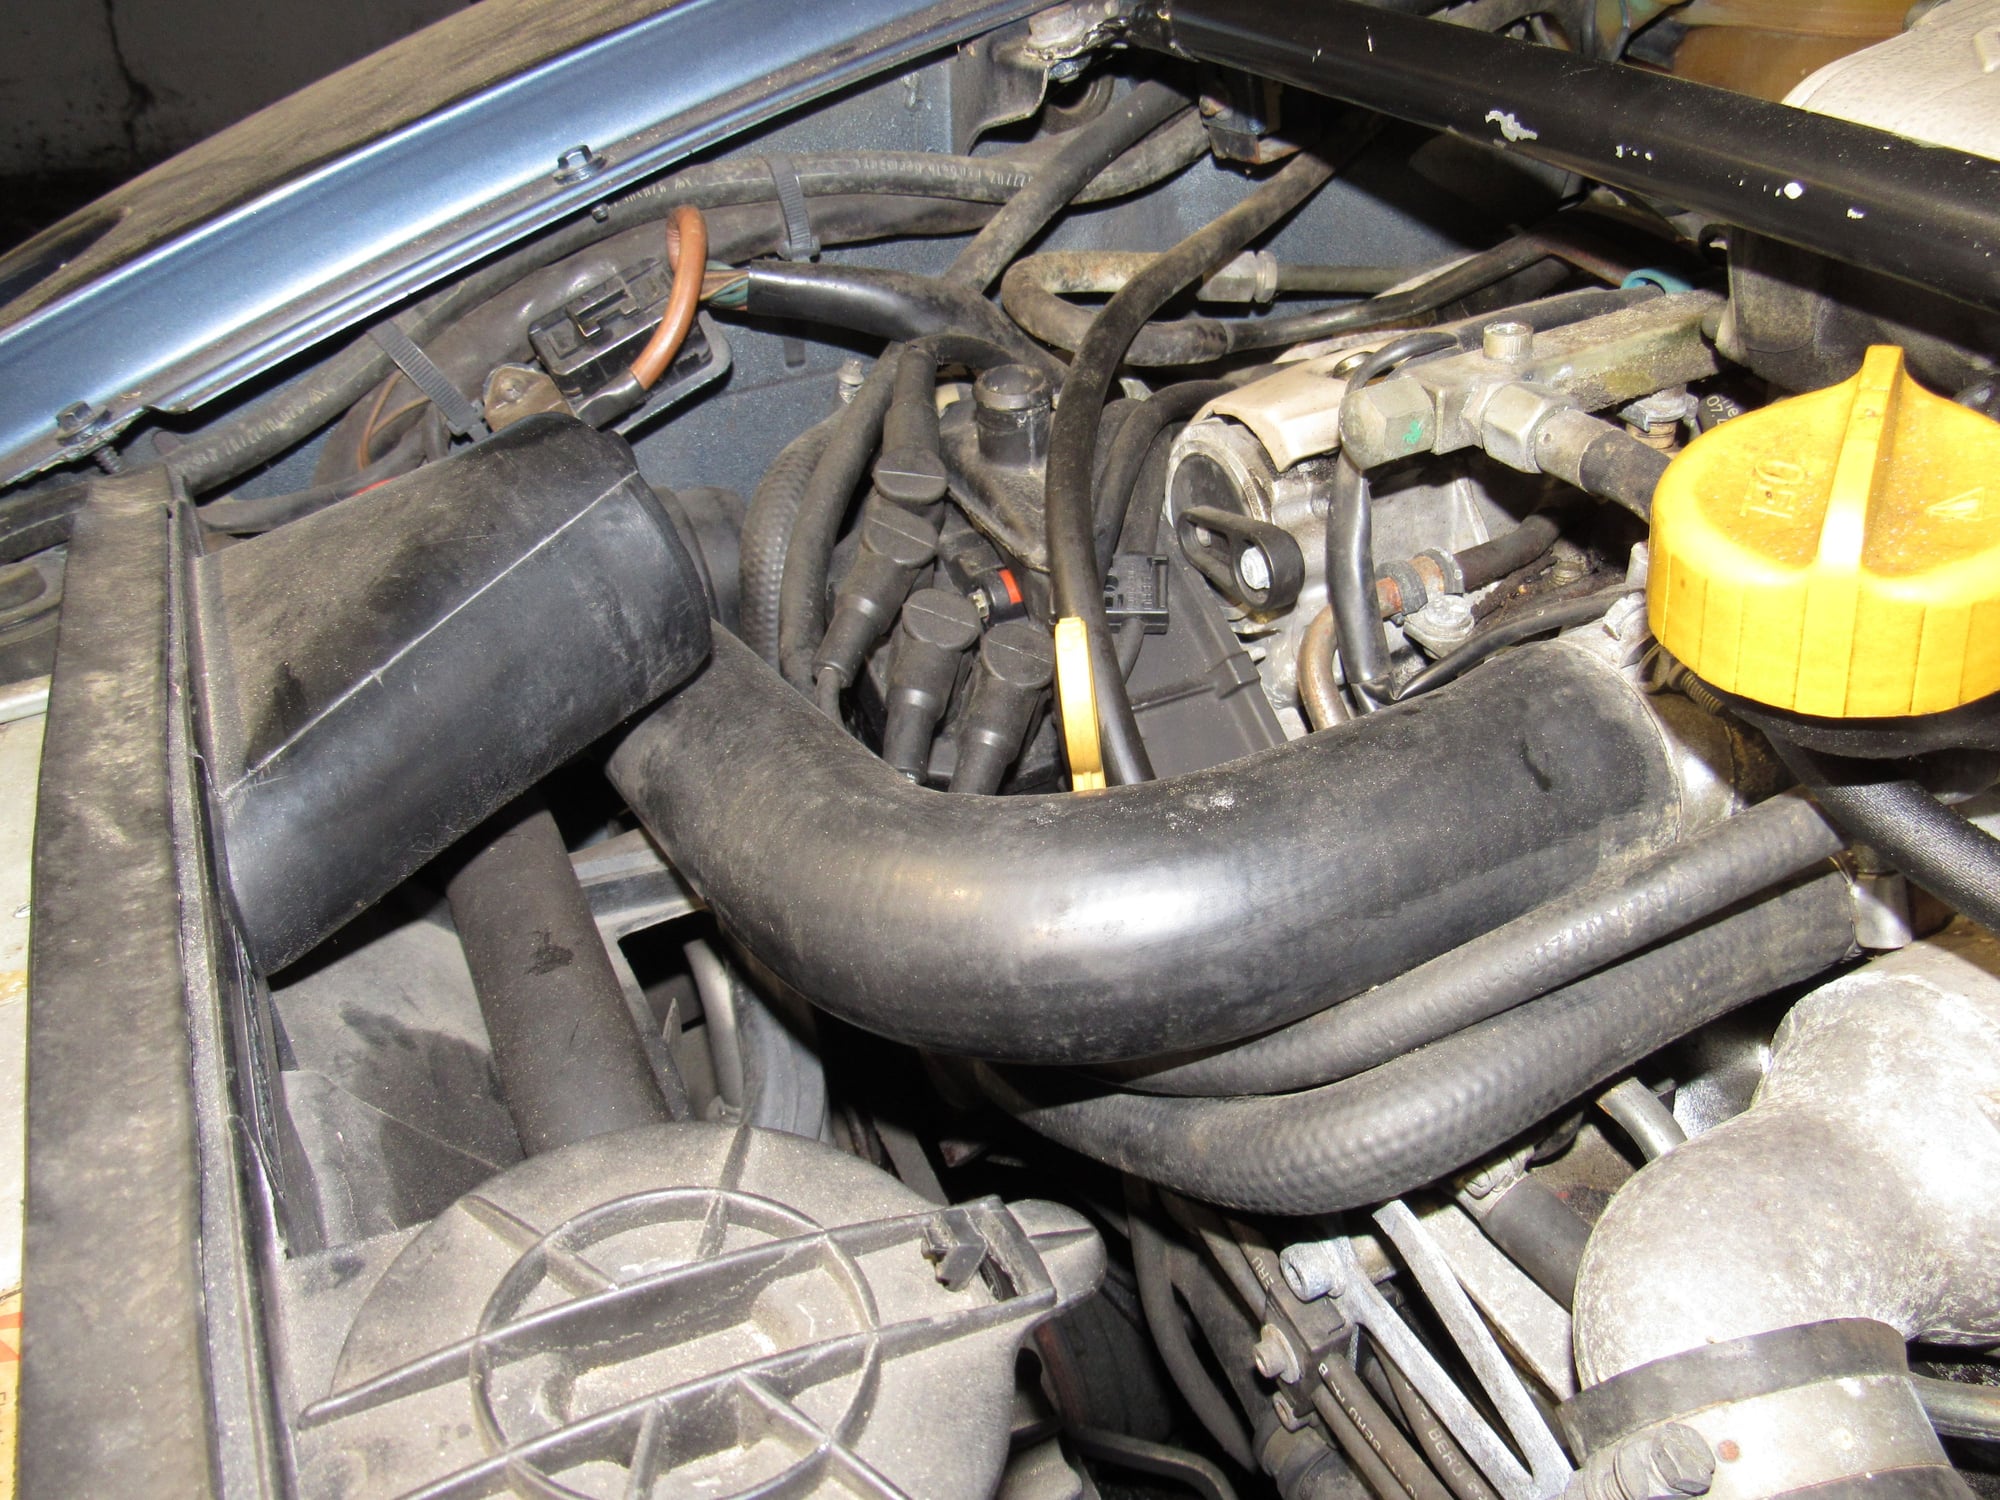
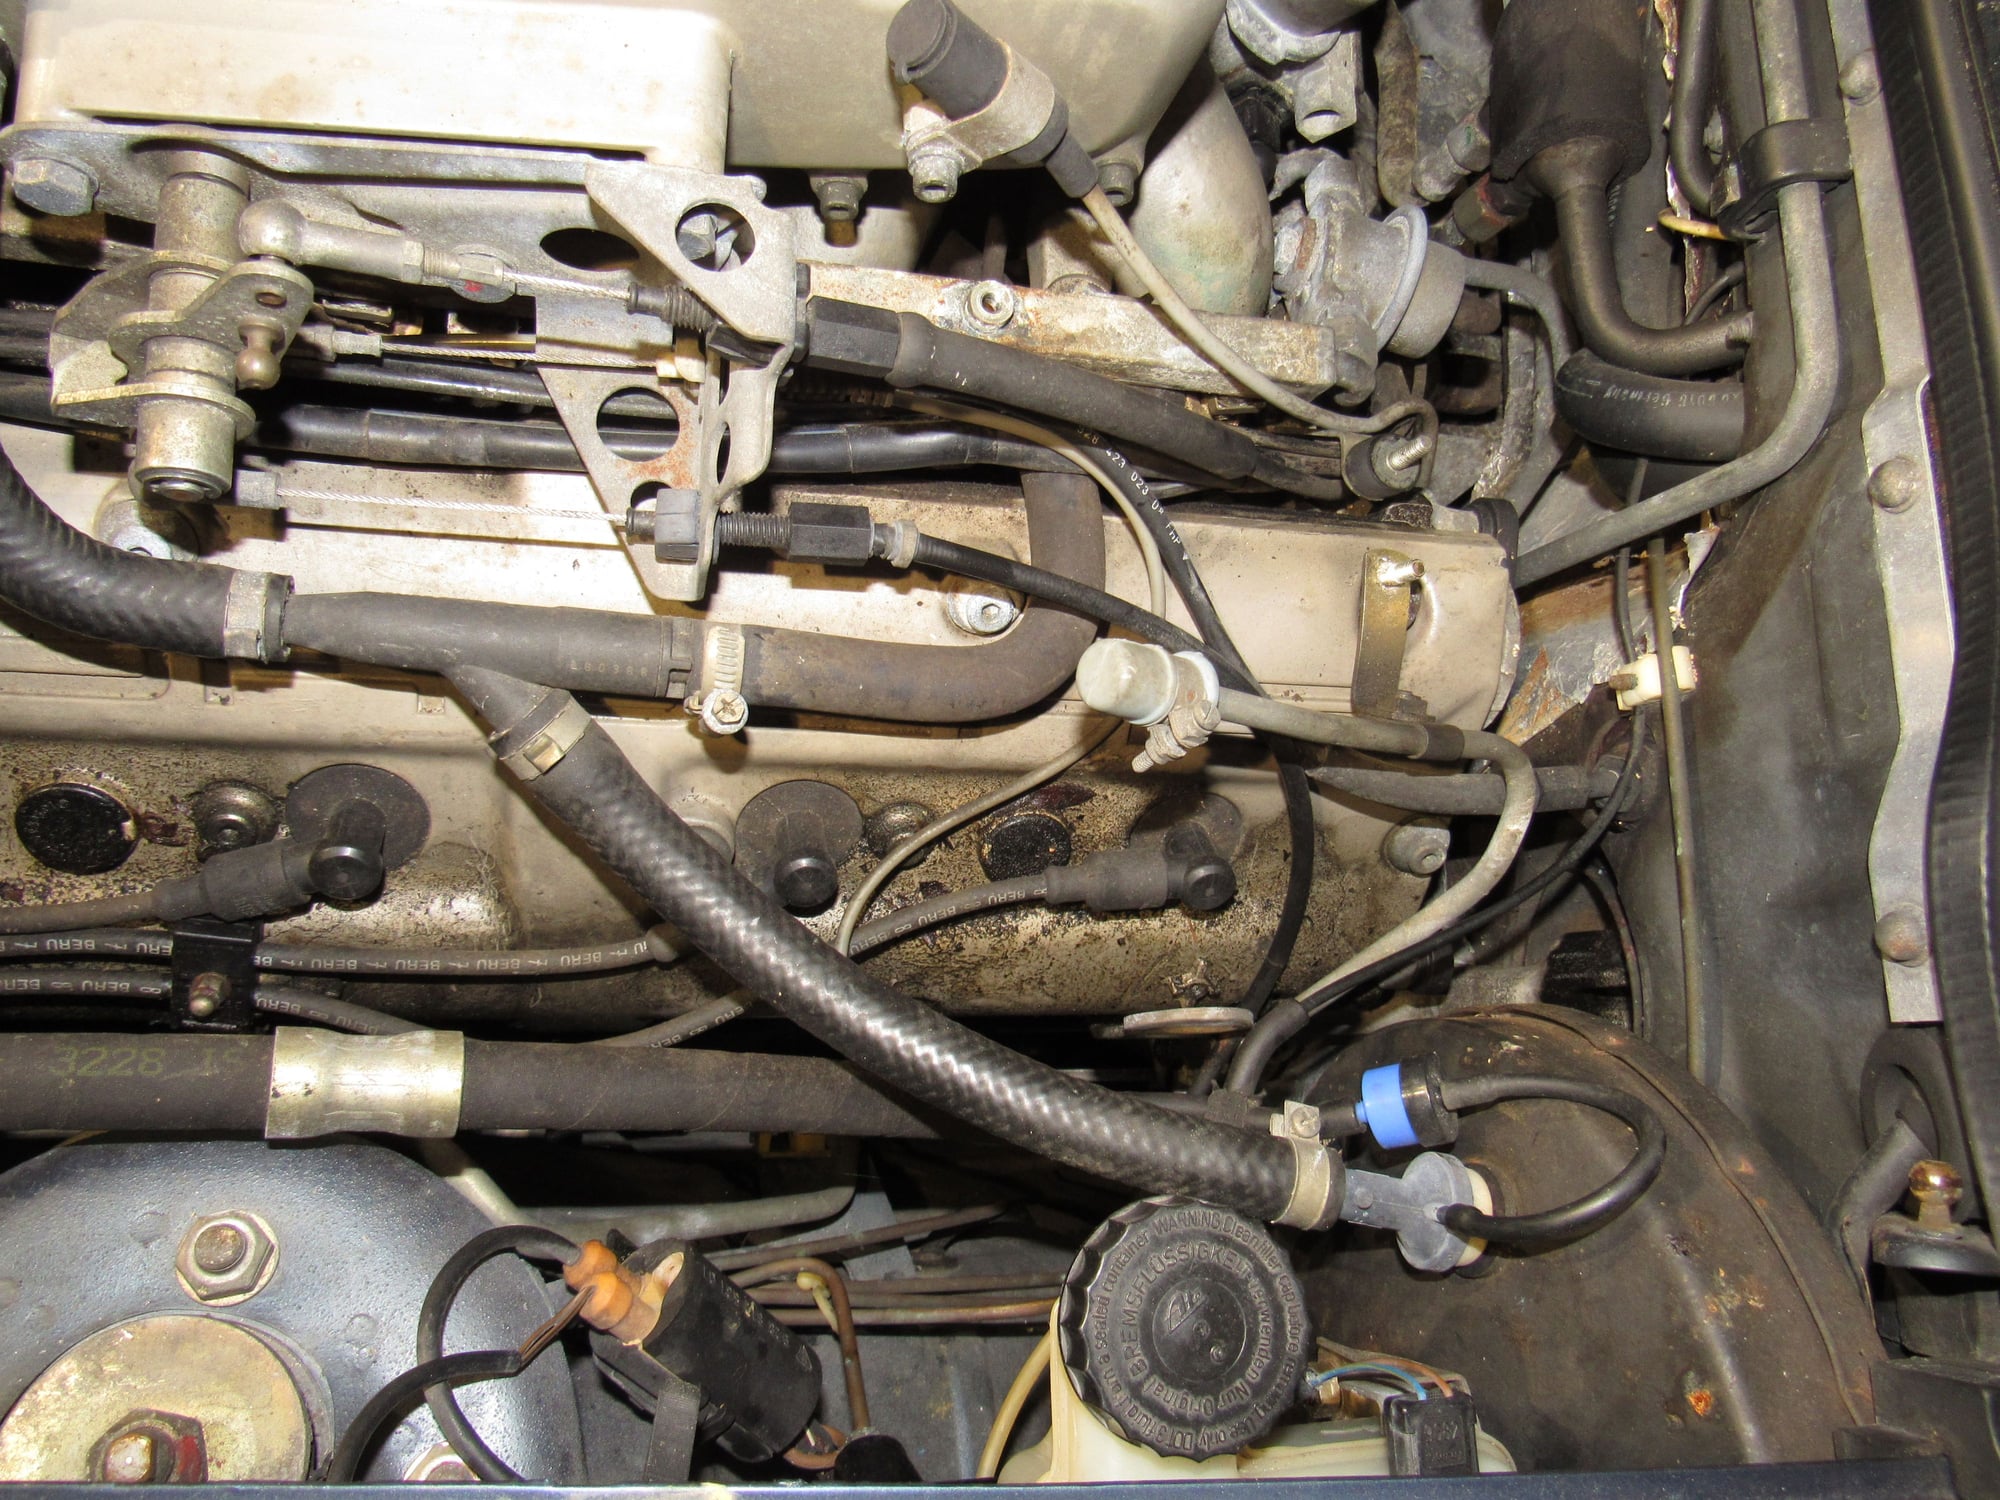
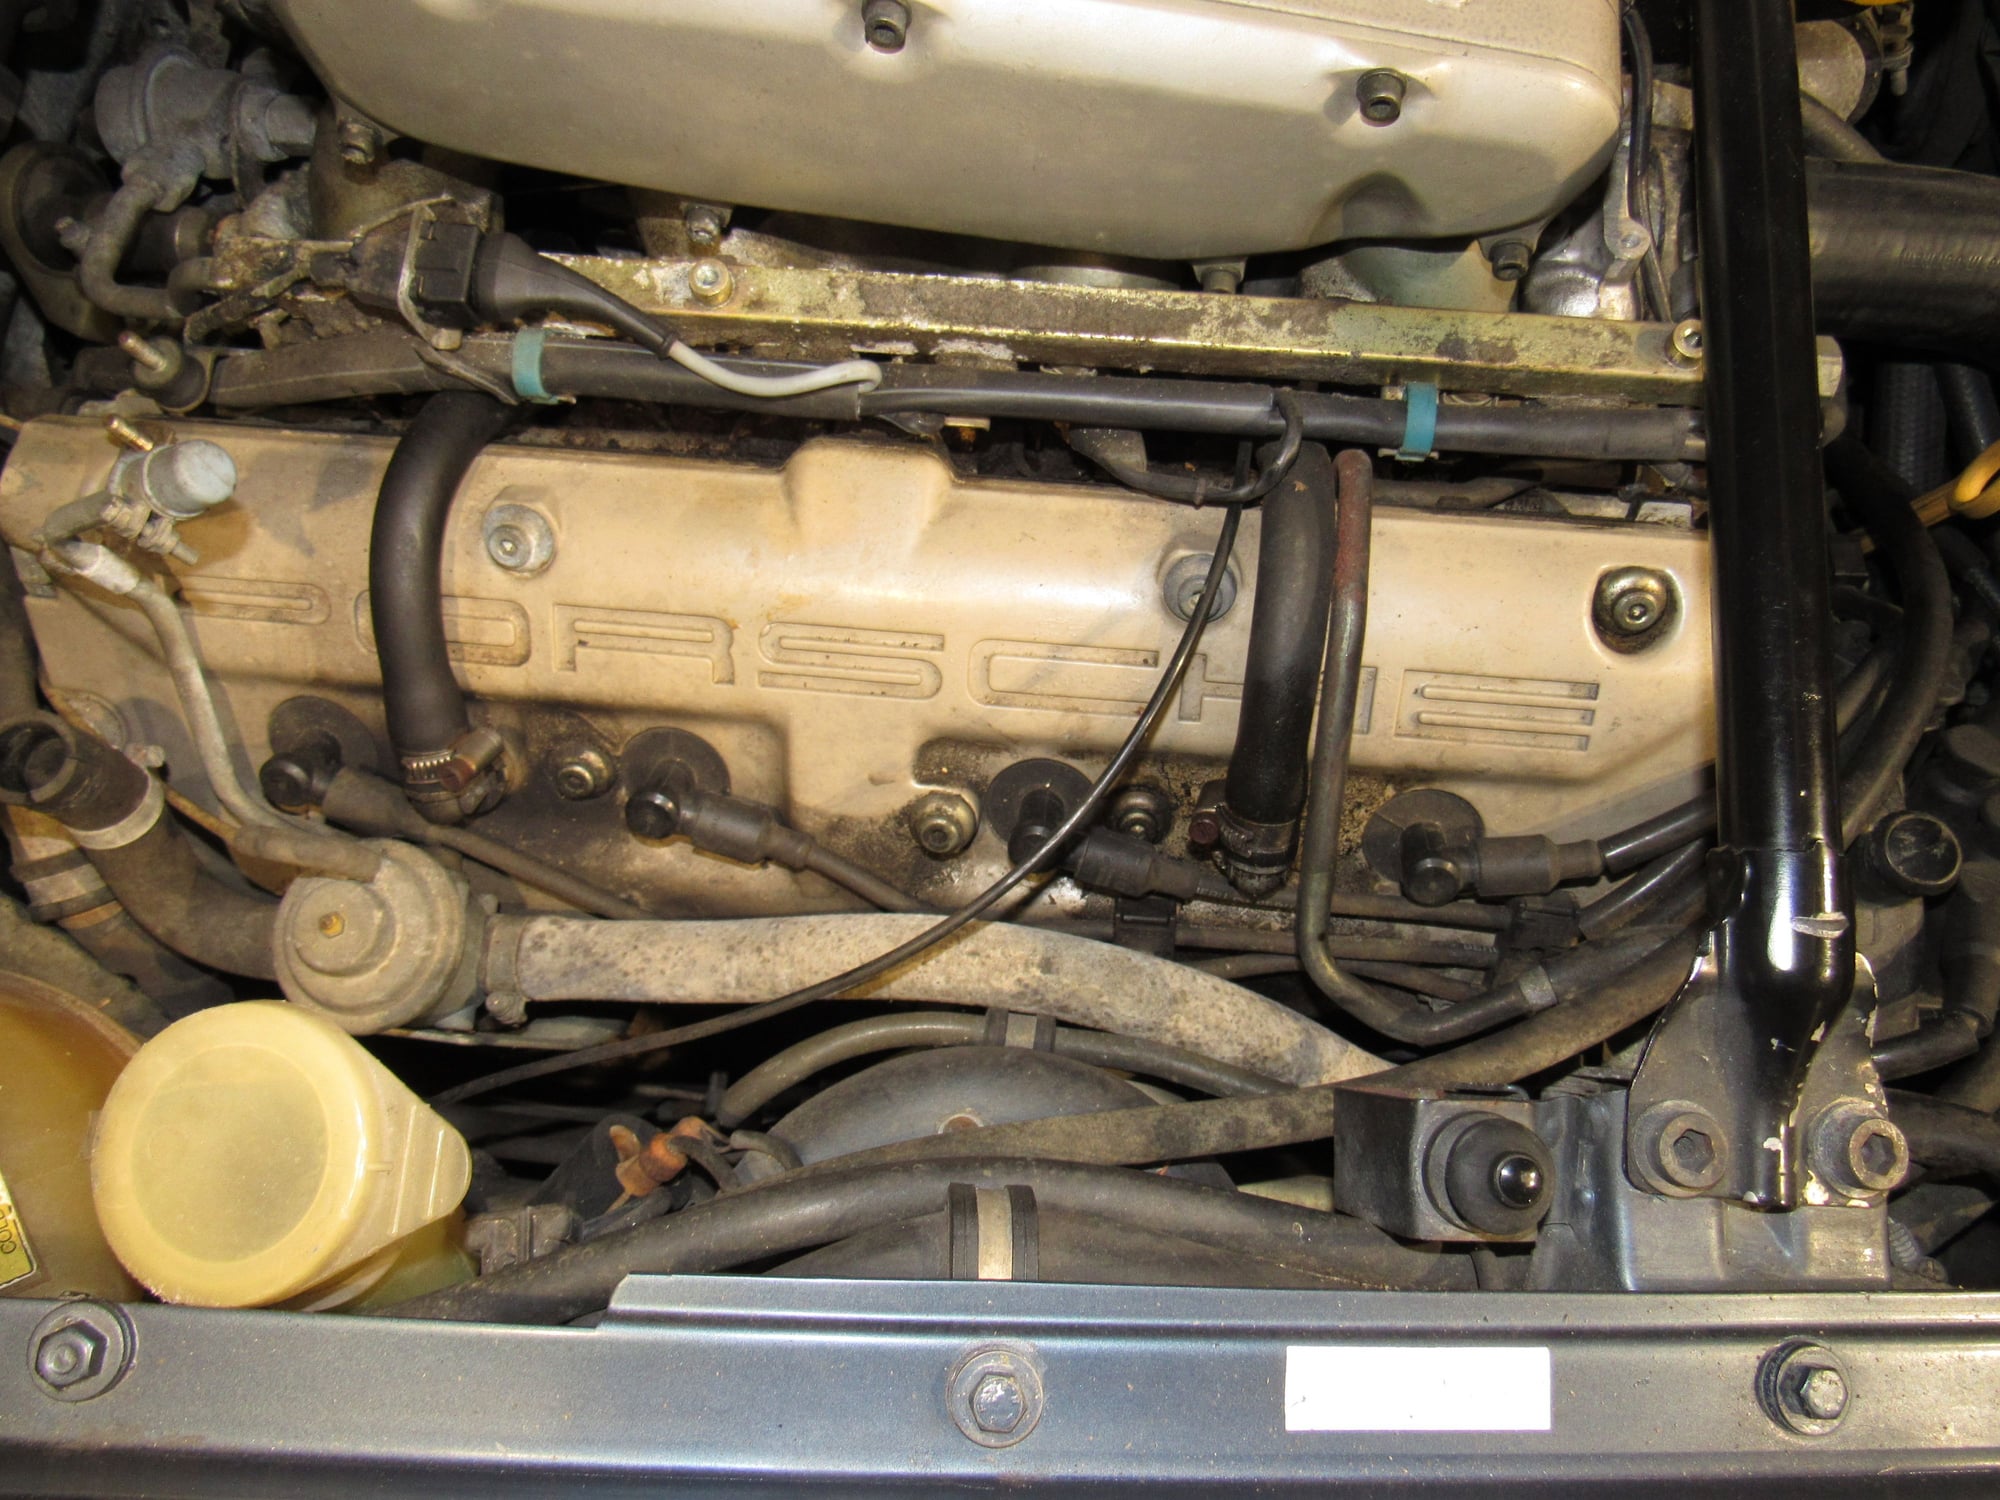
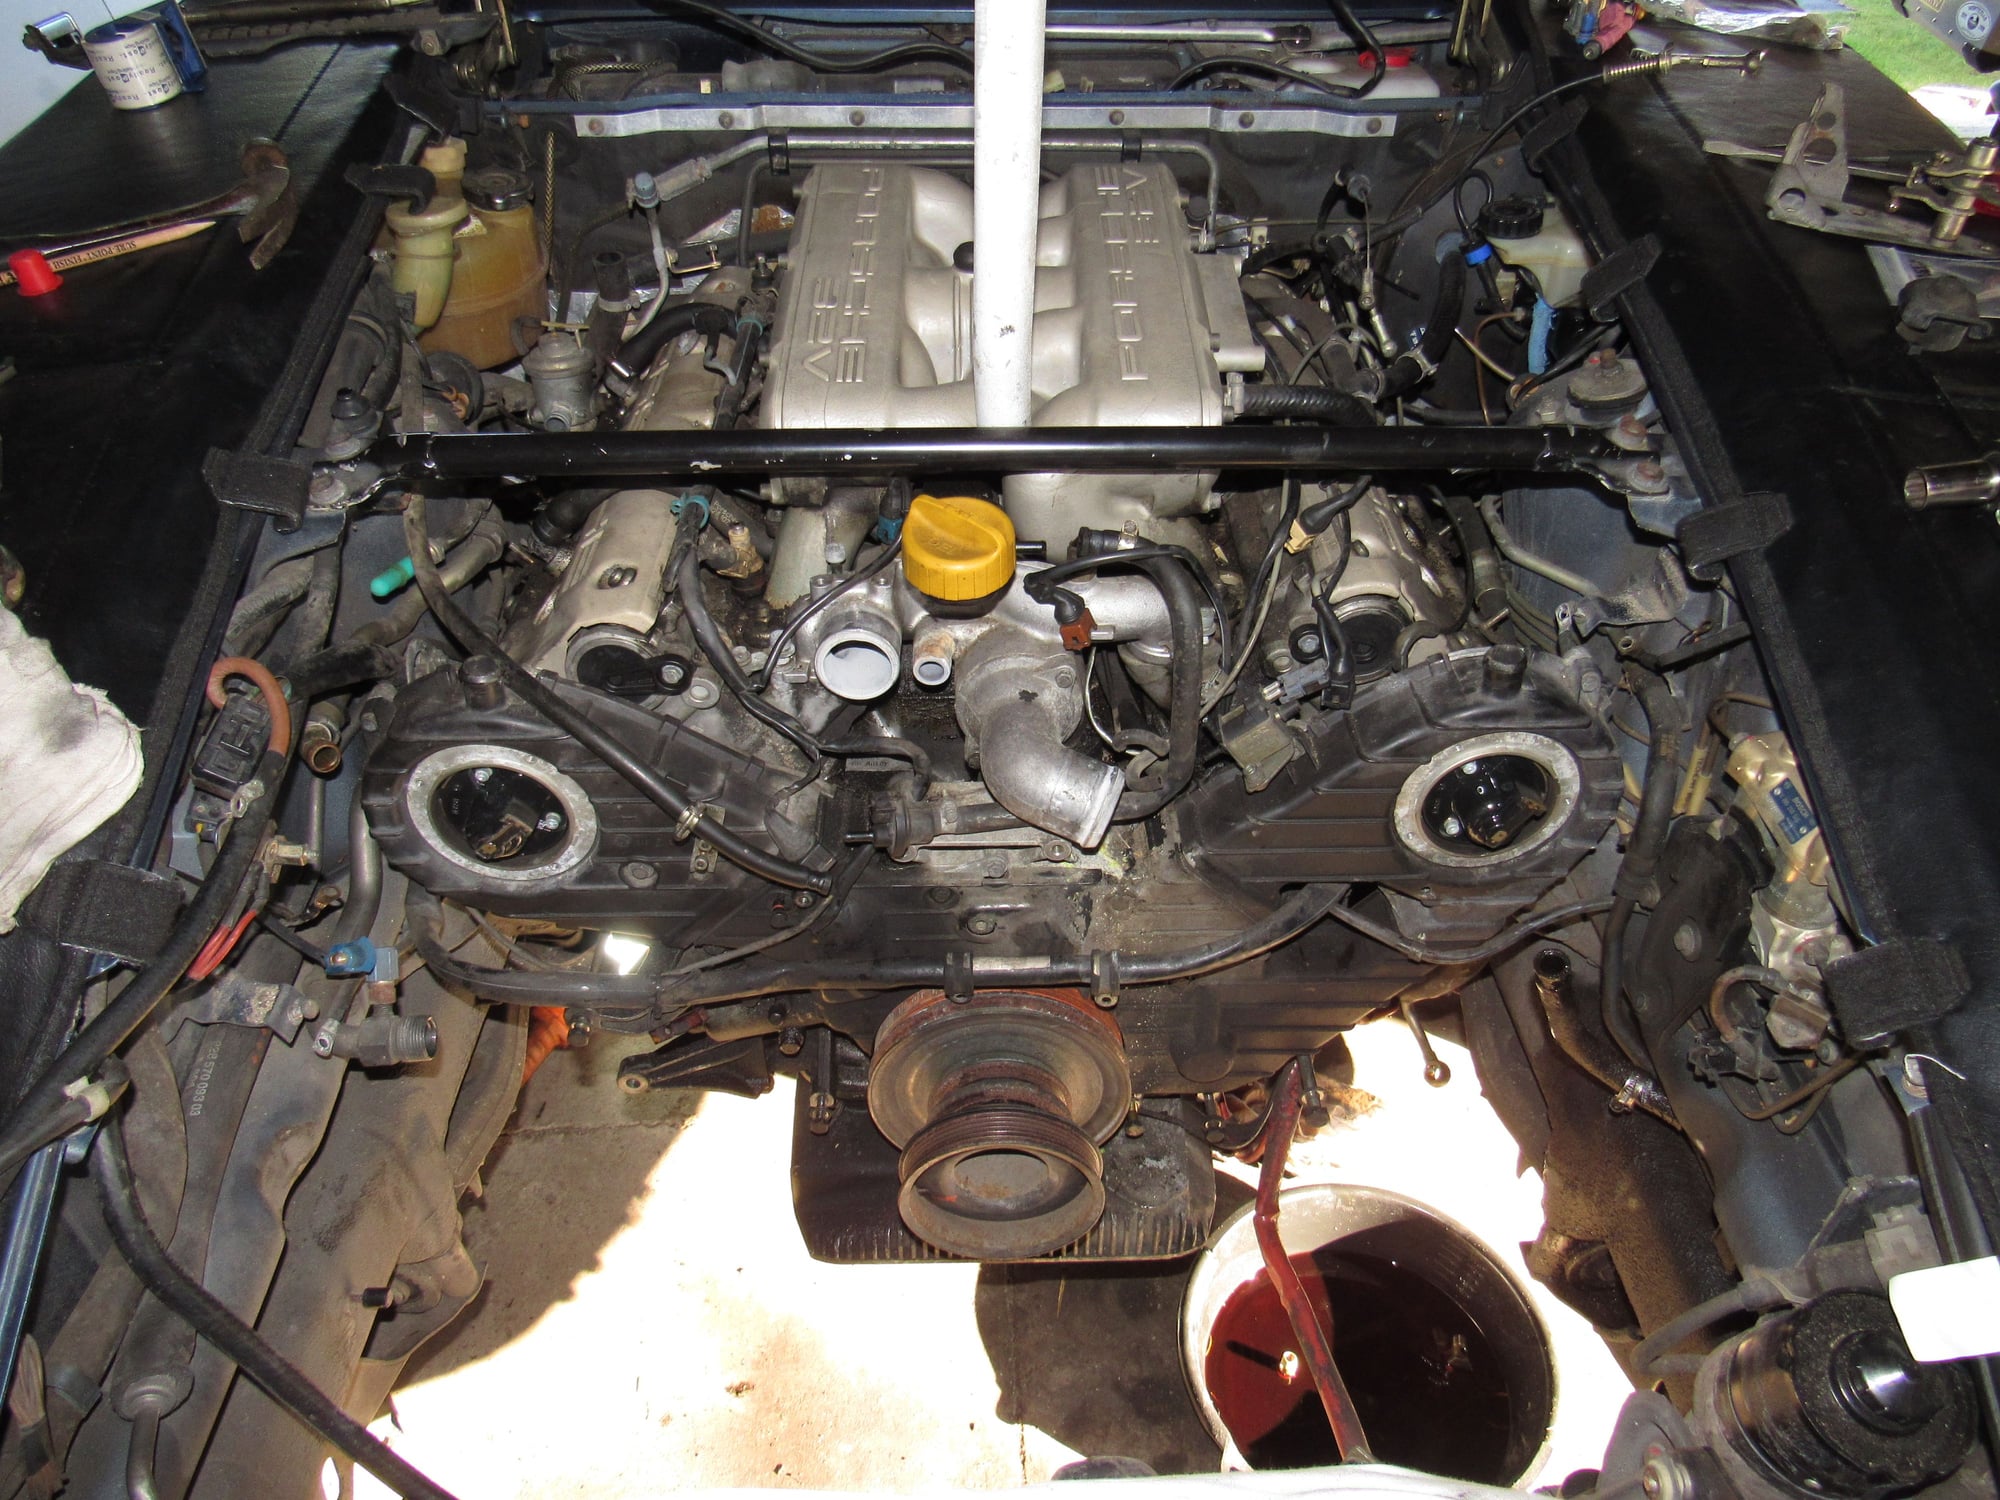
The reason I am bringing this thread back up is that I have begun to work on this car. This will be a full engine out refresh so here are some "before" photos.
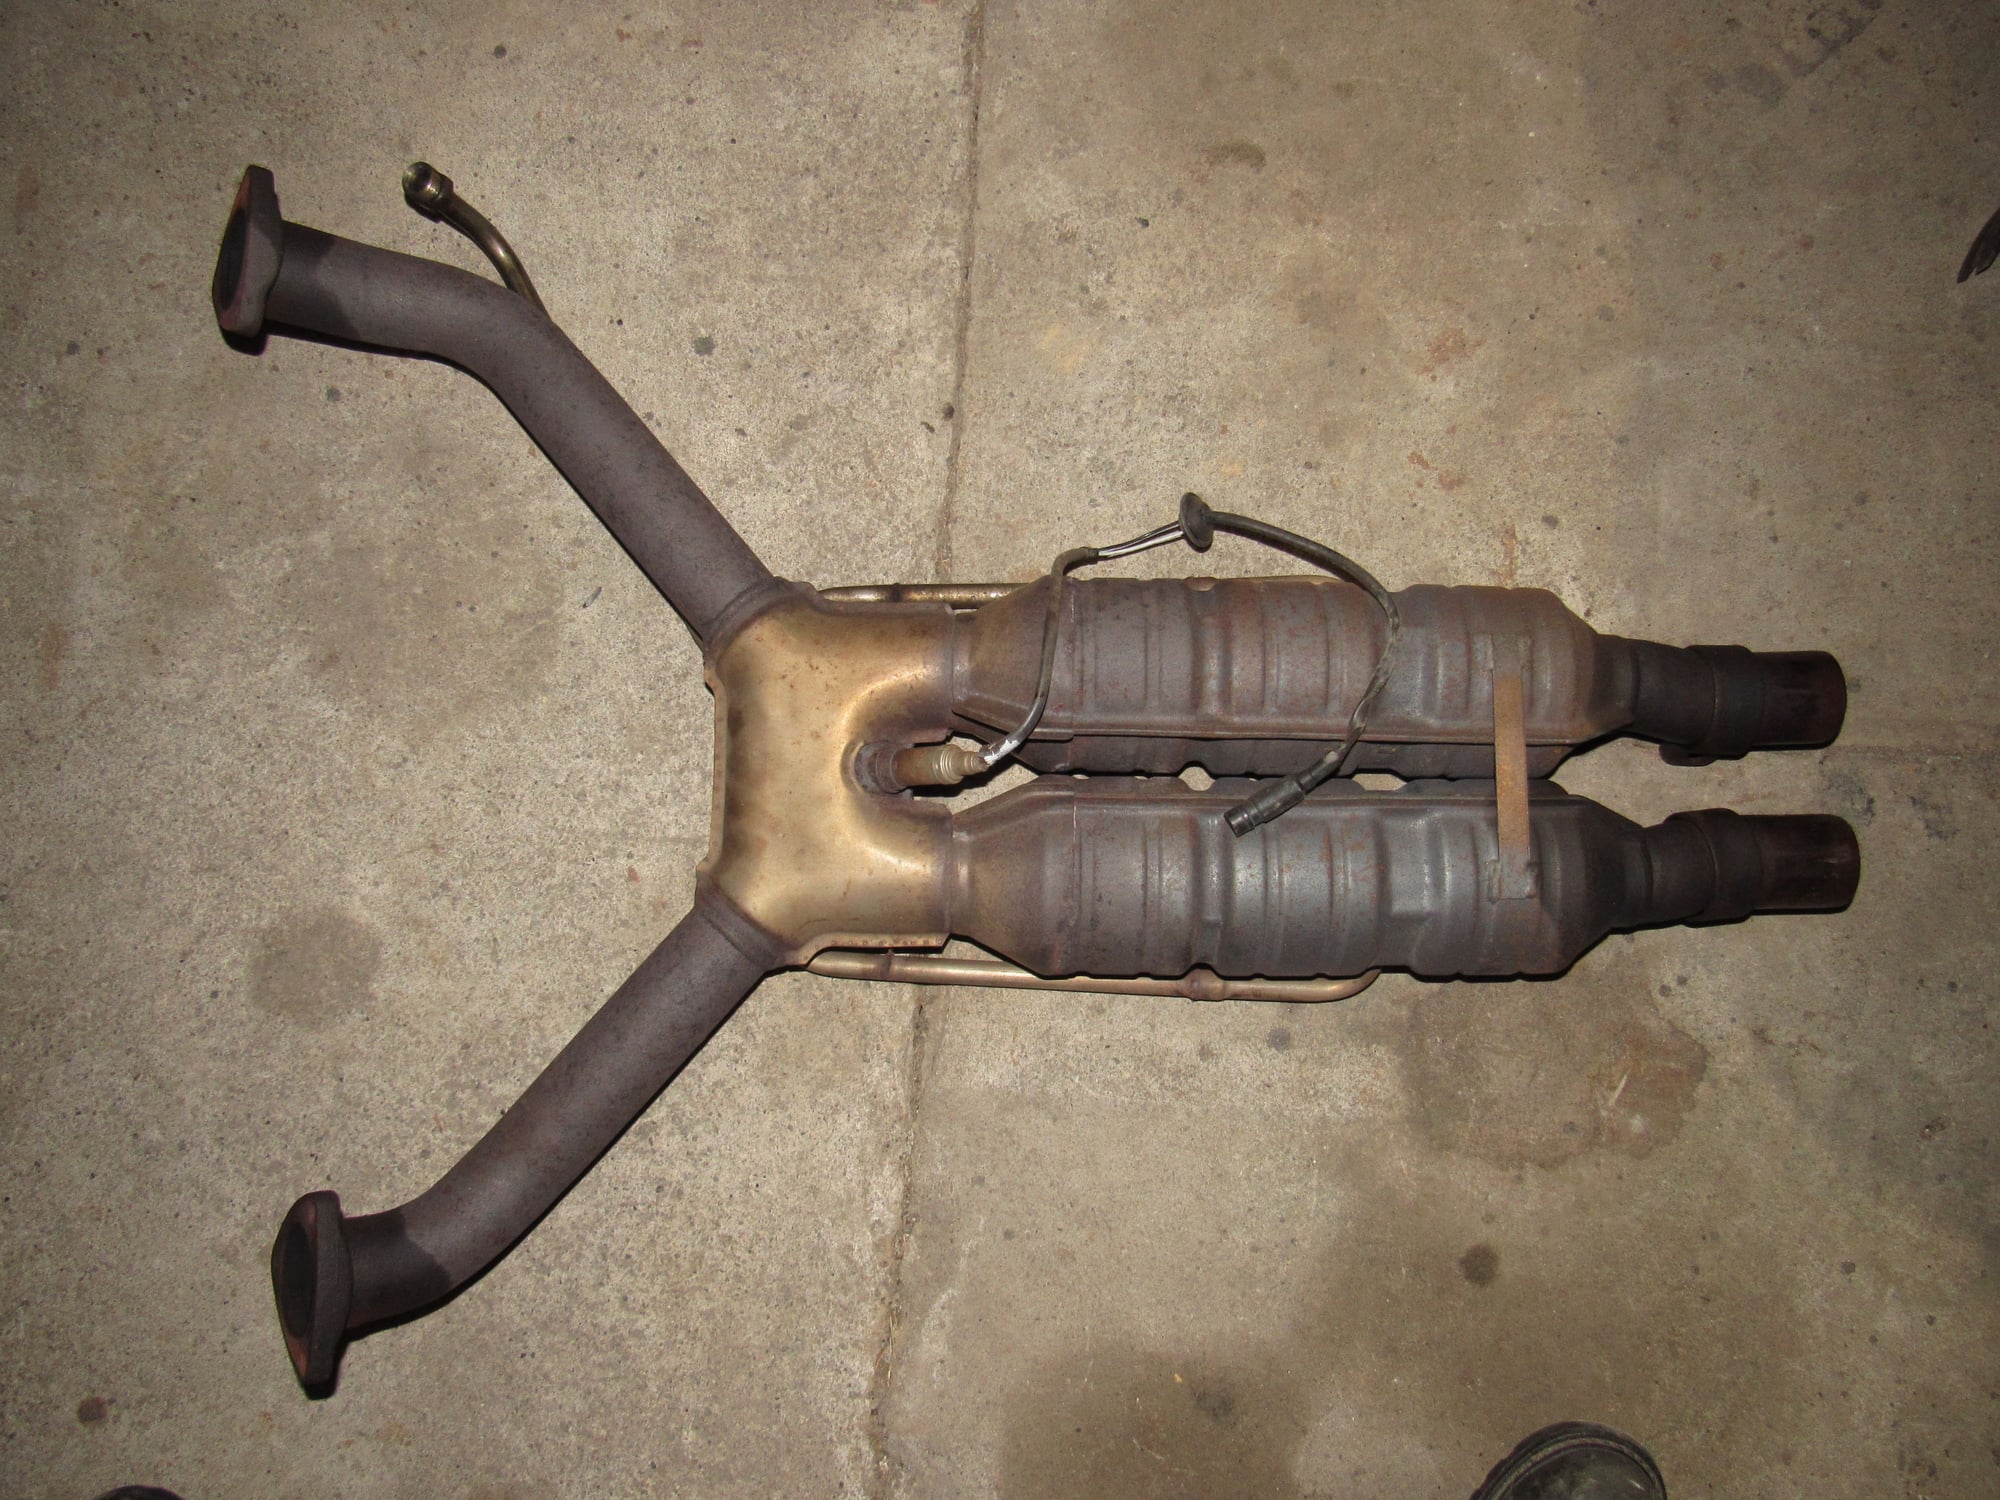
I knew it had an exhaust leak on the right side and I have already discovered why; two breaks in the test pipe. Easy fix, I will remove the test pipe and block the port.
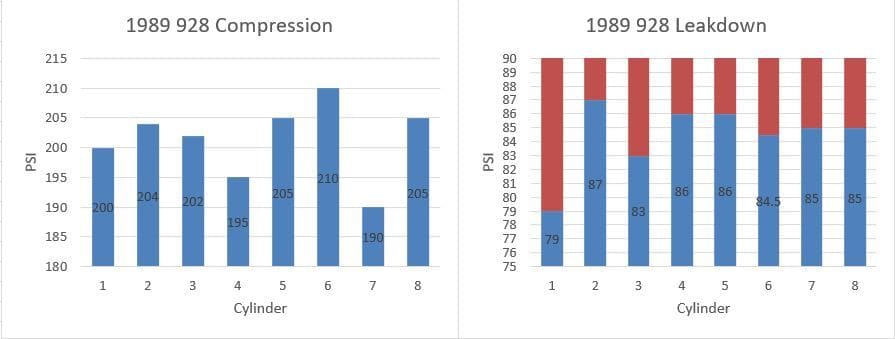
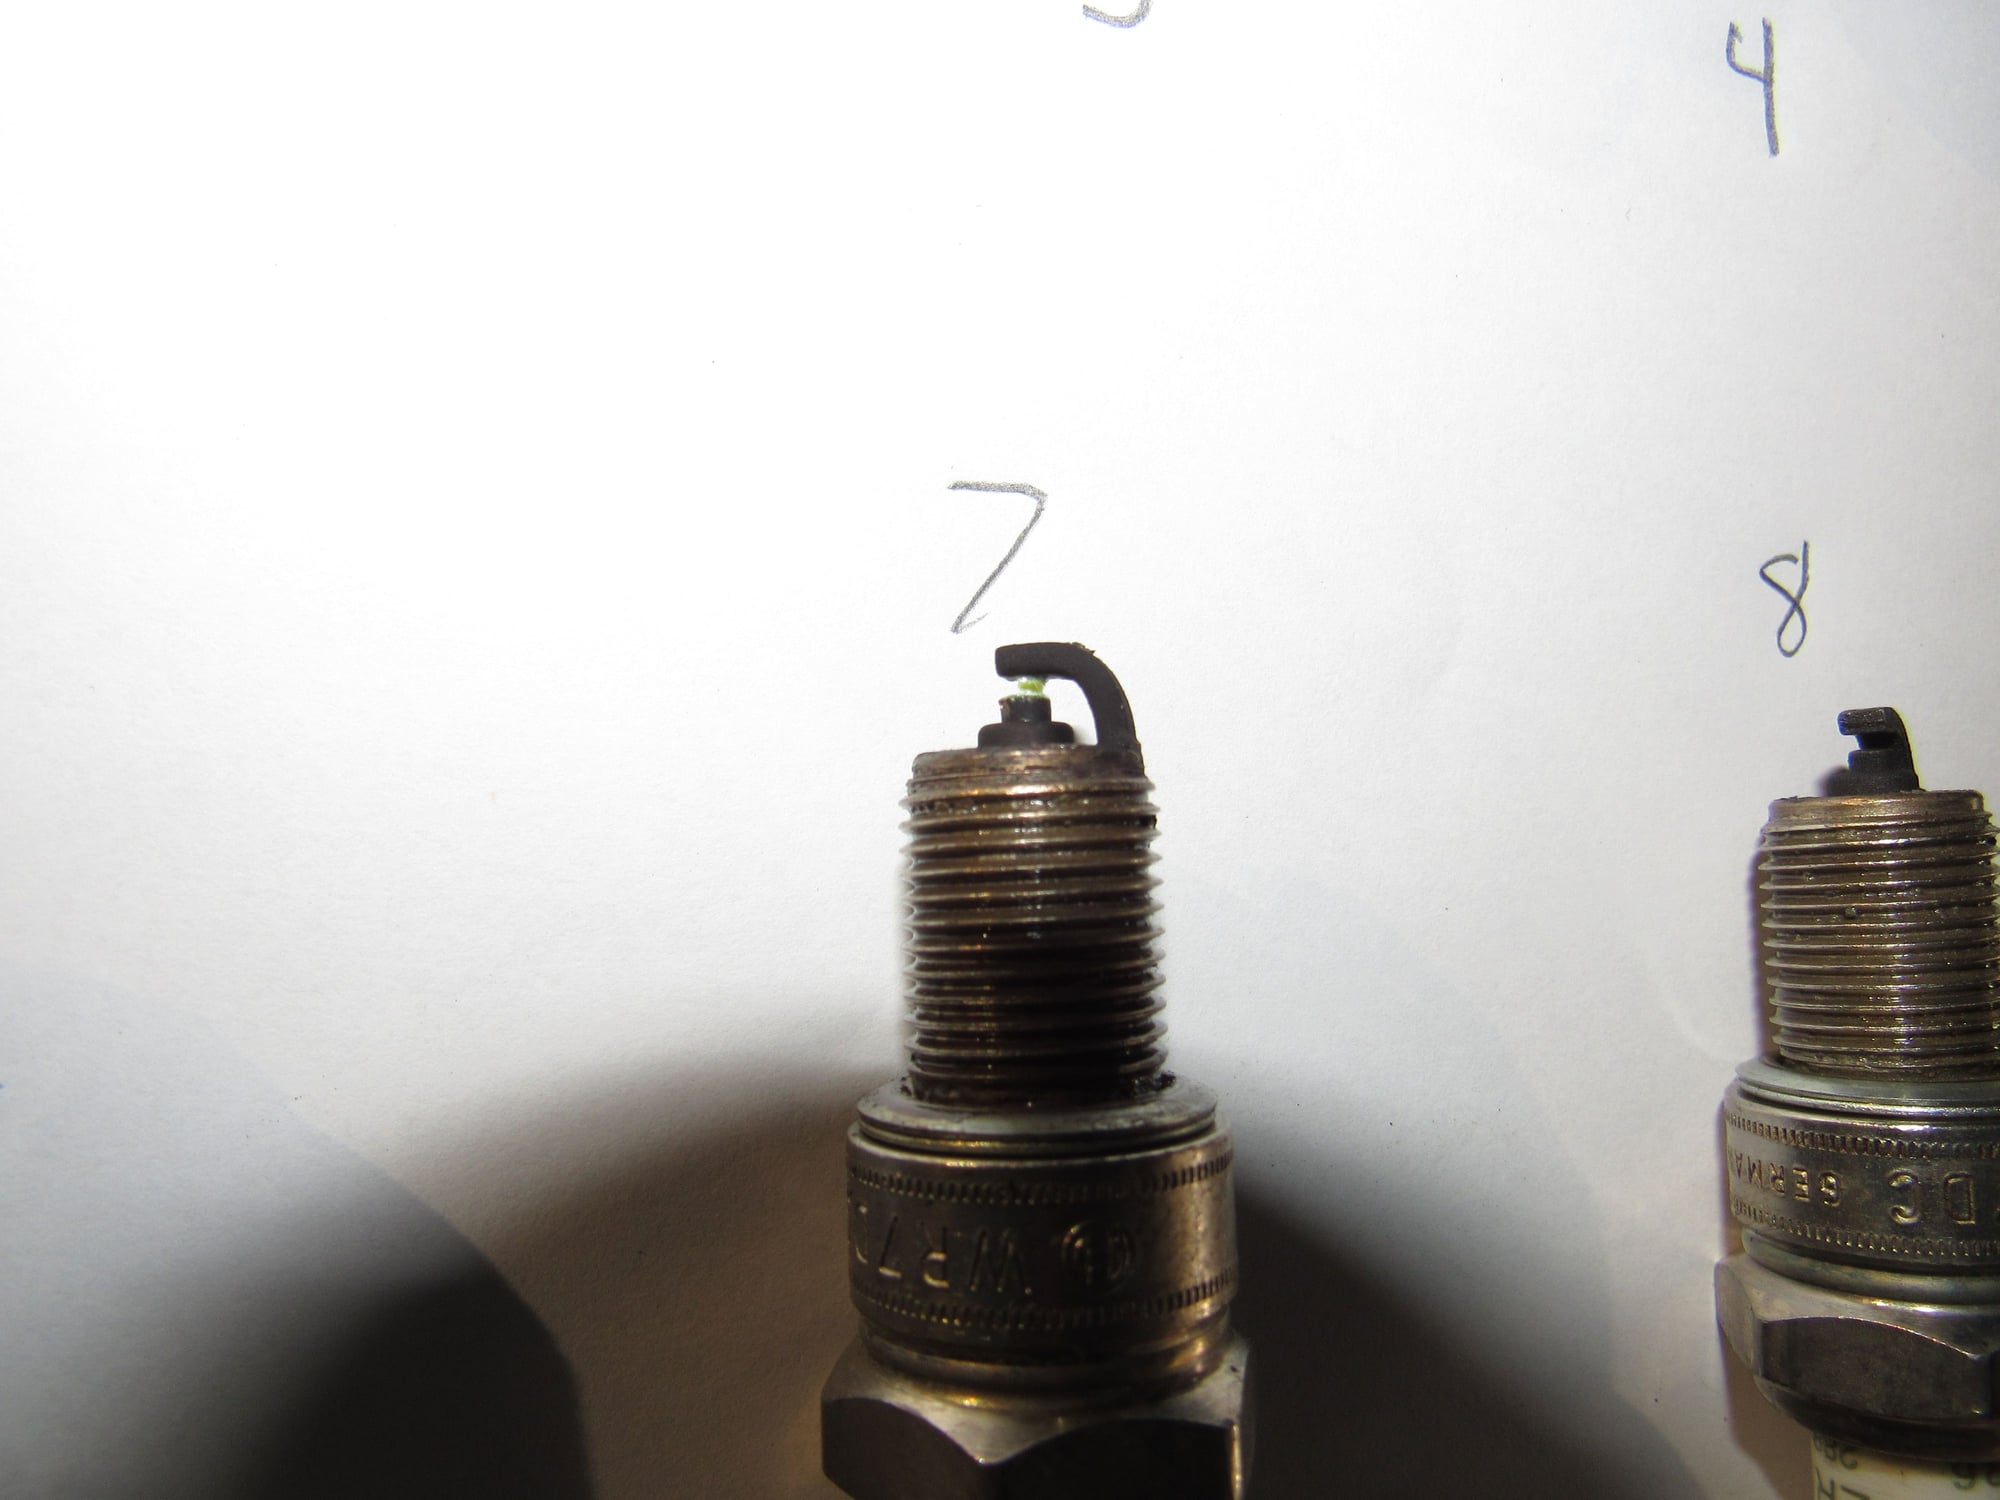
Before starting the removal I performed a compression and leakdown test. For a cold engine that has not been started in a couple of years I think this engine is fairly healthy. #1 and #7 are a bit low in one test but normal in the other. I am not sure what to make of that.
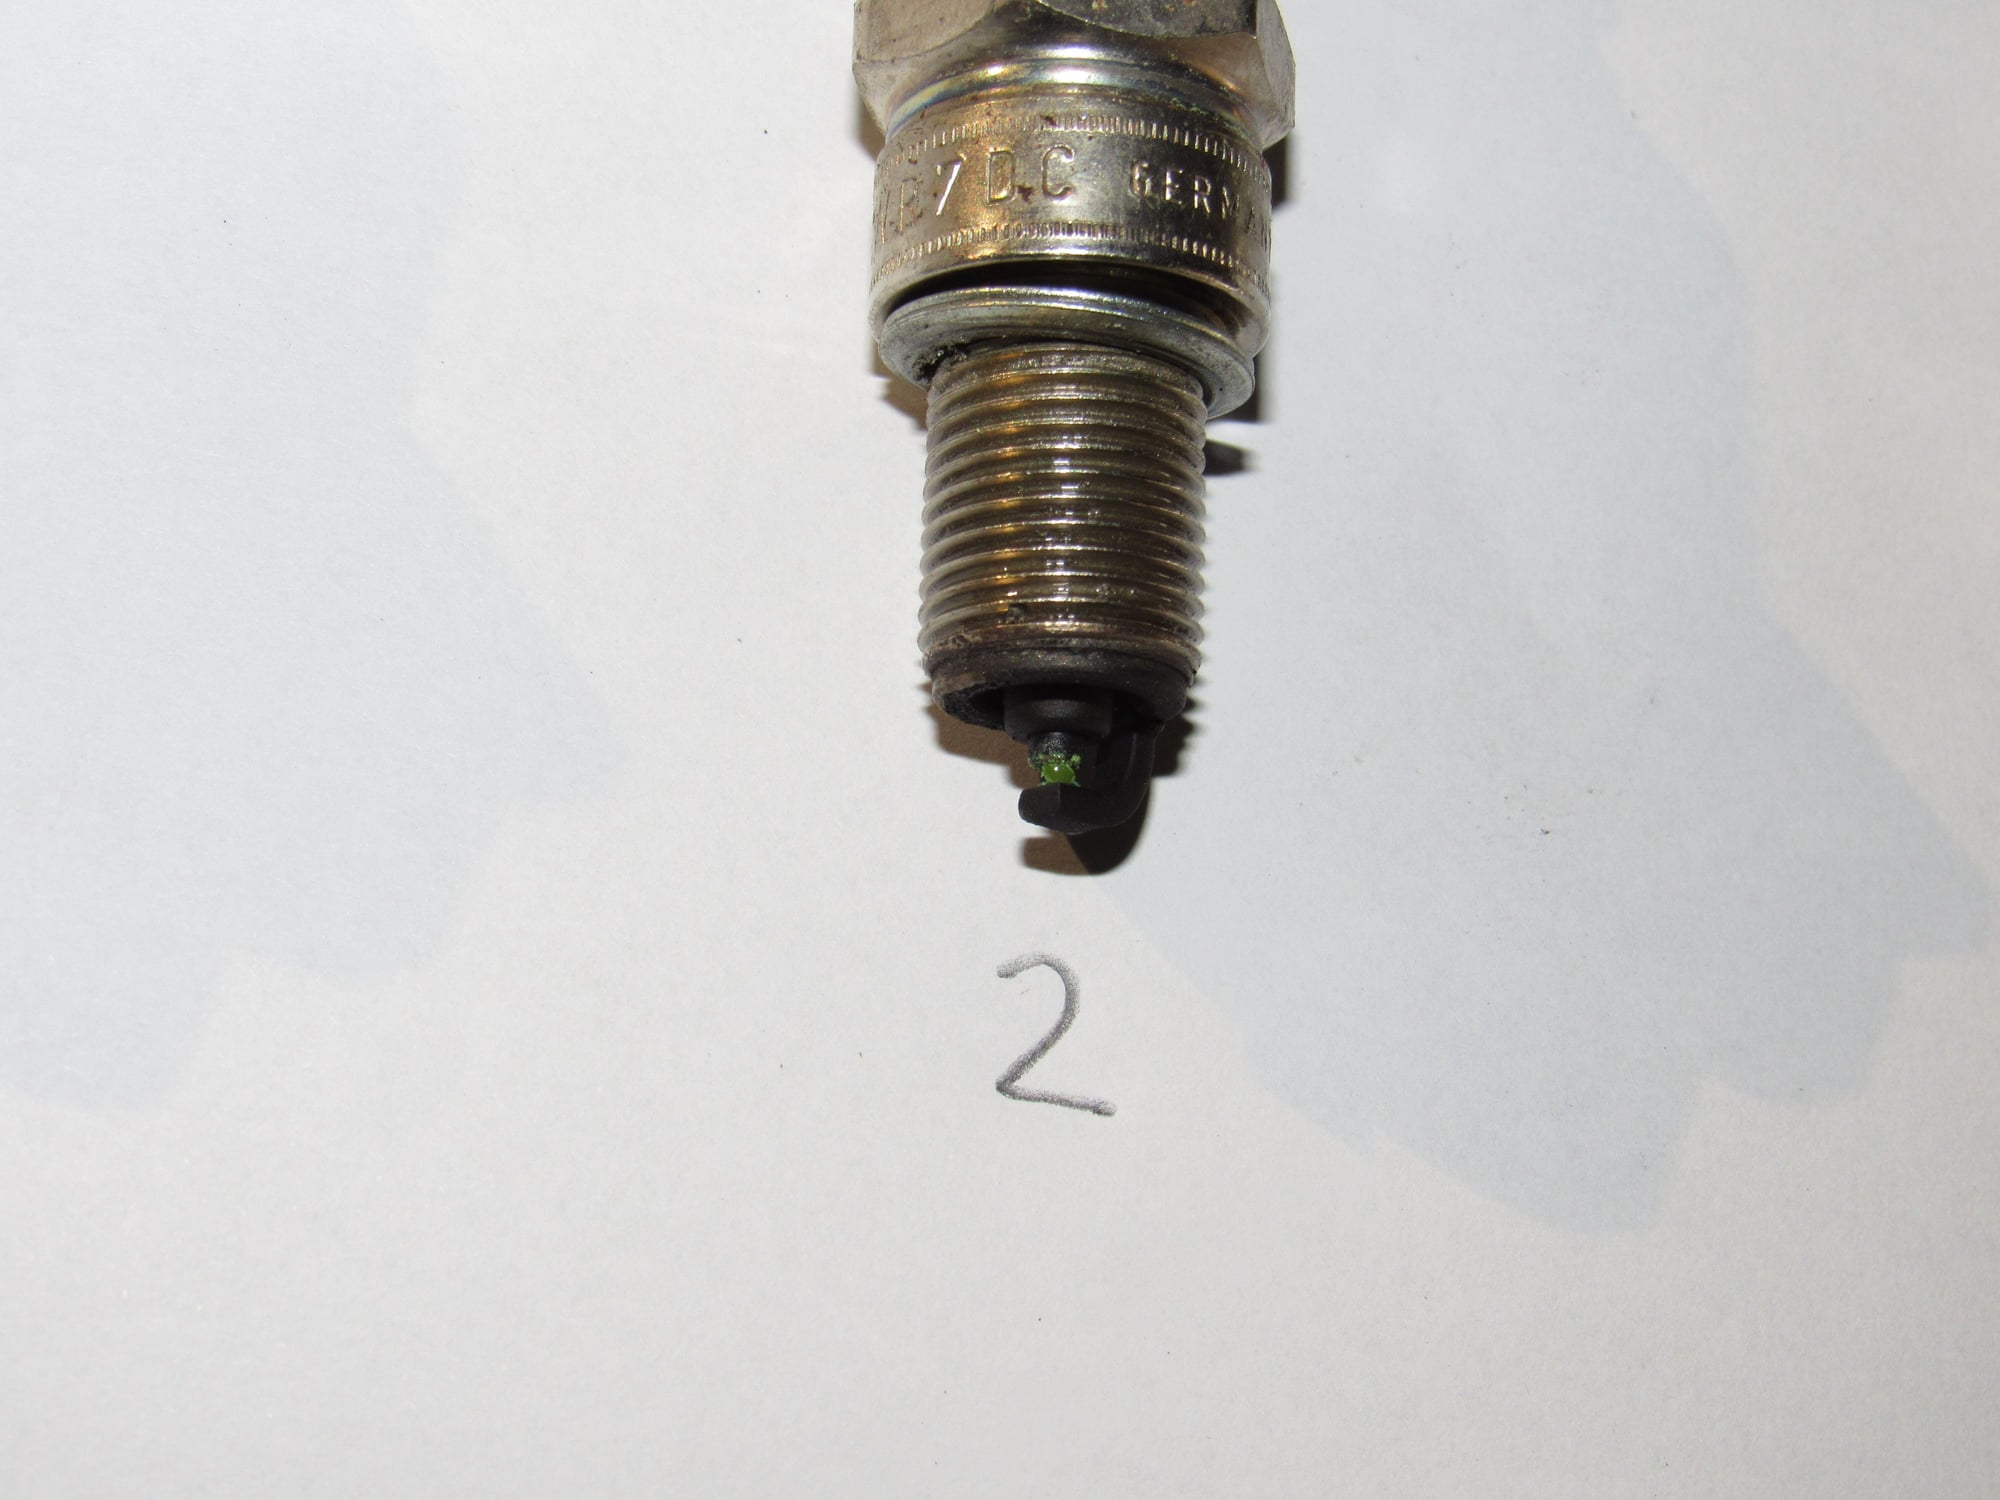
All spark plugs are uniformly black but #2 and #7 have an odd green substance in the electrode gap.
I am thinking it must be coolant, which was green and very, very clean, but I do not see coolant in the cylinders. It will be interesting to see when the heads come off.
There was no rust at all in the coolant and even the steel lip around the water bridge port is perfect.
I gave the three accessible water bridge bolts a try and they came out no problem. Some corrosion on one but the threads that go into the block are clean.
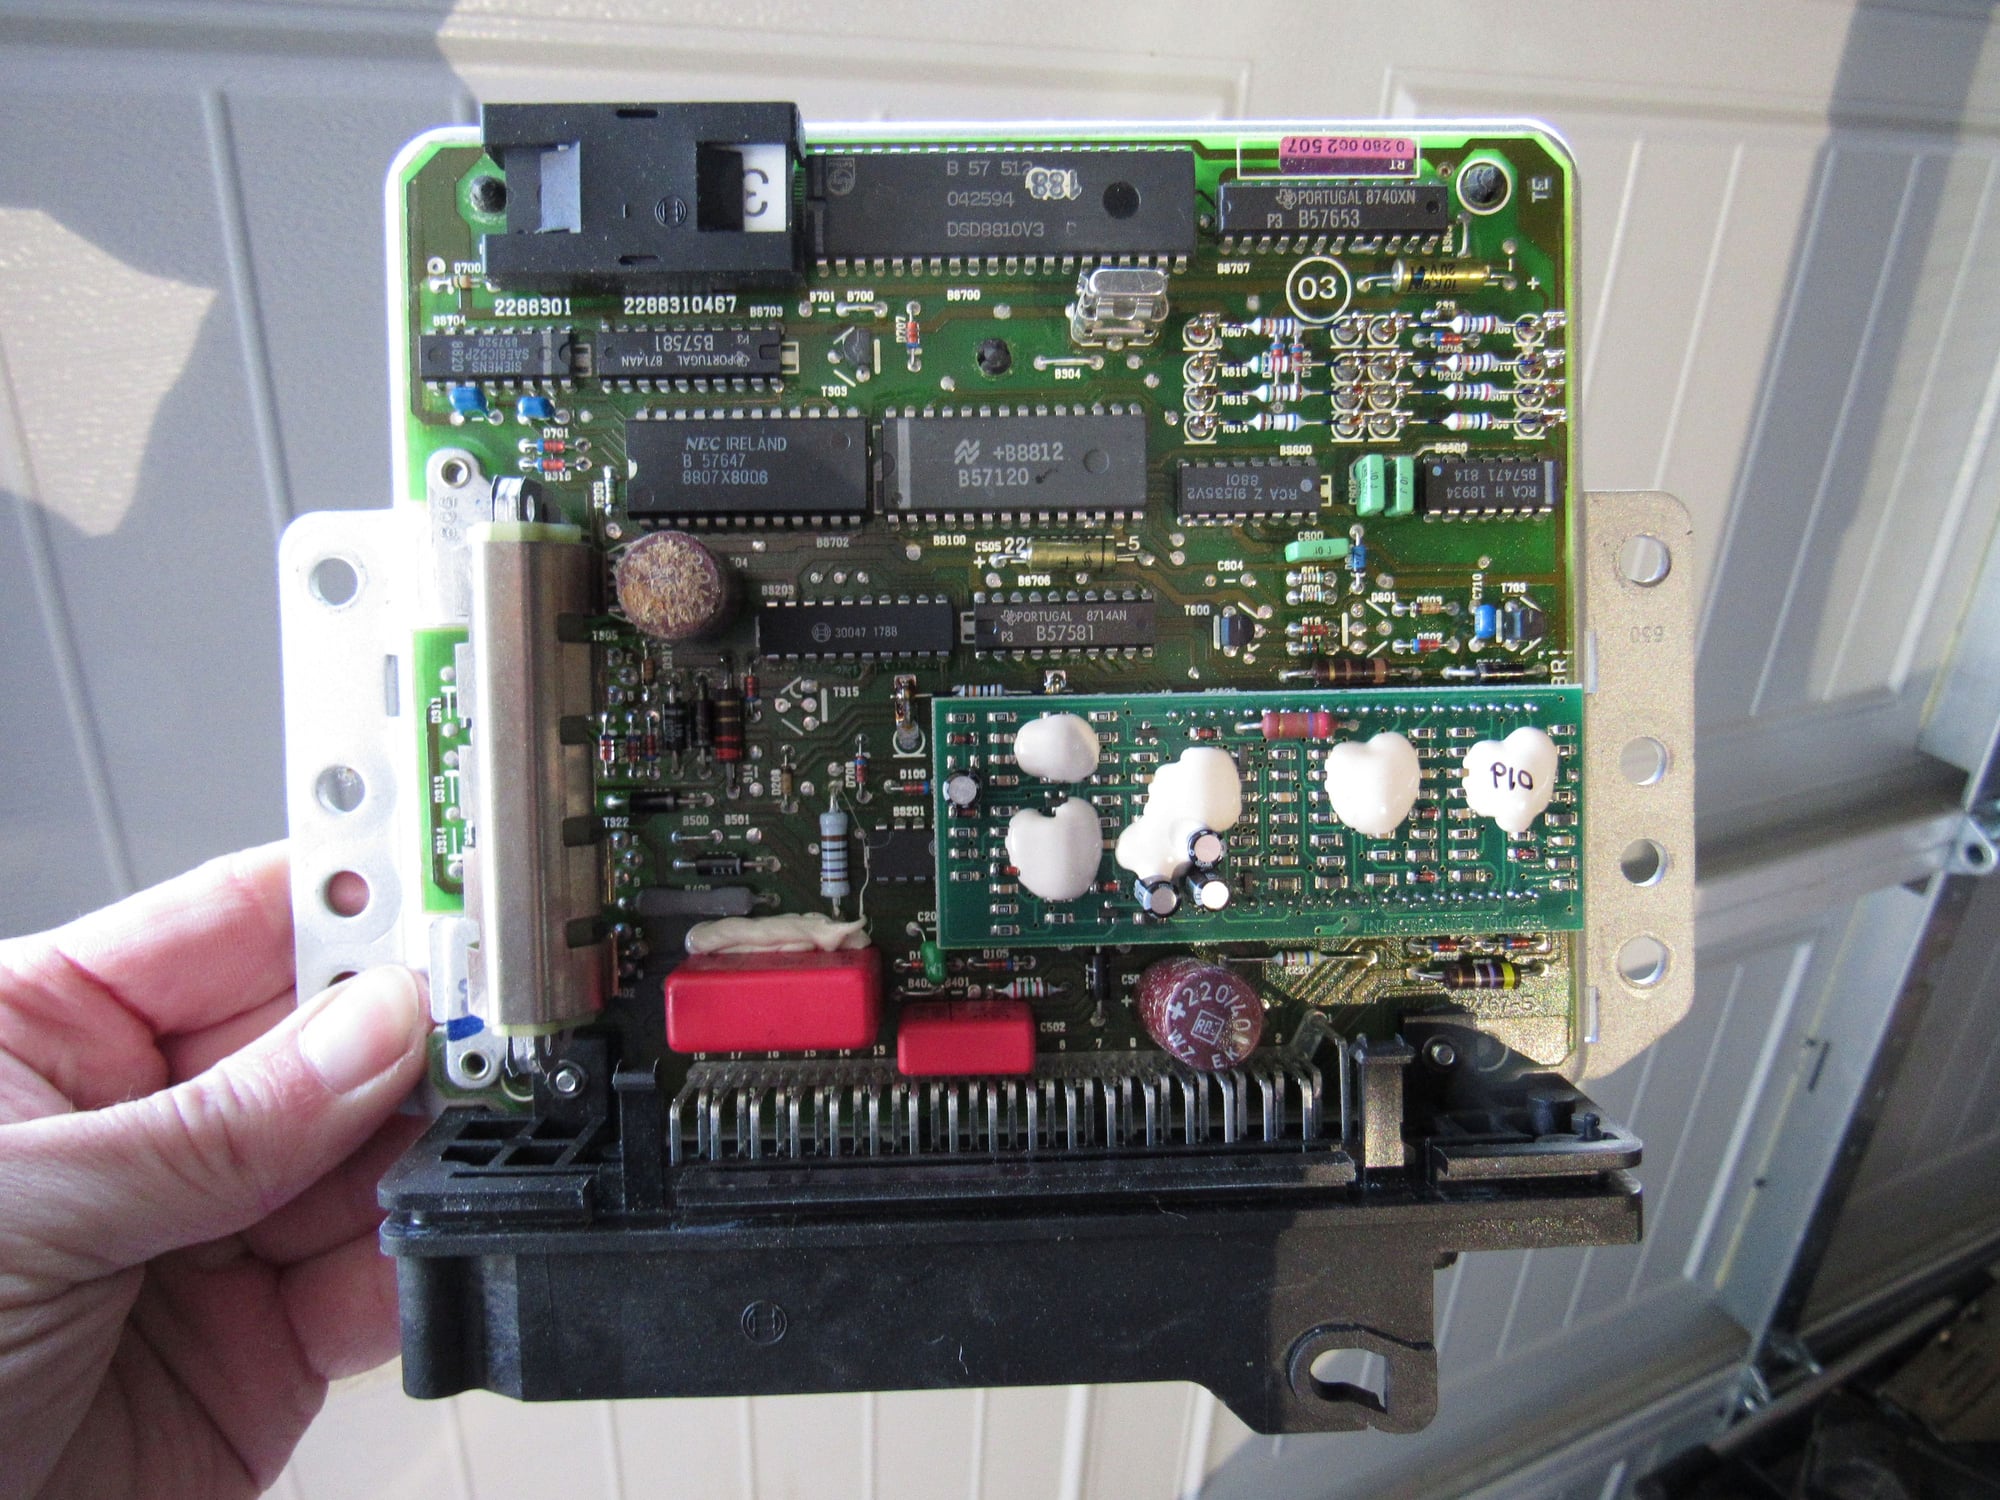
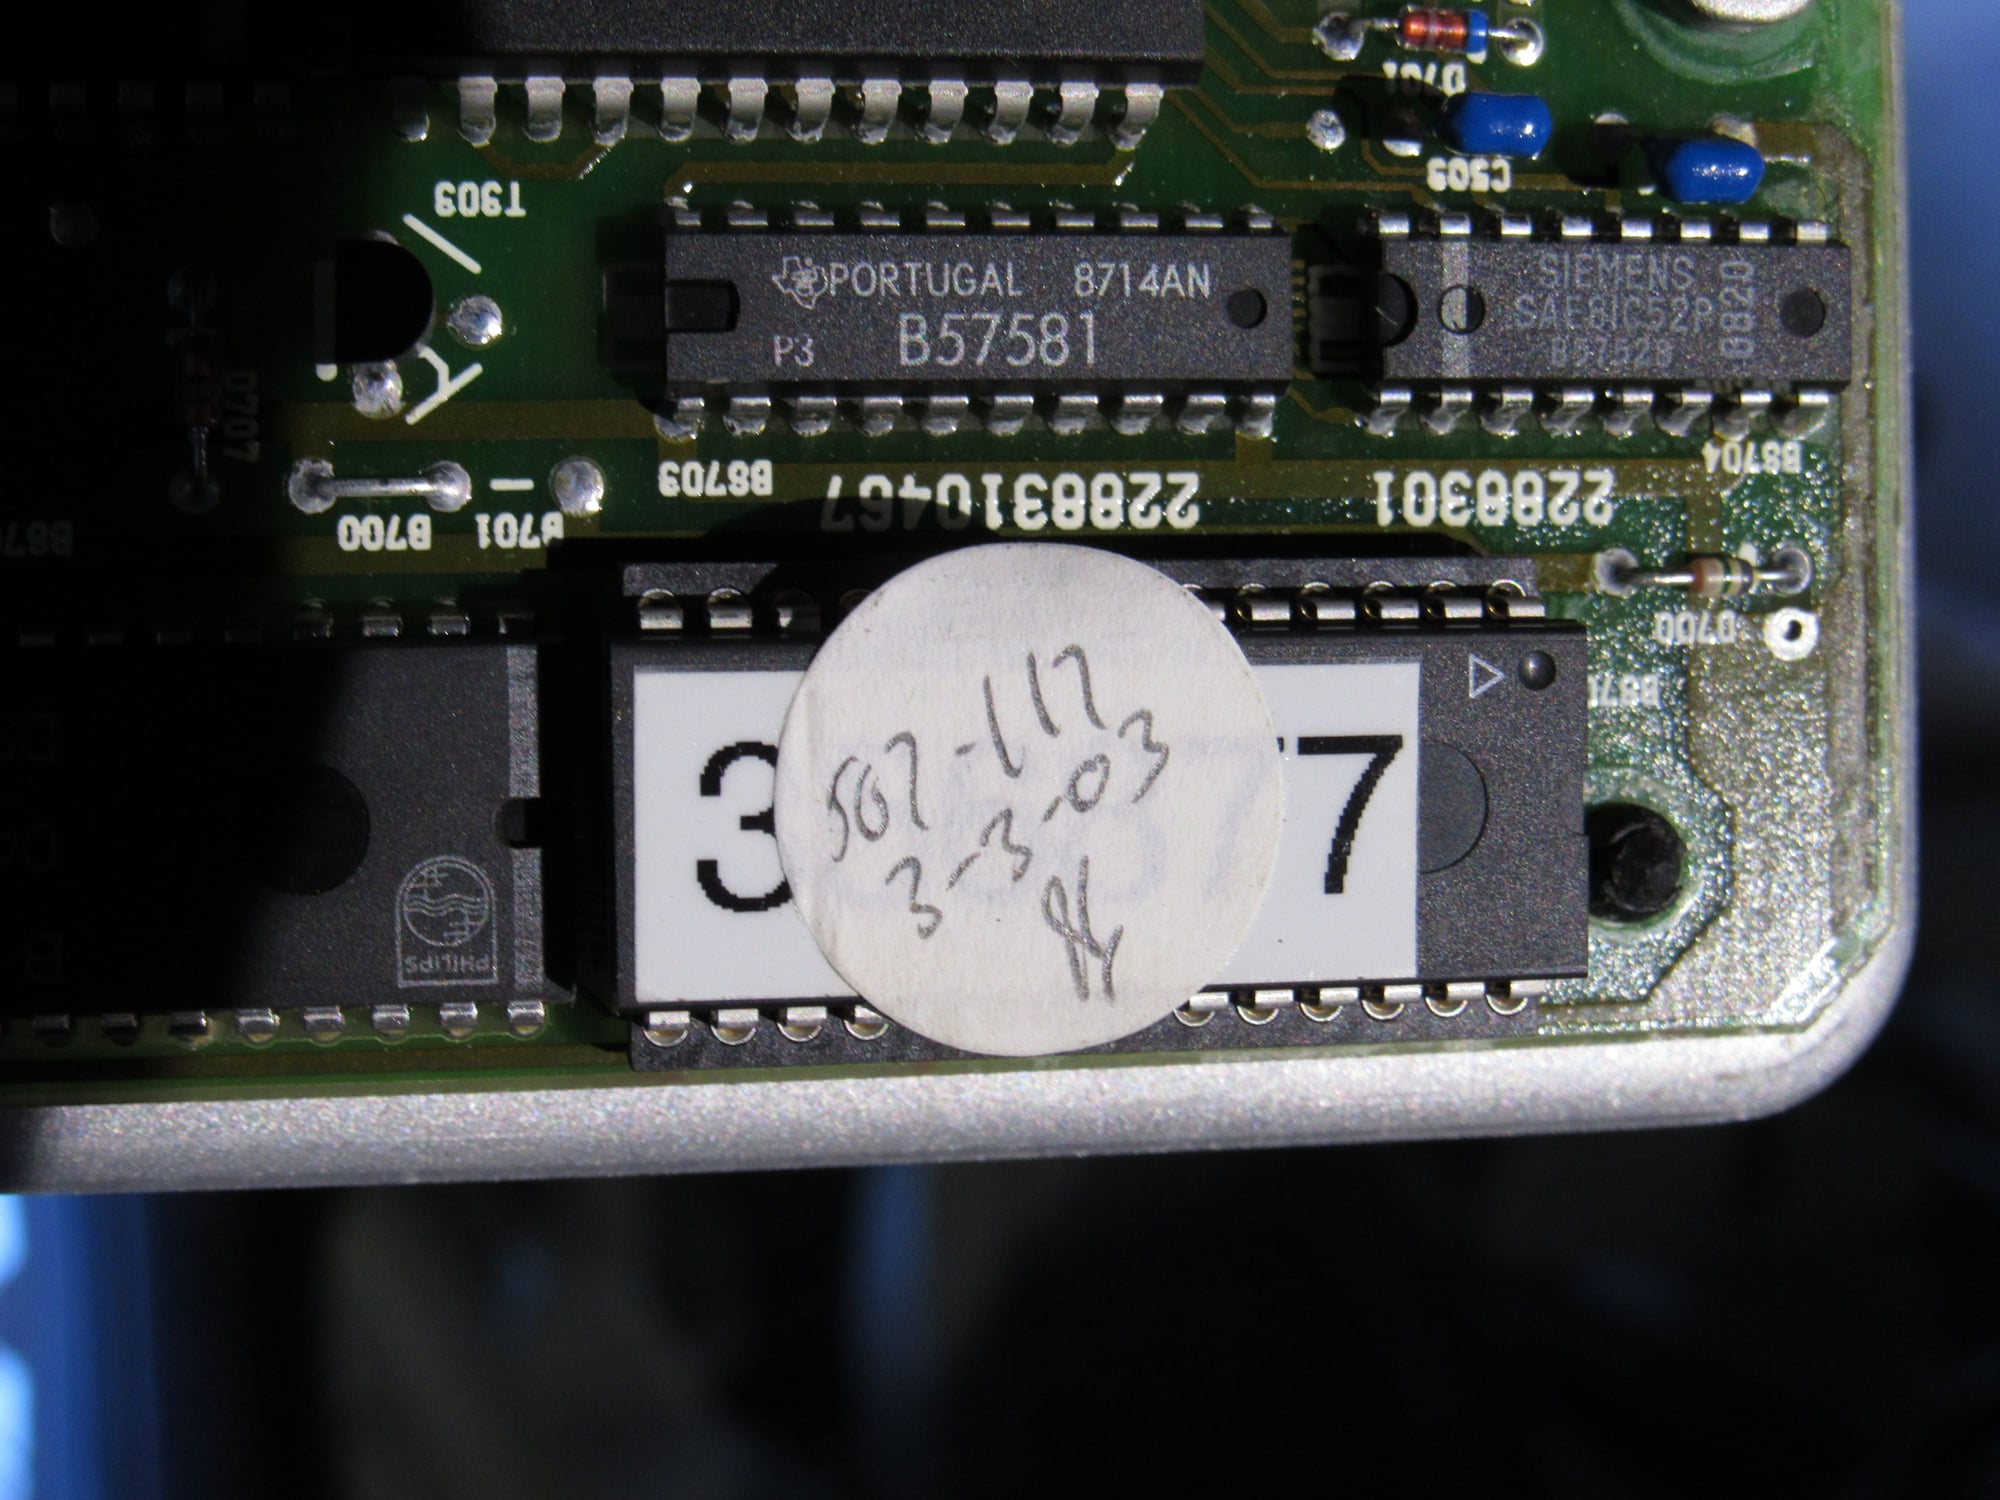
Before I post more progress I want to state that despite appearances, the engine ran well and all components such as knock sensors, WOT switch, and temp sensors tested good. I had a look in the LH and it was repaired in 2003, so says the sticker. Anyone recognize the signature on the sticker?
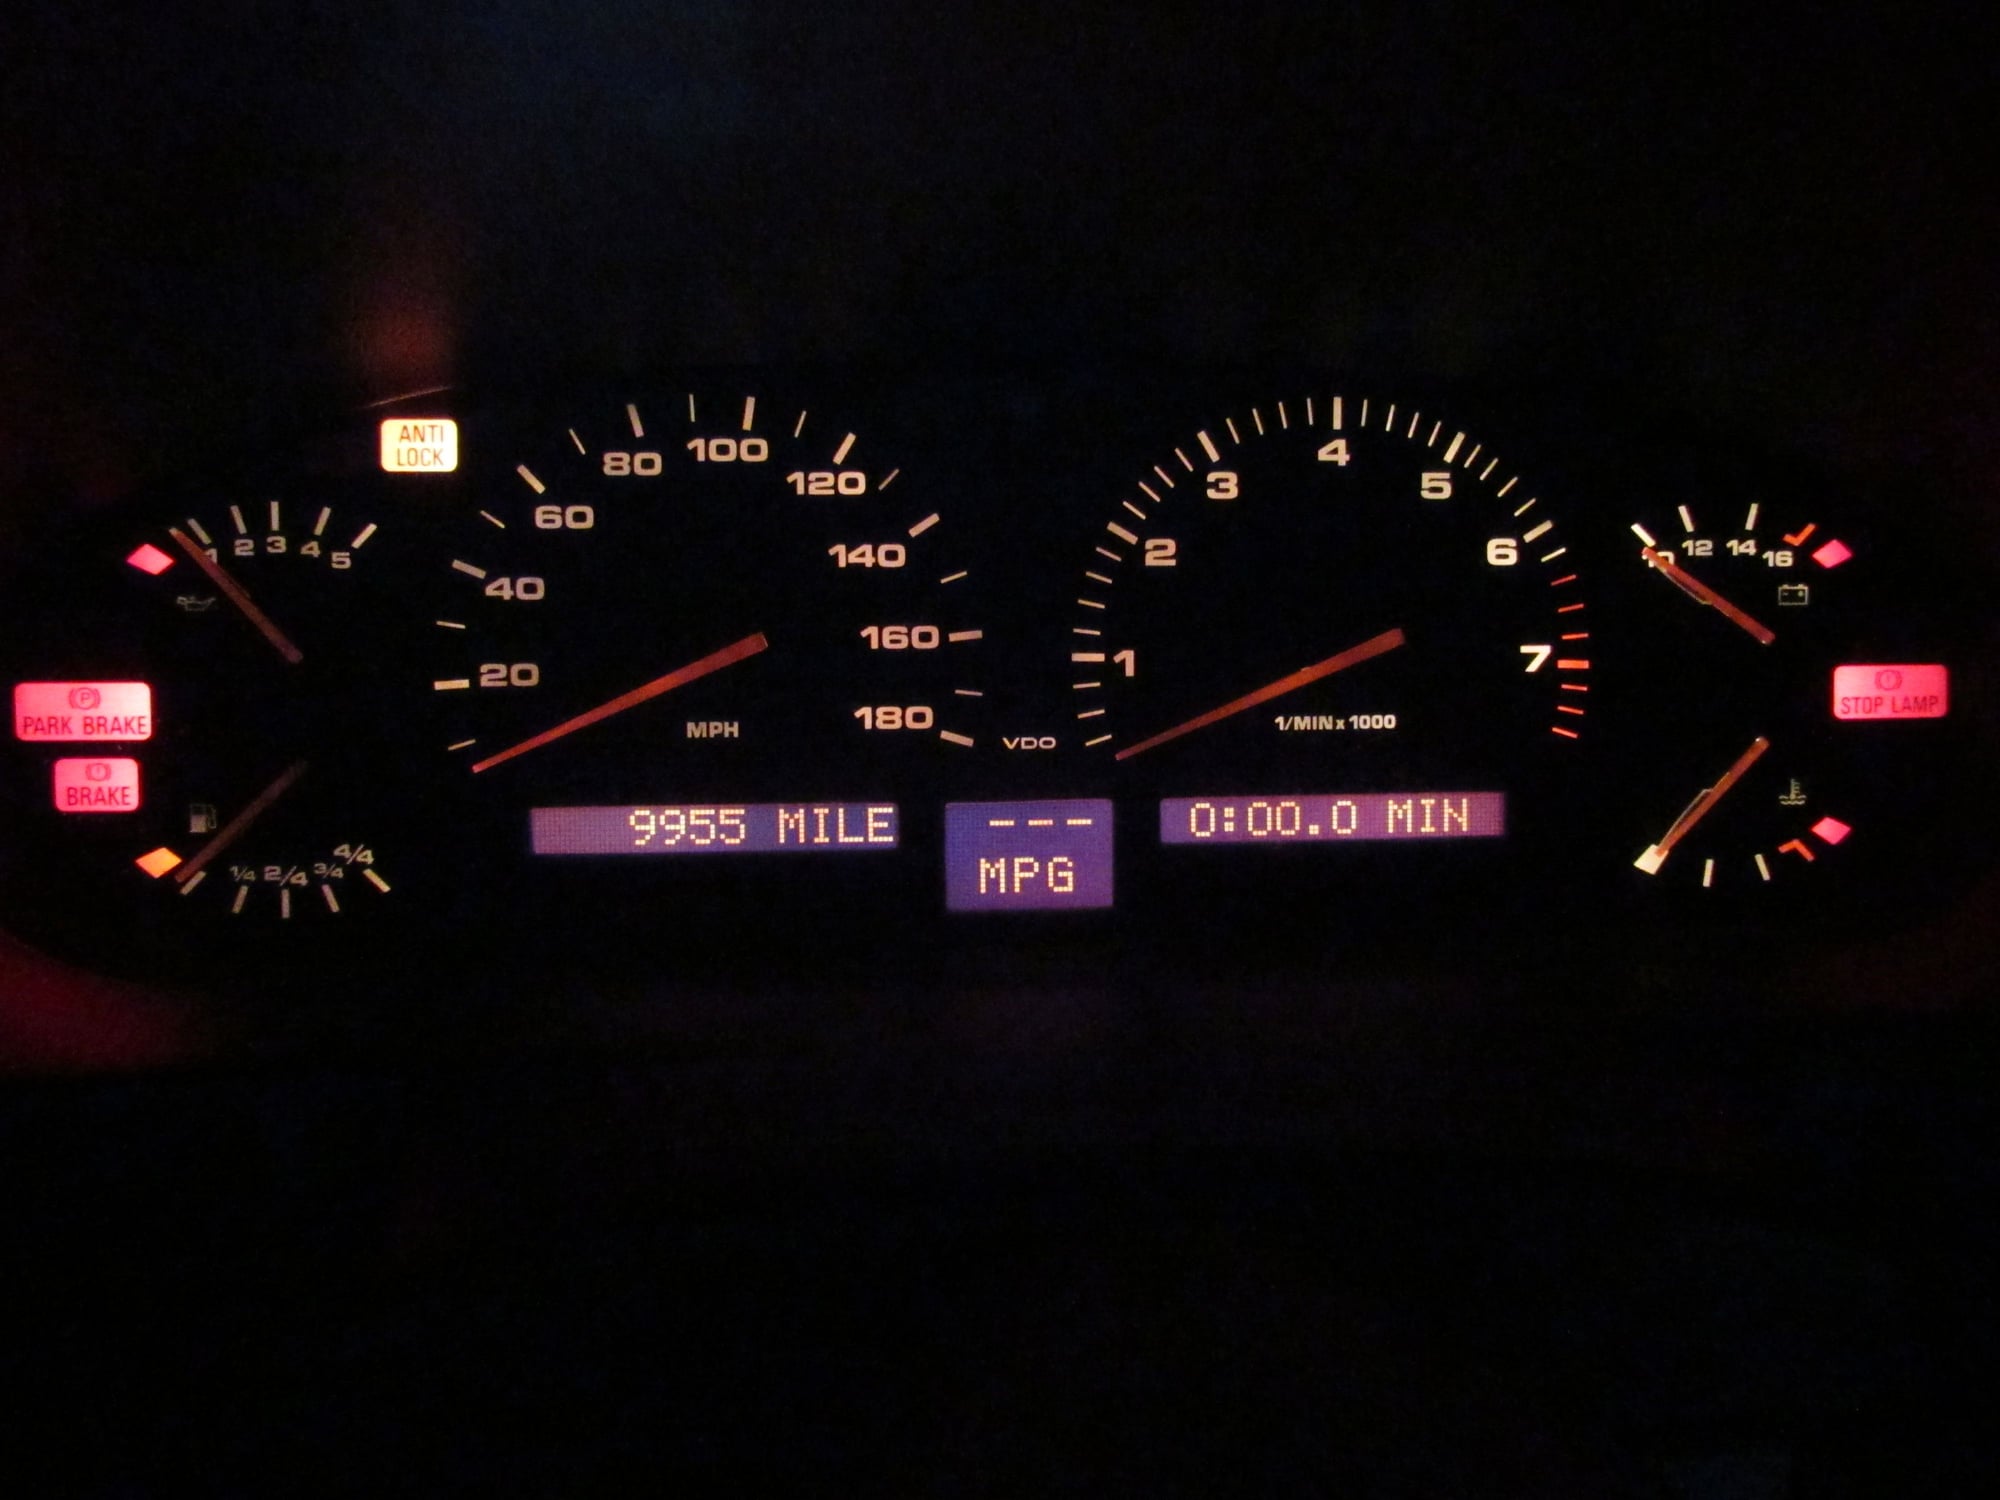
I will never know the true mileage of the car since the first two long time owners are deceased. I am the fourth, I think. The Carfax mileage is interesting. Only 1300 miles by 1995 jump to 57k in 1997 - almost 56k miles in 2 years? 61k in 1998 72k in 2001 112k in 2002 - 40k miles in 6 months?
Then exactly 1 mile the next two years and reset to 0 miles for 2005.
The cluster has been replaced (around 2004-2005, based on the above). A nice goal would be to get the car to look like the odometer is correct. I am not trying to fool anyone though.
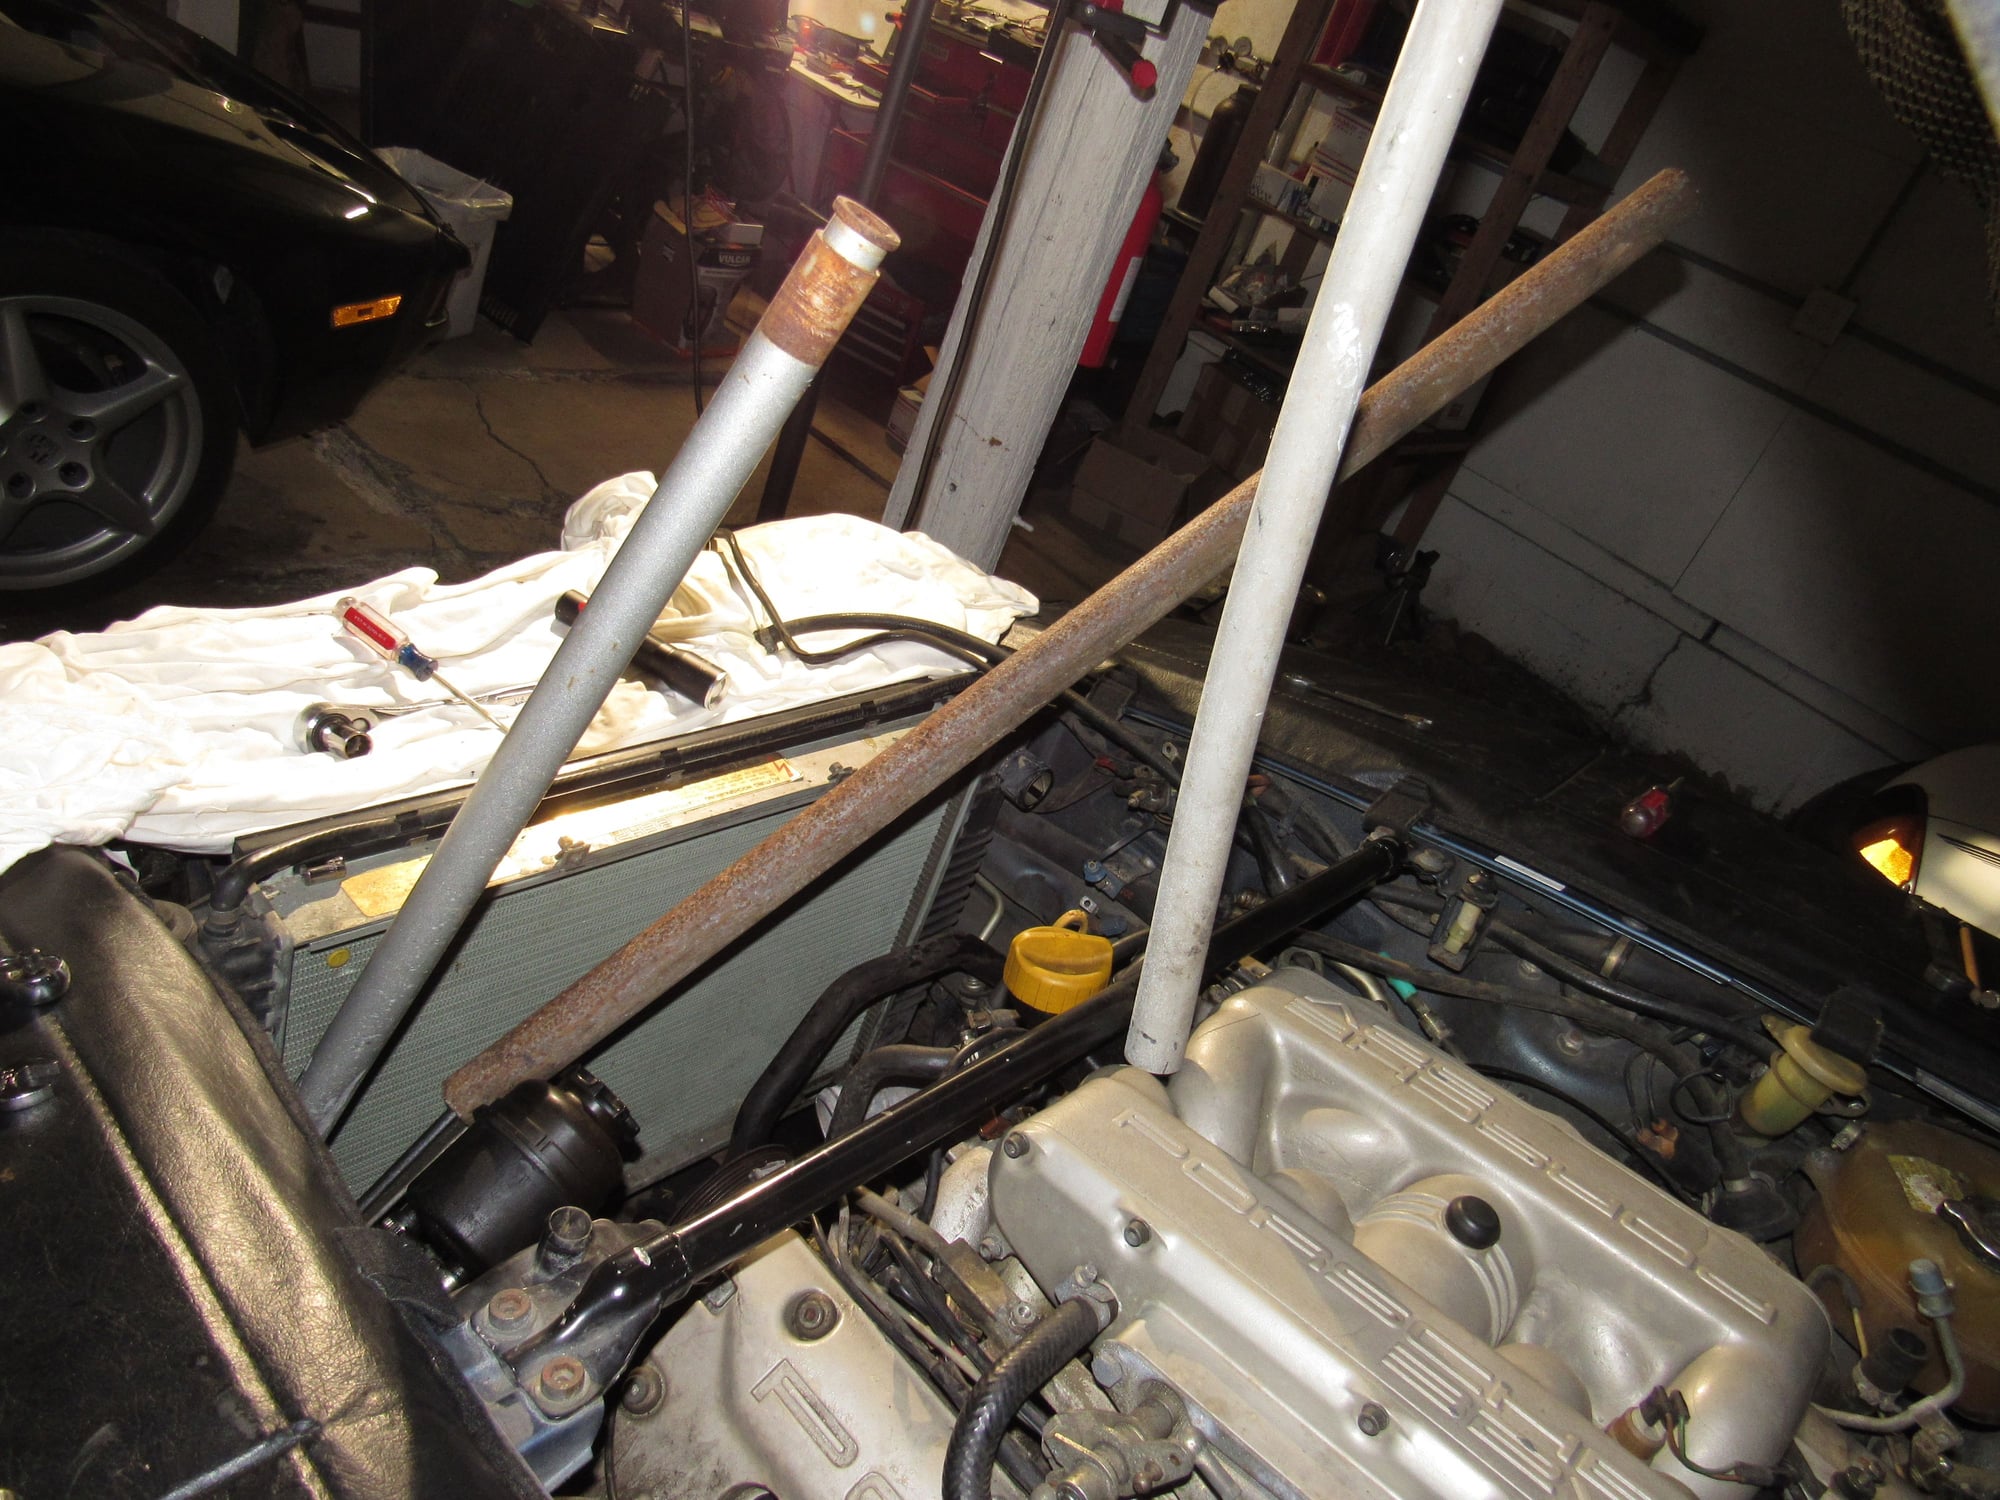
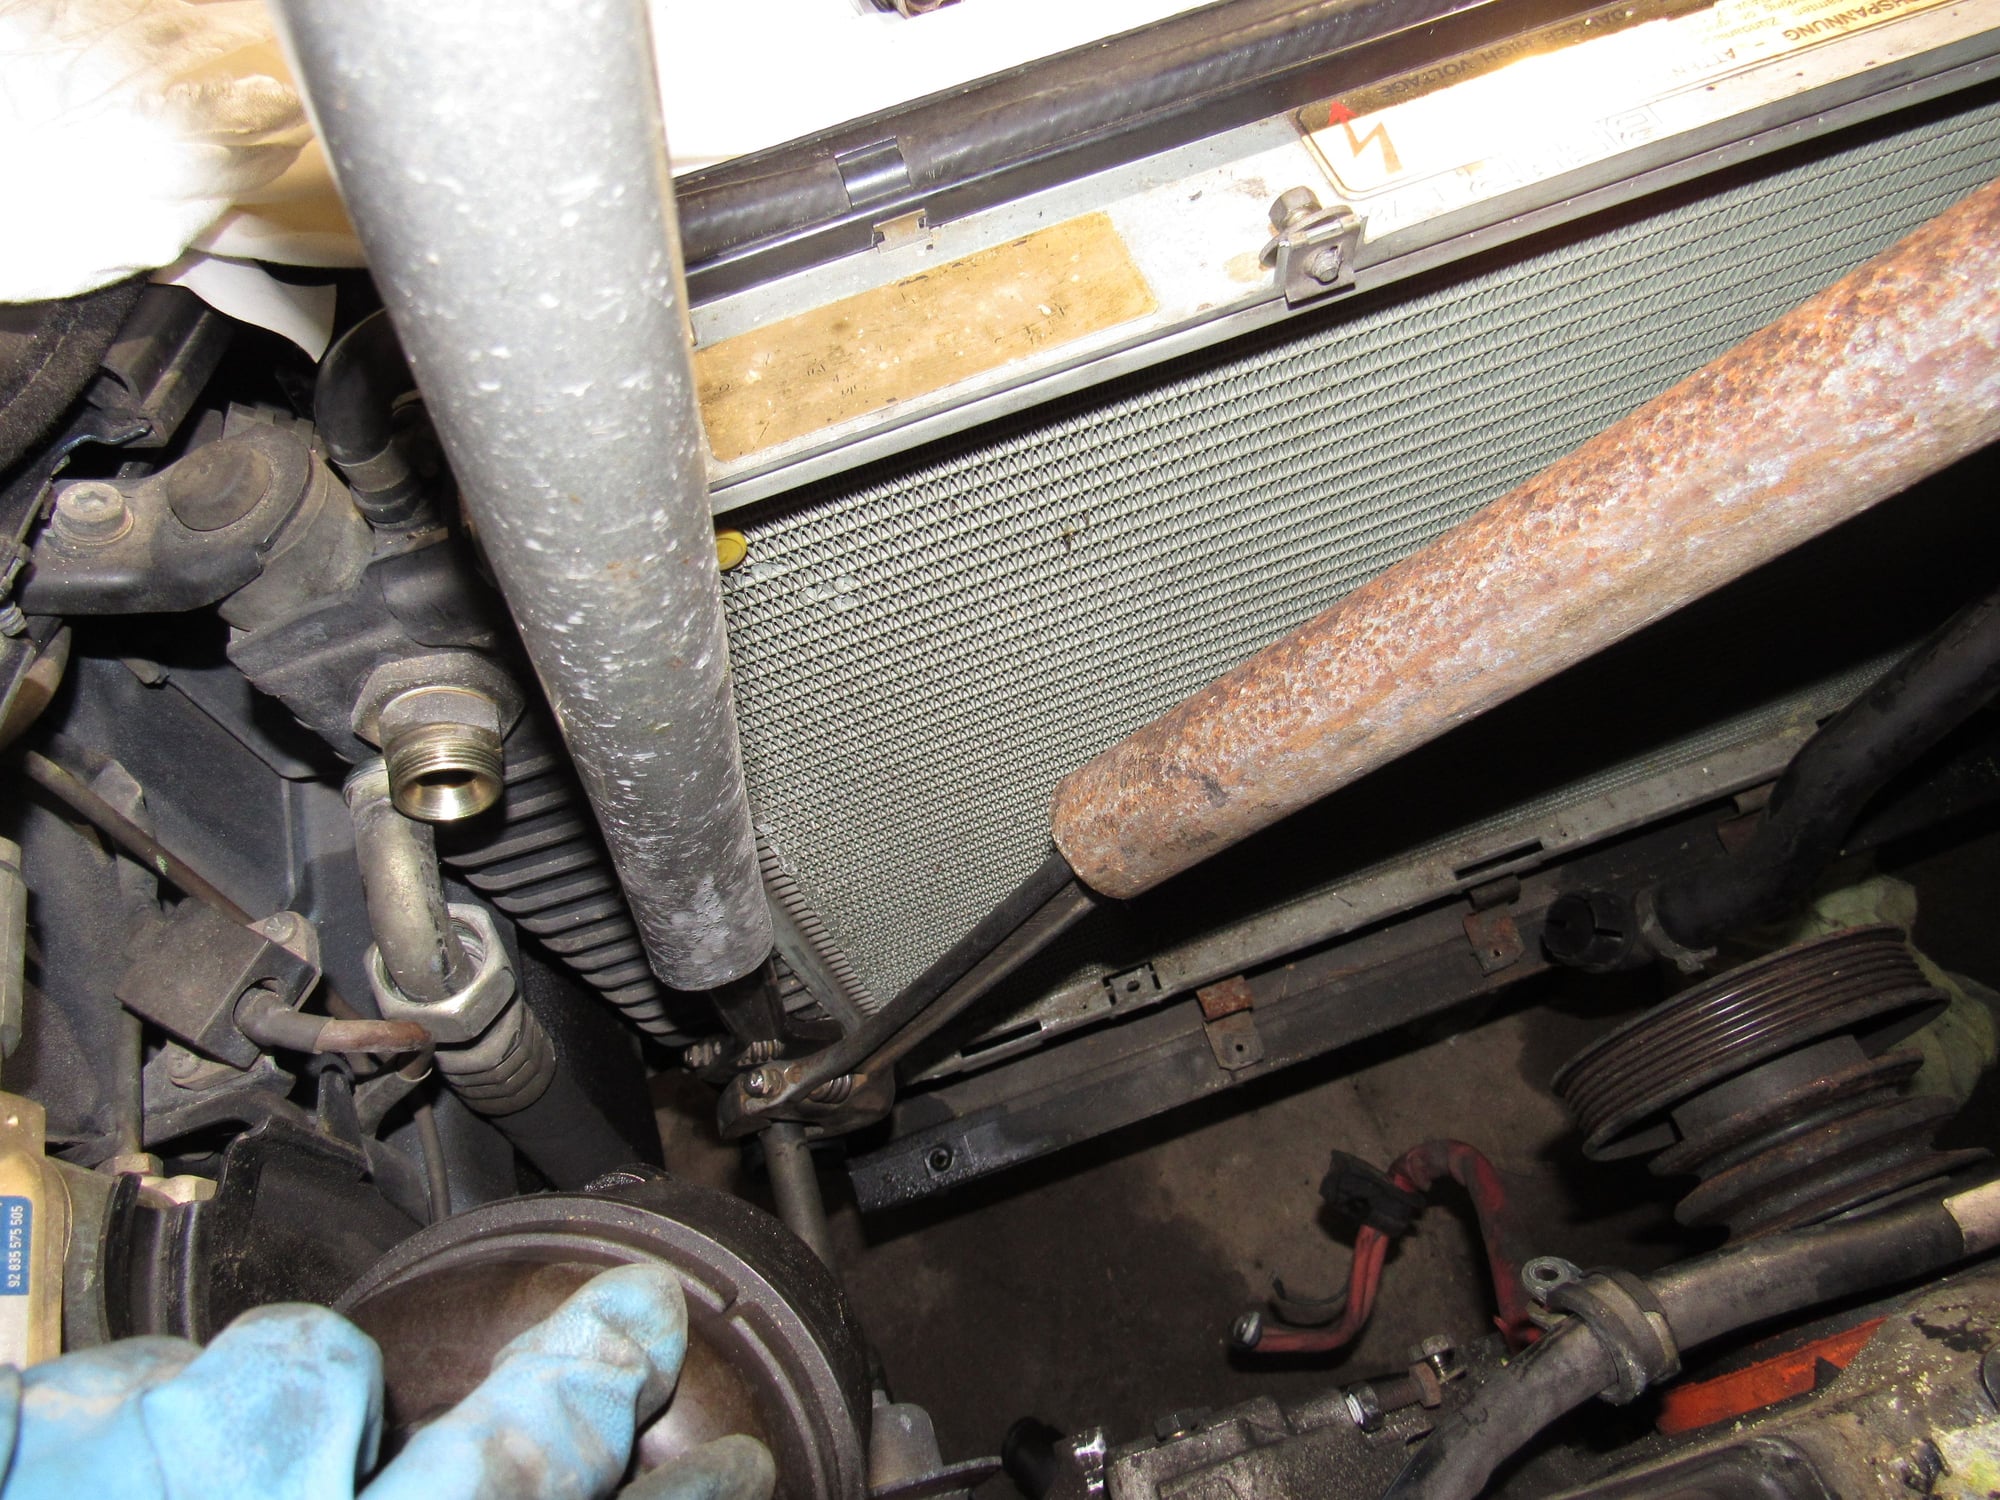
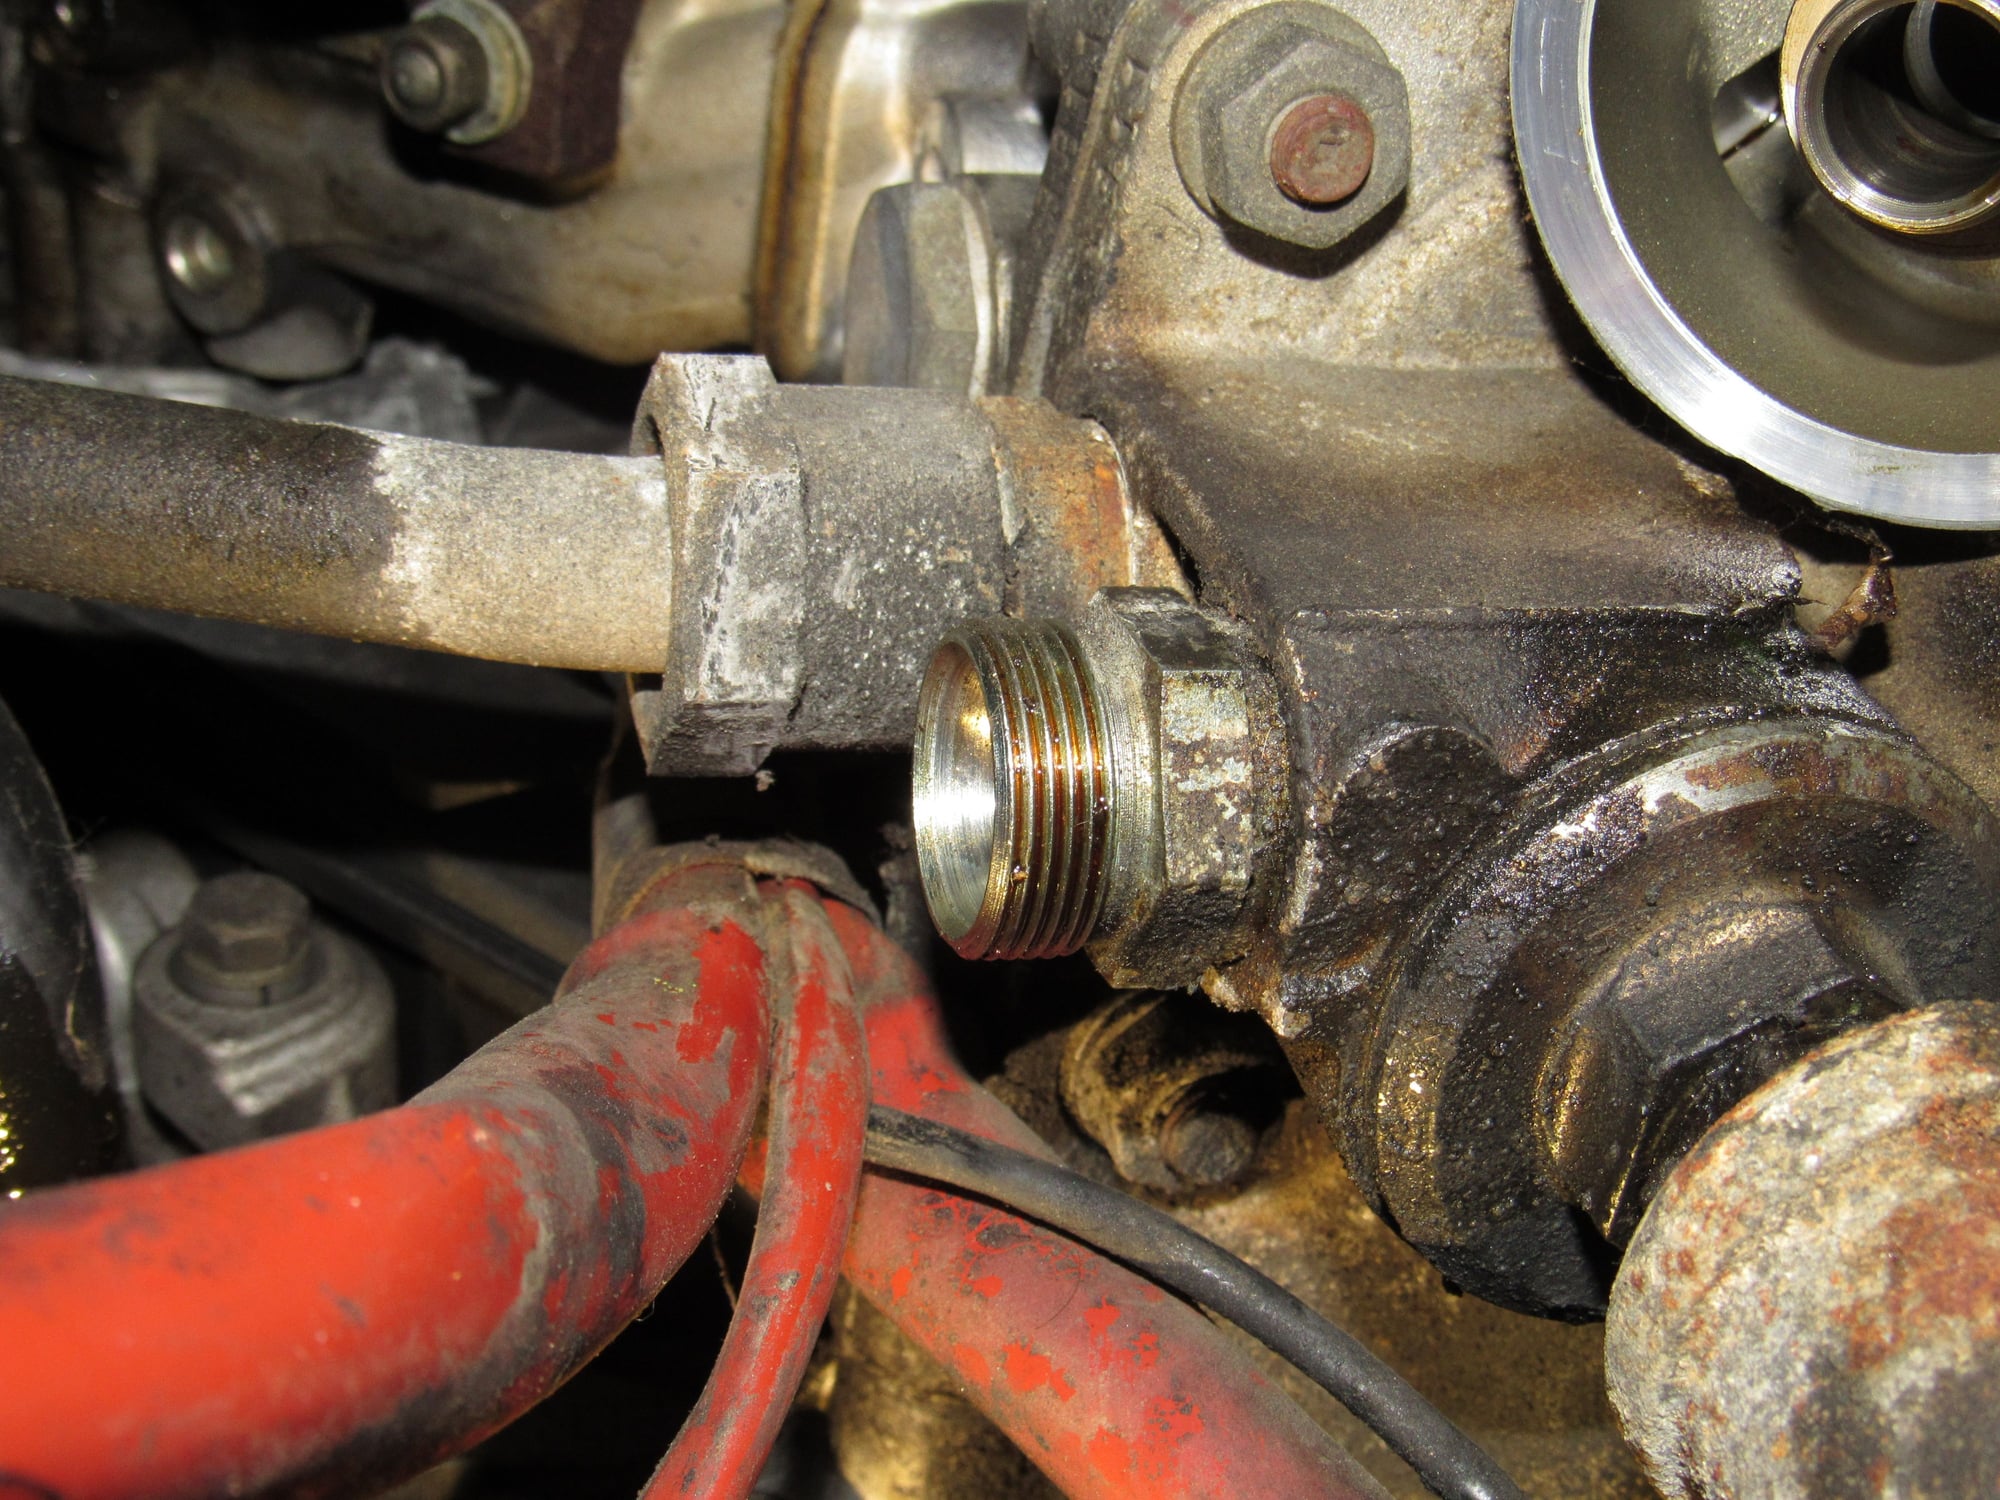
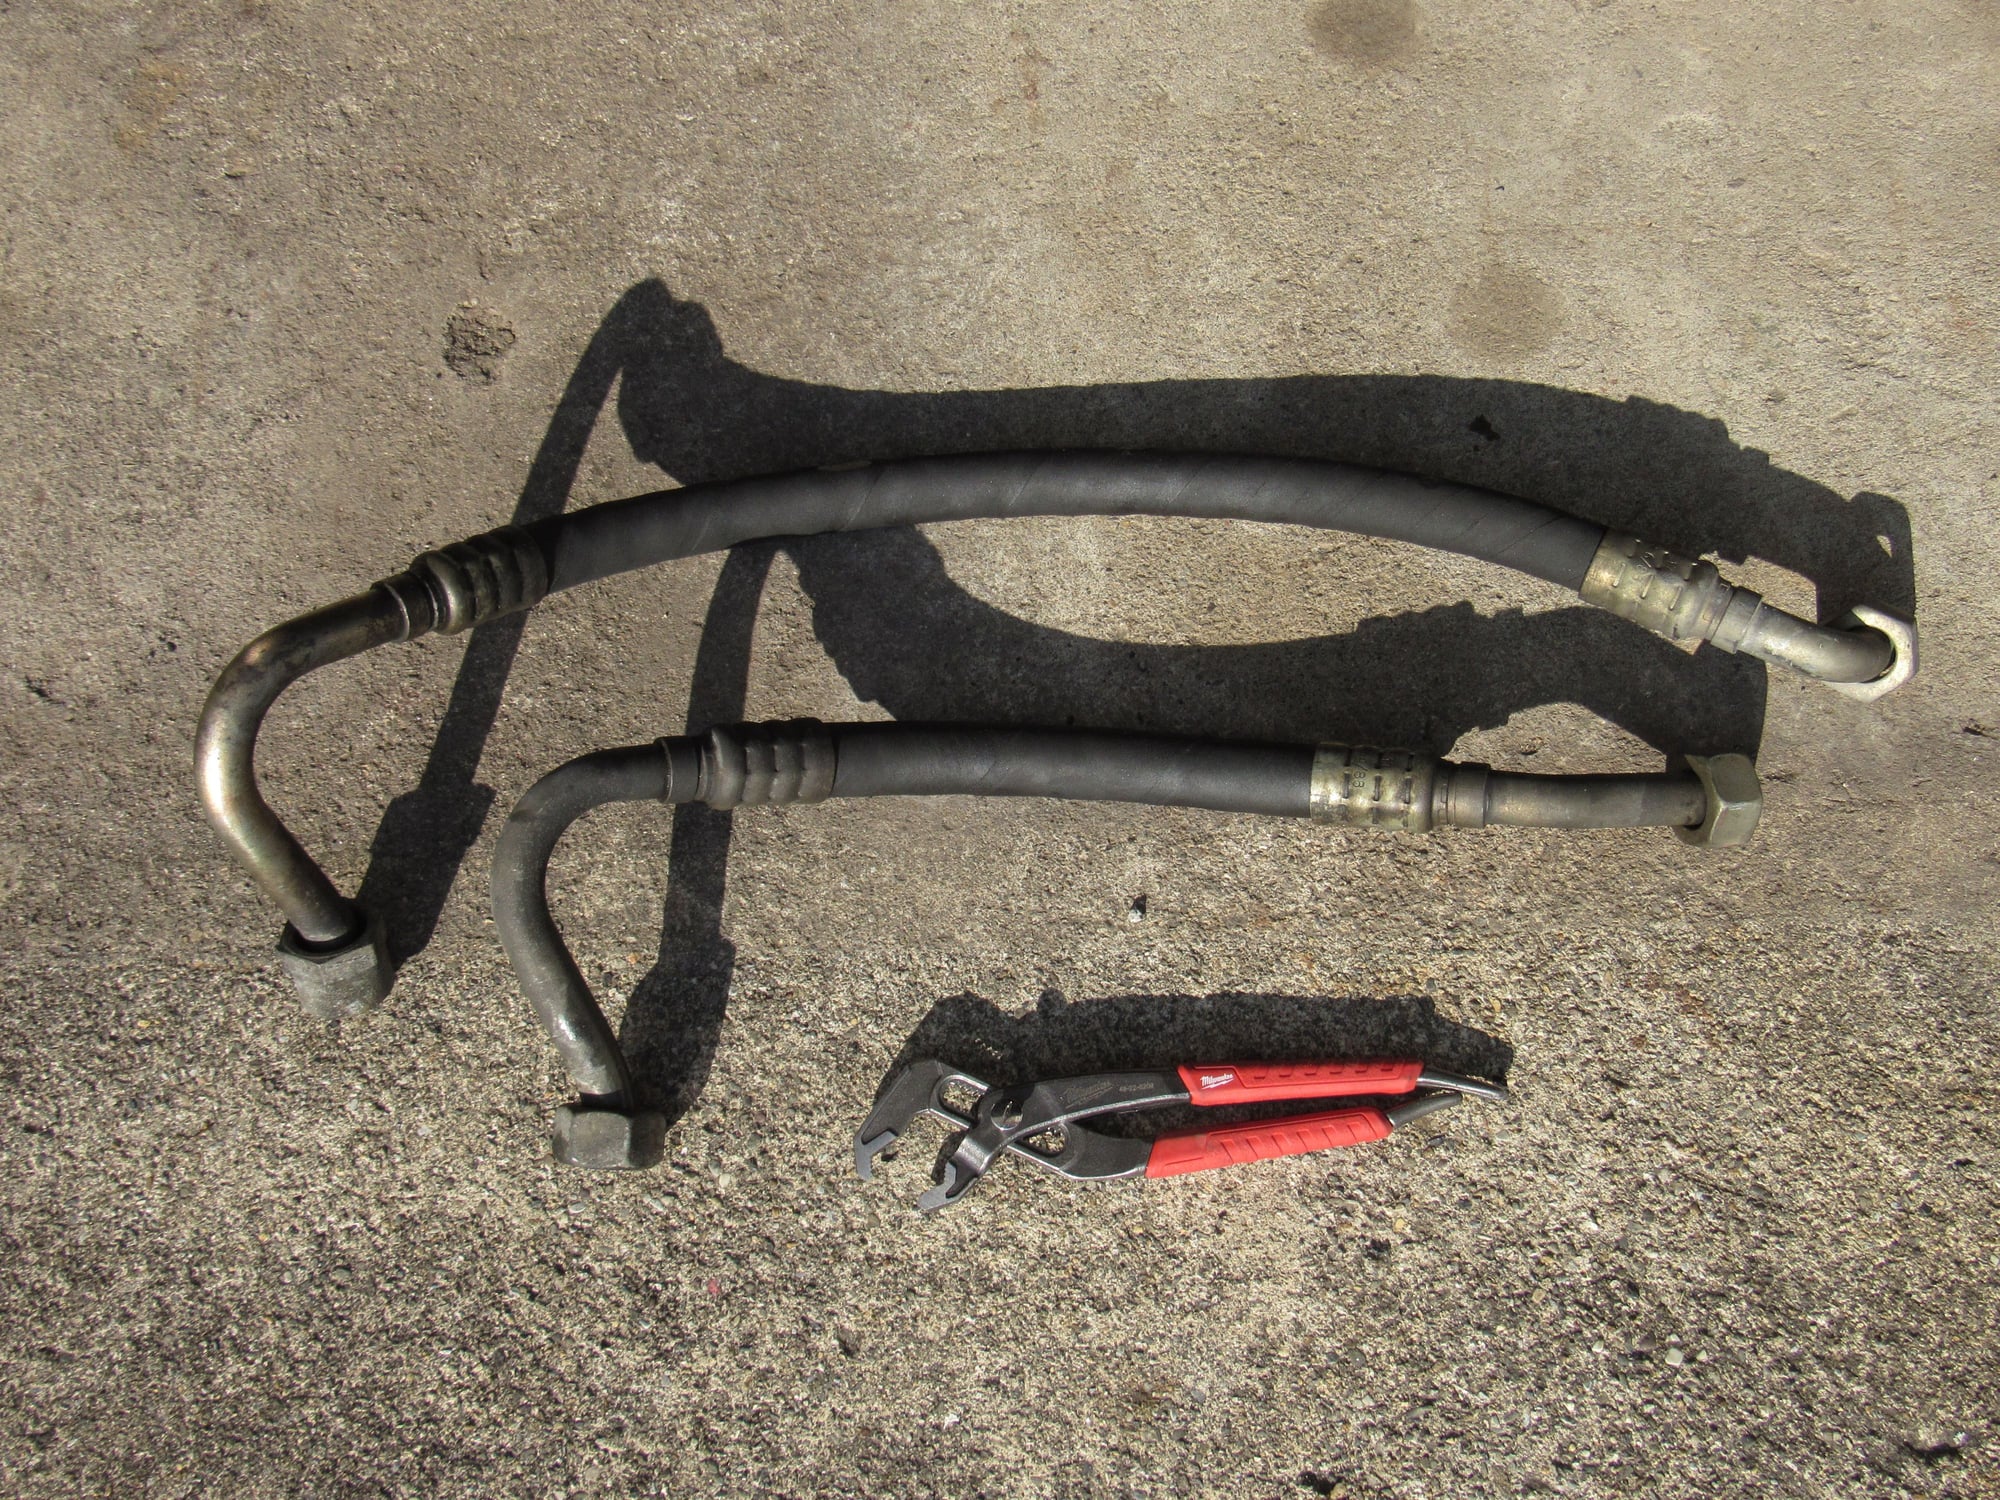
OK so back to work. The fans are a real pain to remove, I think the key was removing the alternator belt. Once that was out I could remove the oil cooler hoses and remove the radiator. The top fitting was pretty easy but the bottom was putting up more of a fight. Rather than risk injury to me or the components I slipped some big dirty pipes over the wrench handles and the fitting broke loose with hardly any effort.
At the block end the bottom hose was no problem but the fitting that stays in the block (that is locktited and should not be removed) blocks clear access to the top one for counterholding. I posted a question and Snark Shark recommended a tool. I found a very similar tool, an 8" Milwaukee V jaw plier at Ace hardware. I still could not get a perfect grip but good enough to free the hose.
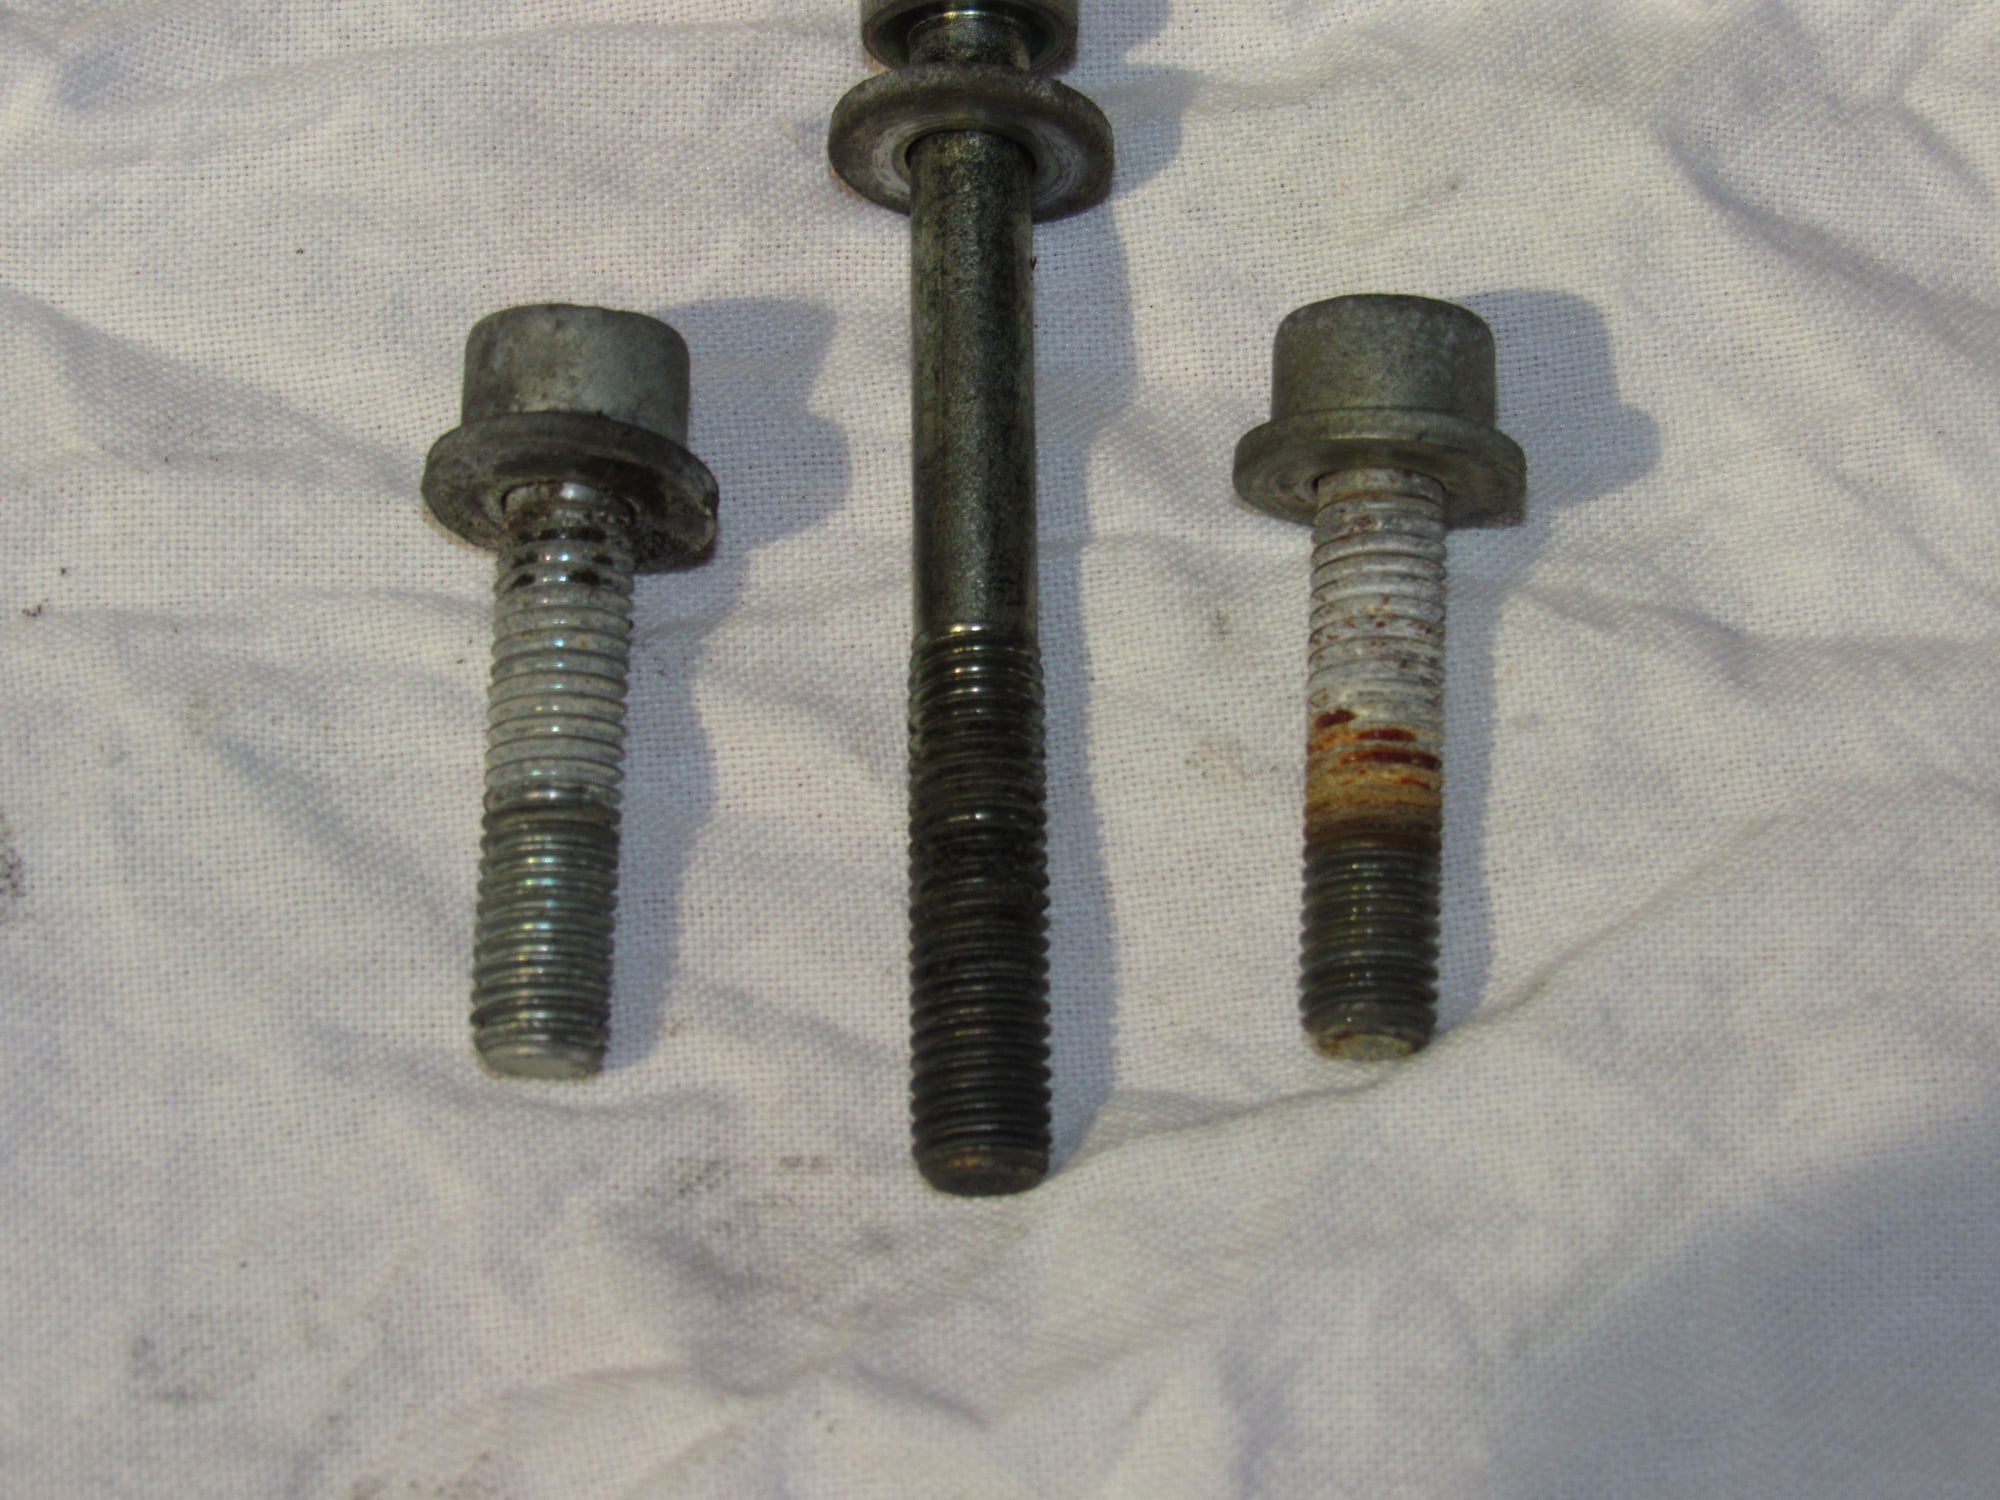
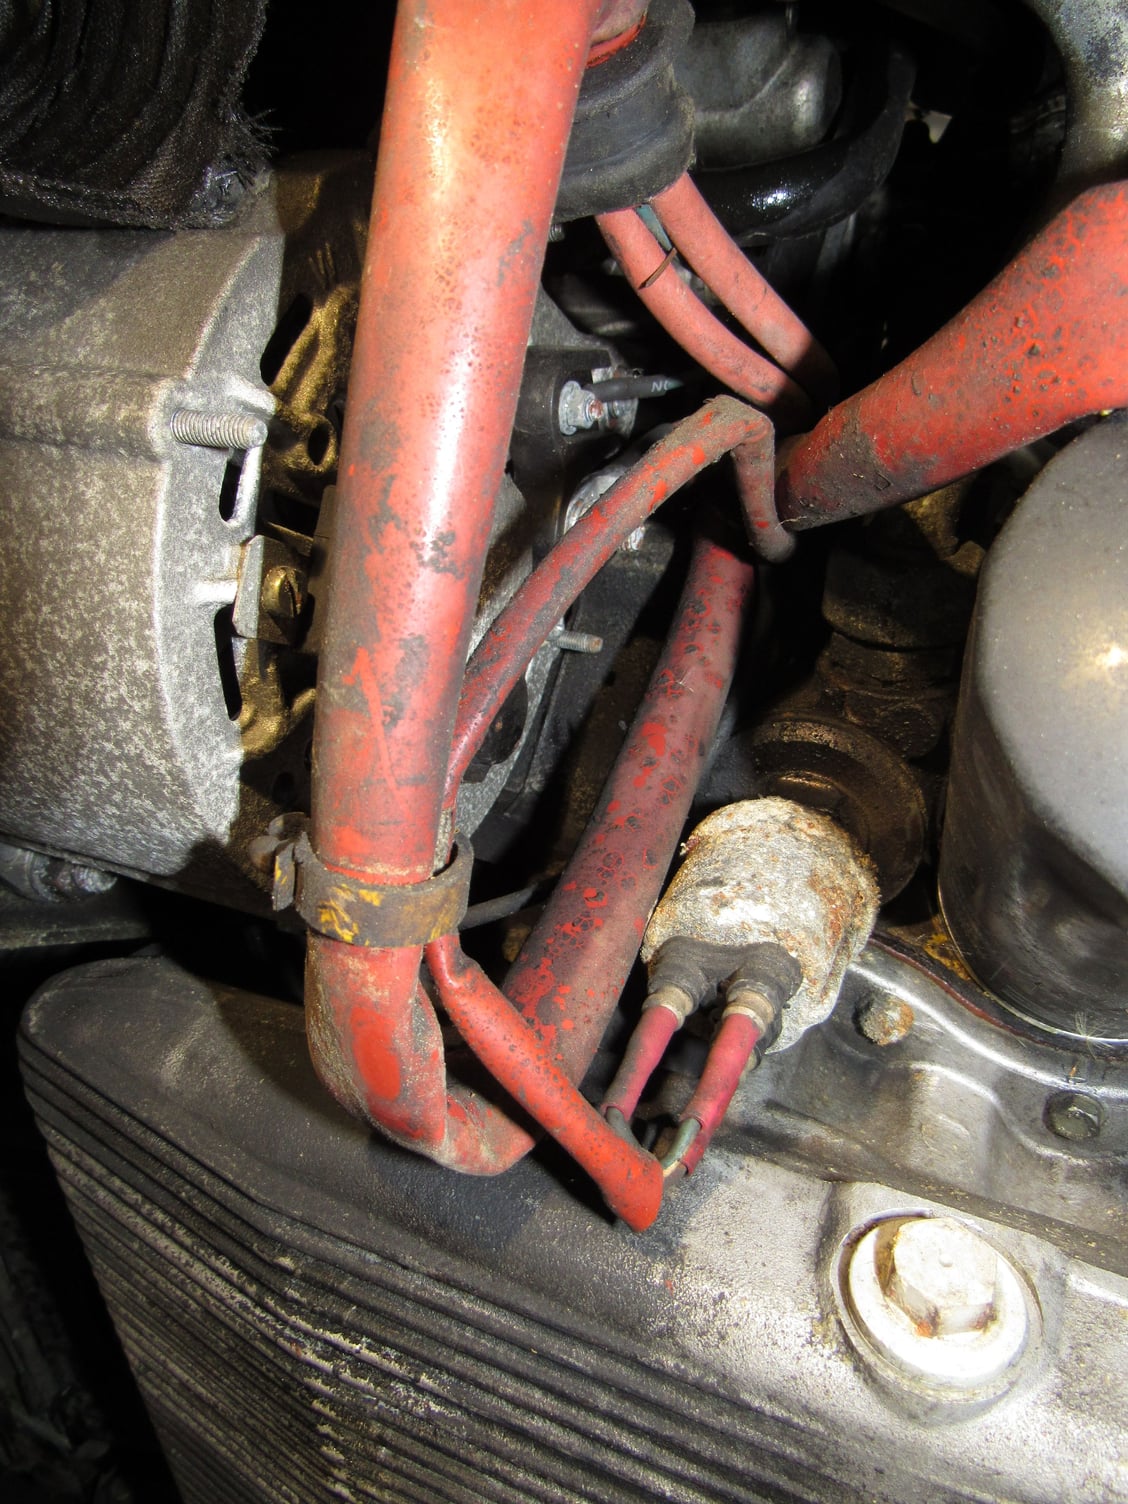
I have removed all of the accesories. The PO had told me the alternator was replaced by the prior owner and gave me the cooling shroud. I had assumed a generic replacement was fitted with no provisions for the shroud. Actually it is a correct rebuilt Bosch with the extended bolts. I can only guess that a mechanic got lazy. Also how do you remove the three wires to the oil pressure sensor? Do you pull from the heatshrink or the brass part? The sensor will be replaced with a two pin unit since that is how the new engine wiring harness is built.
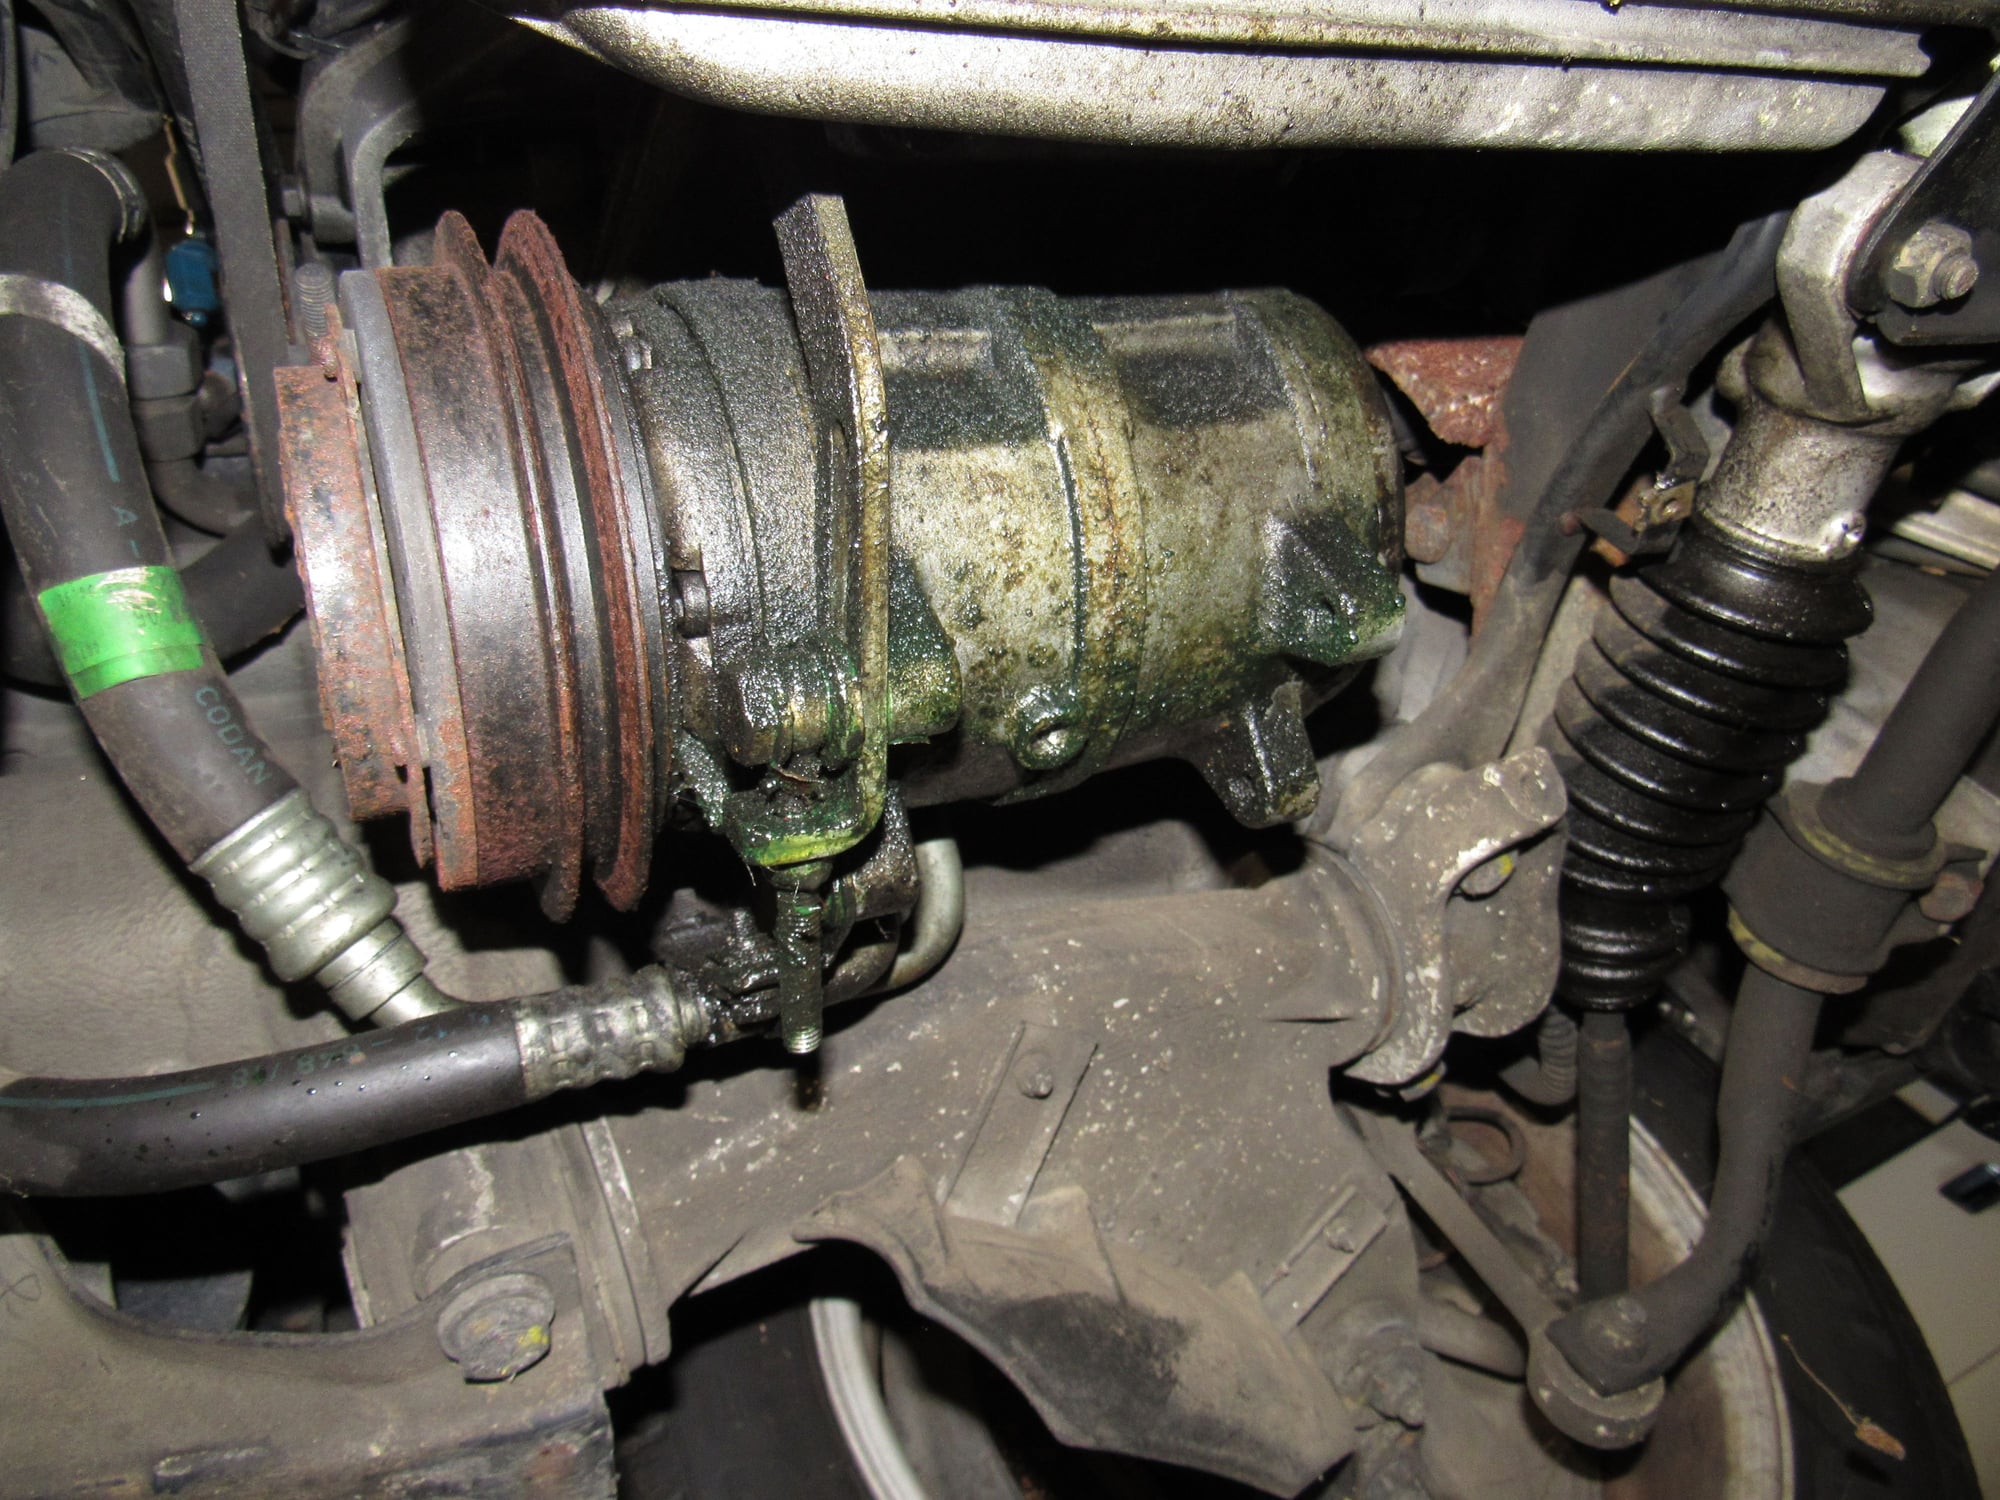
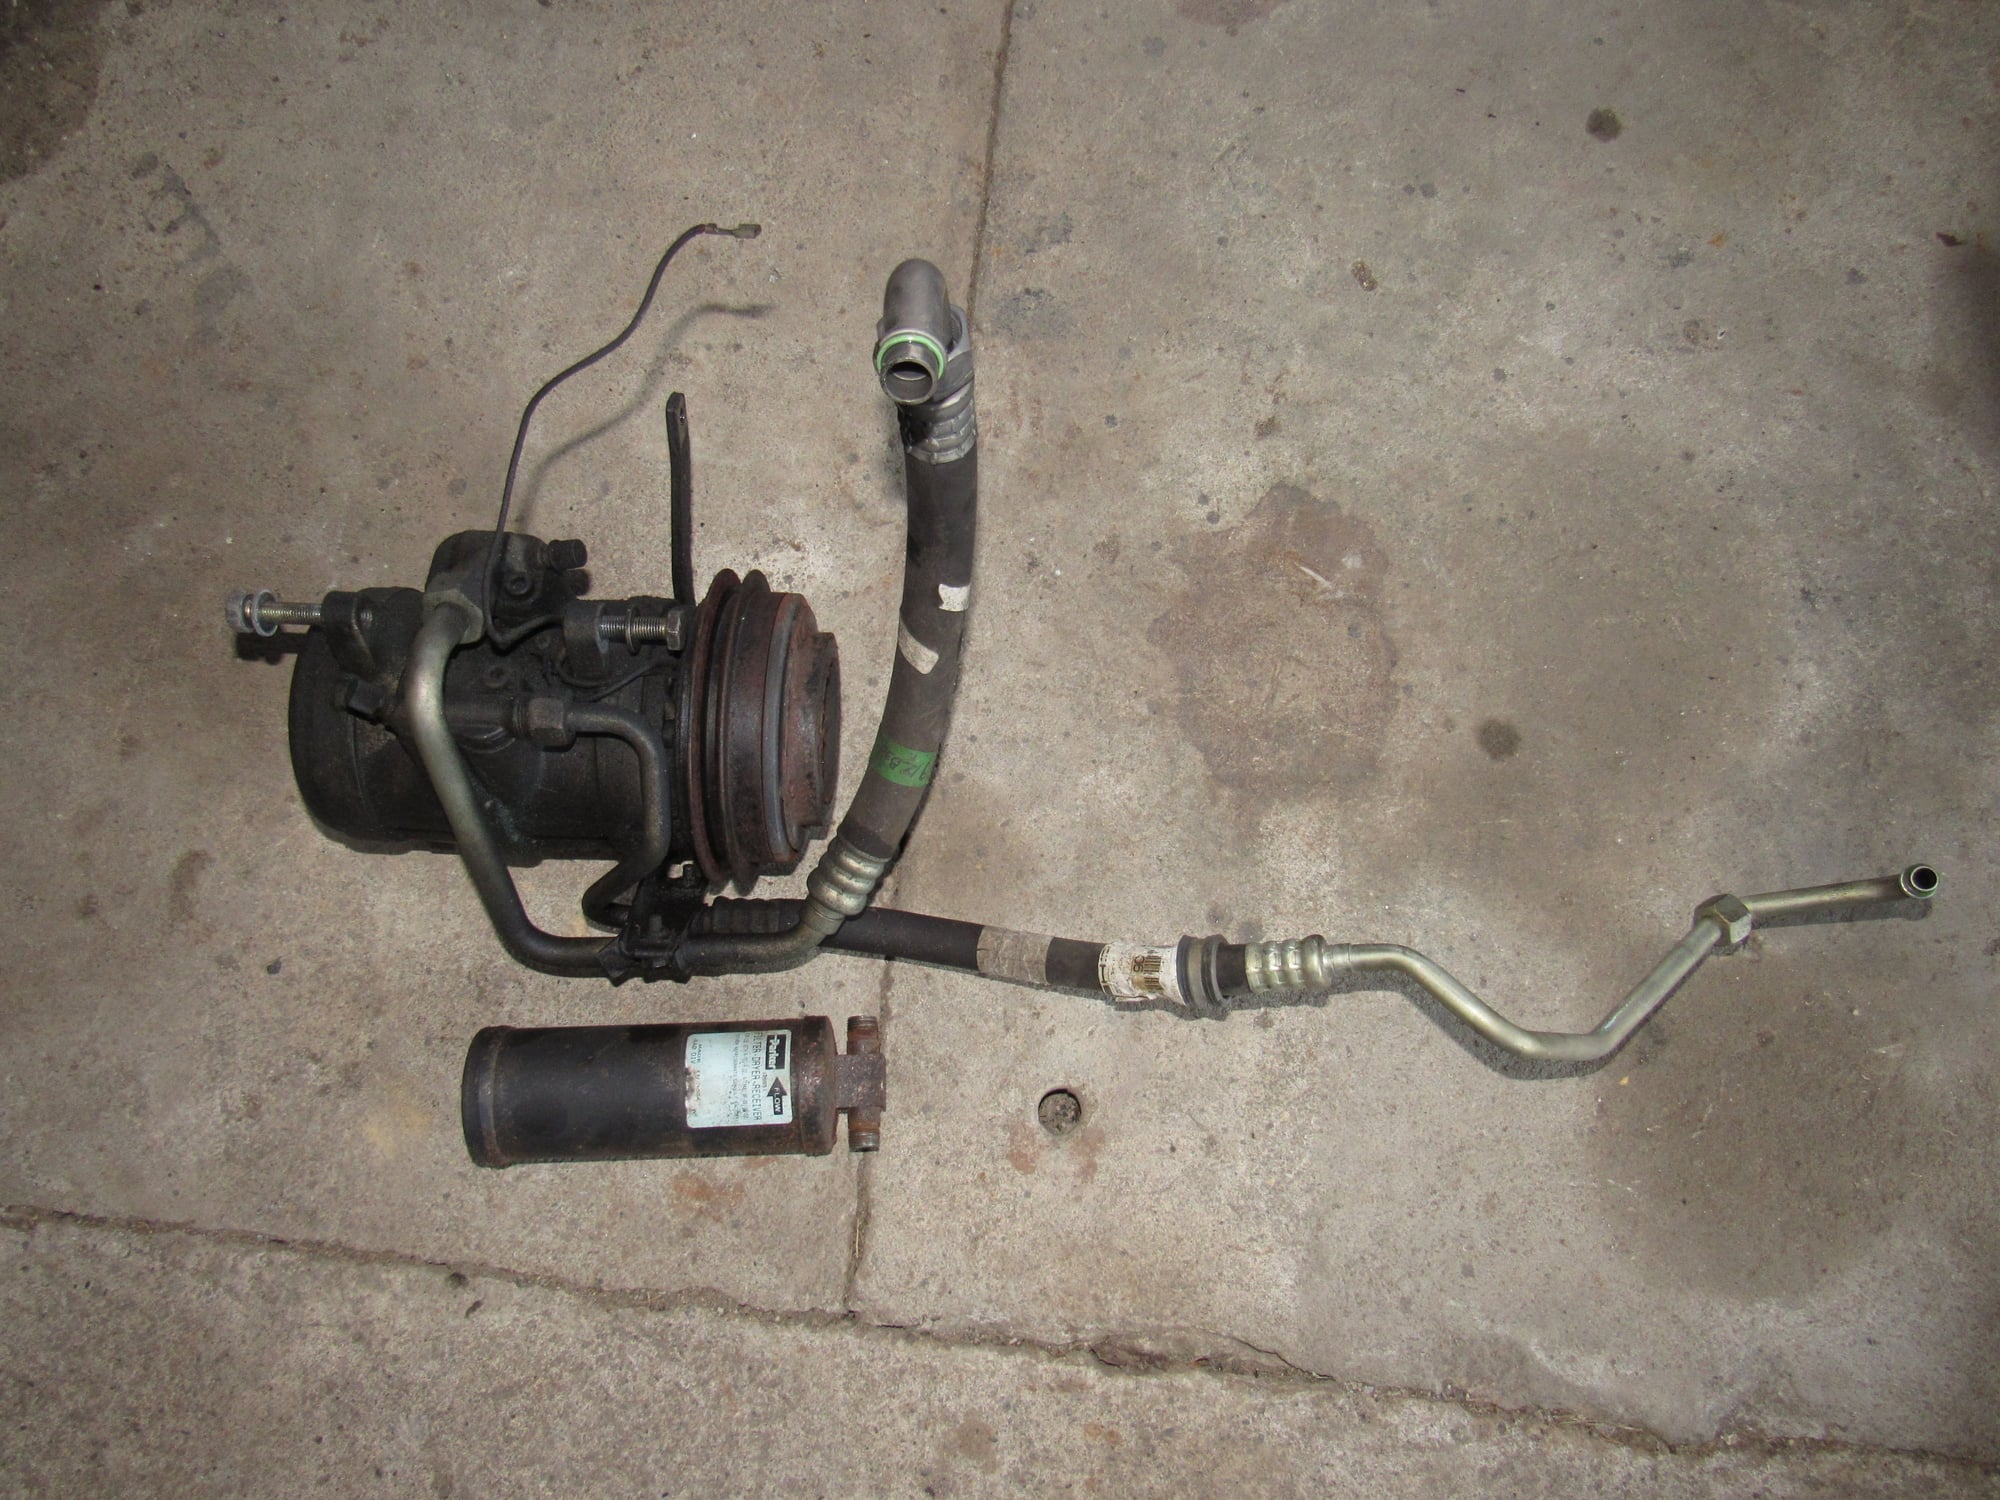
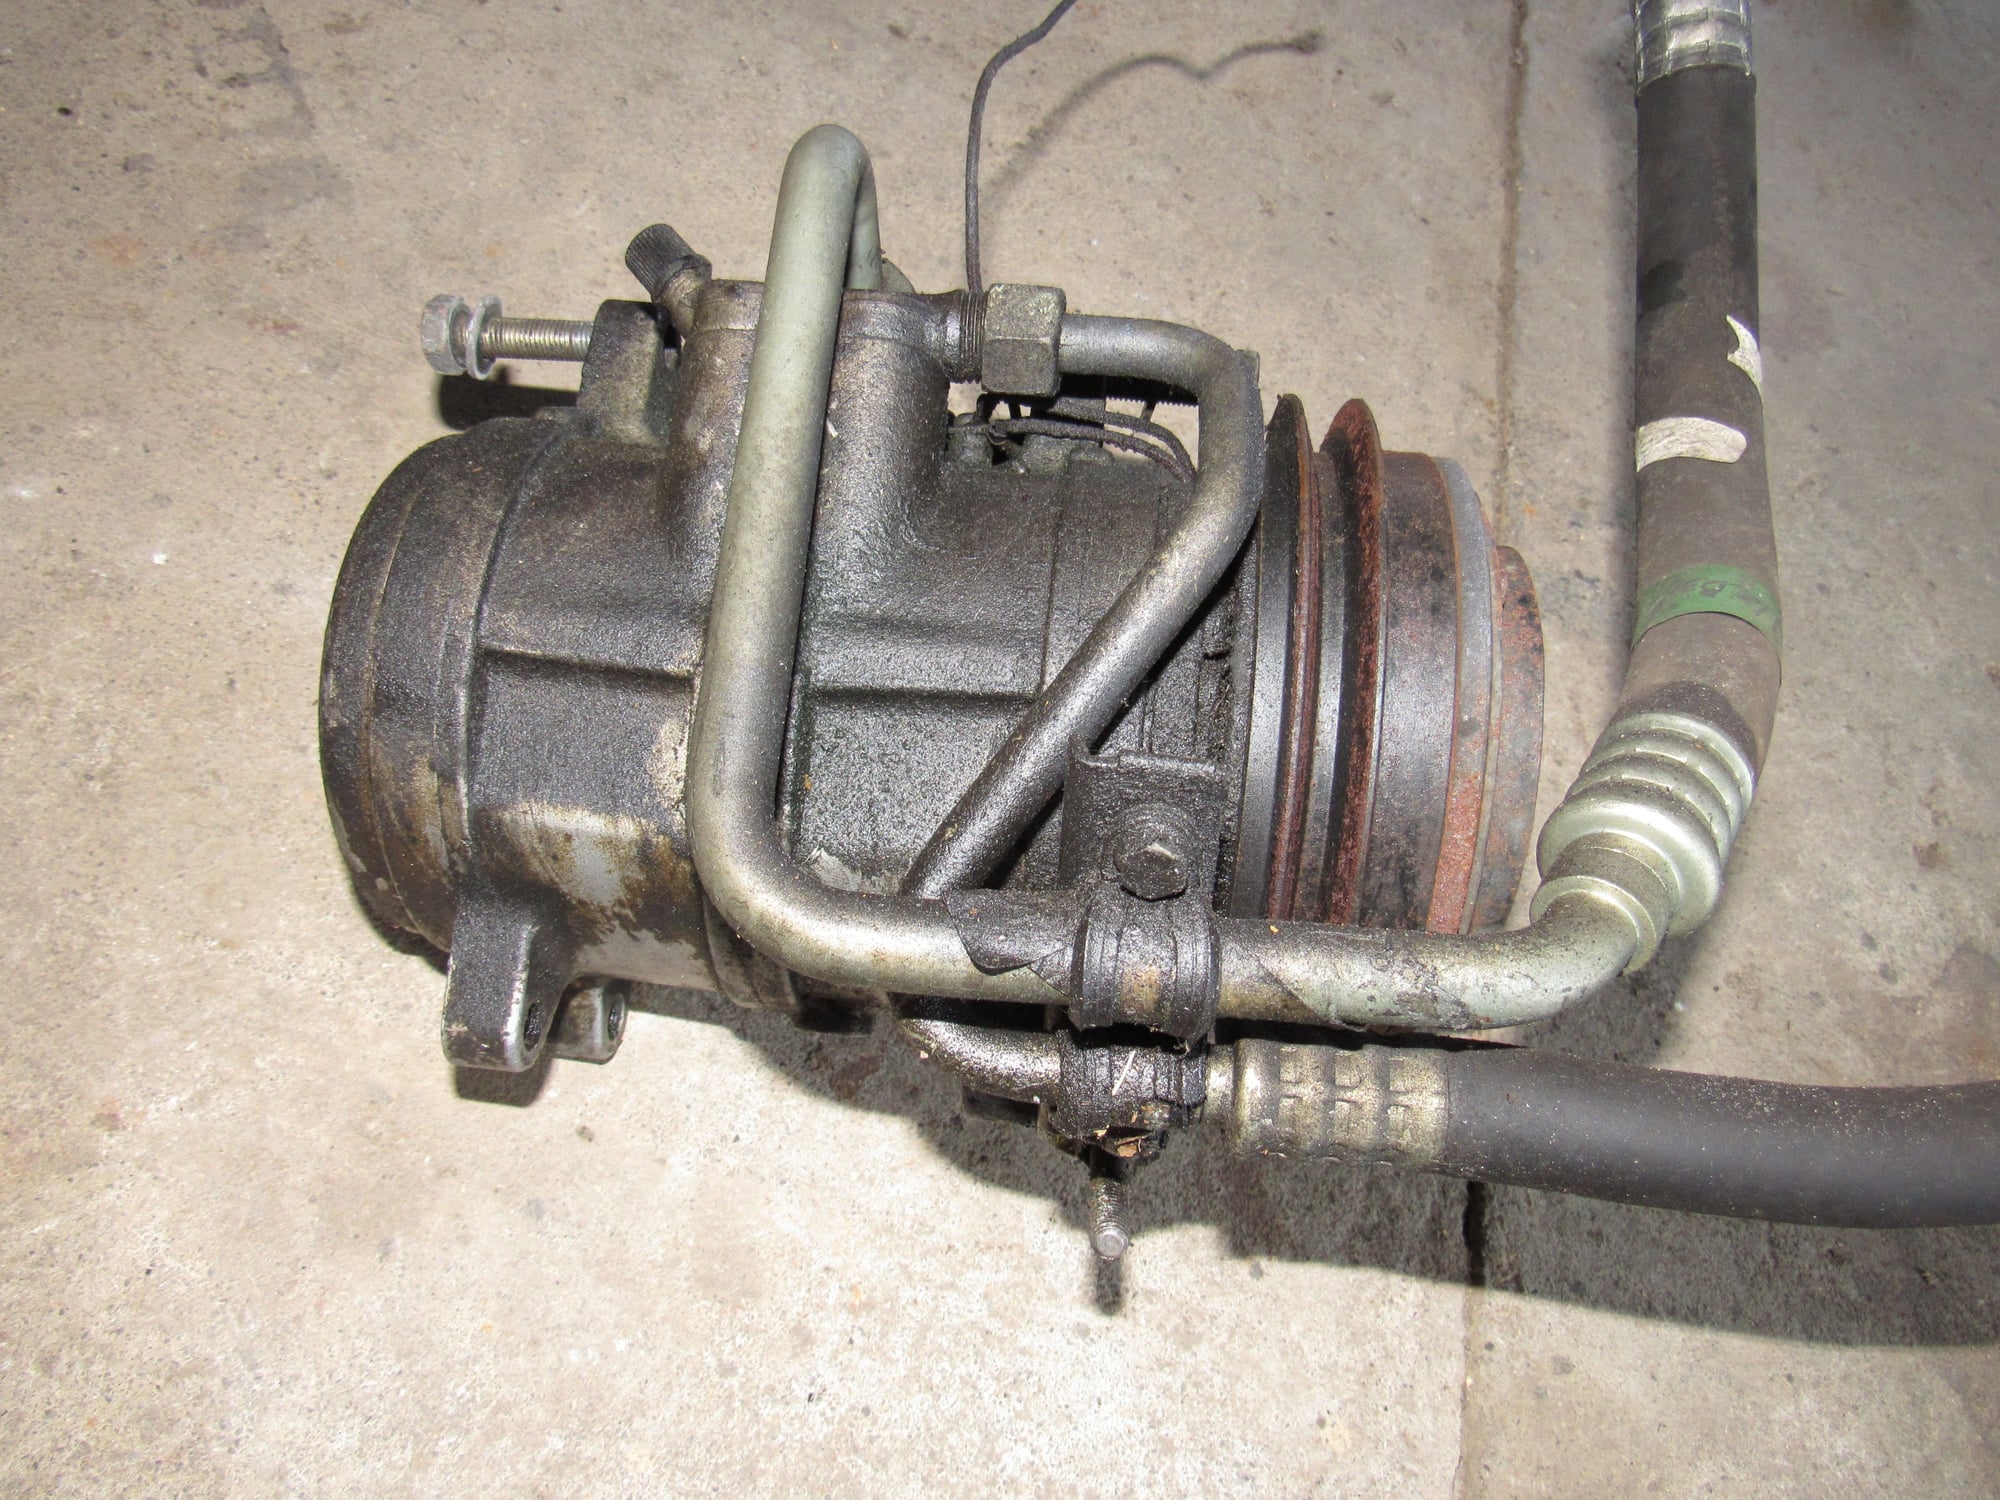
I am not sure what is all over the AC compressor, whether coolant or dye for finding a leak. The two hoses were certainly replaced but I cannot tell if they are R134A barrier hose. The system has been converted from R12 with low/high pressure adapters and I am finding green orings so far. I pushed the schrader valve to see the state of things and some gas came out for only 3-4 seconds. The pulley on the compressor spins freely, too freely, and I will replace the unit.
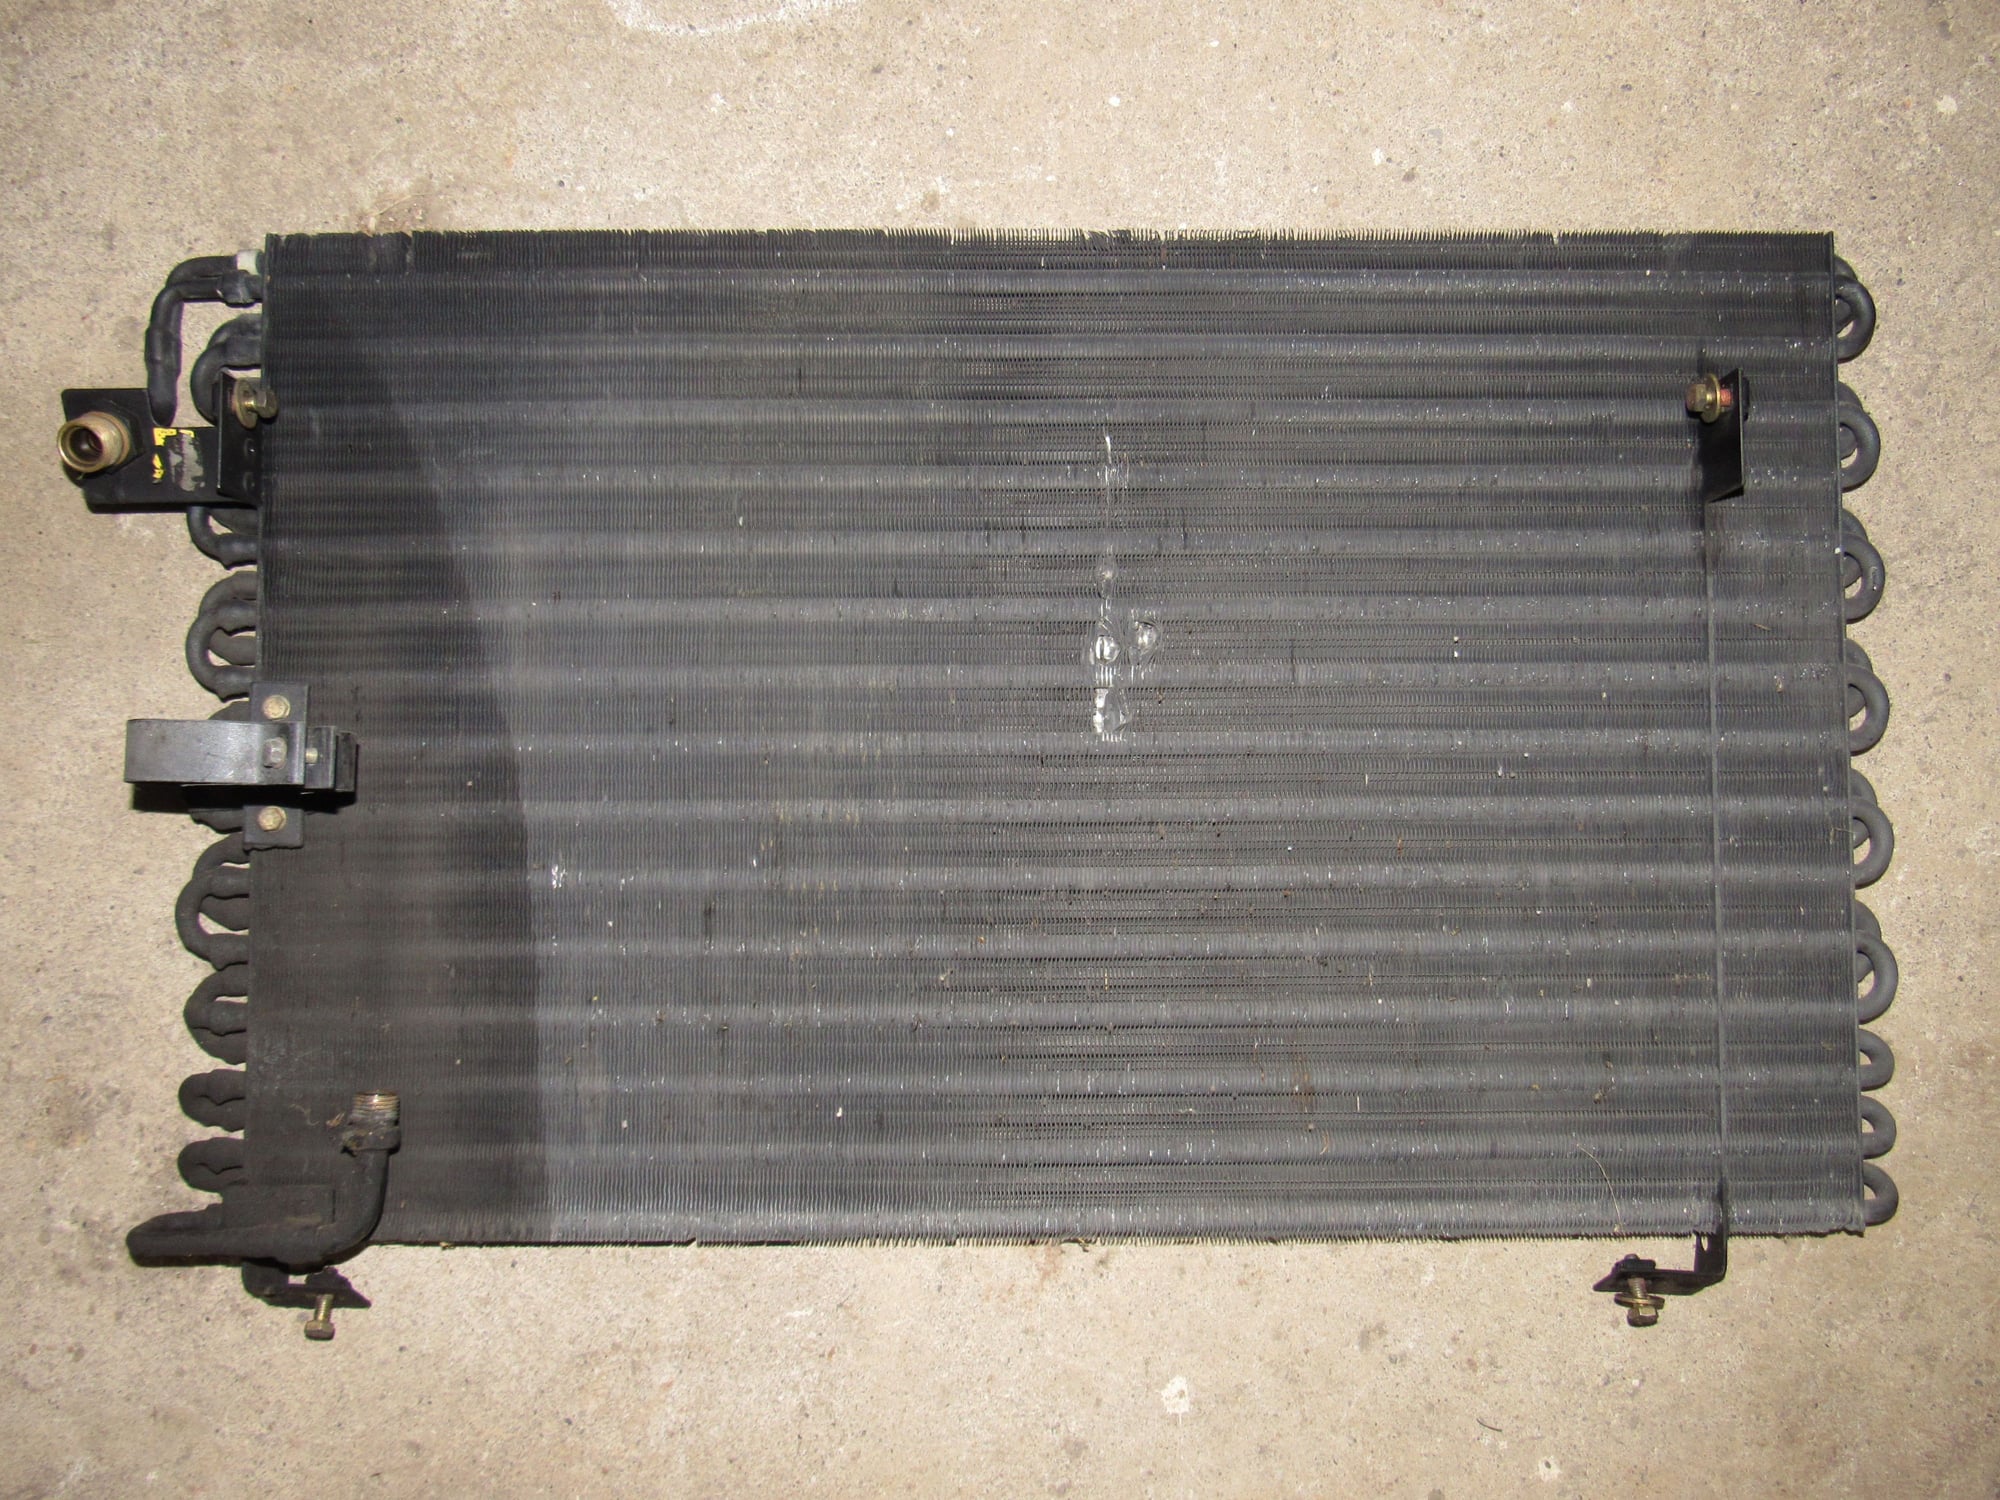
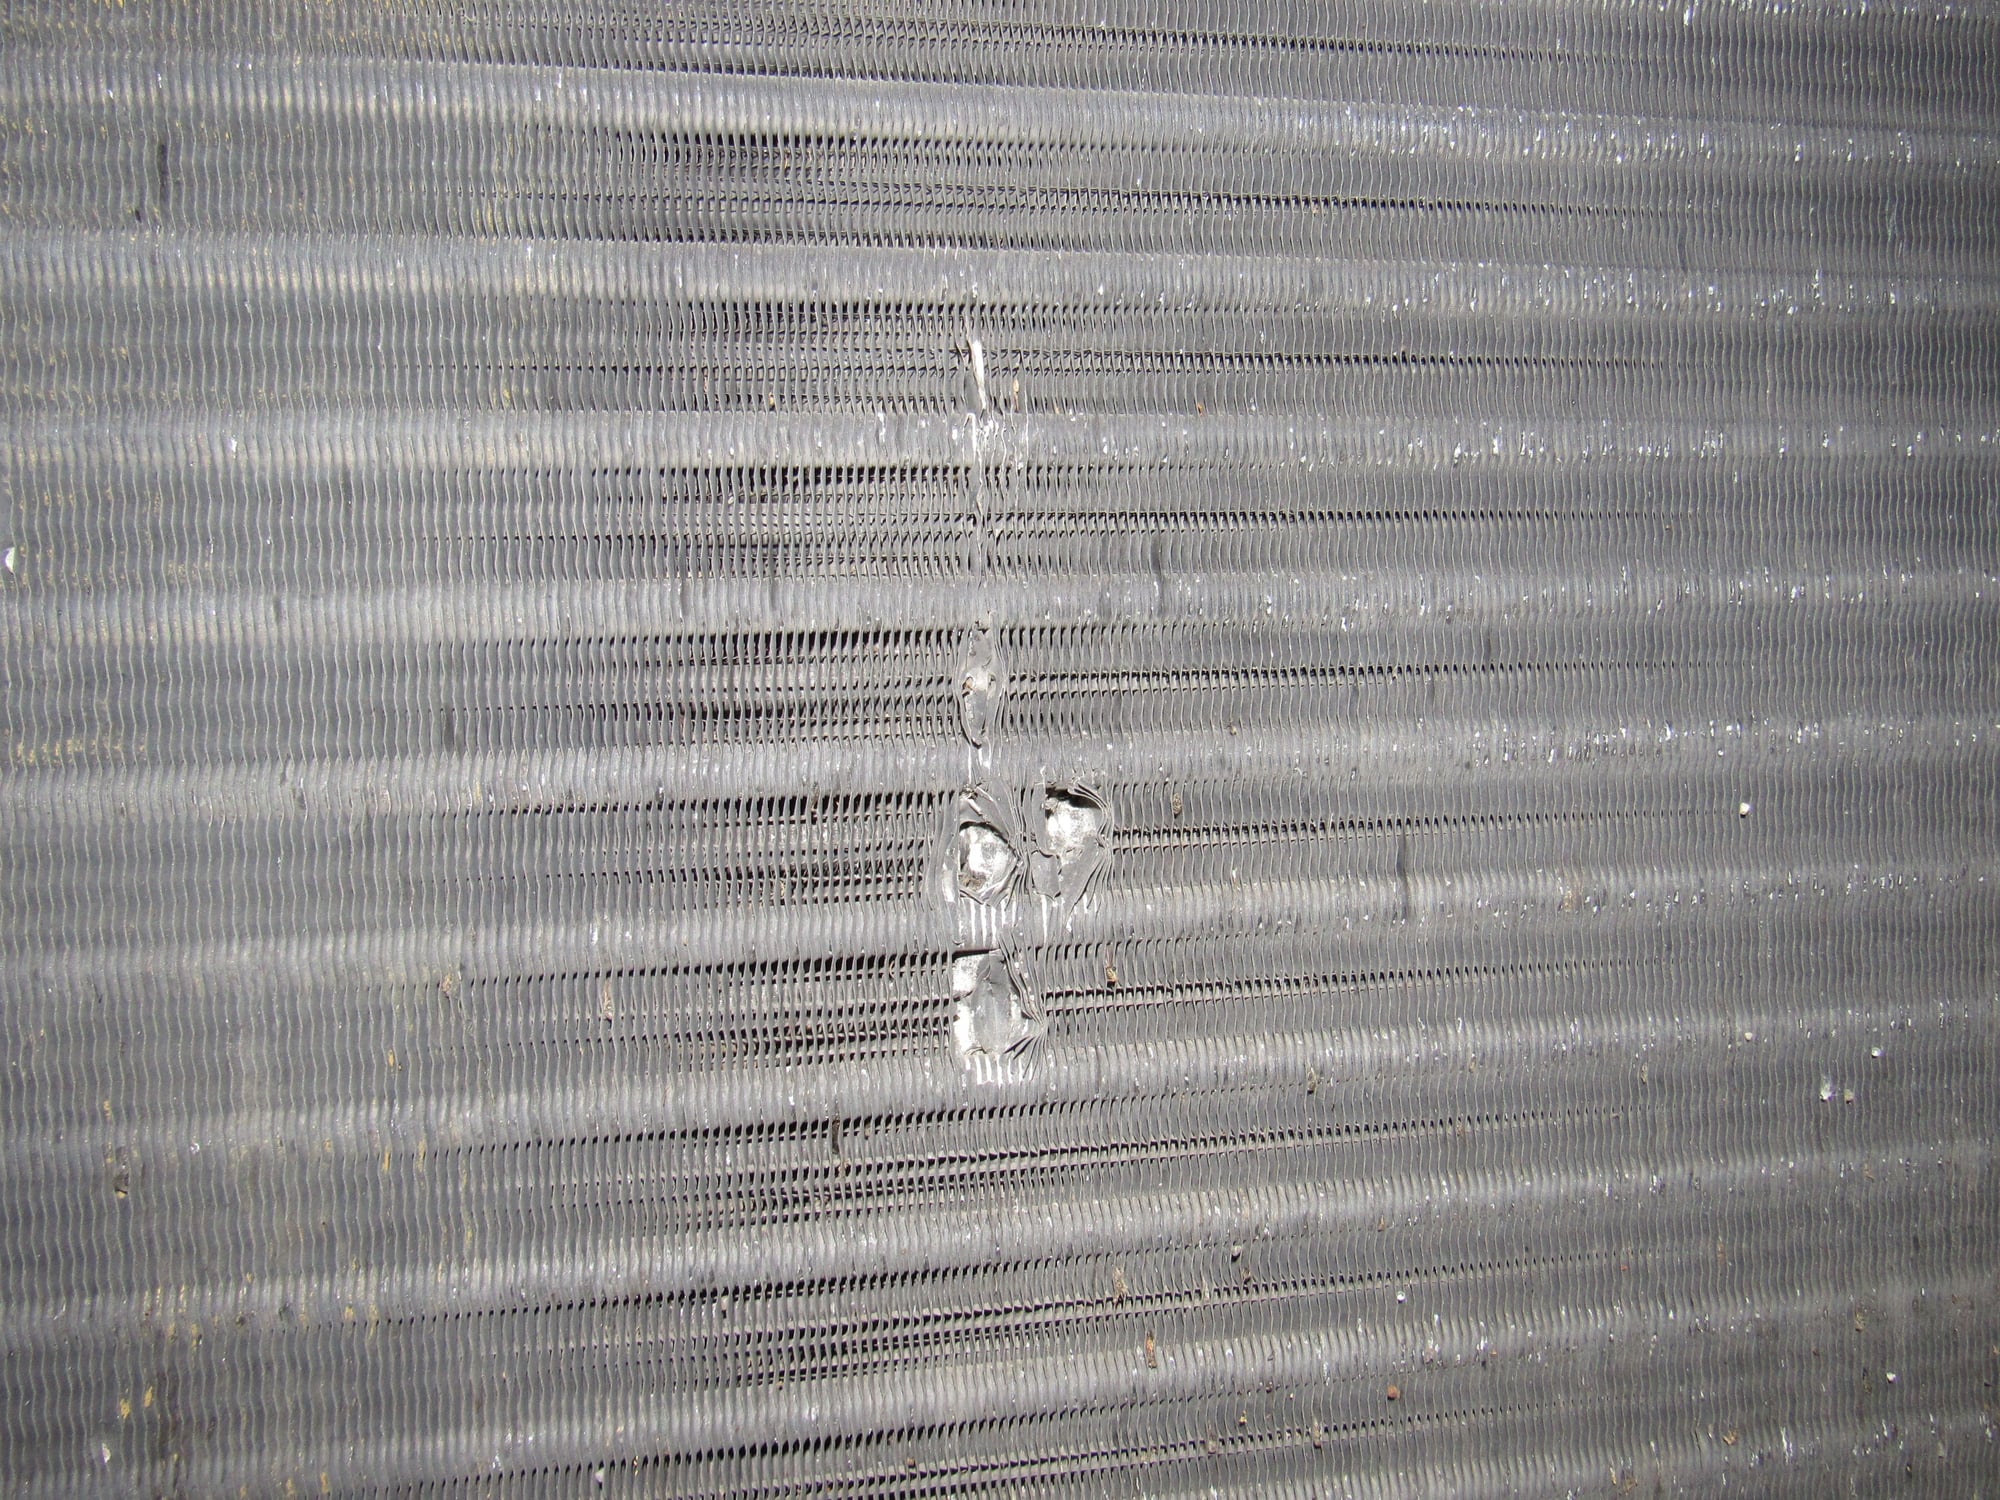
I removed the condenser too, to prevent damage and better access. At some point it looks like the cooling flaps mechanism pushed into the center of the condenser somehow but the damage is superficial.
I did an initial cleaning on some of the parts, good enough for storage, and they have life left in them.
I flushed the radiator and it is perfectly clean inside. Only clean coolant transitioning to clear water while flushing.
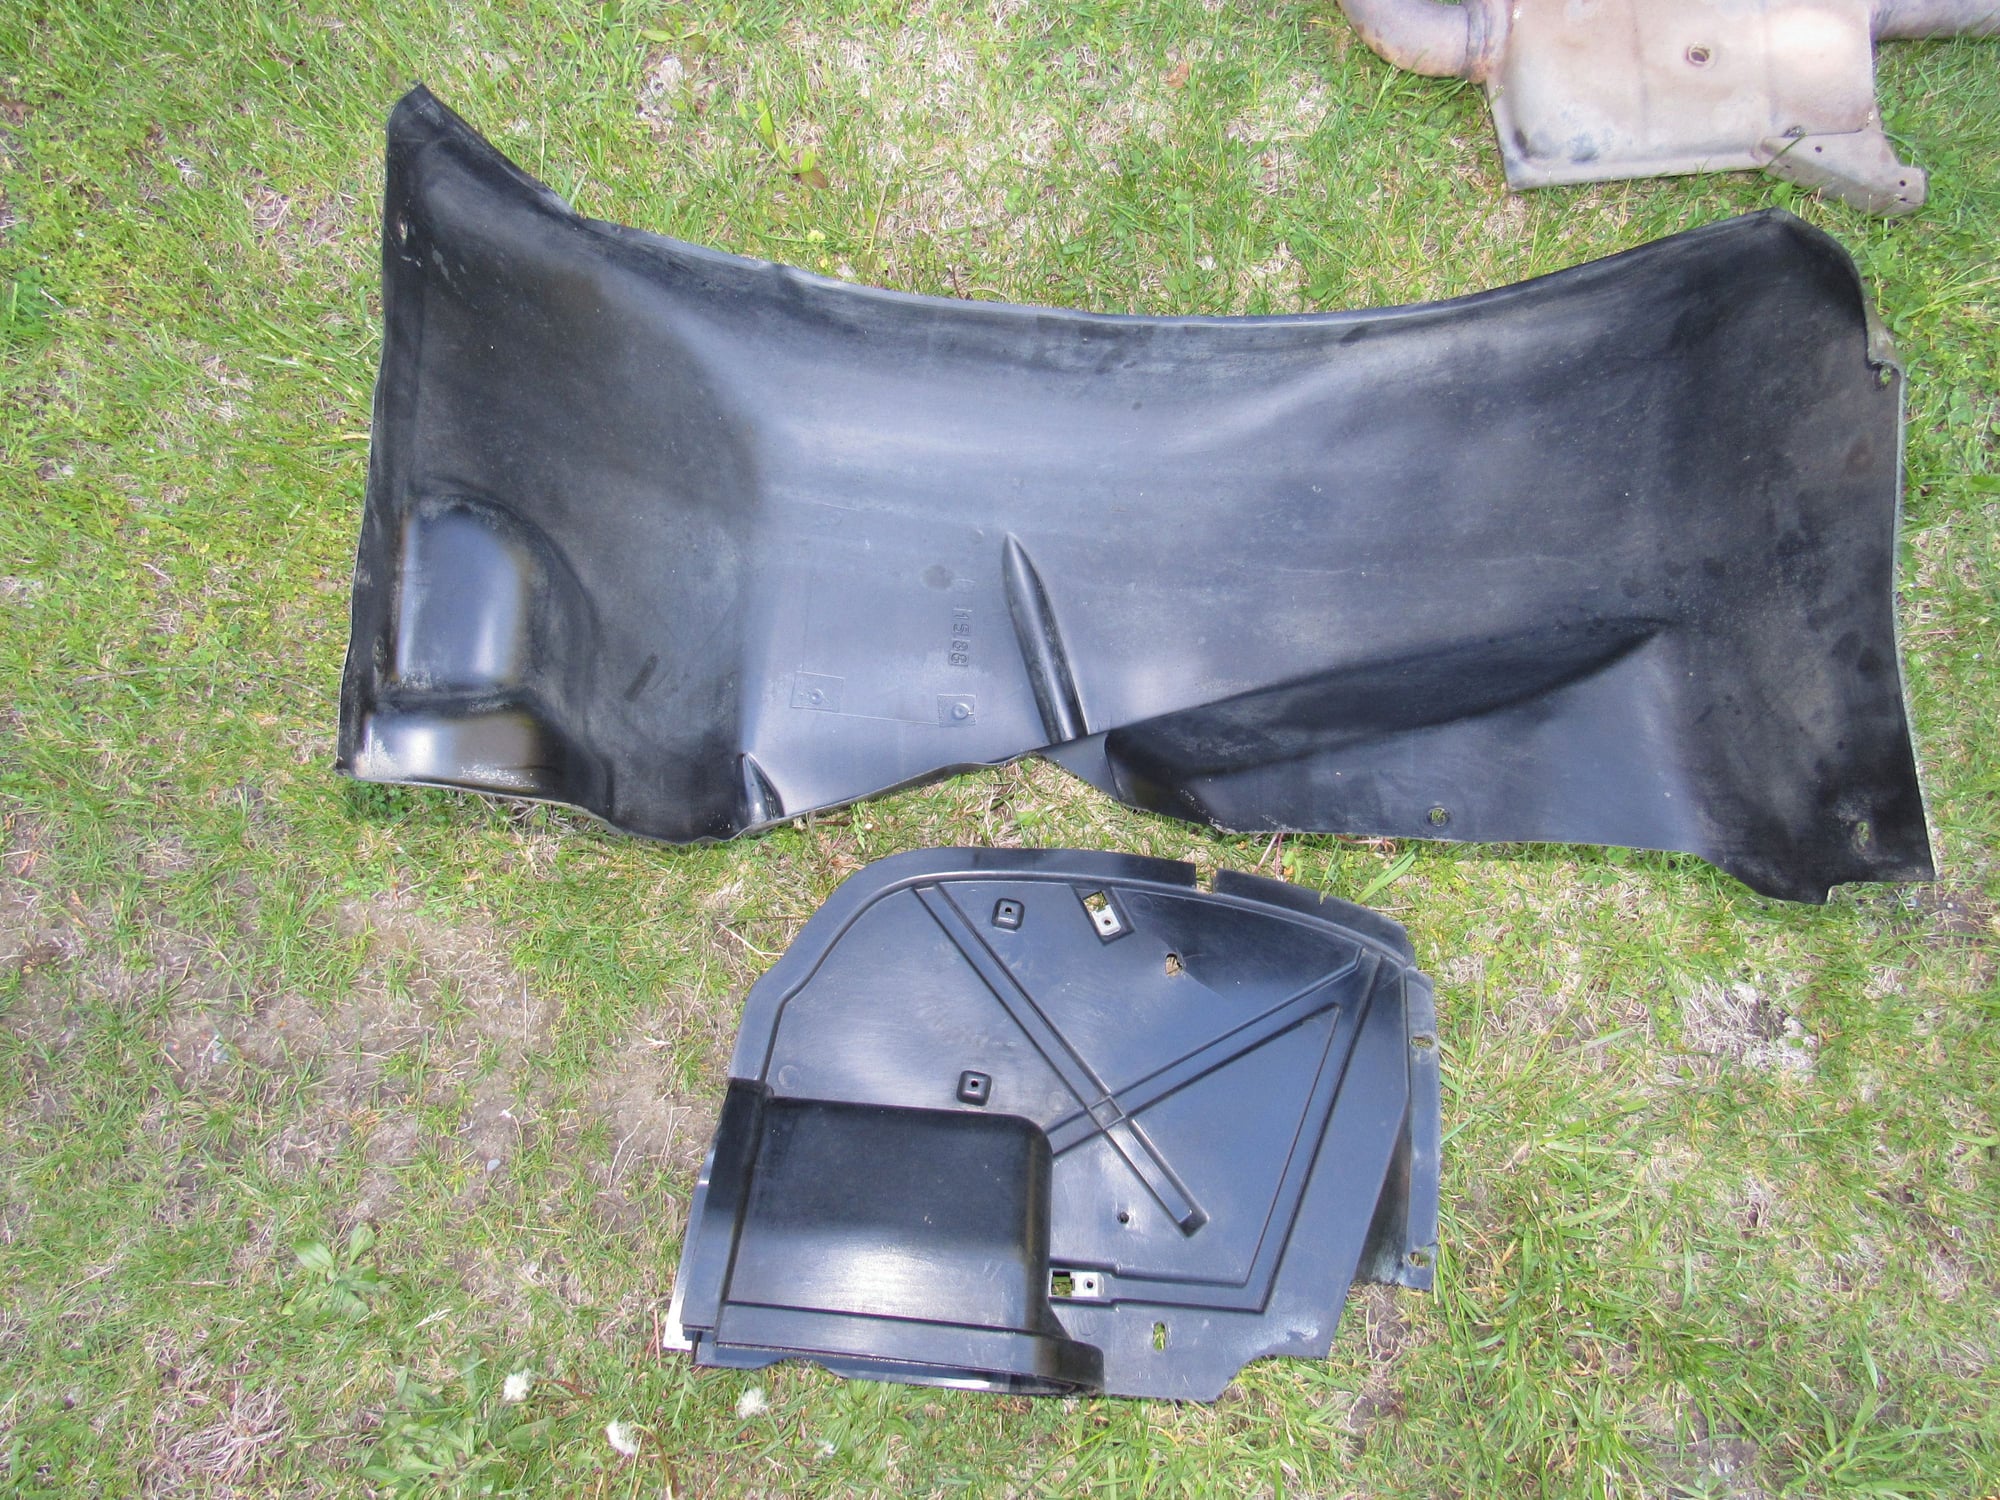
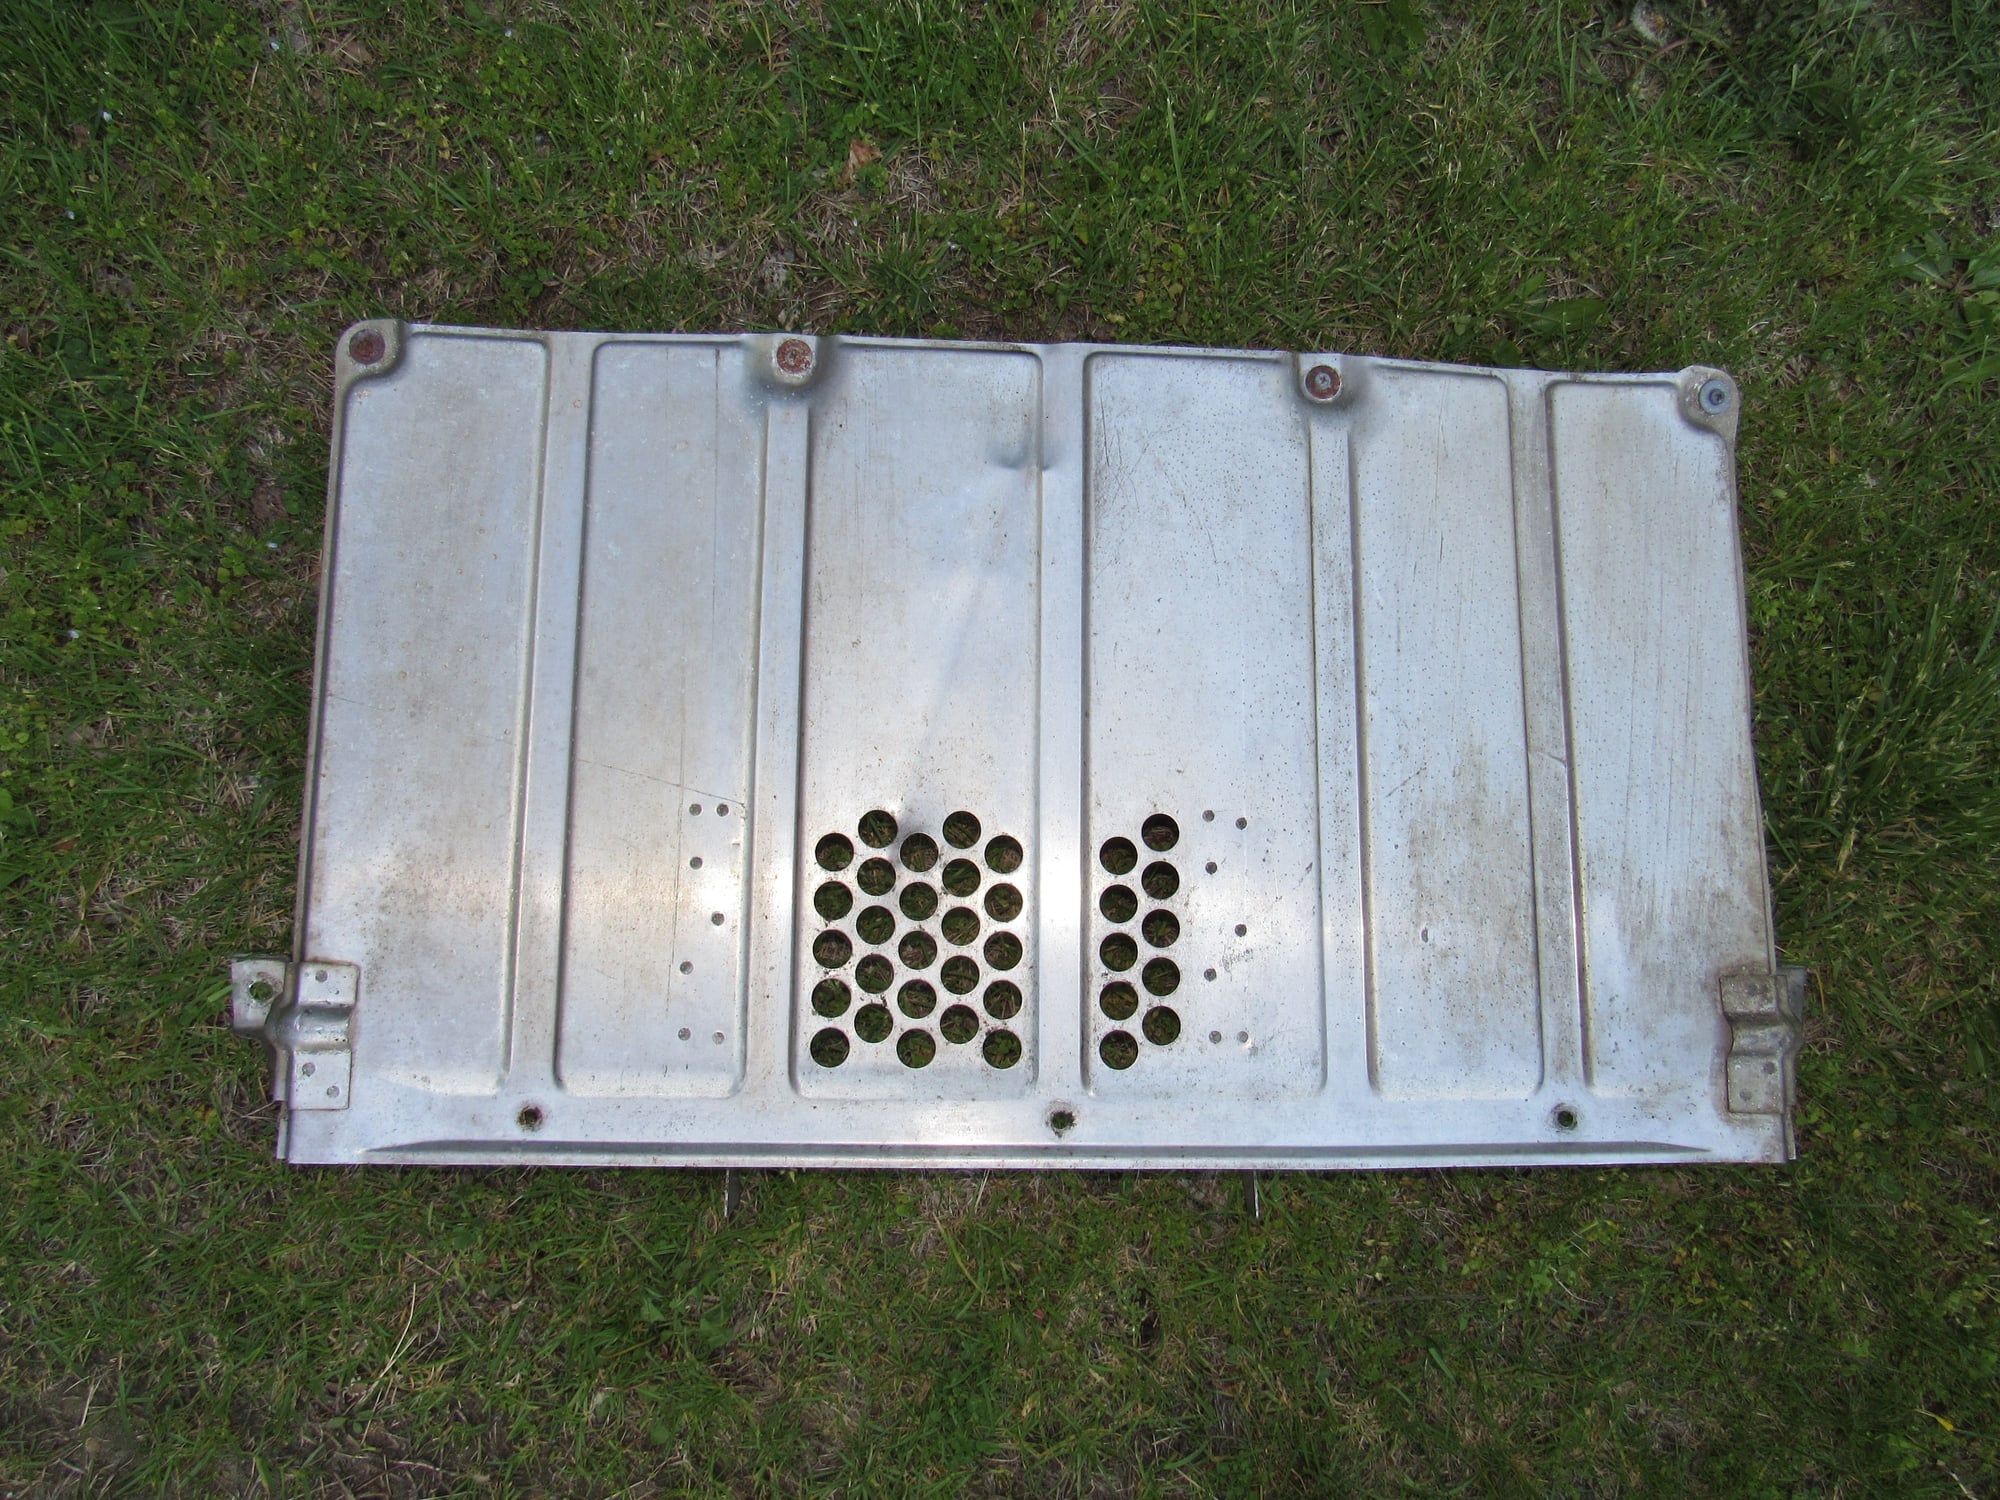
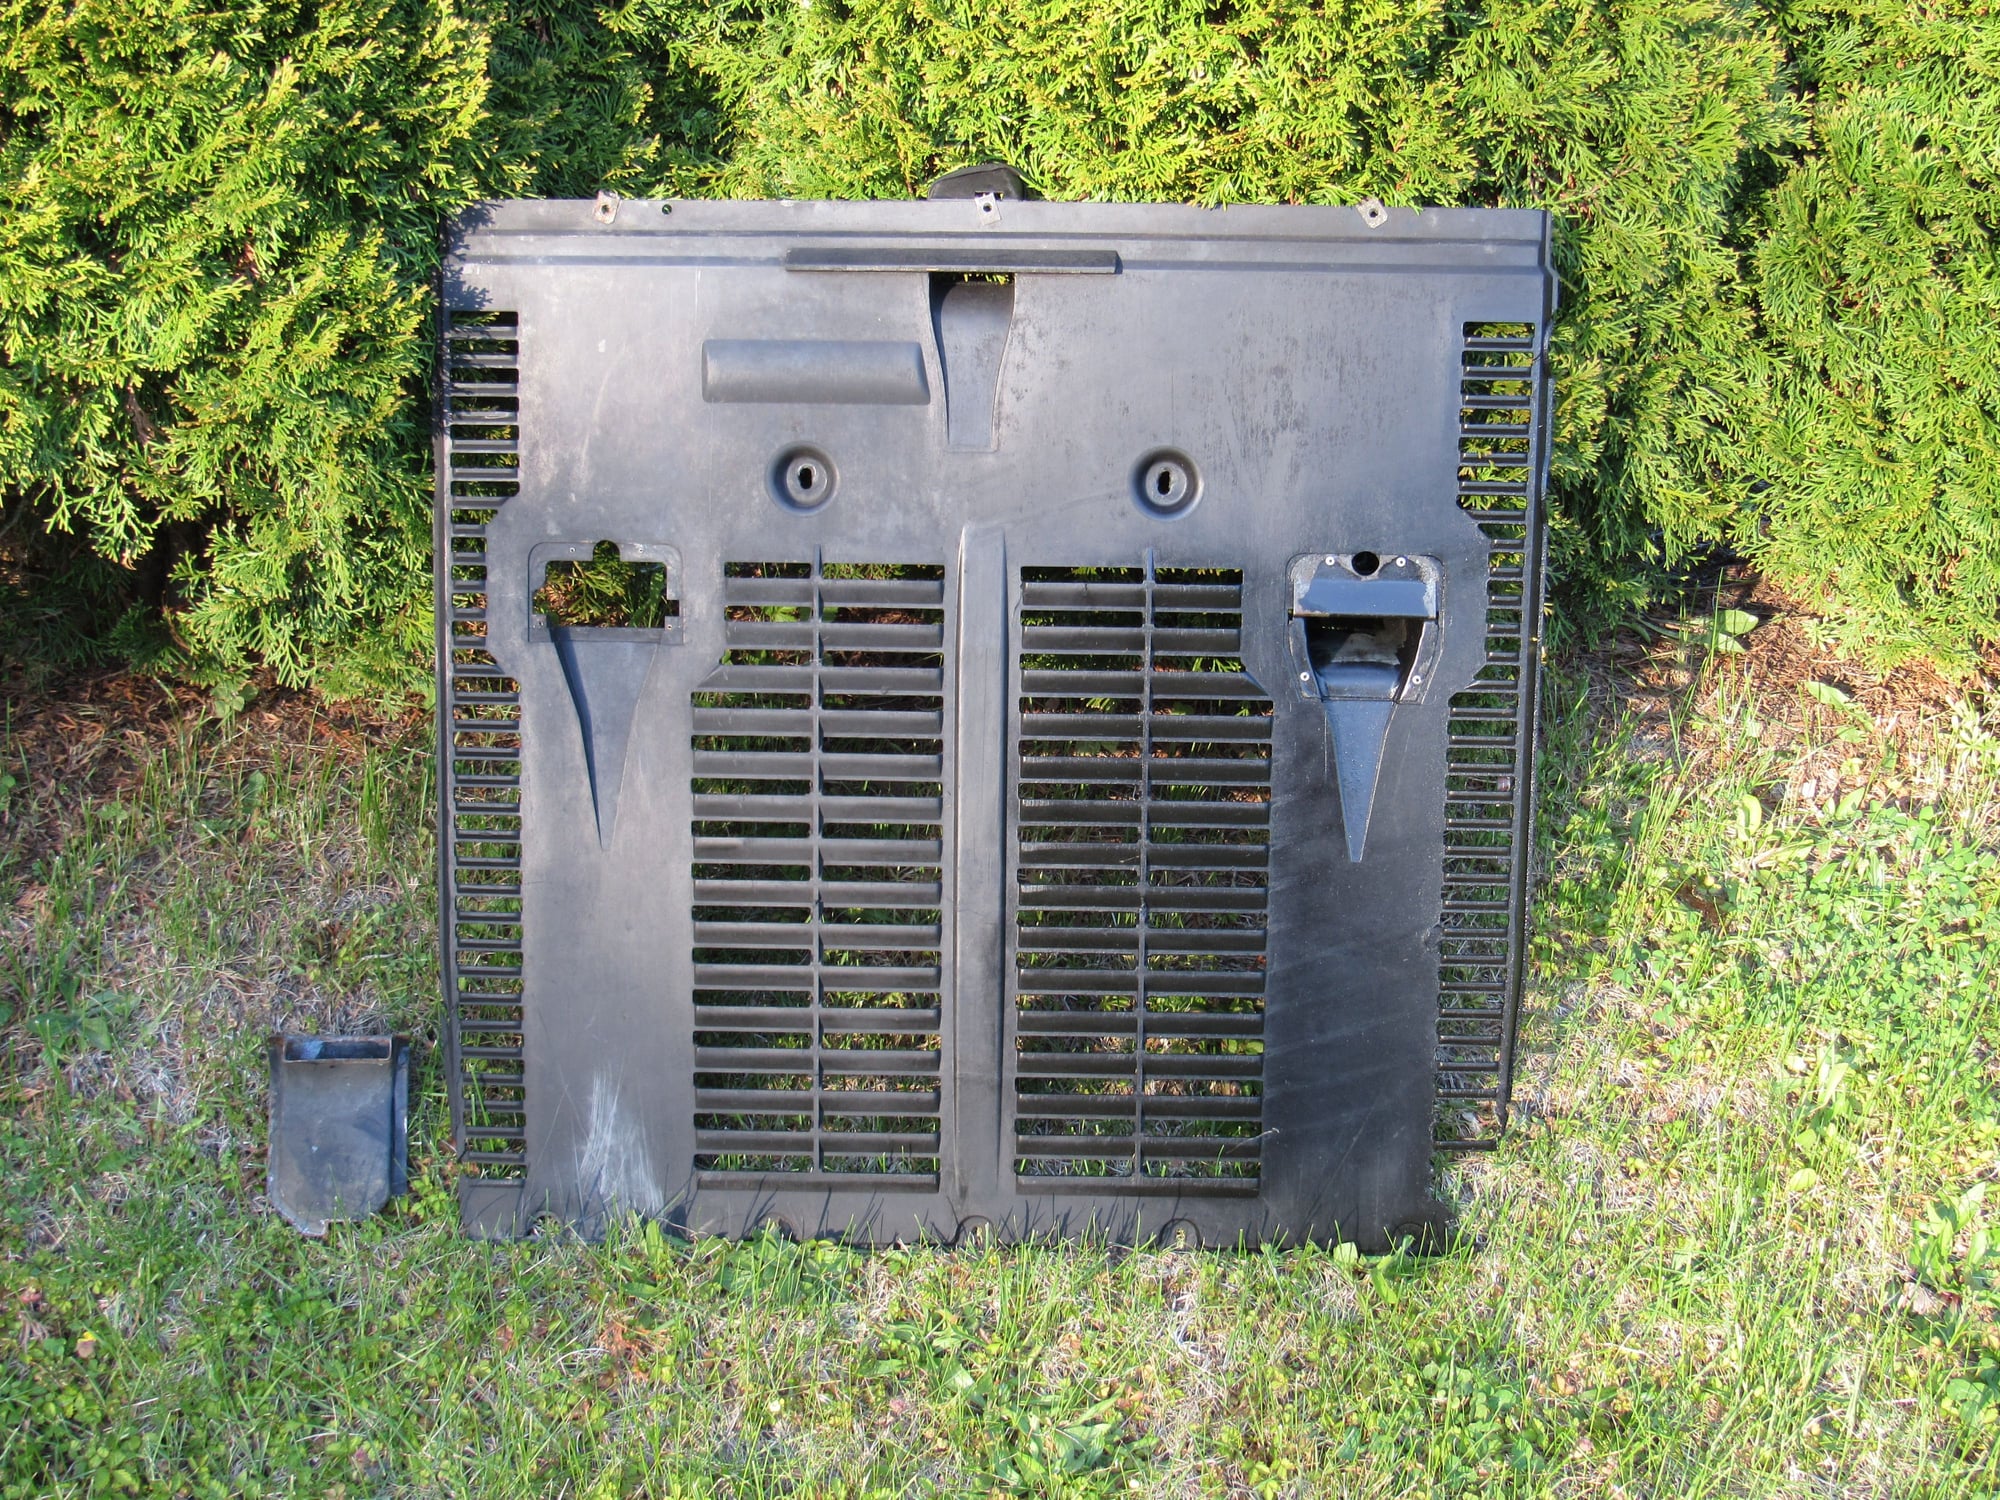
The front spoiler is in good shape, just some scratches on the bottom and a stain around the radiator drain access hole.
The front belly pan does have damage on the front corners but all of the mounting points are intact. One of the metal ducts took a hit but I will be able to bring it back into shape and refasten it.
(not washed yet)
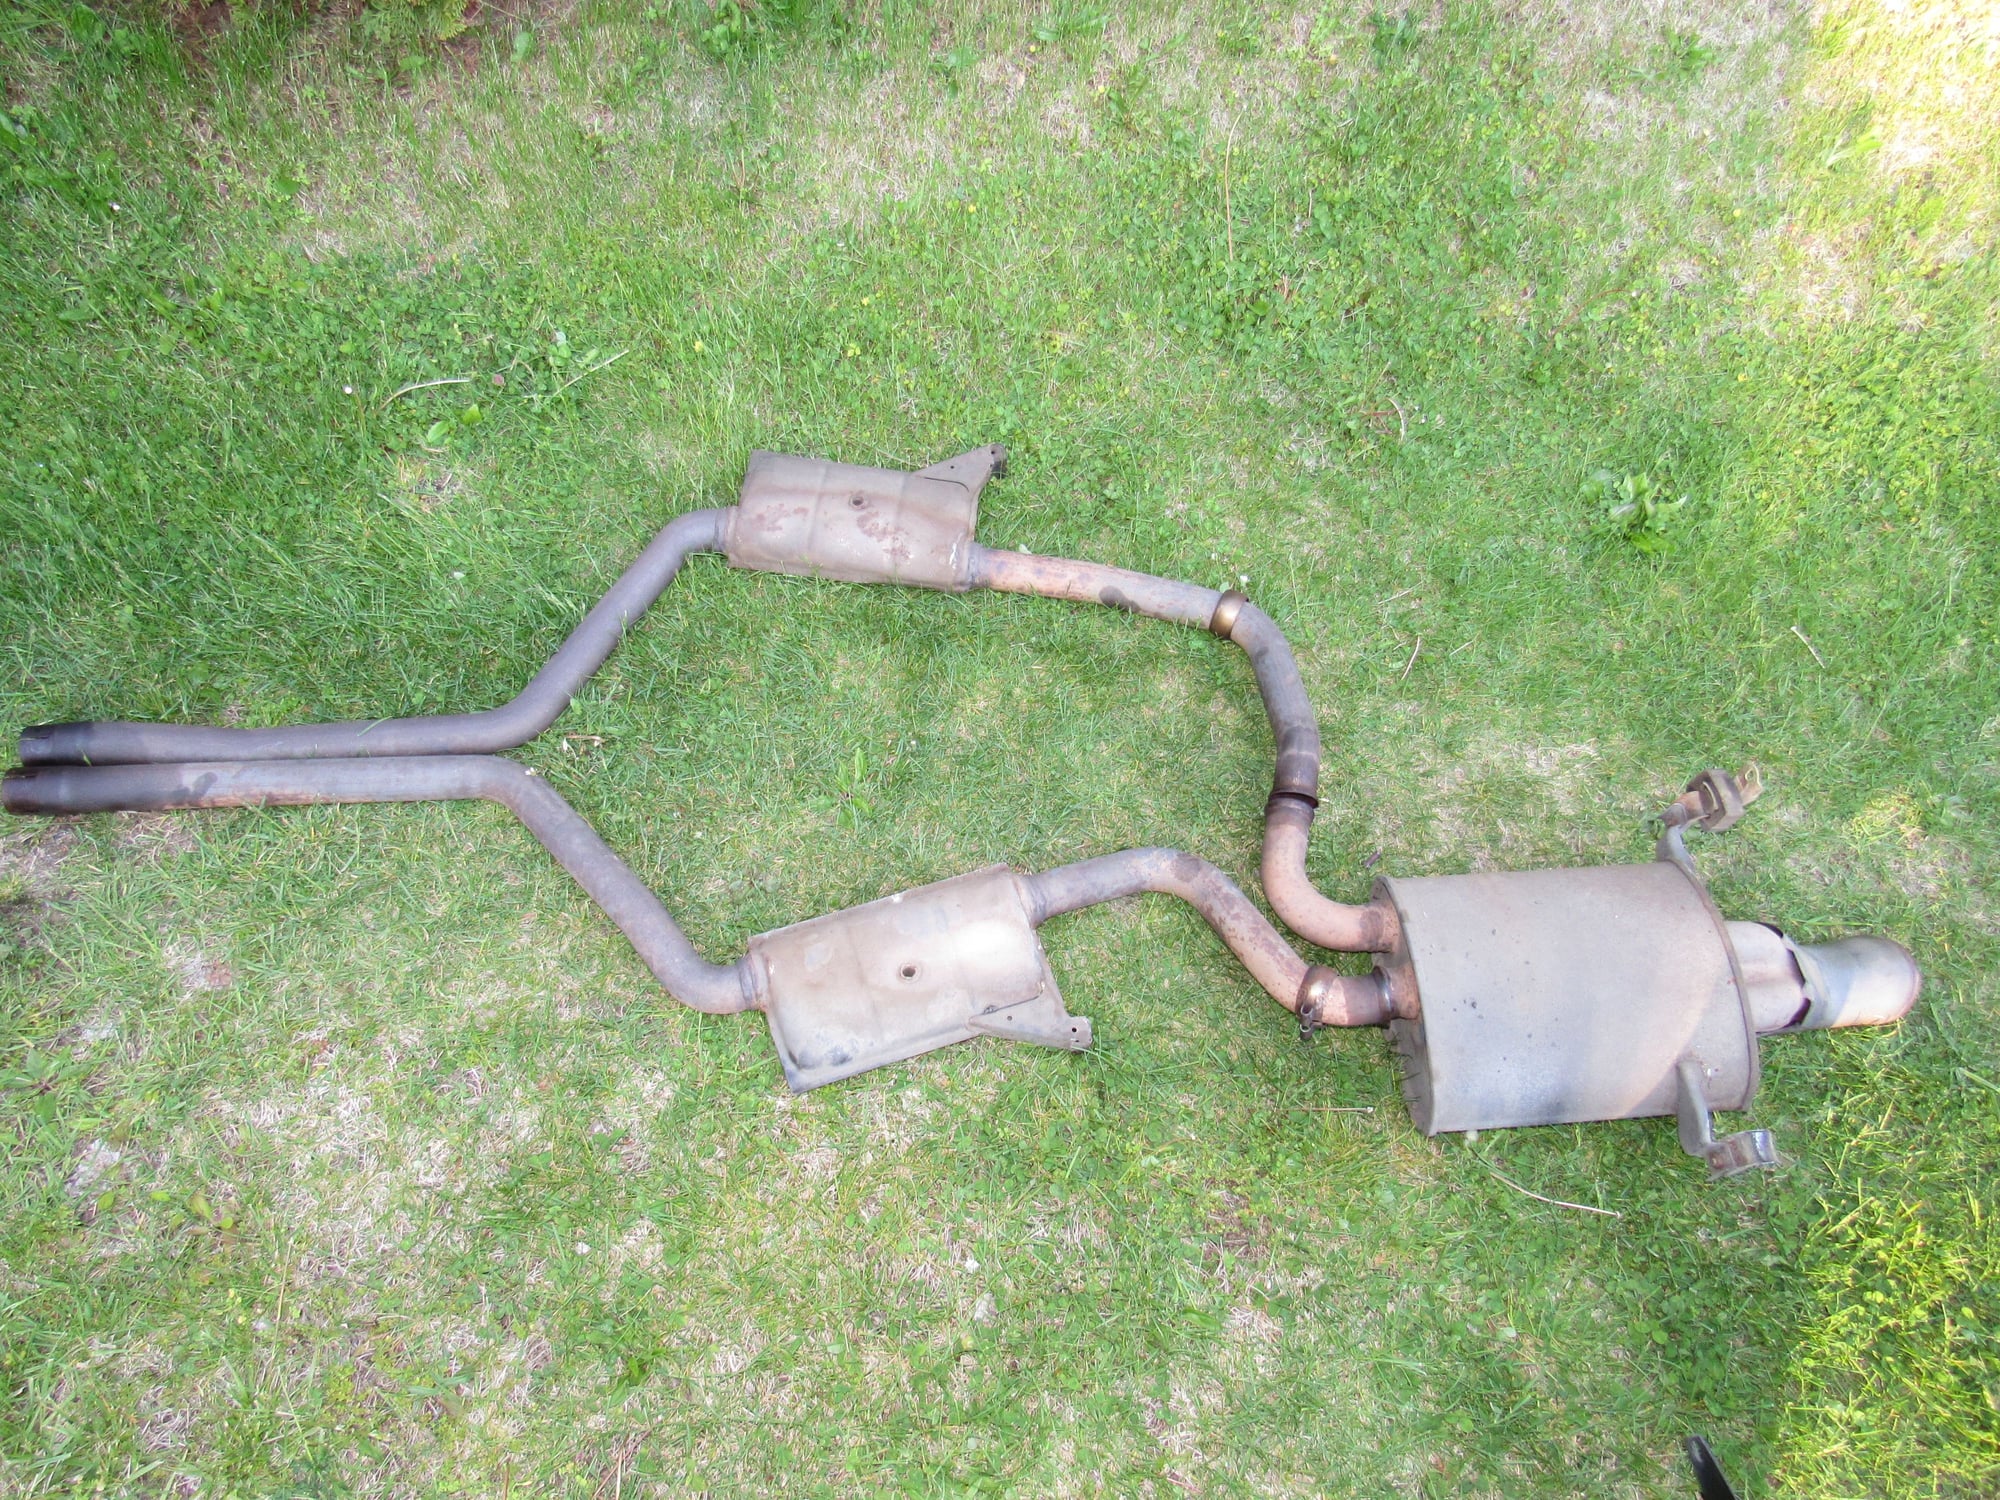
I removed the exhaust system. A bit cumbersome and I had to cut the clamp bolts at the joints.
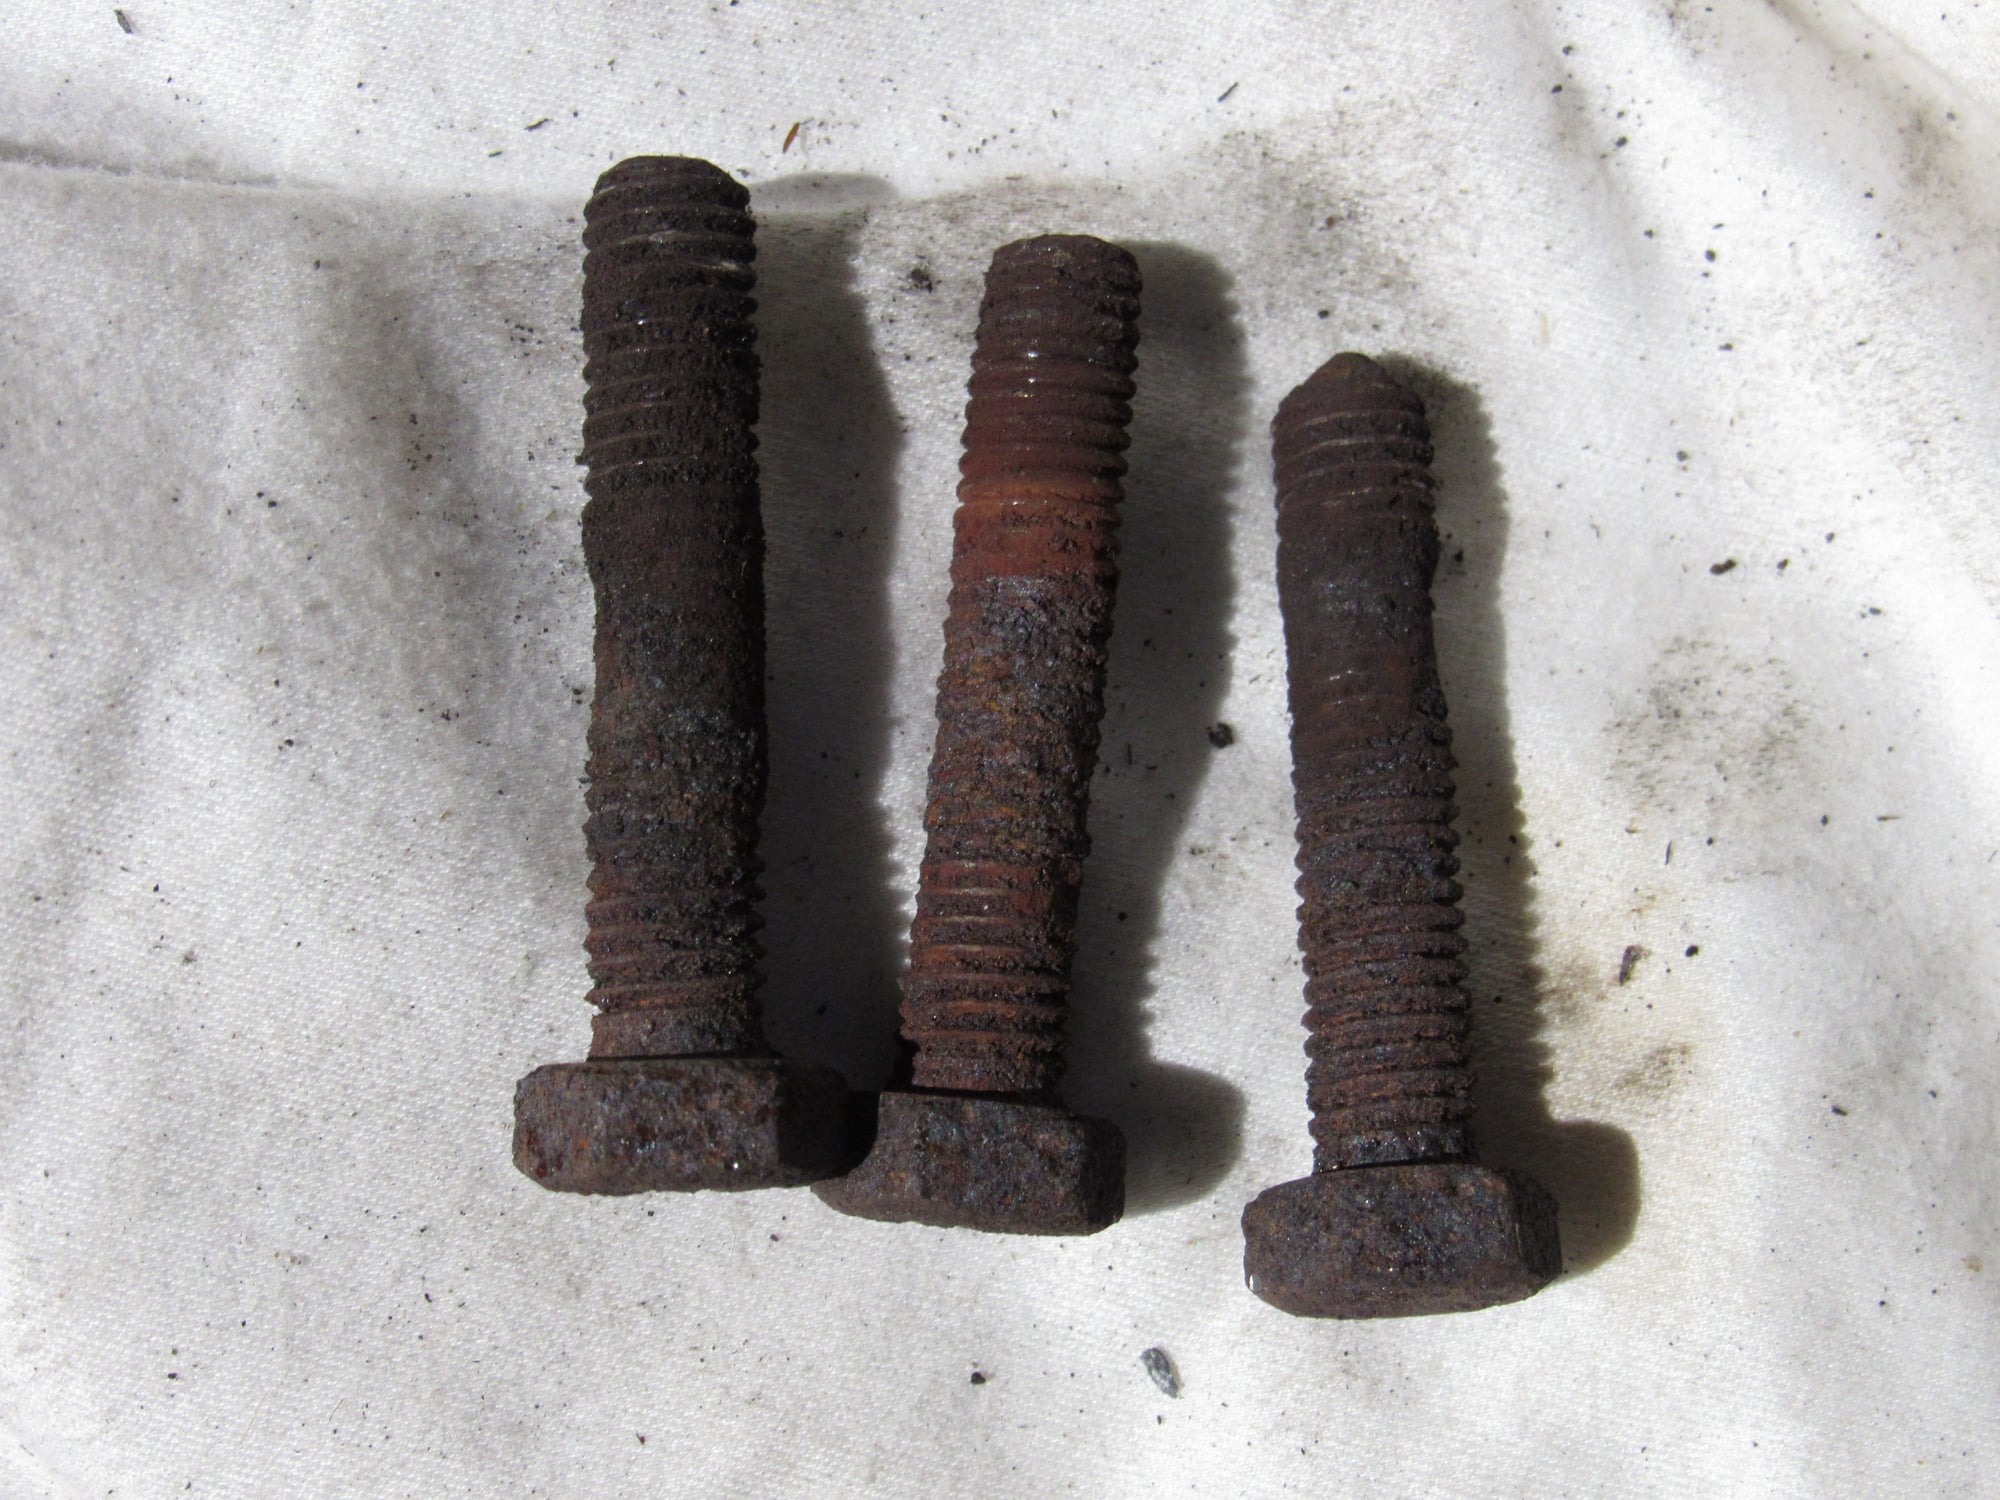
The exhaust manifold to catalytic bolts did loosen ok but they are shot.
The mount for one of the left side heat shields is broken.
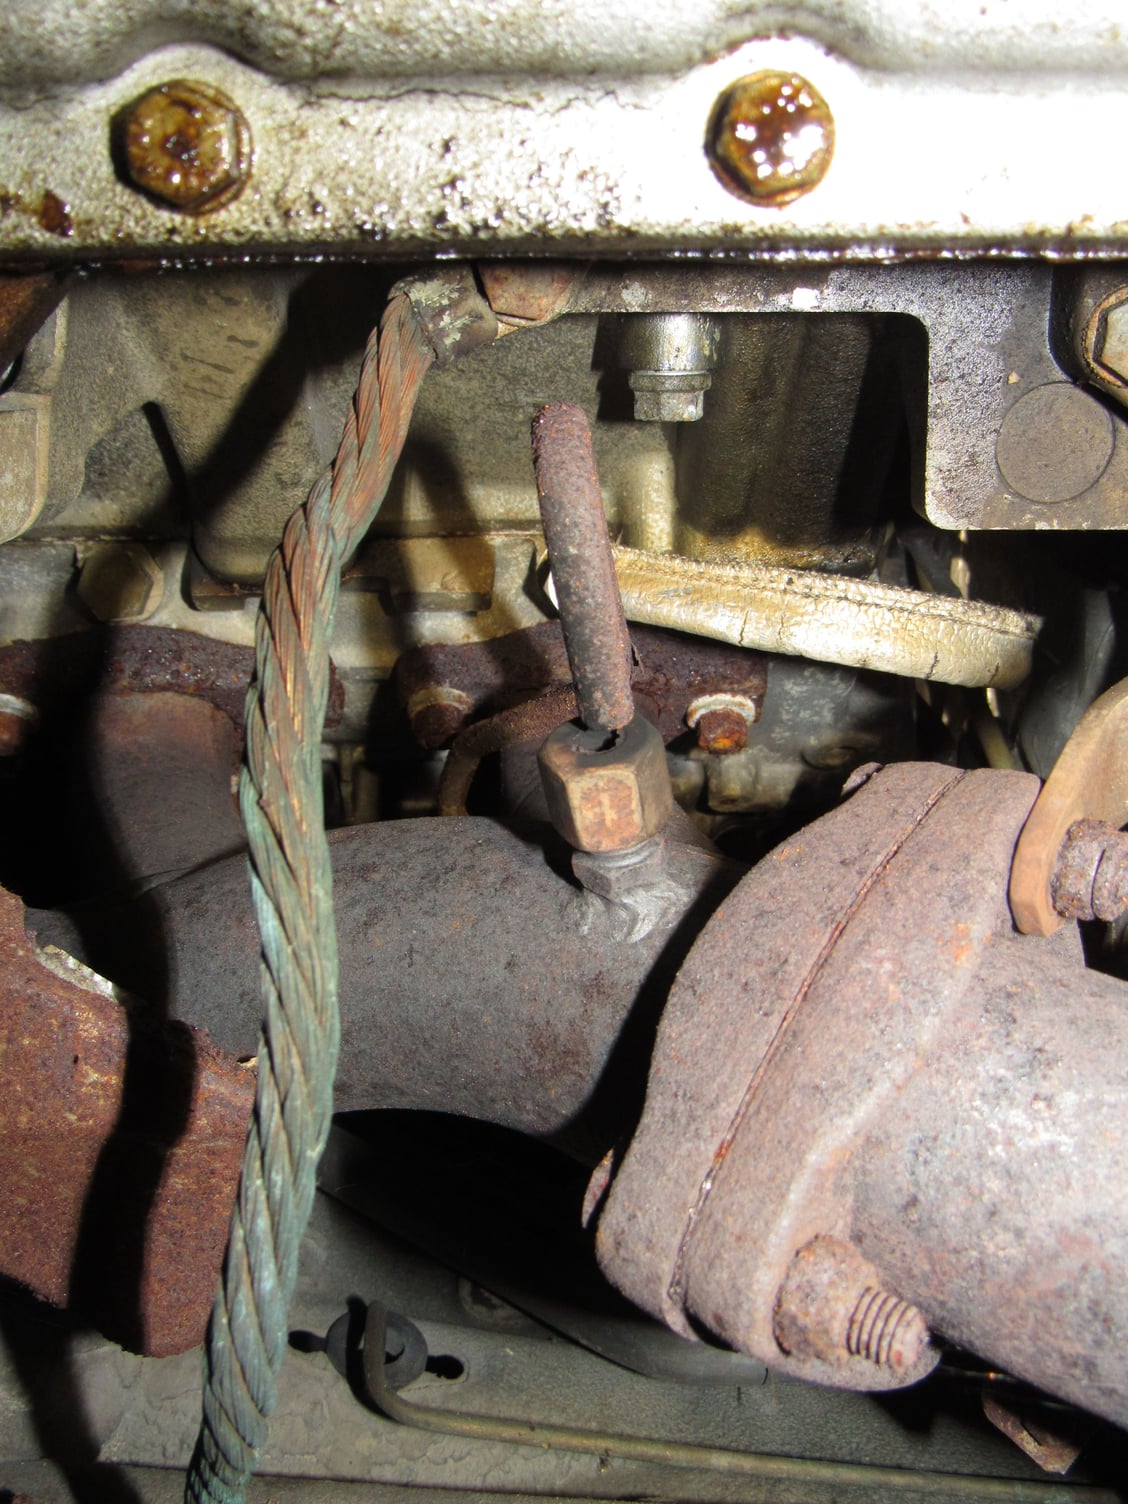
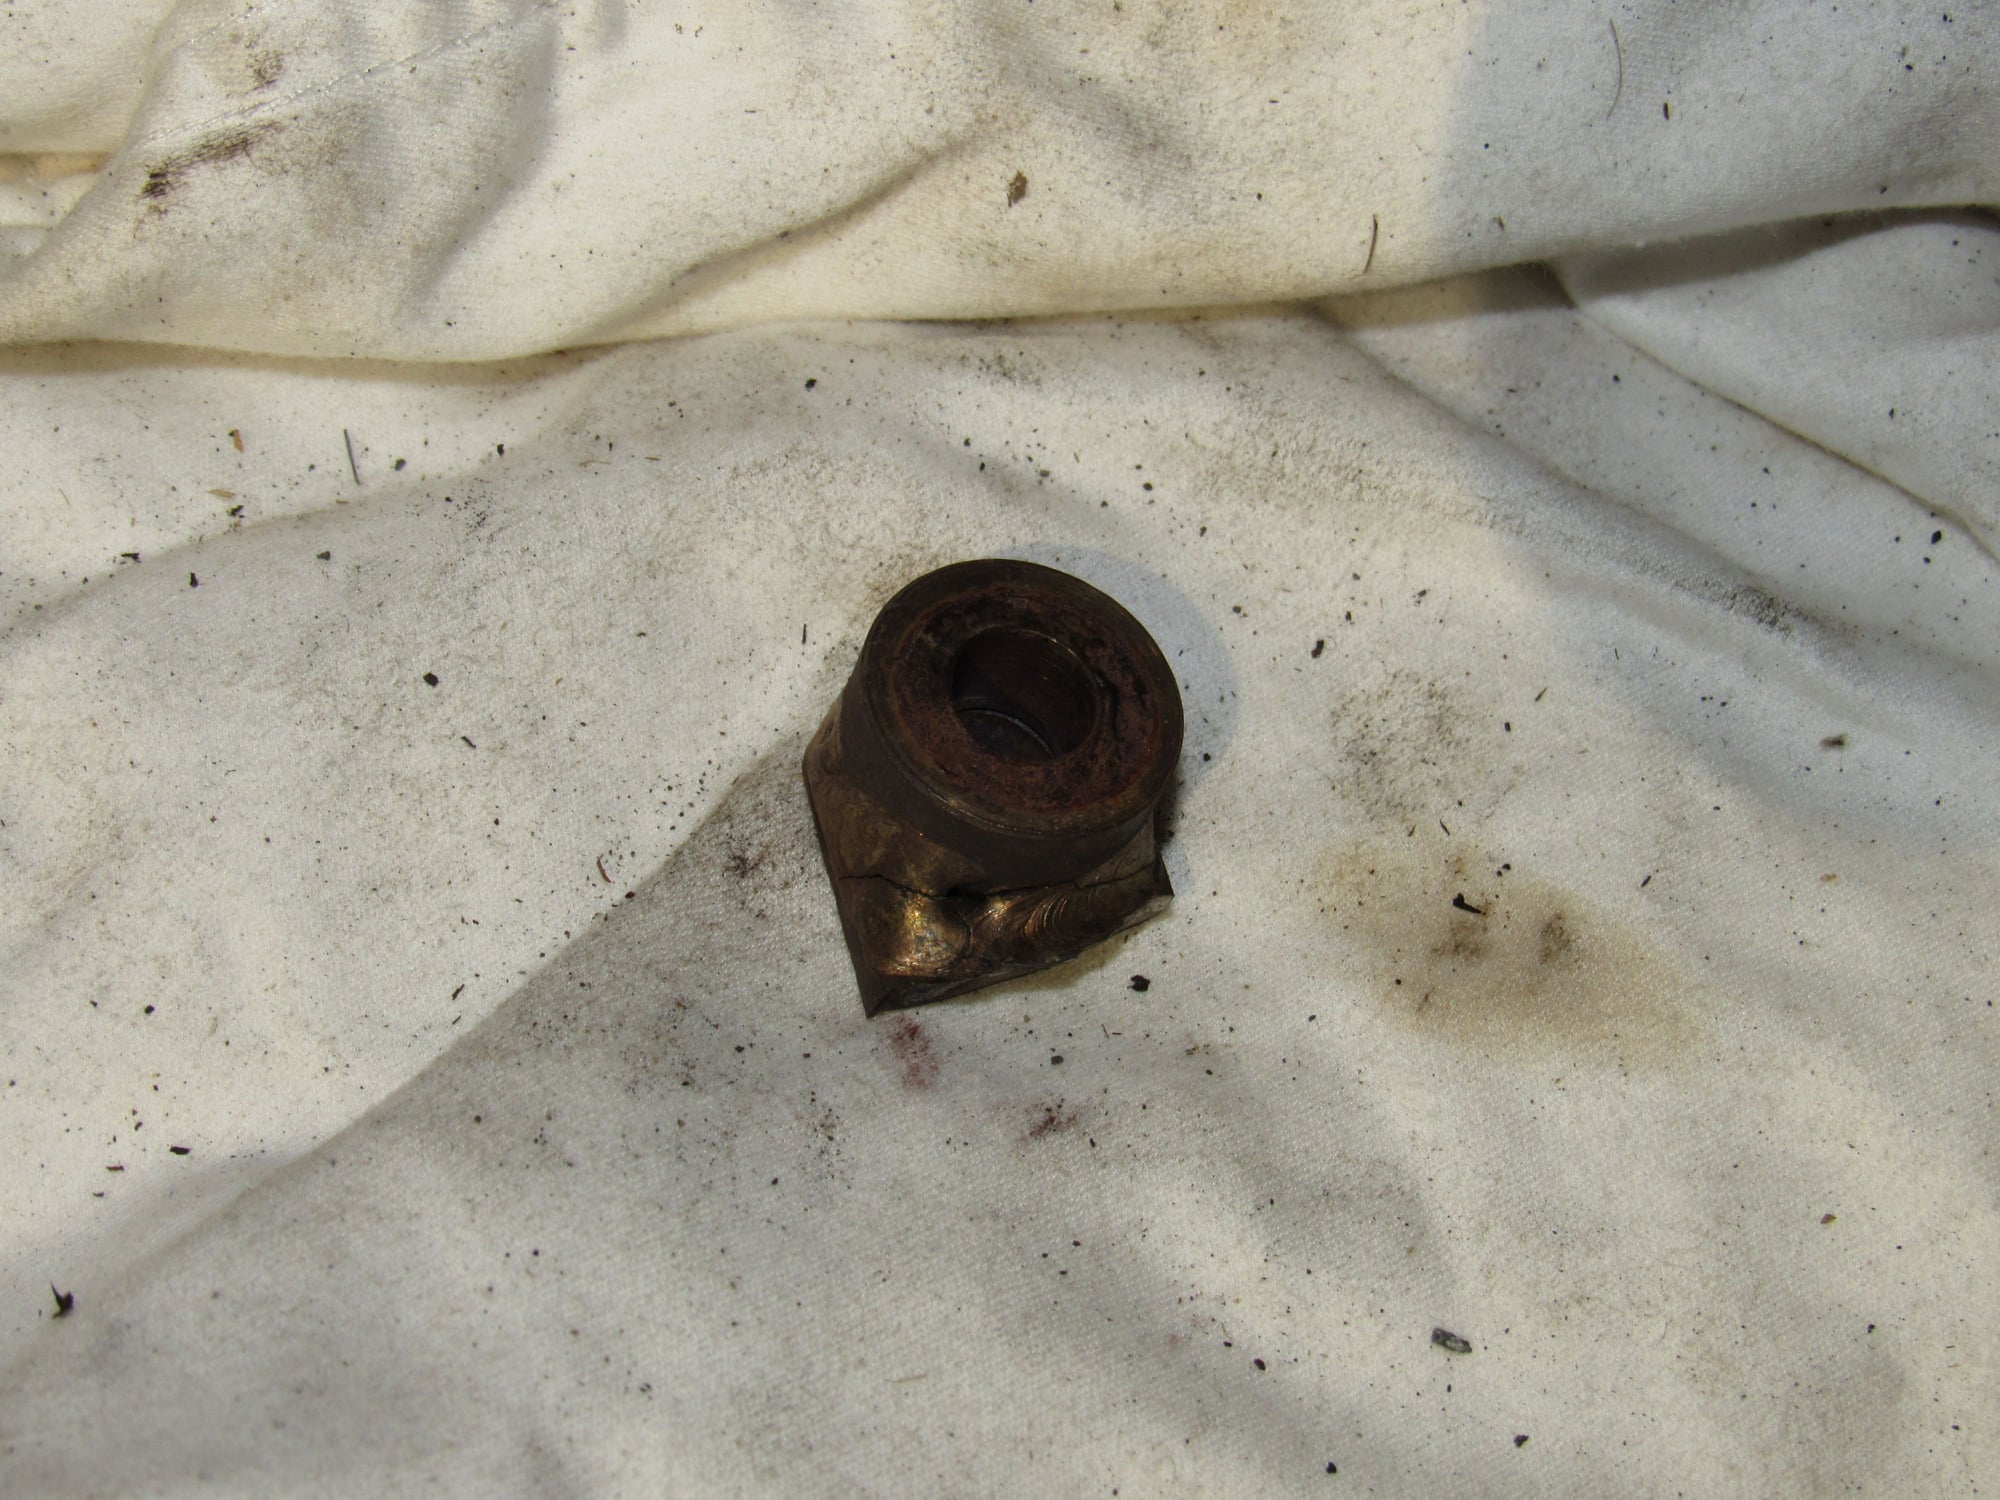
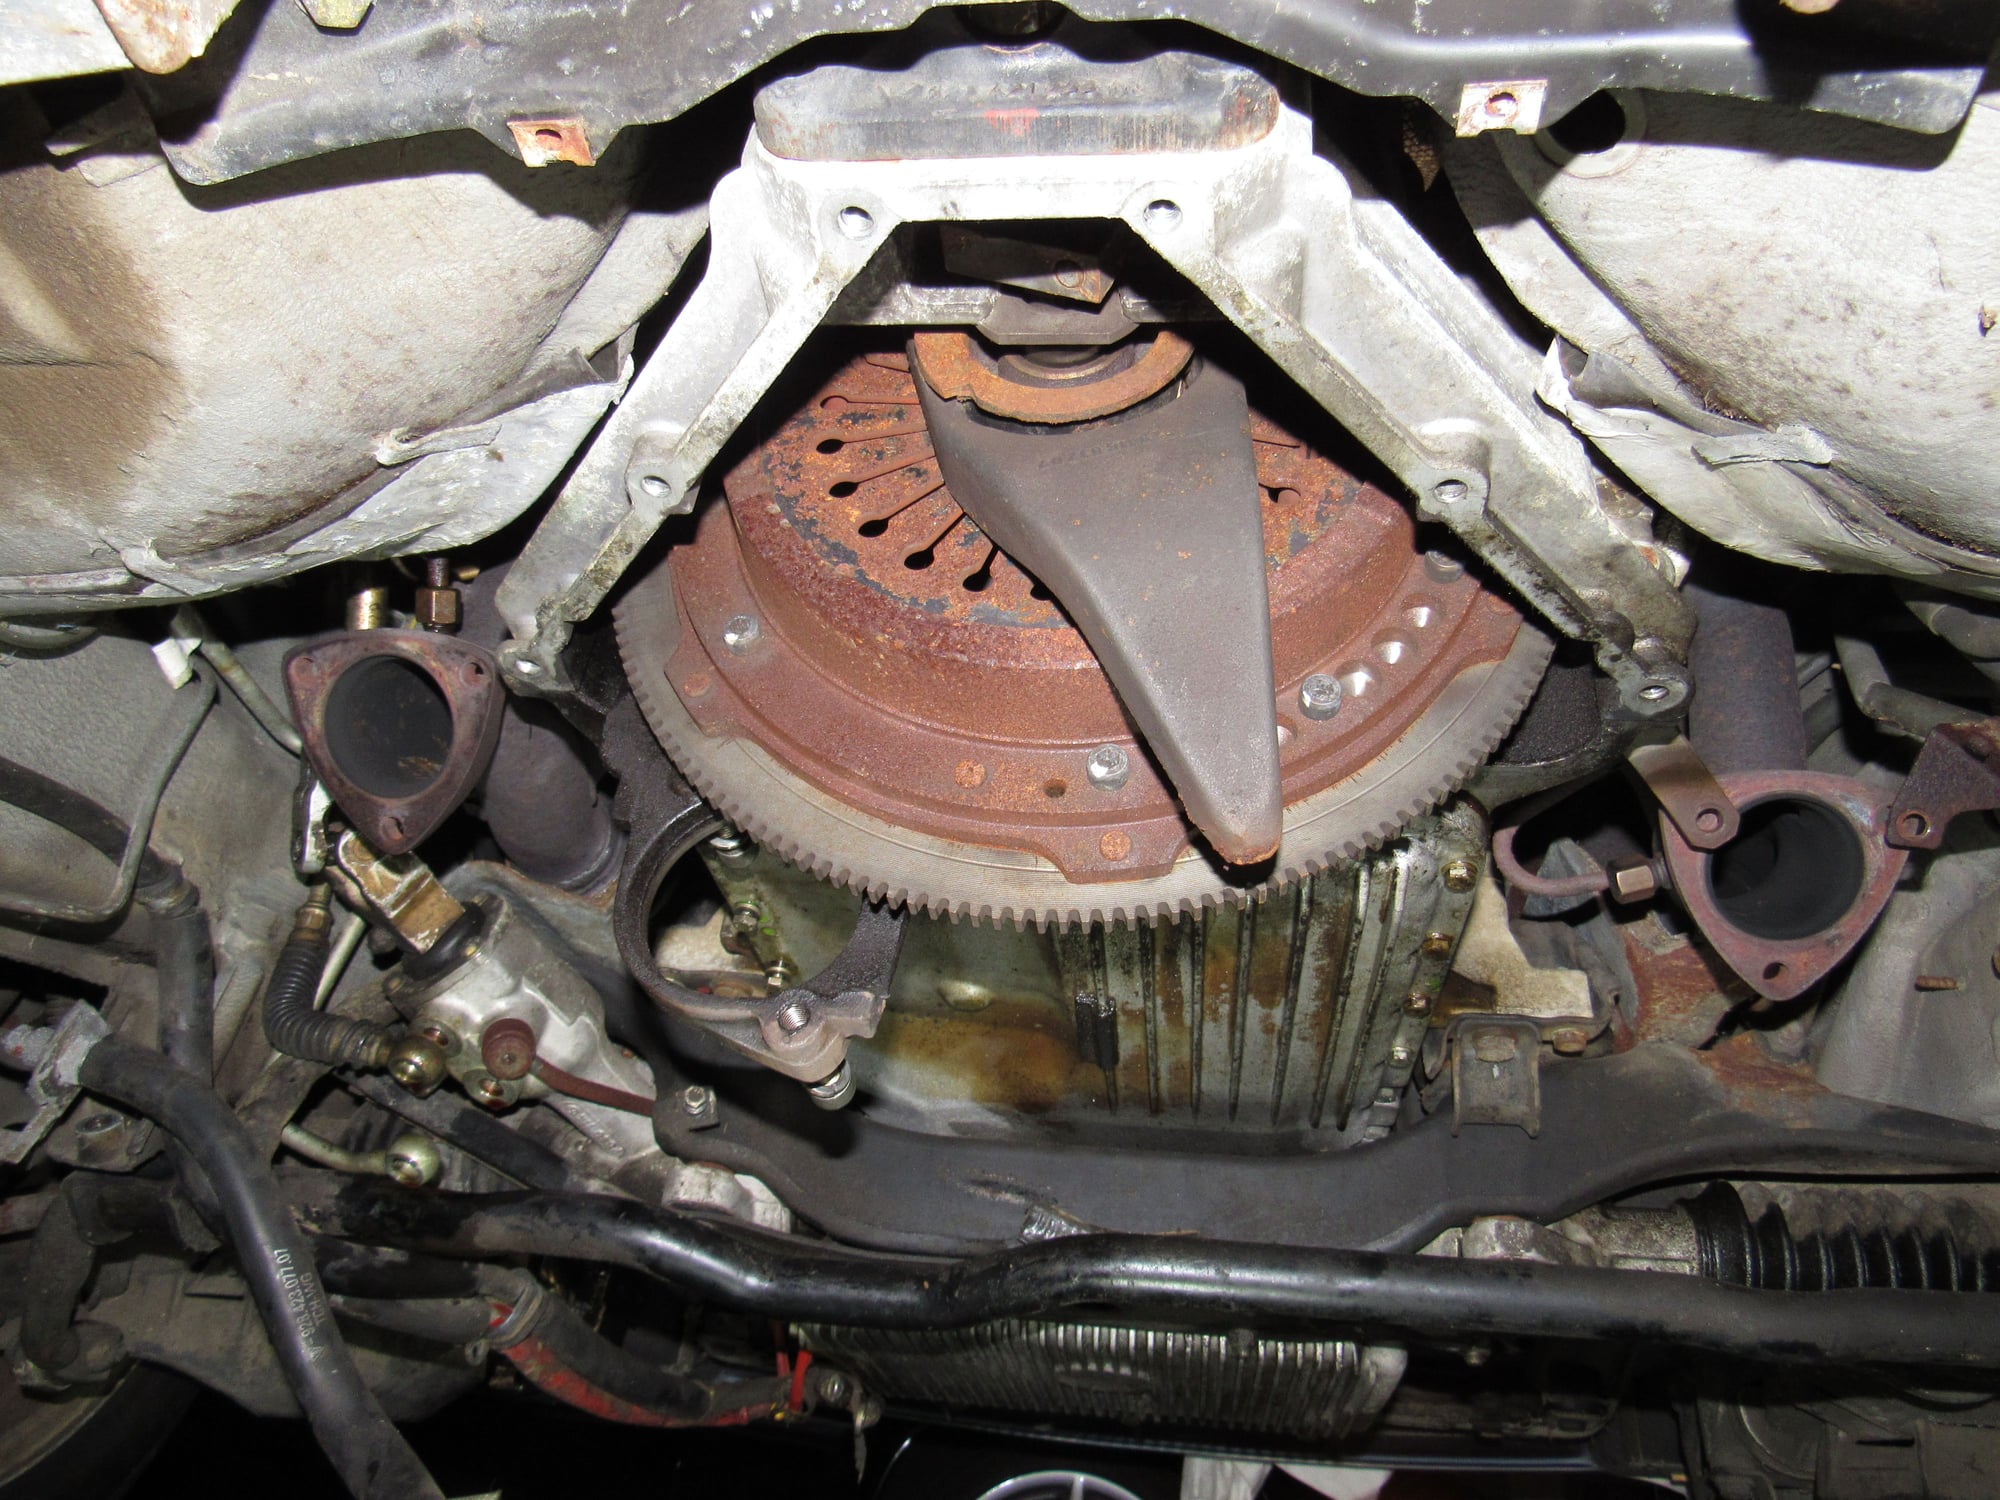
Also this bell housing to exhaust manifold bracket, there is even another crack in the weld if you look closely. At some point I should try my hand at tig welding stainless steel.
Pretty ugly inside the bell housing.
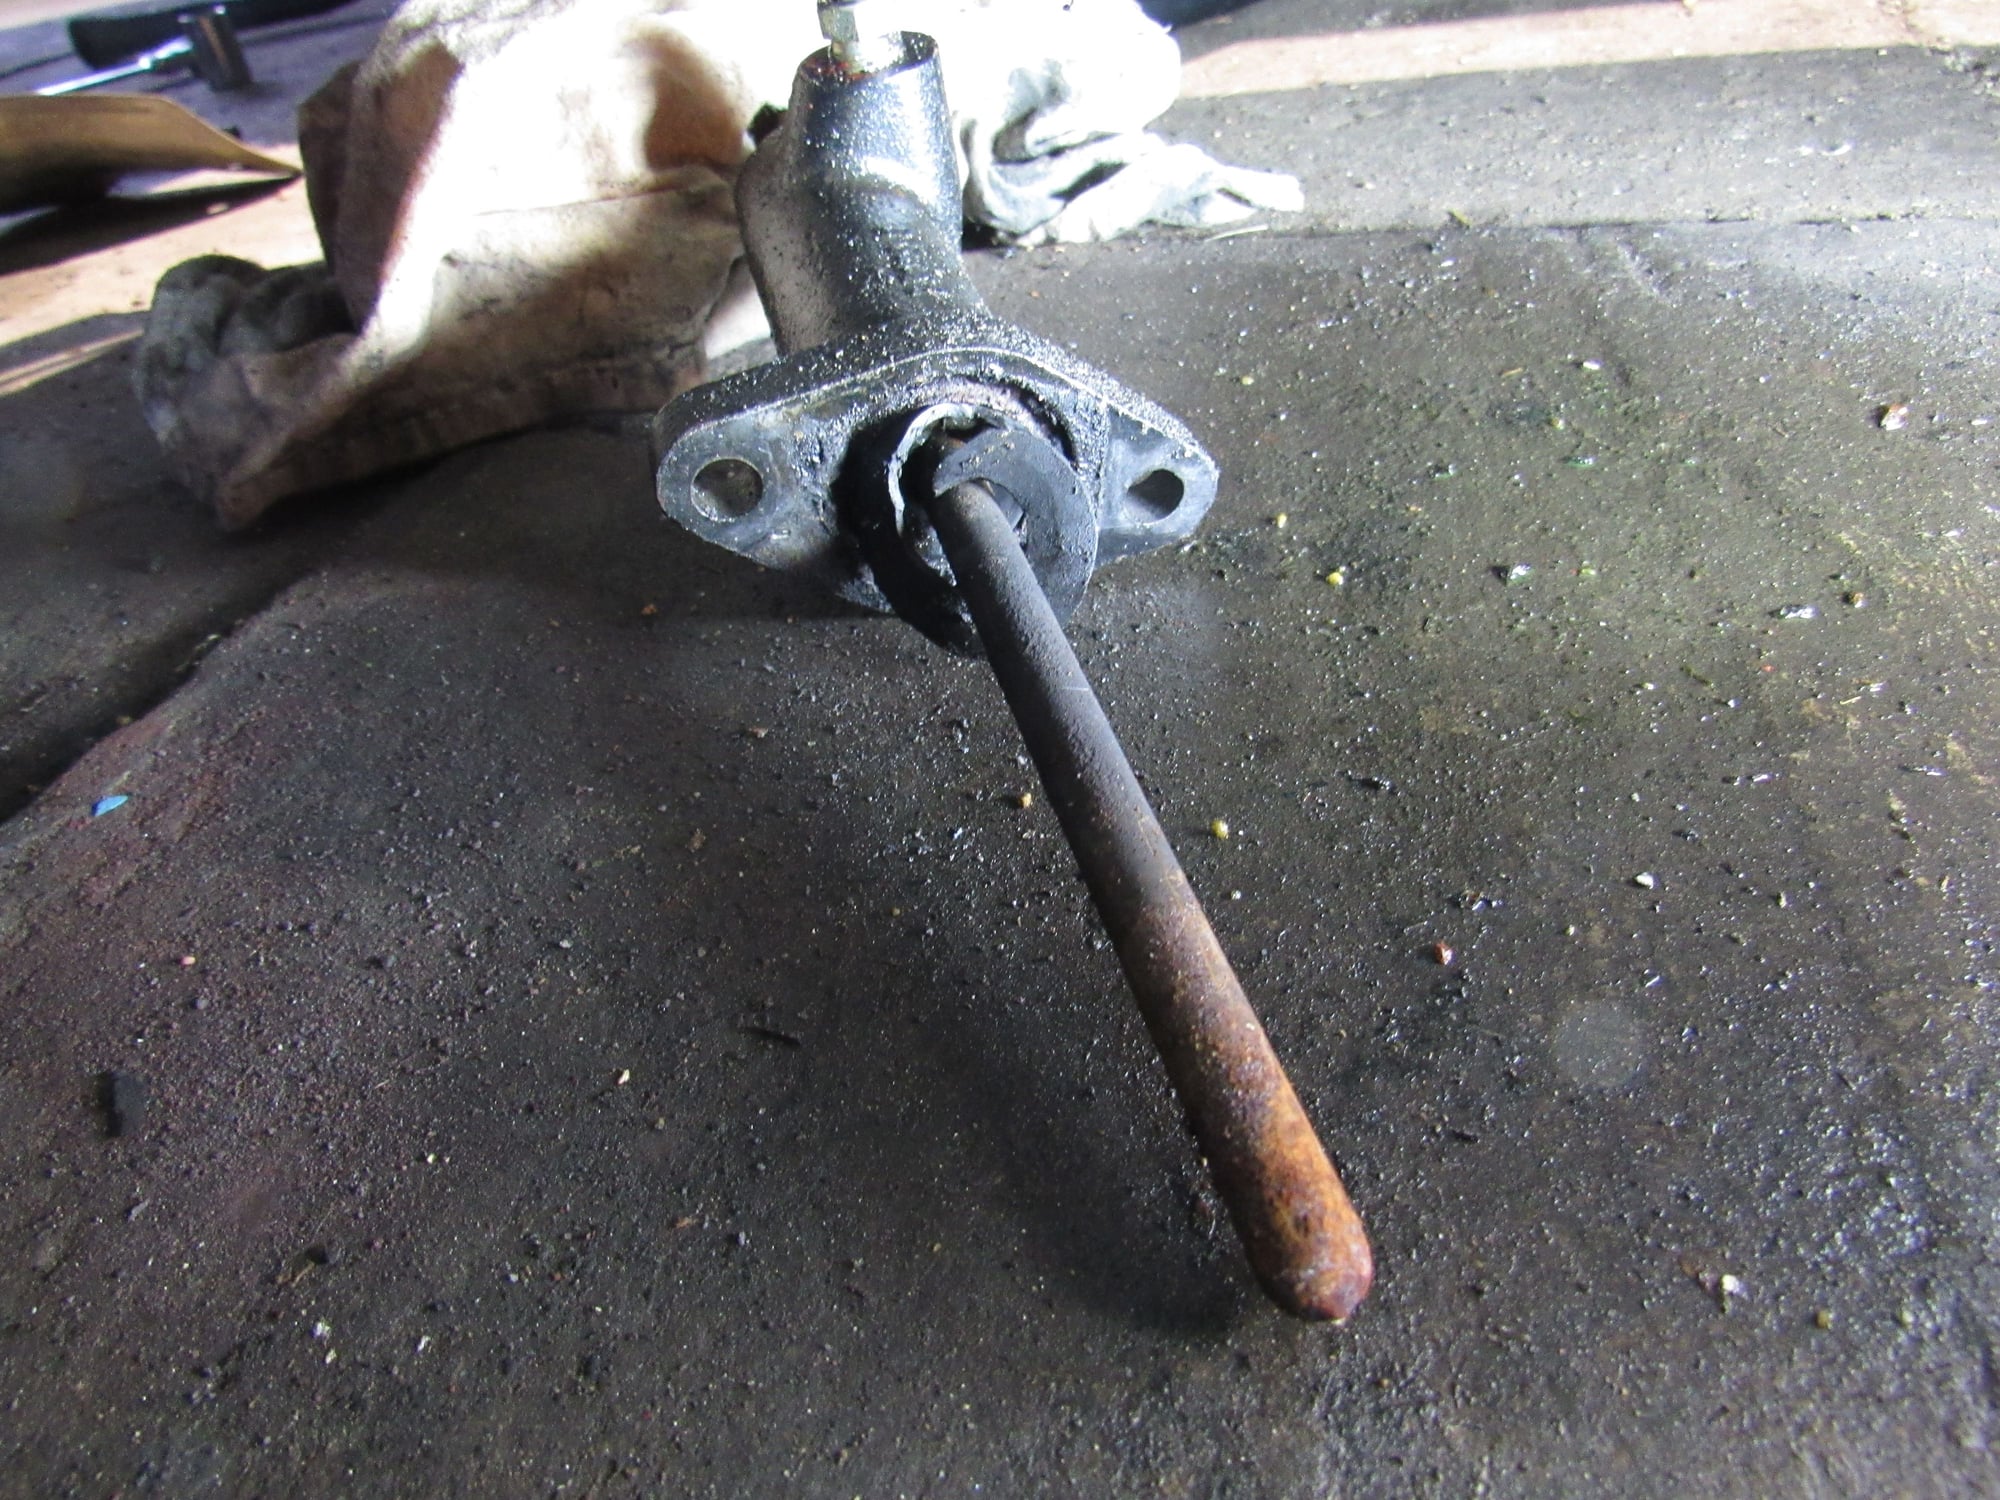
Clutch slave is shot, but not leaking. Will be replaced.
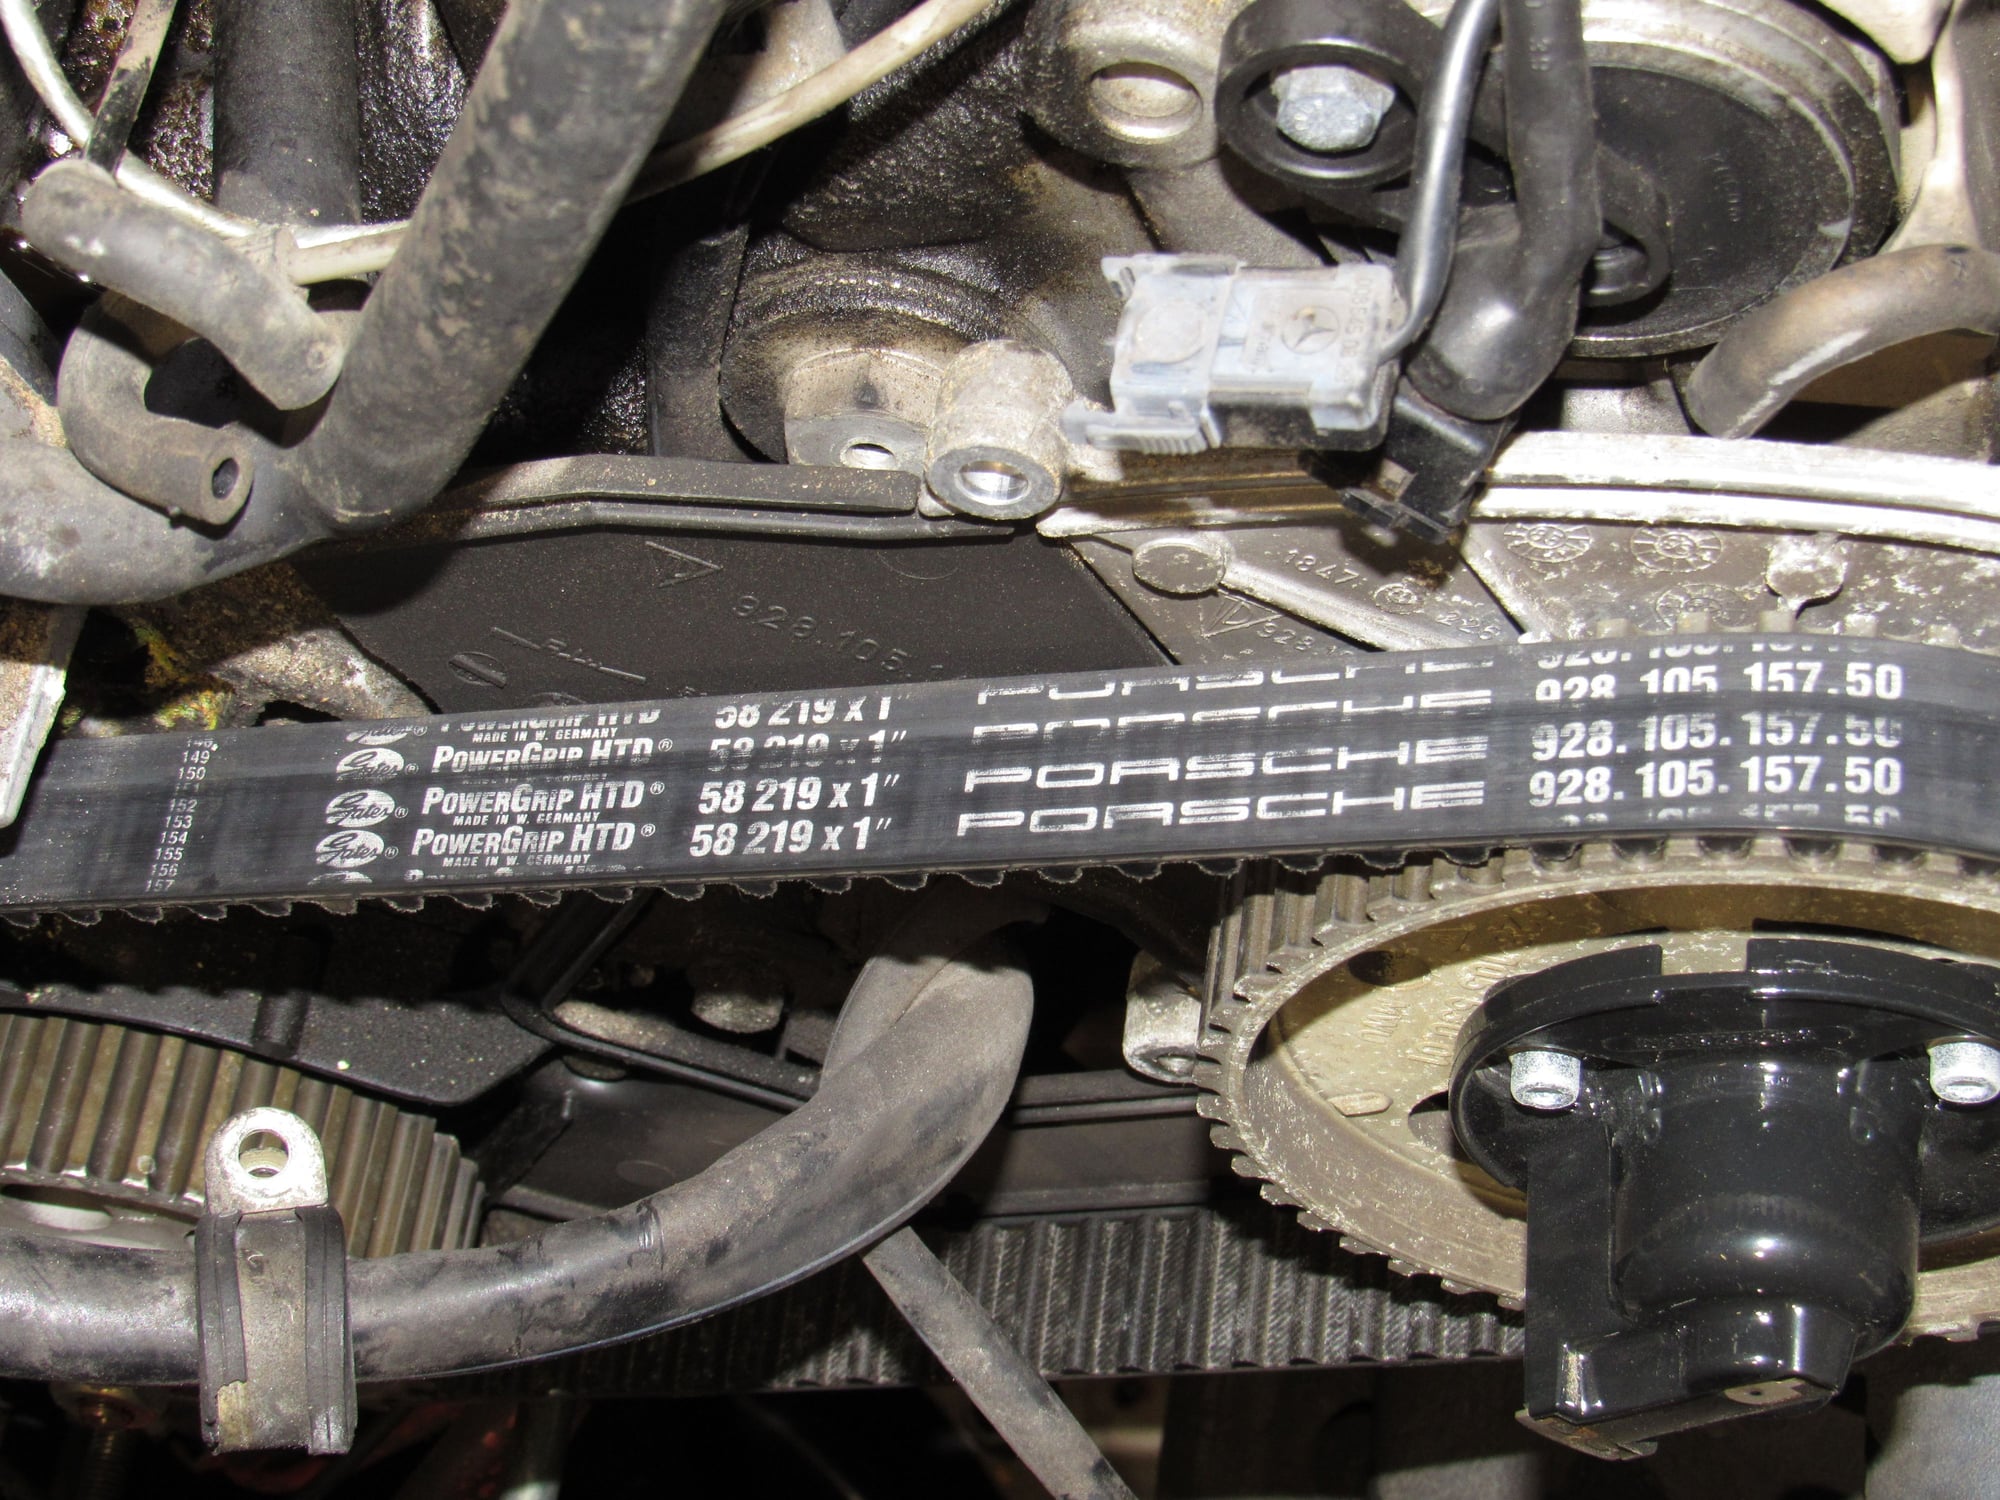
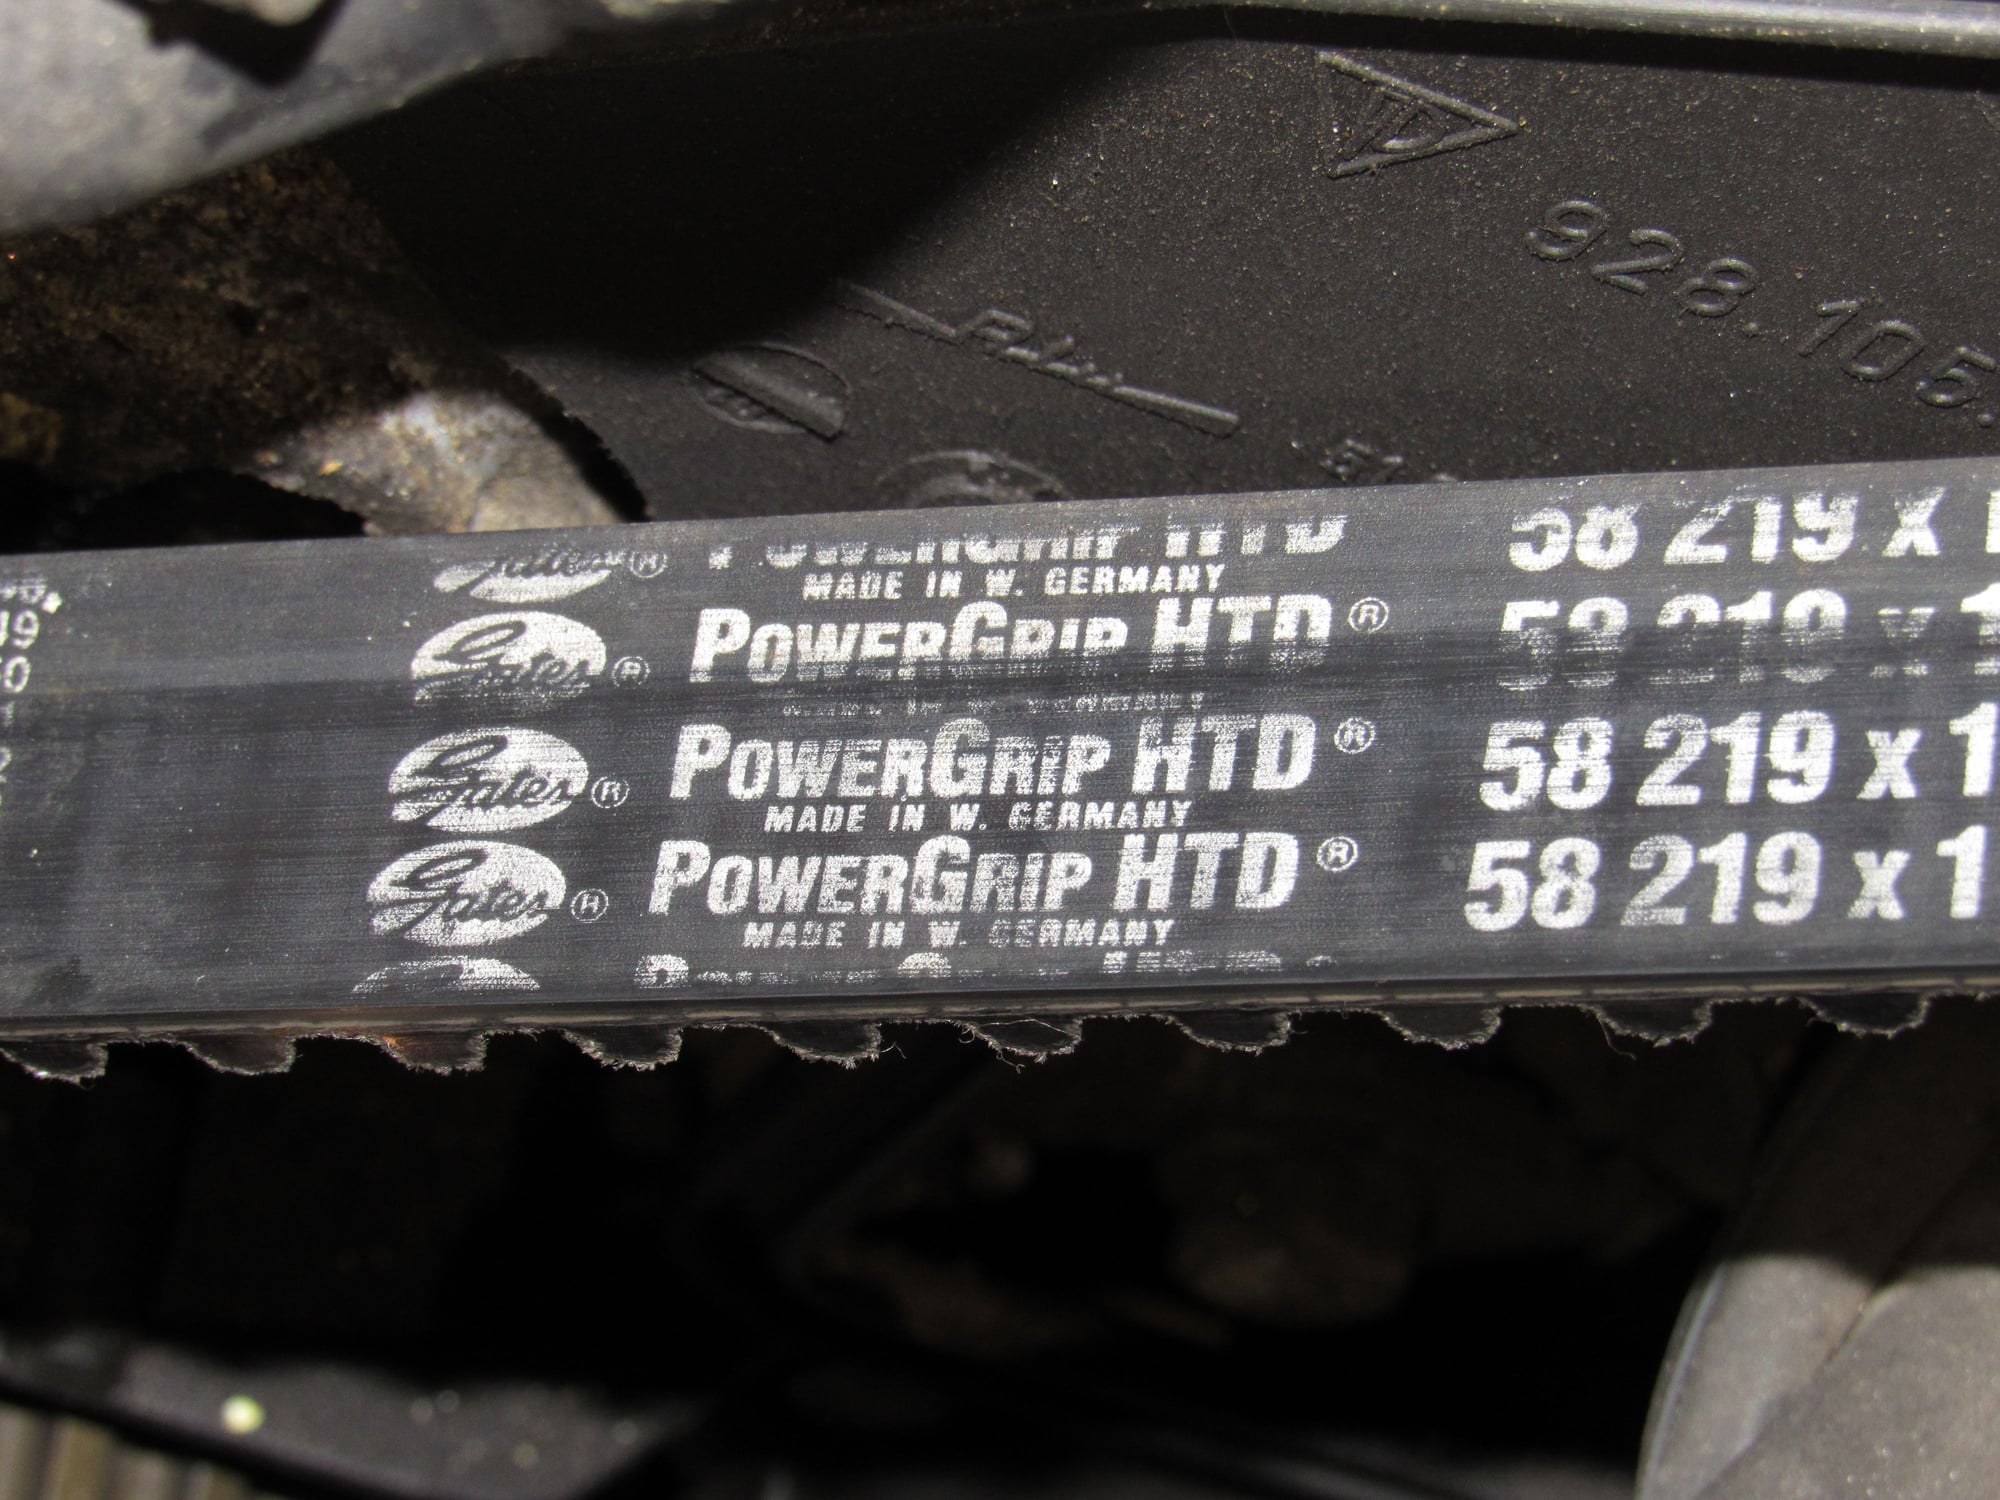
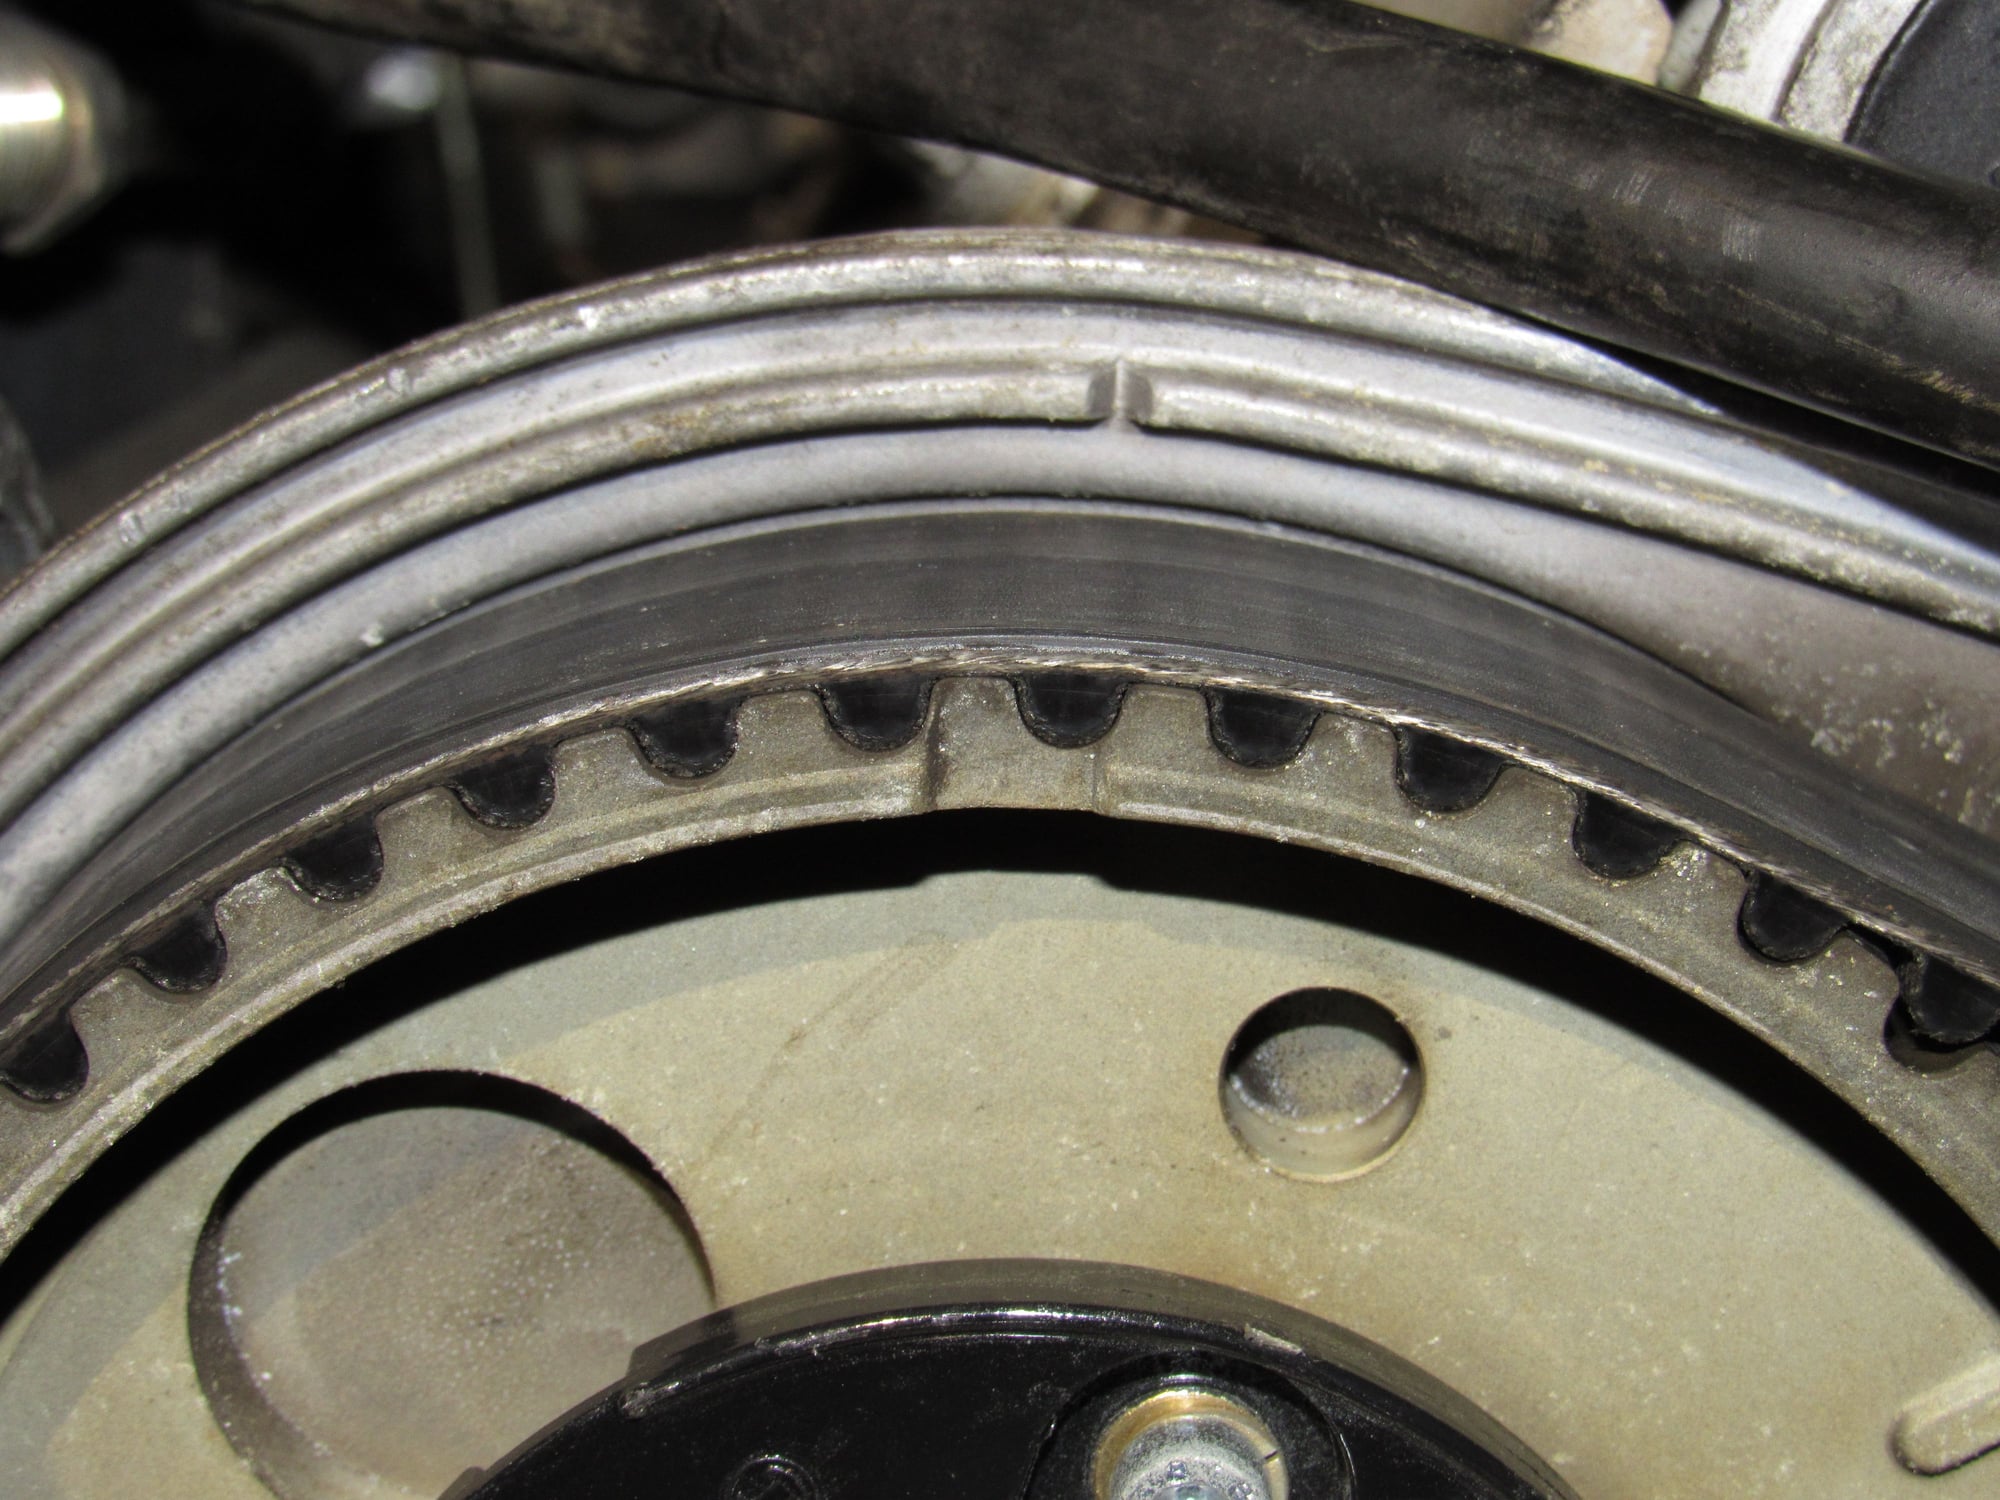
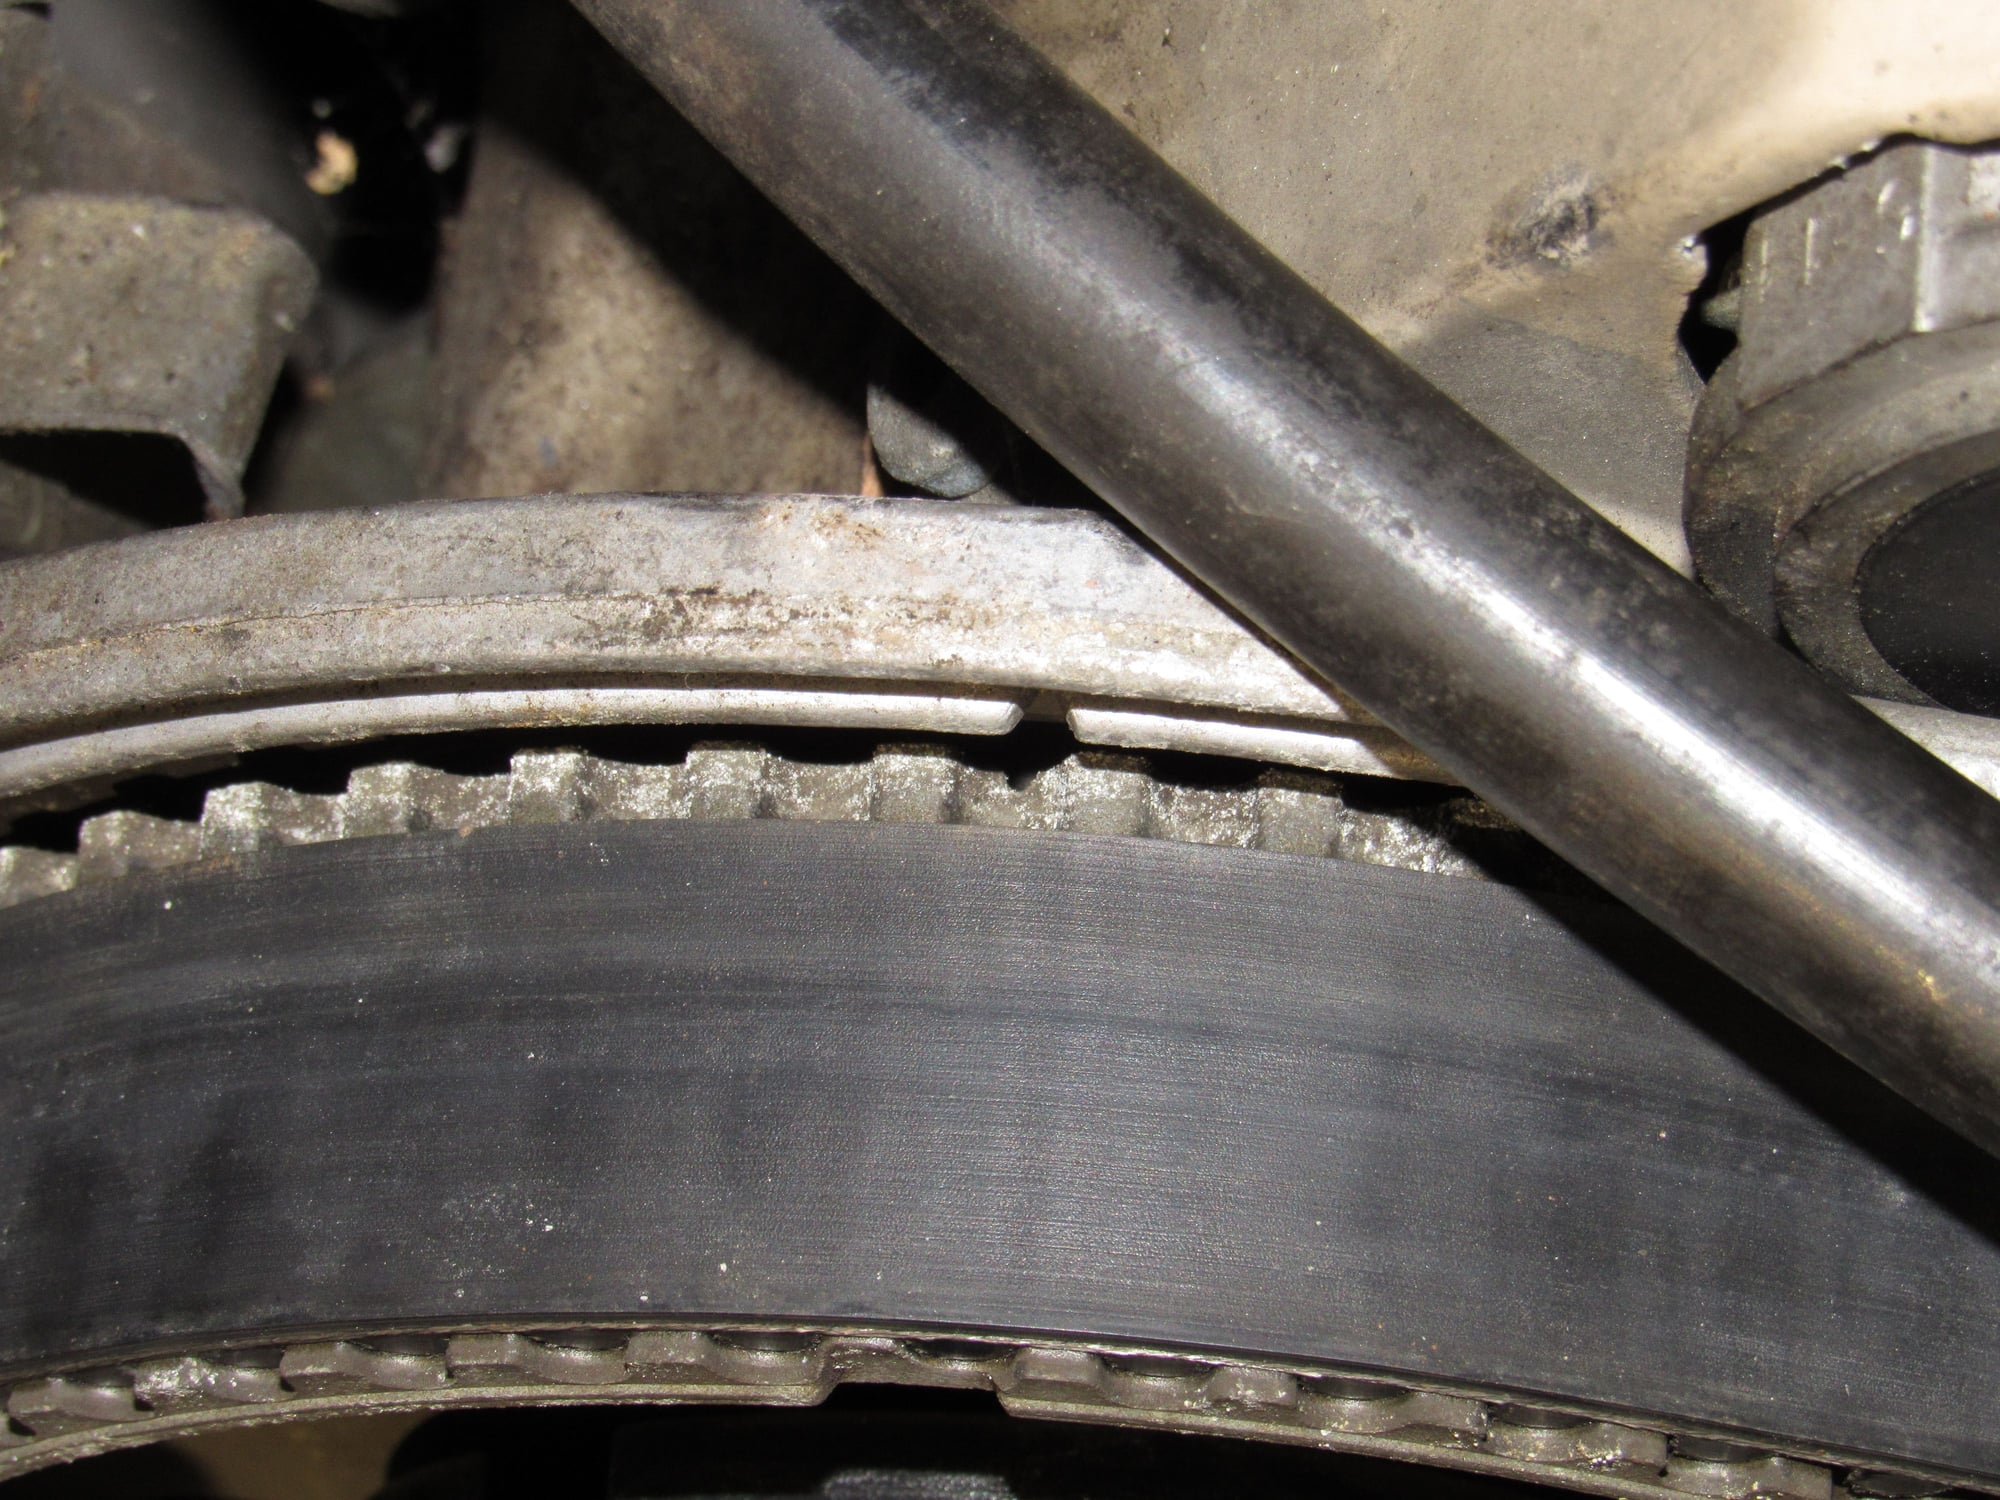
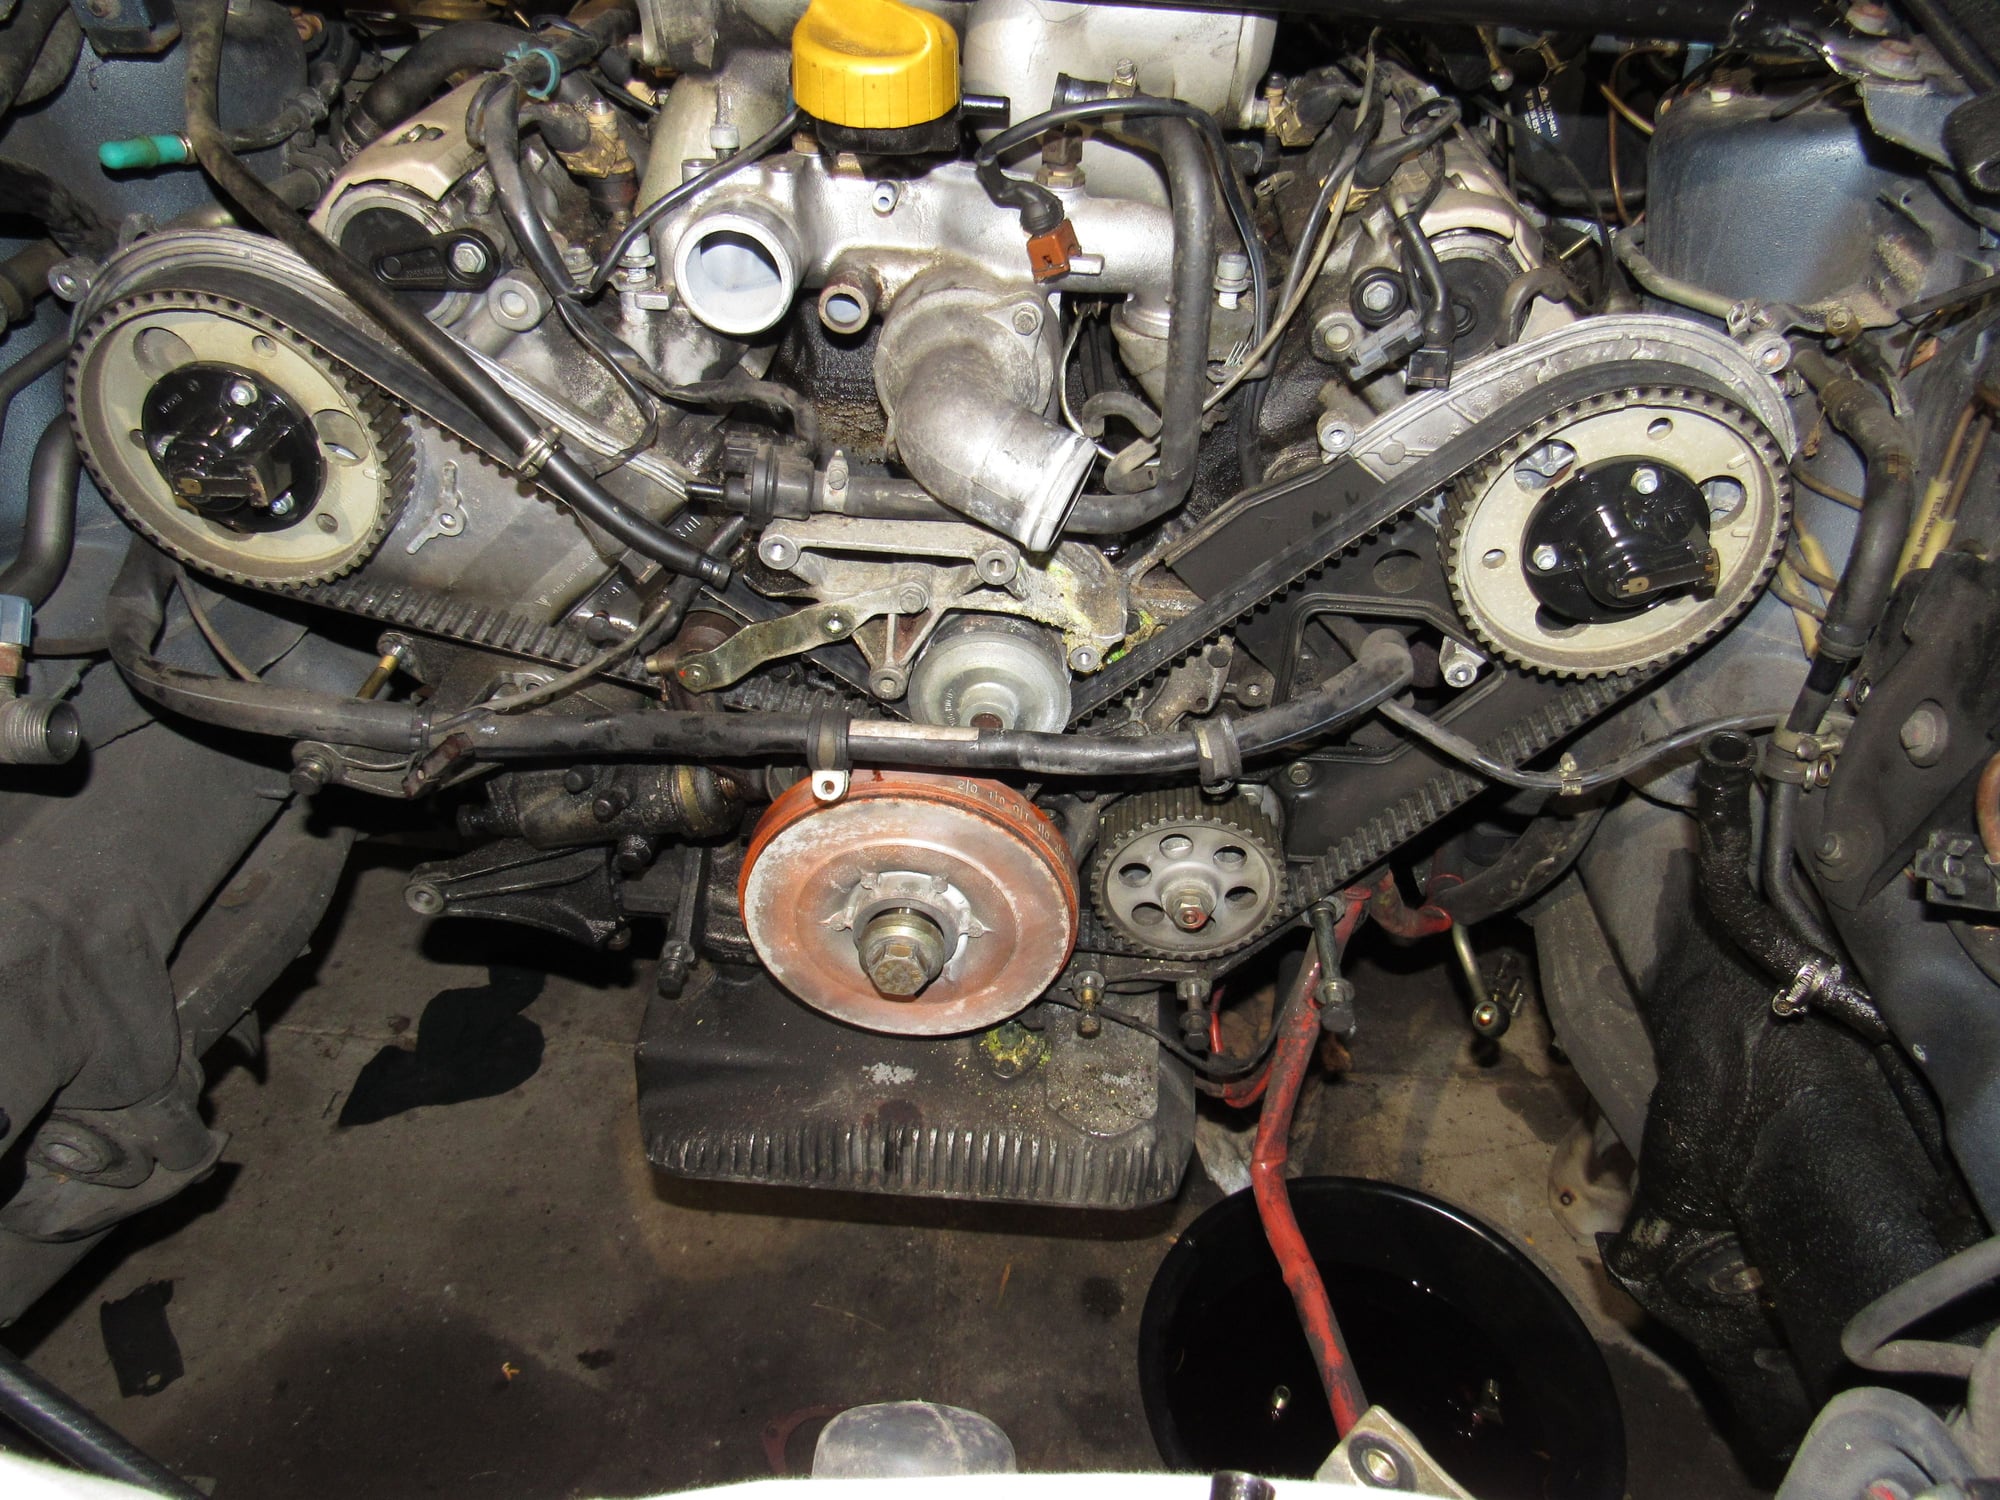
At this point I am pretty much ready to pull the engine. I had some time today but not enough for that commitment. So curiosity took hold and I removed the timing belt covers. It all looks great. The Porsche timing belt has no cracks and still looks fresh.
Look closer, made in W. Germany. Could this be? Unless this was new old stock, which still means it is 30+ years, then this is the original factory fitted timing belt!
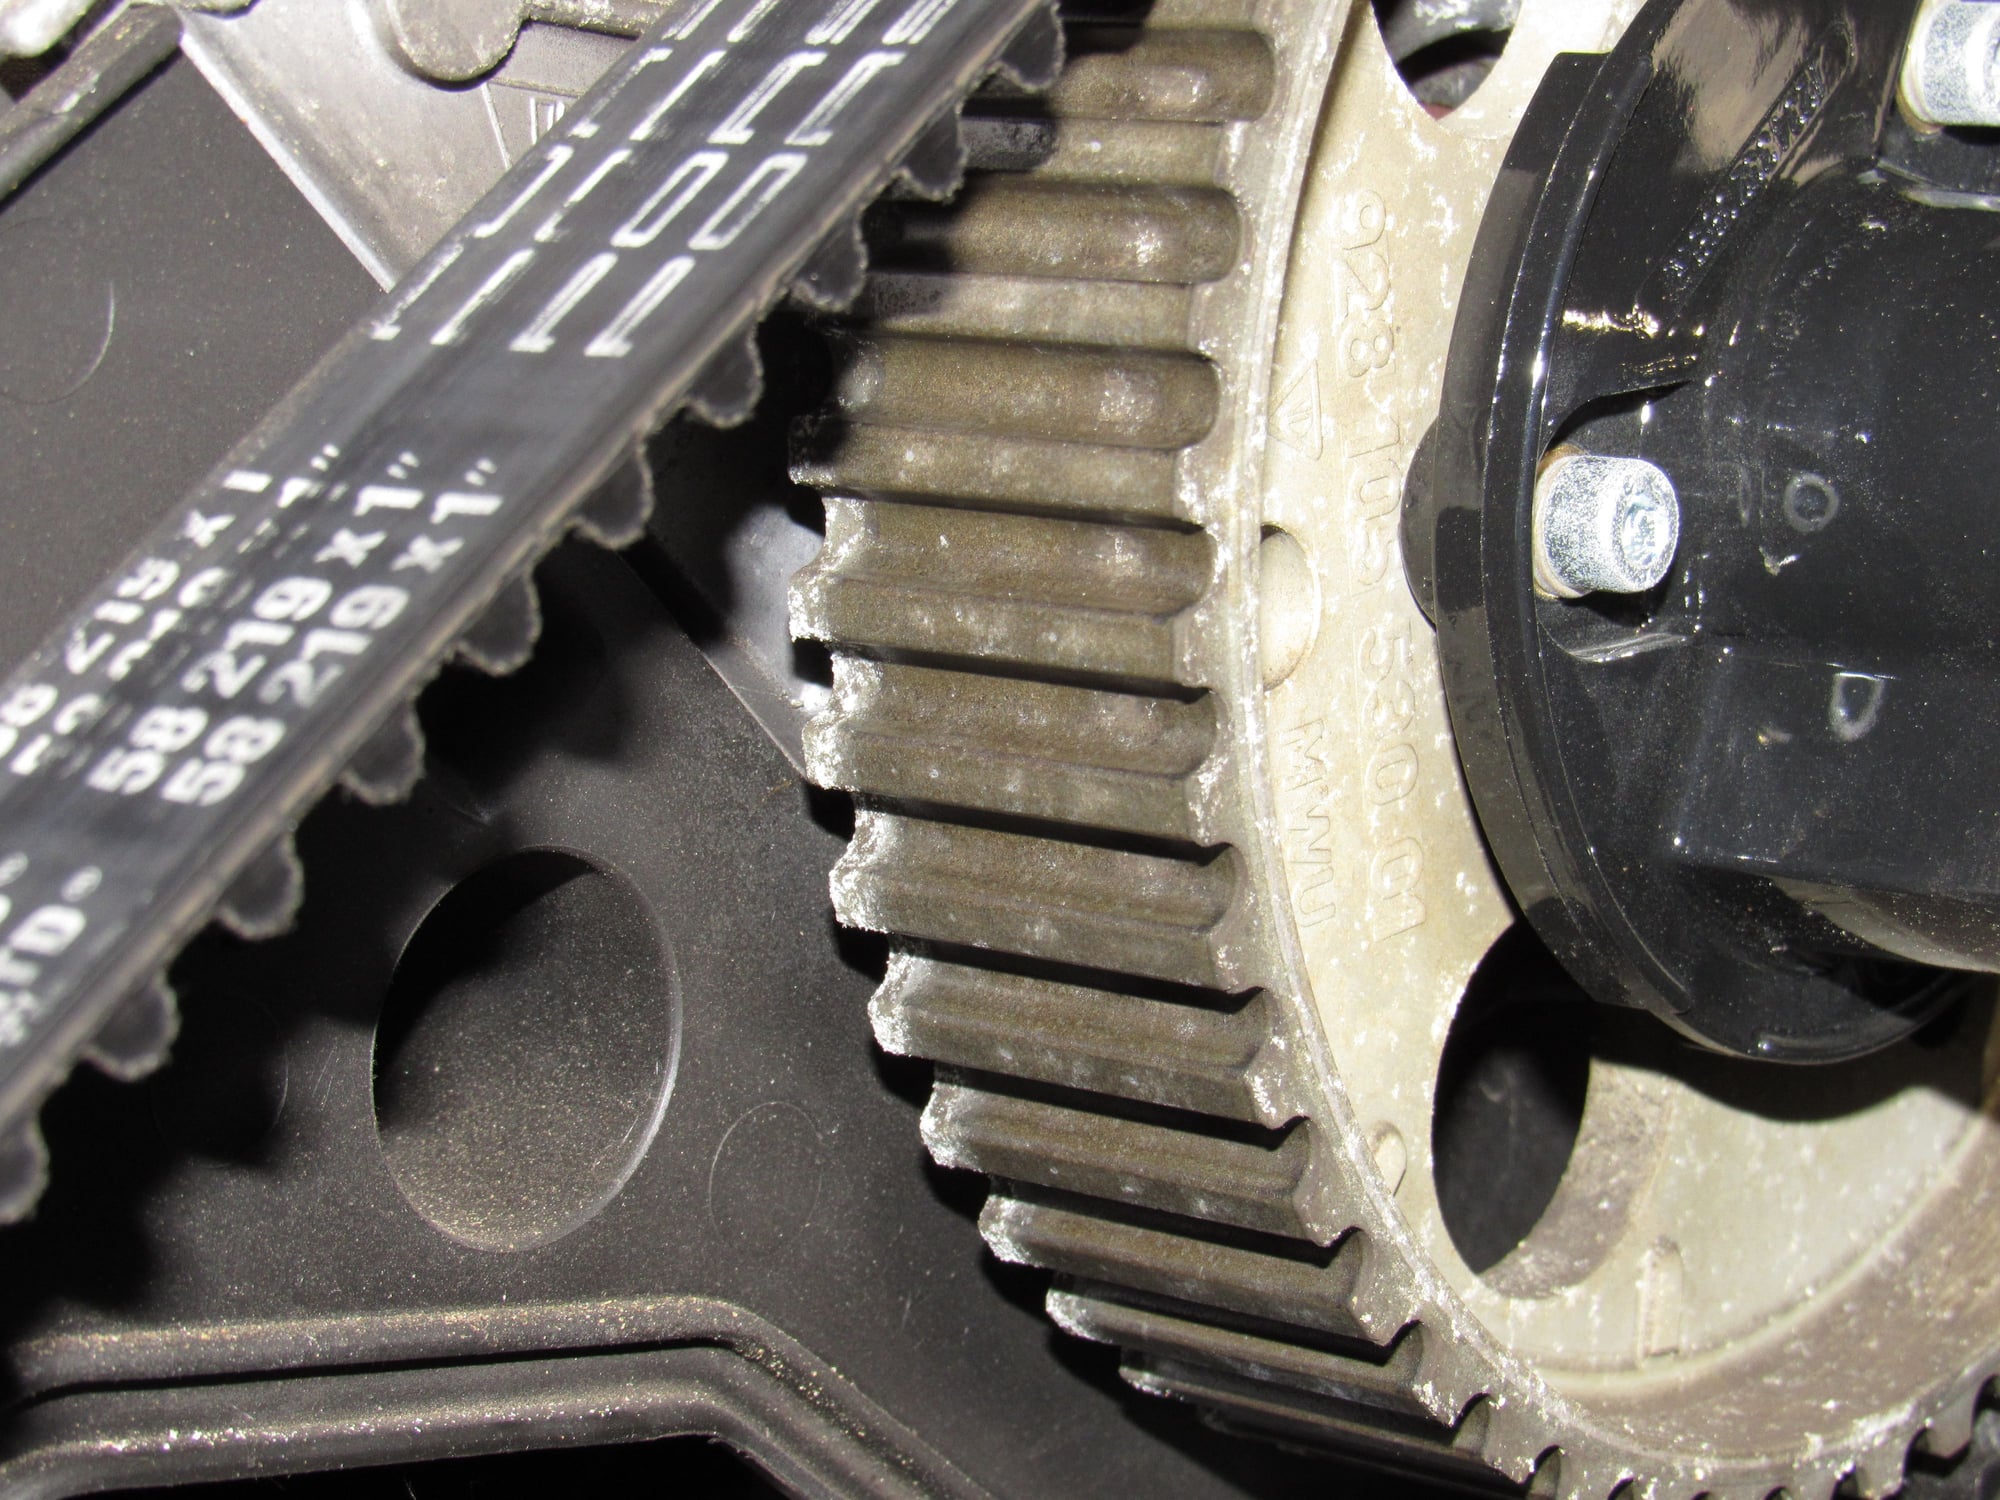
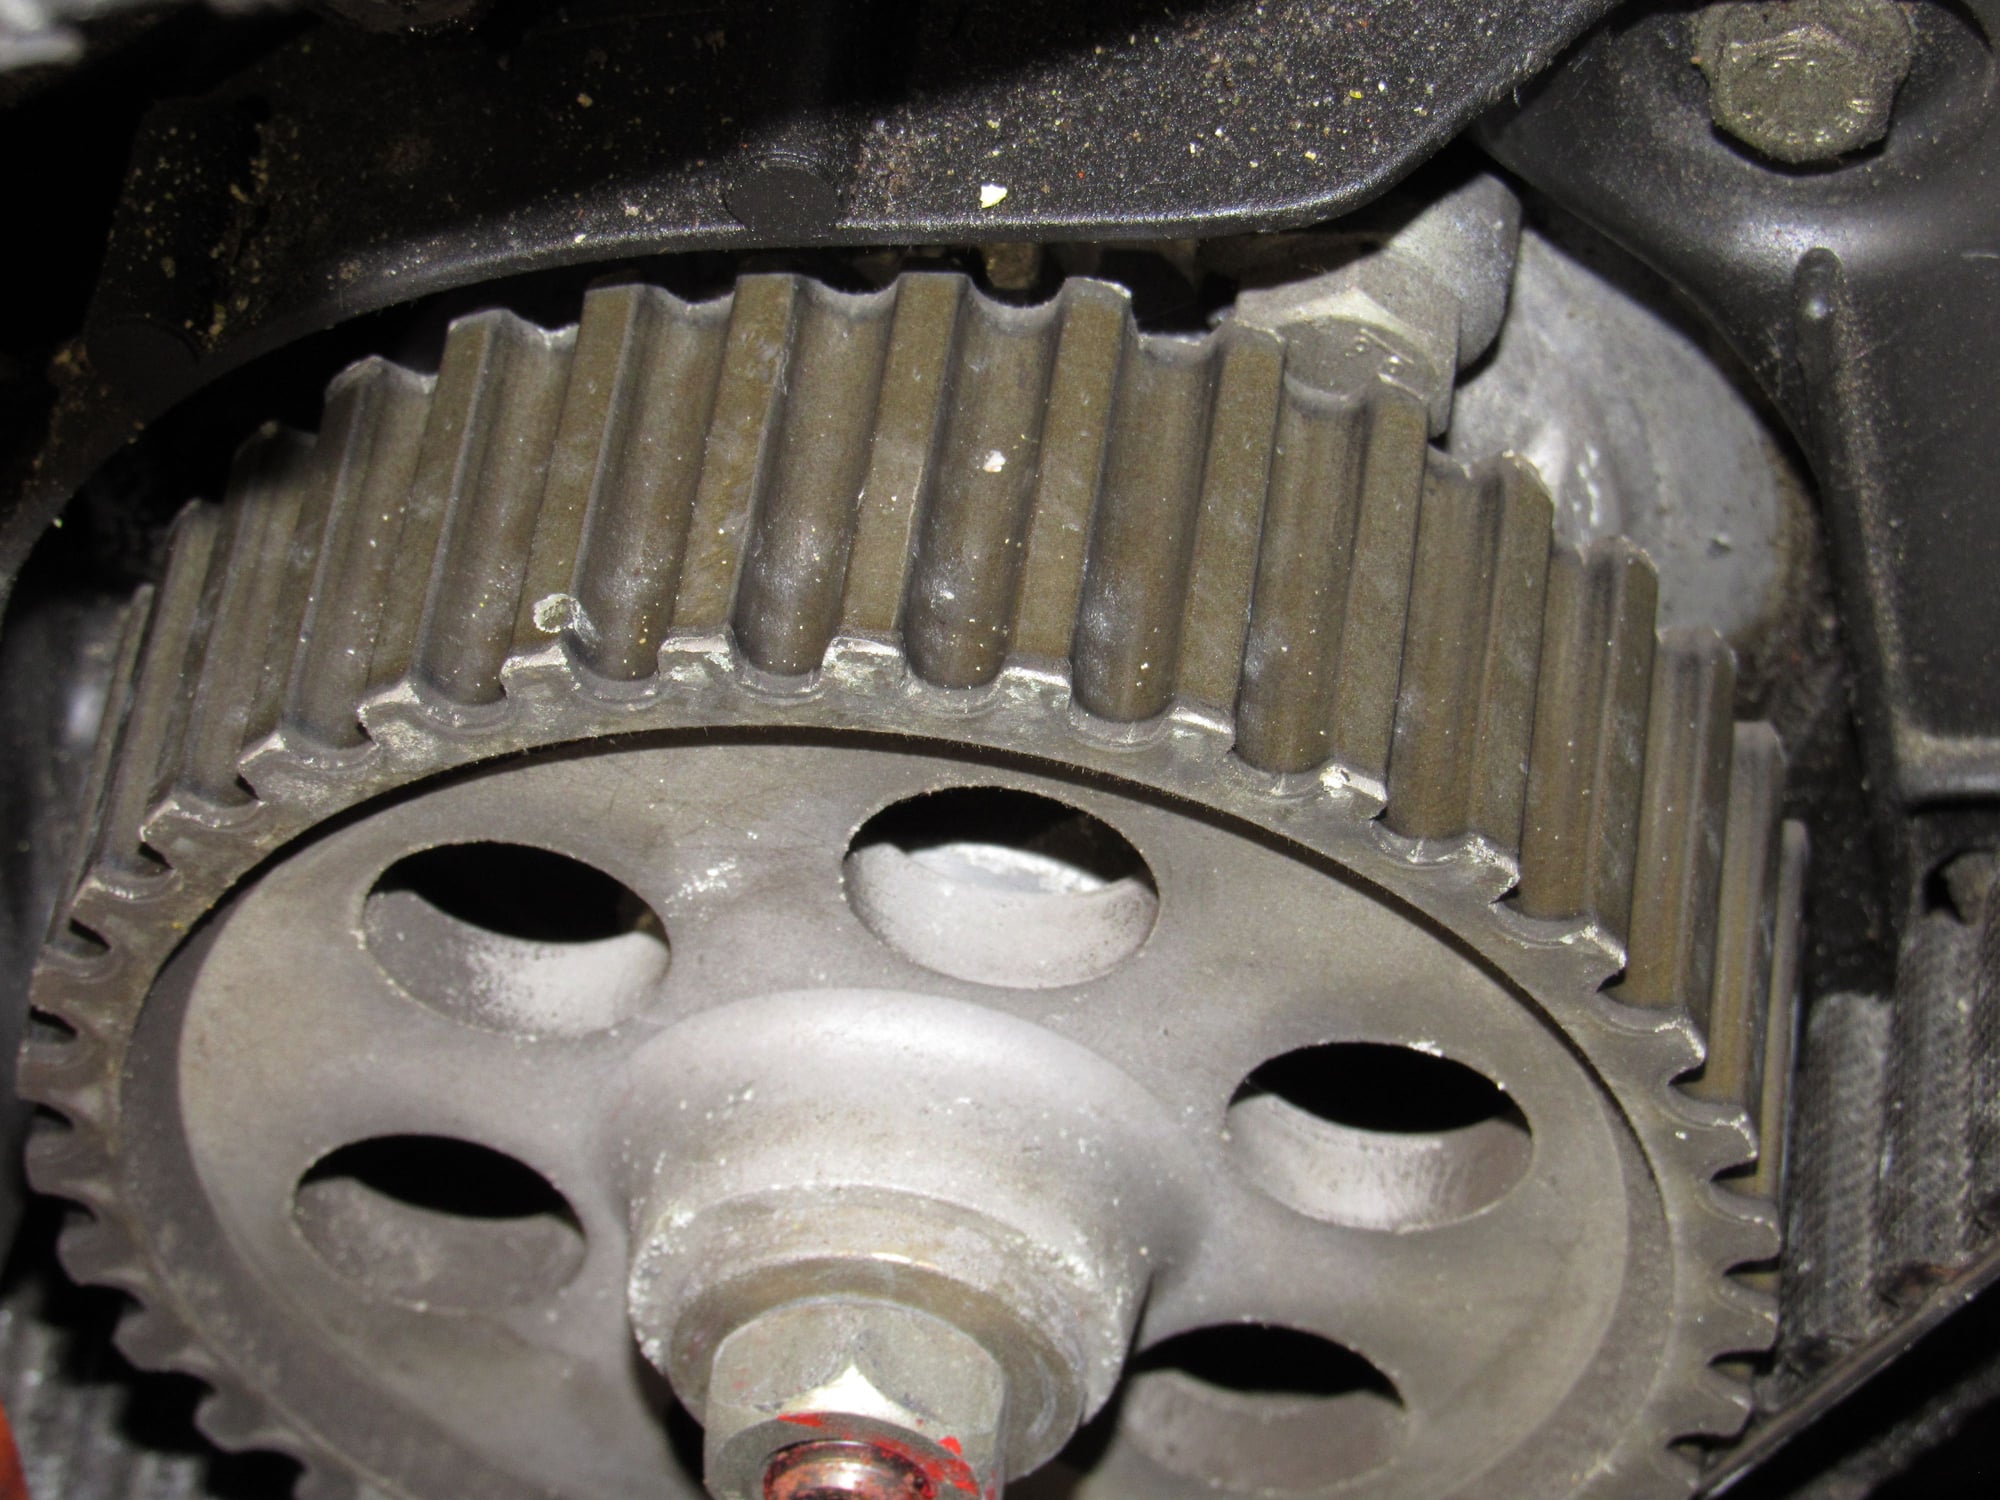
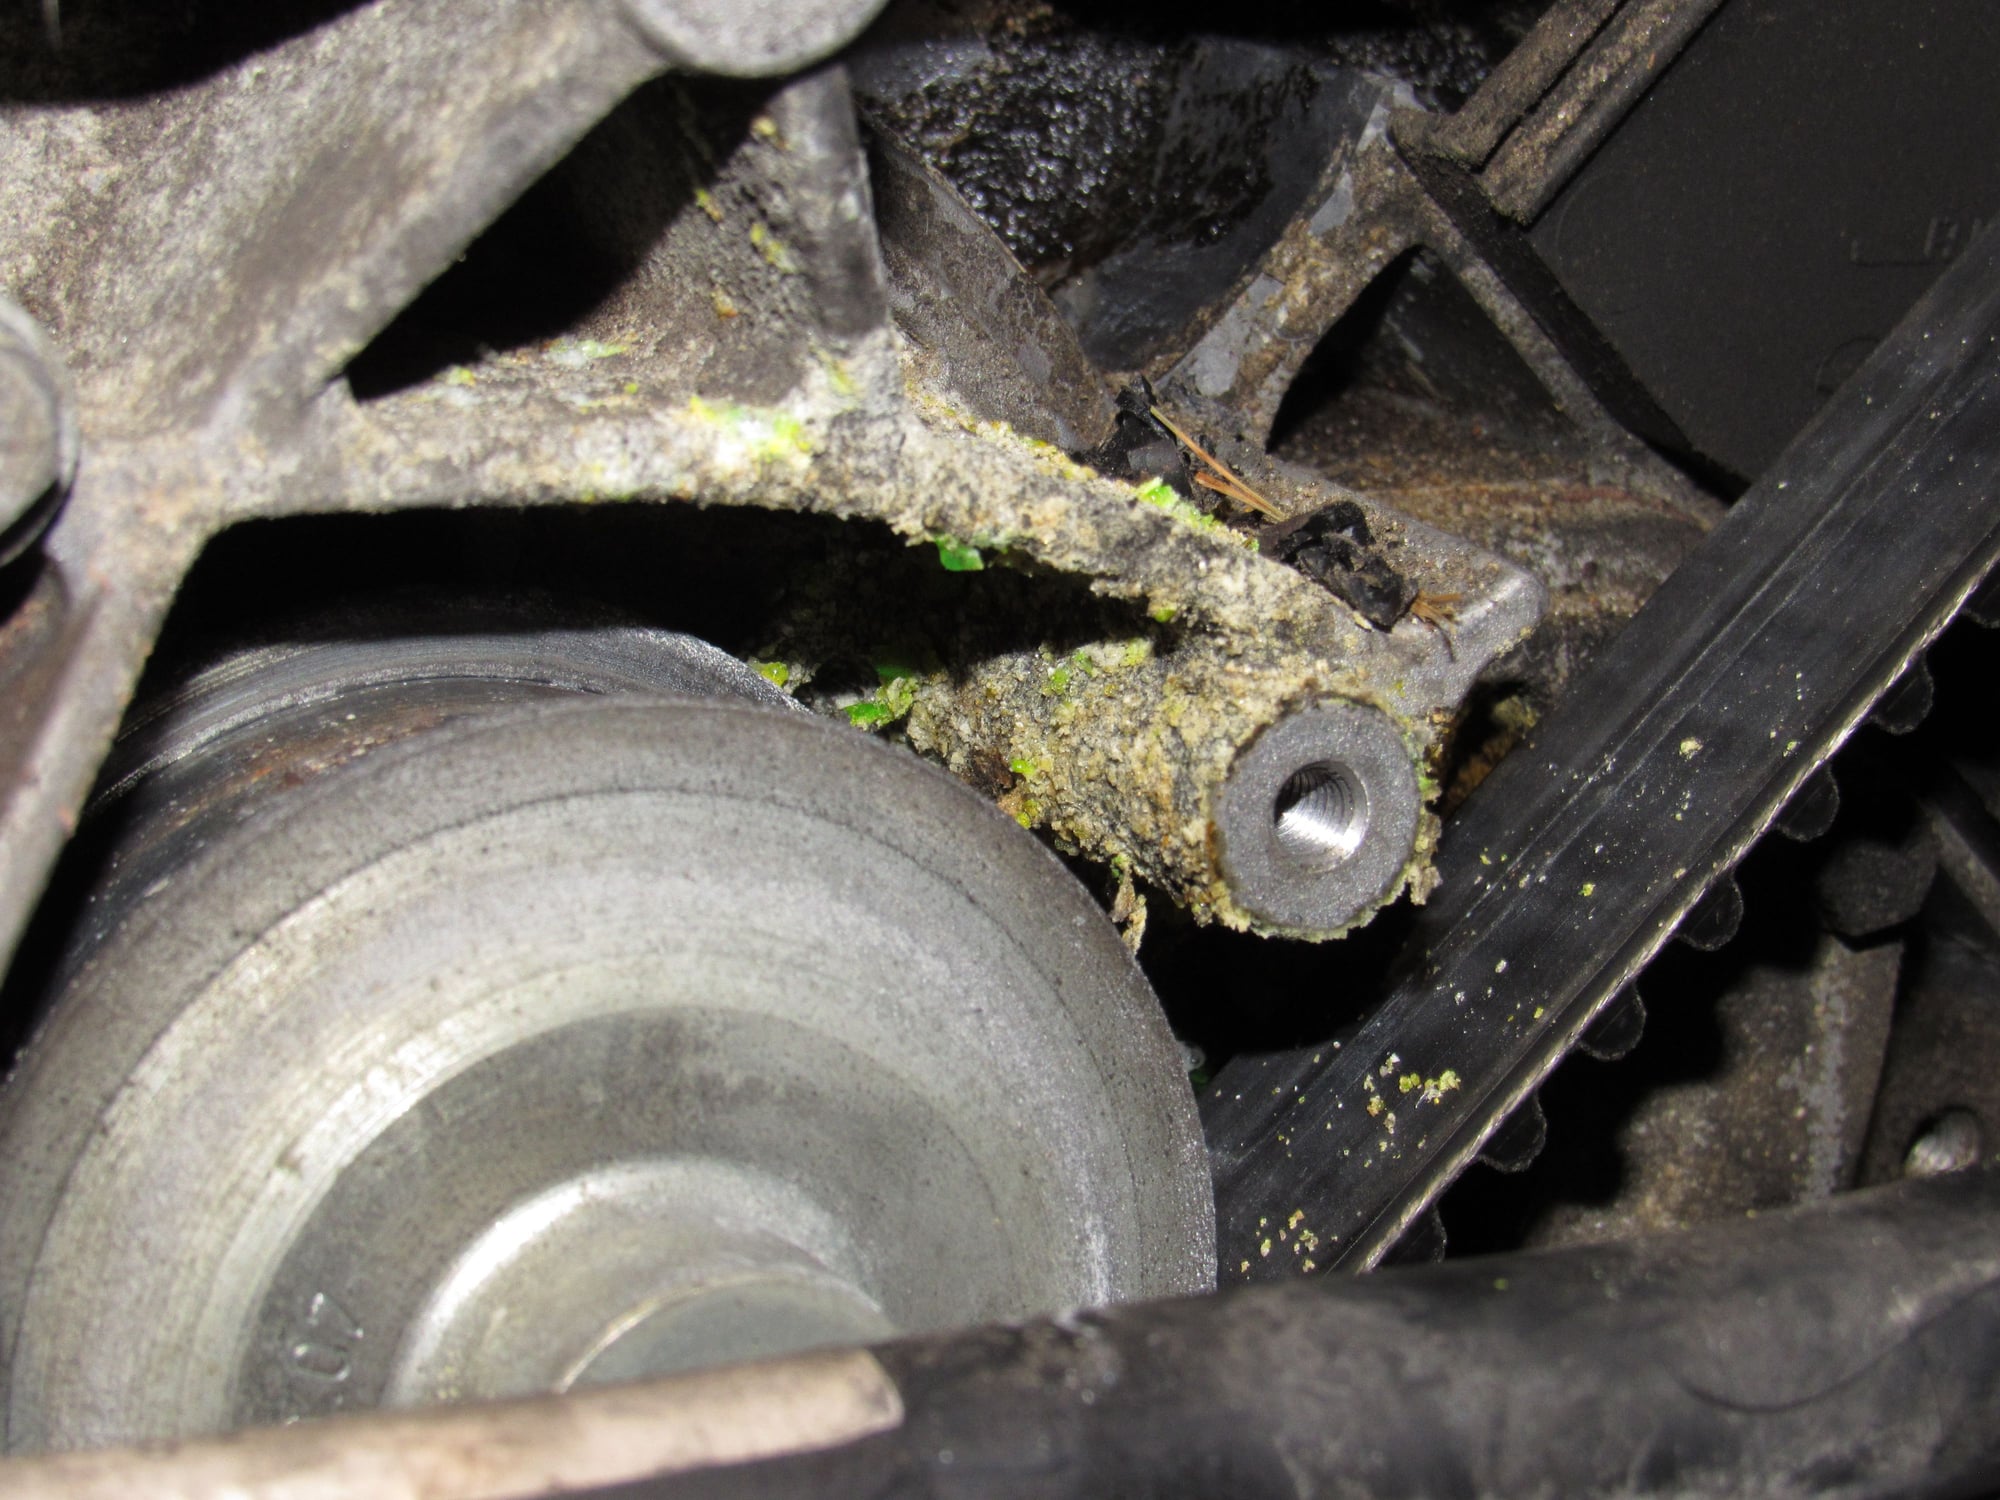
I fully expected to need replacement cam sprockets but they are in excellent condition. Ignore the crusty coolant deposits.
Oil pump sprocket.
Timing marks look perfect.
The water pump is Porsche and I wonder what the date code will be. It had leaked for years.
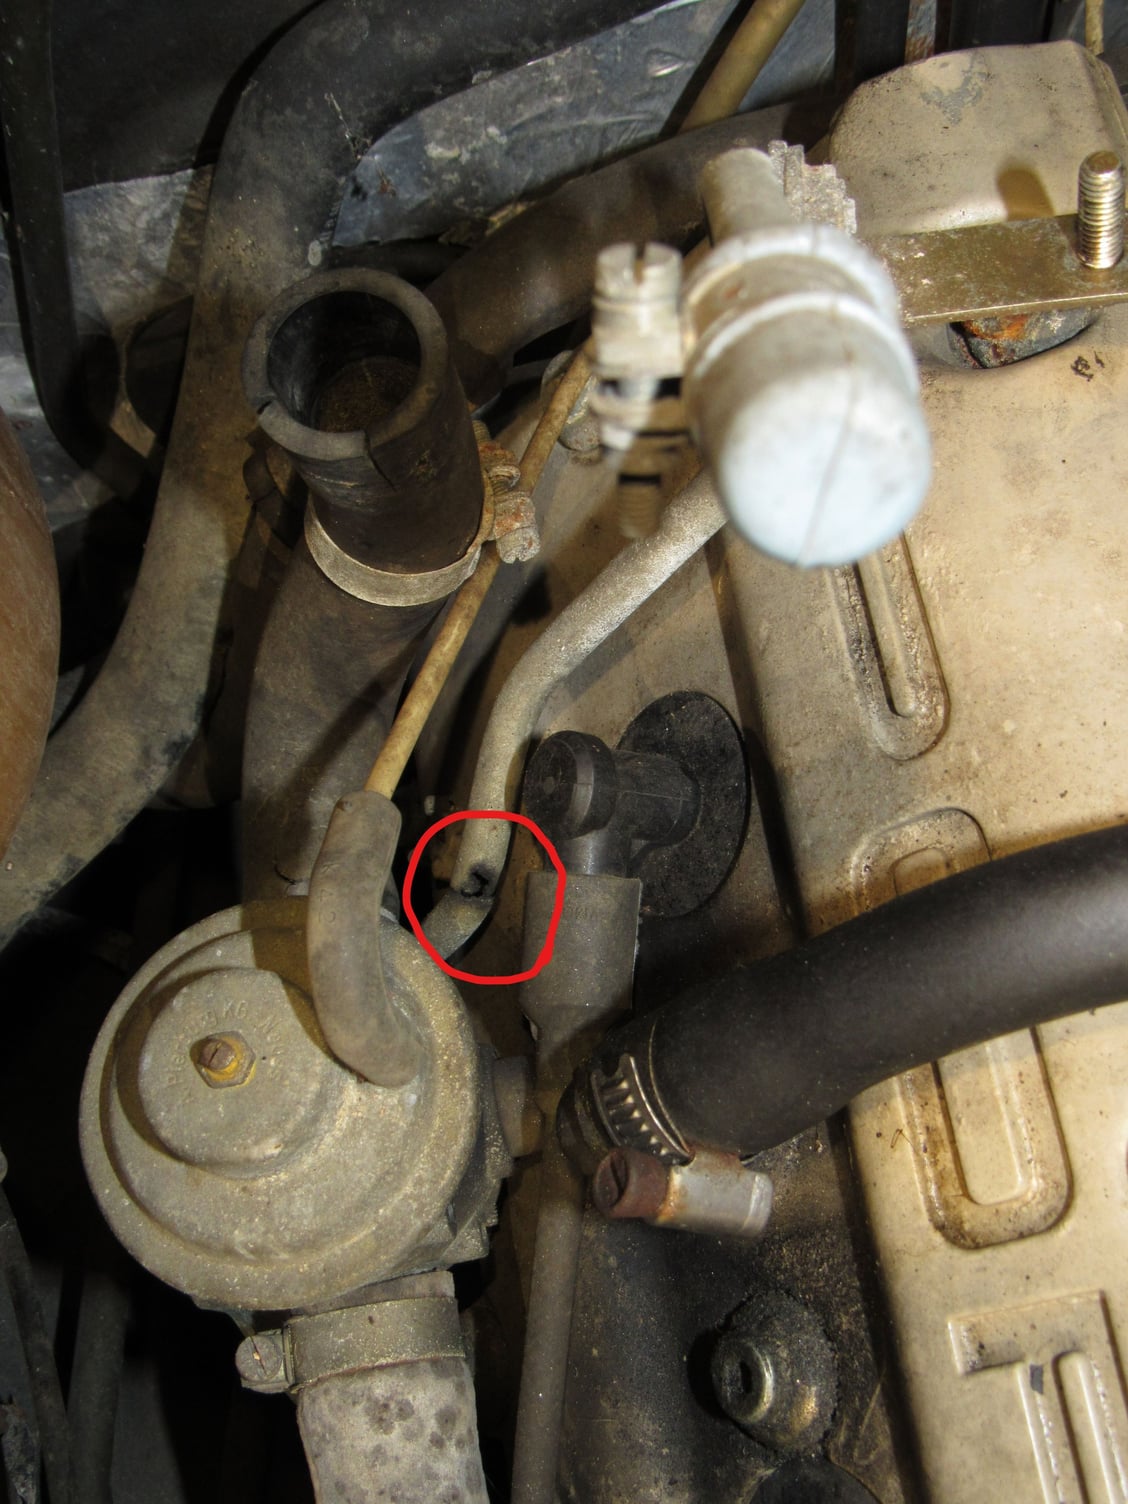
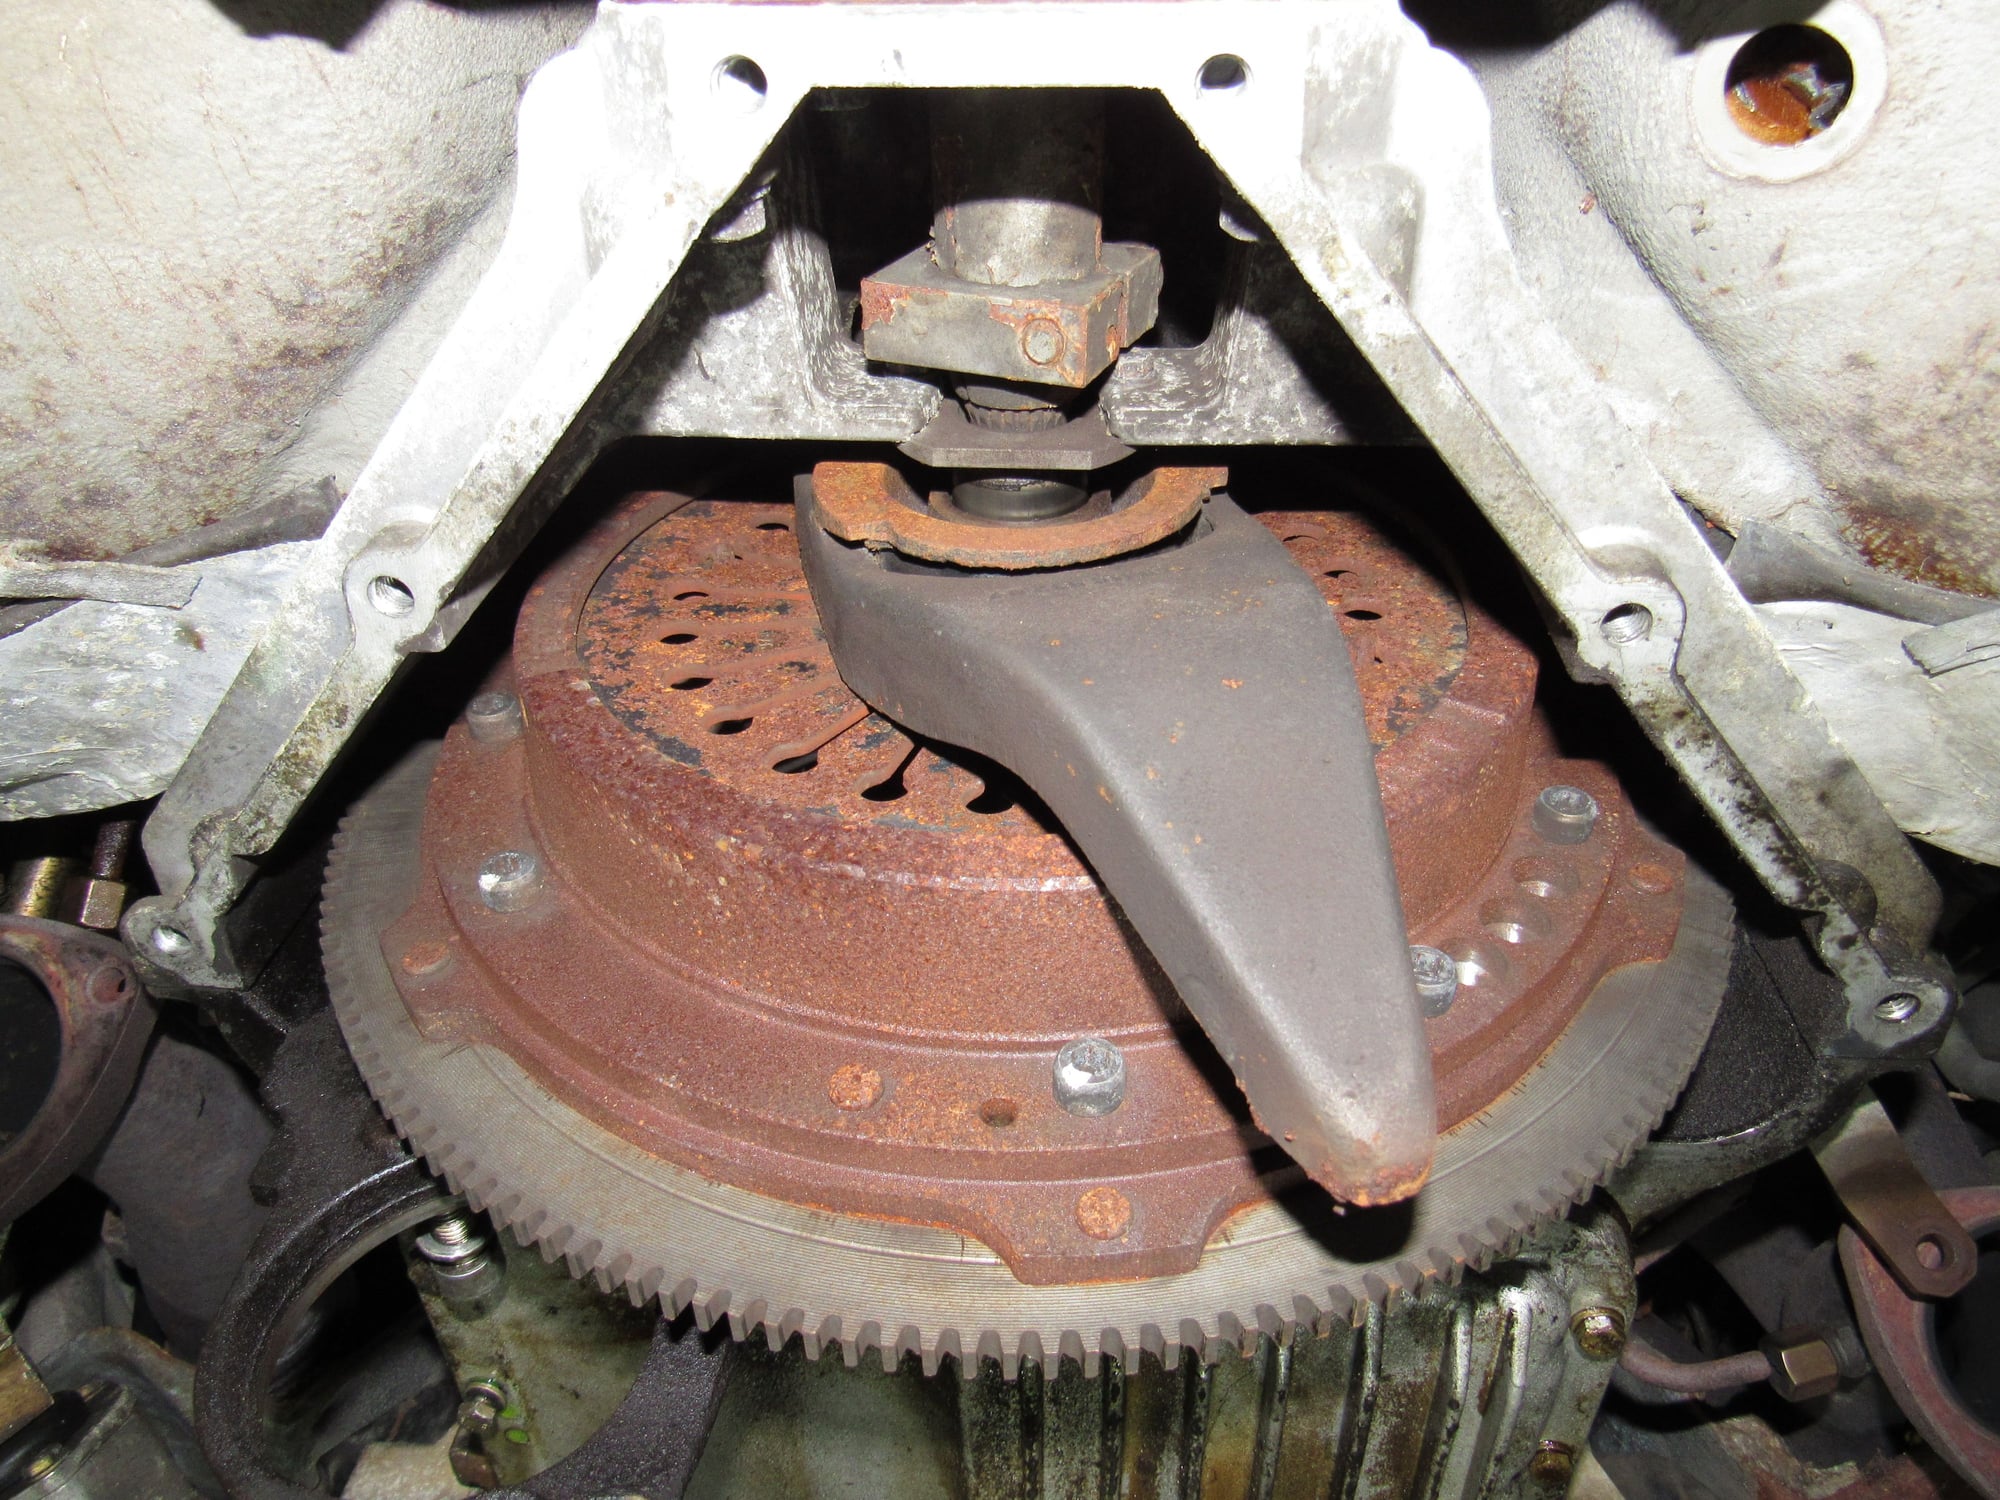
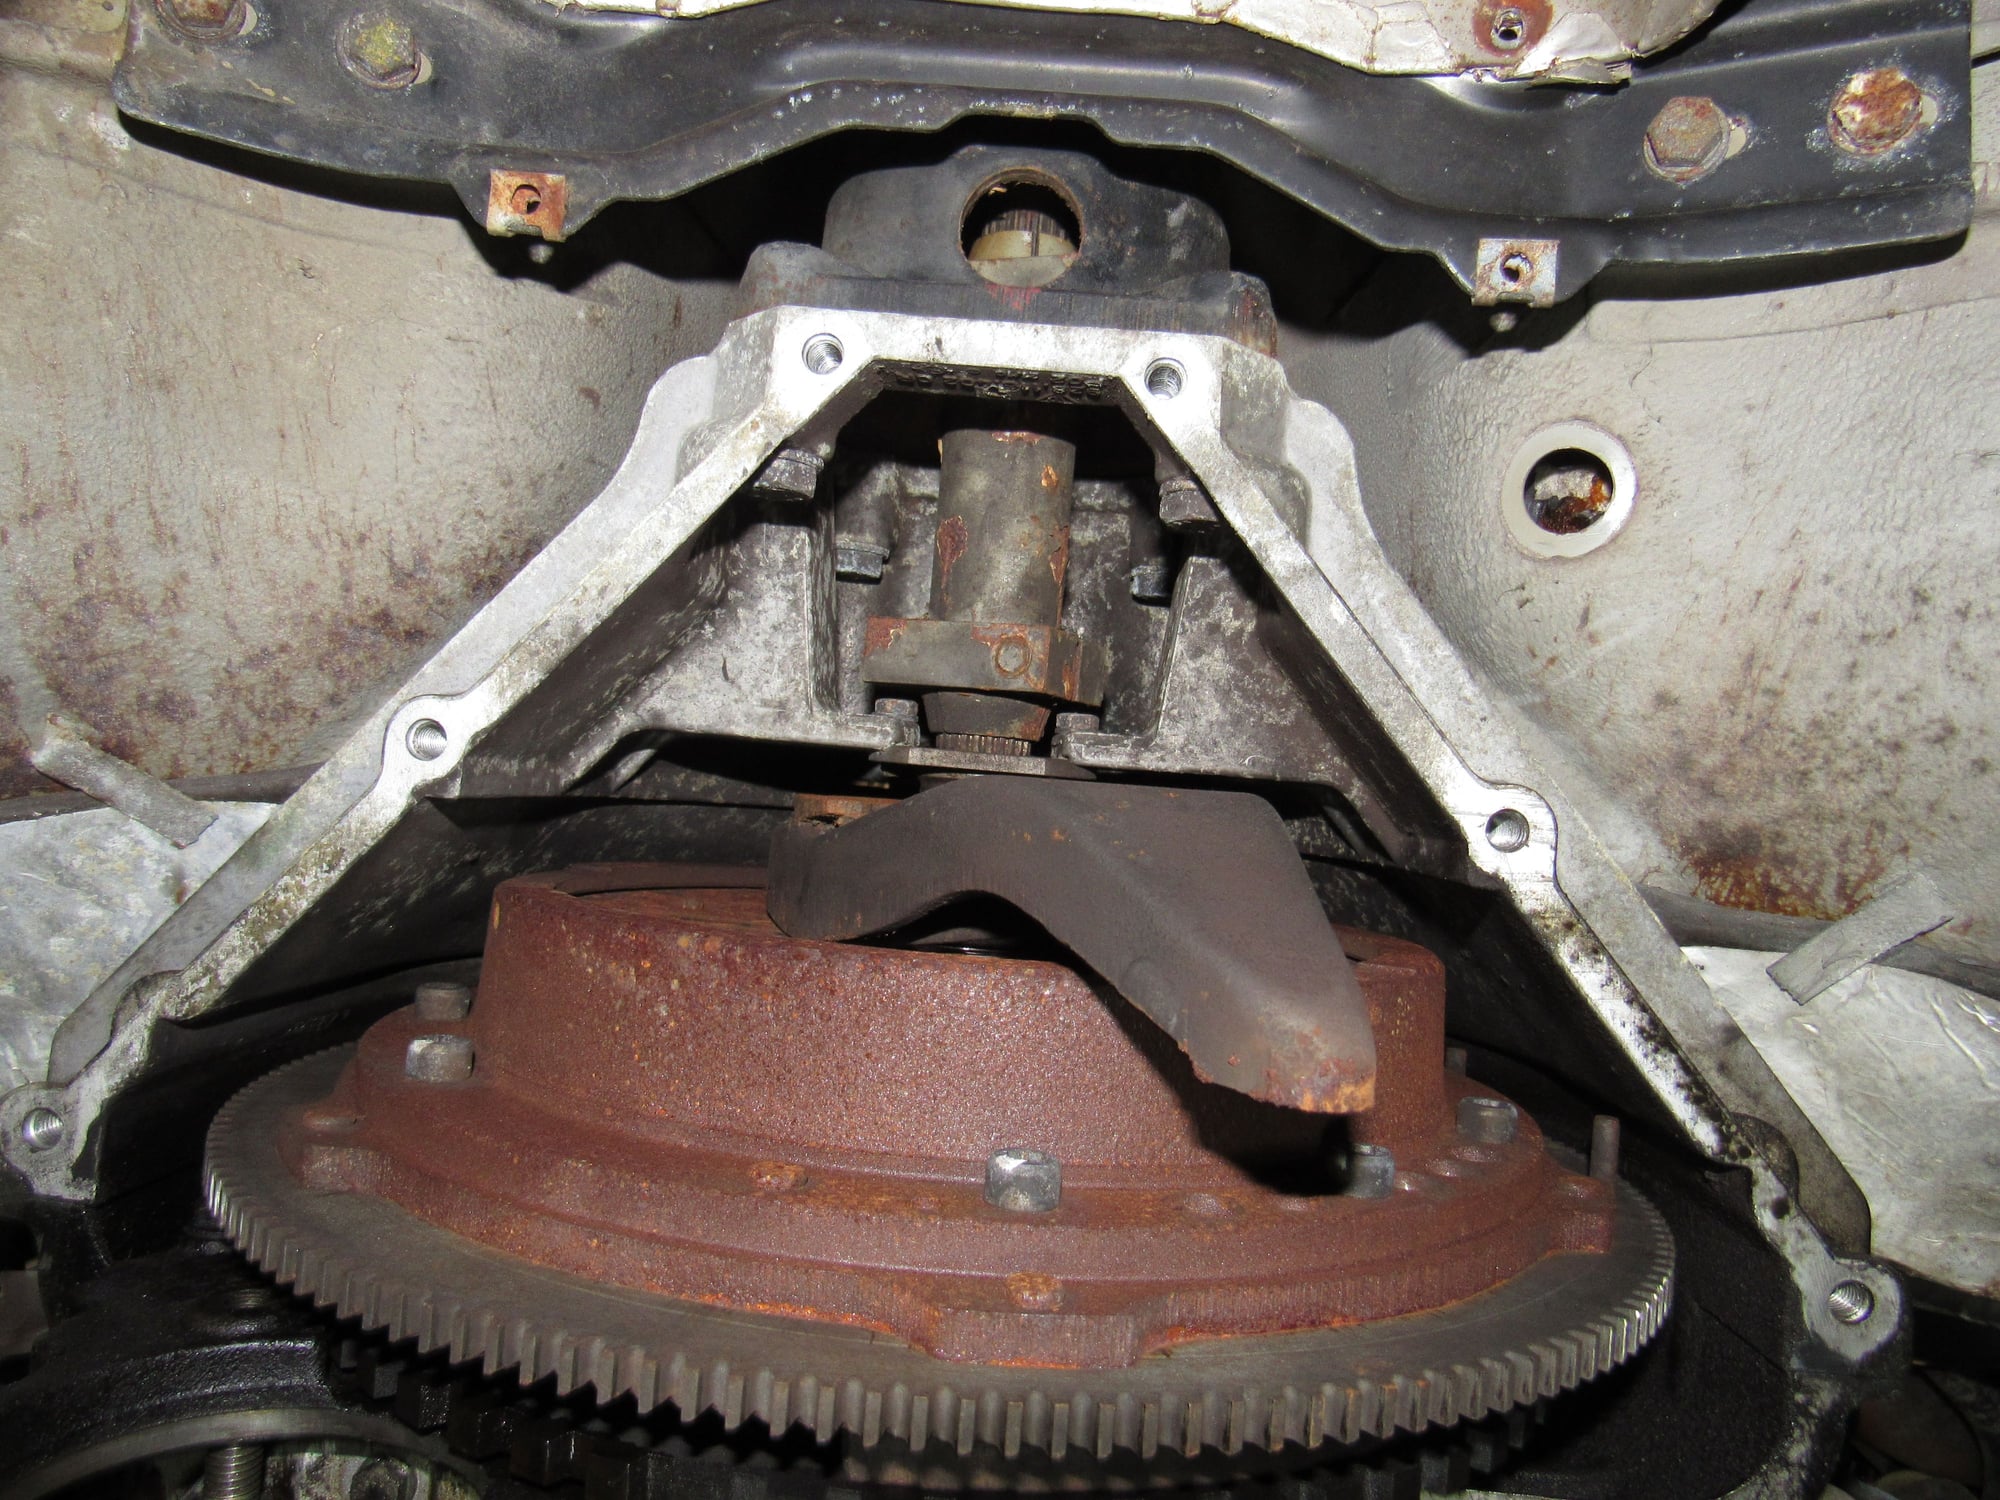
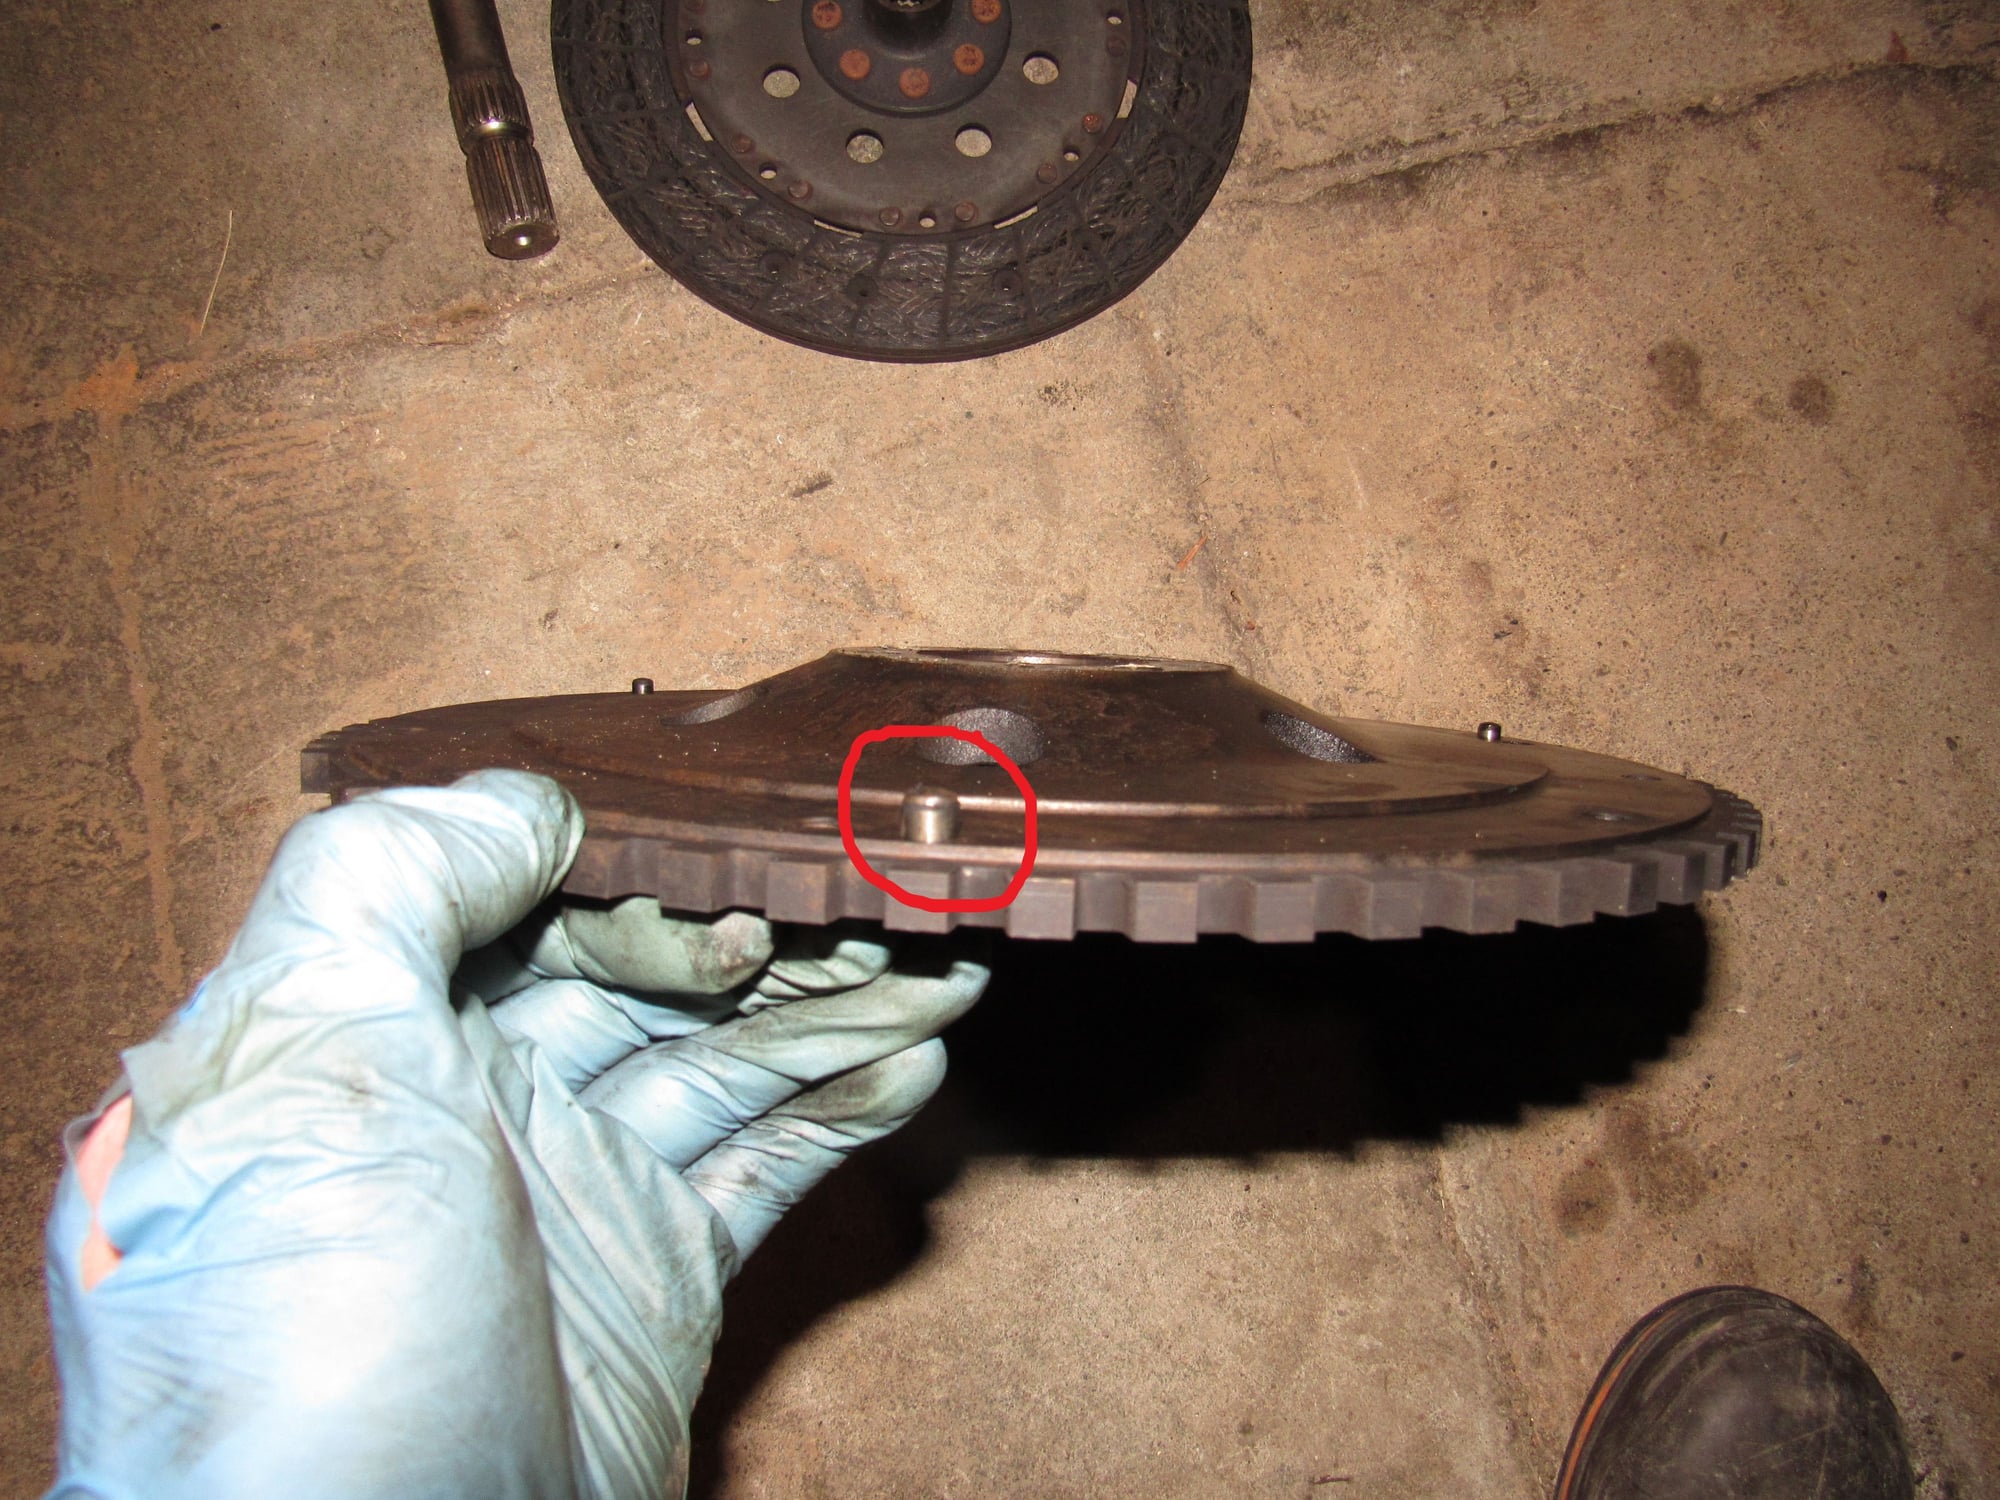
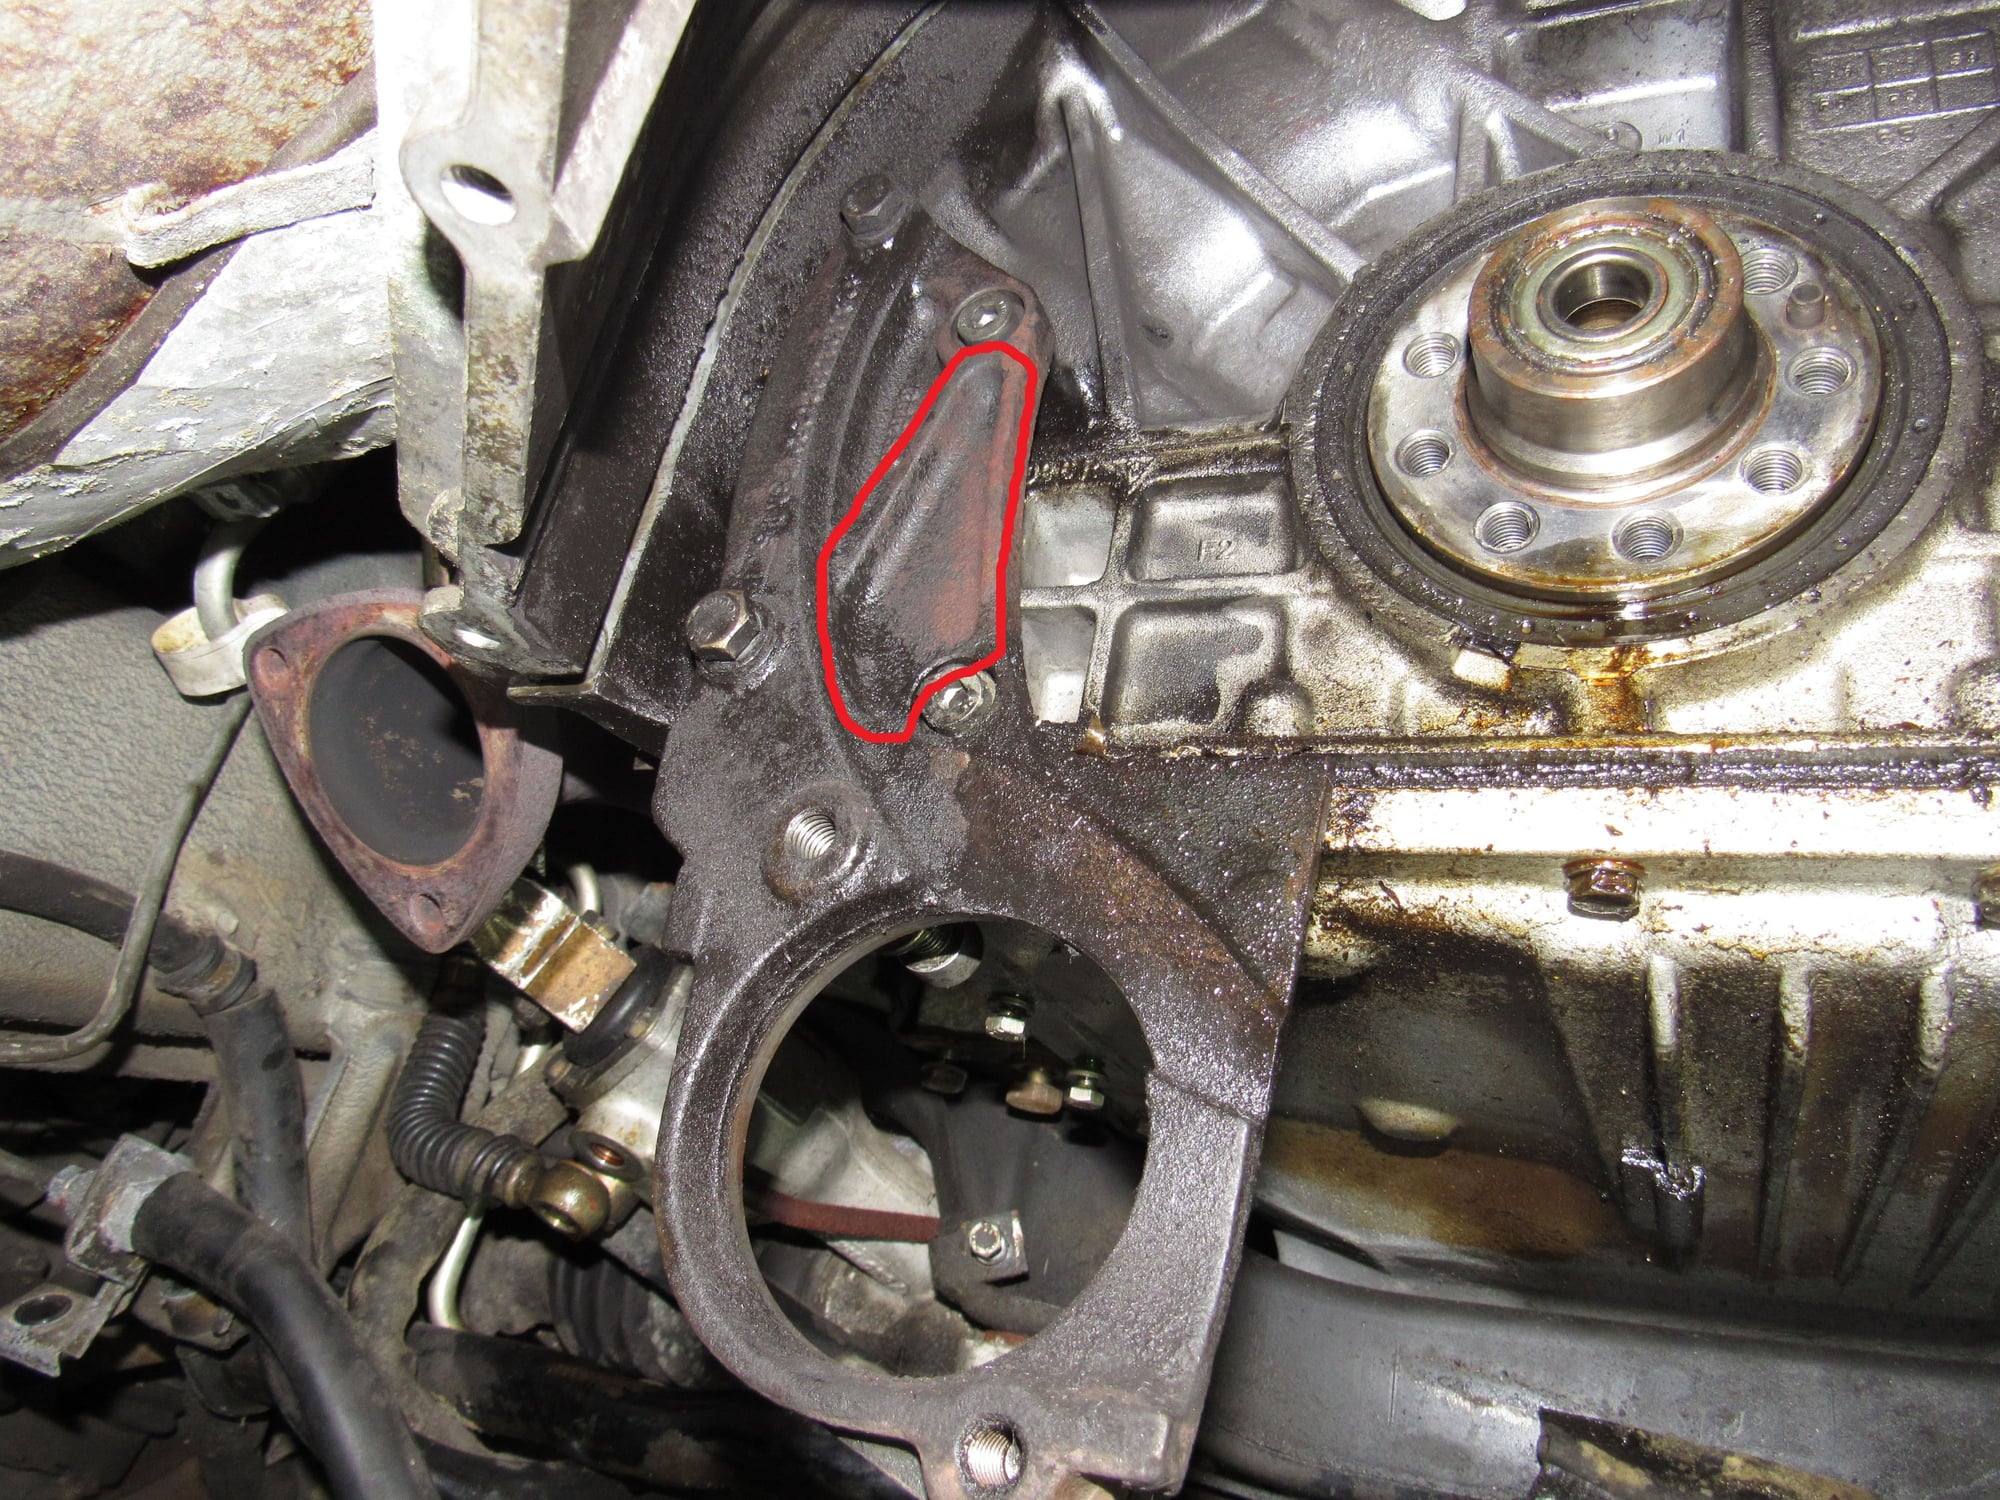
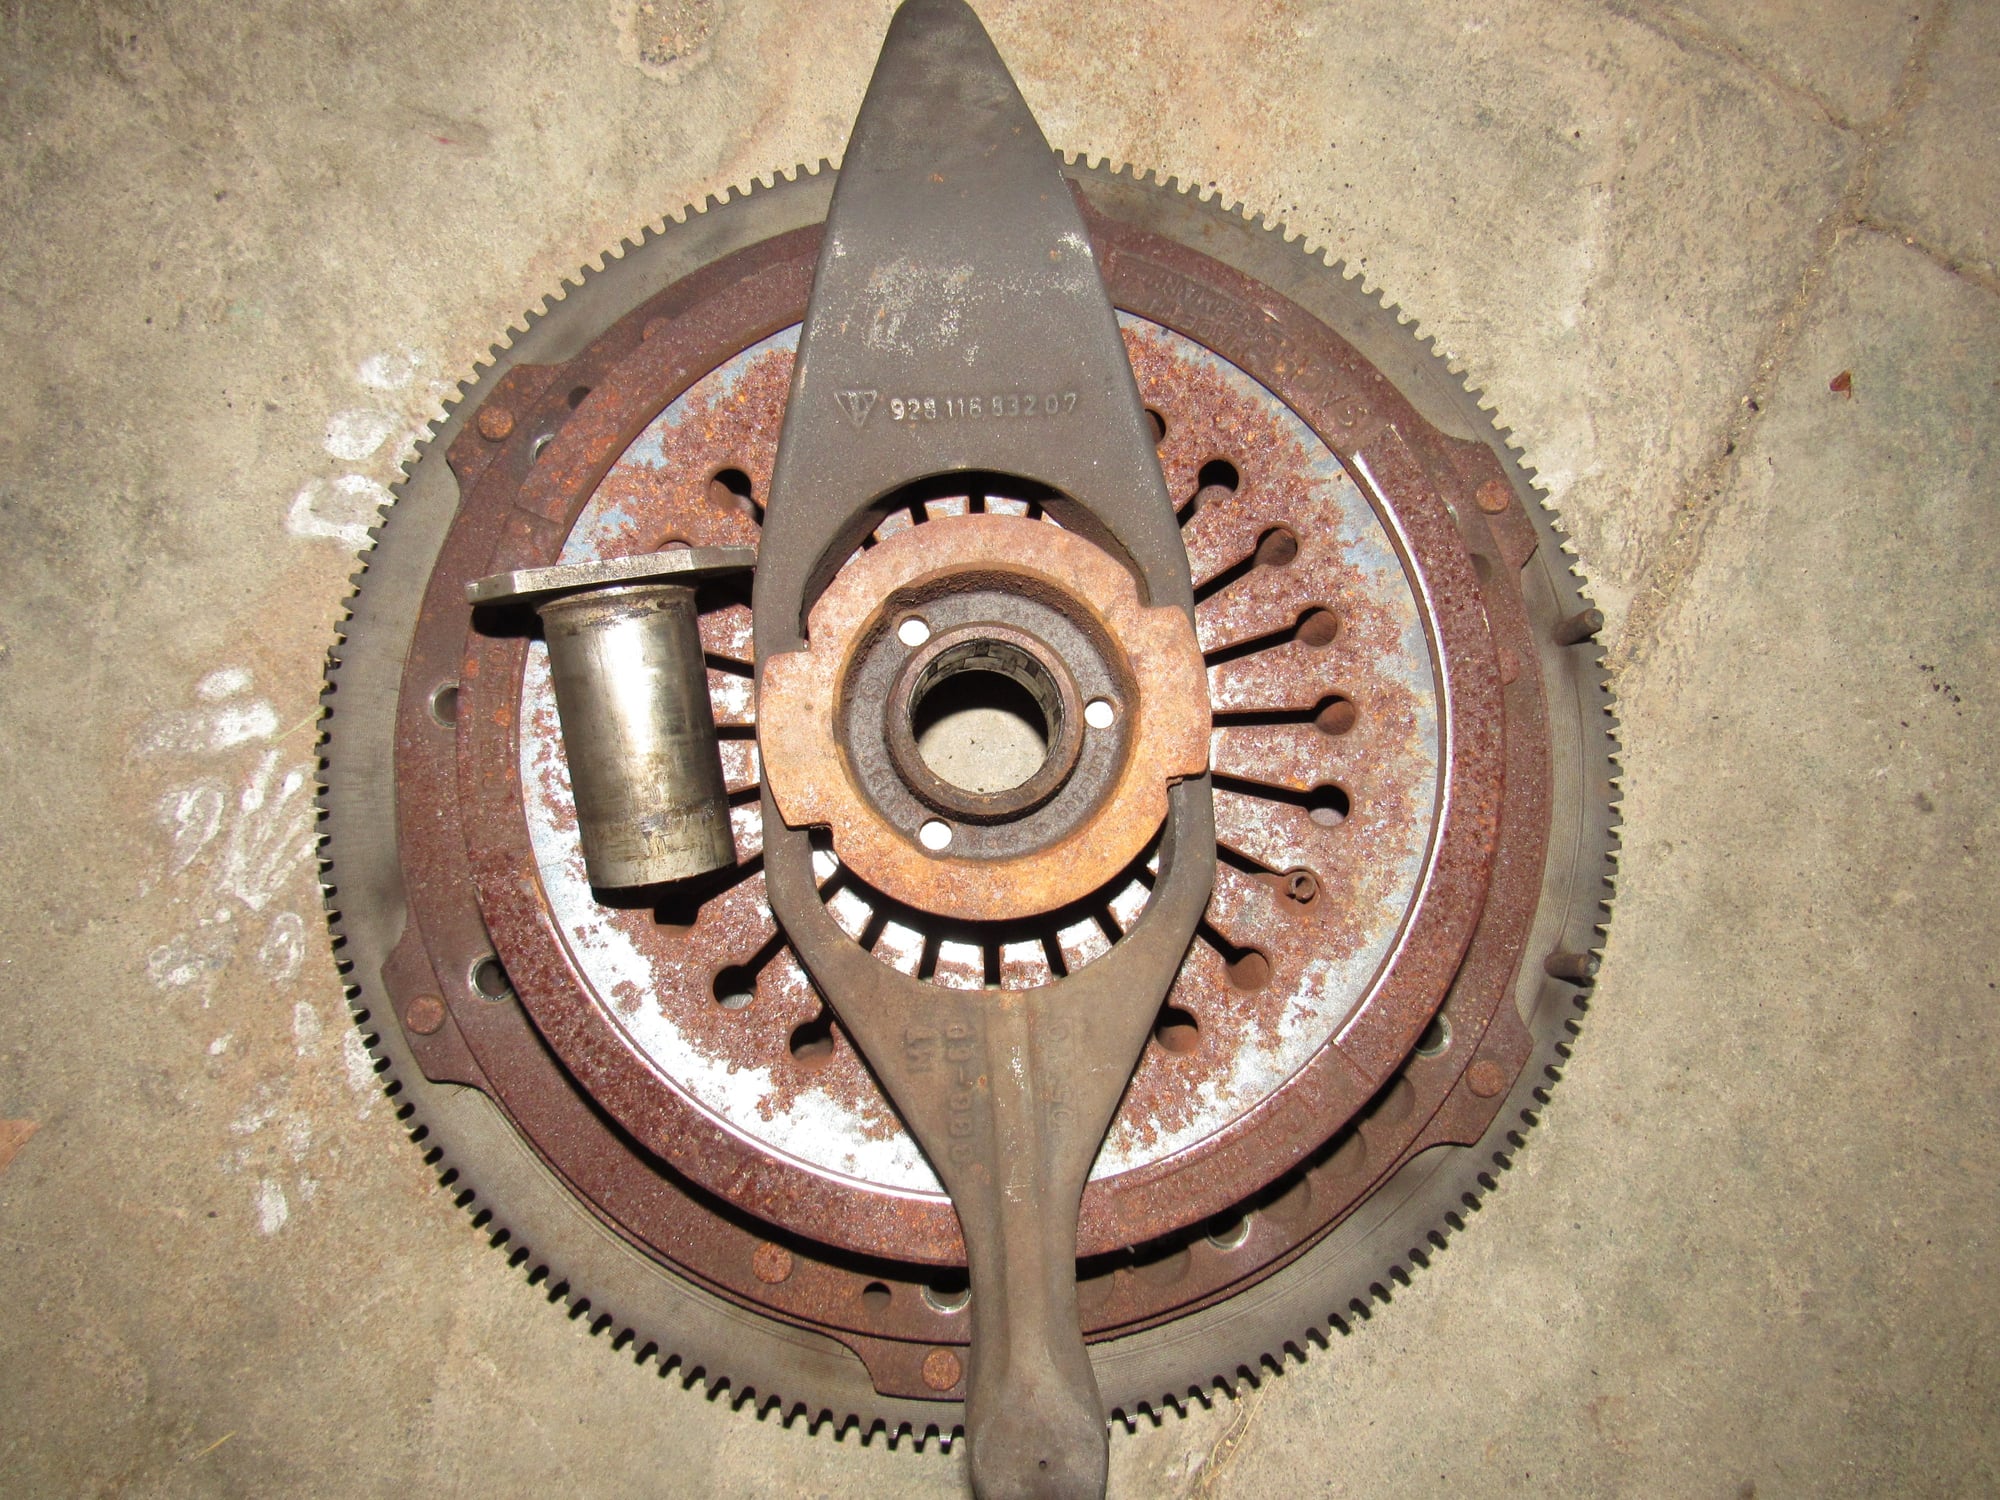
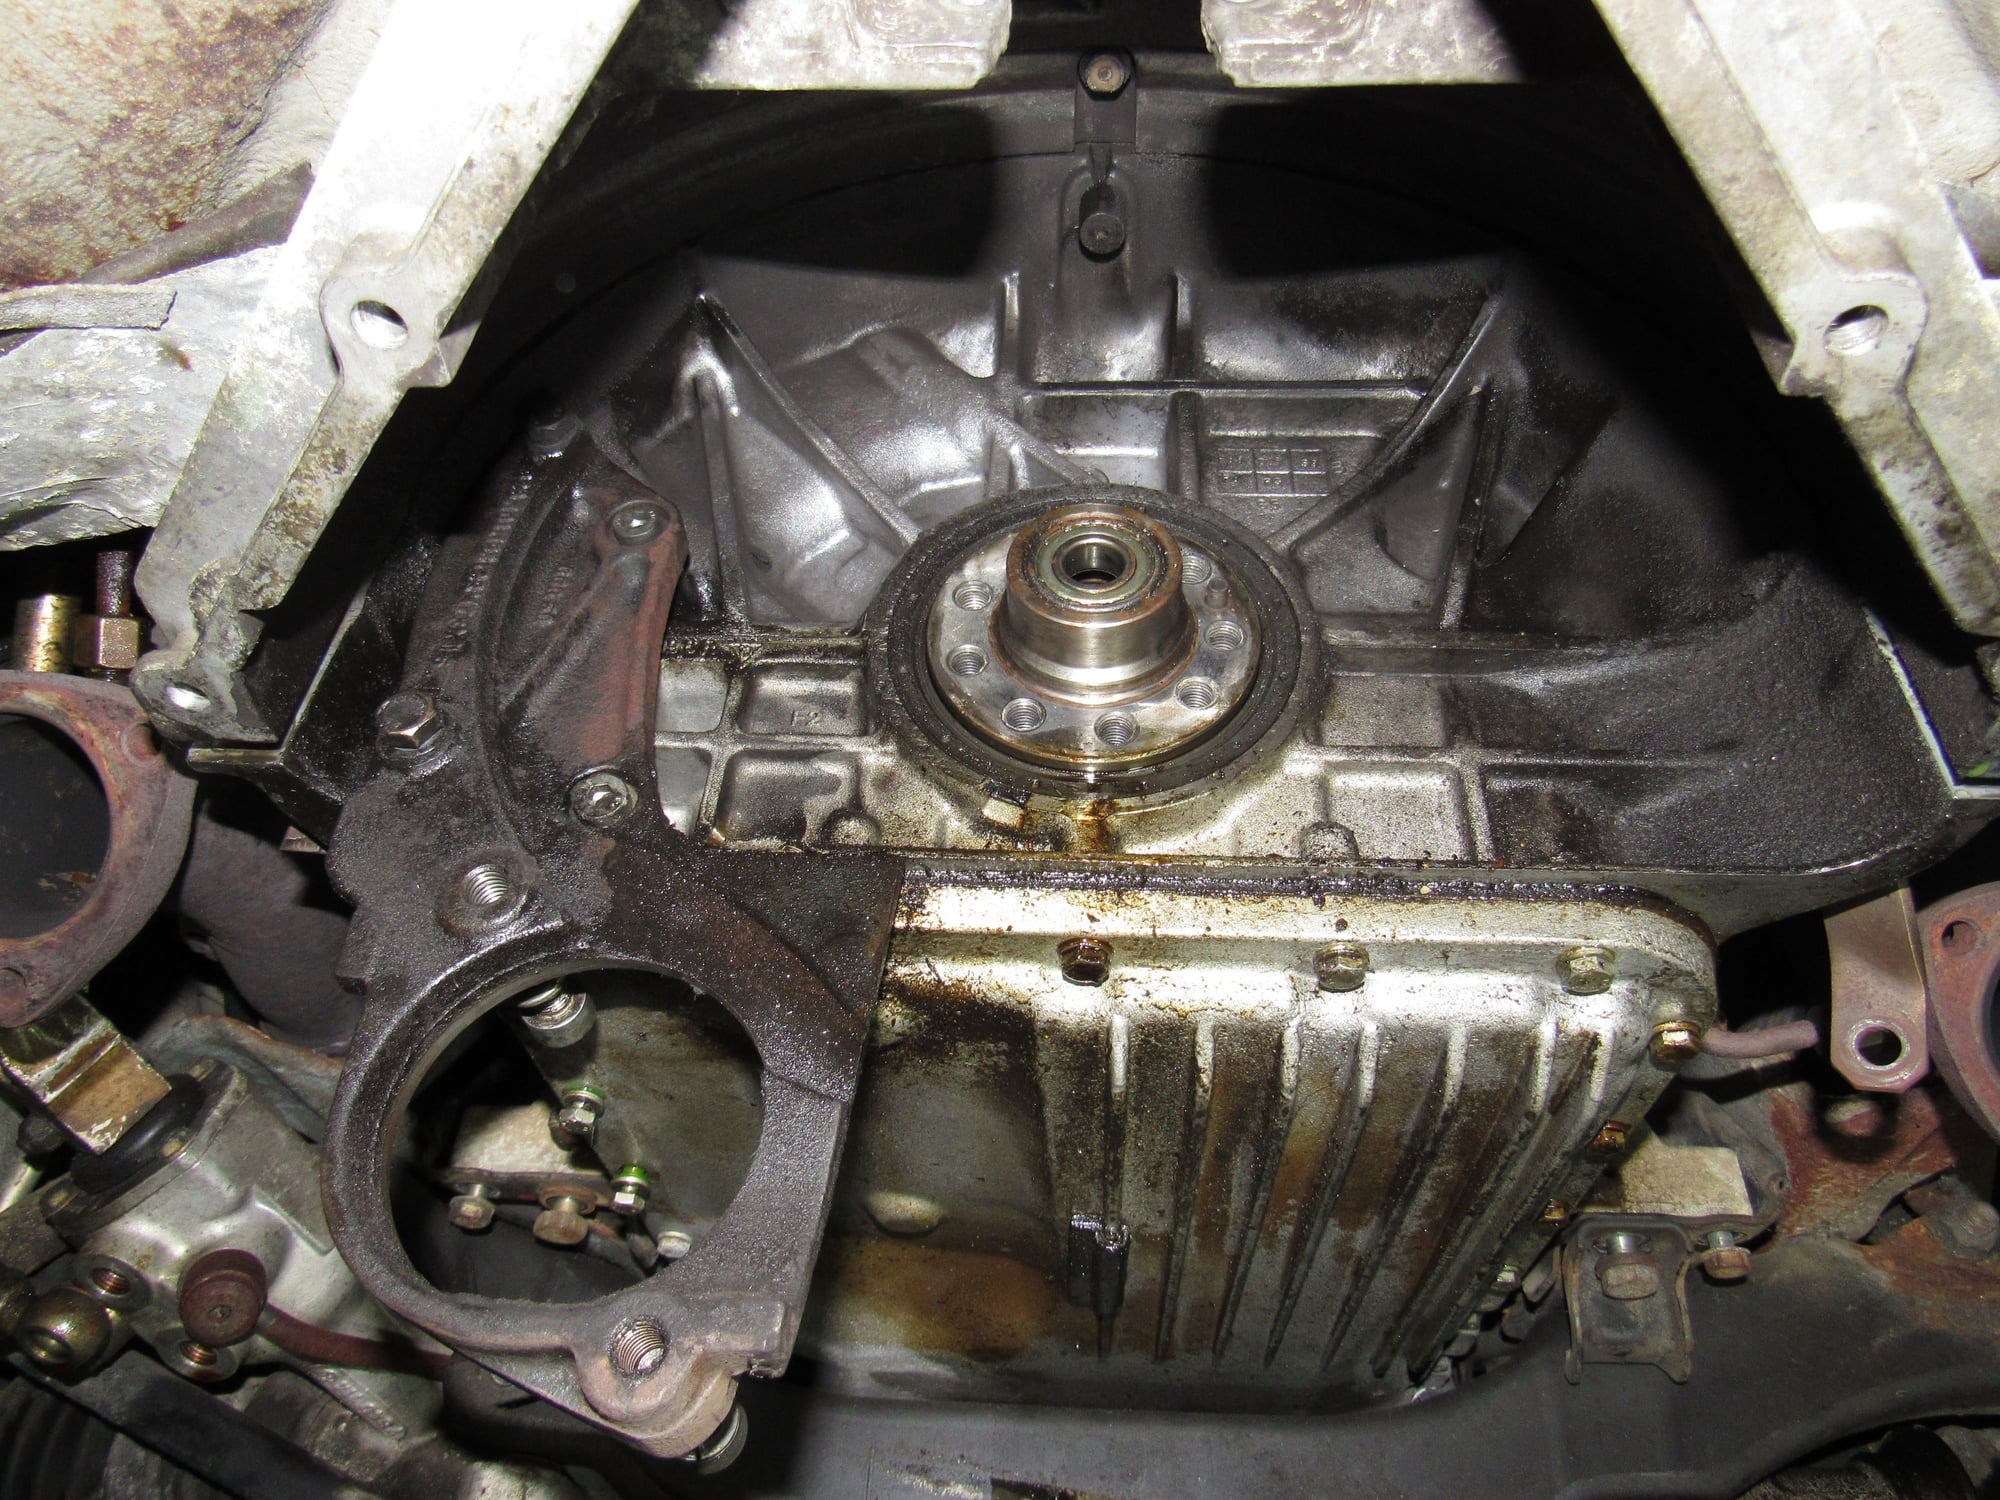
So yesterday it took me five hours just to remove the clutch. I loosened and removed all of the clutch bolts, removed the gearbox bolts, slid the gearbox, TT, and bell housing back, but the clutch would not come out. I could not get the release arm off of its ball mount. The bushing was intact and would not budge. This is were I made a mistake. I thought I would bolt down the clutch and install shims as described in the manual. I have had the twin disc clutch in and out a few times on my '83 and having shims installed did not matter for its removal. This being a single disc clutch I thought it might make a difference. While rotating the engine to get more clutch bolts in it stopped with a clunk. Immediately bad thoughts came to mind, had the belt slipped without my notice and a piston was up against the valves? It took me a while to figure out why I could not turn over the engine more than about ten degrees, it was locked up. The clutch must have been slightly out of alignment with the flywheel and pushed in the locating dowels towards the engine. Luckily I had only installed four bolts that were still reachable. What happened is that one of the dowels got stuck in a pocket of the starter bracket.
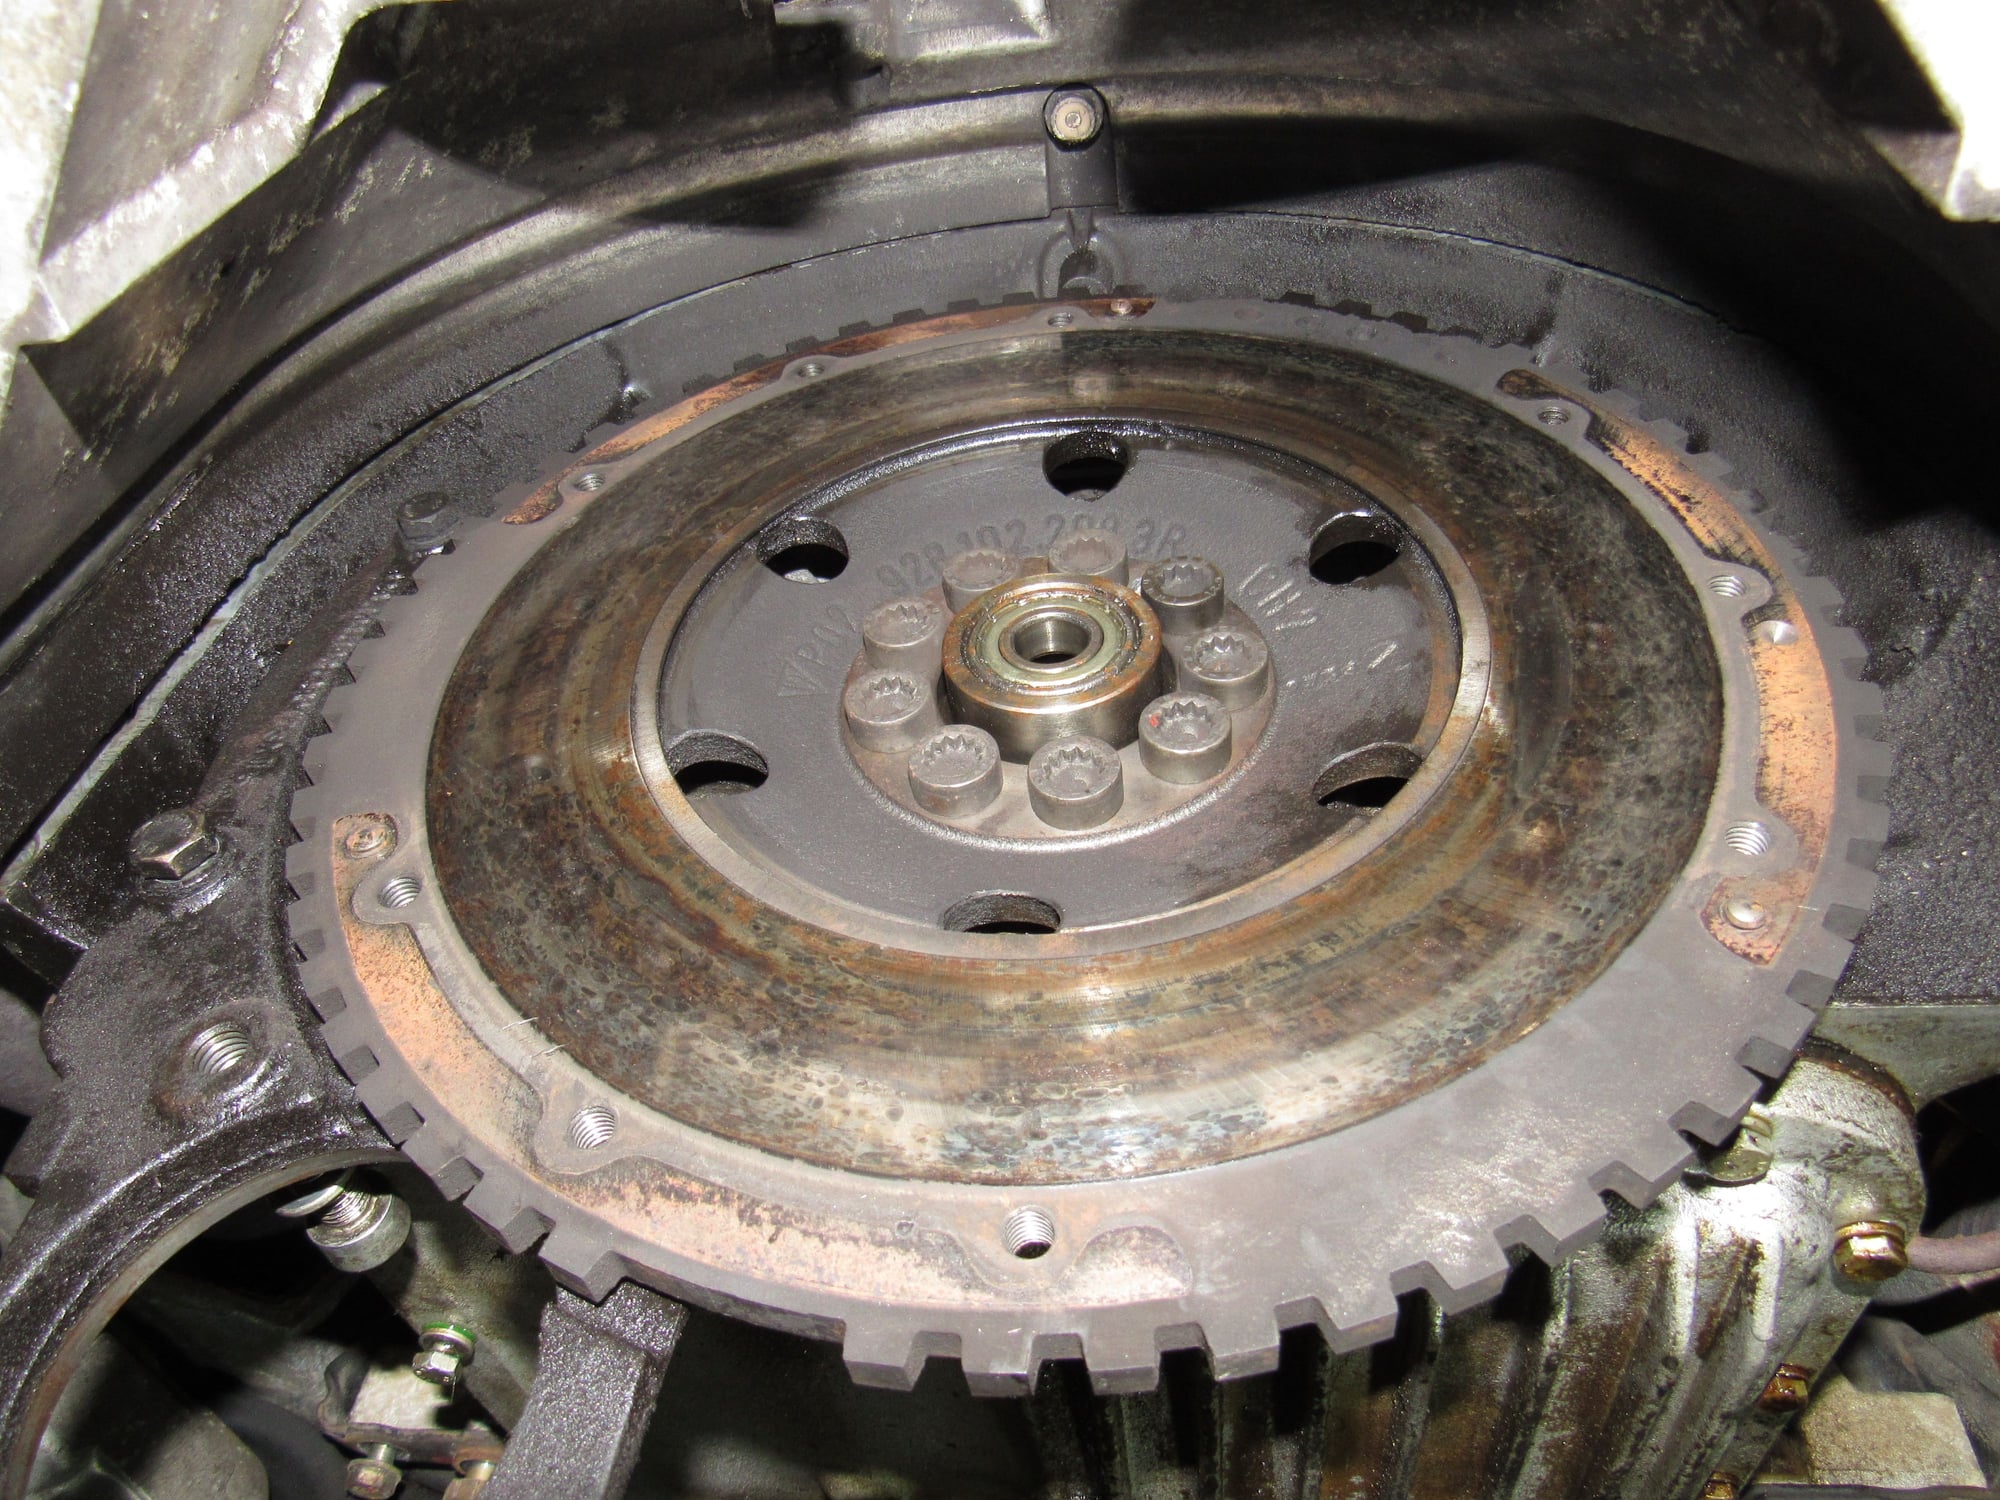
See circled areas. Locating dowels on flywheel where pushed towards engine side.
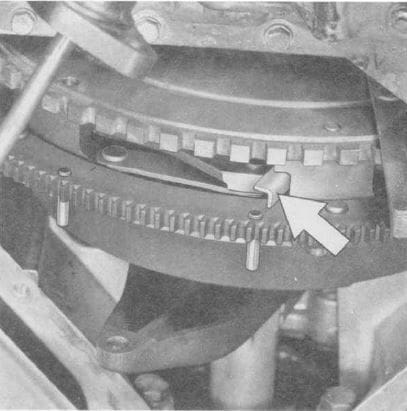
Shims described in the manual.
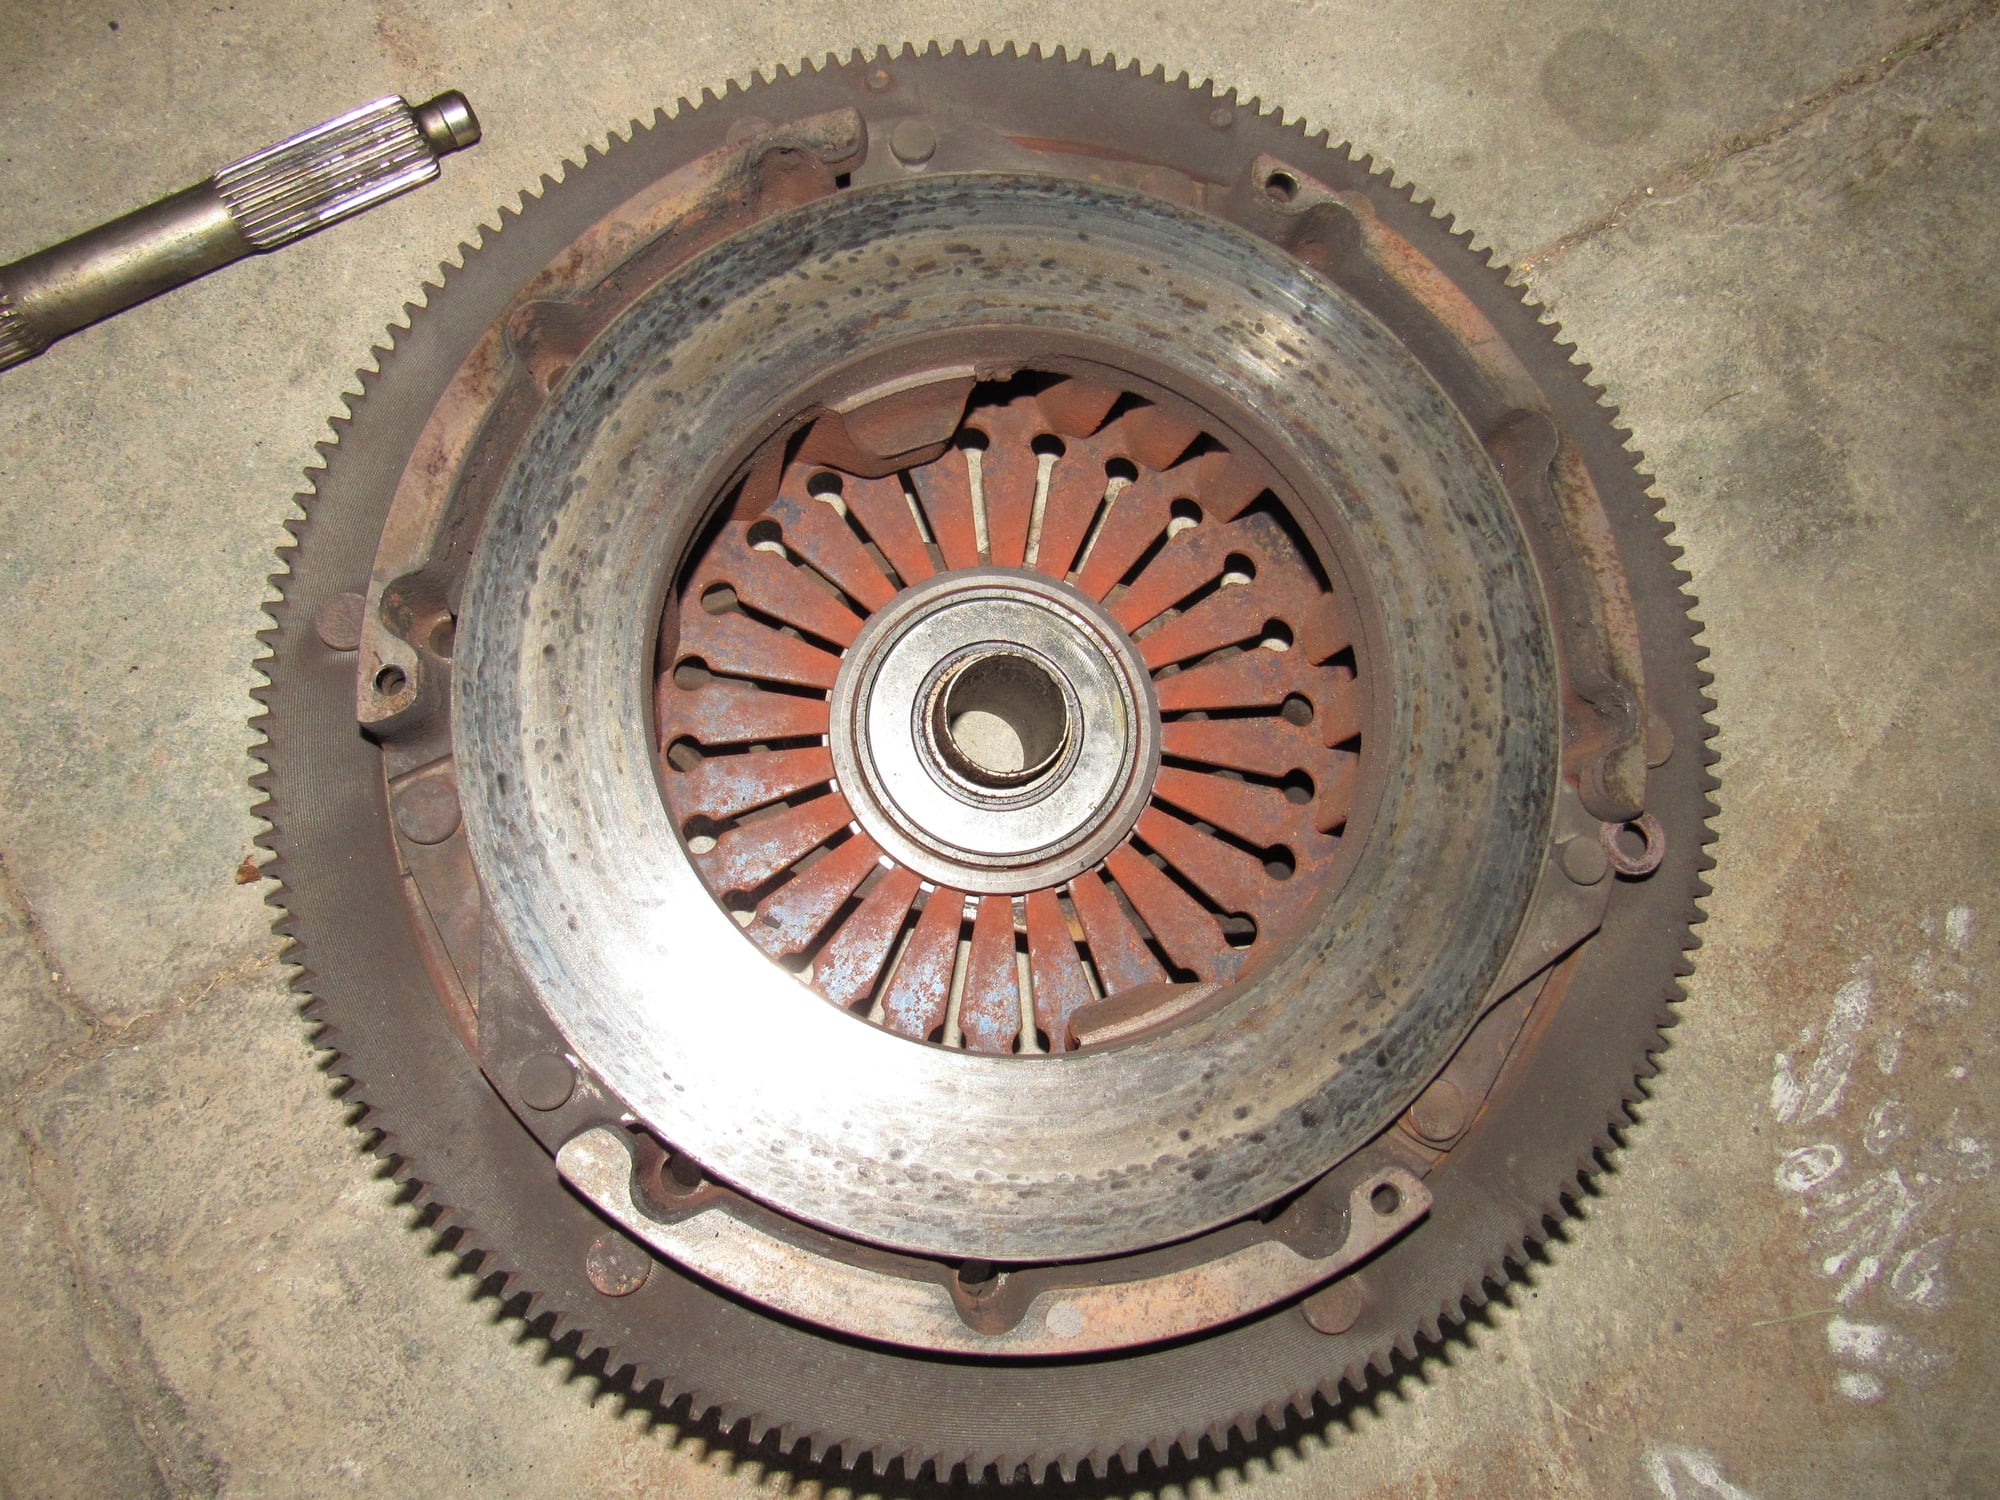
As you can see I did eventually get it out. I had to finally take a dead blow hammer with a long pry bar to knock the release arm off its ball, then it all came out OK.
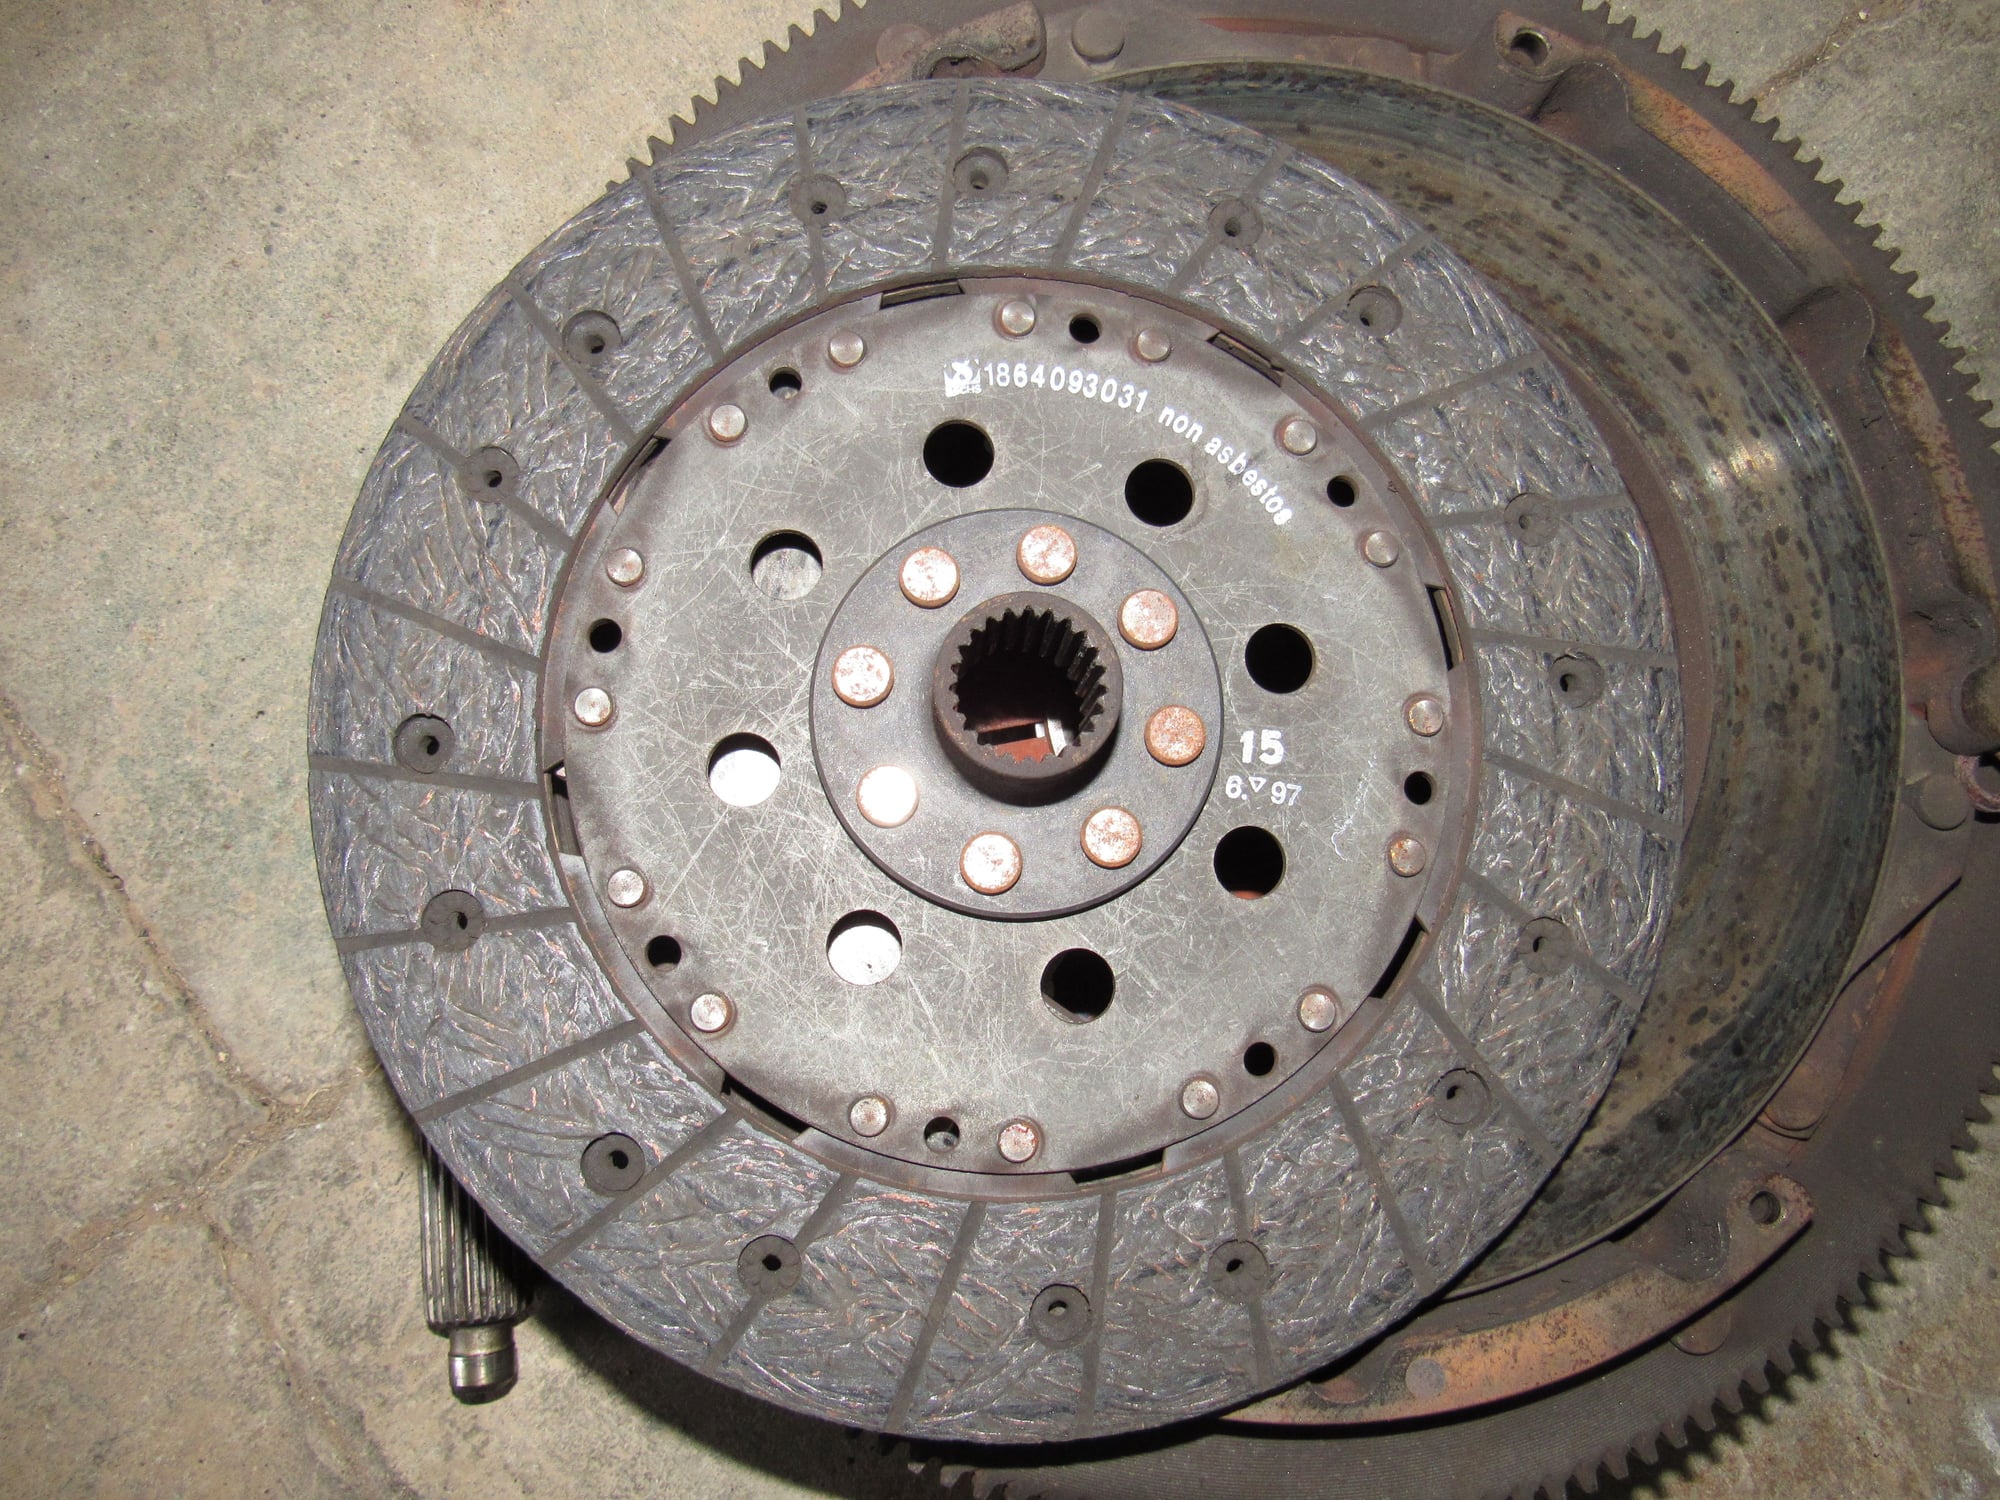
The clutch parts all look good to me, nothing is cleaned here.
Clutch disc marked 6/97.
Pilot bearing turns smoothly.
Rear main seal is weeping oil.
Has anyone tack welded the dowels to the flywheel to prevent this kind of problem, any reason not to? For sure I will take note during reassembly to watch that the dowels are not moving.
Last edited by Majestic Moose; 05-16-2020 at 02:38 PM.

 01-28-2018, 09:09 PM