When you click on links to various merchants on this site and make a purchase, this can result in this site earning a commission. Affiliate programs and affiliations include, but are not limited to, the eBay Partner Network.
I like this sort of outcome. I'll be thinking "I've got no business tinkering with this complicated thing," and then a miracle happens. Perhaps my flywheel lock has magical powers. Thanks for sharing.
My bolts were finger tight also. I guess this is due to the gasket shrinking over time.
Originally Posted by Shawn Stanford
Okay, so last night I checked out the hoses and they're fine. No rot, hose clamps nice and tight. I went to loosen the bolt holding the oil separator to the top of the motor and found that it wasn't even finger tight! I'm pretty sure I didn't loosen it when I did the vacuum lines and intake last year, so it must have loosened over time with vibration. I cleaned it off and retightened it and we'll see how that goes.
I still might as well do the cam seals, I need to rebuild the tensioner, and then get everything back together.
Okay, I'm here, but the guide to doing a TB/WP+WYAIT in an OB doesn't go into enough detail at this point. At least not for me. Does anyone know of a detailed guide to putting in these seals?
Actually, the problem I'm having is I can't get the daggone things out. I can't get ahold of the large brown seal to get it up. I either end up tearing a small hole in it along the face or getting the tool in behind it where I'm obviously grabbing some other part of the assembly. The stupid guide makes it look so daggone EASY! And I've probably taken to damn much apart now anyway. The distributor rotor is spinning freely, which means I'm going to have to figure out where it should be when this all goes back together.
What the hell, car? Why do you hate me when I love you so much?
You have to pull the distributor. The driven gear on the dizzy is holding the rest of the stuff in. Once the dizzy is pulled, the gear and bearing and spacers and all that will fall out the back and you can push the seal out from the back.
What about the passenger side? What's holding that one together?
I'm not sure. I did mine a couple years ago and my memory is fuzzy. I do remember that once the front plates were off, I didn't have any real issues, at least not with this part.
It may just be the O-ring.
I used the PET exploded drawing (page 103-05 in my version). It shows "spacer, O-ring, spacer" for the passenger side (dizzy gear in between for D/S).
you would be wise to look at PET to see how the parts are going together .
some say a picture is worth a thousand words.
If you have other questions then you should ask.
I would remove the oil fill port and clean the O ring seal and then use Dreibond to seal it, be generous
NOTE Greg Brown also makes a oil block off plate, the water bridge needs to be removed to fit it.
Use DC111 on the cam shaft nose O rings.
NOTE inside each red radial seal is a round collar , these collars are replaceable.
NOTE if they have deep grooves from the old seal get new collars.
NOTE resurface the cam gears and the big flat washer with some 400 grit paper to restore the flatness and the sealing capability to the can gear and the washer.
On the inside of the collars are O rings be careful removing the old so you dont damage the groove
Okay, making progress. I didn't realize that the red seals had metal collars in them. Once I did, I was a little more aggressive about levering them out with the seal puller.
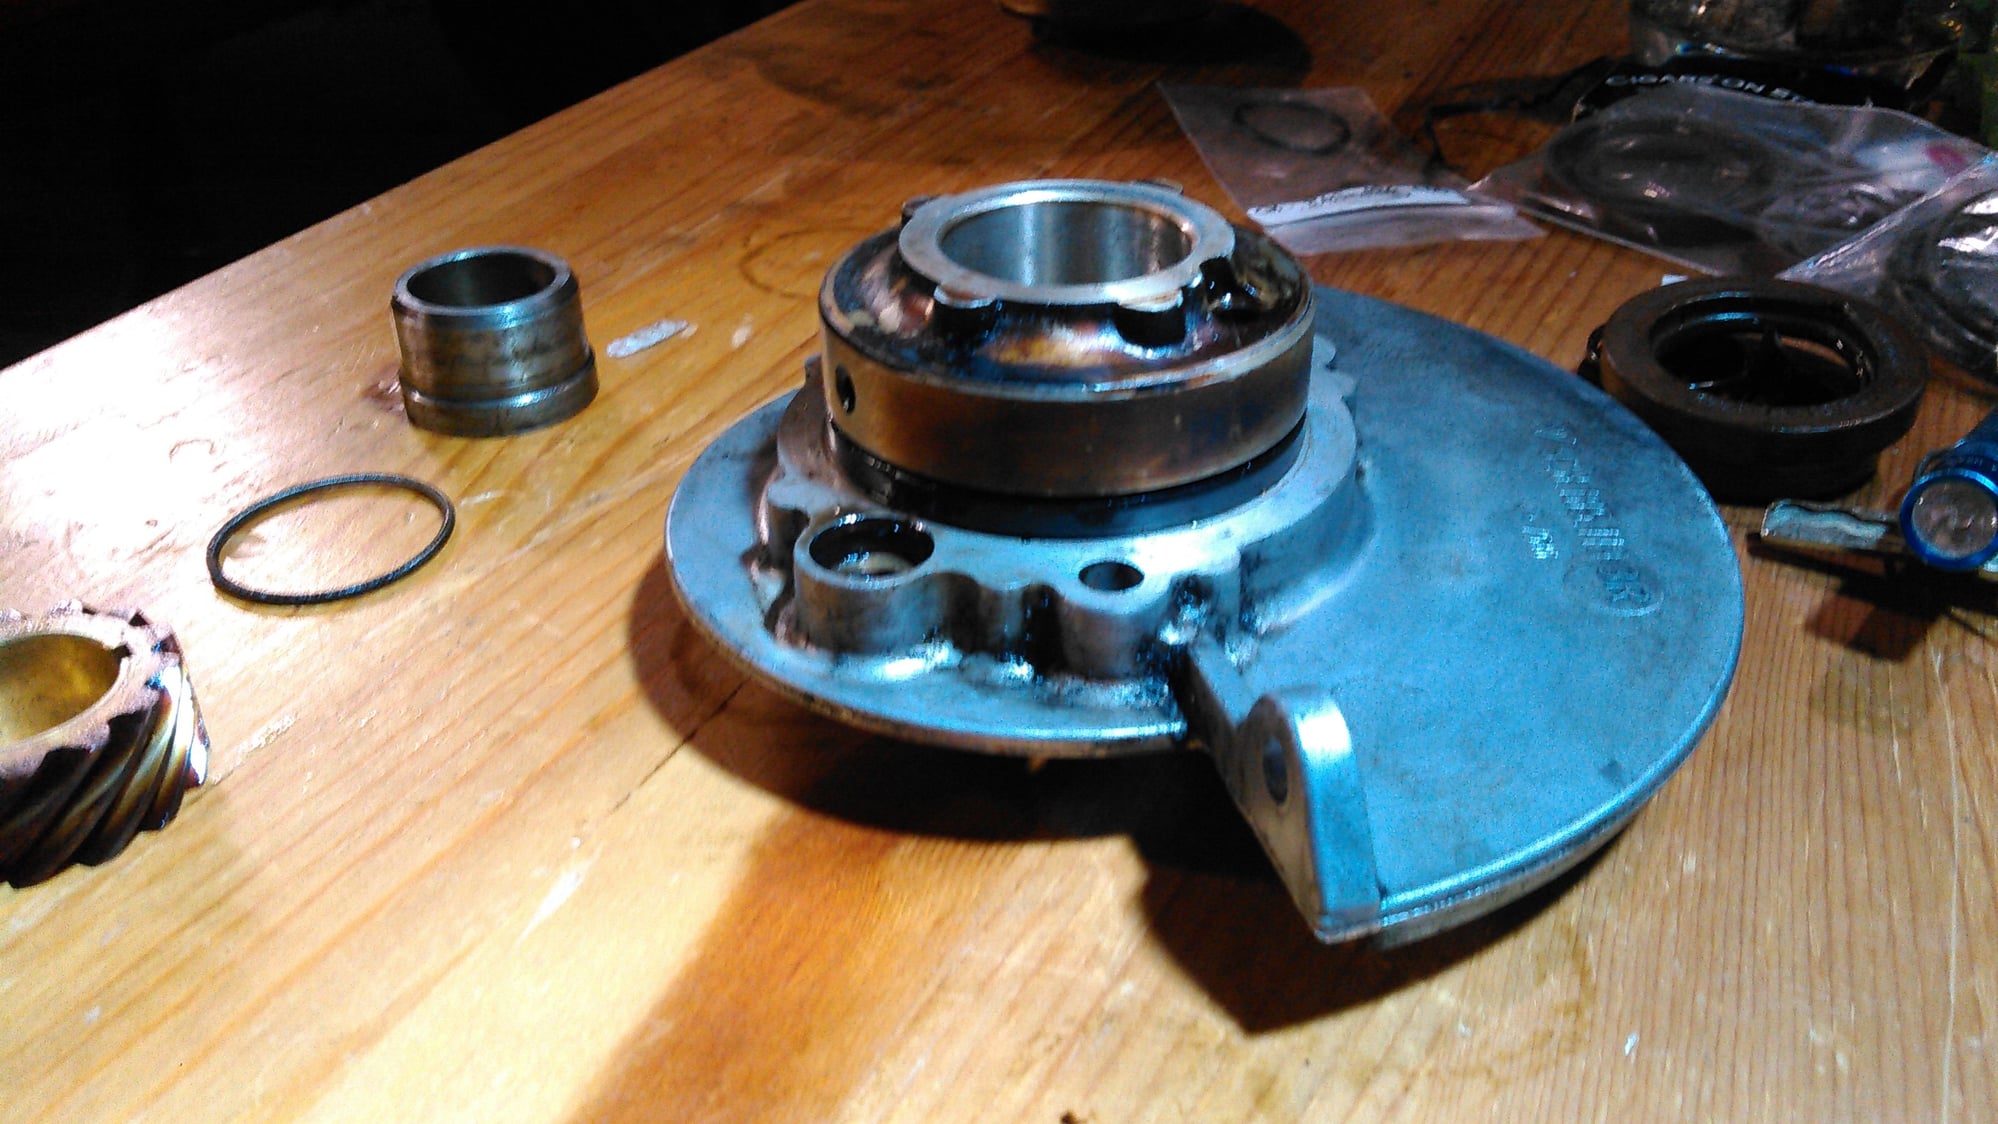
So, I'm looking at this pic from the PET, and is part #16 supposed to be a spring? Also, does part #14 go in with the flange toward the distributor gear, or away from the distributor gear. The diagram looks like it wants to go toward the gear, but it seems like it should go away (in order to better seal the rear of the cylinder this all fits in).
Finally, I see that the big o-ring should go to the rear of parts 12 and 12a (flange mounting and flange bearing?), but I don't see anything that looks like the round o-rings I received. I see what looks like a plastic o-ring, which might be the same piece after 30 years of use. So, the black ring below the silver section: Is that where the o-ring goes?
^ me too. I searched on Amazon and found nothing for Drei Bond but did find Three Bond and just assumed everyone was being clever typing 3 in German. :-)
Seeing it come up again in this thread I searched through Google and found Drei Bond is available through some retailers in the US.
I have the cam seals rebuilt and everything put back together as far as tensioning the belt. I'm using Doug Brownridge's guide and on page 144 he says:
Check the V groove on the right/passenger cam gear to see if it is aligned with the V pointer on the metal cam cover back plate.
If it is not properly aligned, it should only be out by not more than a few teeth. If it is not lined up, use a 17mm wrench to line it up.
Following his instructions, I've strung the belt, retensioned, remounted the balancer and rotated the engine through twice and I'm back at TDC. The driver's side lines up nicely, but the passenger side is counterclockwise 4 or 5 teeth (depending on how you count). It 'dropped' into that position naturally, so I assume the the valves are fully closed and the valve springs fully extended.
Should I force it to line up and retension, or am I in the ballpark?

 05-09-2017, 11:54 AM