When you click on links to various merchants on this site and make a purchase, this can result in this site earning a commission. Affiliate programs and affiliations include, but are not limited to, the eBay Partner Network.
Completed my 86.5 TB/WP work last summer. If you have no luck getting the Kemf/ lock tool PM me. It all worked out well and I had never done the operation before. I used a range of docs, led by Dwayne's, followed by Pertle's and a range of others I discovered to enrich my quantity of pictures. Take your time, rebuild the tensioner/pulleys. Roger can provide the pulley bearings. Don't use a hammer on the old/new pulleys. Use a vice and selected sockets to press the old pulleys out and press the new pulleys in. Contemplate how to avoid stressing the new pulley bearings while pressing them in.
There is also a pulley stem that must be salvaged from the old water pump and pressed onto the new water pump.
Be aware that there is a washer in the tensioner stem that enjoys falling off as soon as you remove the tensioner. Search forum topics that I contributed to and one of them will include a picture of the tensioner stem with the washer.
This job plus replacing belts/hoses took weeks. I said I hadn't done this before and was very cautious. The care and attention was worth it. Good luck.
Thank you. I received the tools from another rennlister, but just started the other day due to family events and info I was waiting for. I'm sure I'll have a million questions, so keep tuned. Thanks again
When I did mine the first time, I ran a couple video cameras to document every step coming apart and again going together. Lots of narration. Proved valuable for reassembly. FWIW.
I can also suggest that you proceed through the job as if with a purpose. That purpose would be to remember where stuff fits, and to prevent the slow exodus of critical parts that happens when a project is left for a while. Take pictures, keep notes, keep assemblies together and in order on your laydown table.
I agree. The quicker you get it done the better. I've done belts before on other vehicles, I'd say my LS400 V8 was the most intense. Took about 14 hours the first time. I'm planning on twice that at least for this baby.
Randy
1986.5 928 Auto
2001 911 996 Cabriolet
2008 Sky Redline Turbo
2015 Polaris Slingshot
1963 Rambler 990 327 4V
Various other not worth mentioning vehicles
Randy, any timeline for getting this done? I am not pushing to get my tools back but curious about your timing so that I can start thinking about when I will do mine.
Hey Roger, I was waiting for the Kelly manual info and just got started the other day. I'm at the point of removing all the accessories. My plan is to have the belt out this weekend. I'm hoping to have it done by the 15th when I go away for a week, but that may not be a good elsimate. I have to wait until I get the covers off this weekend to see what parts I'm going to need for the tensioner, and then have to order them. So, realistically, I may not be done until I get back on the 22nd depending on how long I have to wait for the tensioner parts.
Contact your favorite parts supplier and ask them to put together a "care package" of all the normal parts needed. The rollers, bearings and clips are what sidetracks this job. Or worse, you decide "that will probably be OK" and put marginal pieces back in. Having -everything- at your fingertips as you work makes the right decision a lot easier.
I did my first belt and pump replacement in under 12 hours total, including all the video setups and the false-starts and redo's needed for the video. It's still 12 hours of video that takes as long to watch as the project takes to do. So maybe not that much help. By the nth clinic project car, with all the possible pieces needed in a box on the workbench, that time was down to well under 8 hours including teaching time. I'm sure I could blast one out in well under 8 hours if everything was clean and all the parts are there ahead of time. It's just a sequence of procedures, really. Manage it that way in 'bites' and you'll get right through it.
Some where I read or was told that on the S3 I don't have to disconnect the wiring harness at the 13 pin and back feed it through the belt like on the S4 before removal. Does any one with experience on the S3's know if that is so?
Thanks in advance
Randy
Contact your favorite parts supplier and ask them to put together a "care package" of all the normal parts needed. The rollers, bearings and clips are what sidetracks this job. Or worse, you decide "that will probably be OK" and put marginal pieces back in. Having -everything- at your fingertips as you work makes the right decision a lot easier.
I did my first belt and pump replacement in under 12 hours total, including all the video setups and the false-starts and redo's needed for the video. It's still 12 hours of video that takes as long to watch as the project takes to do. So maybe not that much help. By the nth clinic project car, with all the possible pieces needed in a box on the workbench, that time was down to well under 8 hours including teaching time. I'm sure I could blast one out in well under 8 hours if everything was clean and all the parts are there ahead of time. It's just a sequence of procedures, really. Manage it that way in 'bites' and you'll get right through it.
Agreed. I have most of the parts already. I just didn't have the tensioner parts because, being my first time in there on this one, I wasn't even sure if it still had the stock tensioner until today. I do my LS timing belts the same as you say, step by step, one small victory at a time until done. My first LS belt took 14 hours (which is what the Lexus dealer wanted to charge in labor) , the second time it took 6. I'm sure with the right tools and lifts, the Lexus mechanics can probably get it done in 4-5 and then they charge you for 14 anyways.
The worst part is right after this I need to learn how to drop the engine out of my water cooled 911 to do the AOS, plugs, wires, and various 15 year old hoses and such that could use to be changed. If it was an old air cooled one which I've done a before, I wouldn't sweat it one bit.
I volunteered to help a neighbor with a 996 do that same project. He hasn't done the IMS fix yet. Retired insurance guy -- should know the risks. He said he's just going to keep on driving it. I think that he was a little skittish since I hadn't done one before. He also hadn't been over to visit the workshop either. Like you, I've more than several of the air-cooled engines in and out for various levels of service and surgery, and I'm completely comfortable doing them. My last 911 was a mid-80's vintage, replaced ultimately by the 928 after a Lotii gap.
For most of this stuff I'm pretty fearless. Others have done this before and shared their learnings. Should be a walk in the park really.
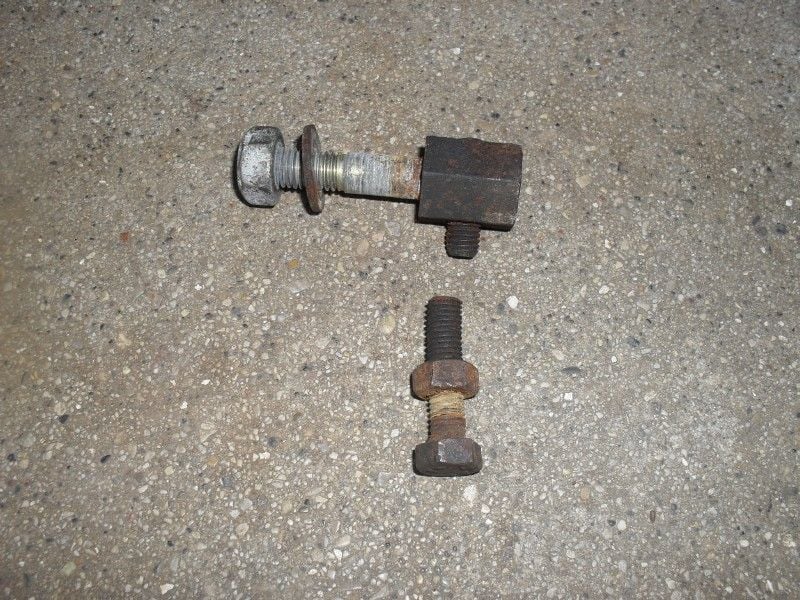
This is way easier than doing the LS400, but I did break the bolt on the alternator adjuster. It was just not going to turn. Used a torch and got what was left of the bolt out. Everything else is going good.
Actually, the dance of getting the belt on with no help was a bit daunting, since when at the 45 degree position the cams want to jump if you just breathe on them. You have to thread the belt with your teeth while holding both cams with 17mm wrenches. Took me 30 minutes and three attempts to get it on and all lined up by myself, but in the end it it was perfect. I've really enjoyed this so far.


 05-01-2017, 08:53 AM