When you click on links to various merchants on this site and make a purchase, this can result in this site earning a commission. Affiliate programs and affiliations include, but are not limited to, the eBay Partner Network.
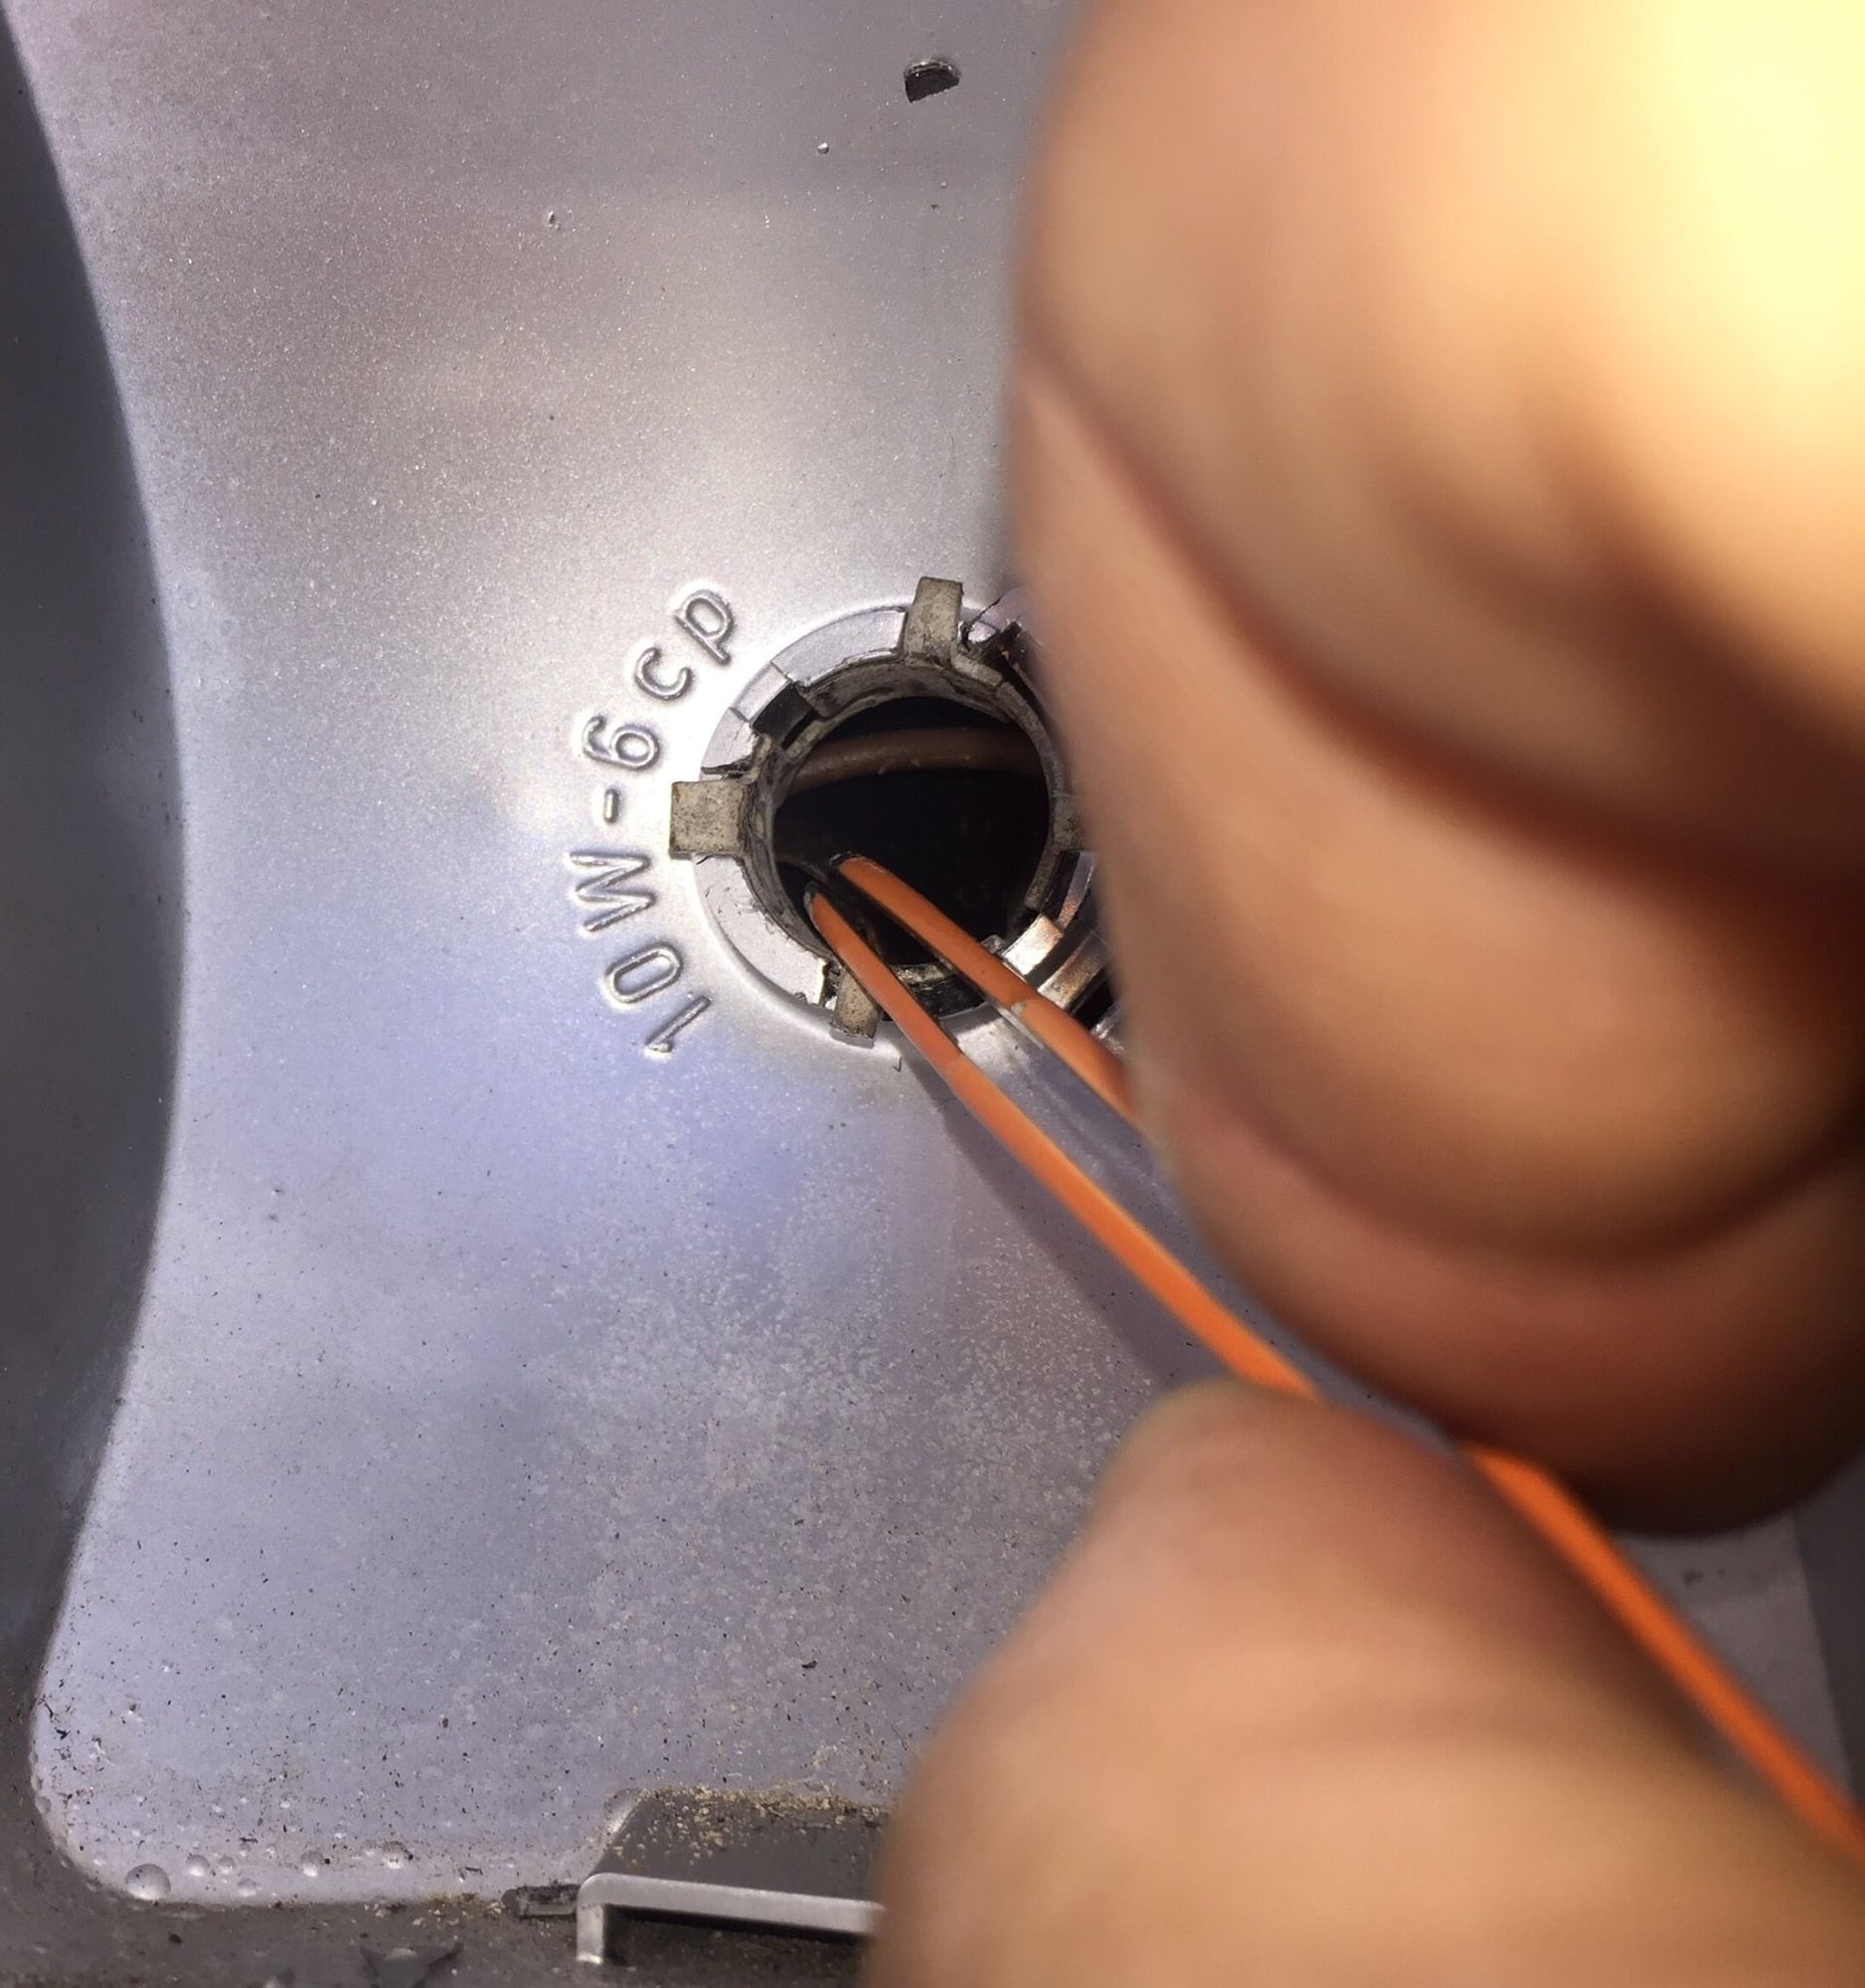
The rear contact on my rear 10W bulb is loose (broken free). Is there a way to remove the rear tail light assembly withou removing the bumper?
can anyone think of a way to fix this without removing the tail light assembly?
AFAIK you can't remove the entire assembly without pulling the bumper cover since you can't get to the top two fasteners. You can however get to the bulb connector by prying up the rear corner of the quarter panel cover, but you'll be working blind and probably spend more time fiddling around trying to fish it out than it will take to remove the bumper cover.
It really isn't that bad of a job. If you have never had yours off before I suggest spraying a quality penetrant on all the bolts and letting it soak overnight.
if your crafty with a soldering iron,
you could solder the wires to the bulb,
make sure it works,
then silicone the bulb into the socket, it will dry in place.
Otherwise PU removal is necessary to get to the rear lamp housings
Wayne Strutt asked me to post the following on his behalf since he was having issues trying to post.
"The connector that provides current to the bulb is pressed into the molded plastic light housing. There is also a cover screwed to the back of the light housing that needs to be unscrewed to access the wiring and copper contacts. If the plastic housing is broken or it has been melted by too hot a bulb you will need to remove the bumper cover then unscrew the light housing from the bumper cover then remover the light housing back cover. Then you can do a repair with epoxy (JBWeld )or with Gorilla Glue.
If you would like pictures of this email me as I have just repaired mine.
if your crafty with a soldering iron,
you could solder the wires to the bulb,
make sure it works,
then silicone the bulb into the socket, it will dry in place.
Otherwise PU removal is necessary to get to the rear lamp housings
AFAIK you can't remove the entire assembly without pulling the bumper cover since you can't get to the top two fasteners. You can however get to the bulb connector by prying up the rear corner of the quarter panel cover, but you'll be working blind and probably spend more time fiddling around trying to fish it out than it will take to remove the bumper cover.
It really isn't that bad of a job. If you have never had yours off before I suggest spraying a quality penetrant on all the bolts and letting it soak overnight.
i decided to tackle this the proper way, rather than soldering the wire to the bulb (seems like a hassle to change a bulb in the future). I followed the instructions in the link to remove the bumper, but there seems to be a bolt I�m missing near the top of the tail light assembly because the bumper does not come out.
Is is there another bolt that I need to find in the interior rear quarter panel area?
found it. 6 bolts per side. (Not 5)
Last edited by coach928; 01-01-2018 at 01:45 AM.
Reason: SPElling error
i decided to tackle this the proper way, rather than soldering the wire to the bulb (seems like a hassle to change a bulb in the future). I followed the instructions in the link to remove the bumper, but there seems to be a bolt I�m missing near the top of the tail light assembly because the bumper does not come out.
Is is there another bolt that I need to find in the interior rear quarter panel area?
How many nuts did you remove on that side? I believe there should be 4. With the wheel removed you should be able to reach your hand up near where it is stuck and feel for a nut. Also it may just be the bolt threads are snagging on the hole it goes through in the quarter panel now with the weight of the bumper pushing on it. Try lifting up on the bumper and giving it a good tug.
Theres one way up high in that corner.
The filler neck kind of occludes visibility and access, but both are possible.
1st point of business is to dry clean somehow and vac up all the road dirt that gets up into the filler neck pipe so you don't get it in your eyes.
Tools I use:
18 inch long penlight on a flexible shaft to illuminate. (you need some kind of light.
Flexible shaft extension attachment for dremel or northern tools version of dremel ( cheap) / wire brush implement
Long chain (been a while, but 18 inches or so ) of 1/4 inch drive extensions with 8mm socket. Might or might not need 1/4 universal, on this one, I forget.
The 1/4 stuff gives good access.
wire brush the threads.
snake the socket behind/up/around the filler neck
remove the nyloc
If nyloc fails in a weird way, the nut will spin and spin but not loosten.
In that case, switch to grinder wheel attachment for dremel flex extension and whack it off.
There are ways to replace that threaded part once the bumper is off.
That's how I do it.
Stan probably has a cleaner description because he's done so many more of them, but my way works.
I recently pulled my rear bumper cover off and finally decided it was easier to snap off the threaded studs with a deep socket on an extension and some minimal lateral force rather than try all the acrobatics of getting various tools in those tight spots to clean up and take off the nuts.
As Landseer mentions the threaded studs are welded to metal strips that are riveted to the inside lip of the edge of the bumper cover and new studs can be installed or you can replace the metal strips entirely - I got used ones from 928 INTL.
BTW it looks like the PO did some odd stuff with that light housing previously as the 3 screw heads visible along the bottom edge are not factory. Not sure if those where installed to hold the light housing in place versus the standard mounting points behind the bumper cover.
Those Phillips head screws at the bottom of the housing may mean the bottom tabs are already broken. Did you remove them and see if the bottom slides out far enough to drop the housing out ? Just curious.
1st point of business is to dry clean somehow and vac up all the road dirt that gets up into the filler neck pipe so you don't get it in your eyes.
Well Heck!!! You want to take all the fun out of it!
What's the point of working under the car if you can't fill your hair, ears, and eyes with the years of road grime dropping down on you from above?

 11-02-2017, 03:55 PM