When you click on links to various merchants on this site and make a purchase, this can result in this site earning a commission. Affiliate programs and affiliations include, but are not limited to, the eBay Partner Network.
Call it 'multi-tasking', or just plain scatter-brained, but I have been doing other work on the Red Witch, concurrent with the brake/wheel bearing work.
Its all part of the WYAIT syndrome.
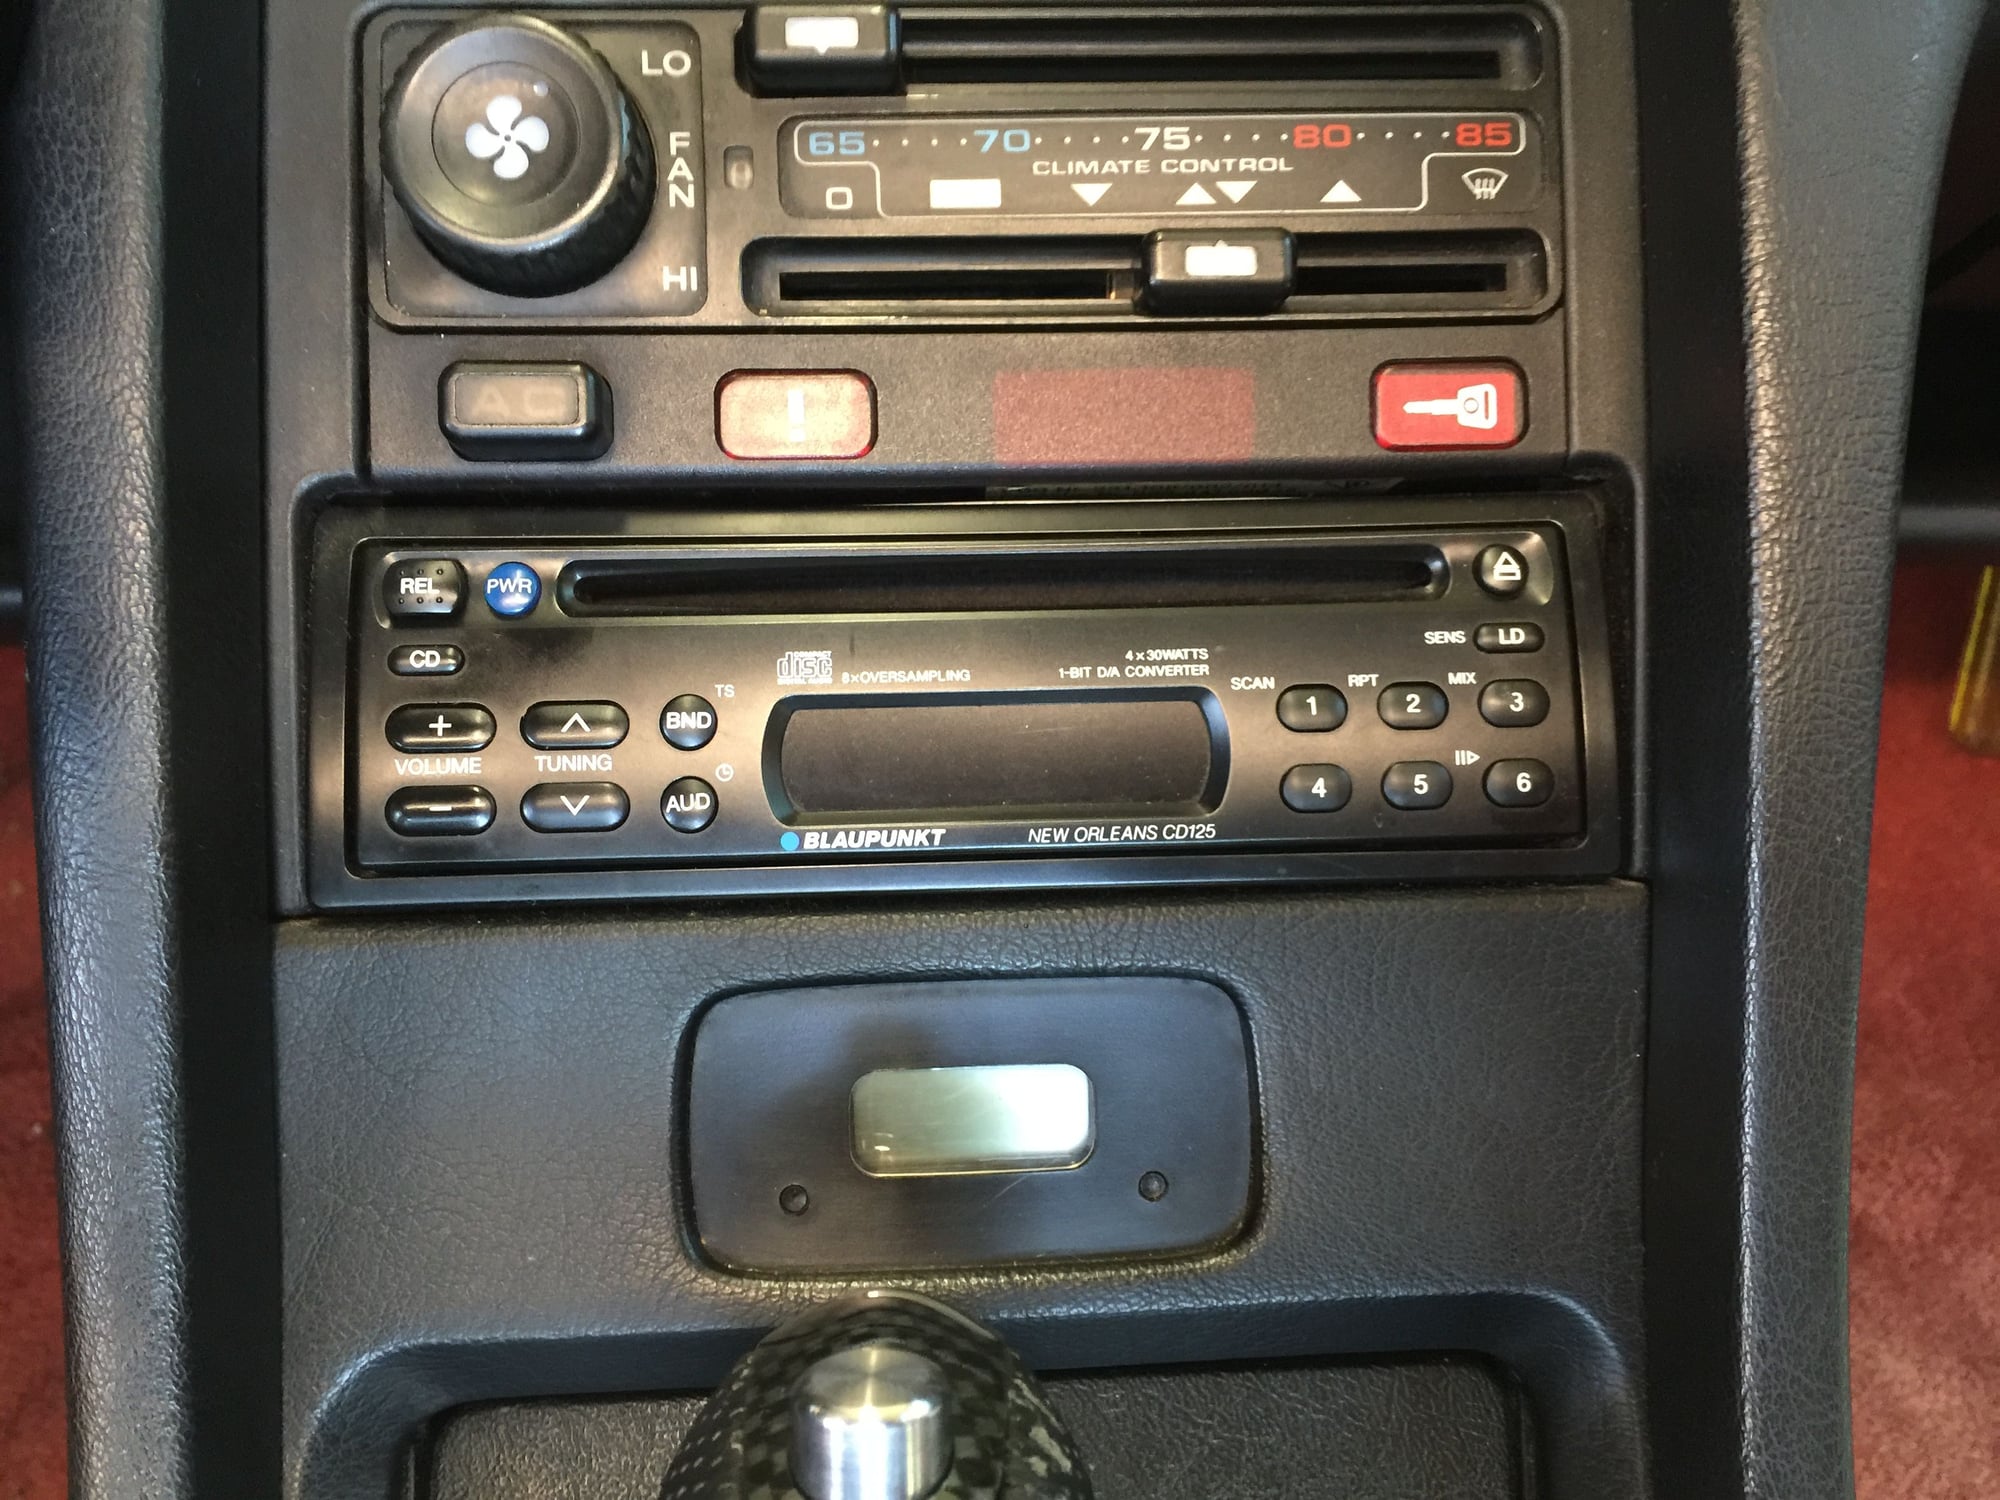
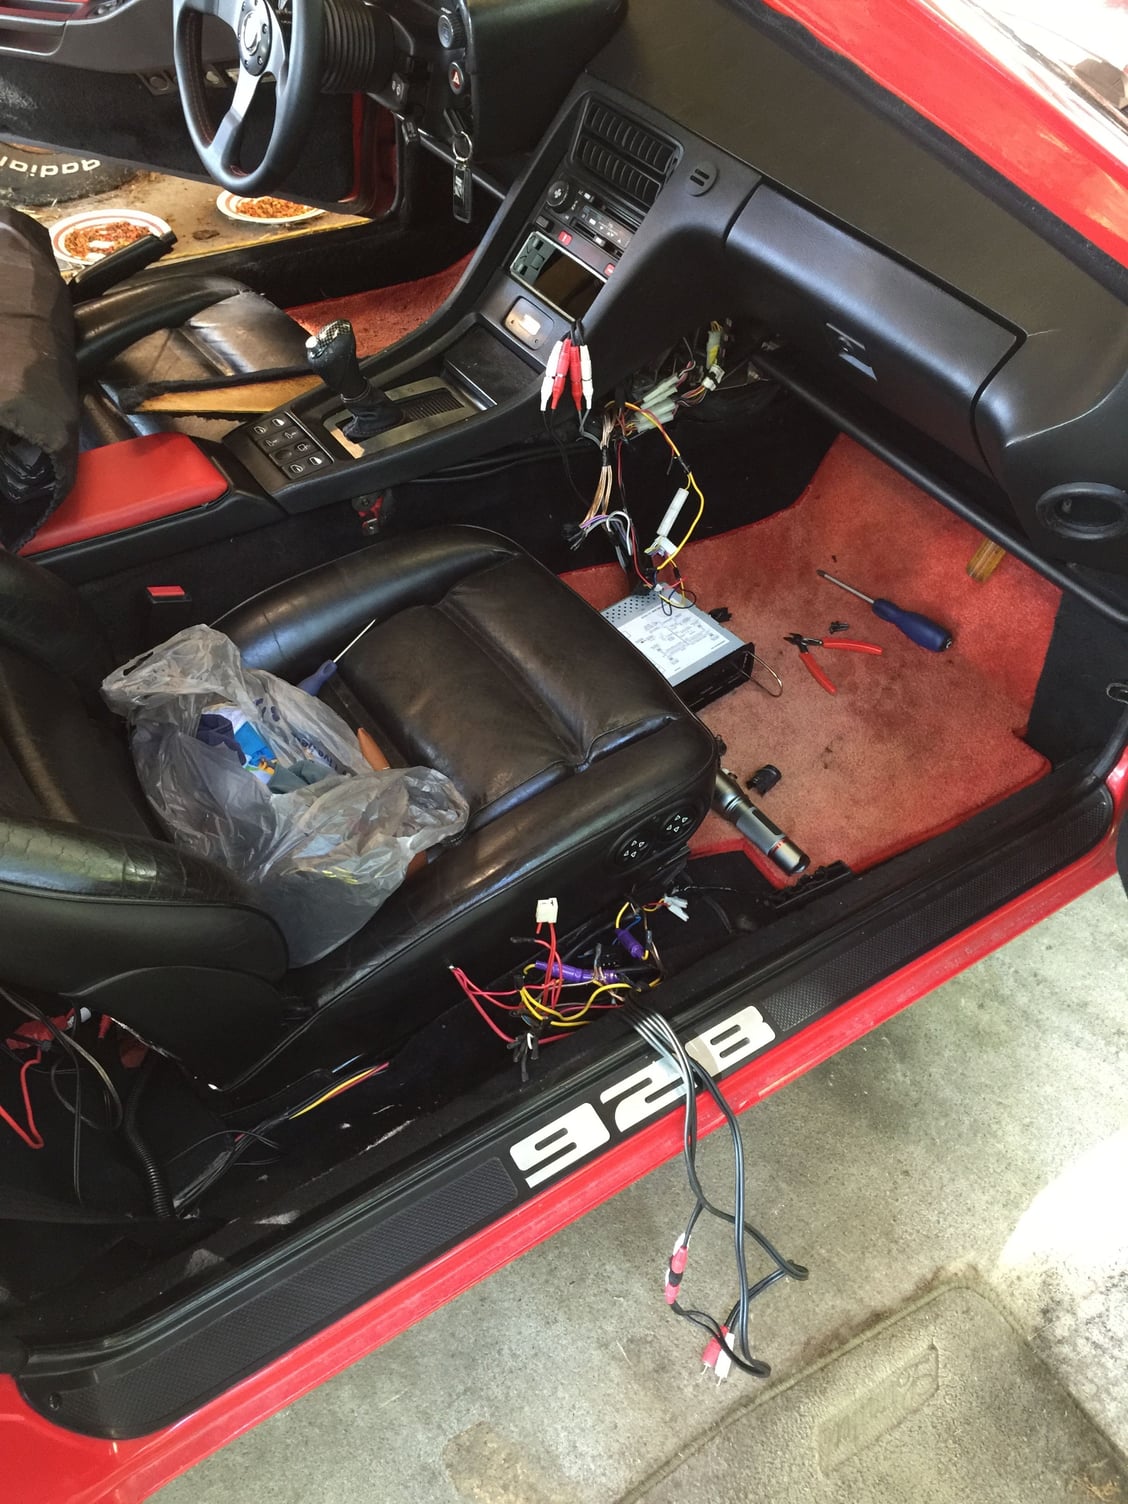
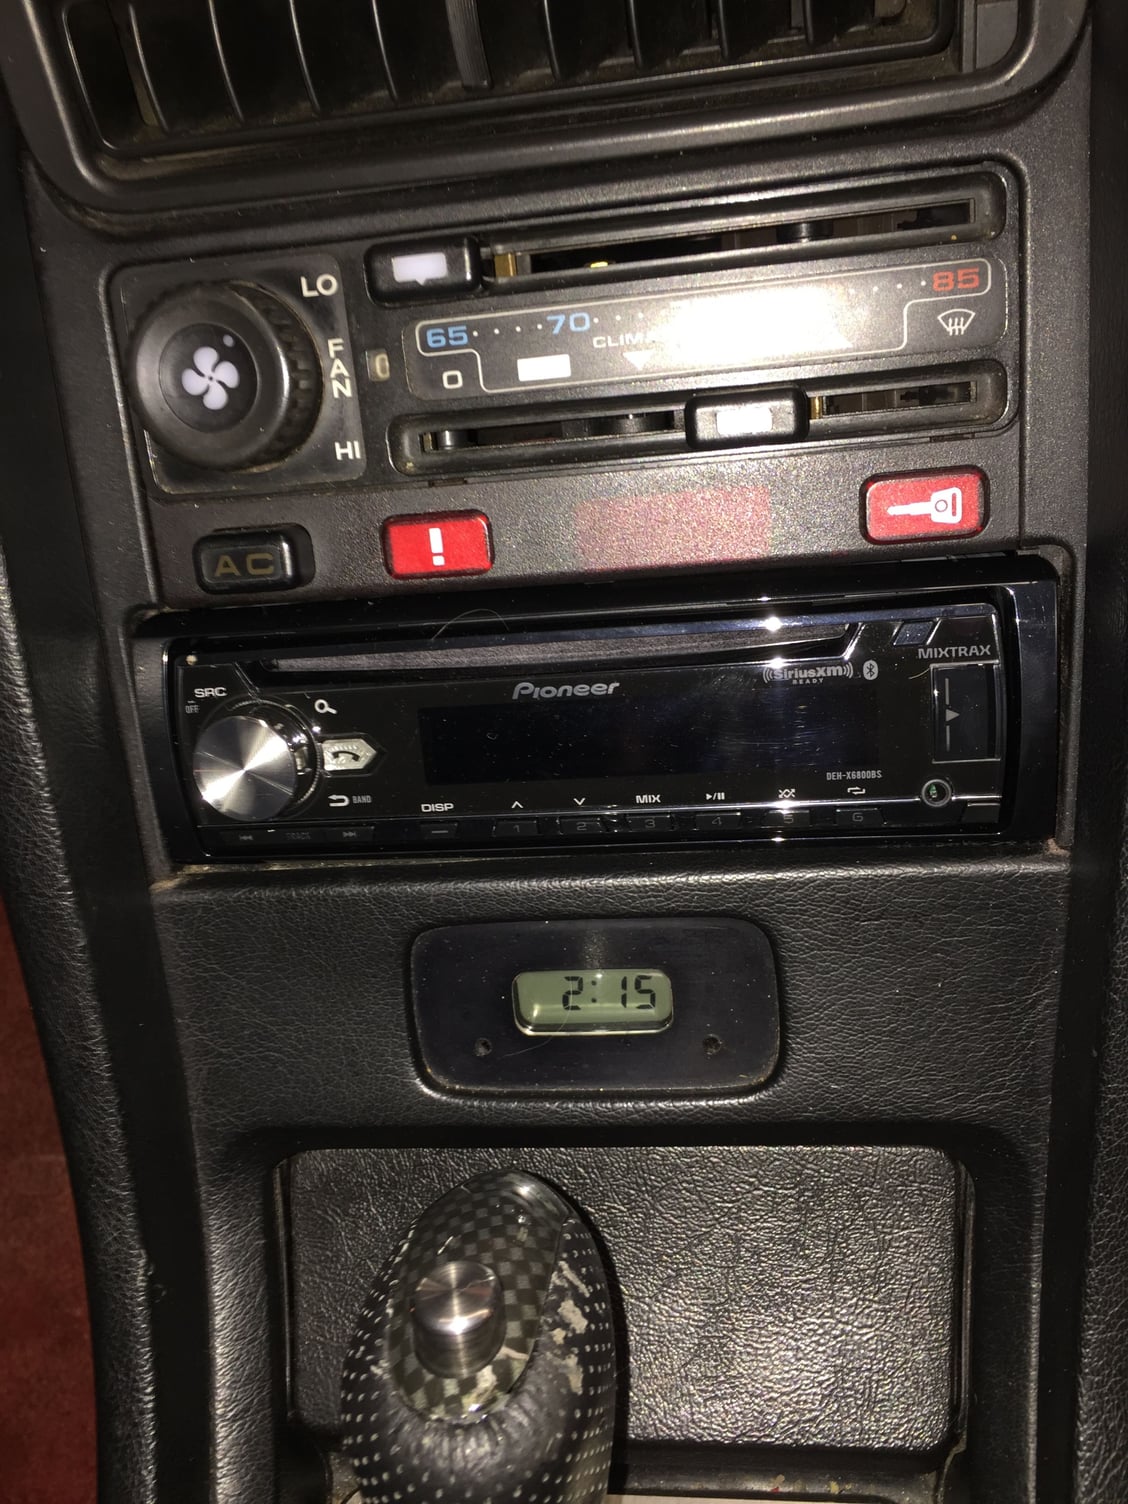
I started off by swapping out the vintage Blaupunkt CD-125 head unit. It was cool in a vintage sort of way, and very much matched well with the interior of the 928. However, I am spoiled by my iPod, and the very real fact that it is a helluva reach to the head unit. Because I am tall/fat, I have the seat run quite a ways back.
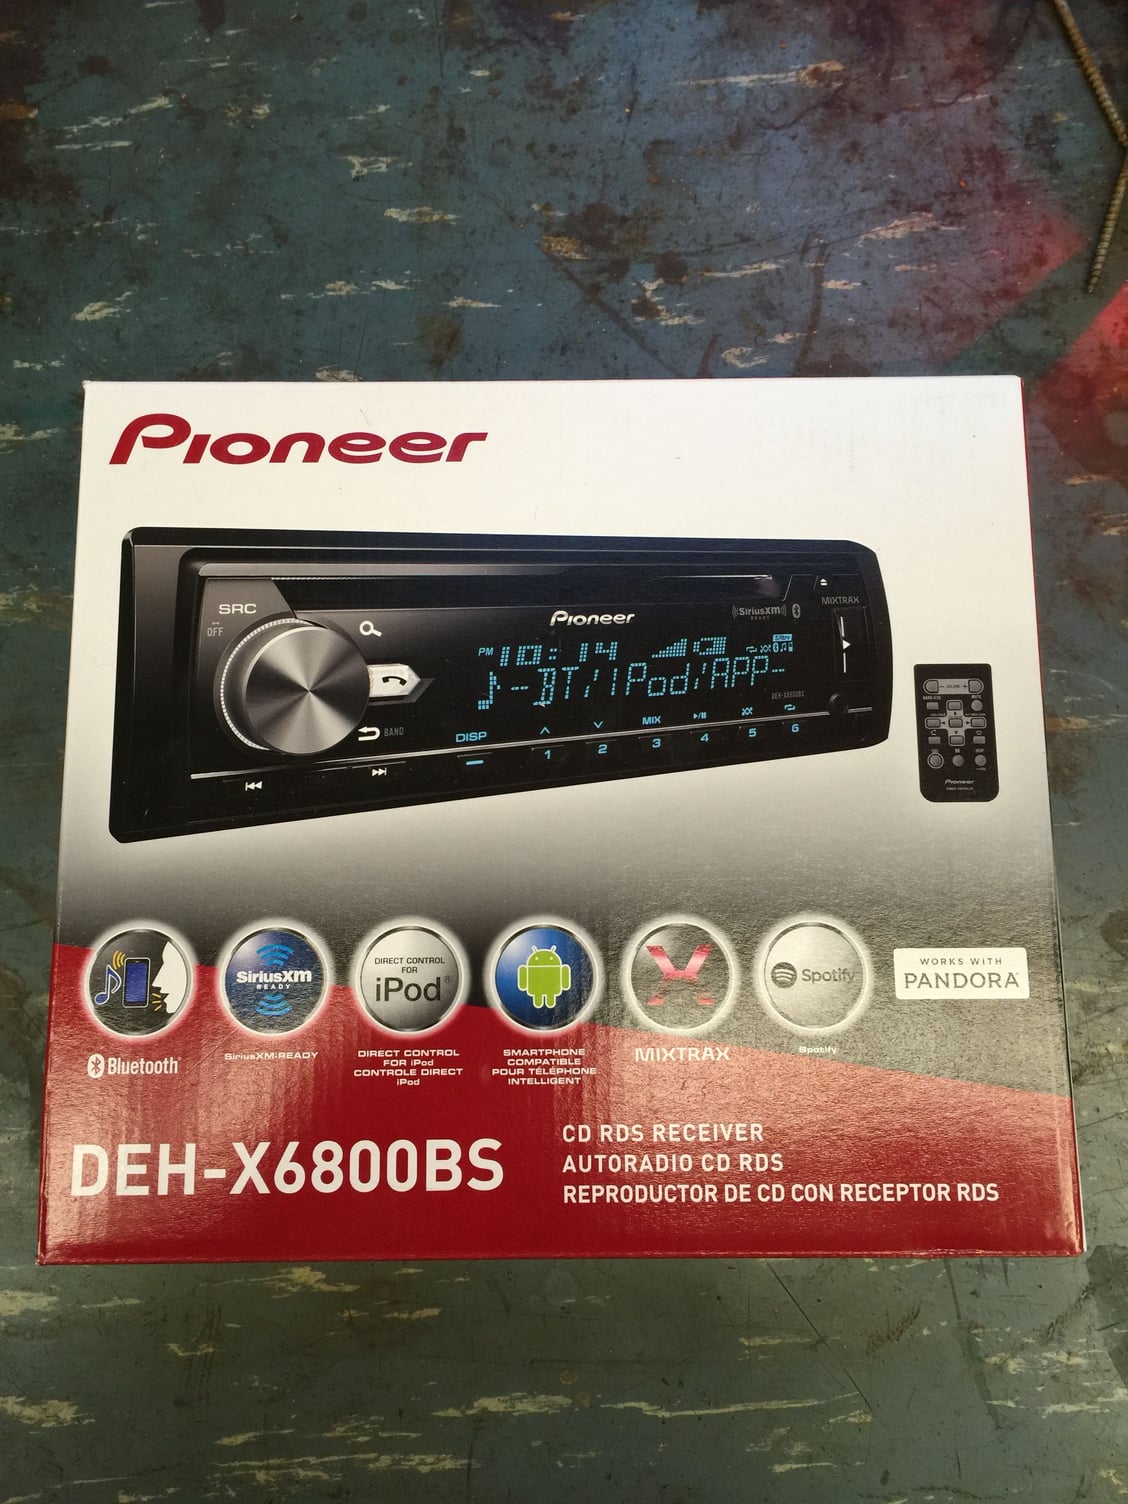
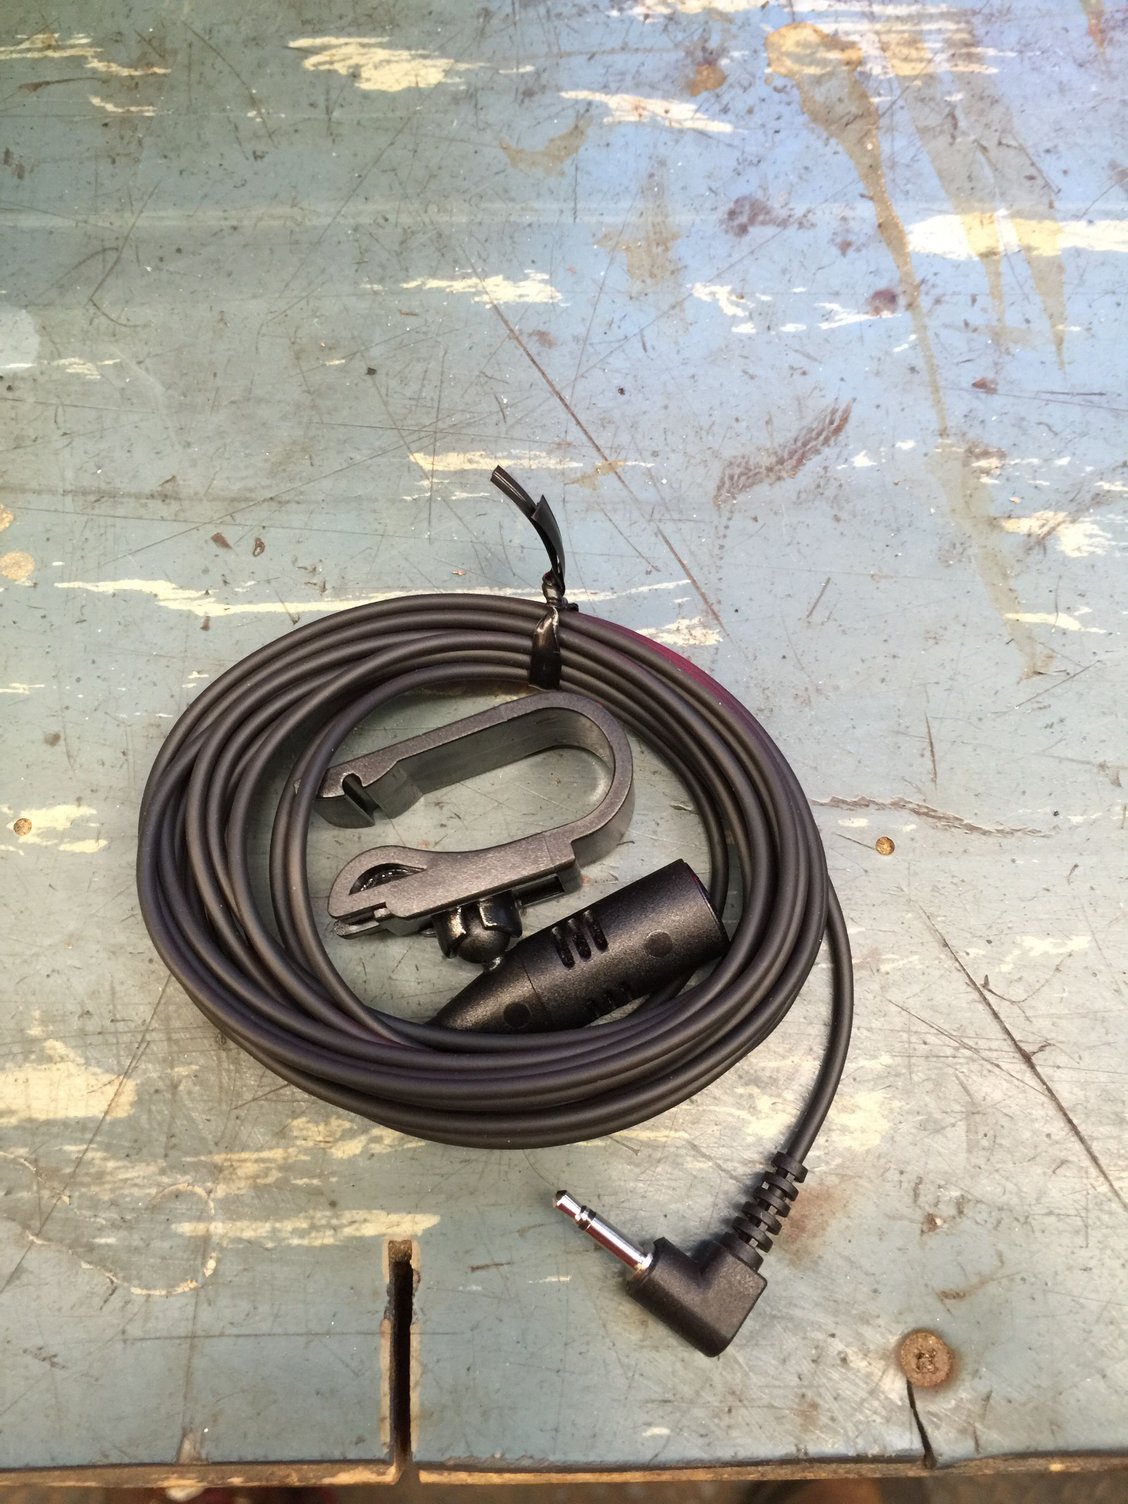
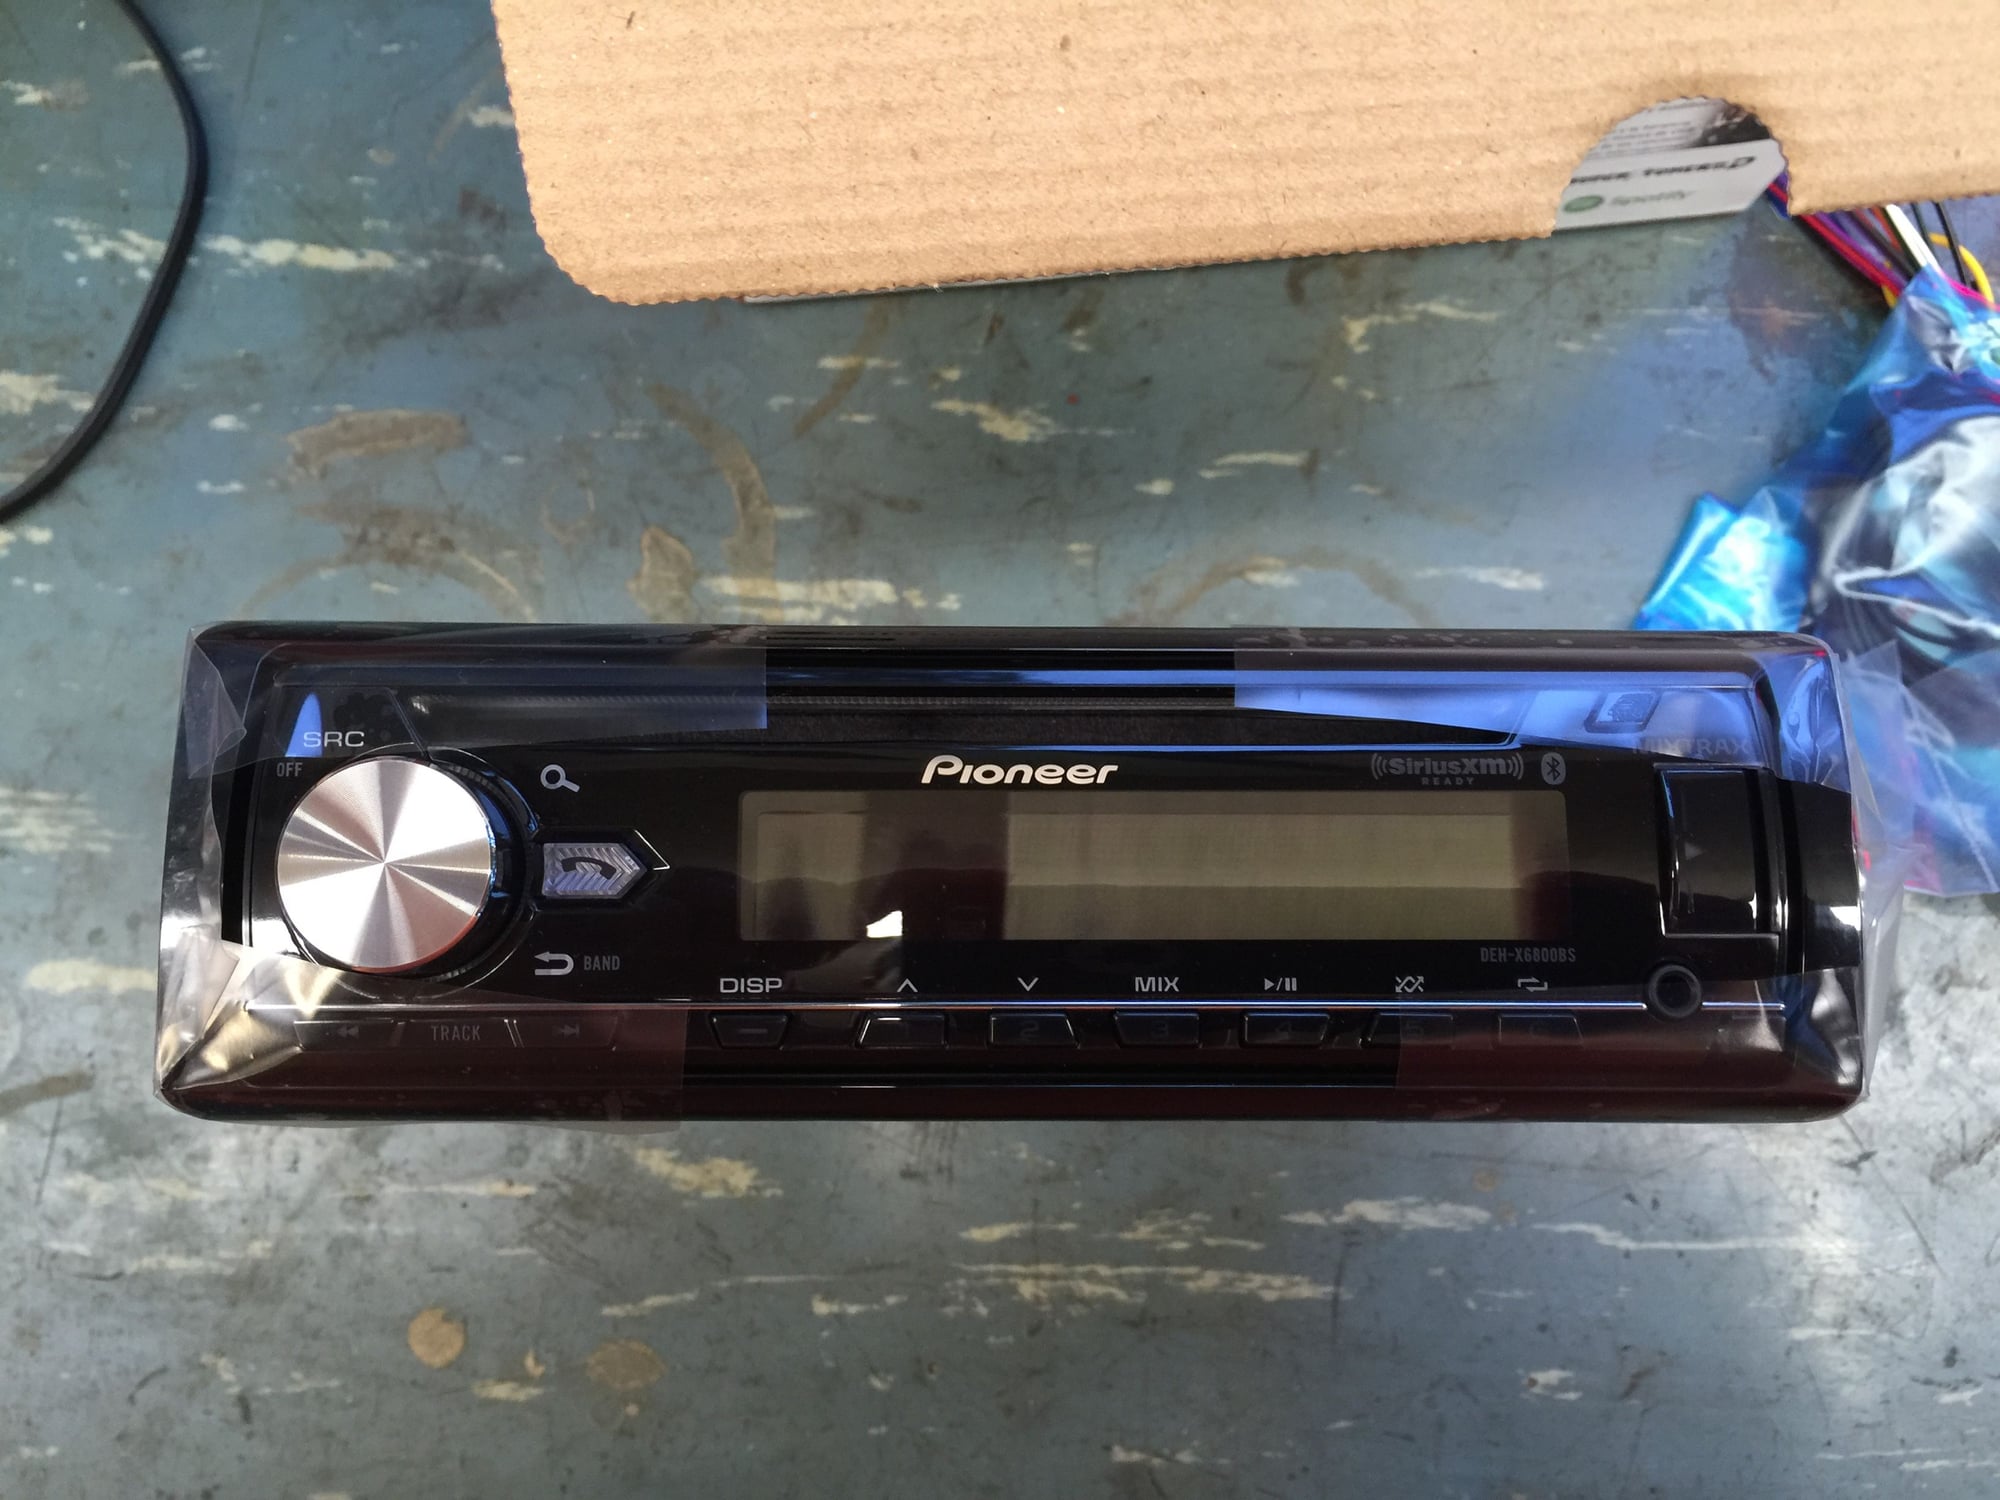
The final straw came when one of the volume buttons broke. I did some research, and was happy with the Pioneer DEH-X6800BS. It has a remote, is iPod ready, and has an external mic for bluetooth phone calls. The style doesn't clash too bad with the console, and I will adjust the coloring to match the dash lighting.
I naively thought install would be quick and dirty. It was dirty...
It turns out the Blaupunkt had been wired in at the position of the original factory amp. The sound shop did a good job wiring it some years ago, but the soldered joints were starting to corrode. So, I ripped it all out and redid the wiring. As well, I removed the bass blockers from the speakers. I will use the tuning filters in the head unit for that. I spent the better part of Saturday and Sunday on the install. I am pleased with the outcome. I have mounted the mic on top of the driver's sun visor. In addition, I cleaned up the 'temporary' hack job I did on the wiring for the bazooka tube when I picked the Red Witch up in May. Much neater routing and much less extra wire.
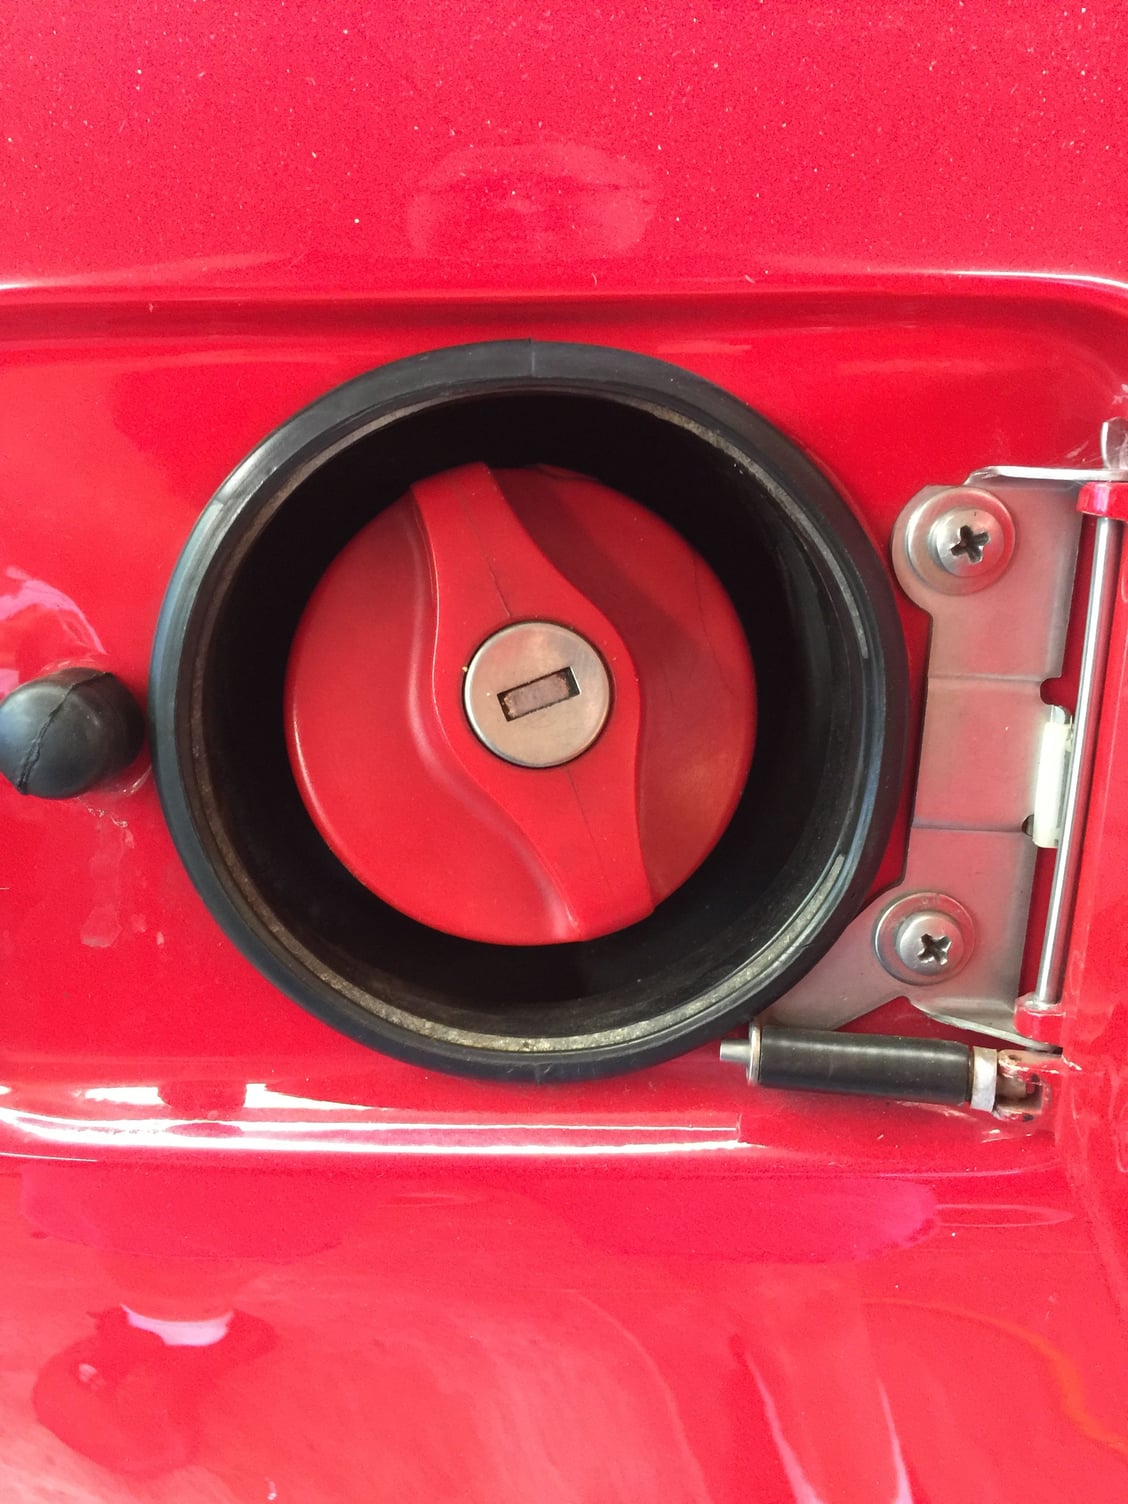
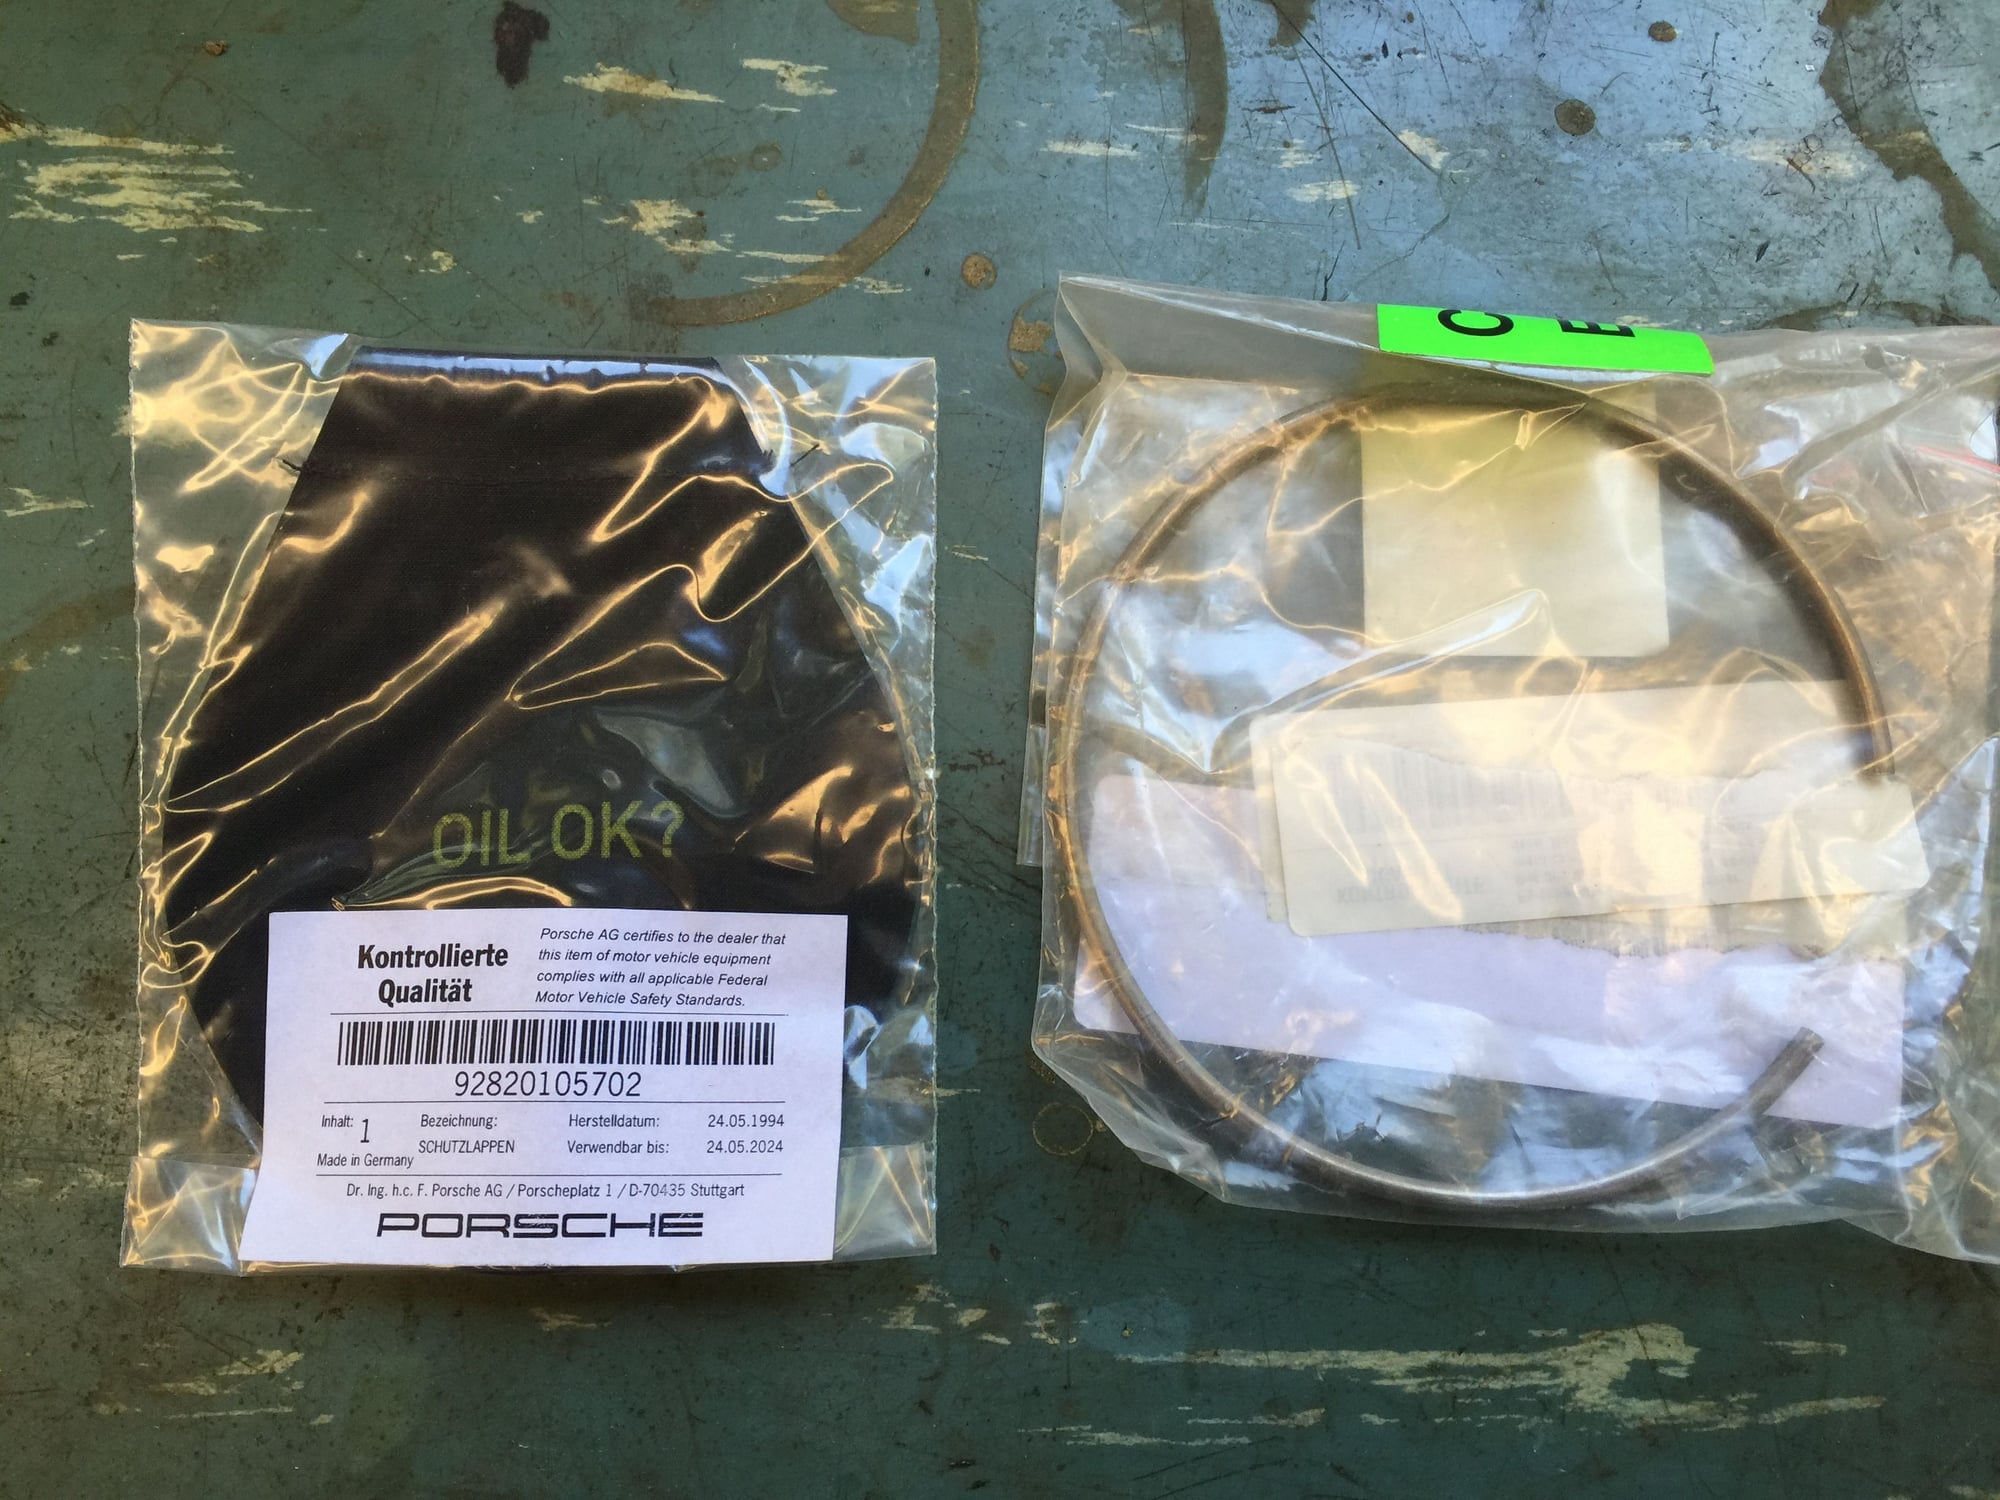
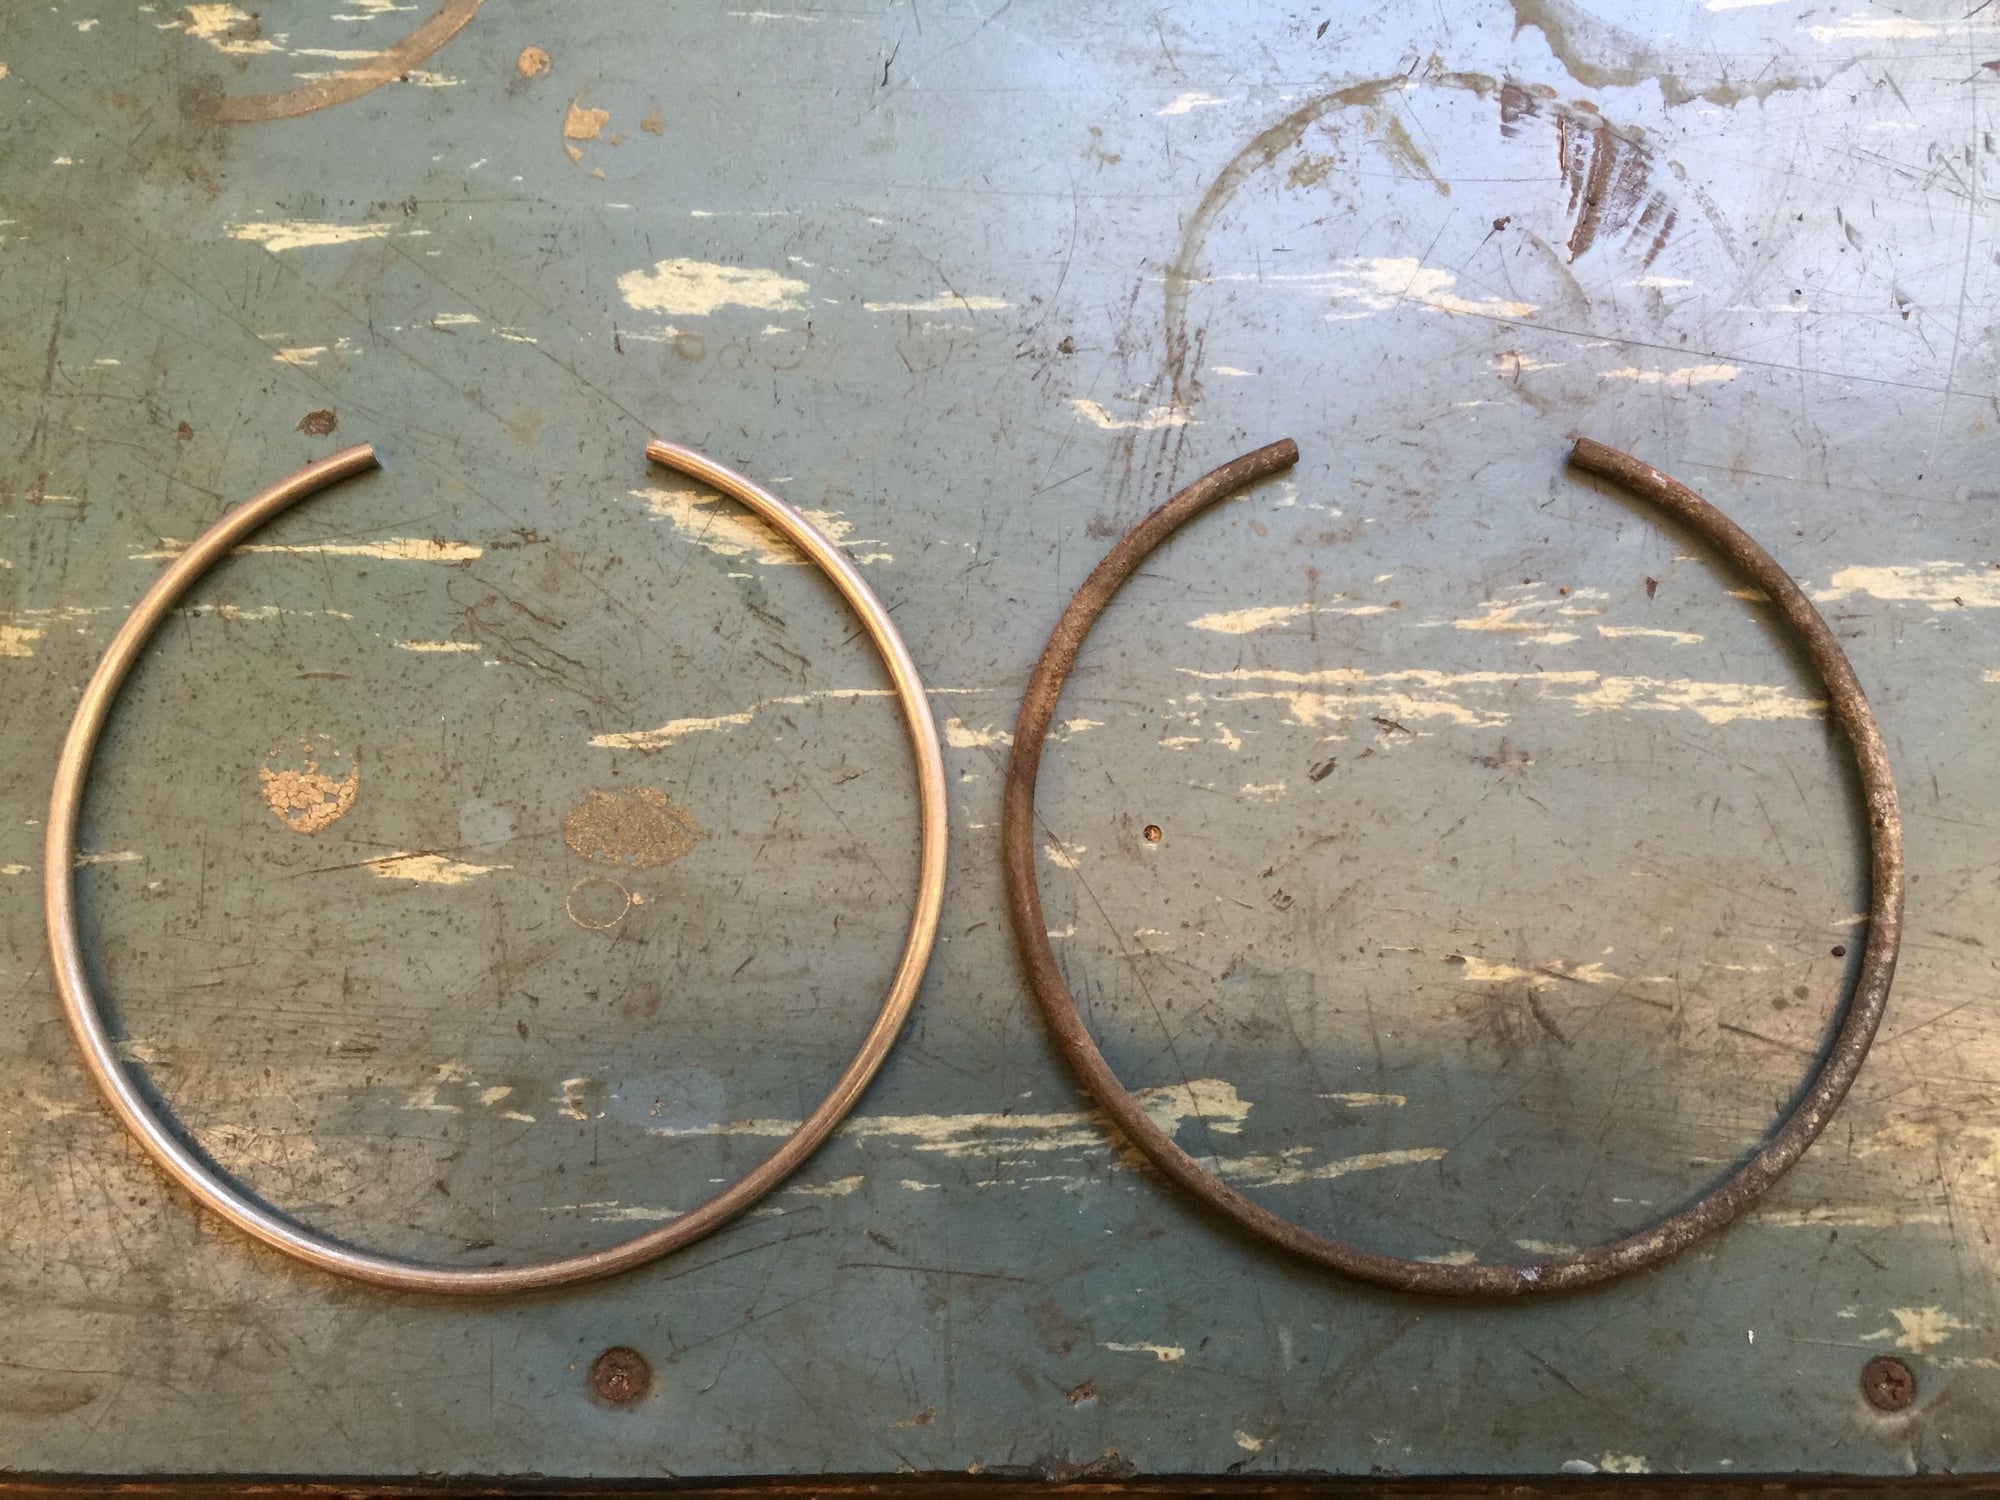
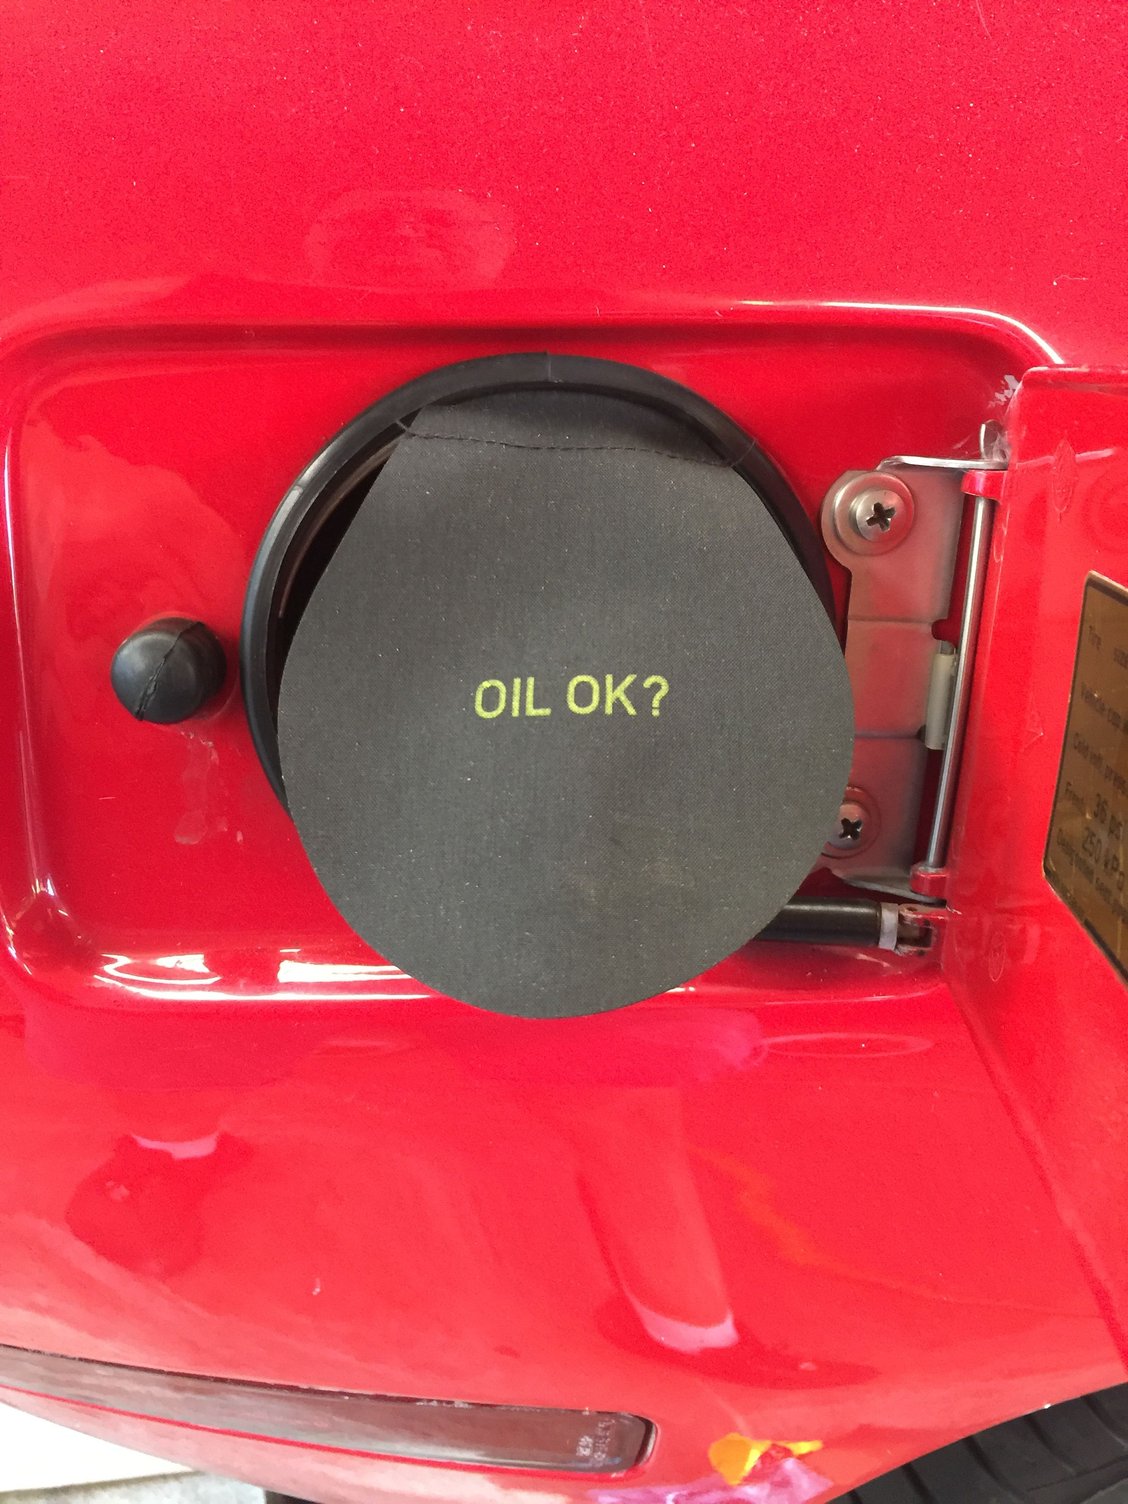
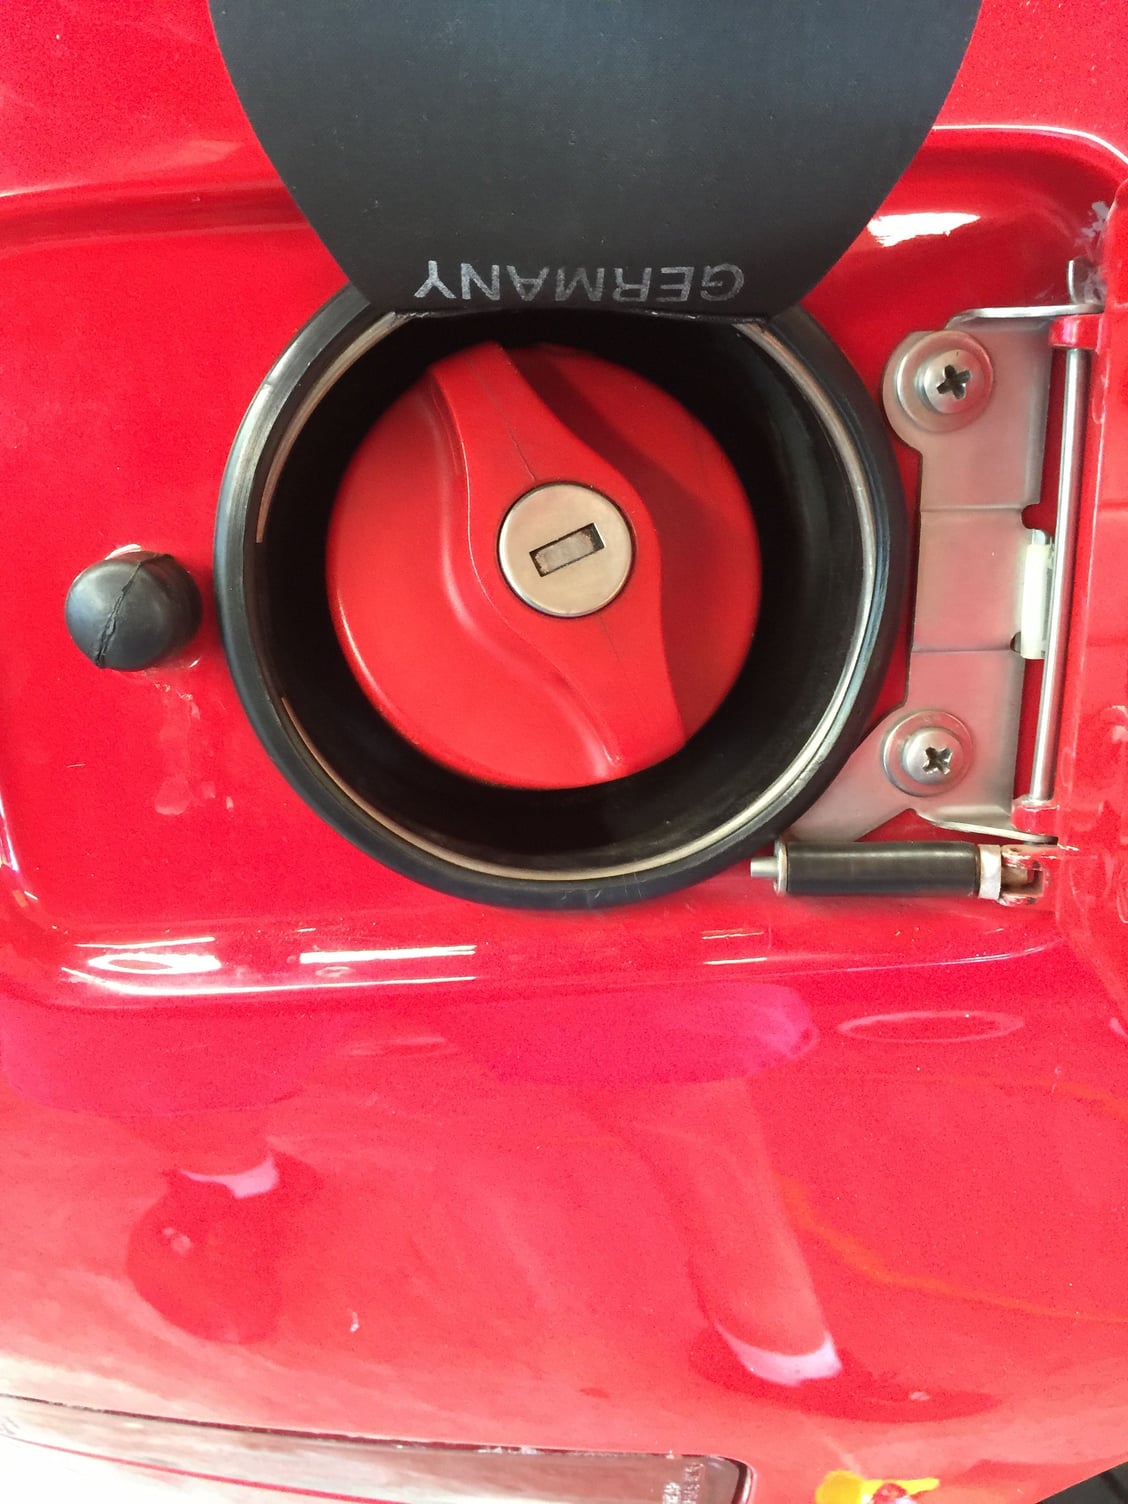
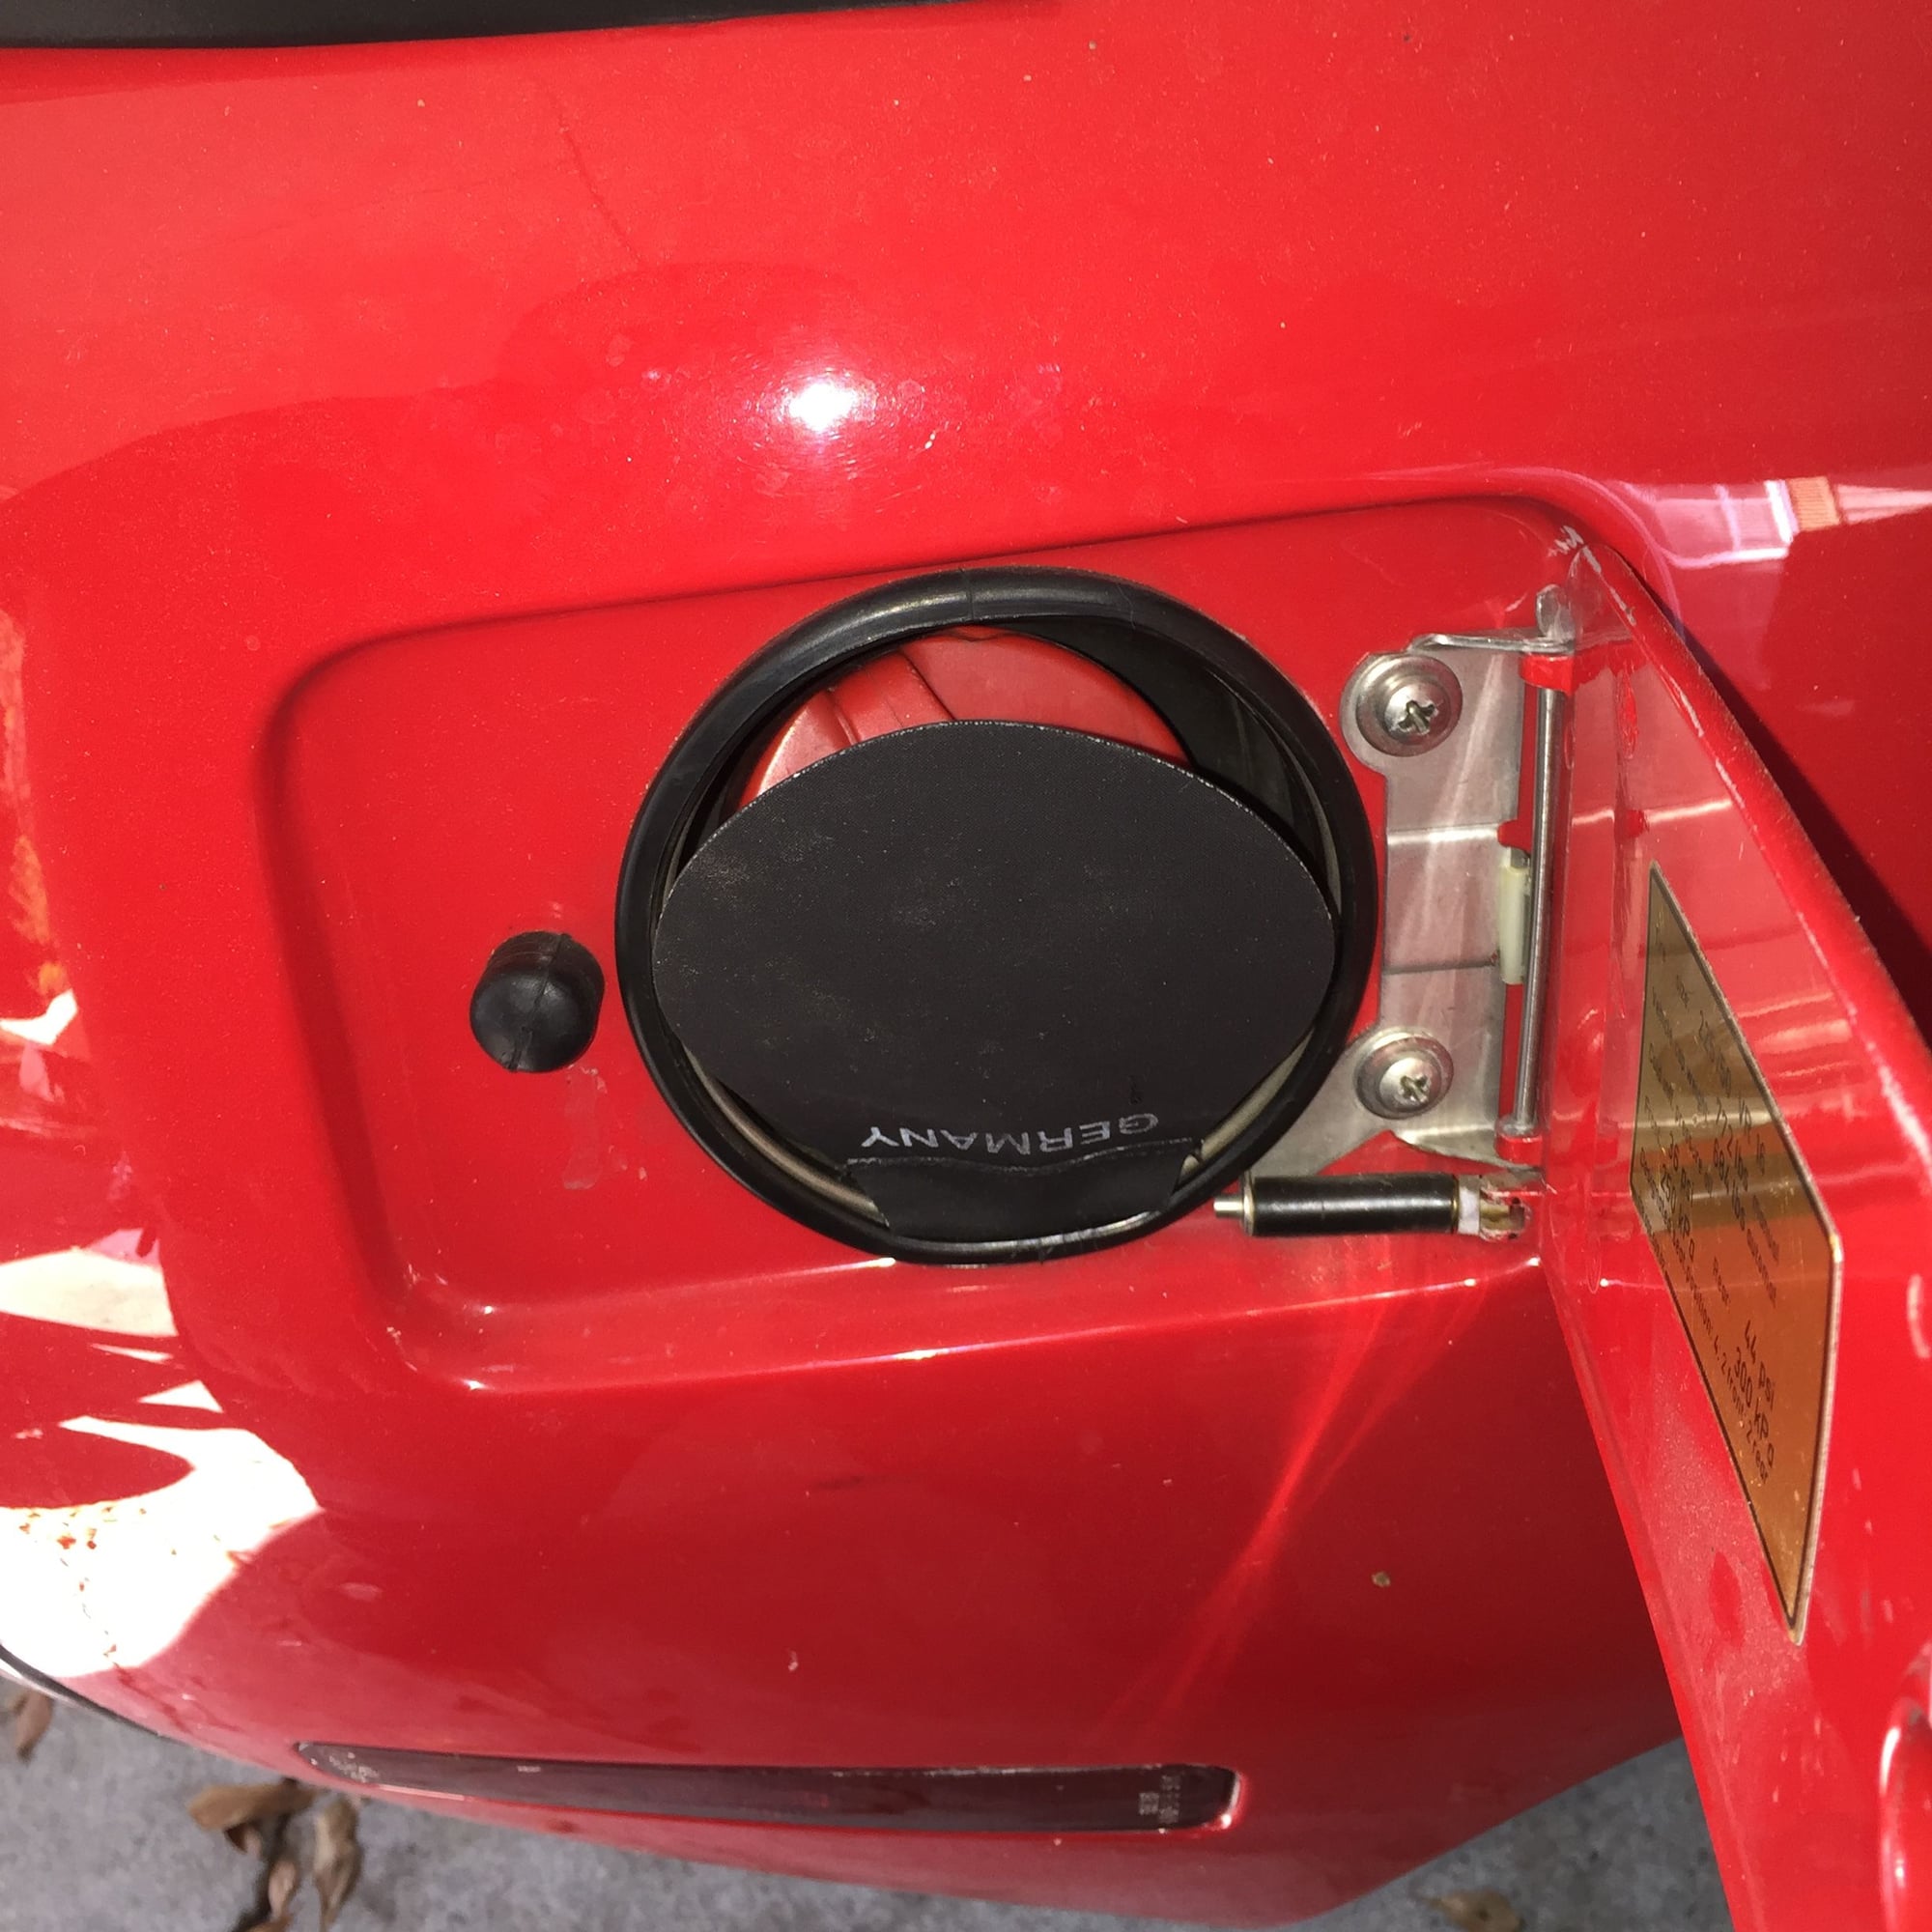
The Red Witch has never had a fuel cap flap since I have owned her. In one of my numerous parts purchases, I got a new flap and lock ring. It should have had instructions, or I should not be so dense.
I was quite proud of myself. And then I noticed a few posts on Rennlist. Hmmm...what is wrong with this picture? Anyone...?
Much better. Now, in all seriousness, what is the purpose of the flap? Protect the quarter panel against fuel spray/drips?
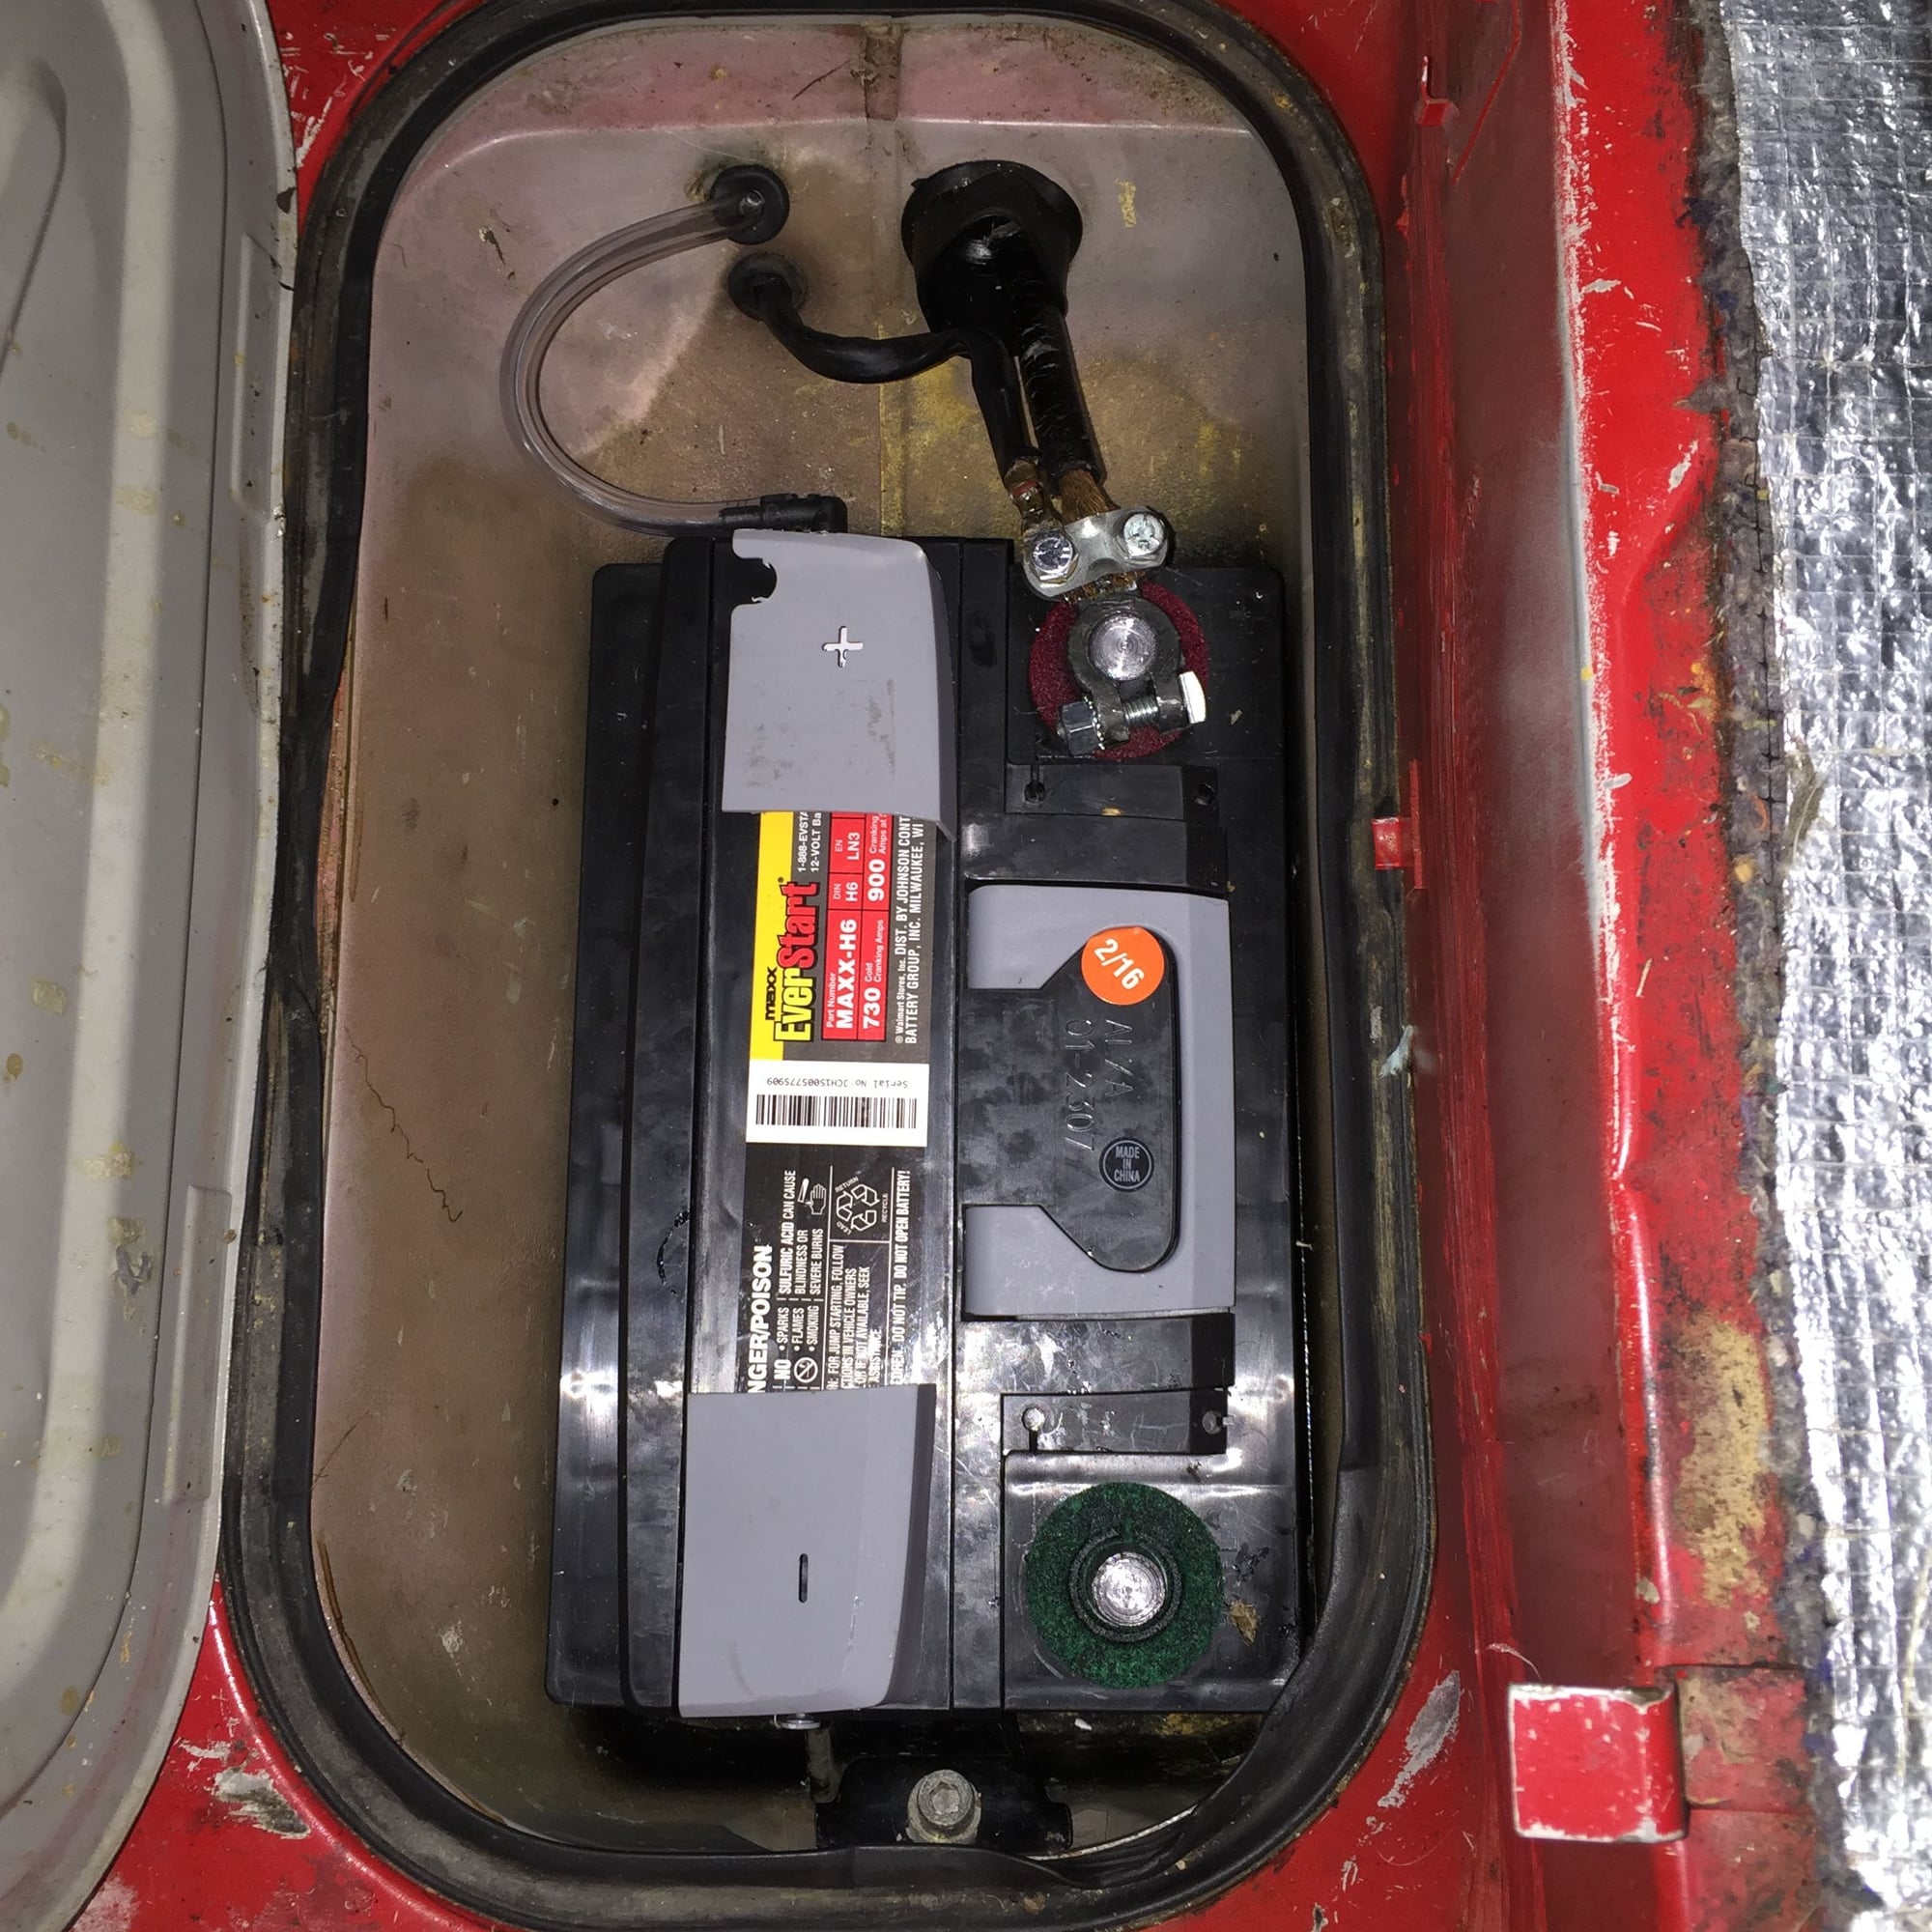
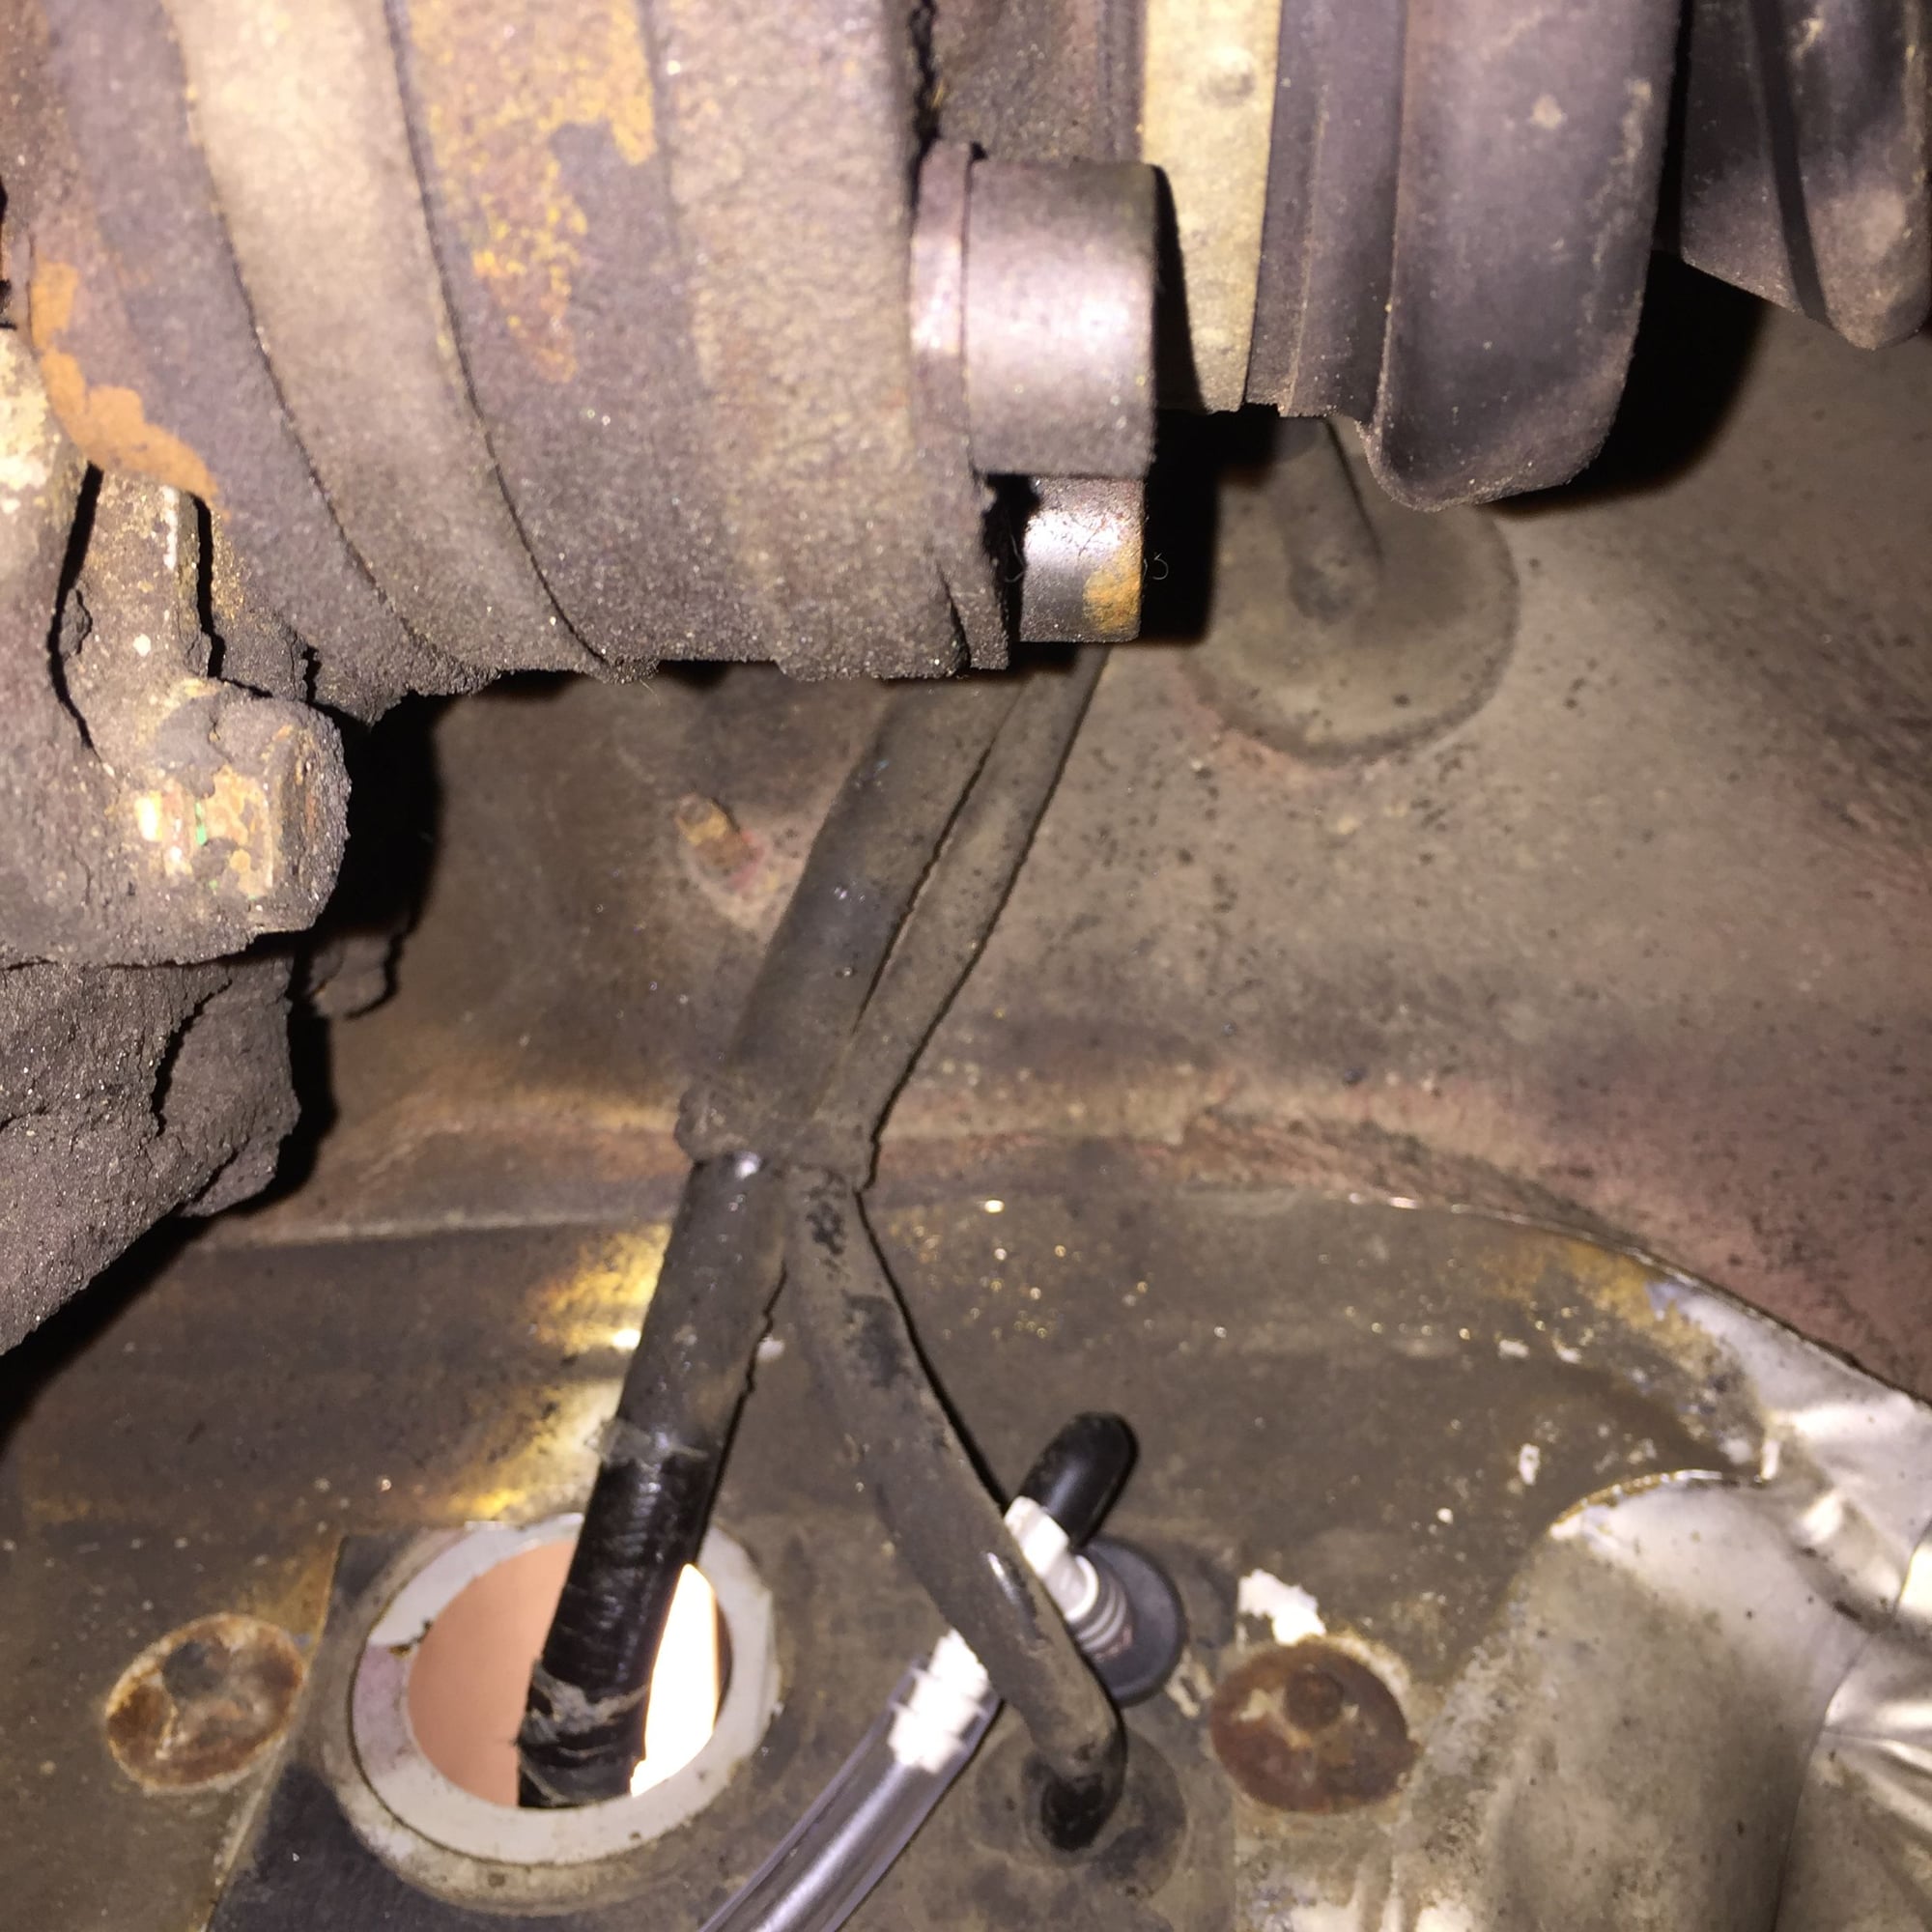
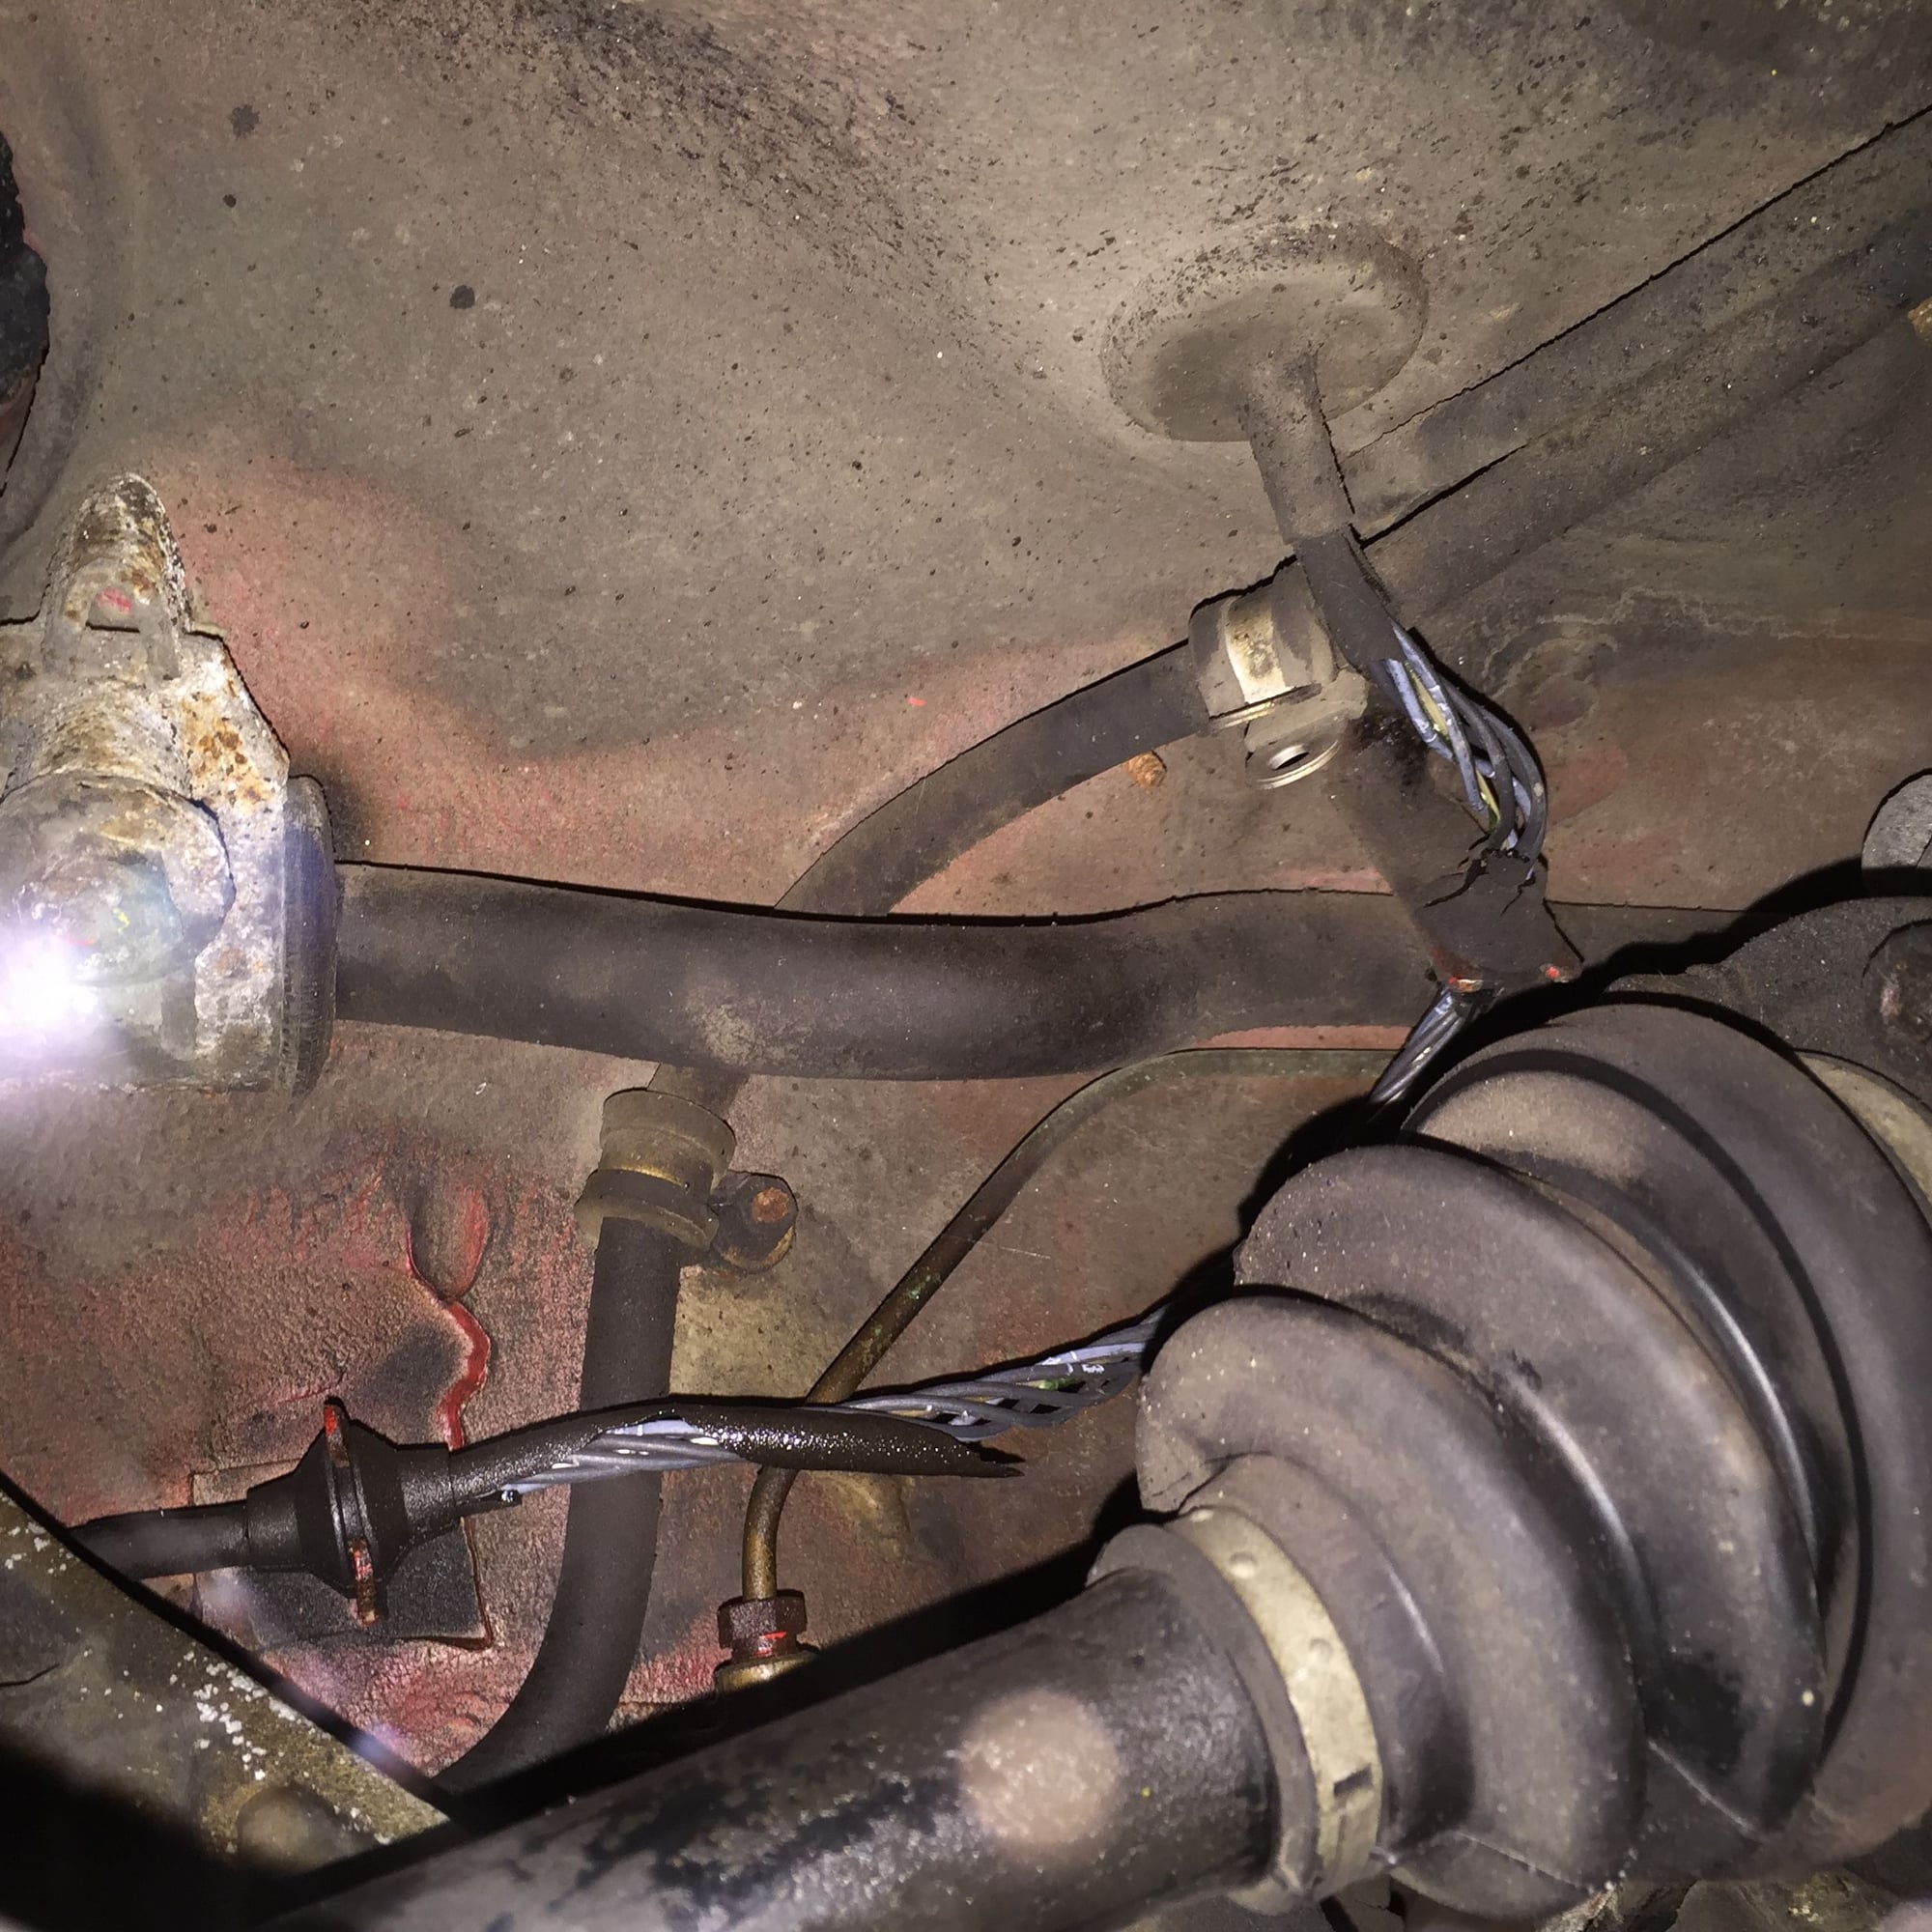
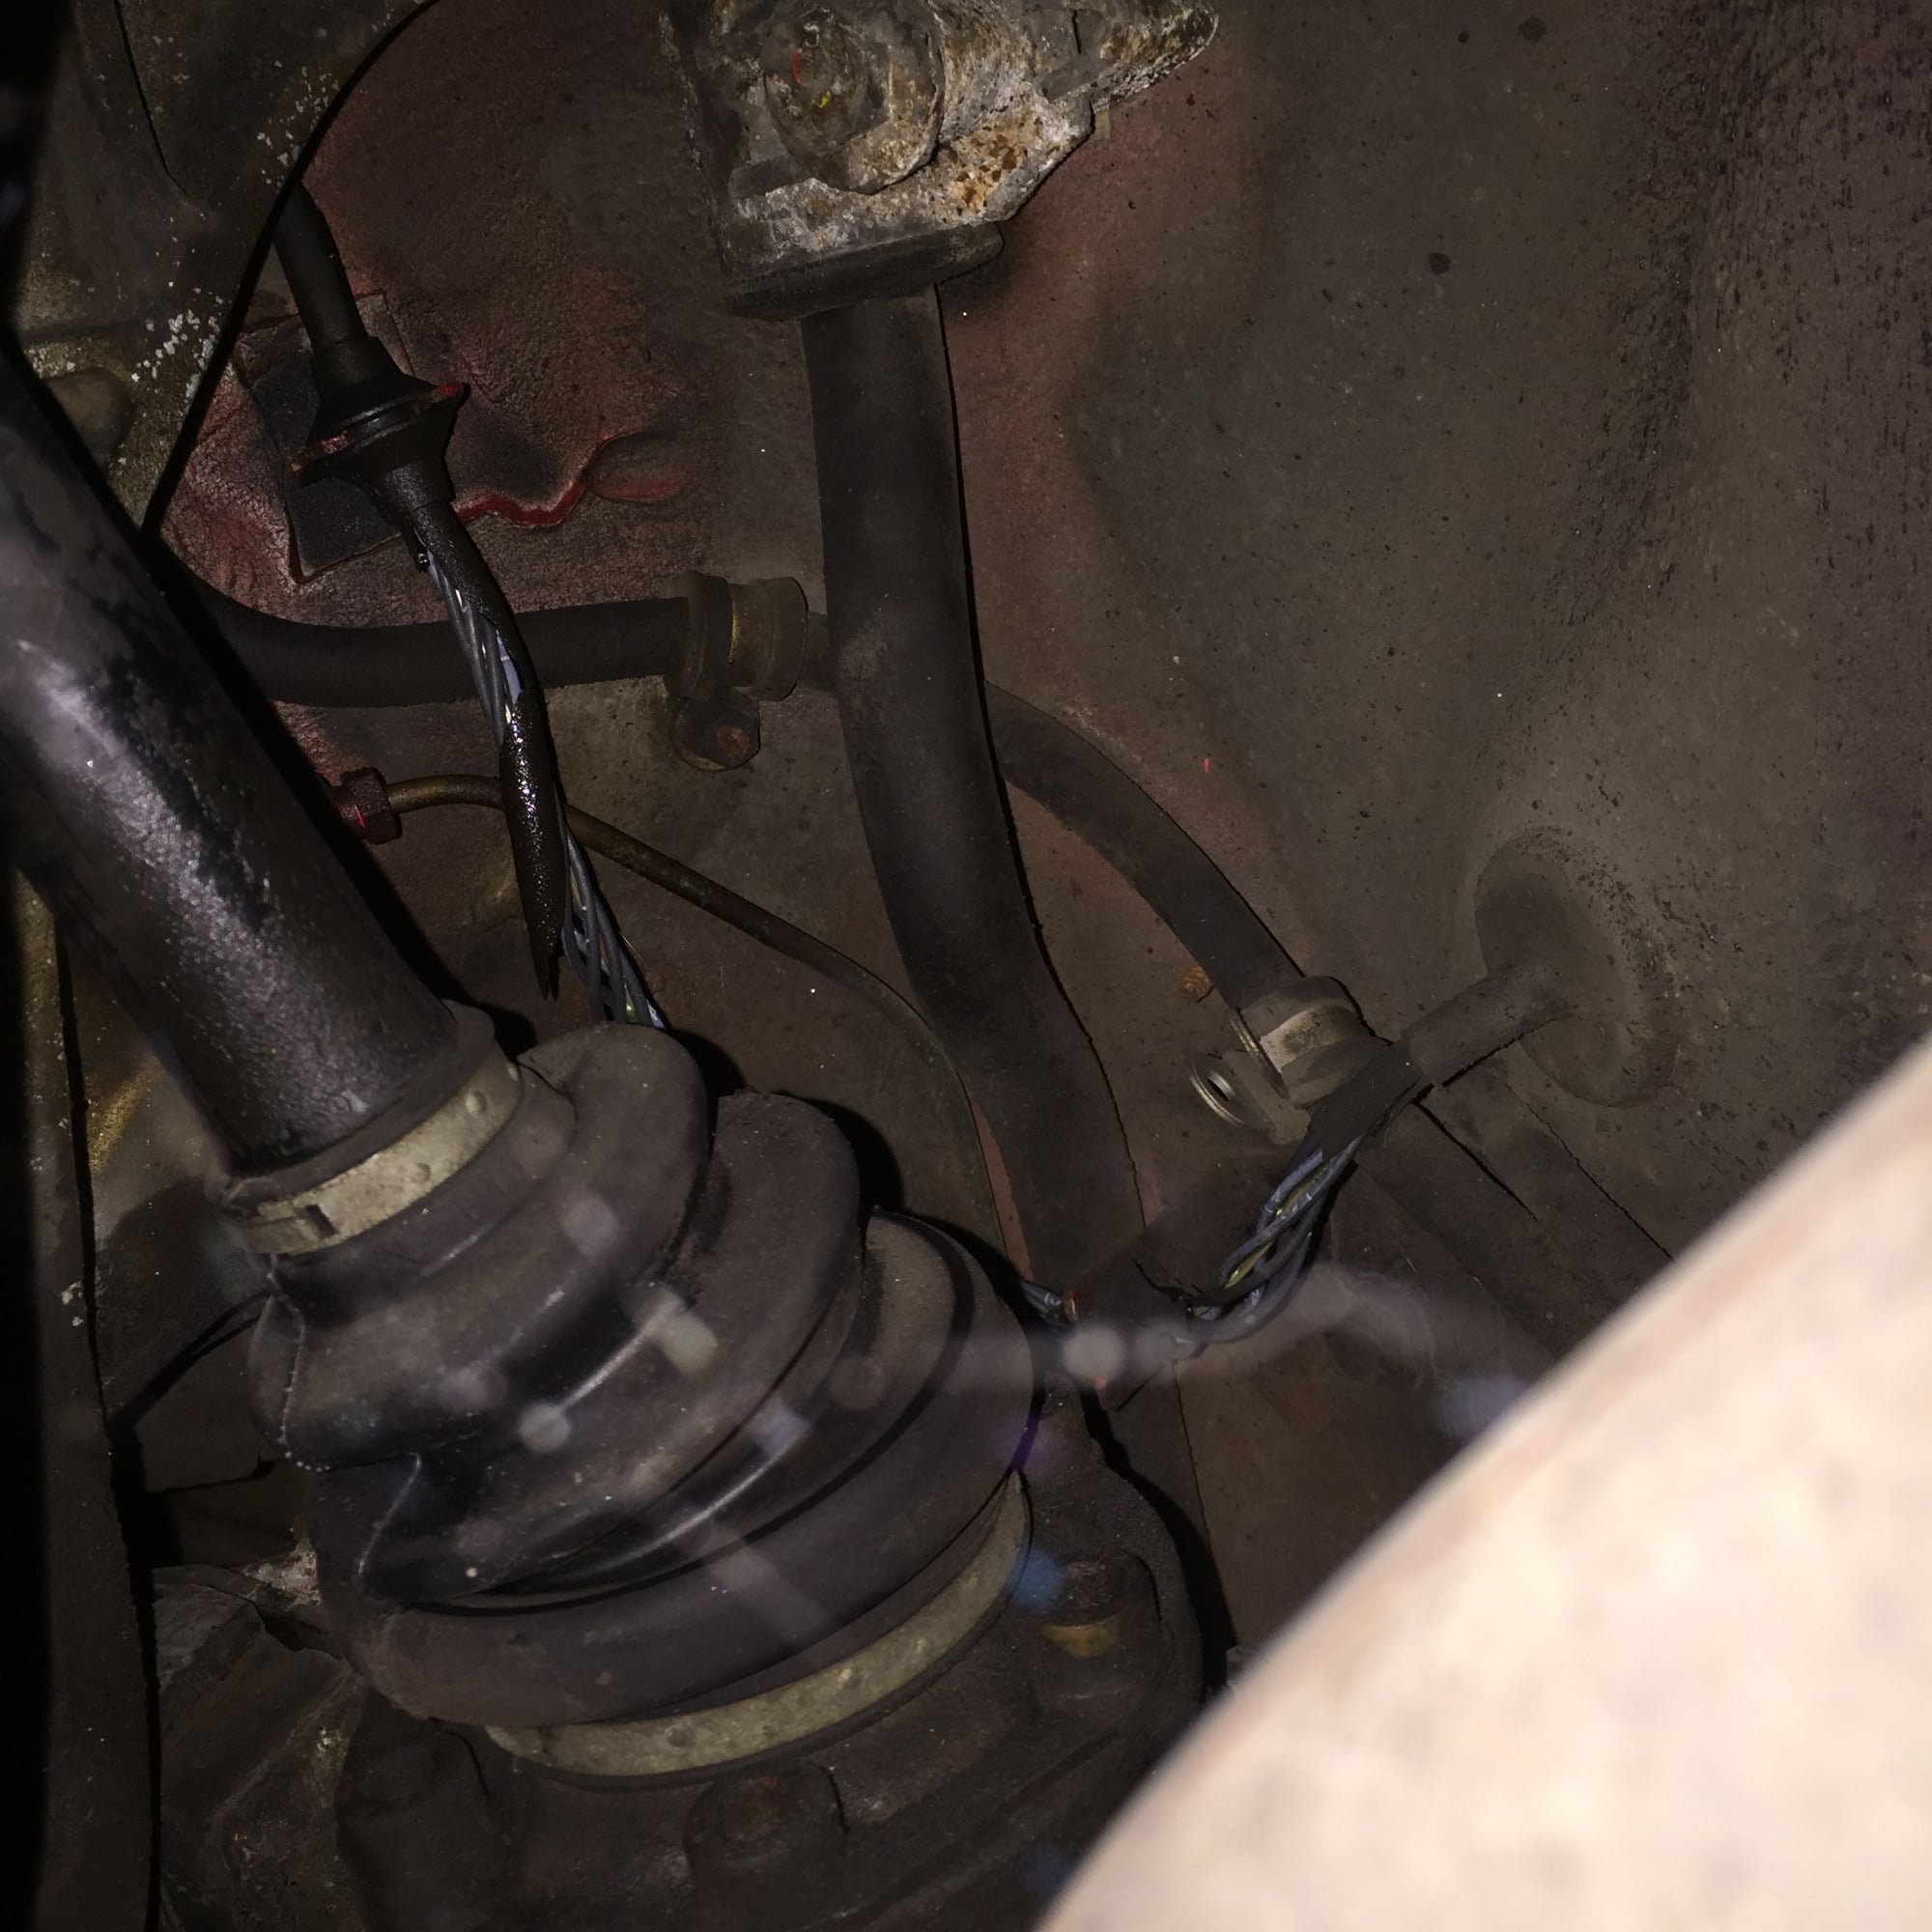
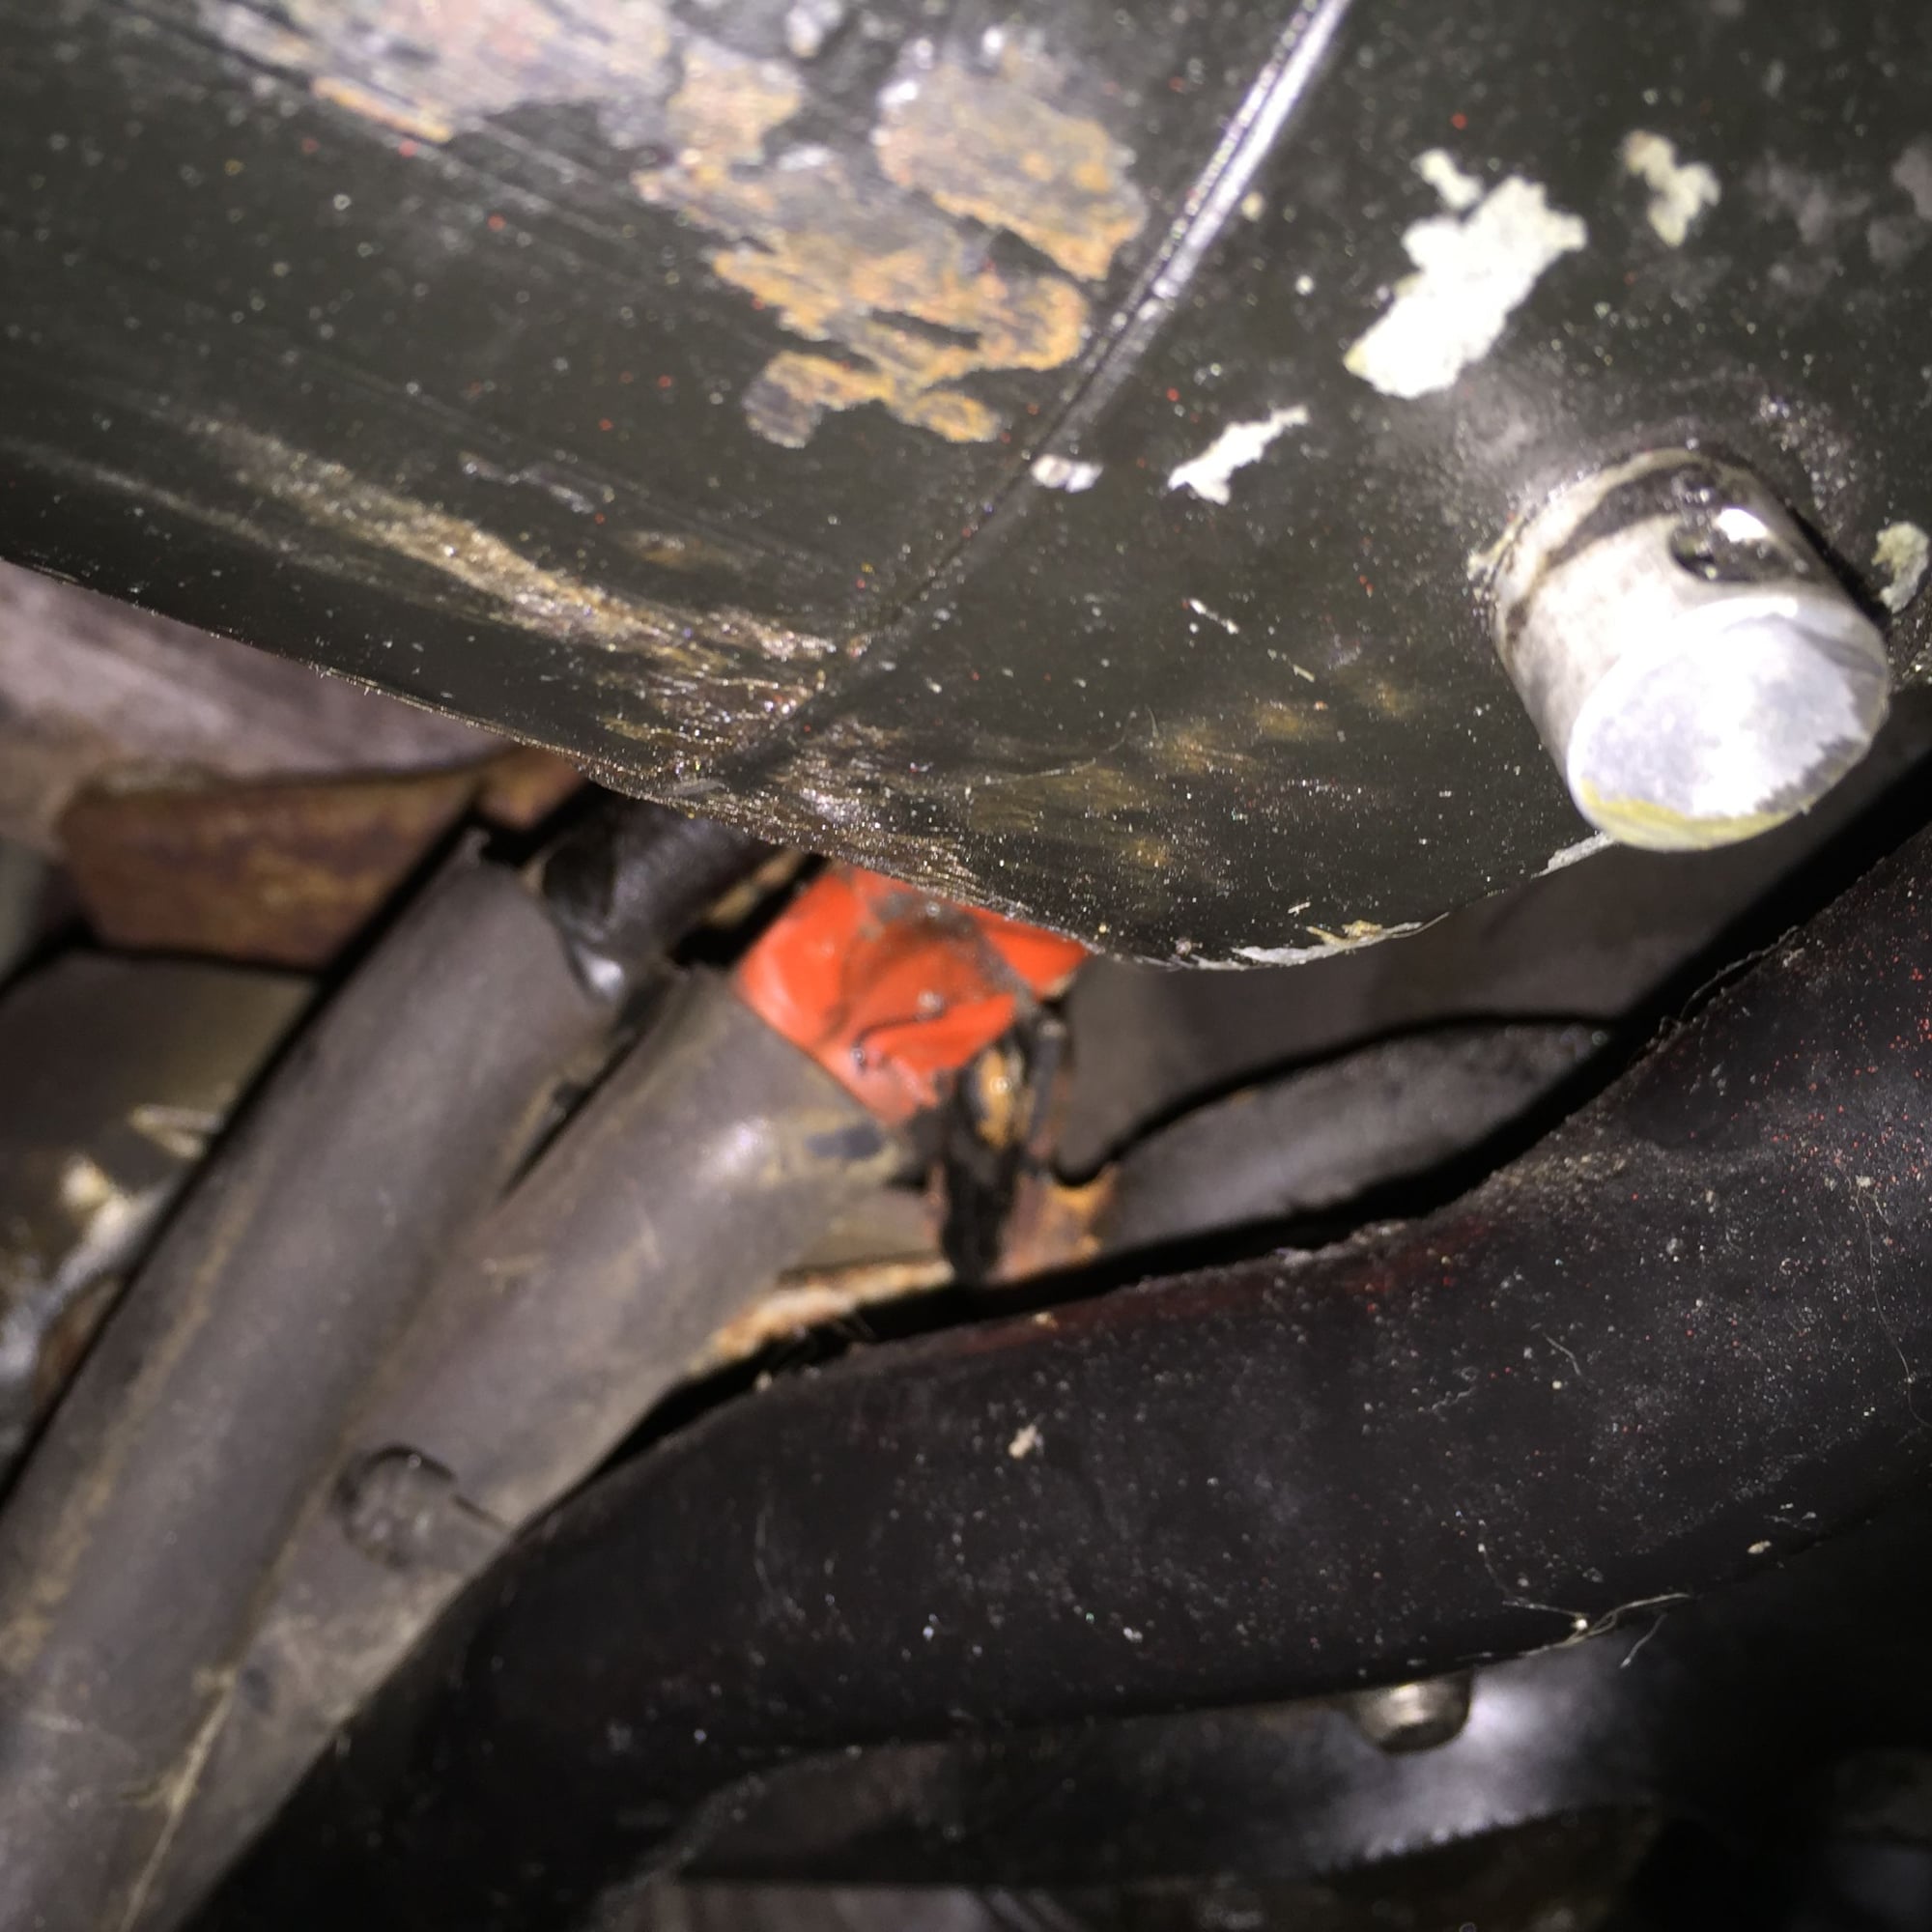
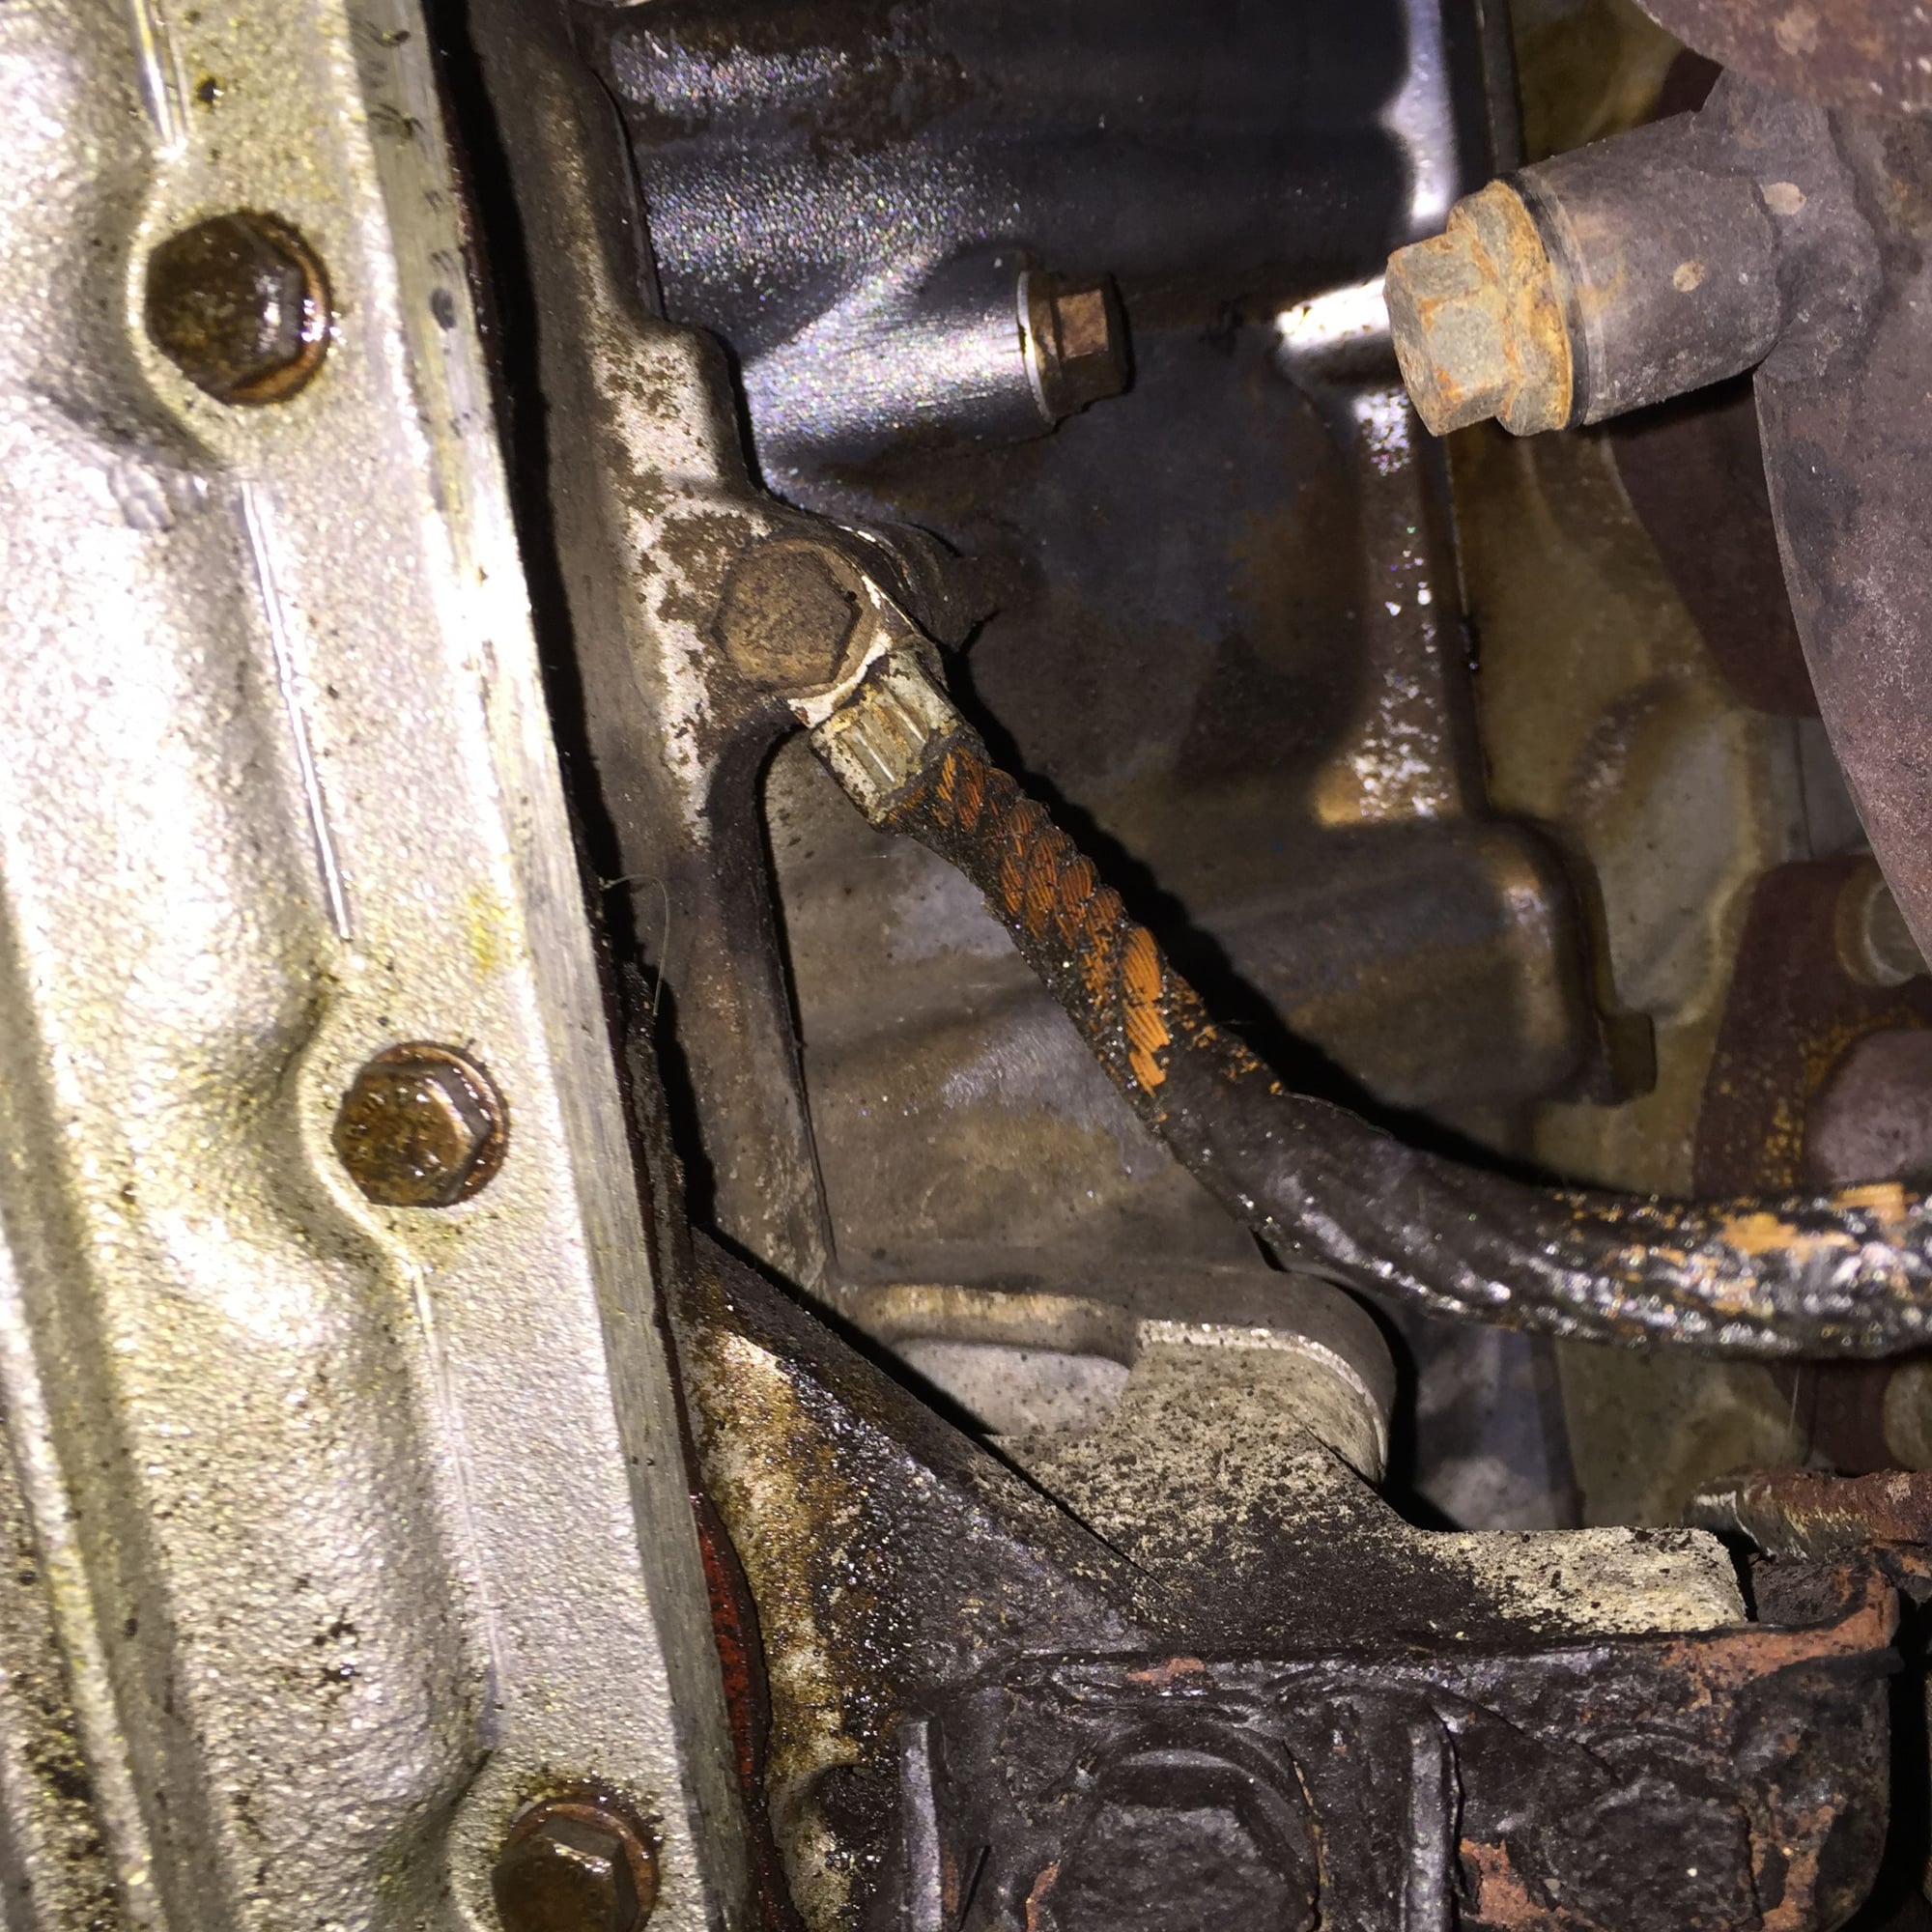
After a few false starts, I finally pulled the (+) battery cable out. Again, I naively thought it would come out quickly, as it was just held in by clamps. I didn't reckon with the clamps around and above the rear cross member. It took me some hours on a late, late Saturday night to pull the complete cable out. I ended up pulling the RMB out and removing the hanger and bracket for the driver's side resonator. That gave me enough room to get a wrench in to laboriously turn the nuts out, one flat at a time.
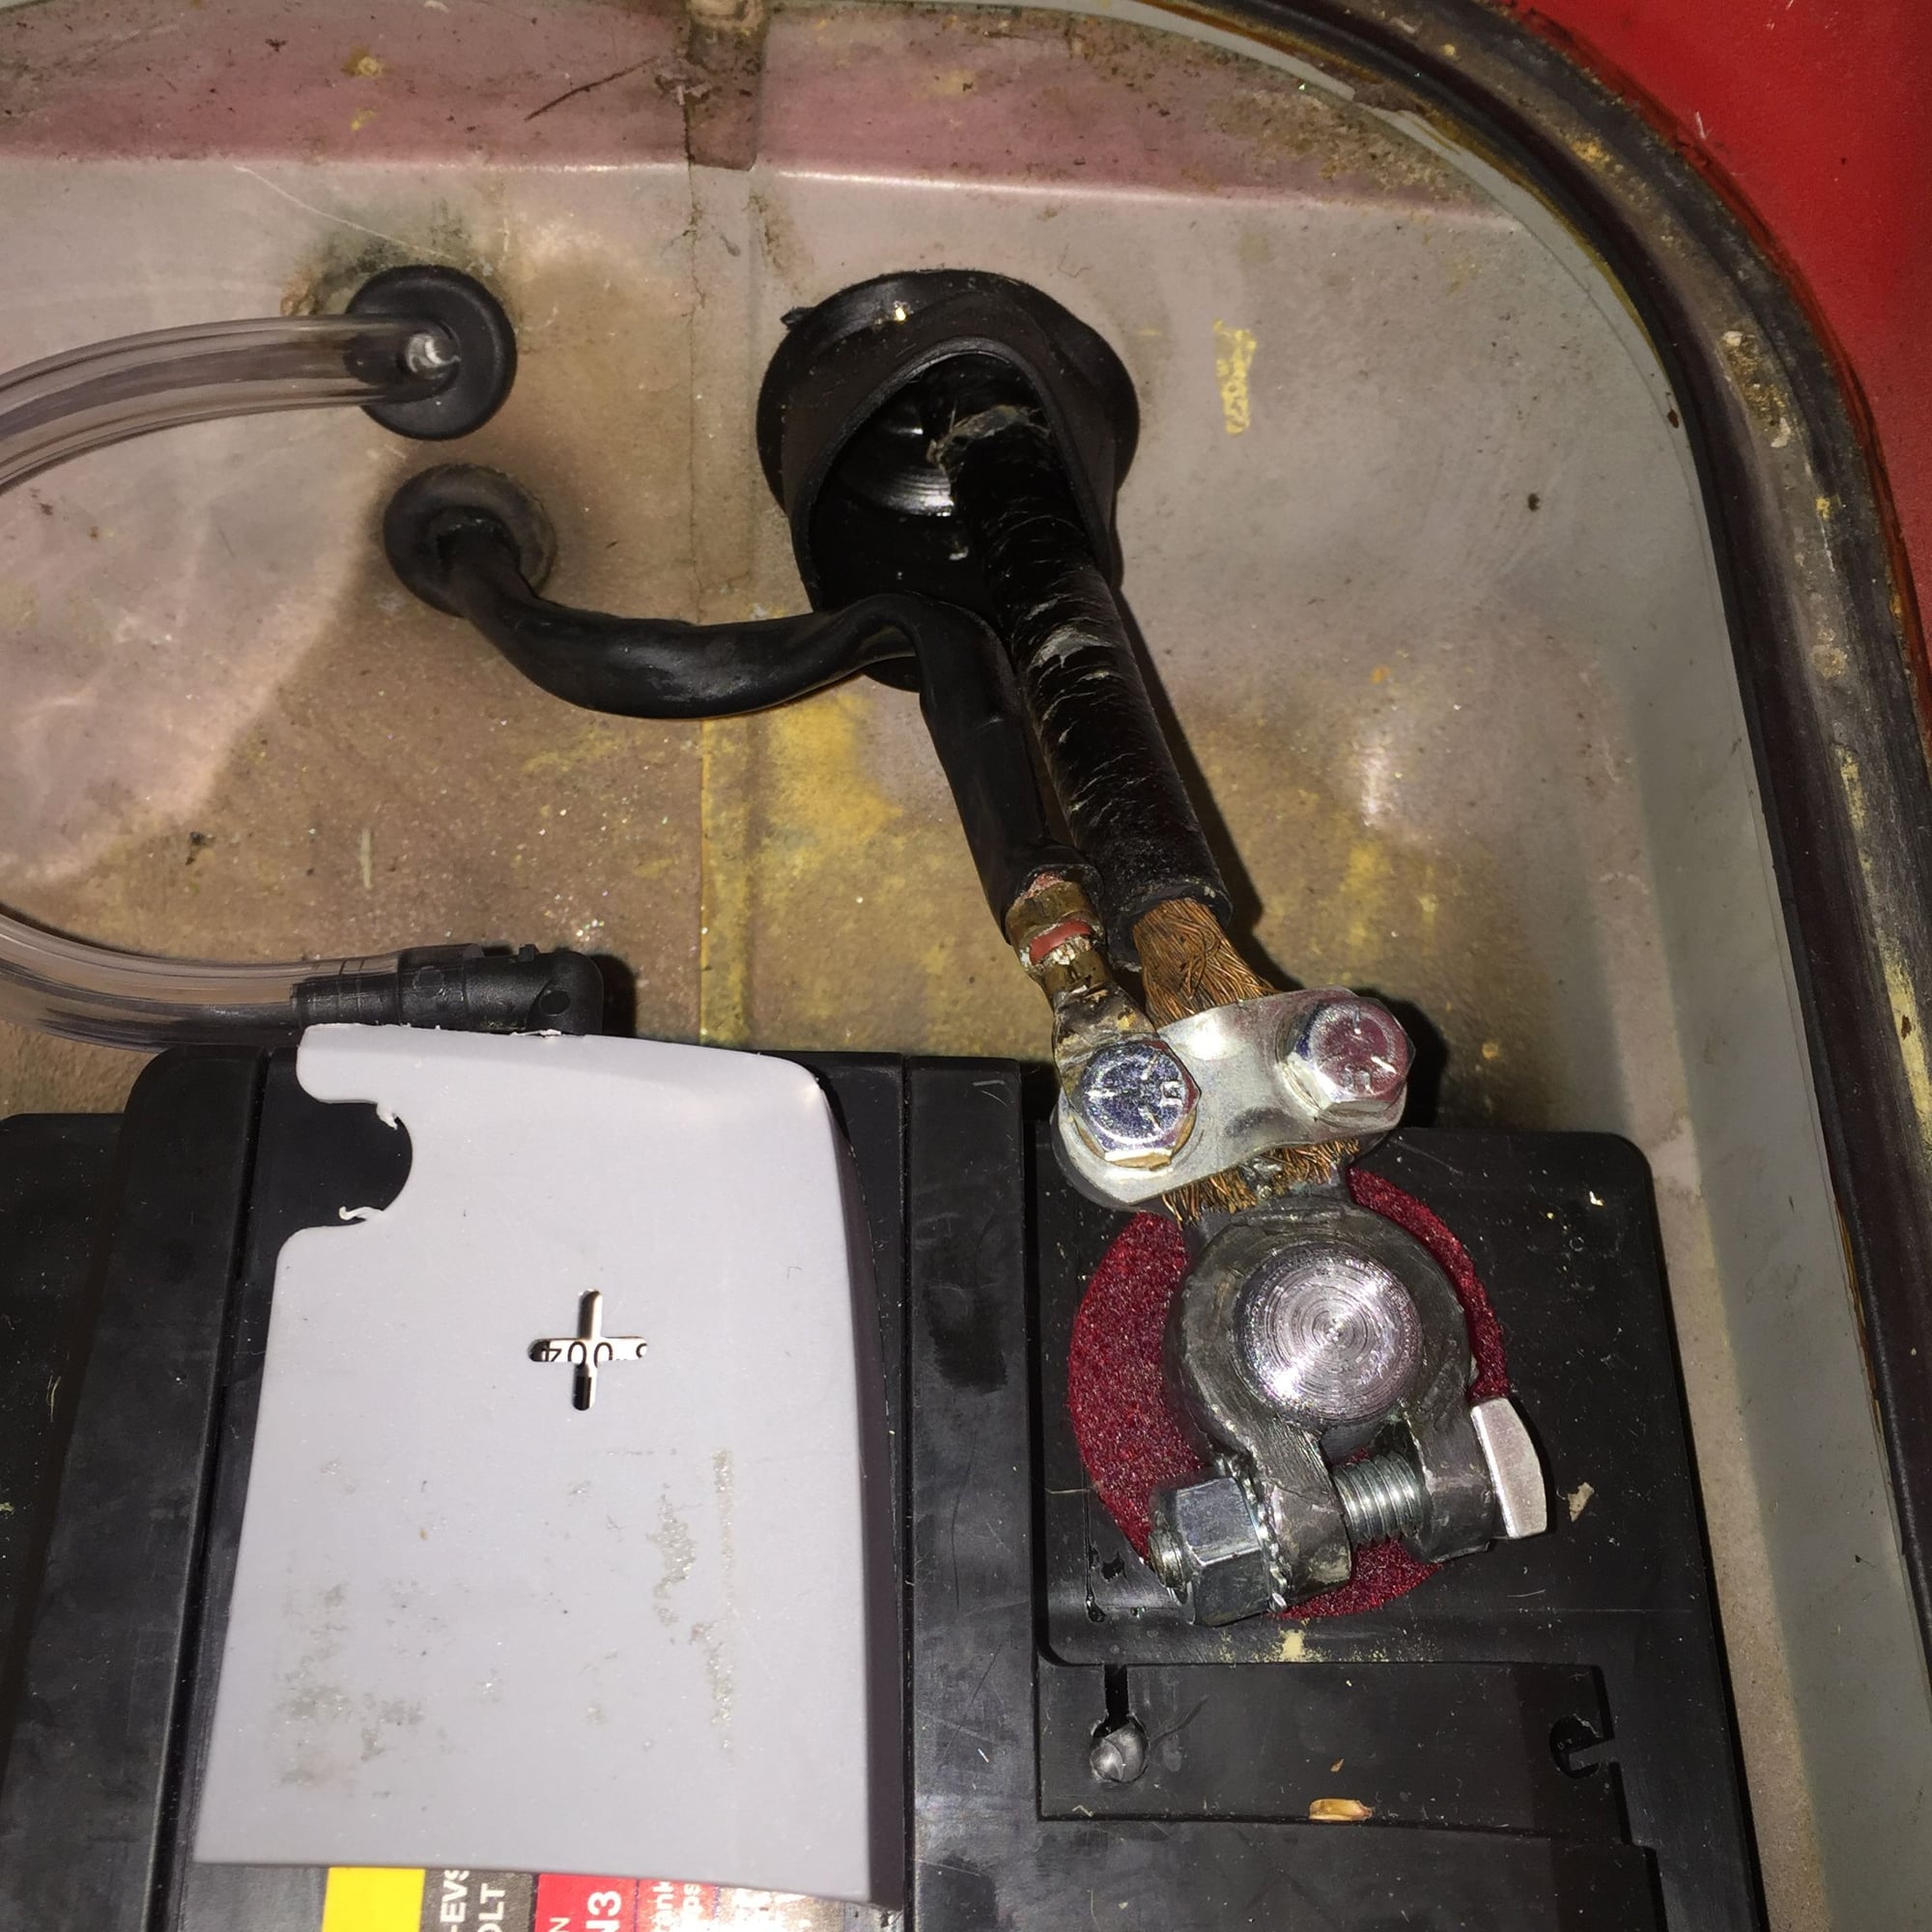
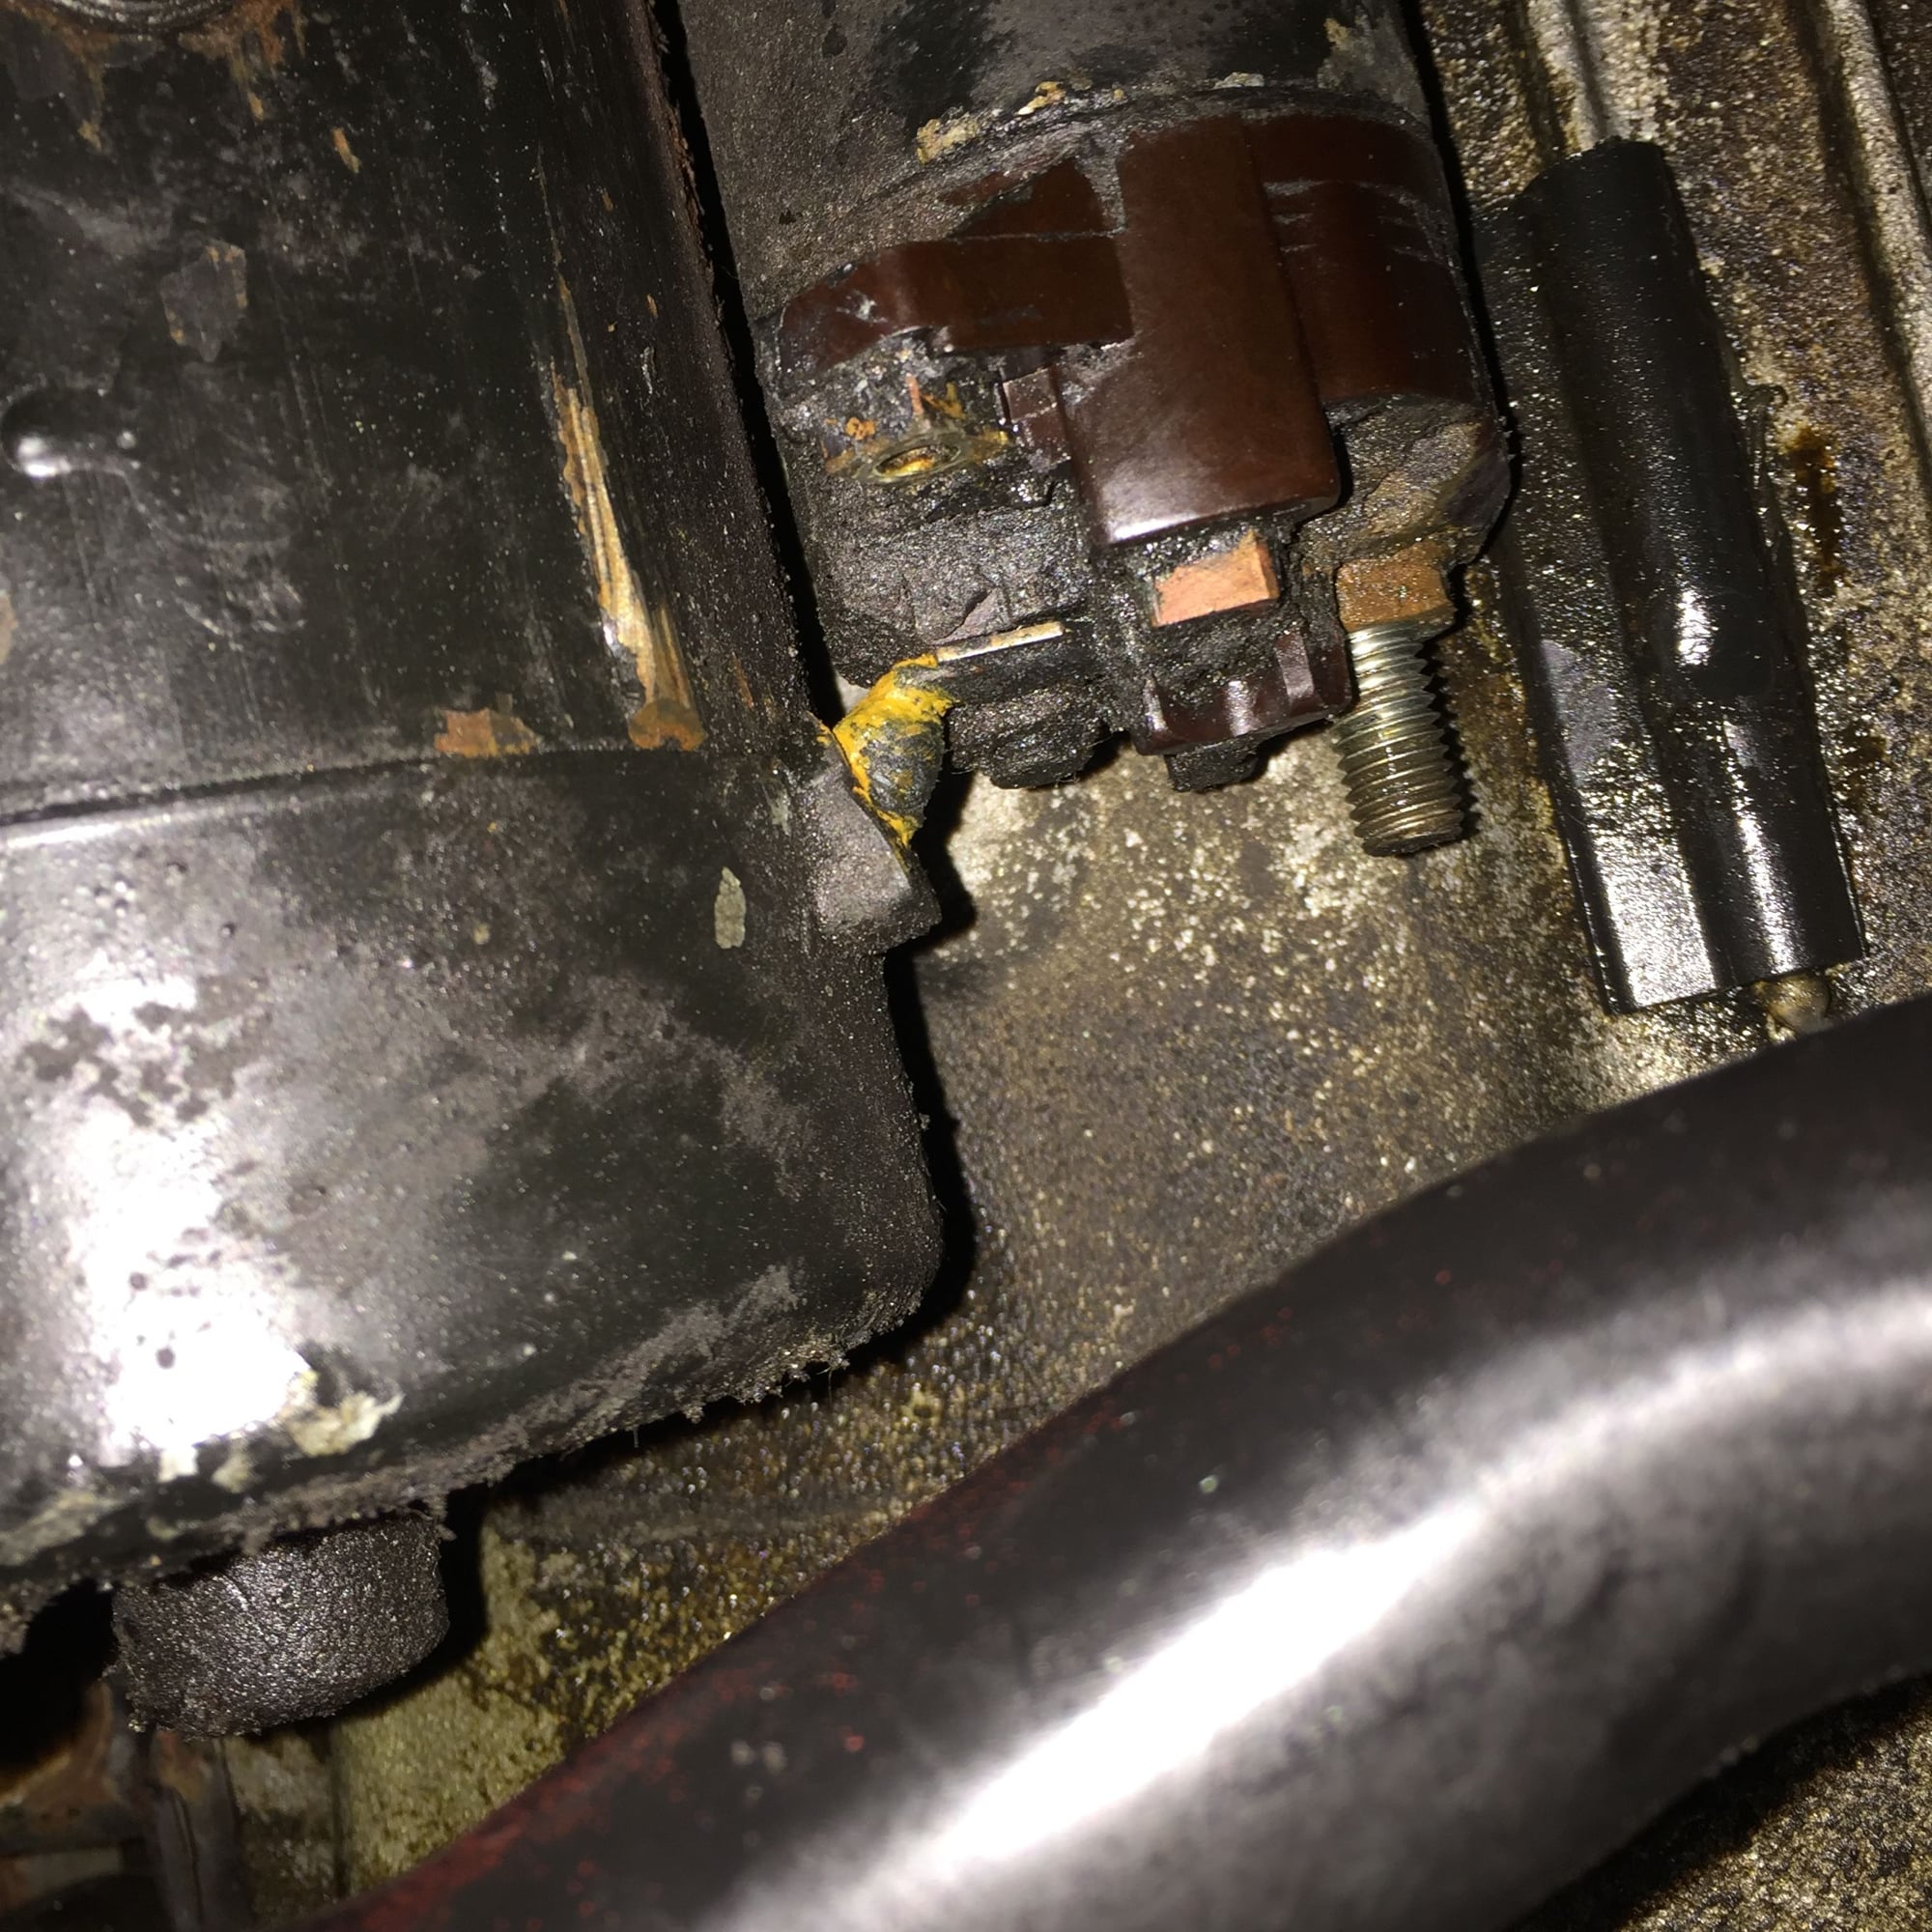
Universal terminal has got to go...
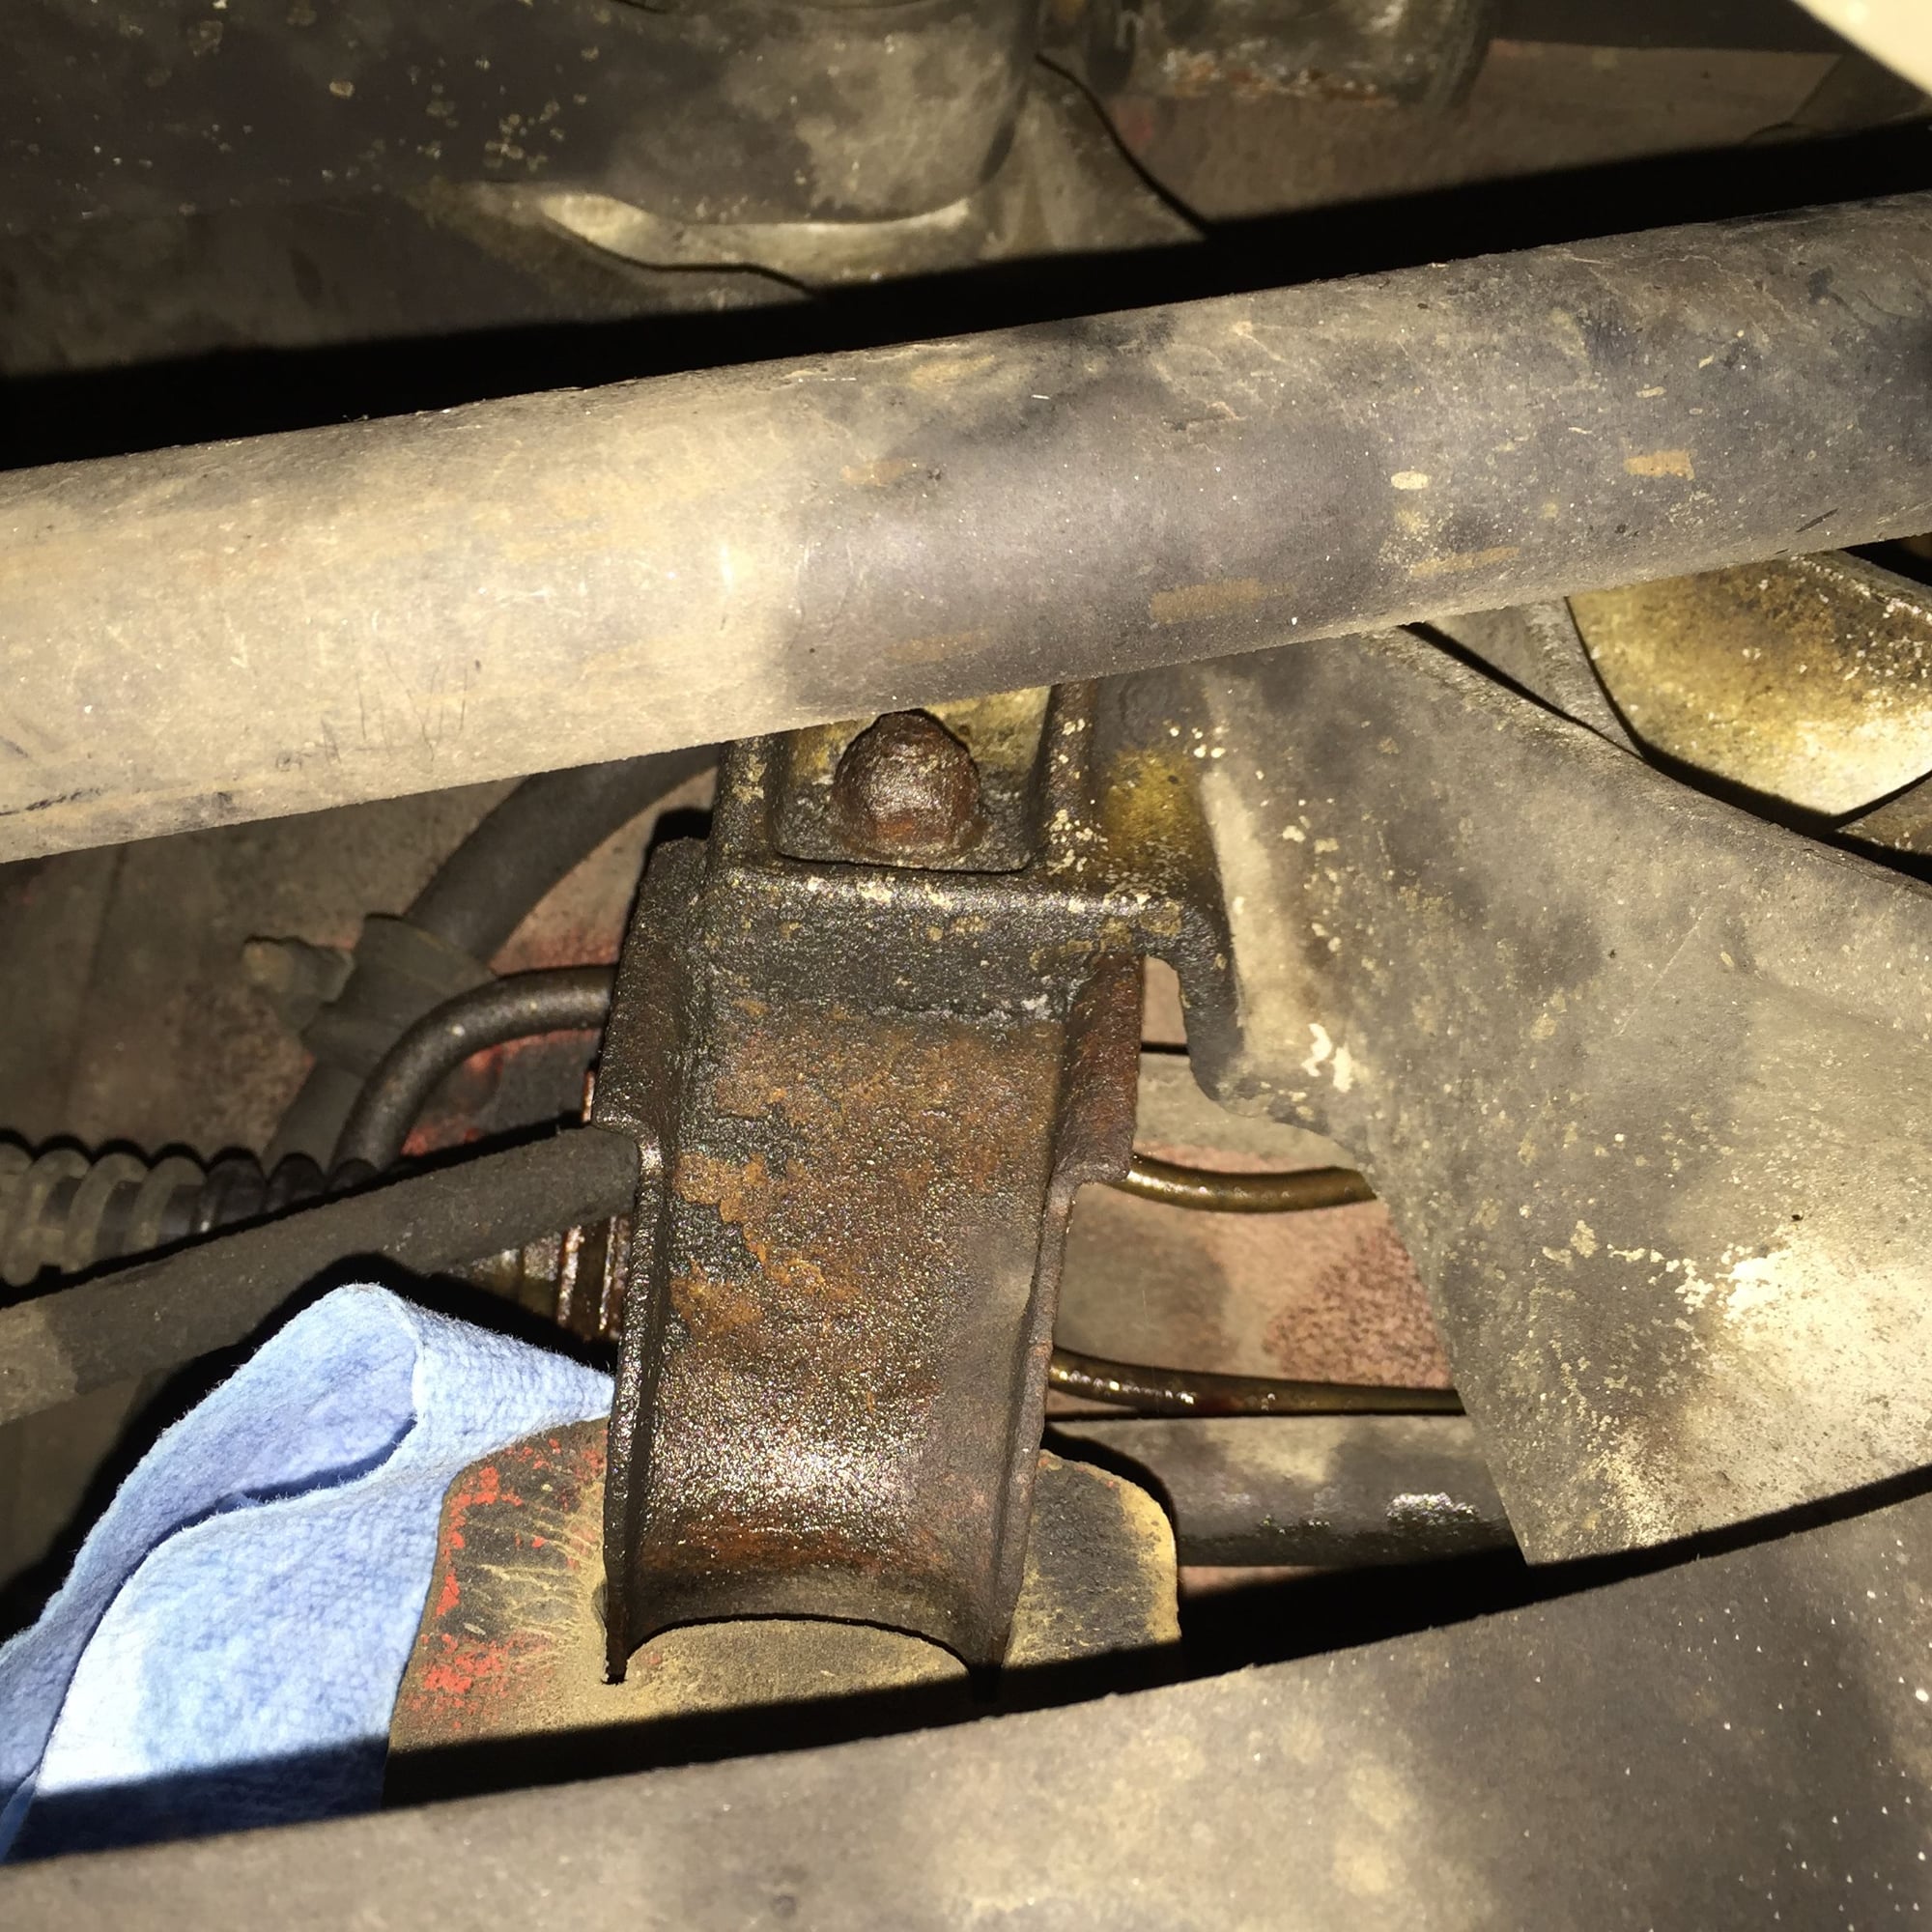
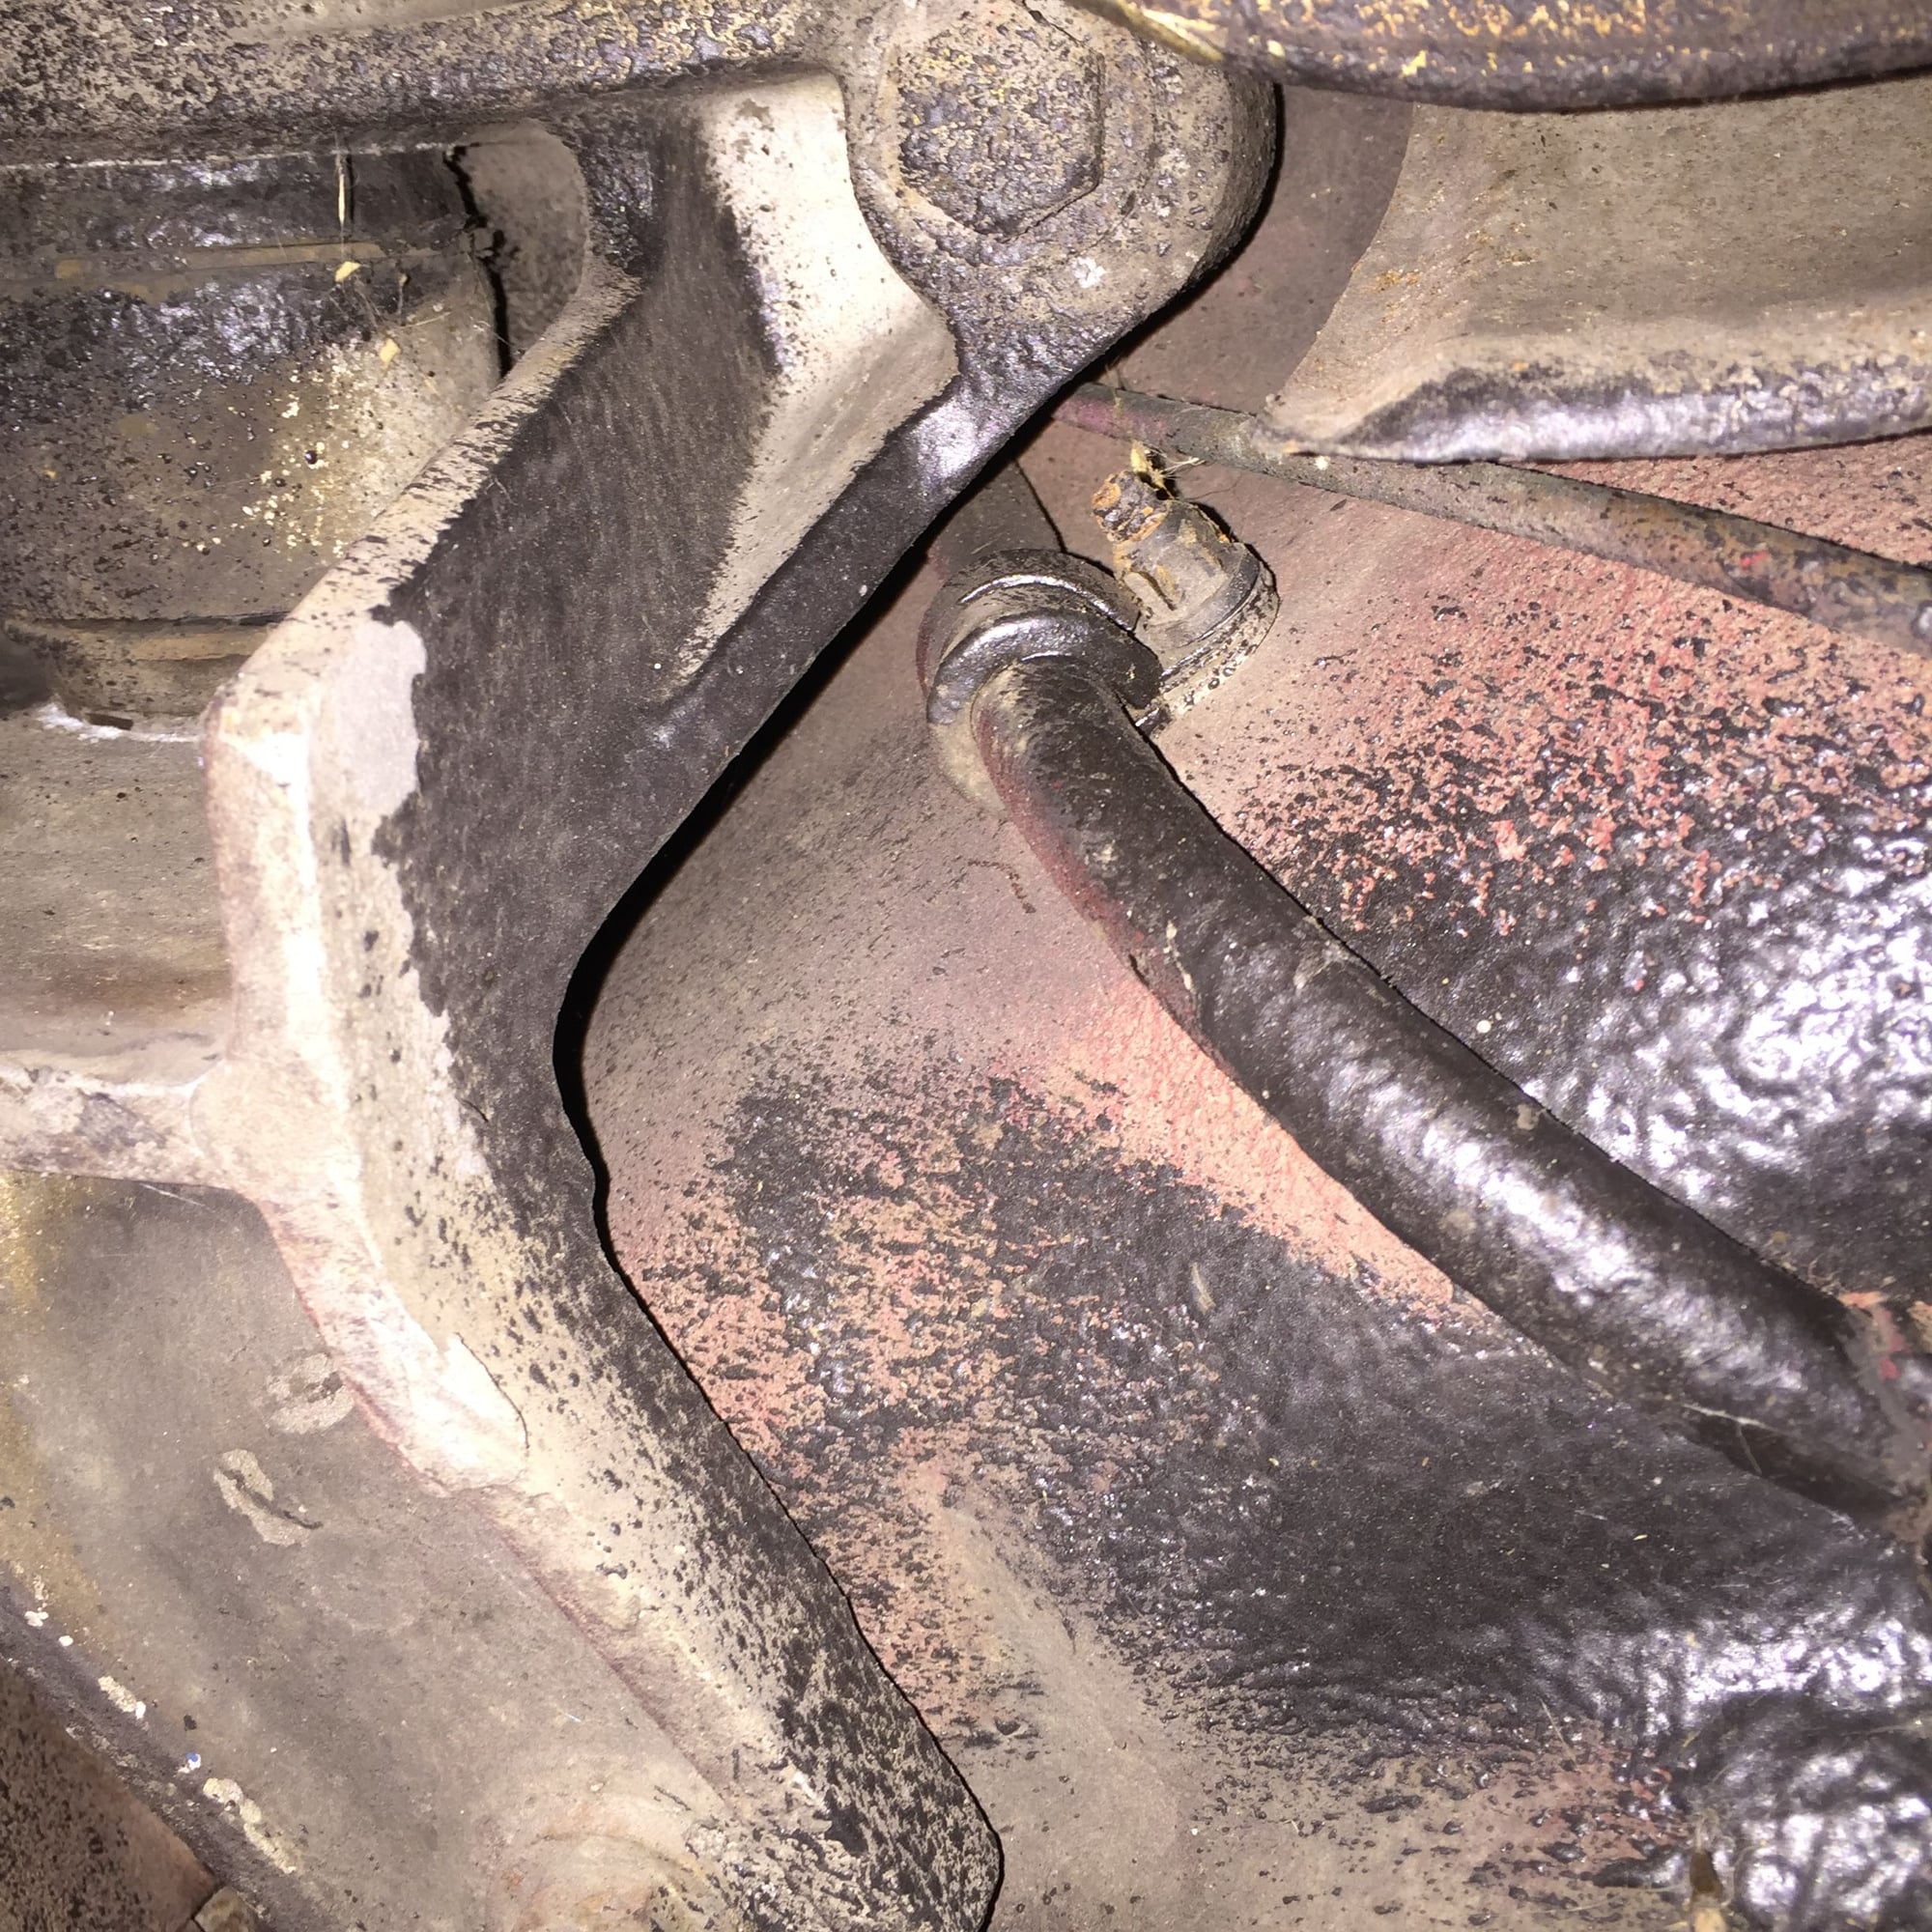
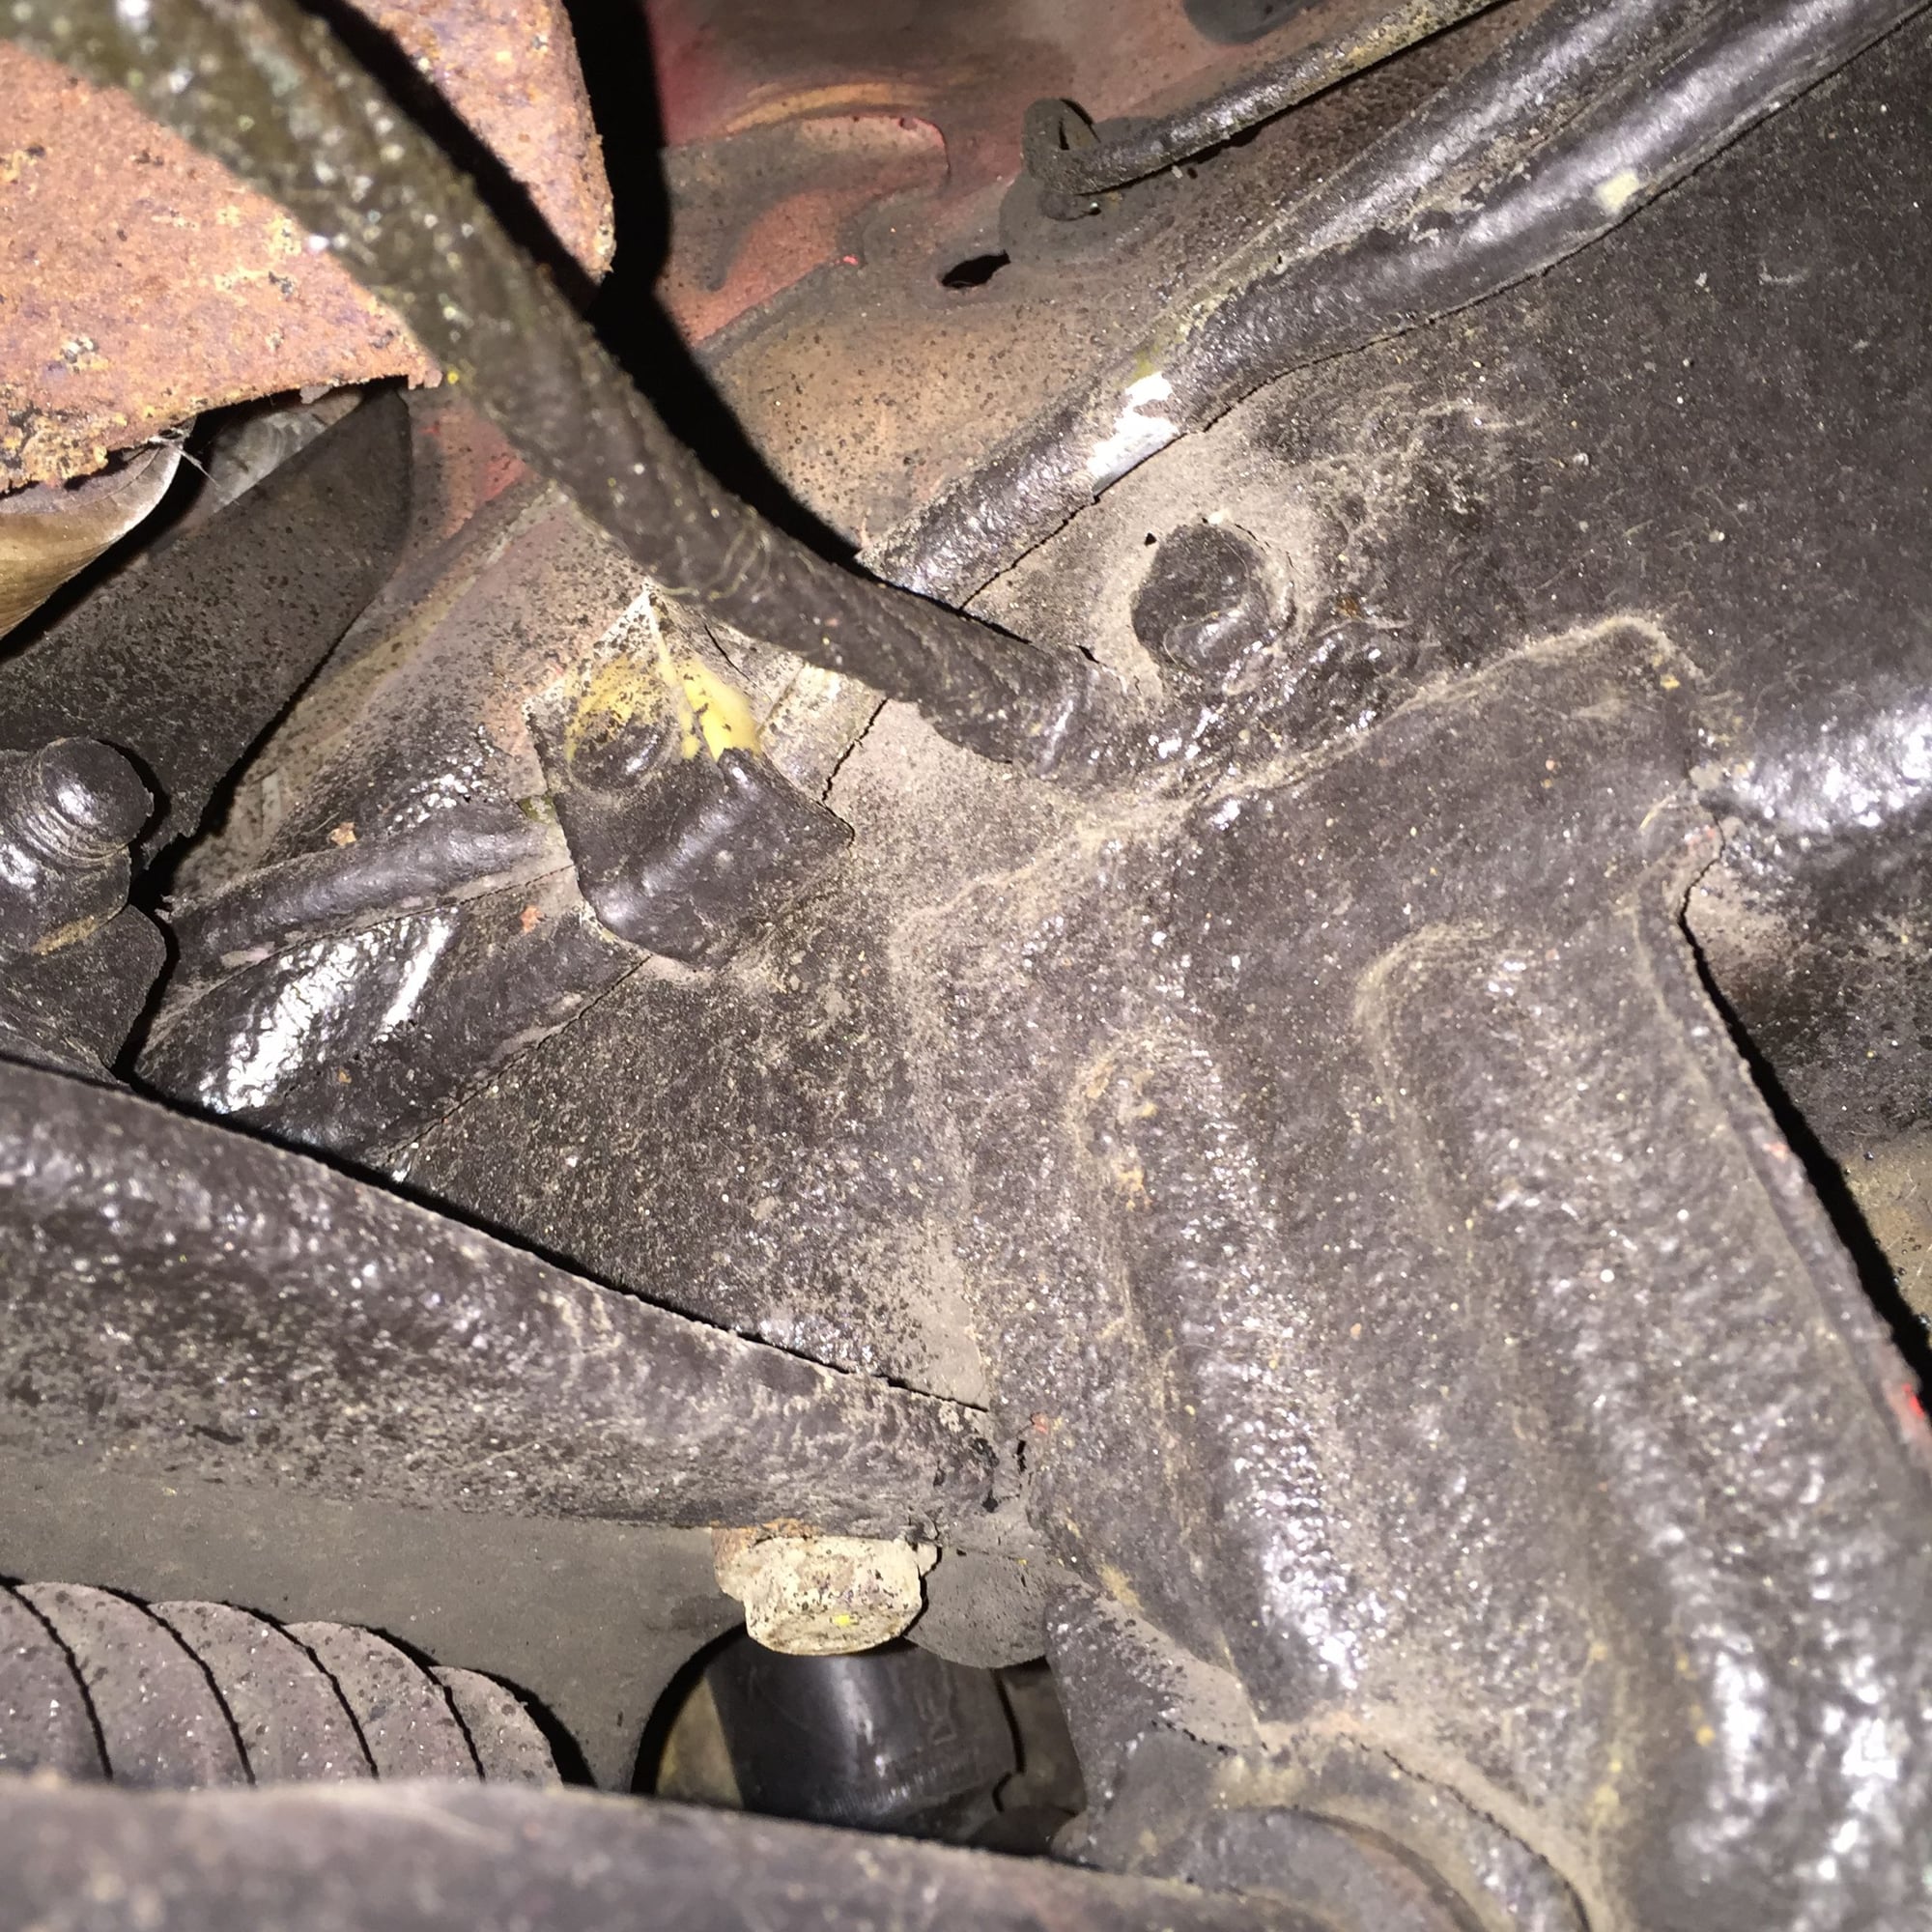
Before I run the new cable, I am going to spend some quality time with mineral spirits and a tooth brush at the starter and front cross member area. It is quite nasty. I know the oil pan gasket leaks, as I can see cork gasket squished out. It isn't horrible, so it will wait until I take the Red Witch down again in the fall for AC/PS/Ignition/Alternator wiring/Timing belt inspection/MM/OPG work. Assuming I get it back together before then from this episode.
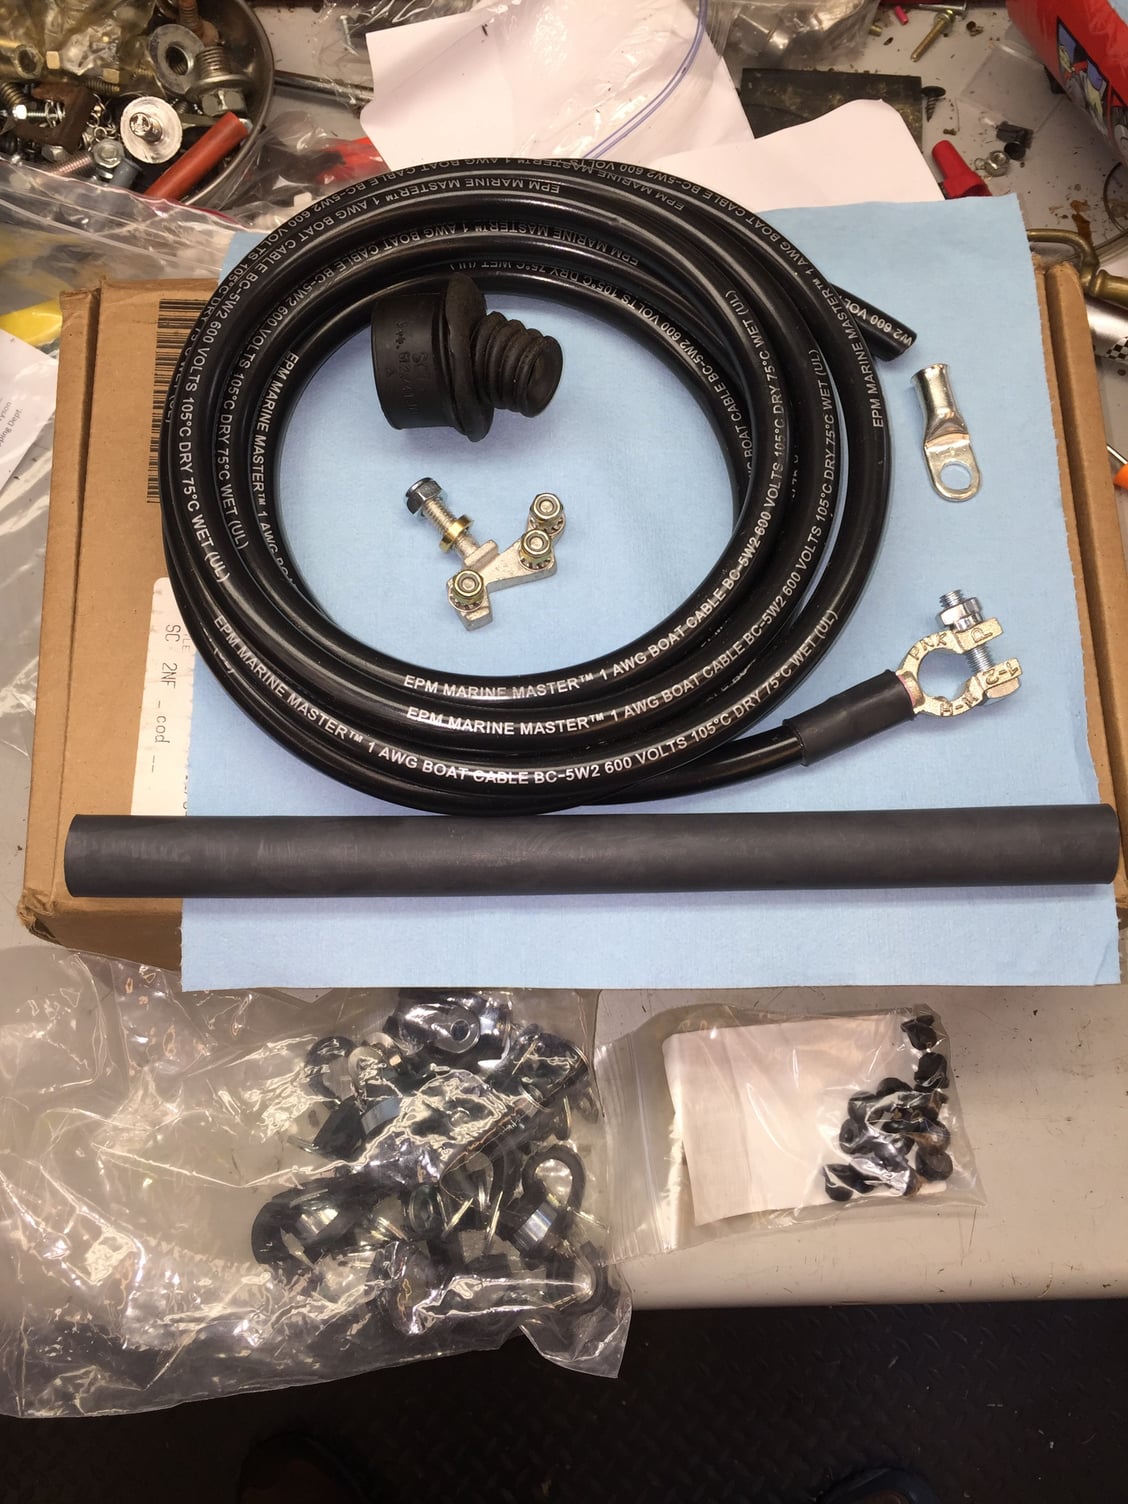
As it sits right now, the starter harness is hanging down, awaiting me to start cleaning. After all is clean, I will start routing the new cable, from the battery forward. After all is set in place, I will measure then terminate the cable with a new end to go on the starter solenoid. I will get photos soon of the new cable and goodies. I went aftermarket marine cable. I have ordered new clamps and new plastic nuts to install the new cable.
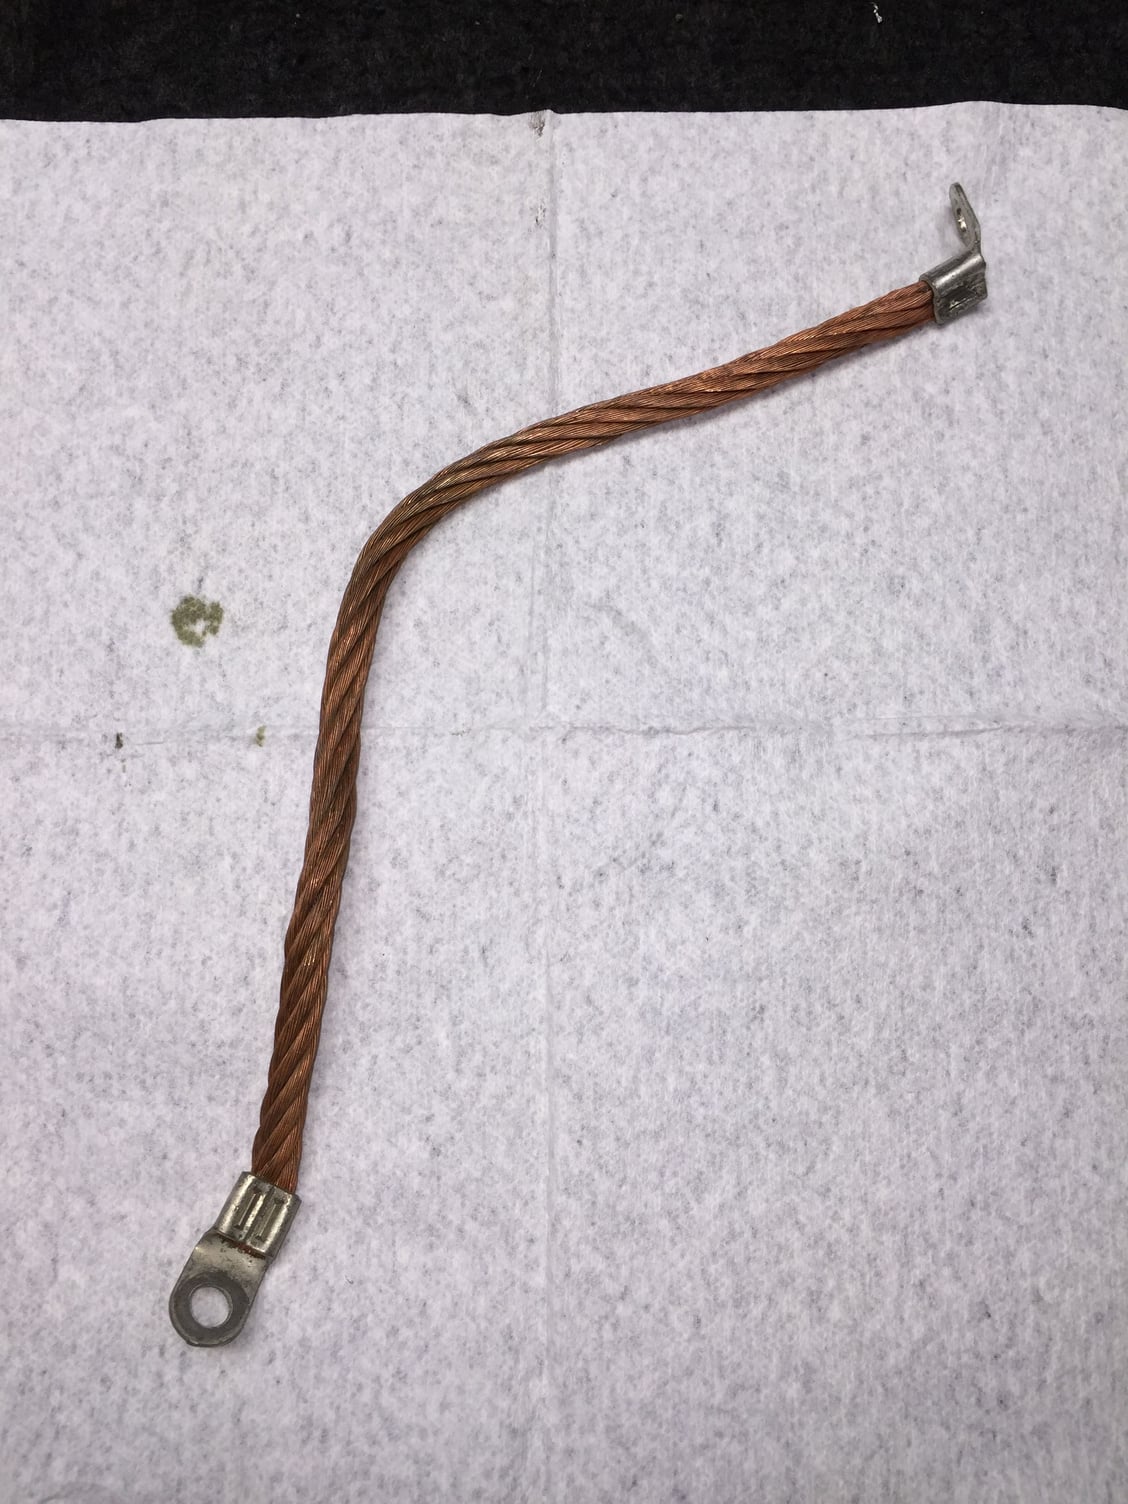
Oh, and I installed a new engine to body ground cable. Old cable wasn't horrible, but I feel better with a new cable.
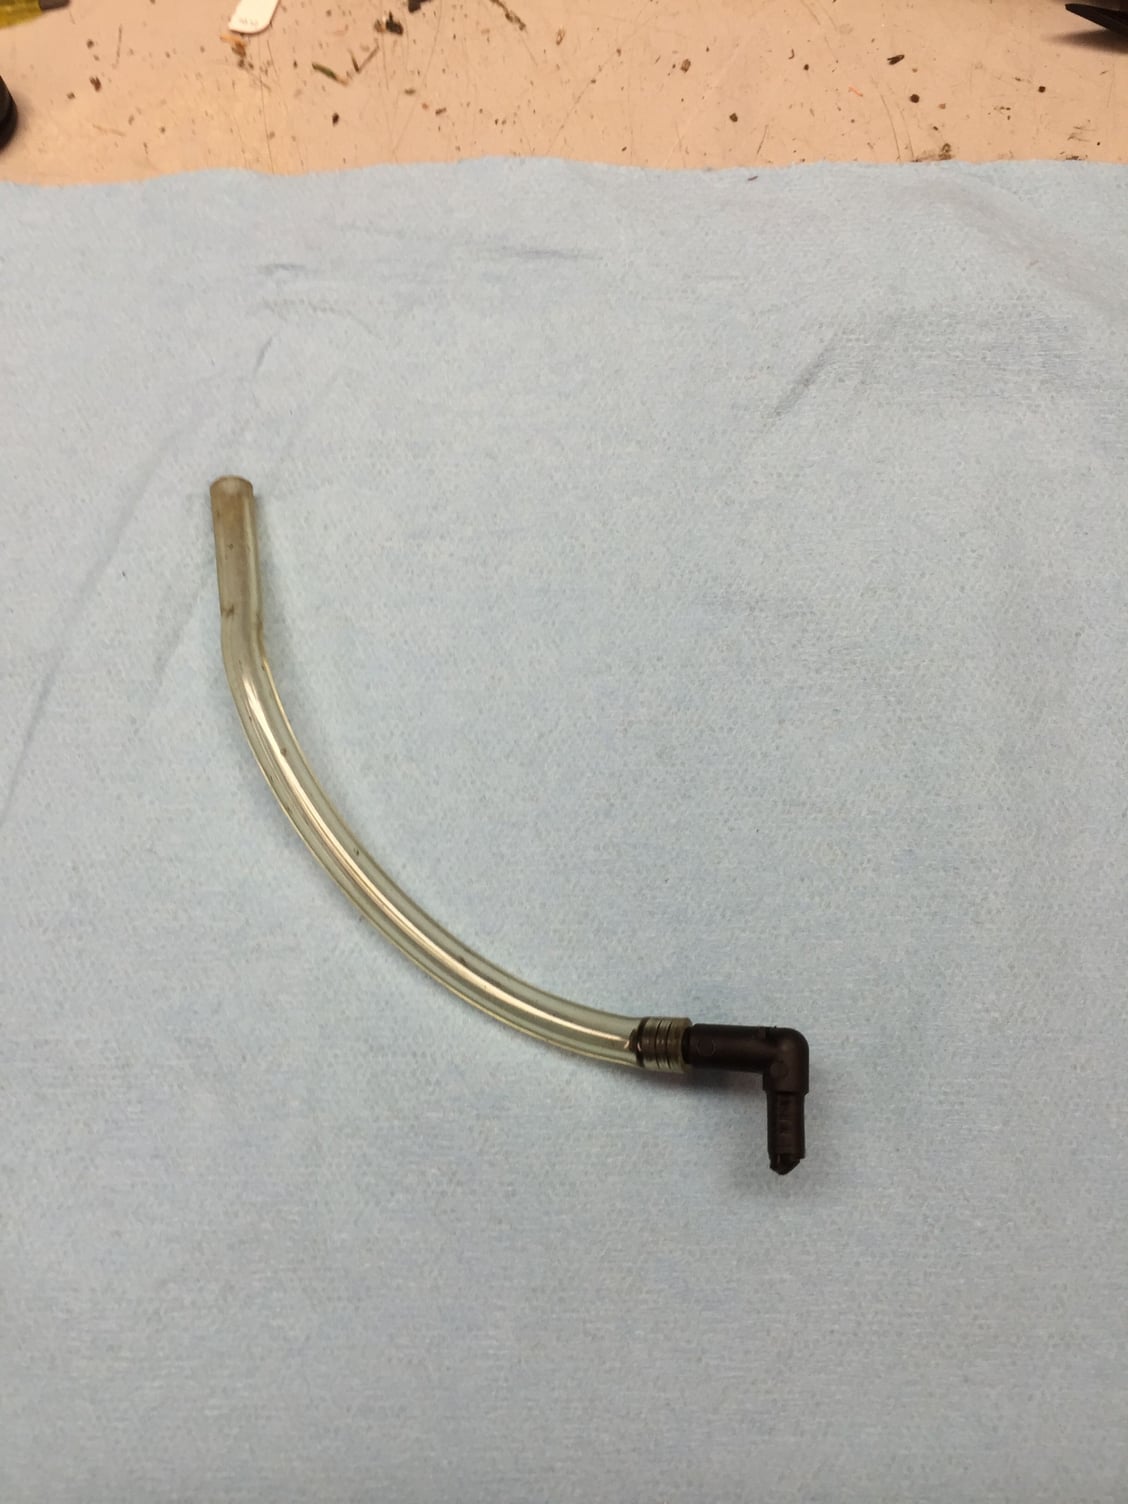
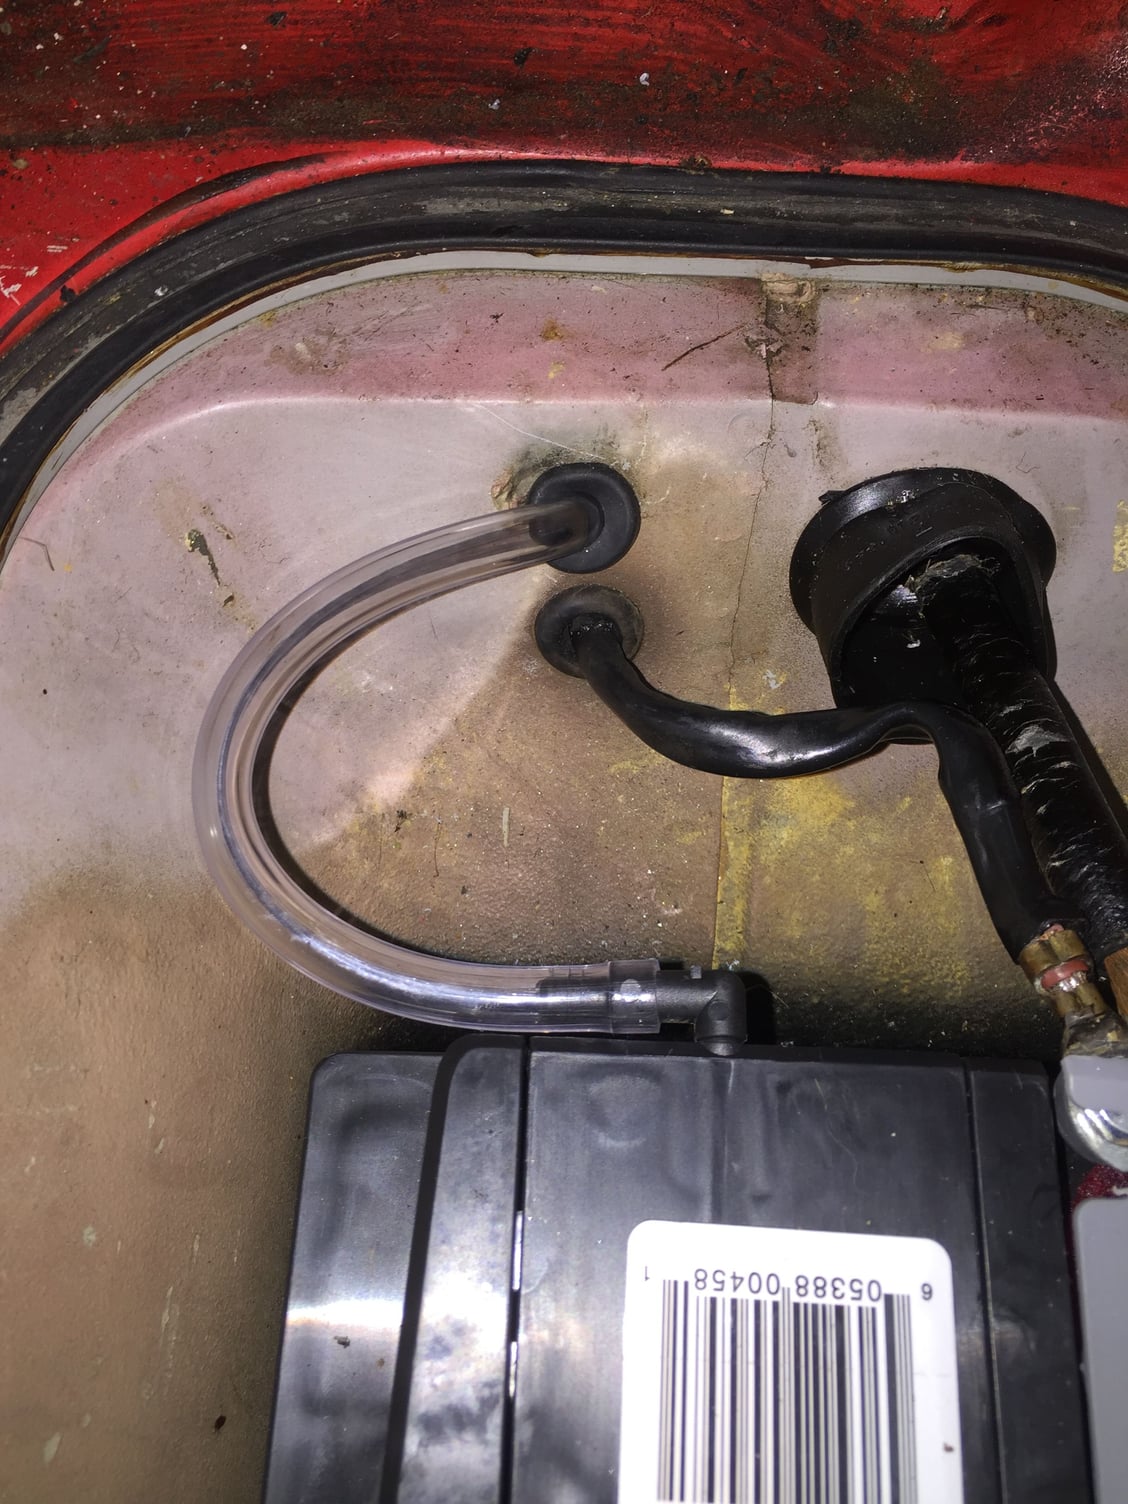
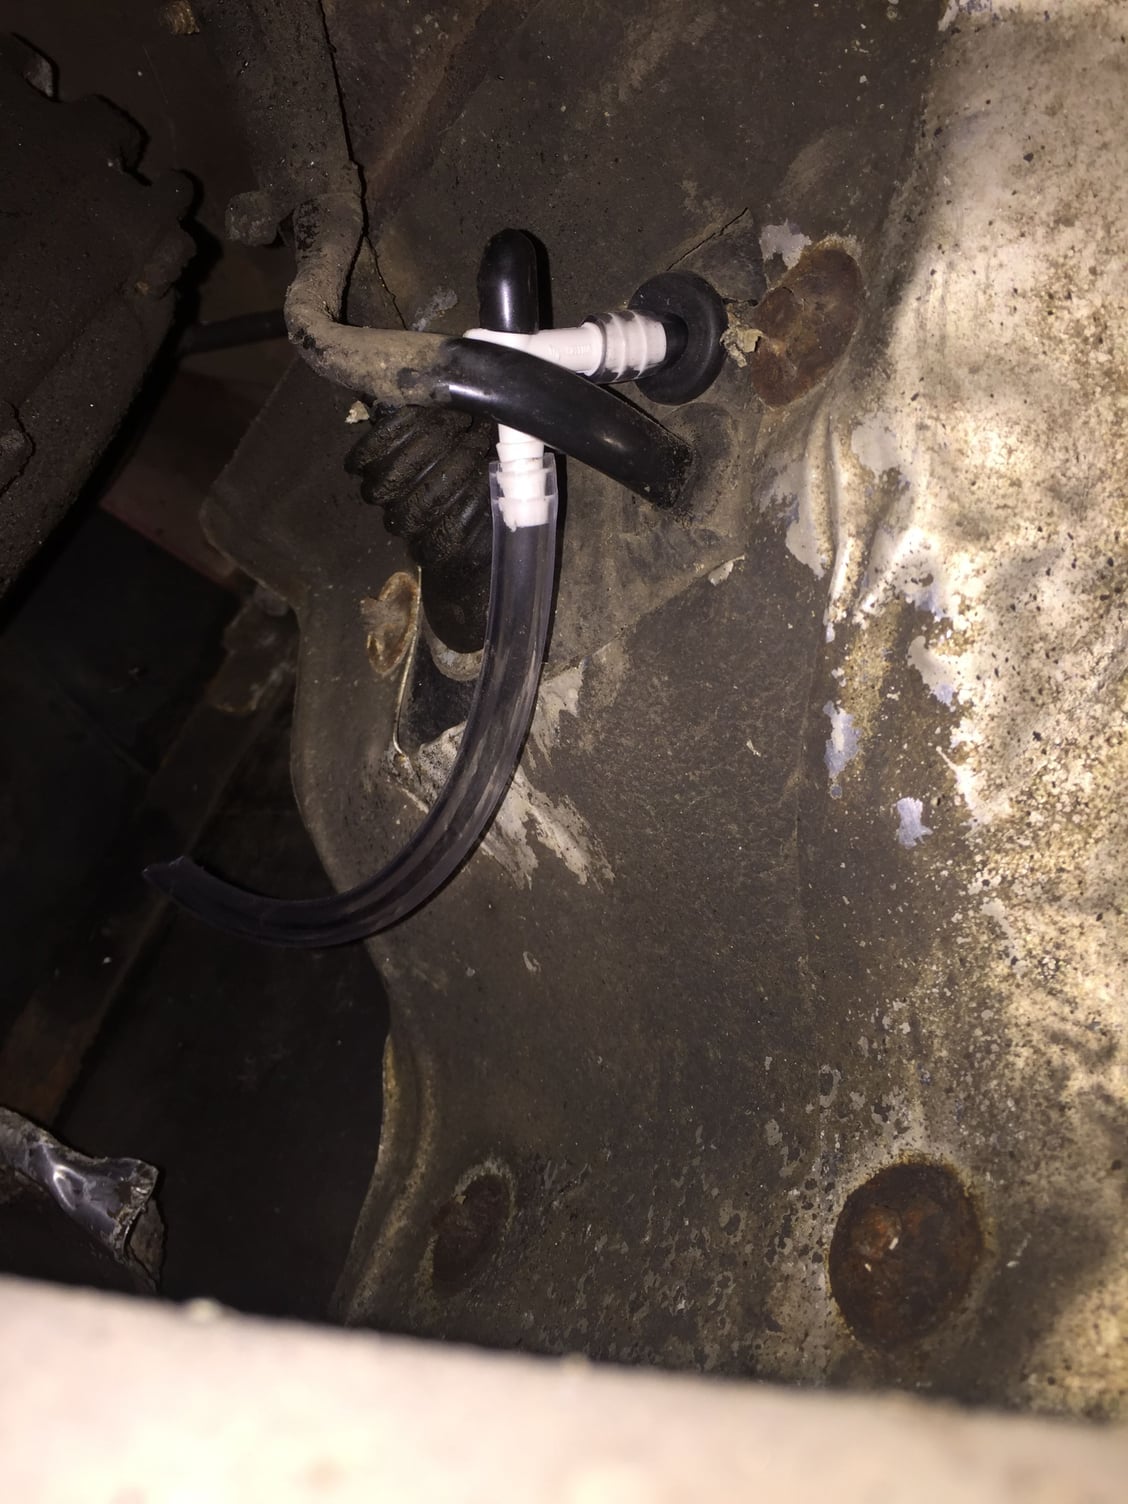
To go with the new (+) battery cable, I have replumbed the battery vent tubing. I am not completely happy with the discharge yet, but I am working on it.
Old battery vent tube.
New battery vent tube.
Grommet in side of battery box for tube pass through.
Tube routing outside of the battery box.
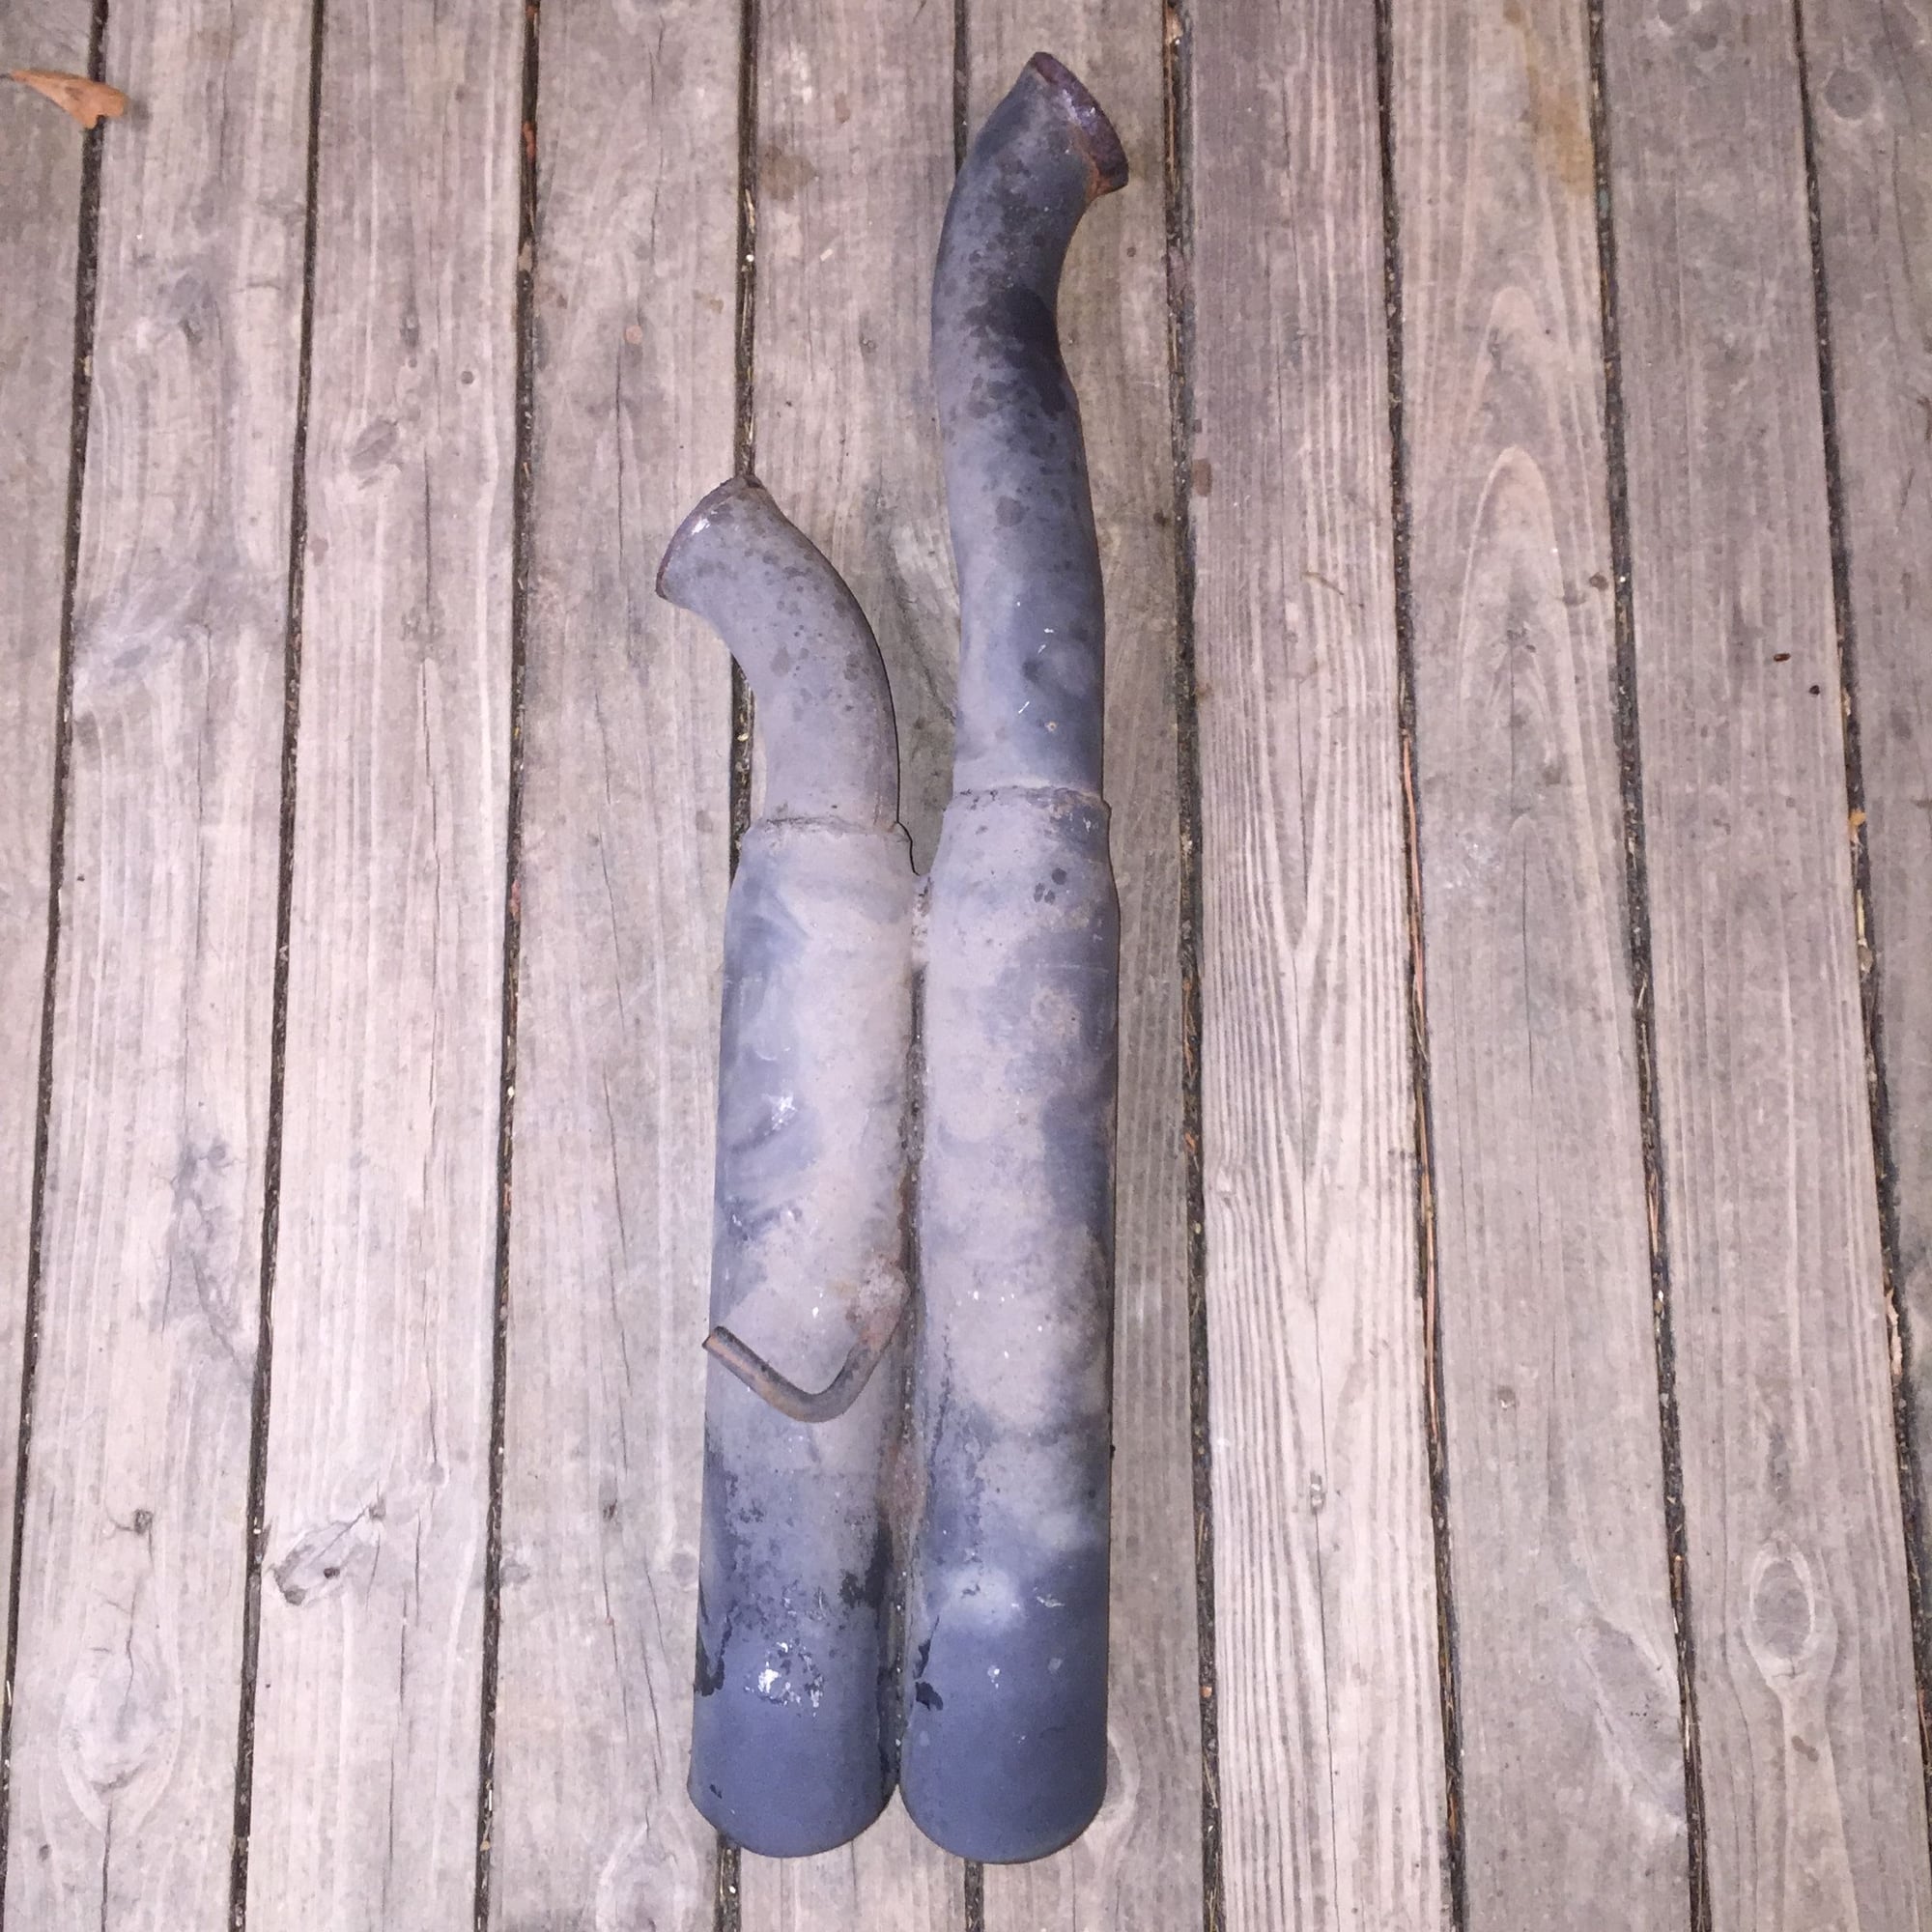
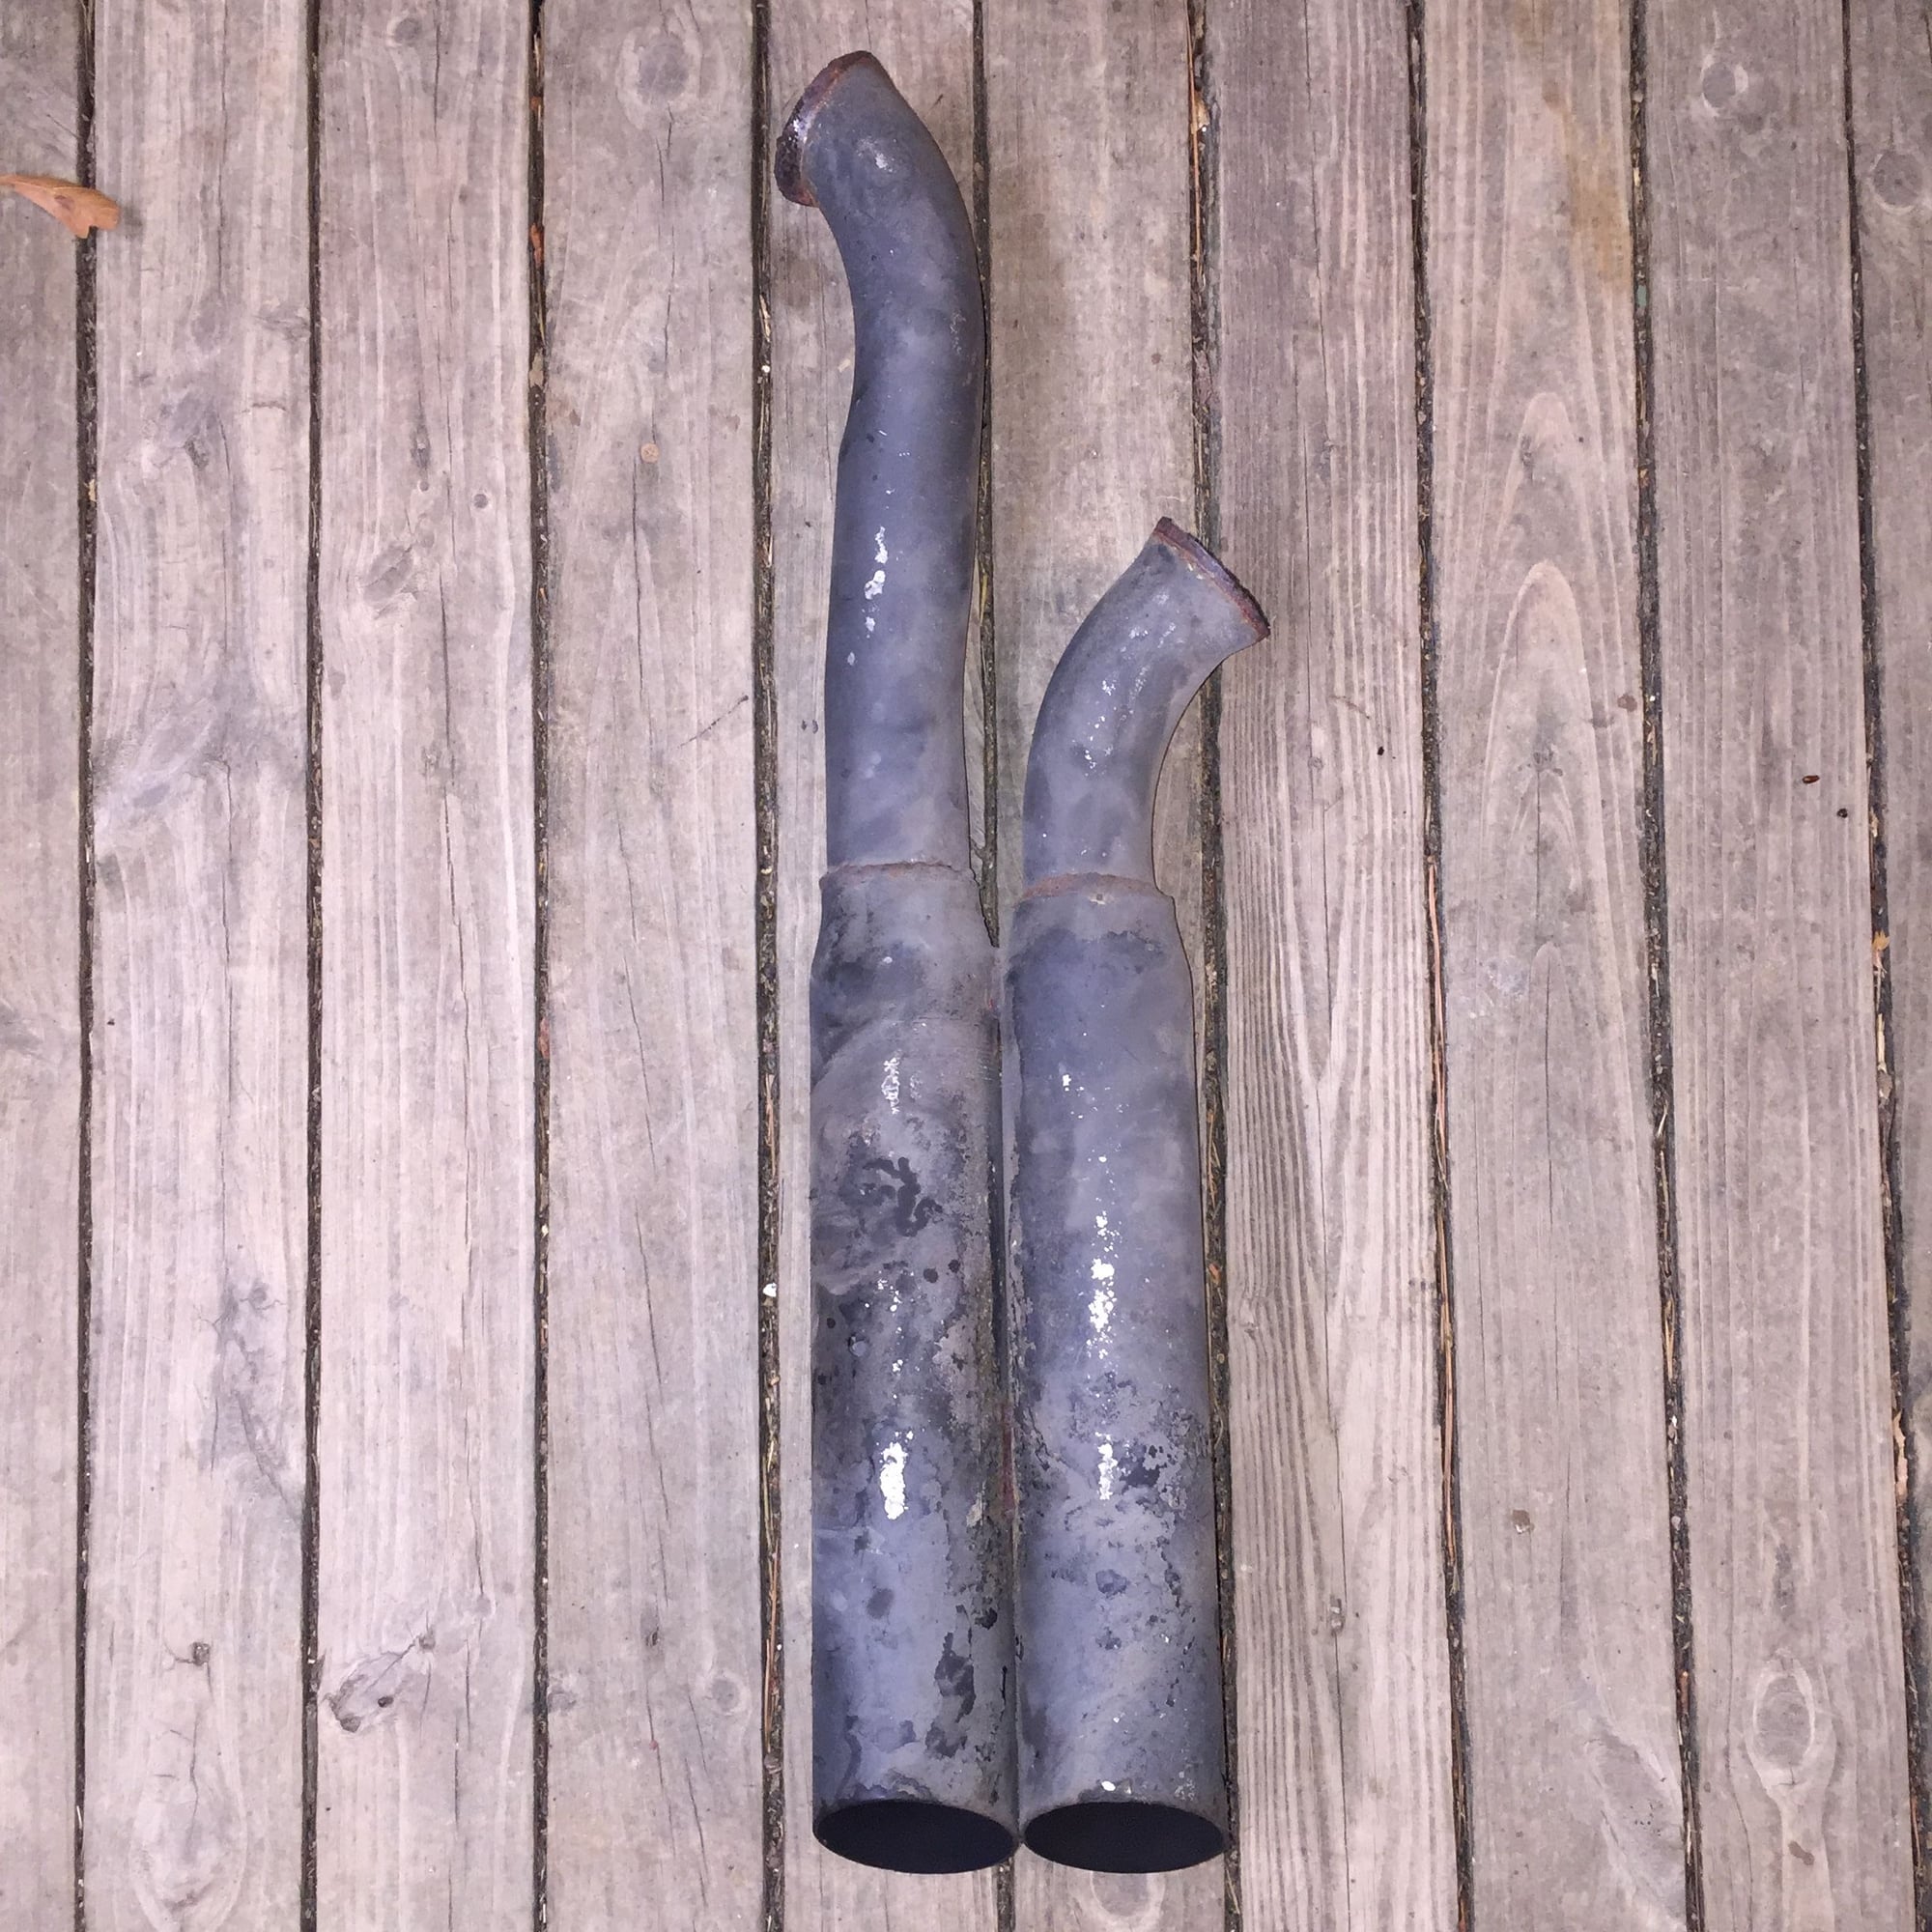
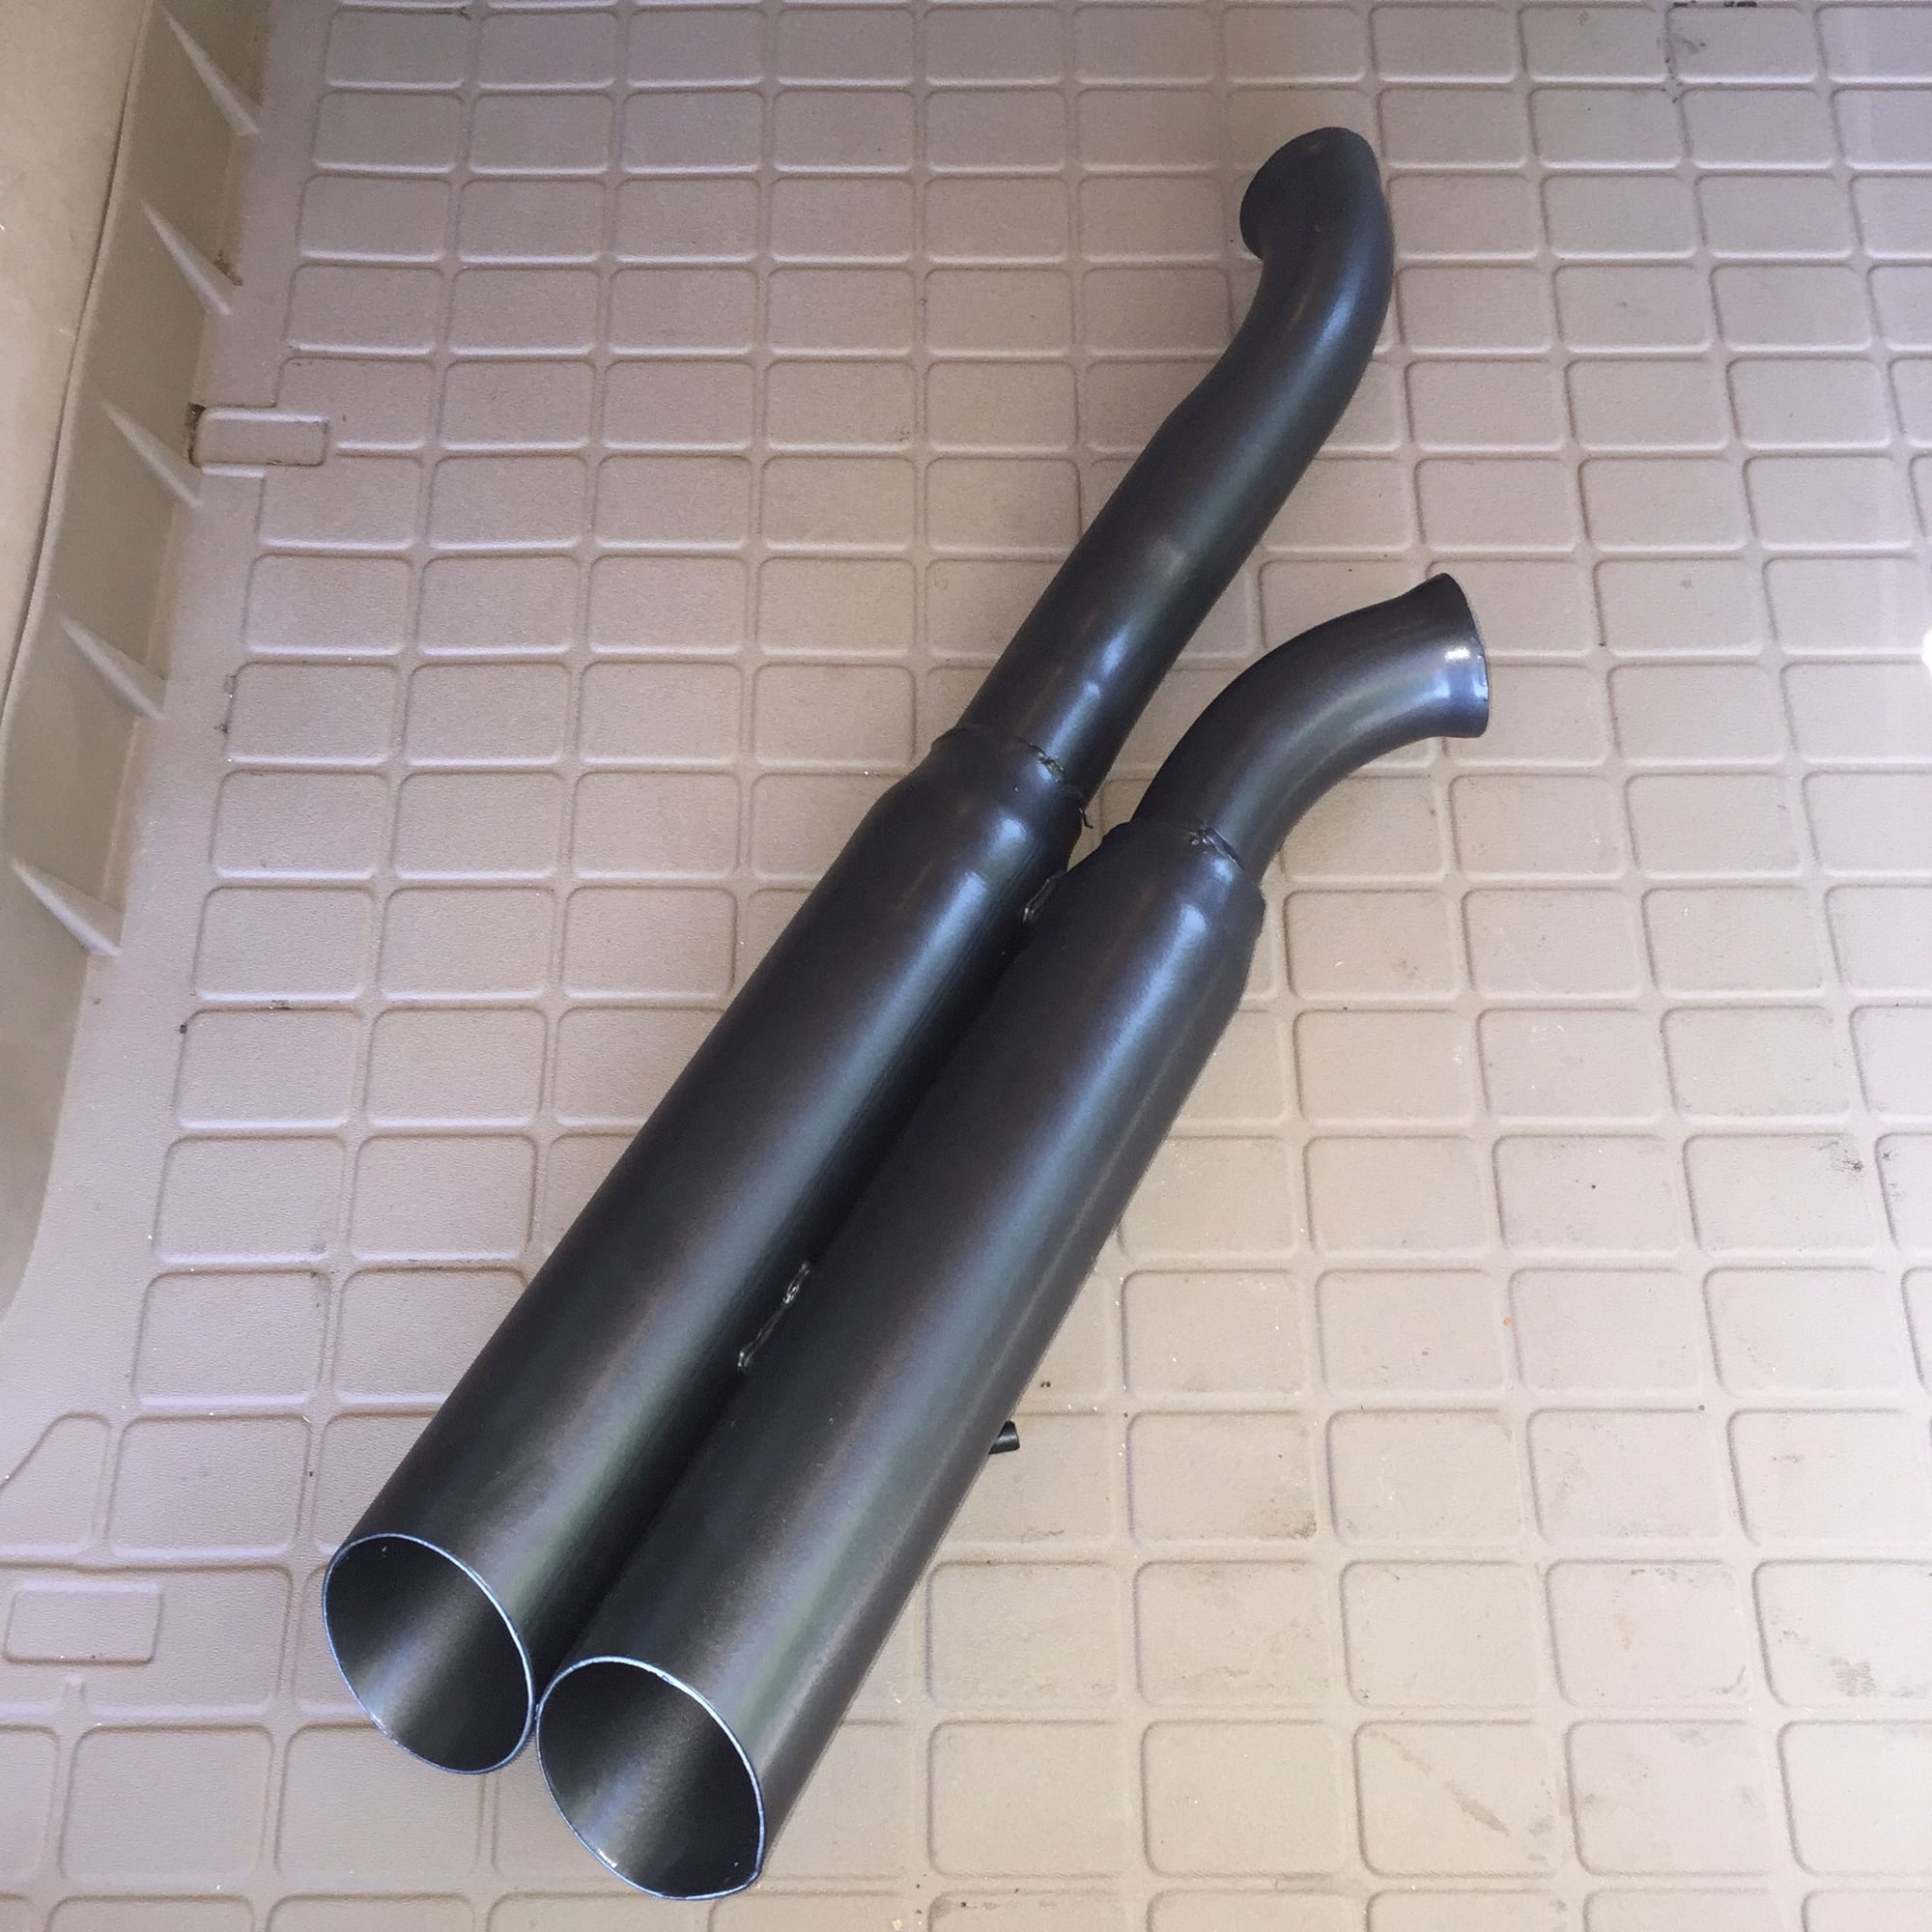
Since the RMB was out, and looked skungy, I had it refinished. My machinist let me use his glass beading cabinet to strip it. I had a local powder coating shop shoot it semi-gloss black. They didn't have any high temp black, but I think this will be OK. Exhaust gasses should be relatively cool by they time they hit the RMB. If not, I strip it and try again.
In my transmission fiasco thread, I posted these teaser photos:
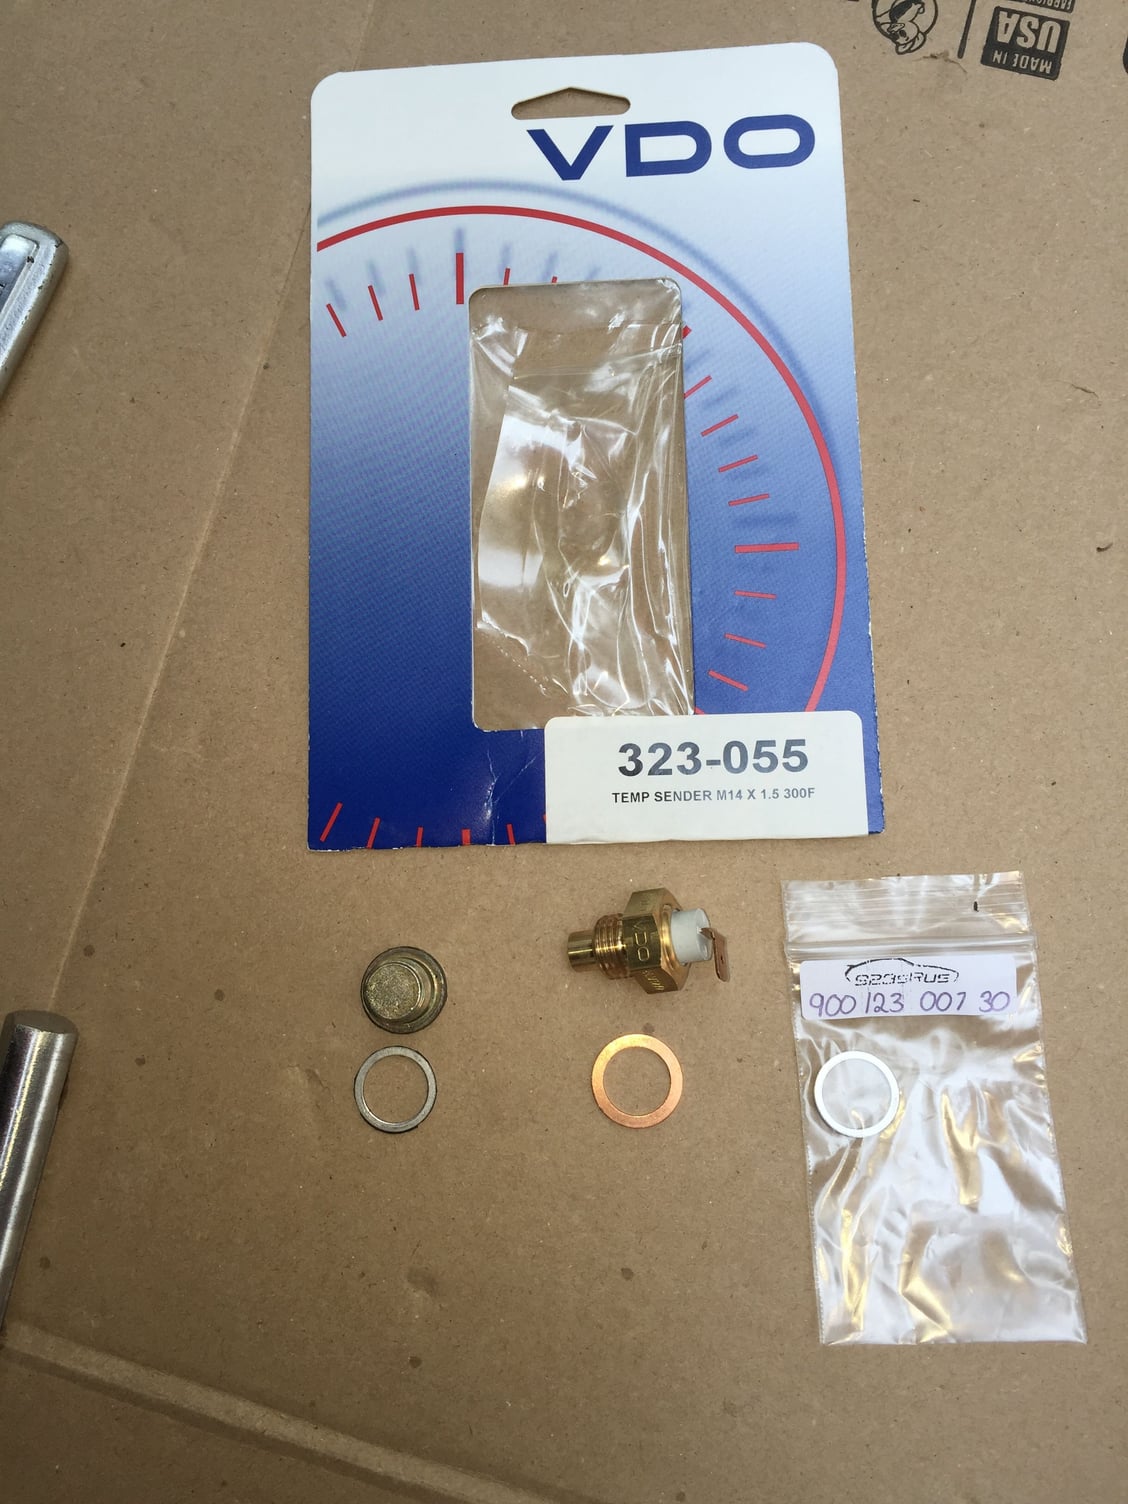
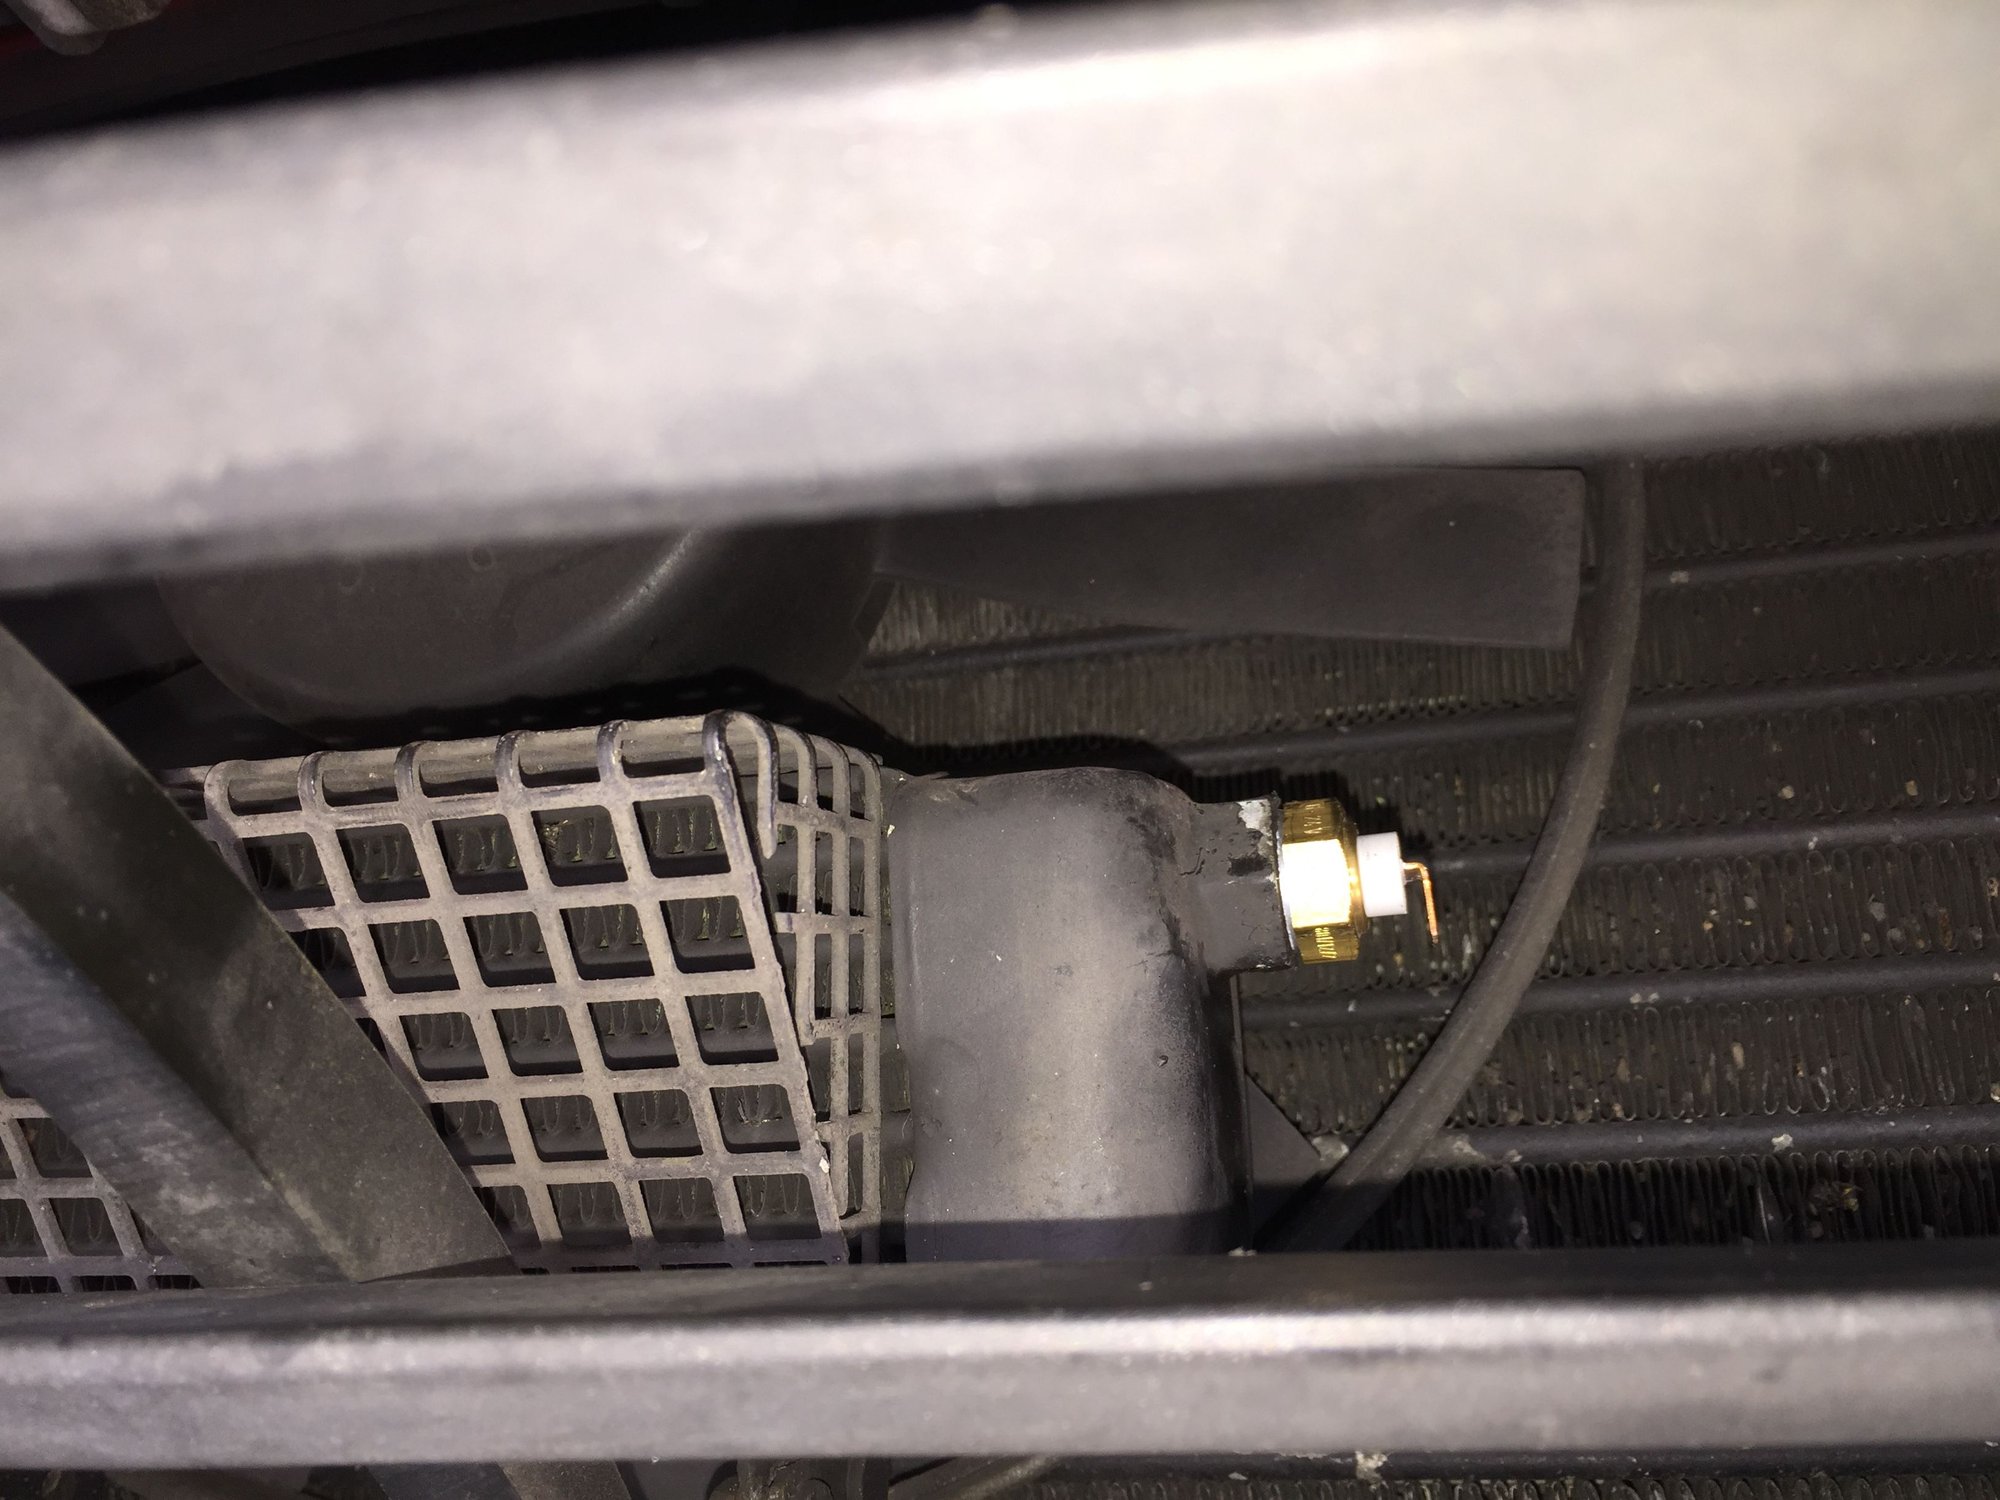
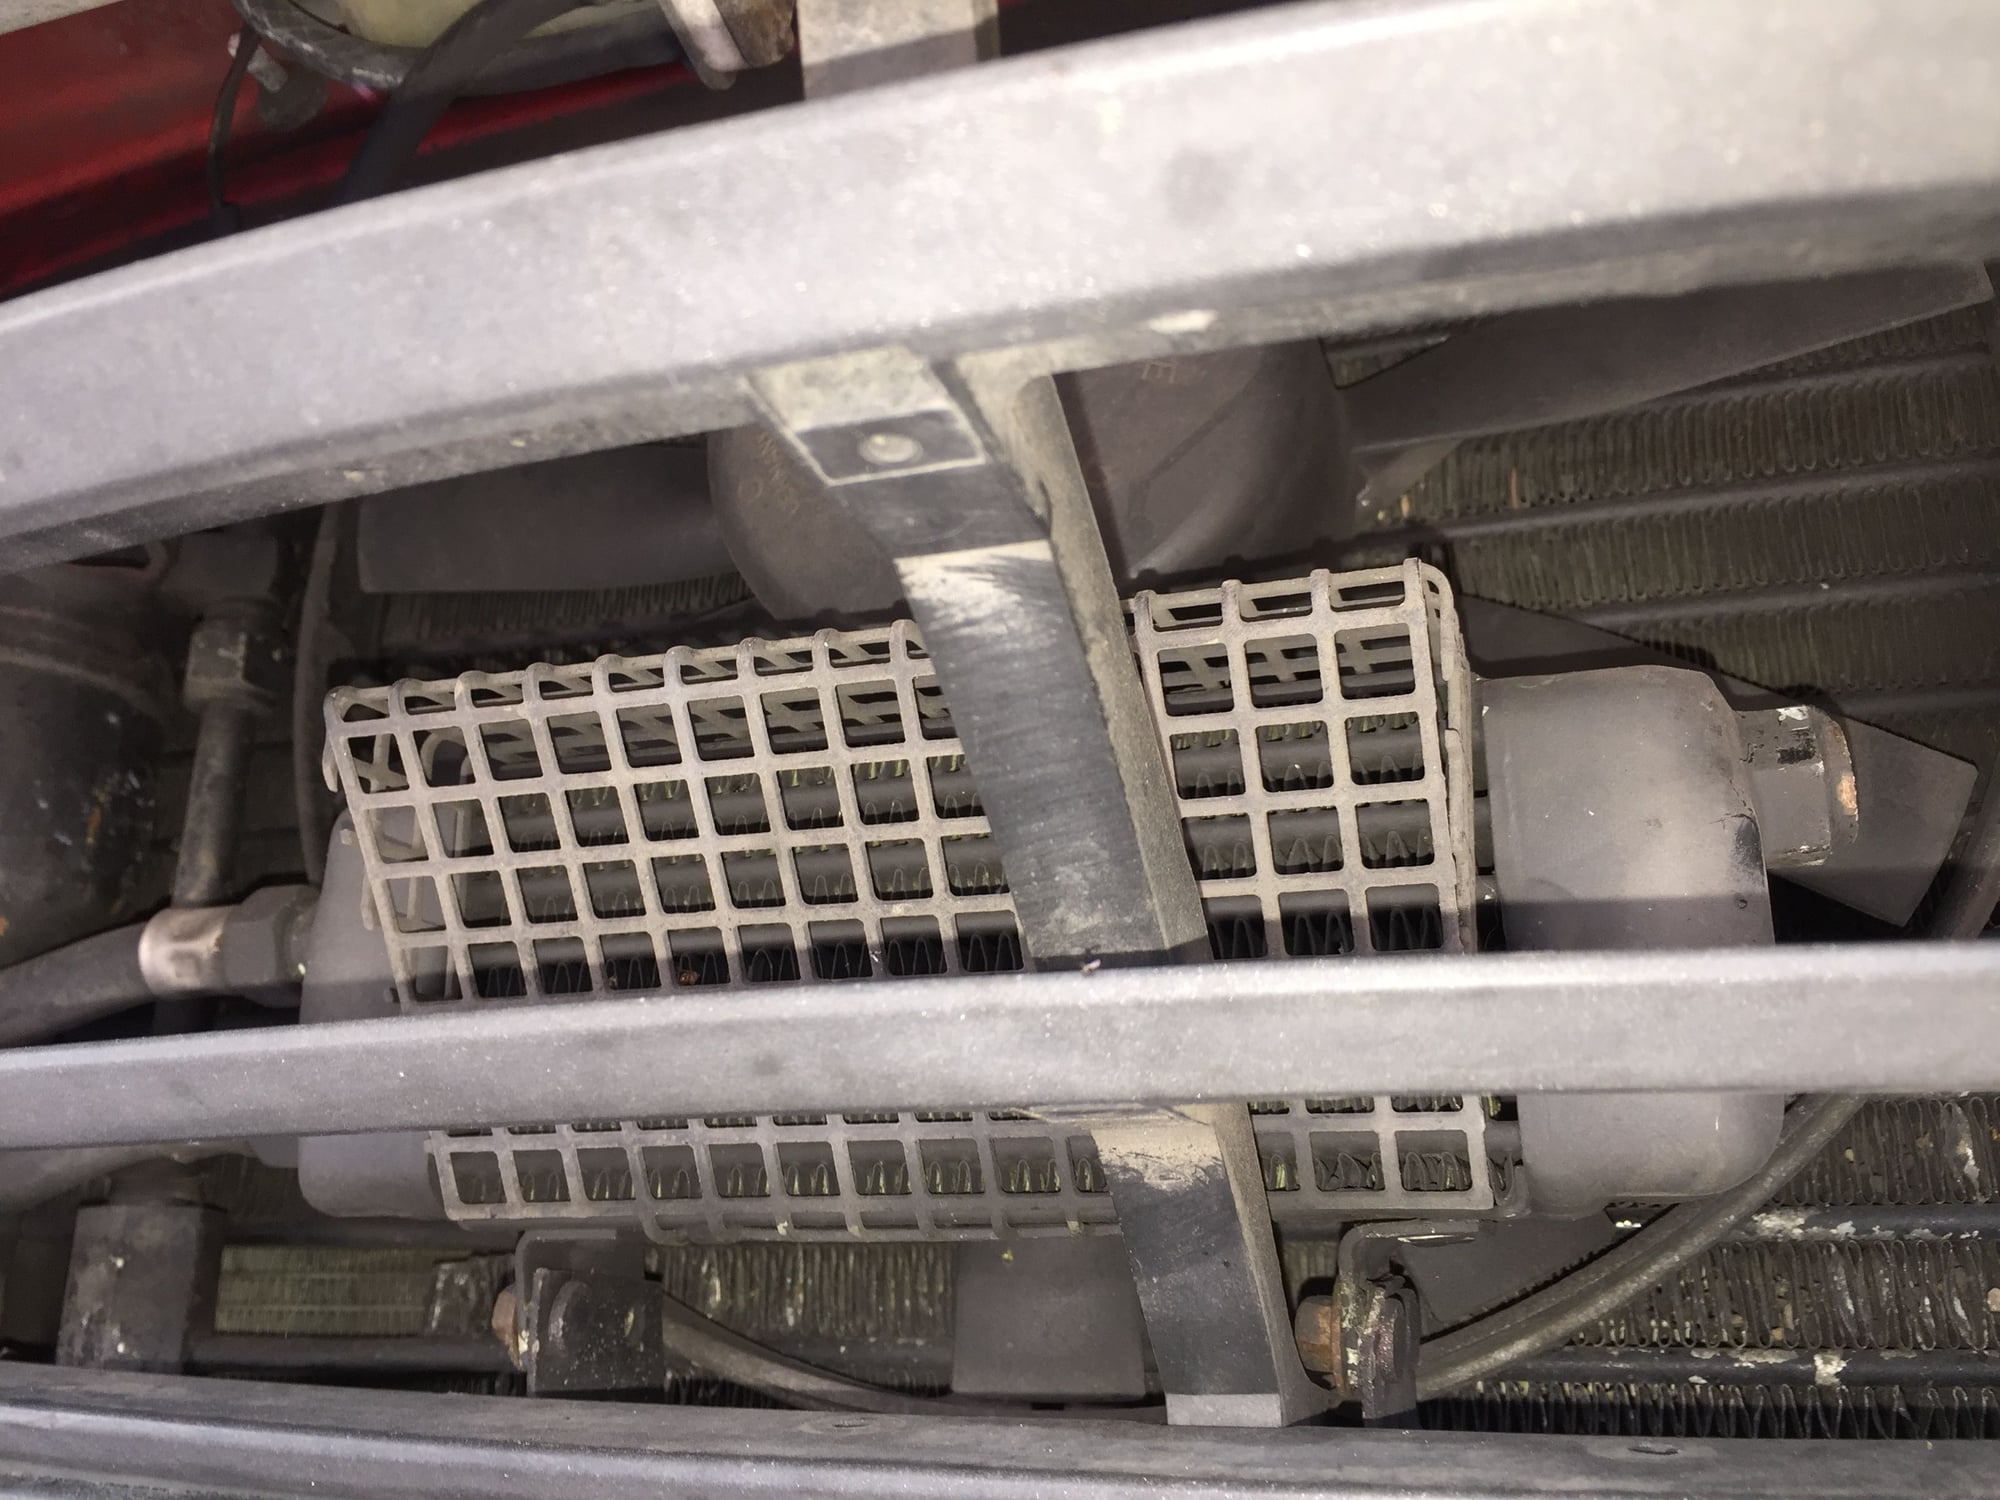
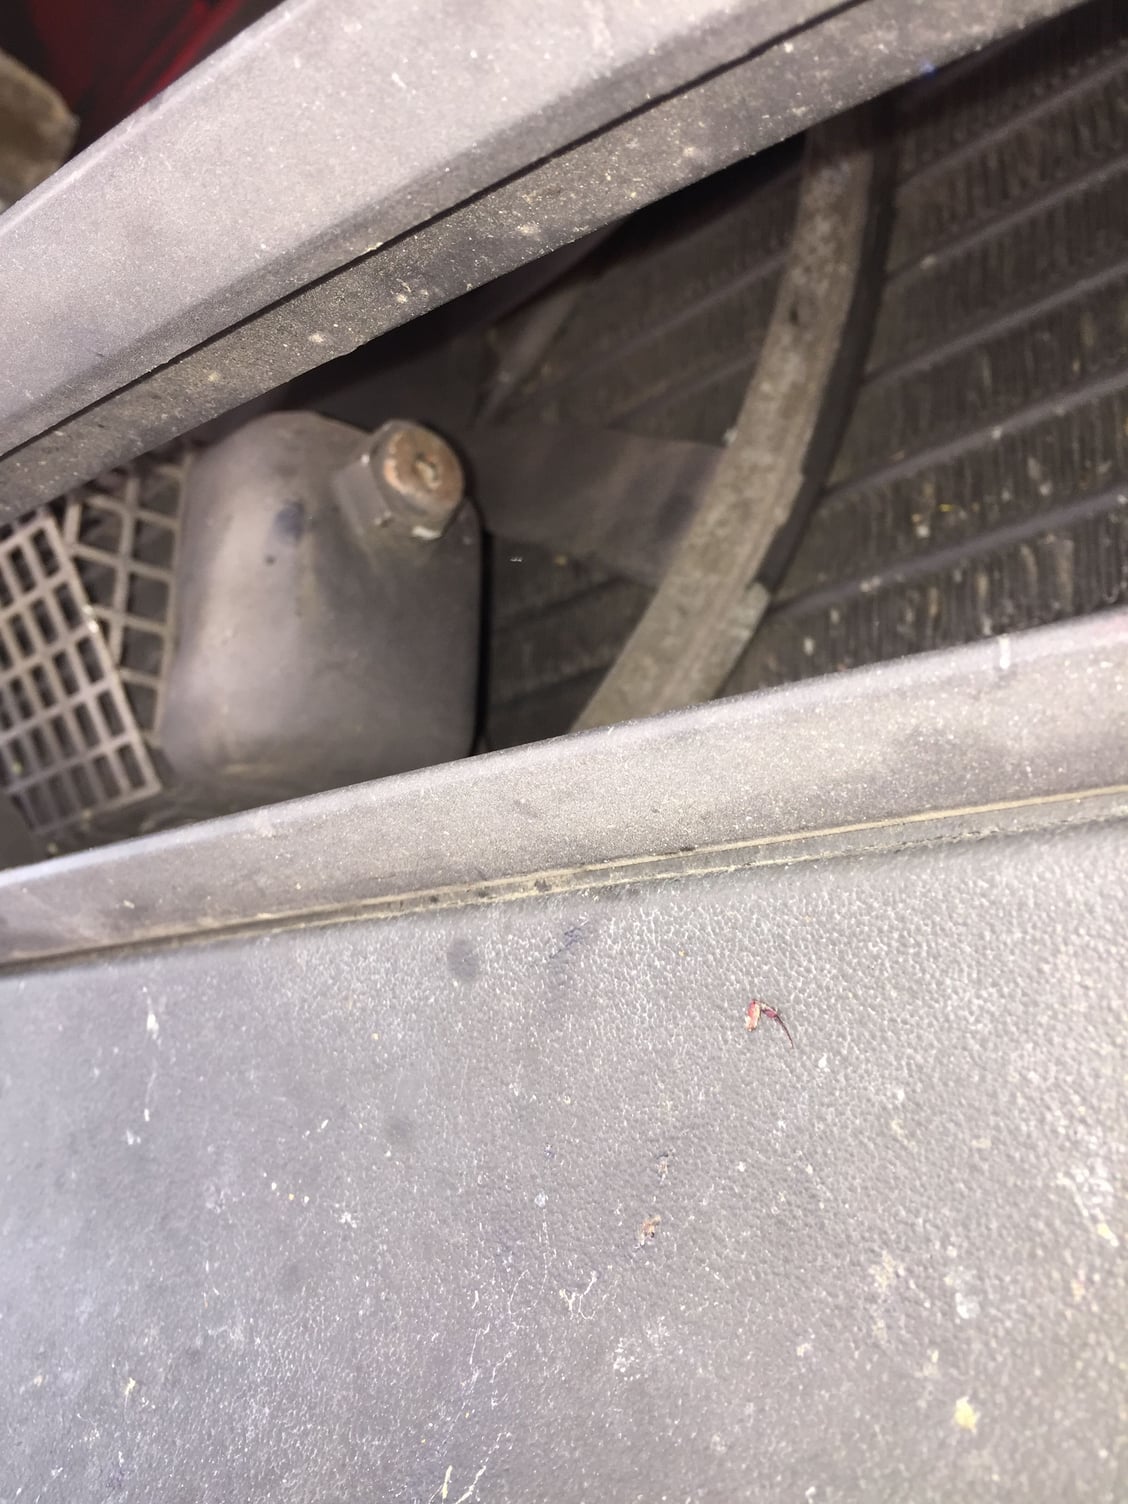
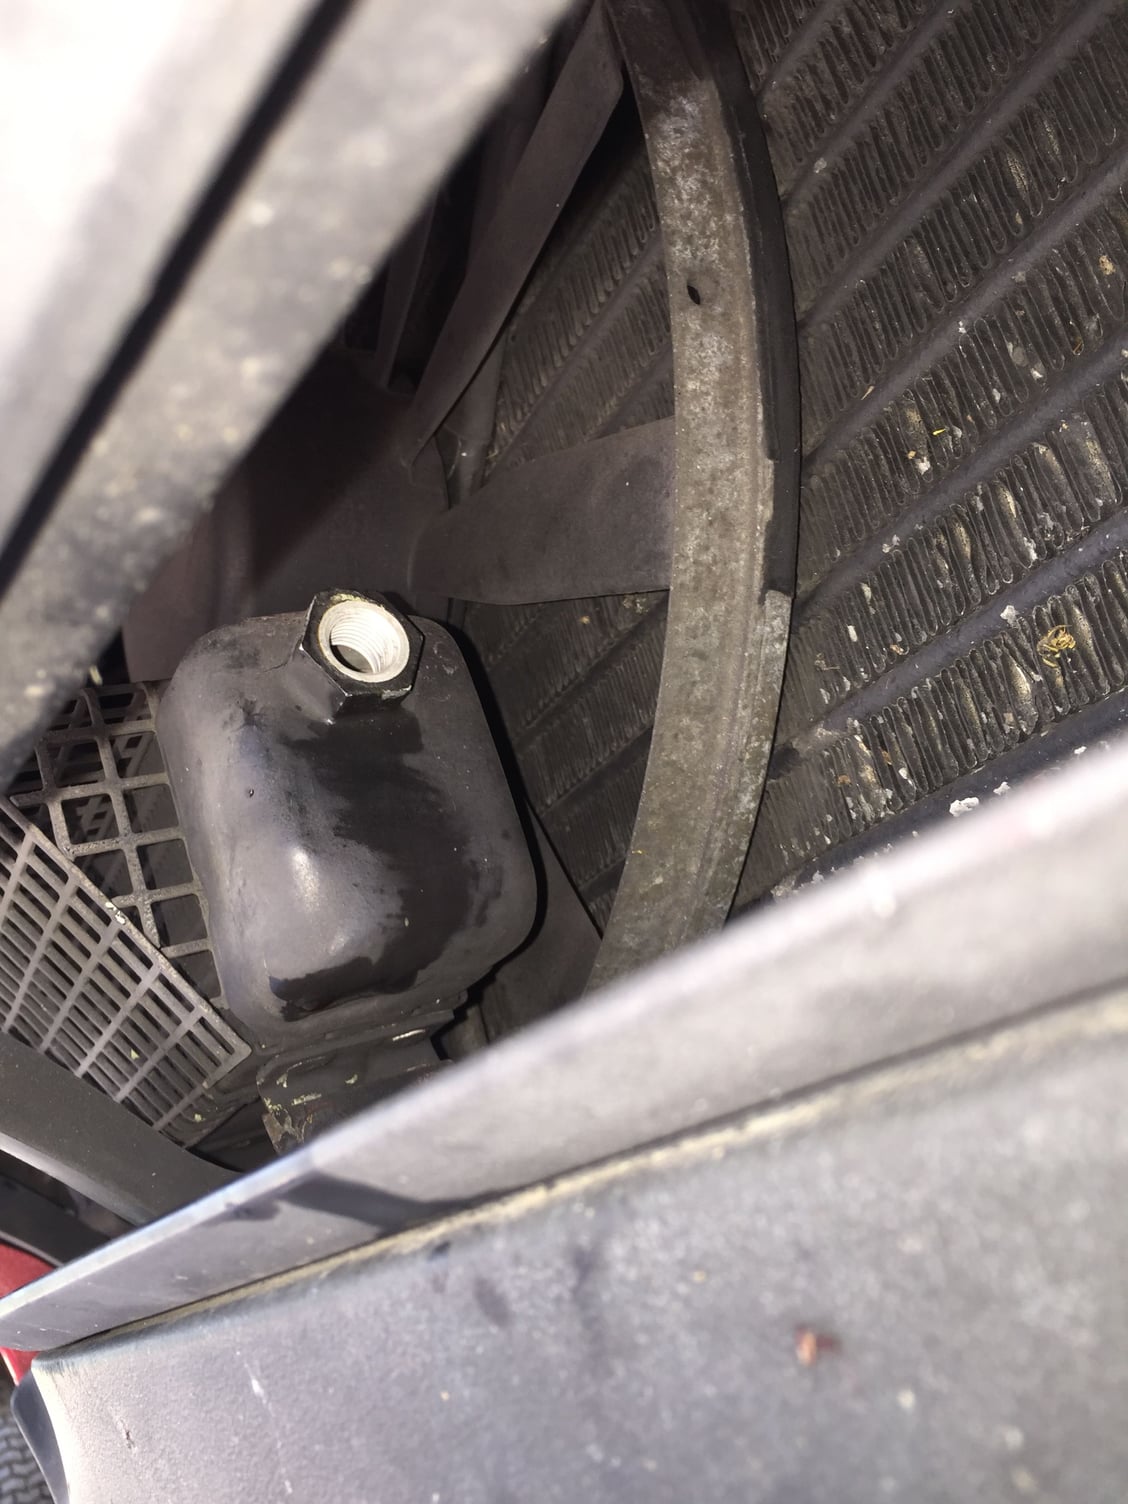
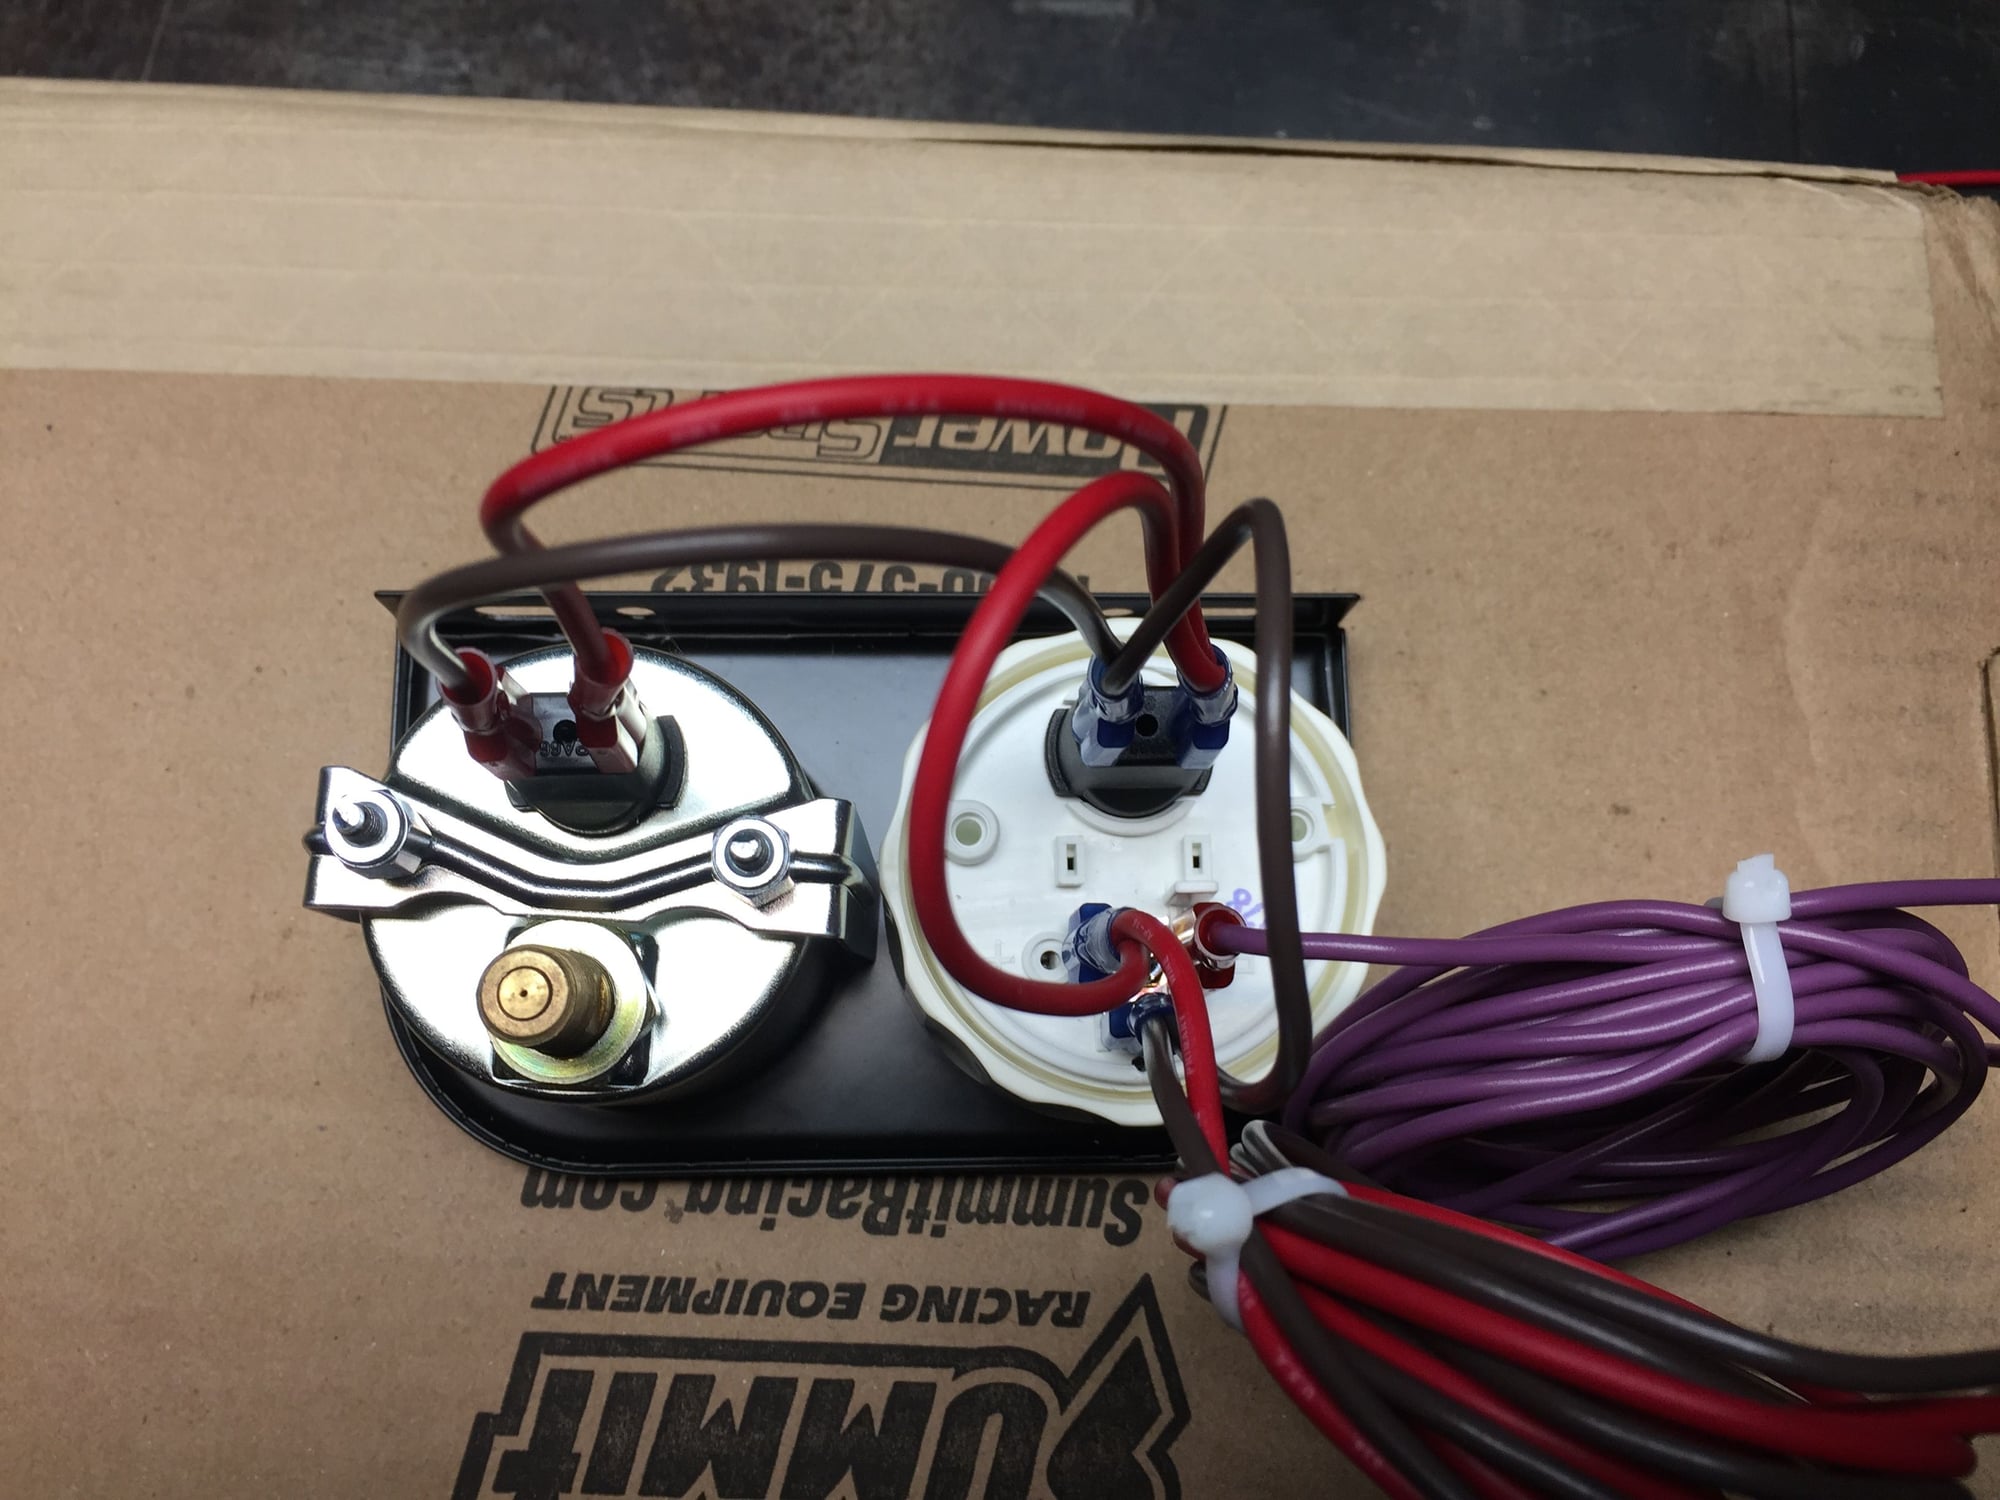
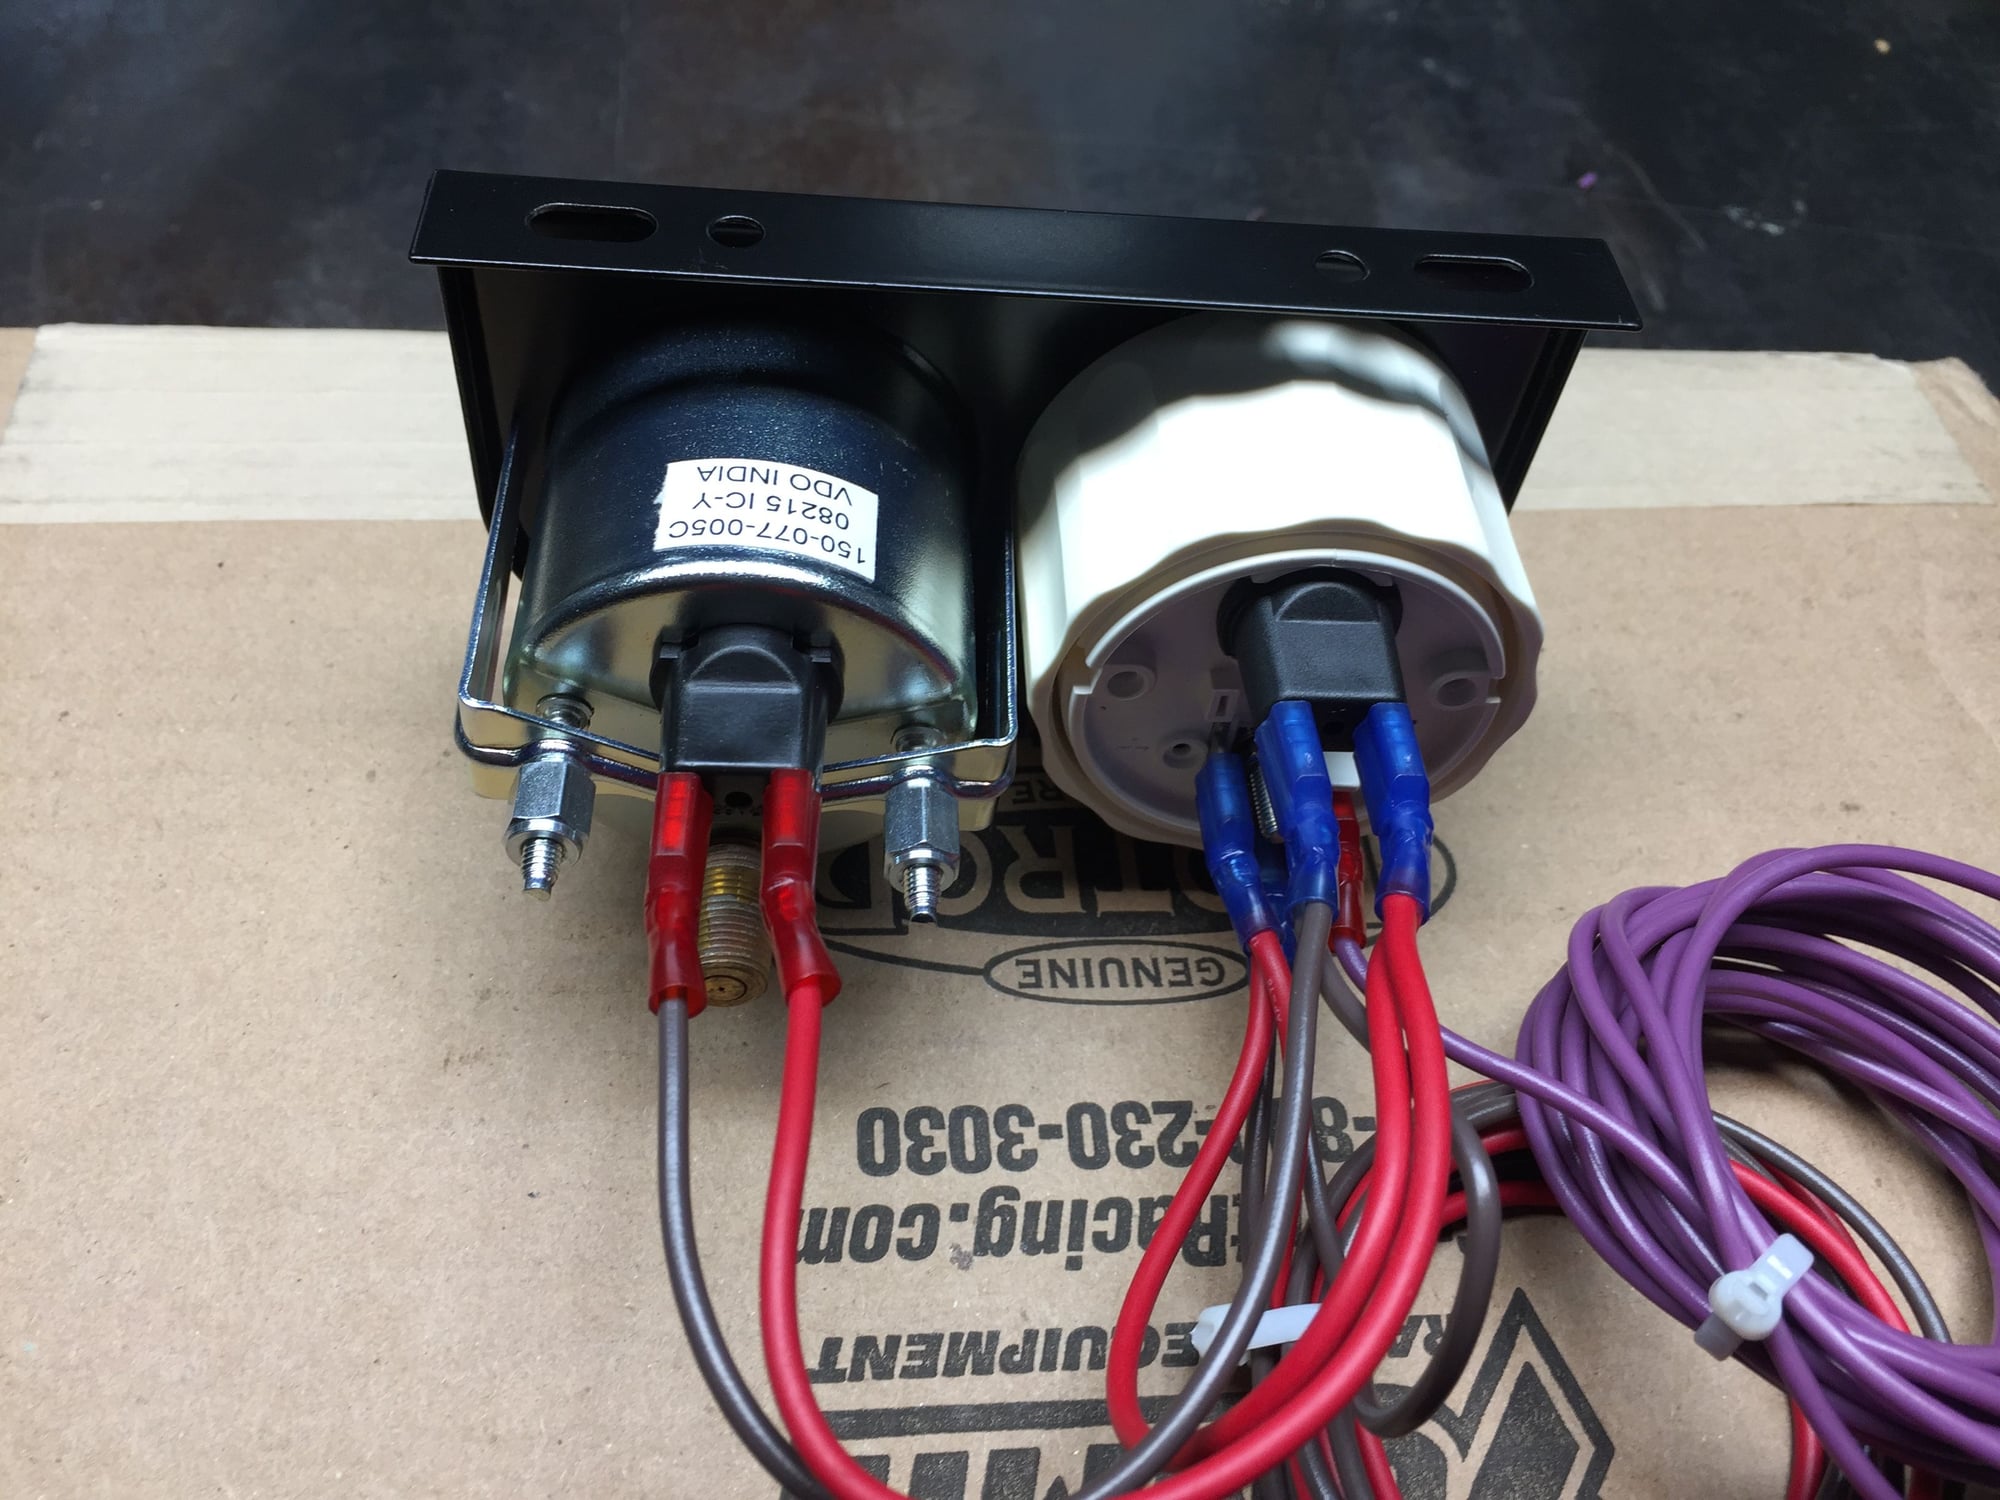
I replaced the plug in the external transmission cooler with a temperature sender for a VDO transmission gauge. I had to use a new Porsche aluminum crush ring, as the copper crush ring supplied with the sender would not fit.
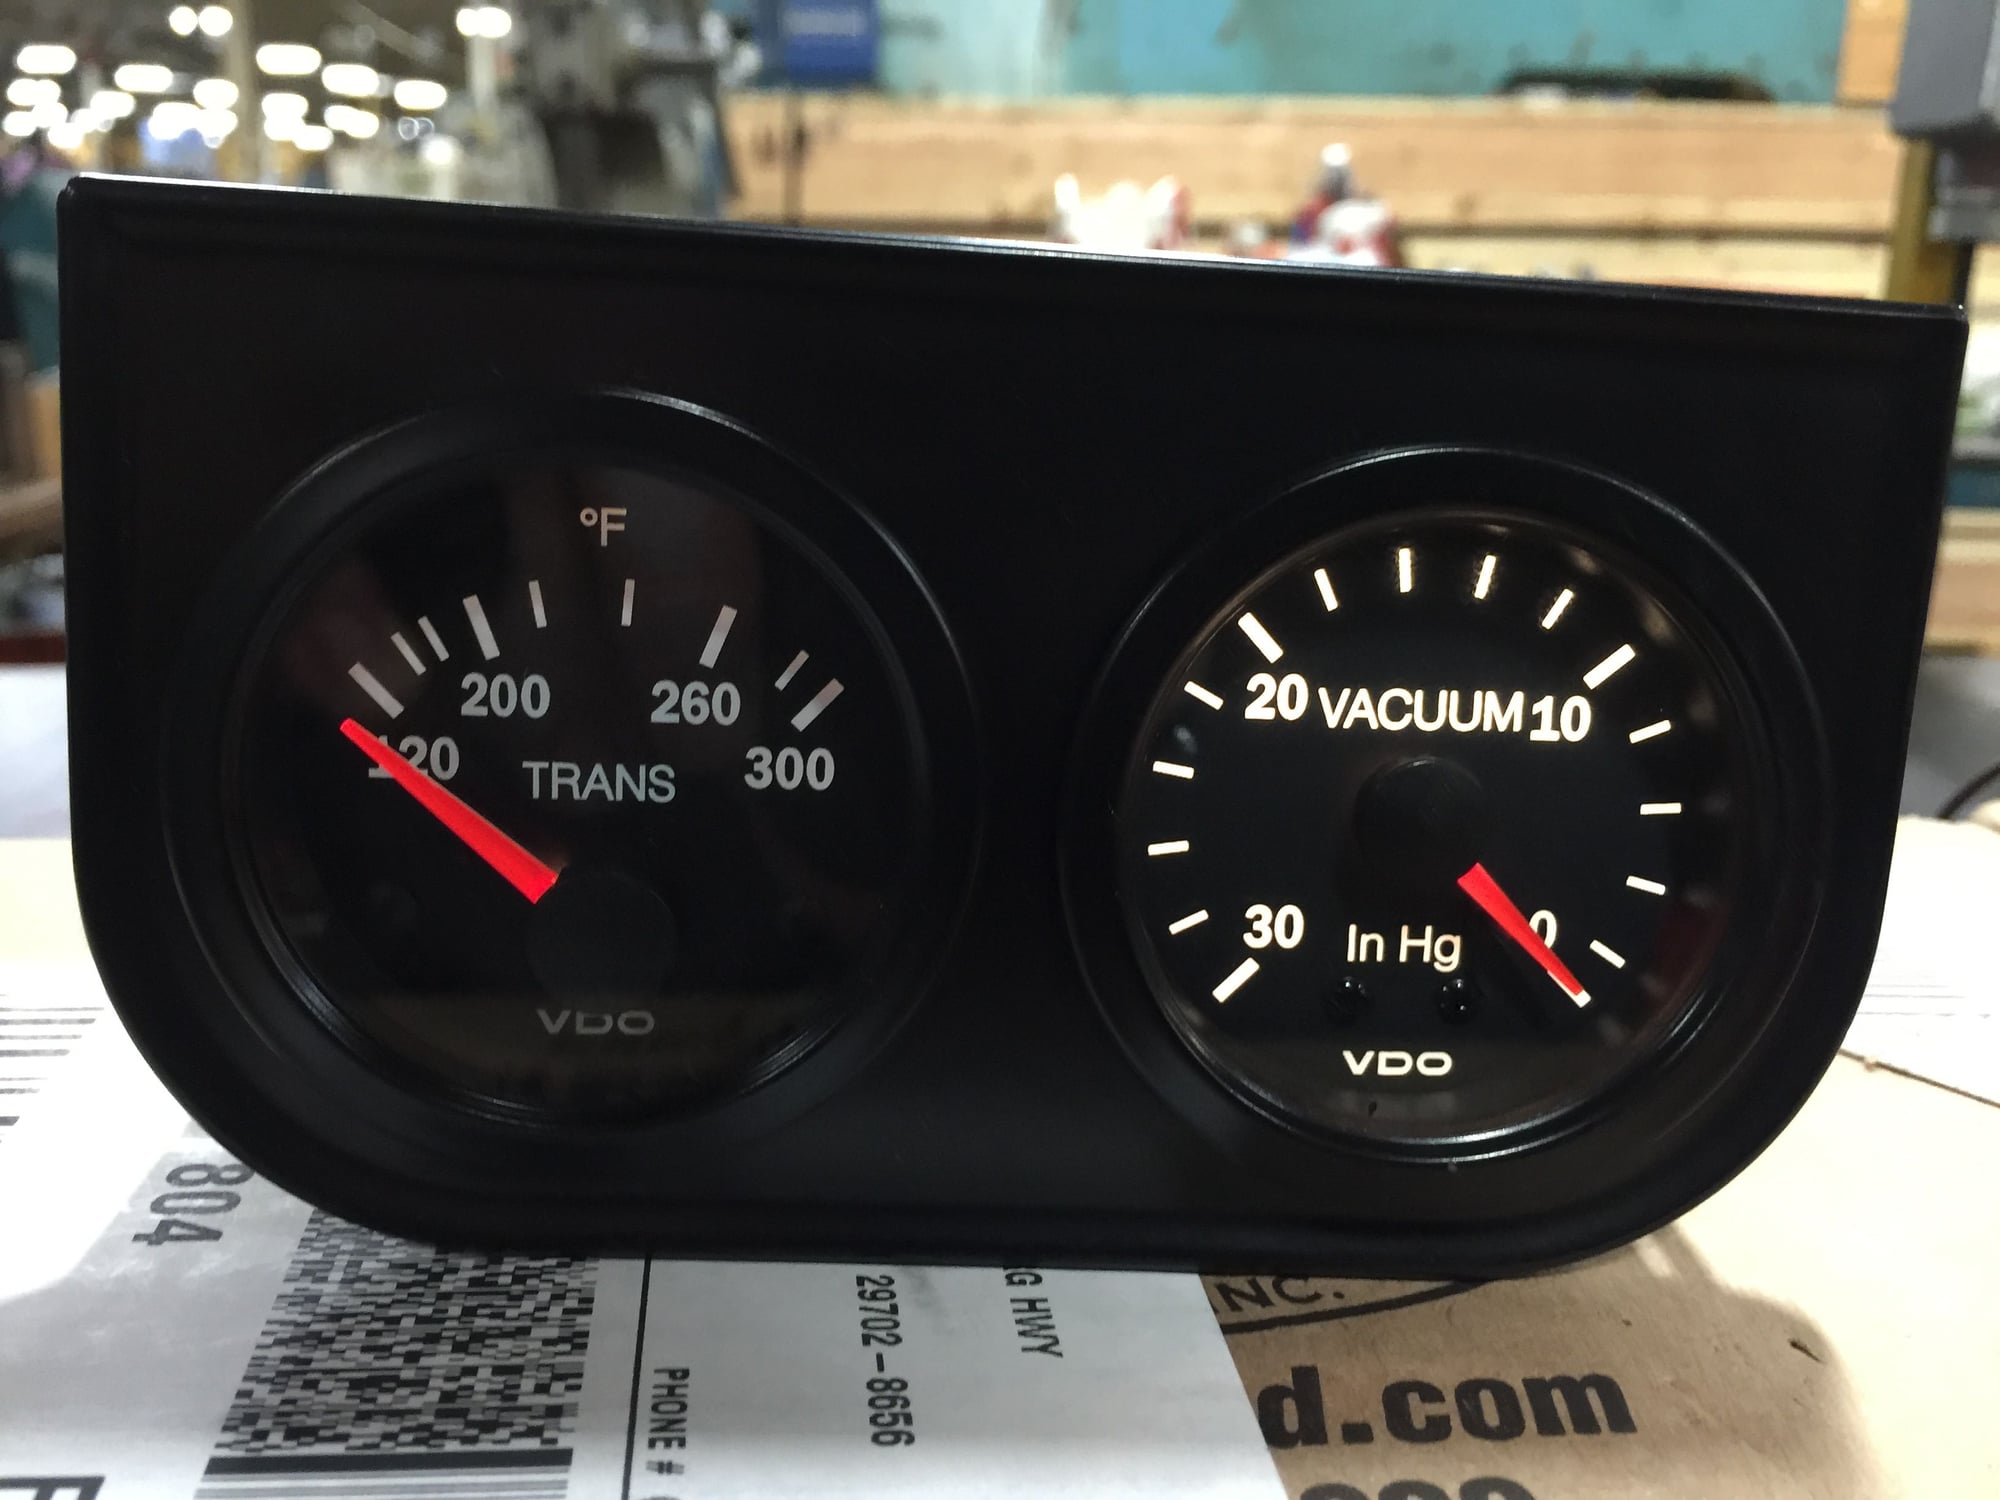
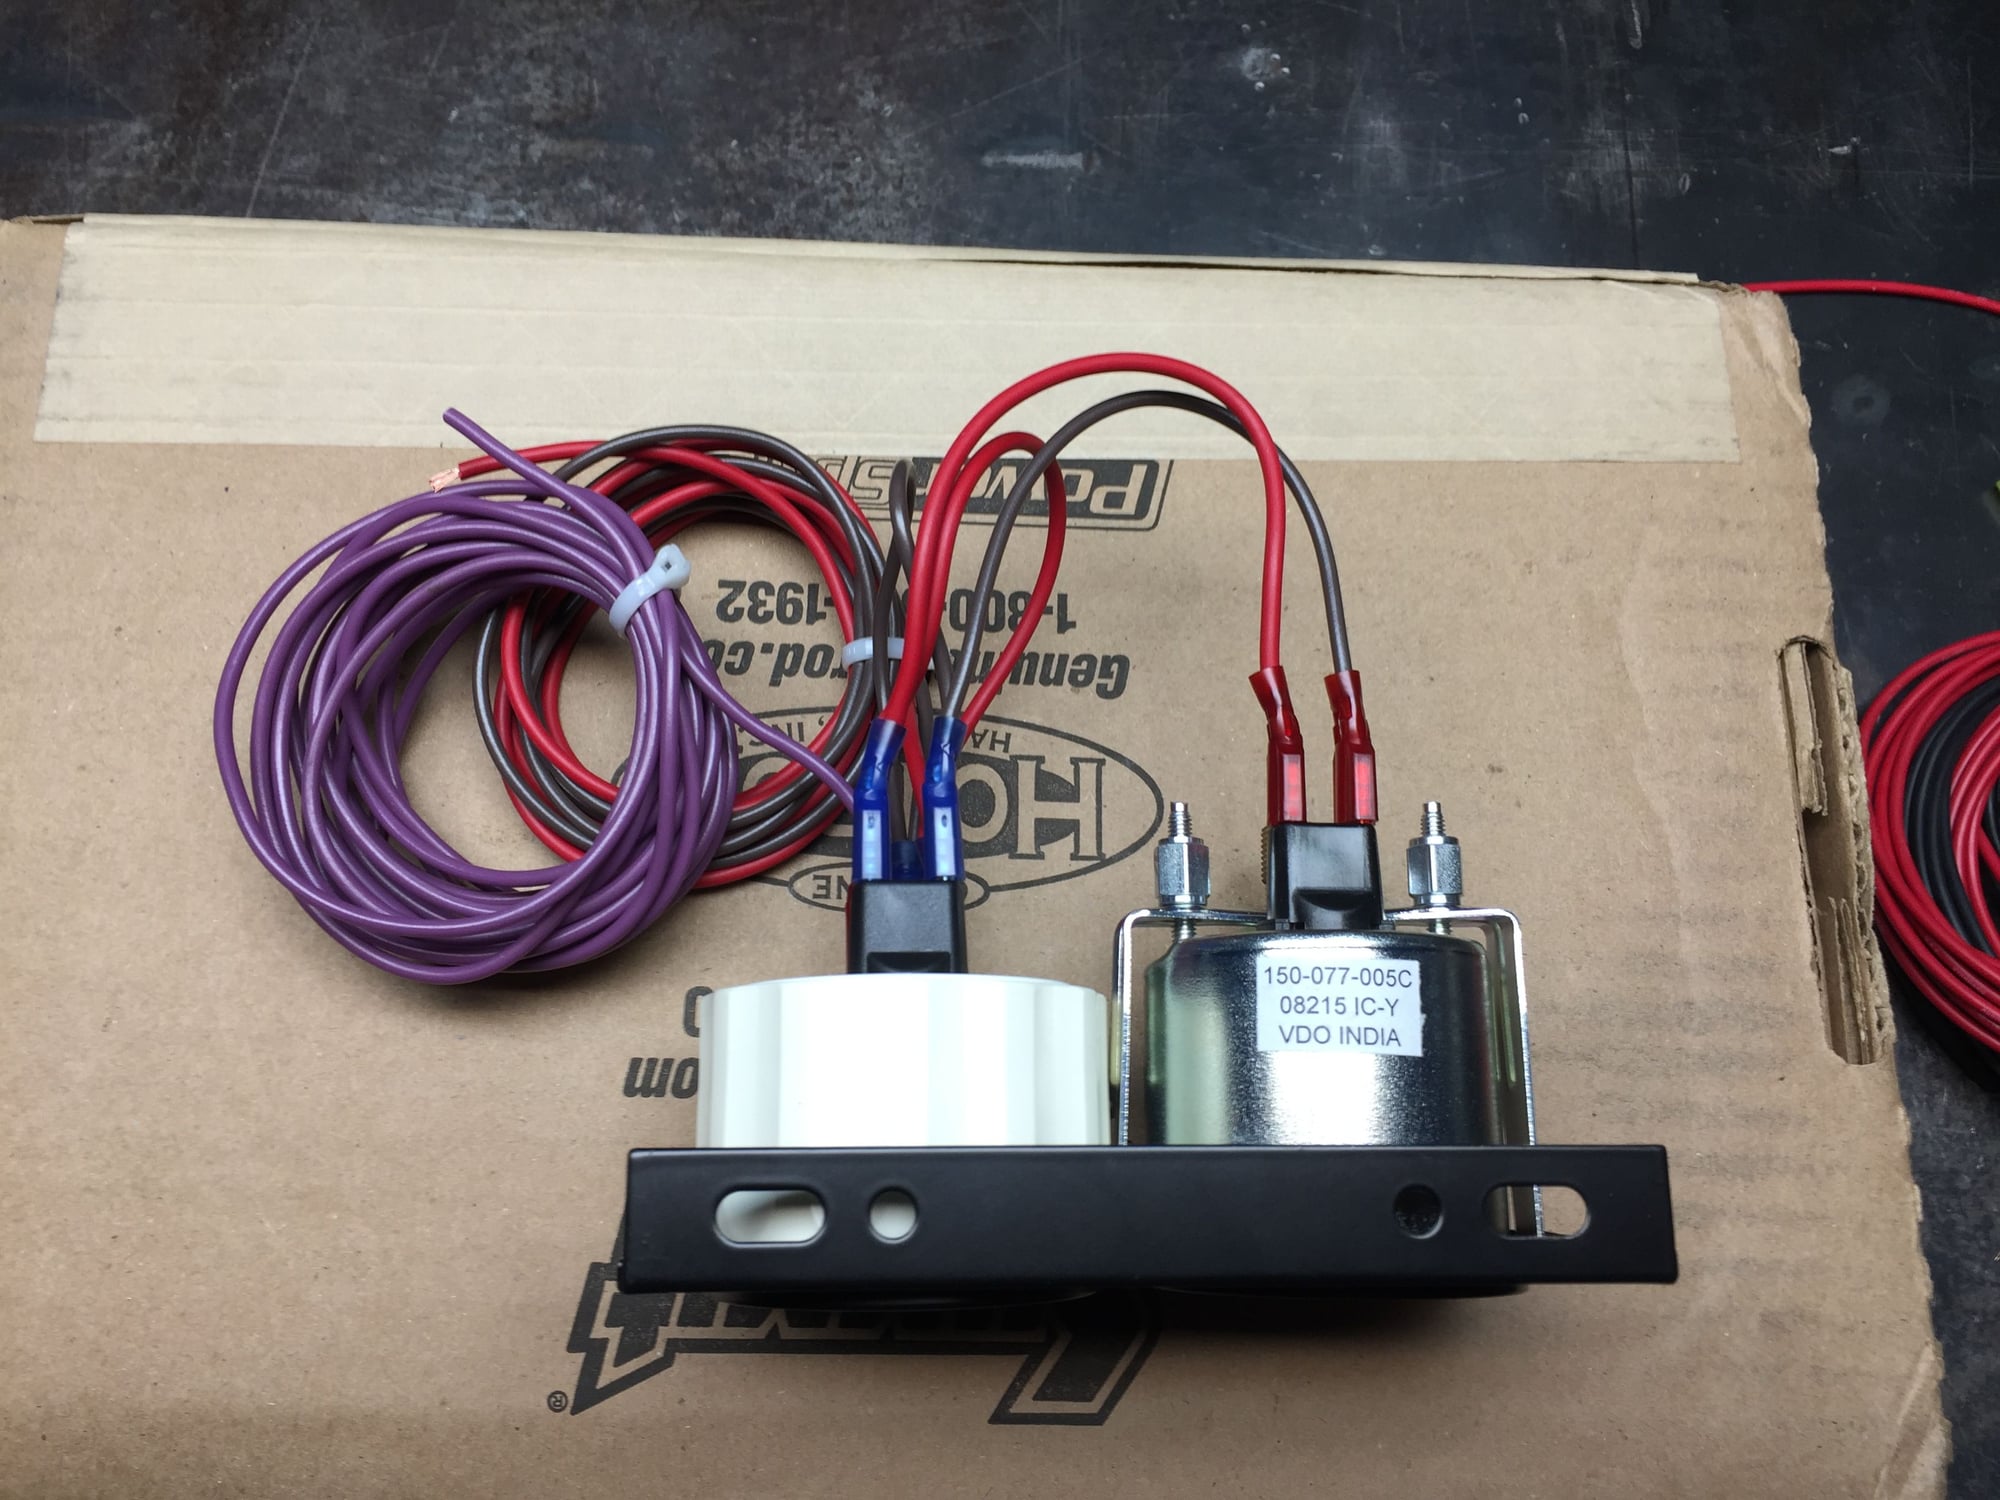
I now have a little two gauge cluster that will go between the dash and package shelf on the passenger's side, near the console. It will have the VDO transmission temperature gauge and a VDO vacuum gauge. I went with the Vision line of VDO gauges. I will be able to see them from the driver's seat. I have preassembled and prewired the cluster for now. At some point soon I hope to install it.
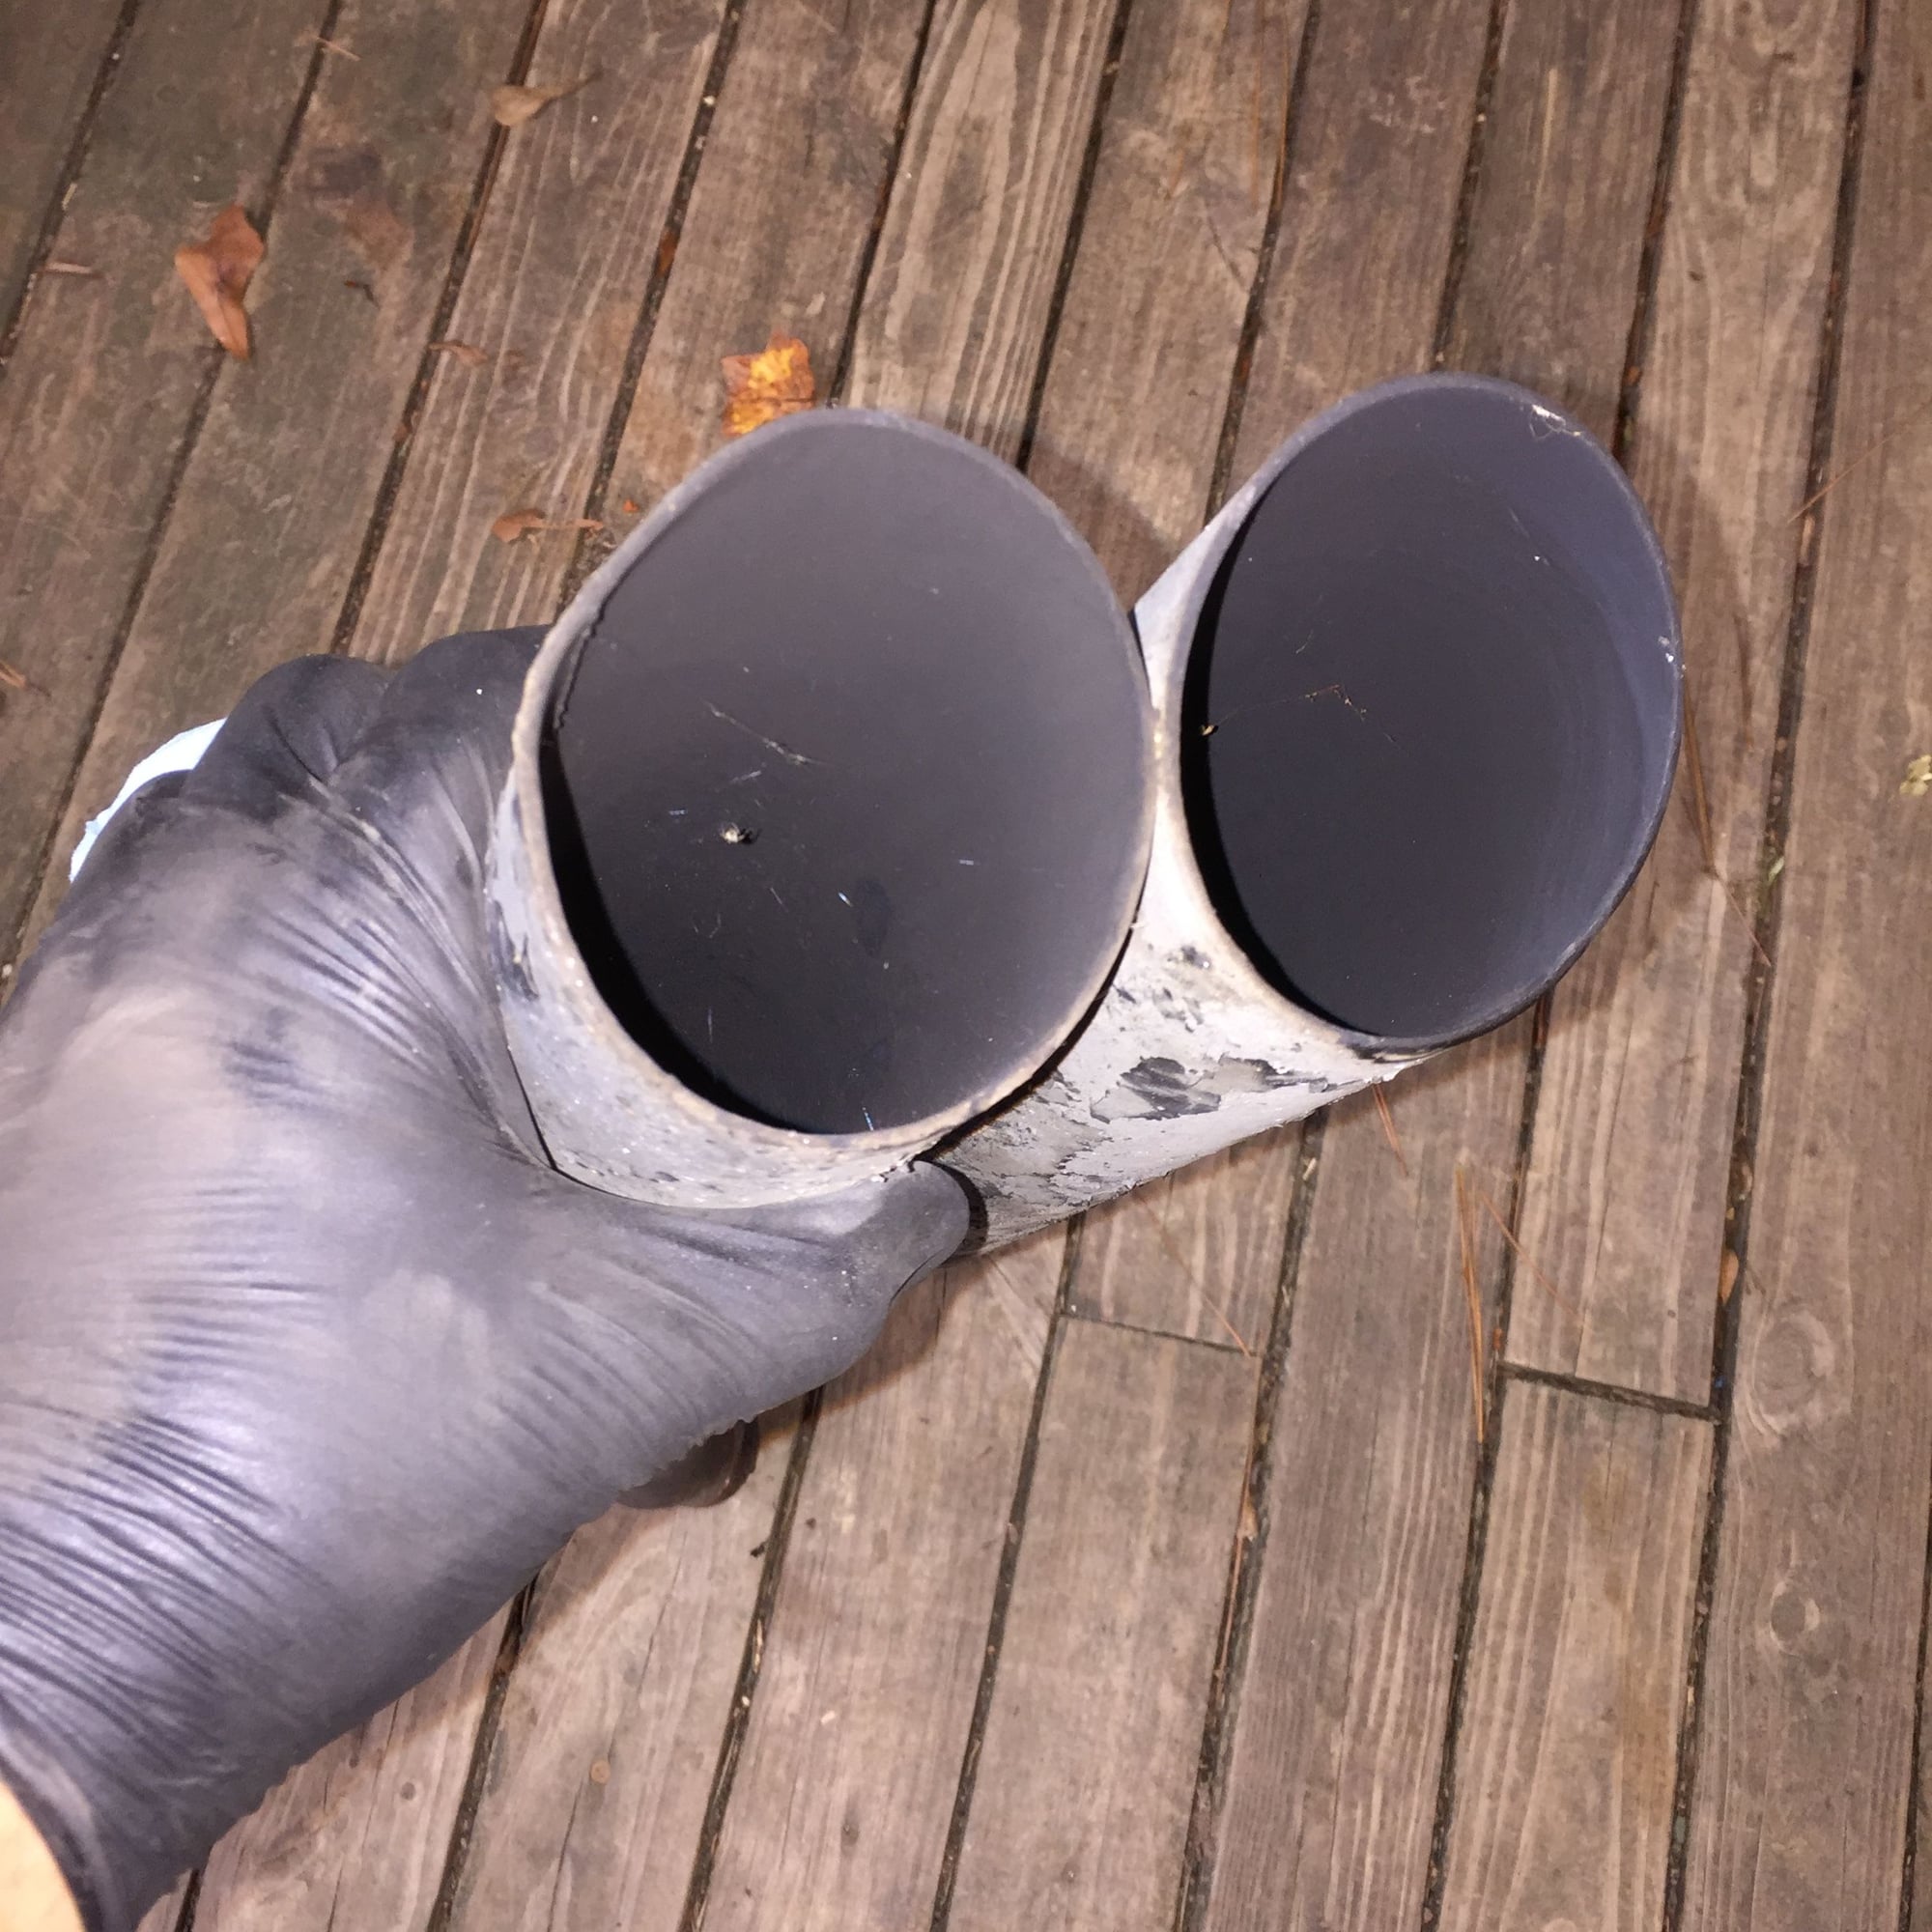
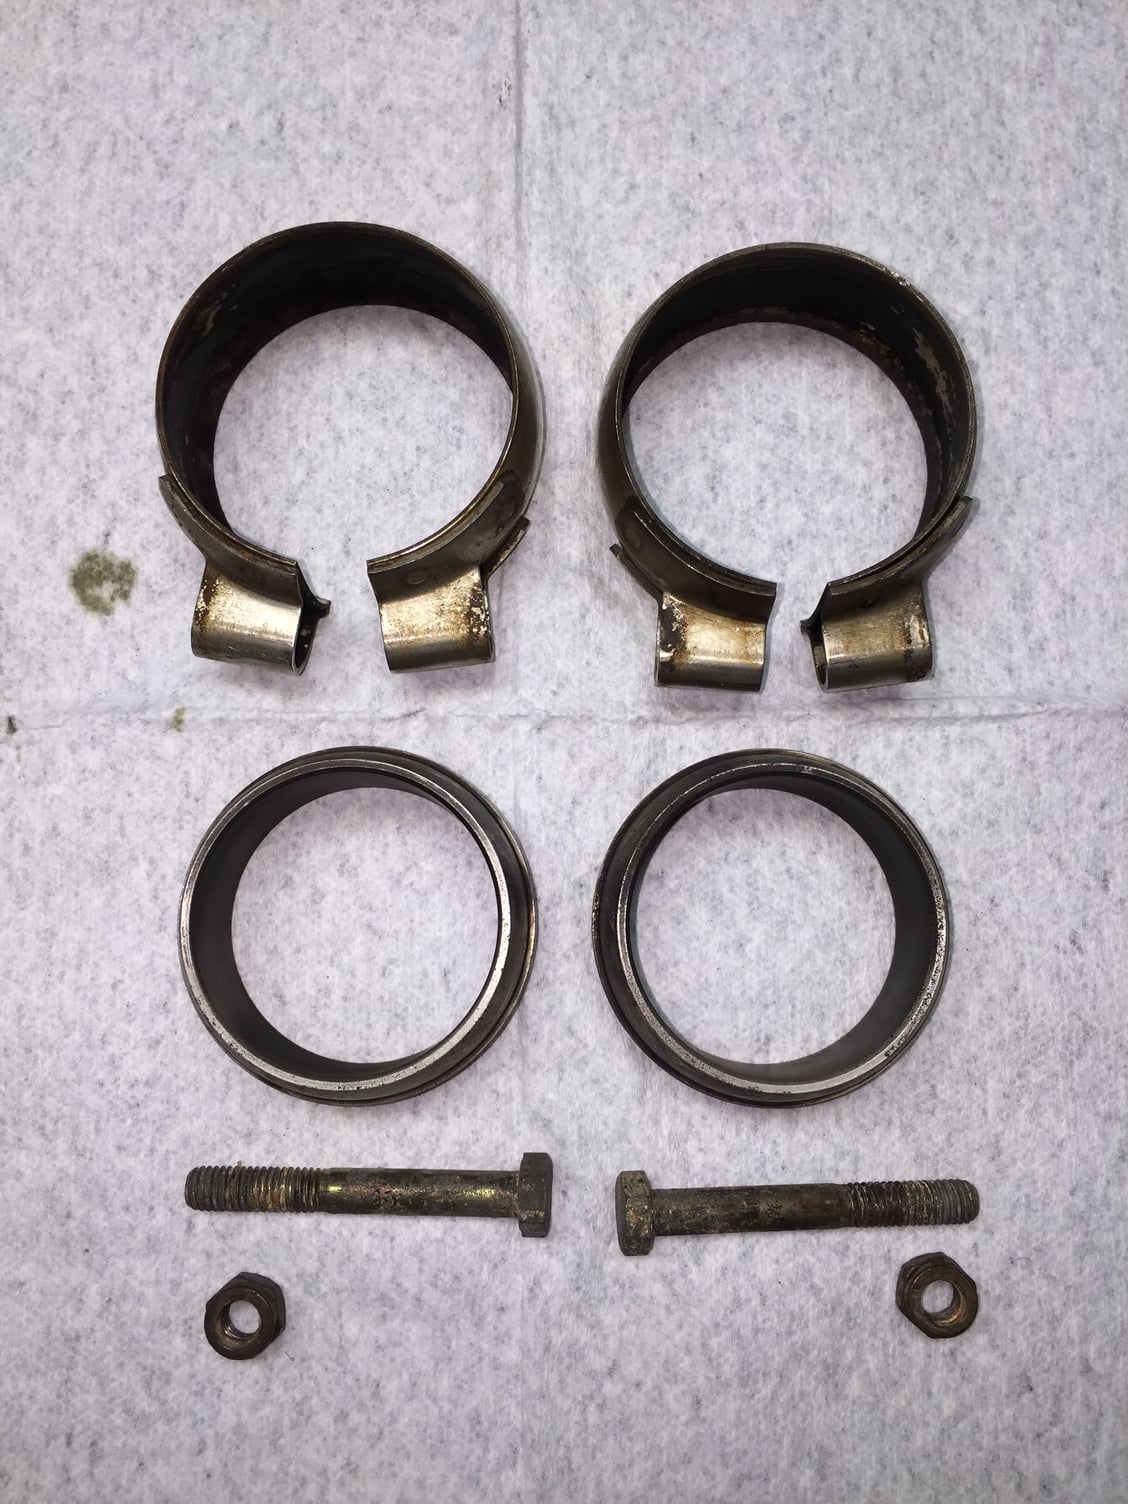
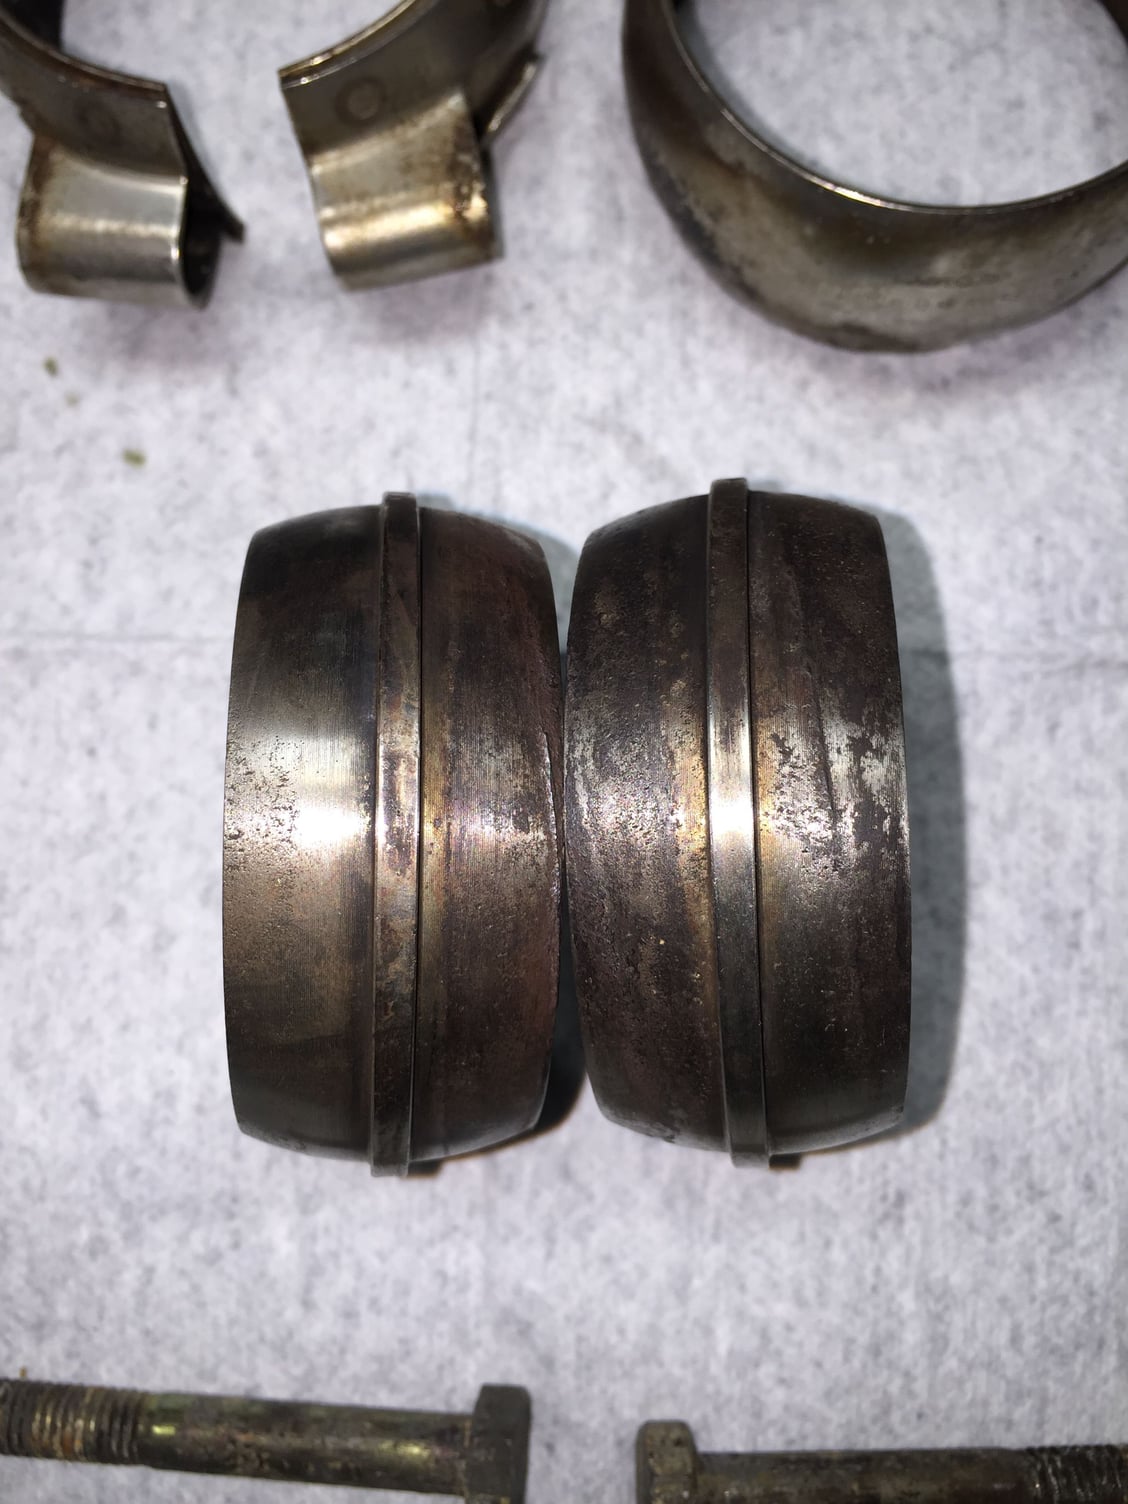
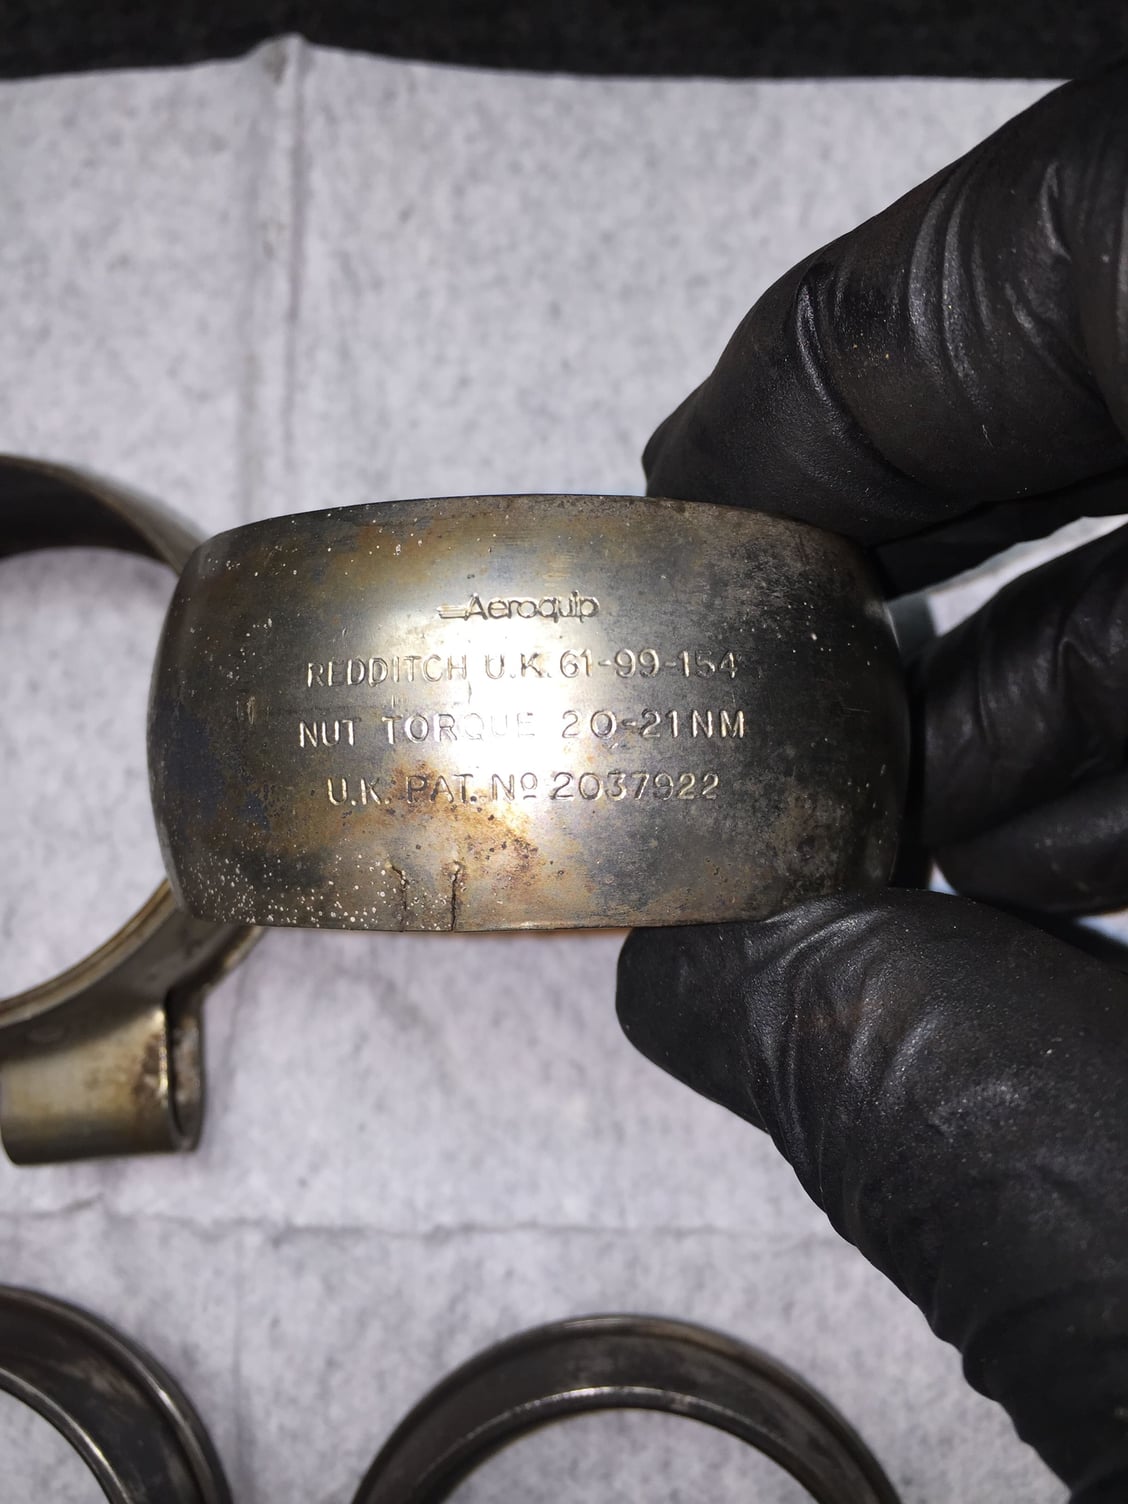
The RMB to resonator pipe clamps cleaned up OK. I have scrubbed the 'sealing rings' with red scotchbrite, but they are still a little rough. I may try to blast them.
Did not know Aeroquip was a supplier for Porsche. Either that, or the clamps came with the RMB.
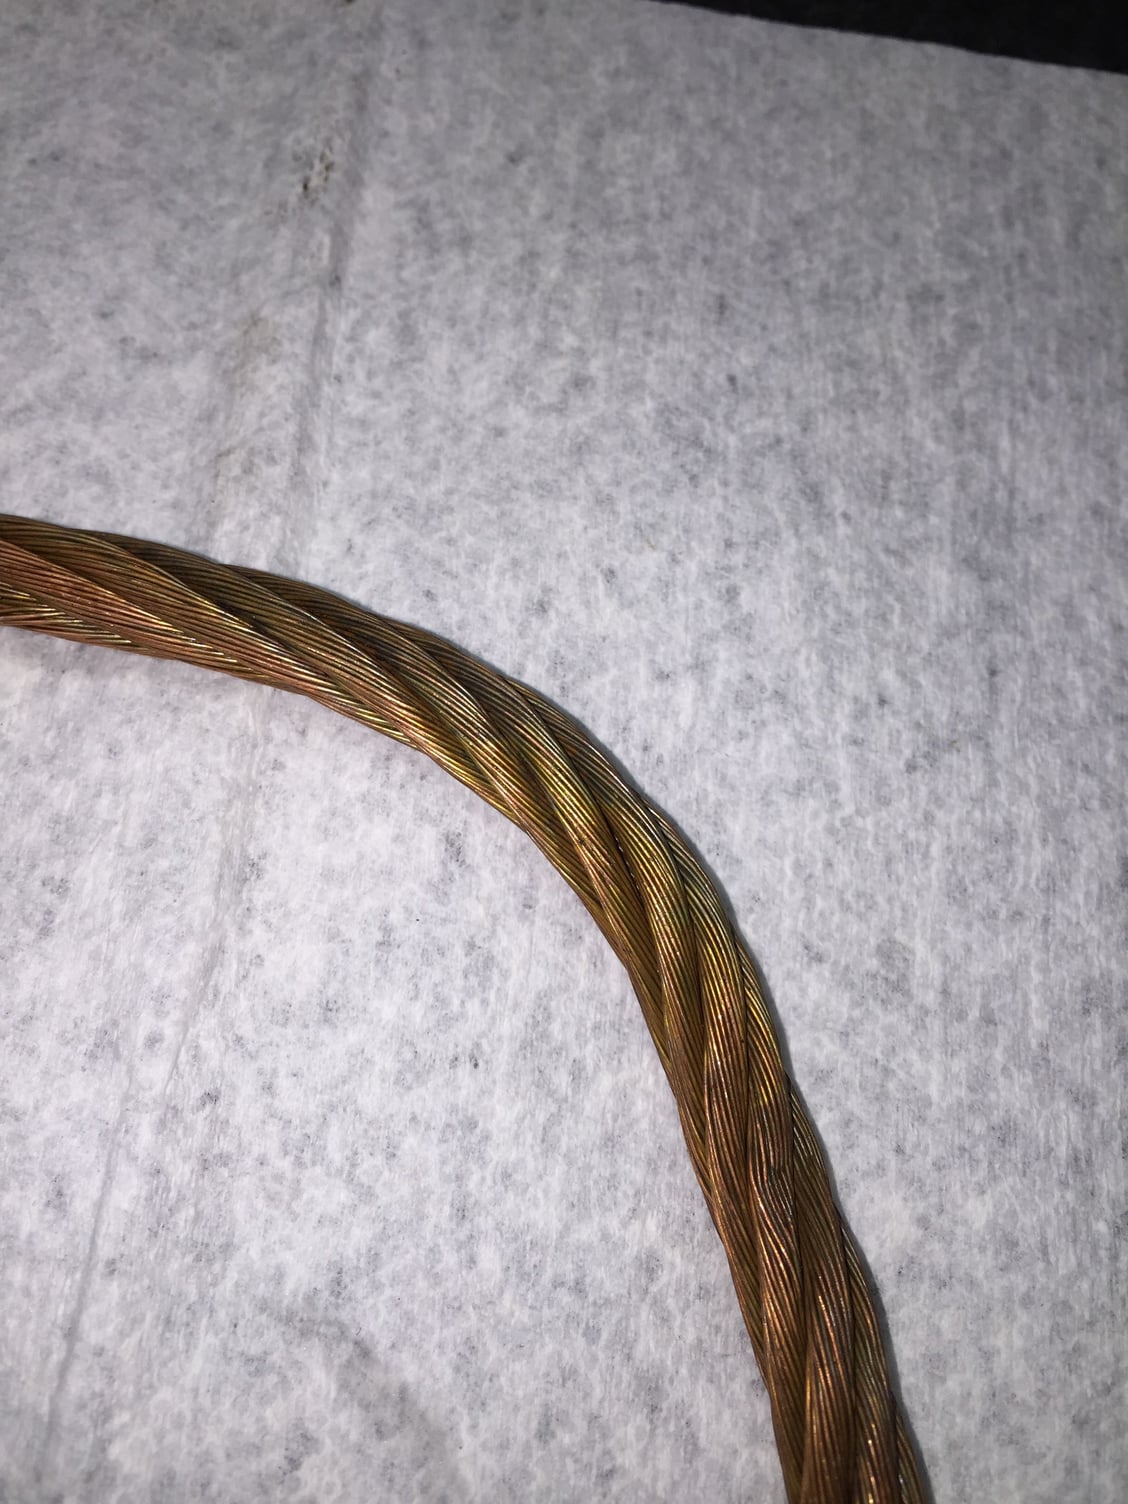
For giggles, I cleaned up the old engine to body ground cable. It cleaned up surprisingly well. There is a suspicious green tint to the copper strands at the bend of the 'U'. I might try to use this cable as an additional ground somewhere.
Yes, fuel door rubber is just so you don't scratch the paint...and if you think about it...when these cars were made most pump nozzles were pretty barbaric...with all steel handles that could cause isses. Now, most pump nozzles are all covered in rubber.
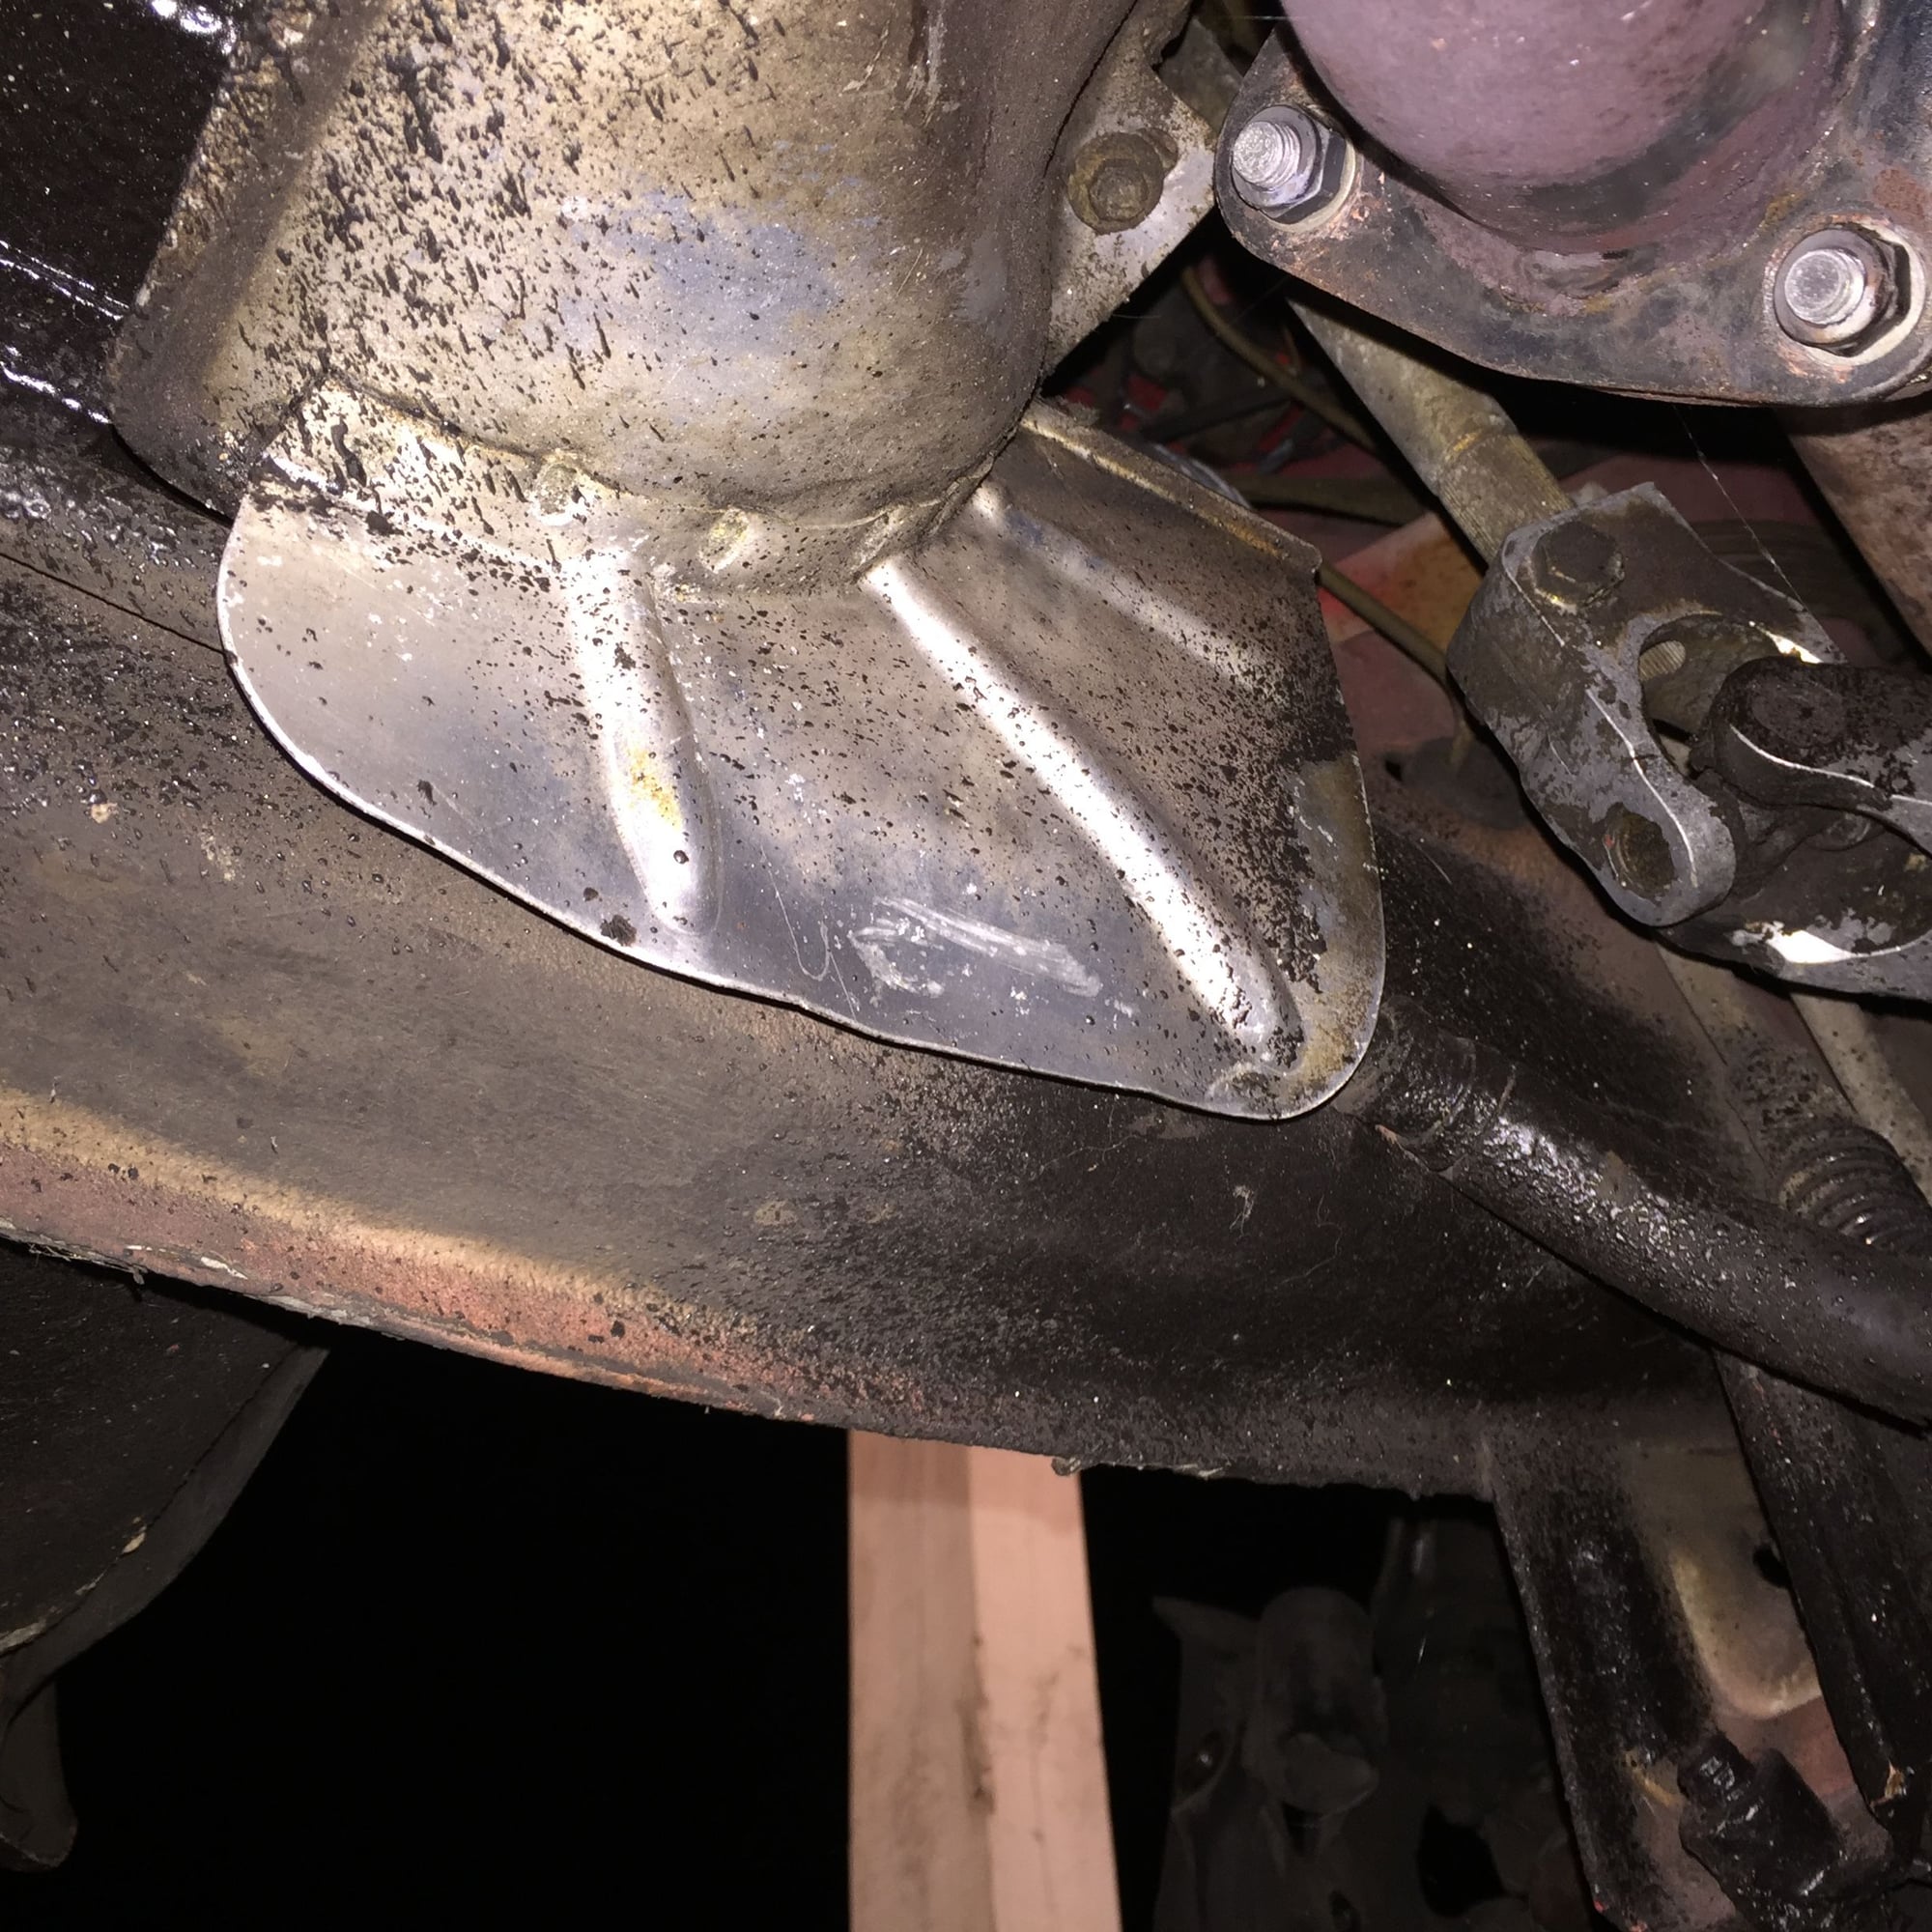
Yeah, I'll say you are definitely in need of some new motor mounts. Your oil pan is well below the crossmember. Mine was the same and after new mounts...engine sits about three quarters on an inch higher than member.
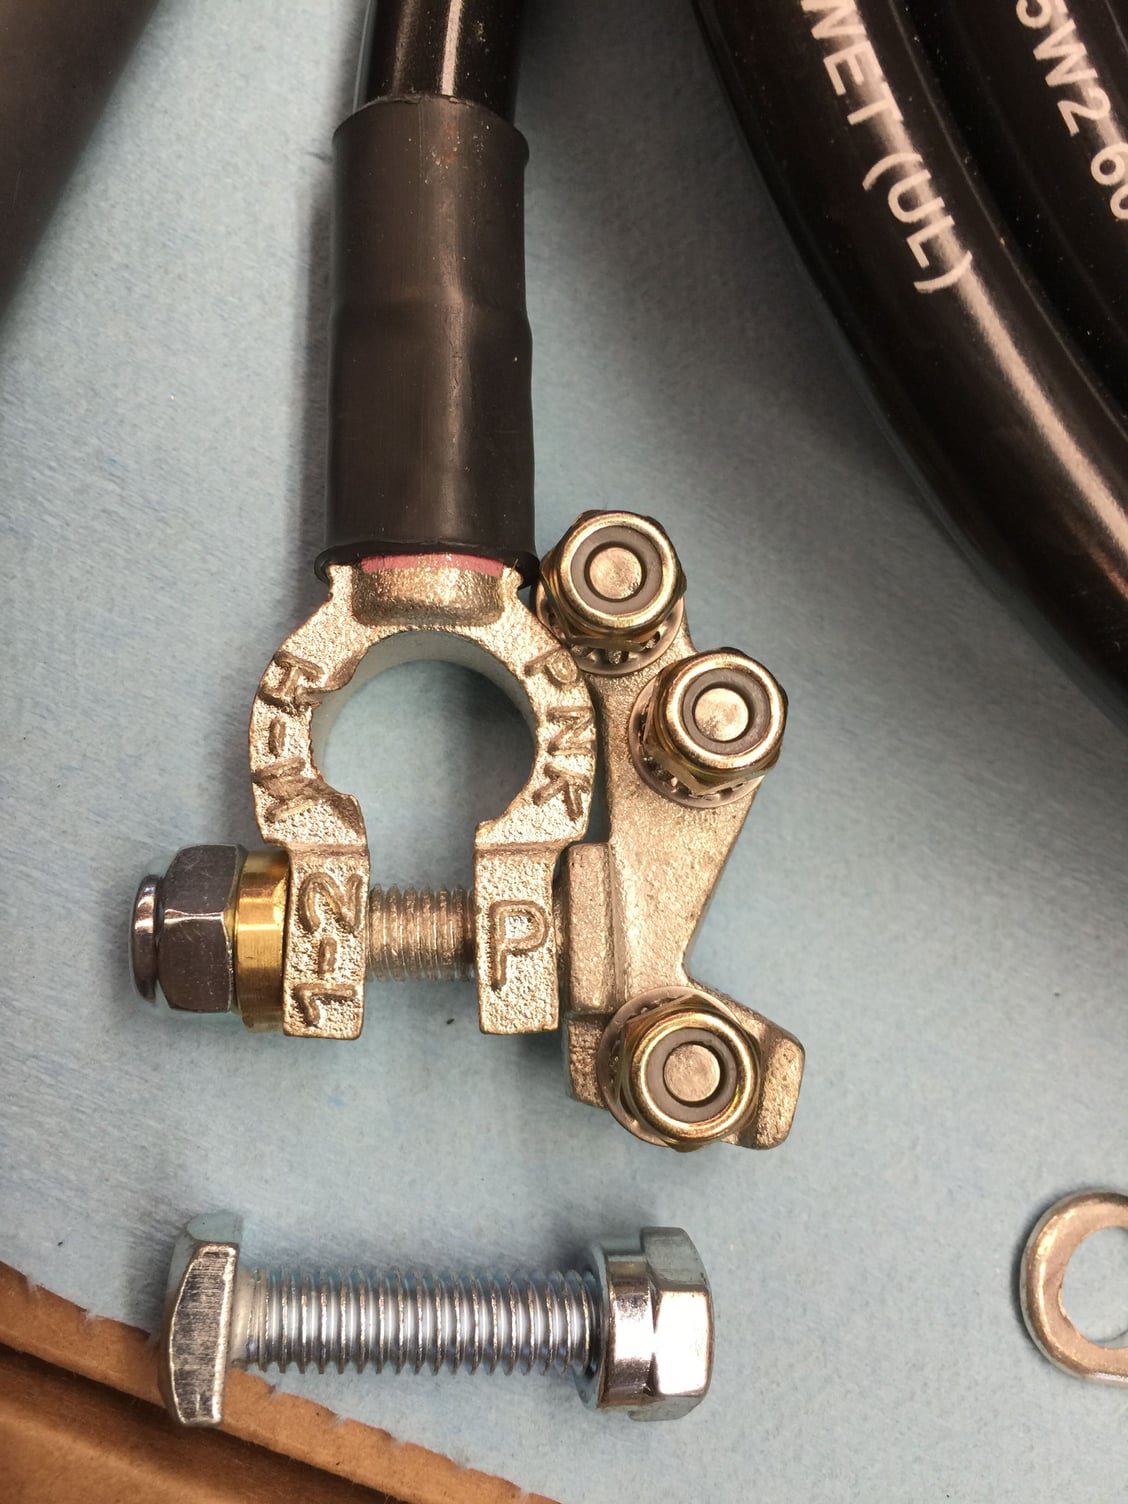
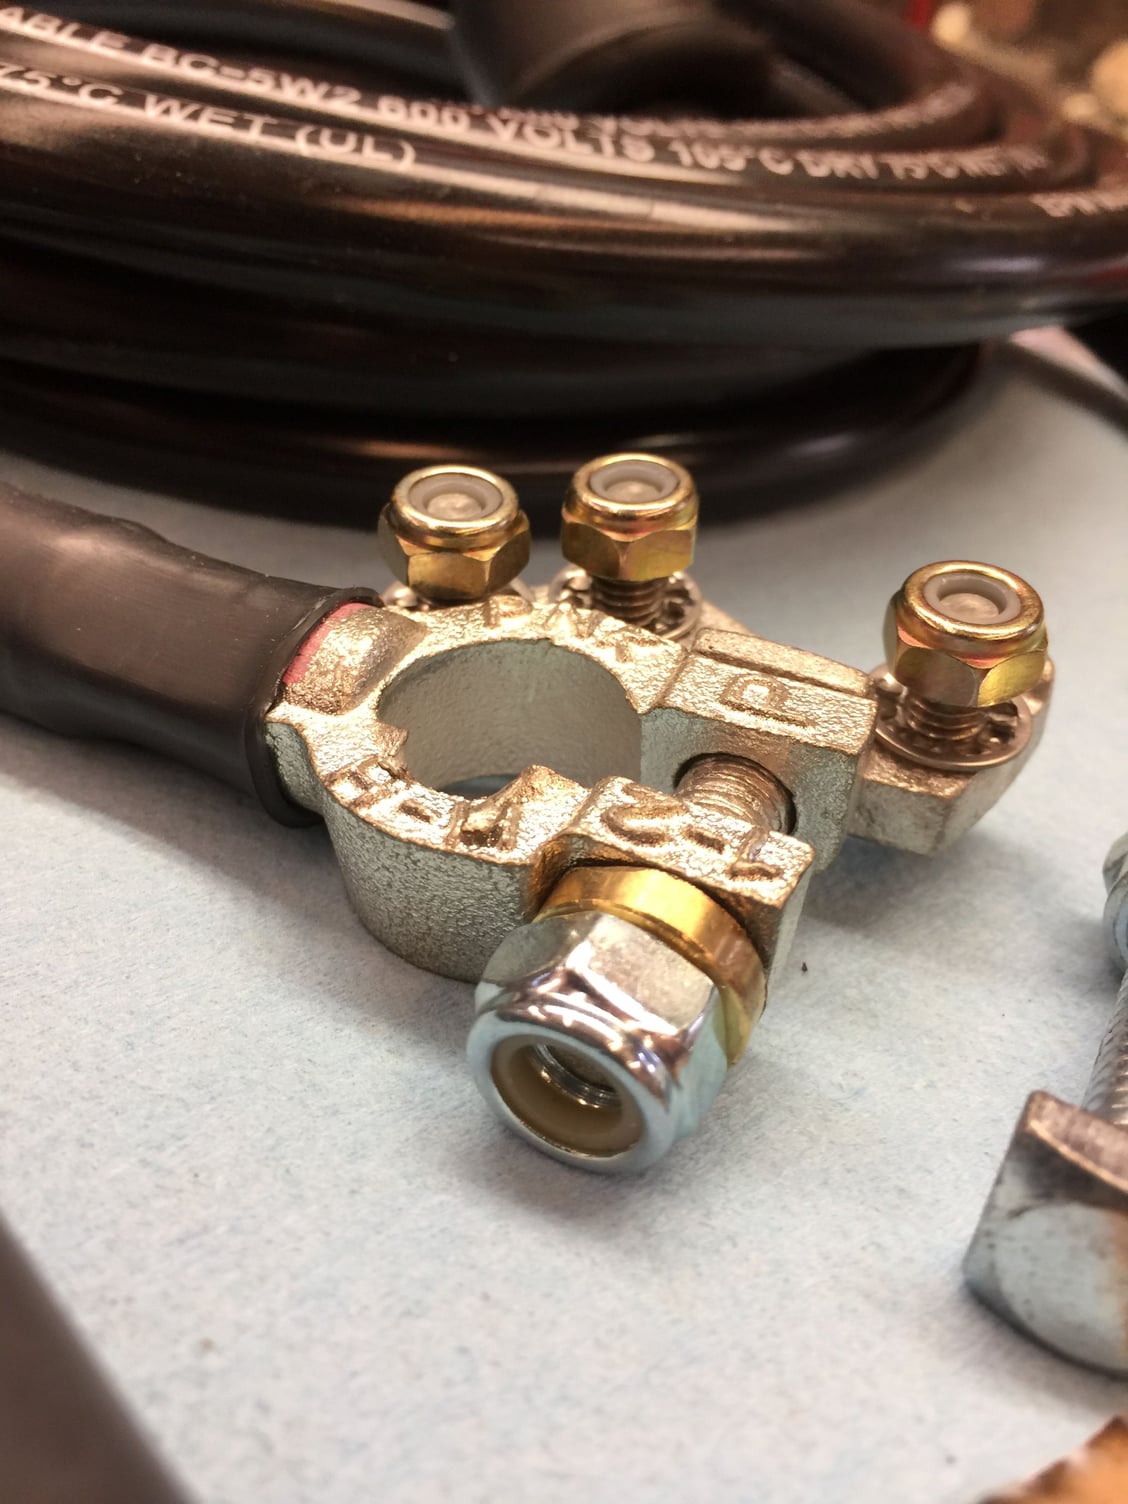
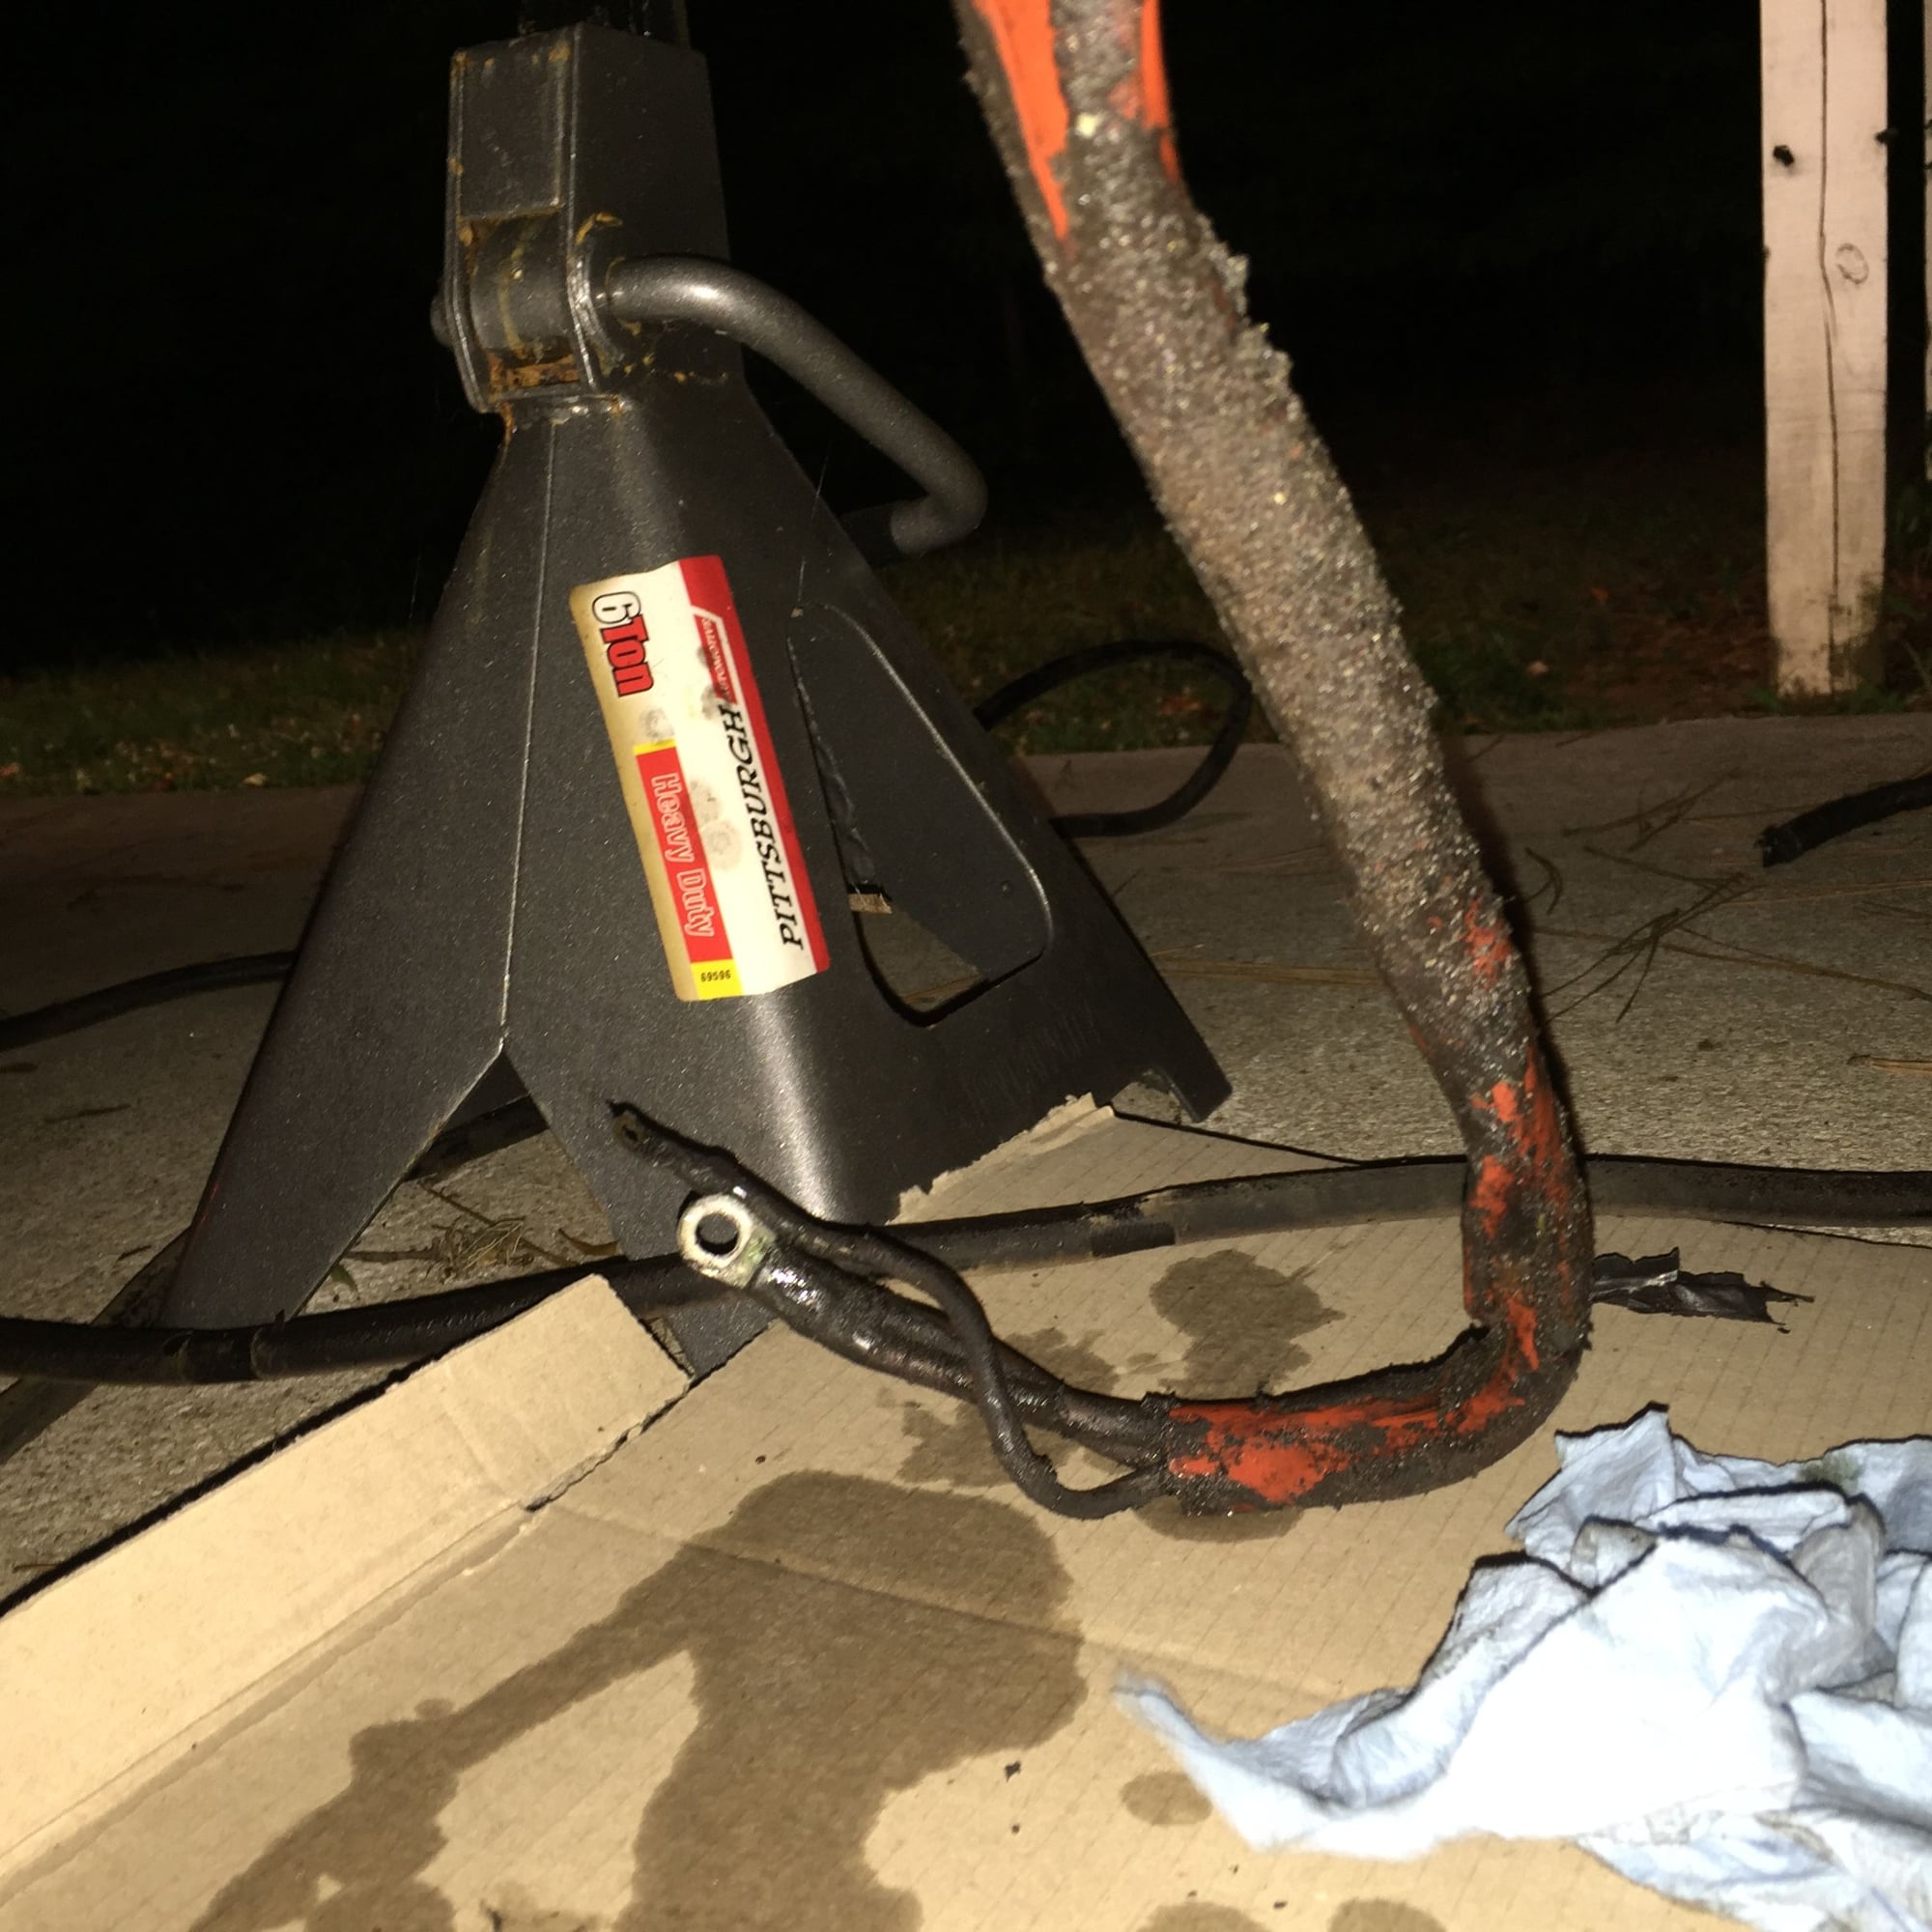
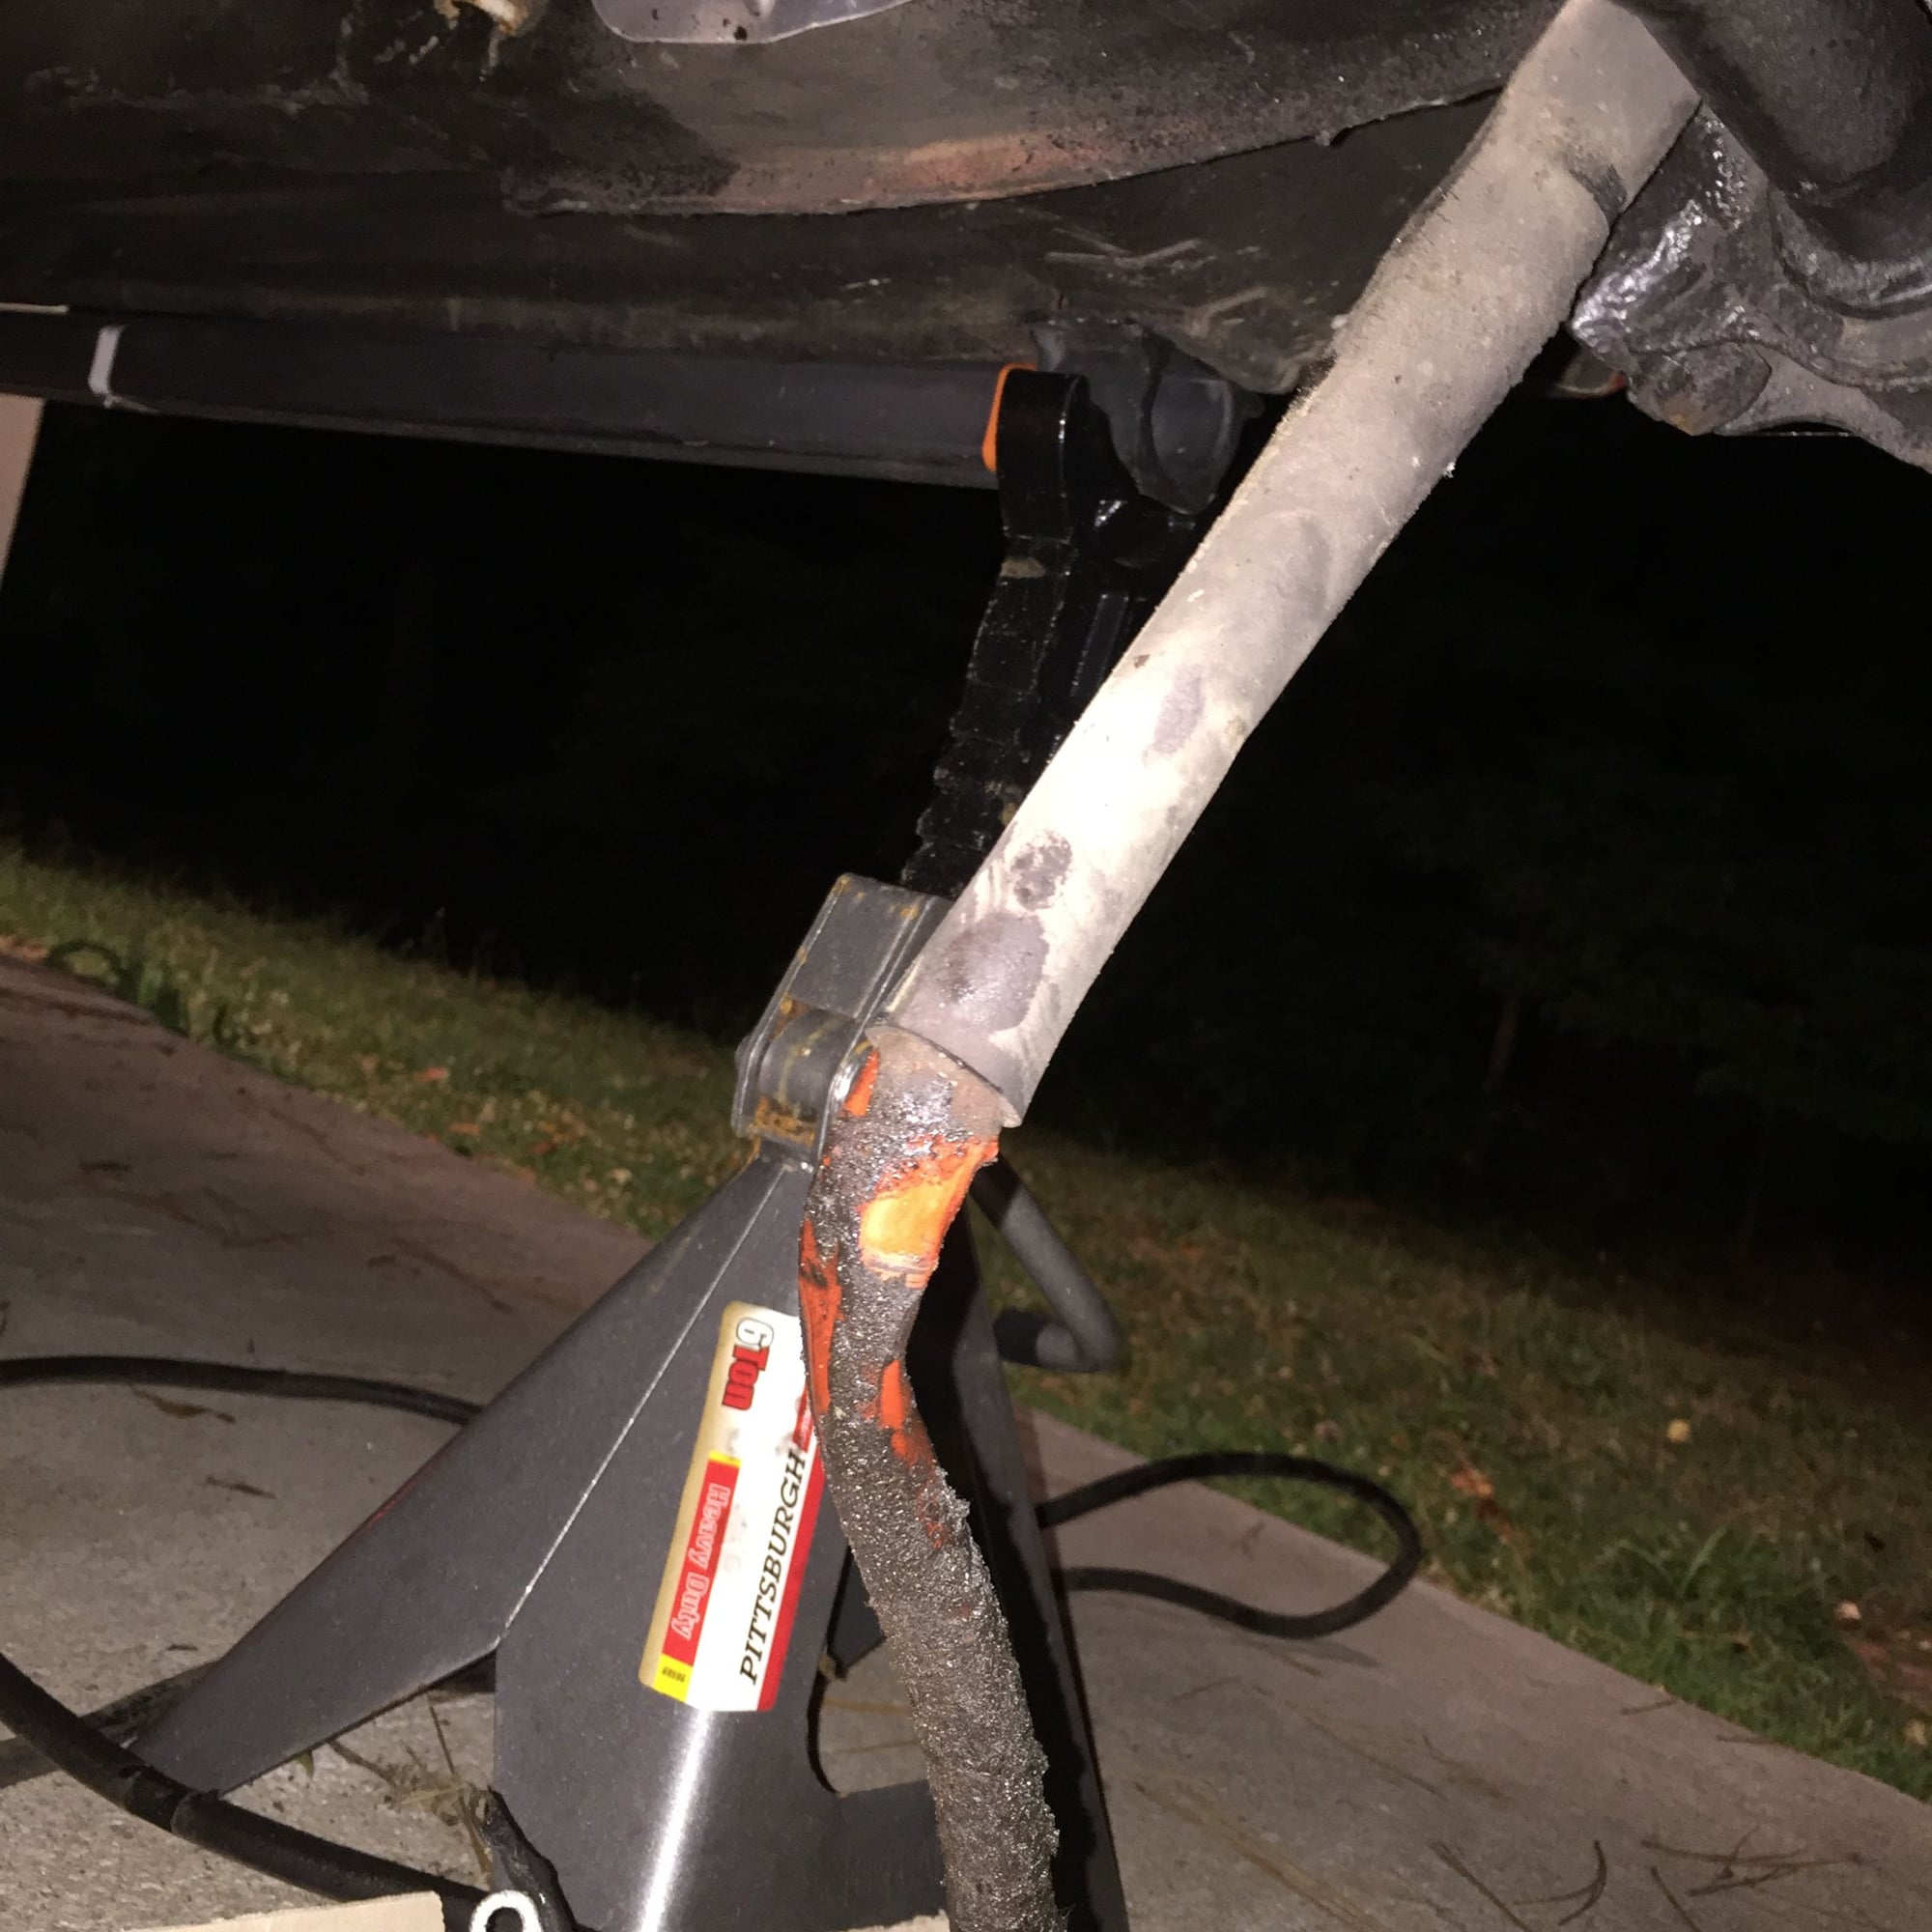
Here is the new (+) battery cable. I purchased 13' of 1 gauge marine battery cable, with the (+) battery terminal preinstalled and covered in heat shrink. I found www.bestboatwire.com after searching for 'marine battery cable.' Turns out, he is the same ebay vendor that several other 928 guys have bought battery cable from. Either way, the new cable and such looks very good.
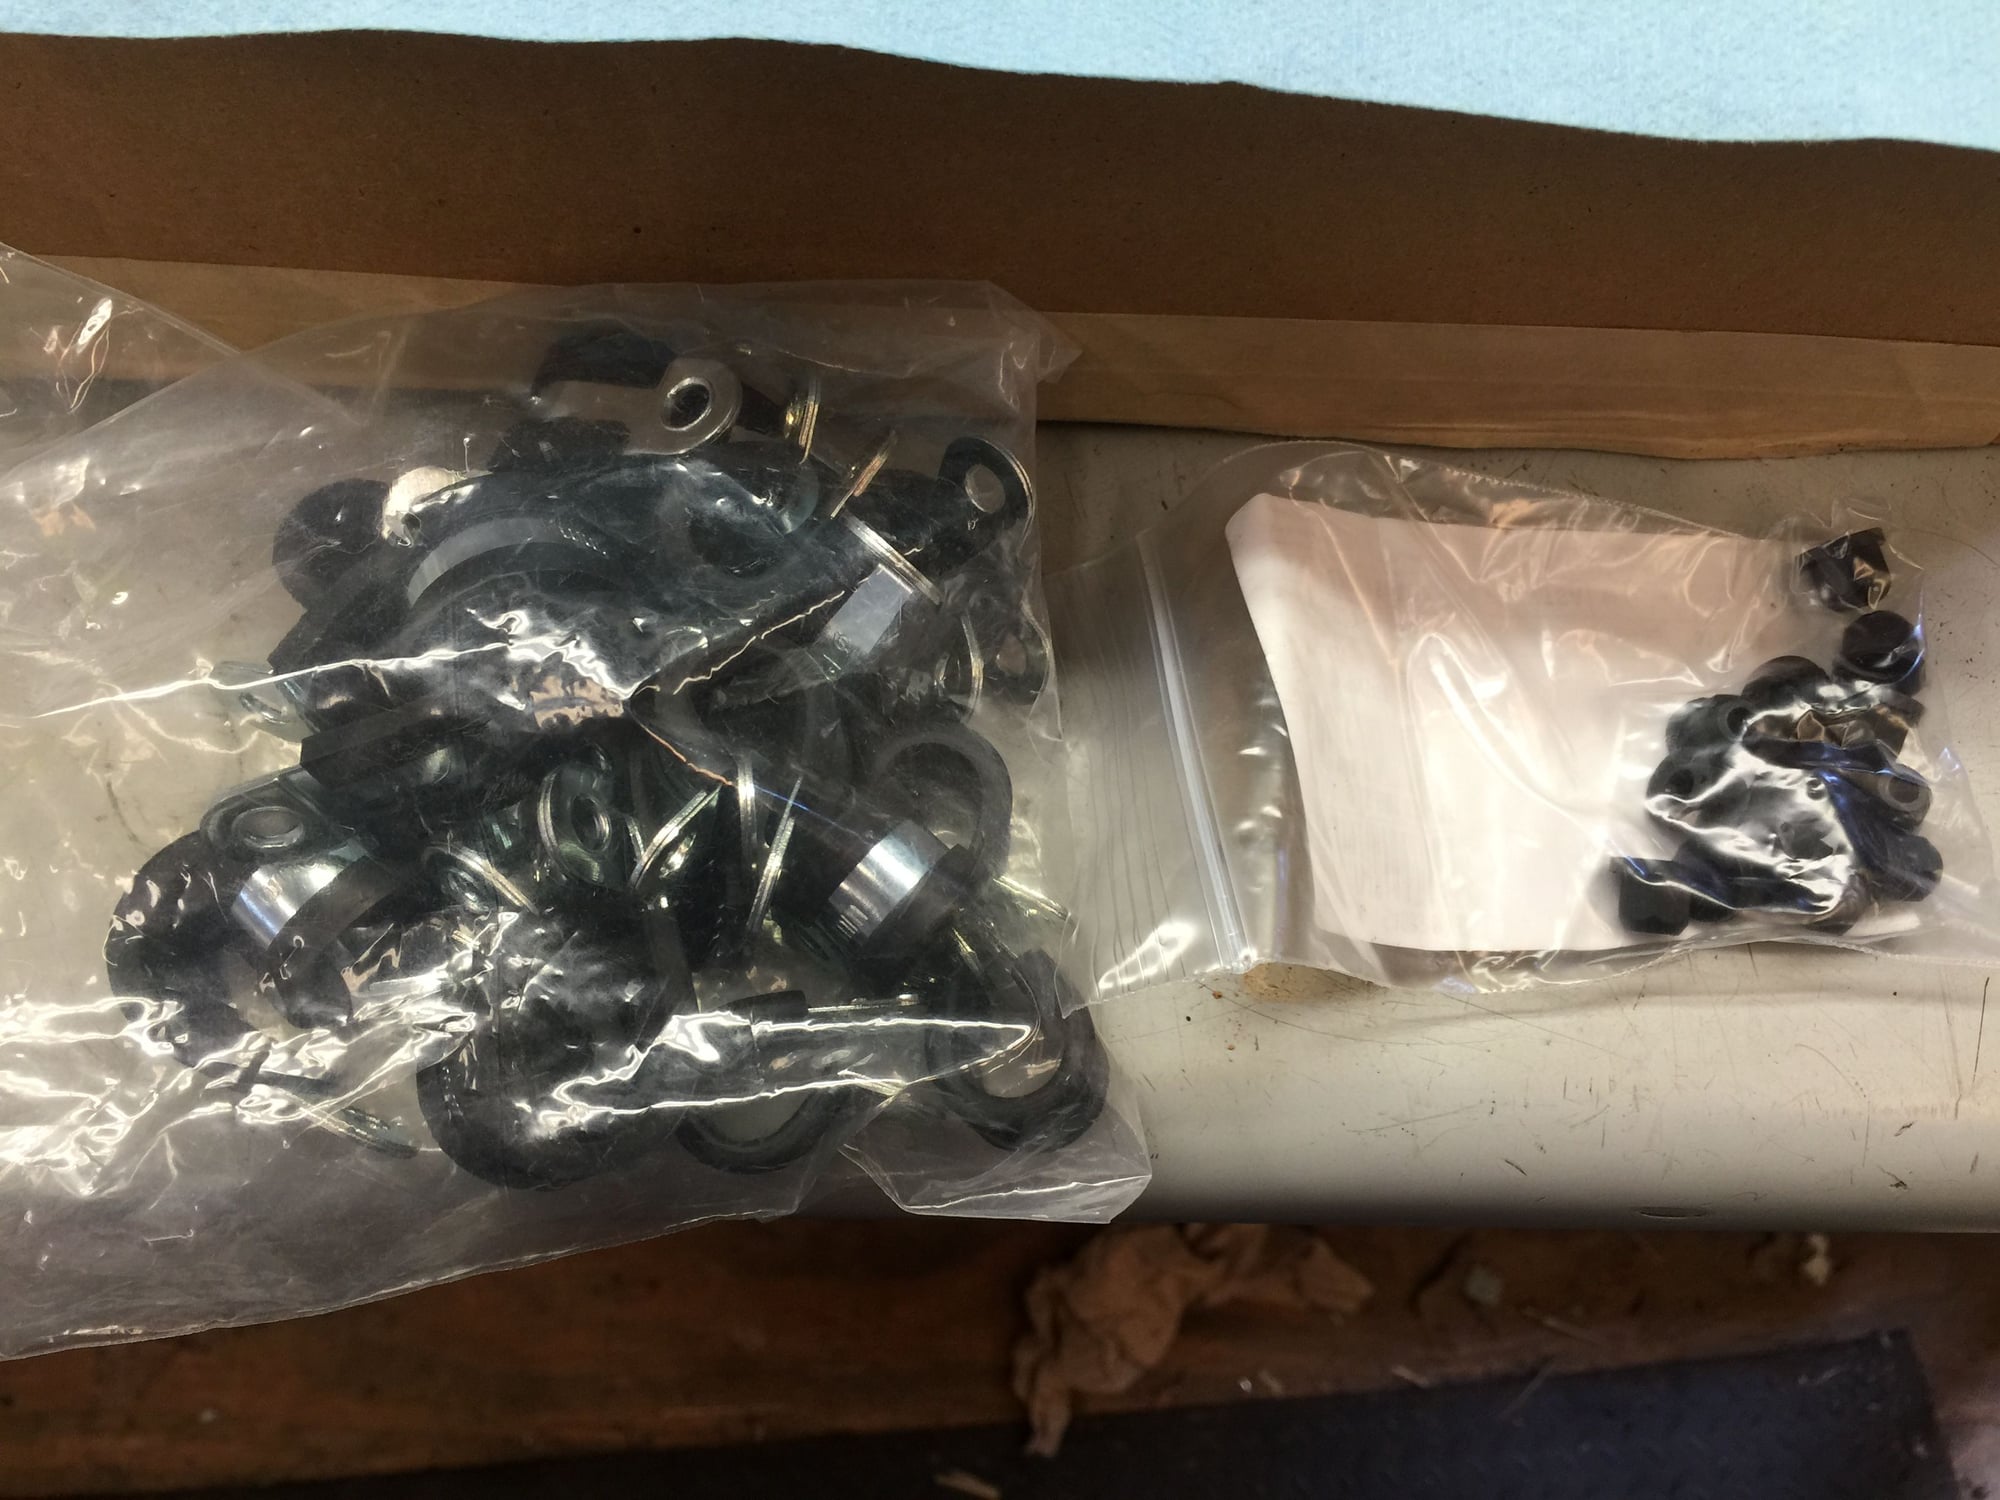
I also bought a bag of cable clamps, and a bag of the plastic nuts that secure the clamps. Once the cable is installed and routed, I will crimp on the end ring terminal and cover it in adhesive heat shrink tubing.
The battery box grommet for the cable cleaned up nicely. I bought a new grommet, but am not completely happy with it. It is shallow, lacking the bellows, and the hole is larger. The new marine battery cable is loose in the hole. The original grommet is tighter, and I can always use a small zip tie to cinch it up.
Not shown are various pieces of vinyl tubing, heat shrink, etc...that I intend to put on the engine end of the cable to protect it through the routing. I may try to remove the protective covering from the engine end of the old factory cable. Not sure if that will work yet.
As an experiment, I bought a twidget for a later S4 battery terminal. PET calls it a 'distributing piece.' It is an adapter that allows the installation of 3 small ring terminals. I have to figure out something, as the Red Witch has an extra red cable that connects to the battery (+) terminal. It goes out through a grommet, then up through another grommet into the area with the ABS wiring plugs in the front of the spare tire well. Then the cable goes on to the right side of the car.
I don't know what it is, but it looks factory, and I probably need it. So...I am trying the adapter. The plastic cover will no longer fit on the battery (+) terminal, but I believe it will clear the battery compartment door. We shall see.
My goal is to finish the installation of the new battery cable and accessories this weekend. Of course, I have said silly things like that in the past...
Great job Seth. I am following your work closely because I also need to replace my battery cable to the front. I am particularly interested how you are planning to route it from the back to front.
Thanks for sharing. I will be ordering that cable as well.

 08-07-2016, 12:06 PM


 But, I DO have fun.