When you click on links to various merchants on this site and make a purchase, this can result in this site earning a commission. Affiliate programs and affiliations include, but are not limited to, the eBay Partner Network.
I read one thread which said that this swap would work just fine, but I guess I'll have to do more research. I have a signal generator that I can use to compare the two. I'll try to do that when I get home.
I've changed from a '80 MPH to a '81 KPH speedo on my '80 without any problems. They both use the same pulse sender, '82 is same speedos and pulse senders as '80.
I've changed from a '80 MPH to a '81 KPH speedo on my '80 without any problems. They both use the same pulse sender, '82 is same speedos and pulse senders as '80.
Thanks for the bump in confidence. I might still bench test and compare just out of nerdy compulsion.
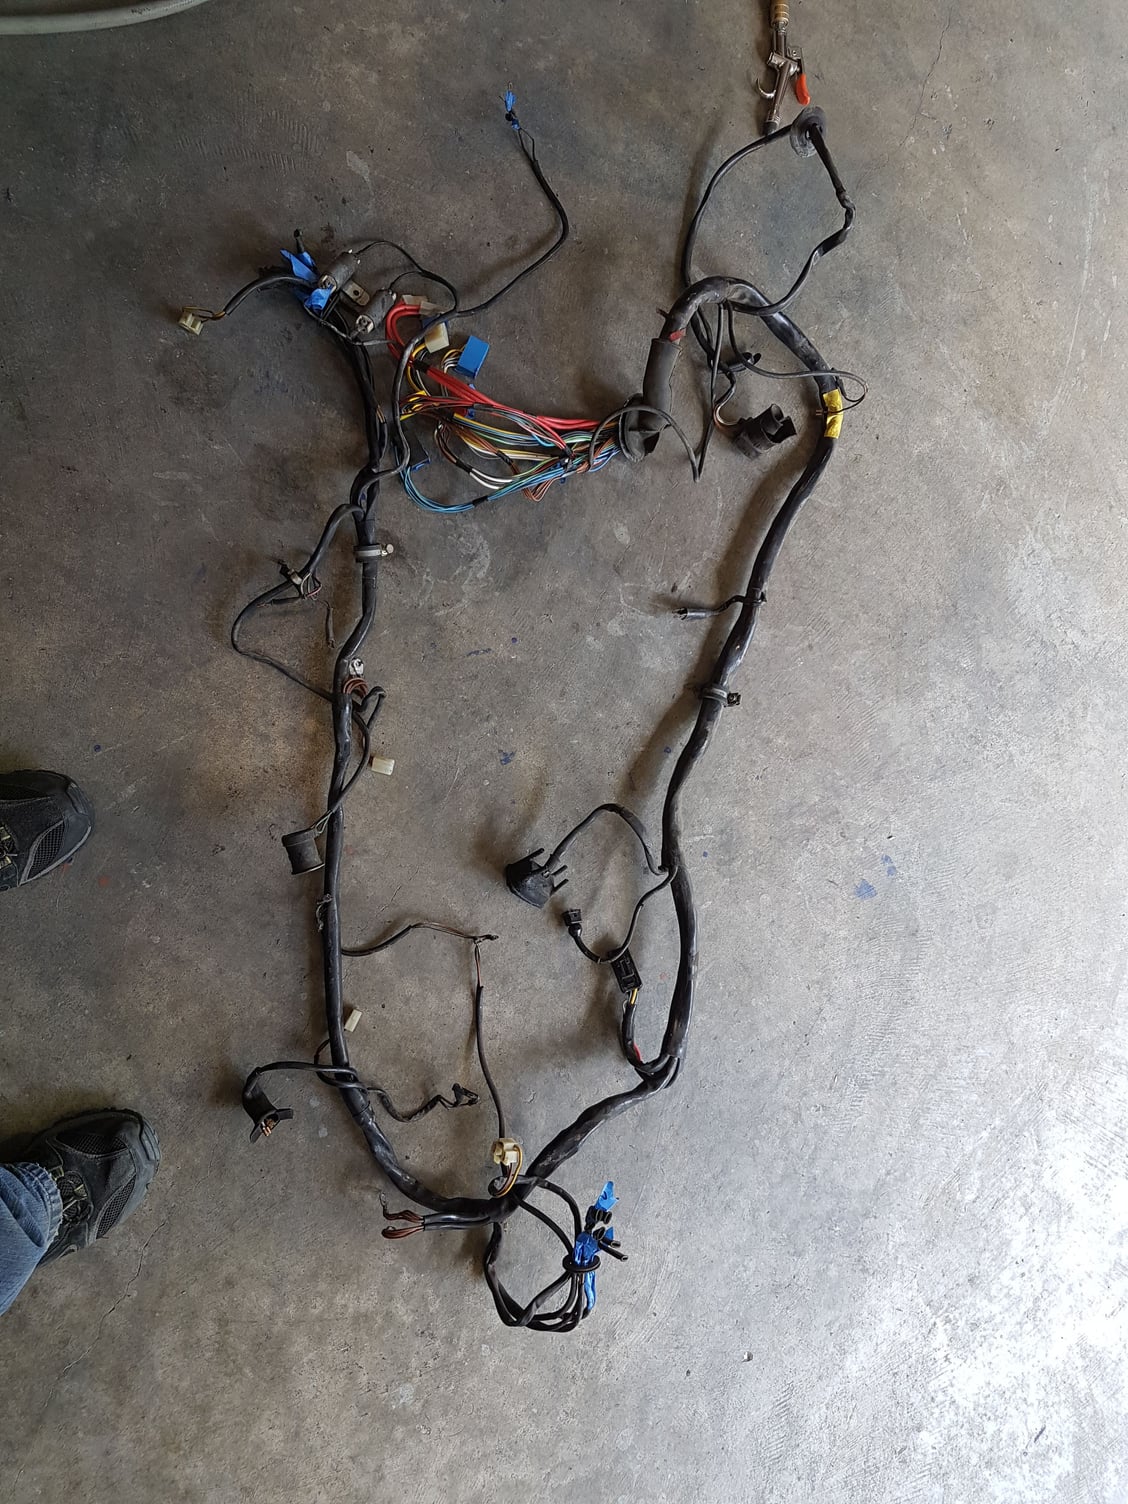
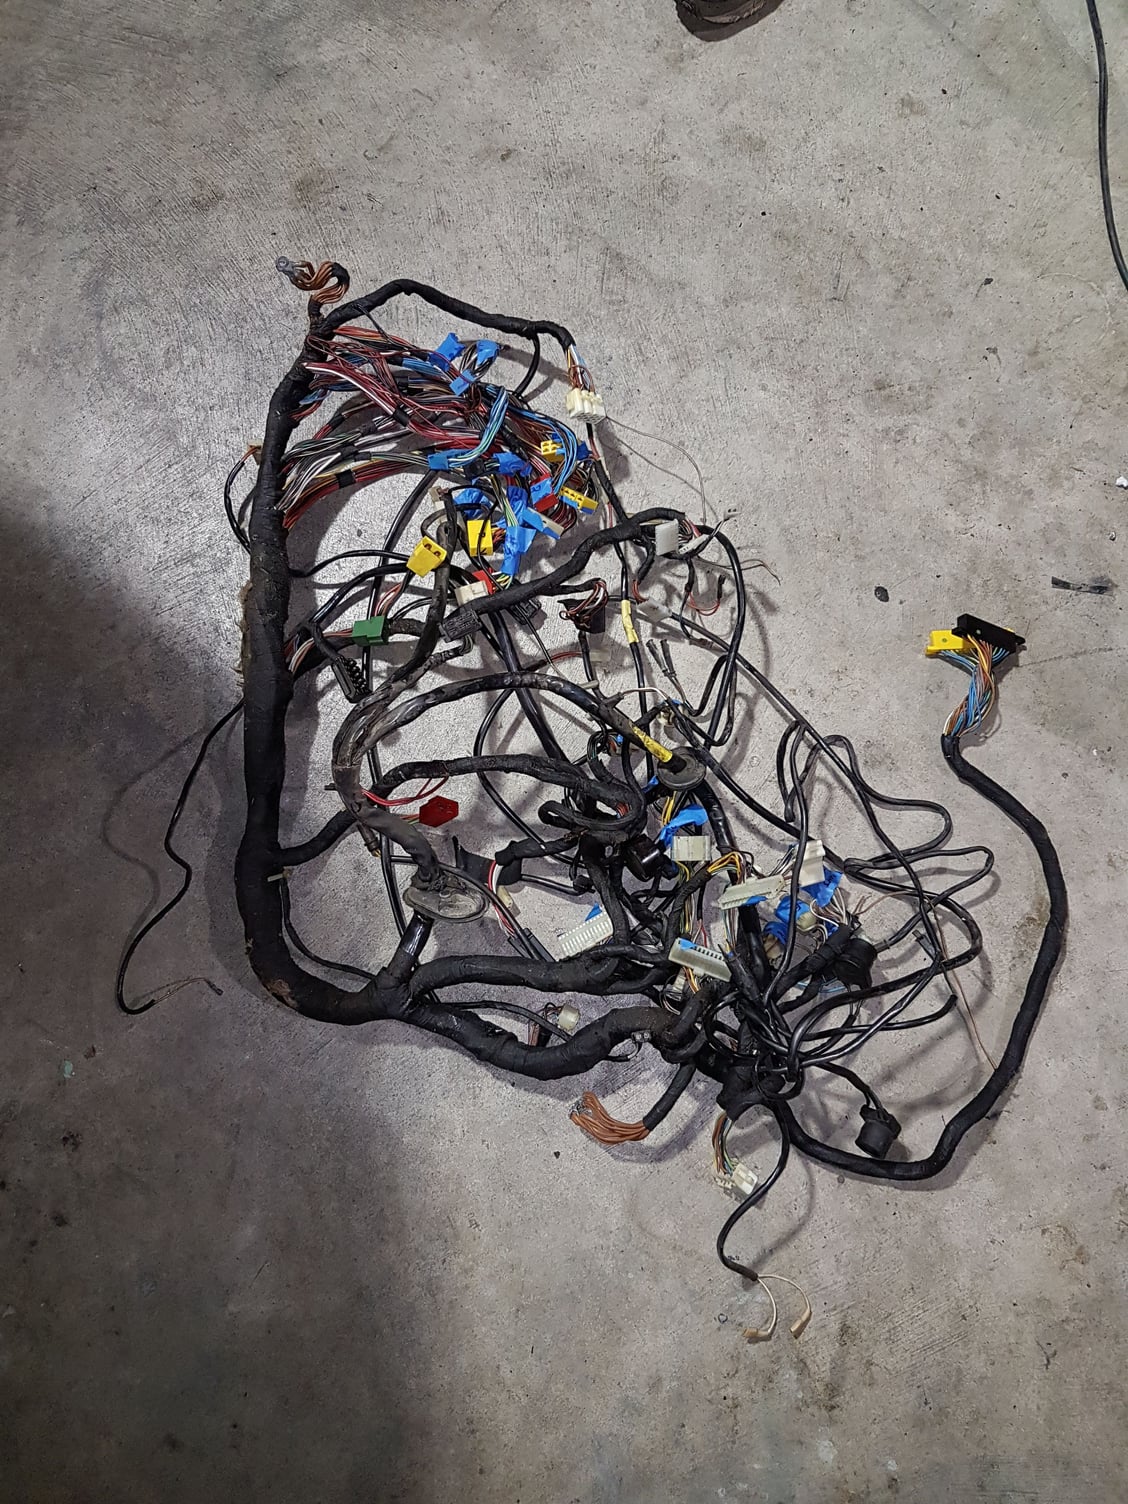
Quick update: I did a couple of days in the shop doing the least sexy jobs that can be imagined. I finished pulling the two wiring harnesses from the engine bay and got the CE panel pulled.
Evidence/trophies:
Those were hard fought, but I think it'll be worth it. I'm going to clean the hell out of the harnesses and will also clean each connector. After that, I'll check the resistance of each circuit. Should be hours and hours of fun!
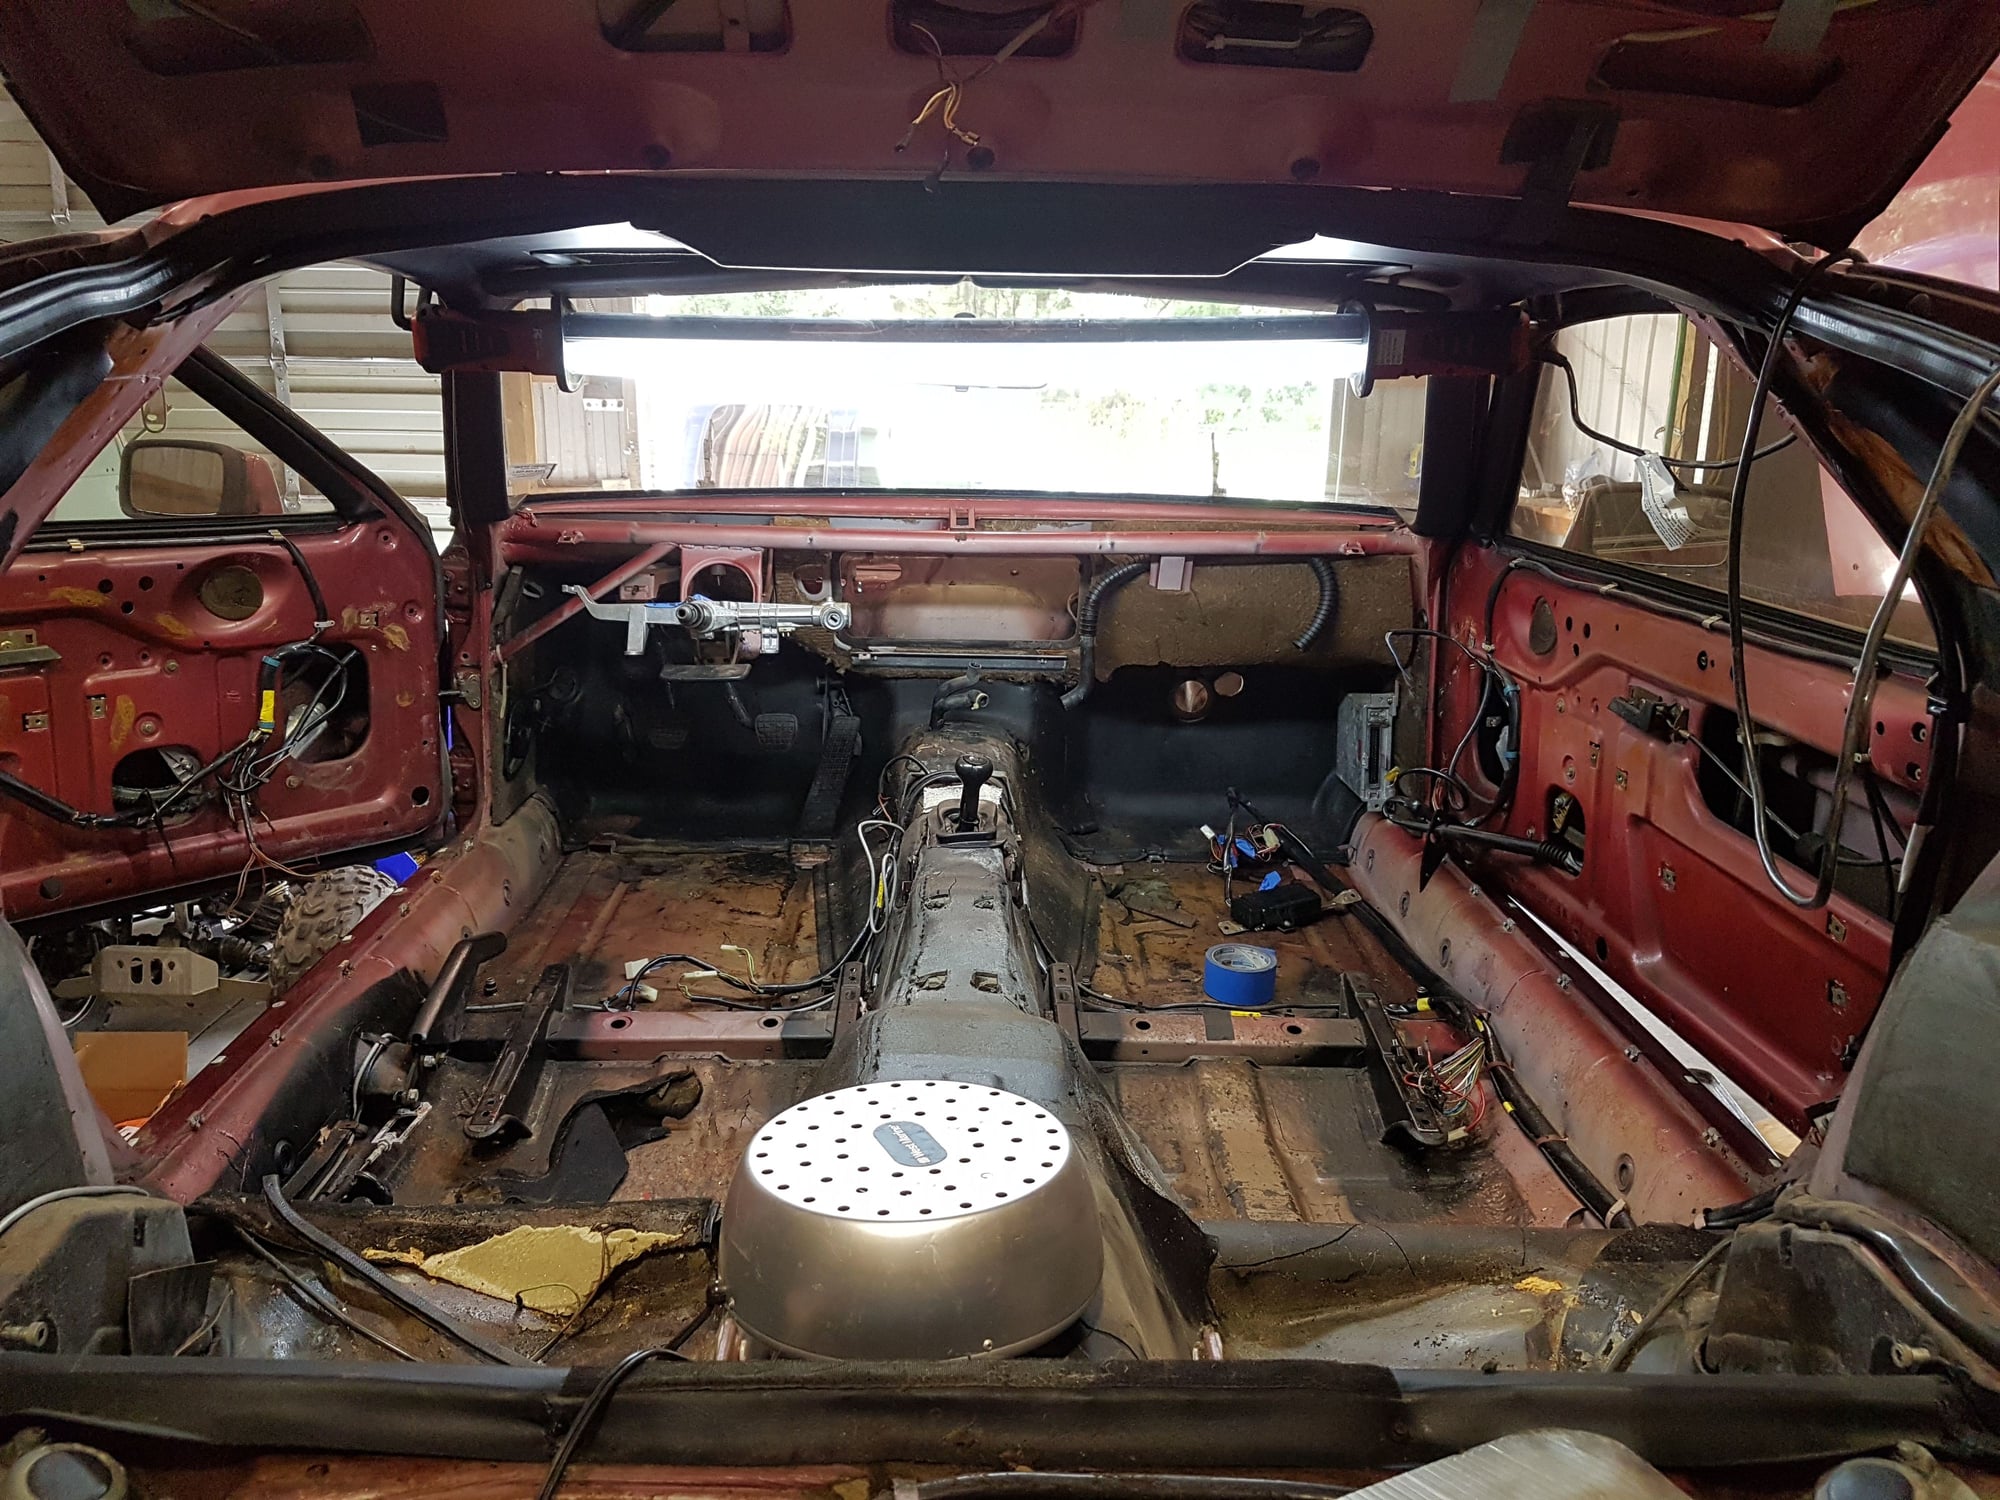
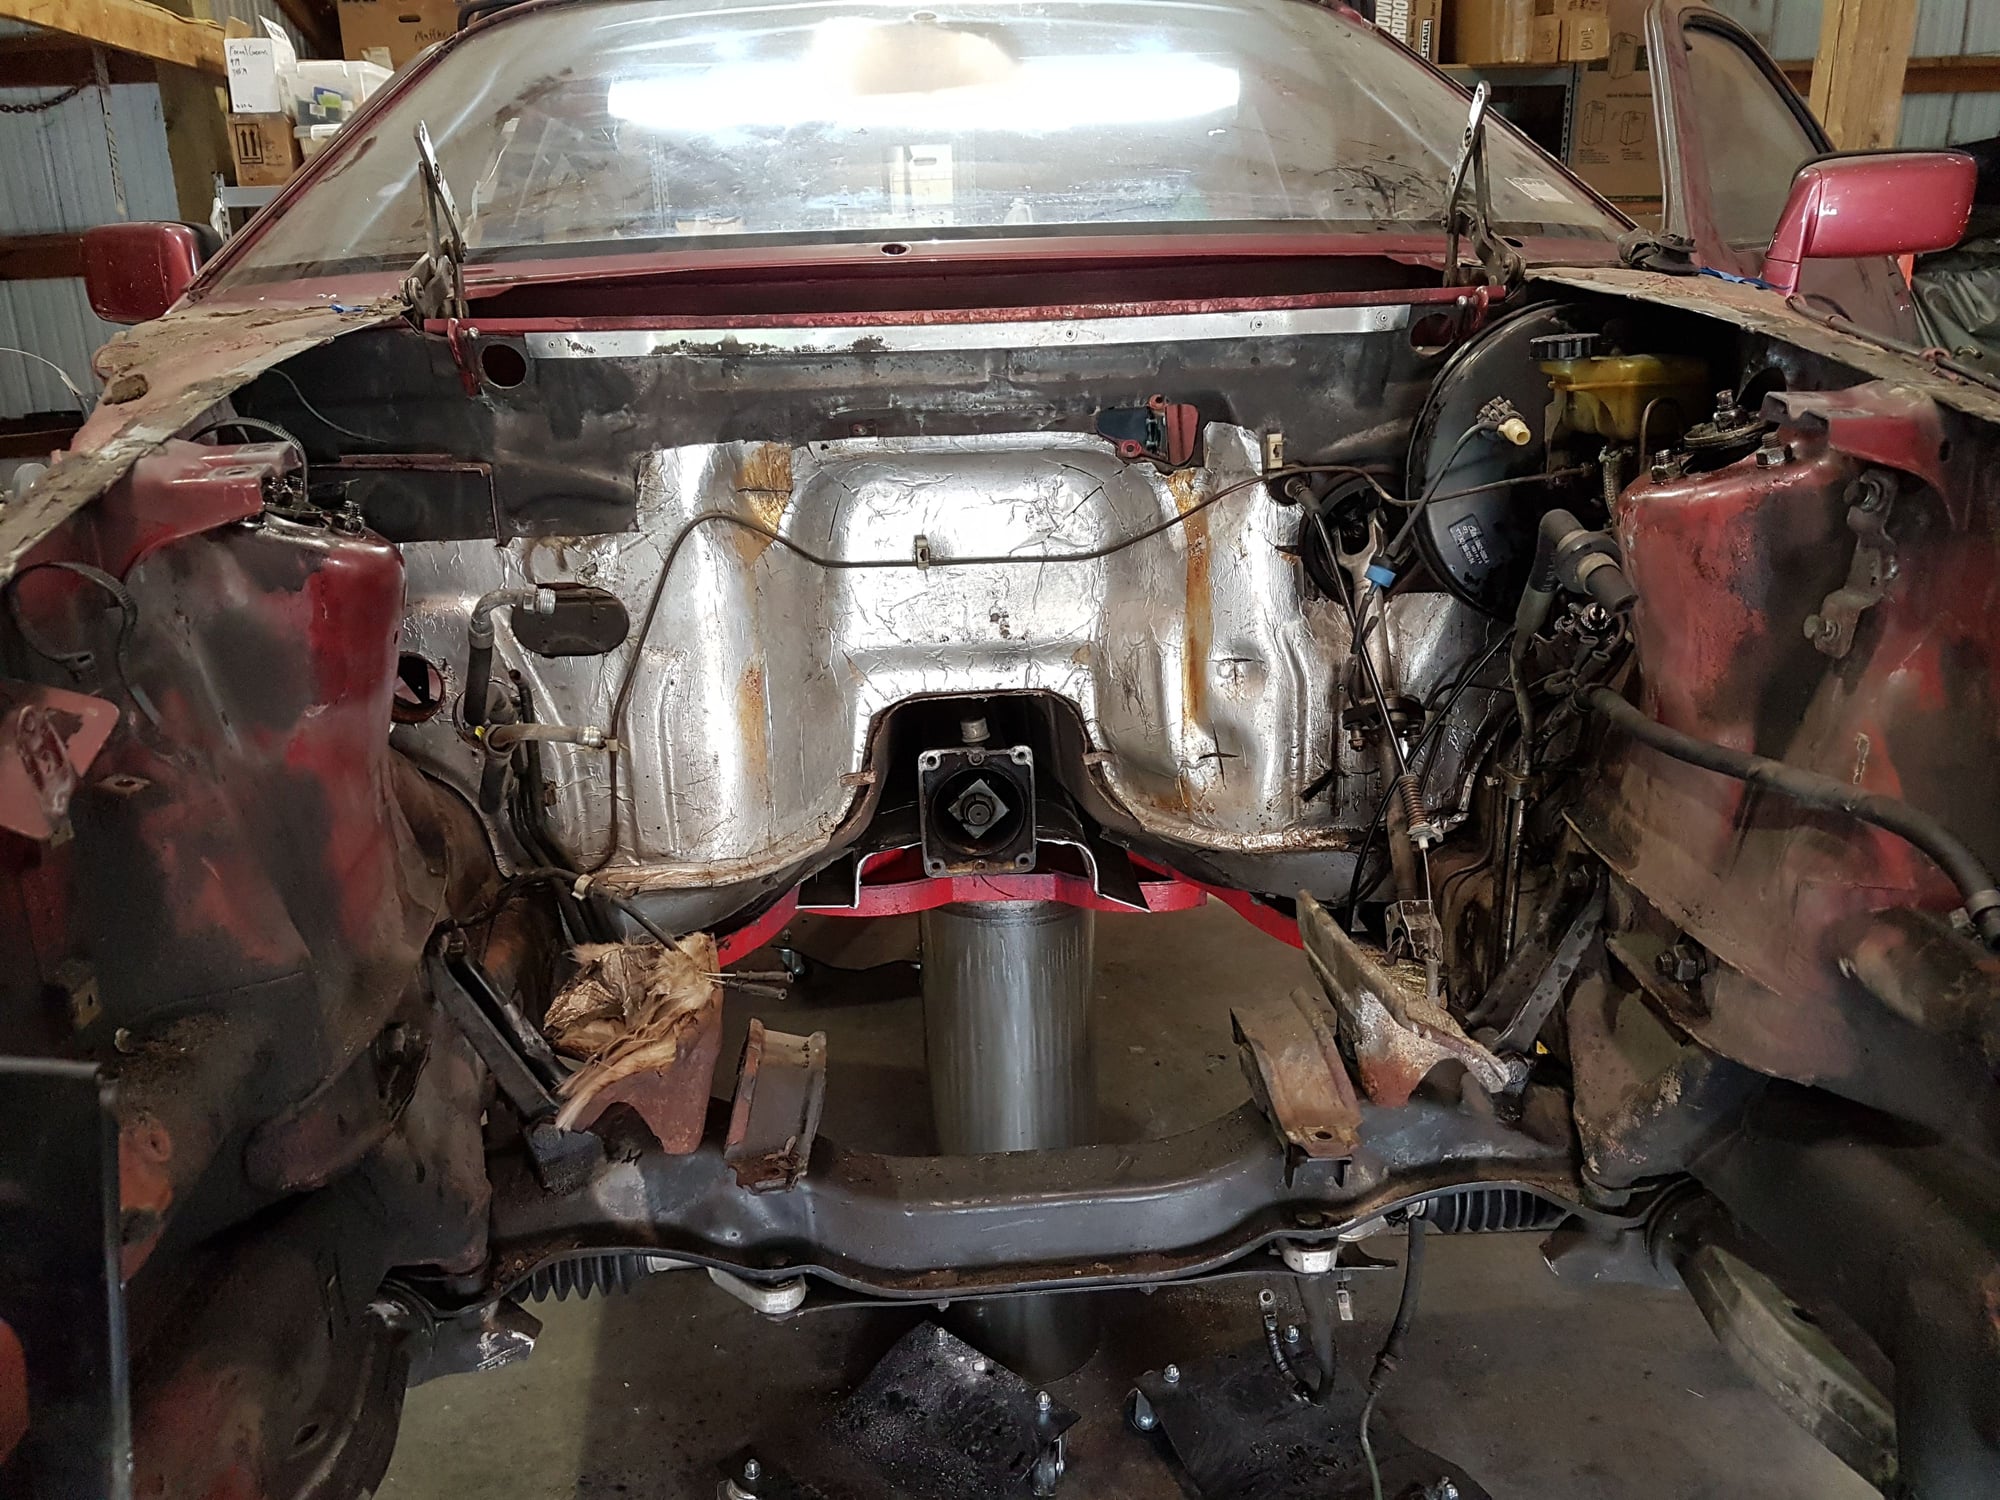
It's getting cleaner, both in the engine bay and in the interior:
Once I get they hydraulic system removed I can move on to the rear of the car. Next up is to drop the fuel tank and get the torque tube and transaxle removed. After that I can get it over to the detailer who will clean the bejebus out of everything.
In the meantime, I'm welding up a quick body dolly so that I can pull the suspension once it's all clean.
I did get stymied by one issue. I was trying to remove the doors, but ended up ruining one of the bolts and couldn't get another to move. I suspect the paint is giving me a hard time. I'll try some TLC from the smoke wrench next time I'm out there to see if that helps. I'll probably just have to cut the head off the one I ruined. I'll hopefully weld a nut to the remains to get it out.
How are you keeping track of everything for the re-assembly. Do you have a completion date in mind. What a story, a real tribute to Gary.
Yeah, that's the million dollar question, isn't it? Here's my general process:
1) Take a bazillion photos - before, during, and after disassembly.
2) Make a quick sketch and a description of the assembly on a 3x5 card
3) Store the parts in either a large ziplock bag or in a takeout container like this.
I'm still worried about sending things out to the plater. I'm not sure how I'm going to be able to dump all of the hardware into a bucket and then sort it back out for reassembly. I'm going to have to spend some quality time with my notes and the parts diagrams to make sure I have confidence. Otherwise I'll have to measure and catalog each nut and bolt. That does NOT sound like fun.
If you haven't already, grab a copy of the parts catalog (PET) online from Porsche as PDF. It lists all the fasteners. Although not the perfect guide, it will help a lot as you sort and organize.
Note that new fasteners from Porsche are frequently not plated as original. If you want the consistent yellow cad plating that was originally supplied, you'll want to have your pieces replated. I'll warn you now that while the zinc-plus-yellow plating process is popular among platers, and looks "OK" when it's first done, it doesn't hold up nearly as well as the original cad. Since you are in an aircraft-supplier neighborhood, you should be able to find a good plater that will do your bits by the pound, delivered in your bucket. The bucket method means all your pieces are together and will need to be sorted and cataloged again when you get them back, of course. But you do get to do all of them so they are the same. Lots of engine bits and brackets get the treatment too at the same time.
Neat - thanks! I think I'll leave the bulk up to the pros, but I'll keep this in mind for the stuff that I'll invariably miss.
Originally Posted by dr bob
If you haven't already, grab a copy of the parts catalog (PET) online from Porsche as PDF. It lists all the fasteners. Although not the perfect guide, it will help a lot as you sort and organize.
Note that new fasteners from Porsche are frequently not plated as original. If you want the consistent yellow cad plating that was originally supplied, you'll want to have your pieces replated. I'll warn you now that while the zinc-plus-yellow plating process is popular among platers, and looks "OK" when it's first done, it doesn't hold up nearly as well as the original cad. Since you are in an aircraft-supplier neighborhood, you should be able to find a good plater that will do your bits by the pound, delivered in your bucket. The bucket method means all your pieces are together and will need to be sorted and cataloged again when you get them back, of course. But you do get to do all of them so they are the same. Lots of engine bits and brackets get the treatment too at the same time.
Thanks dr bob. The only thing about the PET that makes me nervous is the lack of grade specification. They just say something like "hex-head M5x12". Now, I'm fully aware that that's just me overthinking things, but that sort of crud keeps me up at night.
You're also right that there are a bevy of good platers around here that are willing to do yellow CAD the right way. We're very lucky in that aspect.
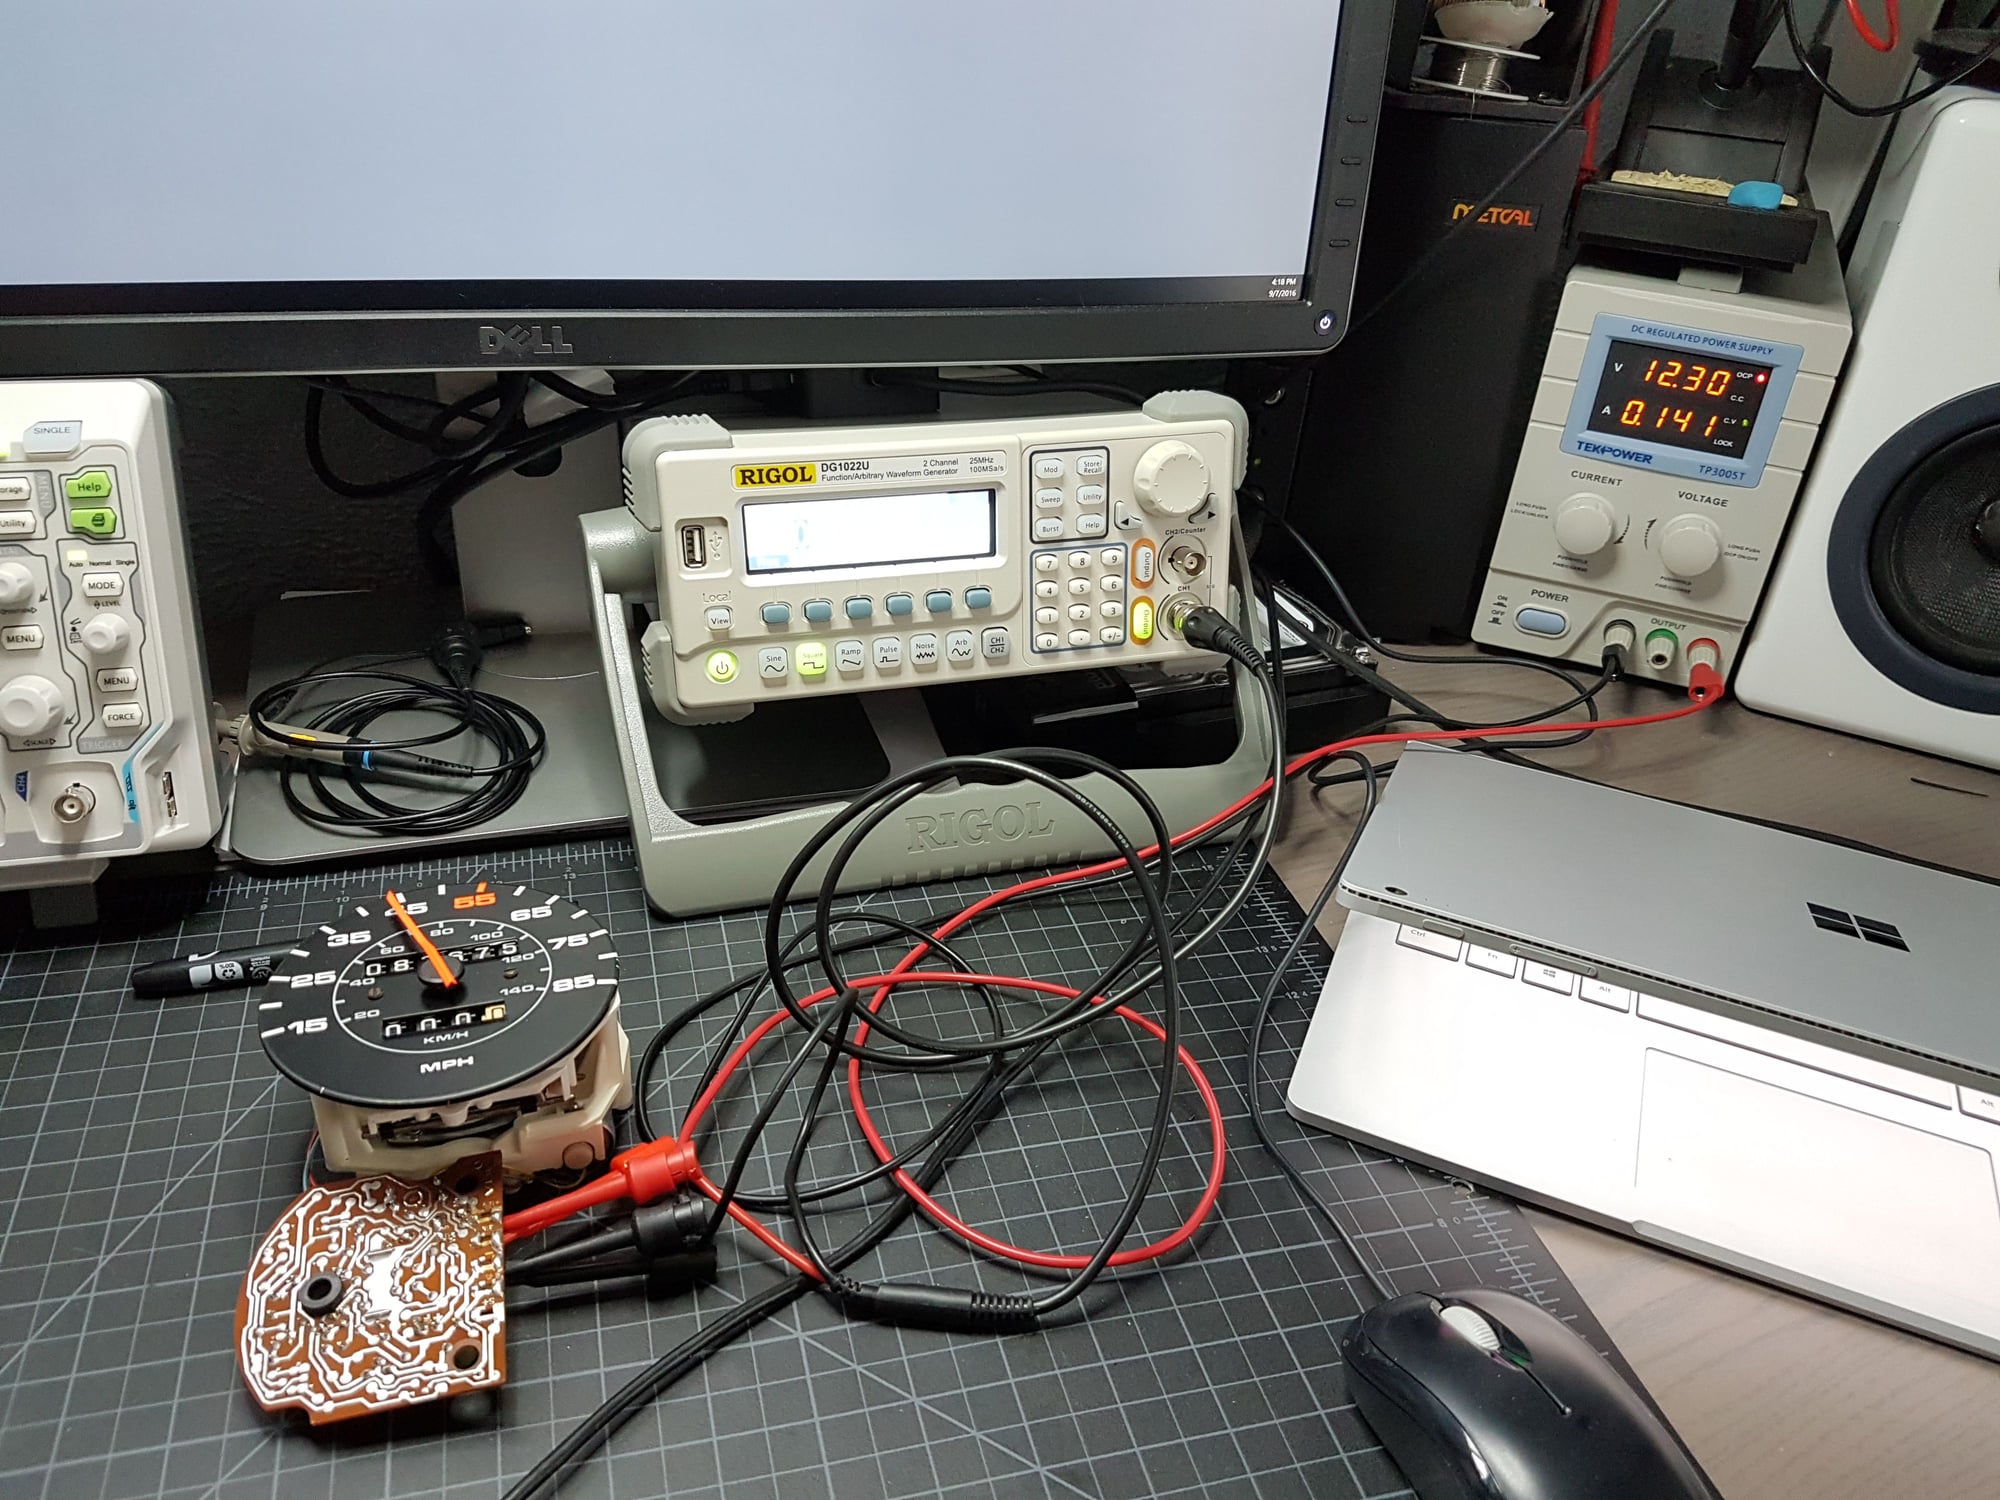
Small progress from the bench while I'm stuck in the office. As mentioned before, I'm moving over to the 160mph speedo and there was some concern that they wouldn't swap easily. I decided a bench test was in order before I buttoned everything up. Here's my test rig:
**Note - do not let the specter of cool equipment fool you into thinking I know what I'm doing. I use this stuff for work in very limited ways. I am in no way an EE. Proceed at your own risk.**
Since the VDO speedo is looking for pulses sent to it from the sensor I decided to mimic that. I used my small DC regulated power supply set at 12.3v to connect to the '+12v' terminal with the ground on '-'.
From there, I setup my function generator to output a square wave at 80hz with a high of 5v and a low of 0v with a duty of 50%. This should turn out to be 43mph.
That checks out. I can also see the worm gear crawling along without a gear to interface with.
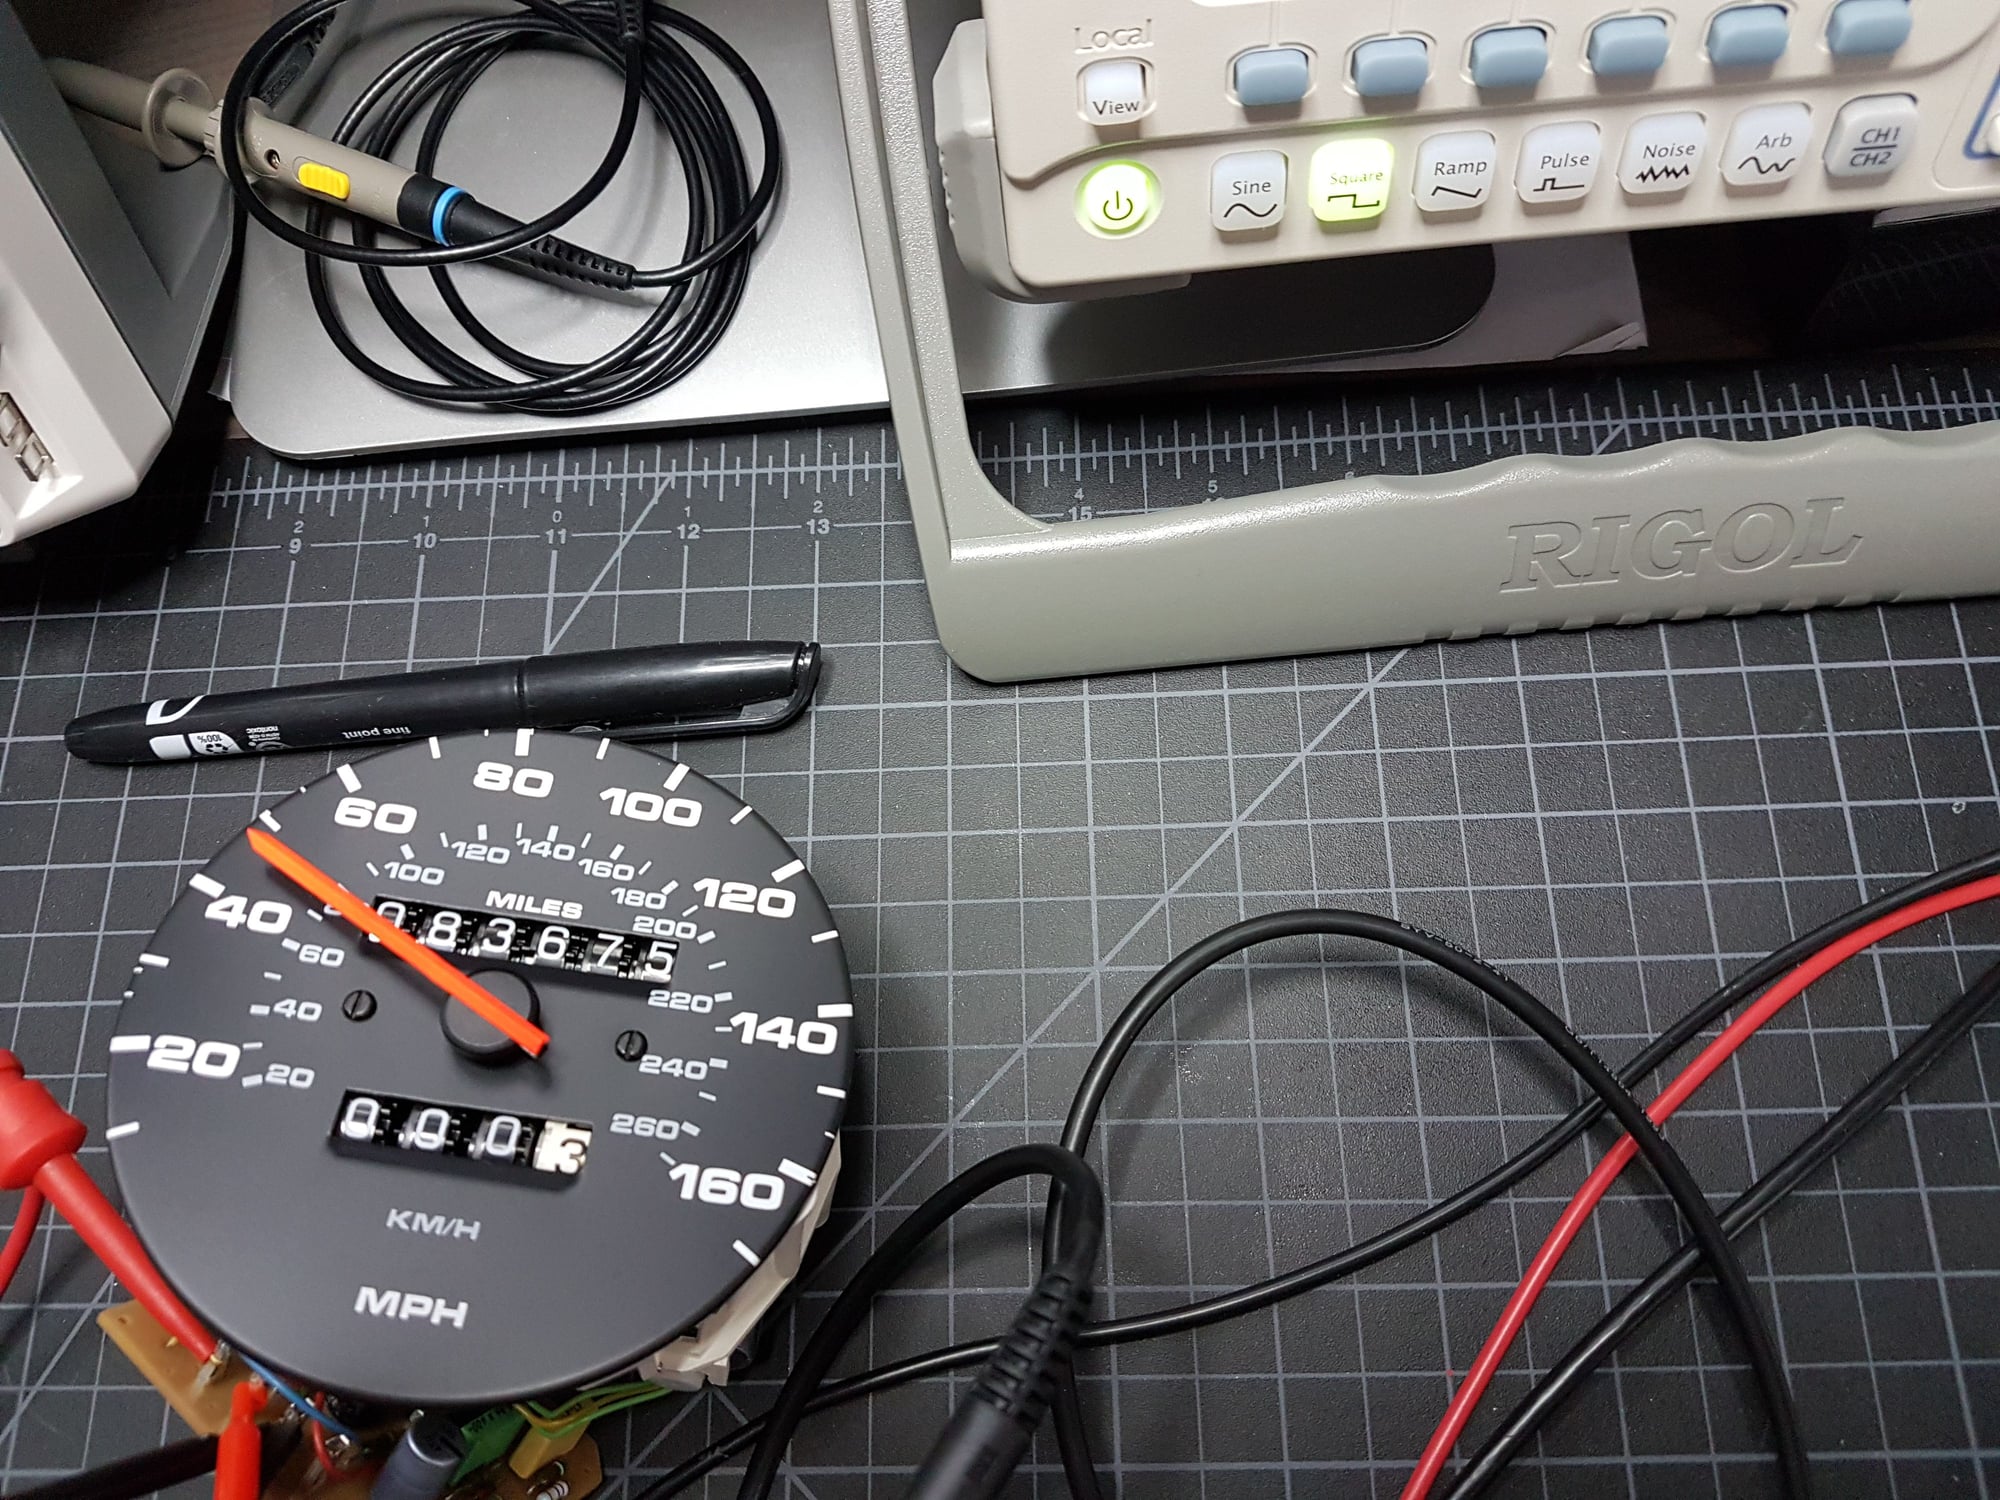
So, with that done, I hooked up the 160mph unit to the same configuration to see if it reads the same.
That's a check. Also, as you can see, the trip meter and odometer are working just fine.
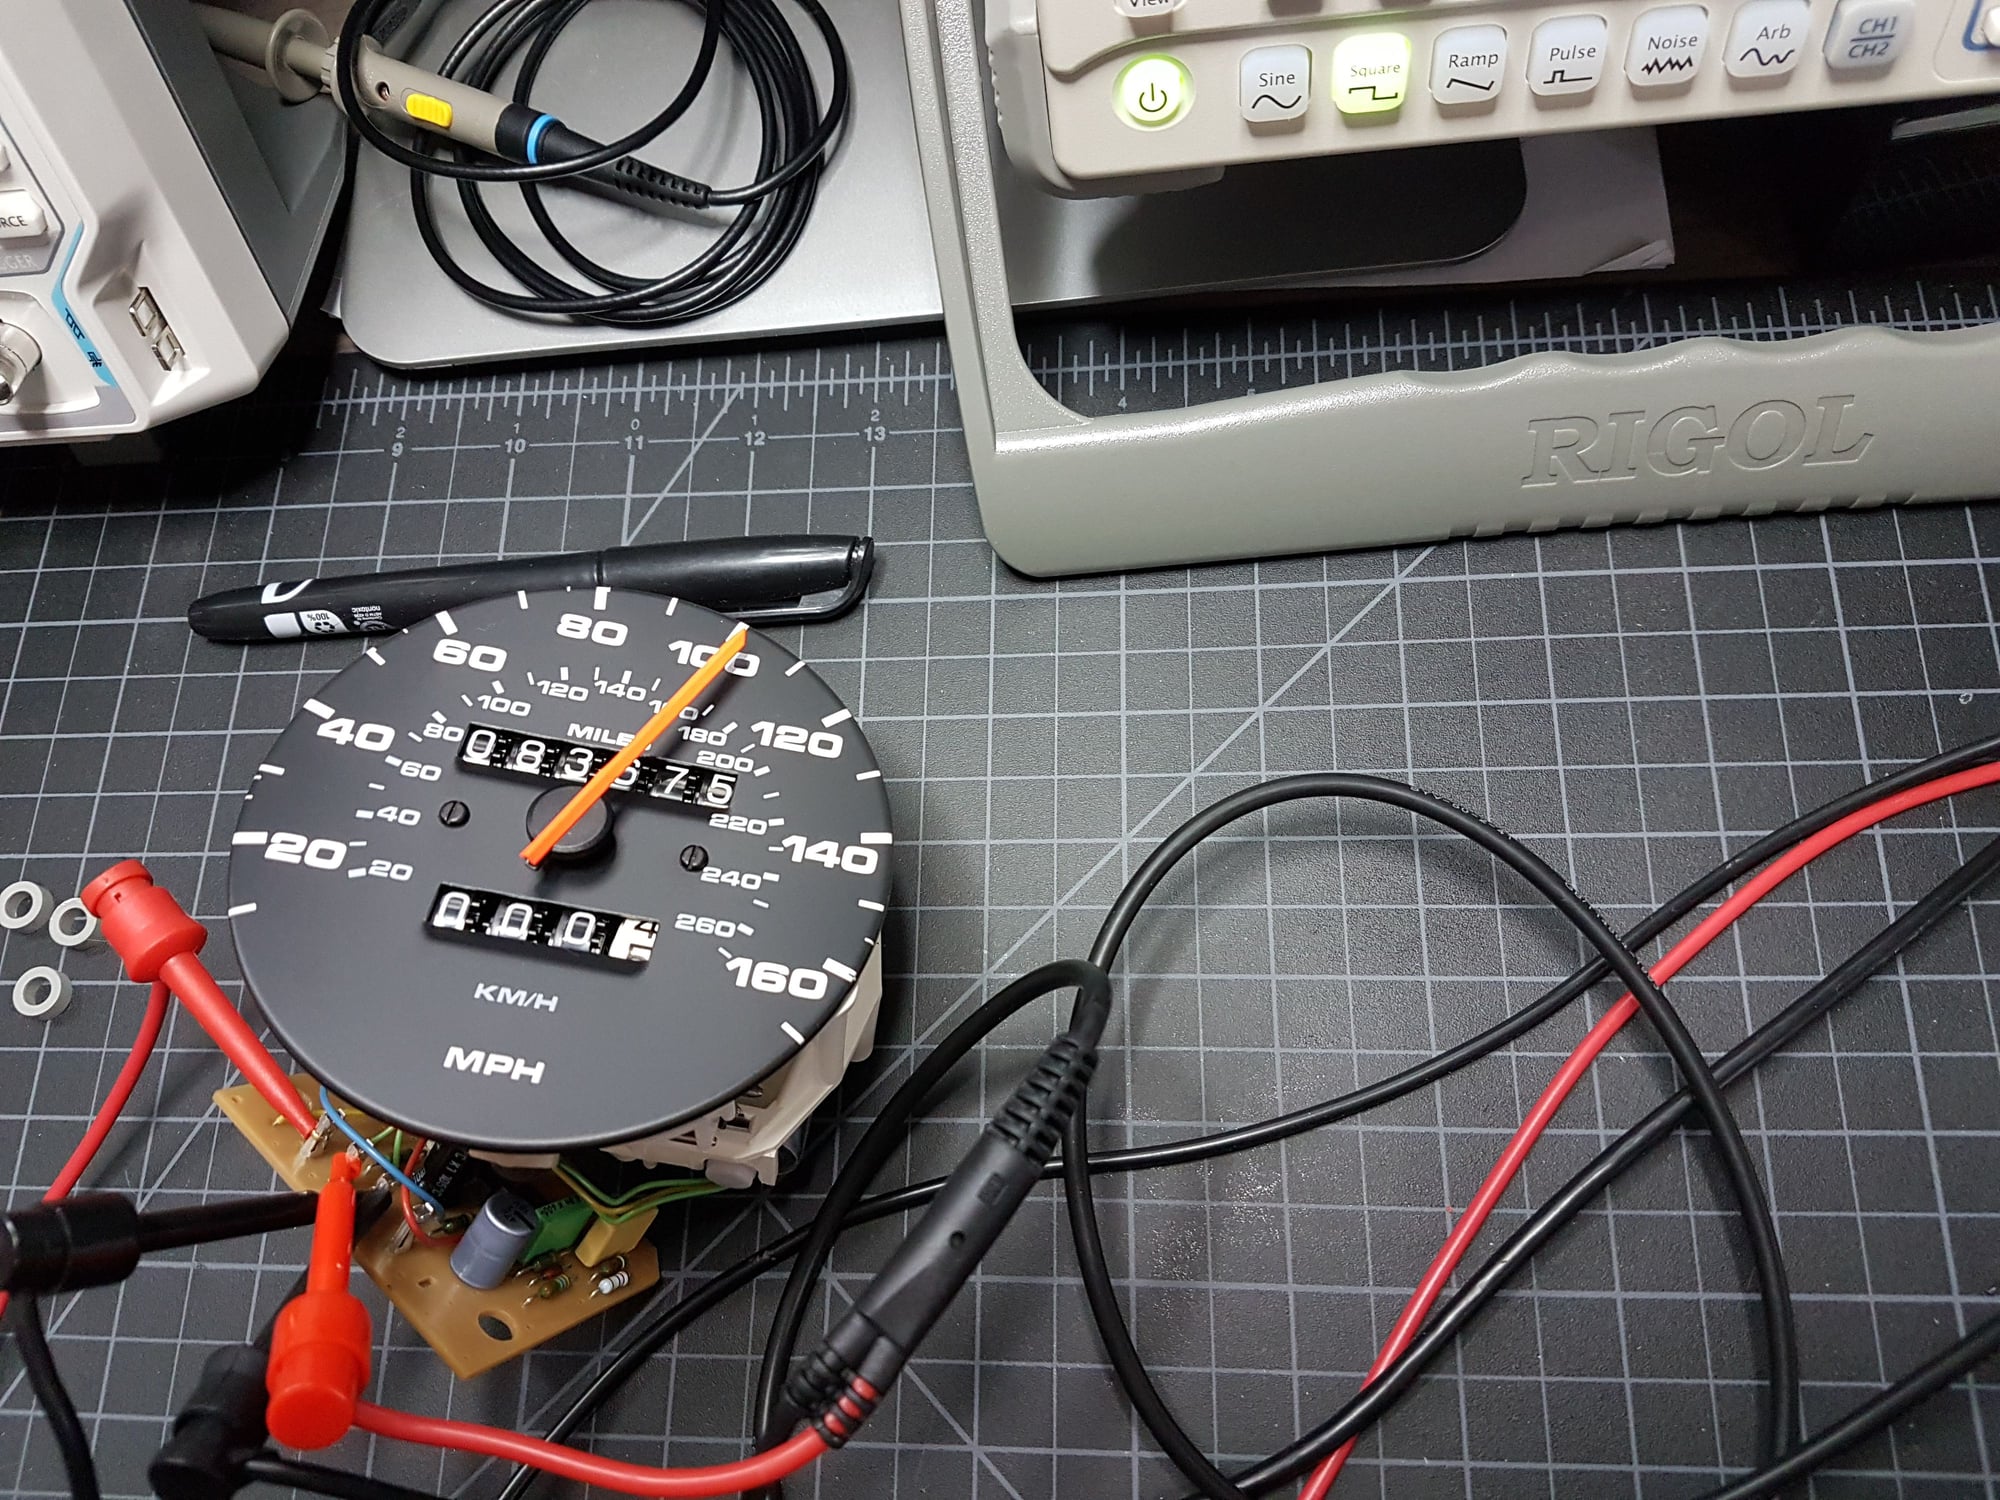
Now, just because I'm infantile I cranked up the frequency to 180Hz.
Oooh - I can almost feel the wind in my hair.
Anywho - I'll probably also figure out how to bench test the rest of the pod so that I don't have to worry about installing any duds. I'll post that too when I get around to doing it.
I might be misinterpreting what you've done here...but those speedometer readings don't look the same to me...the second one is more like 48, isn't it?
Hmm. I don't remember seeing that, so I'm hoping it's just the perspective, but I'll retest it in the morning to be sure. Perhaps my pointer is off the proper zero.


 08-23-2016, 10:32 PM