When you click on links to various merchants on this site and make a purchase, this can result in this site earning a commission. Affiliate programs and affiliations include, but are not limited to, the eBay Partner Network.
The nozzles themselves (inside the housing) are somewhat adjustable. You can stick a pin or really thin wire into them and move the nozzles around some.
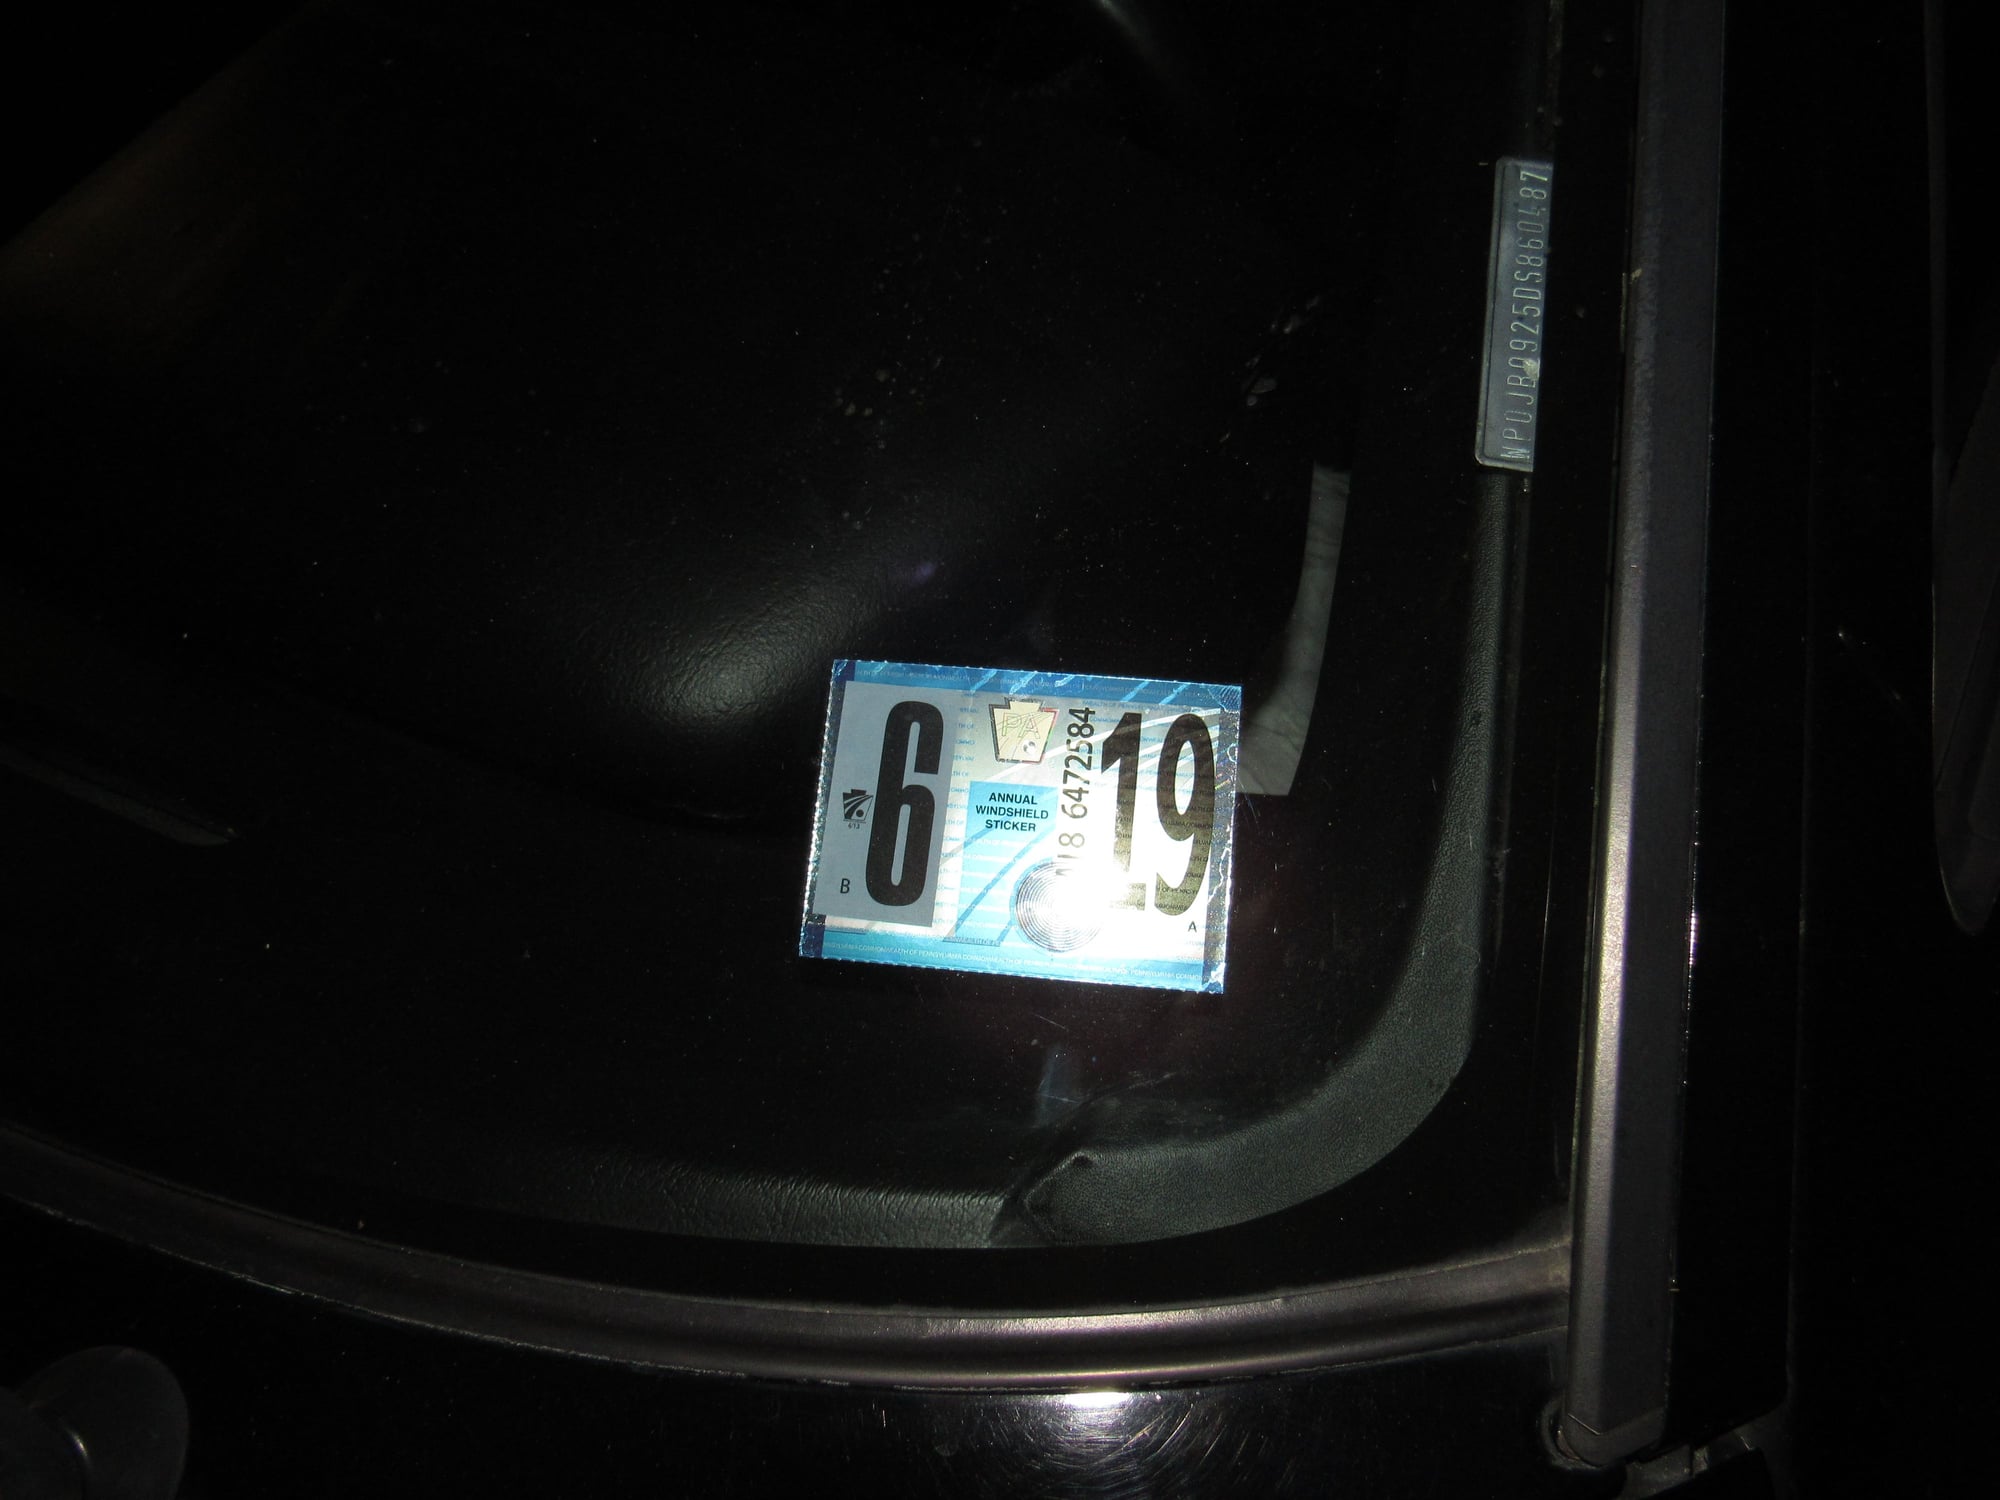
The end goal is for everything to work and that anyone could hop in and drive without first reading a list of notes and instructions for all the quirks. That list started at about 3/4 of a page and would now be down to 'push in clutch and wait two seconds before shifting into 1st or reverse', but non working windshield washers prevent me from passing inspection. I've ordered a good used combination switch and hope that fixes it. Thanks on the tip for aiming the nozzles.
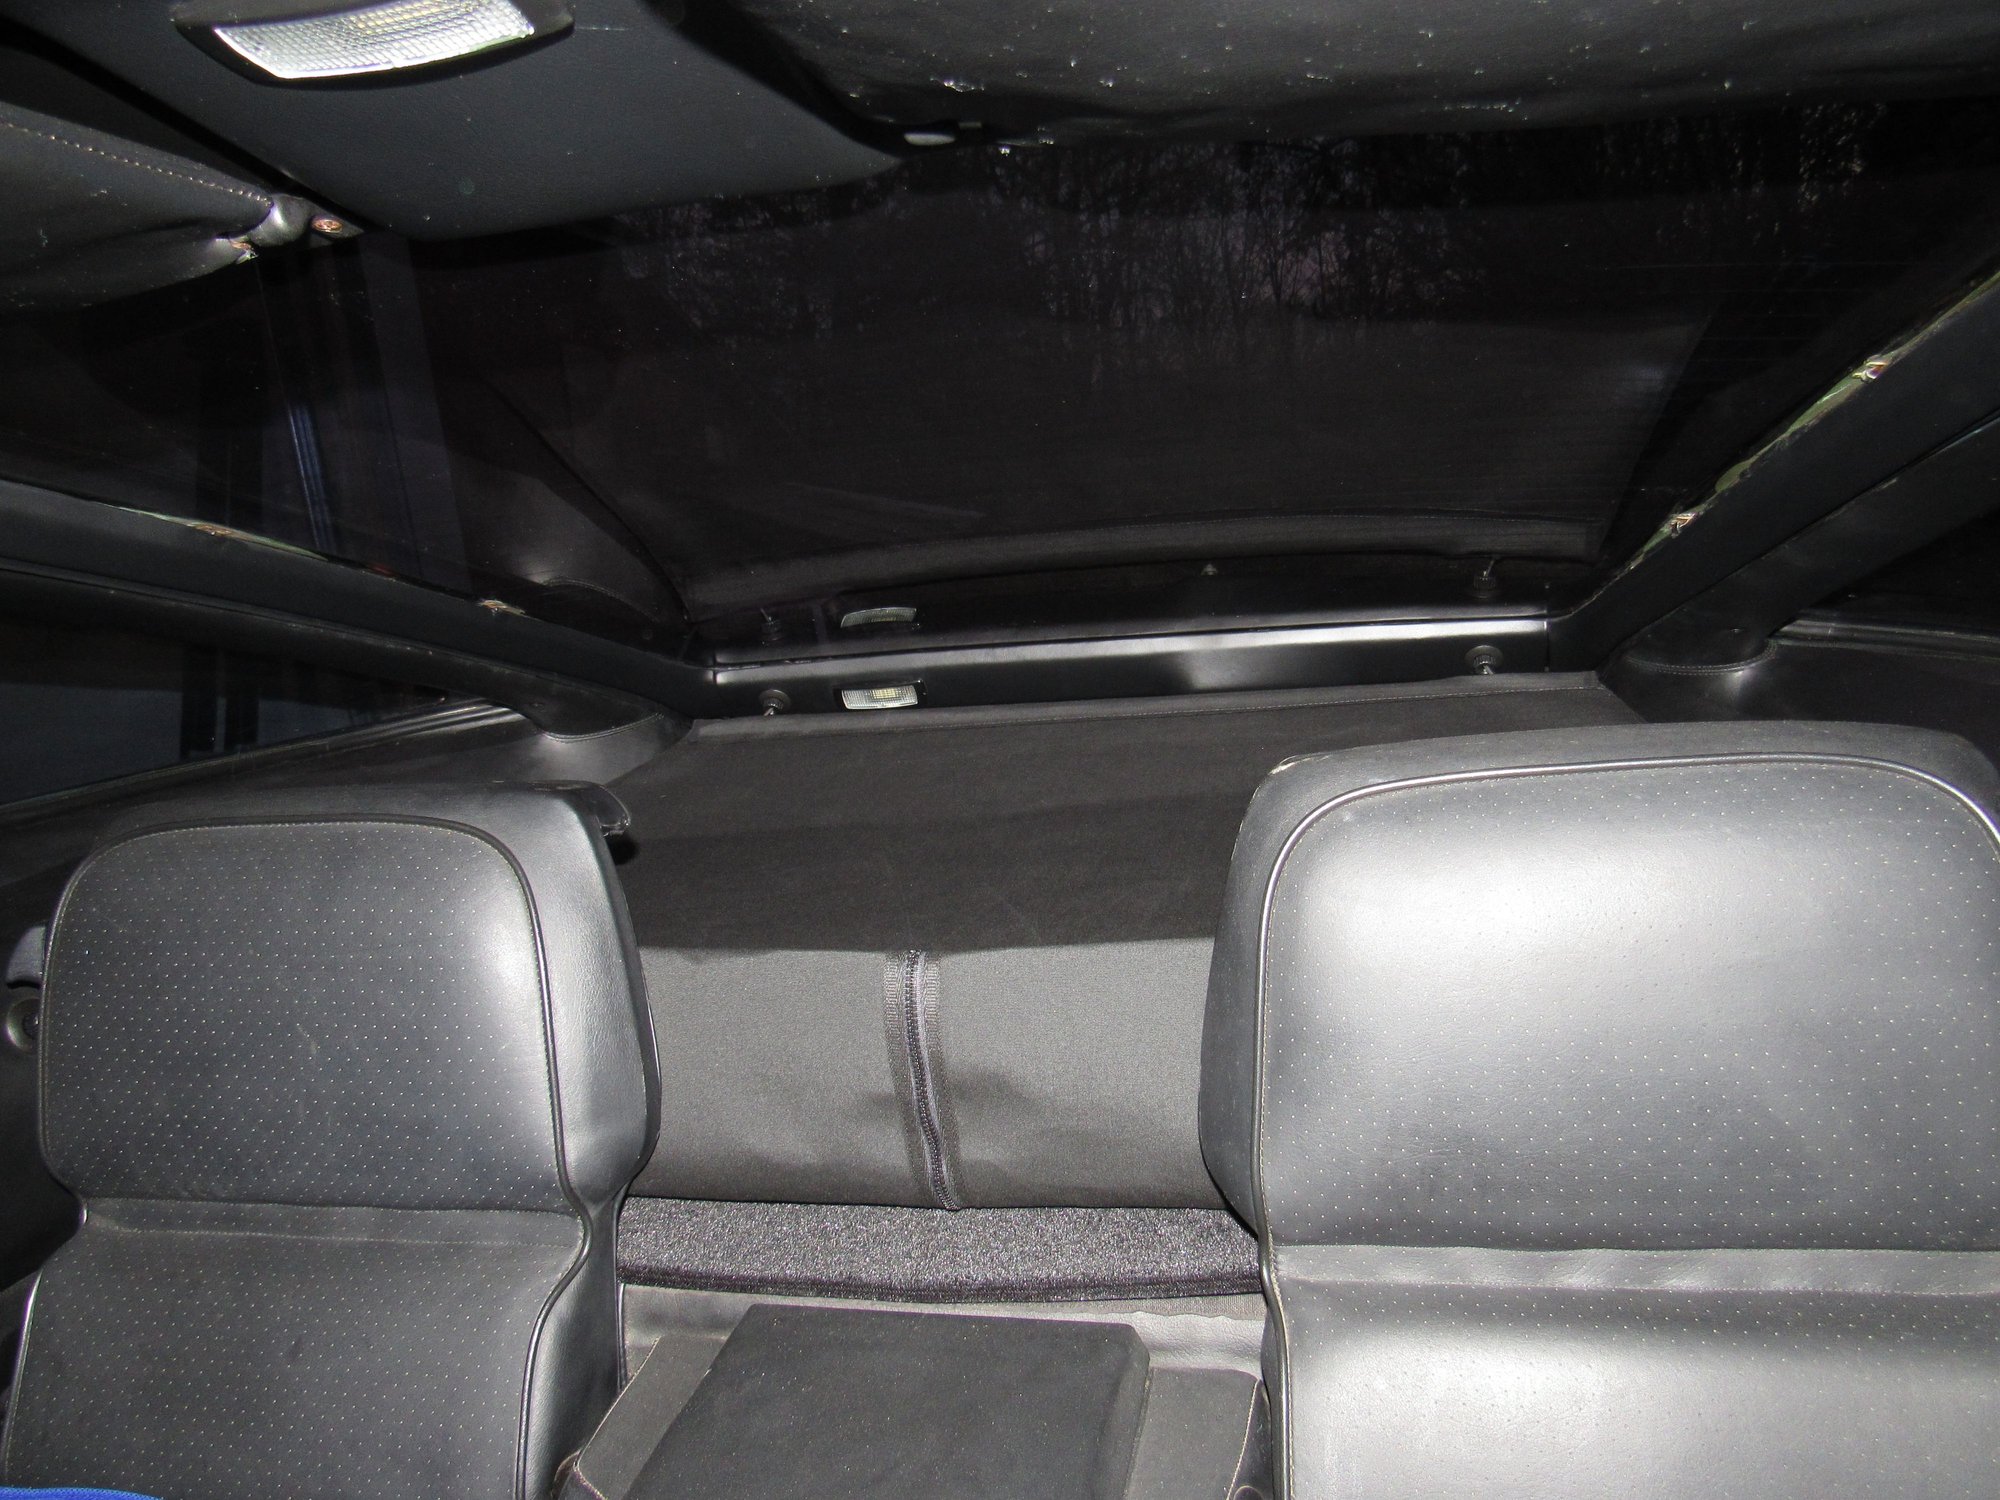
One morning the week before last I open the garage door and see that the interior lights are on in the car. I fiddle with the door pin switches, nothing changes, so I hope the battery has enough power and yes, it starts right up. Glad that I have LEDs, I manually turned off the lights and drove to work. The door chime got a little annoying on my 60 mile commute but it was never interrupted by vibration or bumps. About a half hour before leaving for home I checked the car and it had fixed itself so I turned the lights back on to open with the doors. When I came out to leave the lights were on again. Oh well.
The next day I had a chance to troubleshoot and started by removing the door pins, I unplugged the rear hatch pin, and disconnected the 18 pin connectors for each door to isolate them. I thought that the wire to one of the door pins might be grounding somewhere but moving it around didn't change anything. By the way those 18 pin connectors have to be squeezed before they release. Then I took down the overhead lights and when I removed the rear hatch light they went out. When I reinstalled it they came back on but I was only able to replicate it once.
Long story short, There is a rough edge in the cutout for the light and maybe one of the contacts was just barely touching. I put a strip of electrical tape and it has been OK every since.
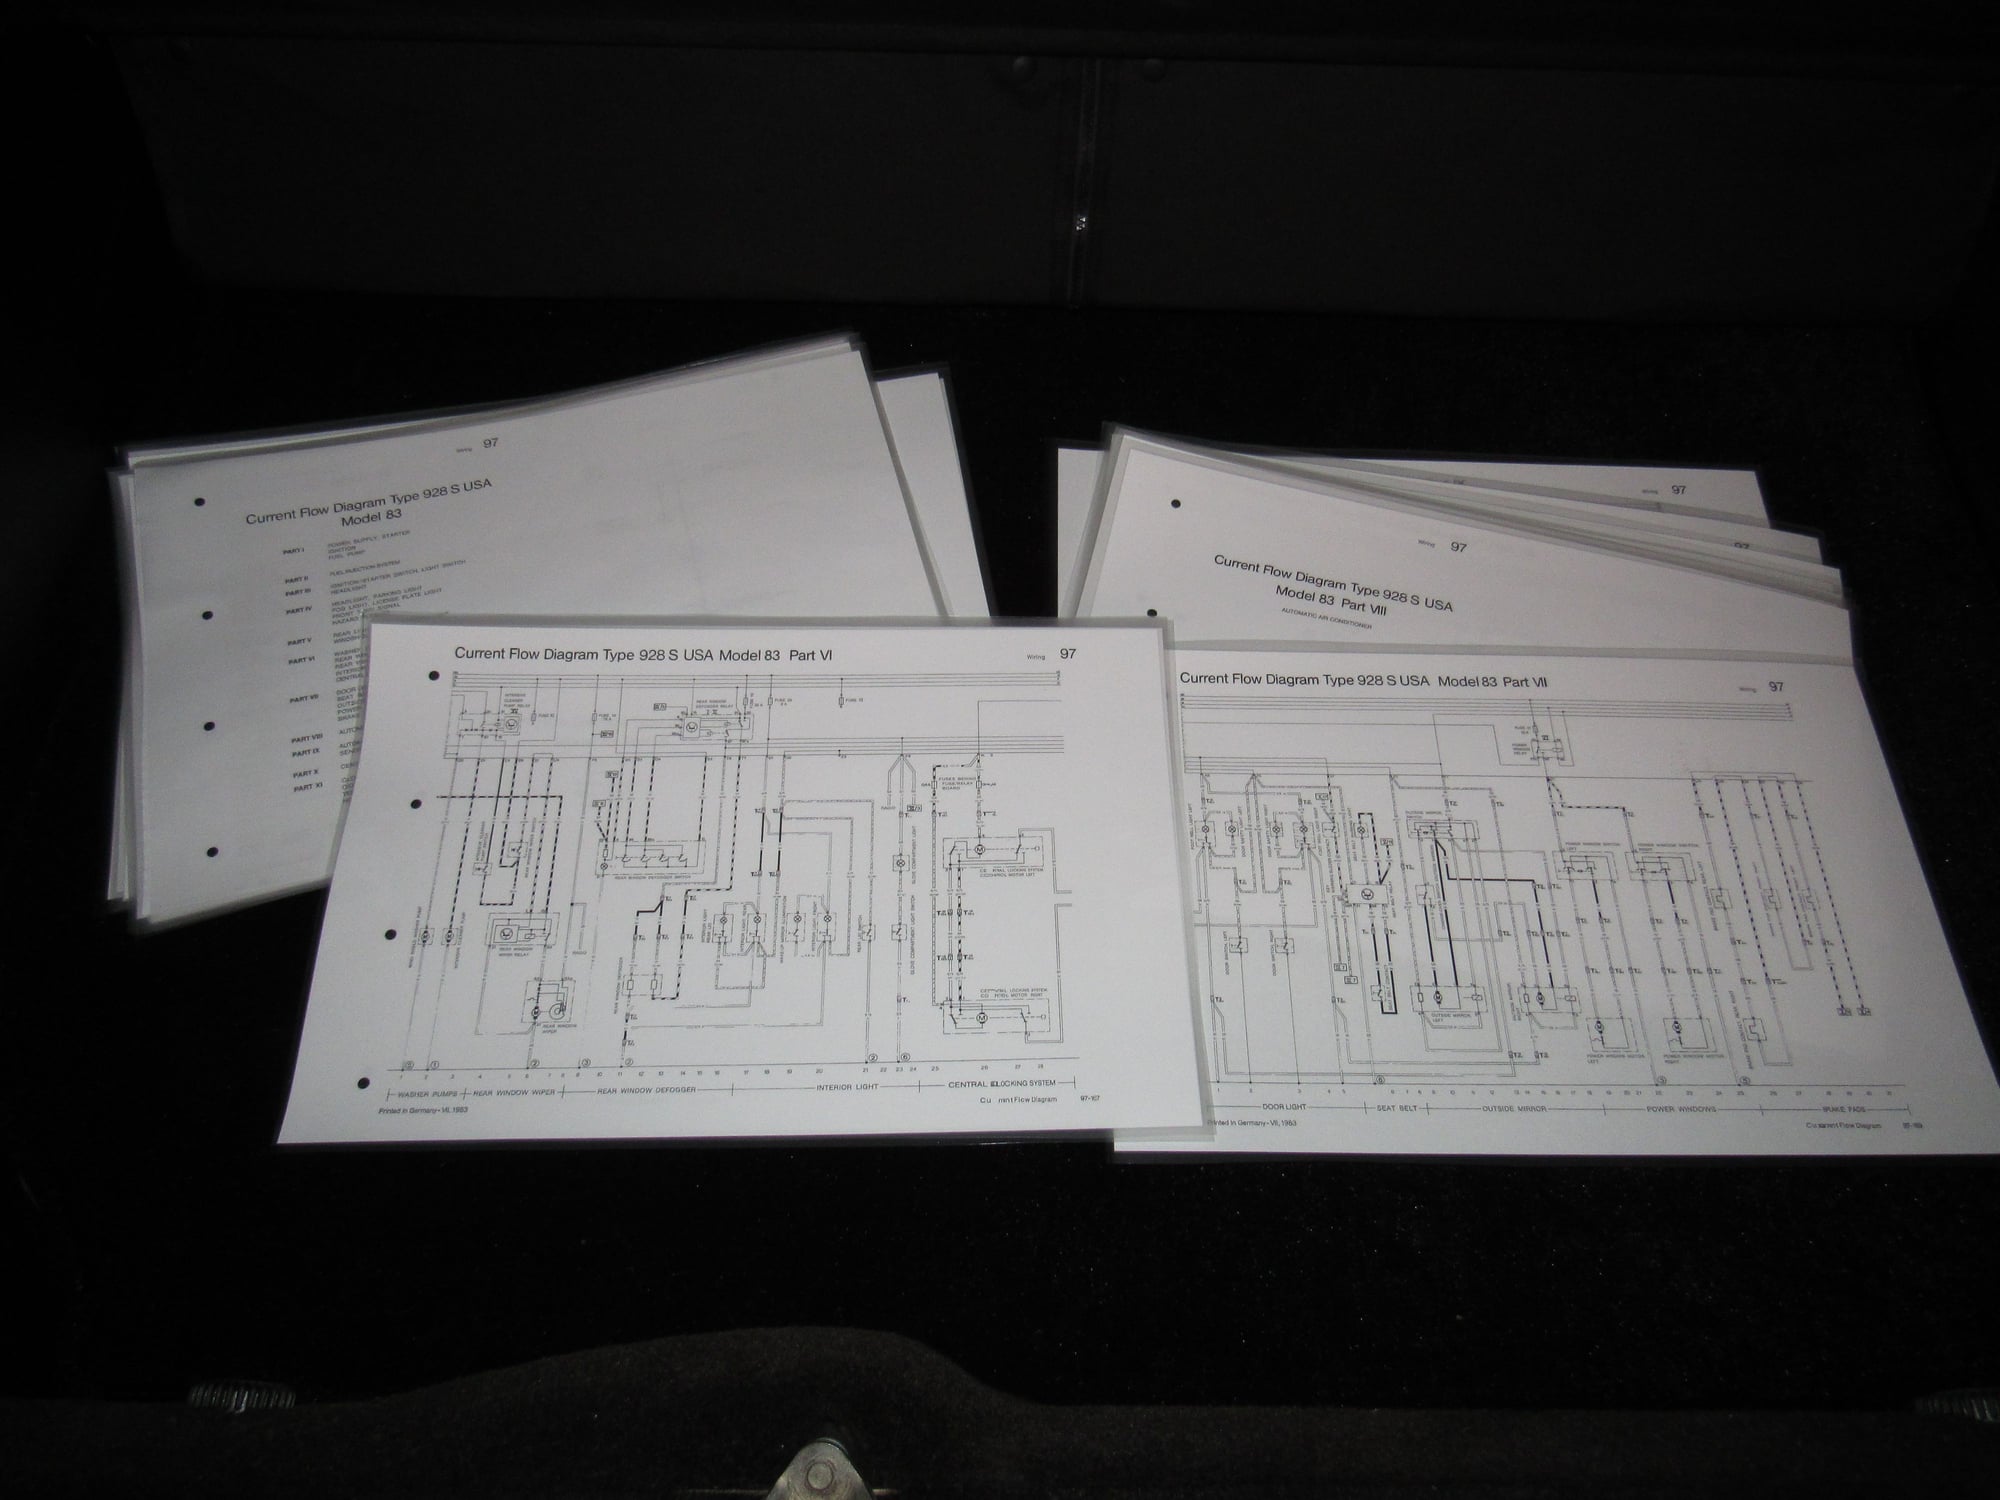
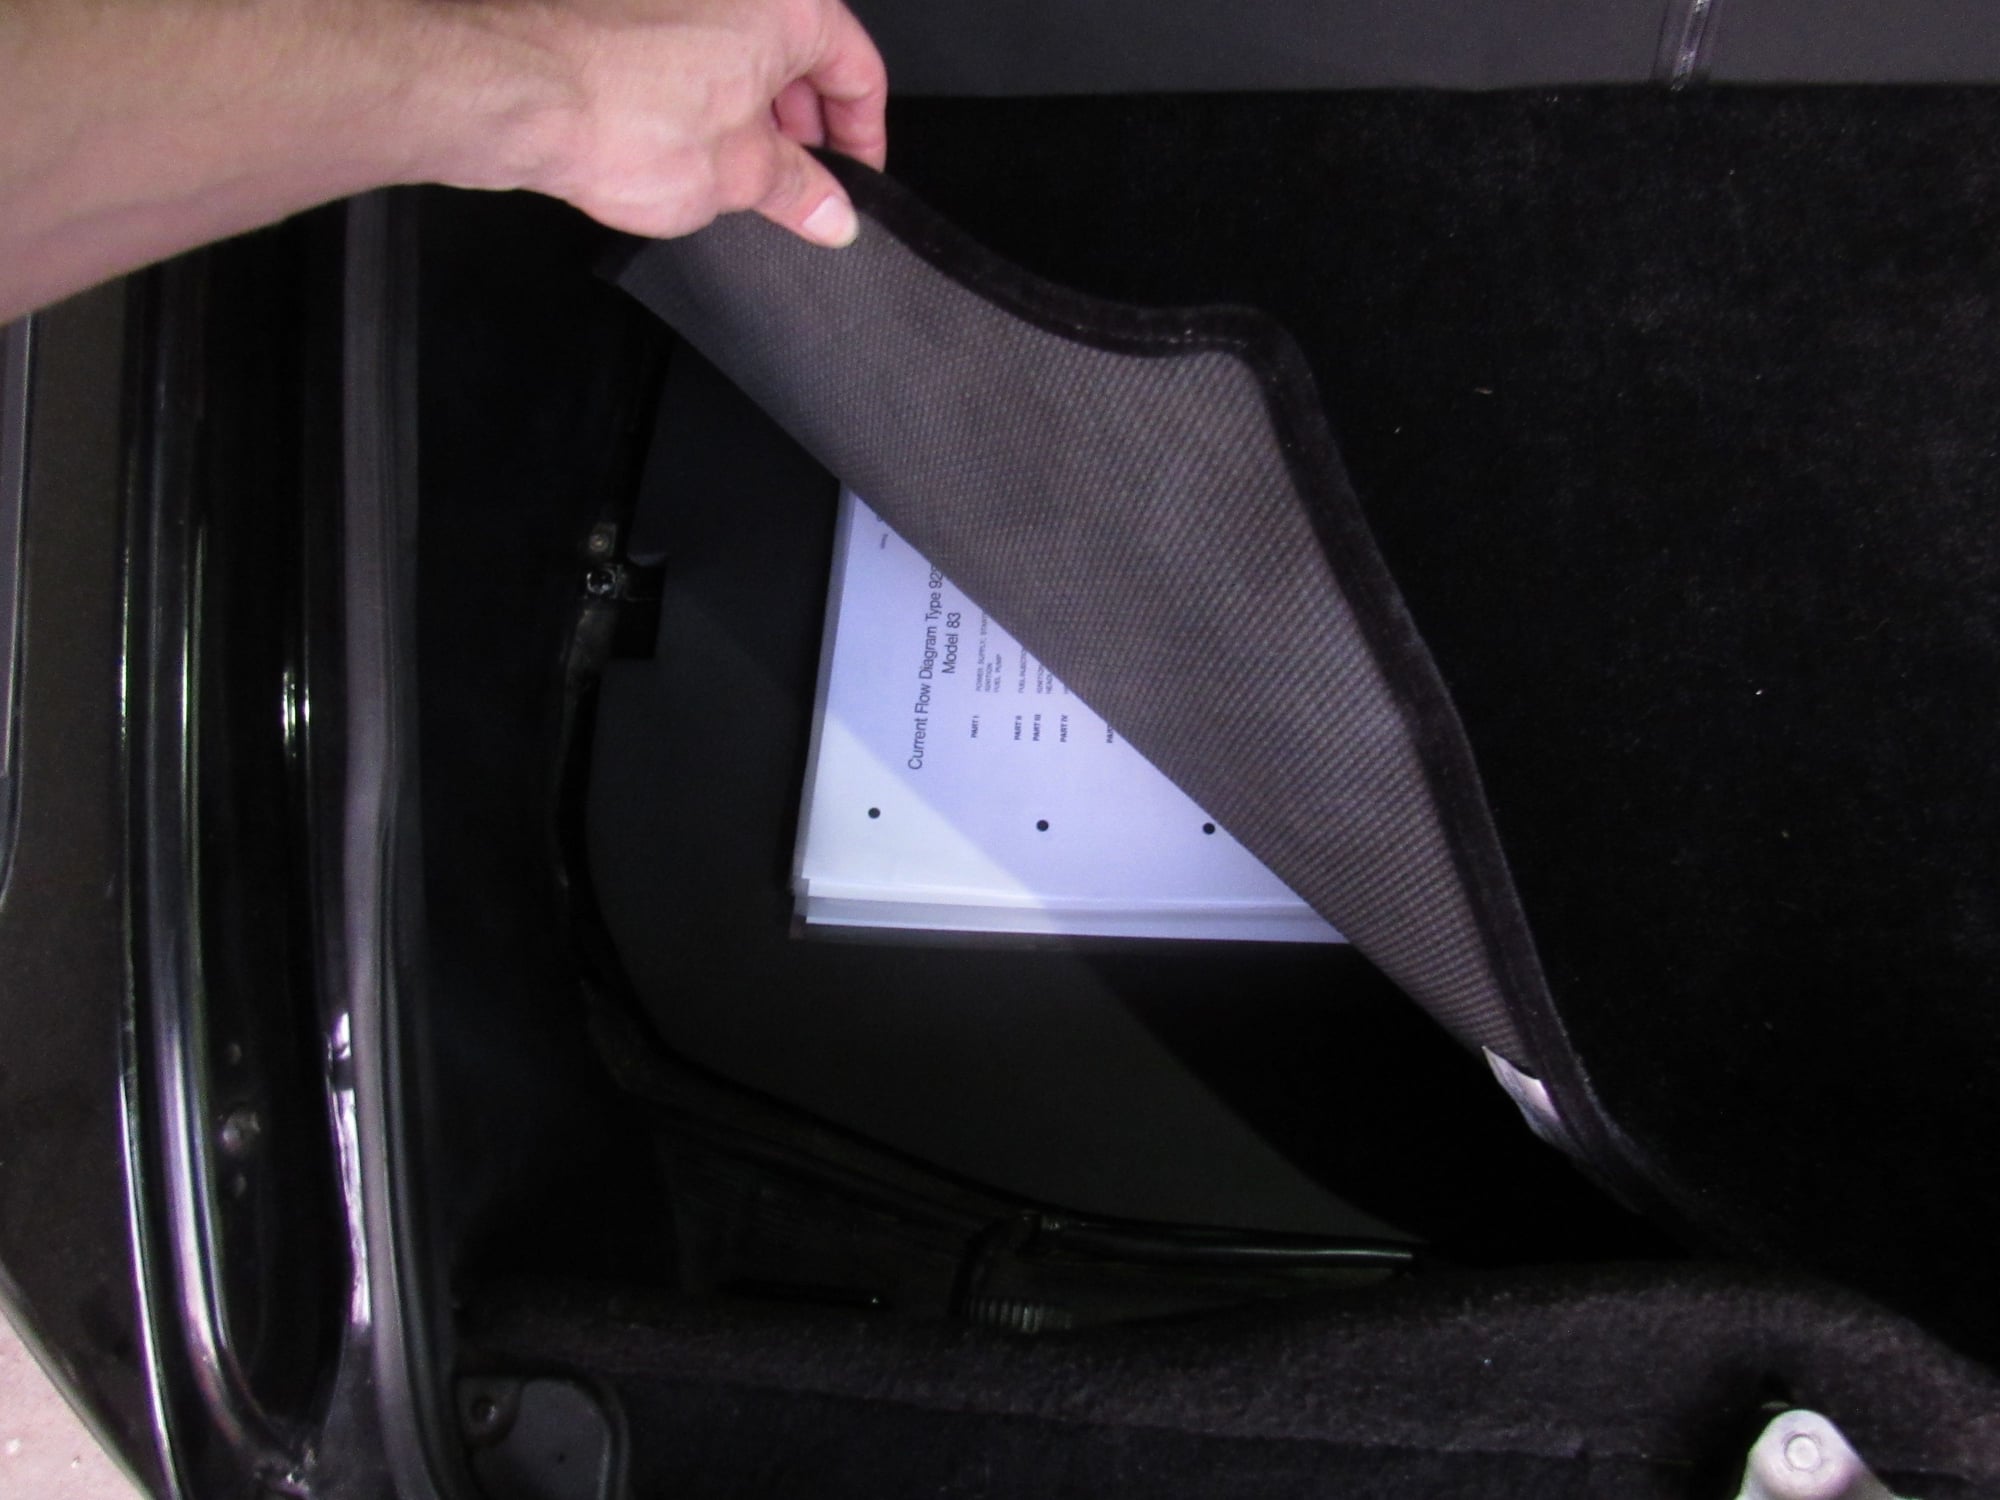
I think I've done the wiring diagrams right so let me pass on this idea. I printed them out on 11"x17", laminated them for durability and so that I can trace out circuits with dry erase markers (and erase once I'm done). I am leaving them under the hatch mat.
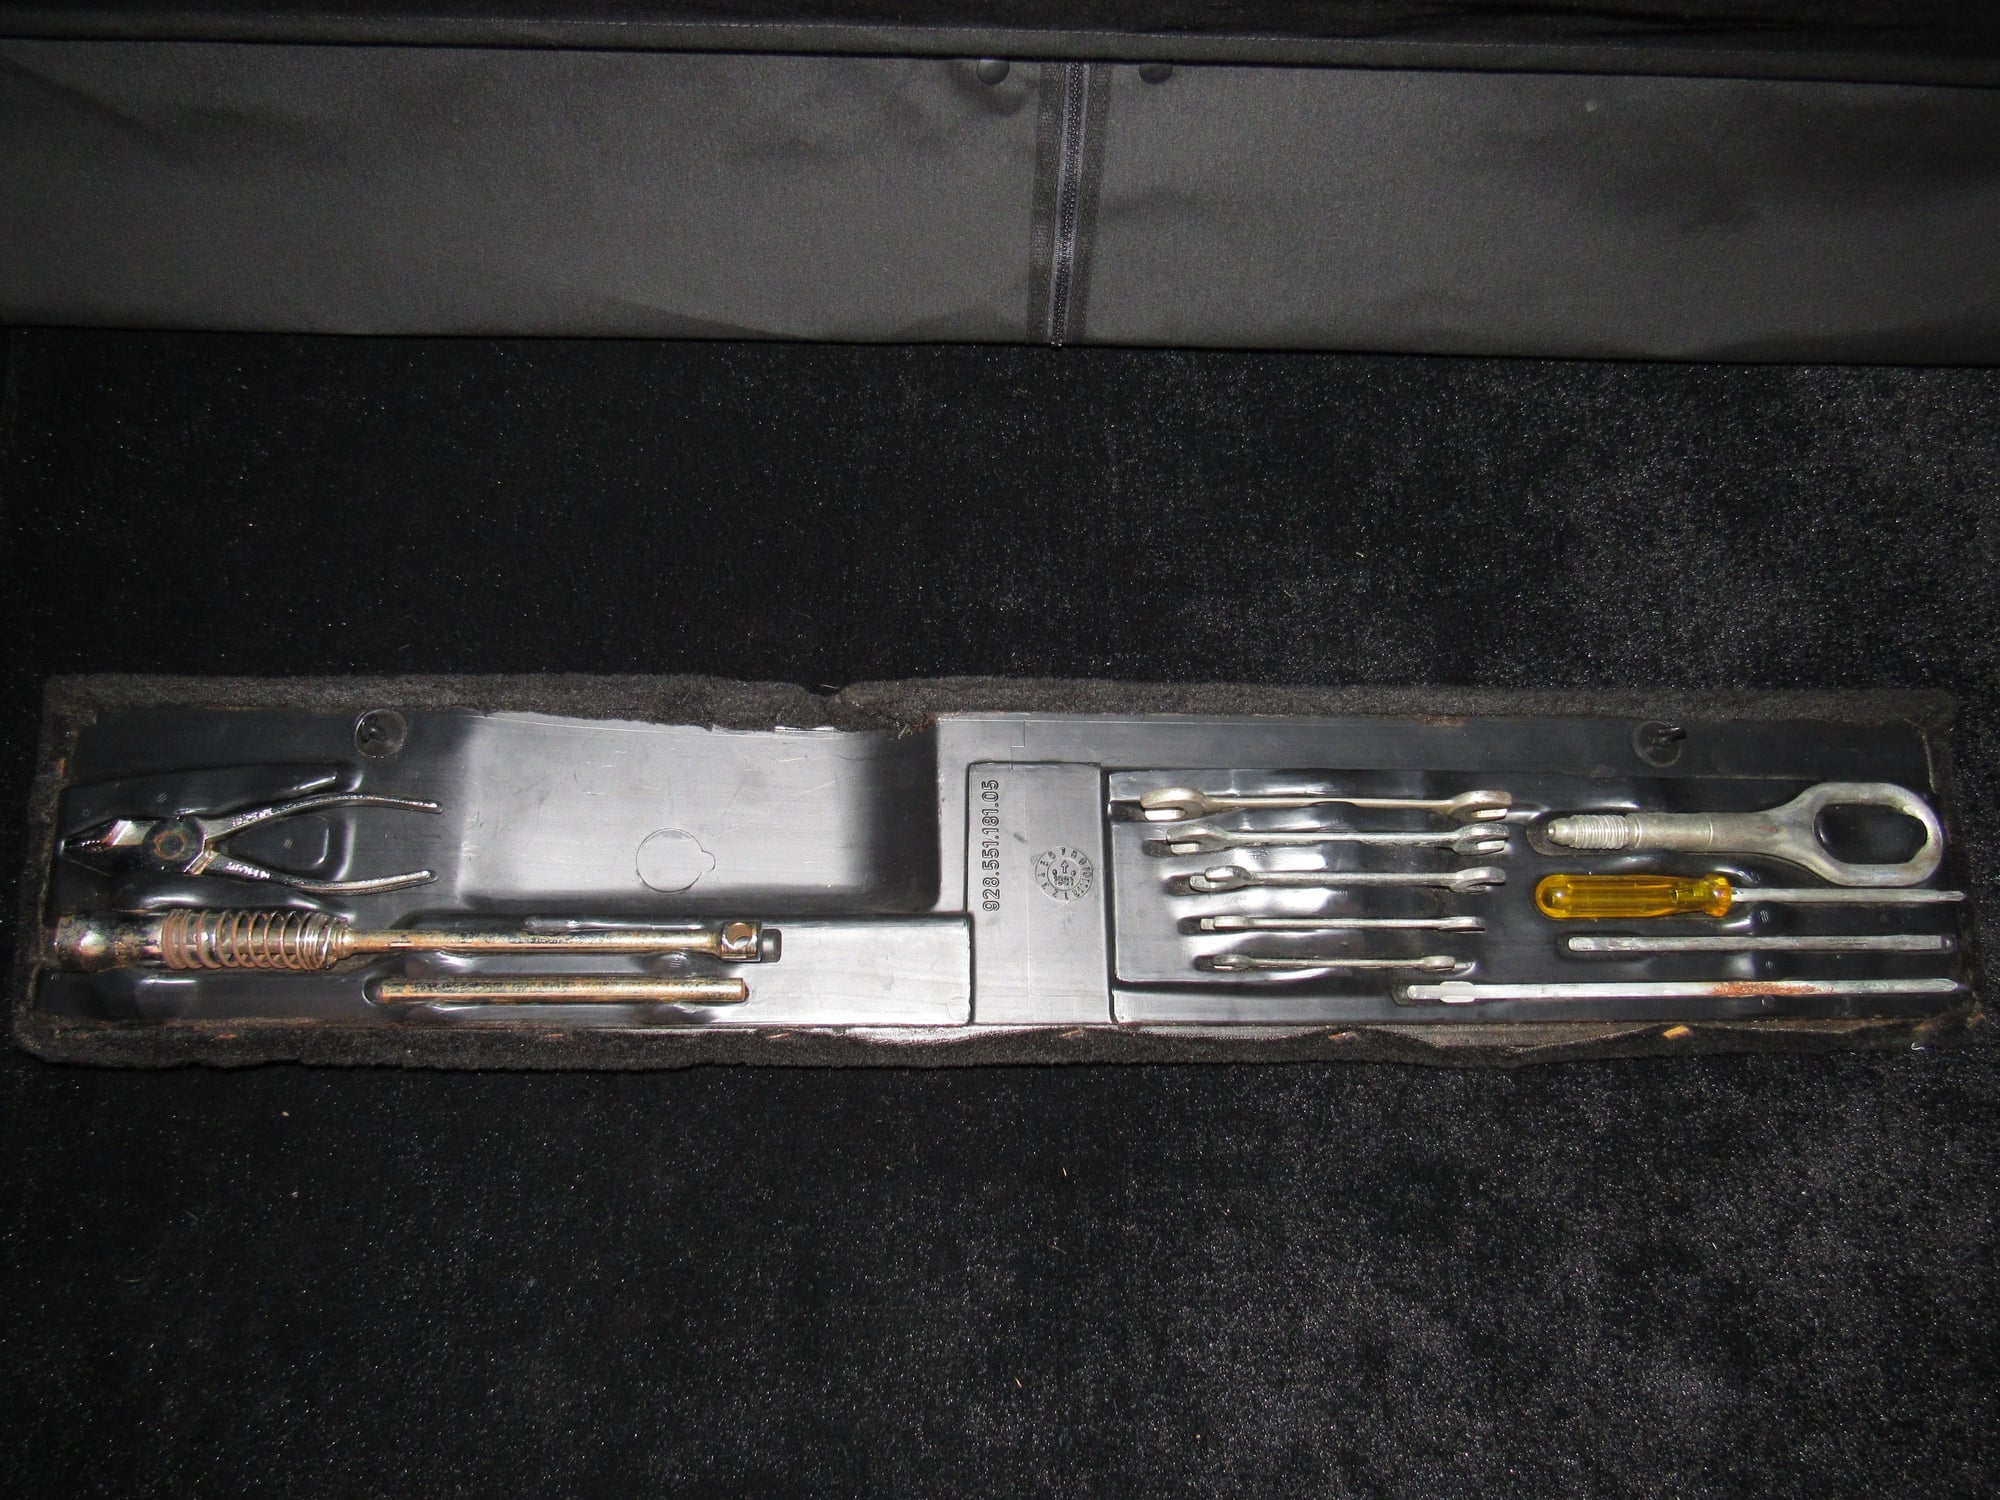
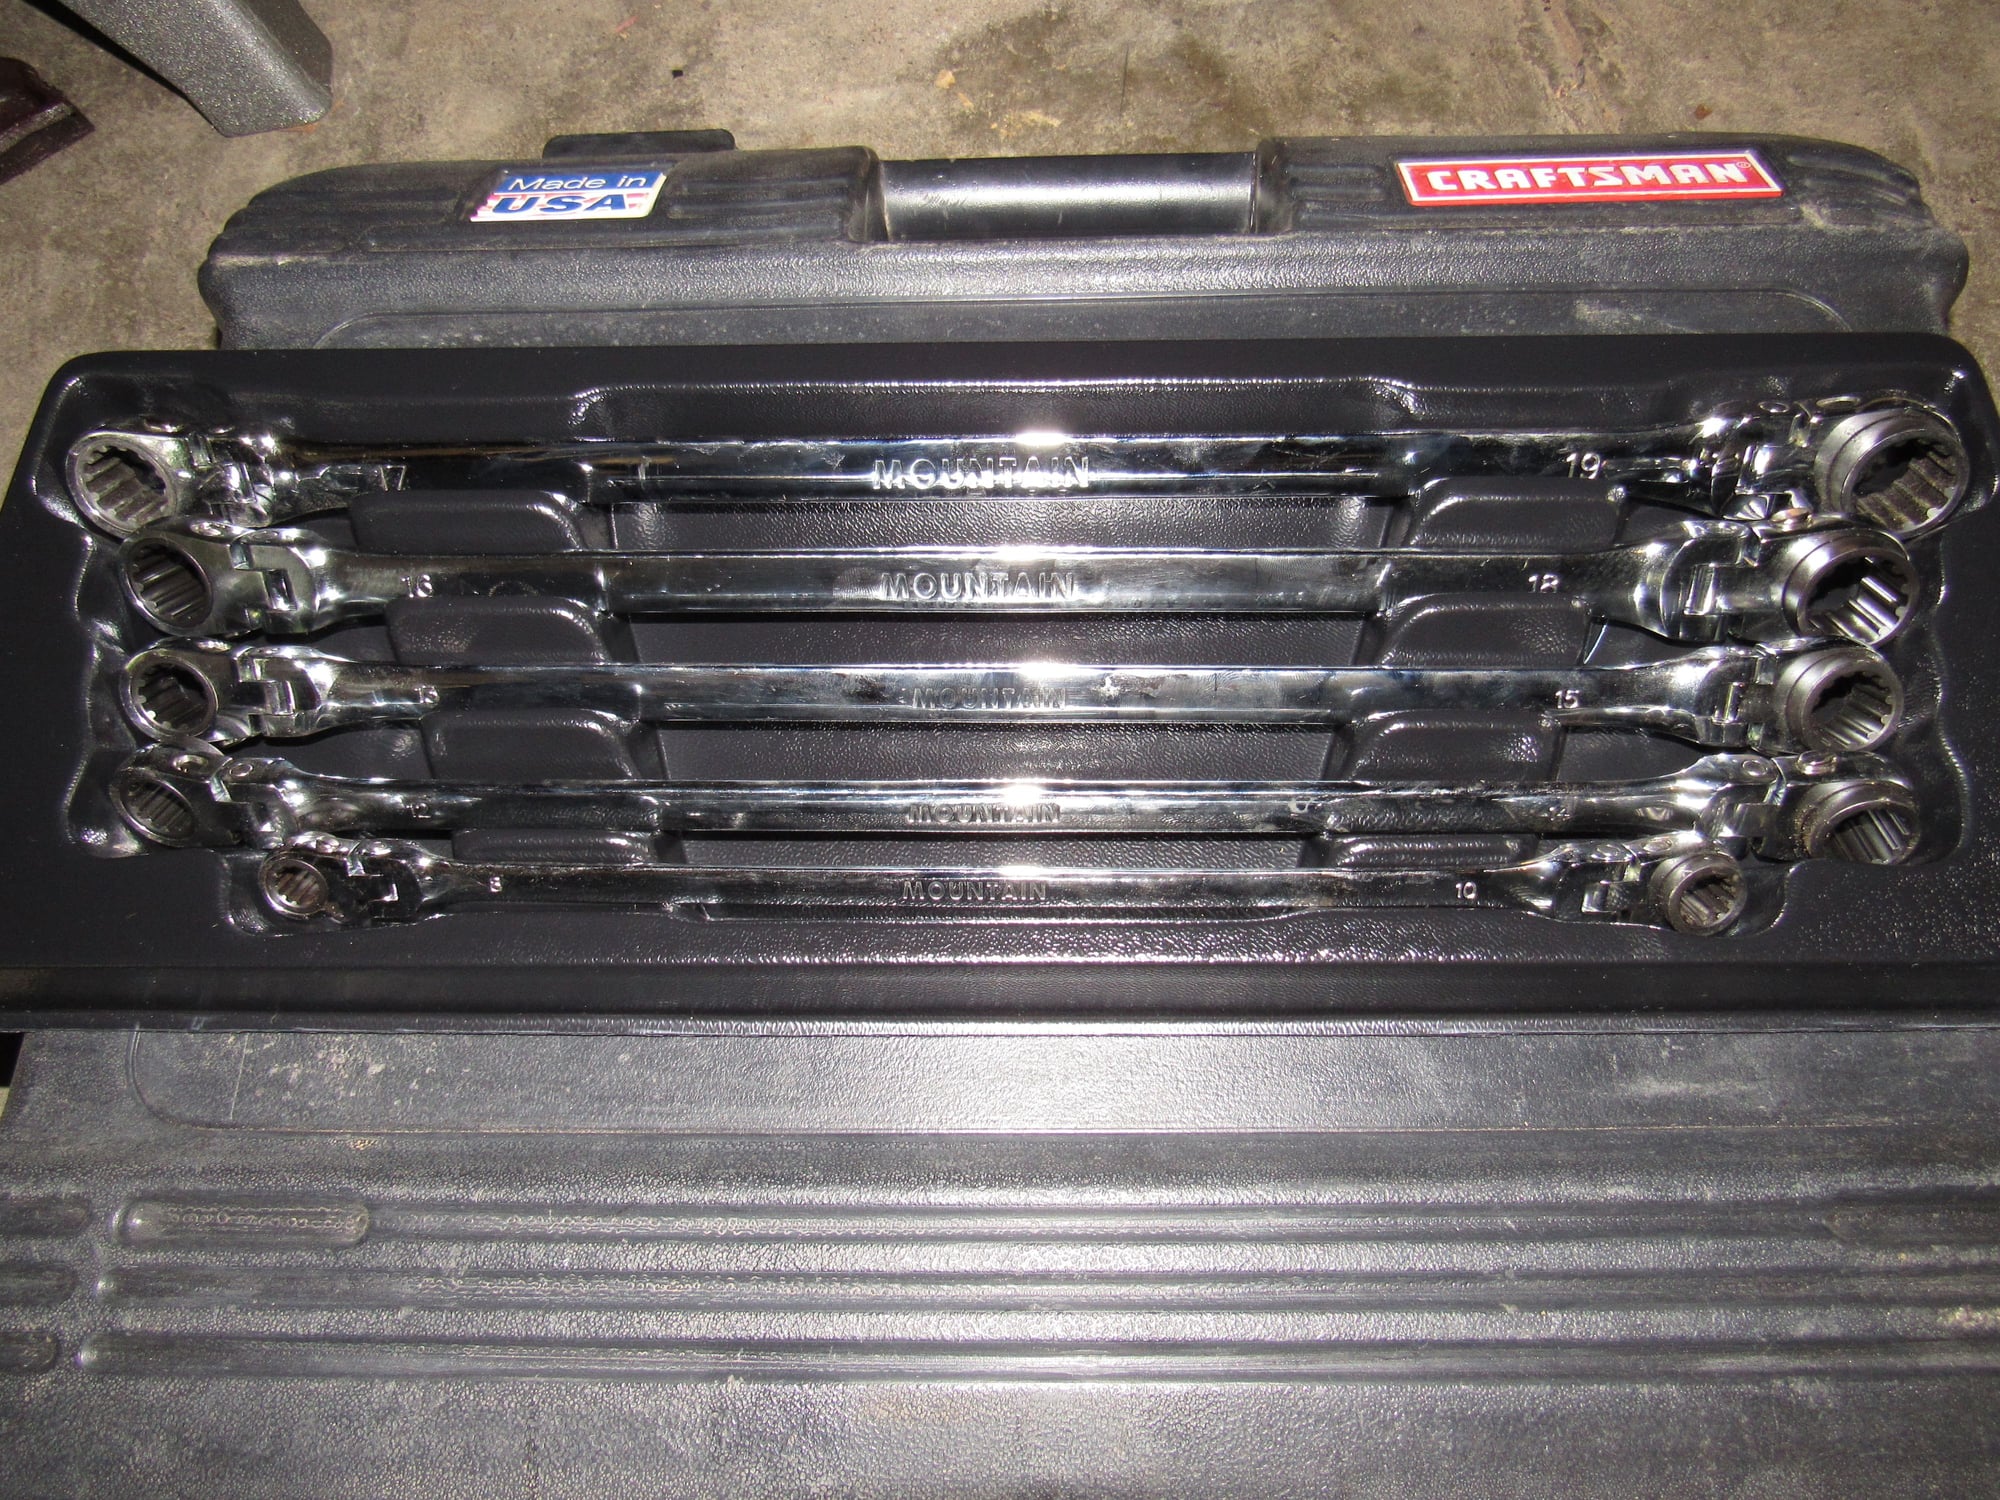
I don't think I've put up a photo of my tool kit but it is complete.
I picked up a luggage cover from a member here and it is really nice!
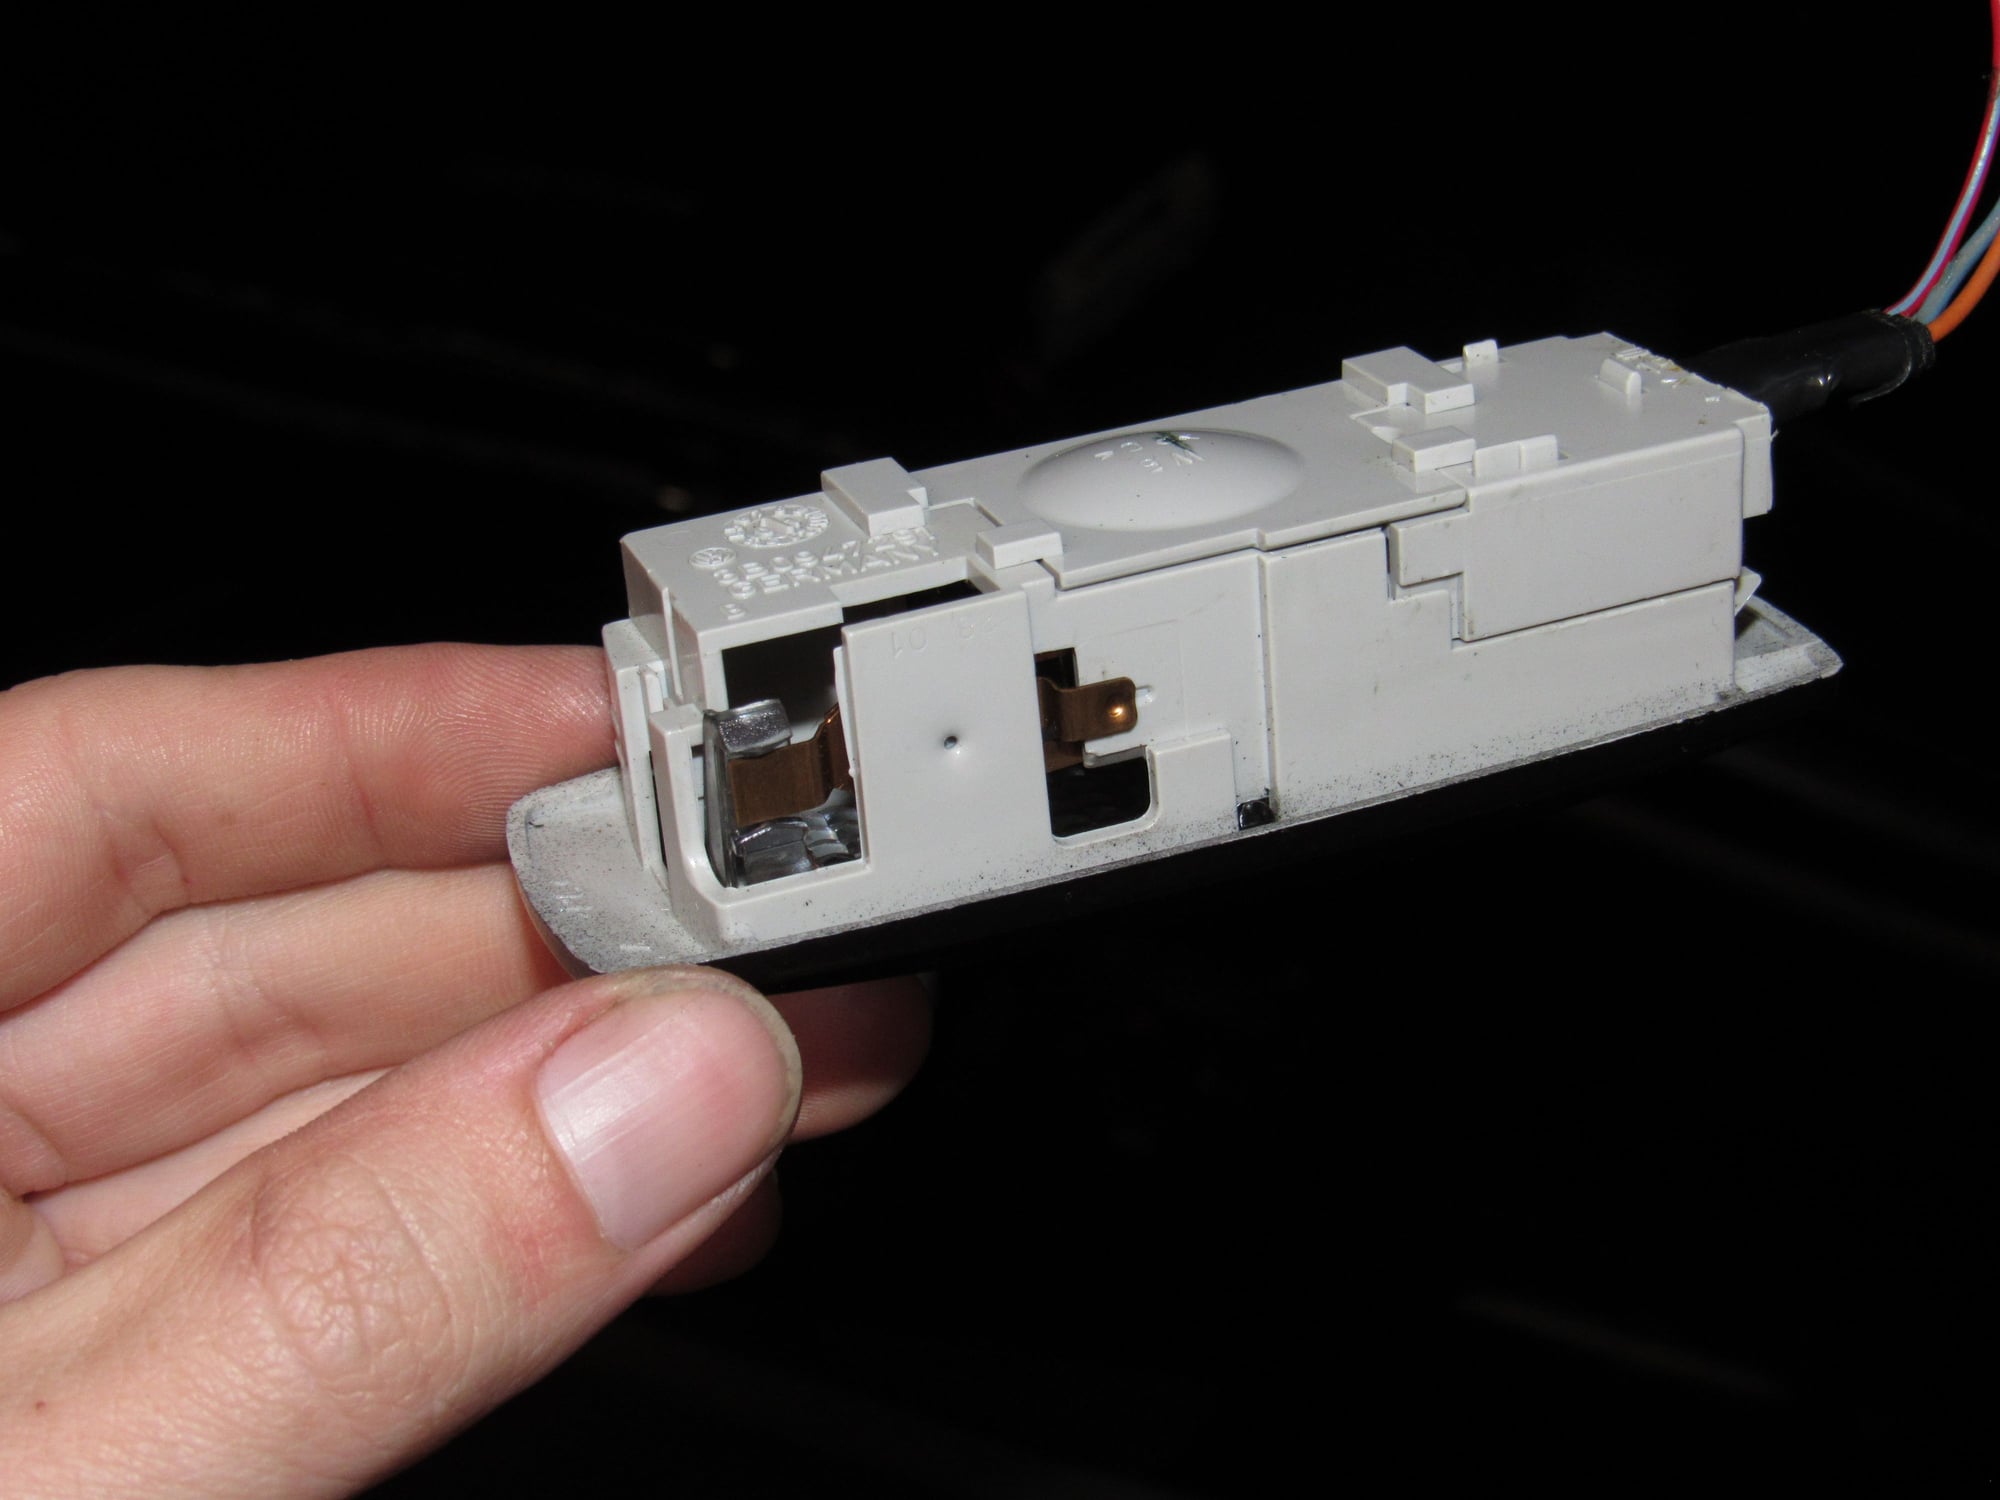
On to the good news. All of my testing led me to the combination switch being the source of my non-op windshield washers. I had ordered a used switch but instead decided to try and fix mine. I found a post by Allan (thanks!) were he had been there/done that. https://rennlist.com/forums/928-foru...l#post11365658
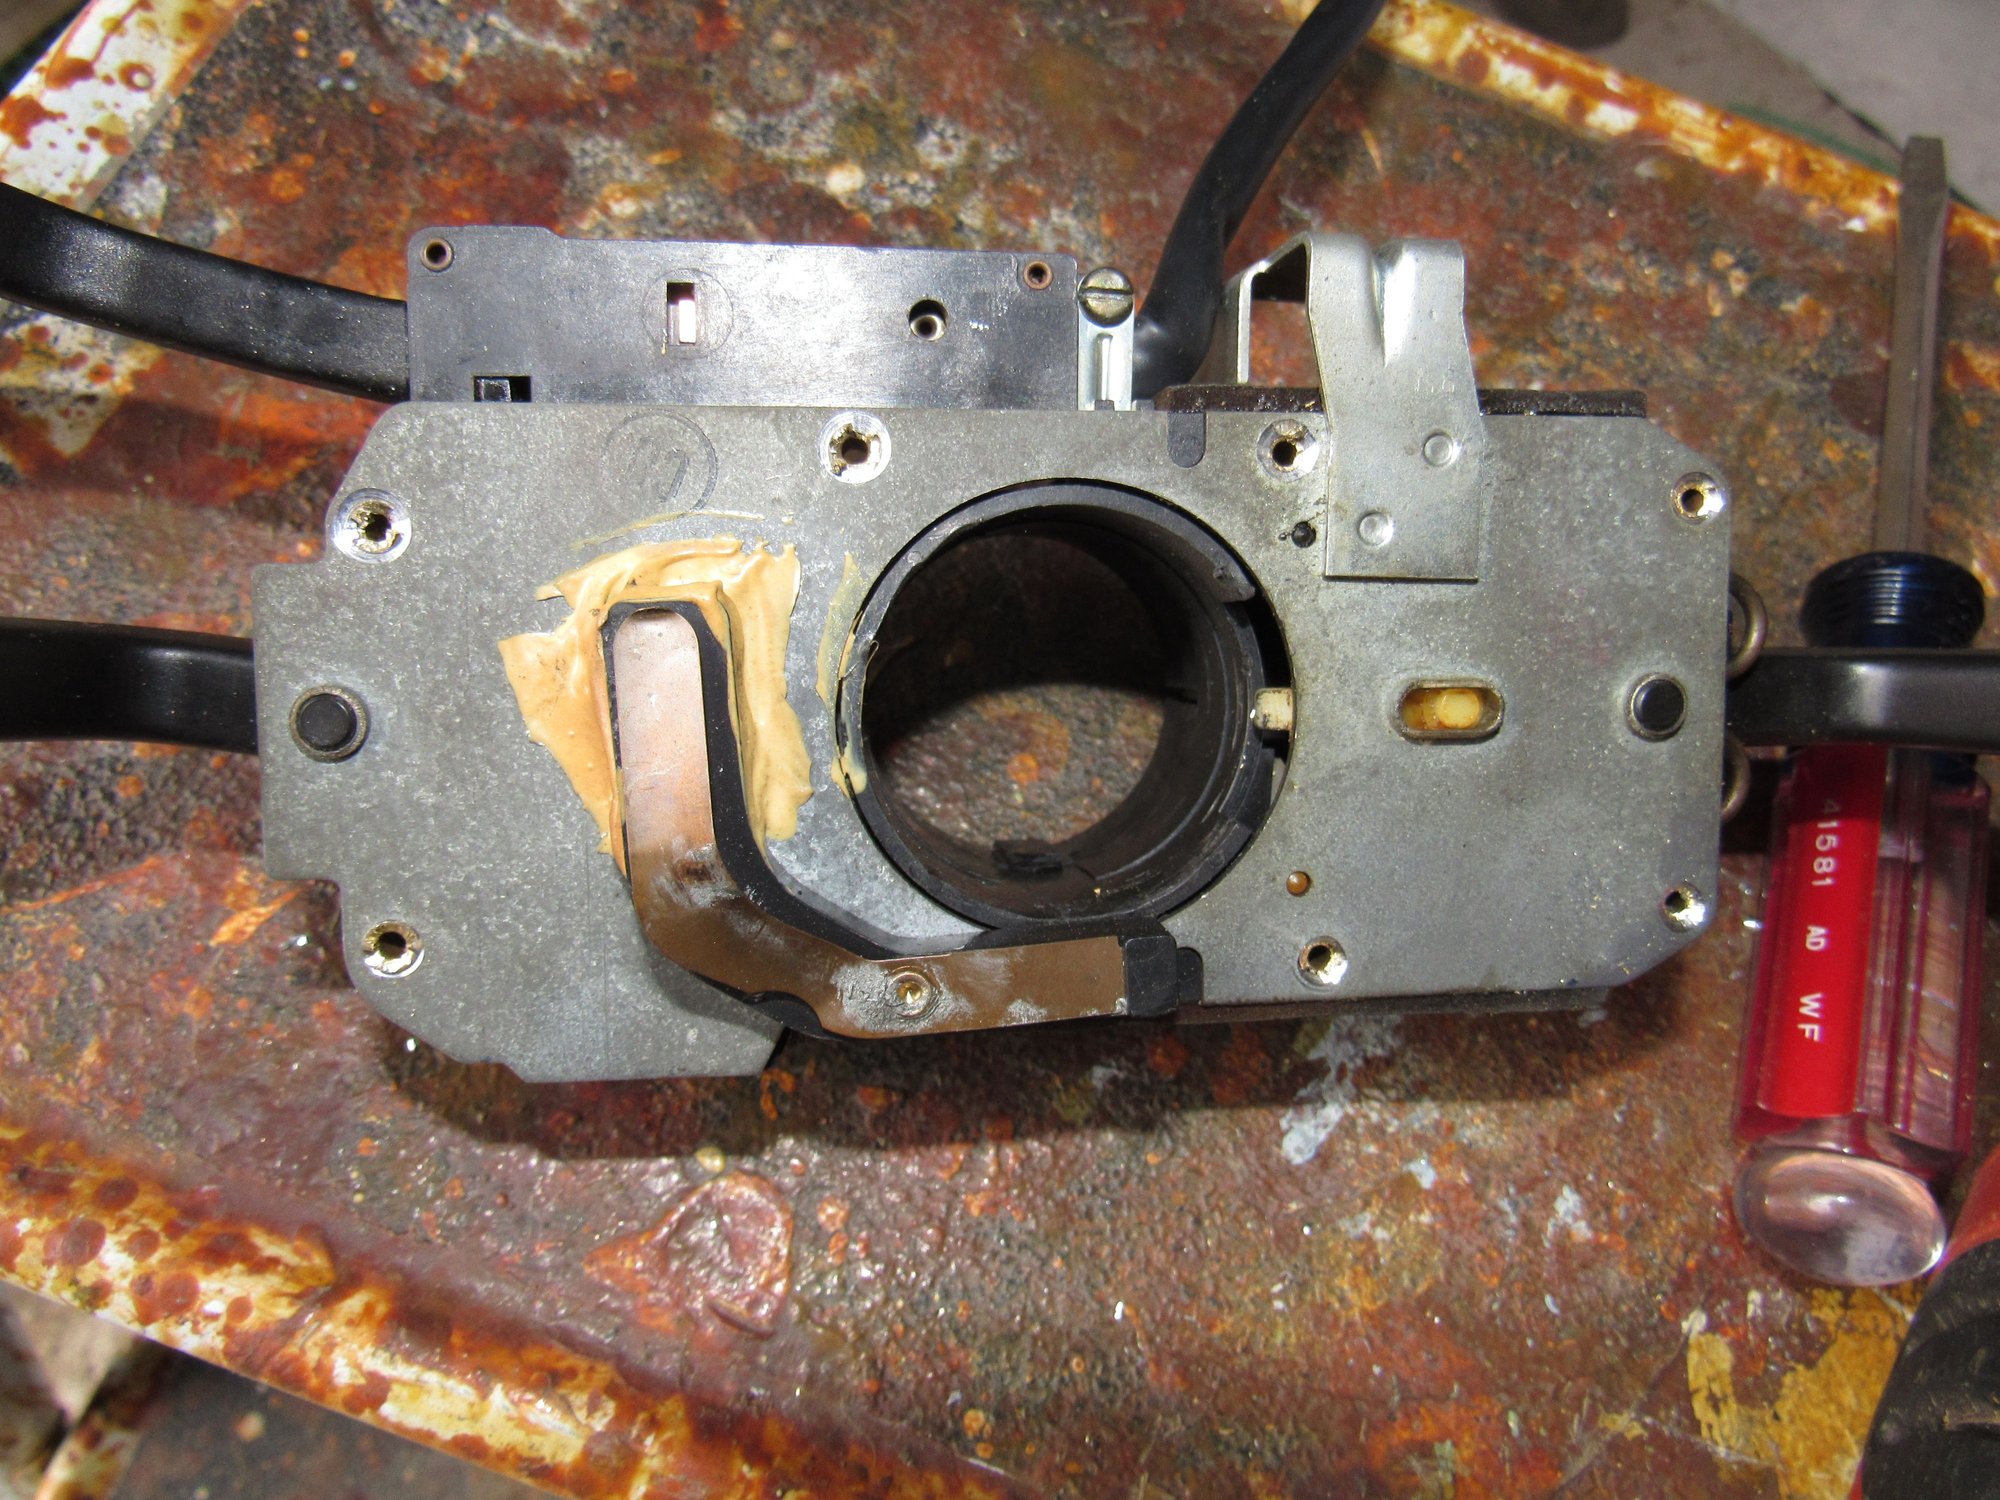
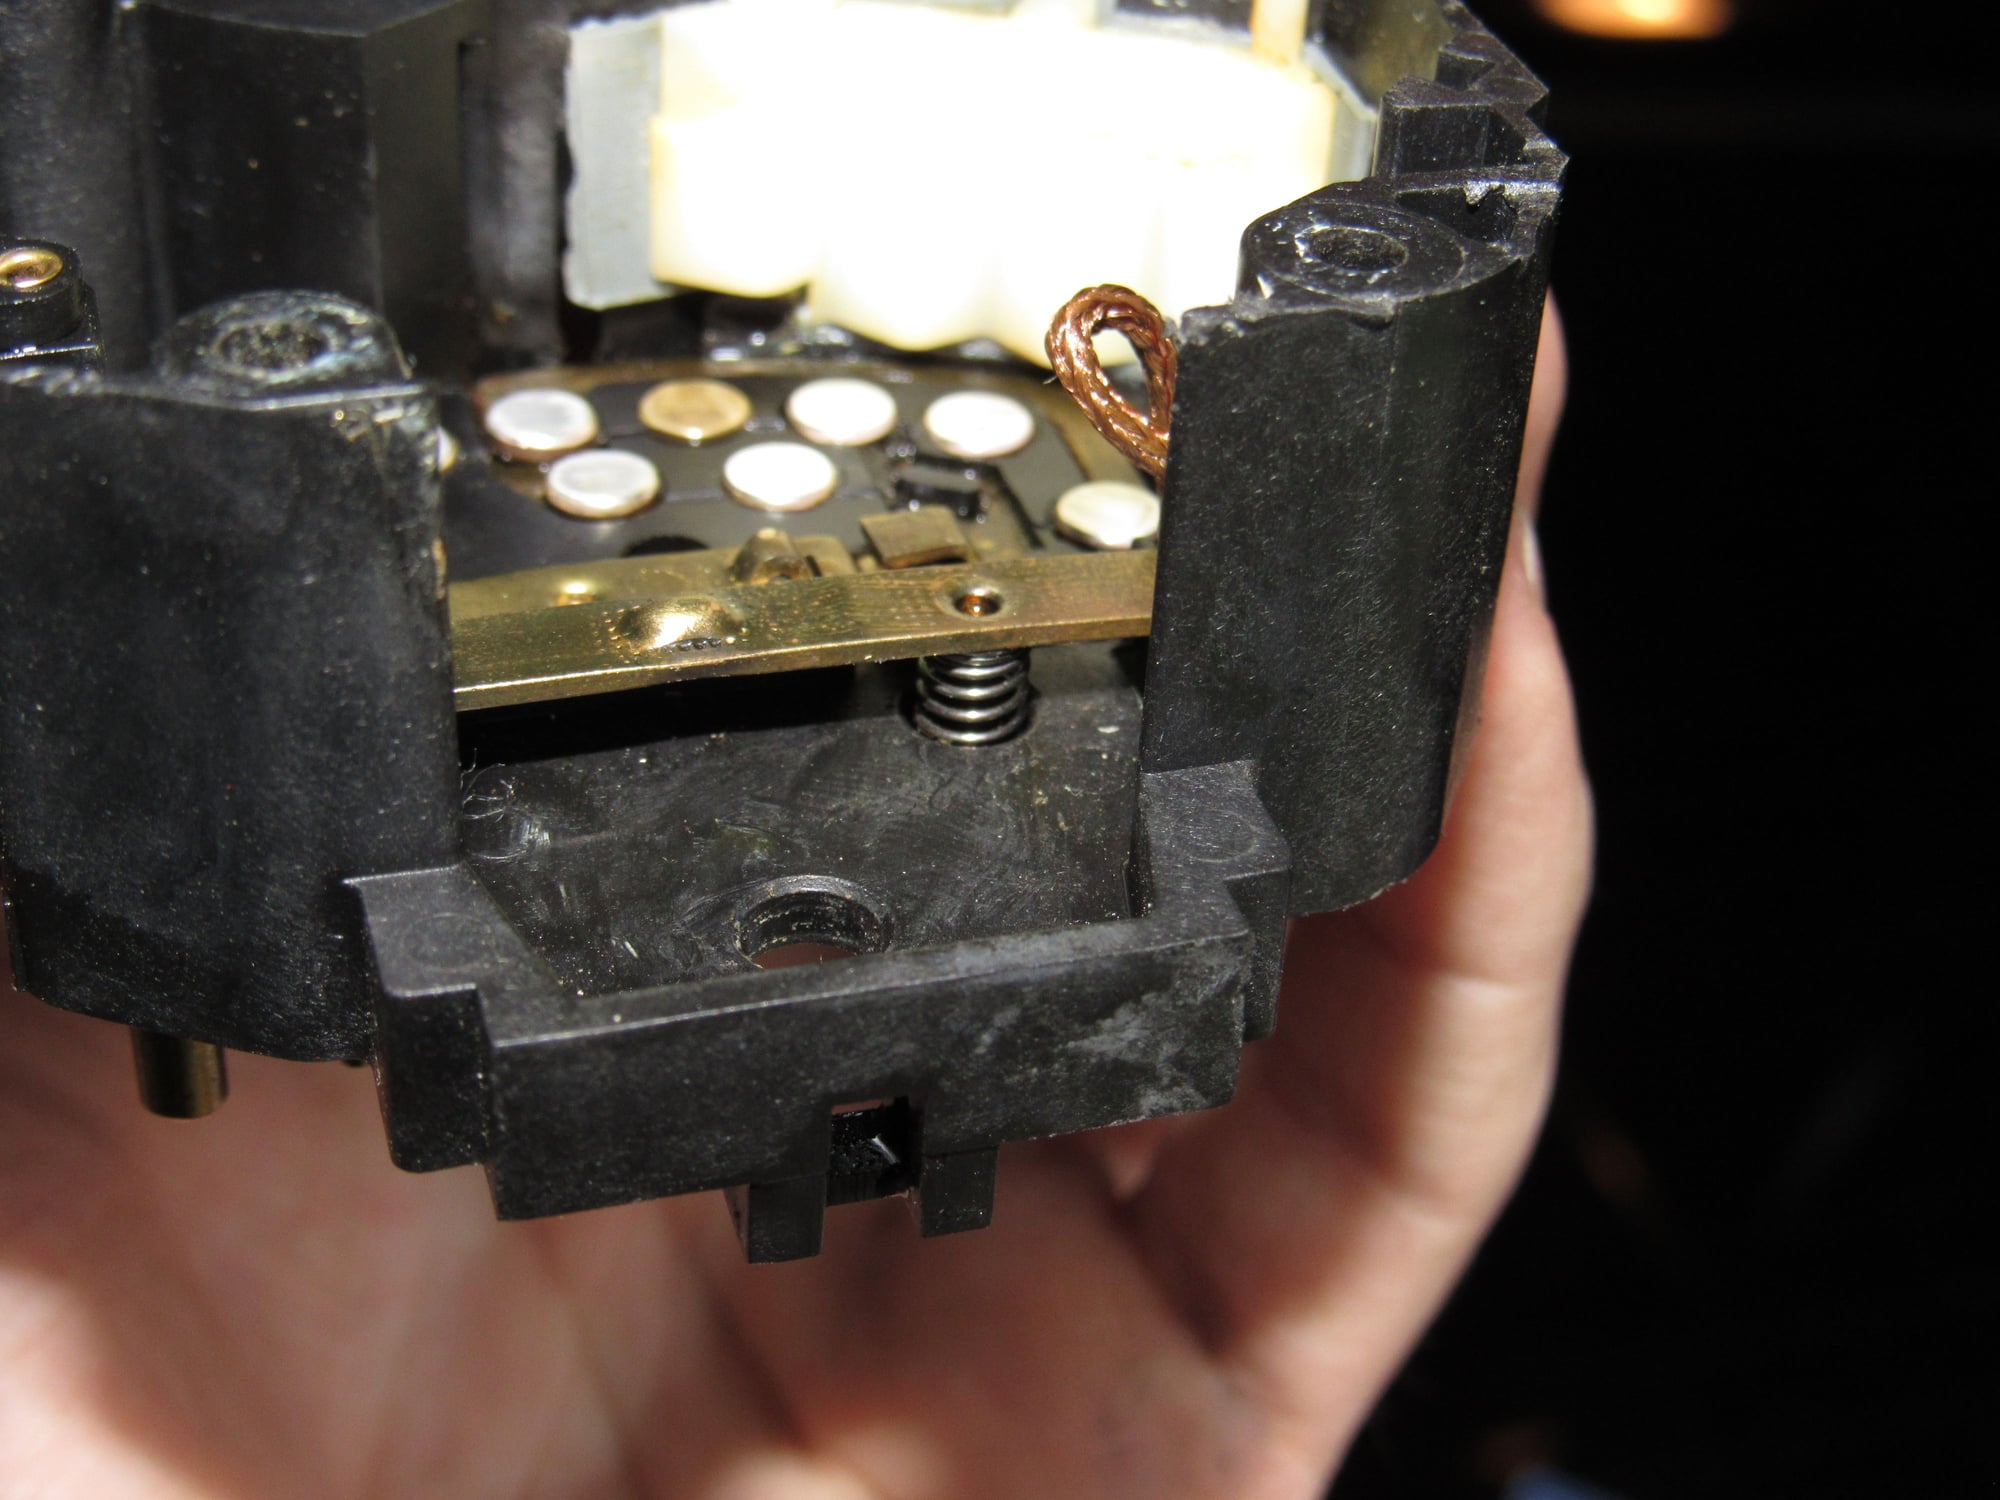
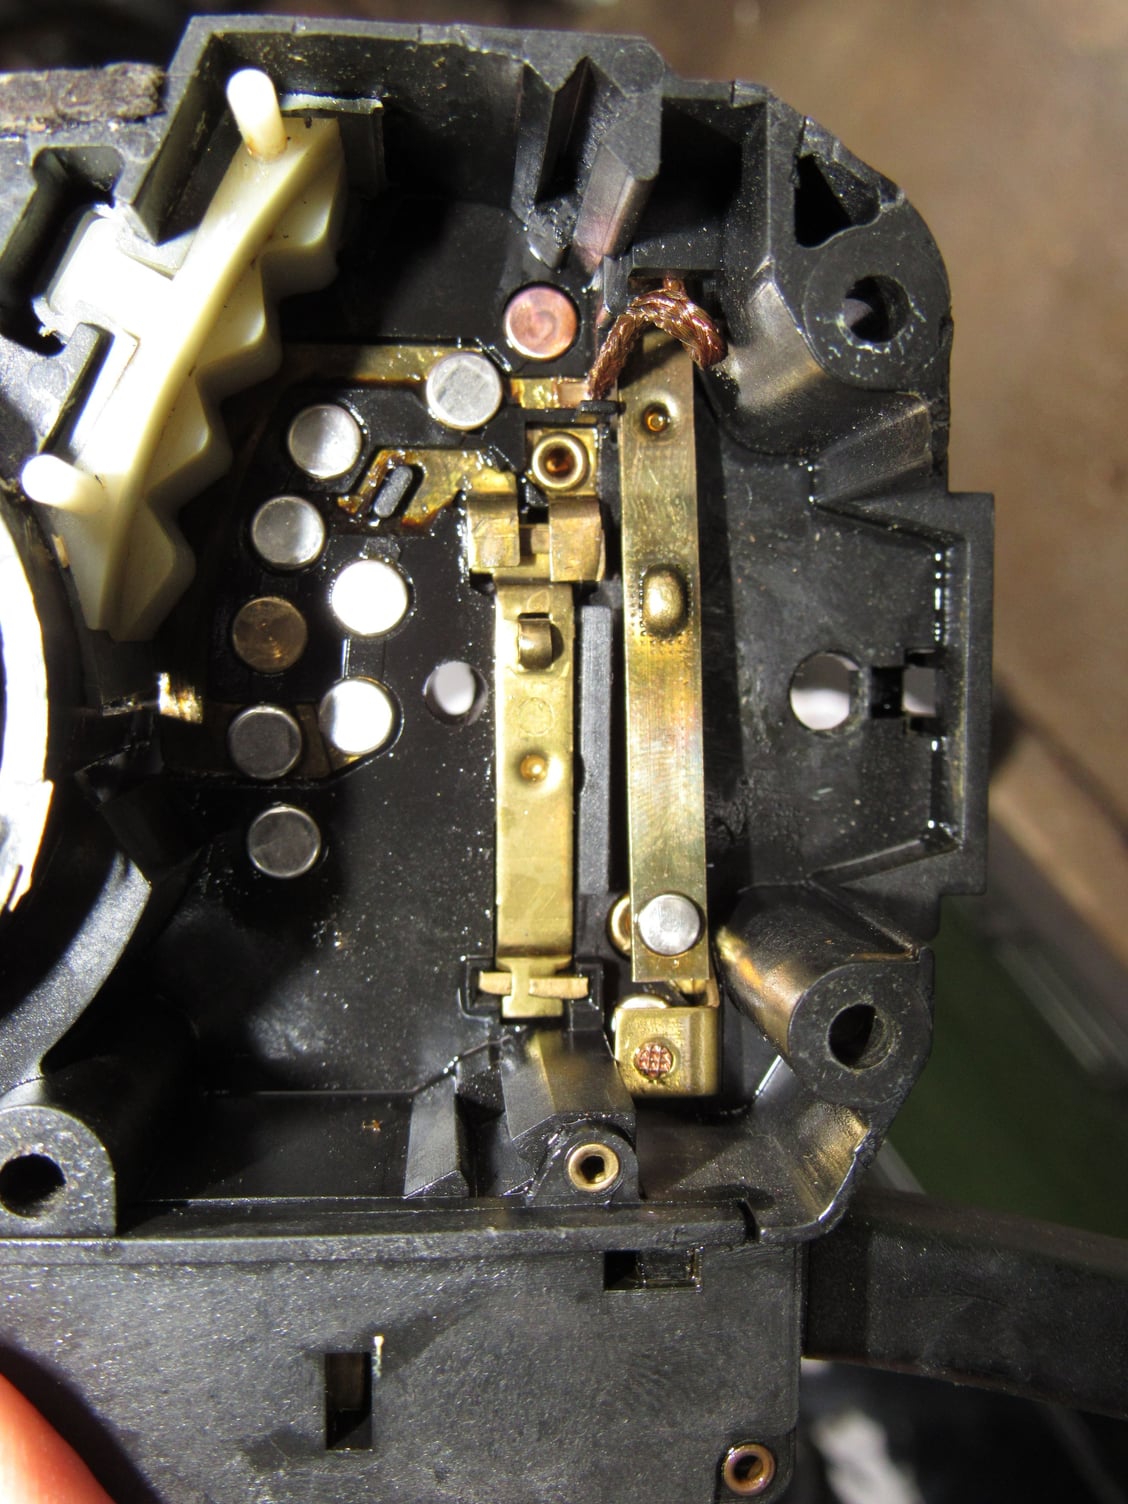
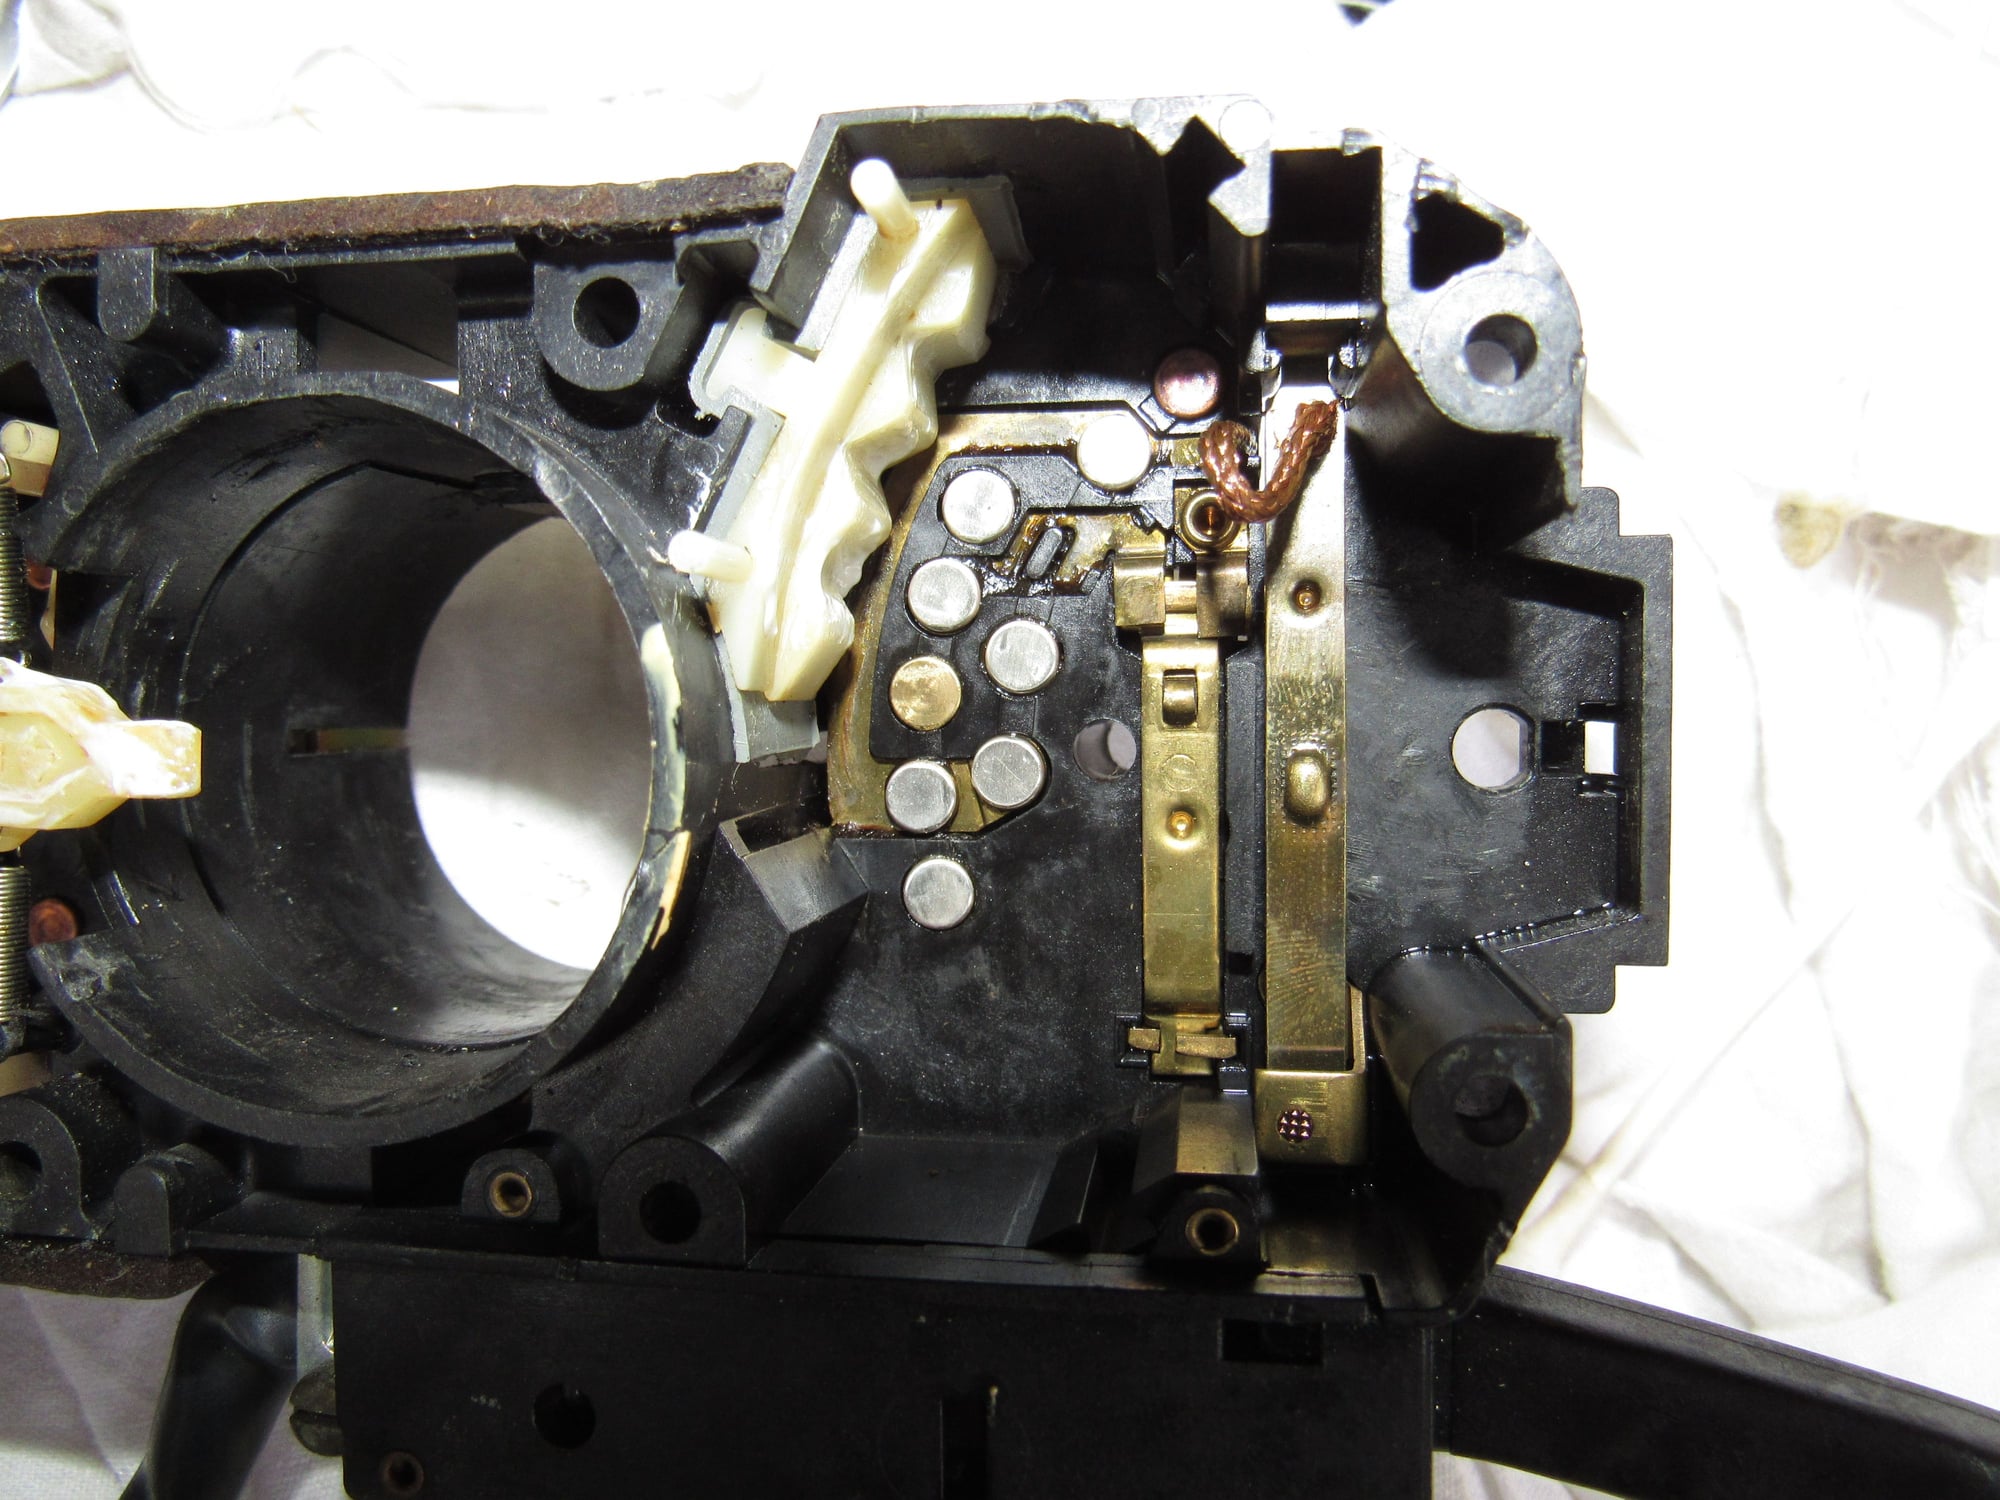
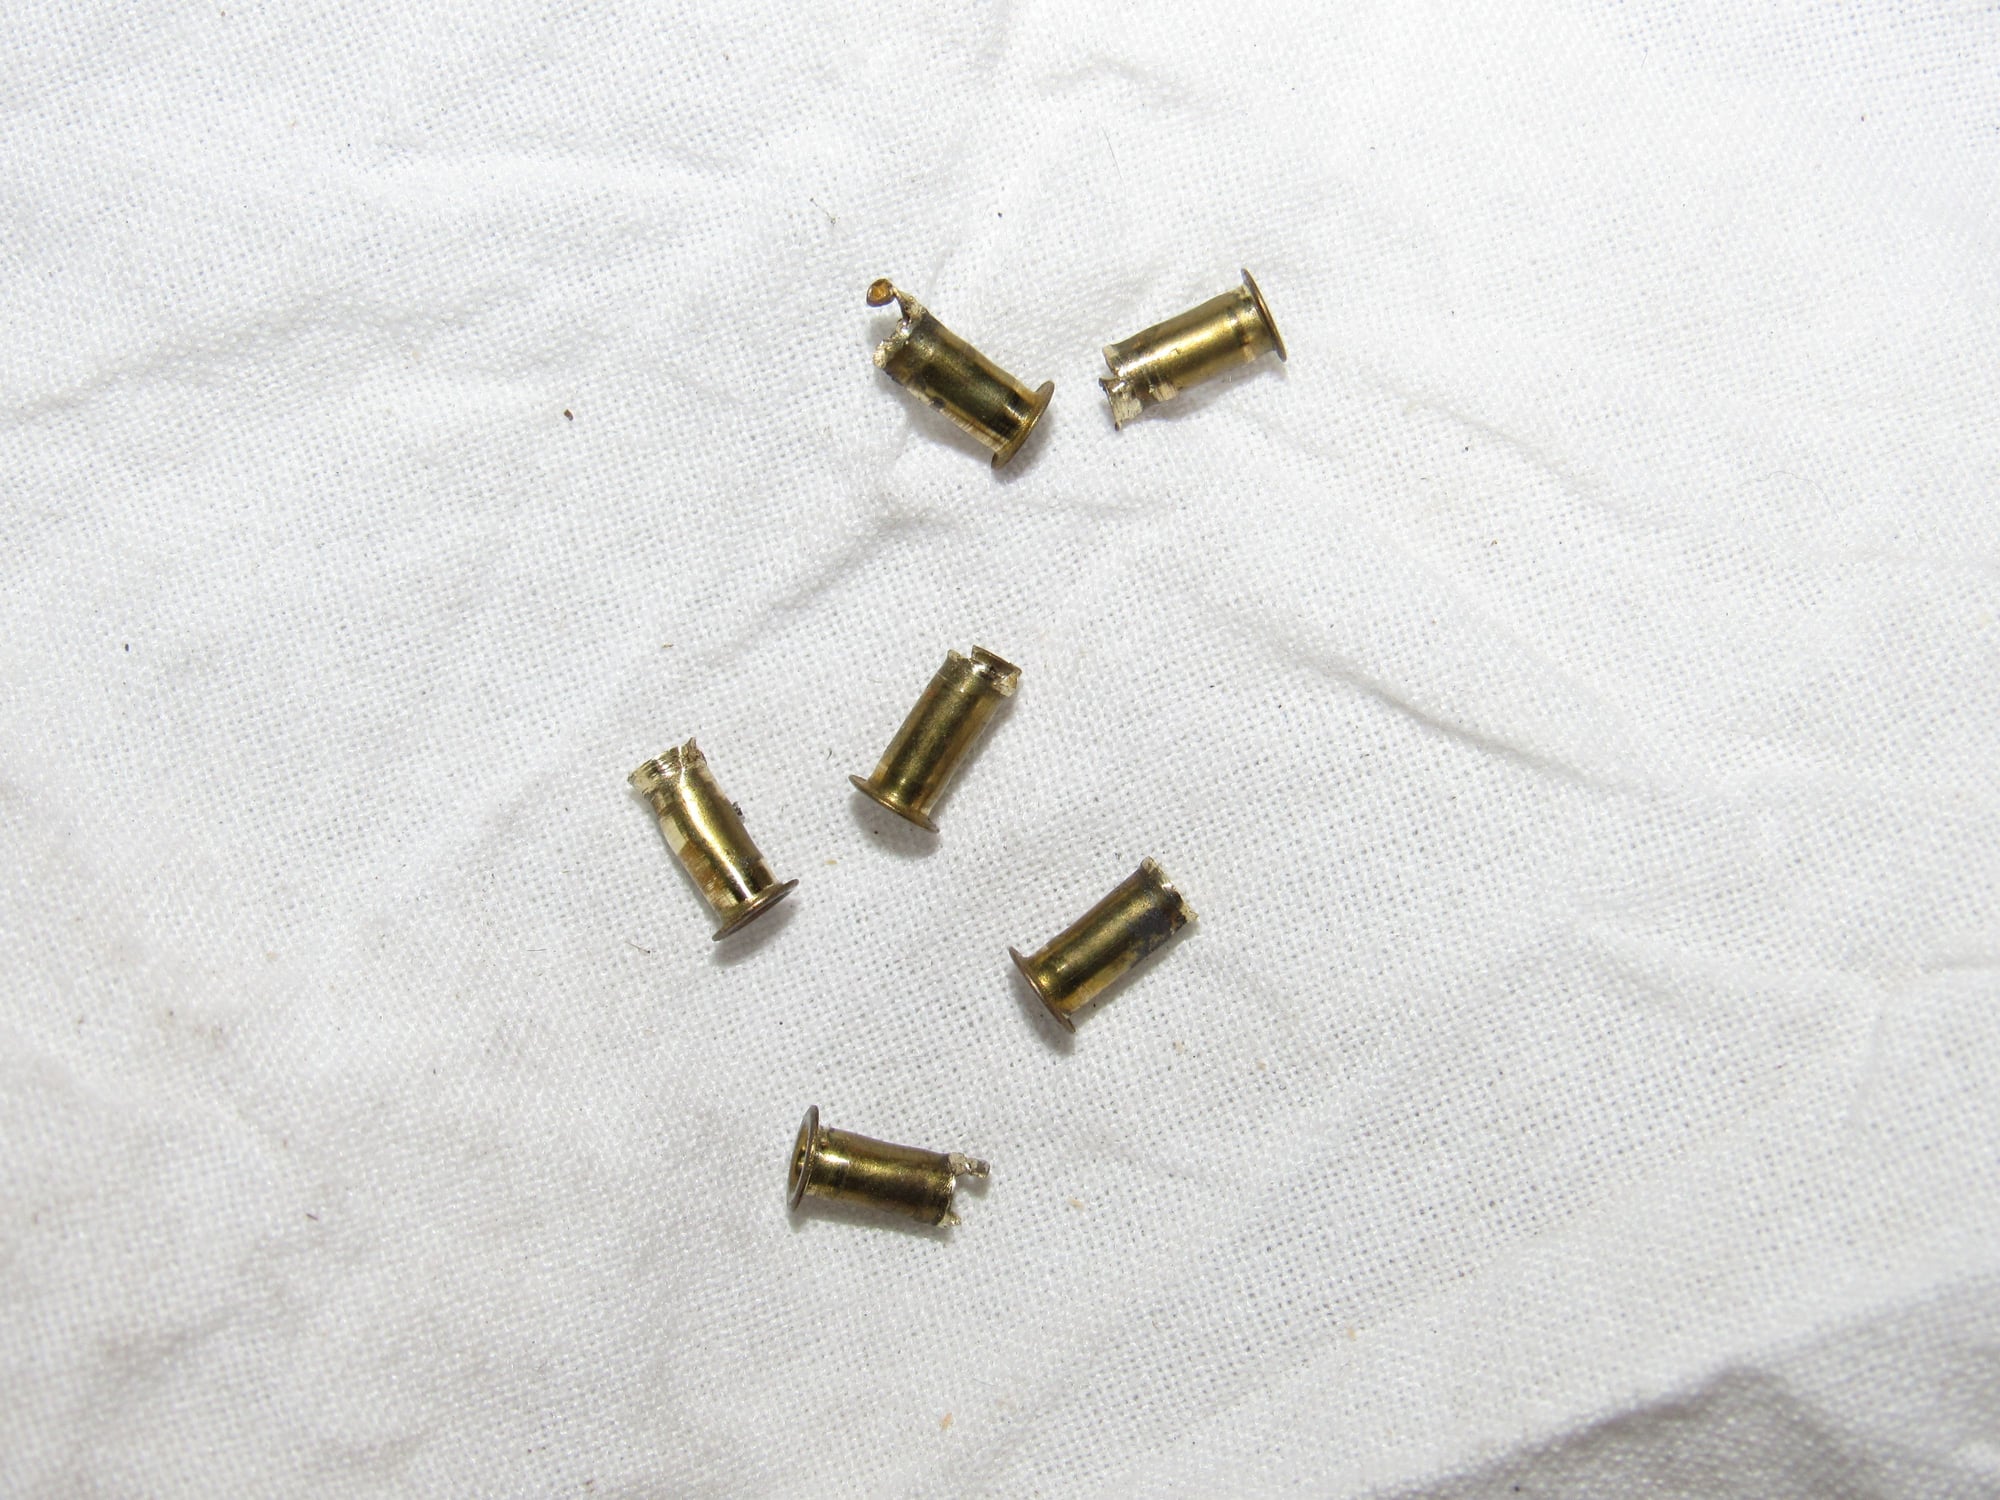
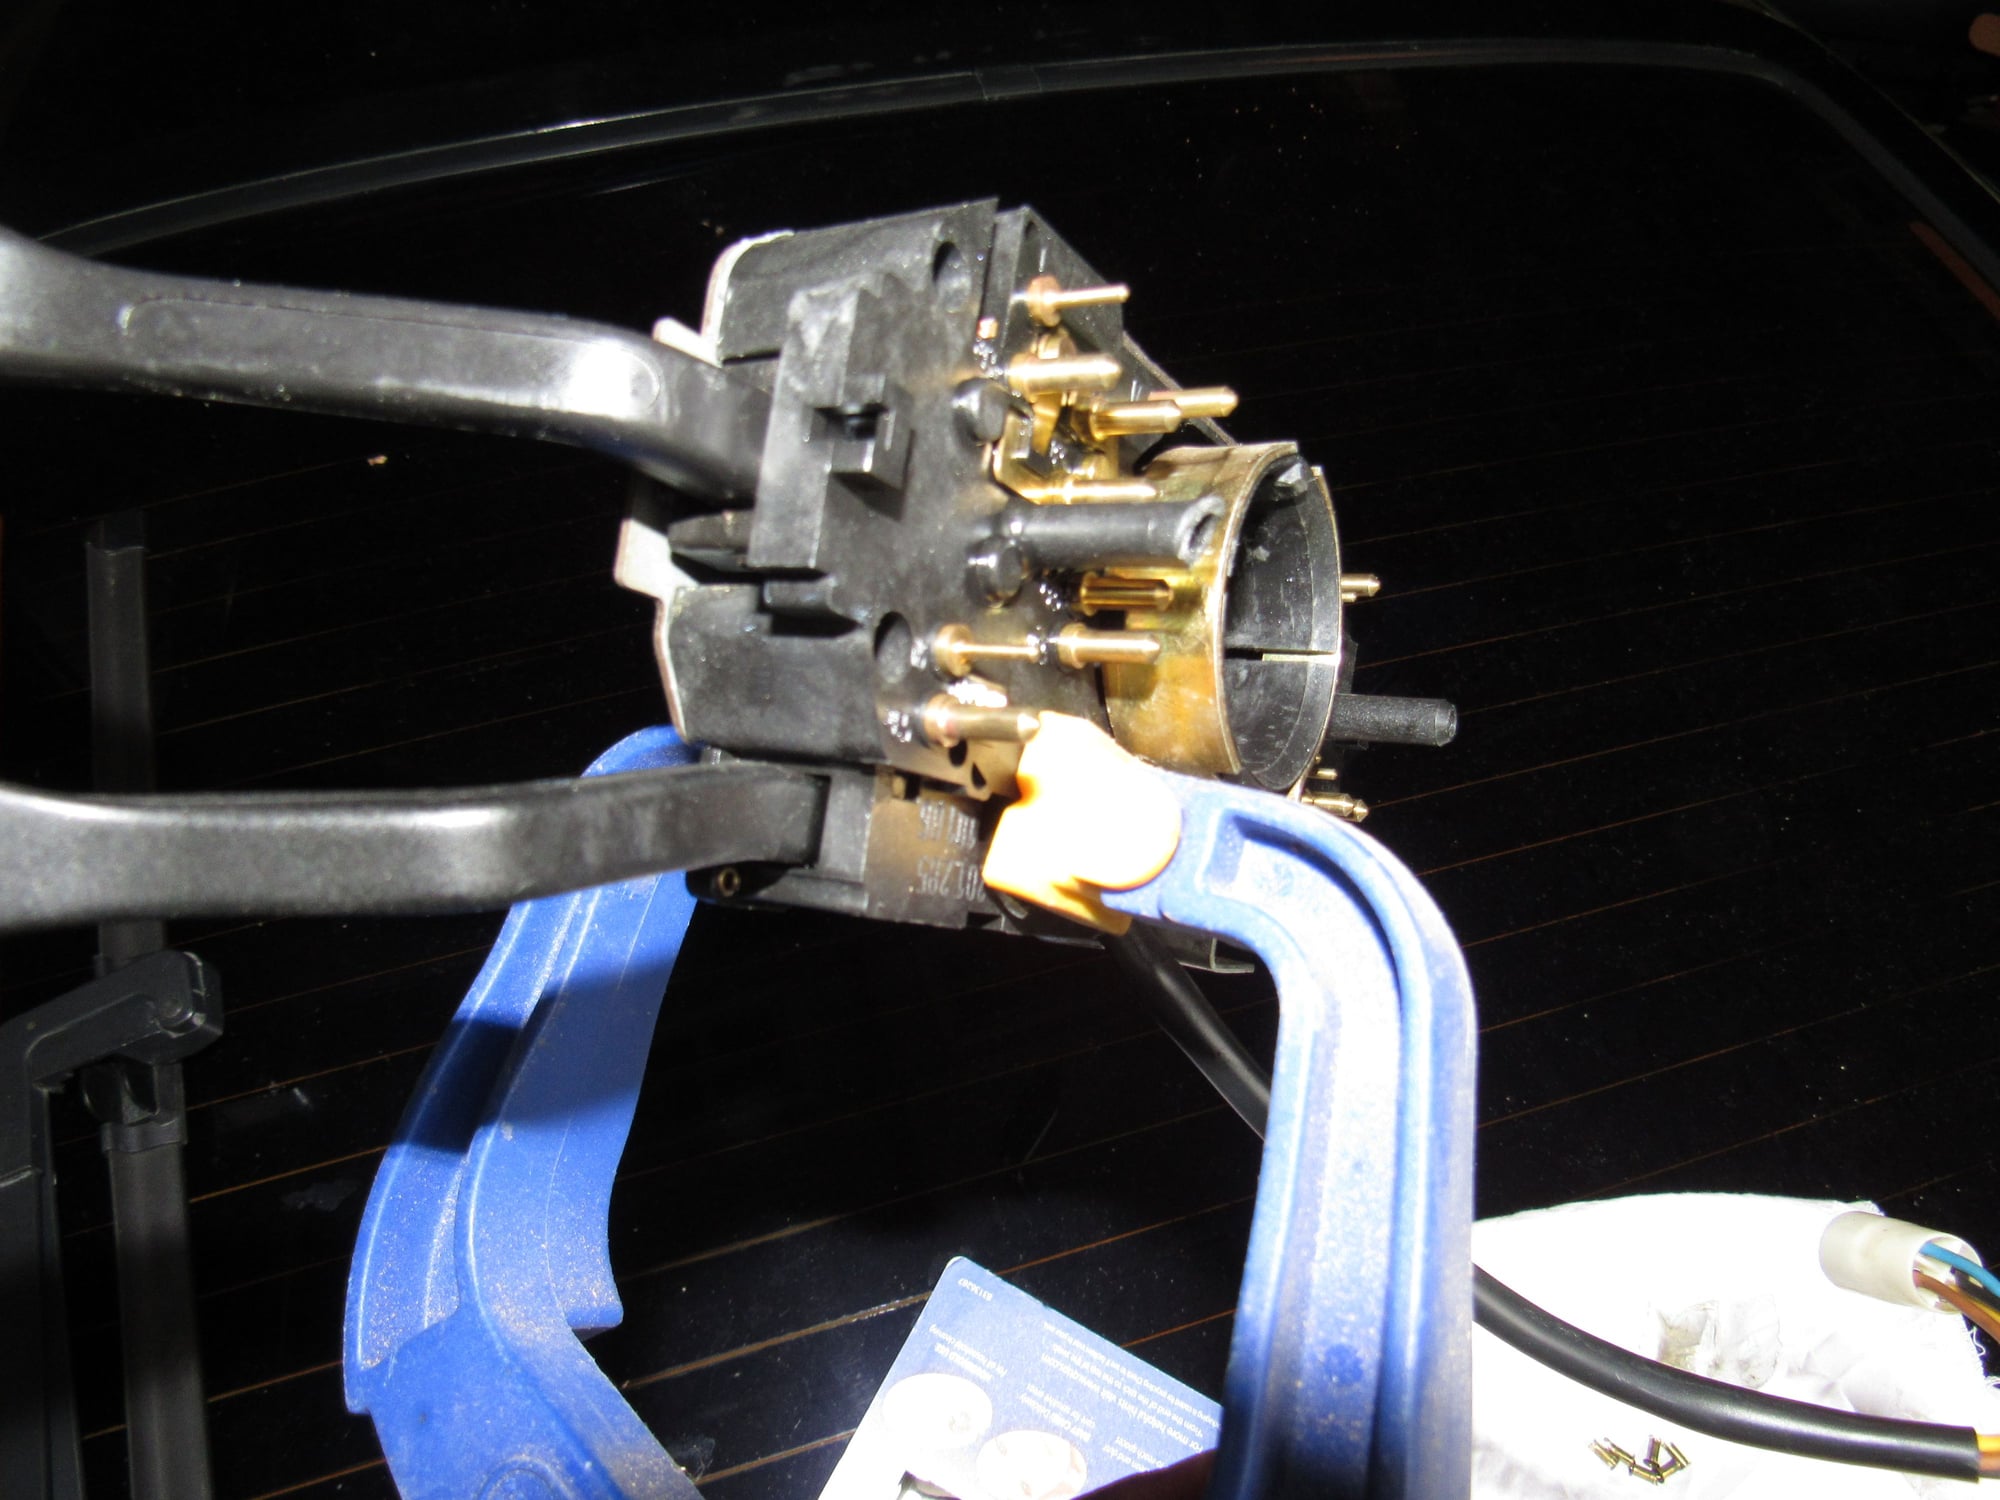
There are seven rivets to drill out made of brass I think. Once open I found the contacts were pretty dirty with old dielectric grease.
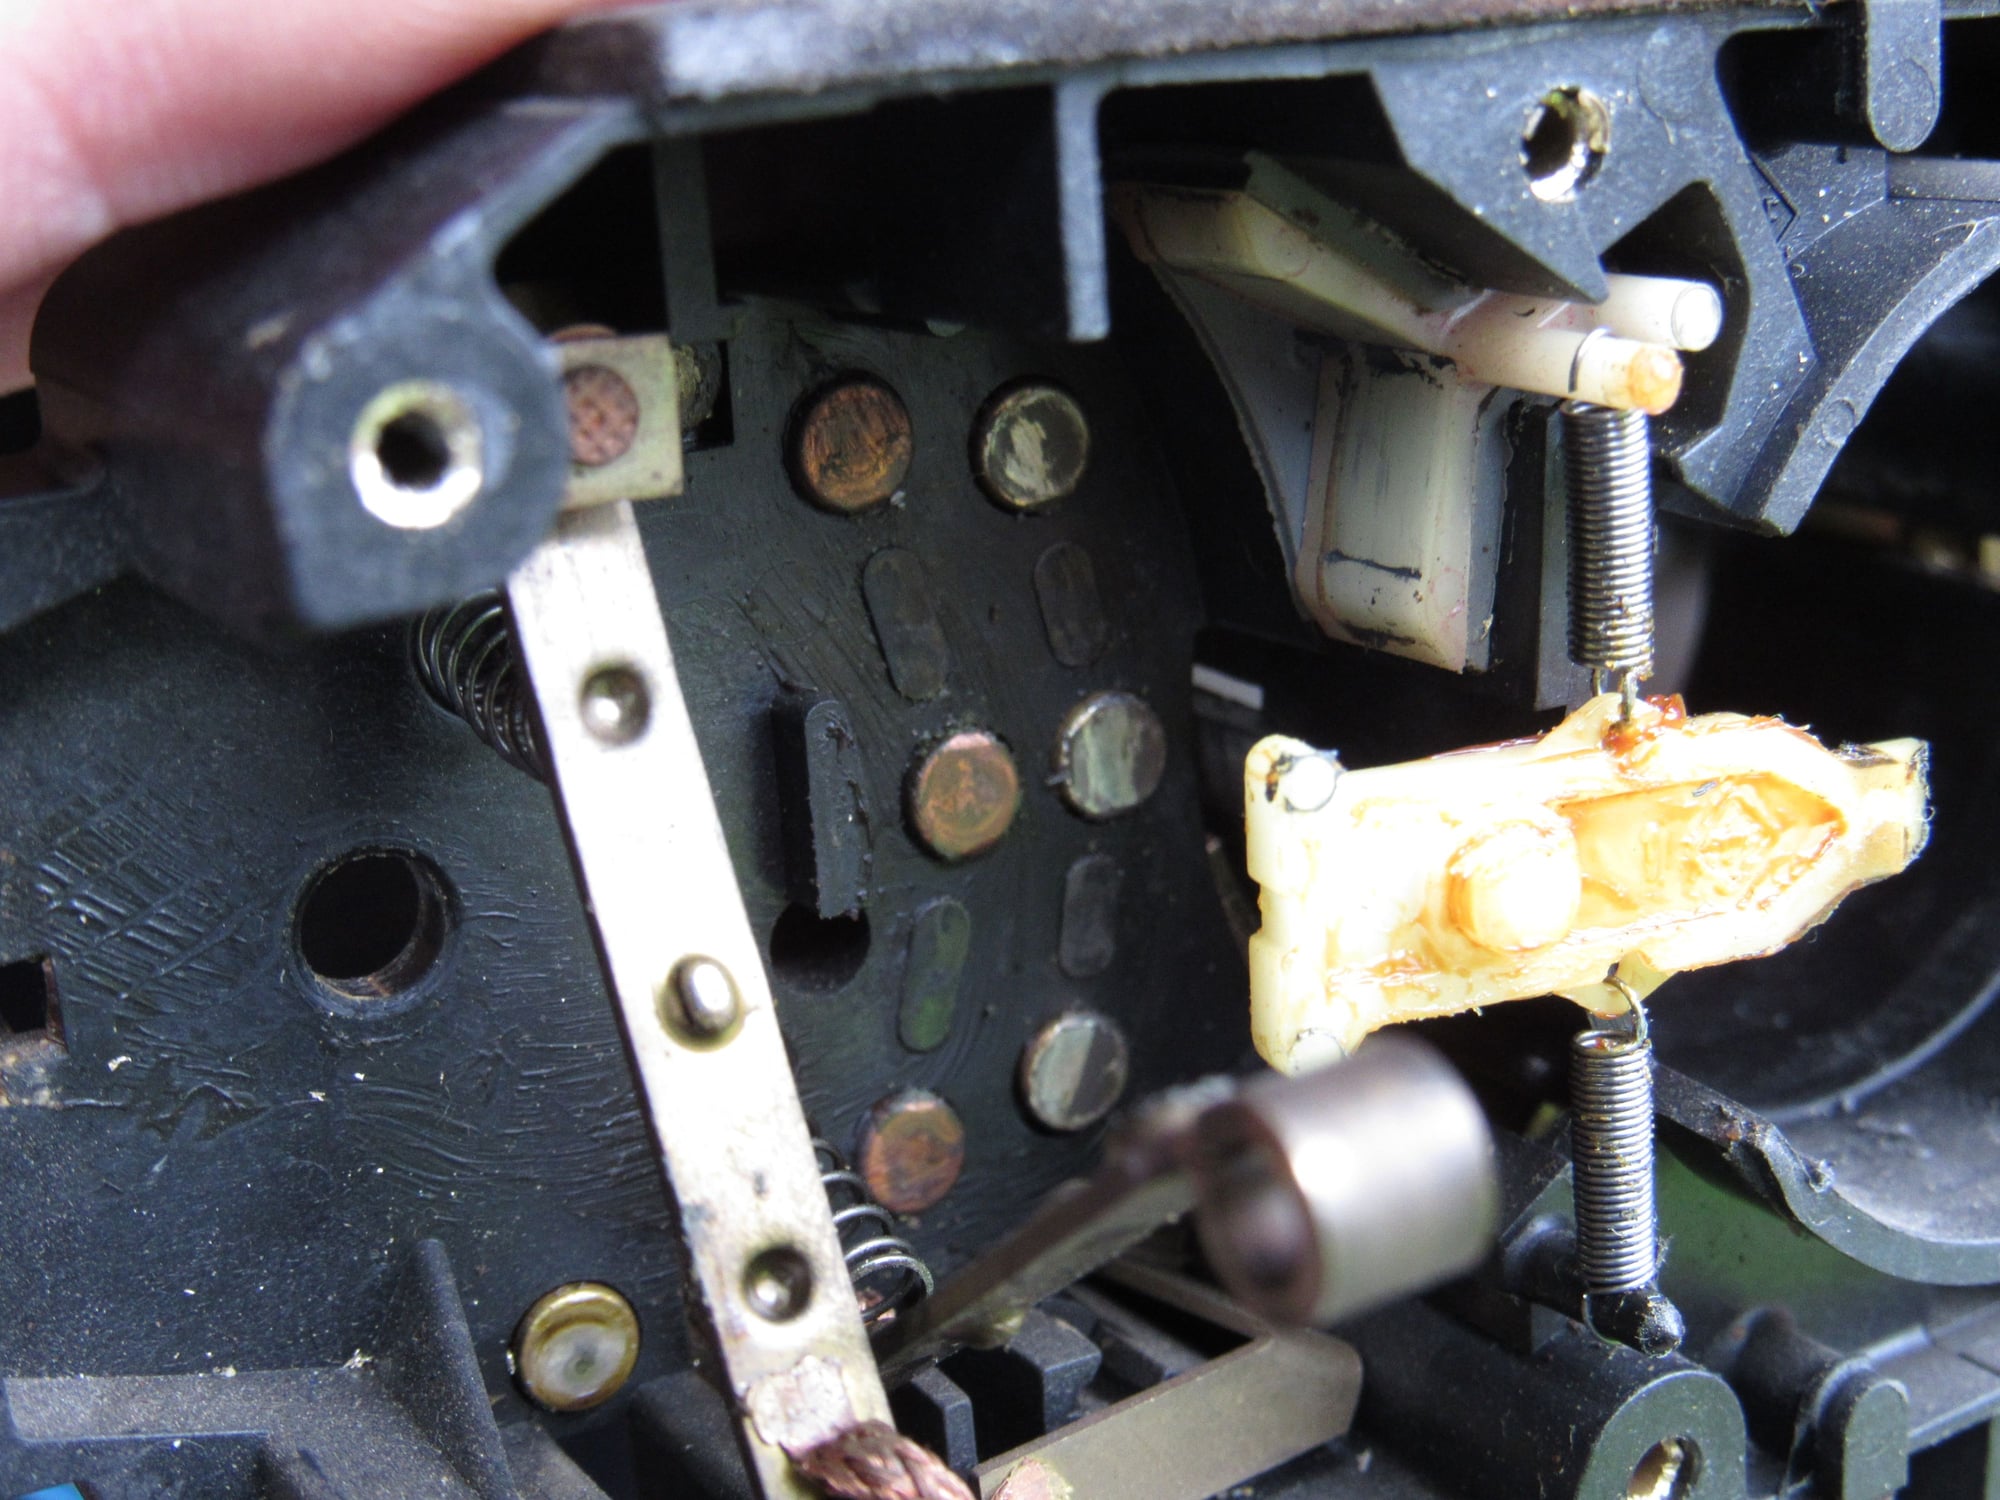
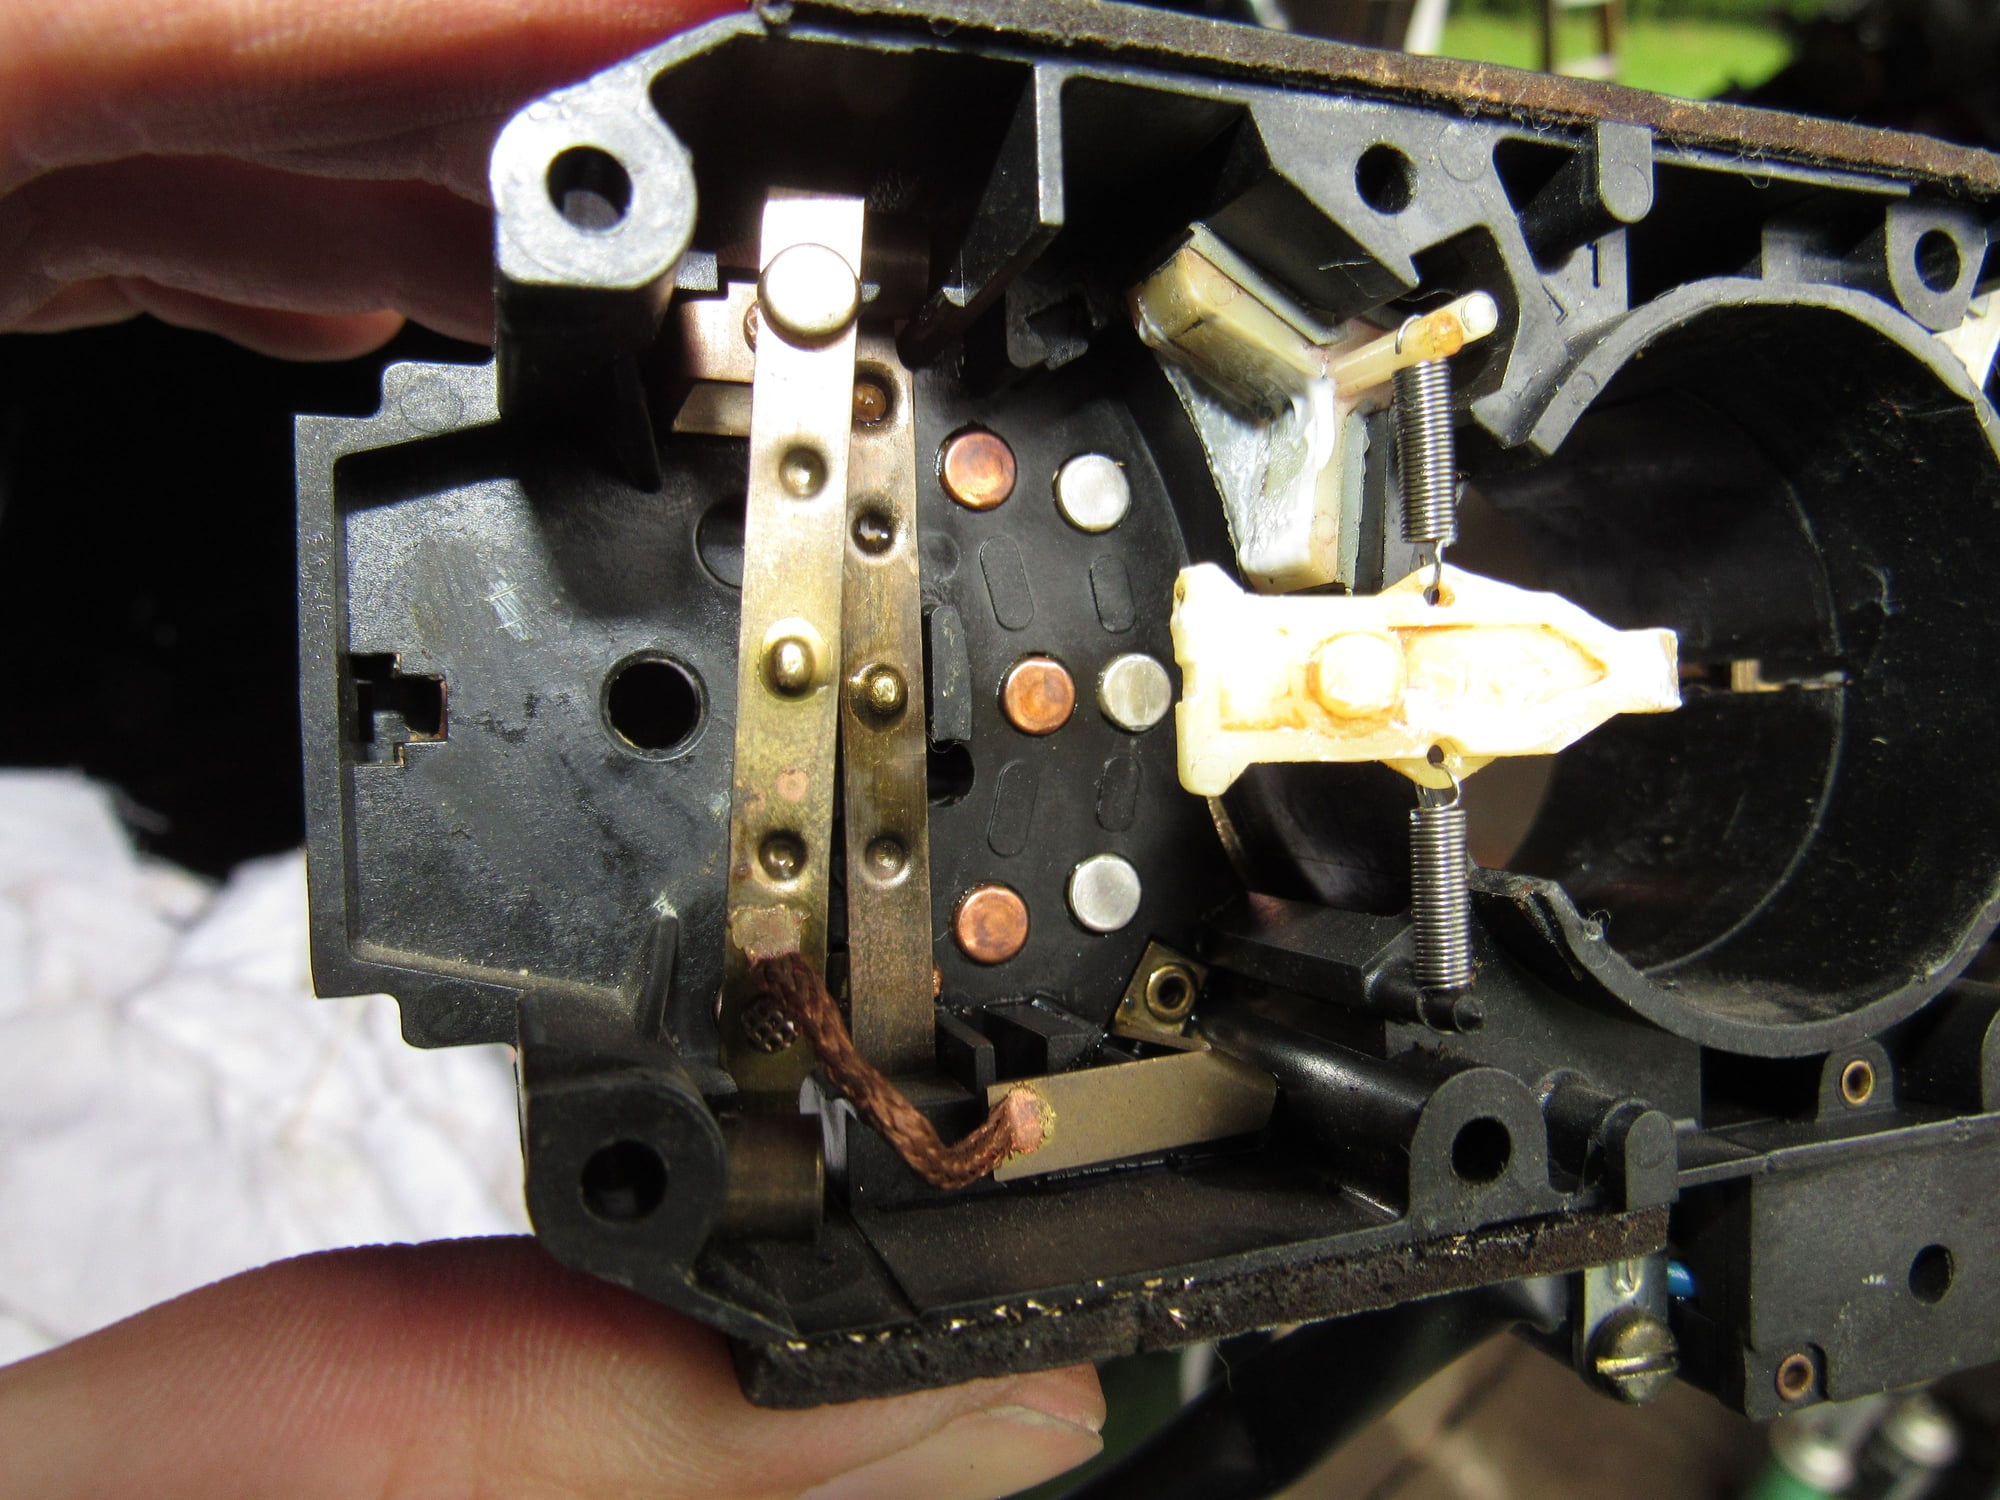
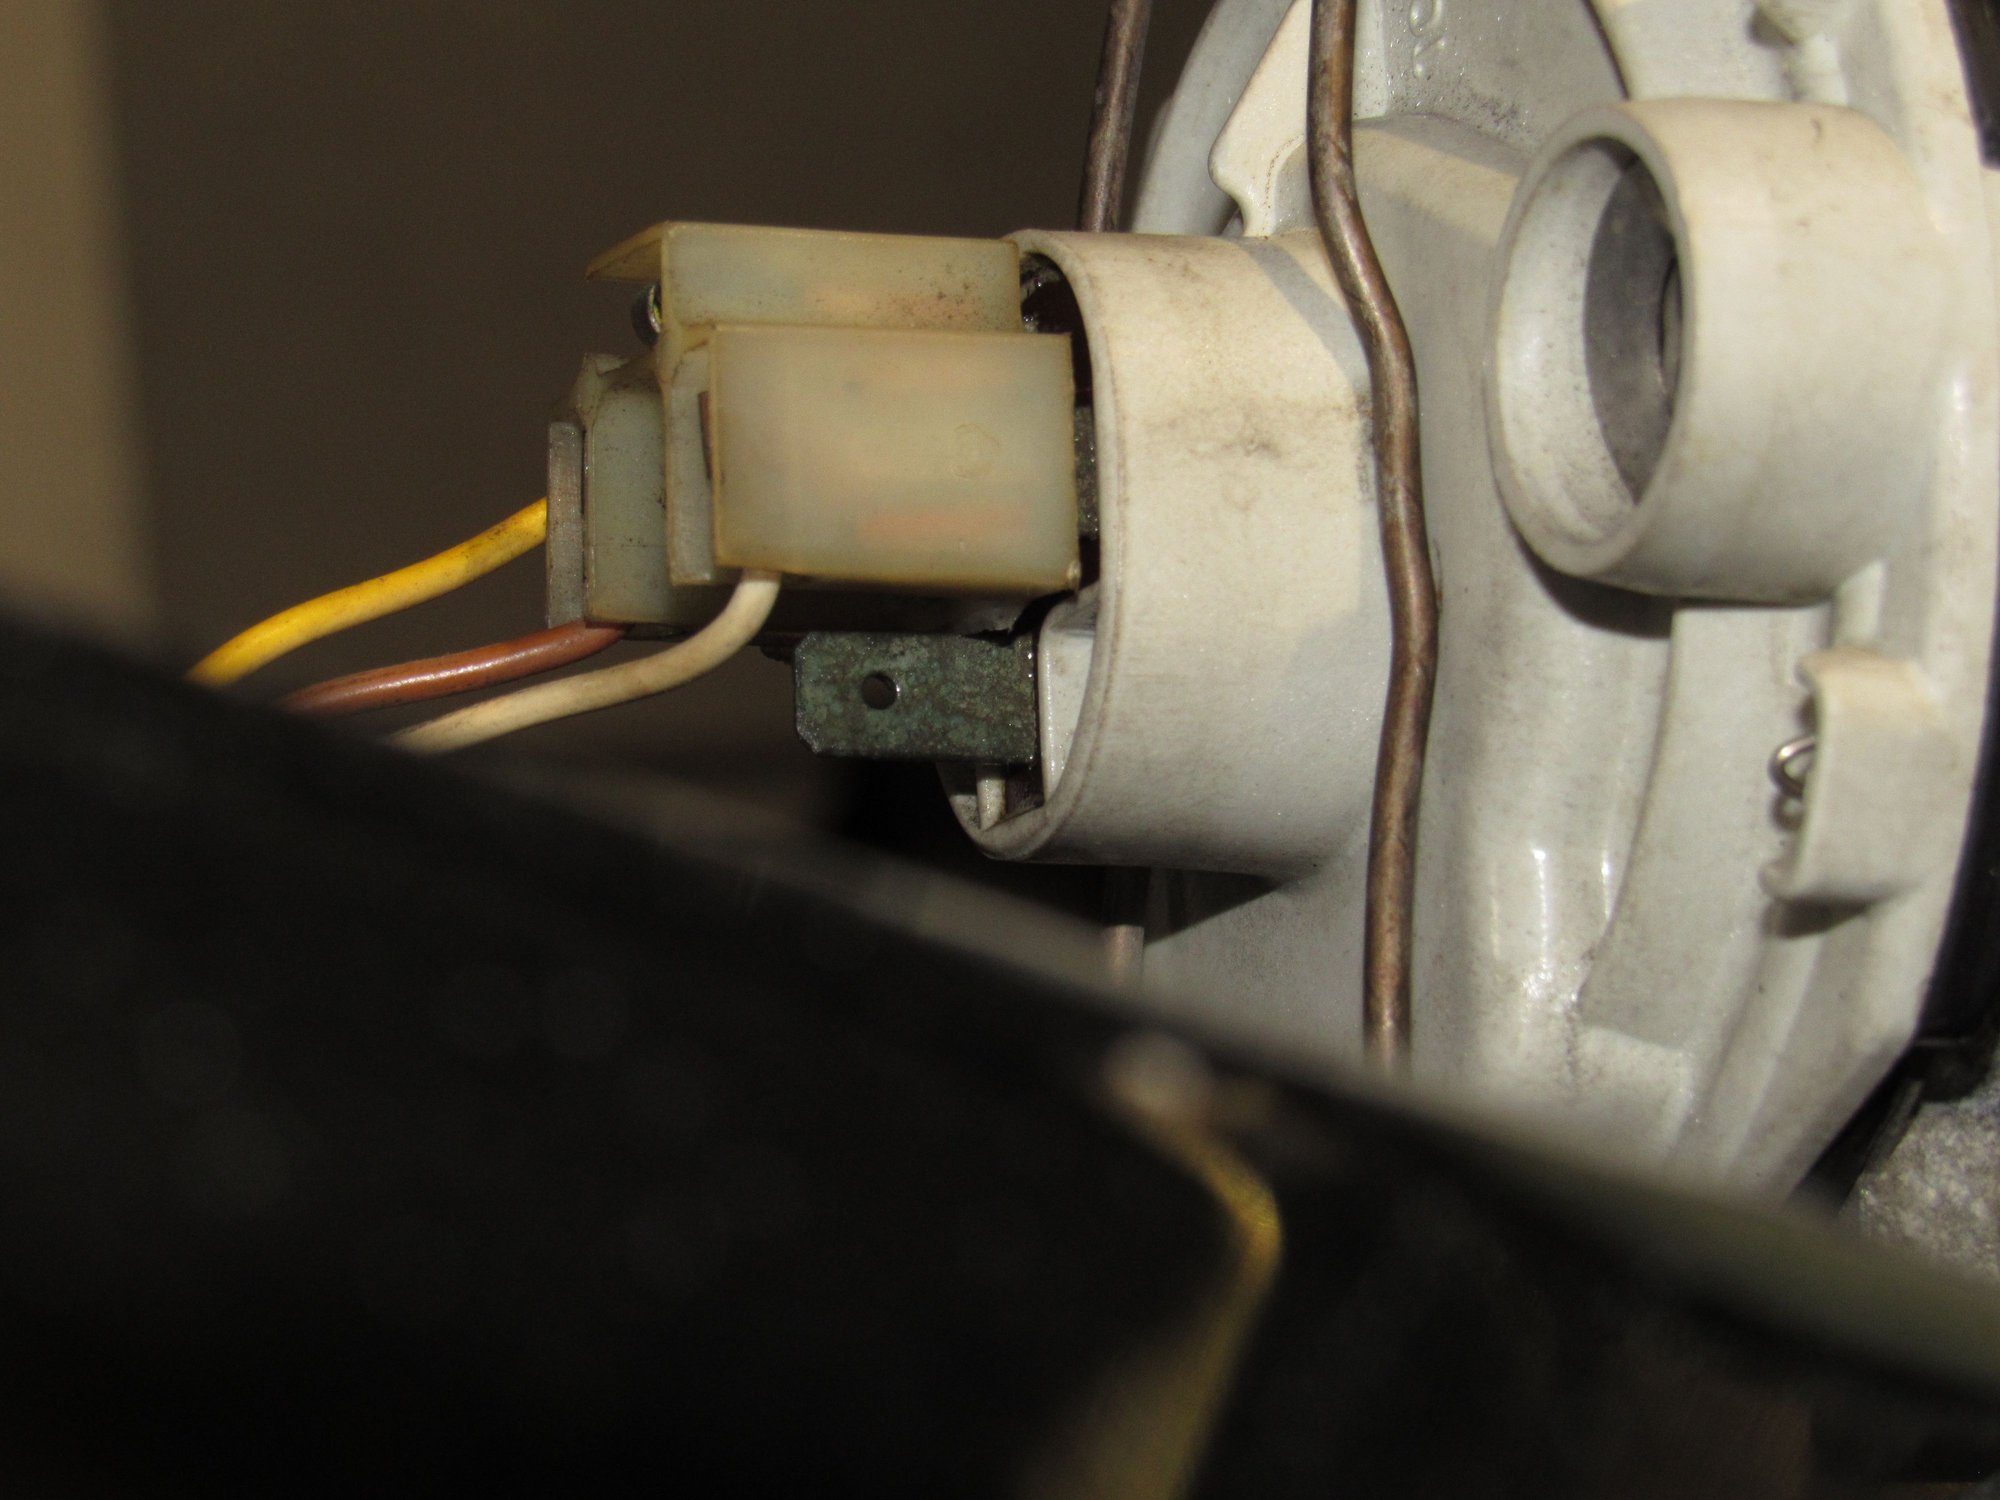
To clean the contacts for the windshield washers I had to remove the metal bar on the right shown above. I had to remove the spring shown here with a pick.
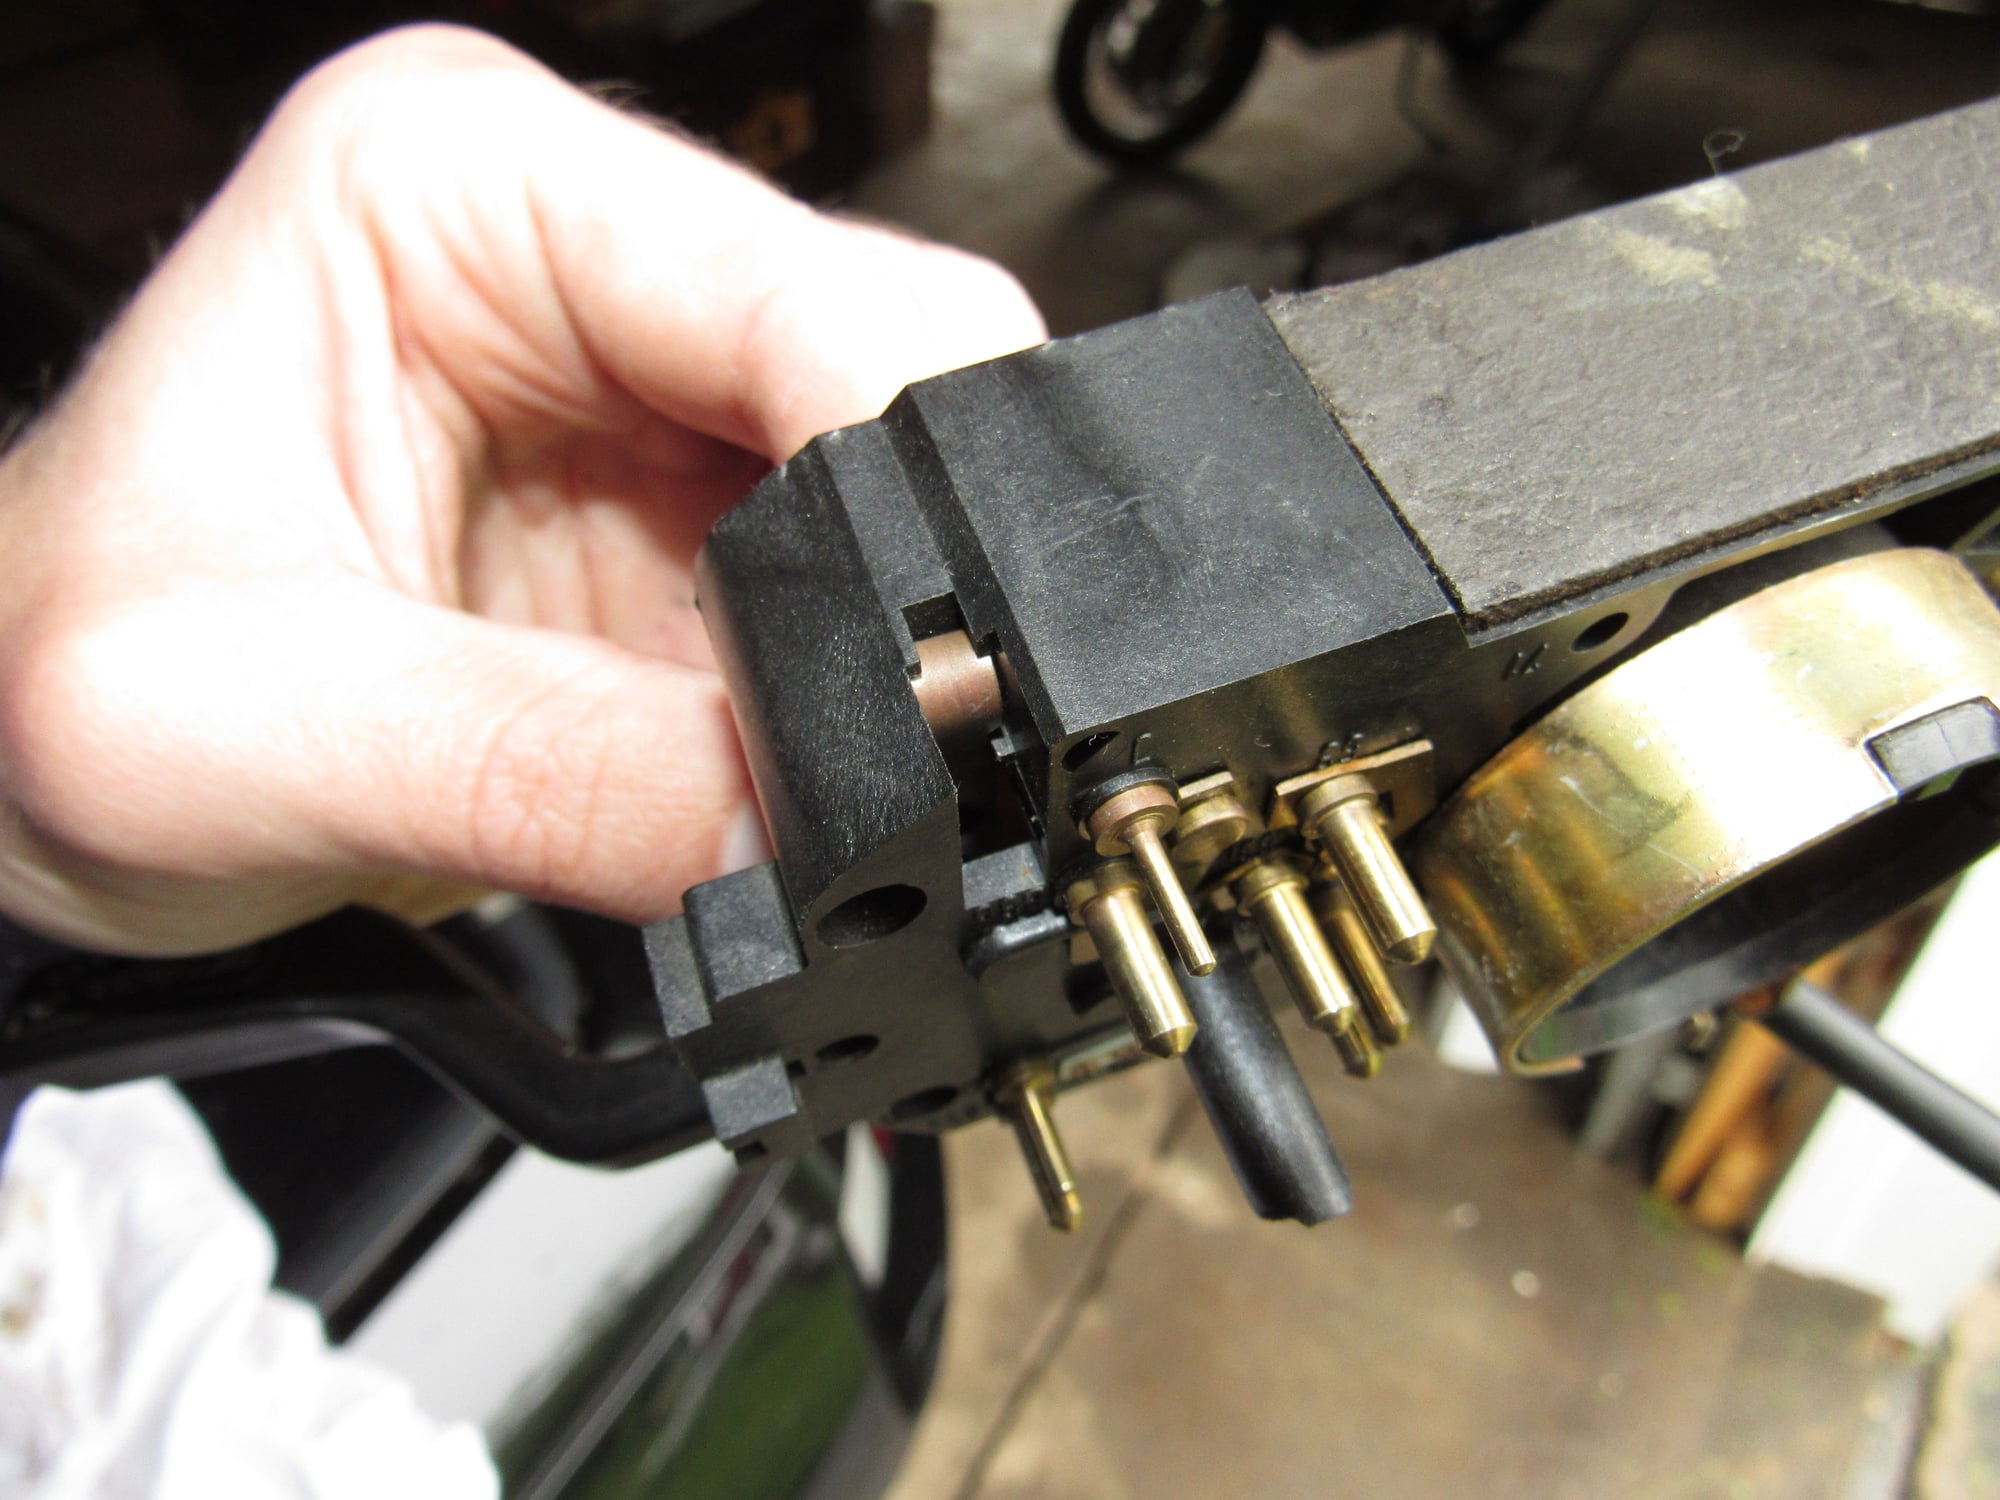
This shows how the end of the bar fits into the housing.
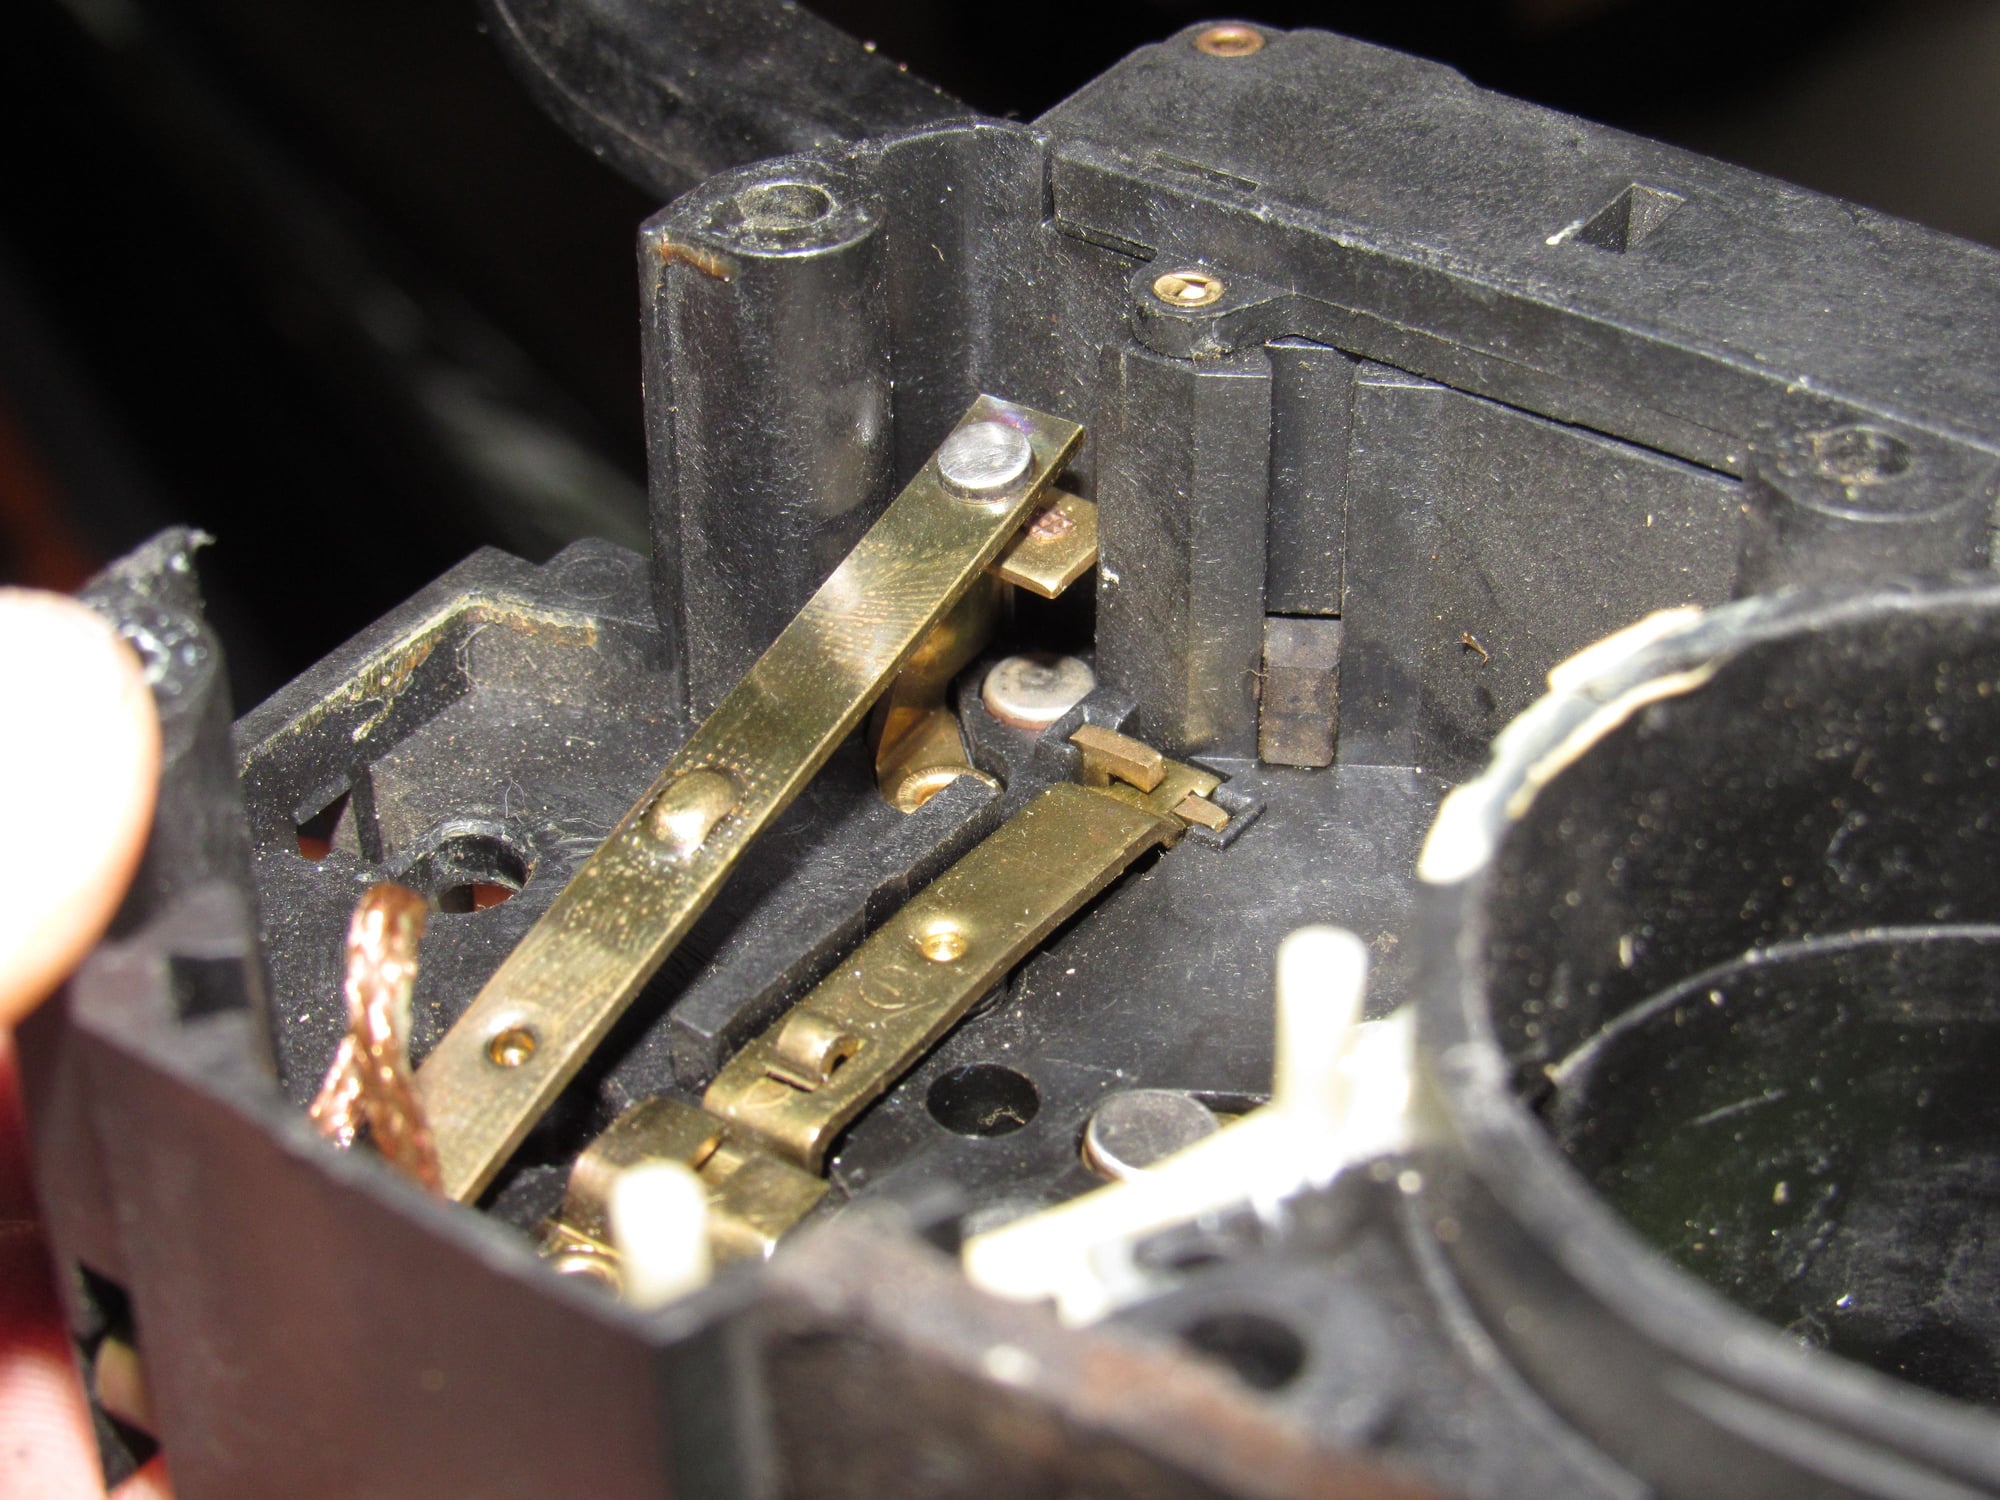
With the spring removed, you push it down and outward.
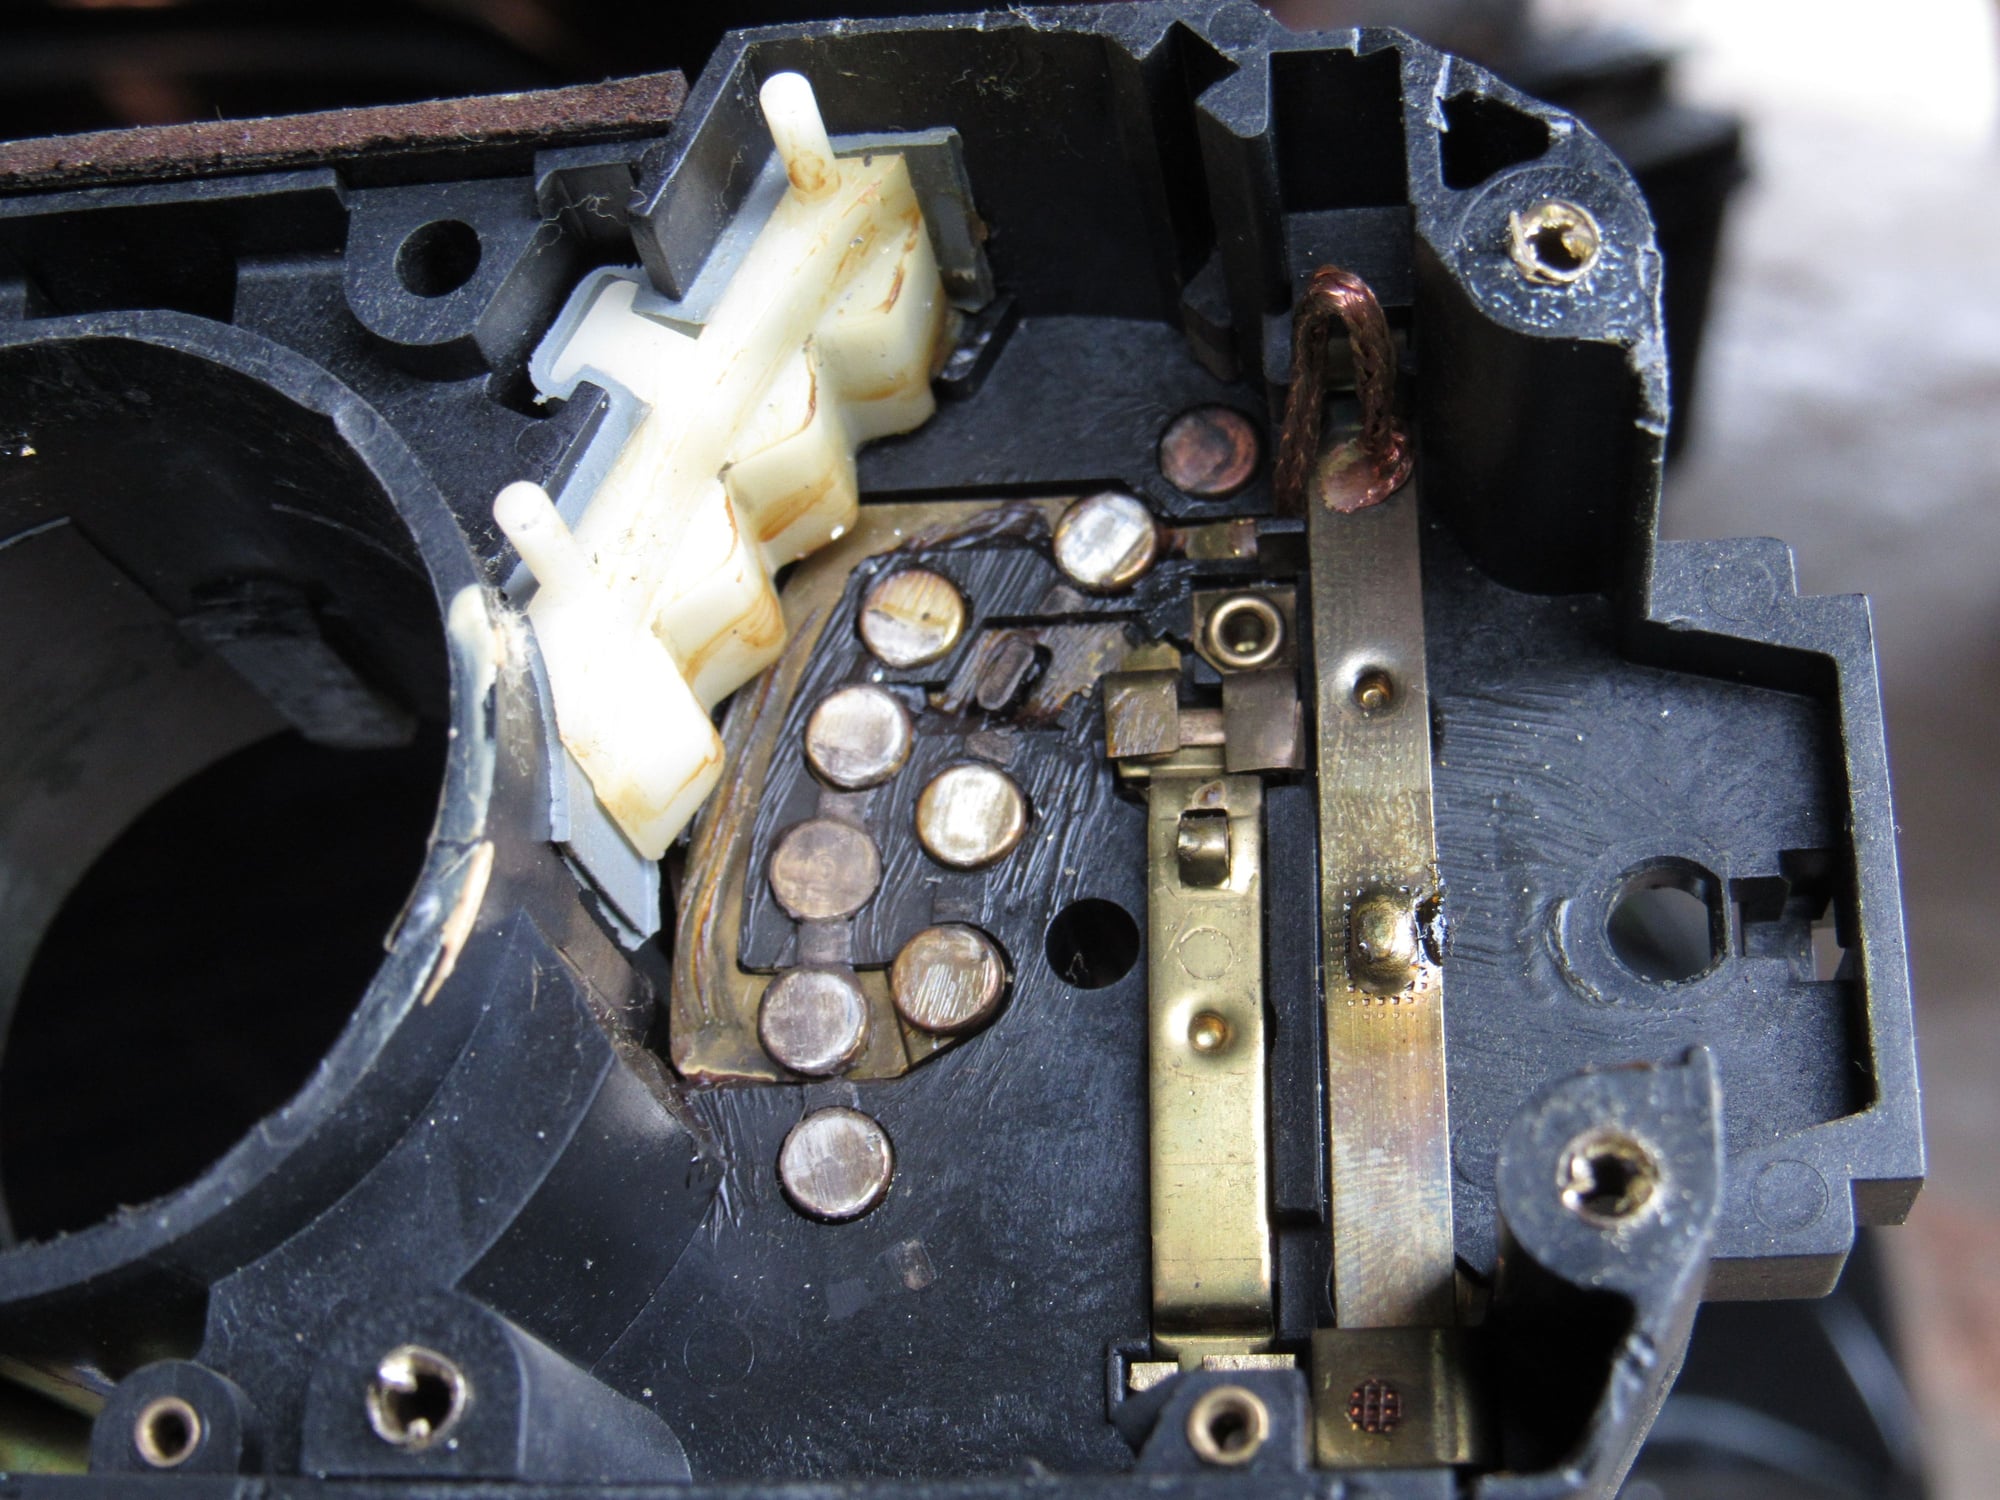
And here it is out from between the contacts.
I cleaned with electronics cleaner, then used plain white paper to clean all the contacts and applied DeOxit. Reinstalling that bar and spring was tricky and of course the spring flew off into another dimension. I found a similar spring from a ball point pen that works fine.
All cleaned up.
The rest of the rivets were easily pushed out.
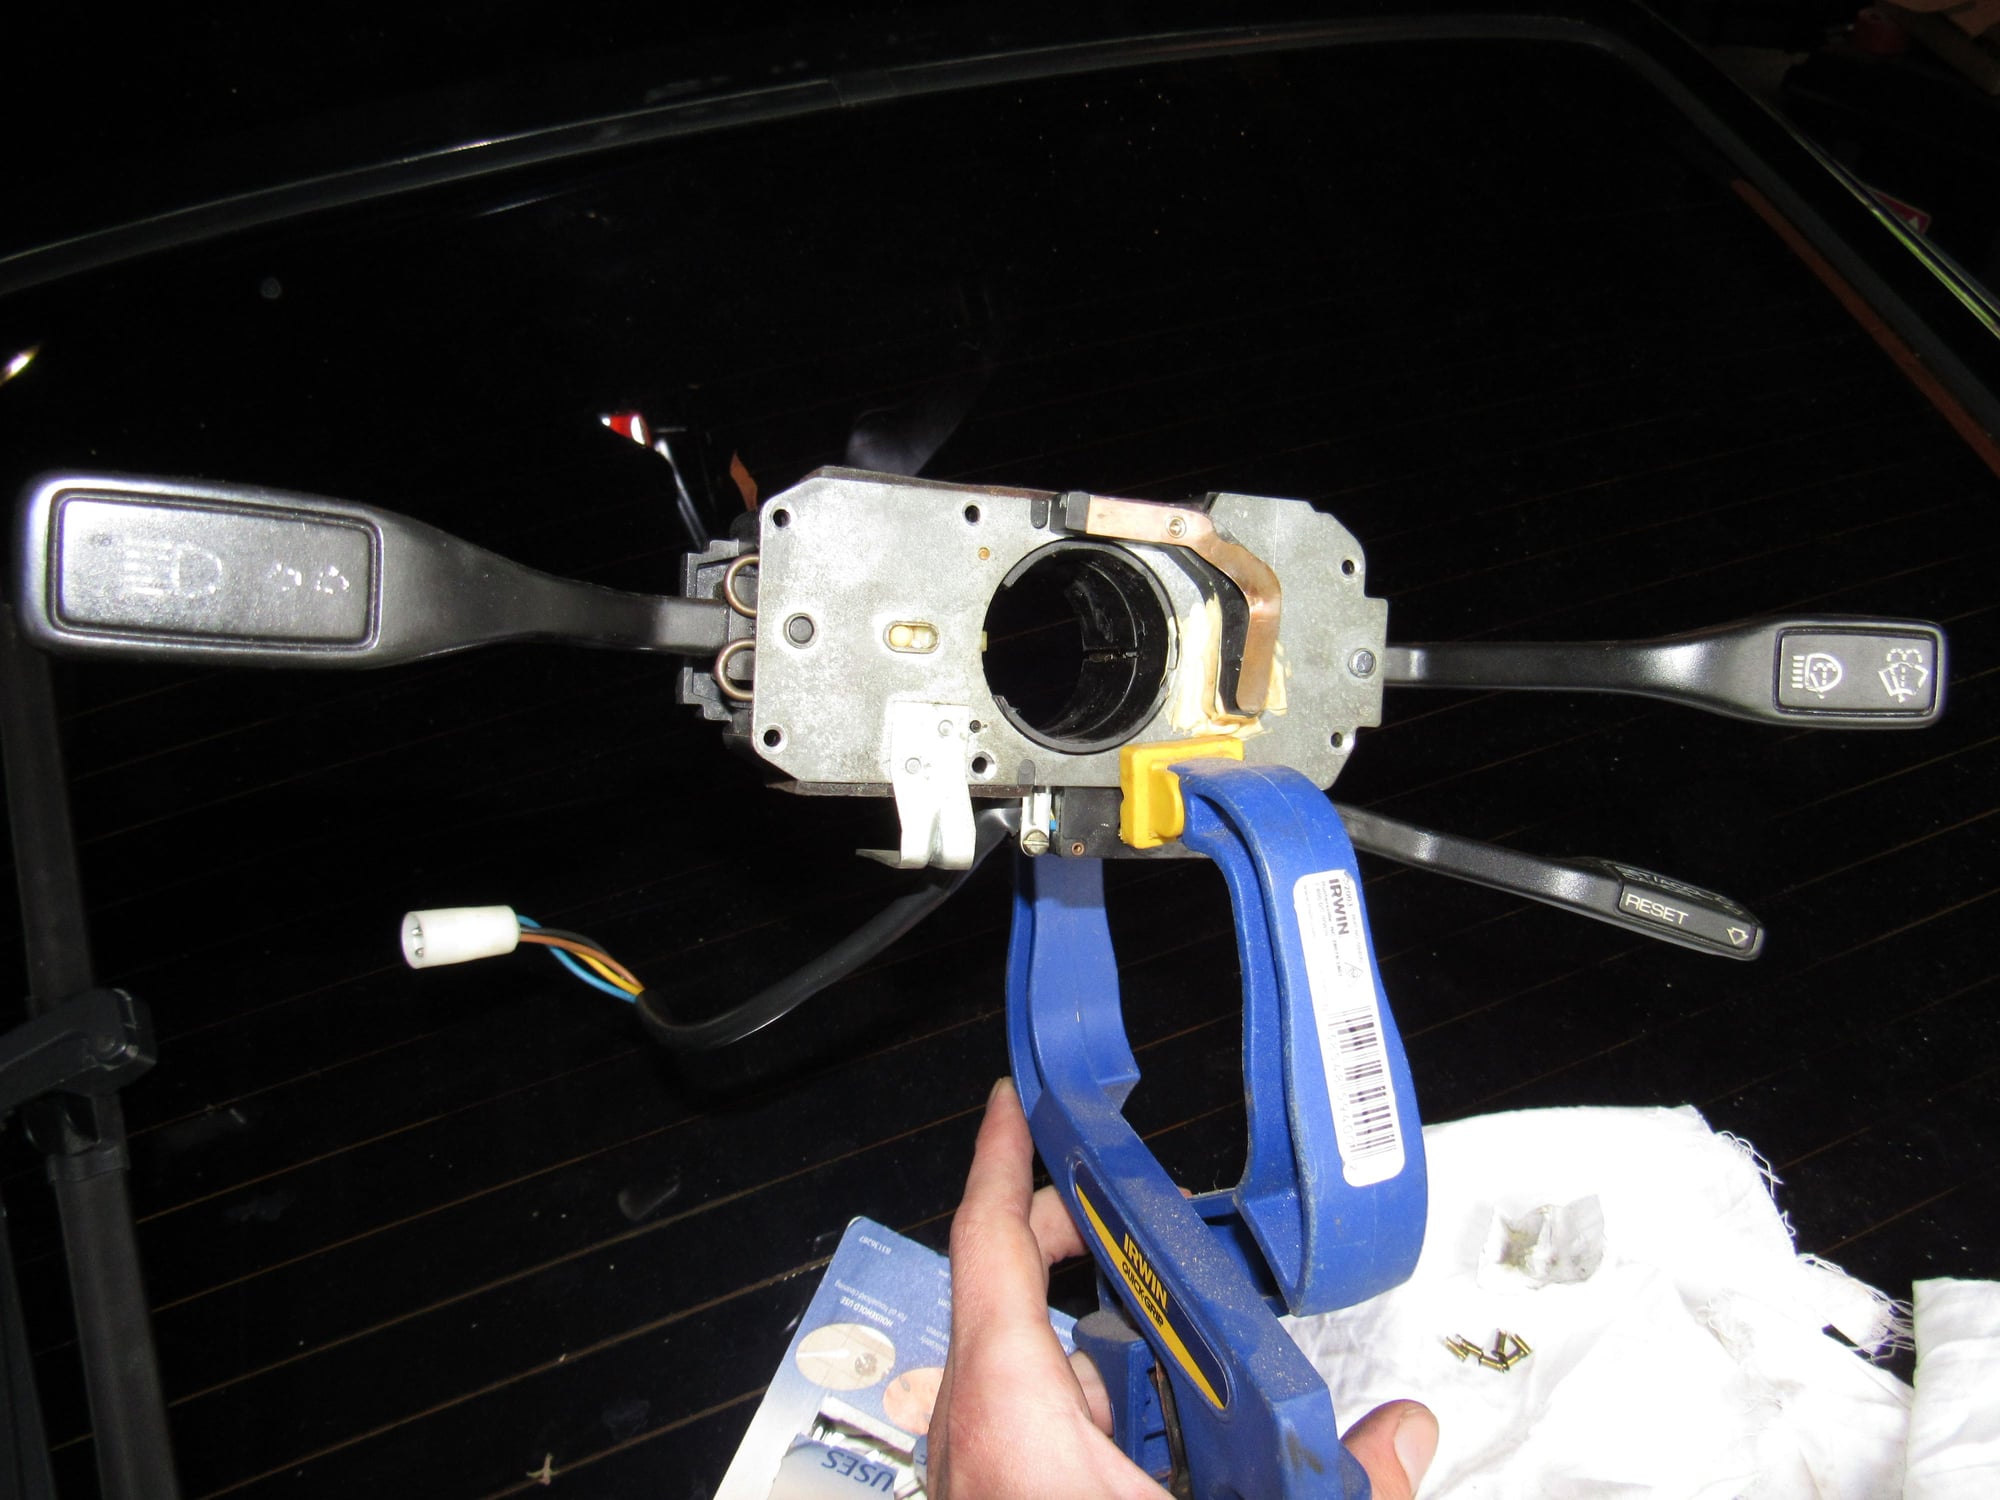
I put things back together and held it with a clamp.
Then I tested it. Full windshield washers!!
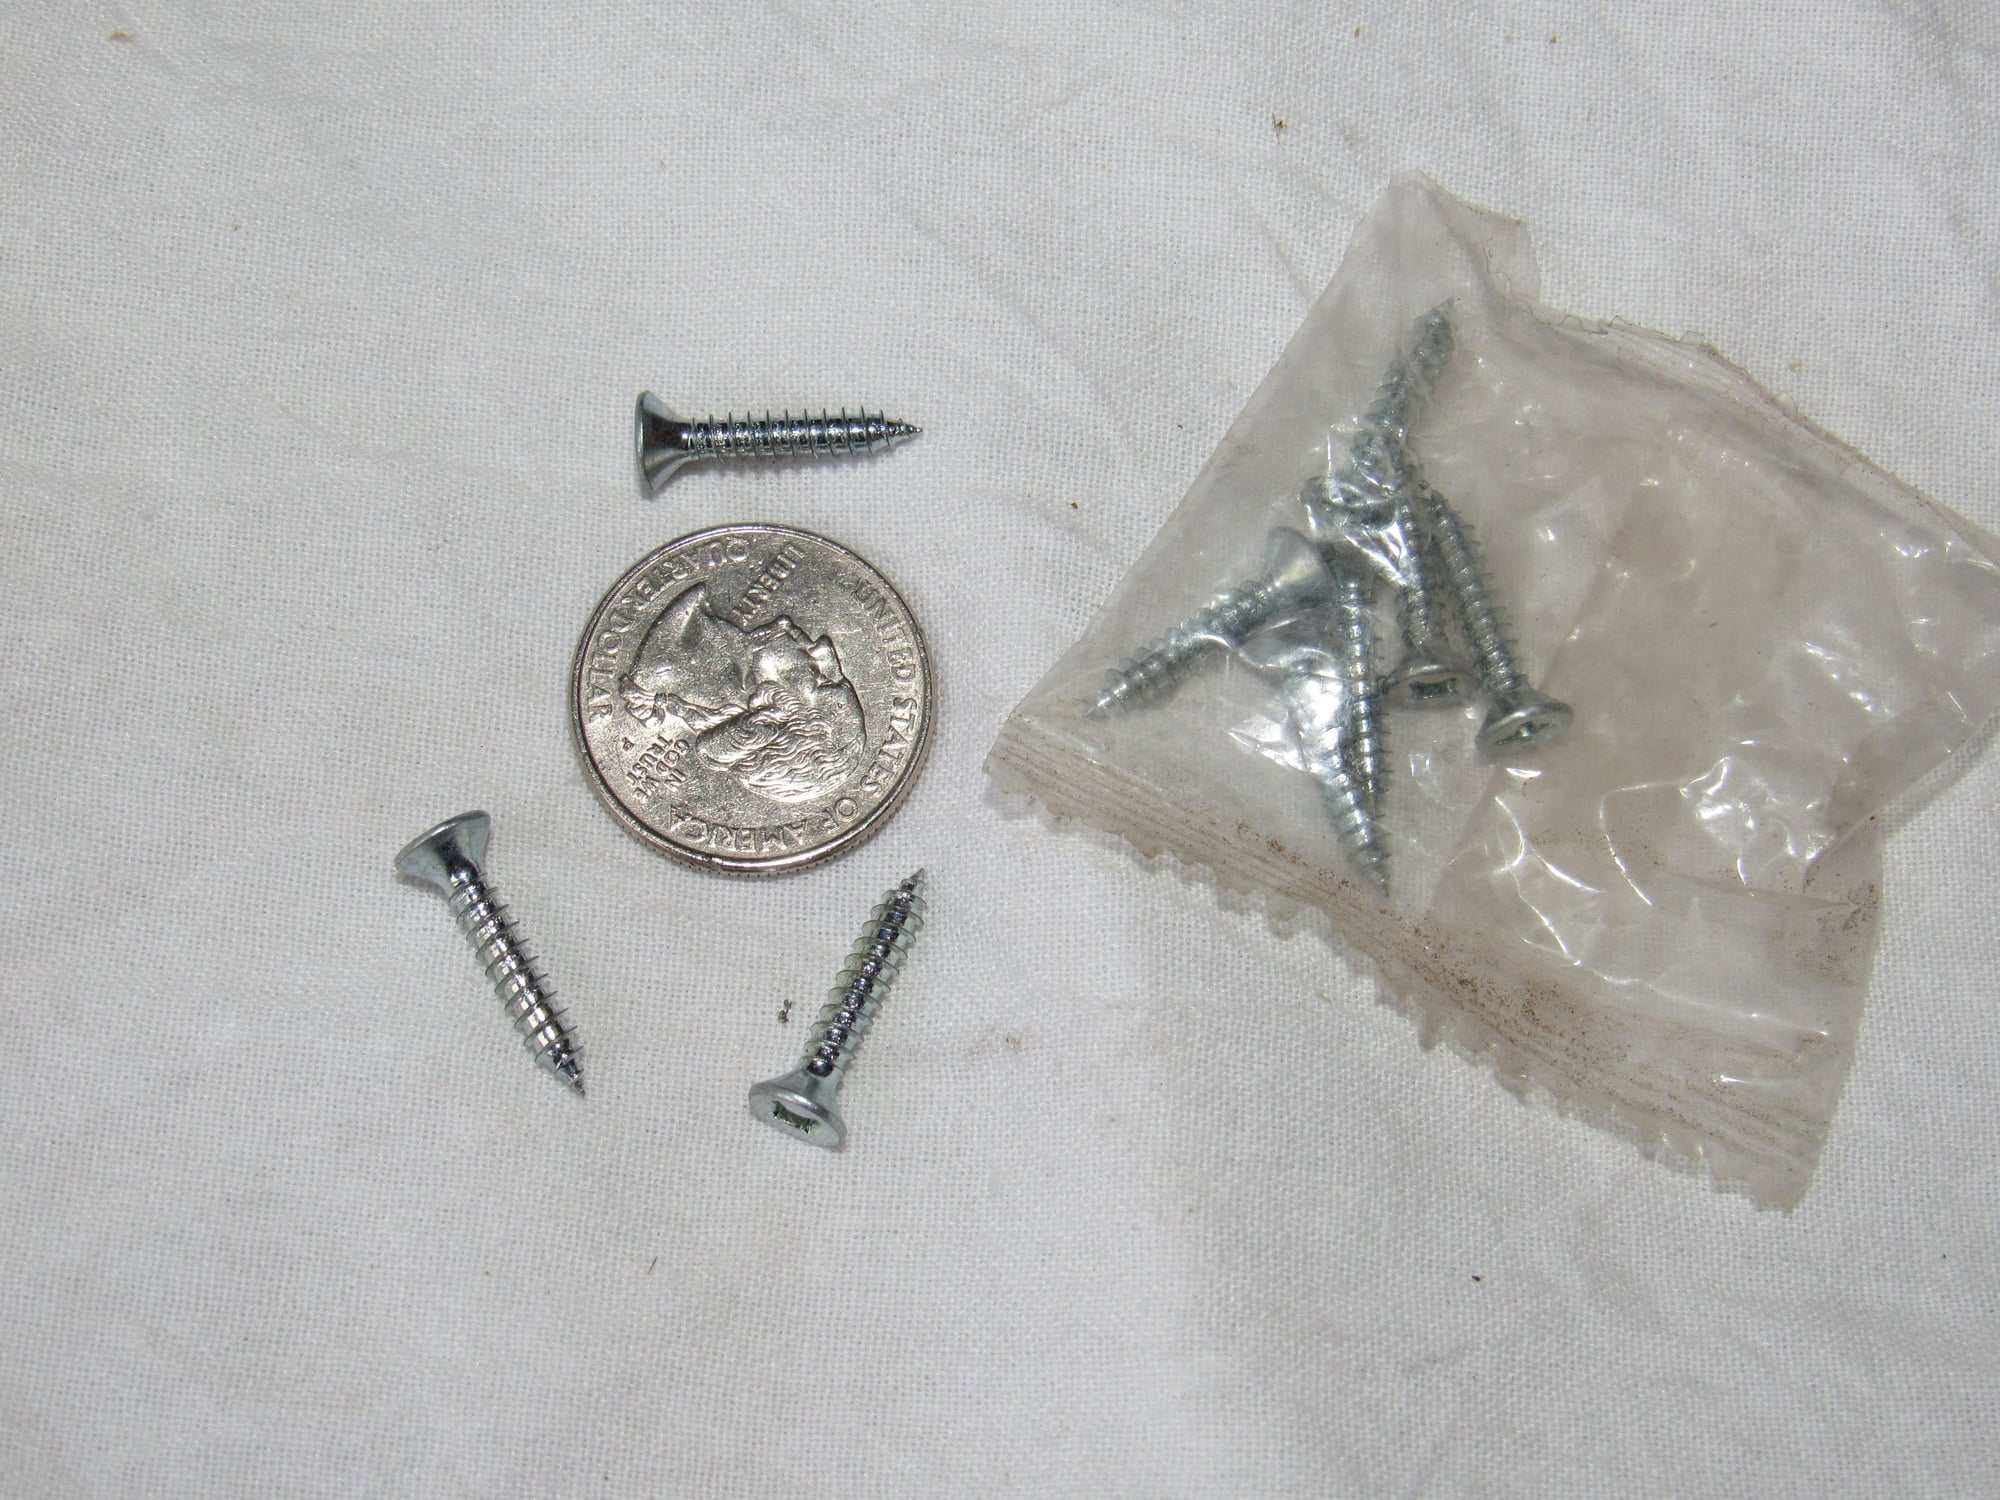
I forgot to take a photo of the switch all screwed back together but I used these in place of the rivets.
I am really happy now I can actually pass inspections. I also properly aimed the nozzles
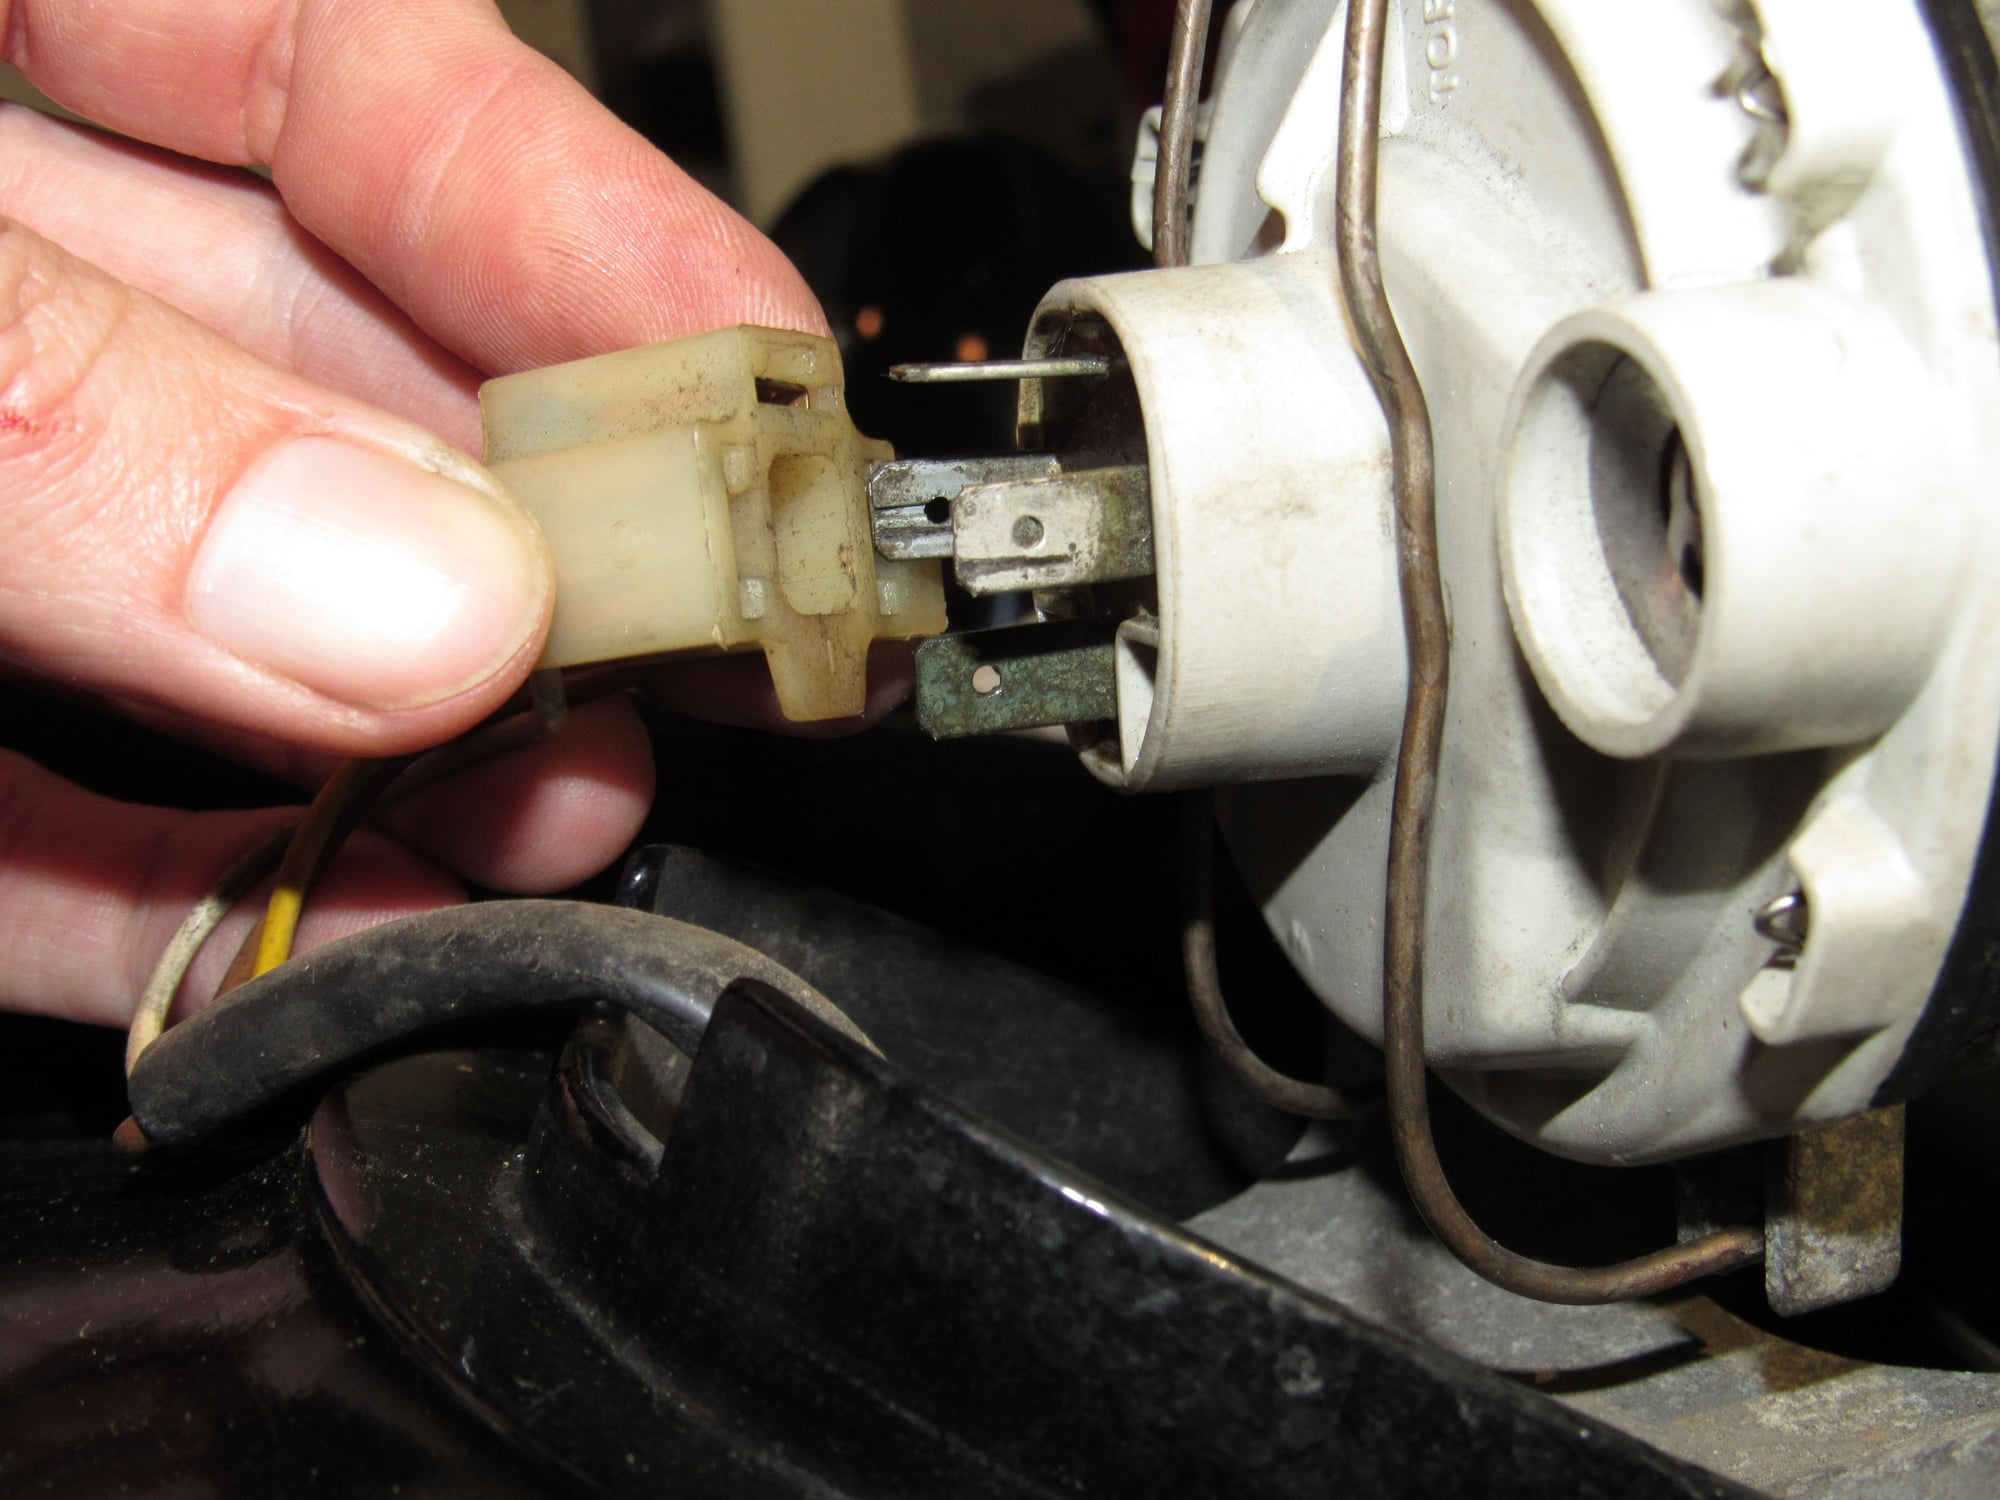
I also managed to find a set of H4 headlamps. One of the things I like best about these cars is that there is no chrome, except the trim rings around the US sealed beams. Now they are gone. The only thing I had to do was snip off the bottom tab on the plug for the bulb connector that is left unused. I forgot to take a photo with these installed but they look great and are way brighter.
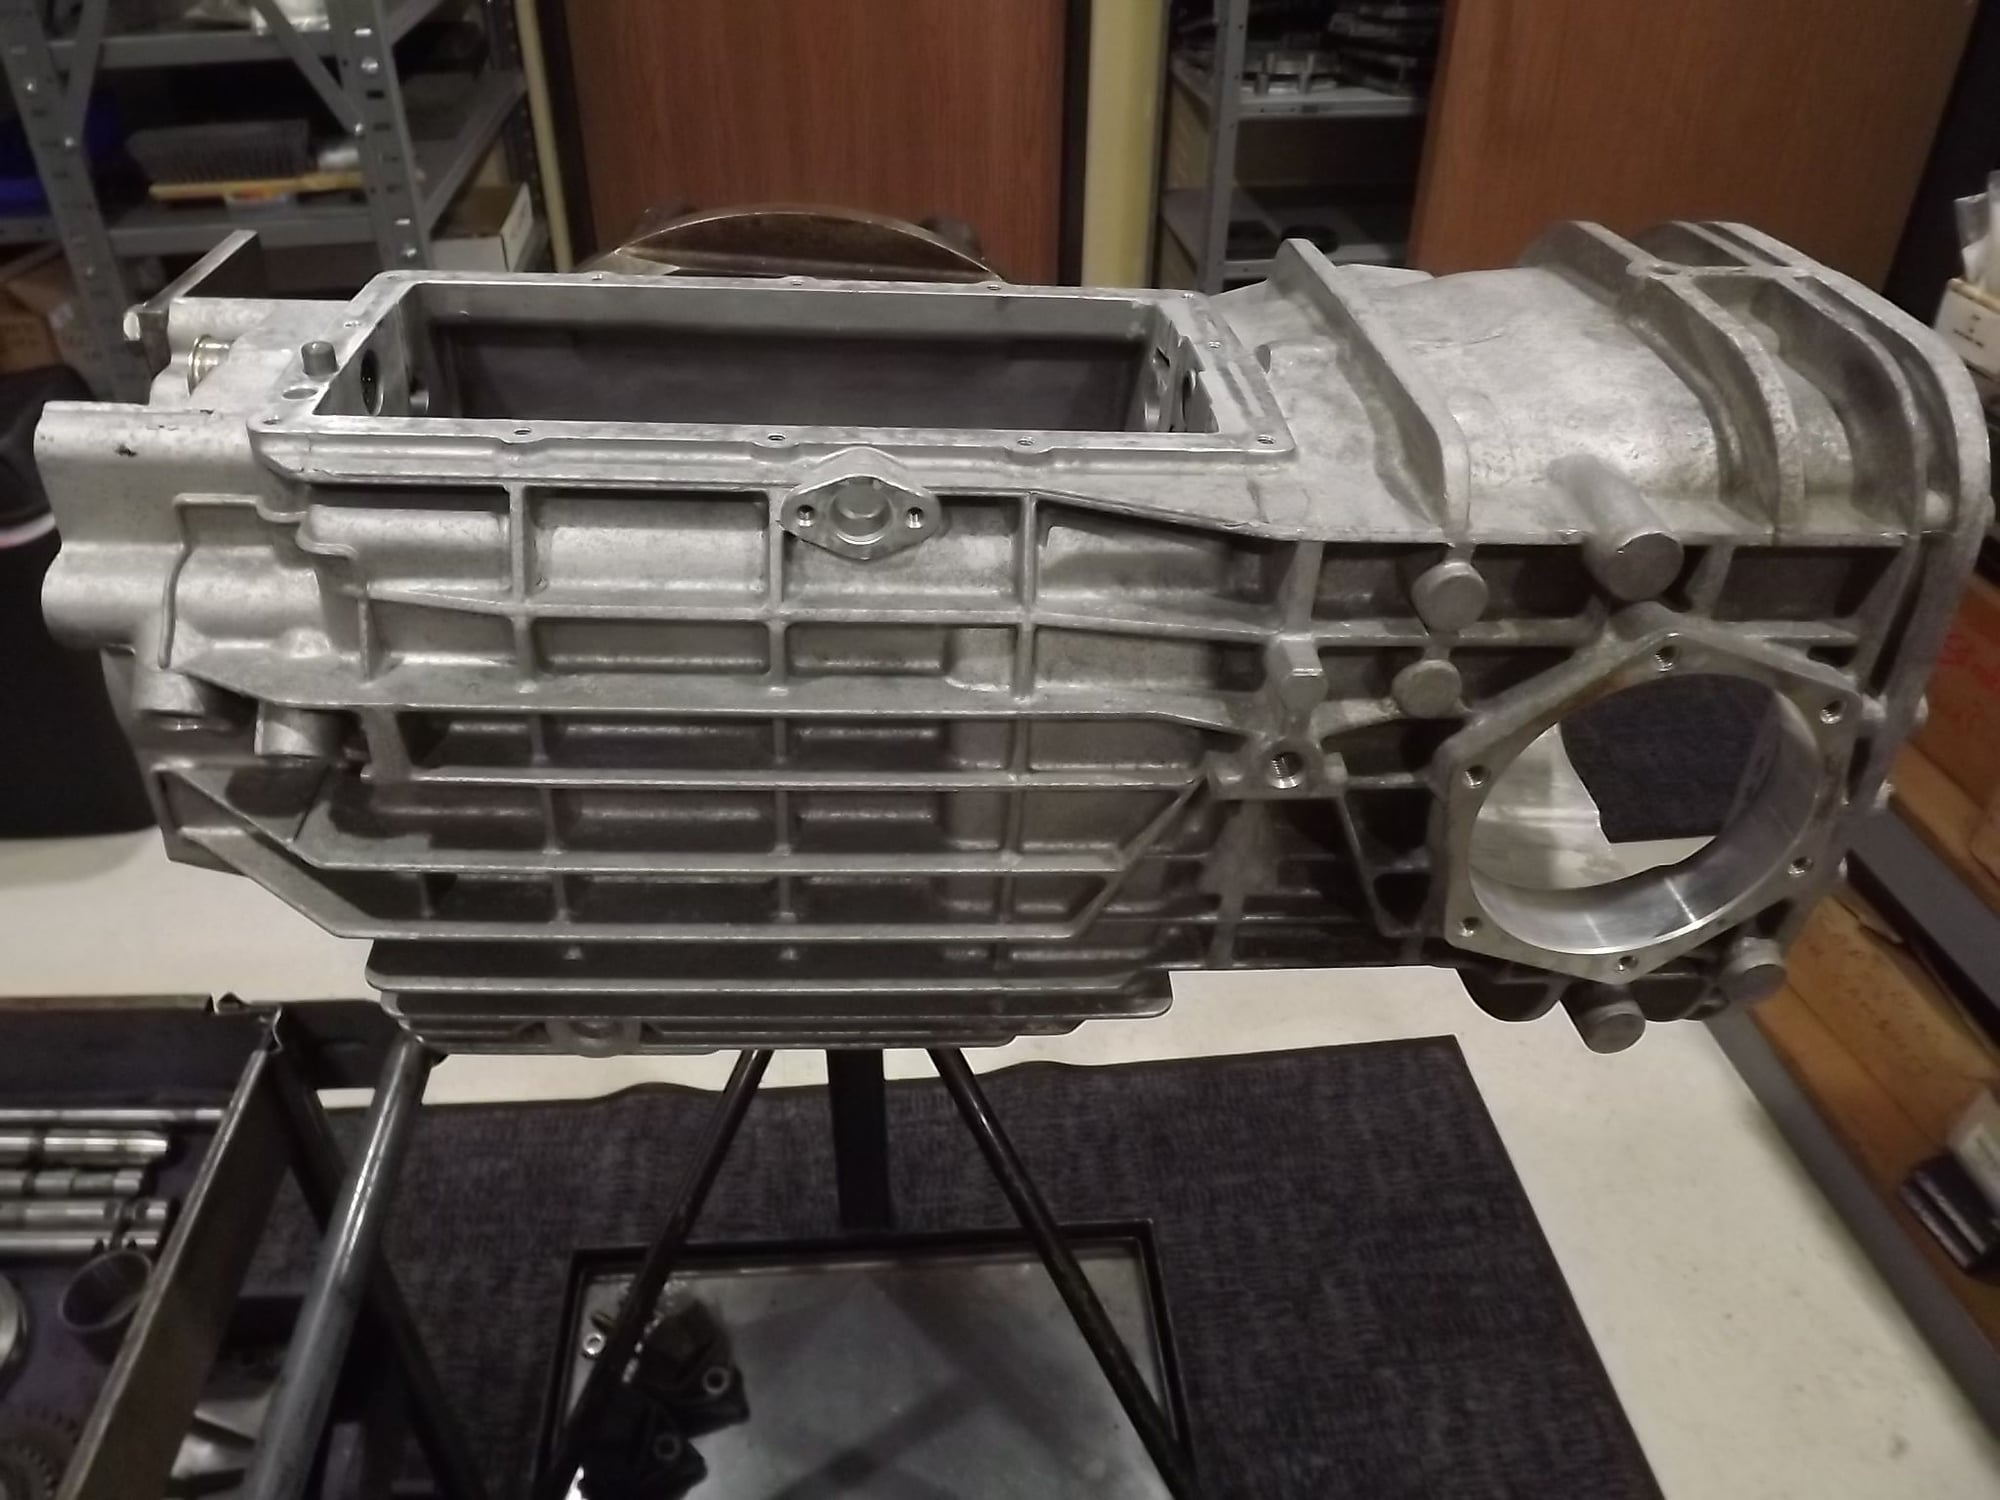
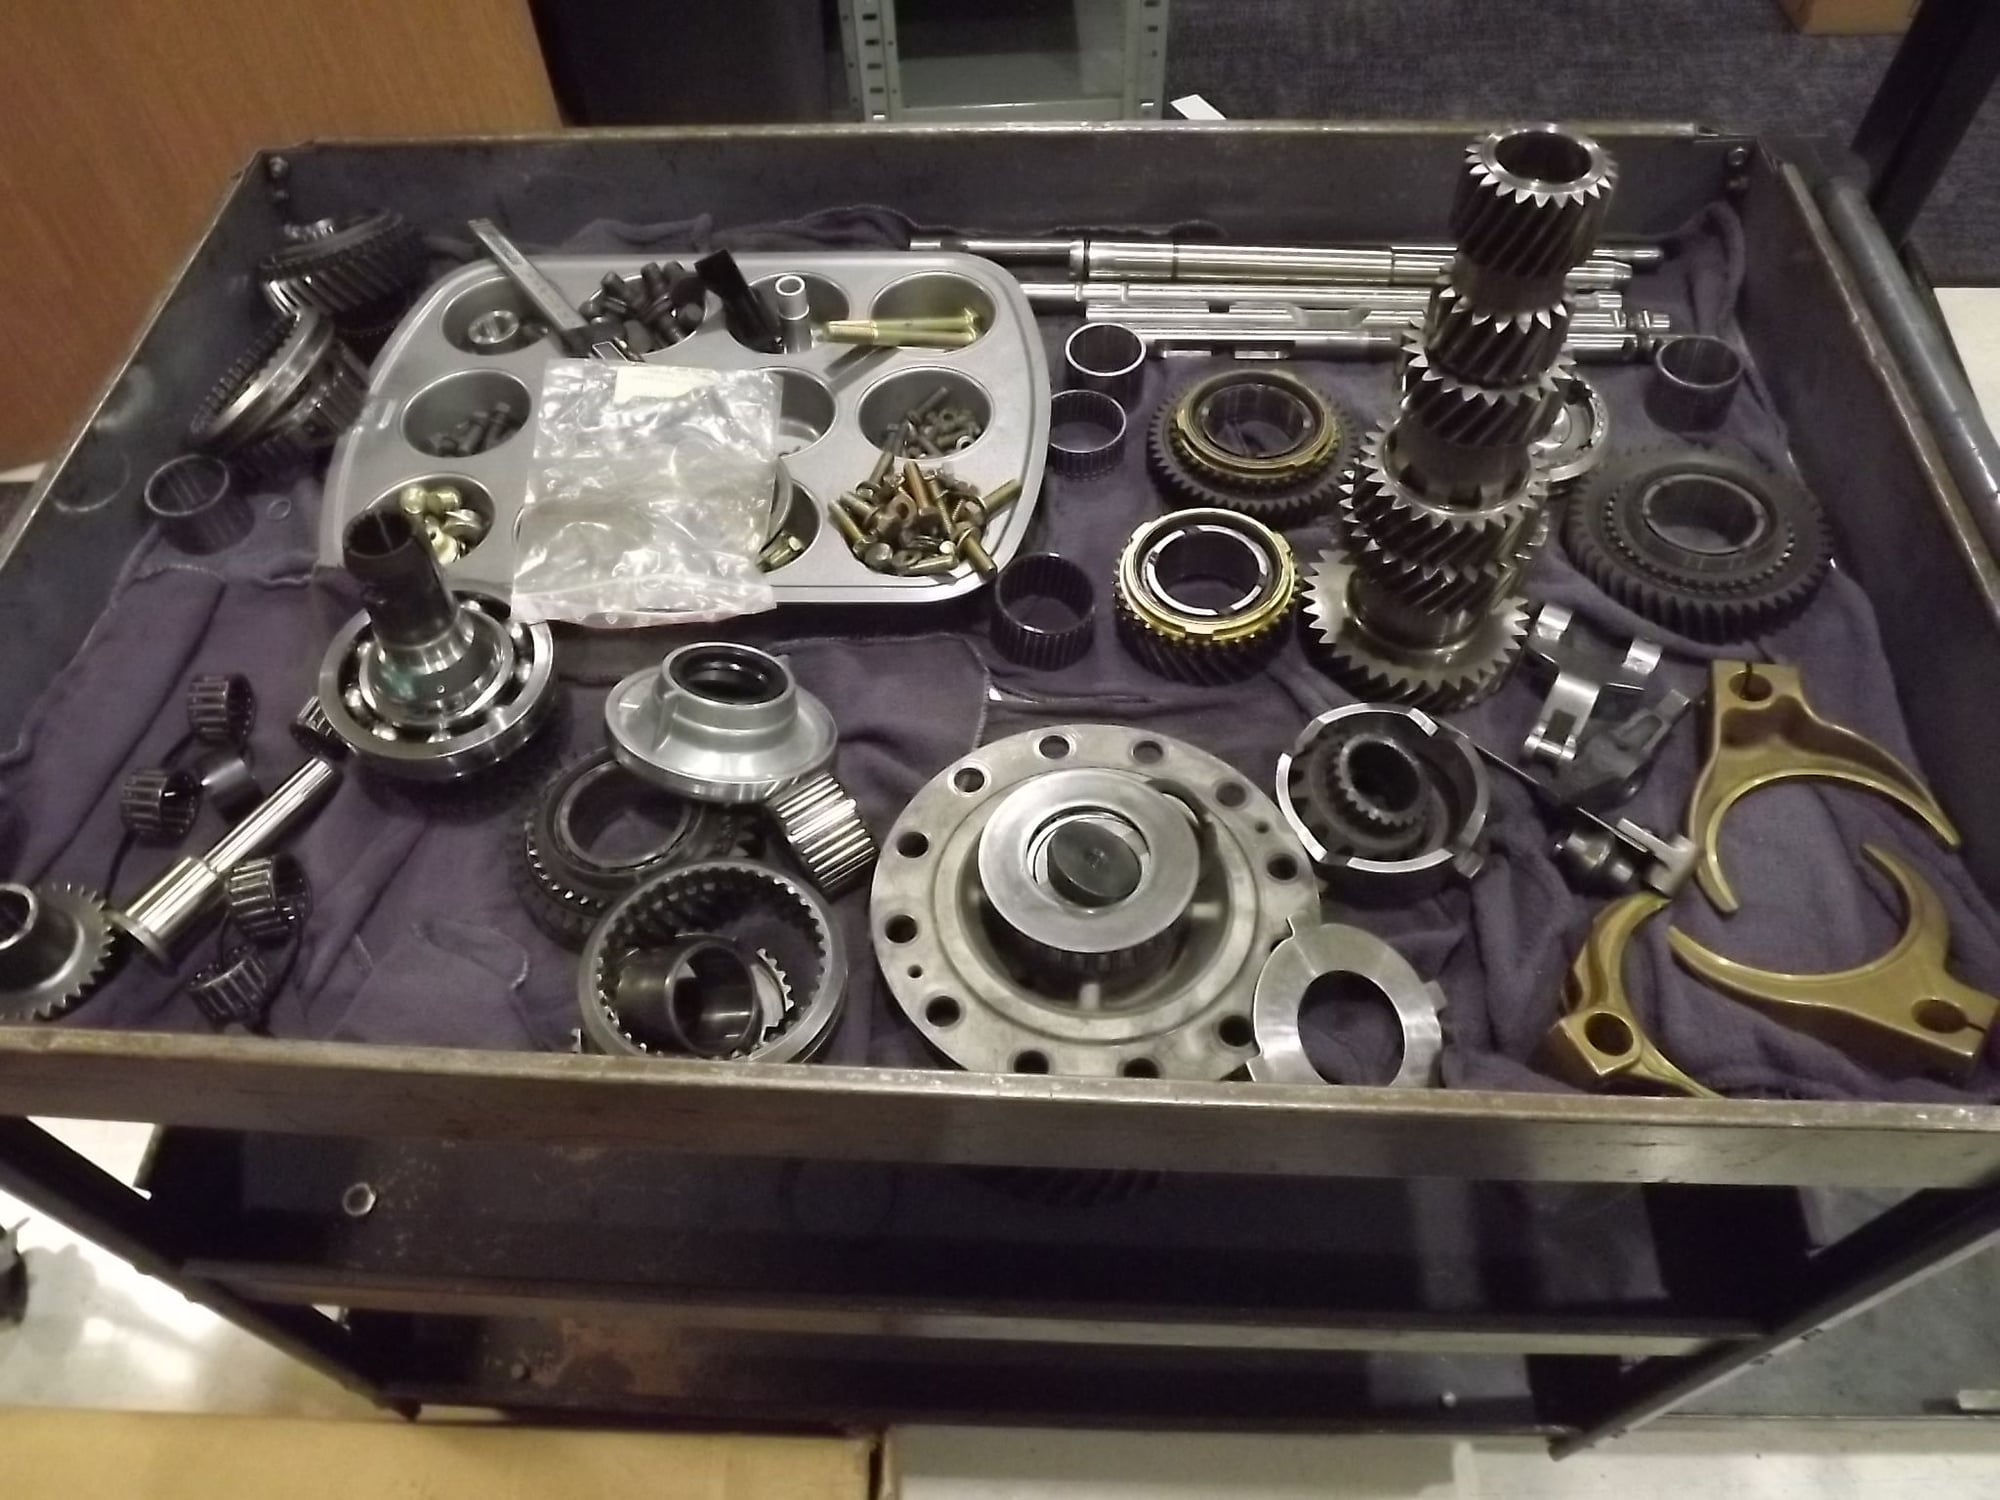
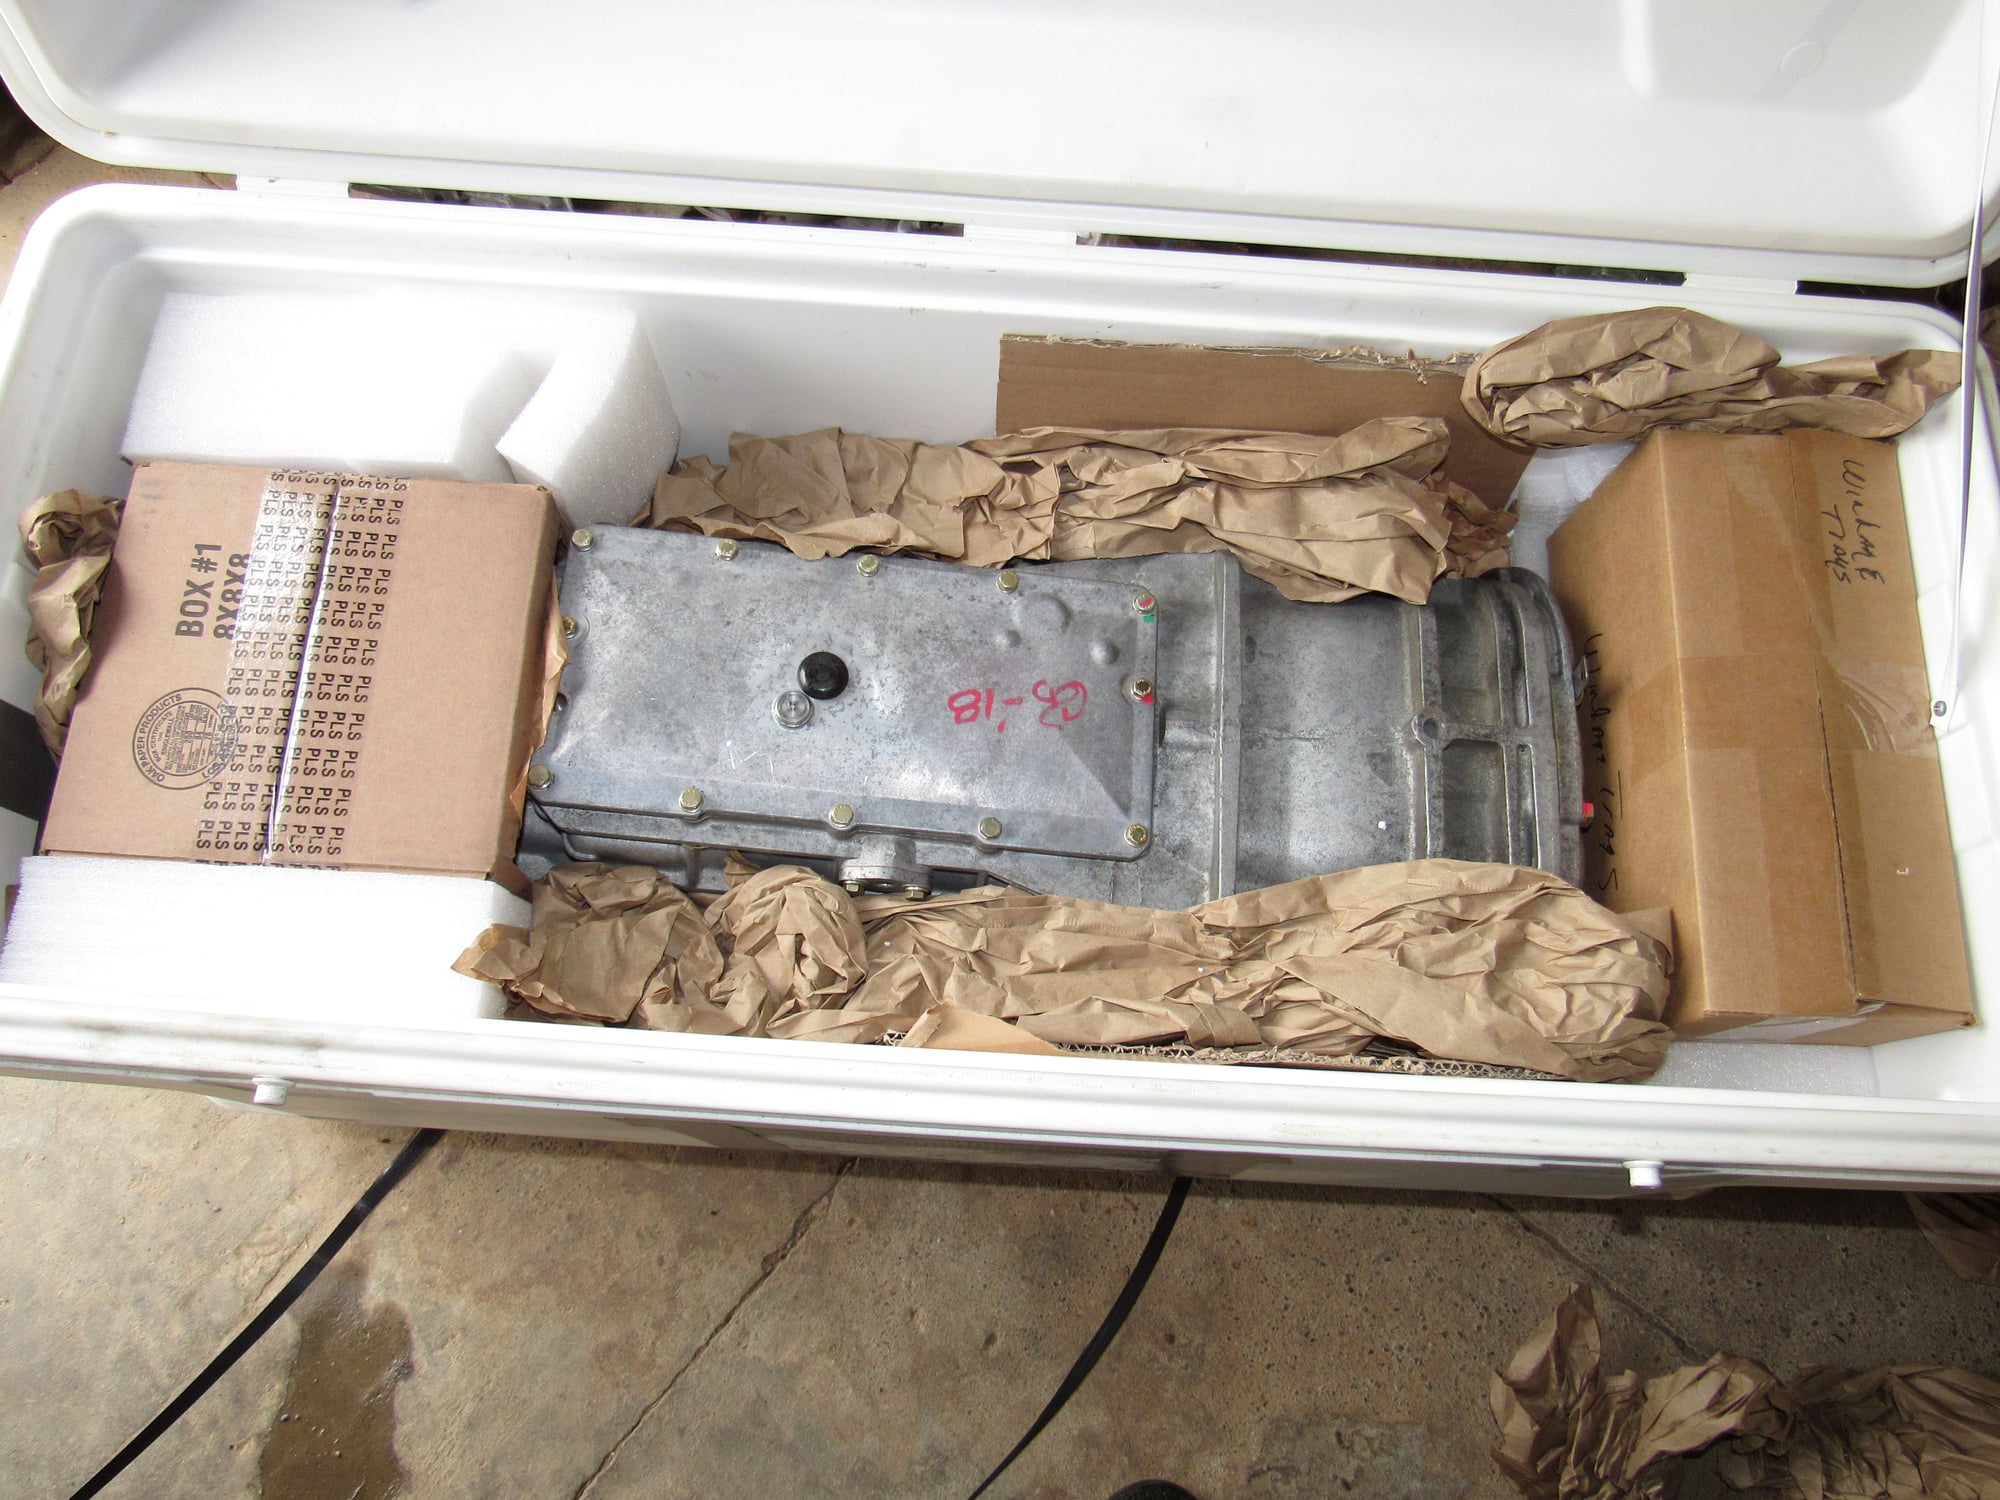
So now the next chapter begins, I bought a G28/13 transaxle from an '87 or '88 and had Greg Brown inspect it and ended up with a totally rebuilt gearbox! There was no history but the best he could tell is it had around 150k miles and the odd thing was that the 5th gear synchro still had paint on the wear surface from the factory. It hardly saw any highway use and the gears are in good condition. 1st through 3rd synchros were replaced with updated synchros that have been race proven in other applications to be far superior to OEM and much cheaper too.
Last weekend I started on the removal of the TT and trans. The headers are a total pain in the neck, I had to loosen the right side to remove the bell housing cover. Then I could not remove the clutch. I did not want to loosen the left header because that is a nightmare for access. What I figured out was to pull the short shaft into the TT (it fits once you remove the coupling) and then I could drop the clutch and left the starter ring gear and intermediate plate trapped by the header. This is all just to get access to the TT to bell housing bolts that are inside.
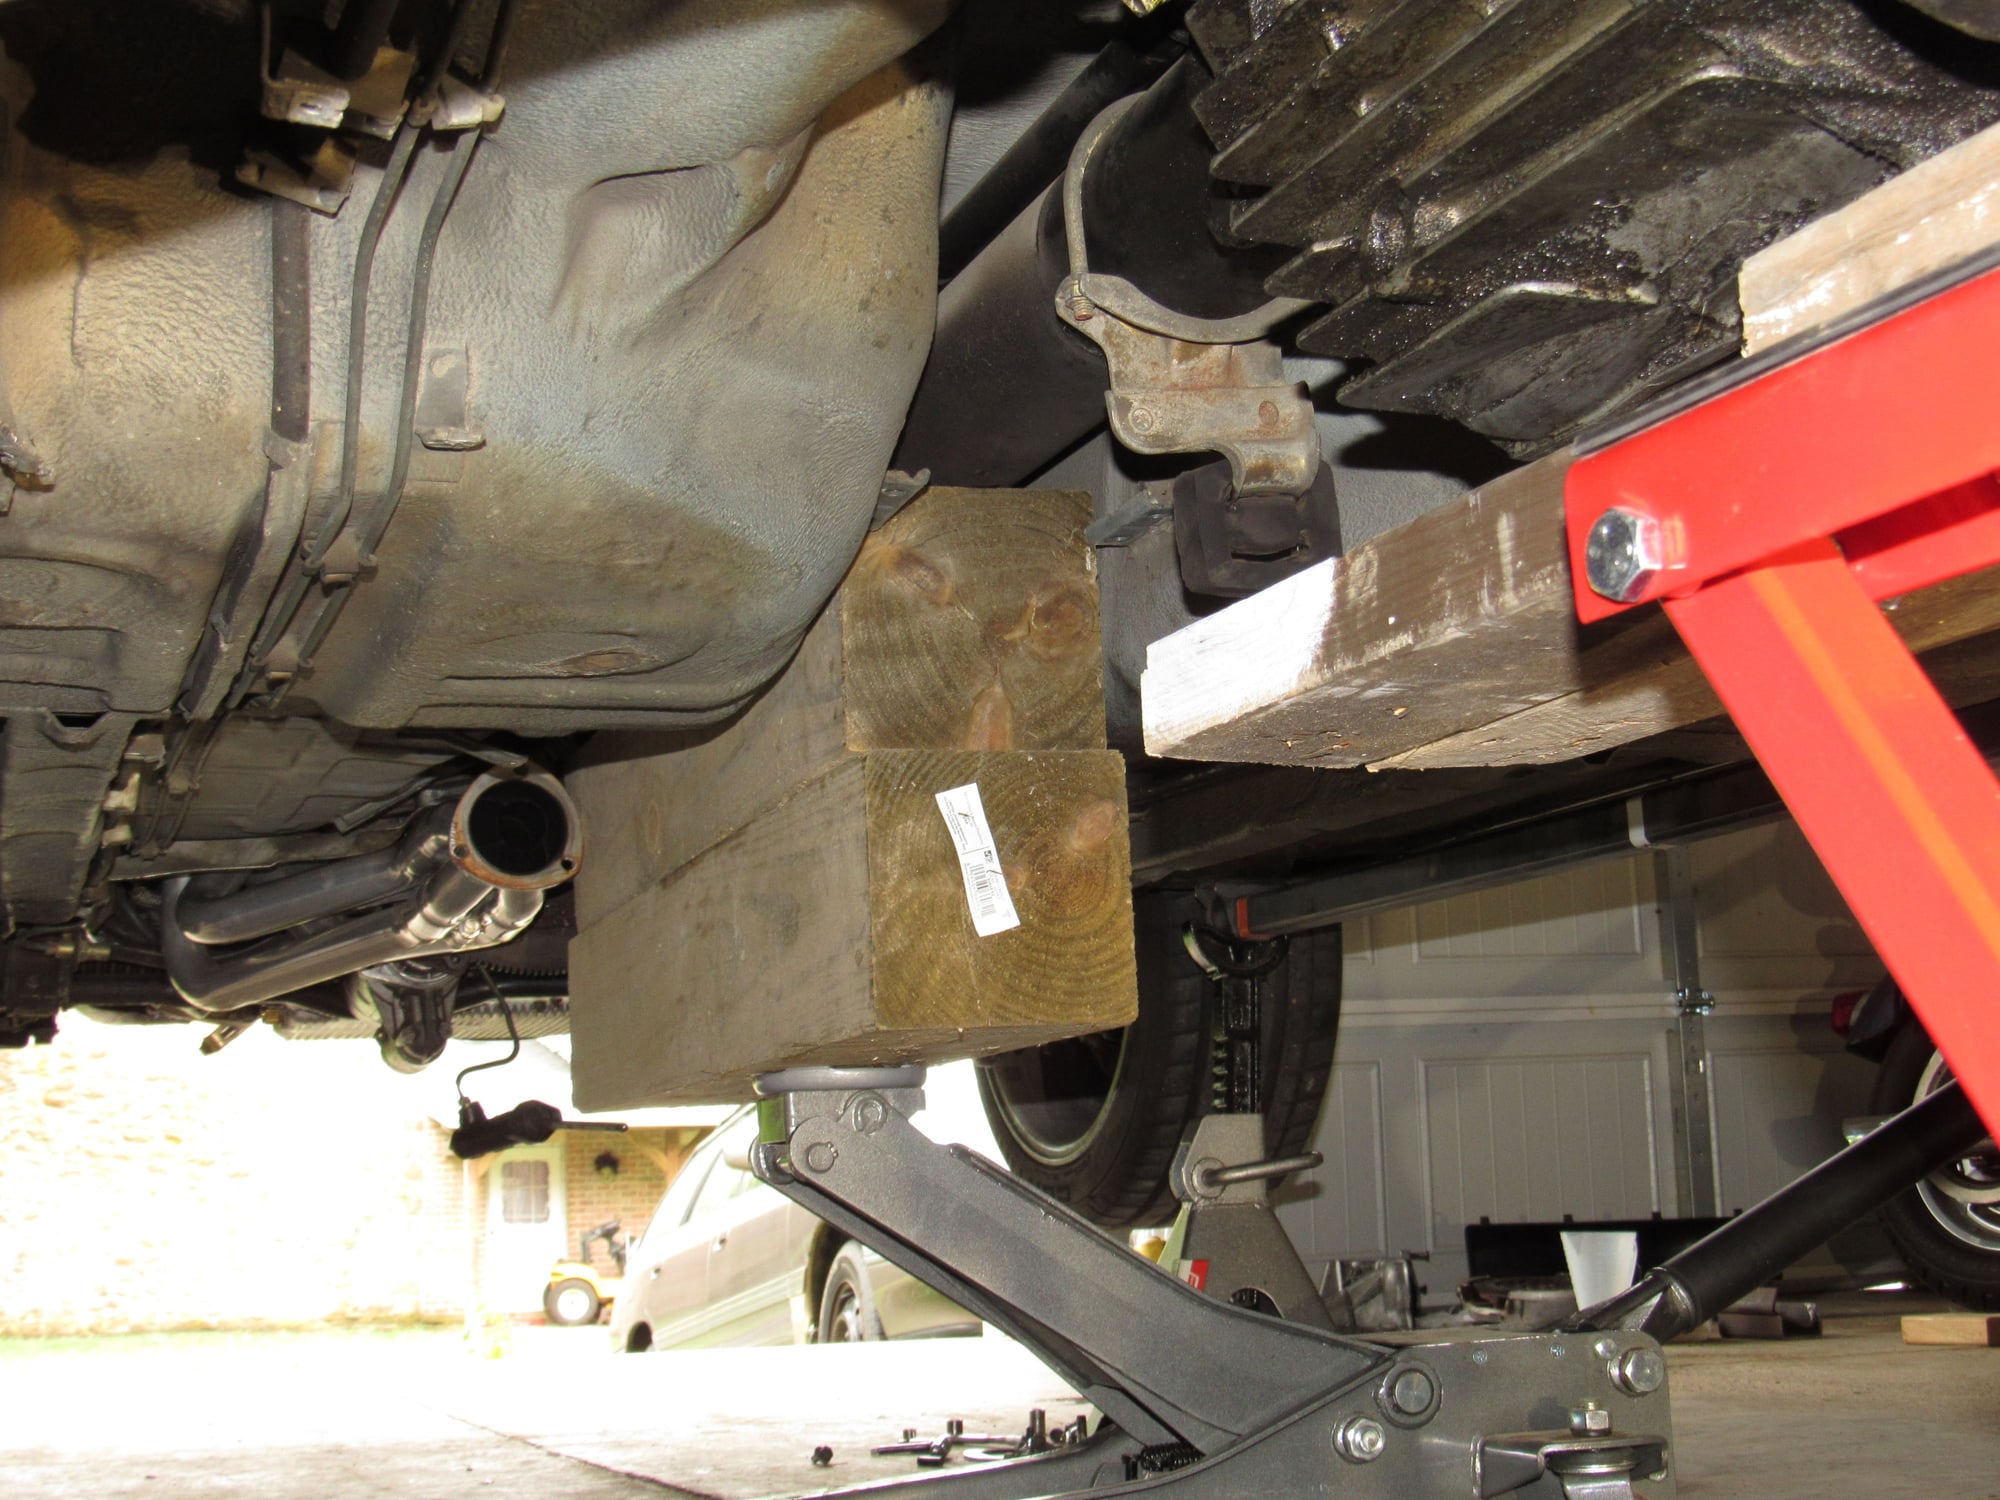
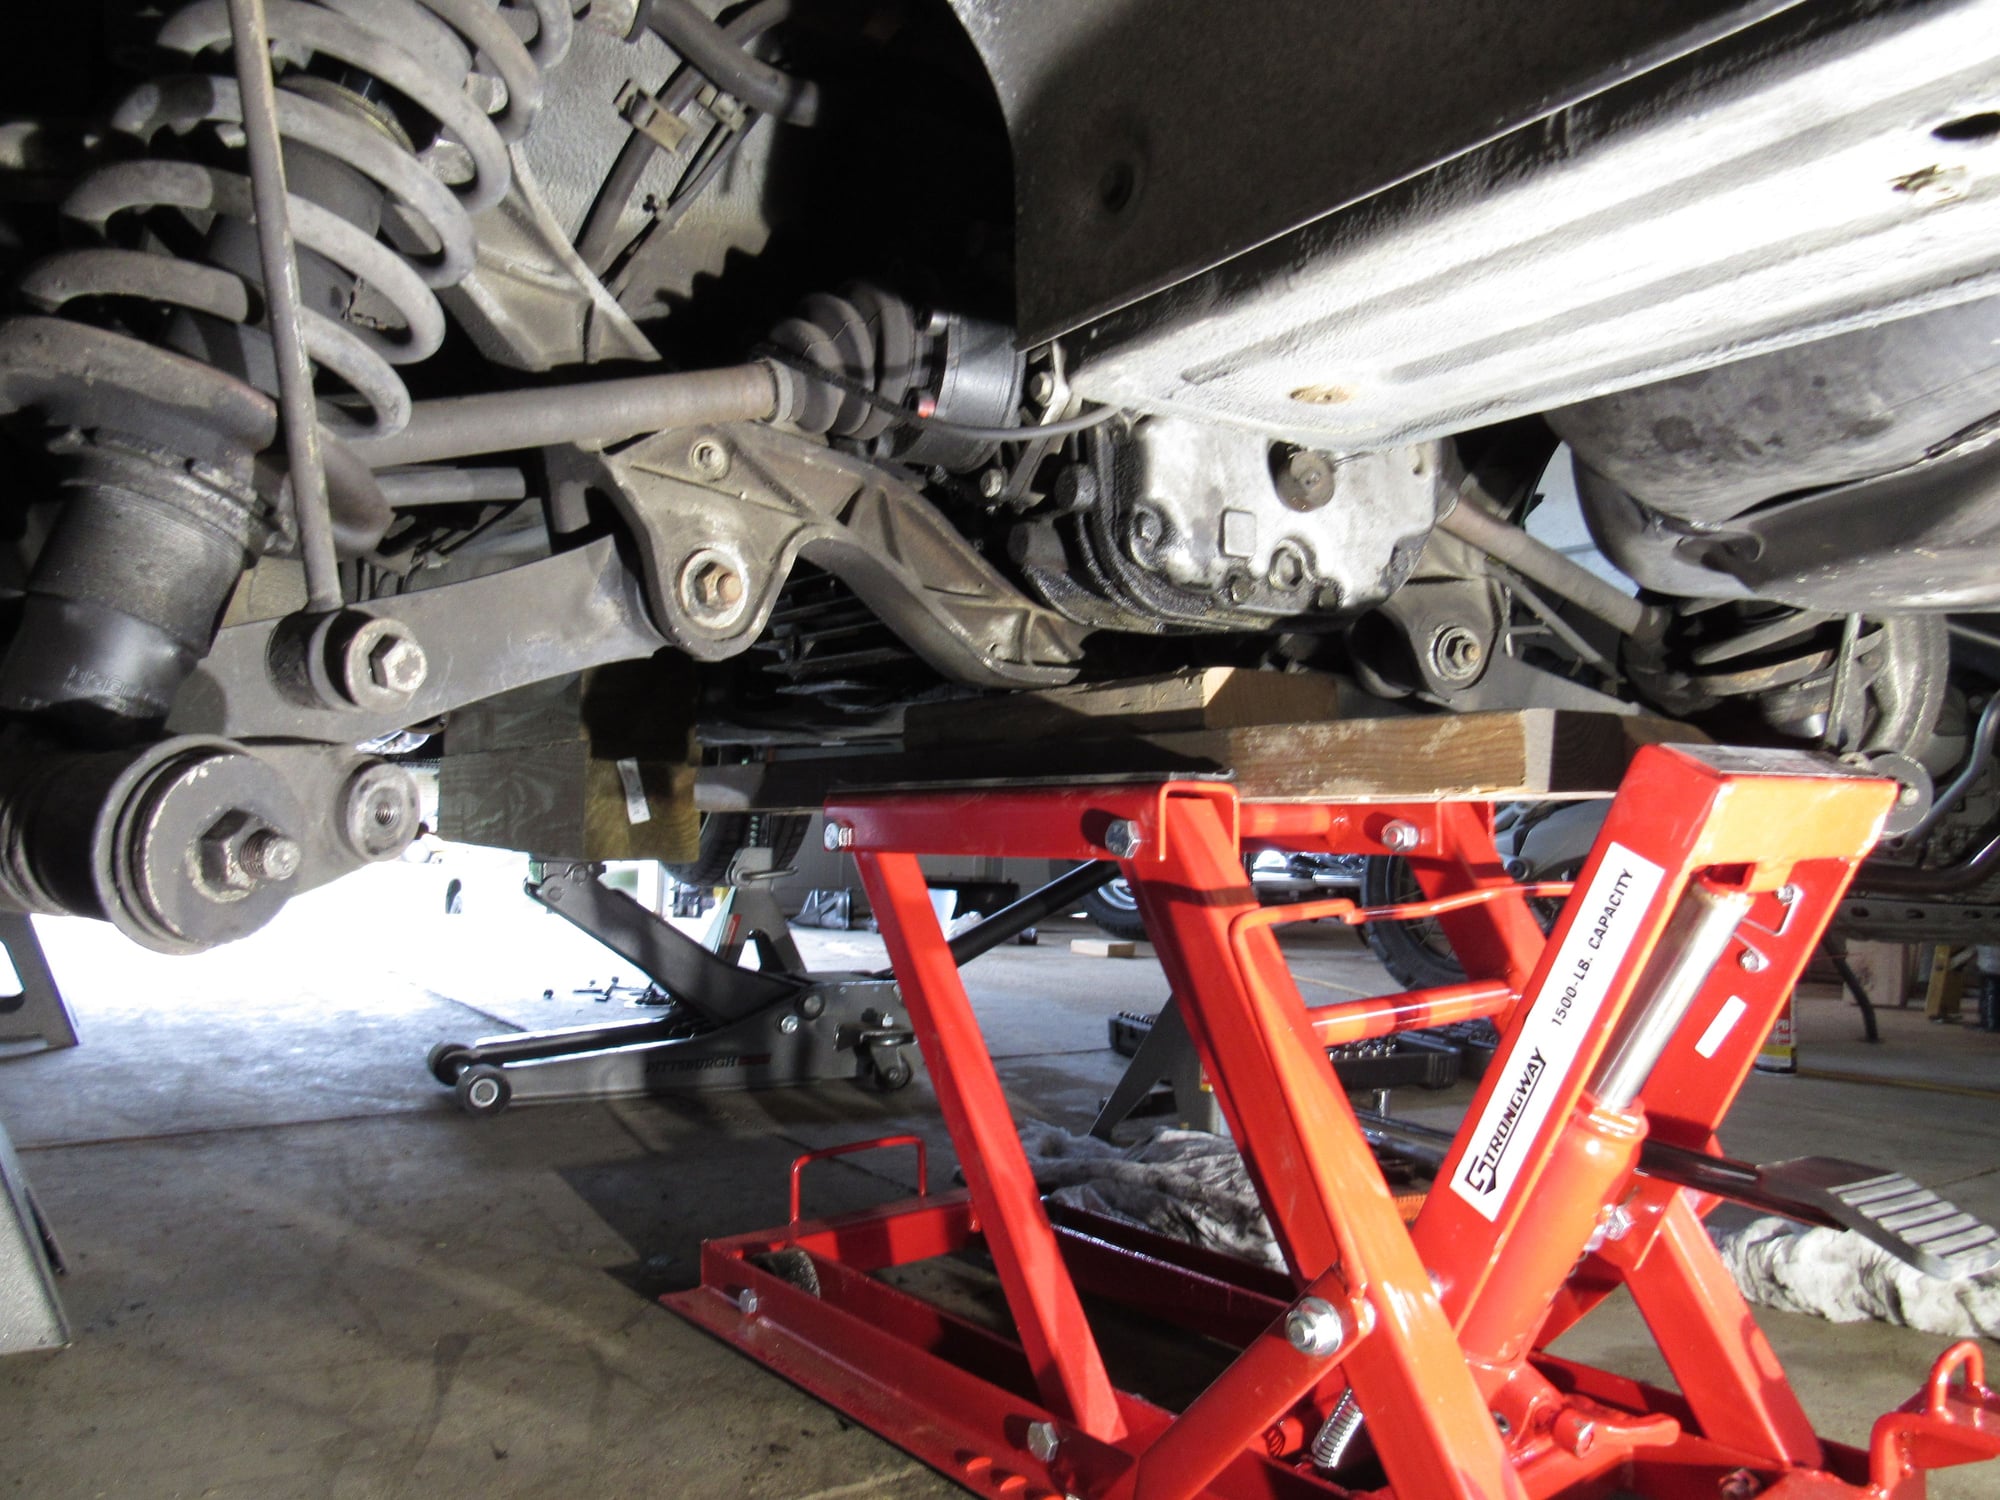
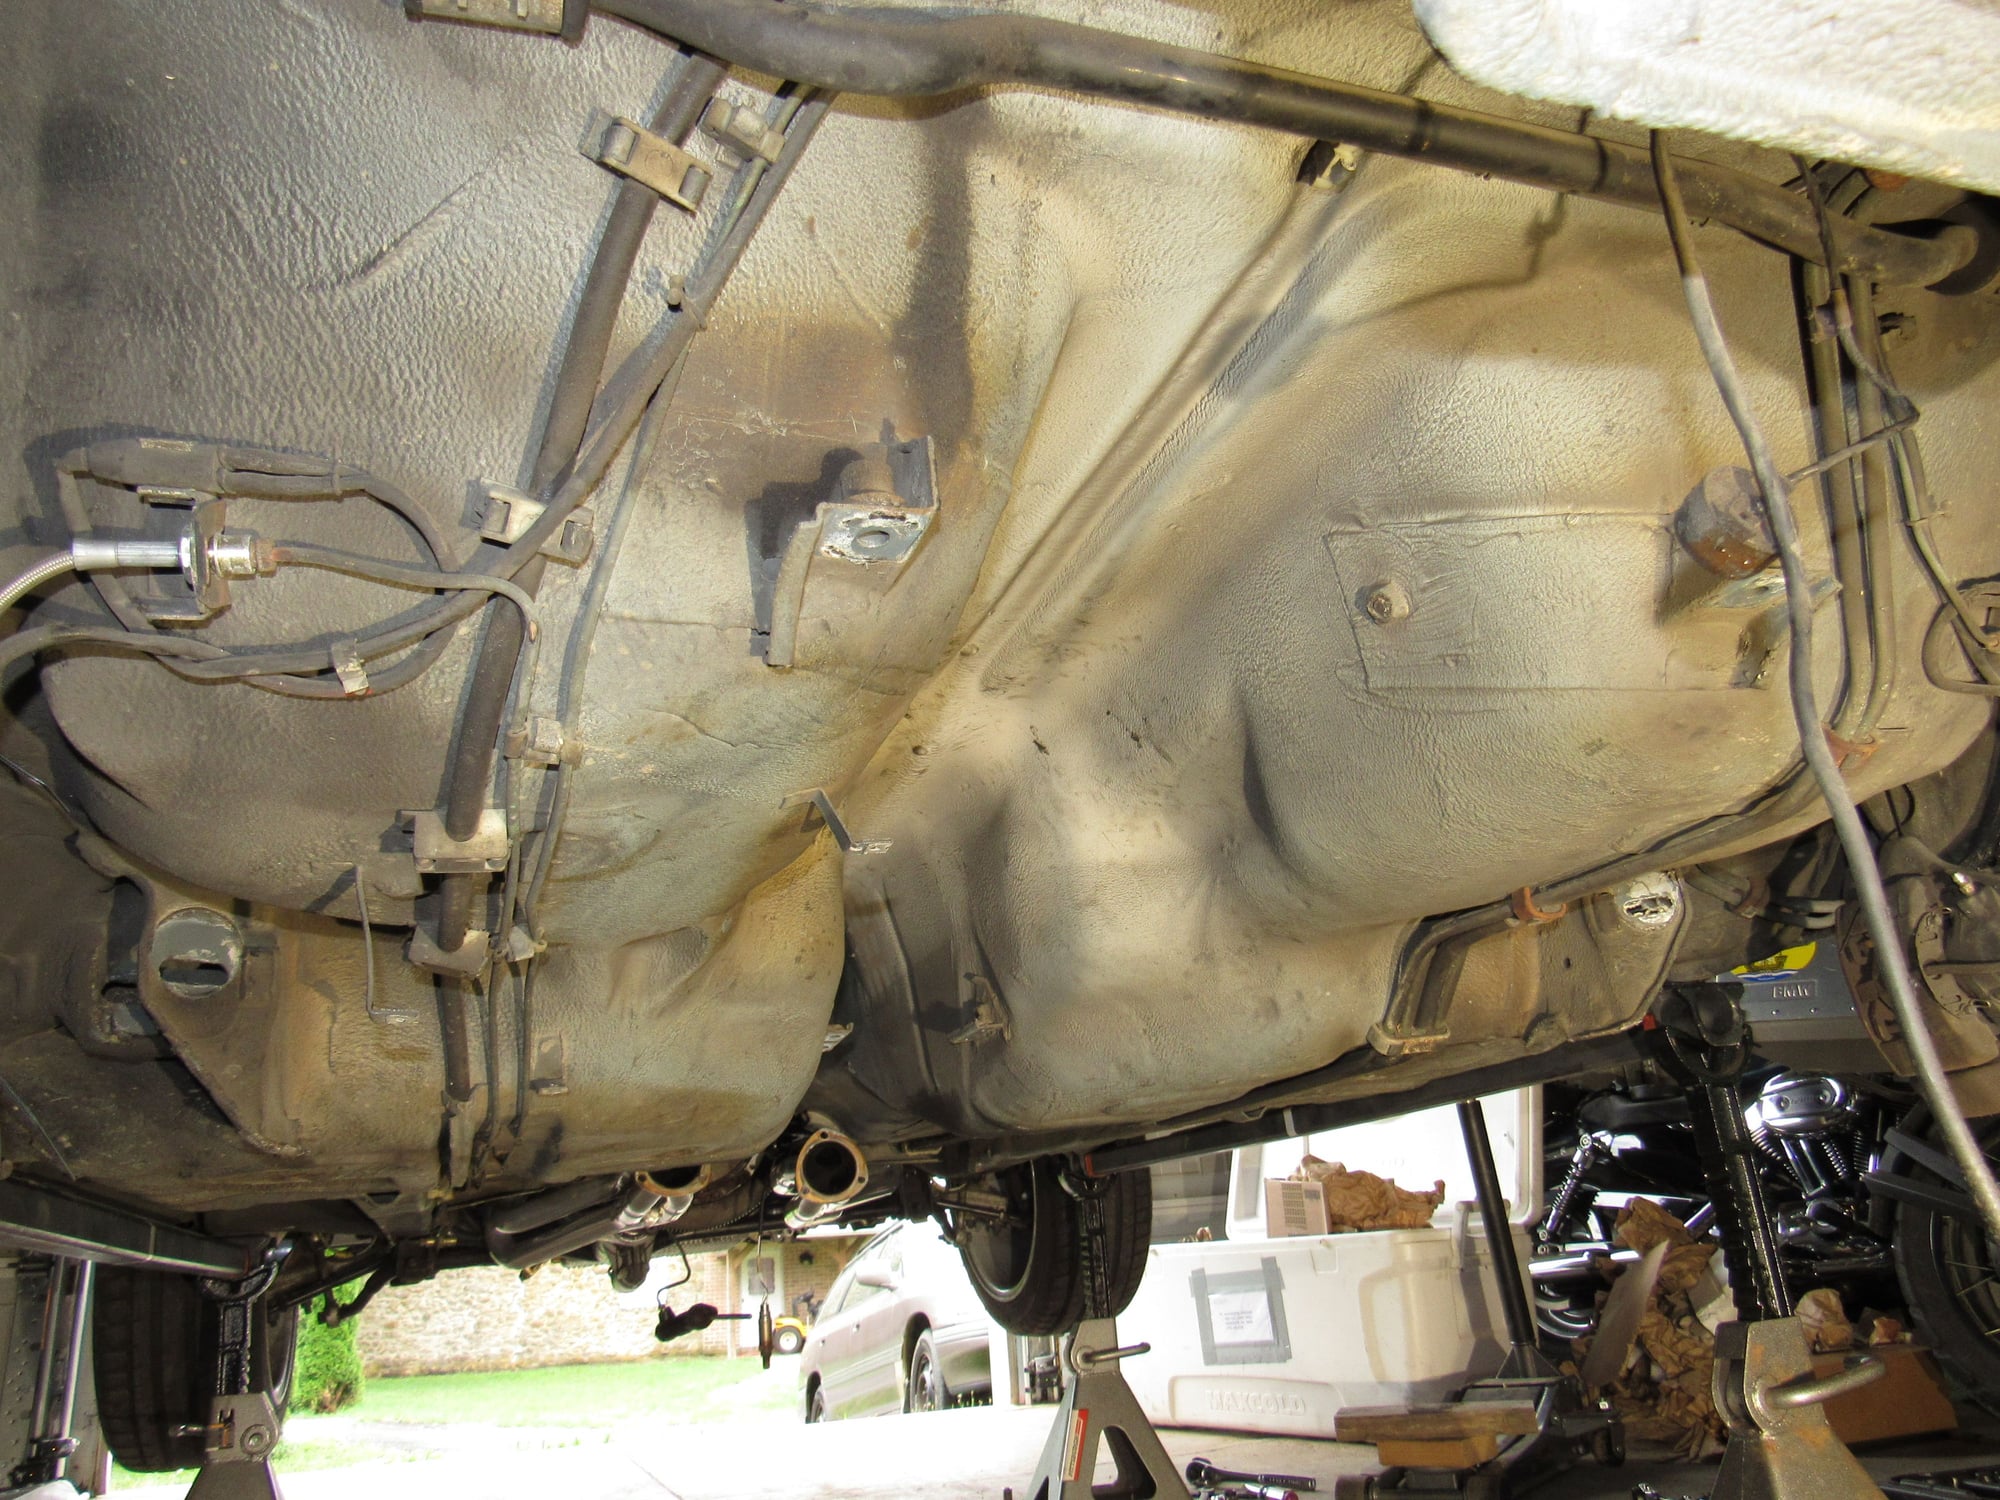
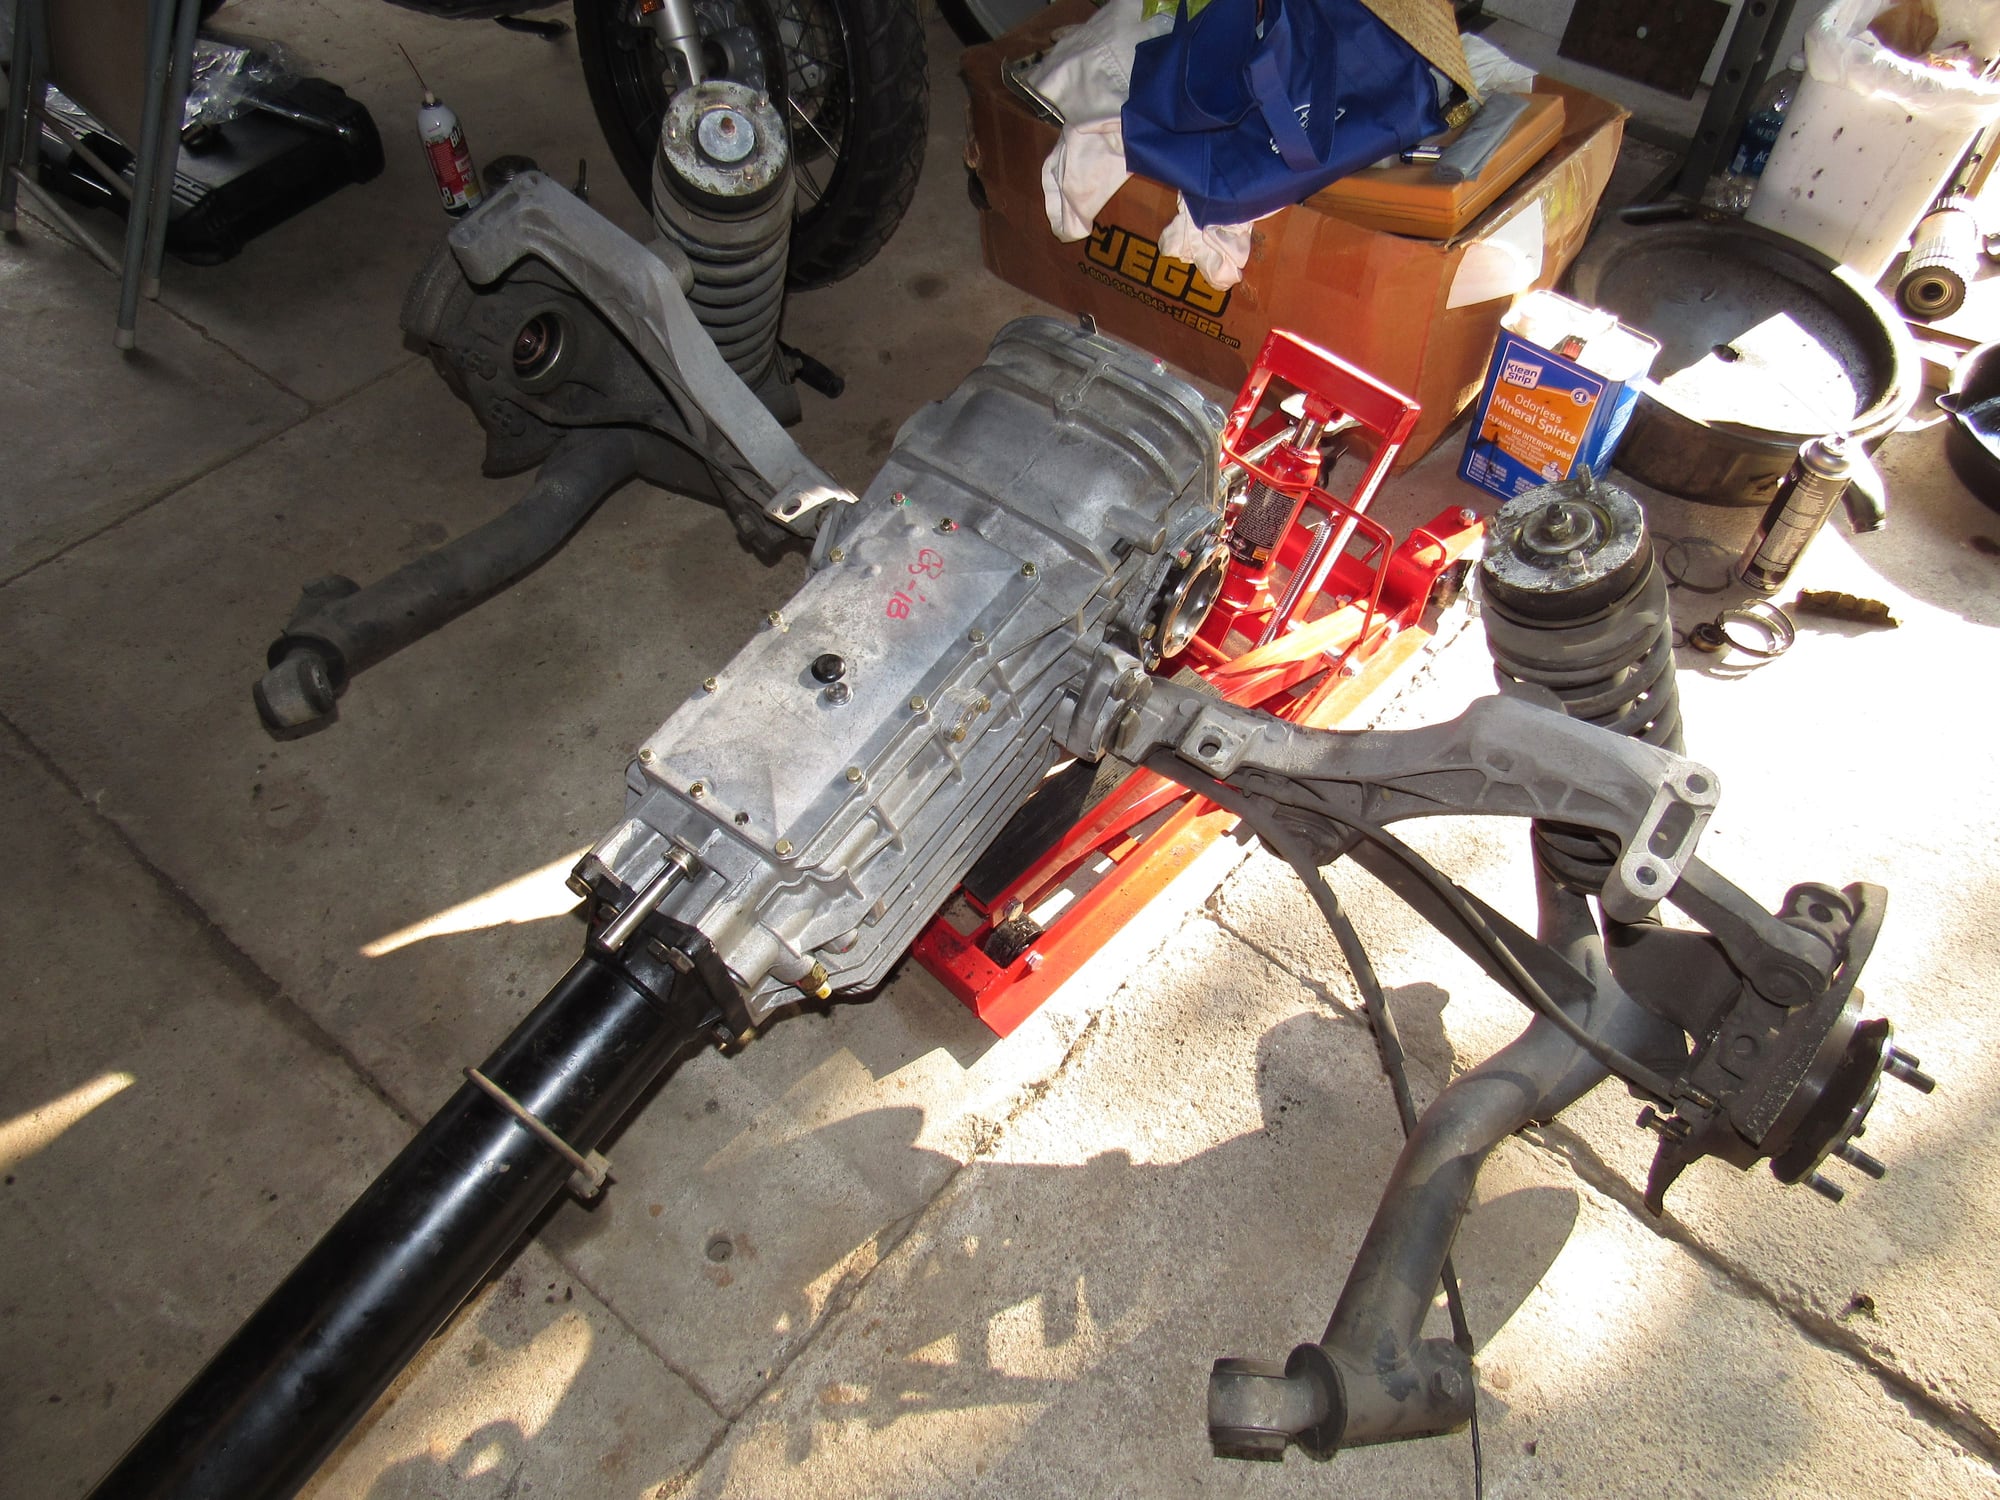
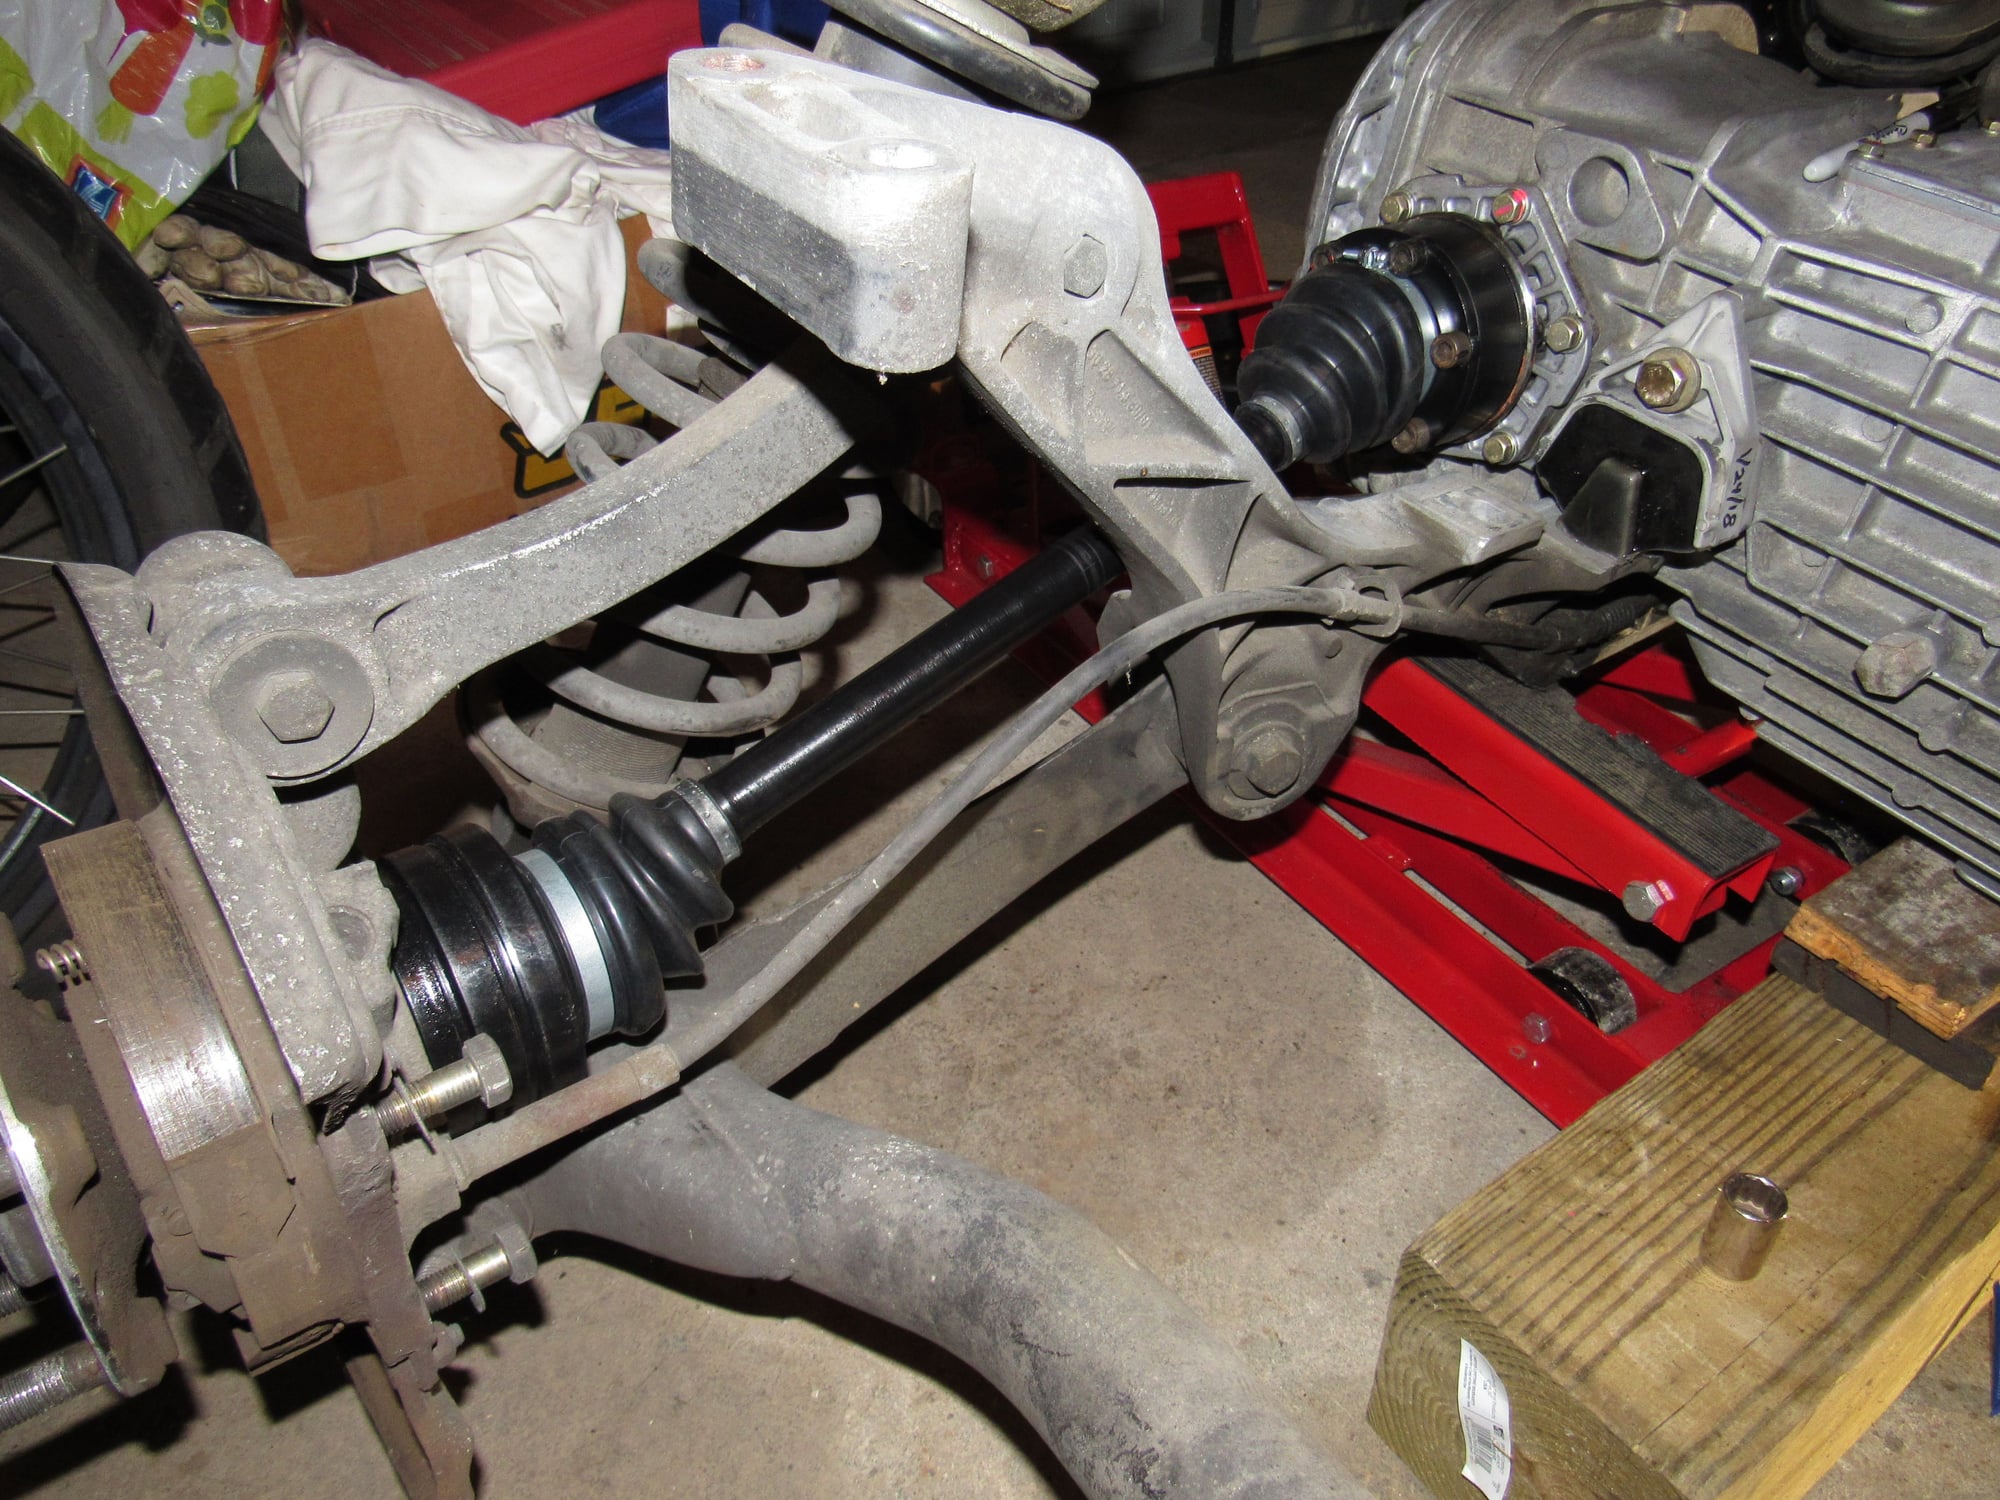
With that taken care of, the rear end is pretty straightforward. I used a motorcycle lift to support and lower the rear suspension and drivetrain together and a floor jack with some scrap 6'x6' to support the front of the TT. I recall some people have battled to remove the emergency brake from the body but mine pulled out by hand.
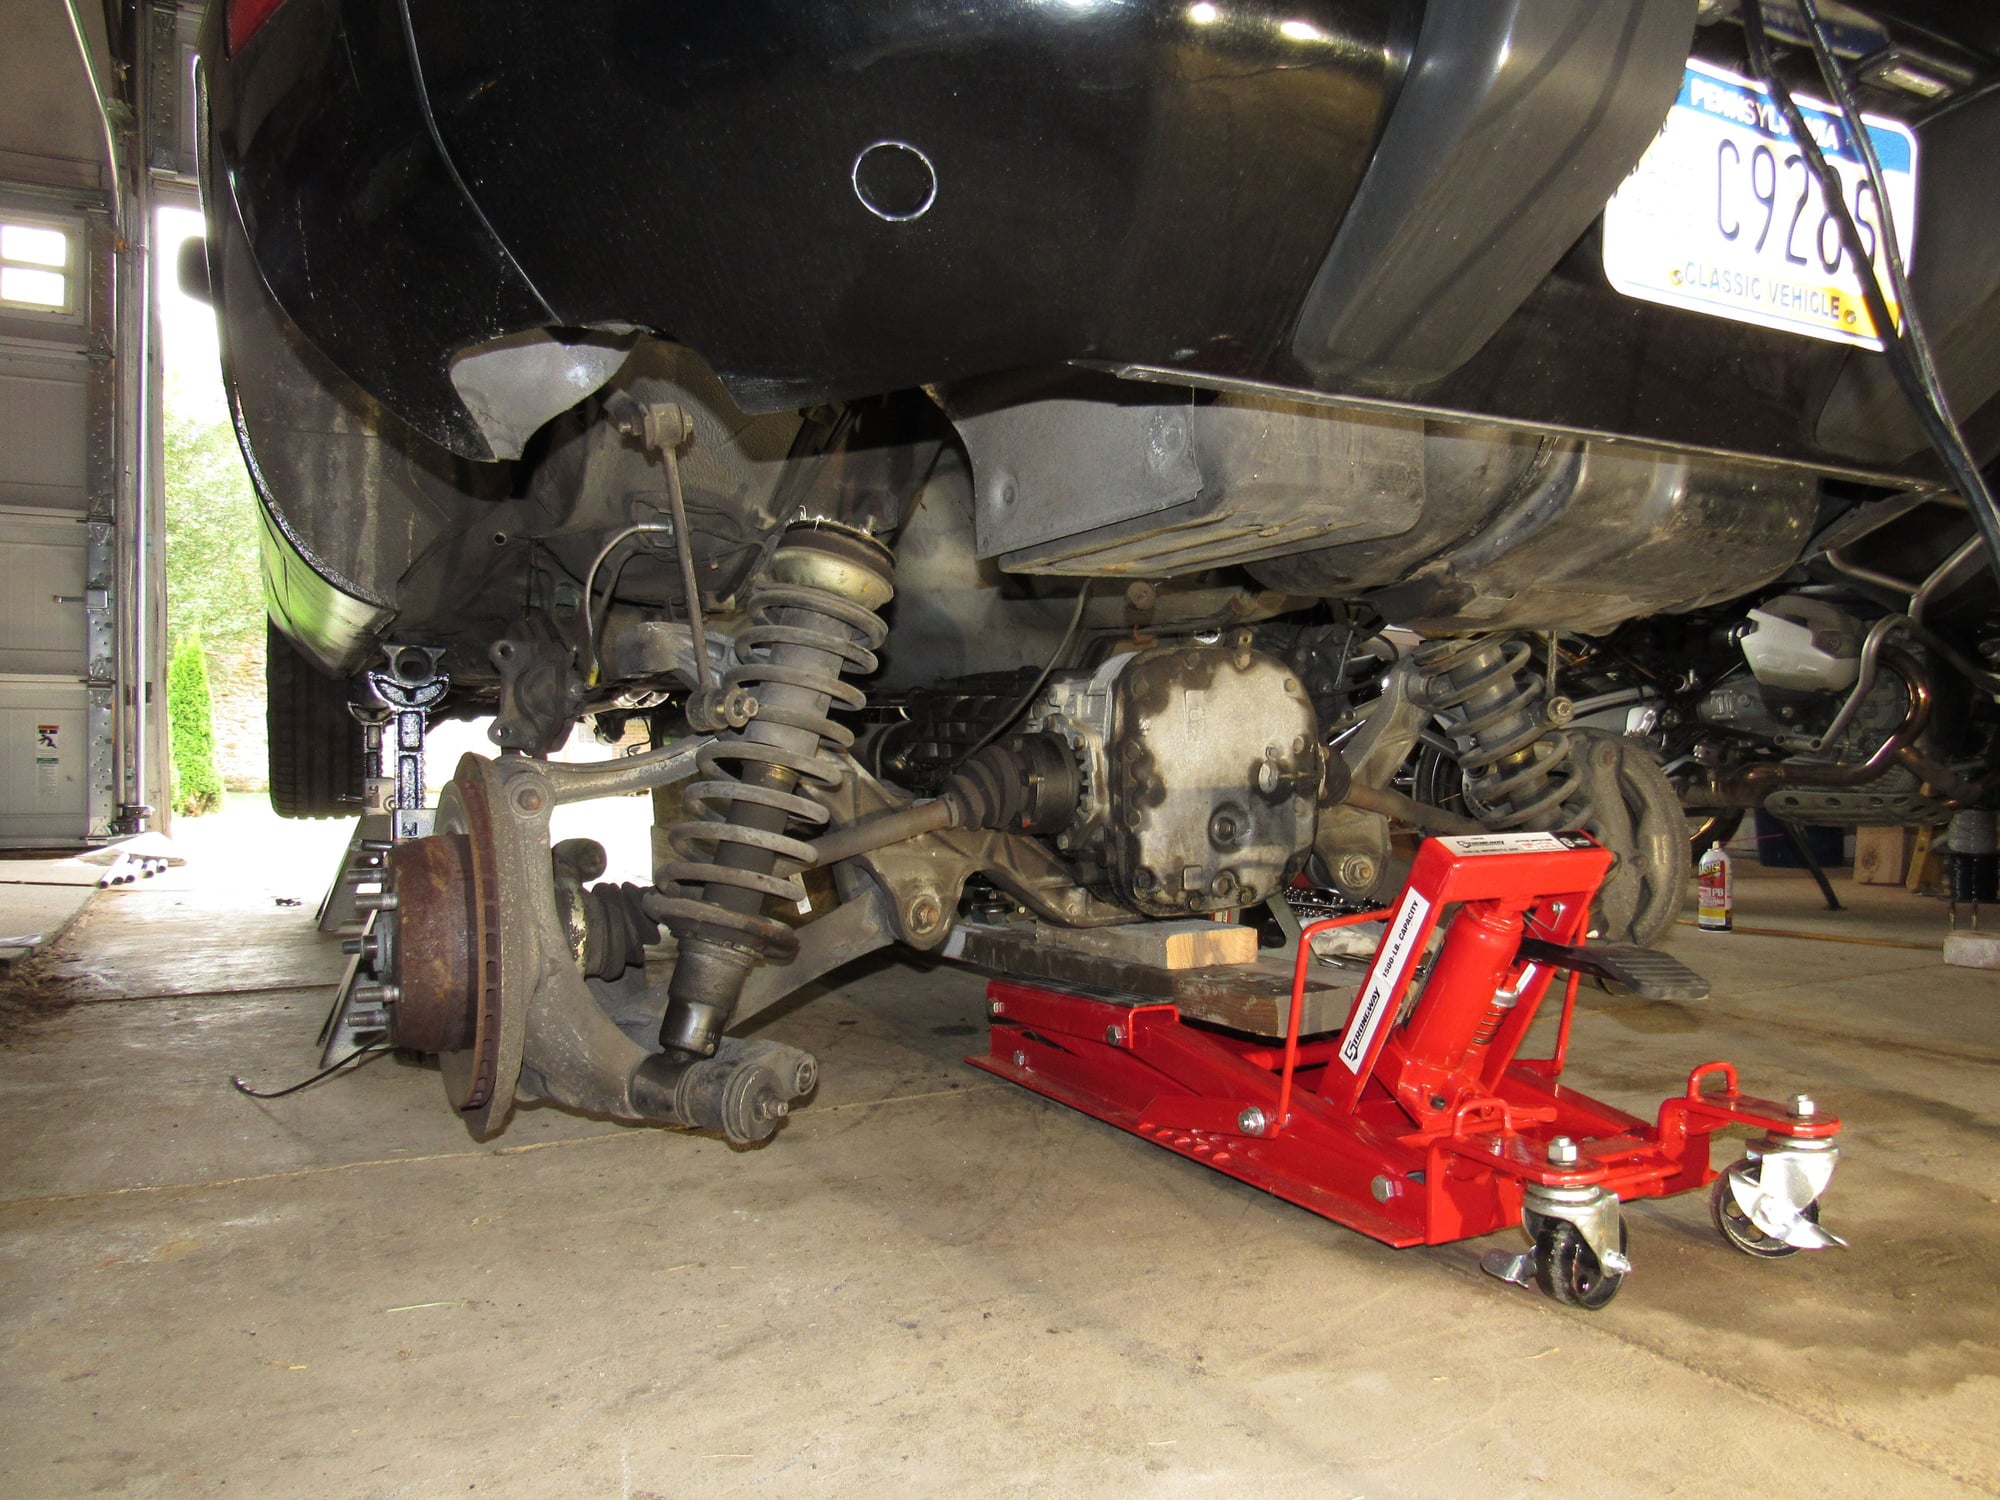
The undercarriage is very nice, no rust.
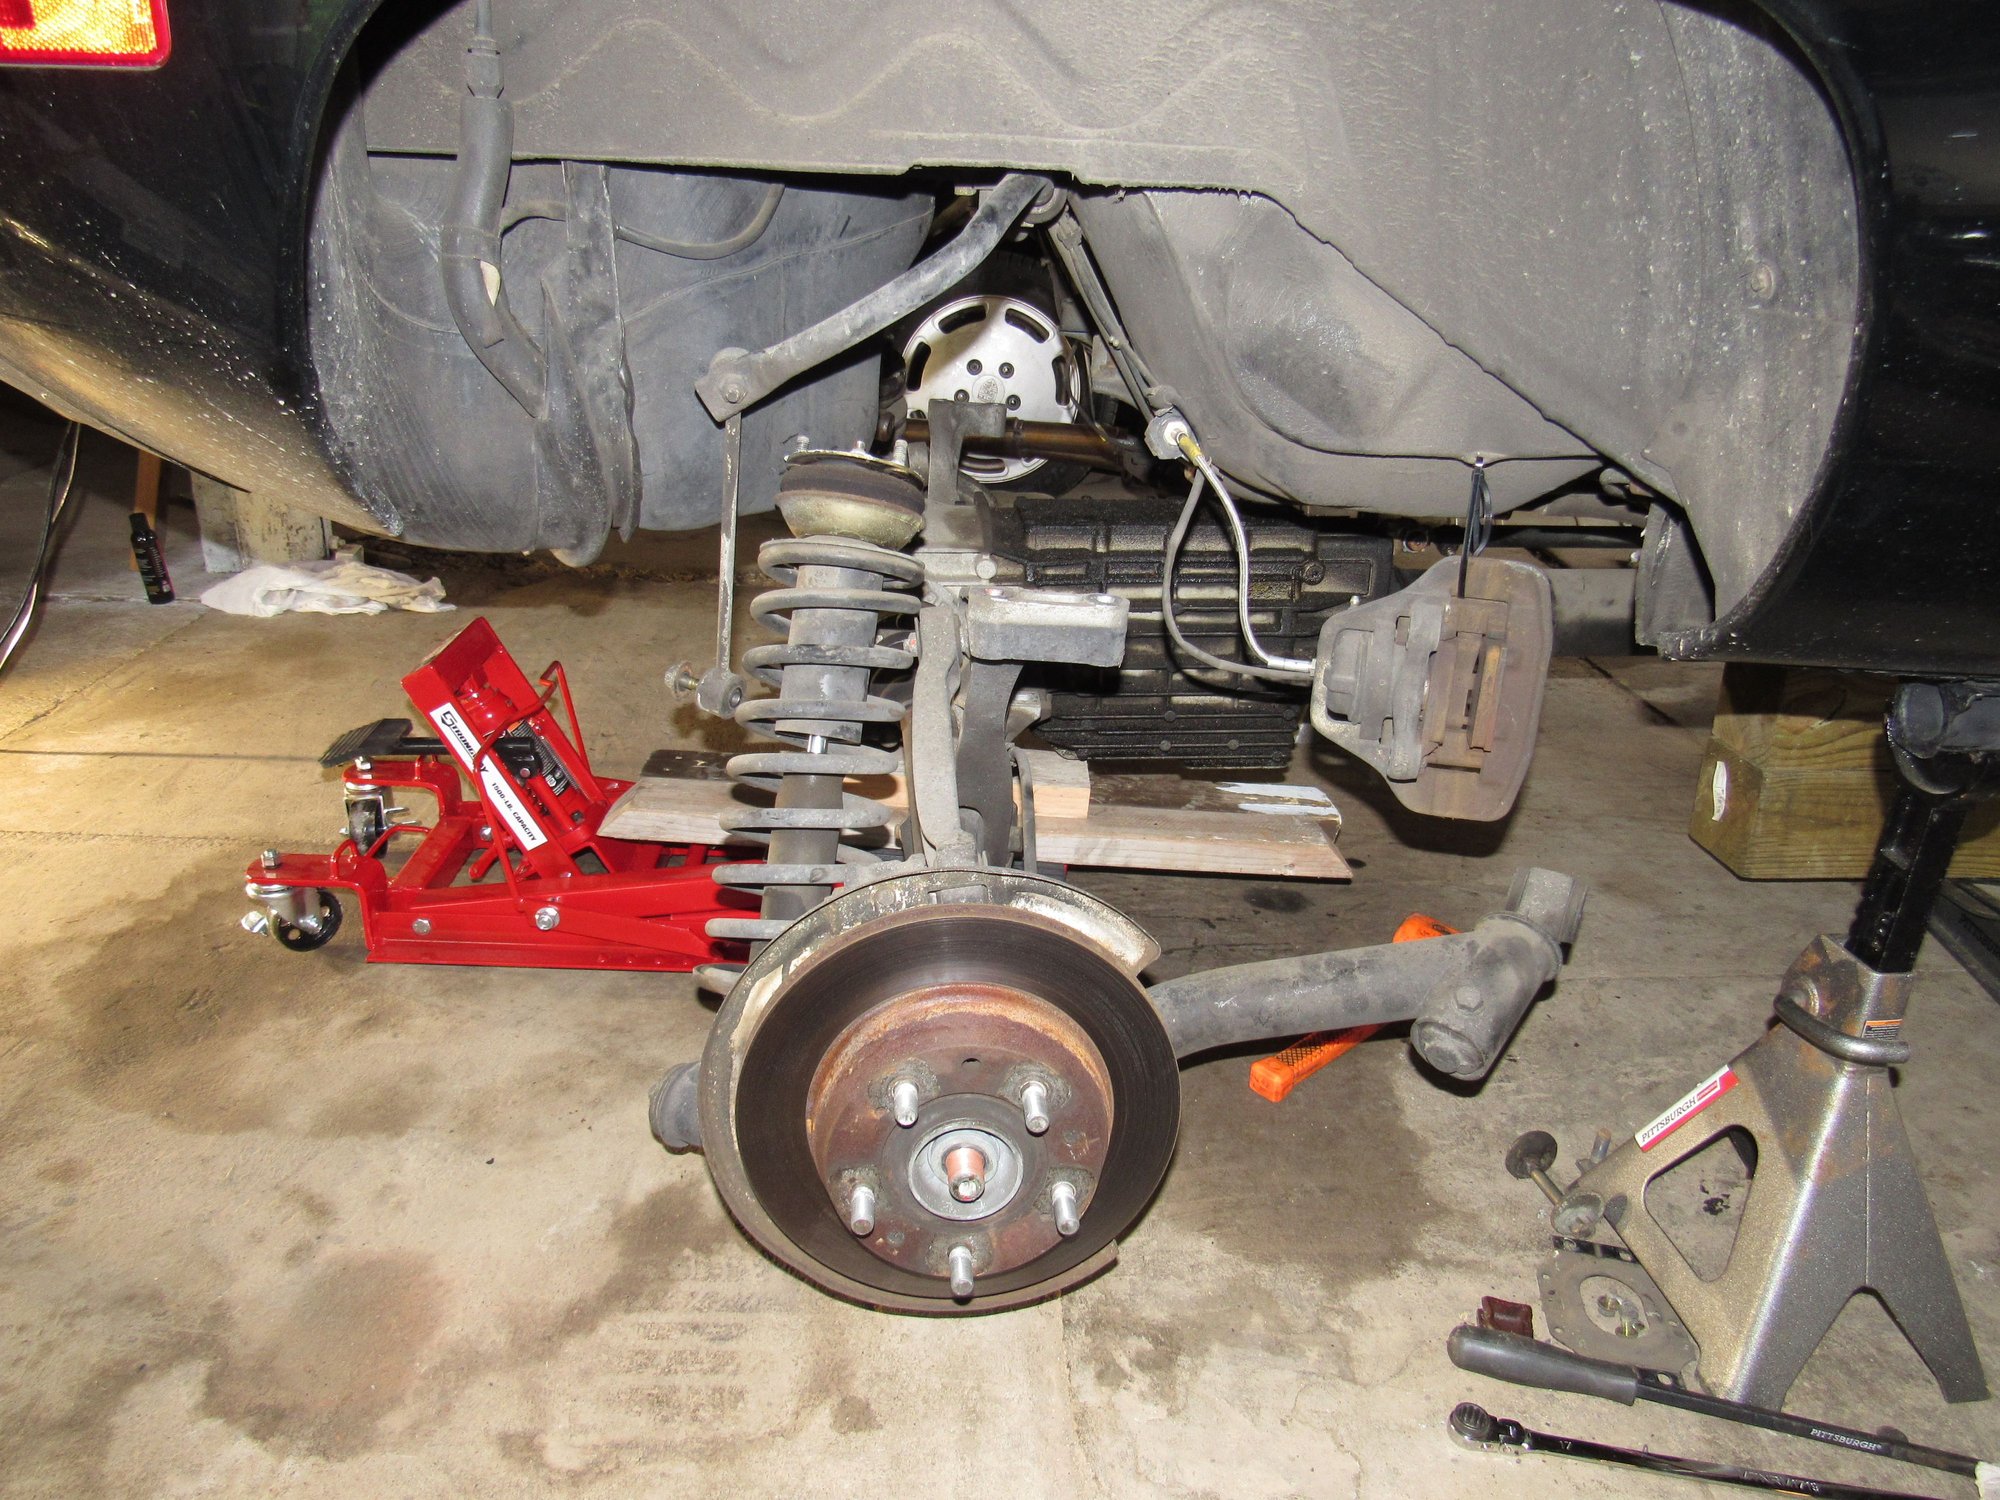
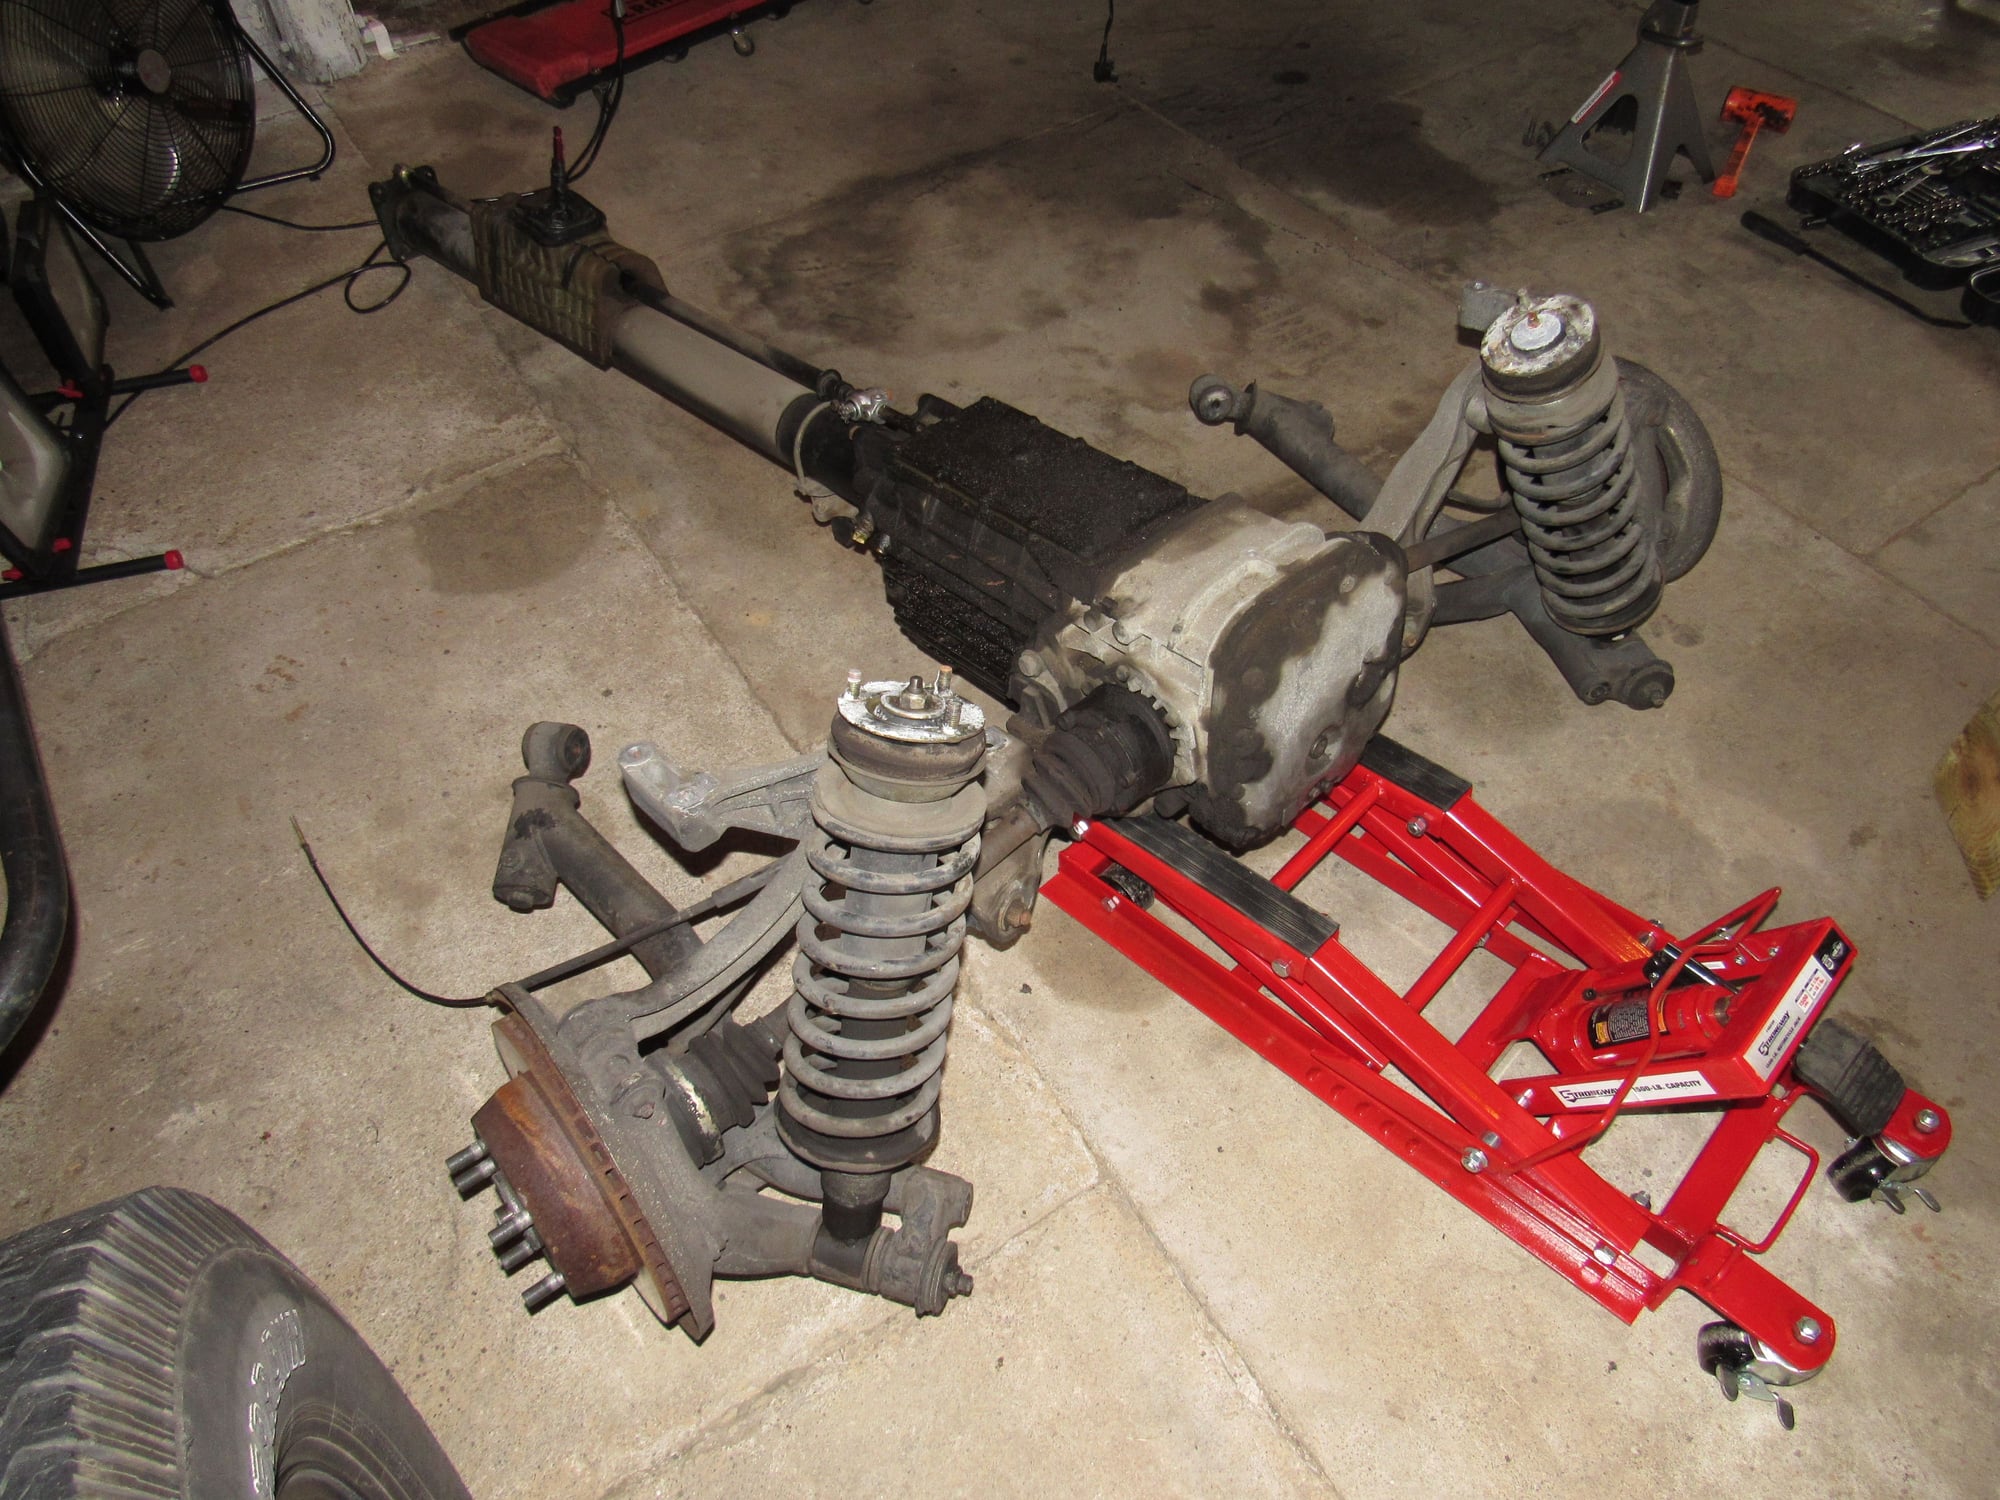
Now it is all out
Upon further disassembly, I removed the axles and spun the rotors to check the wheel bearings and they turn smoothly except for one area of the rotation. I will remove the rotors to make sure it isn't the E brake shoes rubbing.
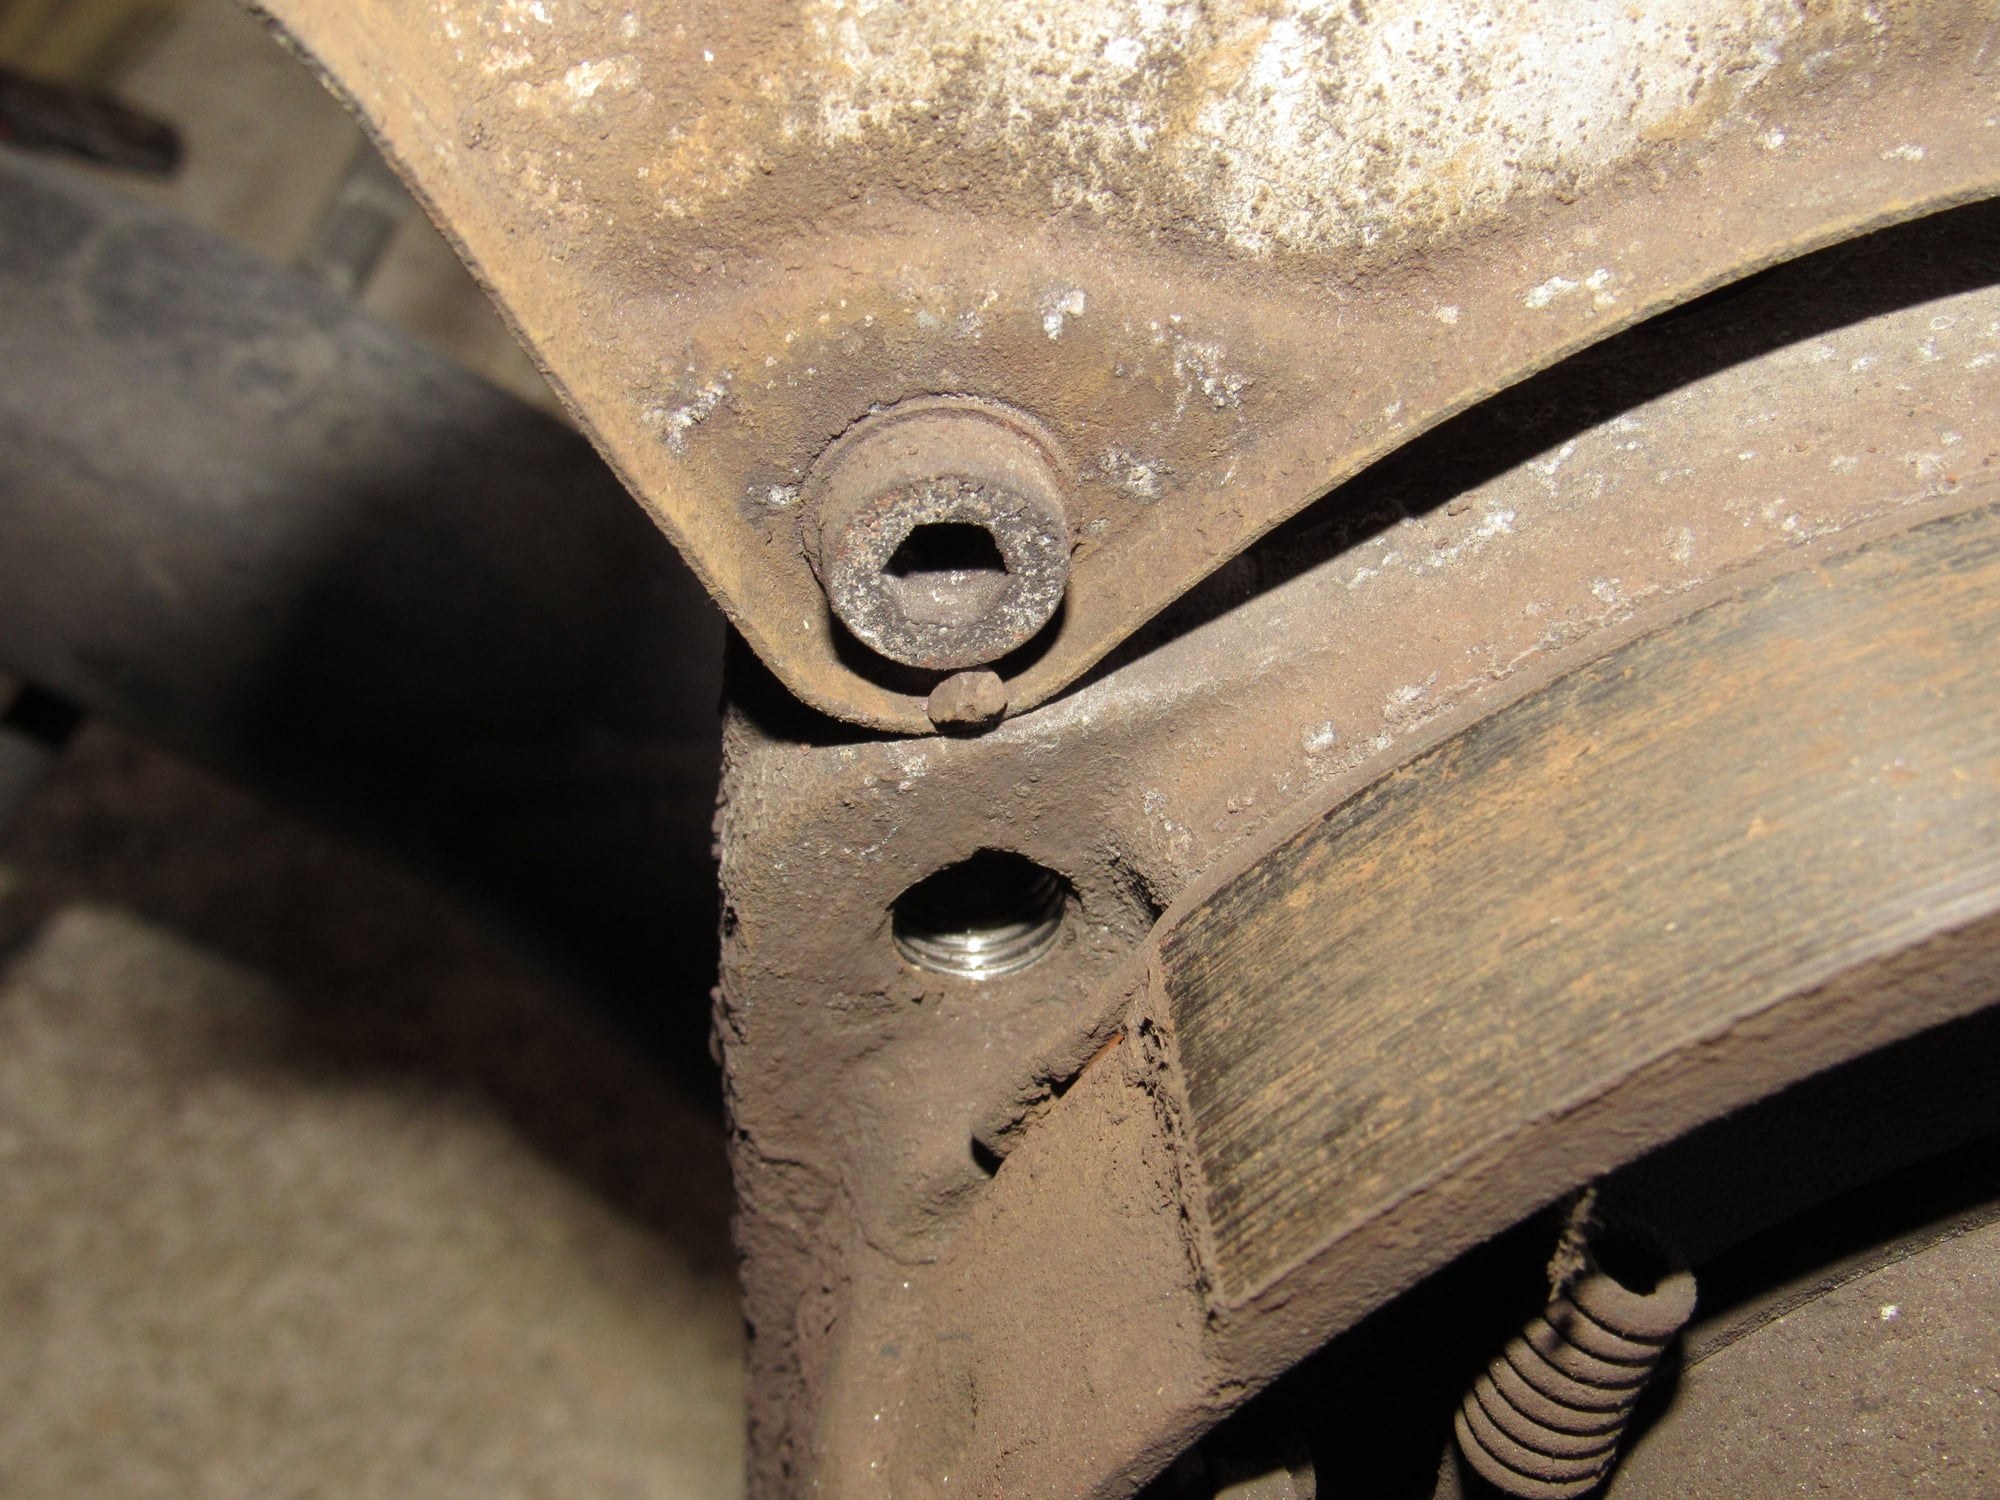
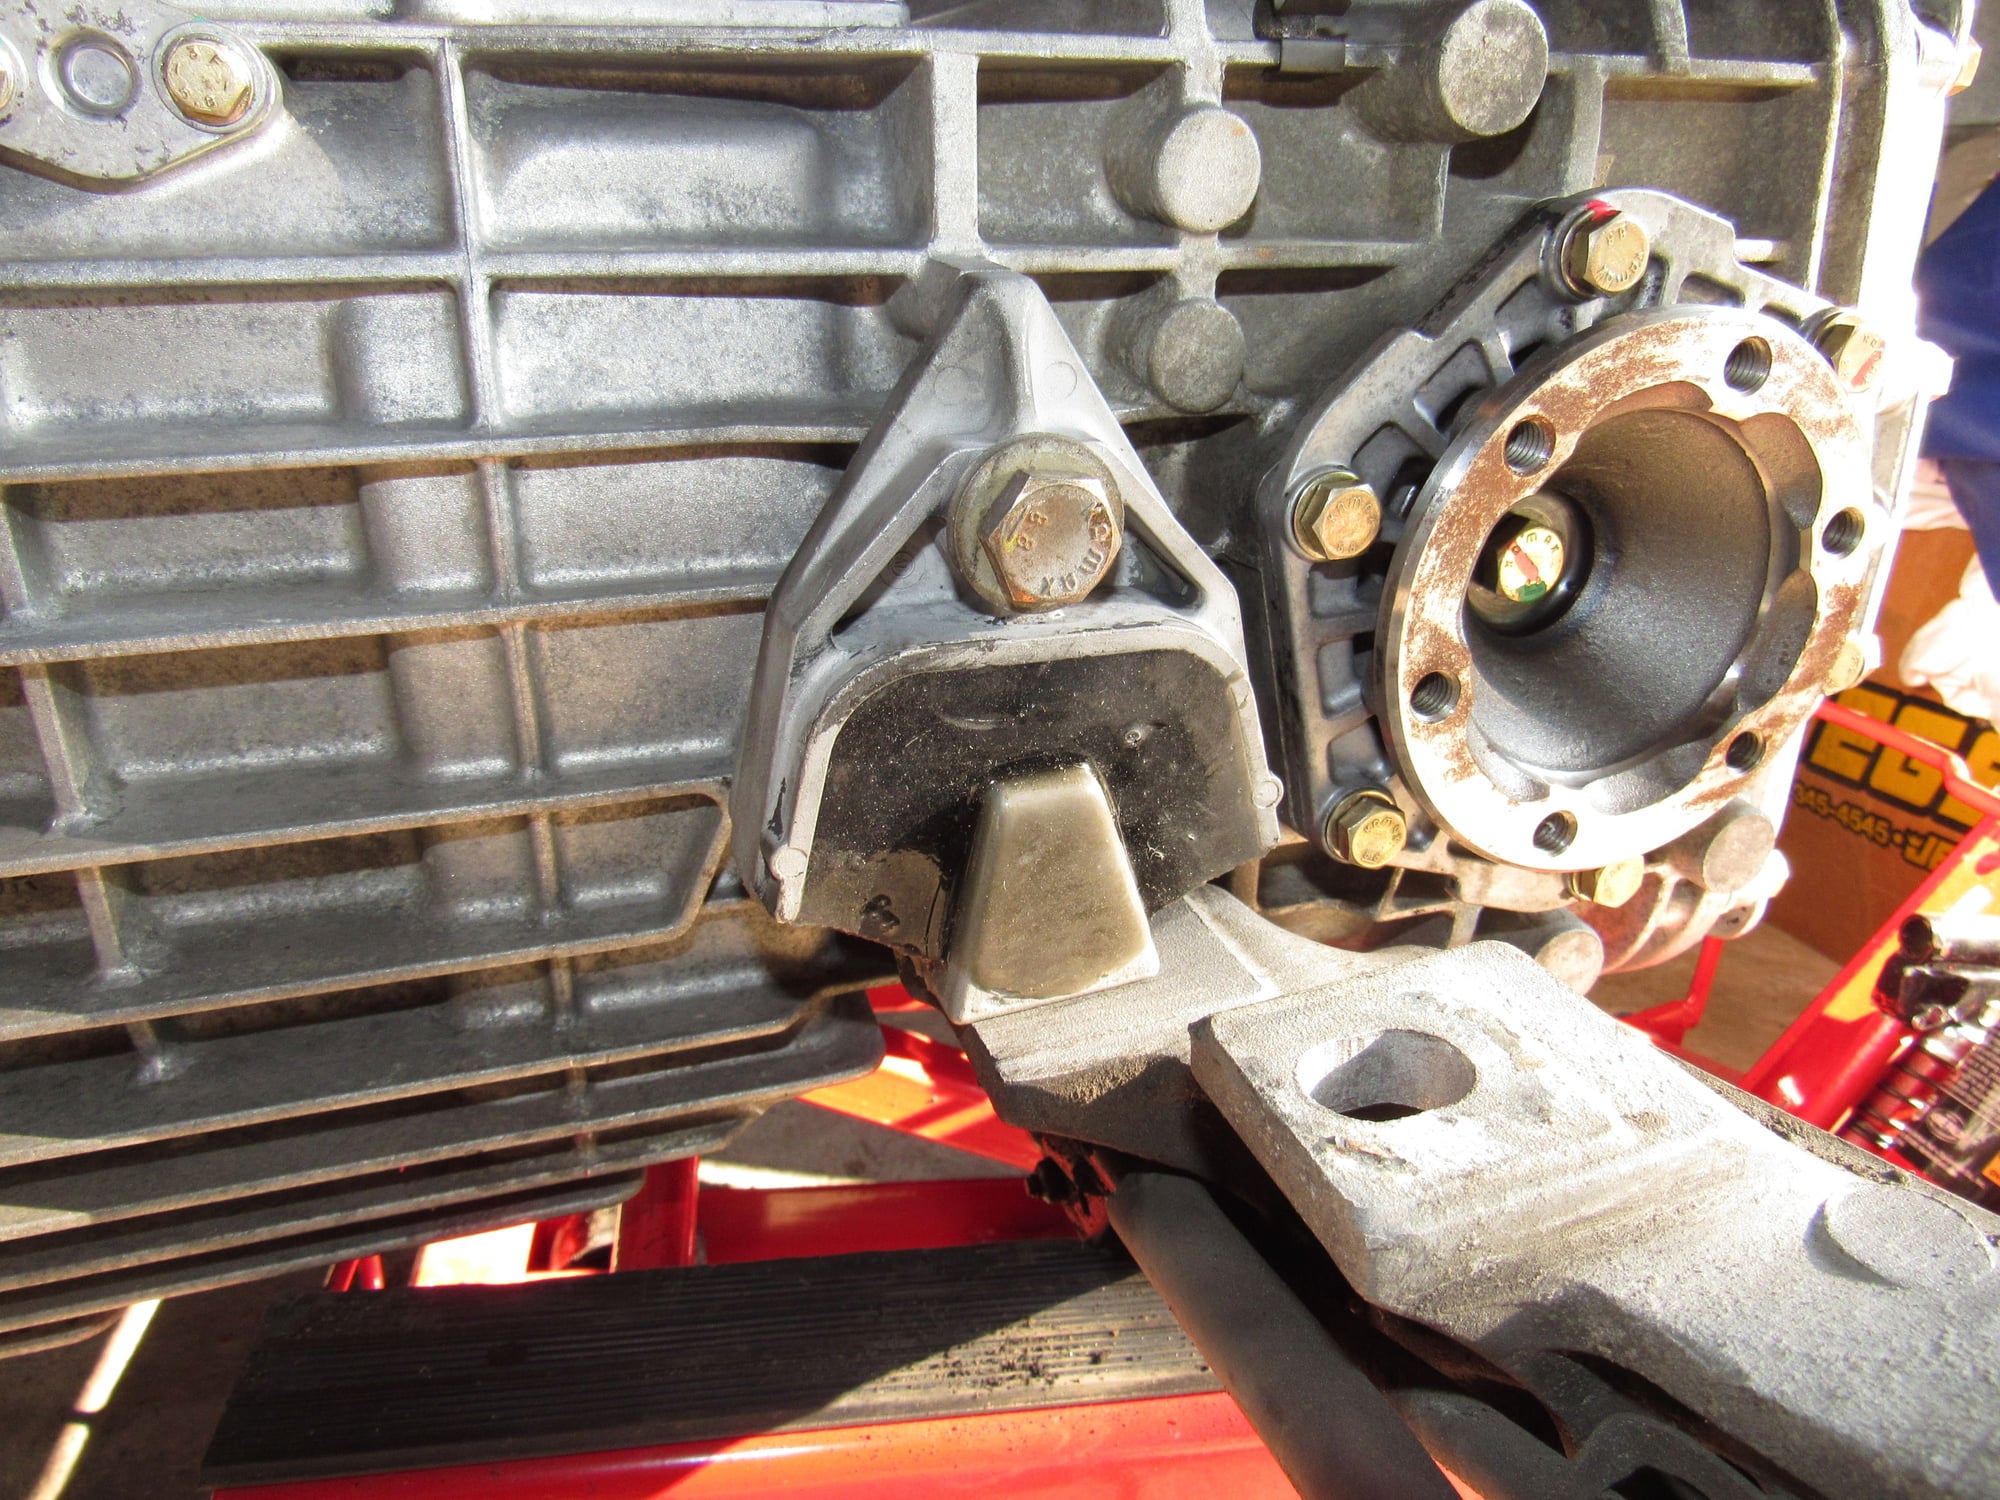
When I removed the rear TT pinch bolt it seems too far forward and would not fall out of the cutout without some help. I think the shaft migrated forward a bit. I measured 11.1mm of shaft extending out of the TT on the engine side. Three new pinch bolts will be going in.
What is the best way to remove the foam around the shifter? It is bonded pretty well to the TT.
I got a set of the Mountain wrenches based on the recommendations I read somewhere about the best way to remove bell housing to engine bolts and they are amazing. They are so versatile, I hardly used my socket set.
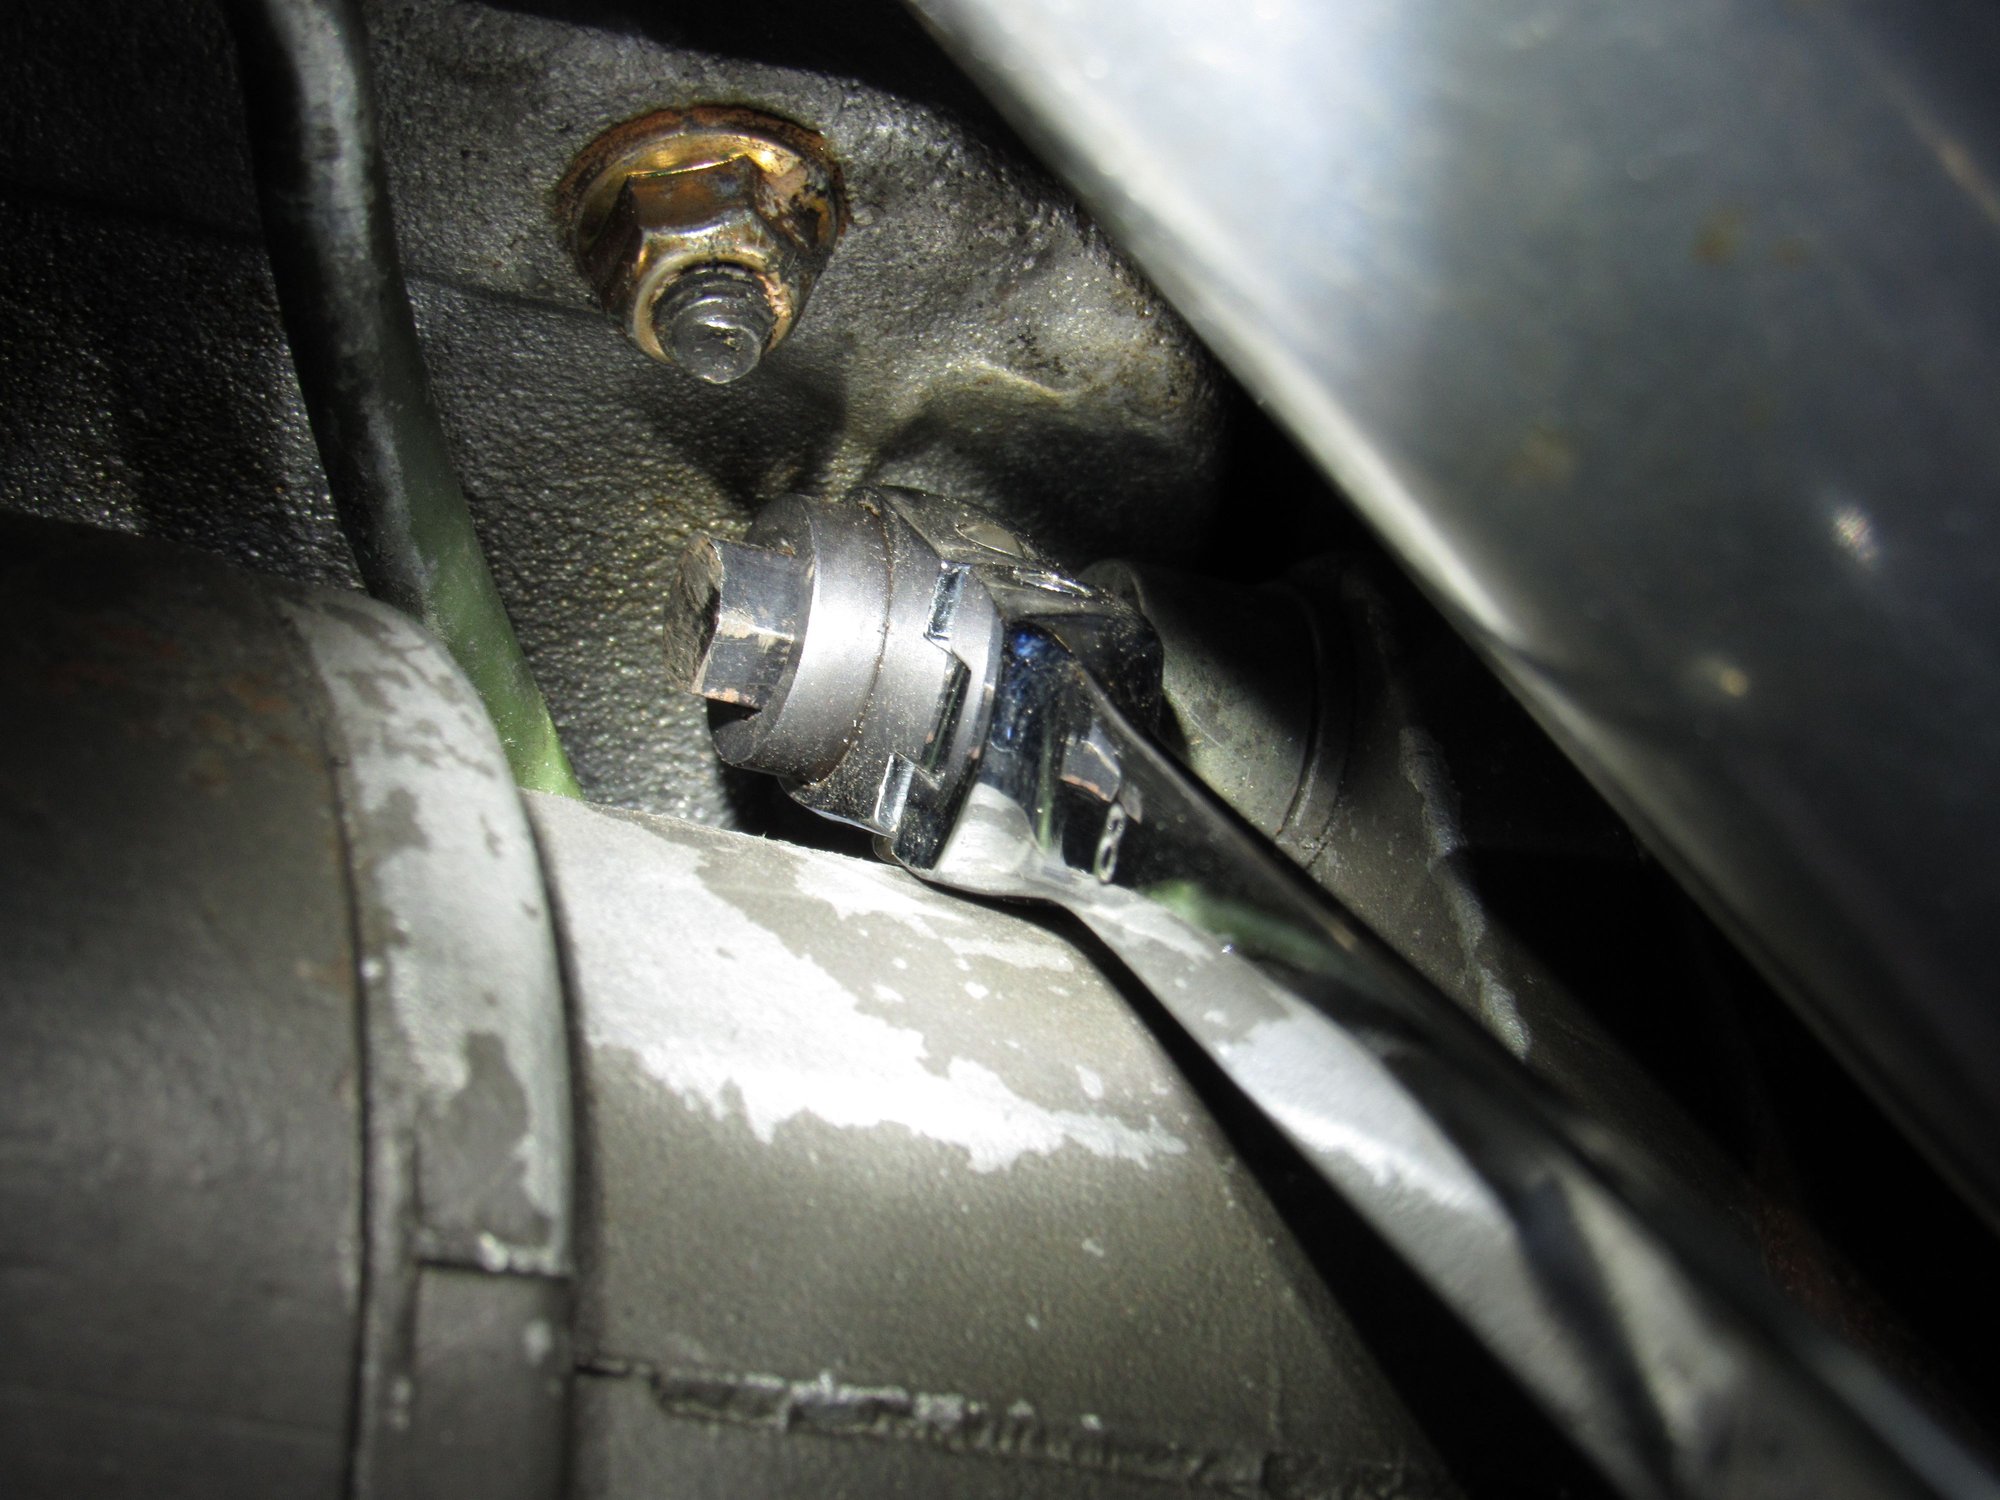
Here is a tip for using these for the upper starter bolt. Use the 8mm with a piece of cut off 8mm allen key. It makes a tough job easy!
New gearbox is home
Last edited by Majestic Moose; 08-03-2018 at 06:44 PM.
Thanks guys! Shawn I appreciate the offer I'll see how it goes.
I'm taking my time and I've learned to wait till everything is apart before placing an order because I inevitably end up needing more.
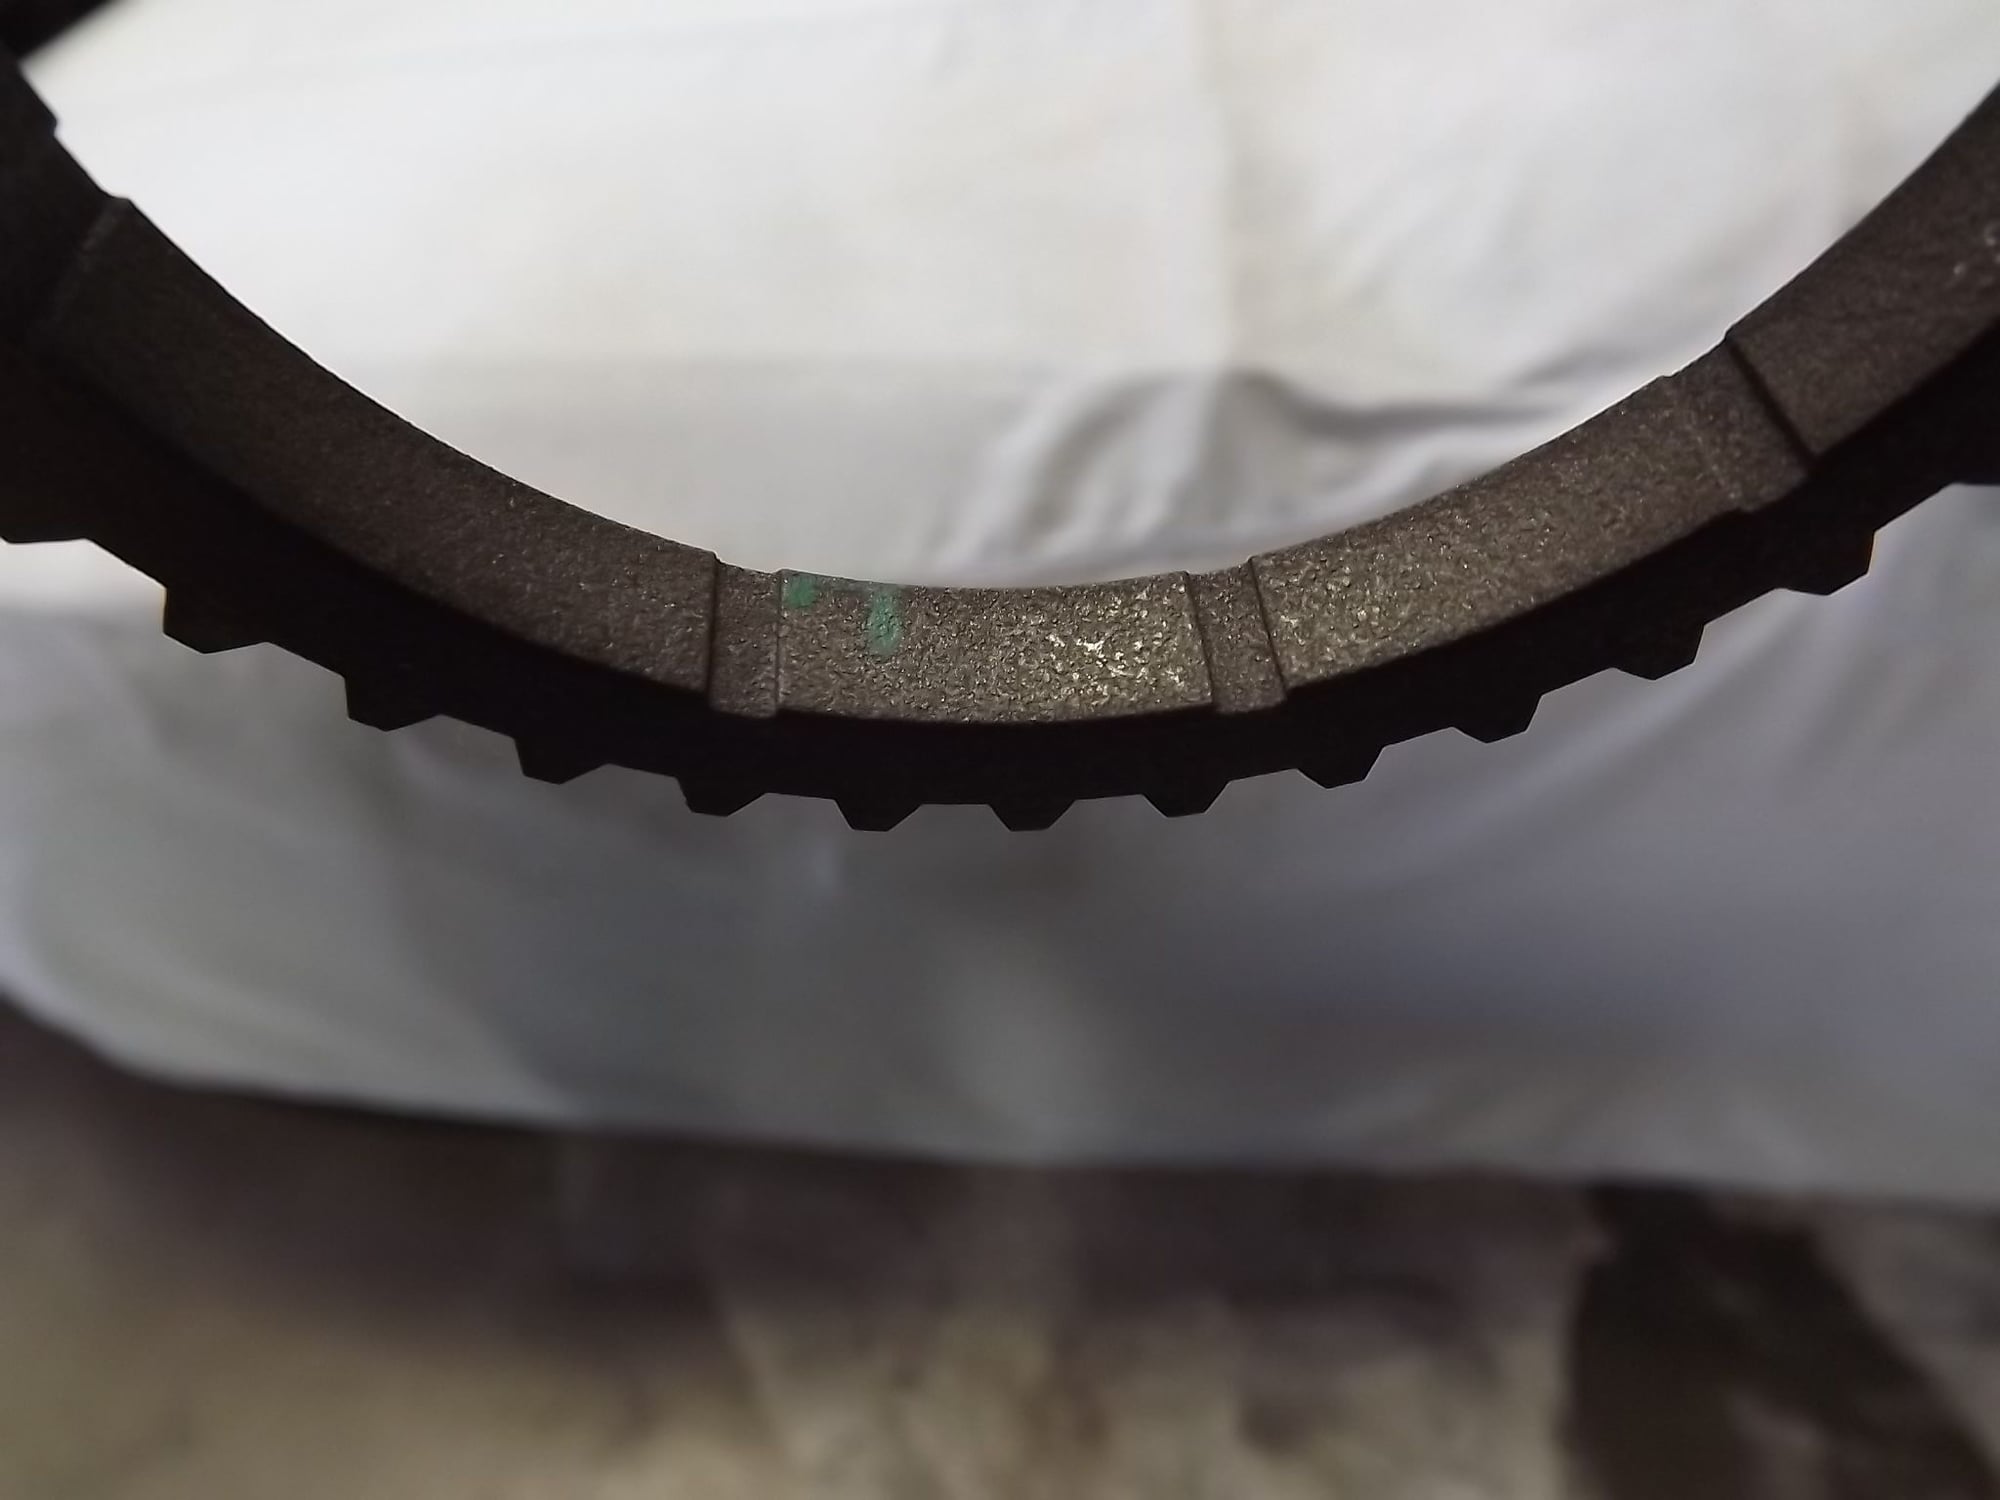
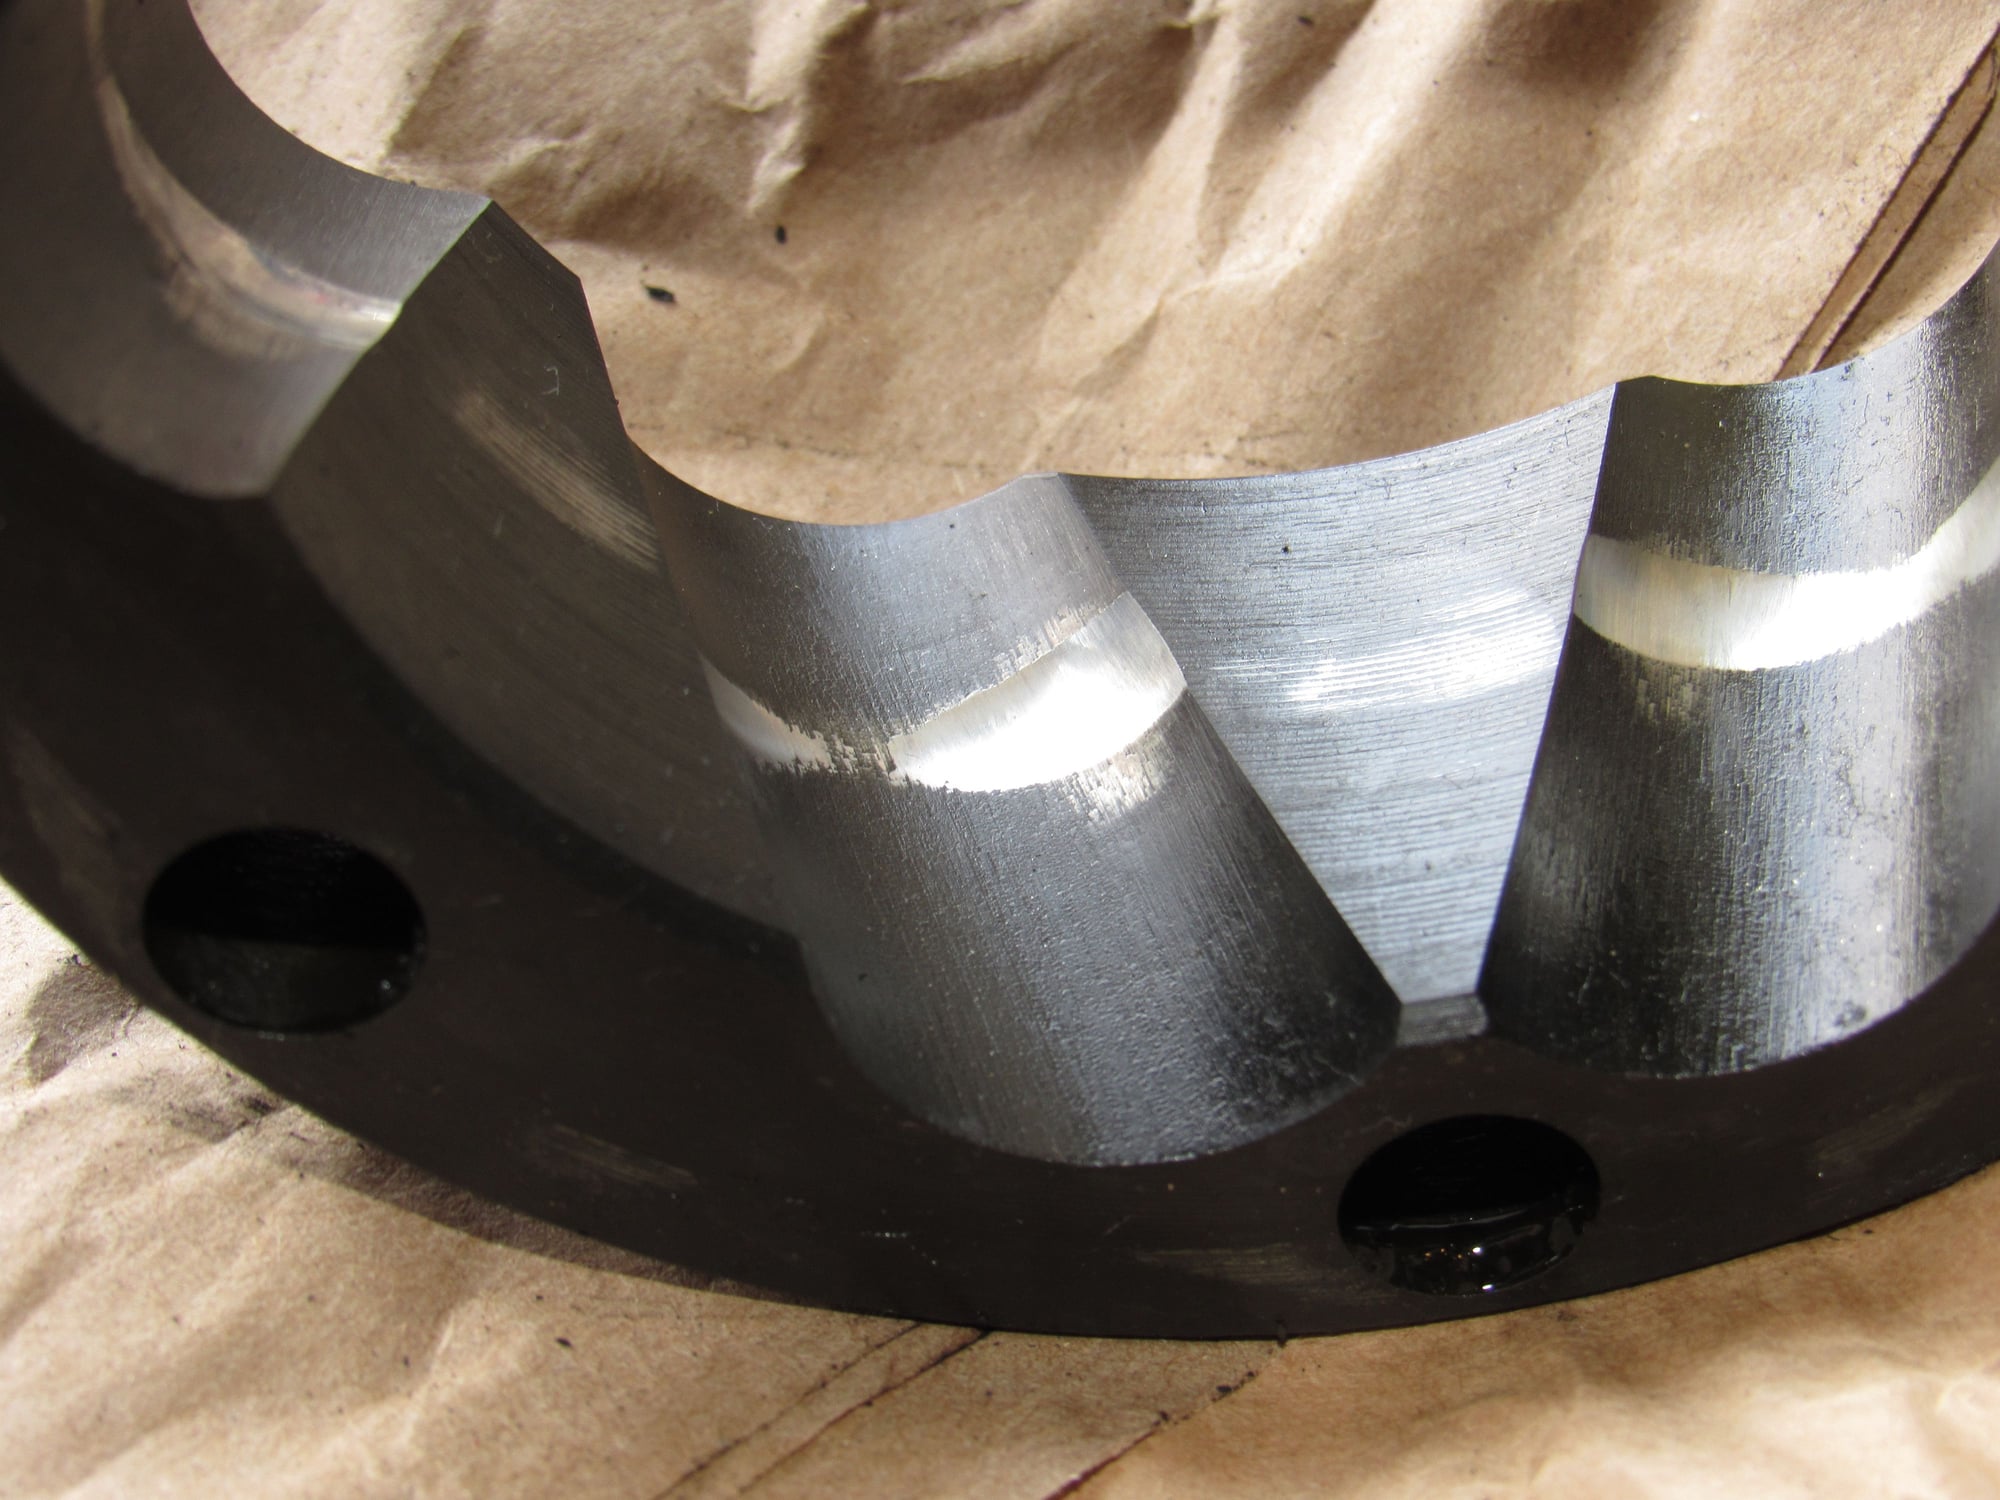
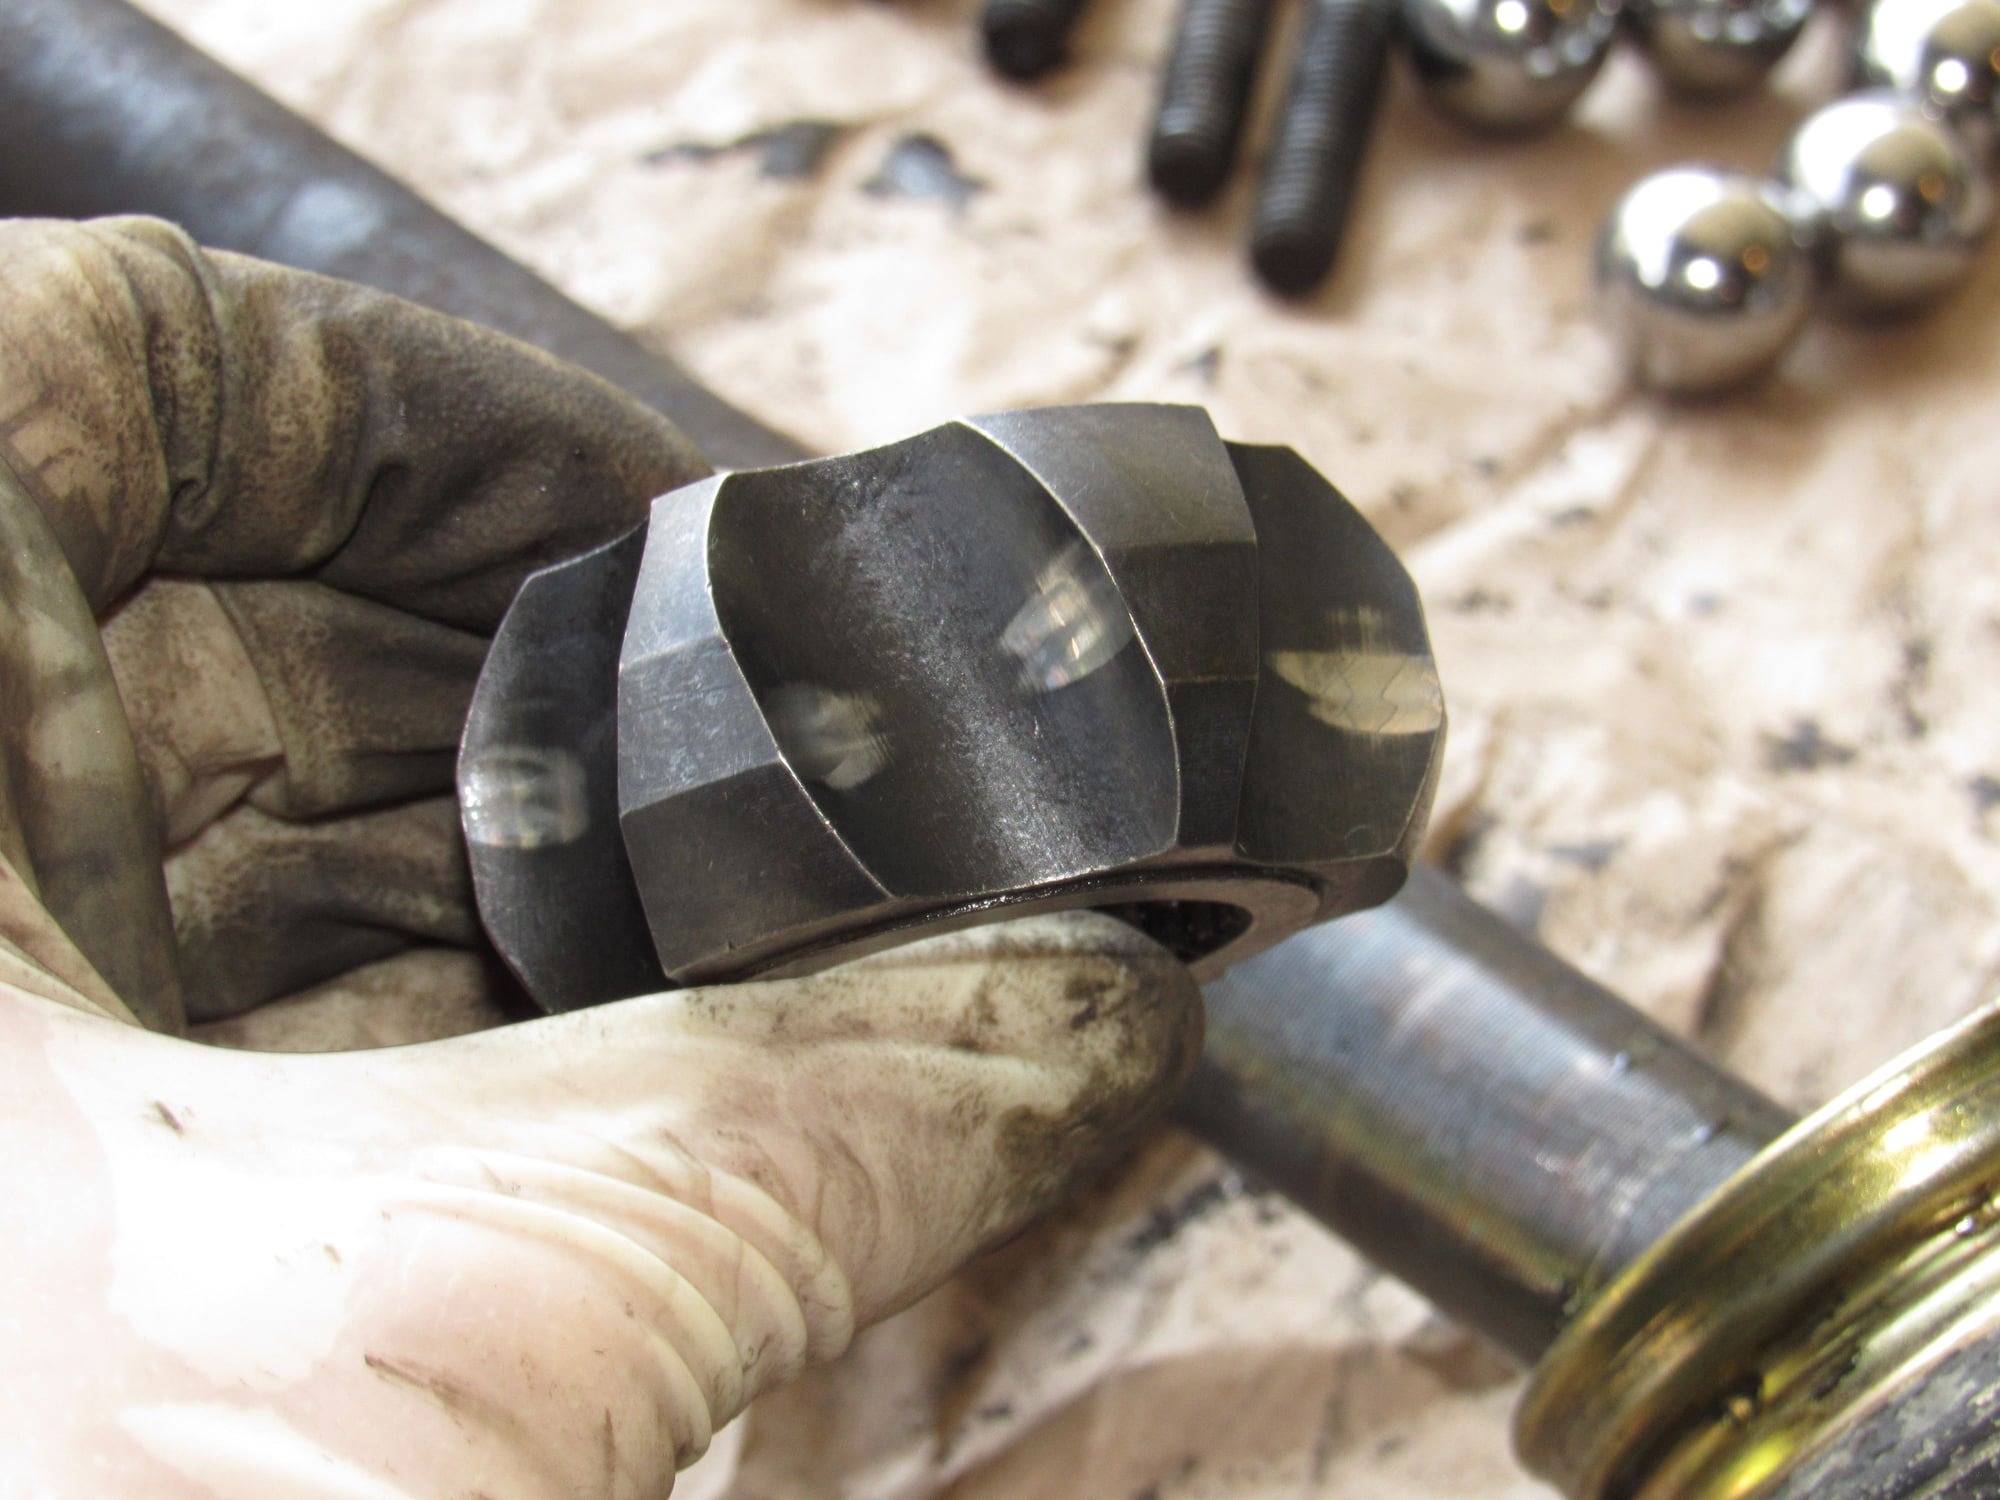
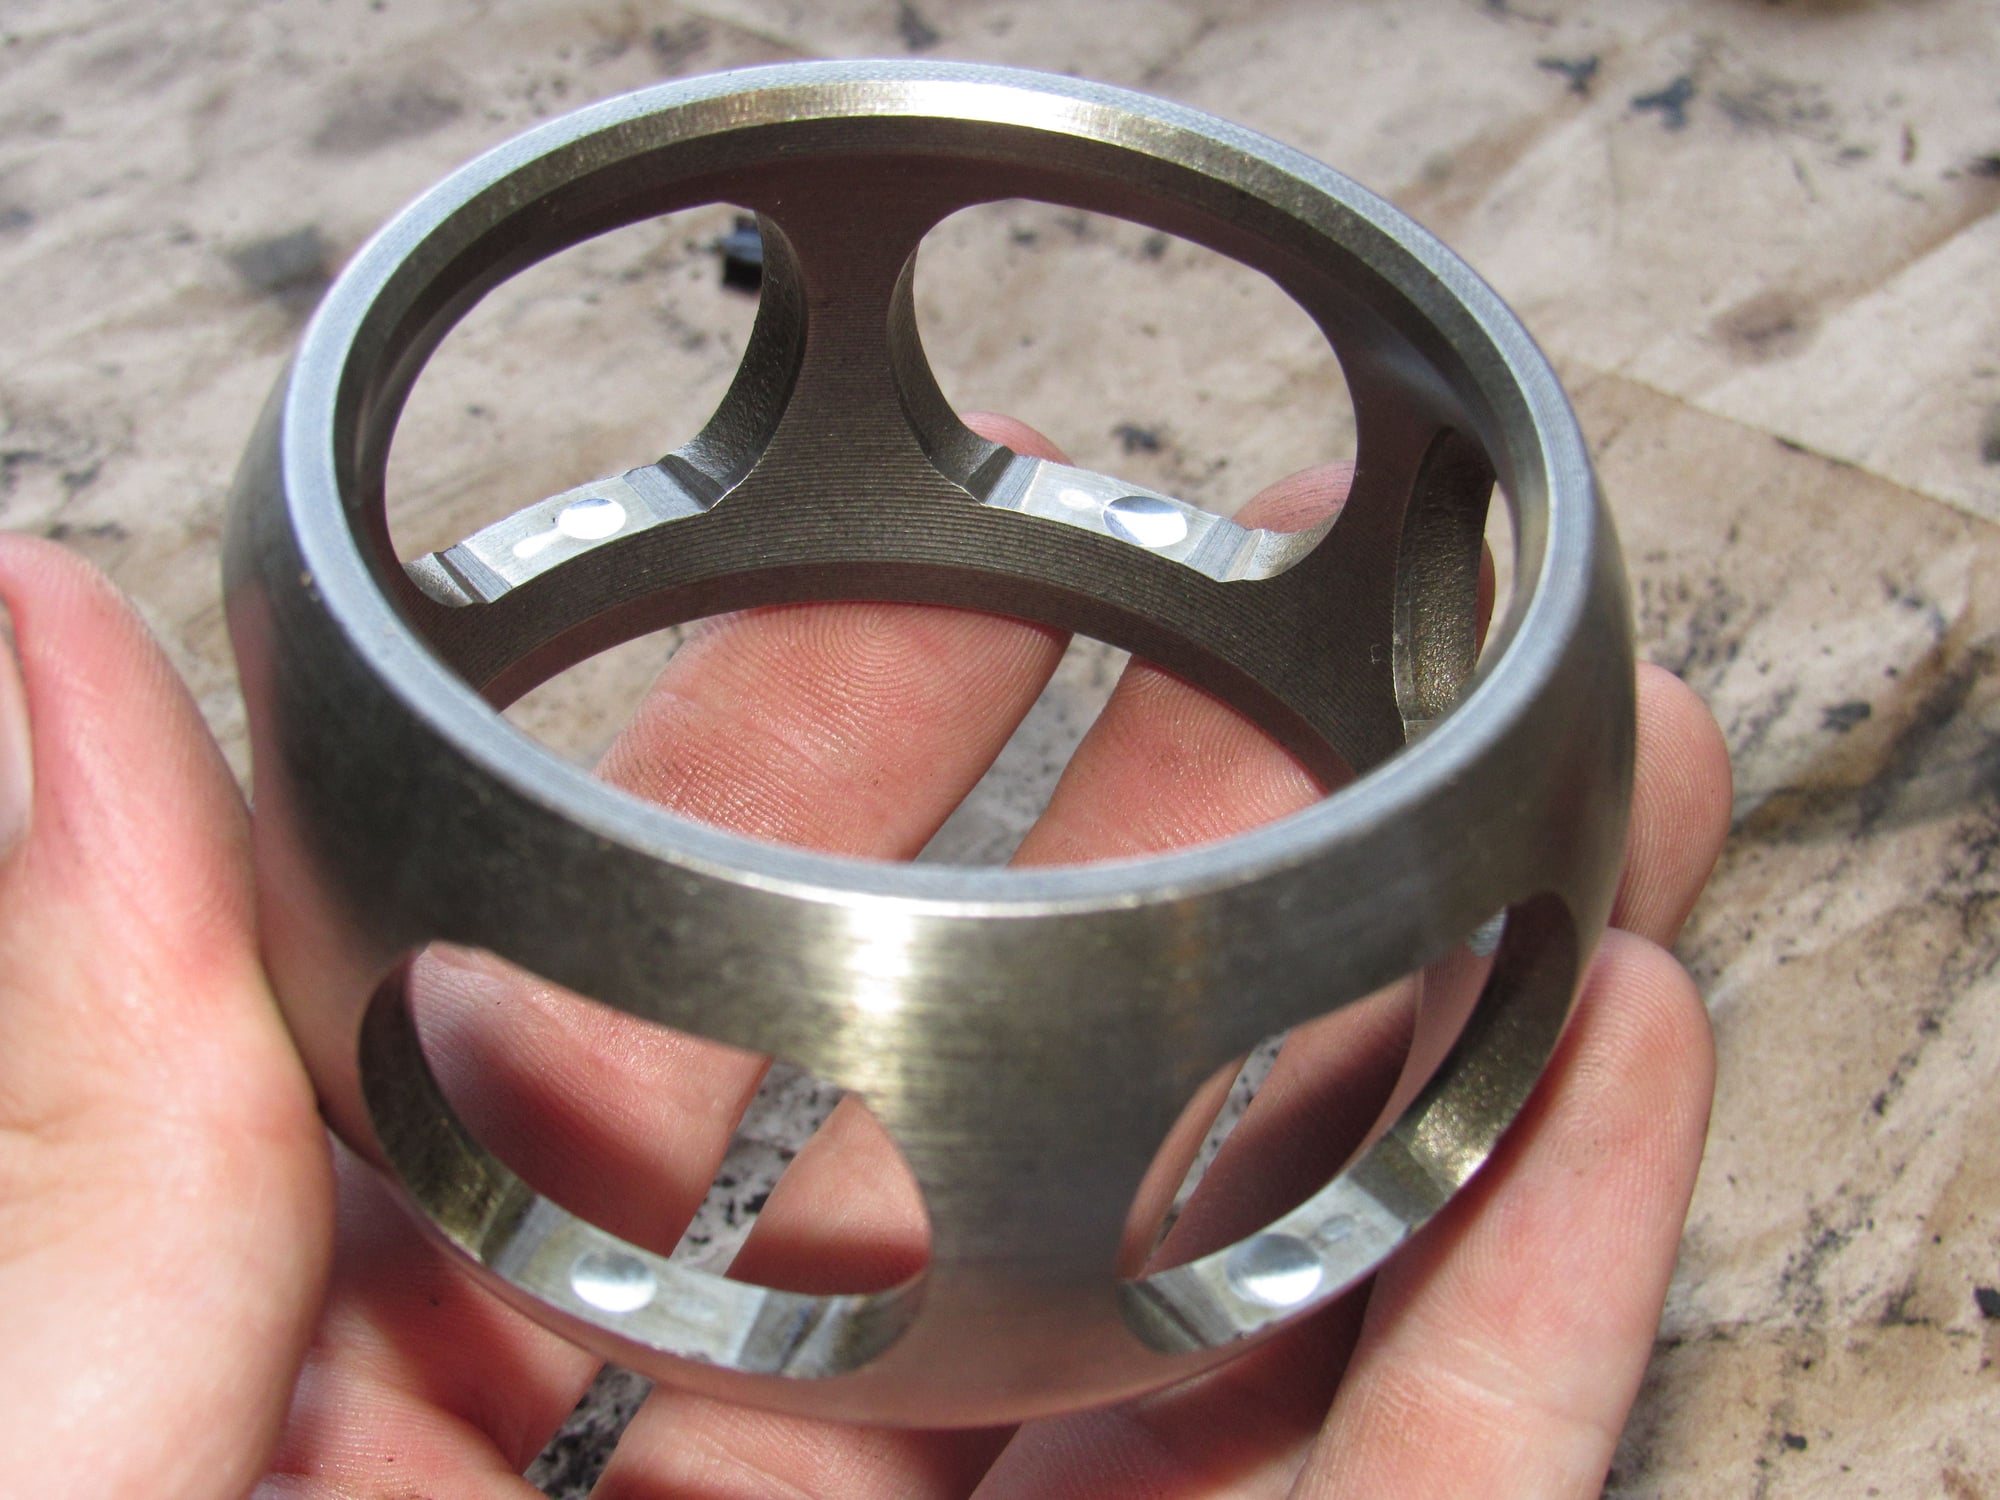
I'm working on the axles now and I need some opinions on whether the wear is acceptable. All boots were intact and the grease was black but not contaminated by water. There was no play in the bearings and the car is just shy of 80k miles. The outer collar has wear deep enough that it can be felt.
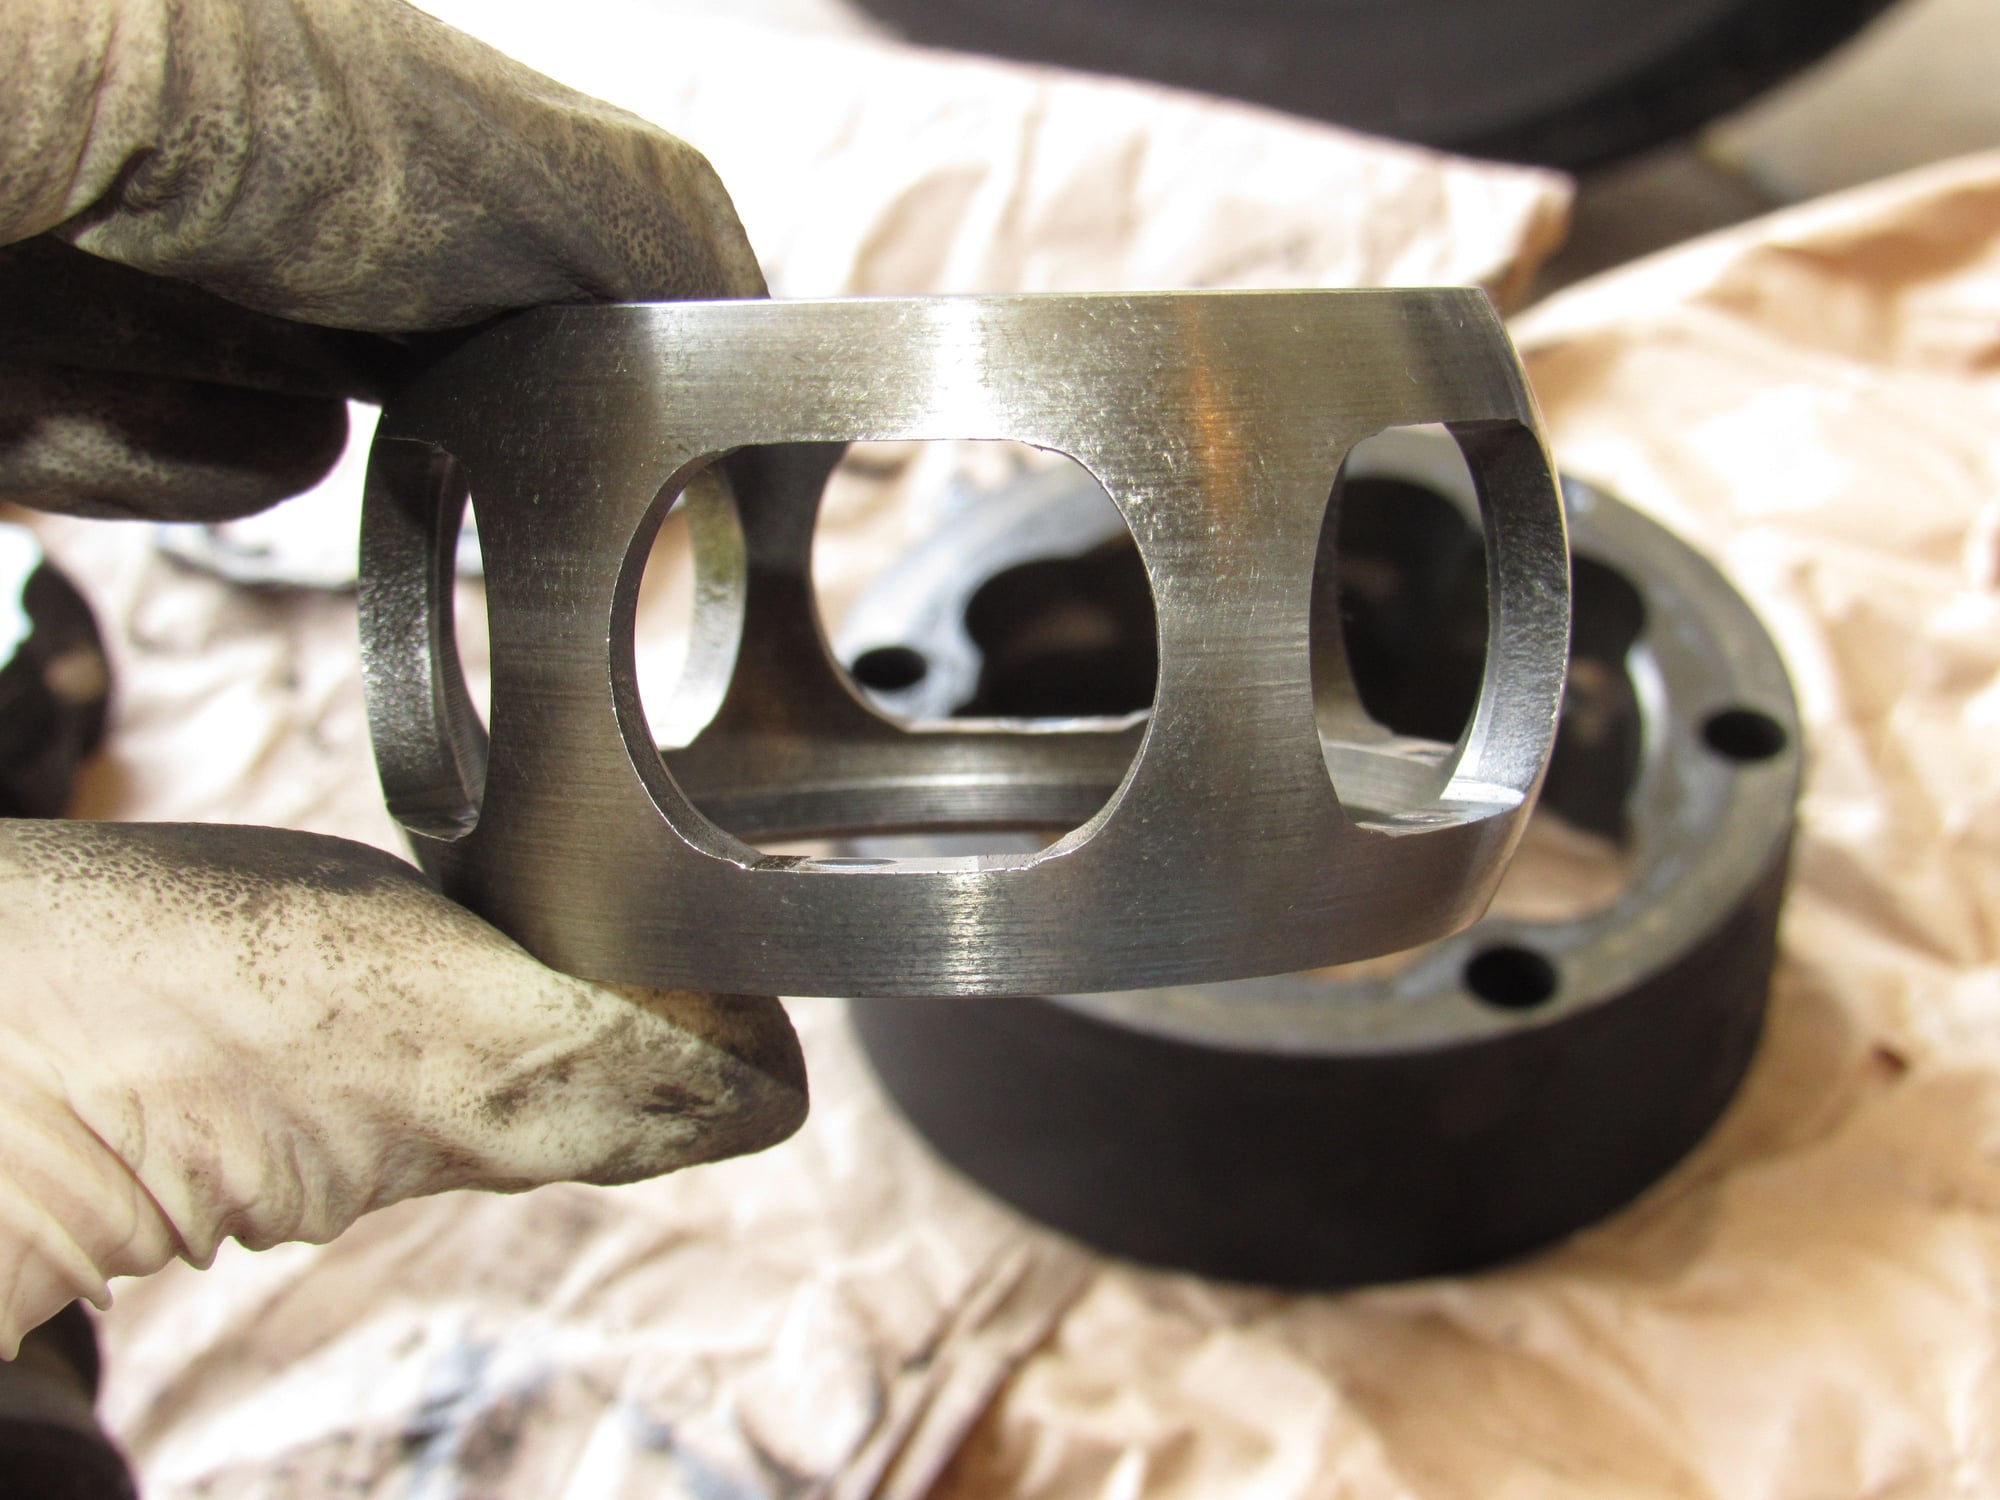
The cage has wear spots that can be felt as well.
The outside shows no wear at all.
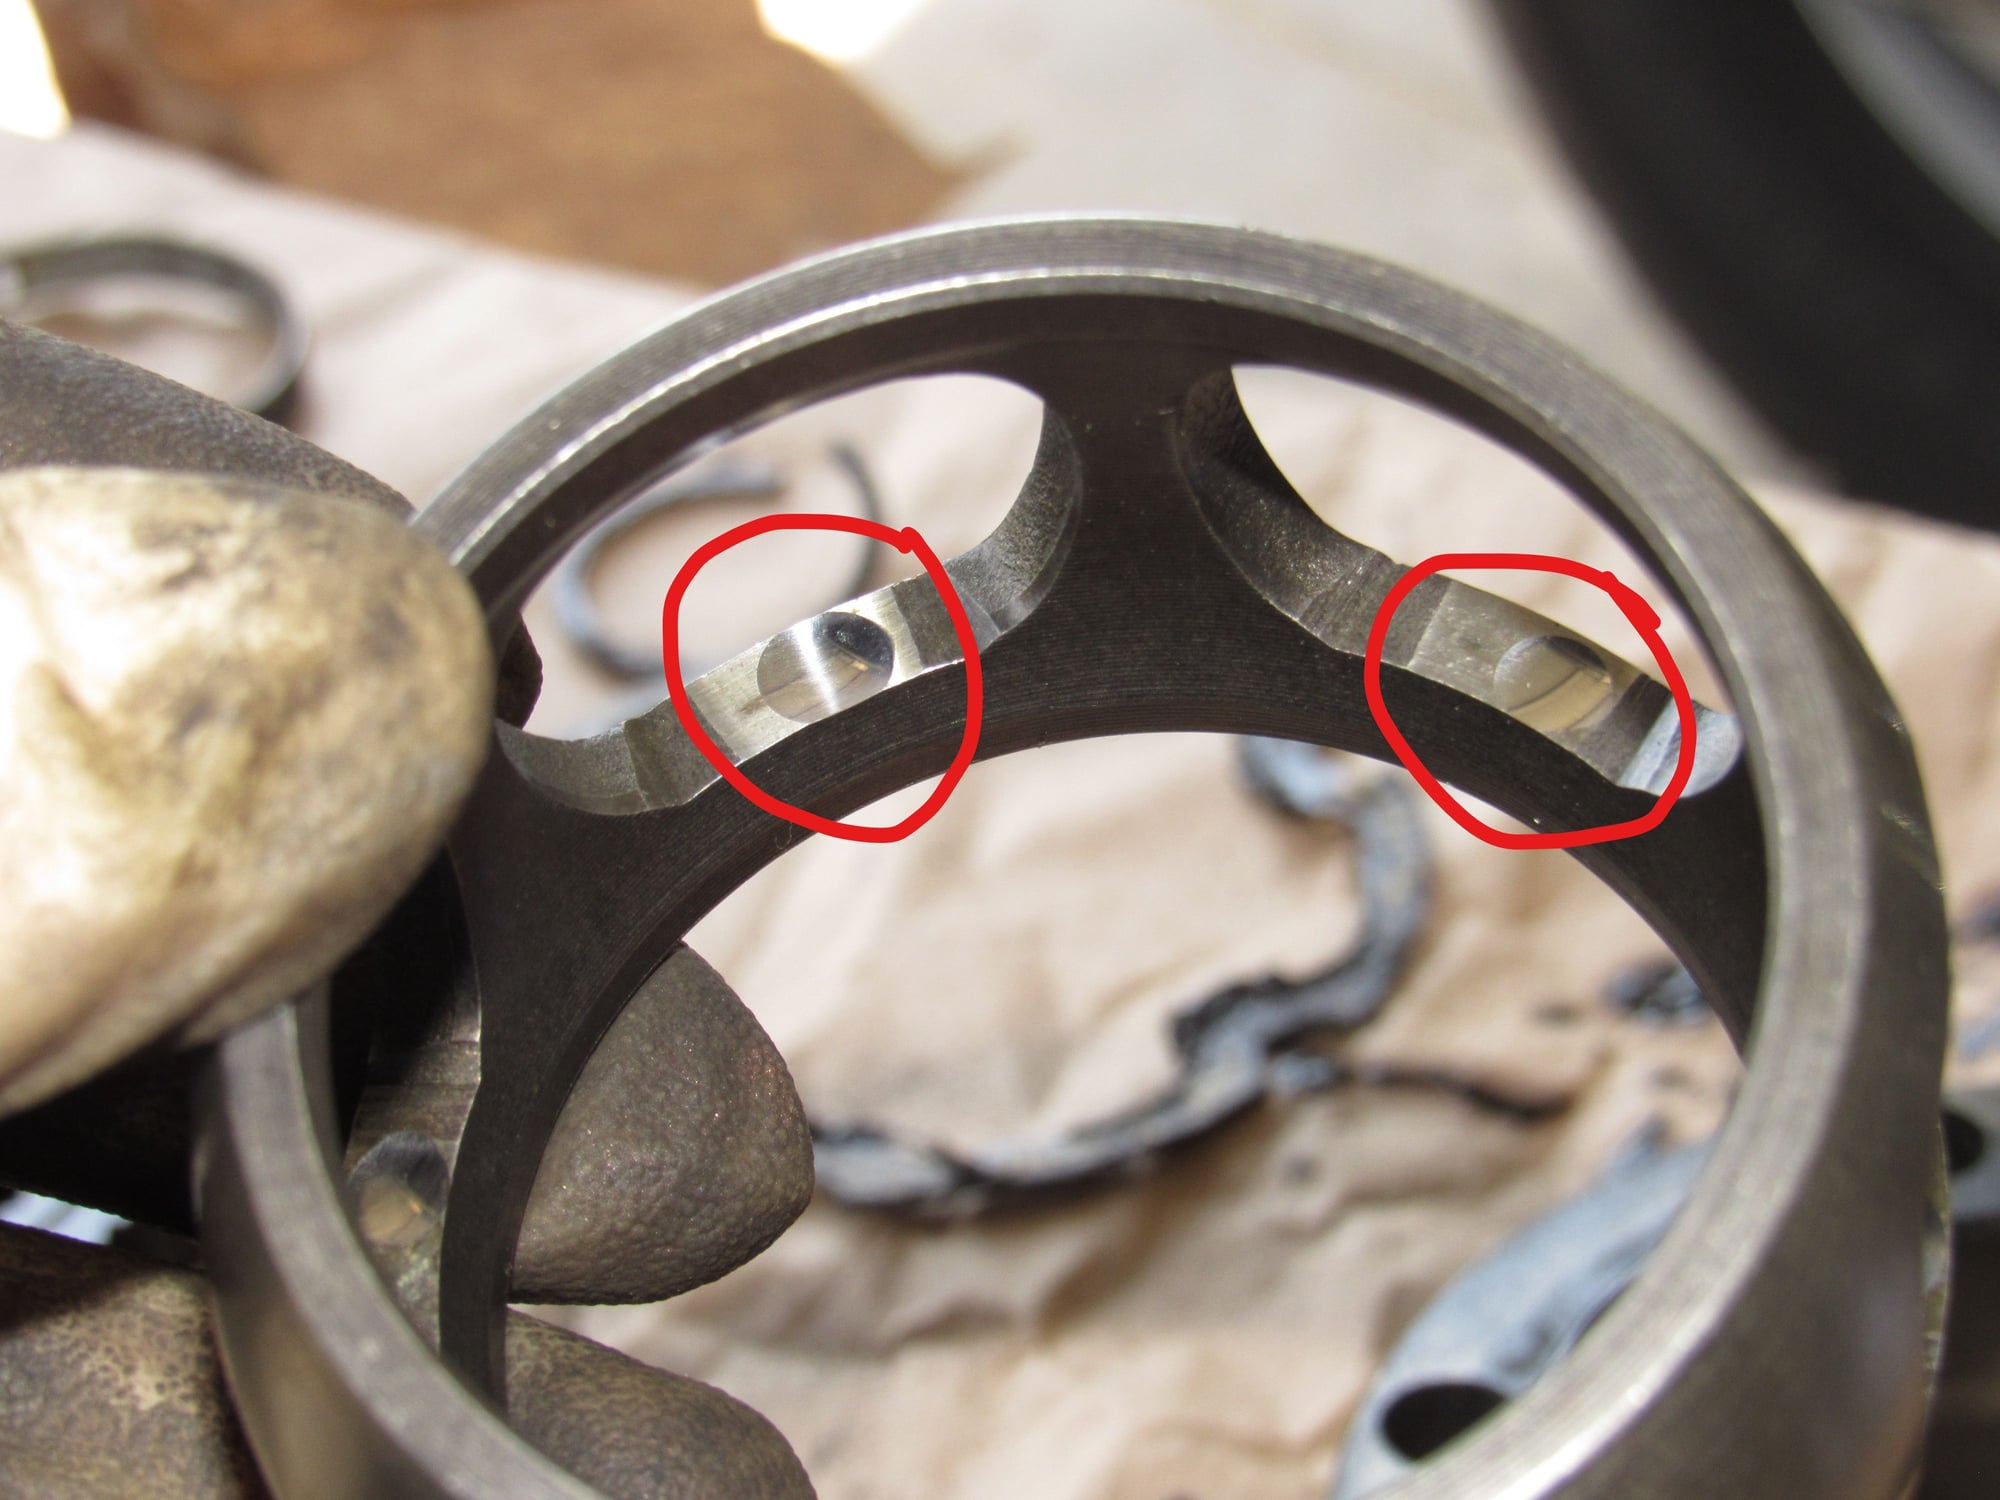
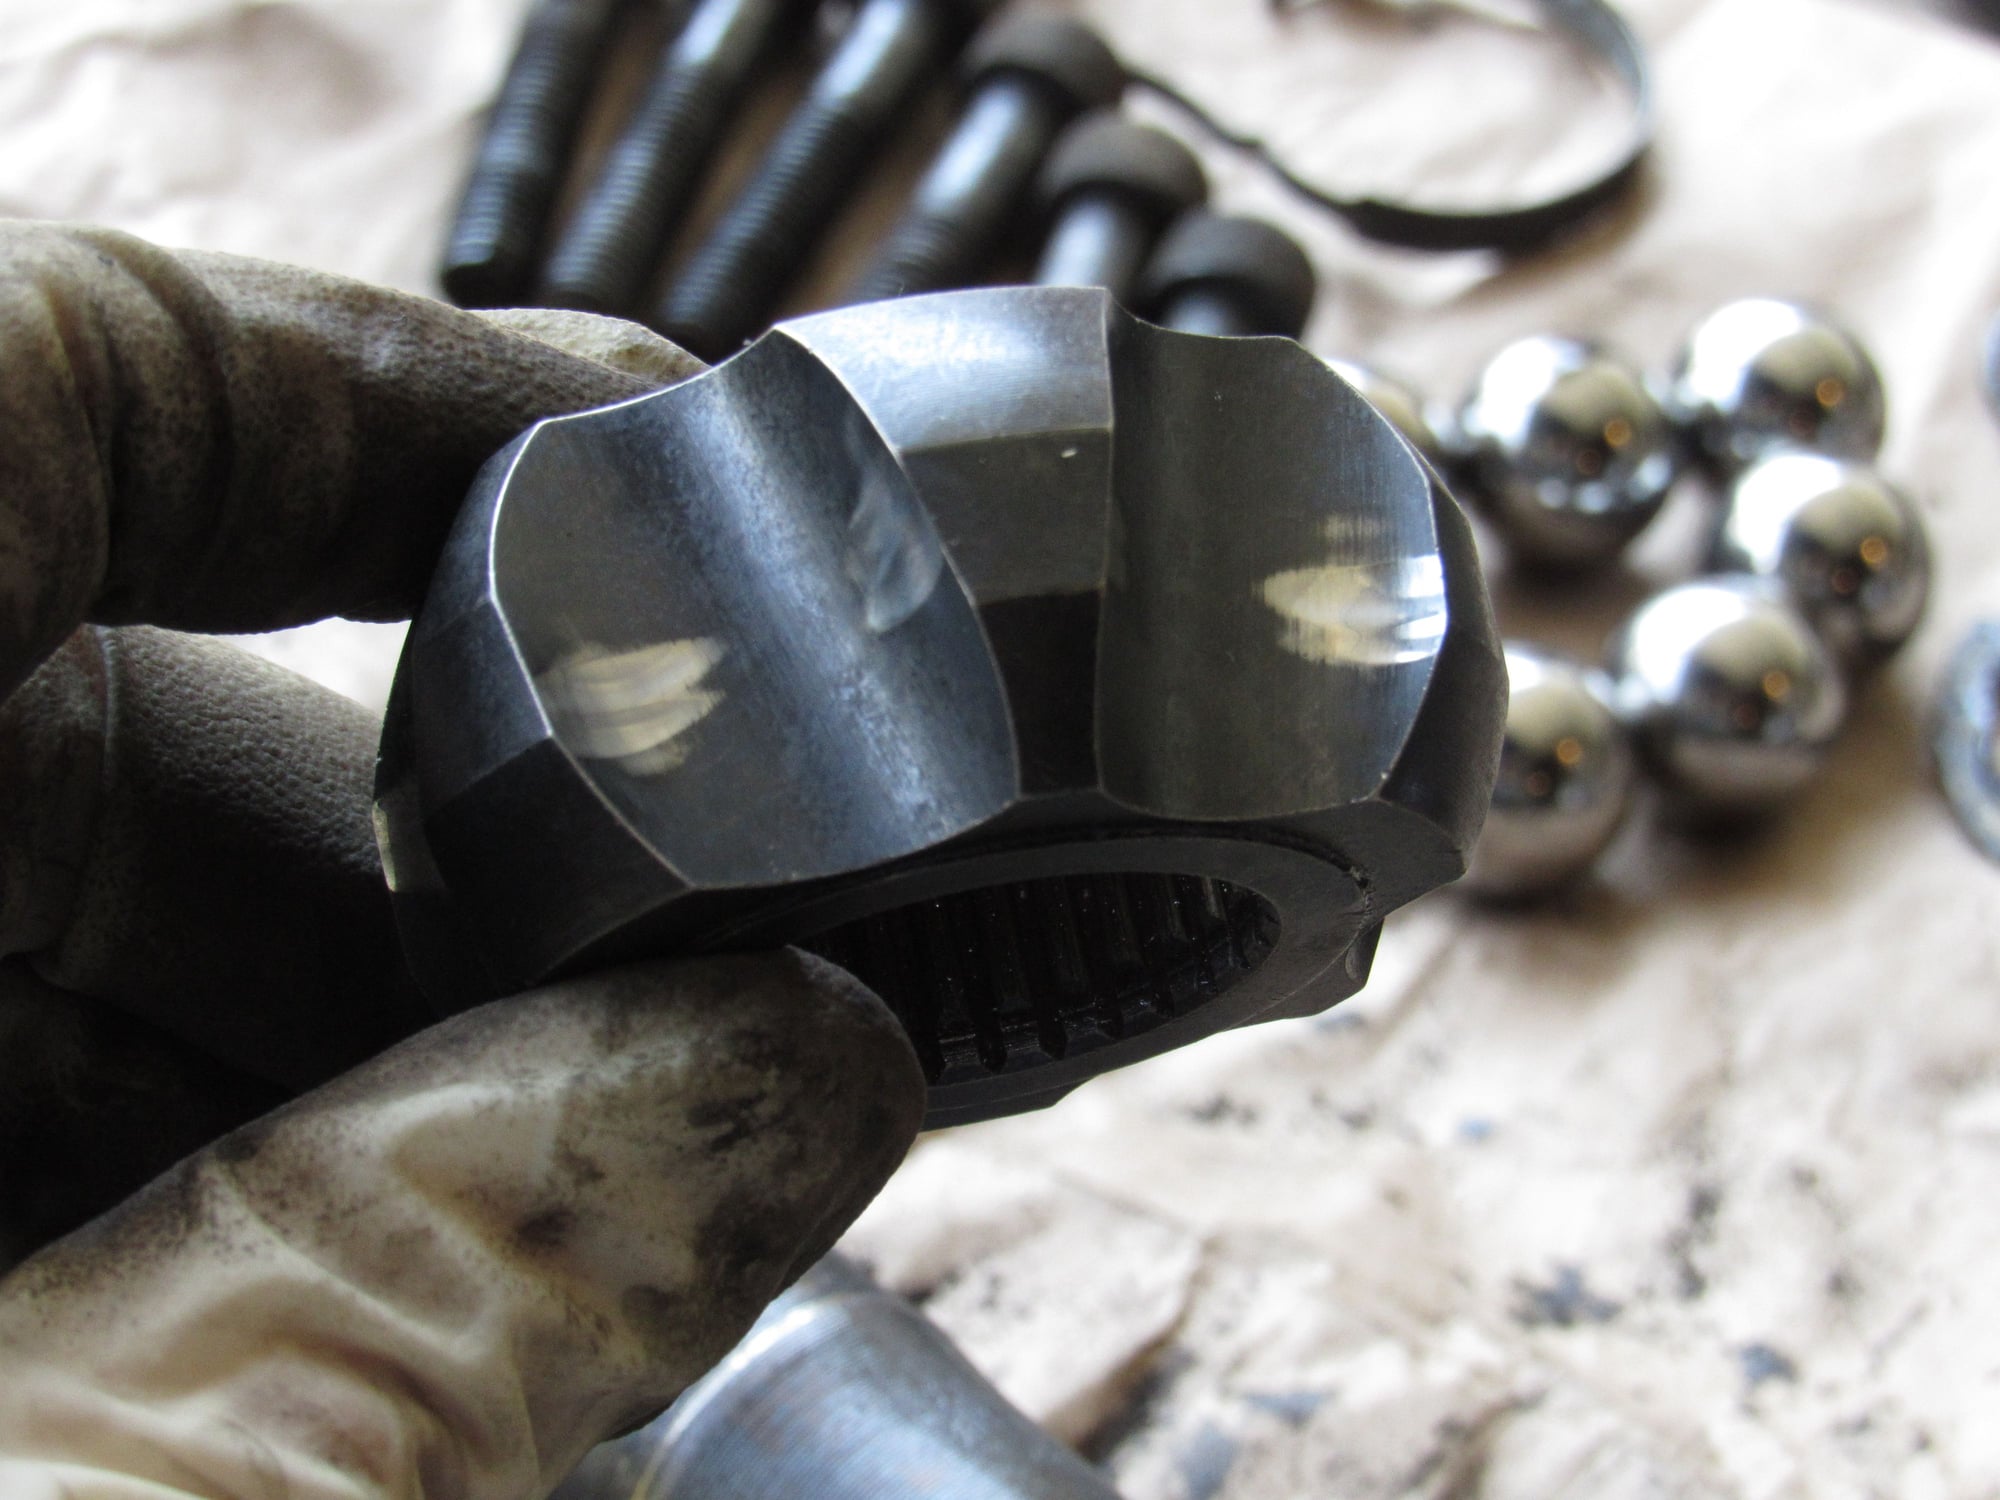
The hub has a strange 'double wear' but these are polished areas and cannot really be felt. Is this a sign that the axles were rebuilt before and swapped side to side?
The ball bearings are perfect, no markings at all.
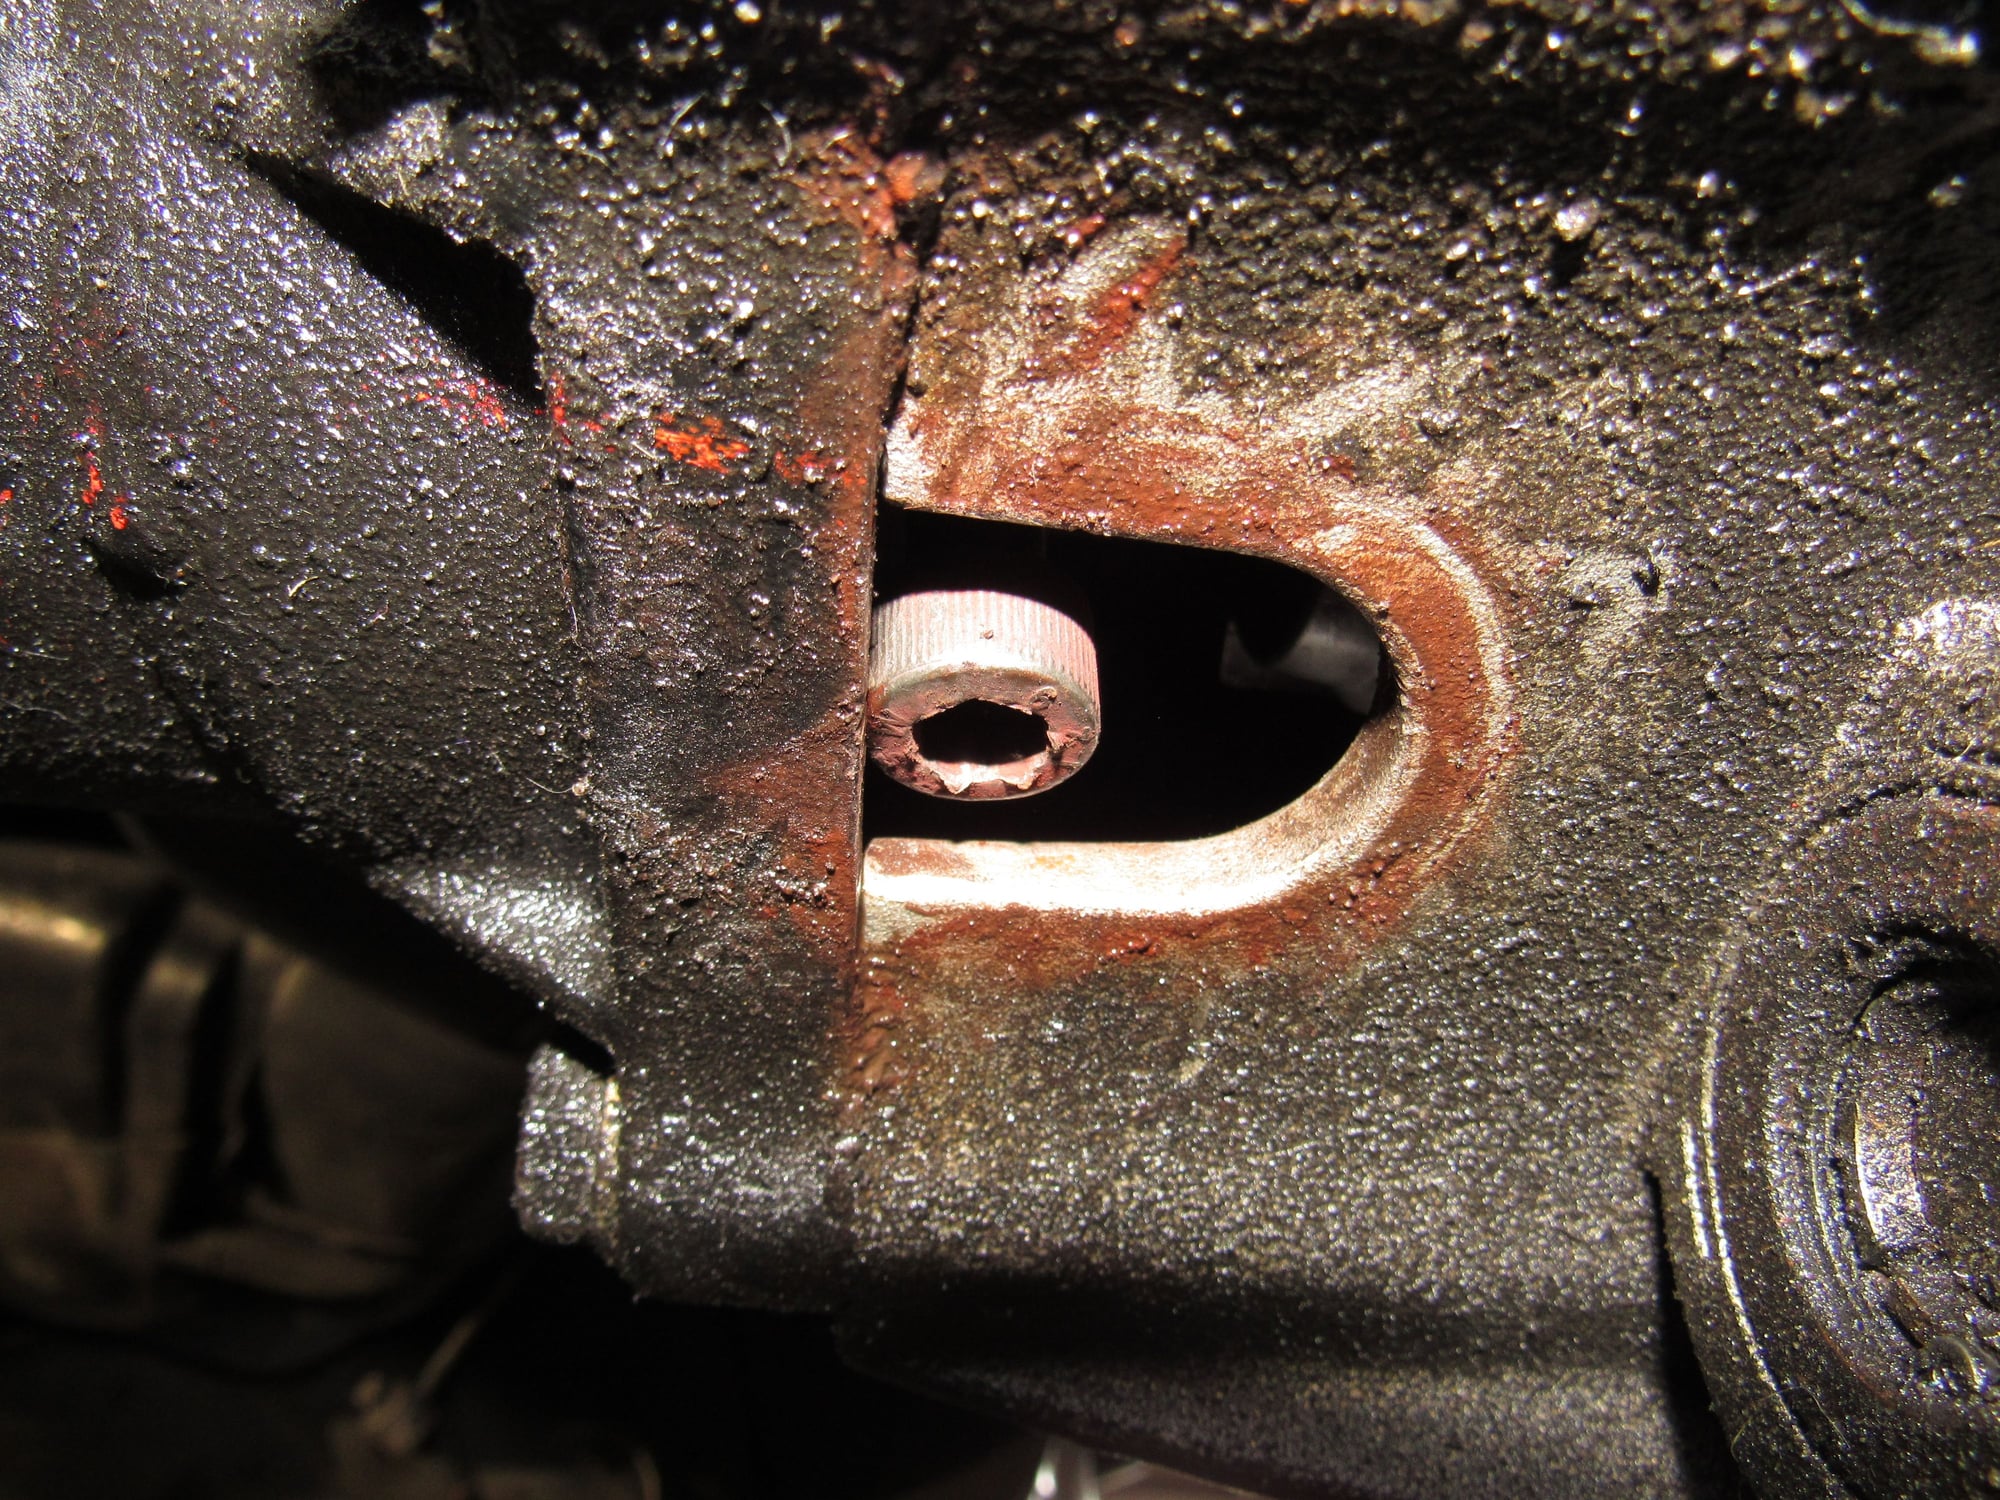
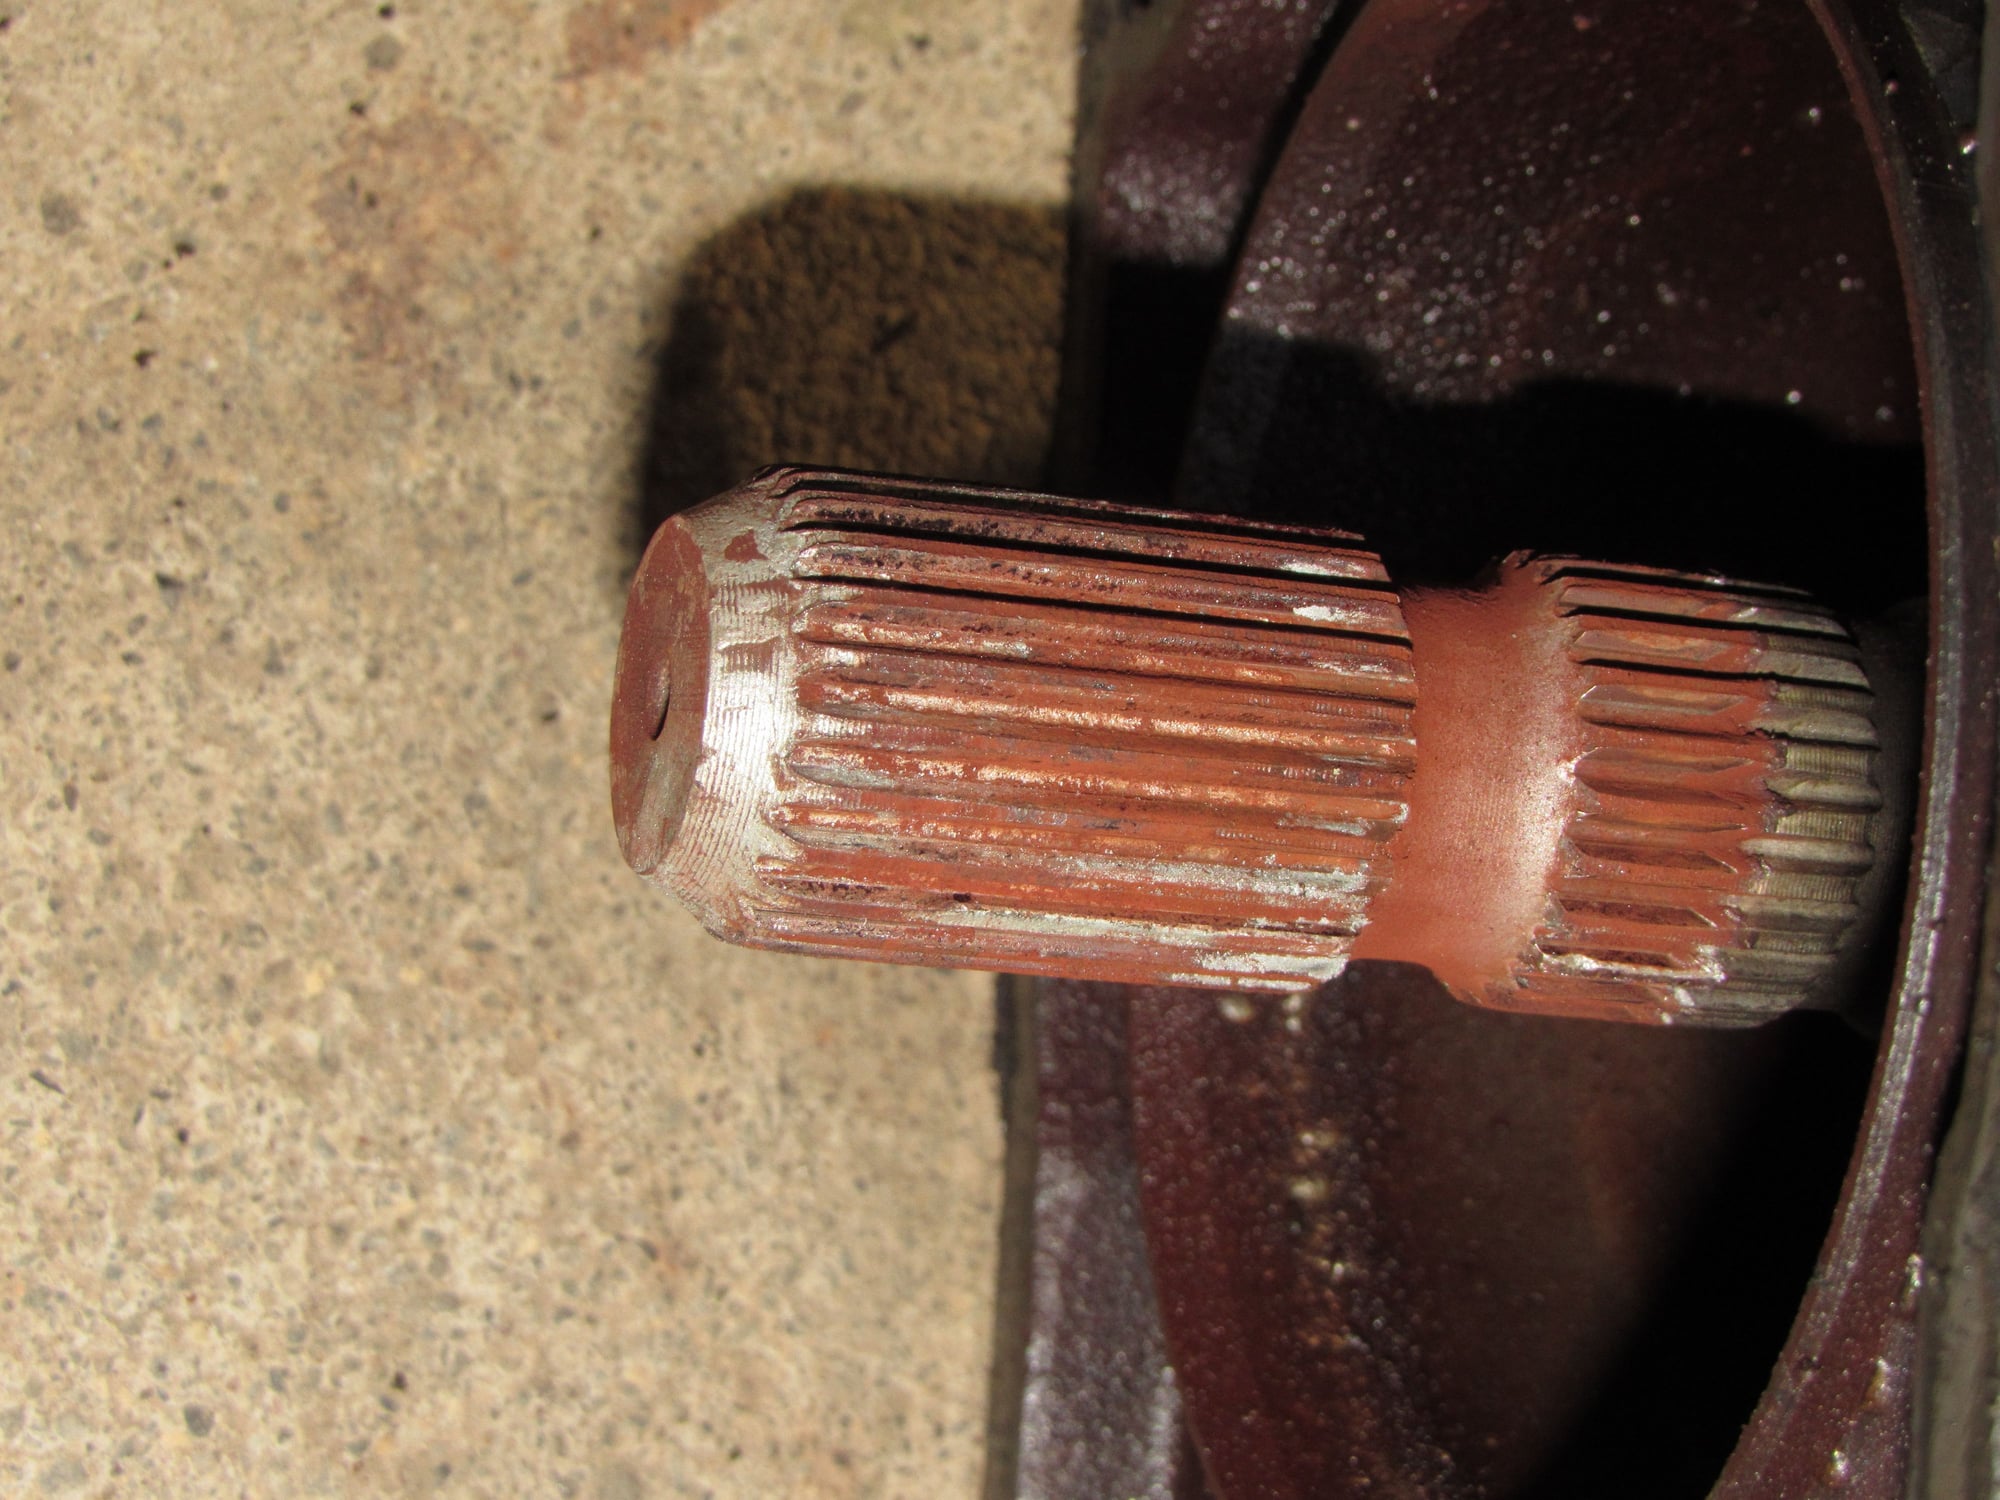
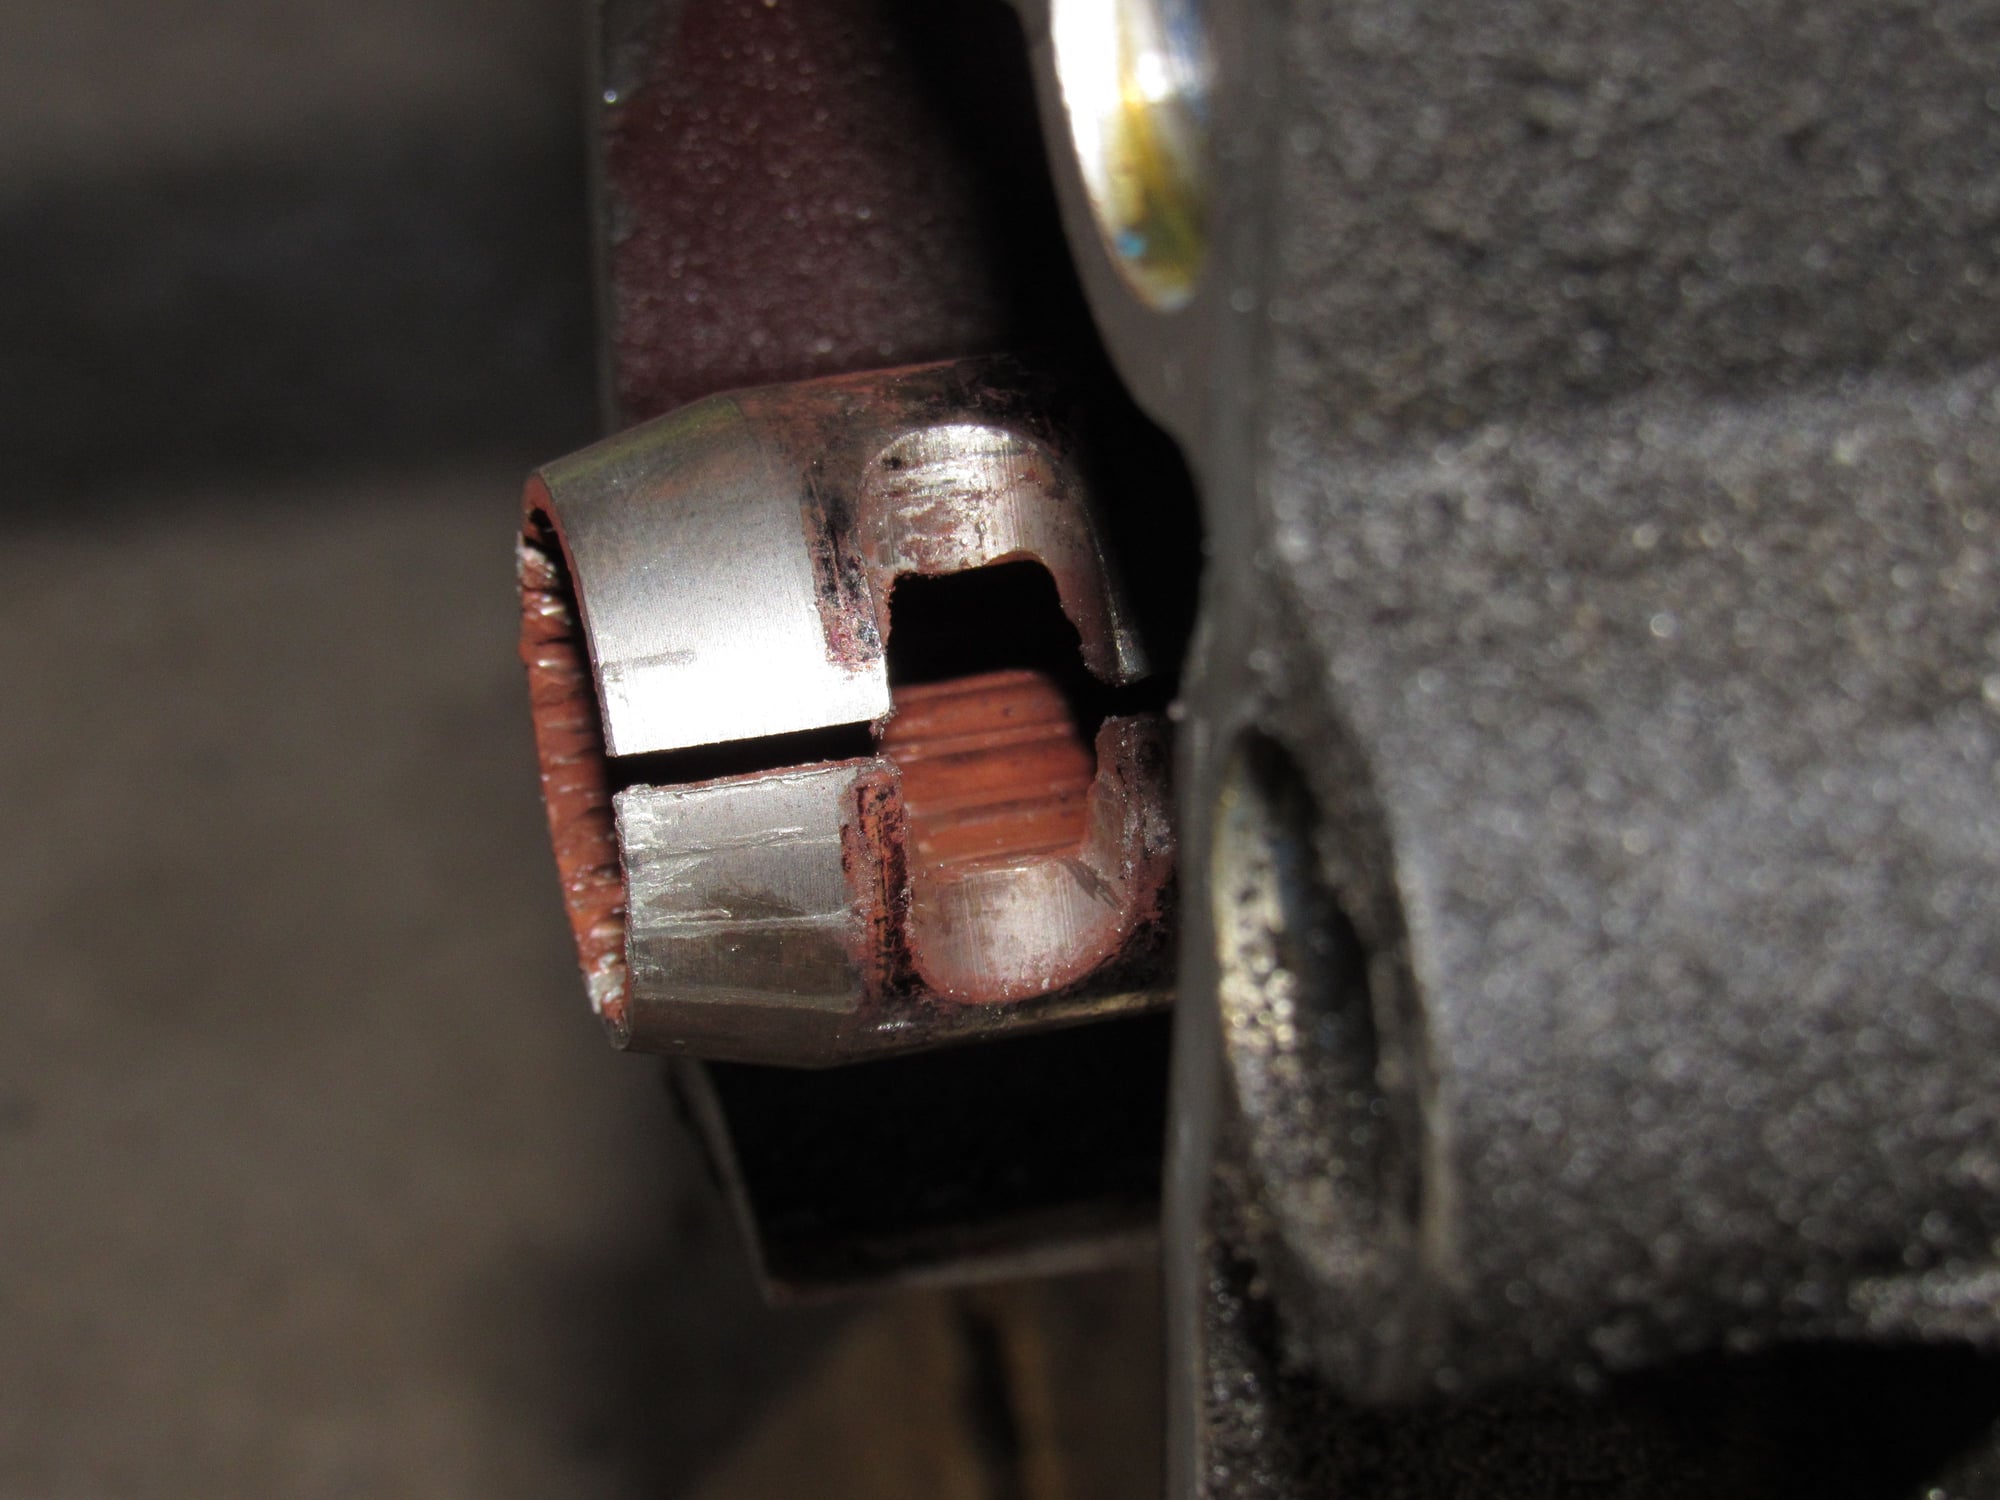
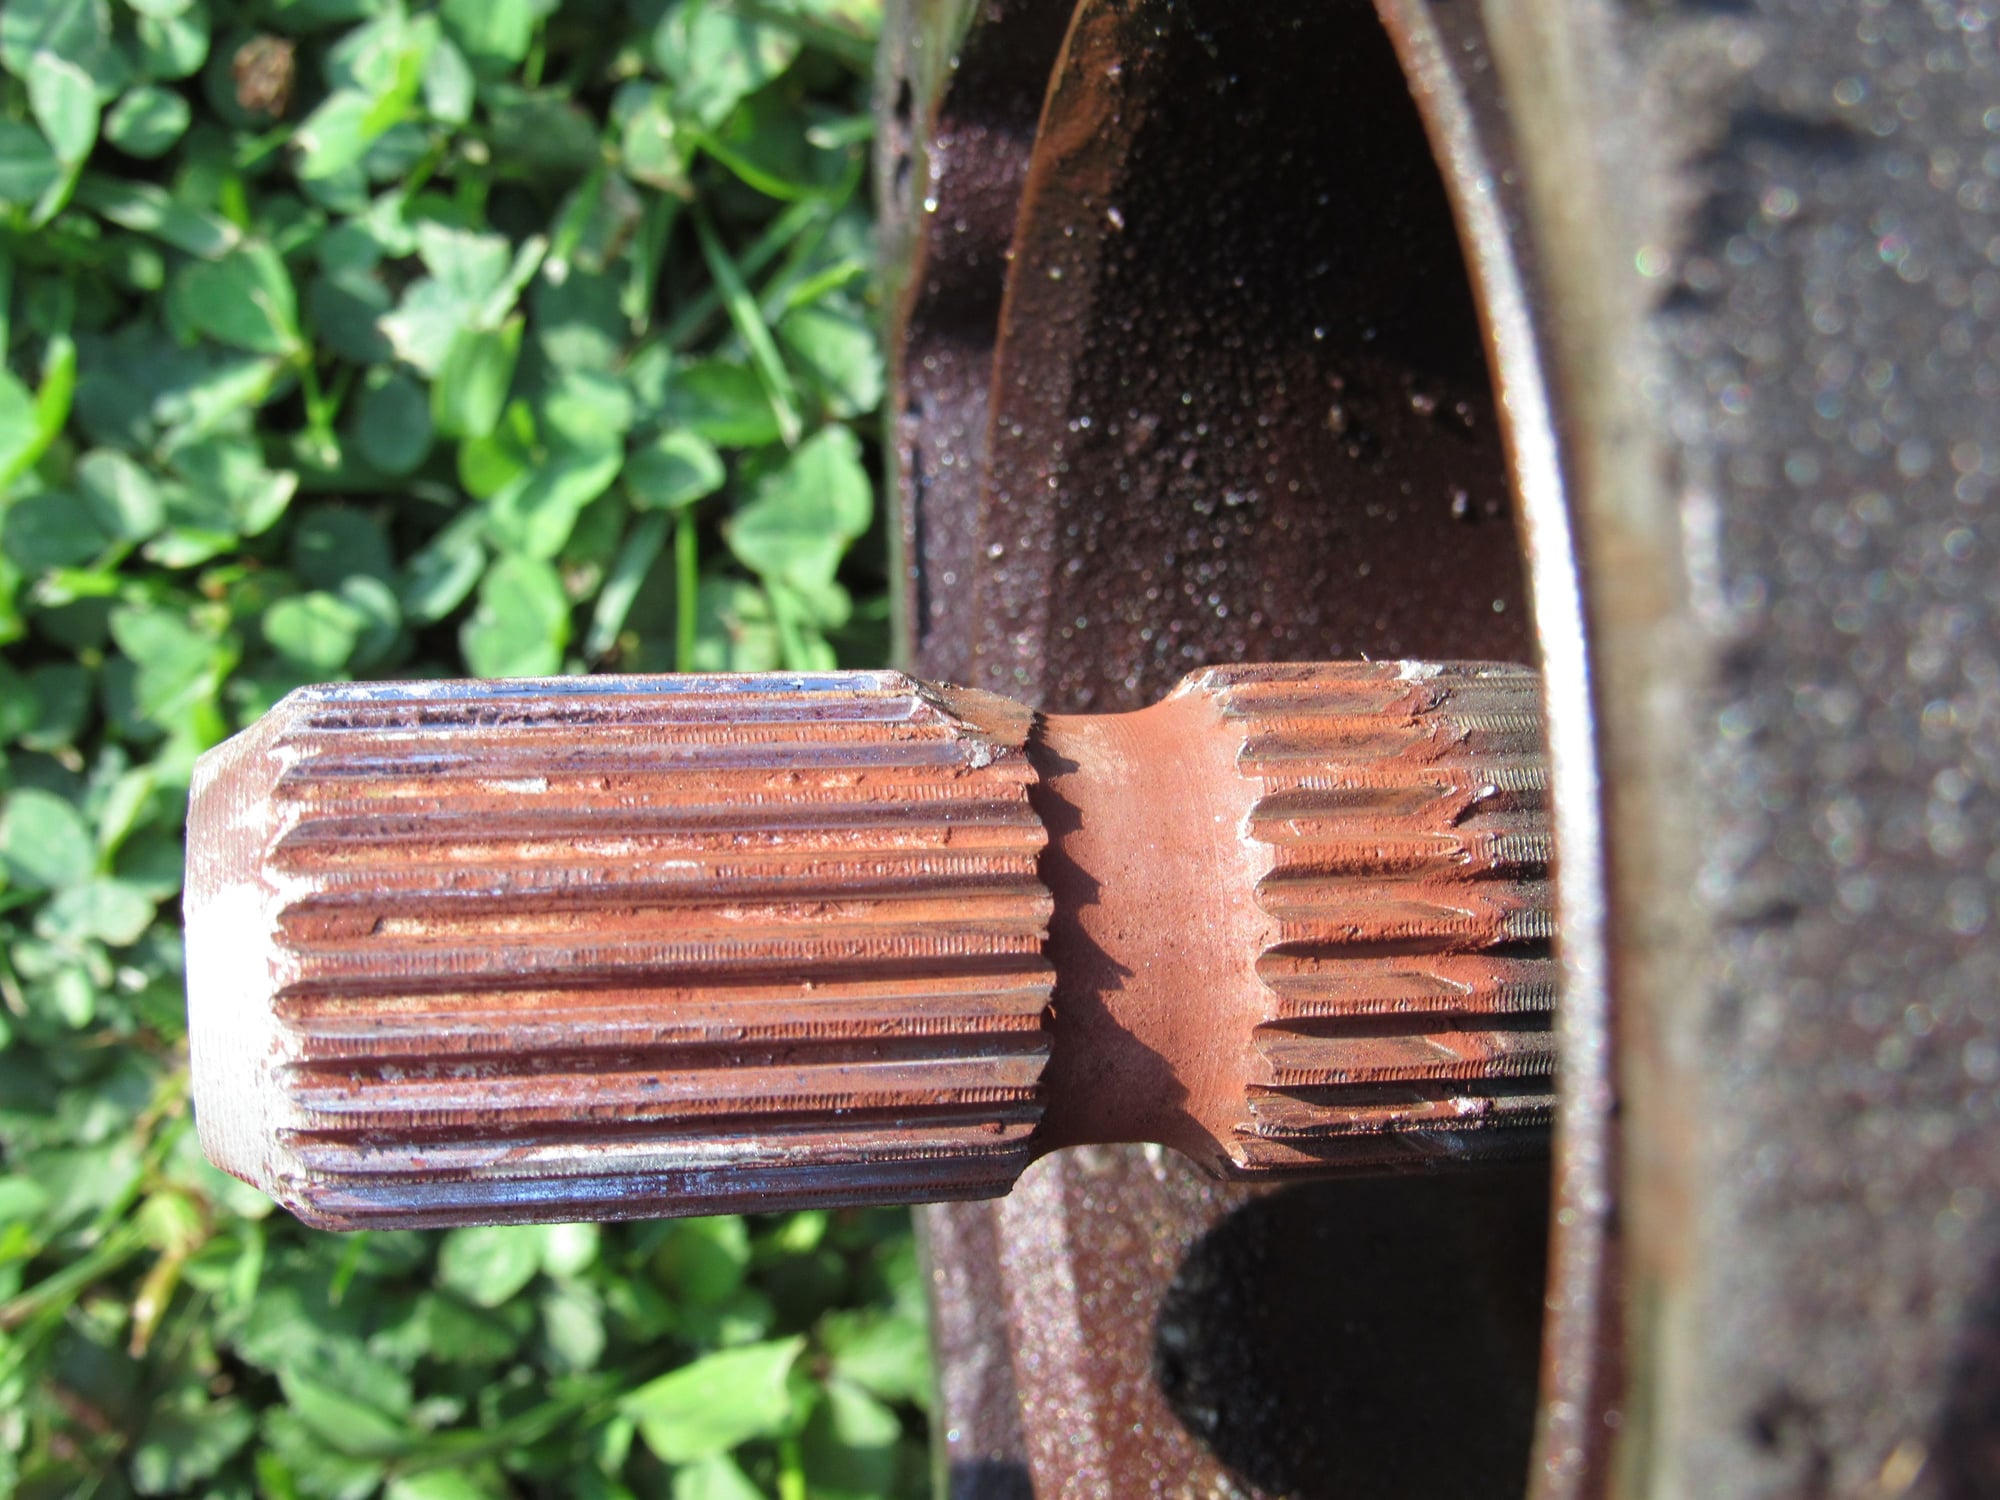
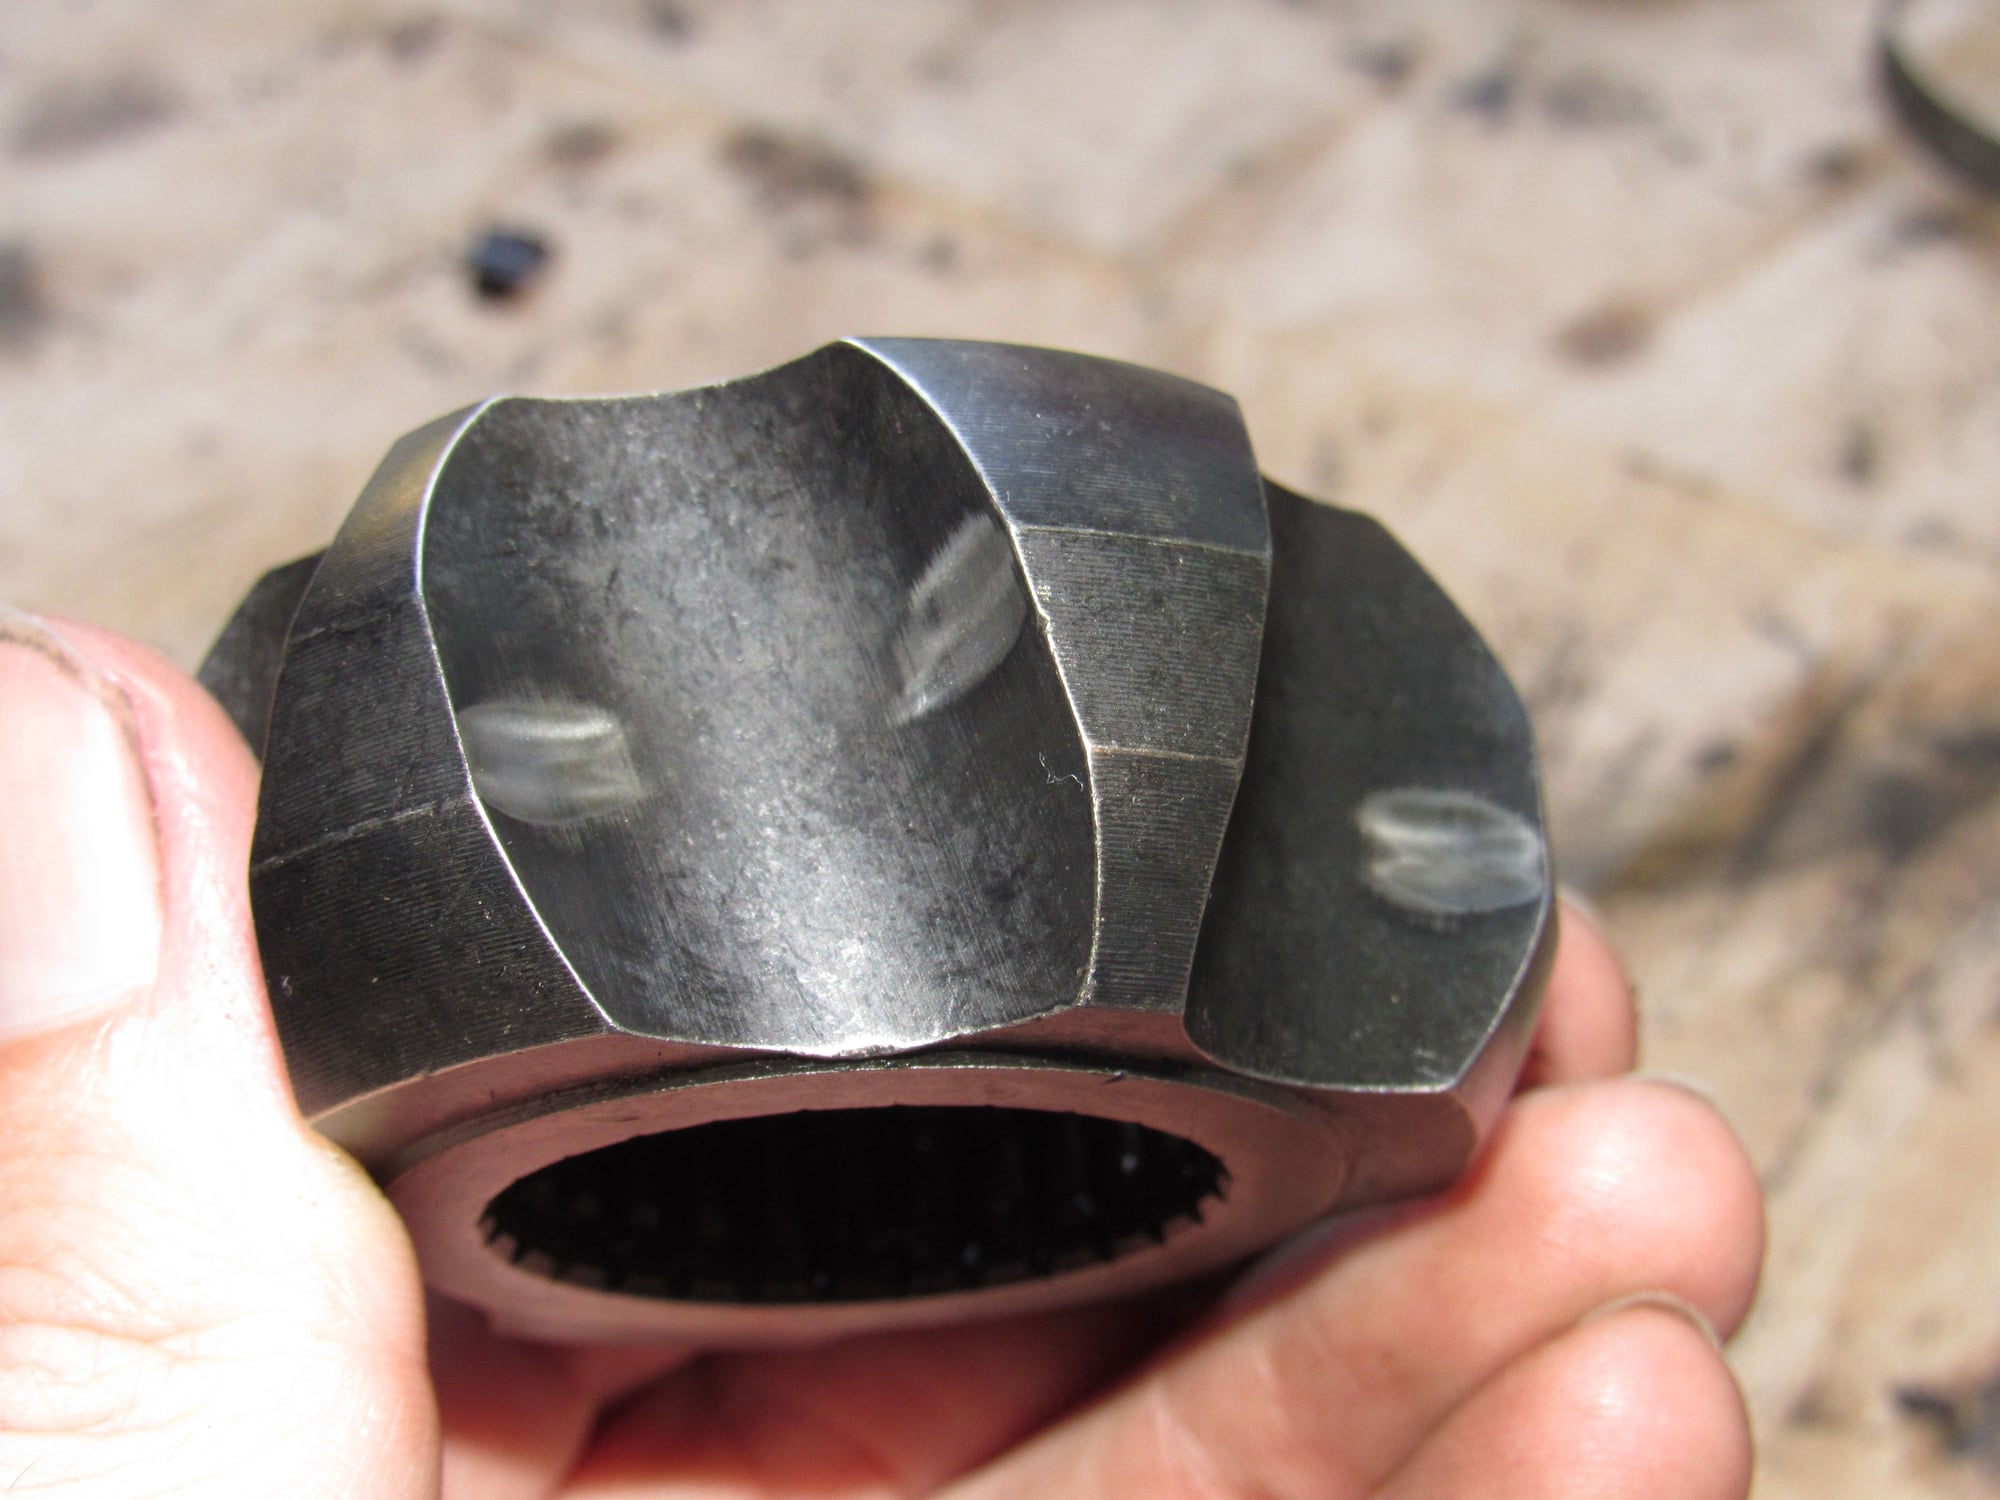
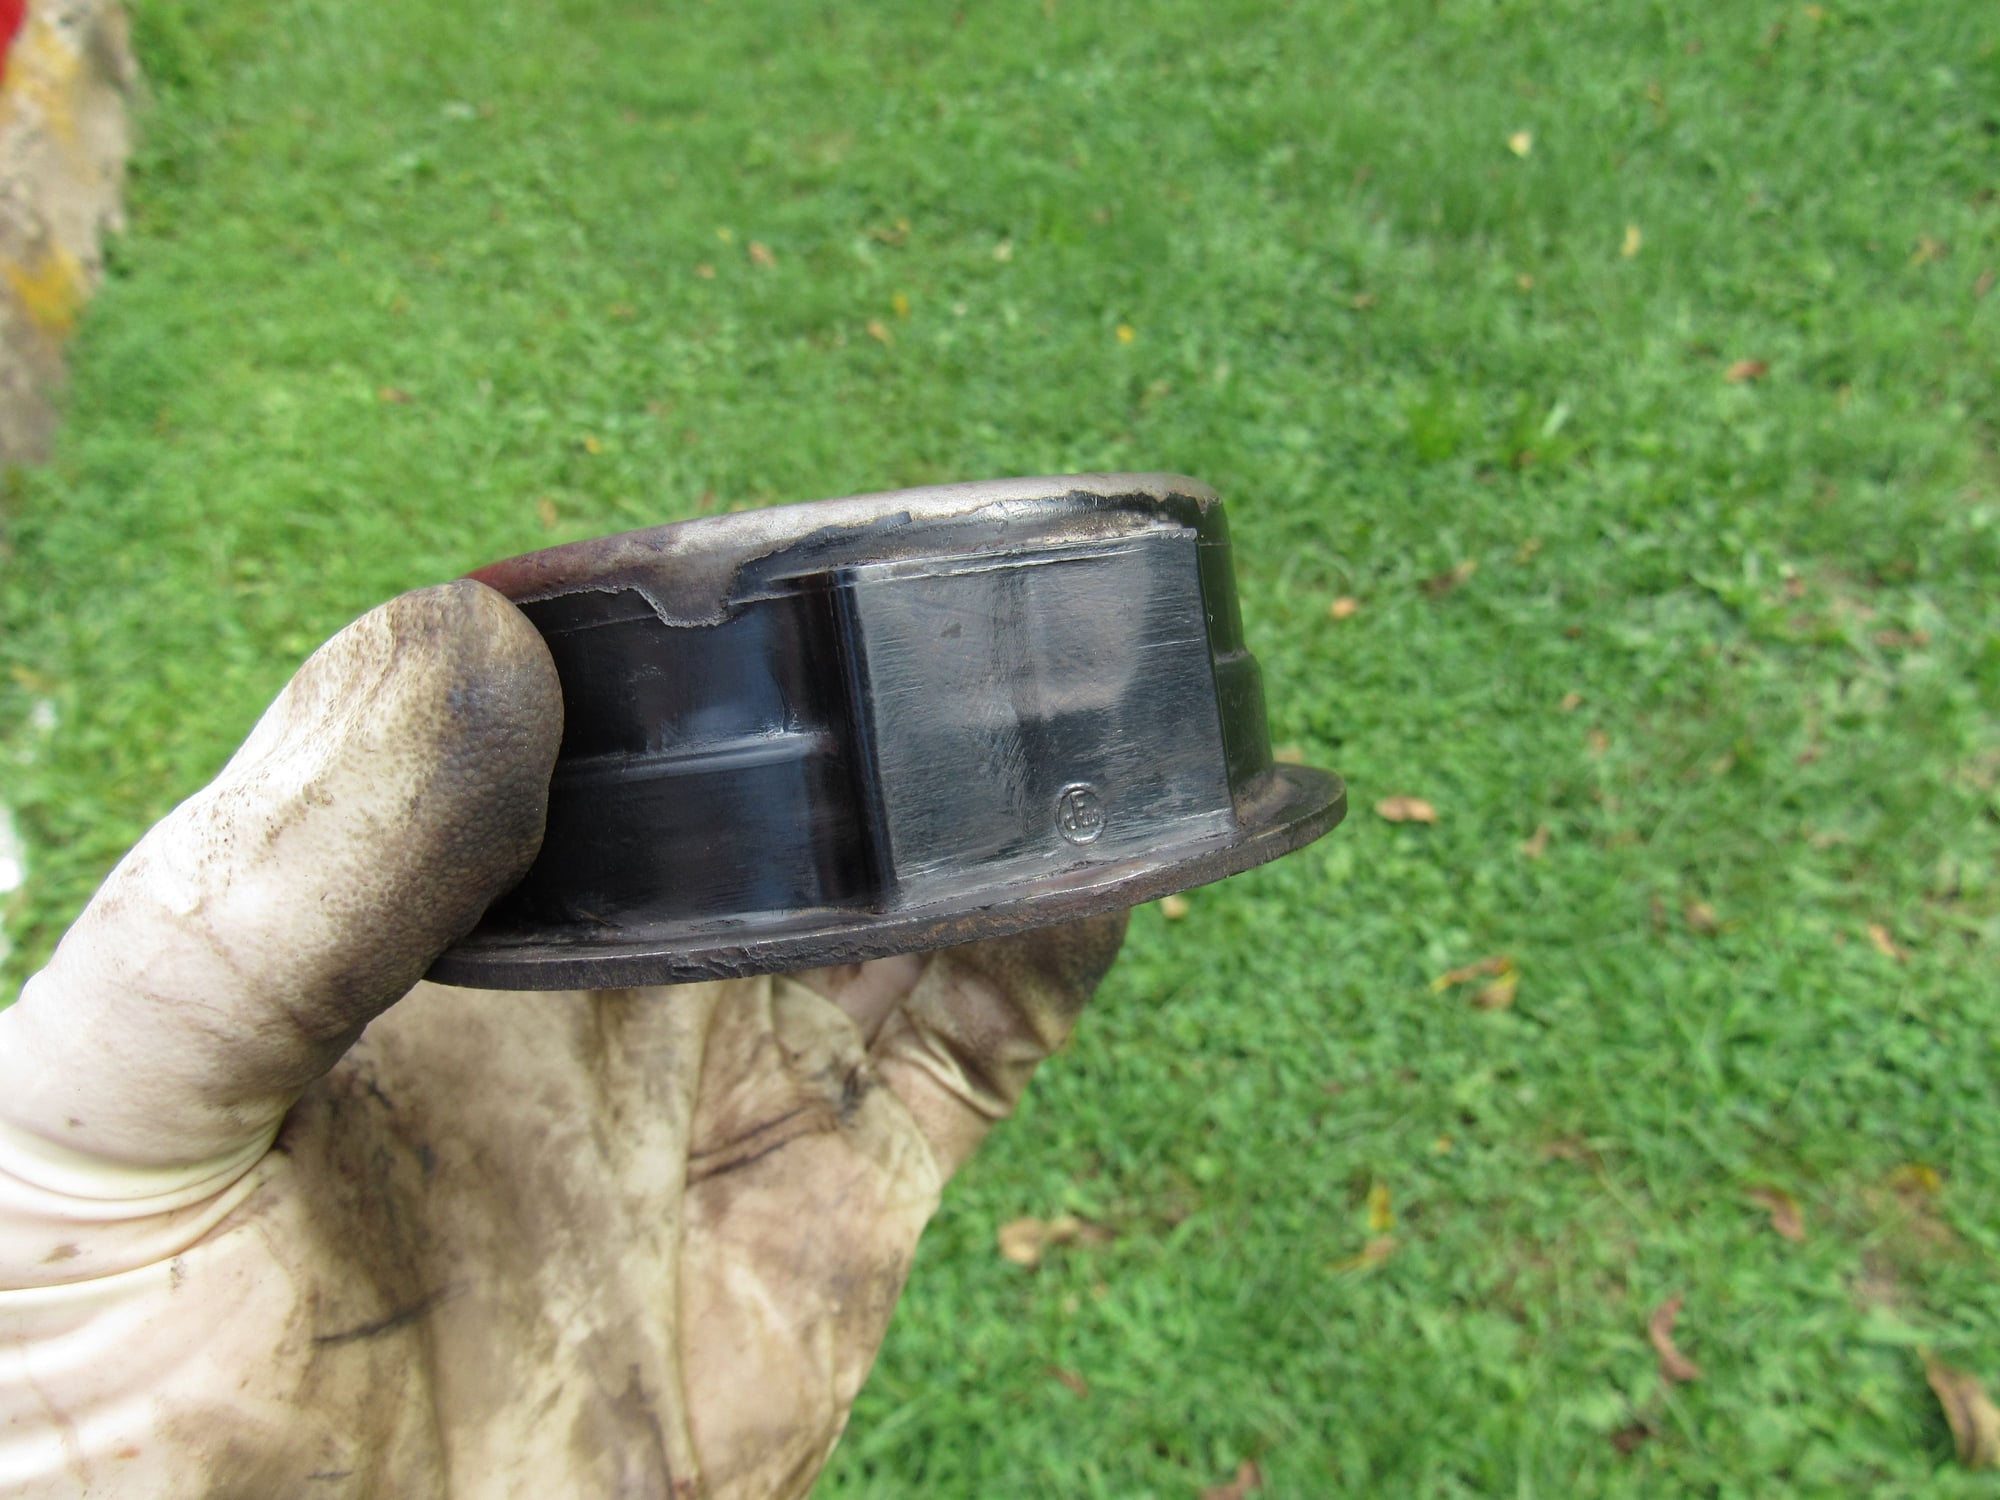
So the drive shaft had indeed migrated forward. I had checked the pinch bolt before and found it still tight when I removed it. Not a pretty sight.
The rear pinch bolt's location is fixed by the trans coupling so I guess where it was towards the front of the access cutout is not a tell-tale sign.
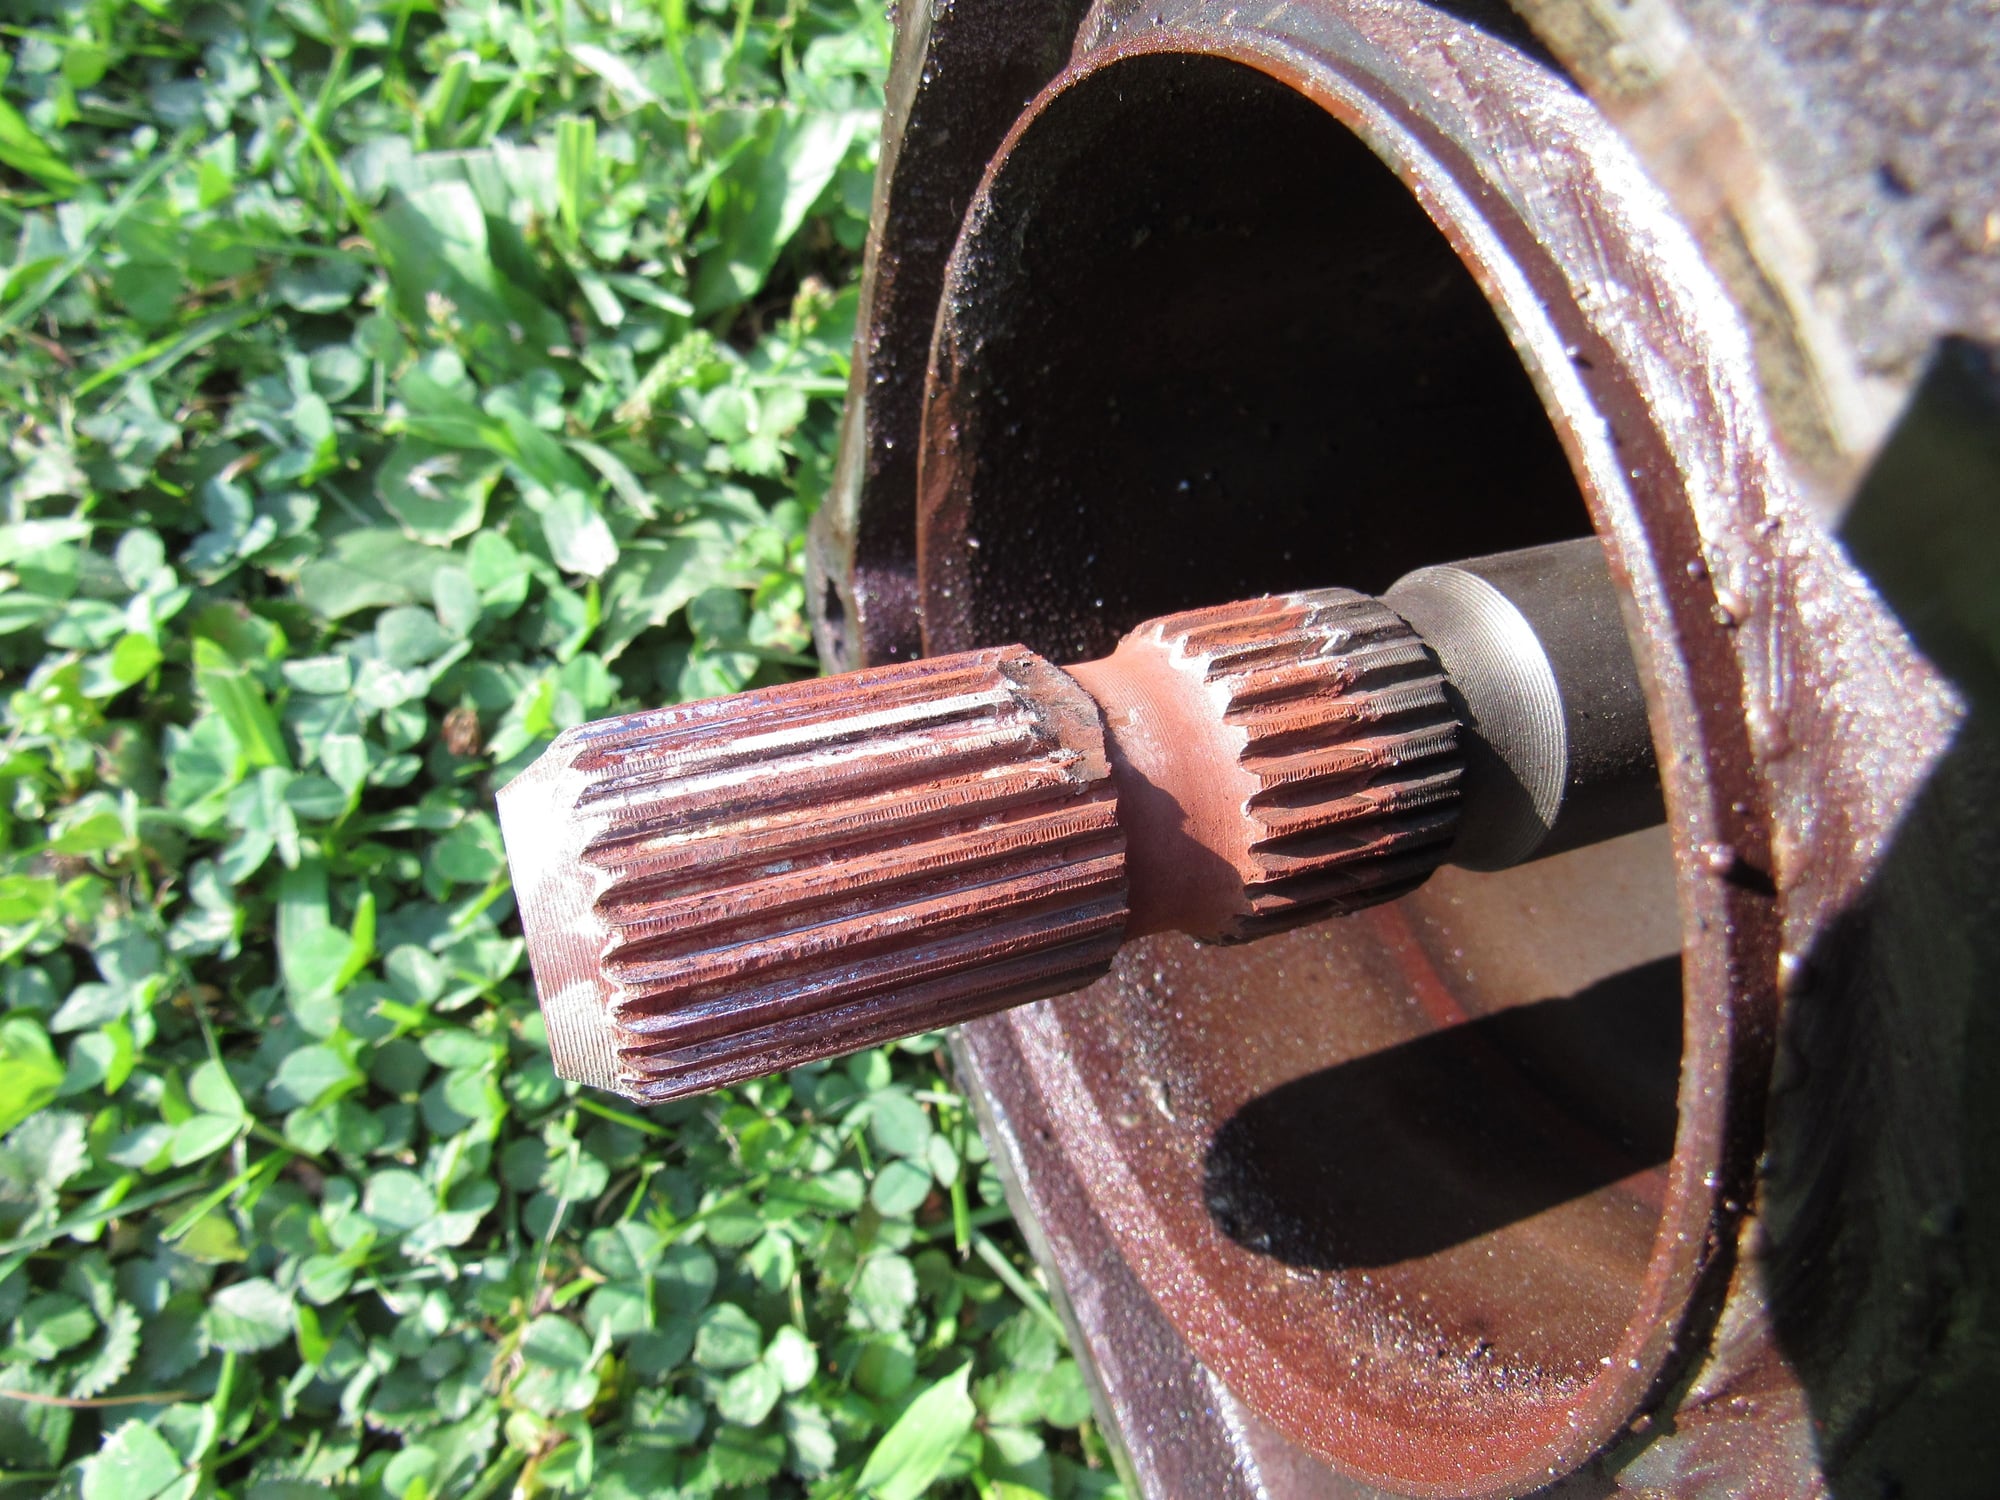
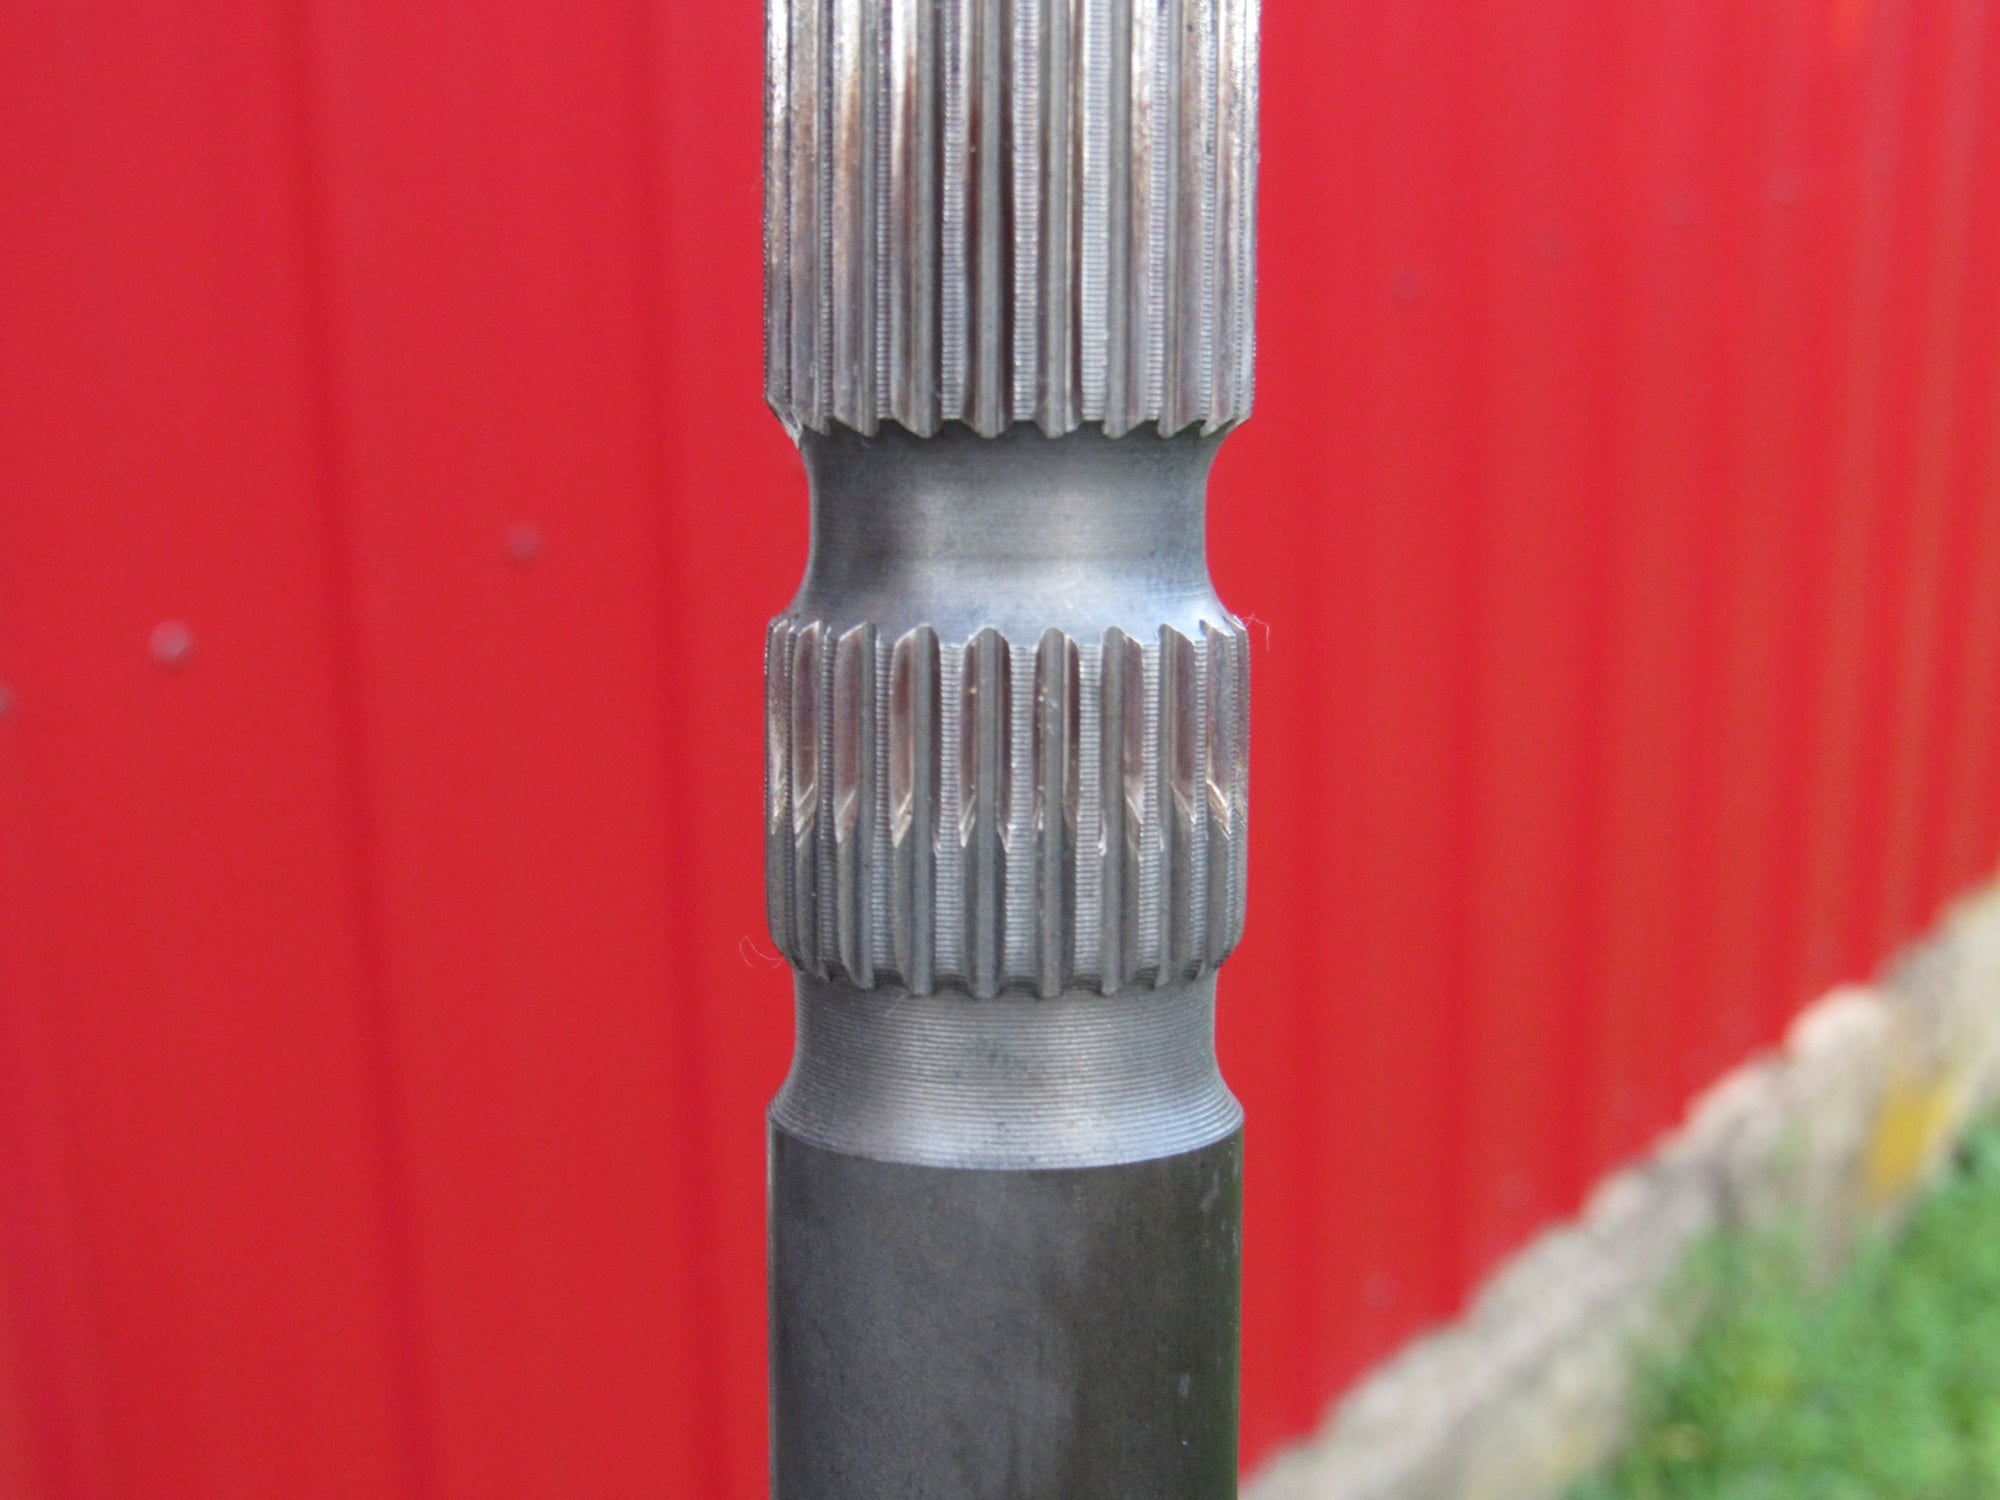
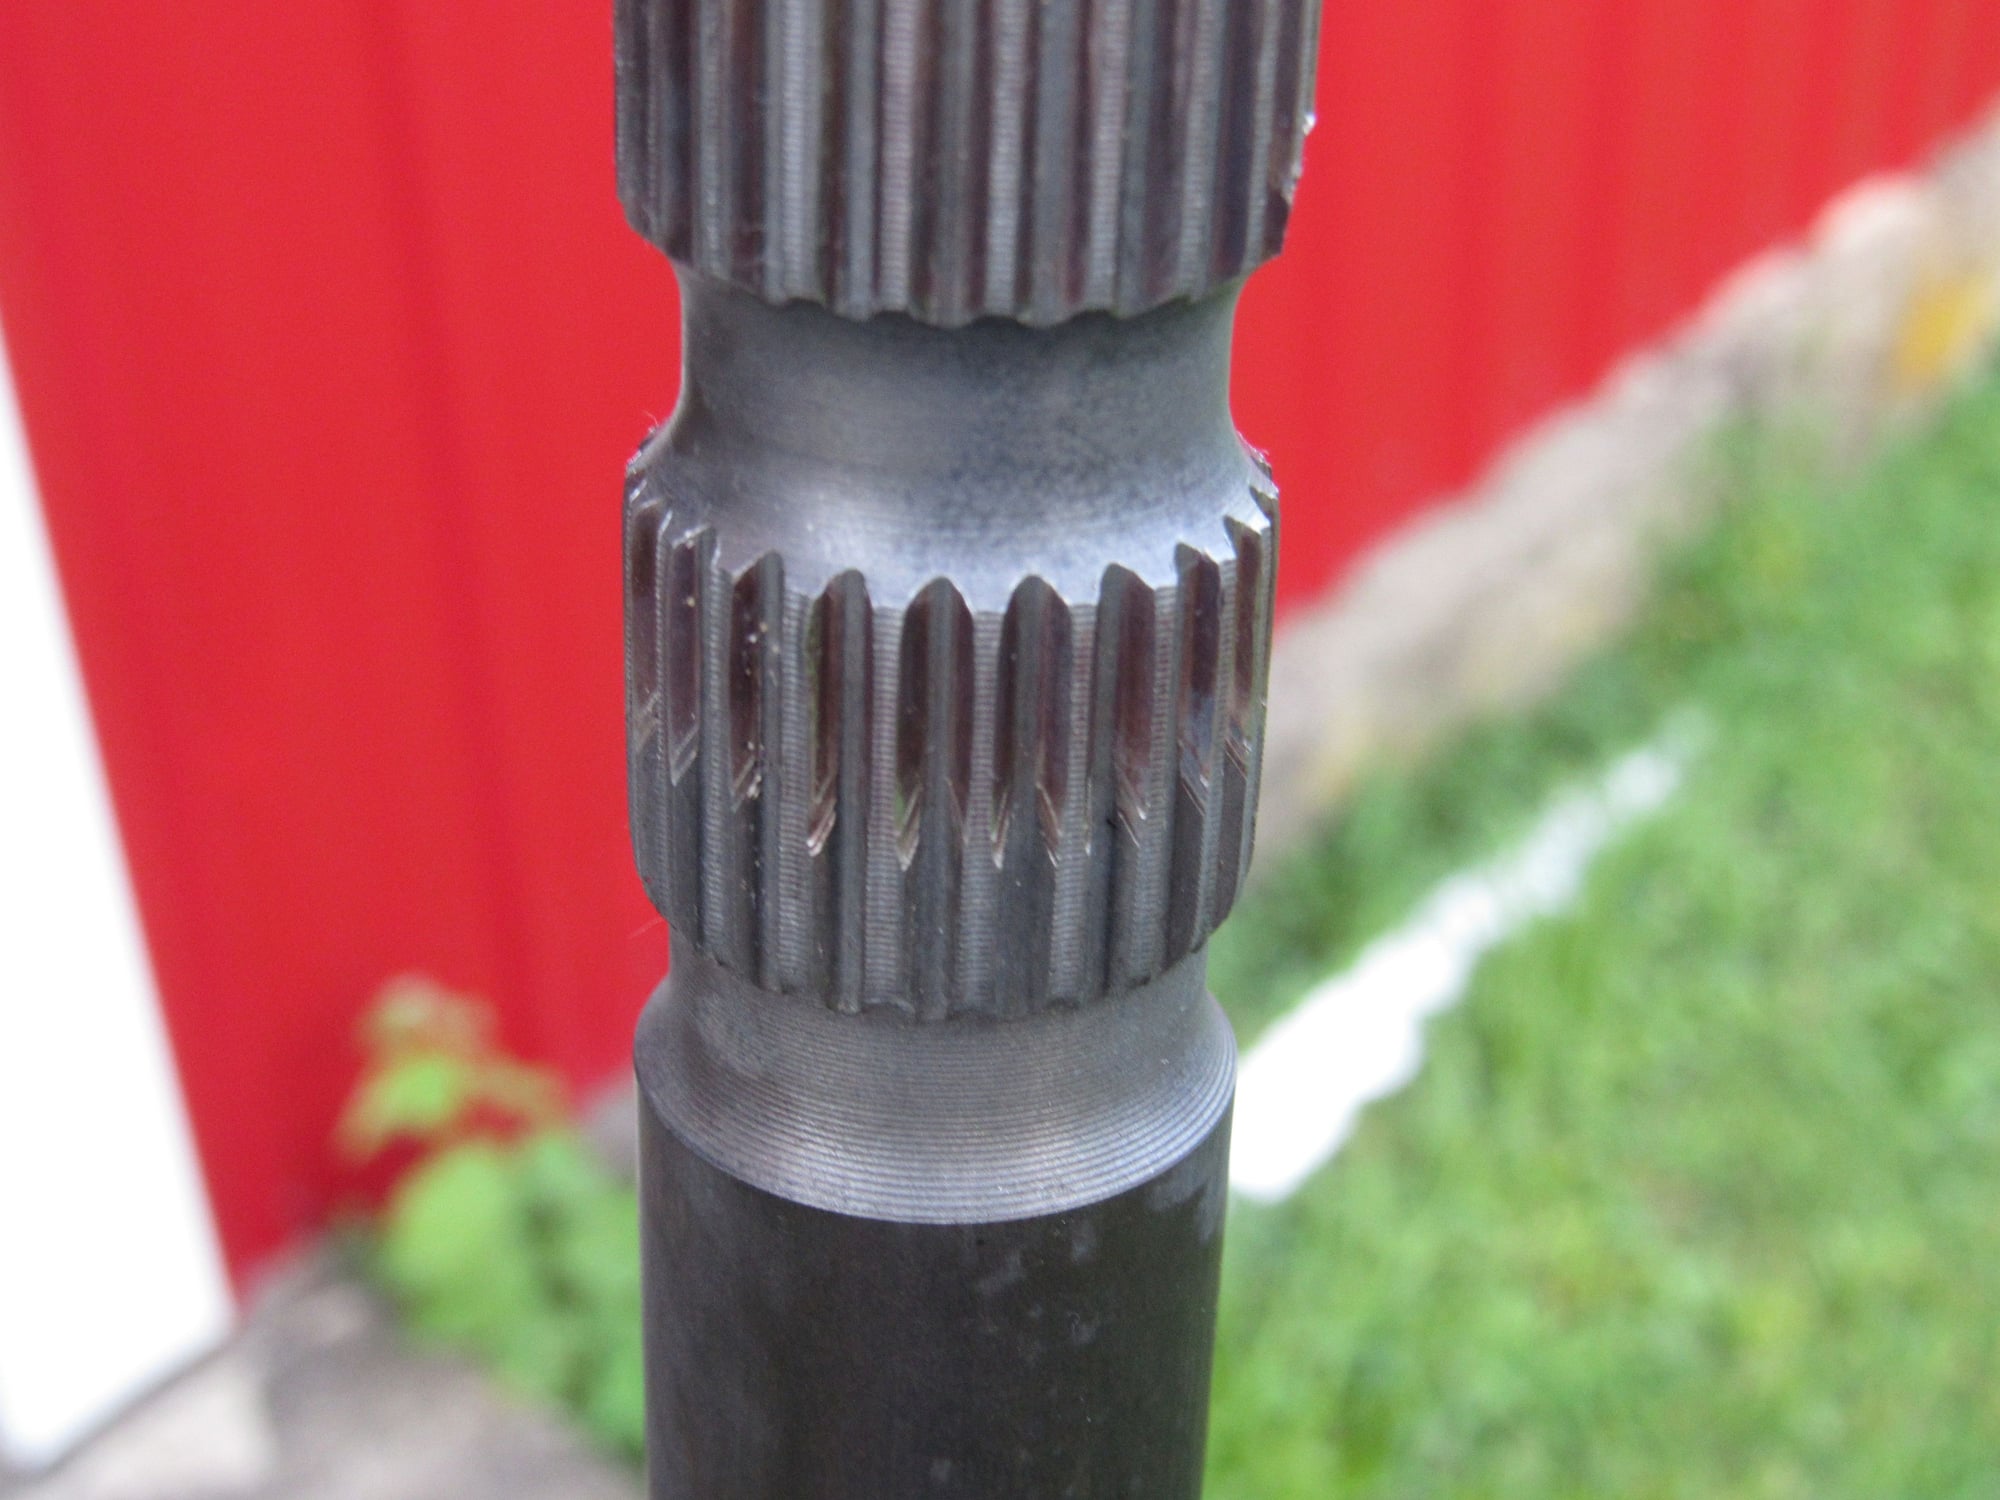
Here is the damage
There is some damage to the short section of splines but the main section looks unharmed. I think if I install the pinch bolt on a good portion of the shaft I may be OK?
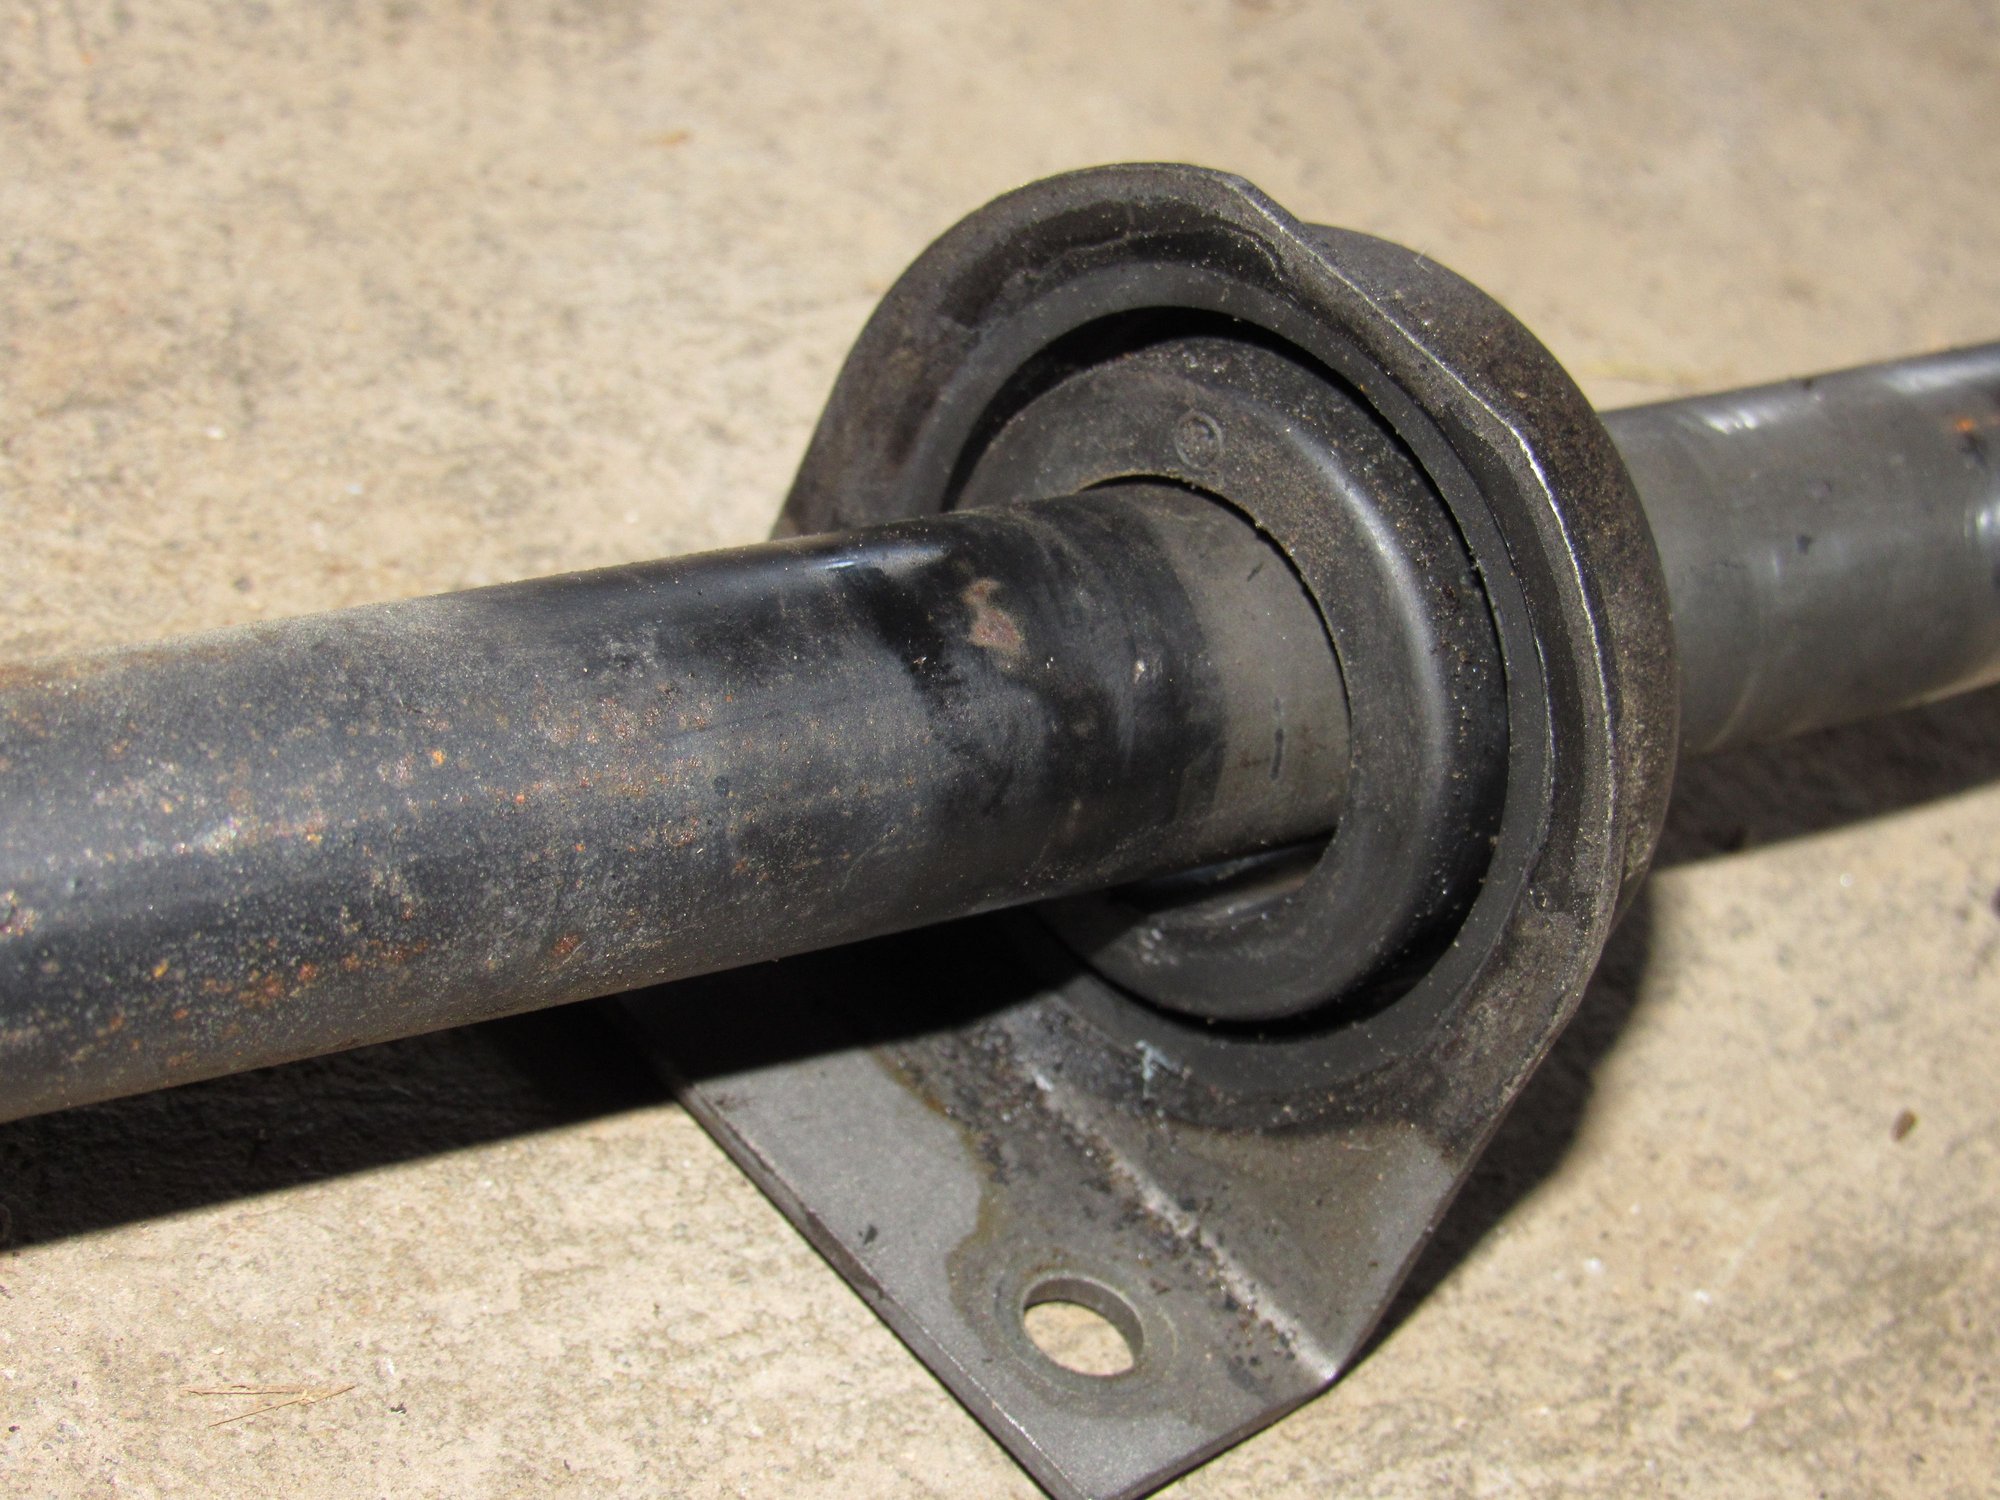
The bearings turned smoothly and have no play but they feel like they spin too easily as if there is no grease left in them. I have Constantine bearings for replacements.
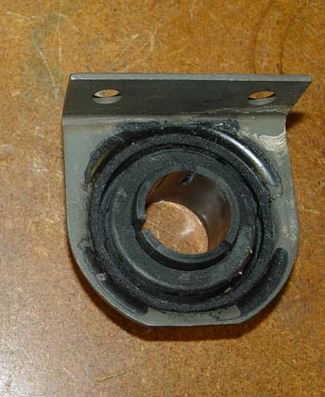
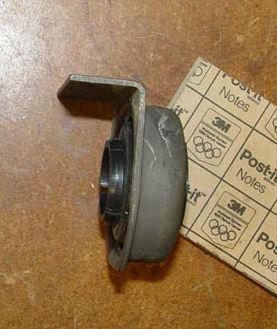
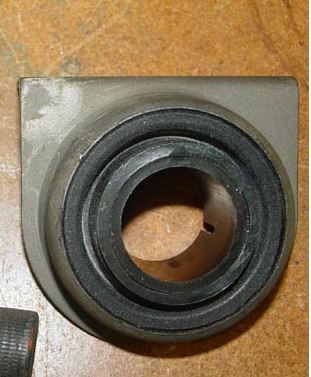
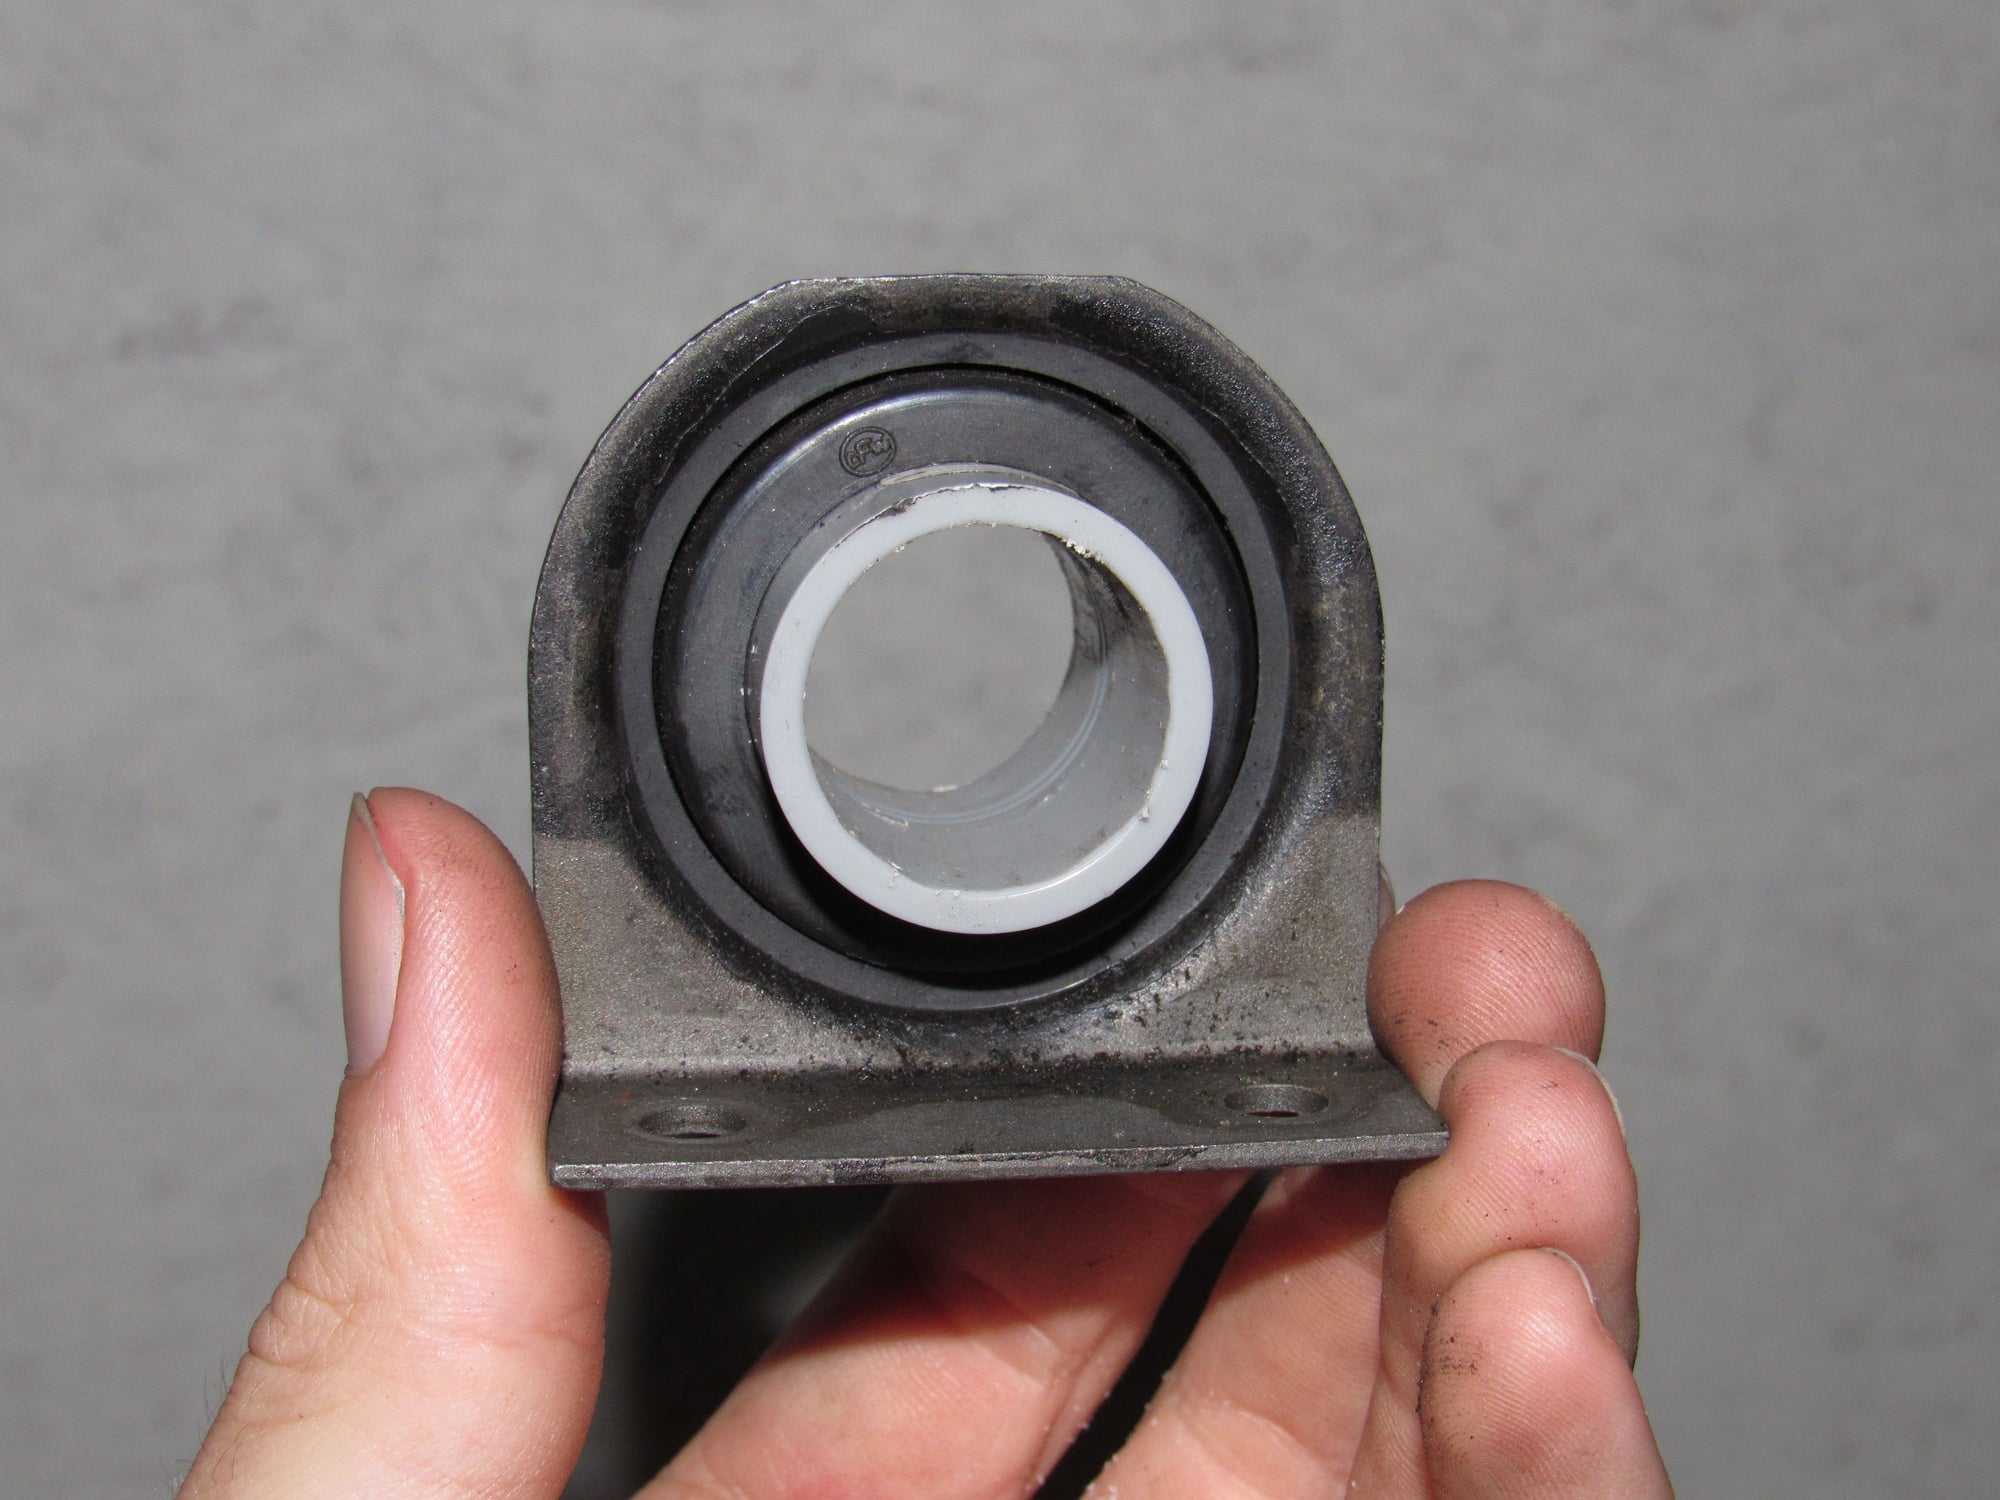
When I removed the shift rods there was all this broken plastic around the front bearing bracket that bolts to the TT just ahead of the shifter. Is there a replacement plastic insert available?
I was able to find some photos on sharkskin's site of a new bracket.
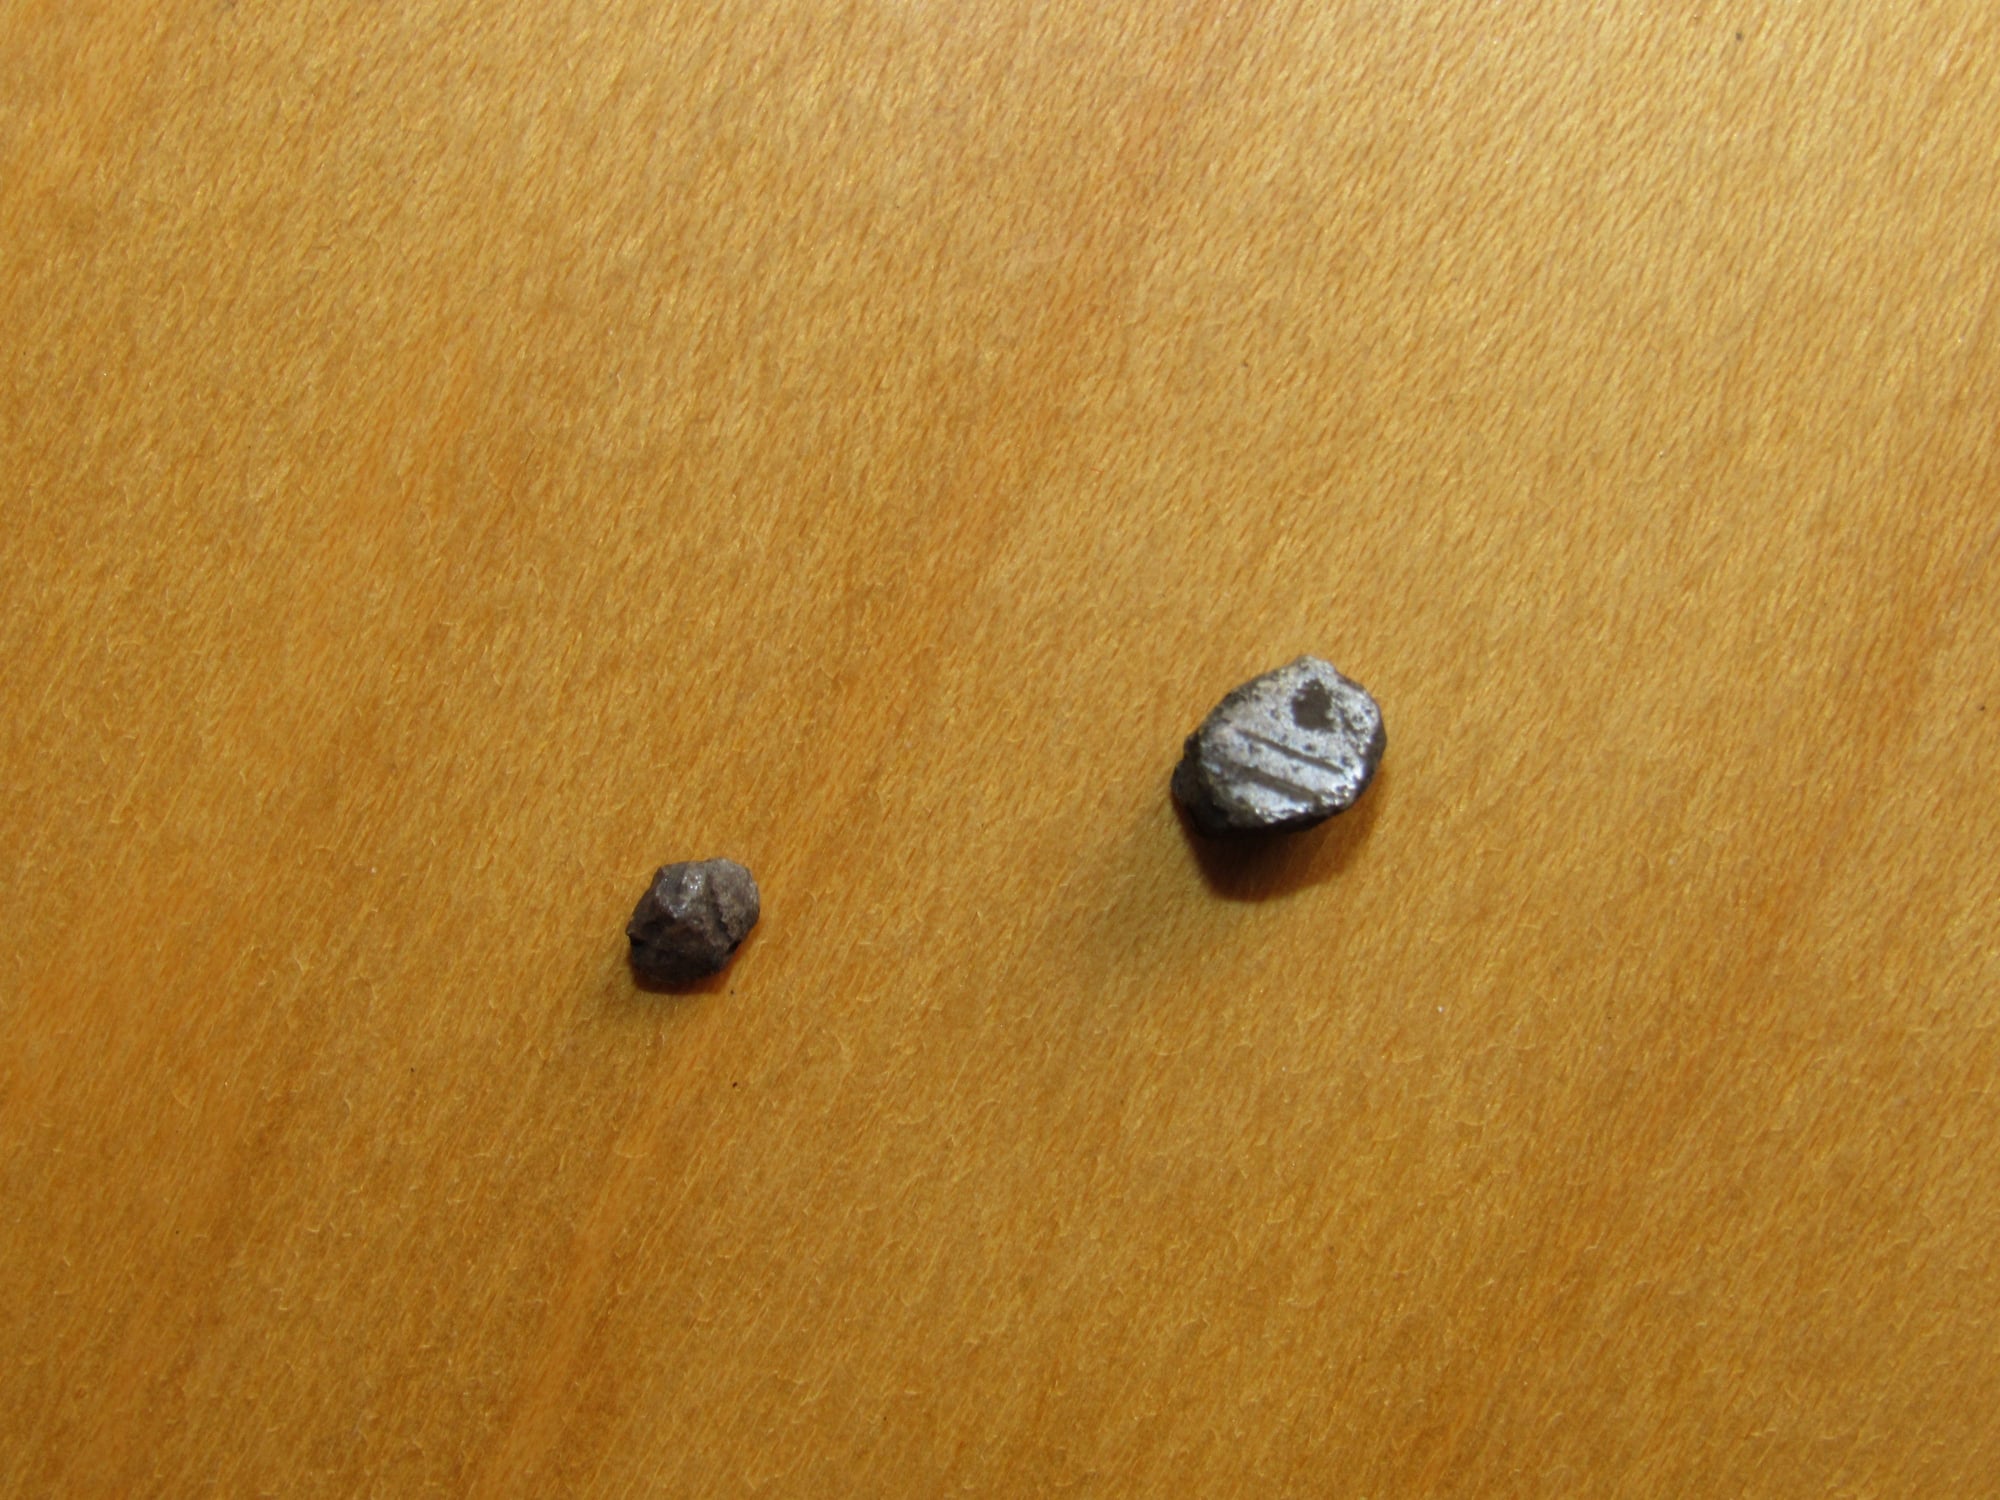
Something odd I found when I removed the rear rotors was metallic debris stuck on the shield bolts - both sides. One was bigger and they are both non-magnetic. With the rotors removed the hub spins nice and smooth, wheel bearings are good.
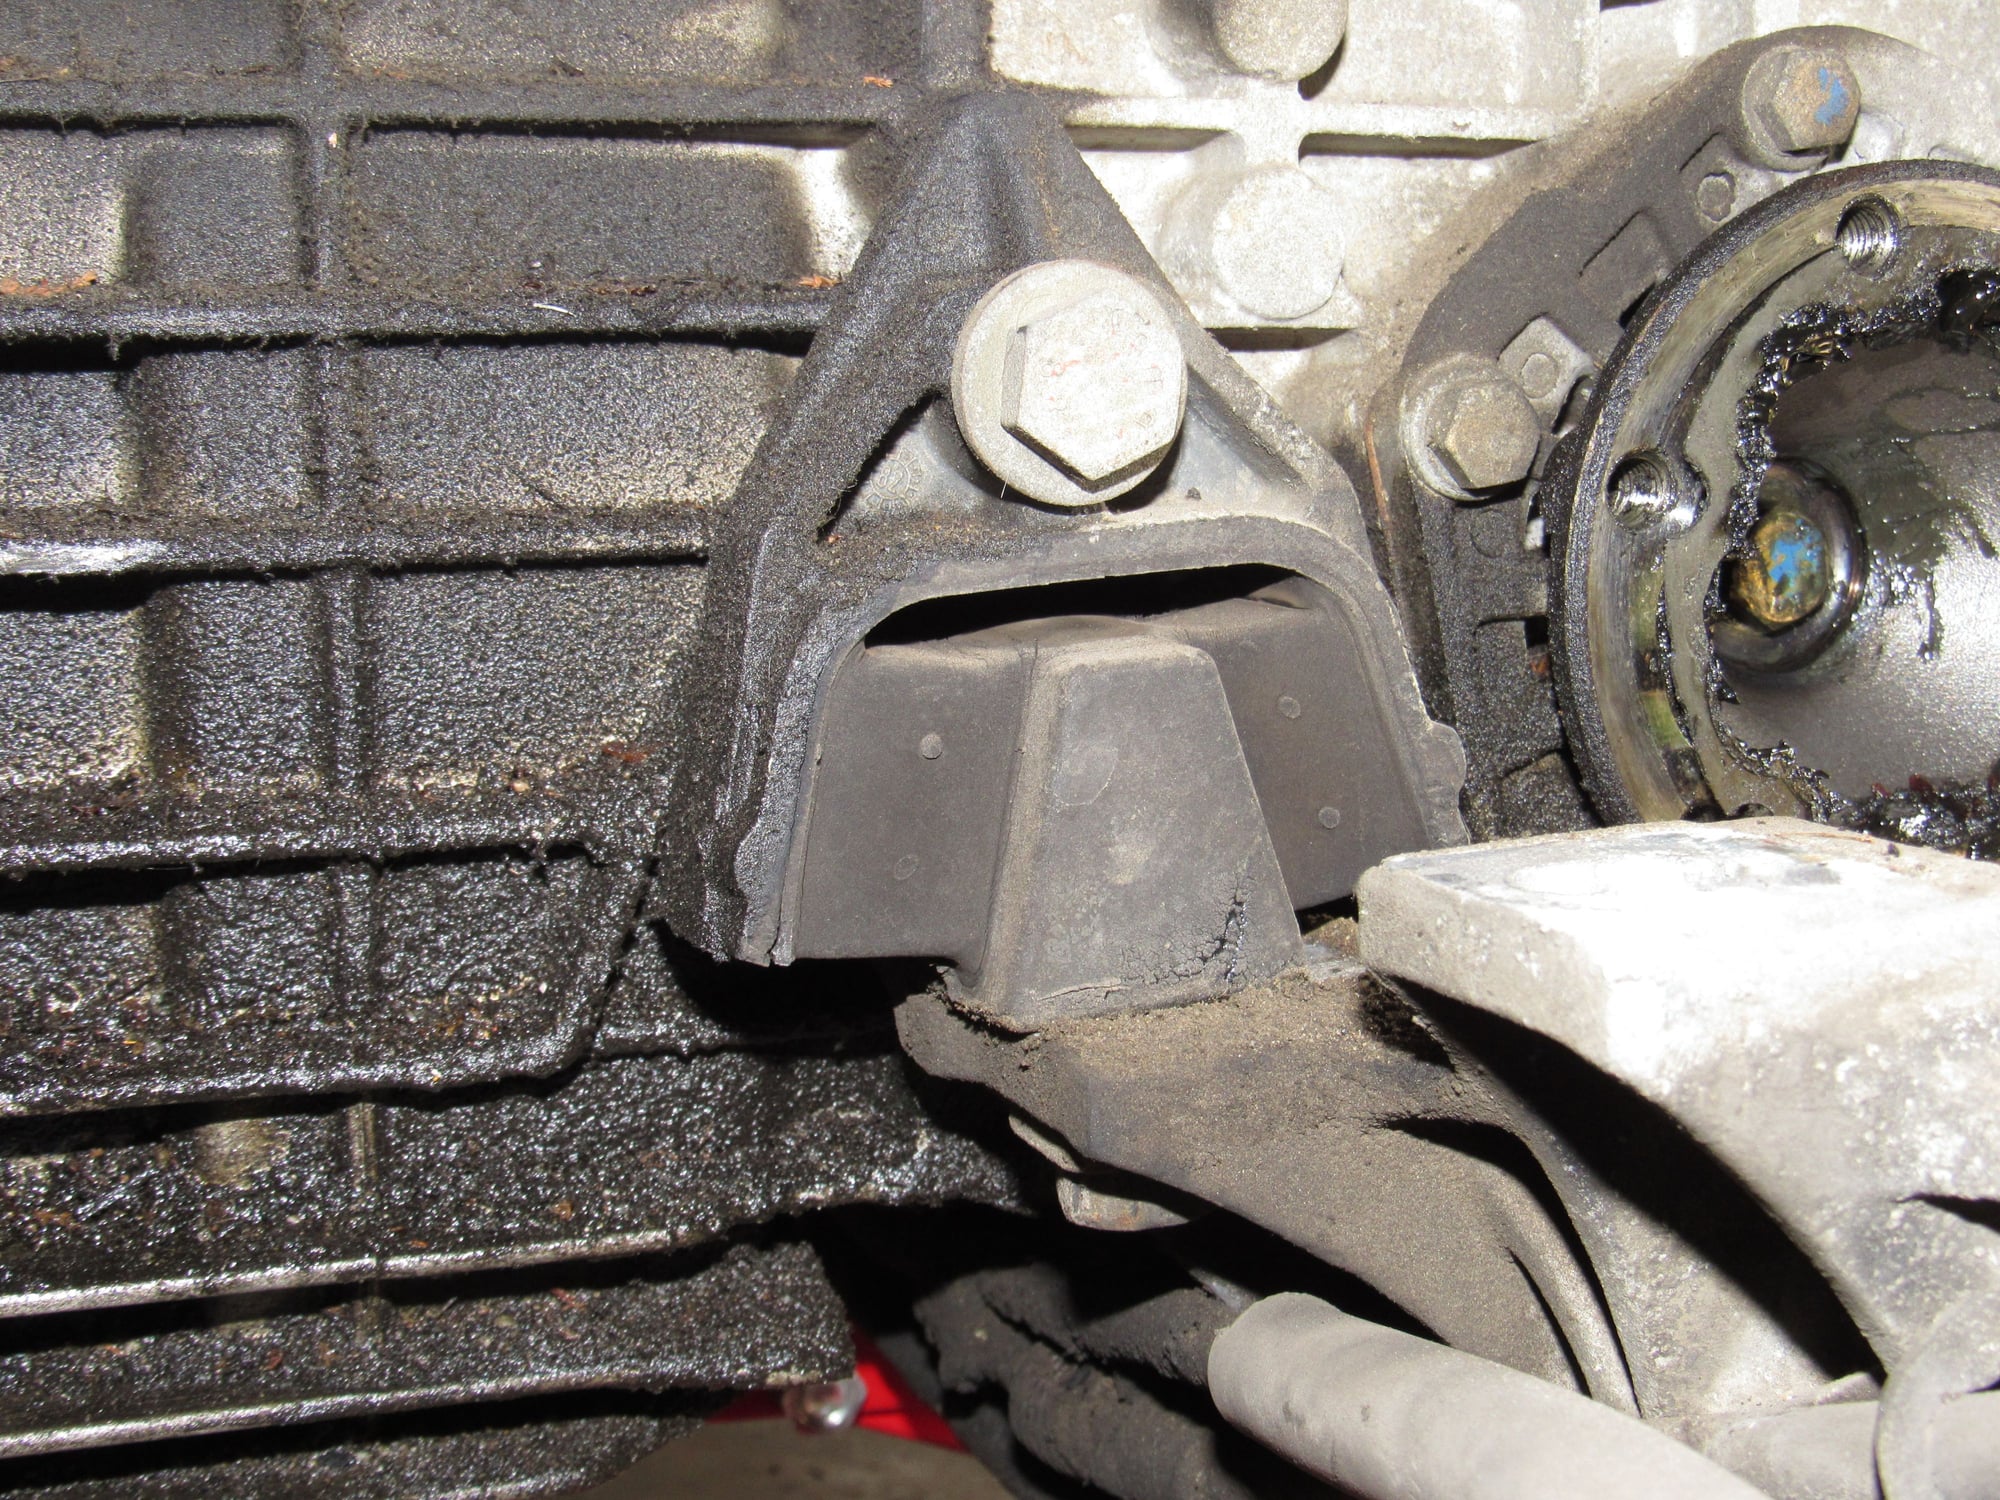
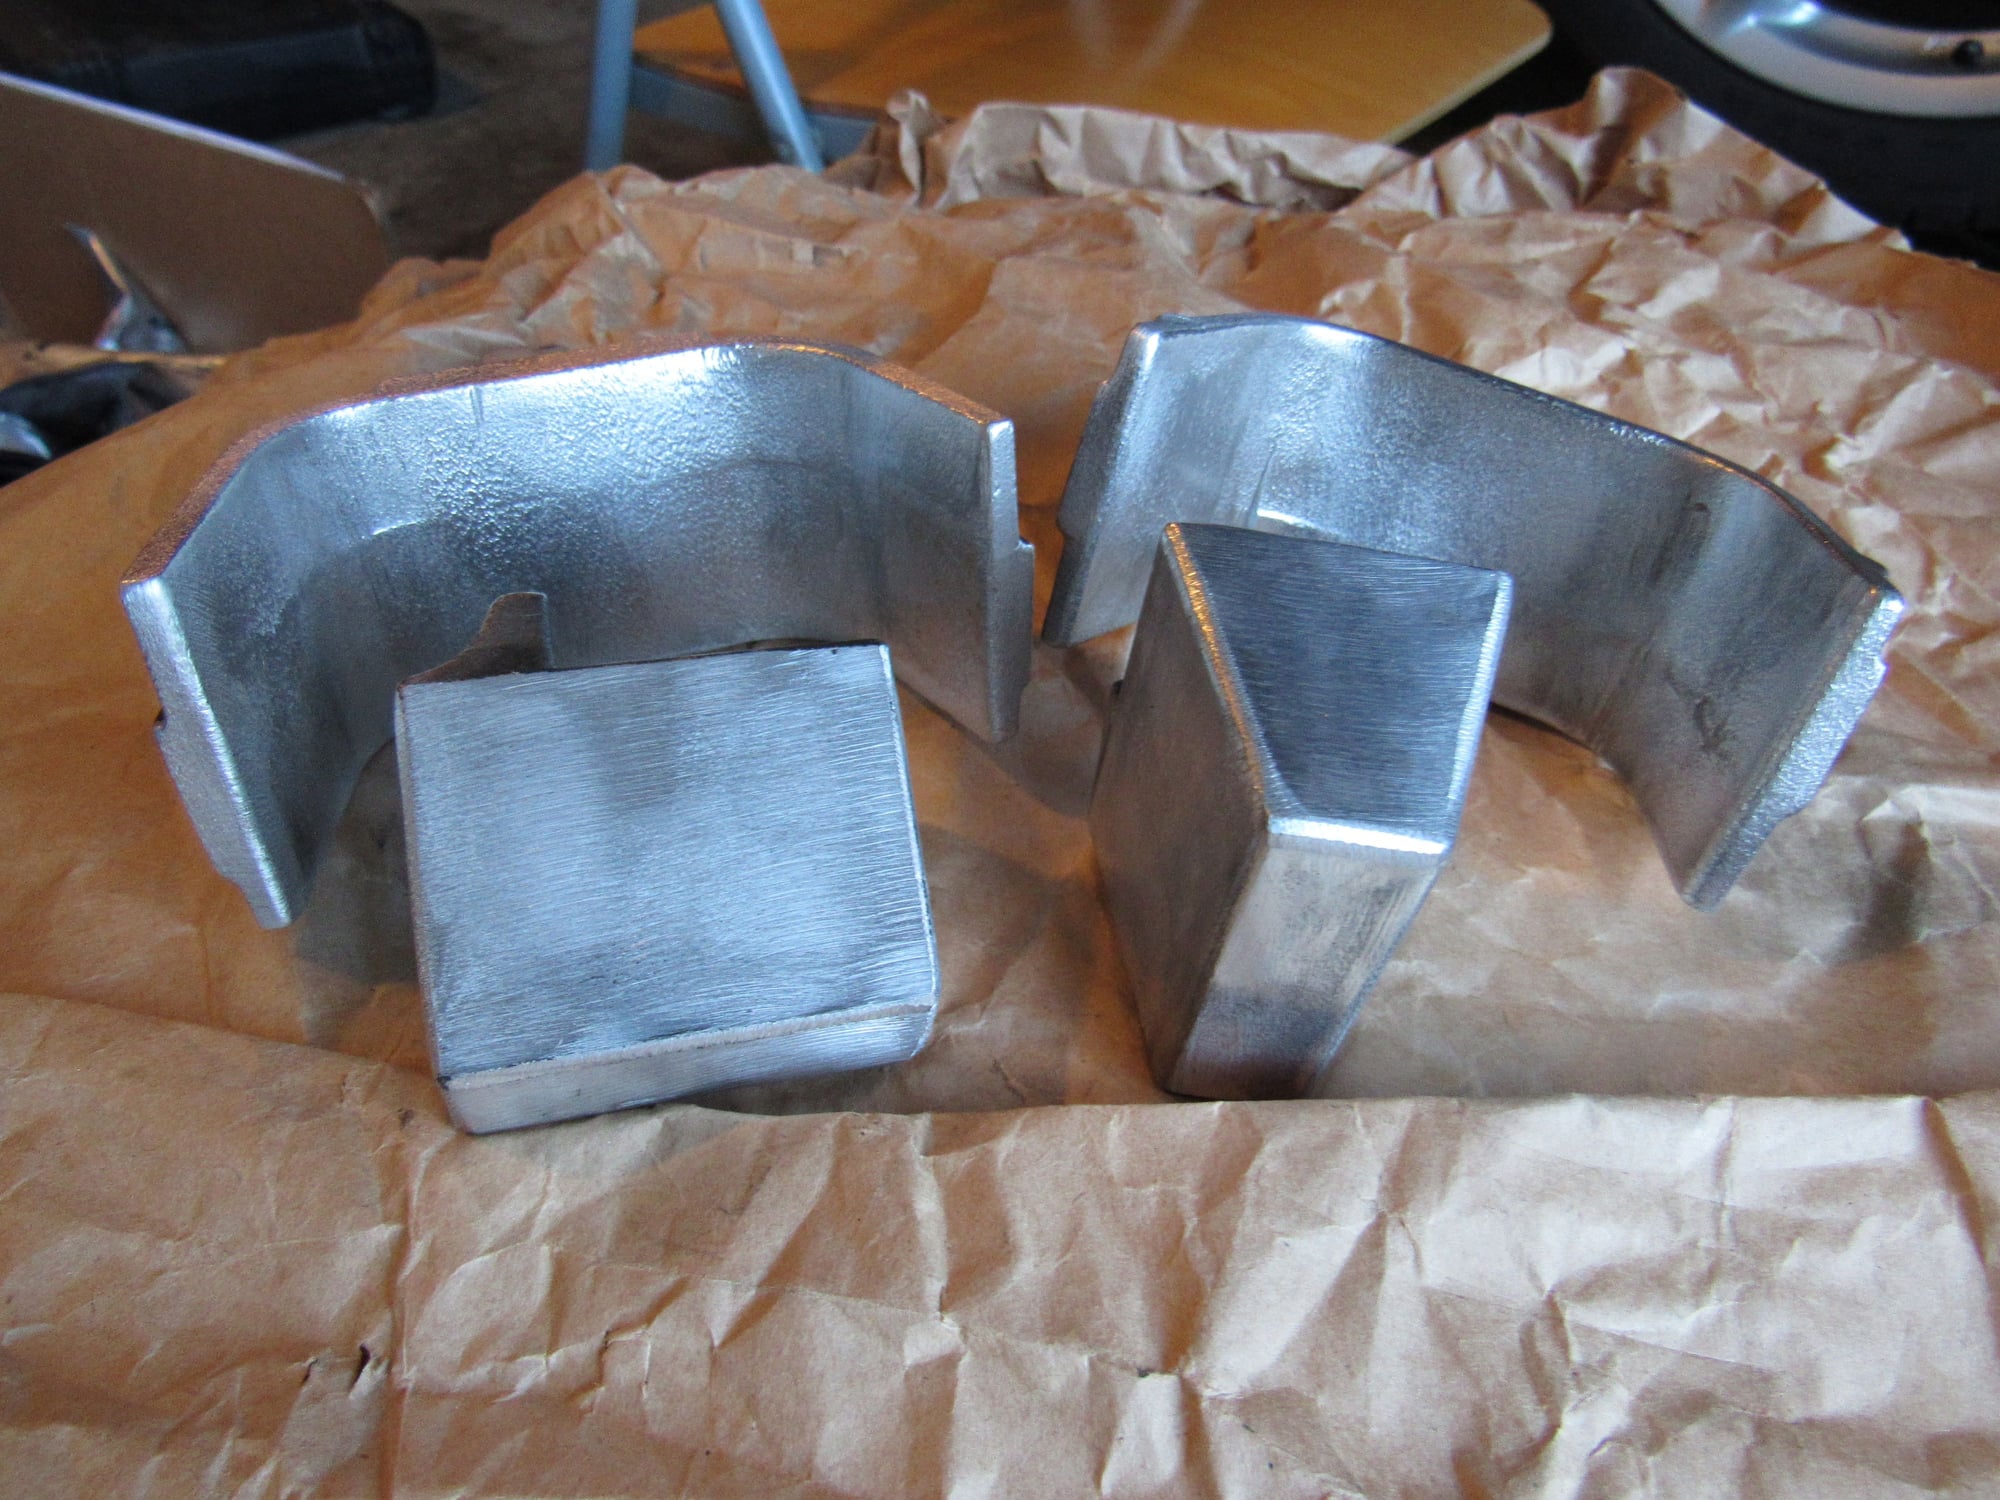
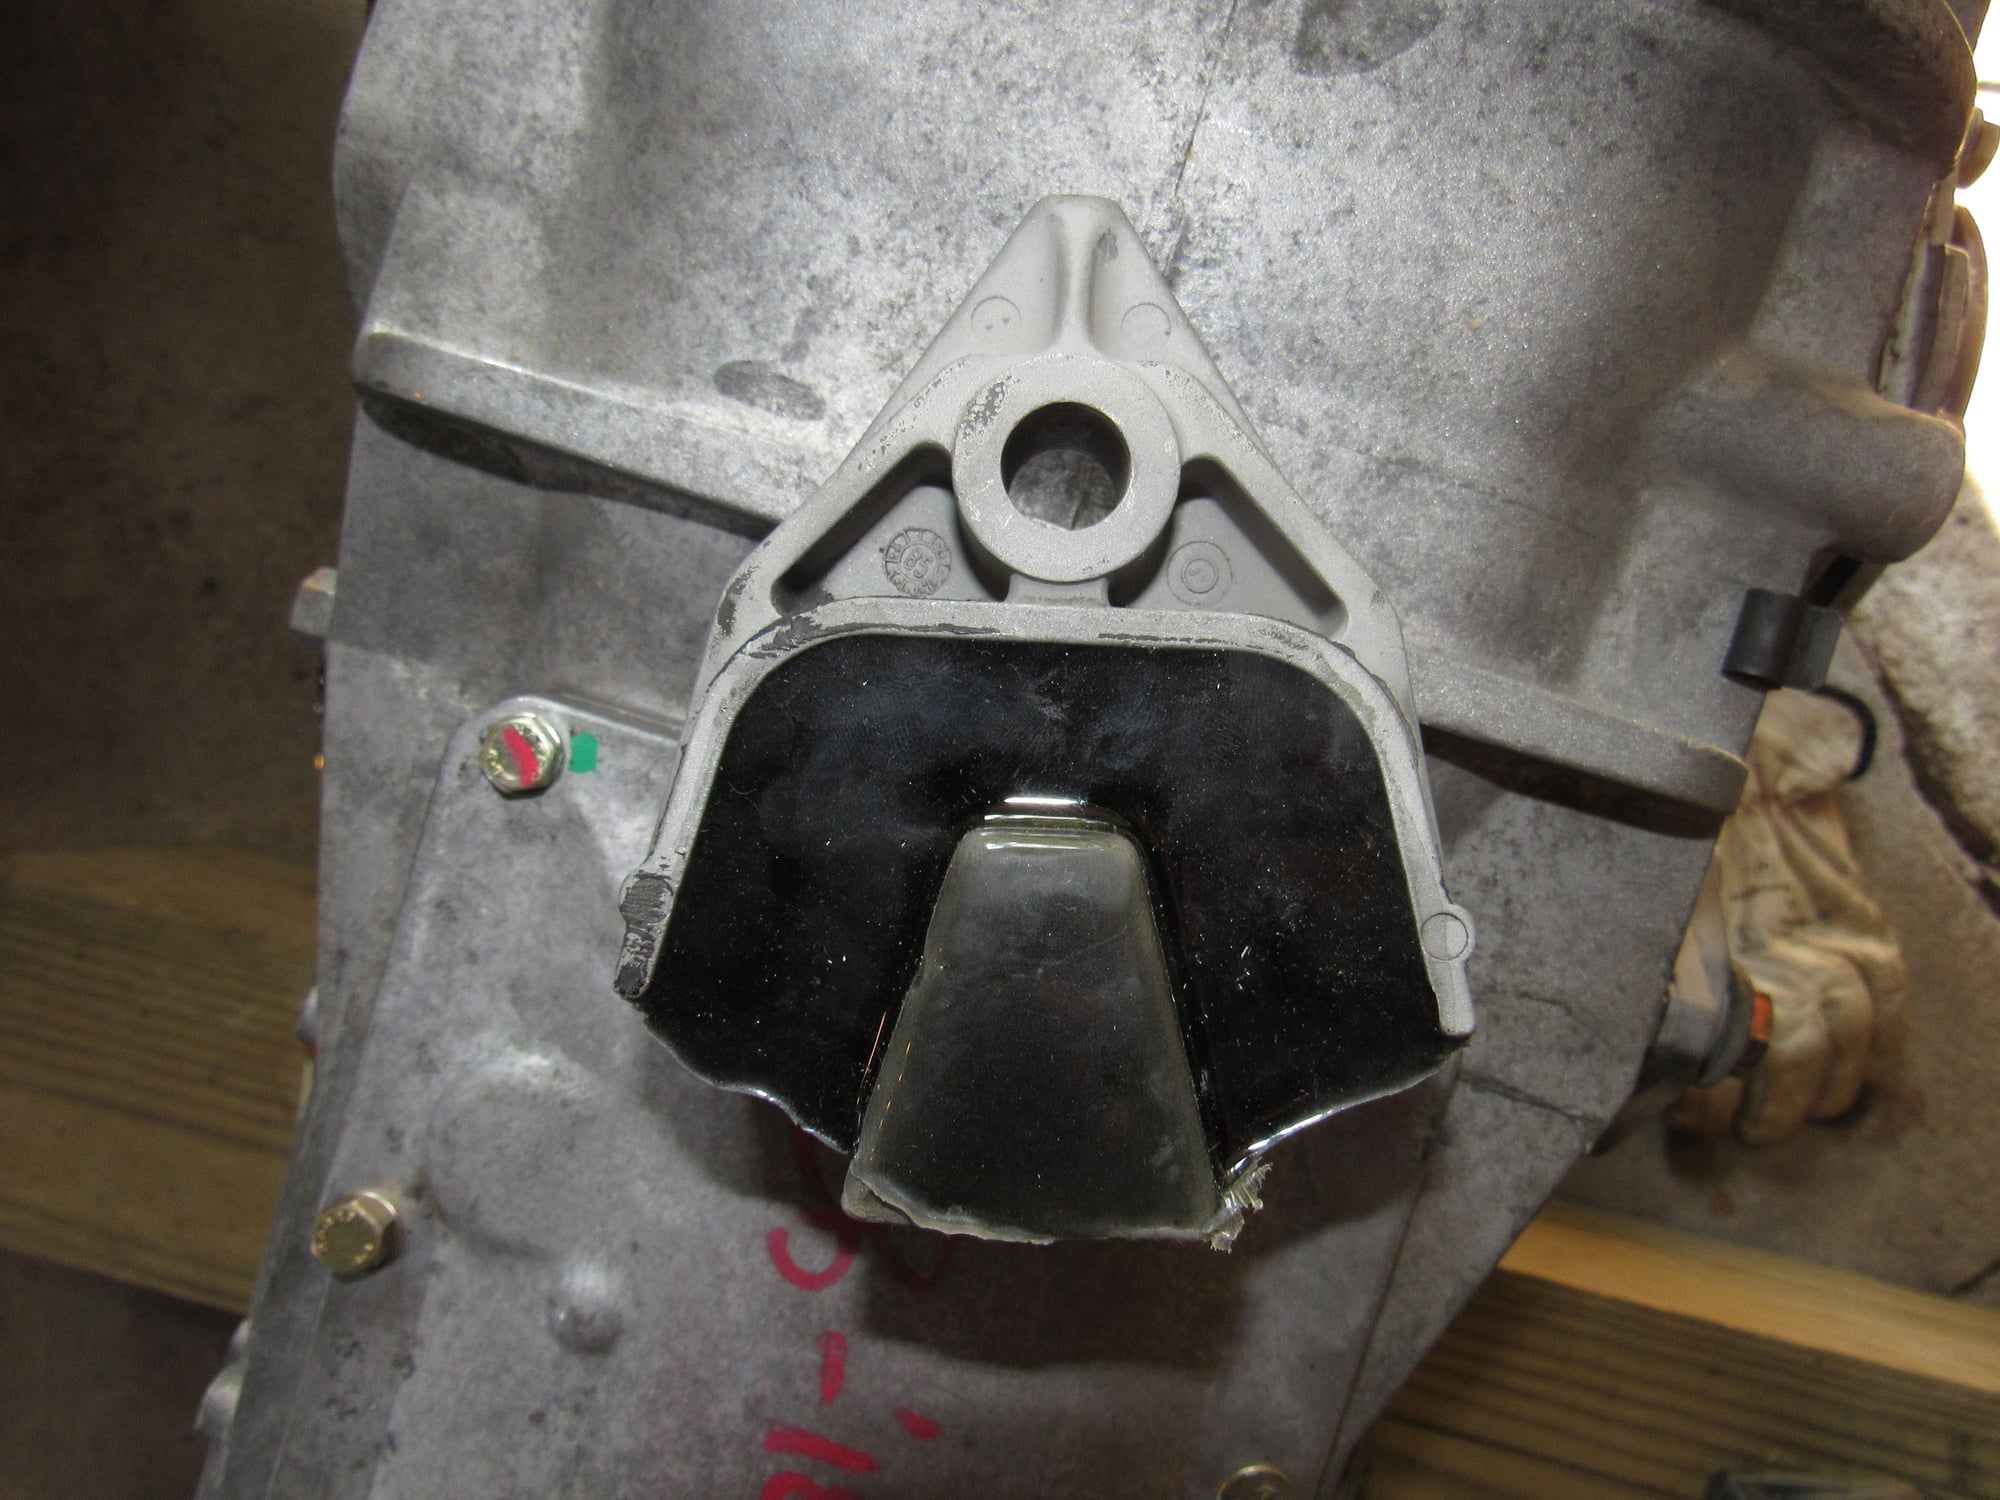
I cut off the rubber on a set of trans mounts and burned off what was left and with a combination of a sanding disc on a grinder and wire wheel in a drill I was able to clean the parts up really well. I will send these to a member to be rebuilt.
Other than that I cleaned out the grease of the outside CV joint, painted the shaft, and will rebuild it. It was fine before and it is pretty easy to replace in the future if I have to. Also I cleaned out the torque tube.
The other axle CV joint had the same amount of wear but no play at all.
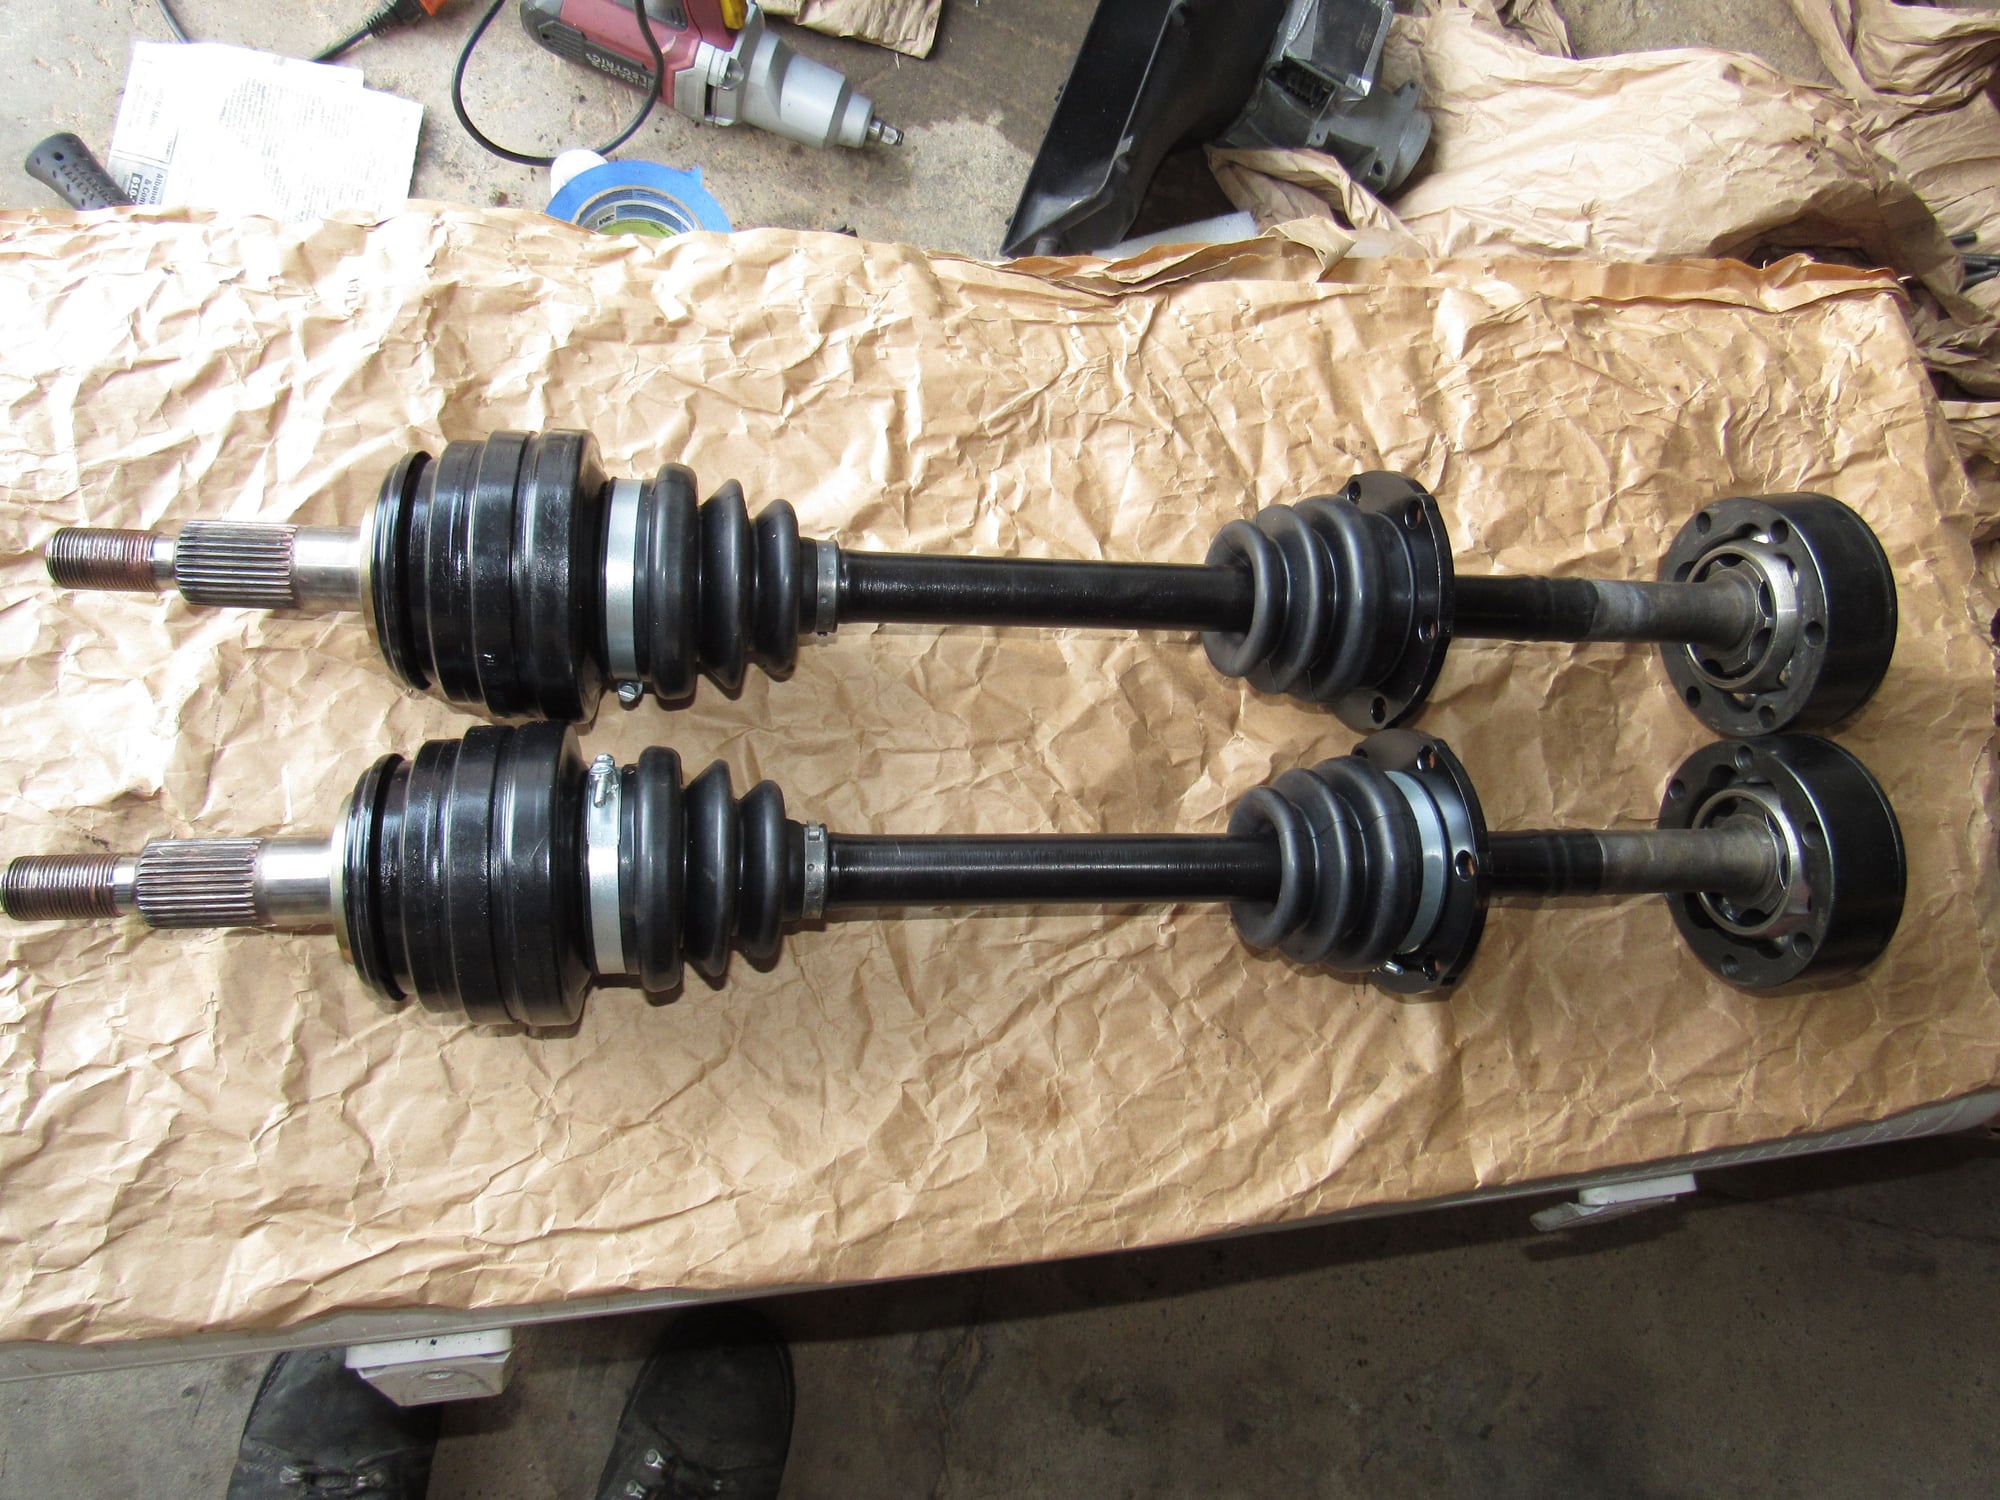
Here they are painted and the outer joints greased. I will pack the inner joints once they are ready to bolt onto the trans. I cleaned and reused the small boot clips, the rebuild kits don't provide replacements. A reminder to myself: don't forget to reinstall the circlips! (I'm awaiting a special circlip plier to get those back on.)
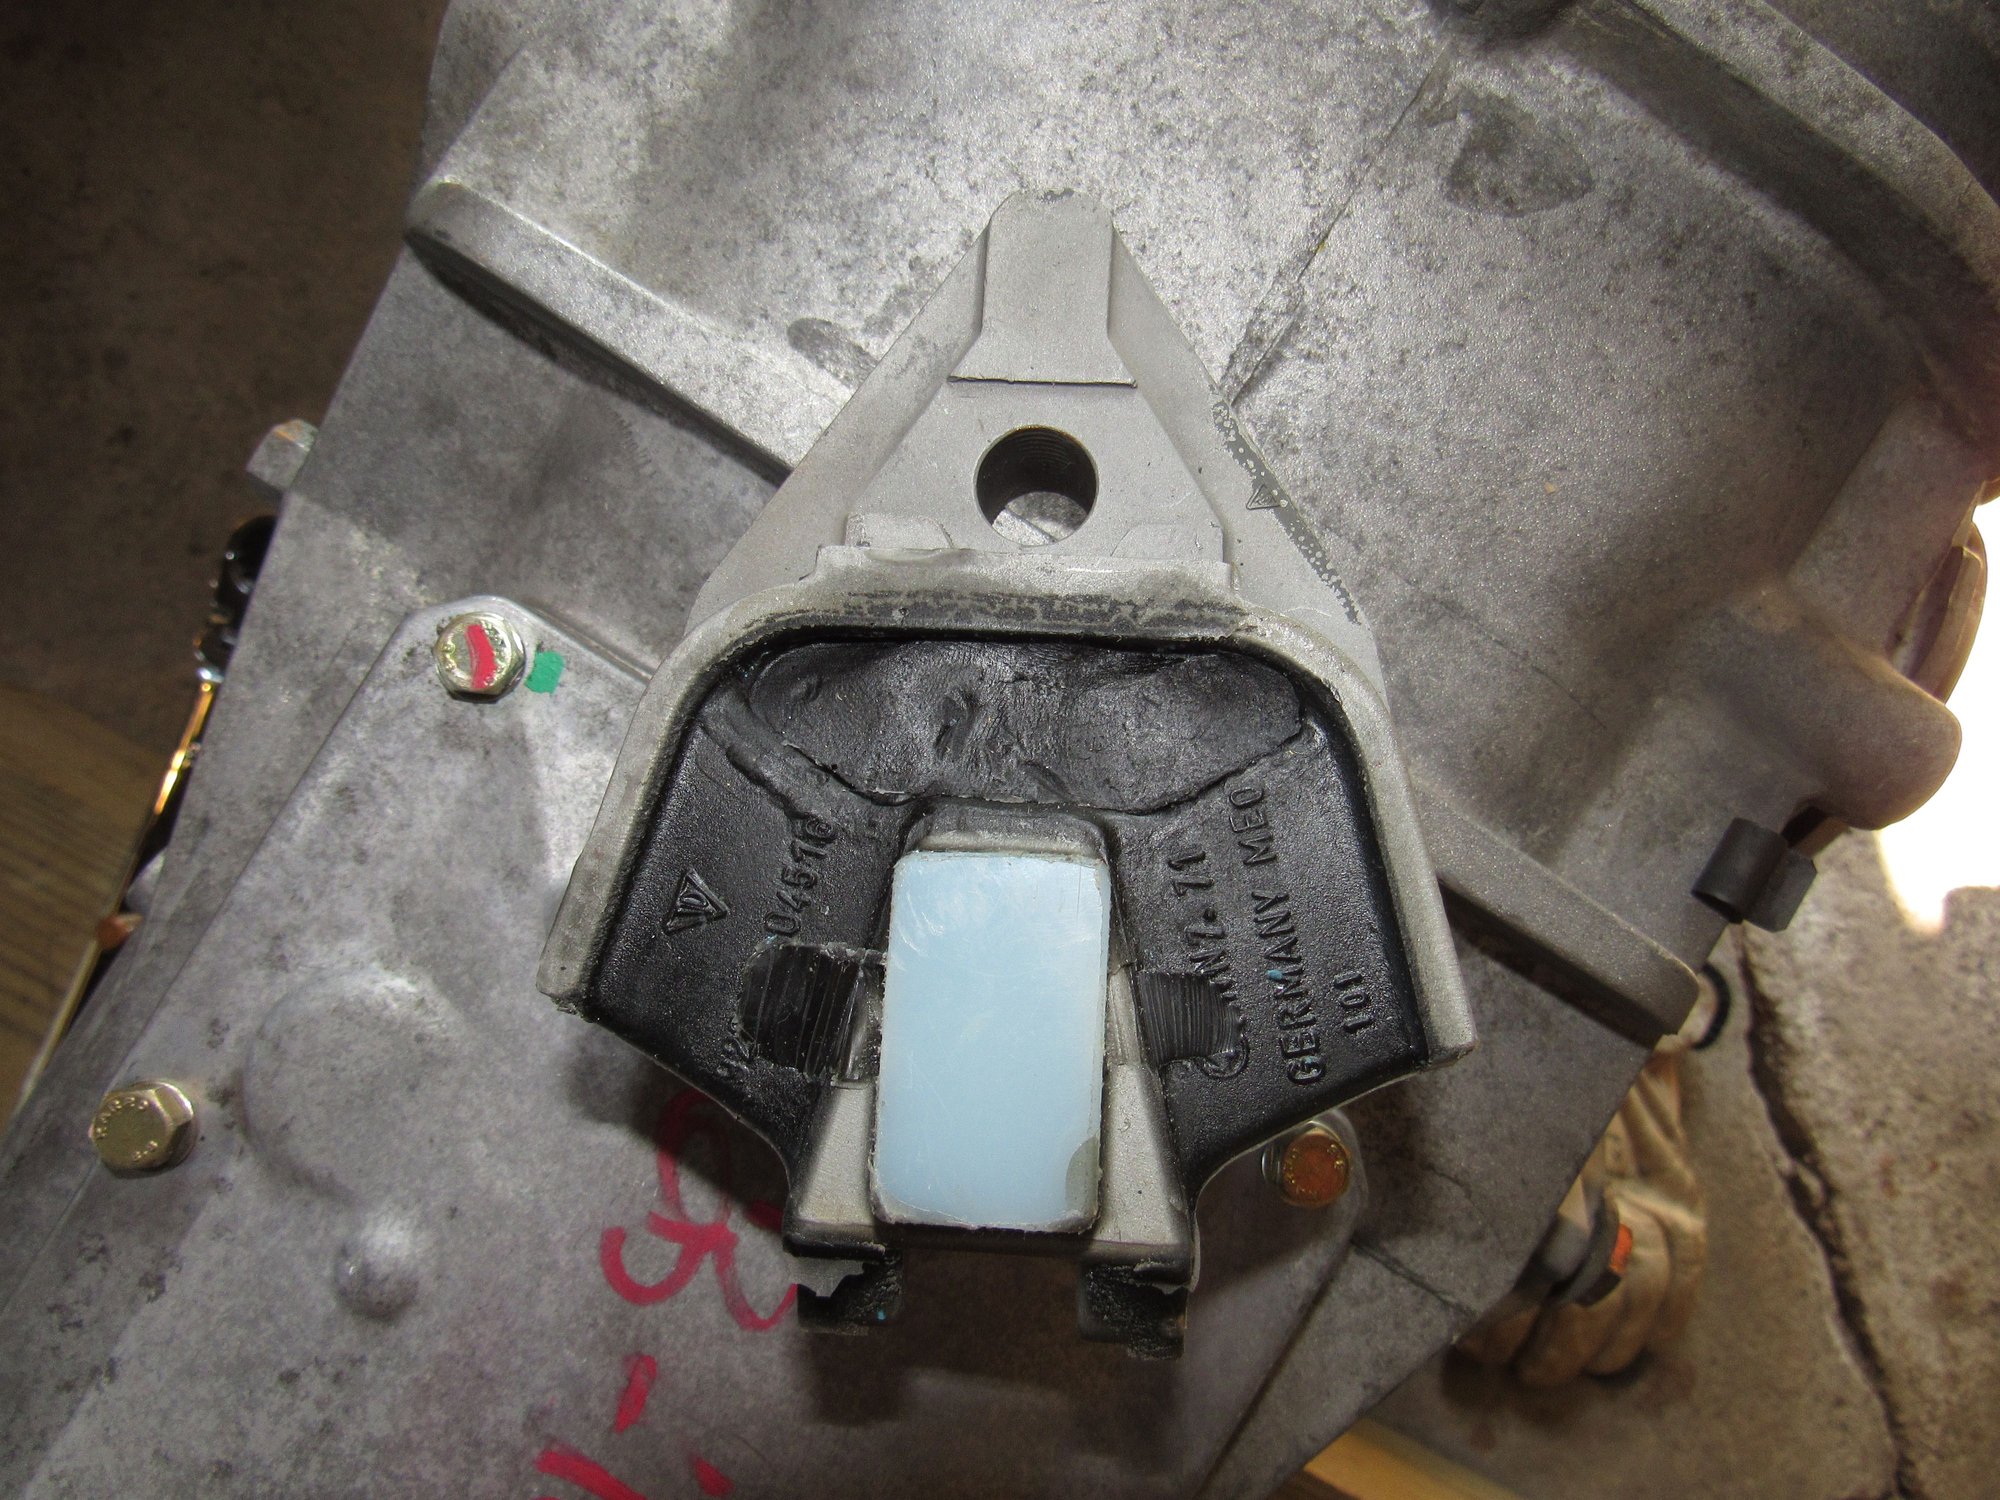
I got the trans mounts back from Waldo928. These are really well done and exactly the same as a new factory mount but with the cavity filled in so they won't sag.
These are the rear rotors I painted a couple weeks ago. They were nasty before.
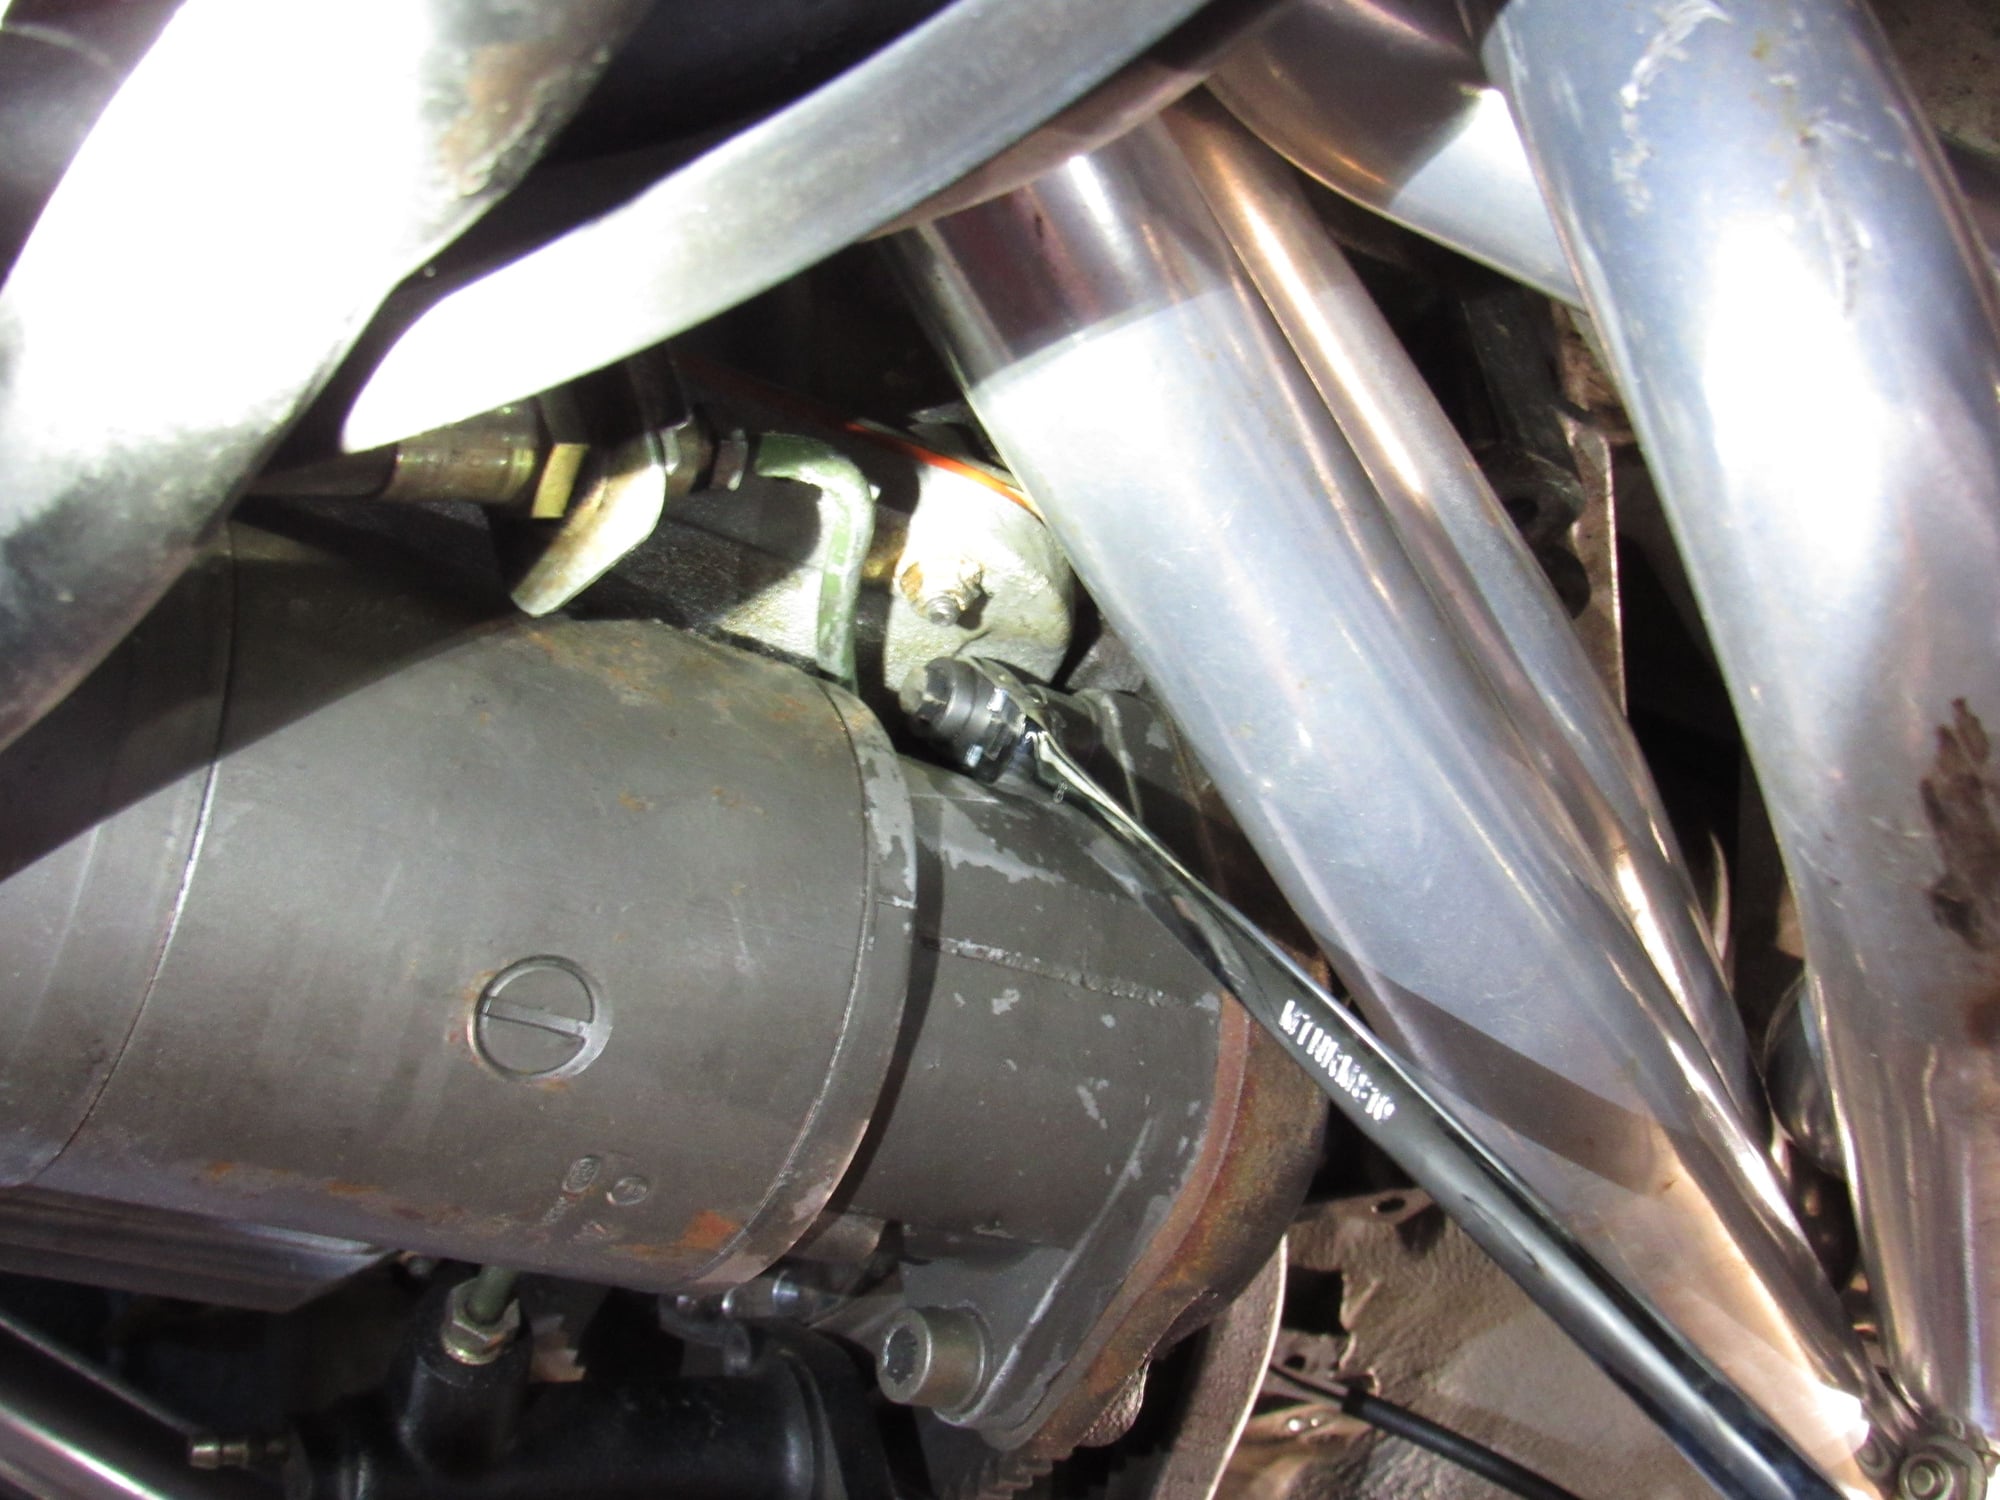
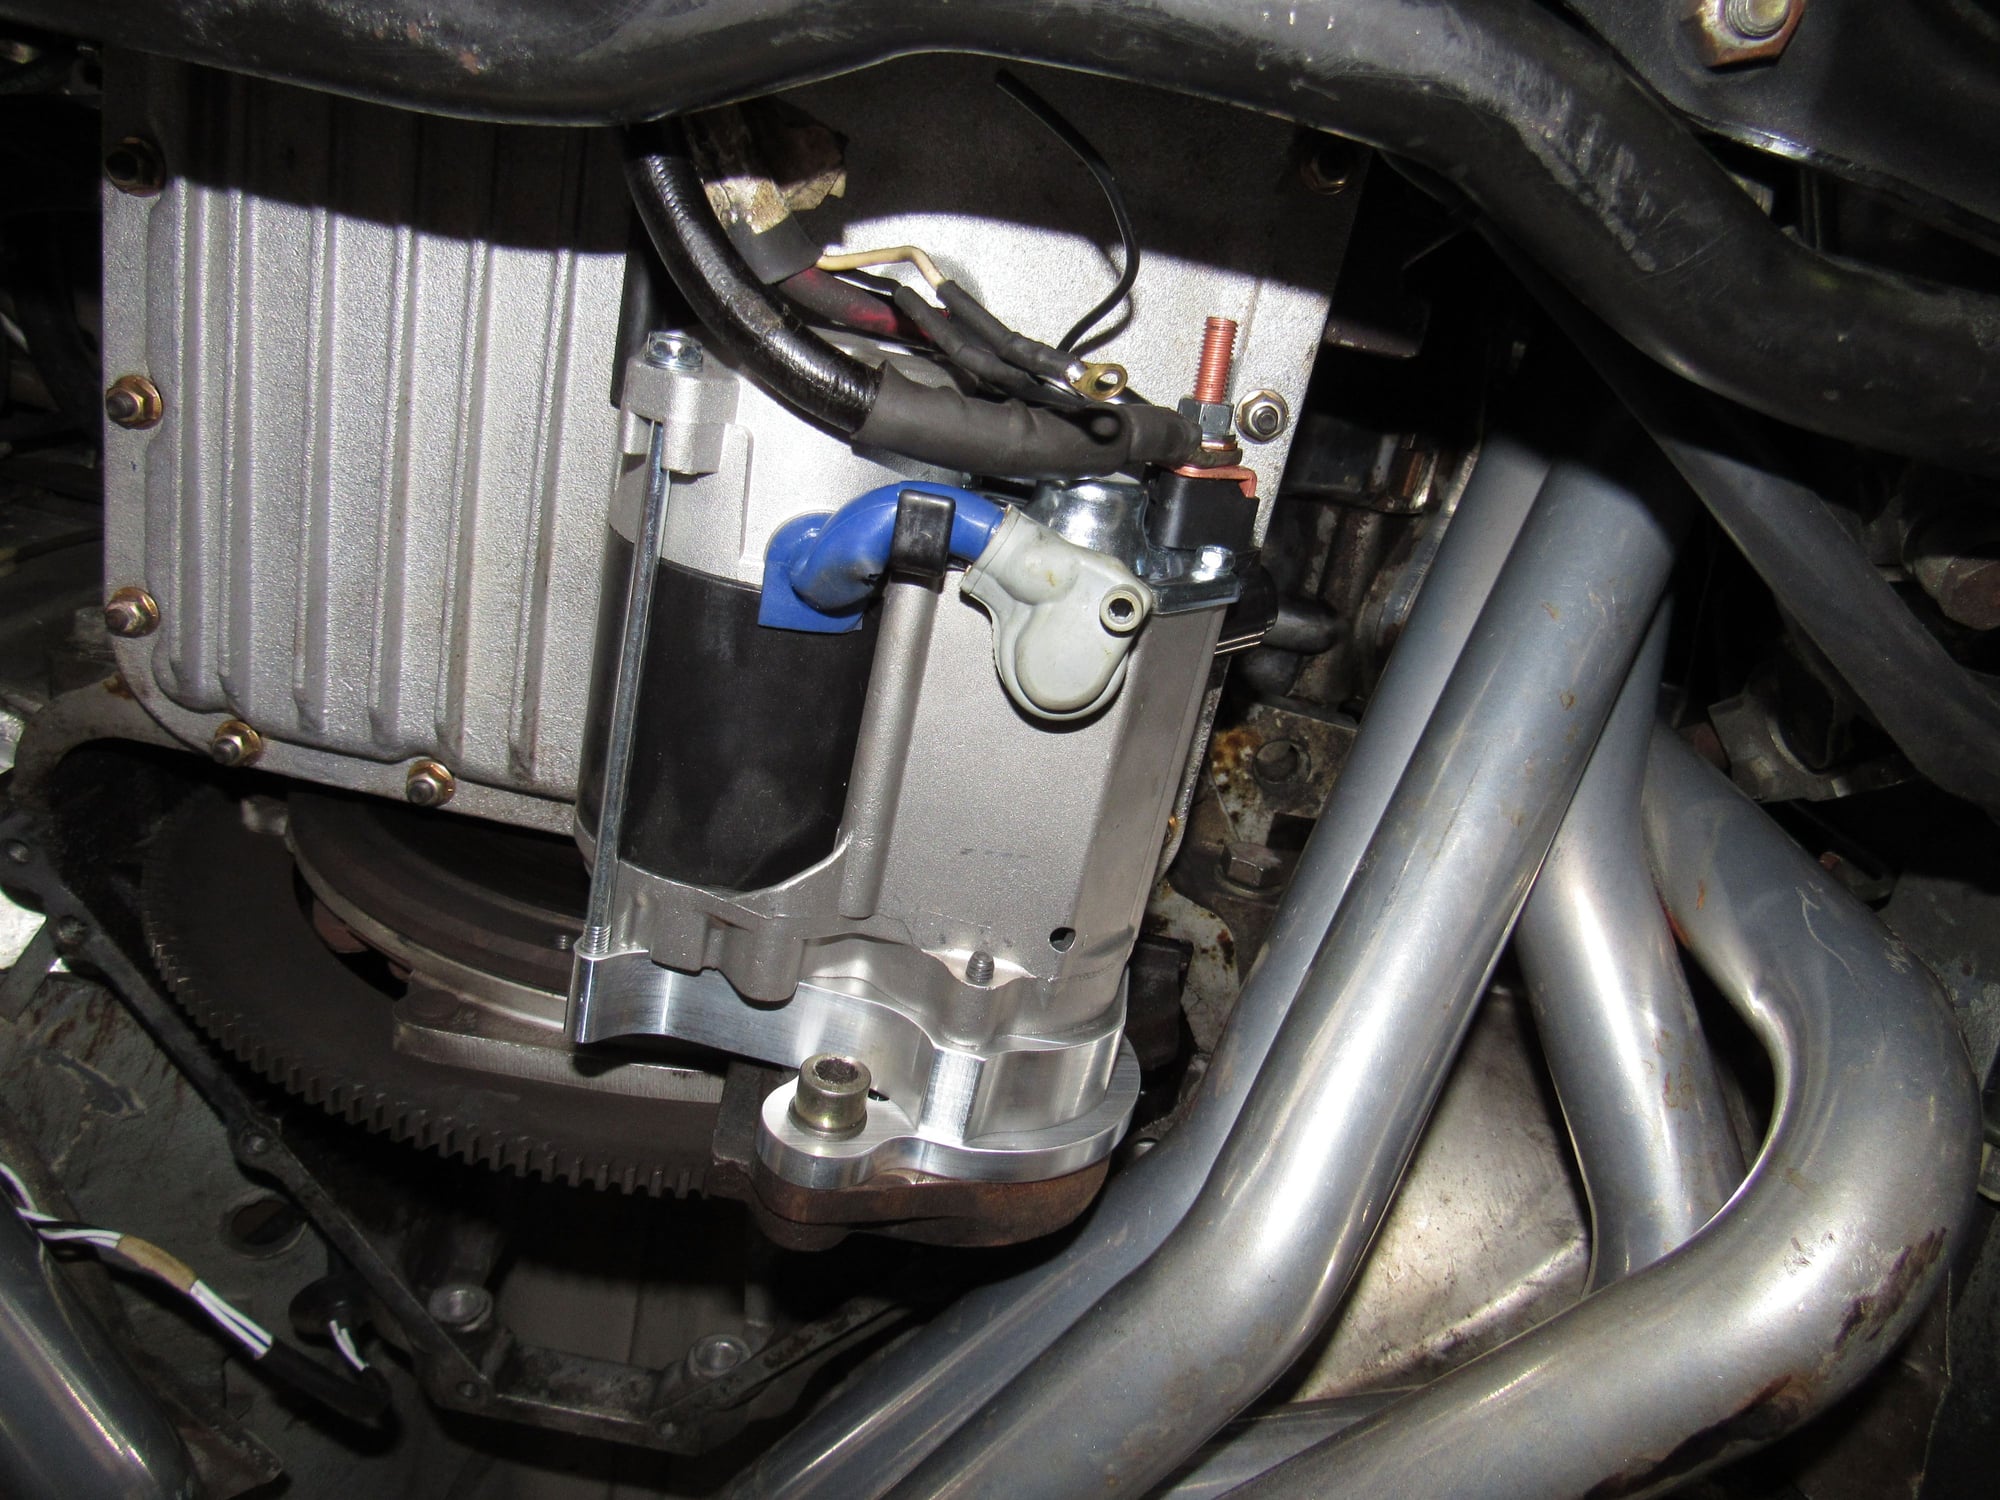
I've installed a new Hi-Torque starter and mounted it tucked in under the oil pan. The starter I had was a rebuilt unit and I don't trust it. It never left me stranded but at random it would take 2-3 tries before the solenoid would activate. Just have to finish the wiring.
I finished rebuilding the TT. Installing the new bearings was a piece of cake compared to driving the old ones out. I mounted the new trans to the cross member and installed the TT. When I was getting the new pinch bolt threaded in I remembered I didn't lube the drive shaft splines but I don't have the lube yet. No big deal but I have to pull the TT off the trans to do it. I'll consider this a practice run
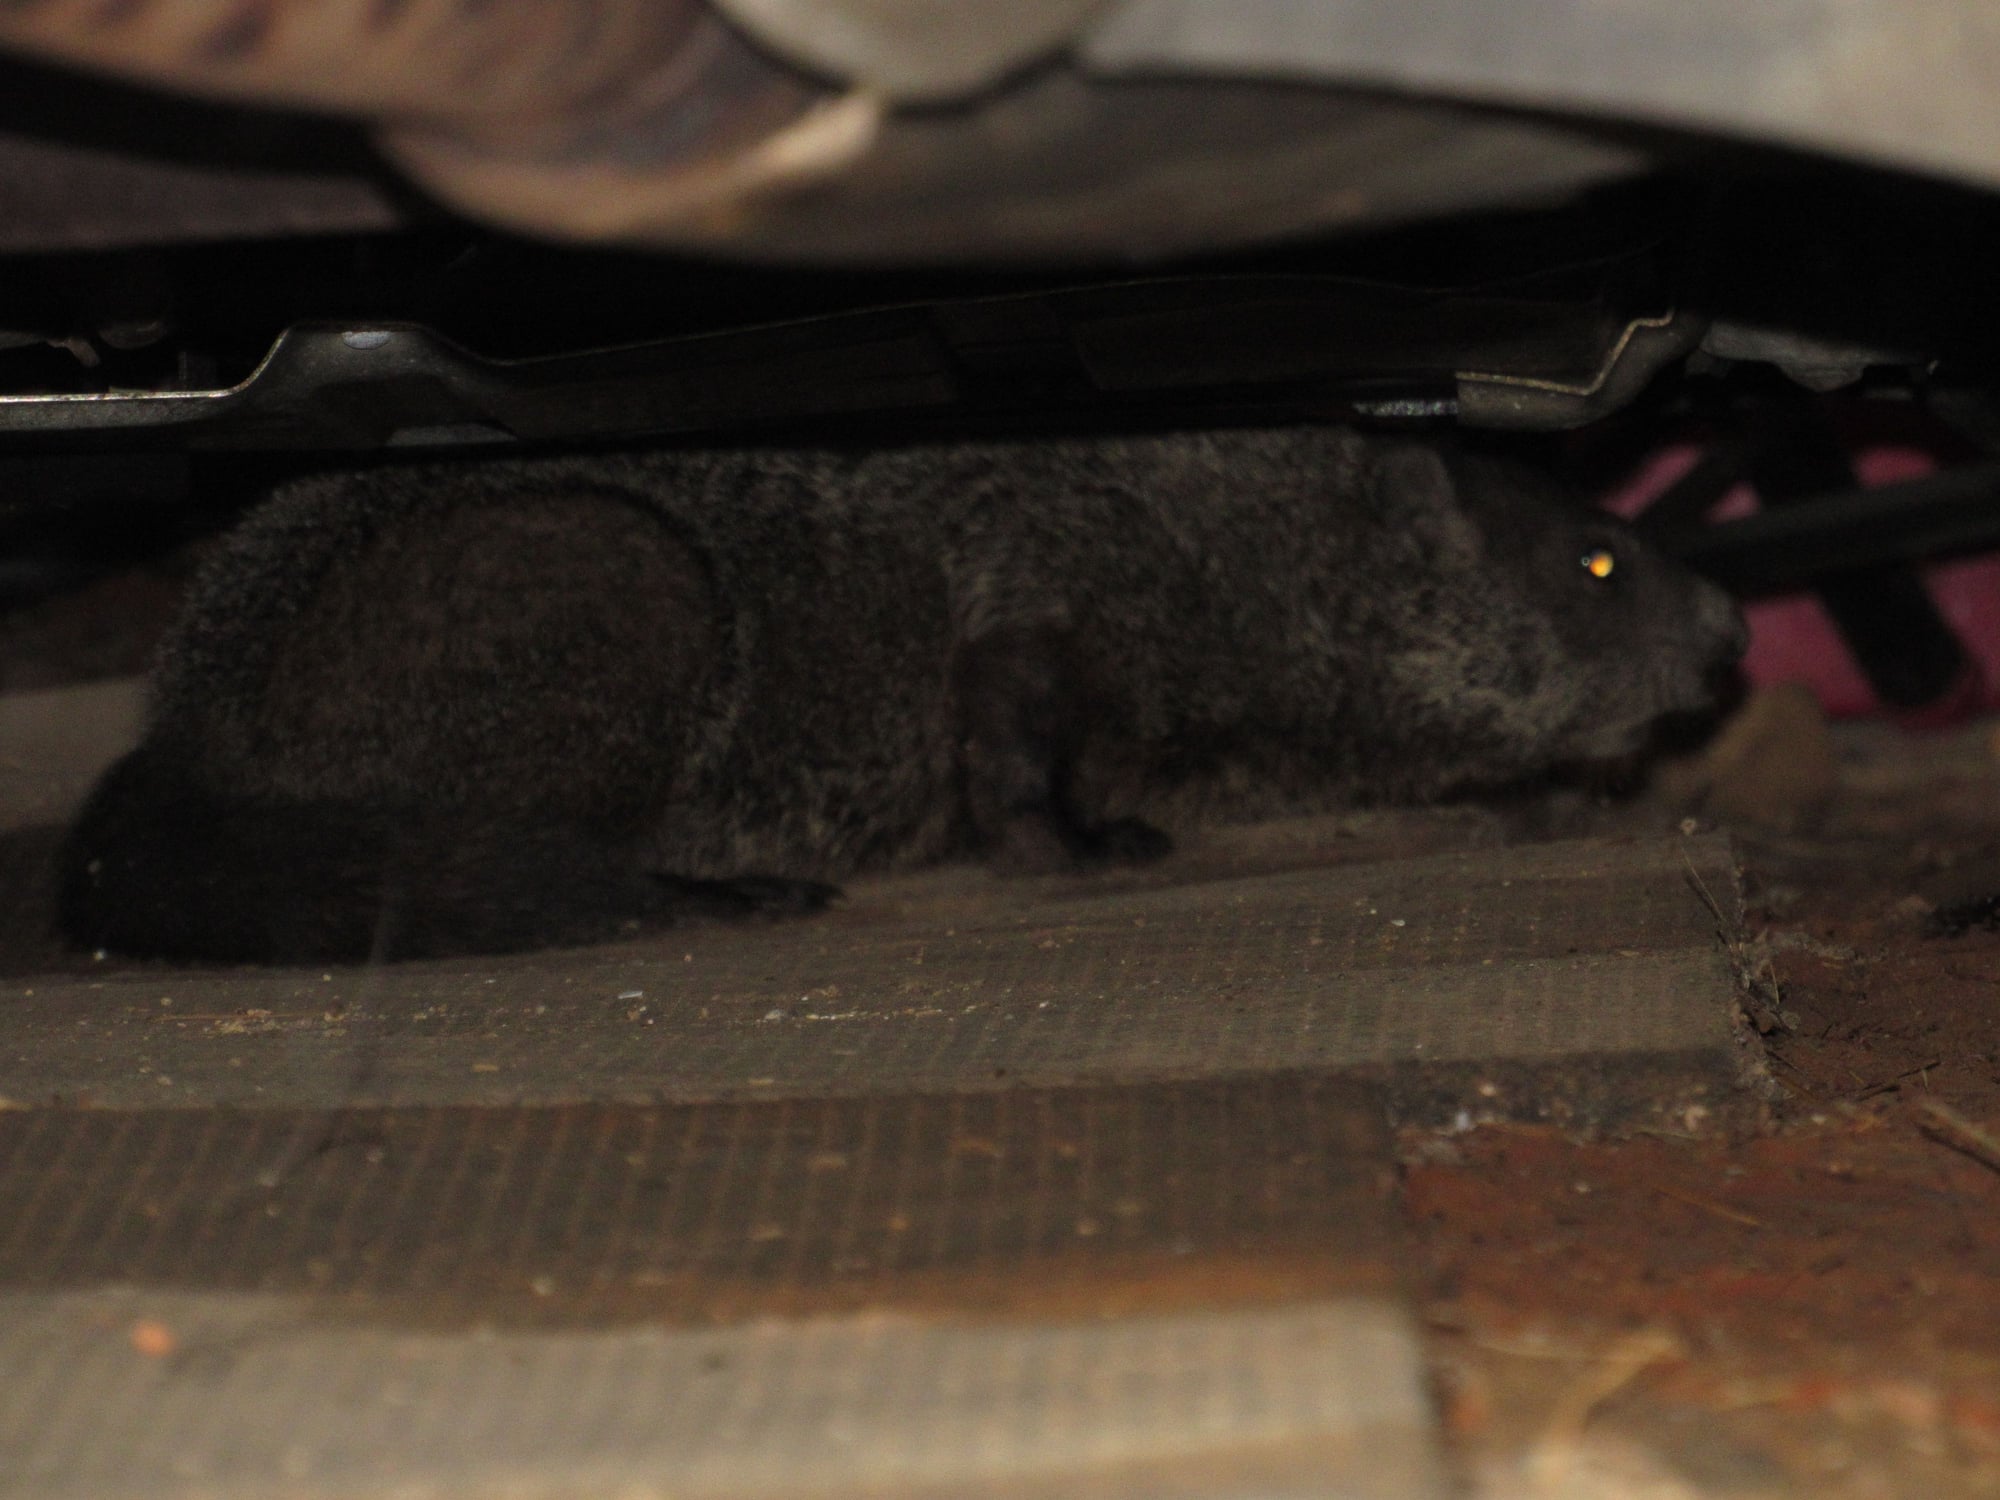
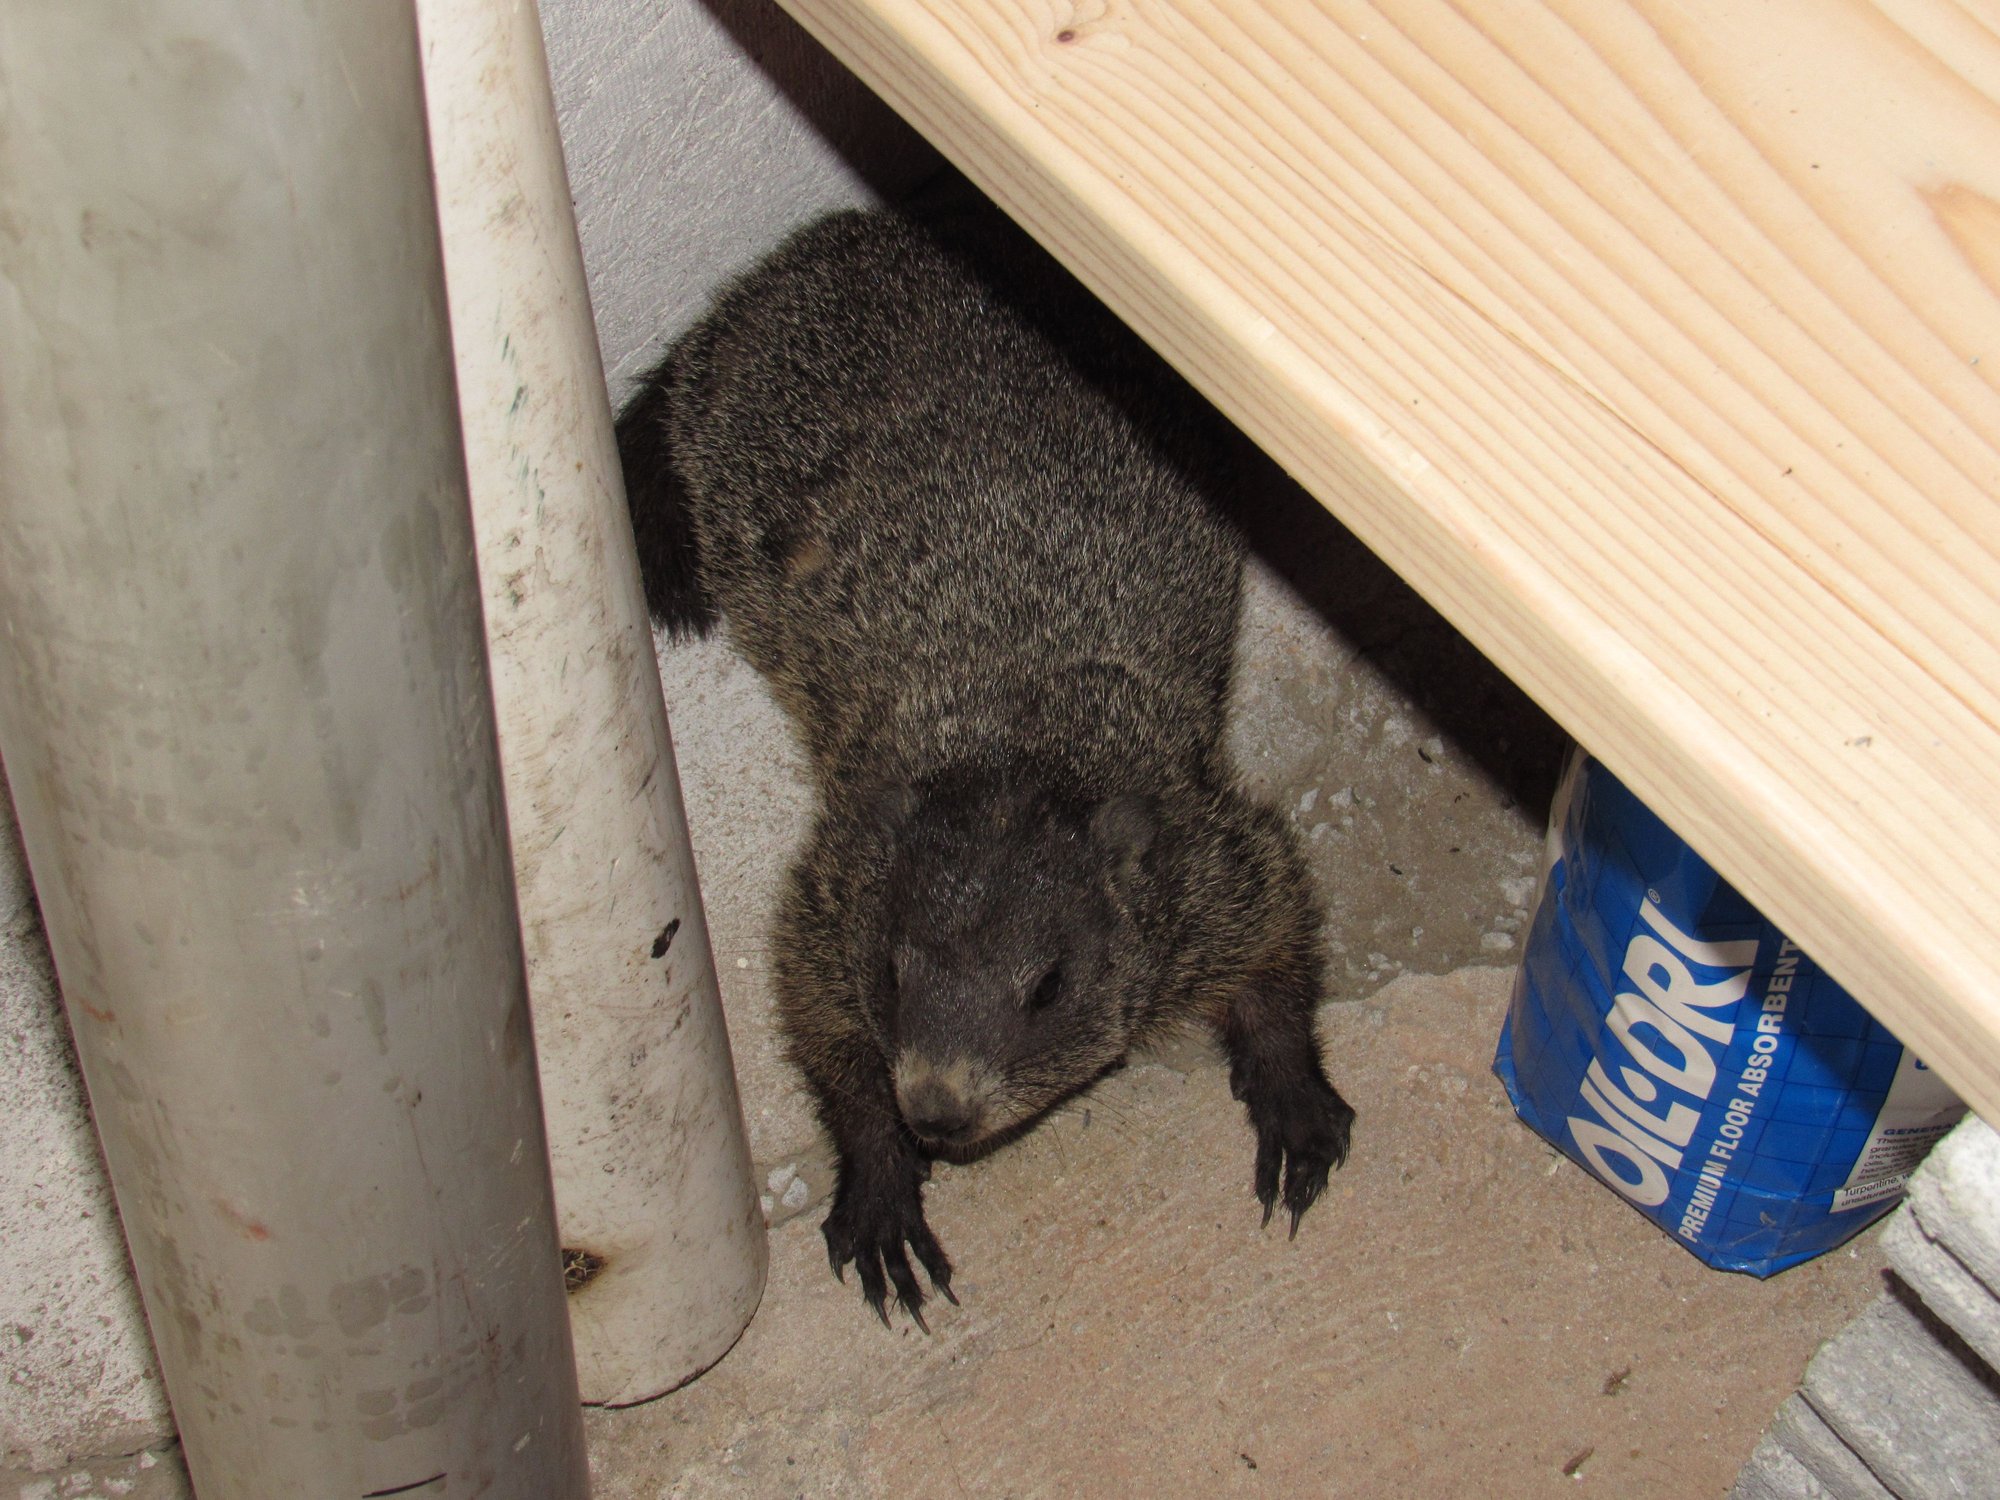
I made a new friend. When I was working this little guy walked right in and we both minded our own business and he only hid after about 15 minutes when I grabbed the camera. He walked out about an hour later.
I am wondering if I should blue Loctite the rear drive shaft splines rather than use lube? The splines are a bit compromised and it seems counterintuitive to lube something that I don't want to move.
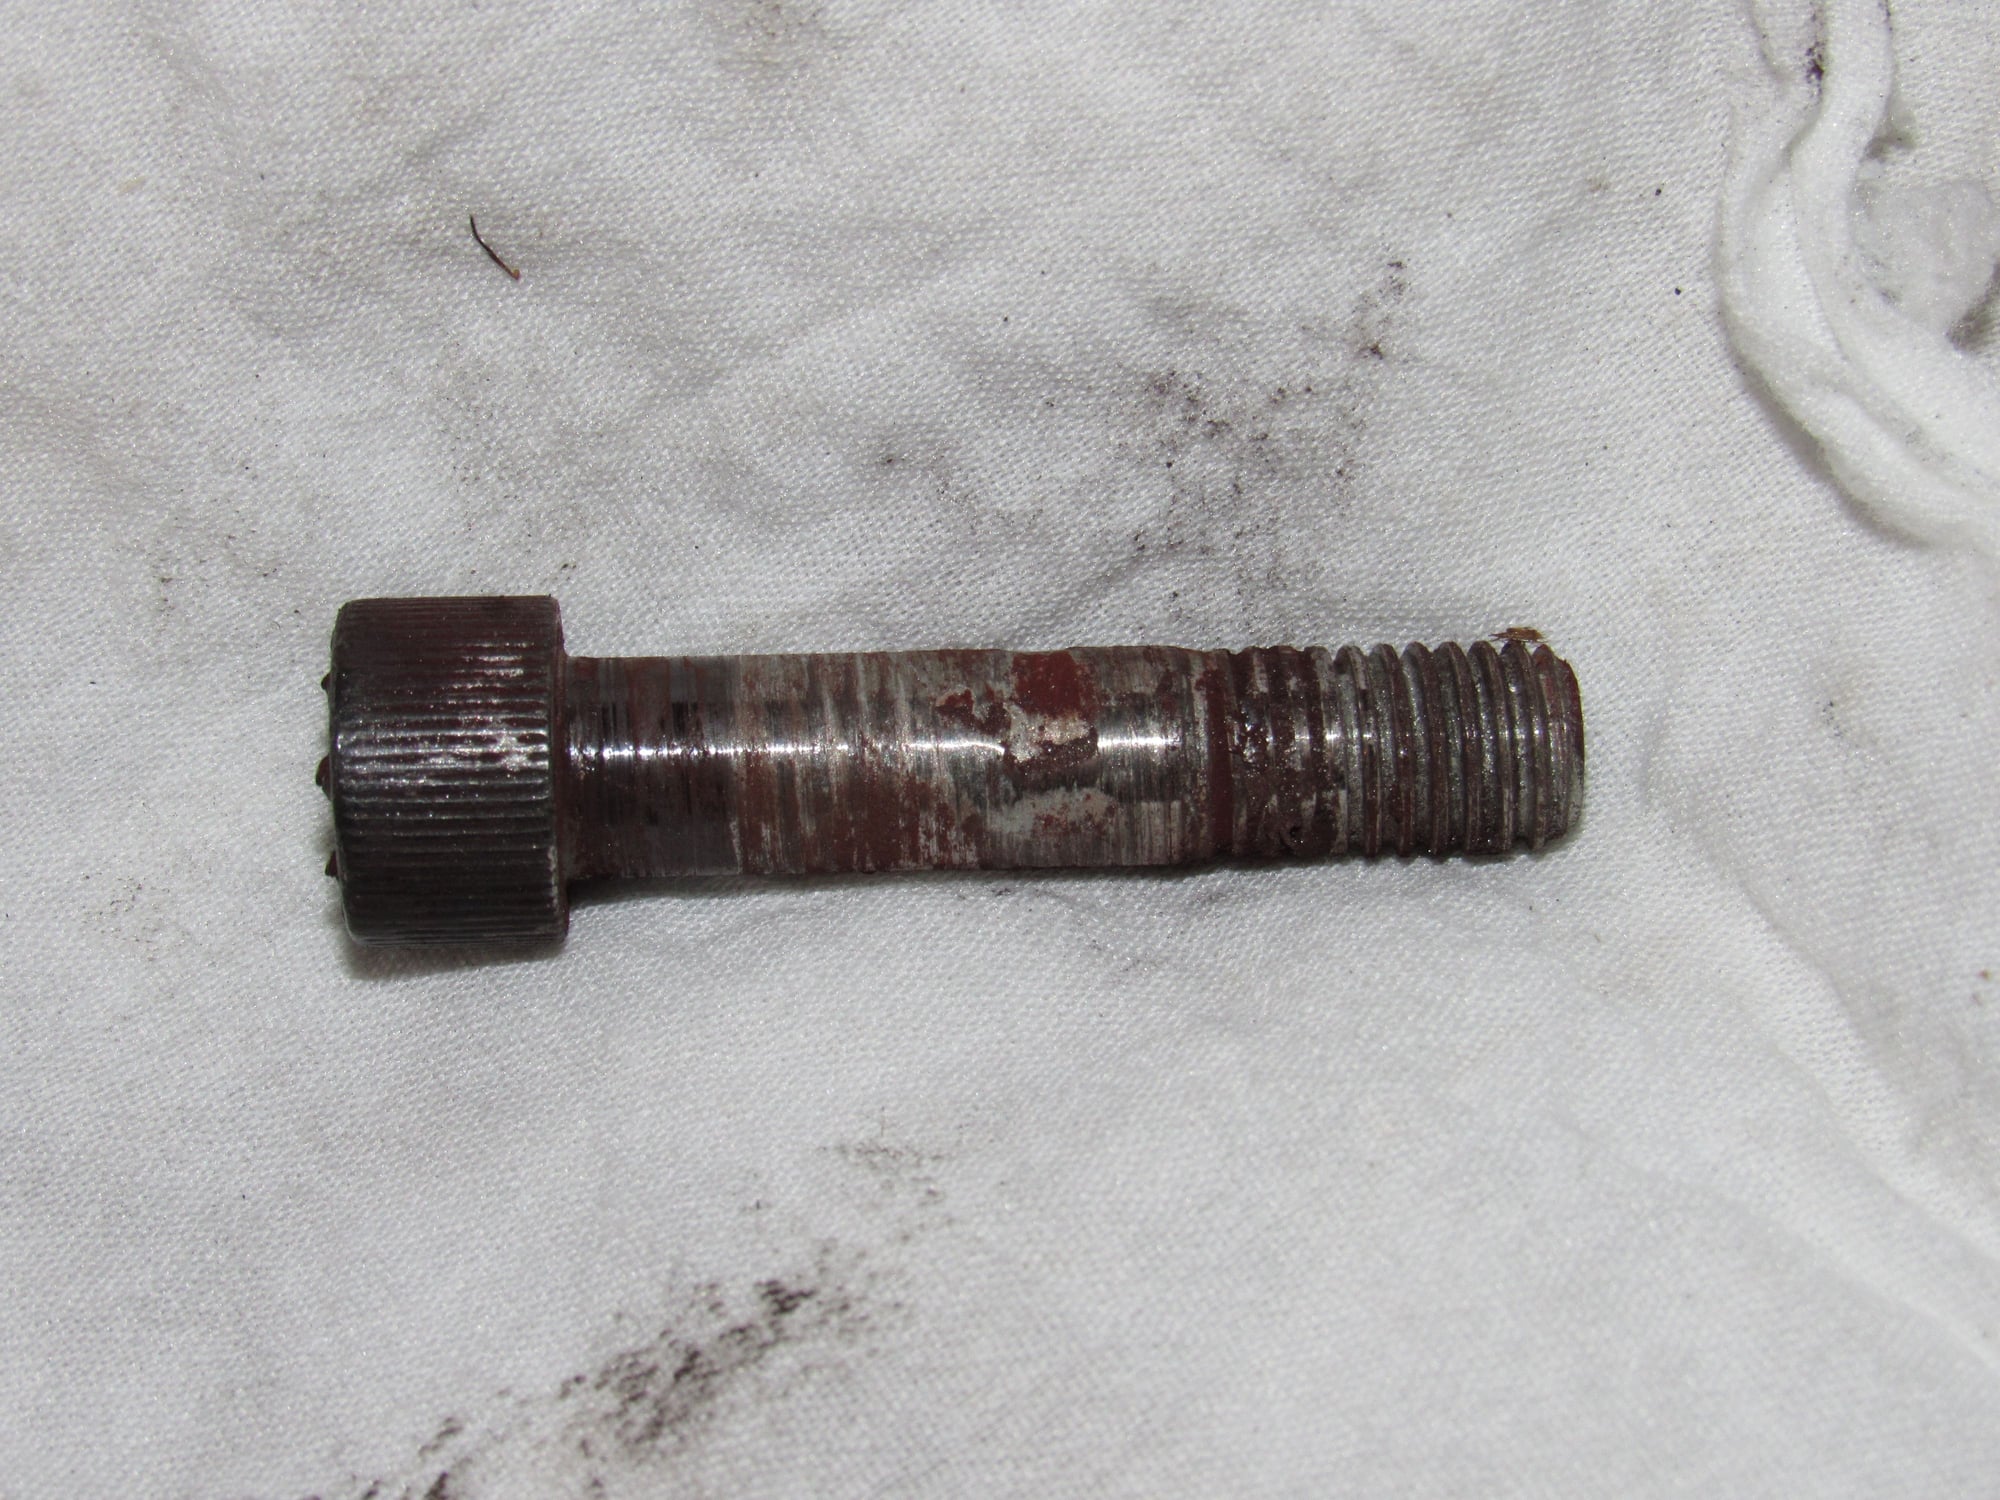
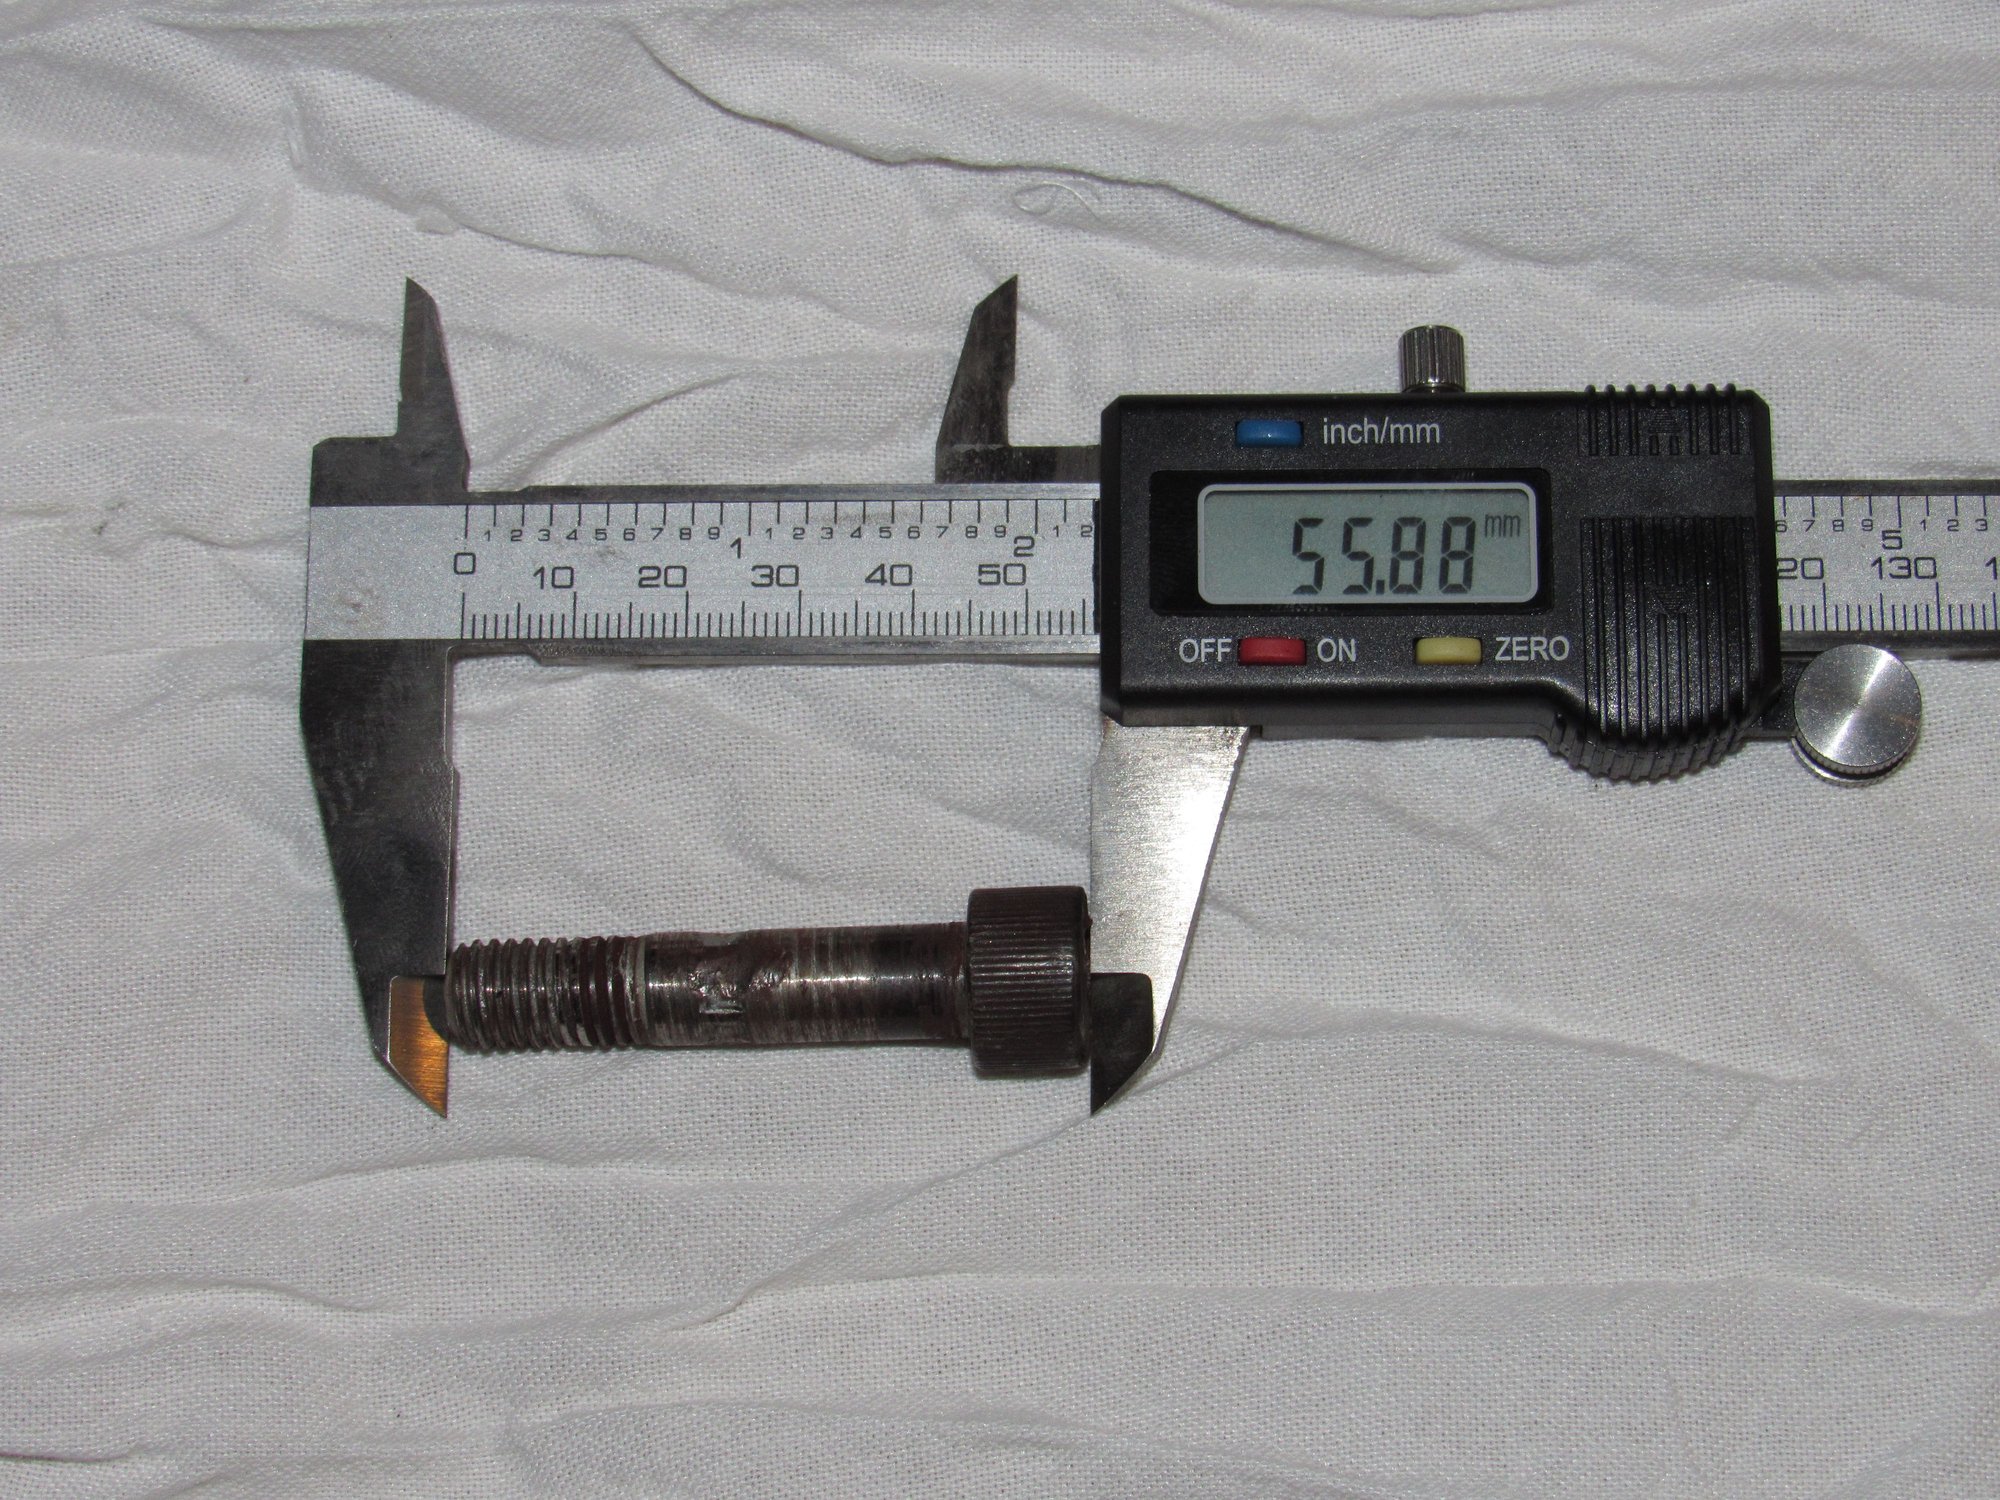
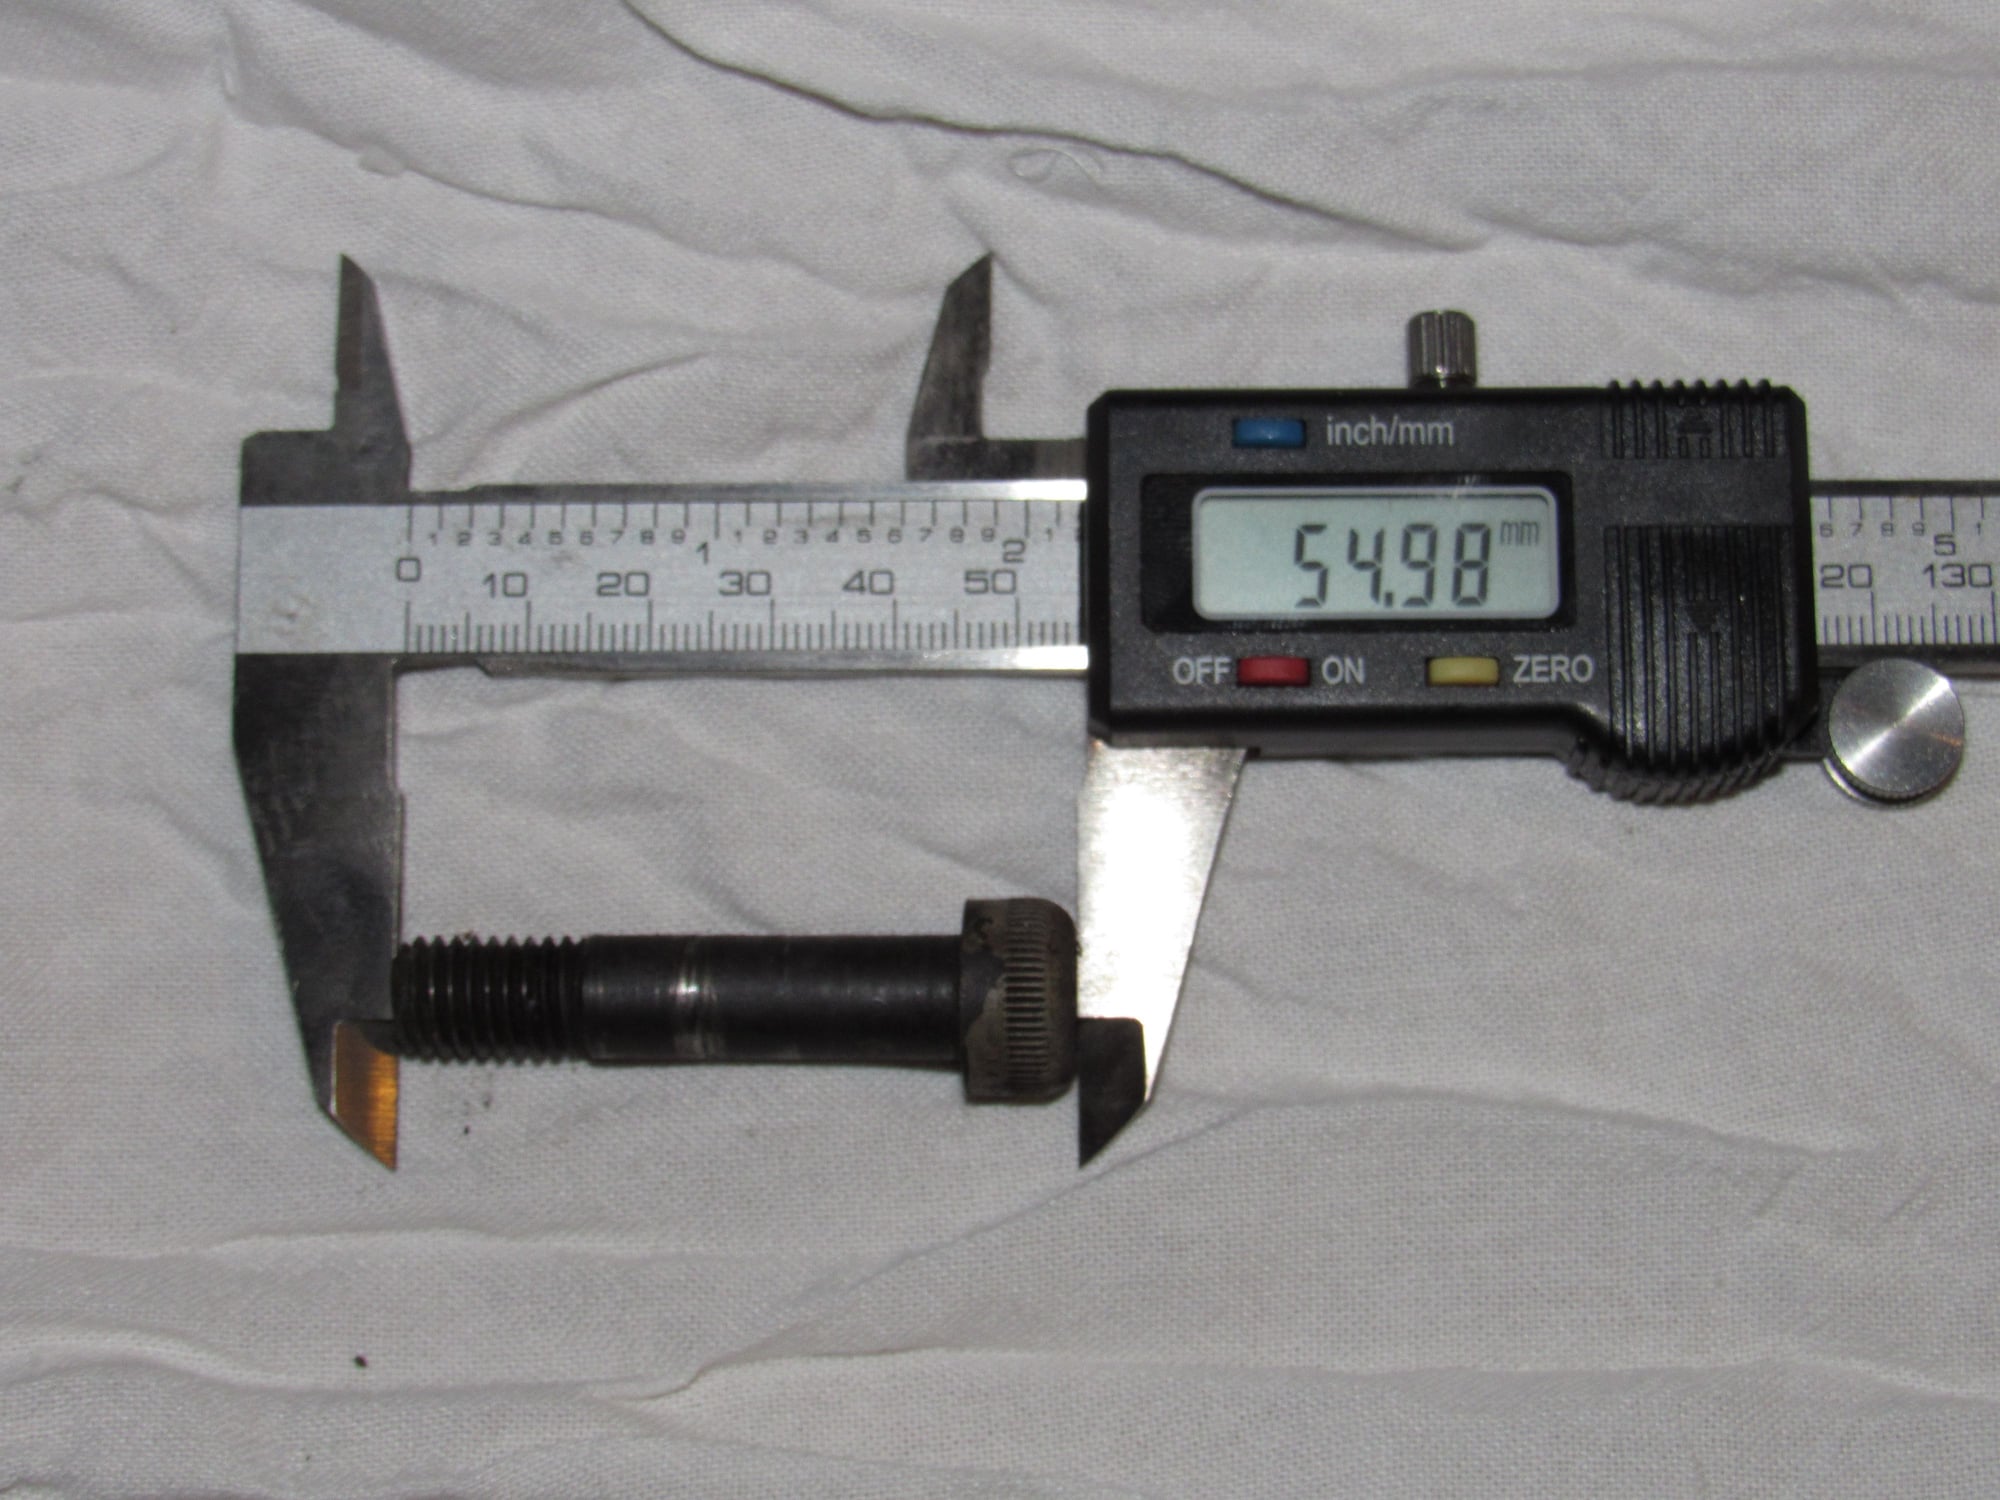
So whether right or wrong I Loctited the rear splines. I was curious to see how much the old pinch bolt was stretched and was surprised to measure almost 1.2mm difference compared to a new bolt.
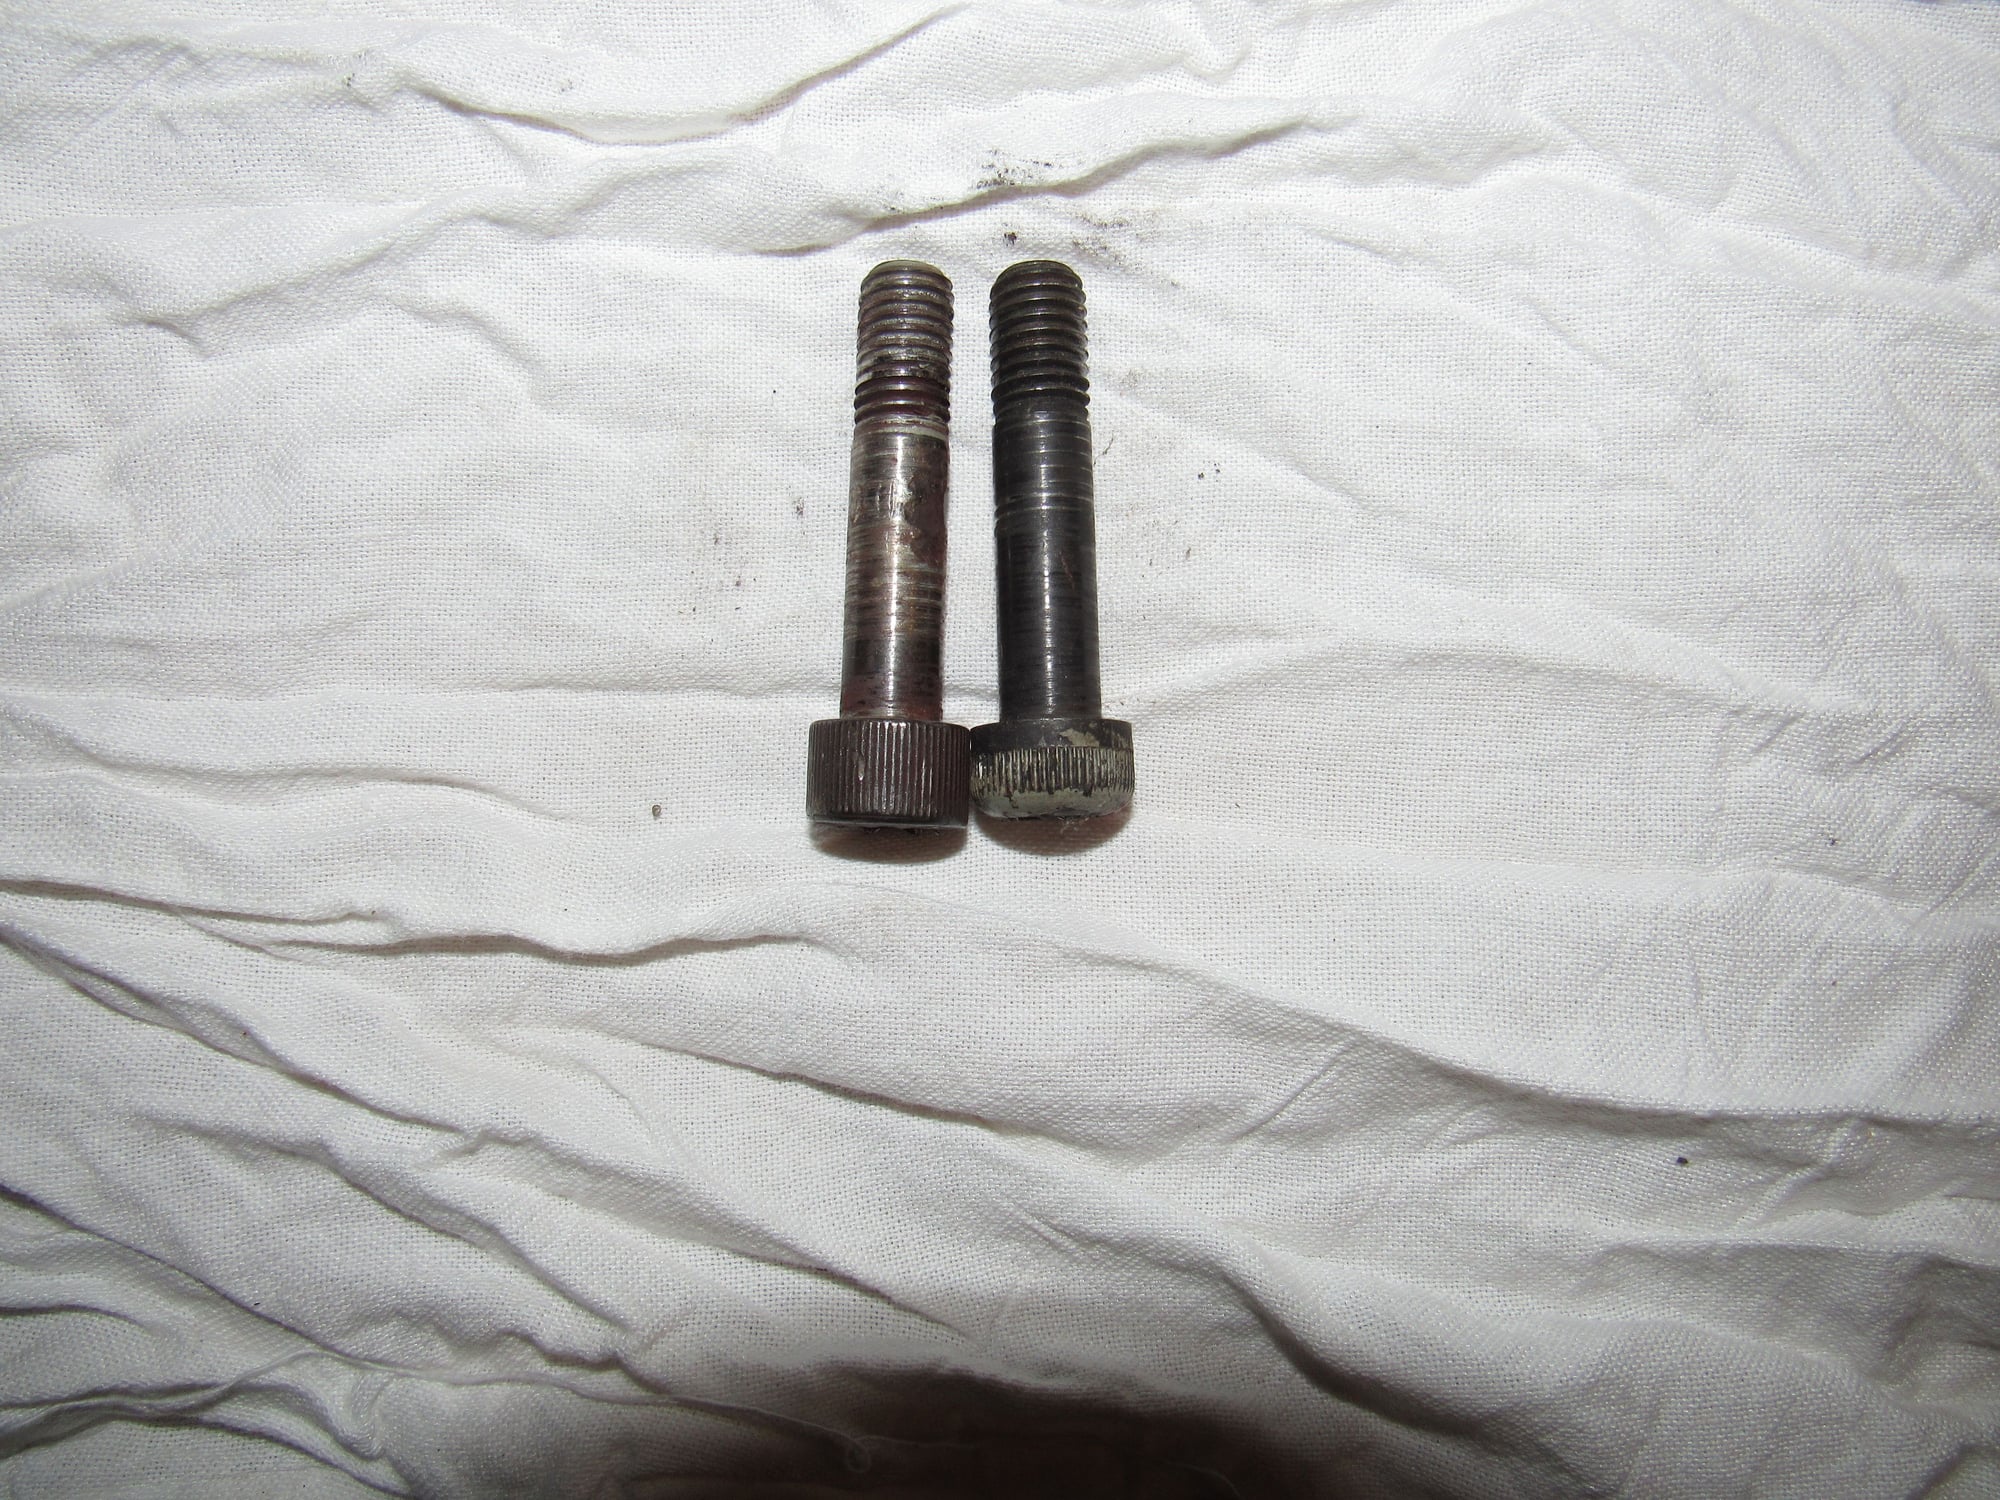
But then I noticed the head was different and thicker so I am pretty sure it had been replaced before.
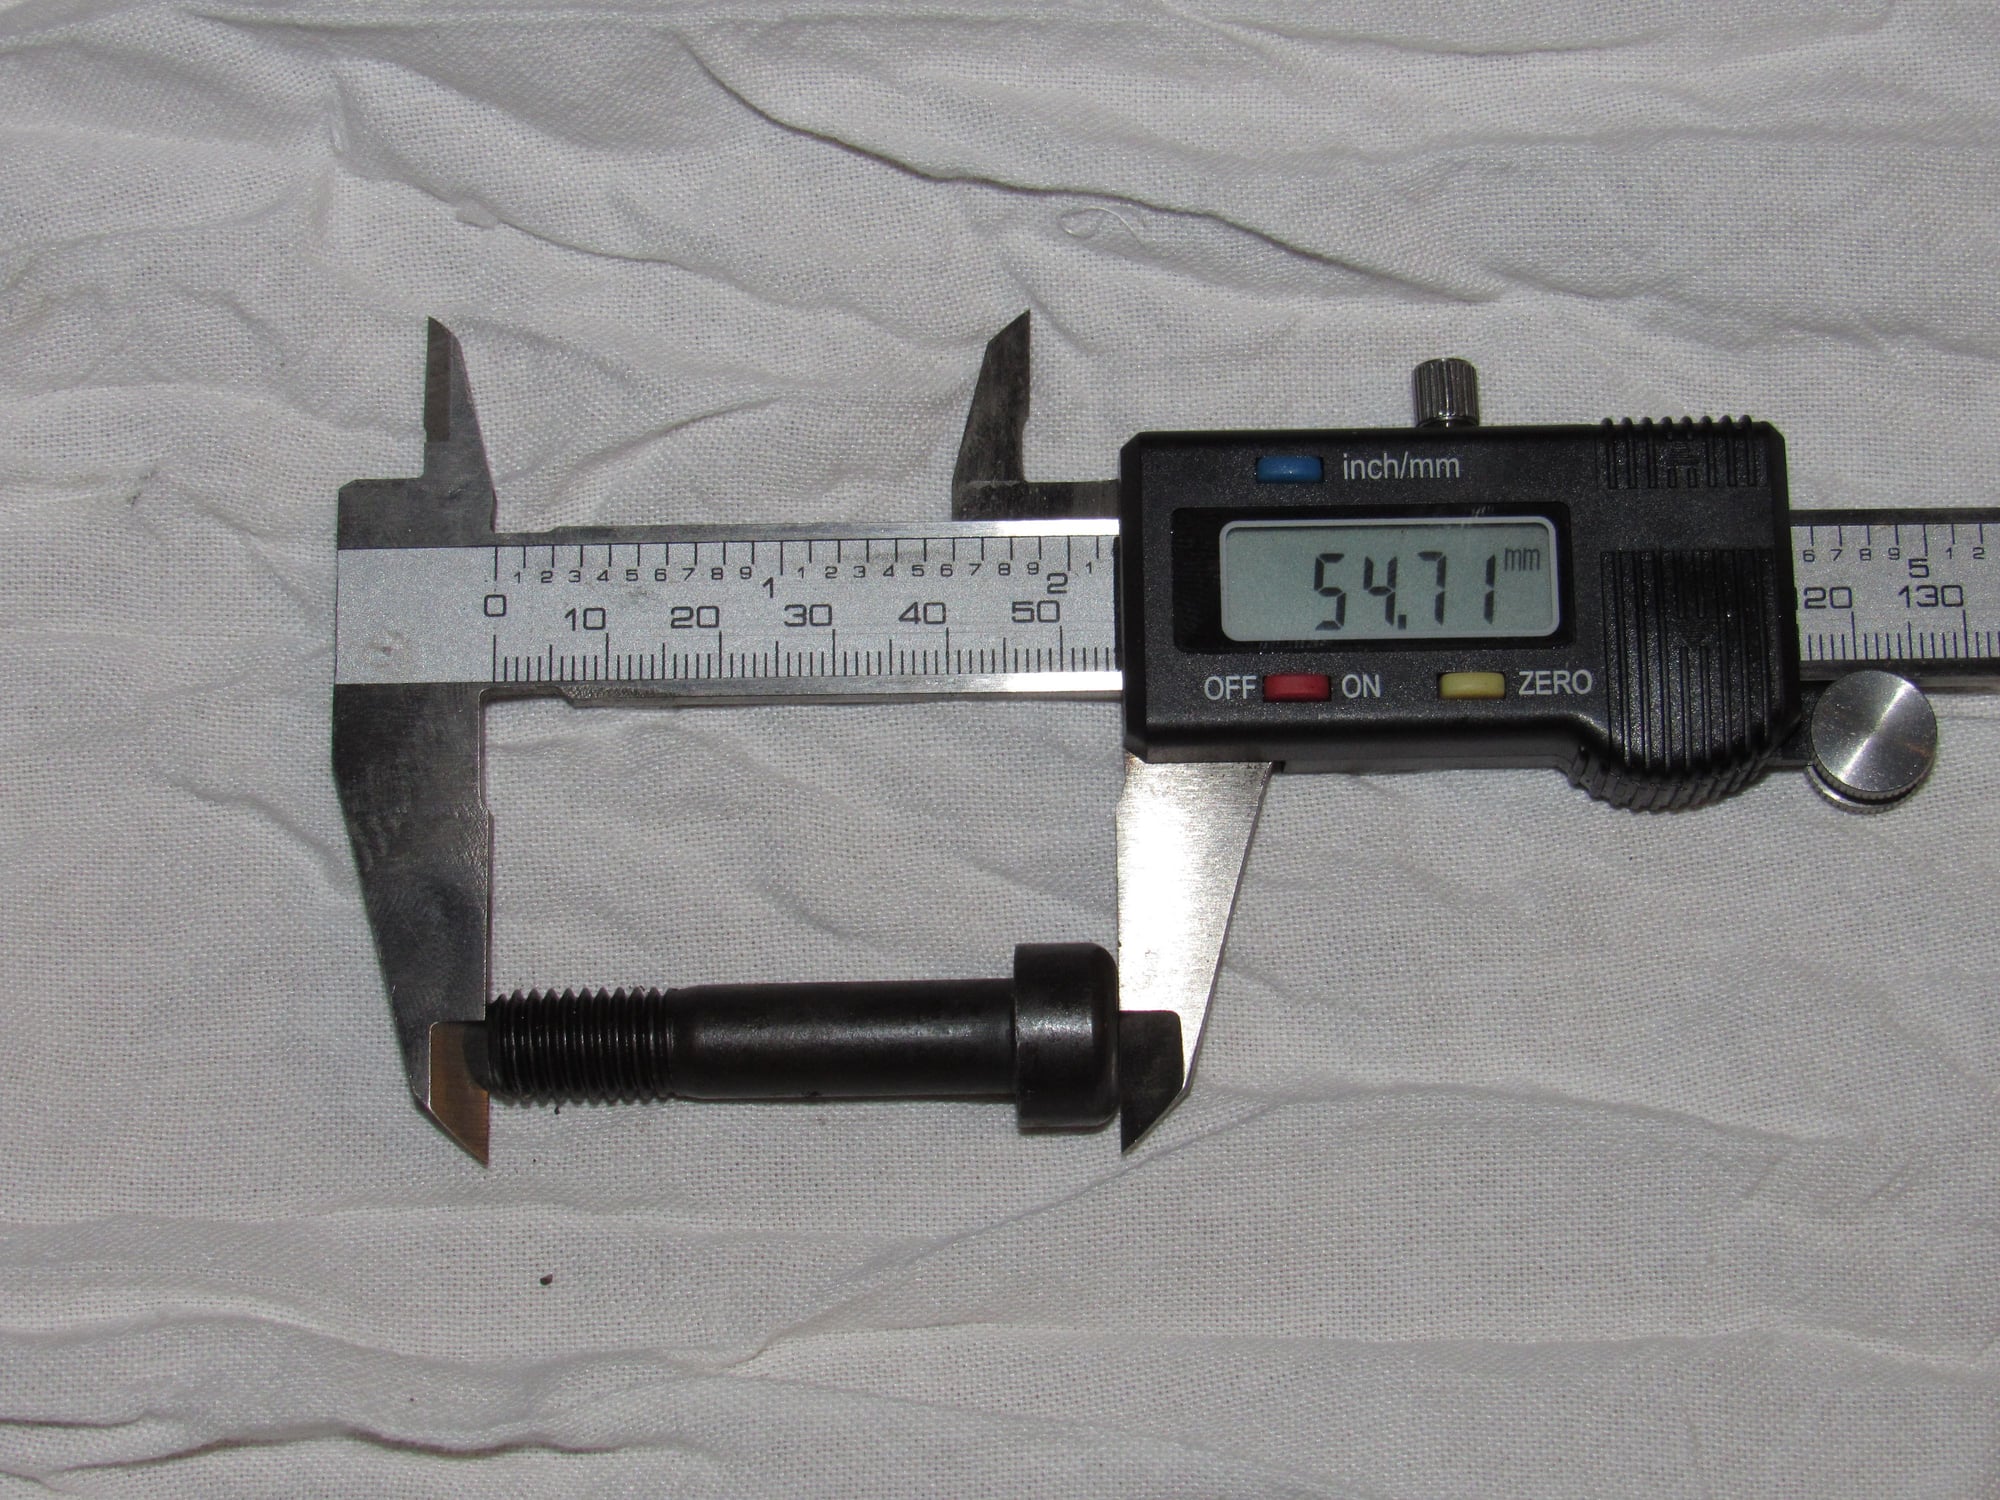
This is one of the front pinch bolts and it is less than 0.2mm longer.
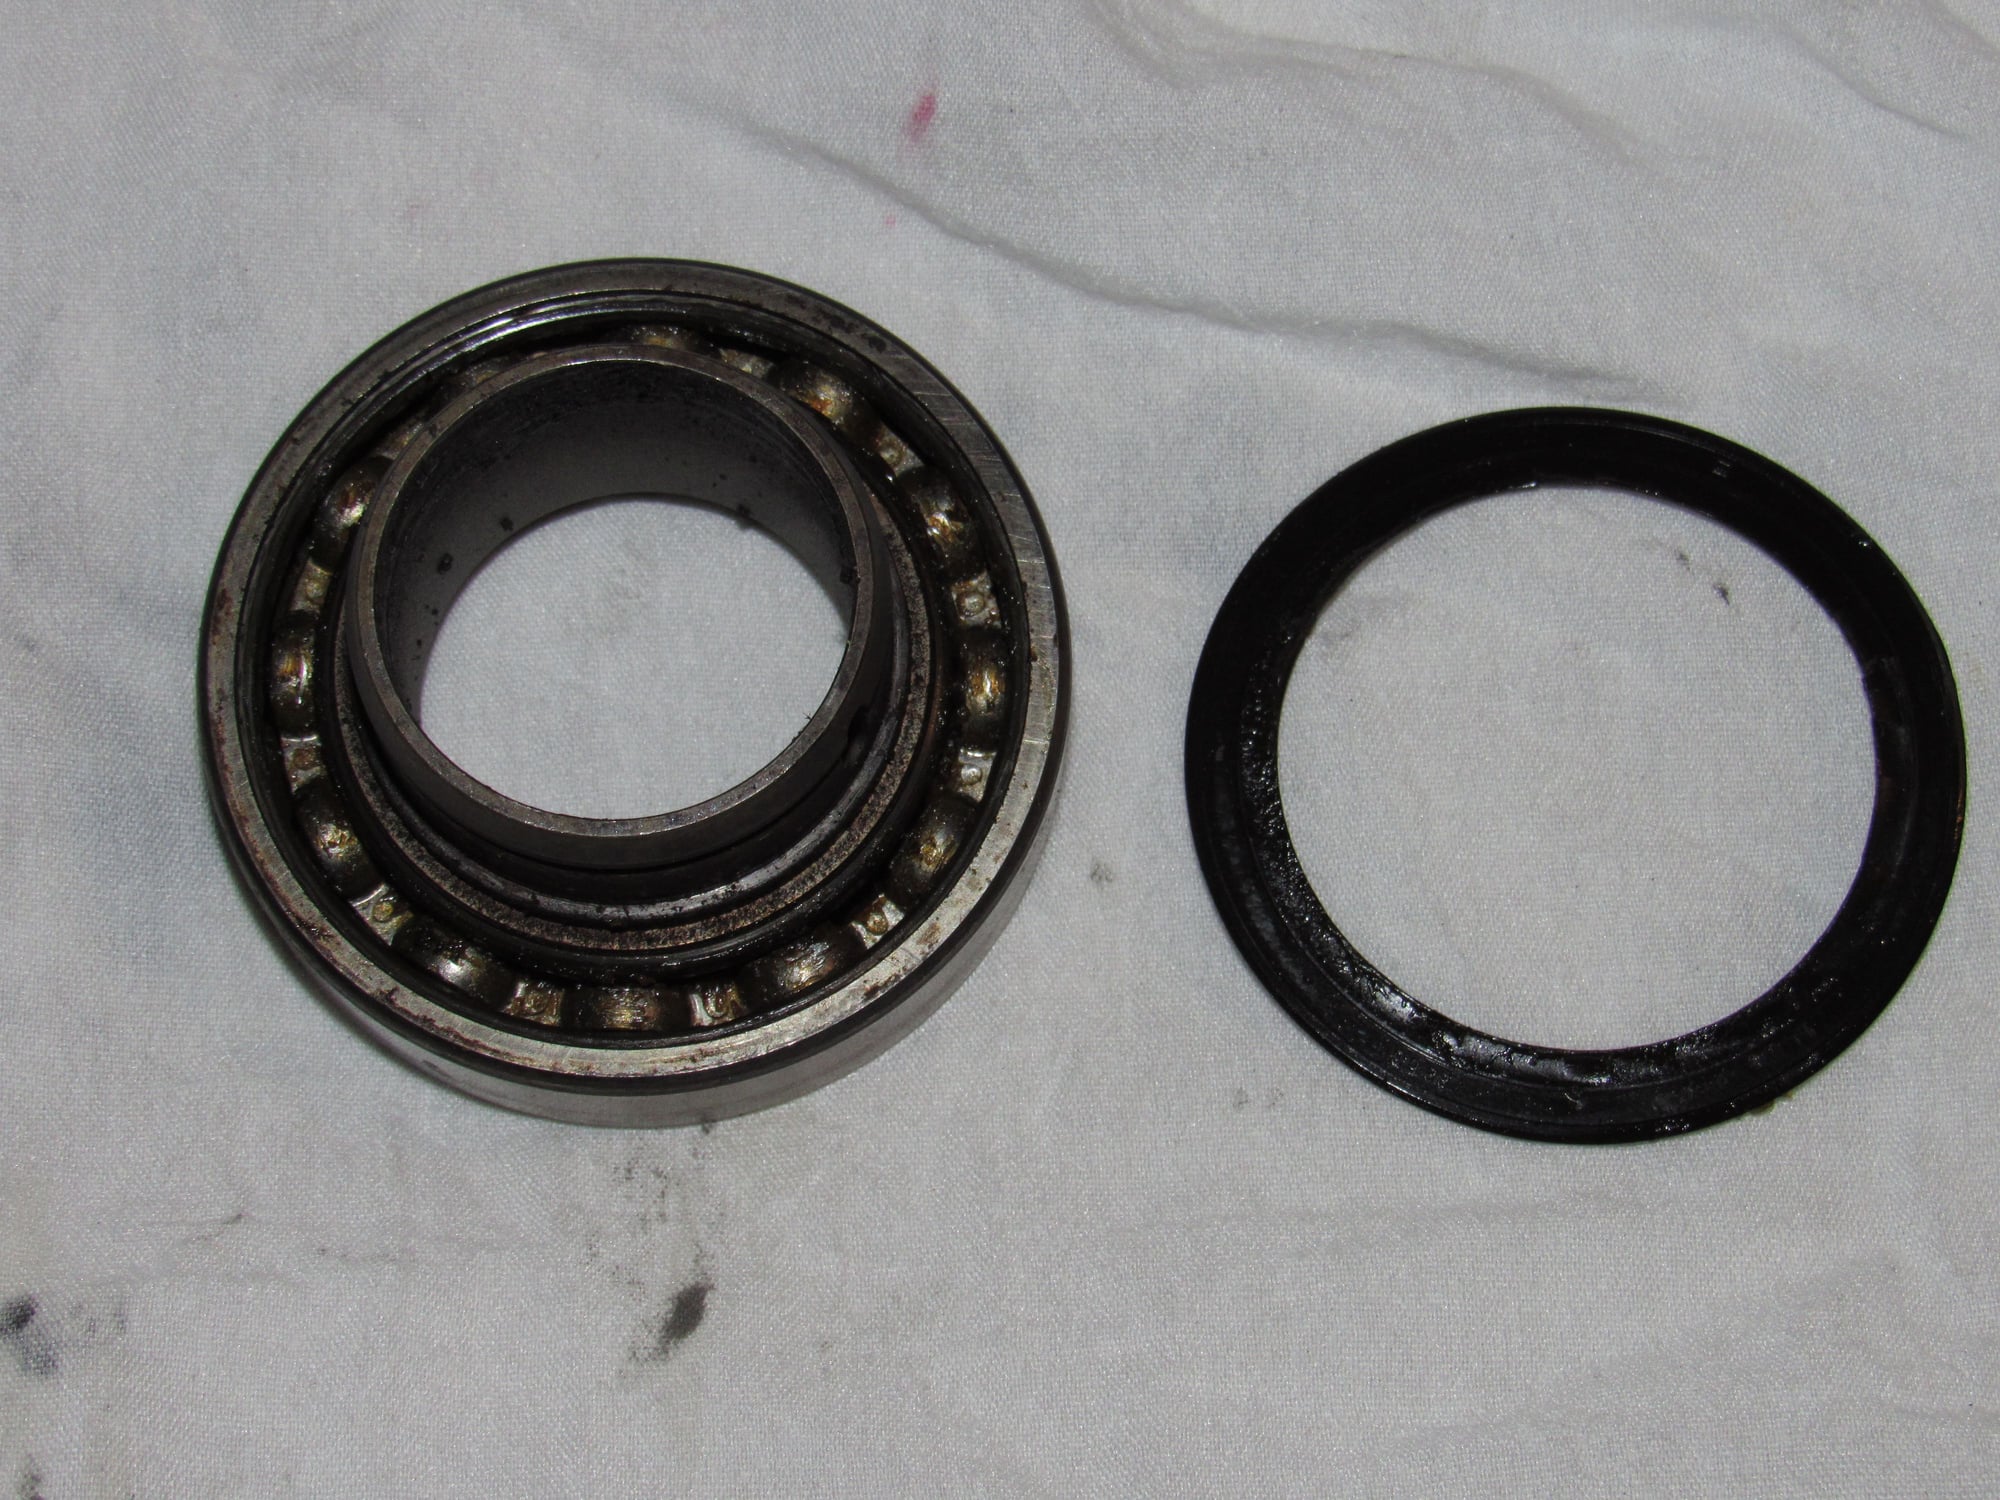
I got a replacement throw out bearing just in case but when I disassembled the old one it was actually nice and smooth. I was going to re-grease the bearing and save the new one for the future but the seal has become brittle and cracked when I pried it out. I will keep it and if I can find replacement bearing seals I will reuse it if I need it.
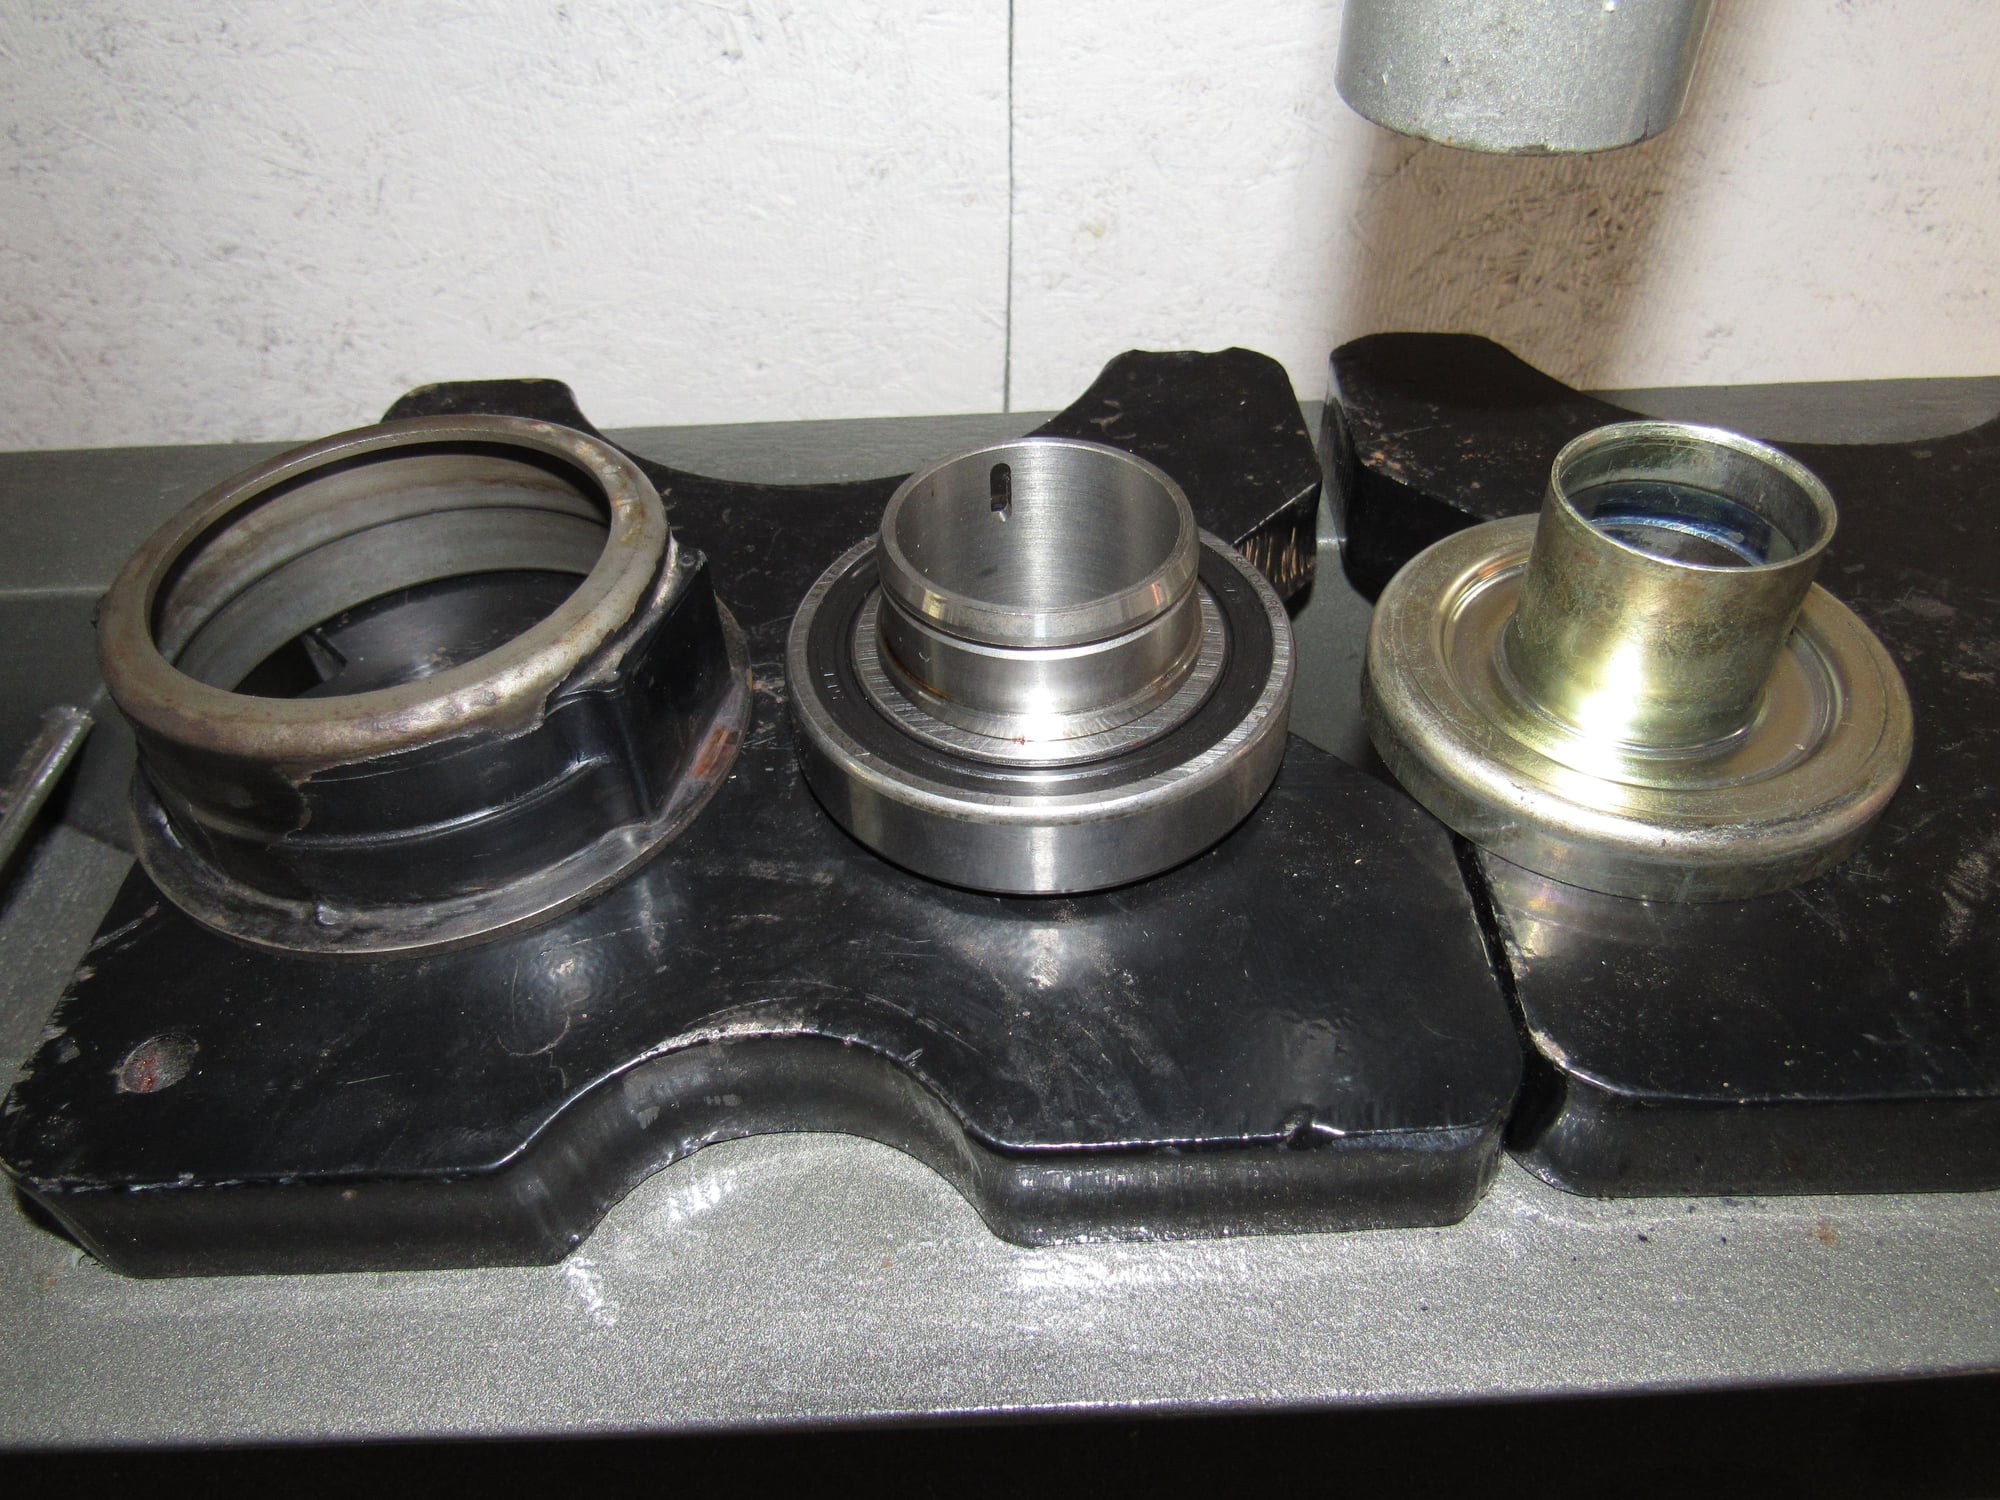
Throw out bearing disassembled and new bearing. A press is a necessity to do this.
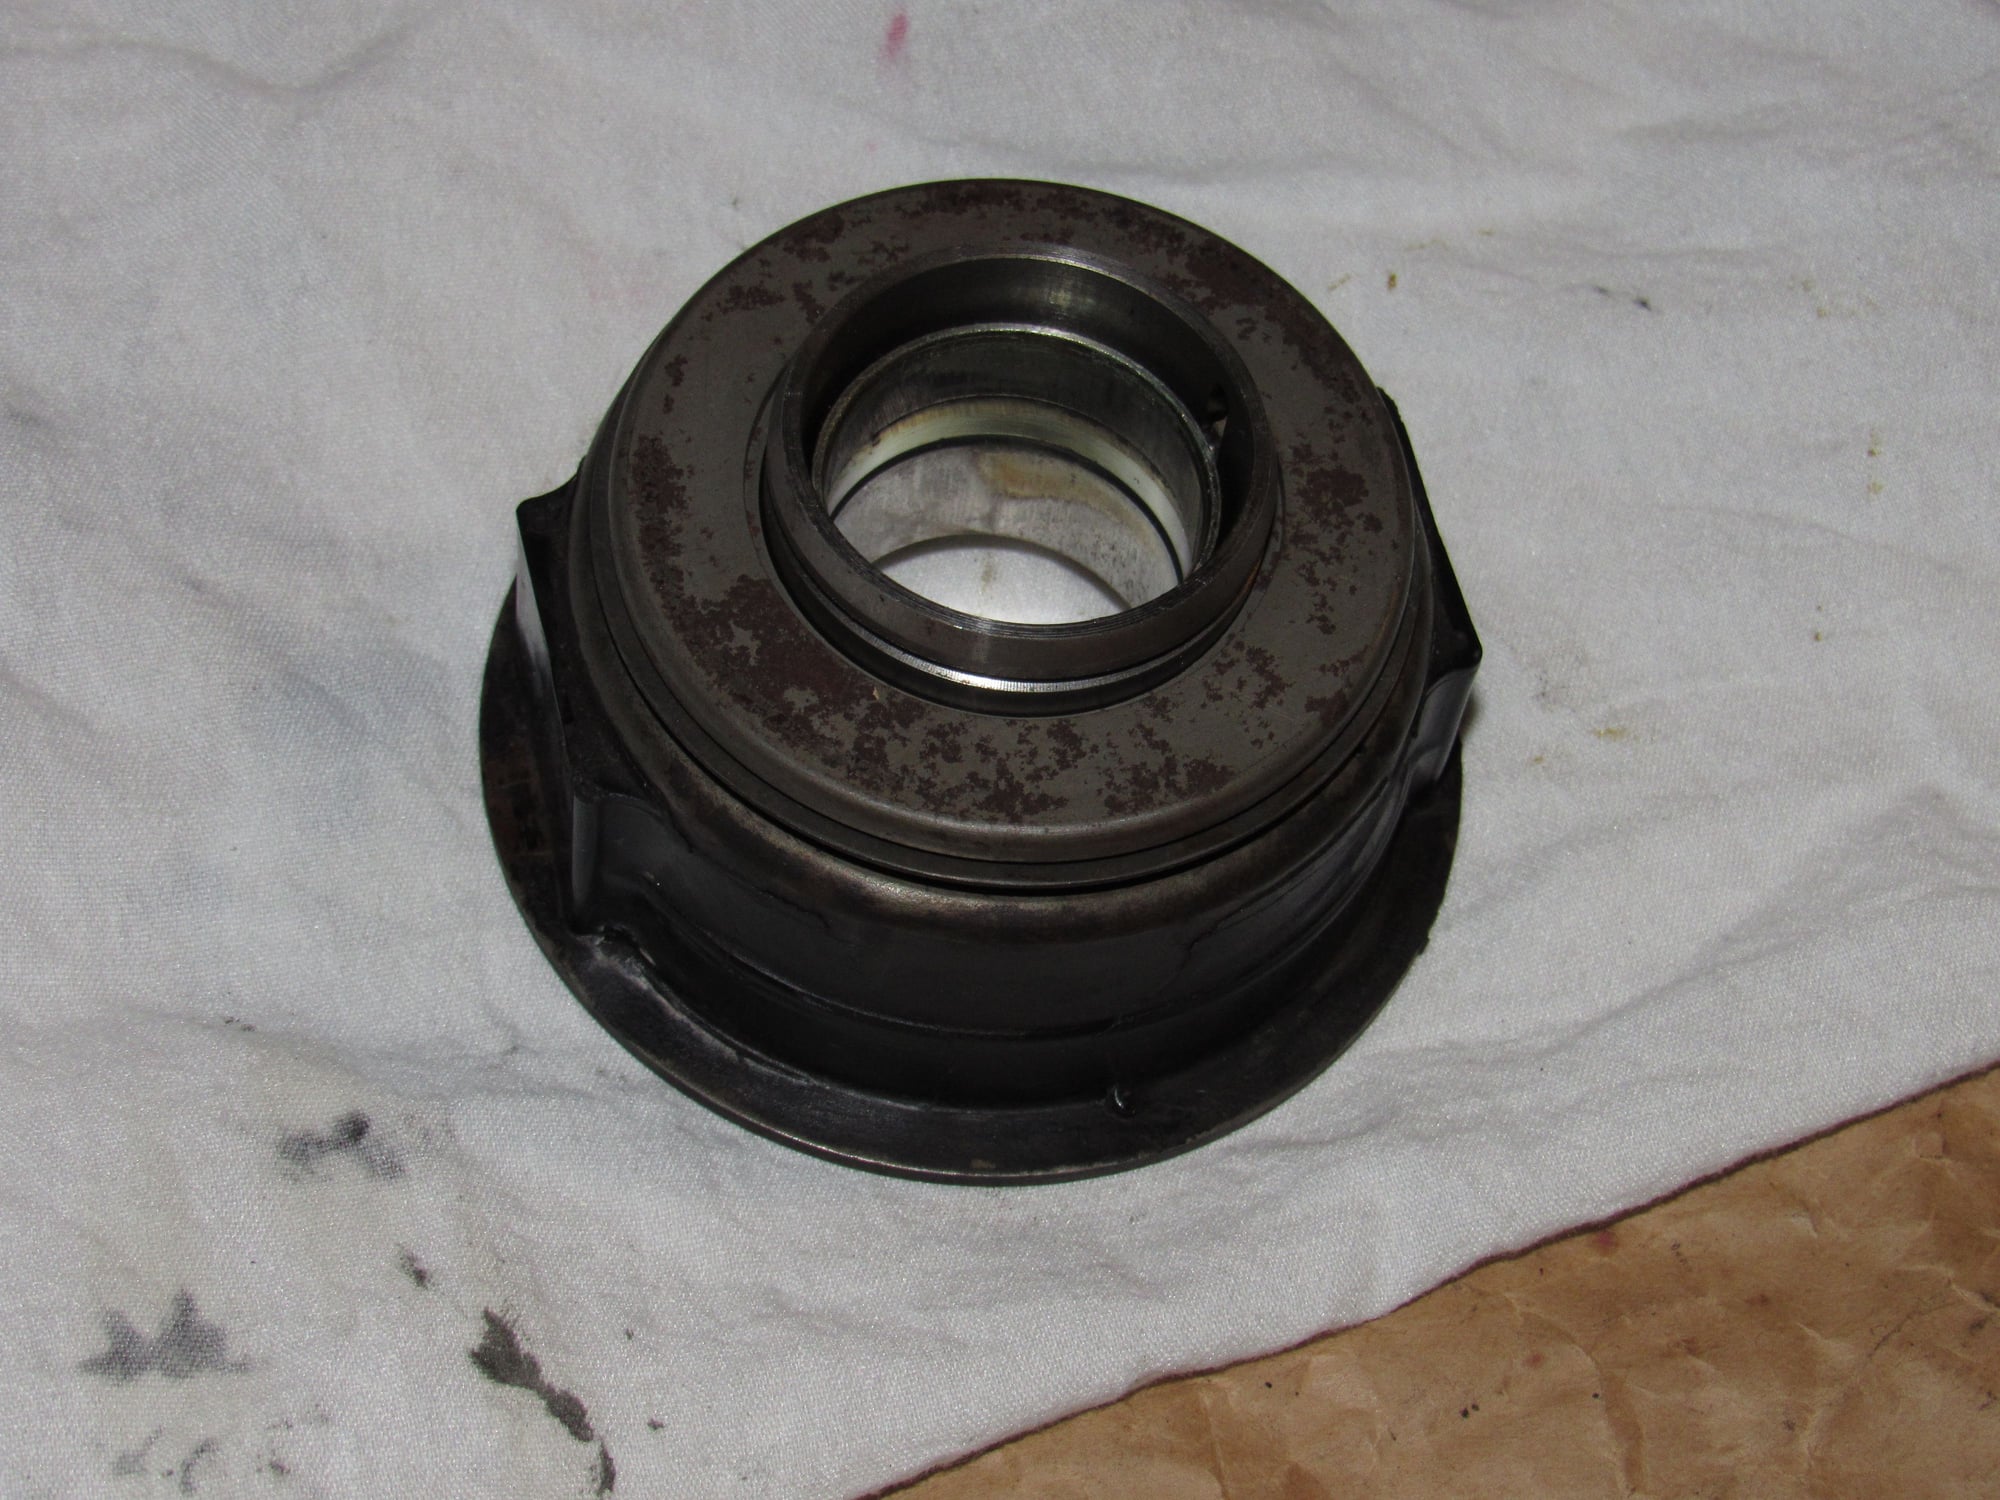
Reassembled.
The contact surfaces that fit into the clutch fork are actually plastic bonded to steel, I didn't expect that.
I packed grease into the inner CV joints and mounted the axles to the trans. This is such a messy job. I was only able to get one pack of grease into them and it was trying to spill out everywhere. I used painters tape to cover the bolt holes so I wouldn't have to clean those out again and that worked pretty well.
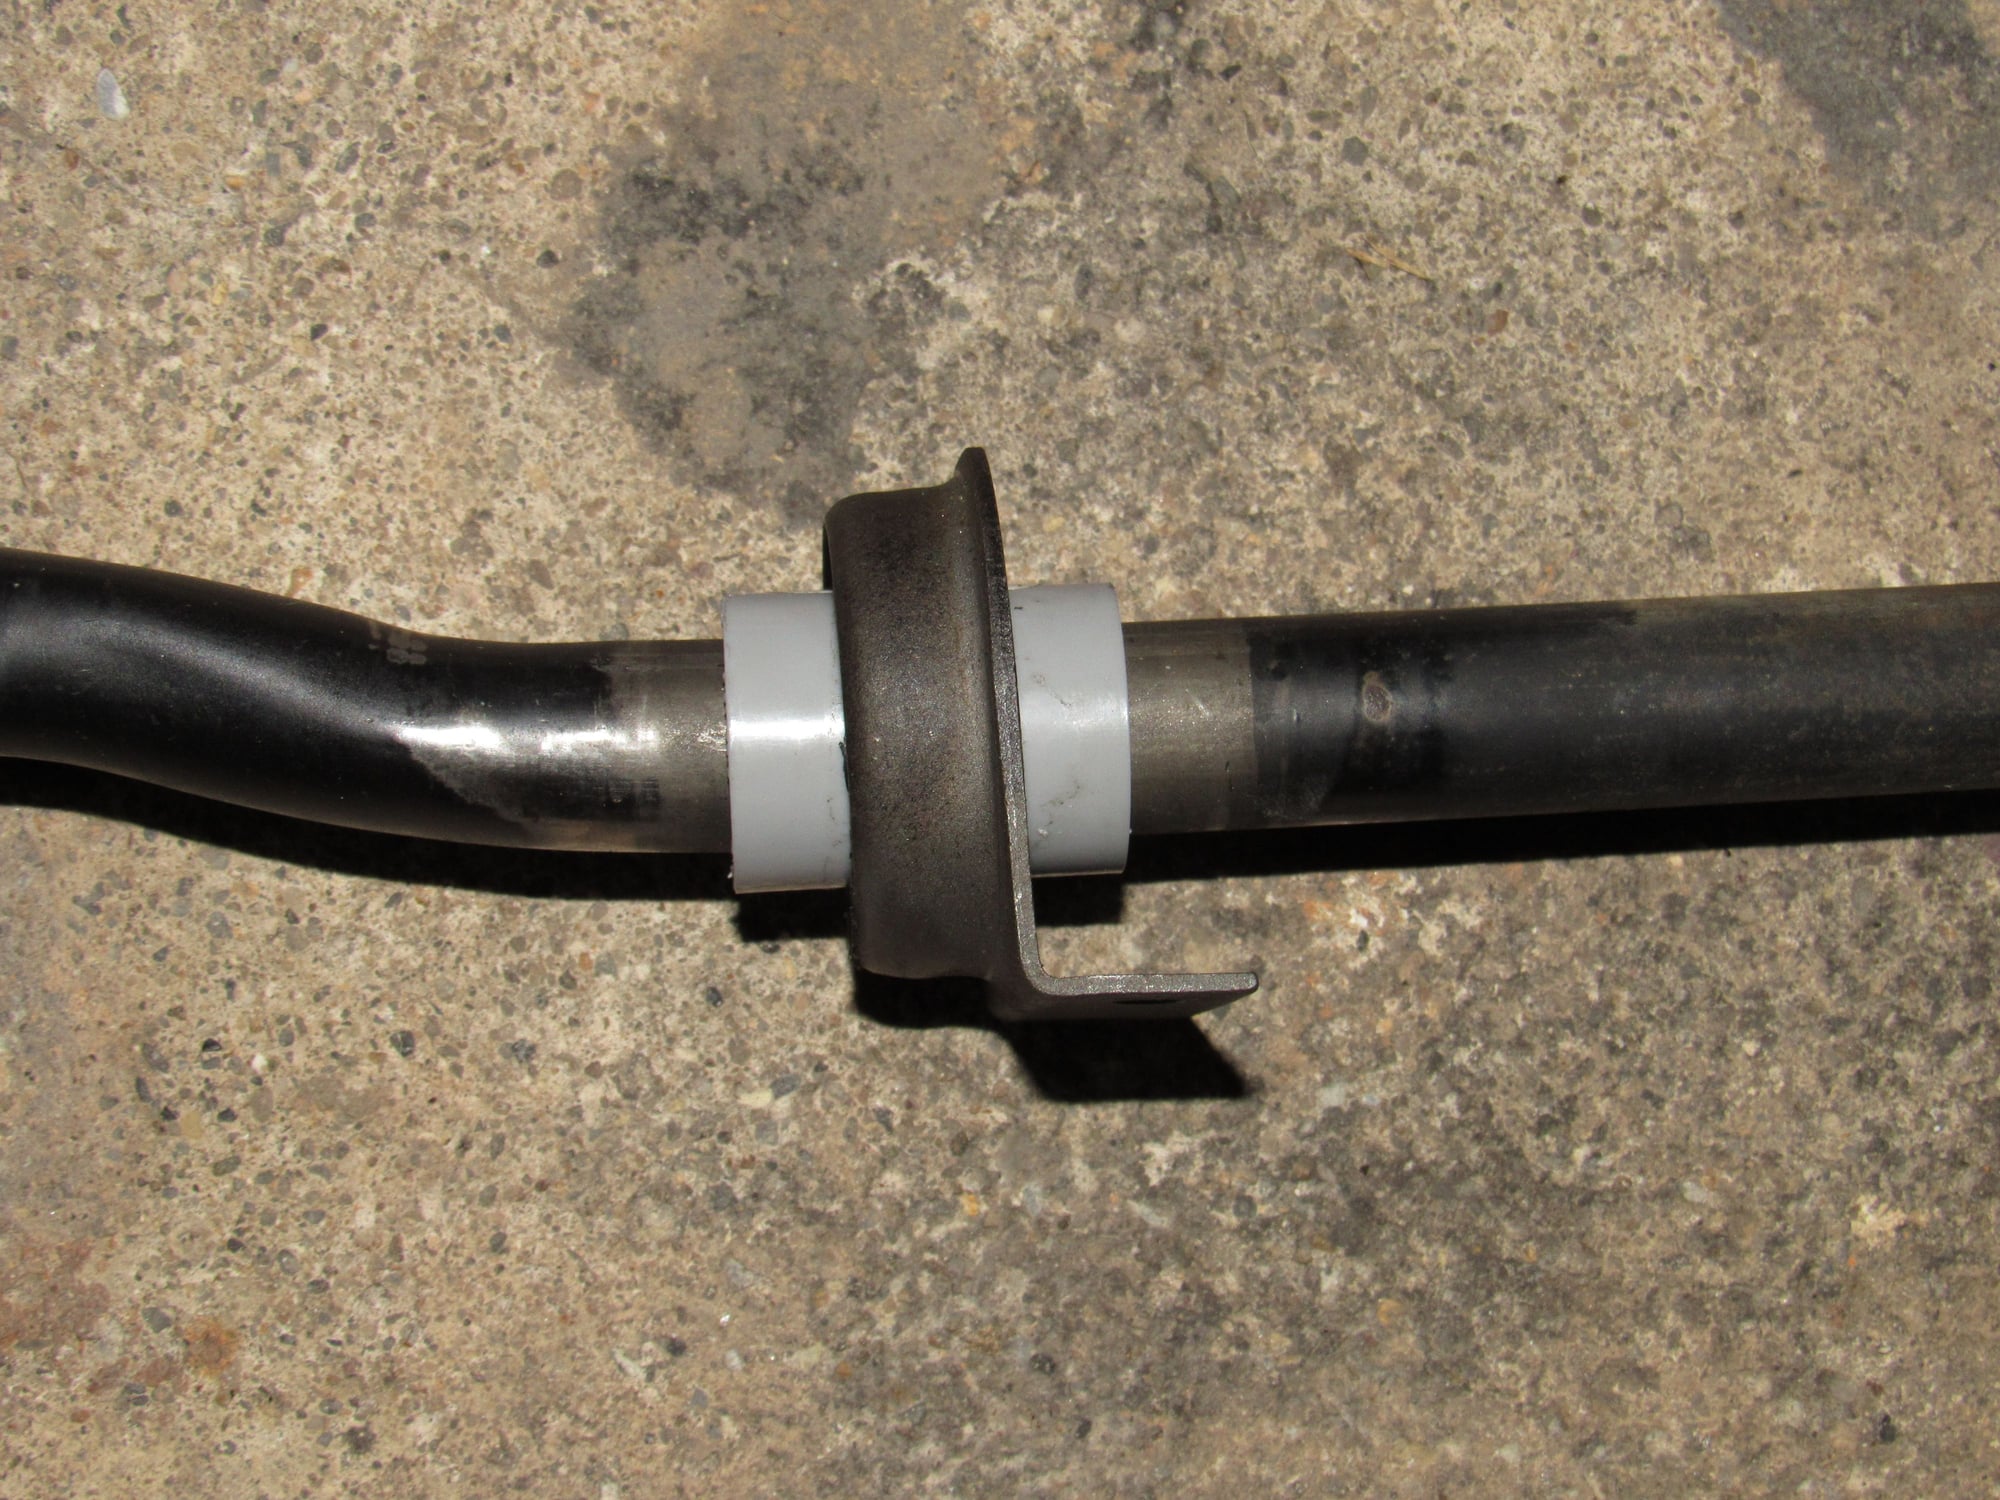
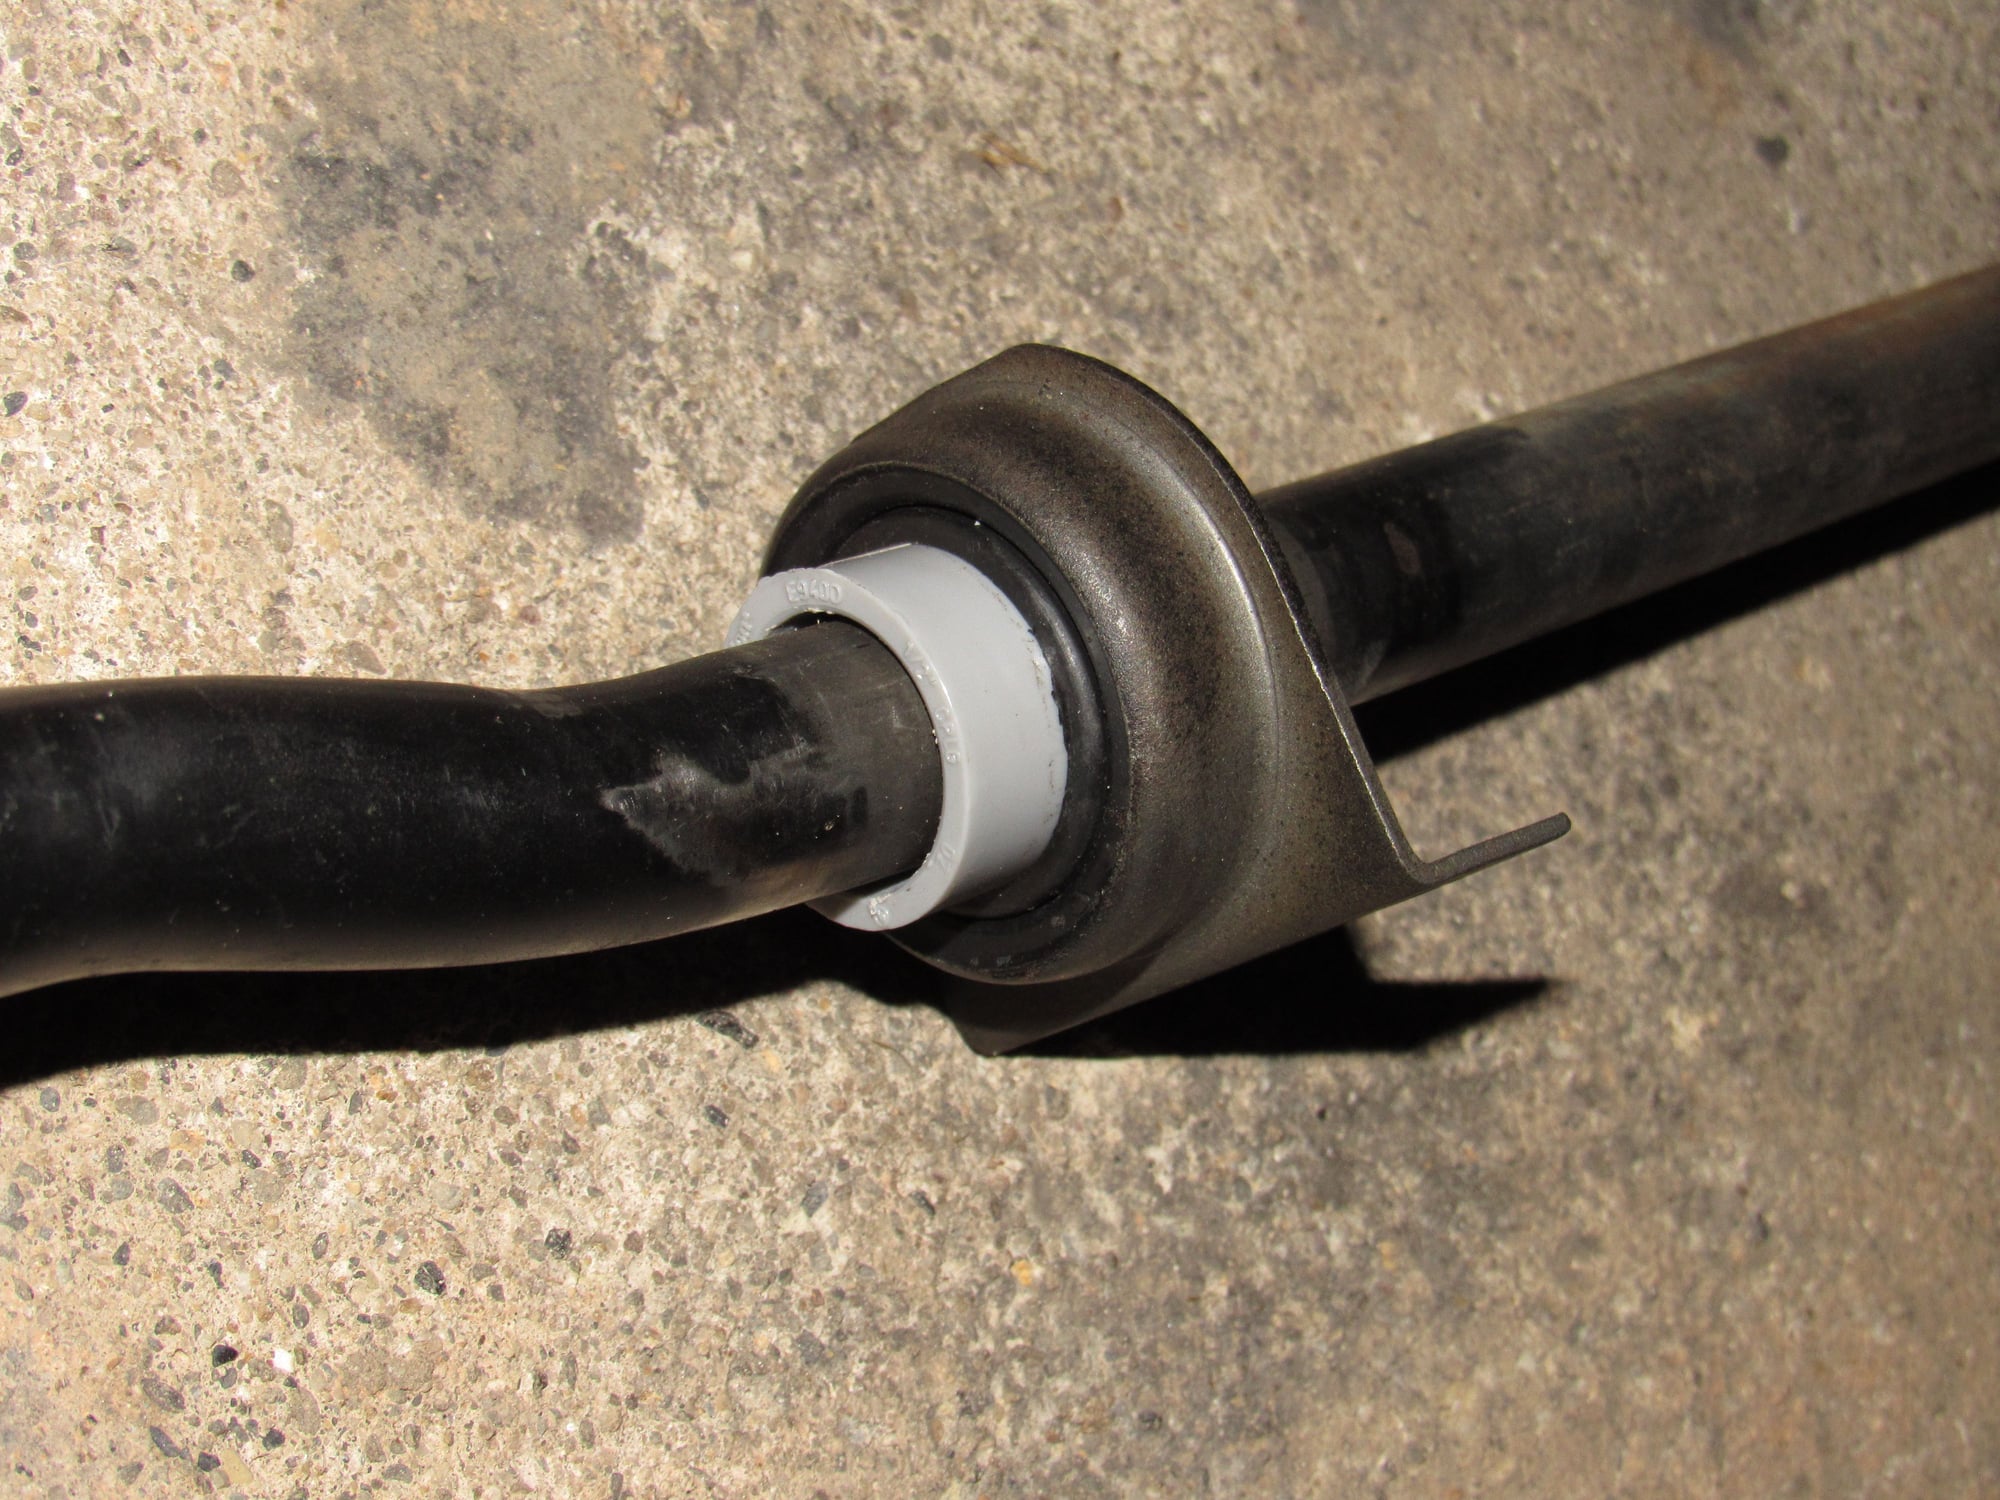
My fix for the front shifter rod bearing was a simple 1/2" pvc coupling. It is a tight fit into the rubber. I was going to fasten it somehow but I couldn't even get it out so it will do just fine.

 05-06-2018, 12:37 PM