When you click on links to various merchants on this site and make a purchase, this can result in this site earning a commission. Affiliate programs and affiliations include, but are not limited to, the eBay Partner Network.
Hi Ryan,
The flanges for my window switches were in pretty bad shape. I picked up a couple 1/2" x 6" pieces of thin brass at the hardware store. I used what was left of the existing flanges to make the two strips into the upper and lower apertures for the switches. There was plenty of area to JB weld the strips in place. The switches sit maybe a 1/3" high but since they're all the same, you don't notice it.
Good luck, and keep up the good work,
Dave
Thanks, Dave. Your comment on a past post was one that I stumbled upon in searching for a fix. I was considering doing the same, but I was also considering doing something with the frame plate that surrounds all the switches to hold the broken one in place.
My frames are still at Classic9 (didn't realize it till today), to be shipped soon, so I'll likely be playing around with them next week.
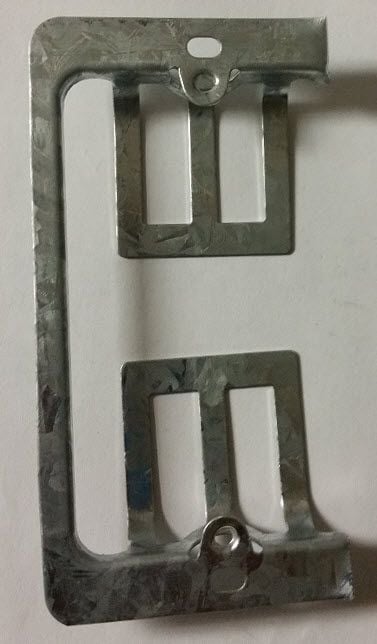
Working now on the console, and I decided to take a bit of a different approach to the tab replacement in the switch panel:
I wanted to use something that was strong, already pre-bent and that I could have around almost the entire base of the switch panel so I could have some uniformity in height.
Rummaged through my electrical drawer, and found a double-gang wall mount for an electrical switch. Half of one shown below....about $1.50 at Home Depot IIRC.
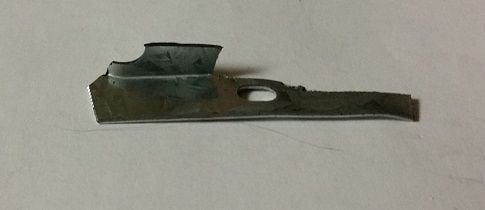
Trimmed it down so that it would fit behind one of the existing tabs (the broken one on mine is one on the end, so I can only slip it behind one existing one):
It'll now sit in the channel and give me the added benefit of having a screw hole for the switch cover to grip against:
I'll trim it up a bit tomorrow with a Dremel and maybe a grinding wheel to get it to fit better. Need to get the height on the new tab to equal the others and also pull it sung against the console frame. Once done, will attach it with an adhesive TBD, and hopefully console install to come shortly after.
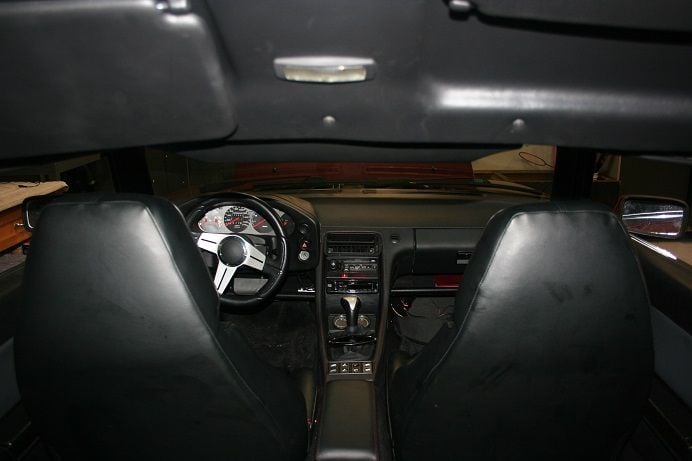
Got some time in the interior today, and made a bit of progress that got it to look like a real car inside.
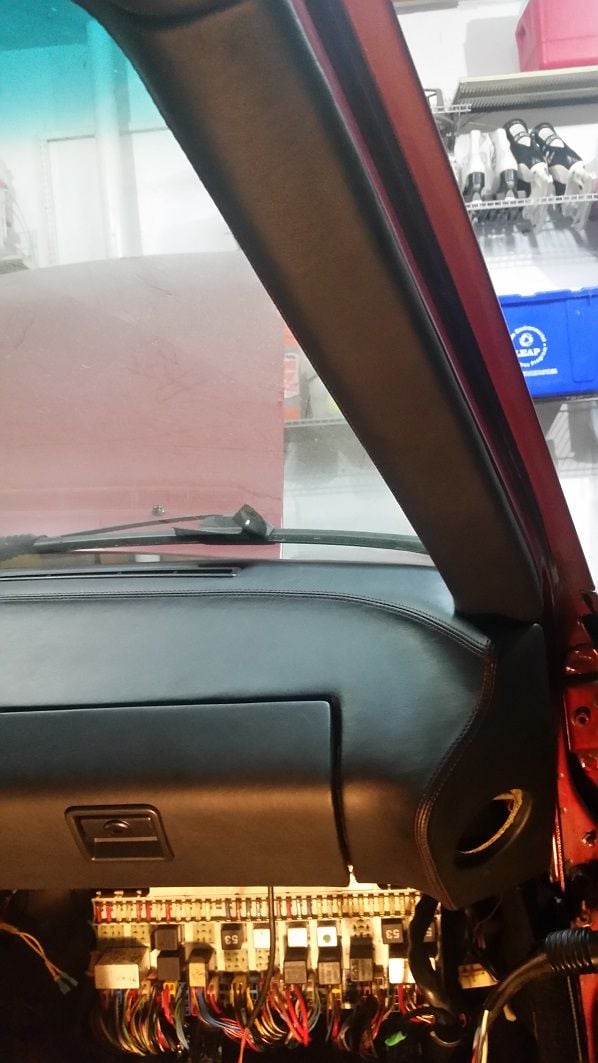
Both A-Pillars installed, as mentioned previously.
Got a bit of wrinkling at the bottom due to things squeezing in and the joint at the roof is looking to be a bit tight, but all good.
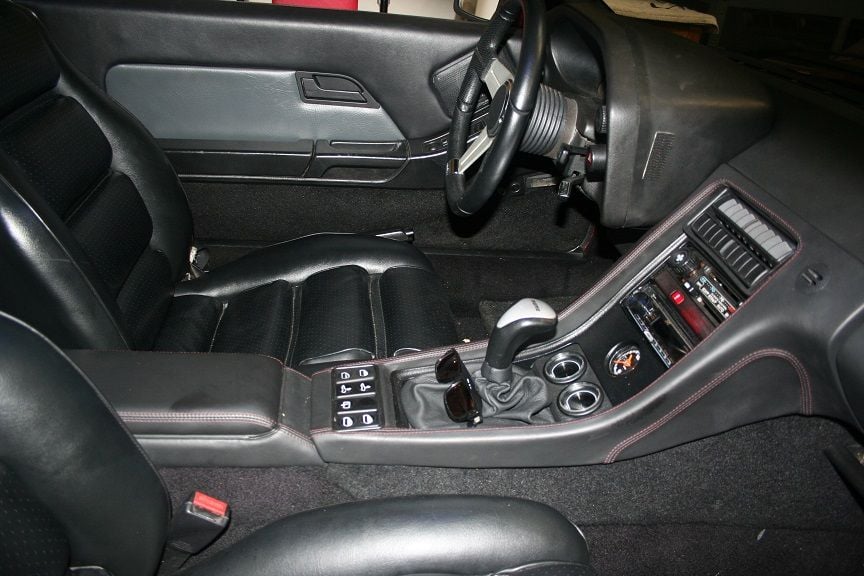
Also got the console in. Haven't bolted everything down yet, but at least it's in the right place.
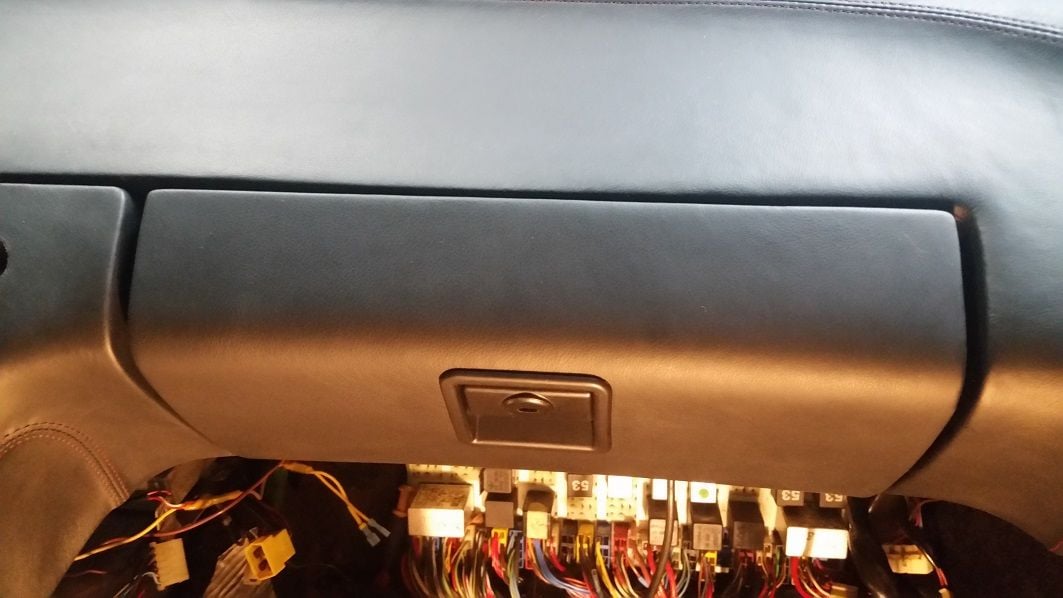
Ditto the glovebox. Need to get it aligned to a tight fit.
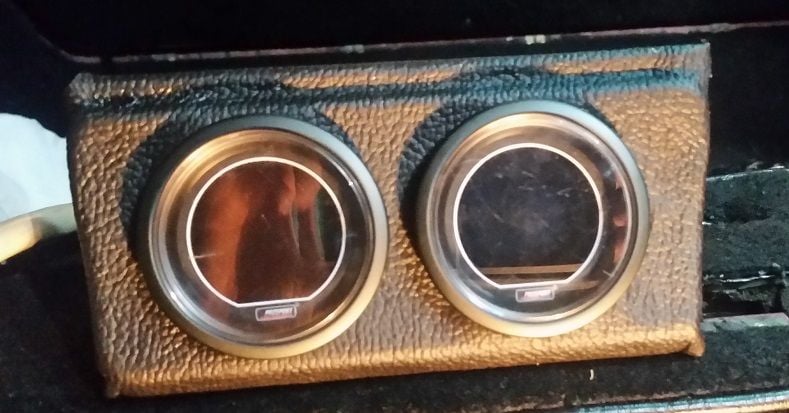
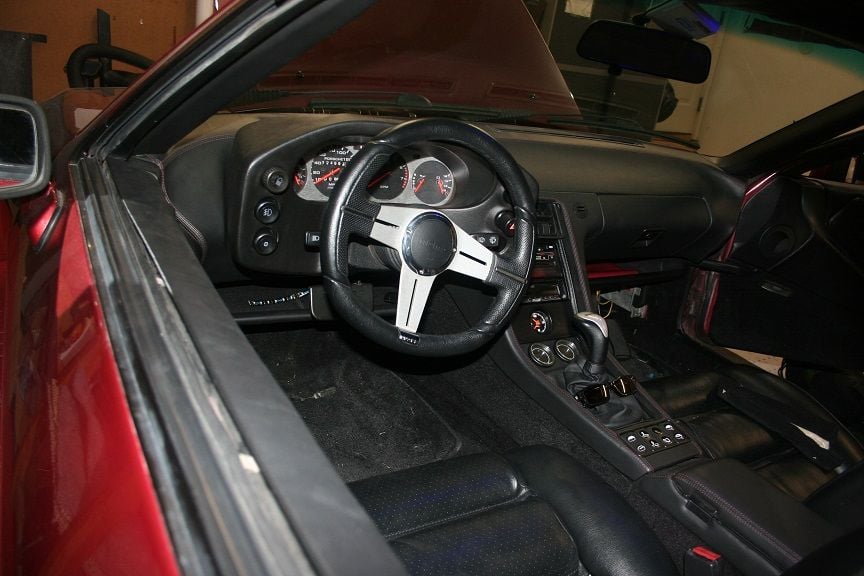
And what I'm most happy about - my AFR and Boost gauges. I wanted to take them off the A-Pillar and put them onto the console, but was struggling to figure out how to best do it with my limited fabrication experience. But then a lightbulb went on over the head - use the top to the Ashtray. Already sculpted for a fit, so no issue with it aligning to the curves within the console. Drilled the holes using a hole saw, took a piece of scrap leather that Bob was kind enough to give me and glued it on (holding it with my trusty binder clips). They fit like a glove, and *seem* like they will sit just fine once I install them. Need to fix the scratches on the lenses, though.
Next up - tightening up the console & glove box, put the cover on the CE Panel, then onto the Pod (which I'm really, really, really, really, really regretting not getting done already)
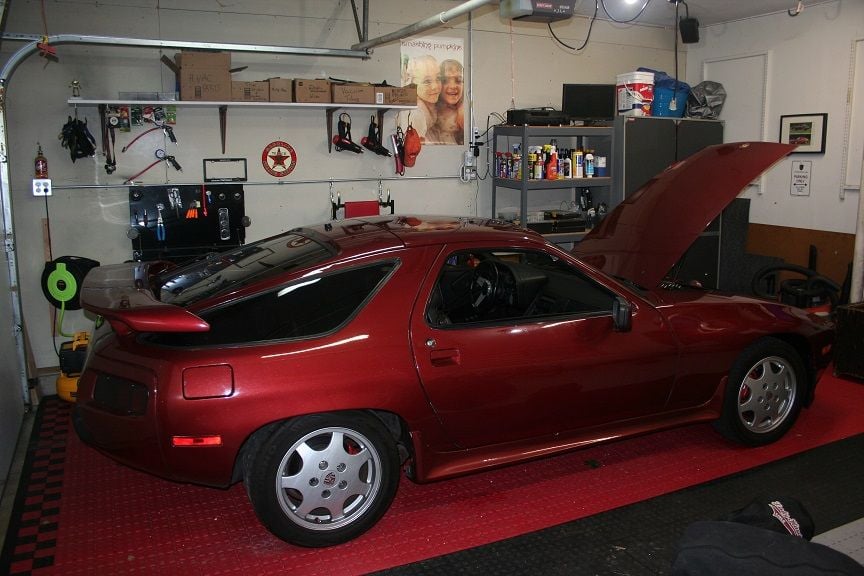
After a long few months of doing work around the house (damn you, honey-do list!), everything is in, car is driving, life is good.
I had hoped to make it out to SOTM, but a failure in child care caused me not to be able to make the trip. So, this comment now replaces all the showing off of the car to people who would actually appreciate it. Oddly enough, the wife, kids, in-laws, neighbors and anyone else I show the car to doesn't quite understand everything that goes into making it look good.
Still a lot of work I still want to do (Pod recovering, door panel recovering, some clean-up in the console, fix my speedometer, clean up some wires), but the big stuff is done......for now.
So, onto the photos:
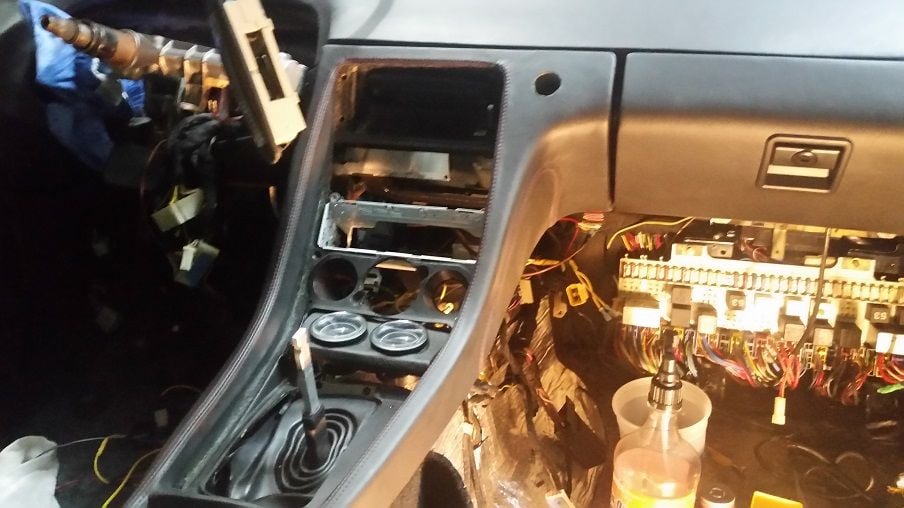
This was my view of the interior for the last 3 months while I tried to finish all my stuff around the house.
Need to tighten up the tolerances a bit between the pieces. Also need to get the air vents seated in.
Really happy with the console, but:<br/>1. The old pod now sticks out like a sore thumb.<br/>2. The console insert is a bit darker than the rest of the pieces. Not sure what, if anything, I'm going to do about that.
Another shot showing how the old, yucky pod sticks out.
The arm rest/cassette holder turned out nice. I've got 2 USB chargers inside it.
Need to wax a bit more on the car, but looks pretty clean.
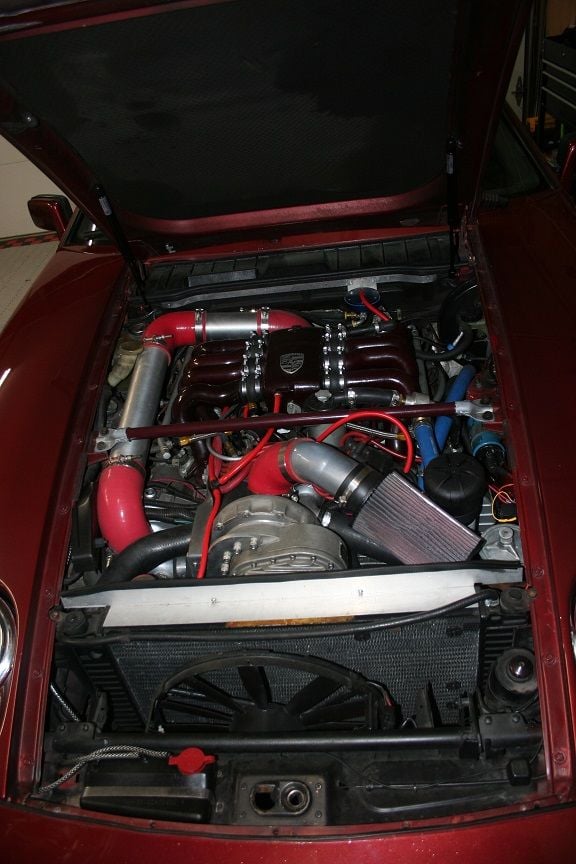
99.99% of anyone that looks at the engine wouldn't see the little bits of clean-up that I did, but I do
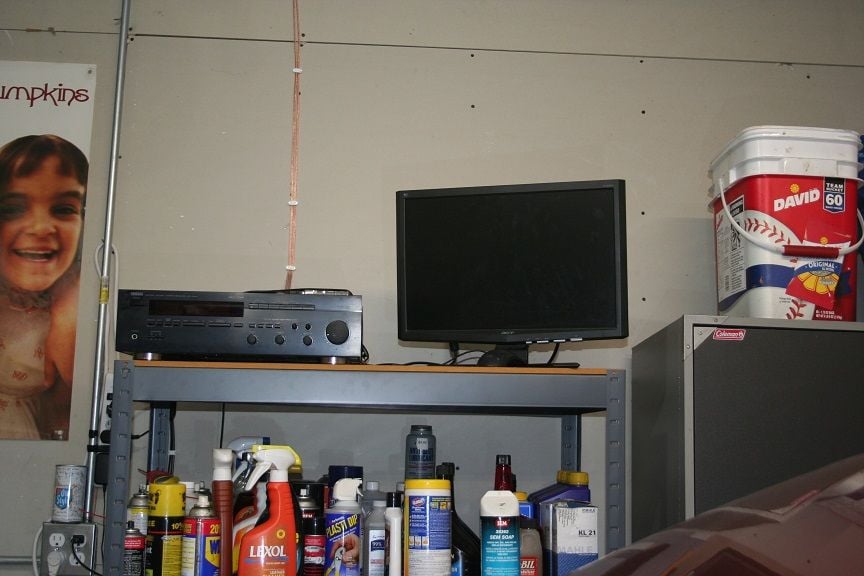
My nerd station. Can stream my 100GB library of music through speakers on the ceiling, can watch TV on it in the background, and have access to my 900+ movies in the event I want background noise while I'm working.
A lot of sweat equity went into those results. Good job and keep up the good work. Although, your family and friends can't seem to understand your passion...we here...can appreciate your dedication.

 04-14-2016, 12:51 AM