When you click on links to various merchants on this site and make a purchase, this can result in this site earning a commission. Affiliate programs and affiliations include, but are not limited to, the eBay Partner Network.
Every time I fit a new cover I am always impressed with the quality Paul Champagne has produced.
Several years ago after driving home with my then new Paul Champagne seats (same pattern as yours) I stopped by my local Porsche dealership. While looking at the new models I realized Paul's work was actually superior to the factory. You can't top Paul for craftsmanship!
Several years ago after driving home with my then new Paul Champagne seats (same pattern as yours) I stopped by my local Porsche dealership. While looking at the new models I realized Paul's work was actually superior to the factory. You can't top Paul for craftsmanship!
Hi Jim
My local Porsche dealership is interested in seeing the car when it’s finished as some of the dealership team are genuinely interested.
I am interested to see their reaction to both the body colour and the interior which are very different to any 928 they have had in the workshop.
In fact the above statement goes for most encounters I will have with the car however the Porsche community probably sits at the top of the tree
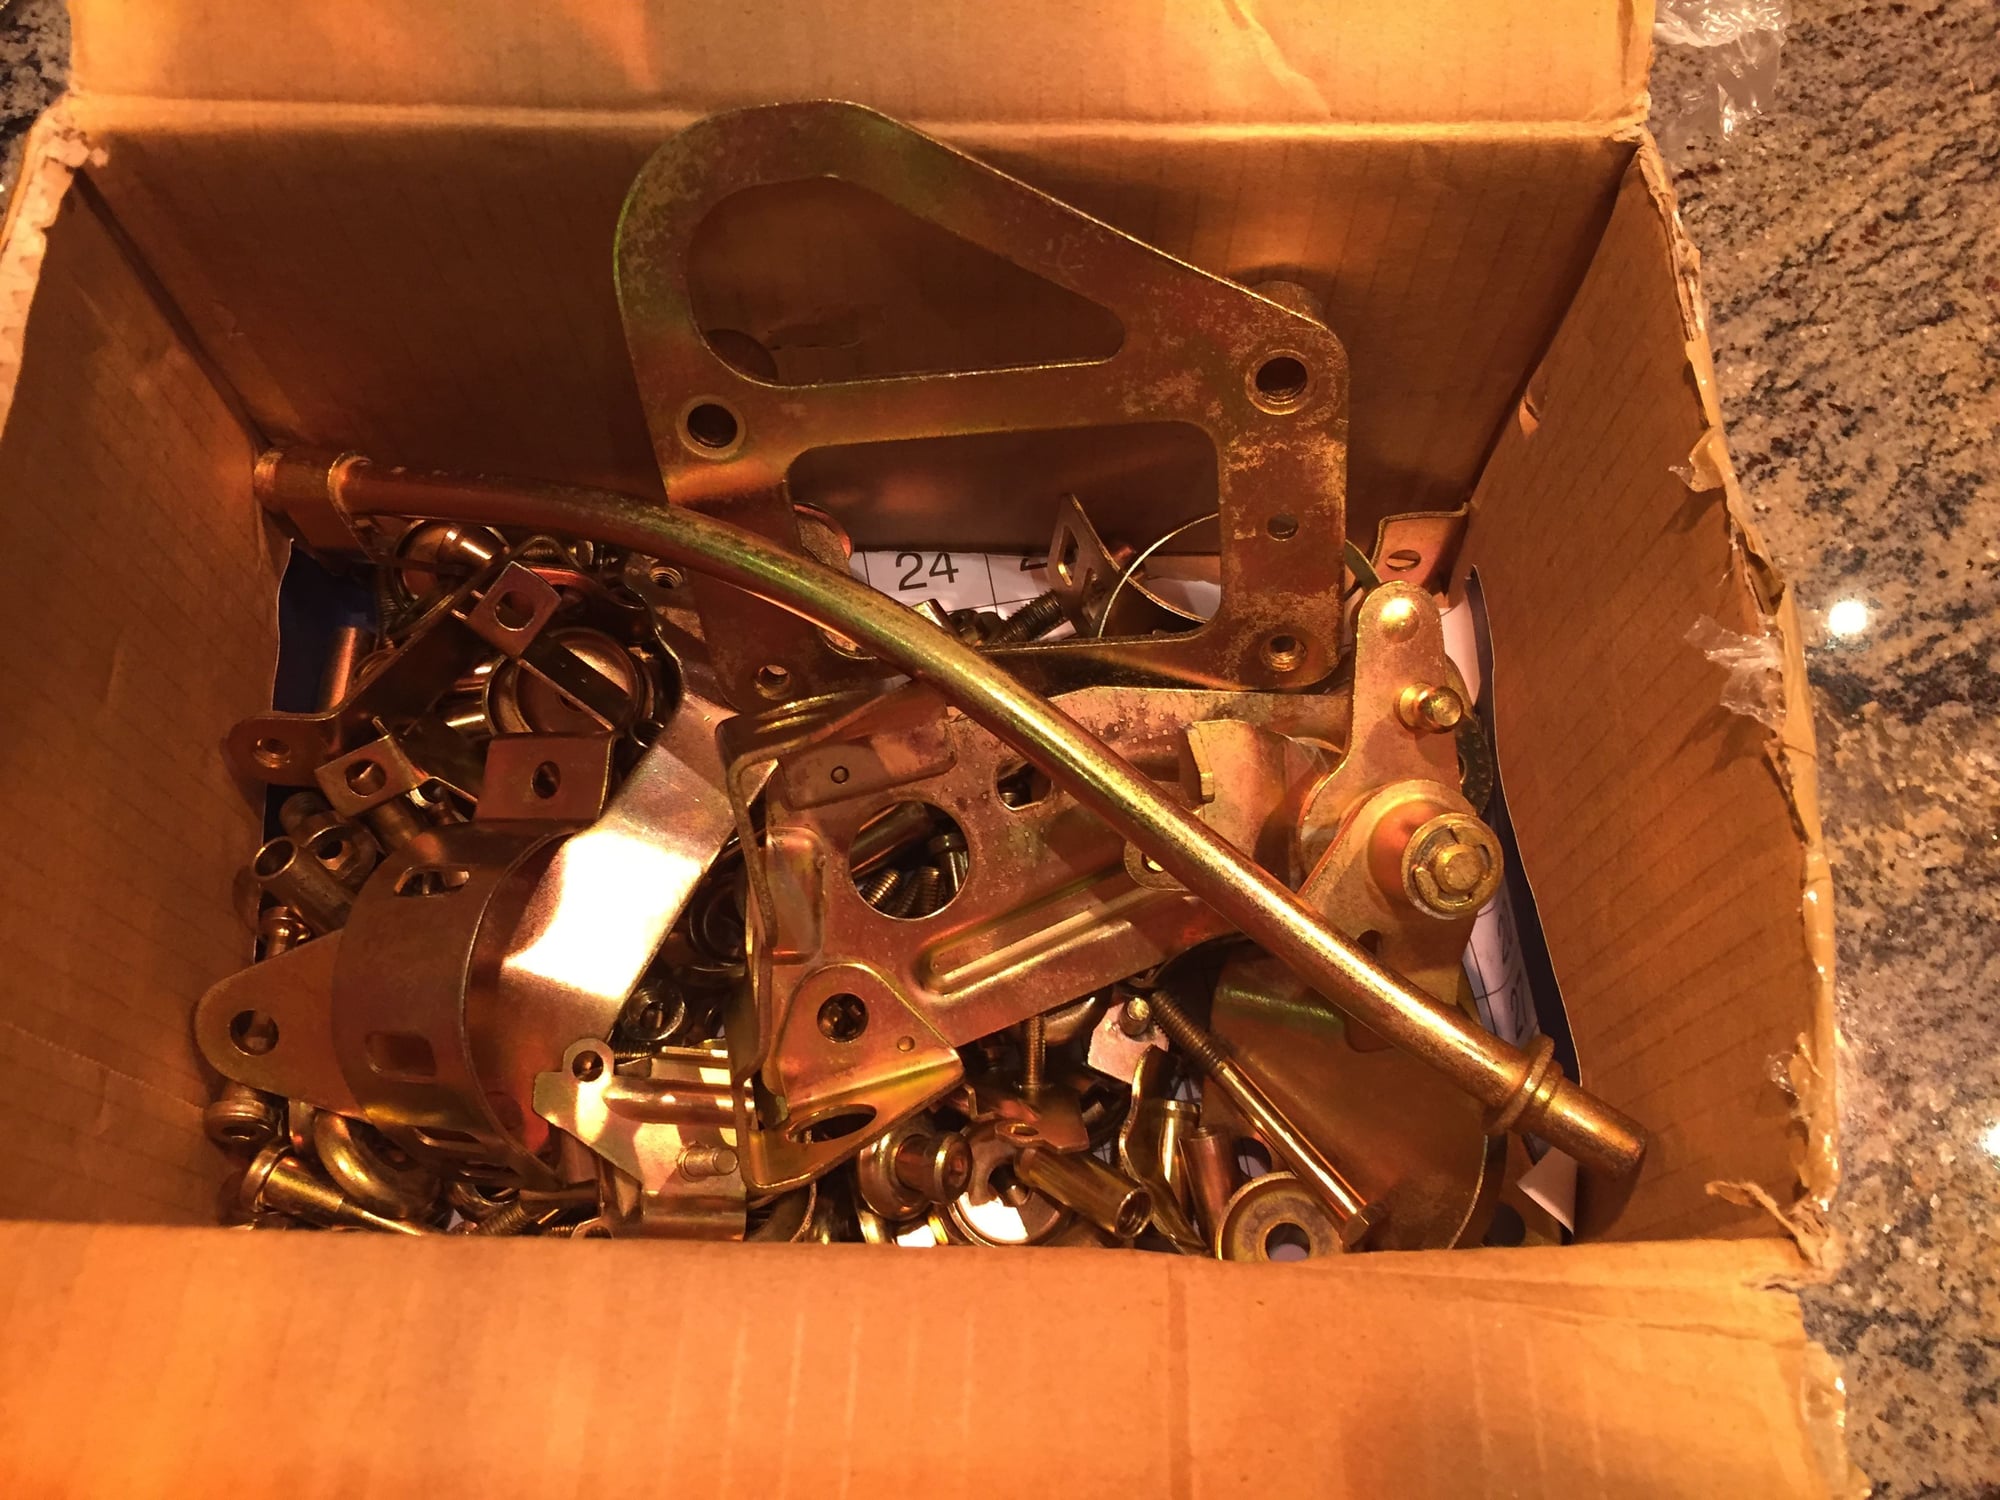
It’s been a while since I posted any updates. Here is a picture of the engine hardware which has been refurbished. That should help tidy up some detailing under the bonnet
Not much progress on the exterior which is almost complete.
Recent focus has been on the interior and engine. The interior is now advanced as far as I want to take it until I finish the engine work.
The engine is currently going back together with new camshafts, valve springs, headers, Greg Brown oil baffle and fuel lines.
I am also working on the inlet manifold in an attempt to improve the airflow within the standard manifold as well as matching the runners to the head more accurately which I believe Porsche did on the GT manifolds.
I am covering this on some of my YouTube videos. It is debatable what gains I might get with this work however I felt if I can do the work quickly then I don’t mind doing it and I believe it should only help power not harm it.
That is foam and it’s being used to quickly fill the voids and provide the ability to shape round the back of the bell mouths. I have not left it as foam, the next stage covers this with fibreglass matting to permanently create the shape. No video of this stage yet but I might be able to post a picture.
Marti, I did a template to view the intake manifold mismatch to the heads. Did you get about the same amount of mismatch - see photos?
Ĺke
I took the rubber gasket and checked it against the head and then against the manifold. The gasket against the head looks a good match but against the manifold looked poor on a number of runners, most notably on 3 in particular one of which was quite far out (heavy shoulder round the injector hole).
I elongated the port round the injector hole for all the cylinders to the maximum the gasket would allow. I was surprised how much more area could be added in this area, it makes the overall port look bigger, probably more optical illusion than pure surface area.
I have a couple of videos to publish once I am finished my basic editing process
The MSDS header pictures show the modification required to fit to RHD , note one of the short runs (no.4 cylinder) has a different shape to the standard MSDS LHD header. This is one solution to avoid the steering rack input shaft. Other routing design would require other cylinders to be redesigned so this is the easiest way to avoid a complete remake.
These are just back from ceramic coating inside and out. Same finish as used by the Oreca team at Le Mans 24 hours.
Took a lot of messing around so I am relieved to have them ready for fitting!
Hi, I was interested to know your front wheel sizes and what type of wheel they are - single piece or split rim, custom made etc
I did a lot of work looking for wheels which could be built to fit the front offset requirements and generally discovered that the range is limited.Any information would be great.
Thanks
Your car looks fantastic!
There are so many wheel choices! Since you are a purist perhaps consider a Porsche wheel set?
My ‘87 came with 15” wheels IIRC. I just kept buying a new set of whatever Porsche upgraded to over the years; 16” 17” and finally 18” from a Turbo GTS, 295’s on the rears, 225’s on the front. Had to roll the fenders an use a 5 or 10mm spacer but I like the look.
Marti, I did a template to view the intake manifold mismatch to the heads. Did you get about the same amount of mismatch - see photos?
Ĺke
Hi AKe
I also produced a template to check alignment and mismatch, the picture I attach of the overall template looks a bit misleading as you can see some shoulder of the head port (because the template hole is cut at a slight angle), but when you take a closer look the gasket lines up very accurately. So for the castings I have the heads are accurately cast but the 2R manifold was all over the place, again measured from the gasket.
I have a second 2R manifold which is slightly better and m
ainly measures 47.5 across the ports (1 measuring 46.8).
After matching the manifold to the gasket they all measure
48.2 > 48.8 which is what the head measures.

 11-07-2017, 12:38 PM