When you click on links to various merchants on this site and make a purchase, this can result in this site earning a commission. Affiliate programs and affiliations include, but are not limited to, the eBay Partner Network.
Damaged interior temp sensor wire during console removal
Good evening all -
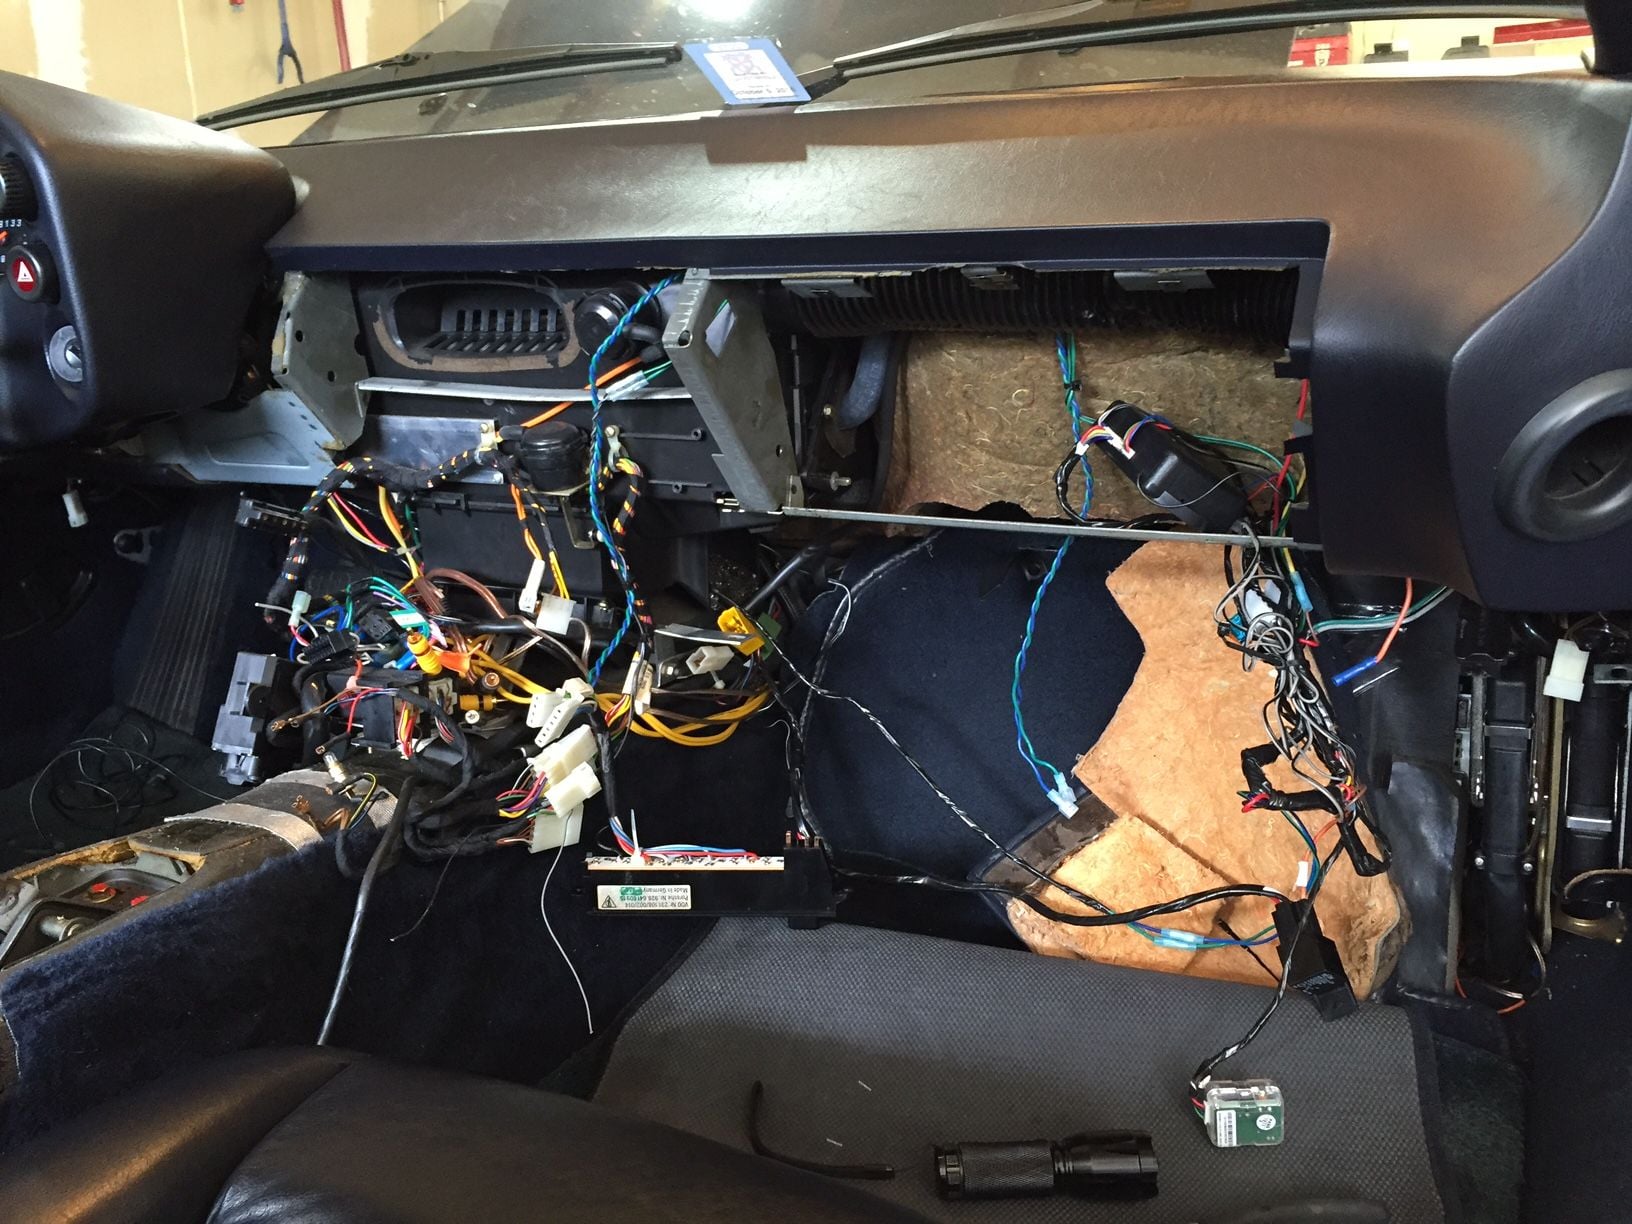
Today has been the most productive on my journey to the center of a 928 (to replace center comb flap and footwell flap actuator pod guts). I have found much evidence that others have been here before...probably more than once.
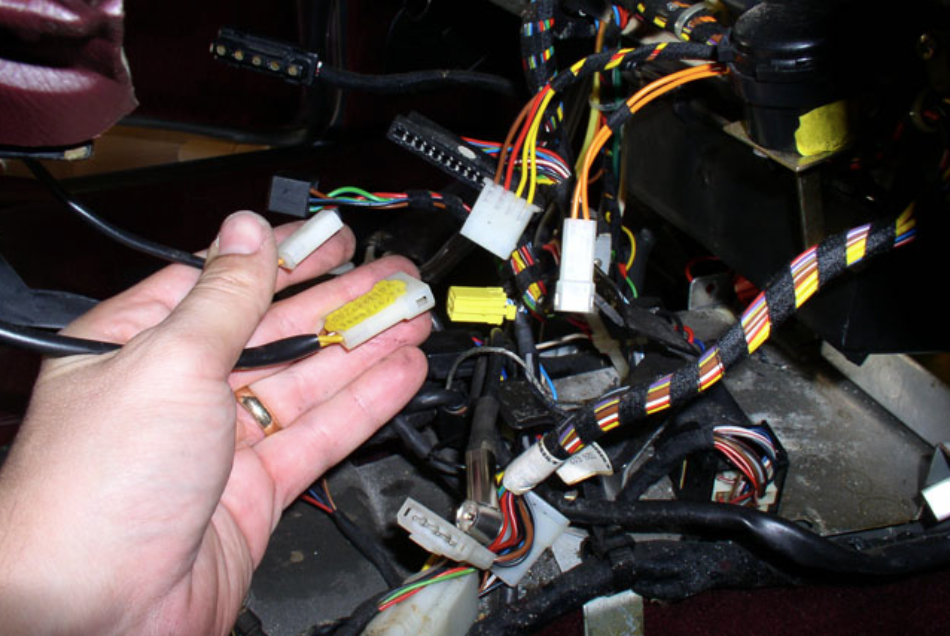
I followed Dwayne's excellent guide. Unfortunately, there is a slight error. Dwayne describes the photo below as showing two wiring harnesses that go to the "shift plate". (his photo)
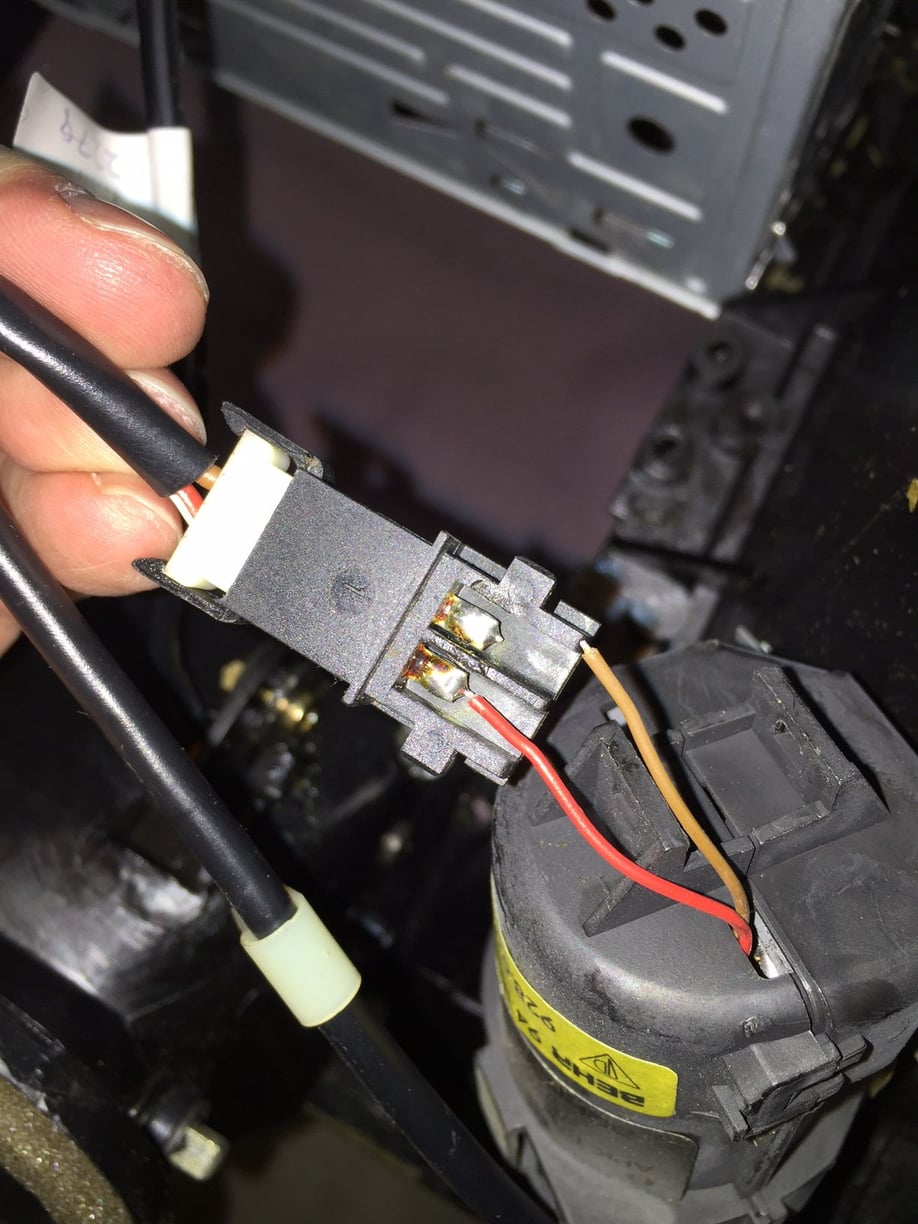
I didn't find any wires going to the shift plate (certainly nothing looking like these)...so I proceeded to remove the console. Ooops...and this is how I discovered these harnesses connect to the interior temperature sensor bits. My first or second tug on the console must have produced the result below...
So...I've broken the ground wire of the two-wire harness connector right at the soldered contact. These wires are very thin. My first thought is to remove the old solder, strip back the wire a bit, and try re-soldering the wire back in place.
I would try to take the metal connector out of the plastic plug and then re-solder it; then put it back in. Otherwise the heat from the solder will melt the plastic and perhaps destroy it.
Great suggestions guys. I think I'll try to follow Jerry's suggestion and remove the metal bits from the plastic connector. Is it necessary to remove all the original solder?
Great suggestions guys. I think I'll try to follow Jerry's suggestion and remove the metal bits from the plastic connector. Is it necessary to remove all the original solder?
I wouldn't unless I had to. From your pics there is sufficient solder on that connector to re-use. Strip the wire carefully, tin the end and reattach using the solder already on the connector.
Do it carefully and the result will be indistinguishable from original.
Yes just solder it back on, and don't worry about removing existing solder - it will remelt and flow nicely over the wire, but do apply fresh solder as you make the joint.
To guard against the newly soldered wire coming away as you replace the console, make sure it is a mechanically sound joint before you solder it. In this case just strip enough insulation away so you can wrap the bare end round the connector tab a couple of times before you solder it.
Done. It is an ugly soldering job, but tinning the wire first went well and probably helped. No plastic melted. It's holding well. And it's ugly...inappropriate to post pictures as once on the net, always on the net Thanks again for the great help. Now on to replacing the vent flap actuators.


 03-06-2016, 09:16 PM


 Thanks again for the great help. Now on to replacing the vent flap actuators.