When you click on links to various merchants on this site and make a purchase, this can result in this site earning a commission. Affiliate programs and affiliations include, but are not limited to, the eBay Partner Network.
Hi again Joe. My previous comment about the spot welds not being actual welds was based on the fact that although the metal of both sheets was melted in the process, none of the melted metal merged so they did not in fact weld. Welds don't have to have metal added to be welds, just same metal melting together
Of course the doors have to be chopped also, but that will have to come after the roof is completed. We can't very well chop the doors and try to fit the roof to them. It has to work the other way; and I'll be posting about that when we get there. Stay tuned. The Hatch will also be highly modified so as to utilize the original window but then fit it to the significantly wider, but shorter hatch body/frame.
Last edited by Jerry Feather; 03-31-2018 at 12:51 PM.
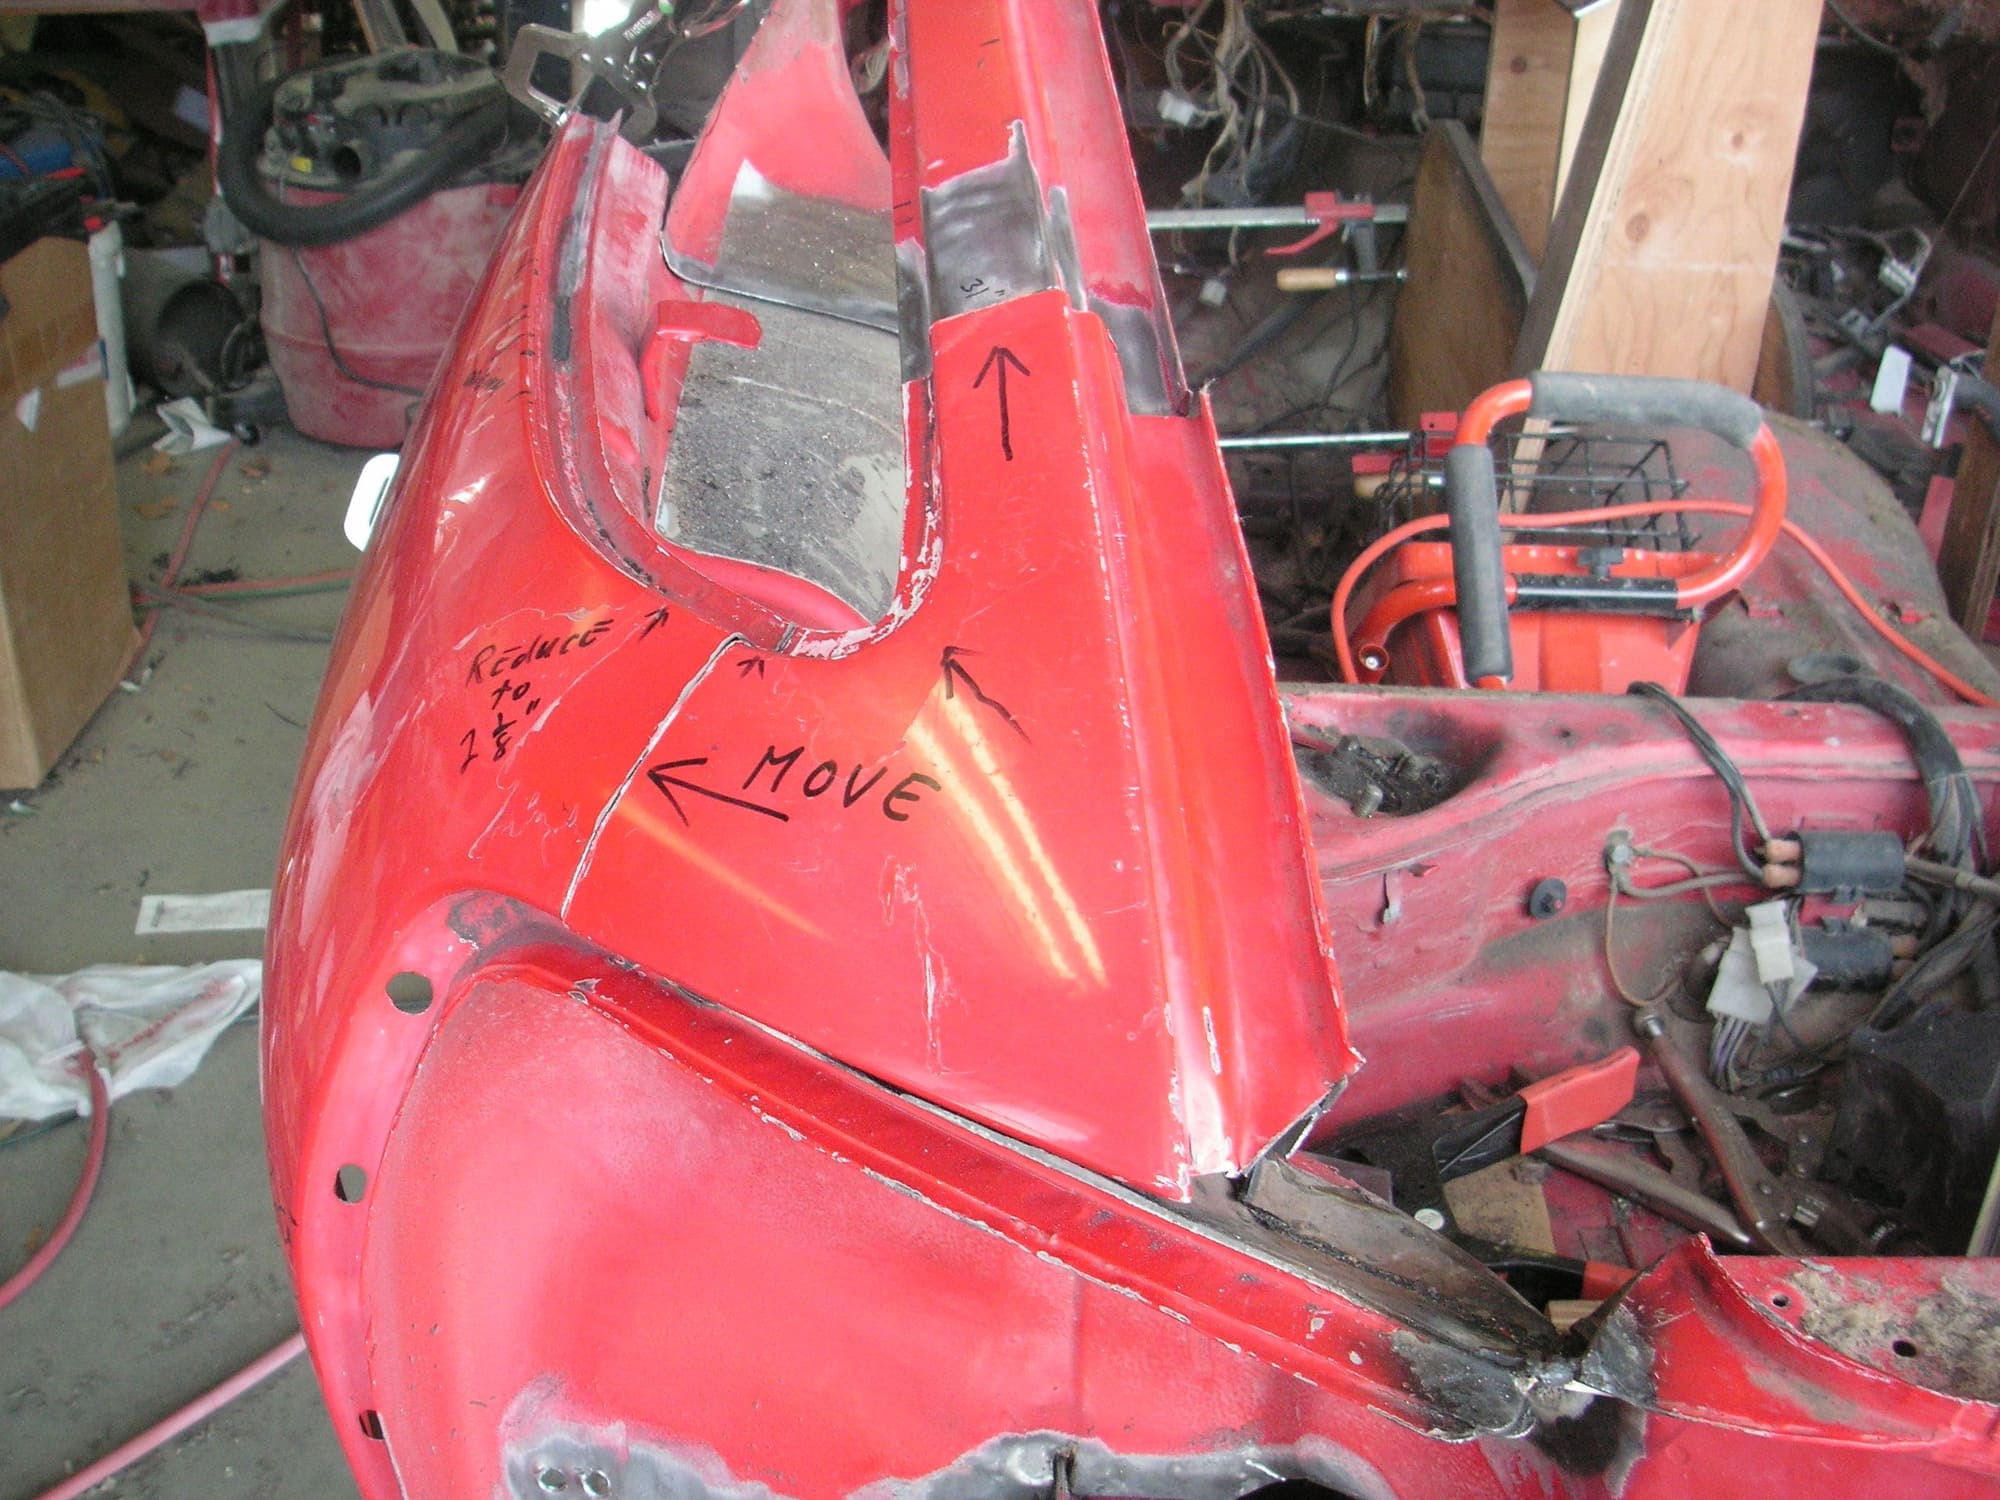
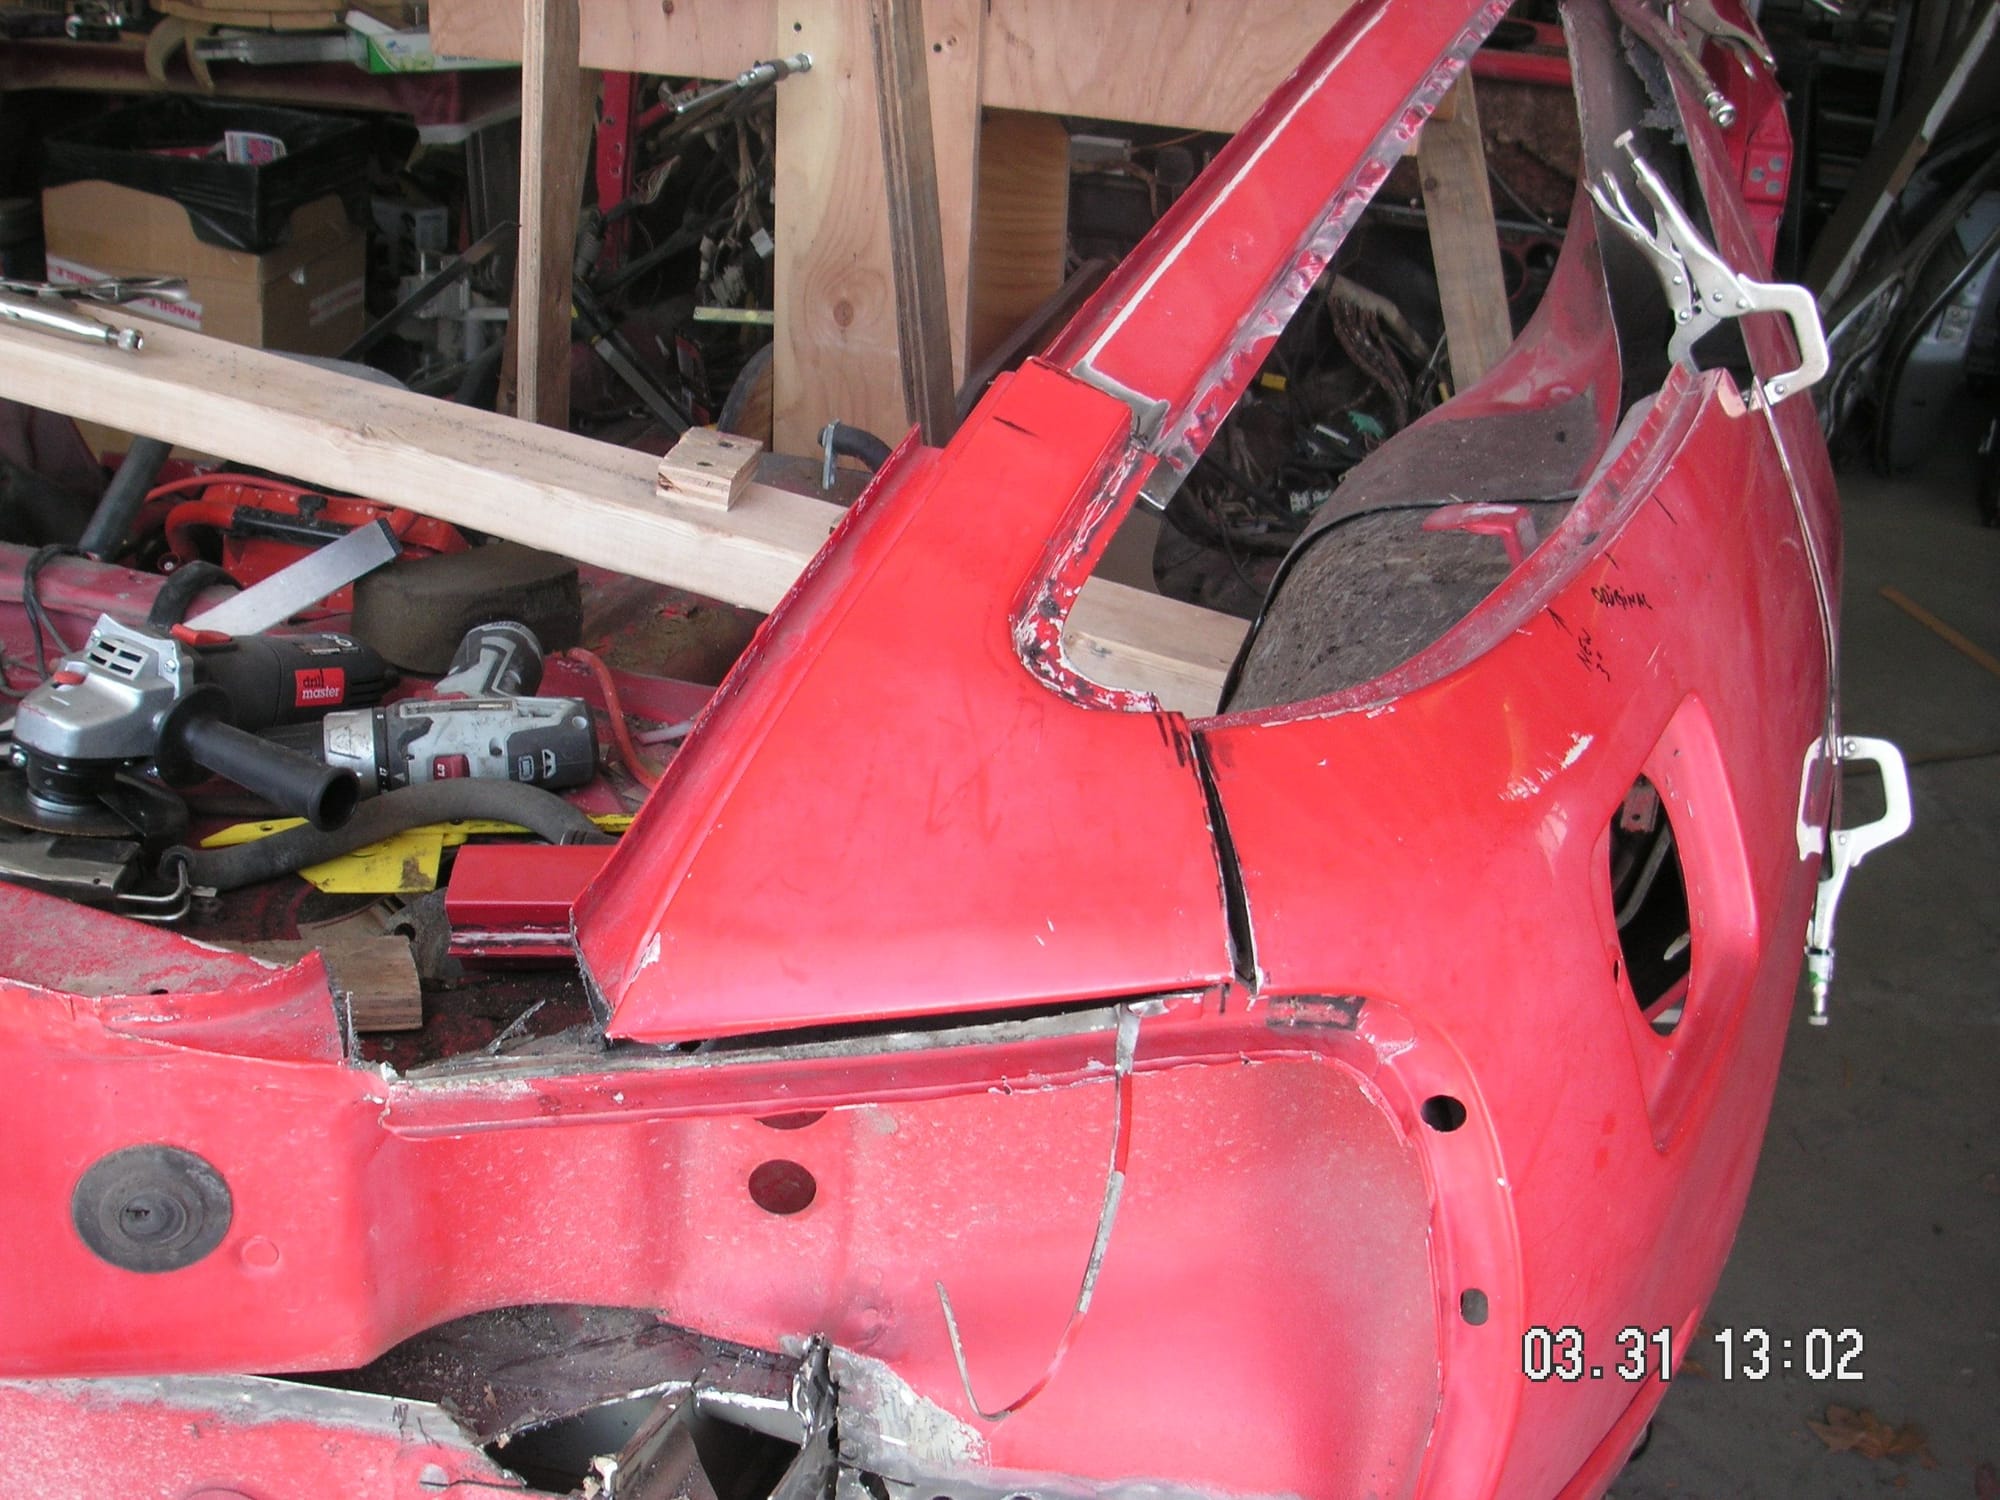
This evening I got the left rear quarter window trimmed to closely fit its new spot. With a little bit of holding of alignment I think it can be welded in place and have the resulting lines look right.
I think I am going to be stuck, or at least stick myself at the 3 inches of shortening rather than try to stretch it to 3.5 inches. Aside from the nice fit at this point there are a couple of other minor factors that work well with 3 inches and the trouble to deal with them differently kind of outweighs the minor visual advantage of the additional half inch.
Last edited by Jerry Feather; 03-30-2018 at 10:01 PM.
Jerry, you are amazing. I know what it's like to get deeply involved in a project like this. It's kind of thrilling, and challenging, truly rewarding. Thanks so much for sharing.
Dave
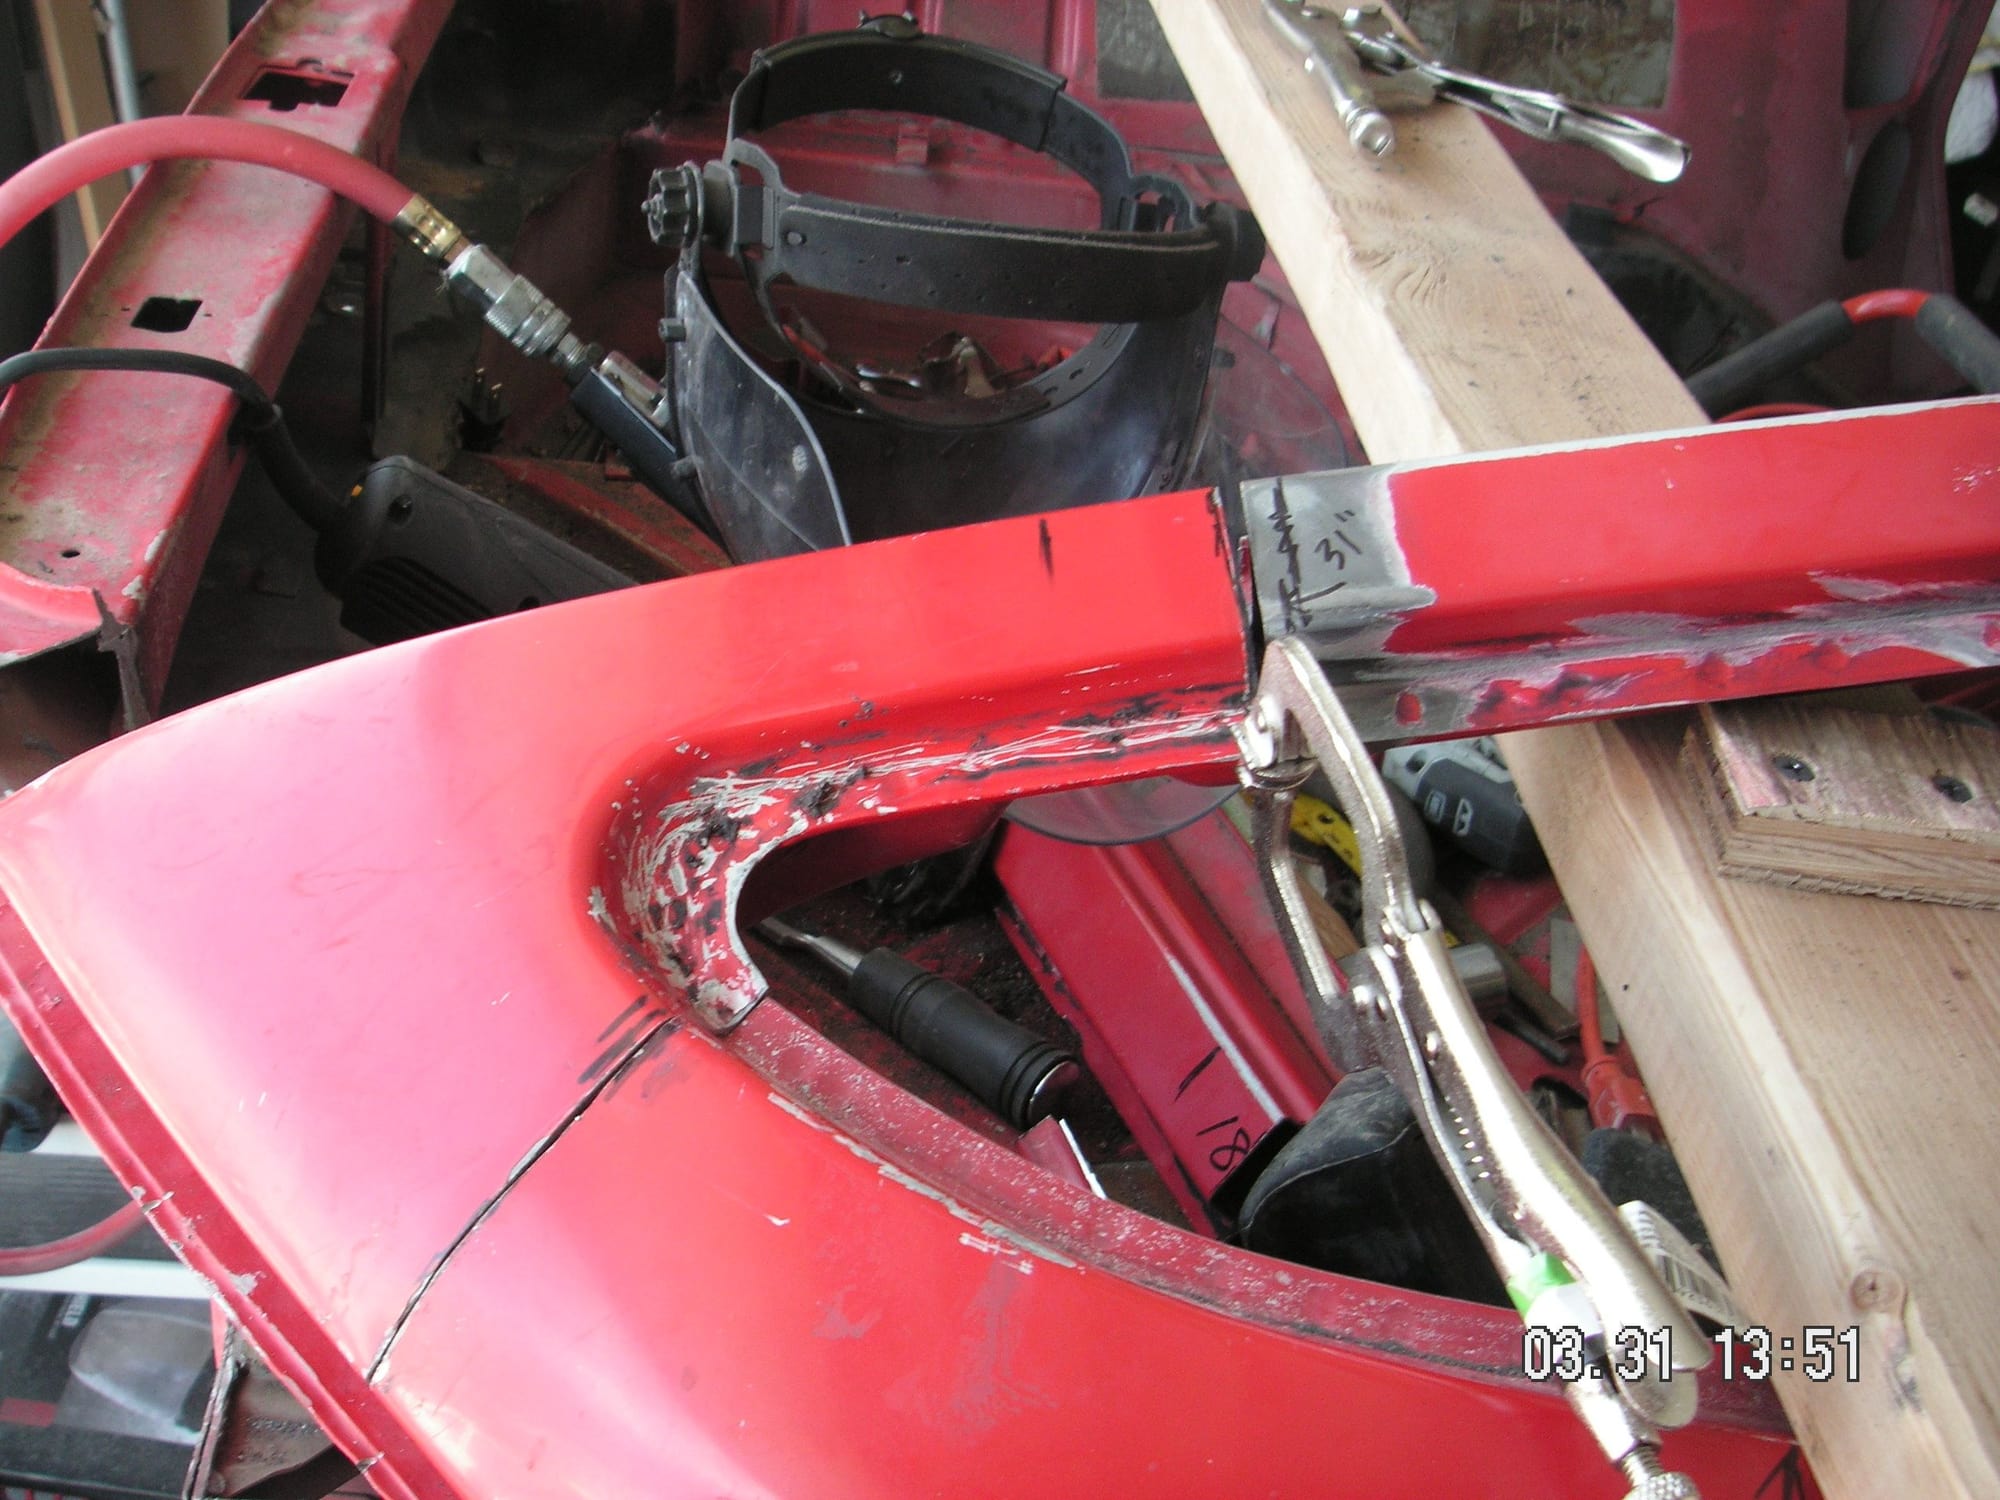
It looks like the new shape of the rear quarter windows is really coming into focus. I just hope that the sort of long slender look does not make the 928 look too much like the long tailed chopped 49 Merc.
Actually I think the quarter windows are getting reduced by maybe as much as half of their original surface area. When we get closer to having them finish shaped I think I'll take a picture of one of them with an original window laying over the new opening just to compare. Might be interesting. Nevertheless they seem to retain much of their iconic shape and style.
Last edited by Jerry Feather; 03-31-2018 at 01:20 PM.
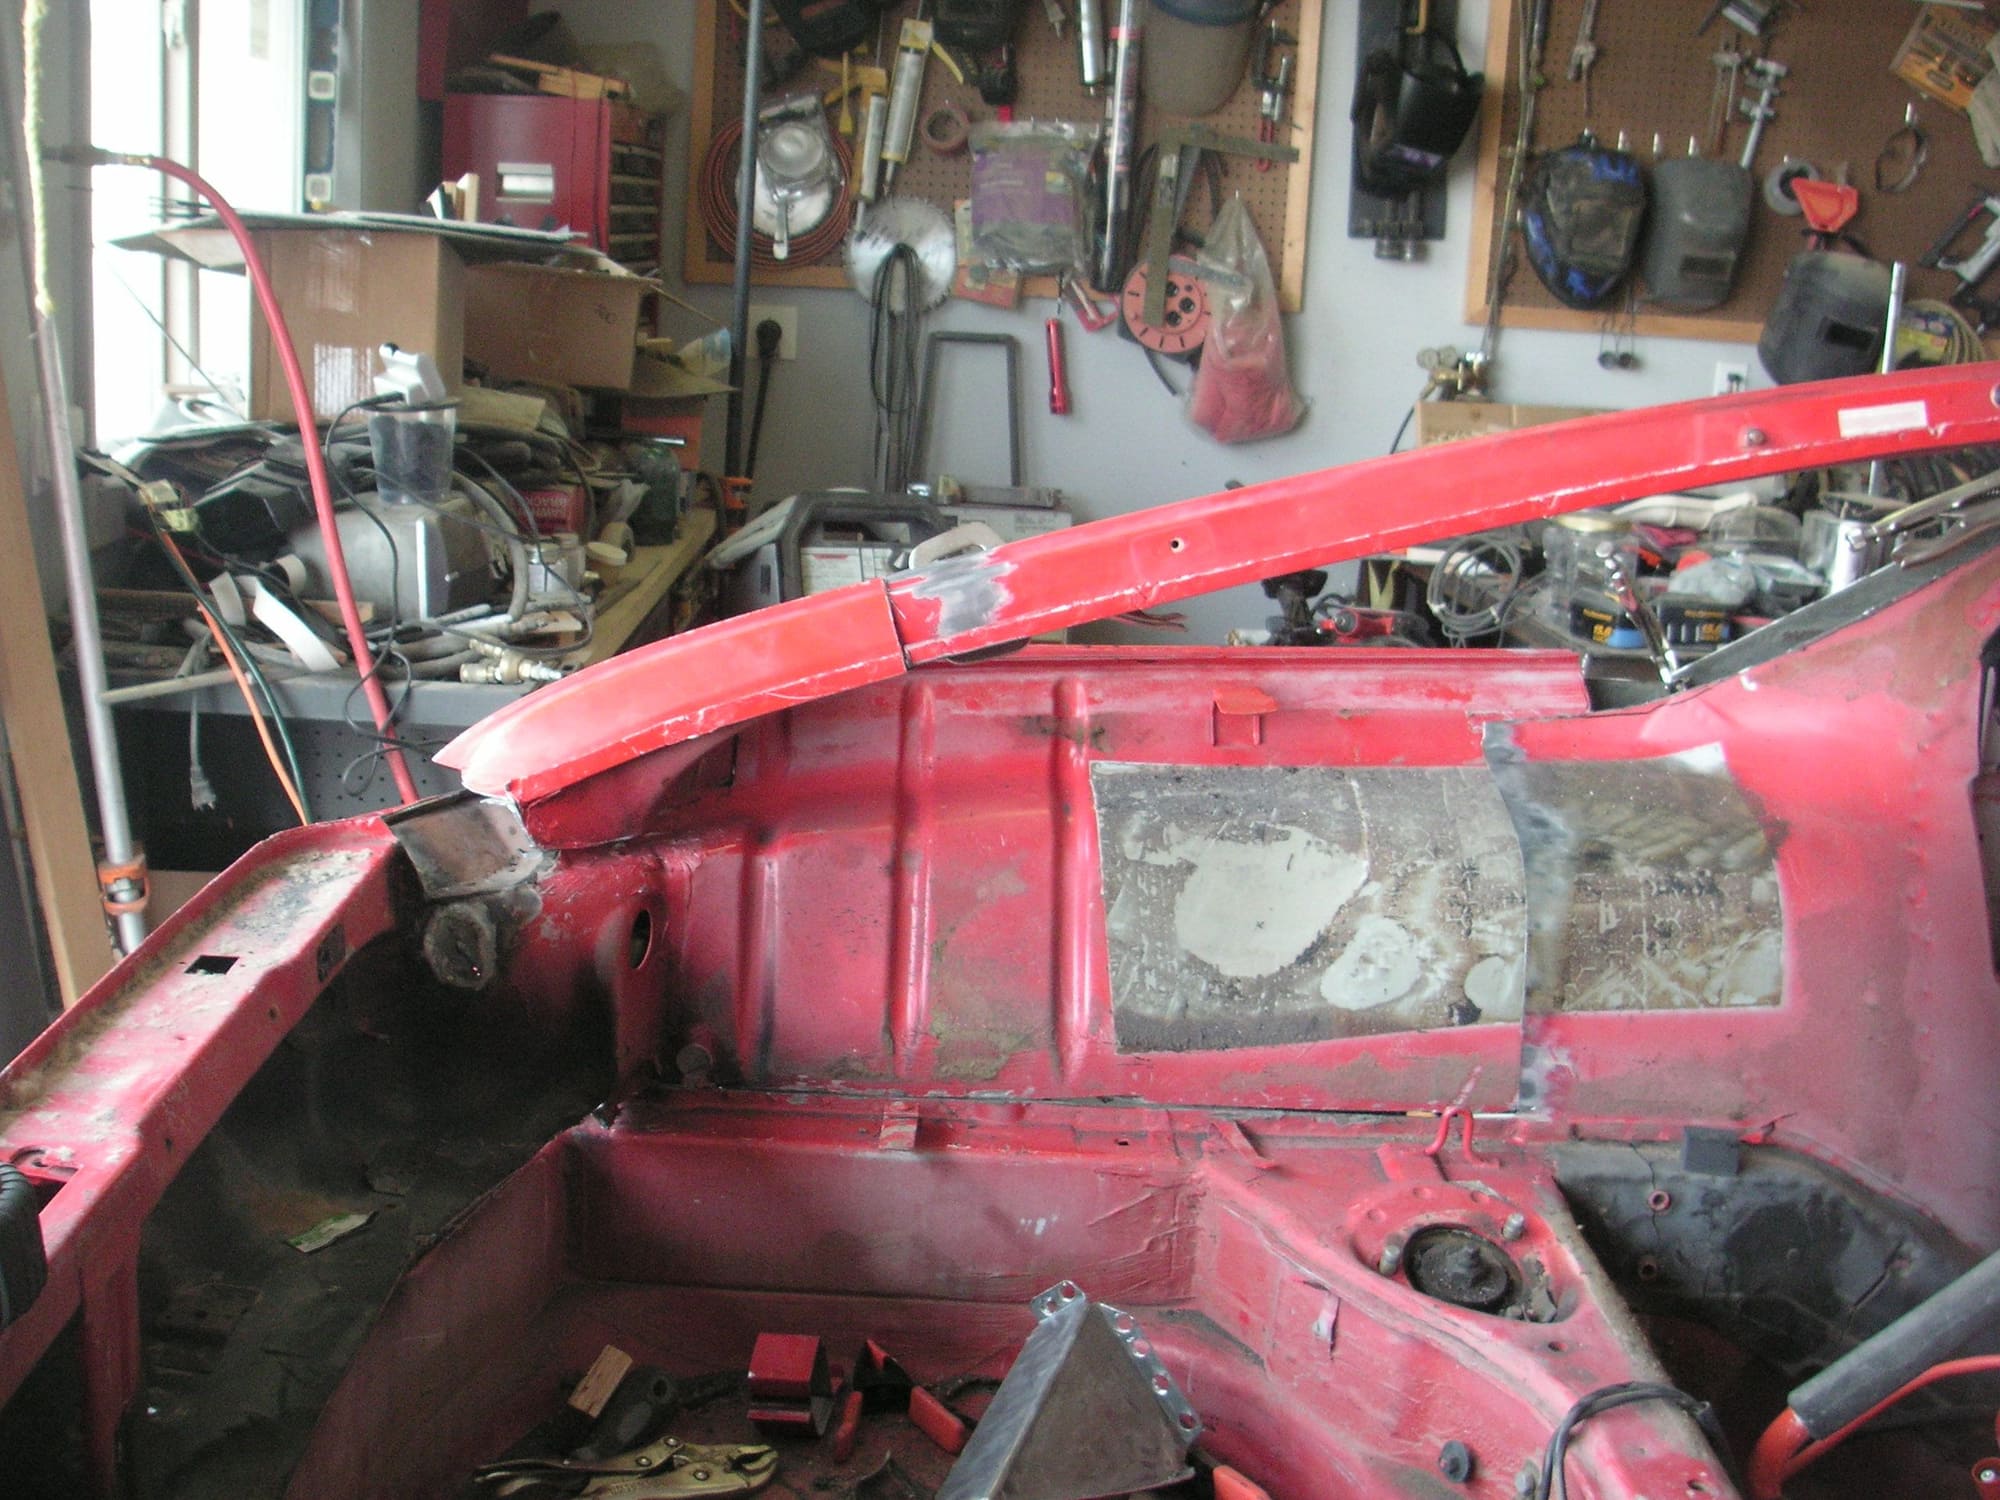
I spent some time cutting some of the rear frame corner tops off, but I need to pull the tail skin off to try to finish that up more carefully. Then I'll weld in some material to cuver up the resulting openings and then later blend it is with the tail light sockets in the tail skin.
Before pulling the tail off again I went ahead and cut the other quarter window rear corner off and then cut and ground on it to fit. I guess I cut is a little short, but even after I ground on it some more it is still too short. I guess I'll have to weld on a piece and the cut it again because the gap is a little too wide to try to fill with welding rod.
Edit: I guess I wasn't thinking - - - I just pulled the tail off to do the frame corners and clean some of the undercoating off of the inside of it for later shaping and welding, then it occurred to me when I was putting it back on that all I need to do to close the gap mistake I made is to put the tail back on a little tighter to close the gap. Then I may need to grind the piece on the other side to match, but then we can call it good.
Last edited by Jerry Feather; 04-01-2018 at 11:25 AM.
I took the tail off and then cut the top of the two frame corners down for tail light socket clearance when we do the section. I'll have to weld in some material to close them up but that will have to wait for the section job since some of the fill-in will be the bottoms of the actual sockets
.
Last edited by Jerry Feather; 04-01-2018 at 11:34 AM.
Happy Easter to all of you. I haven't gotten much done on the project yet today, but some. Now I have to fix Easter dinner for the family and my Son is coming over since his wife and child are at her folks out of town.
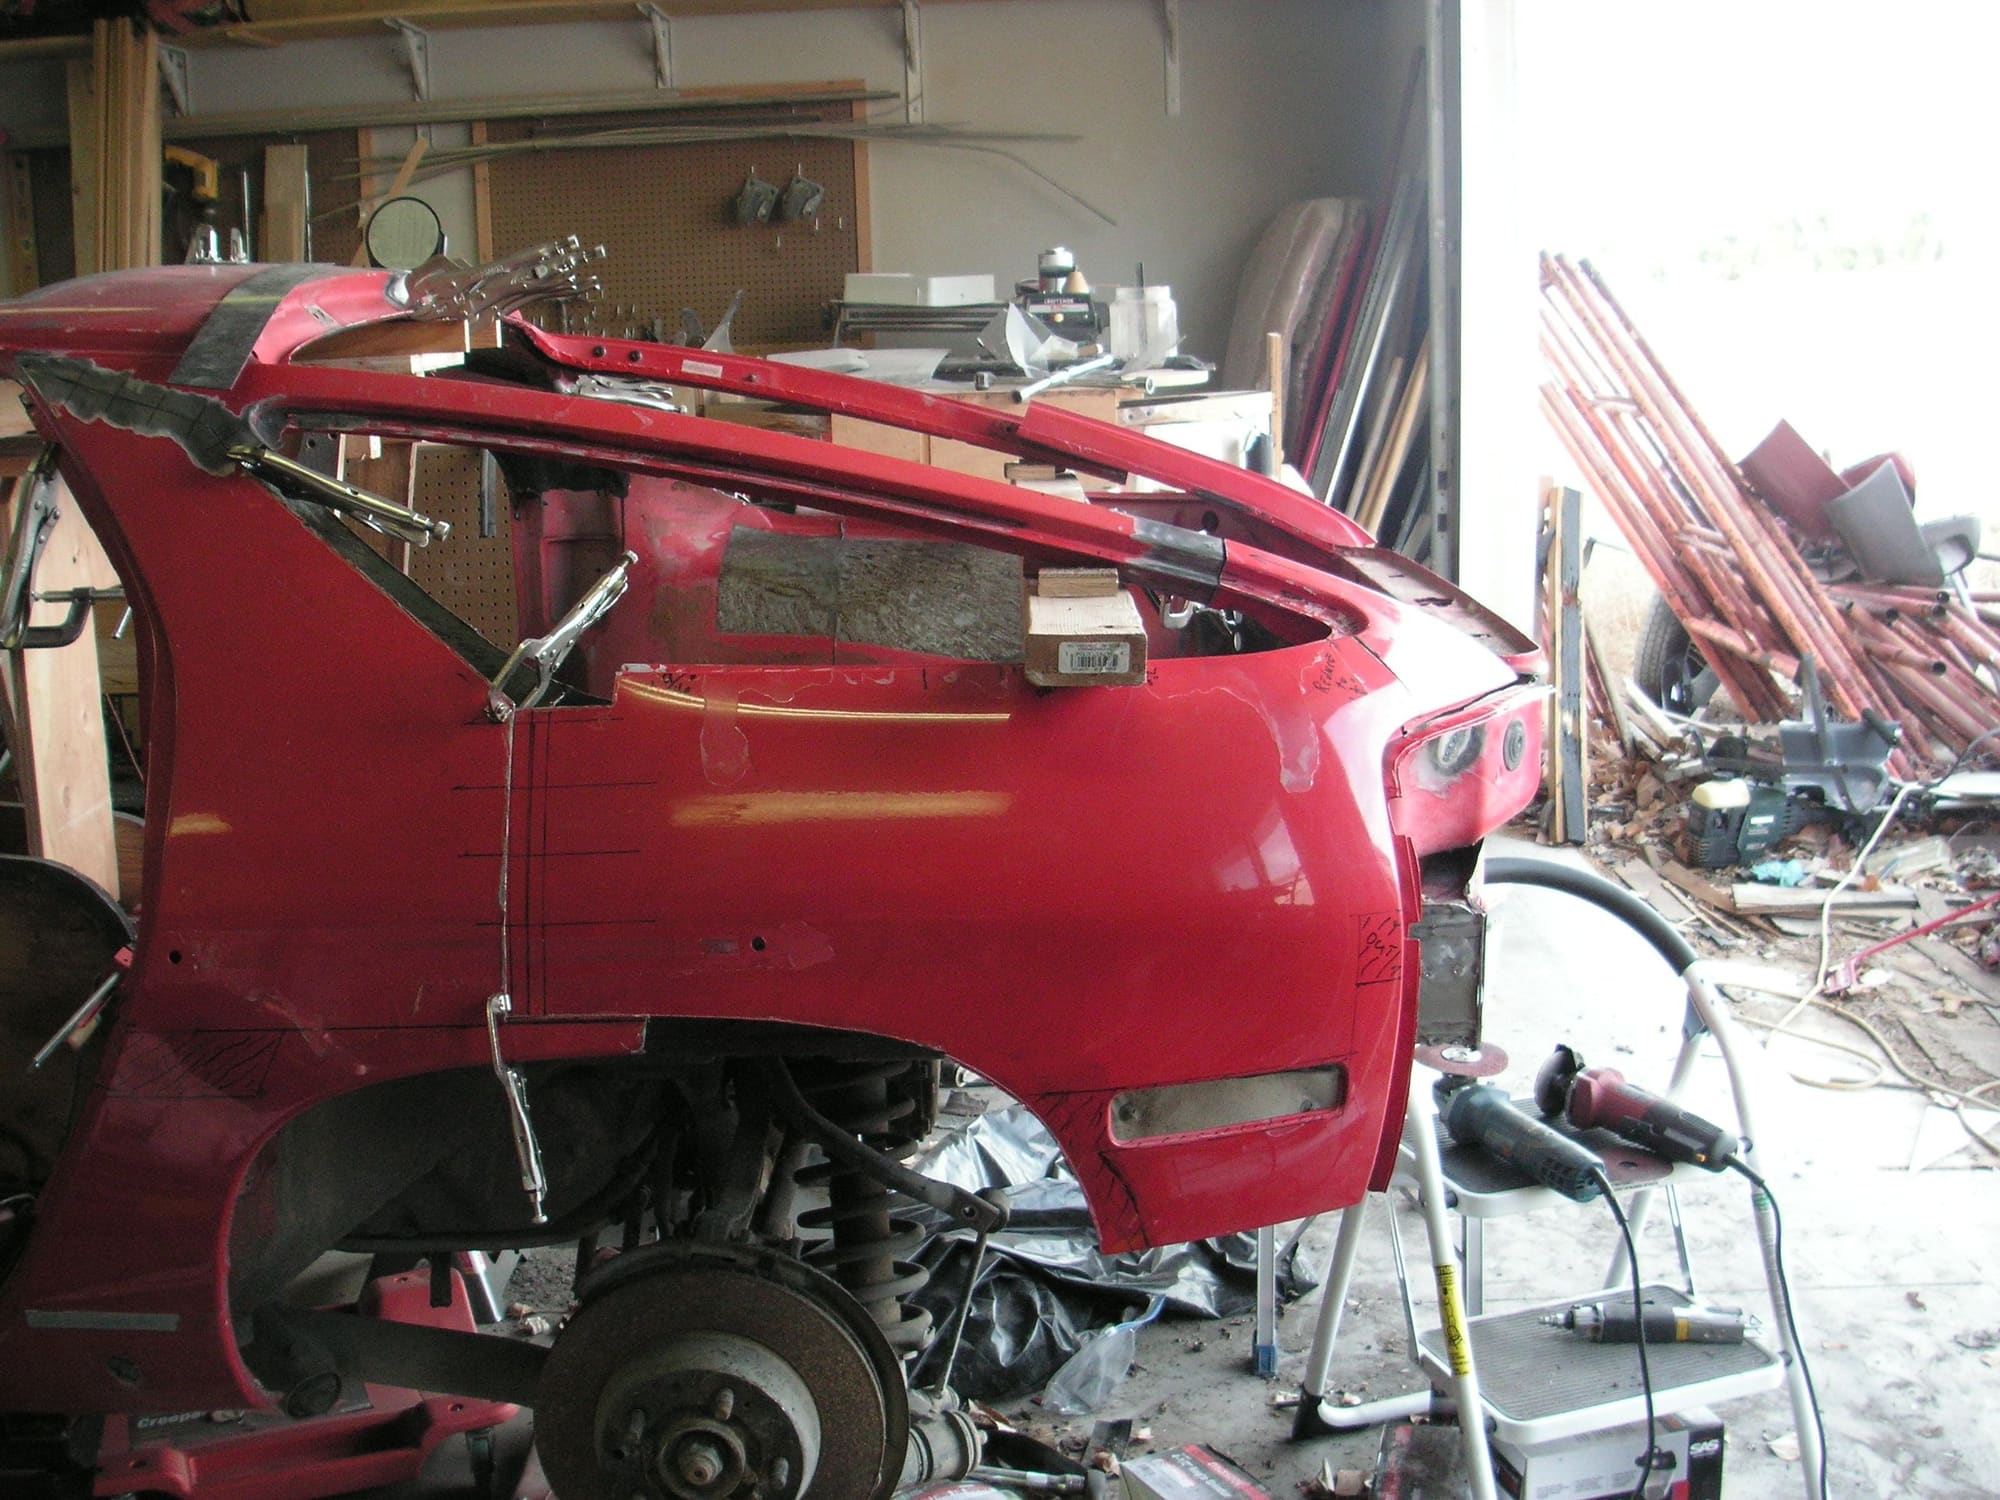
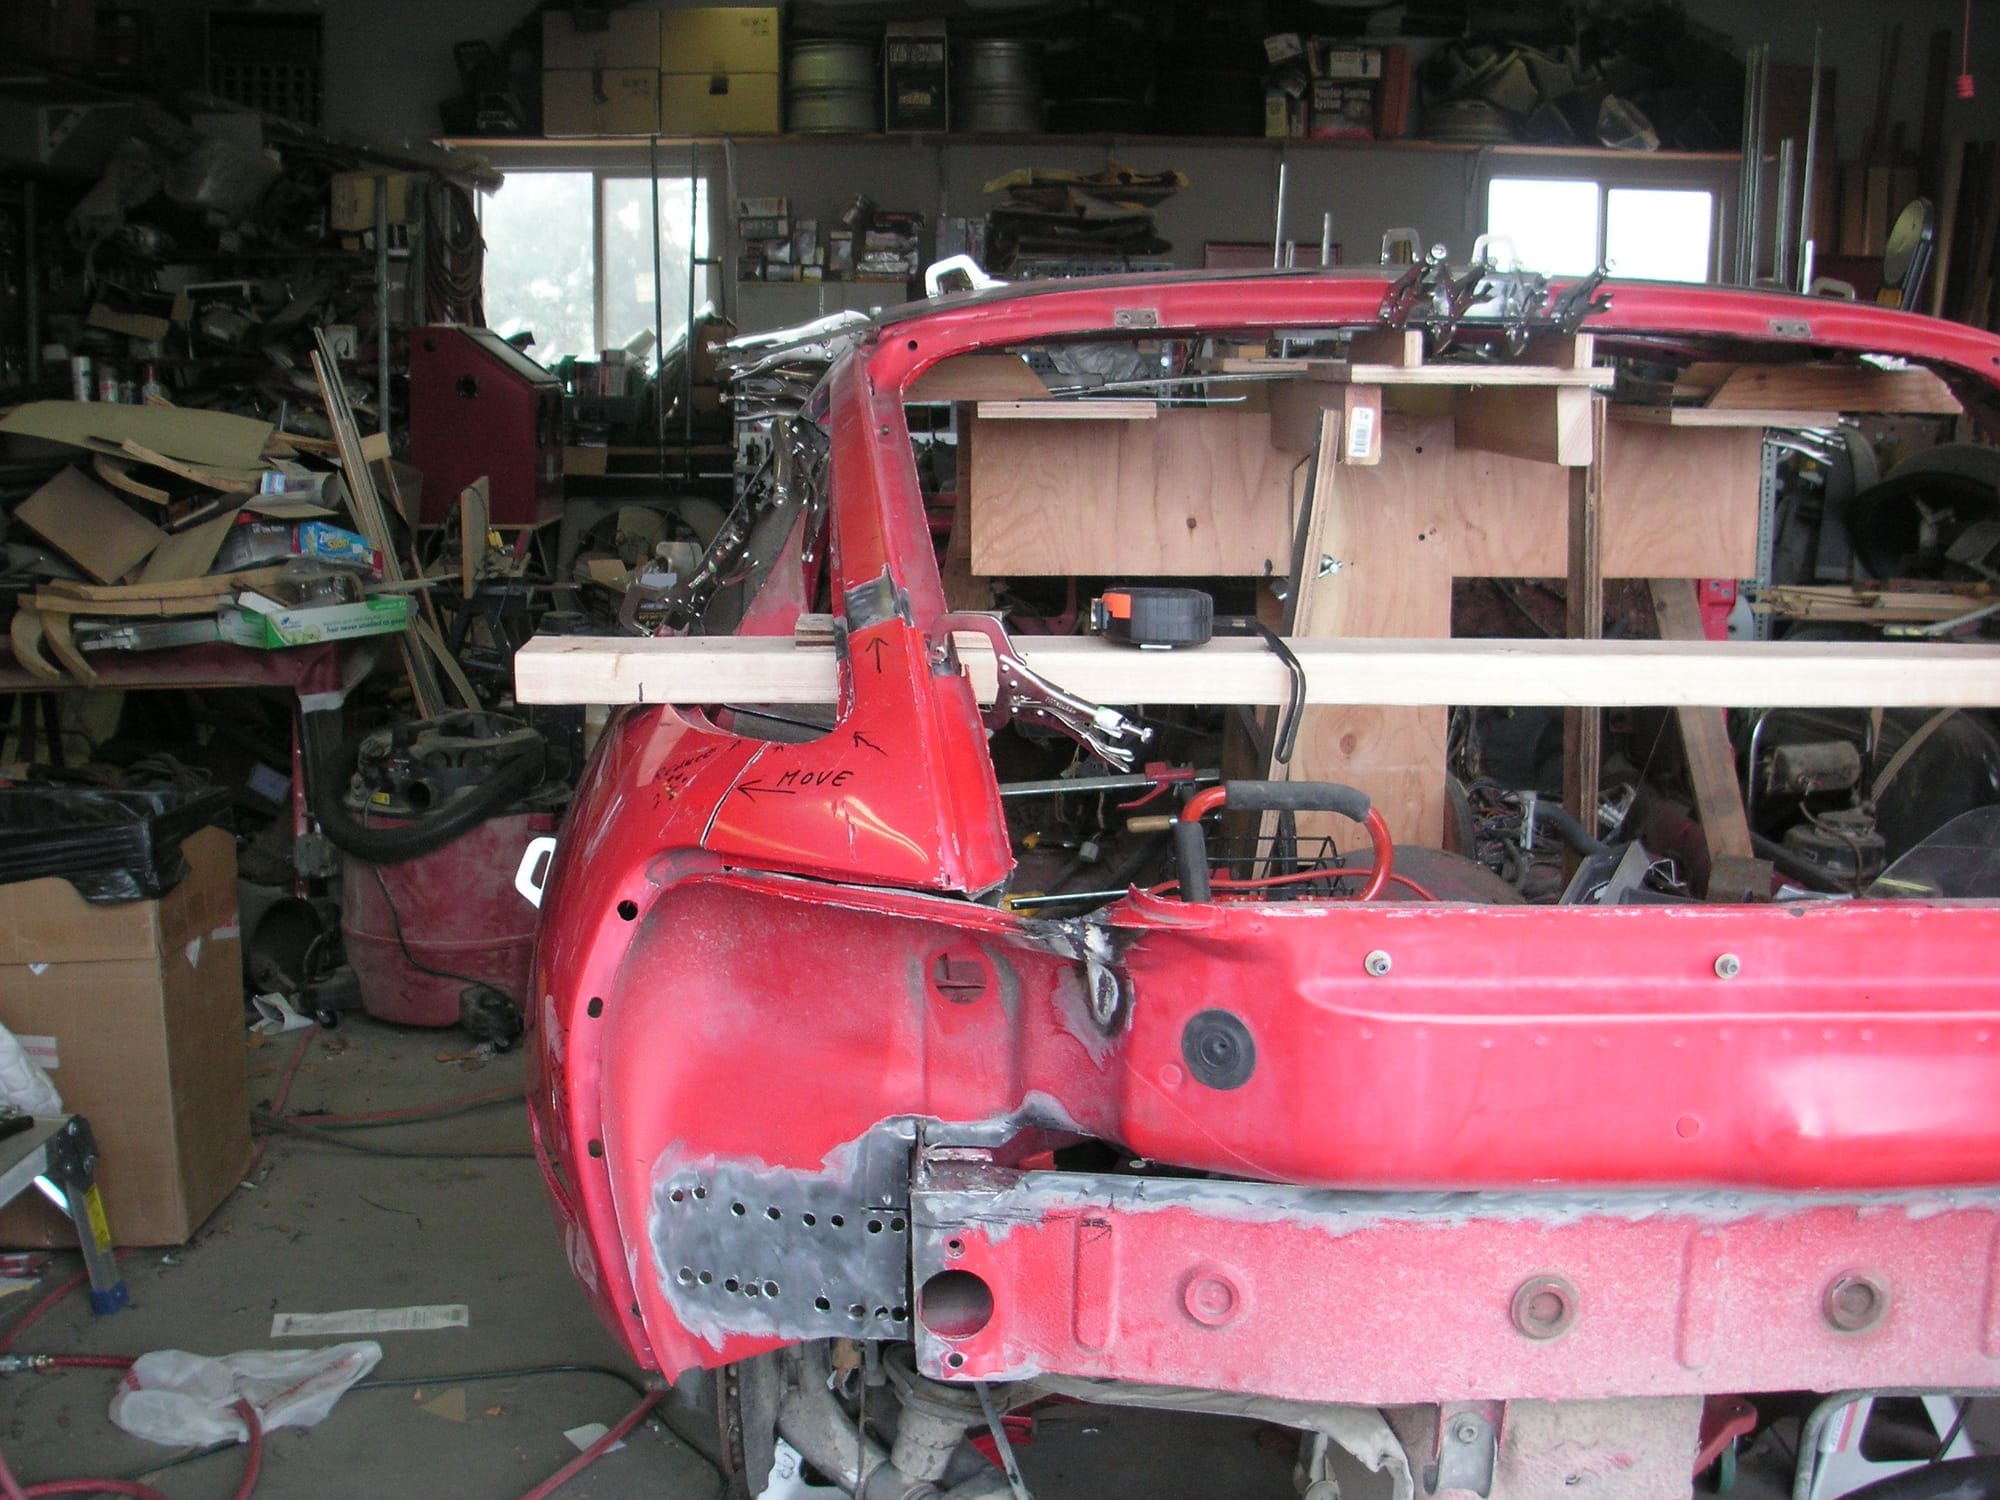
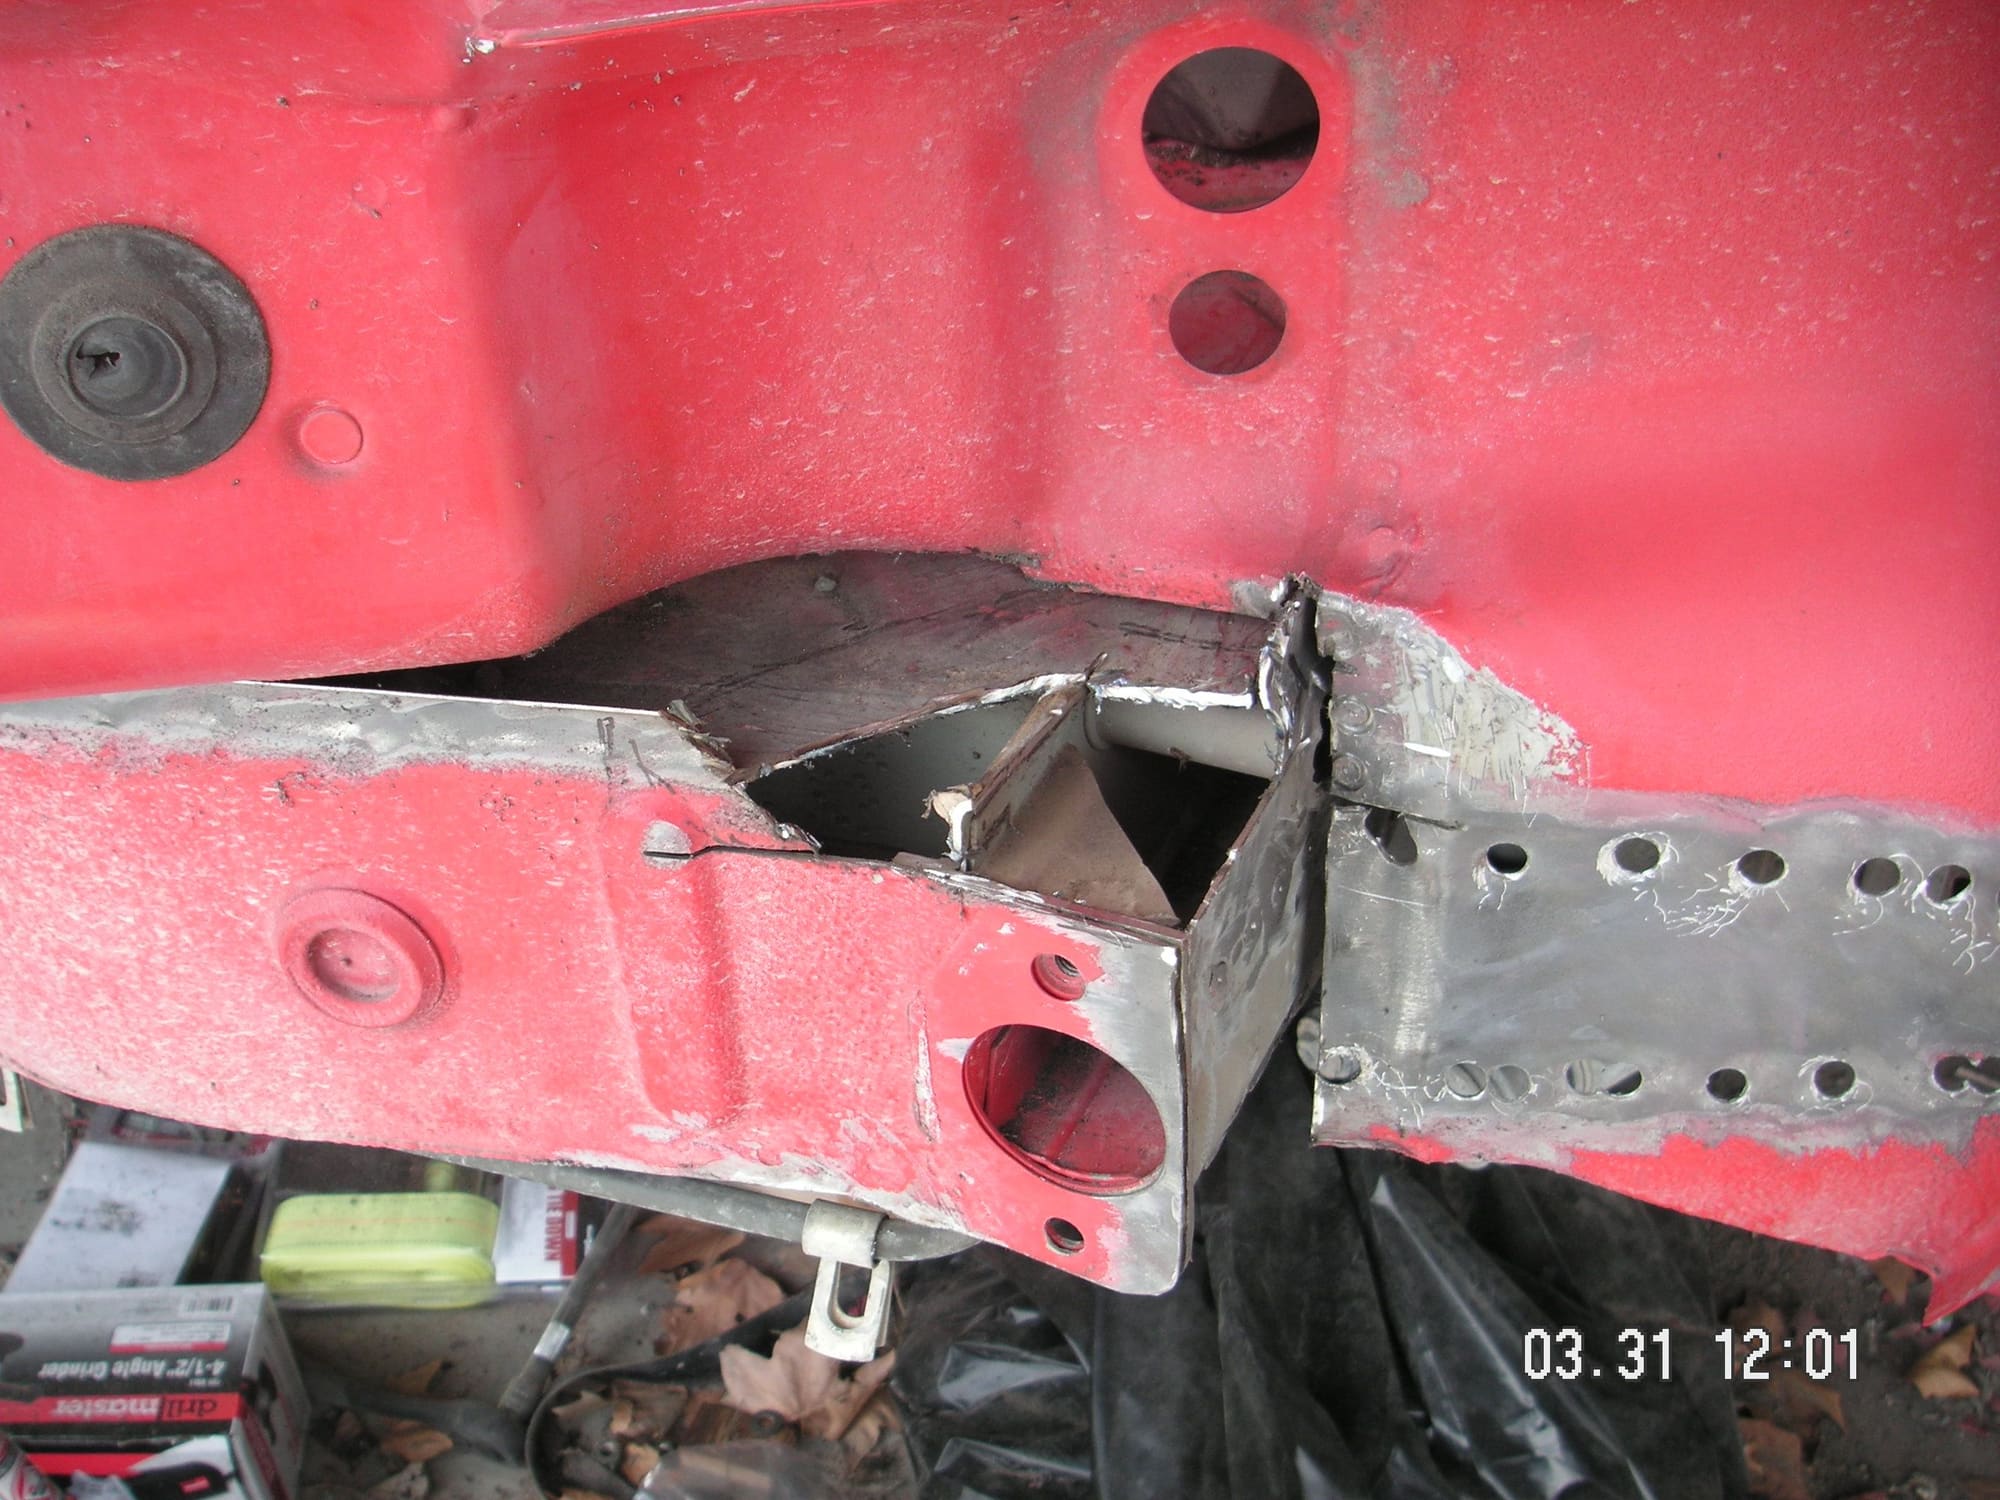
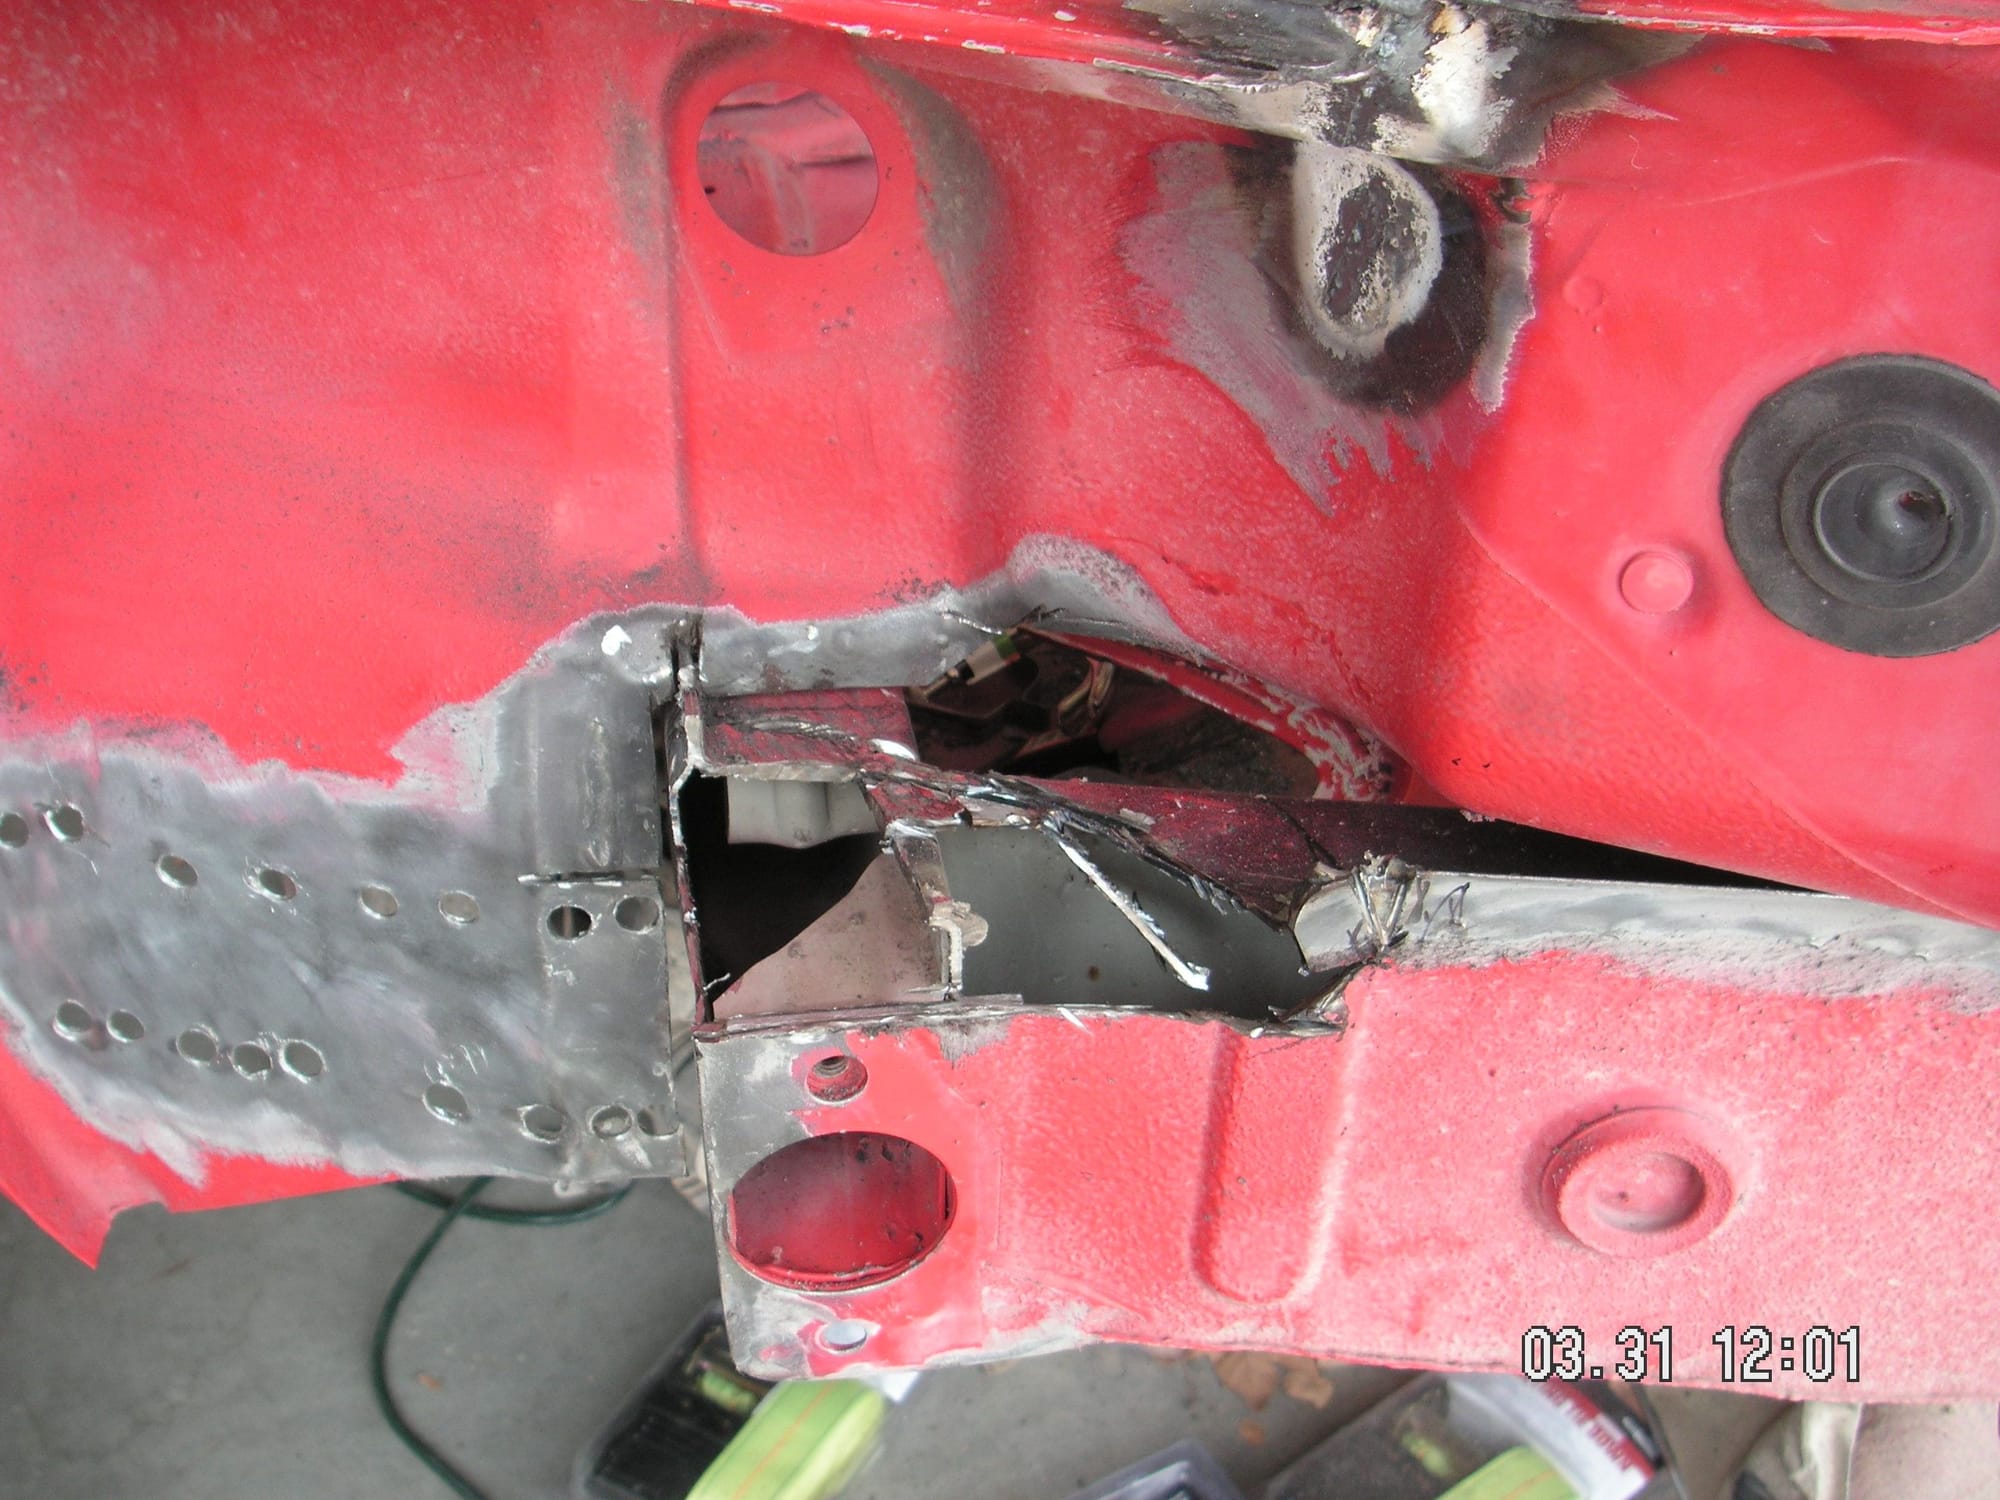
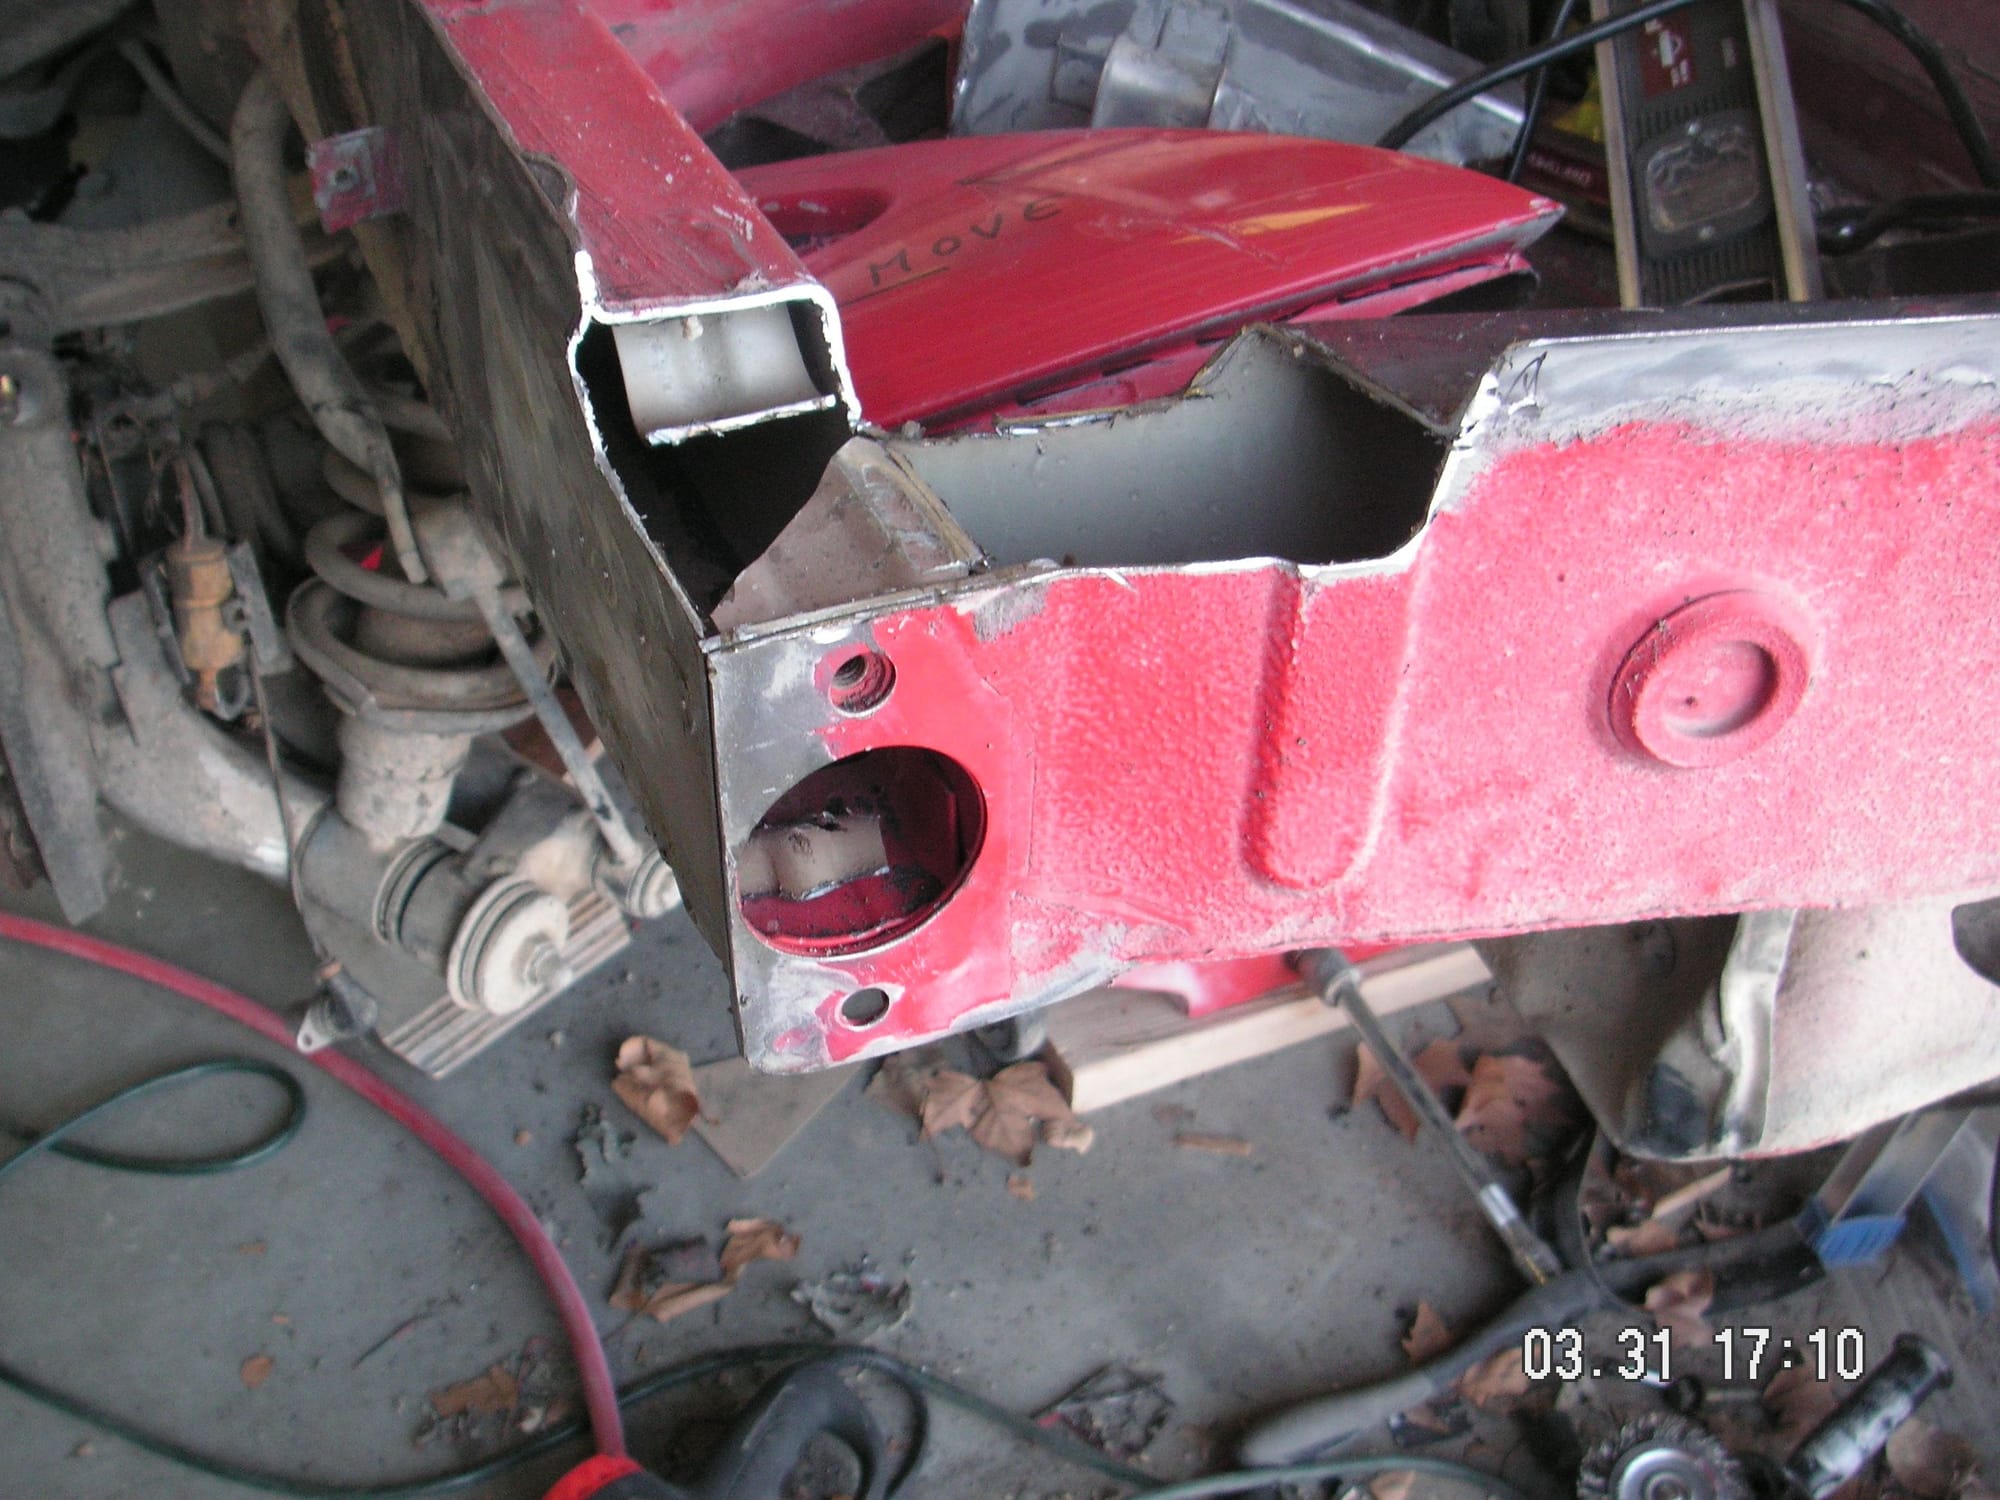
What I did today was make some more measurements and then fit the front edge of the LH rear quarter window. Now we can see the actual shape and size it is going to be in the end. I also determined that with the frame stanchion installed in its new location of the right side, 3 inches forward or its original place, it is going to interfere with the neck of the fuel tank. I haven't decided yet what to do about that.
One thought is that I could just eliminate the stanchion, or I could make a new smaller one, or I could modify the fuel tank. I'm not sure yet just how to modify the fuel tank; and we are going to have to modify it anyway since the section will require the neck of the tank to be sectioned 2 inches. I'm not even sure what it is made out of, but I have been thinking of plastic welding.
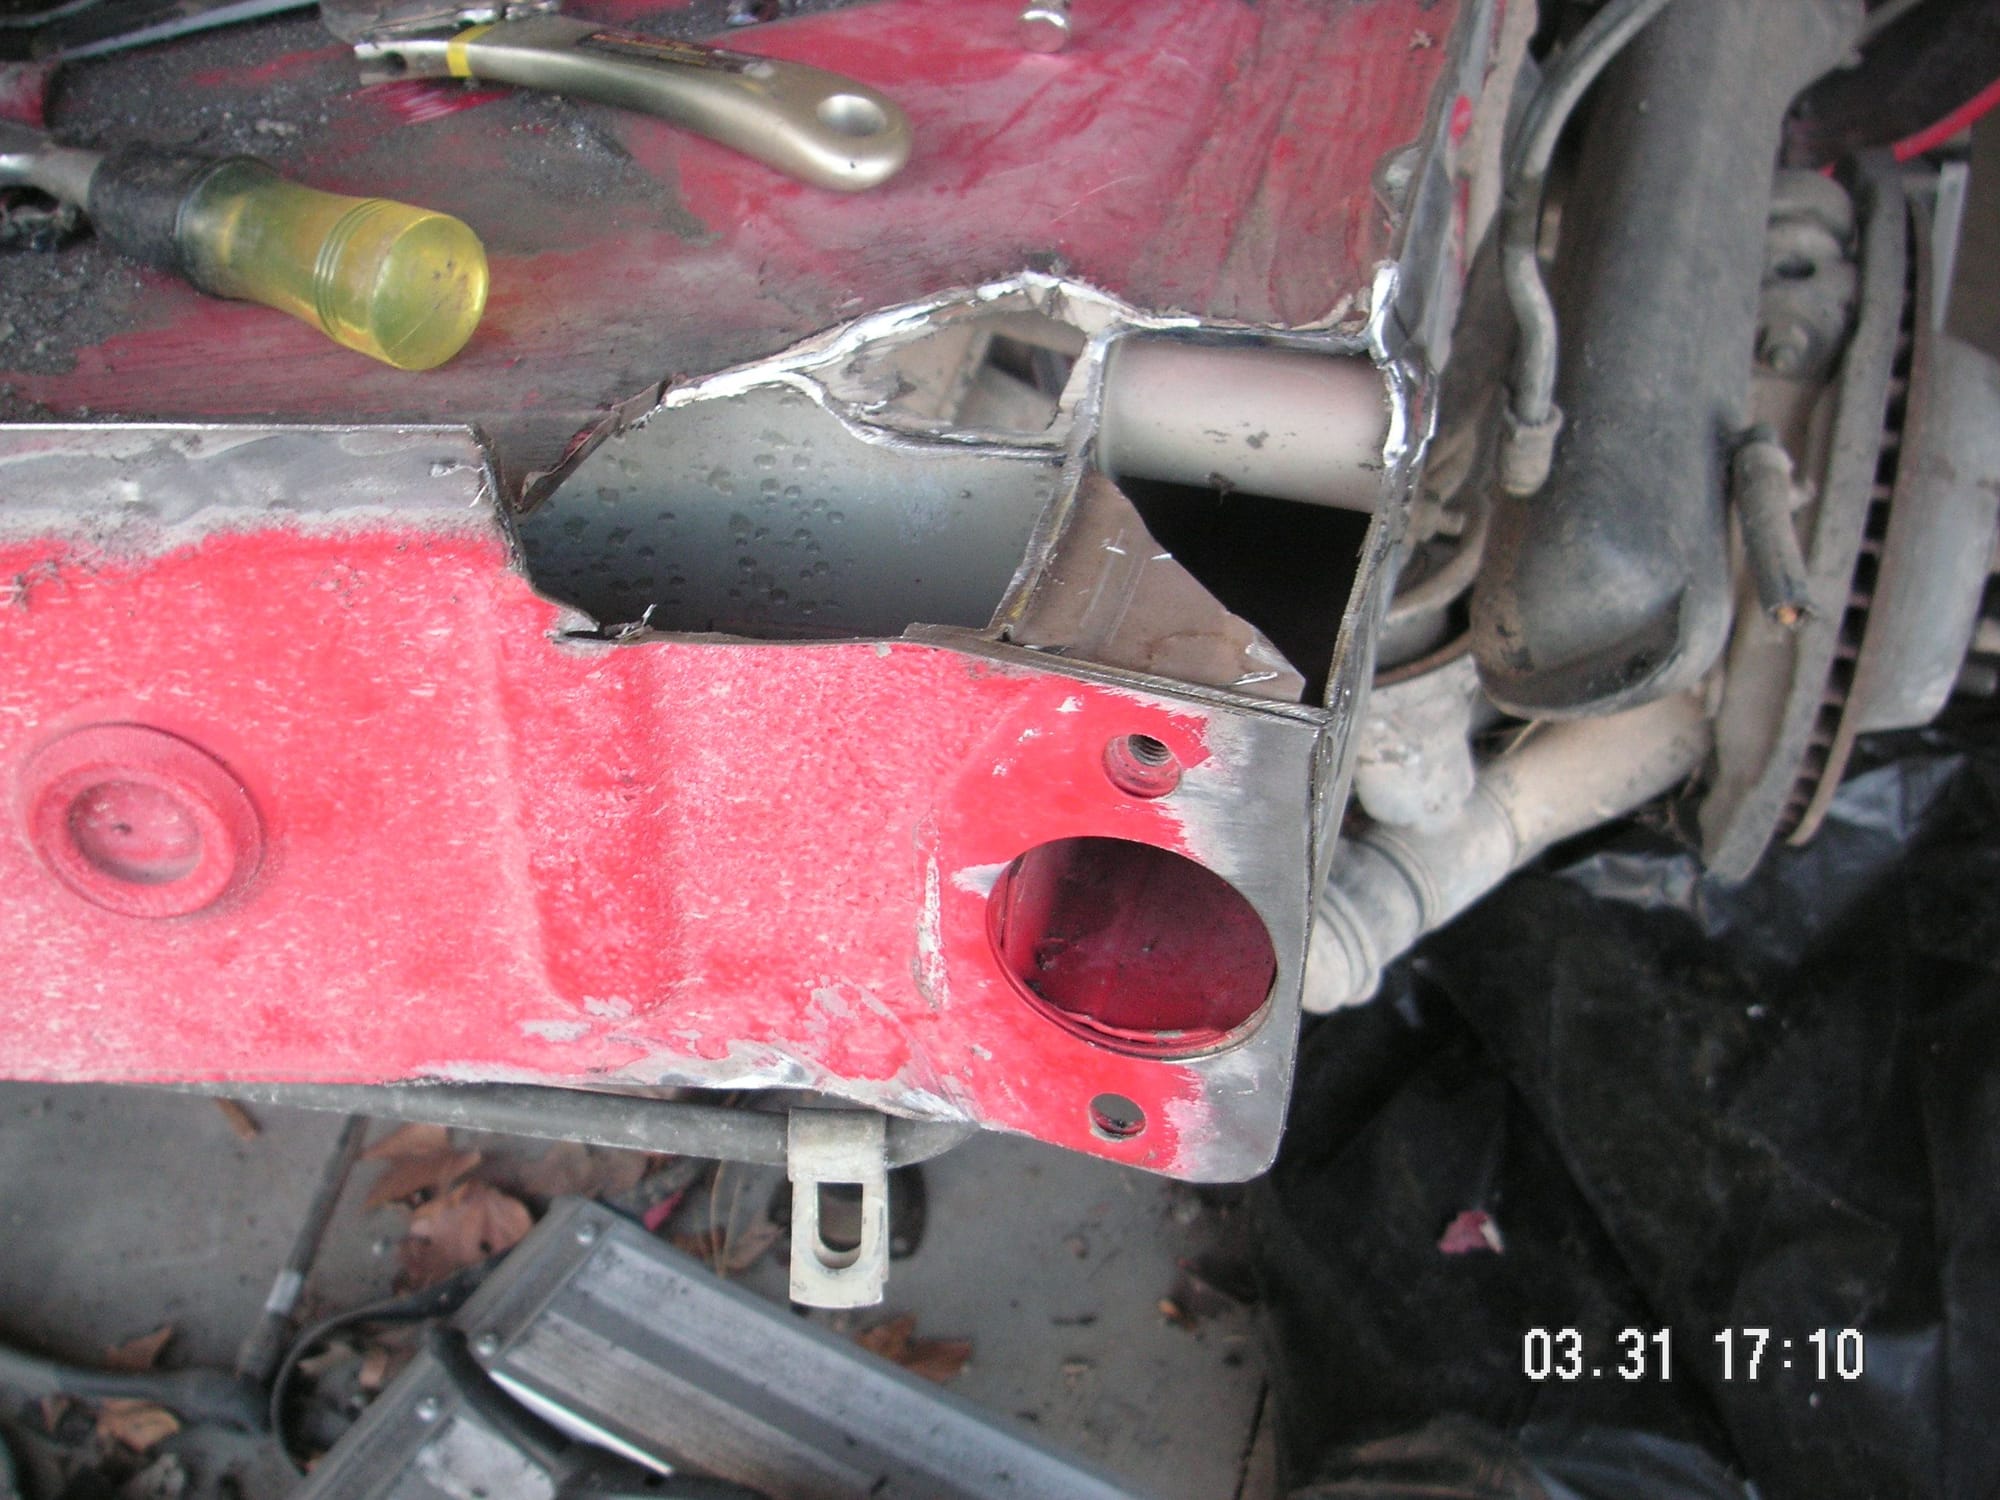
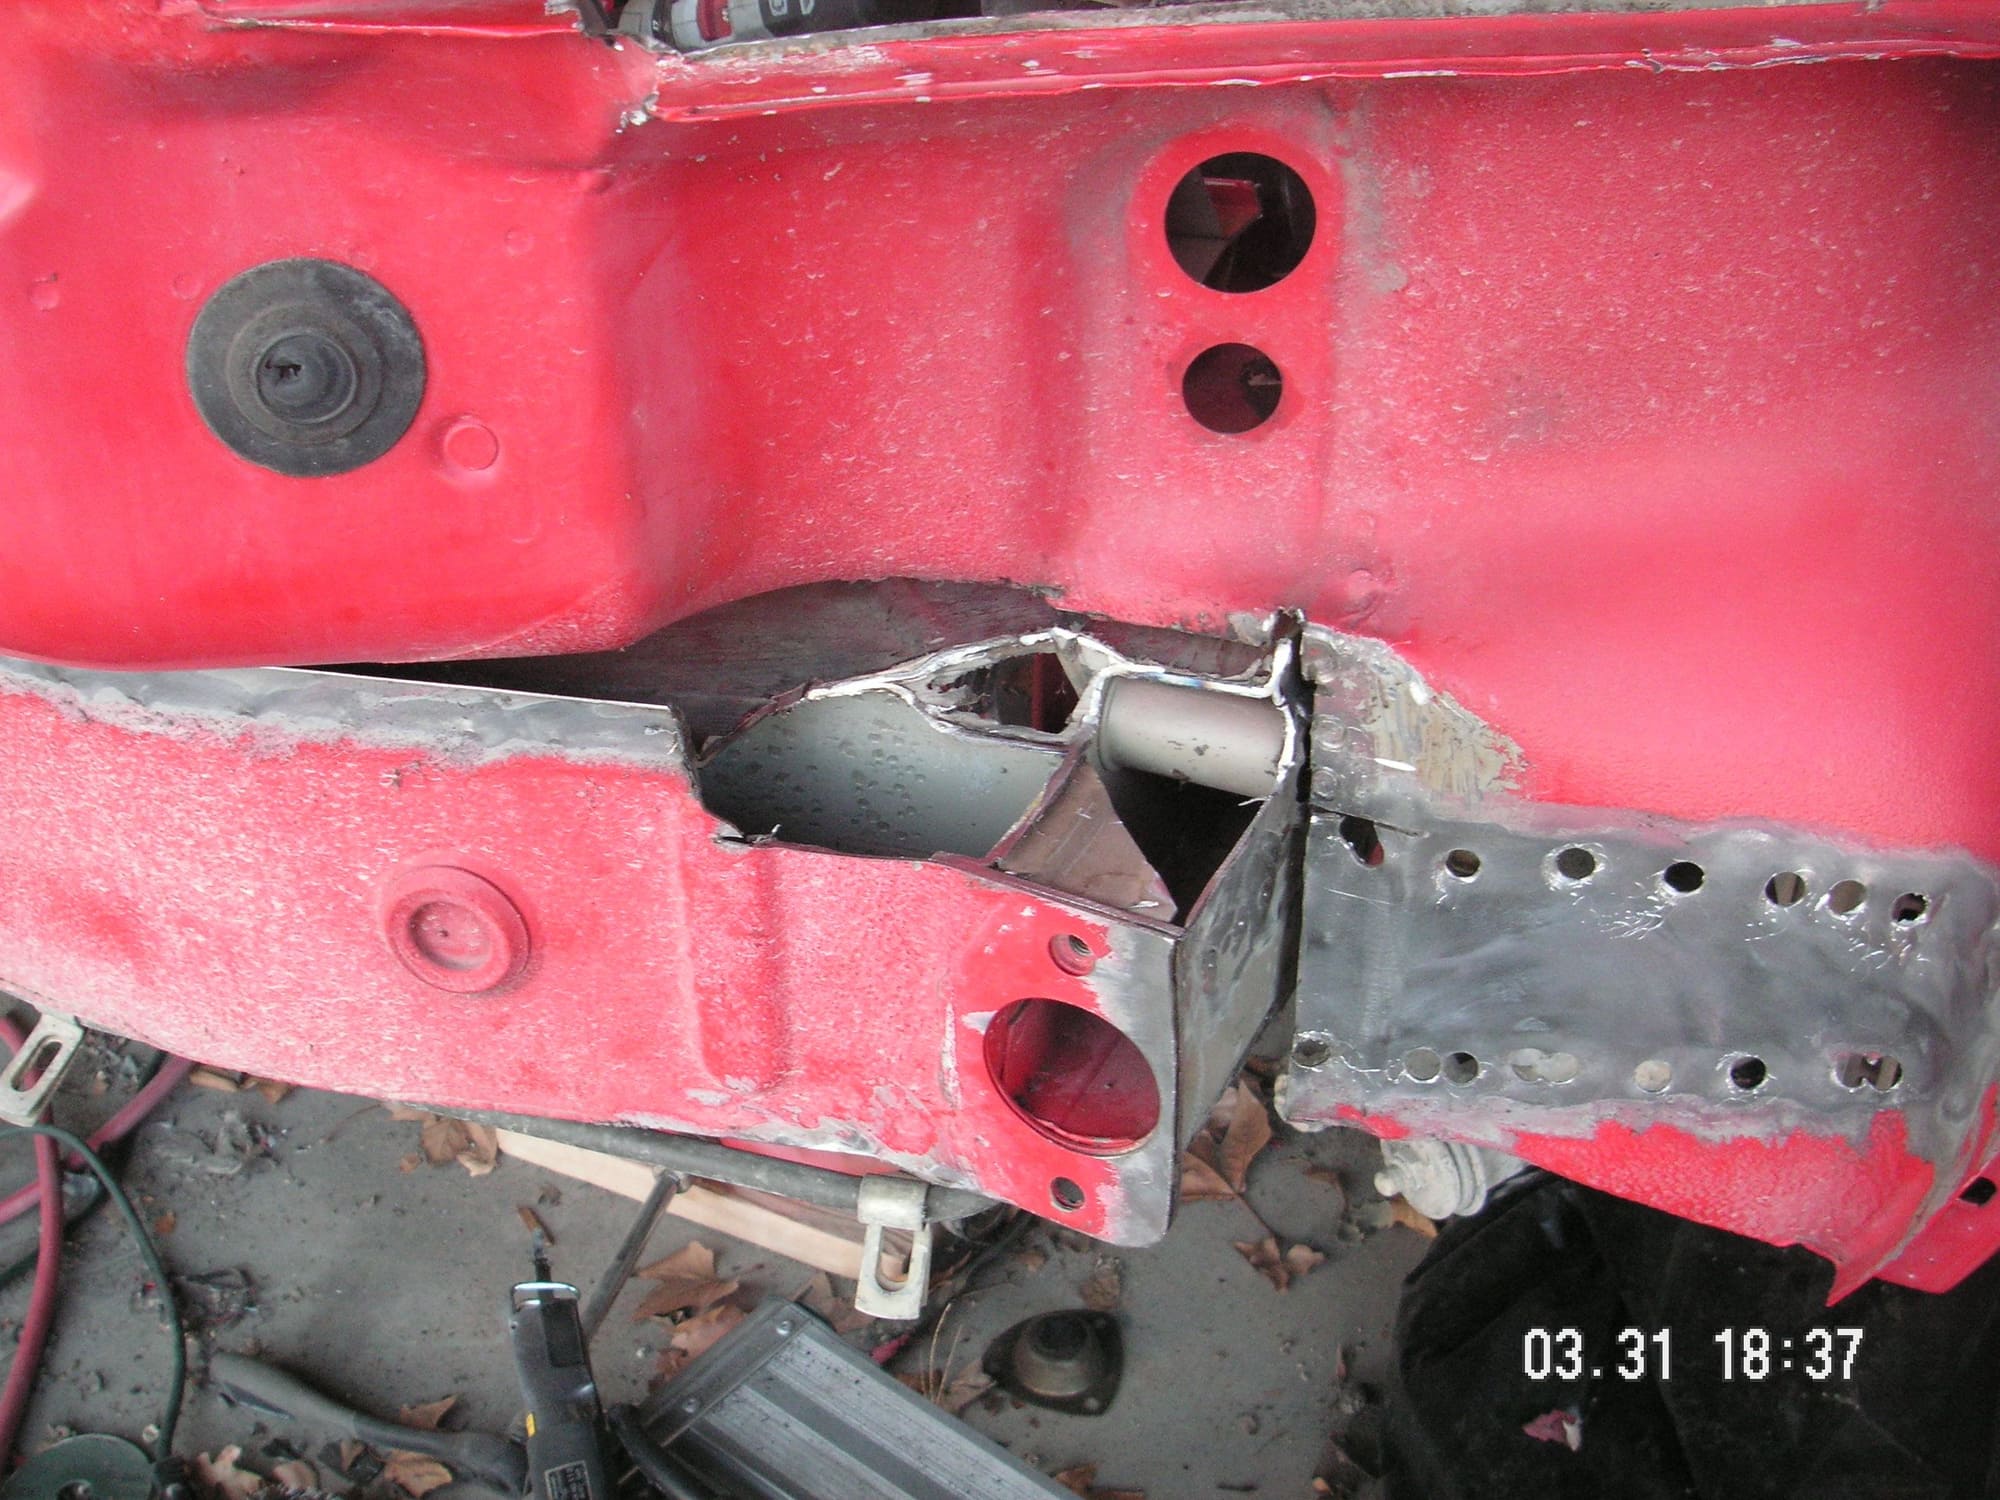
After Easter dinner yesterday I took my son Tim out to look at my progress on the Custom 928 and then I was showing and telling him about the problem with the neck on the fuel tank. While I was doing that I also noticed that with the tail of the car shortened 3 inches the right tail light socket is also protruding into the space for the fuel tank neck. That kind of complicates the solution to that problem.
My first thought was that that is going to pretty much focus our solution on modifying the neck of the tank. But, I was also showing and explaining to Tim about how I also need to move the opening for the fuel tank neck in the quarter panel back since the panel moved but the tank is not moving. In addition I discovered a couple of brackets spot welded up inside the quarter panel for mounting the fuel tank, and they would need to be moved also.
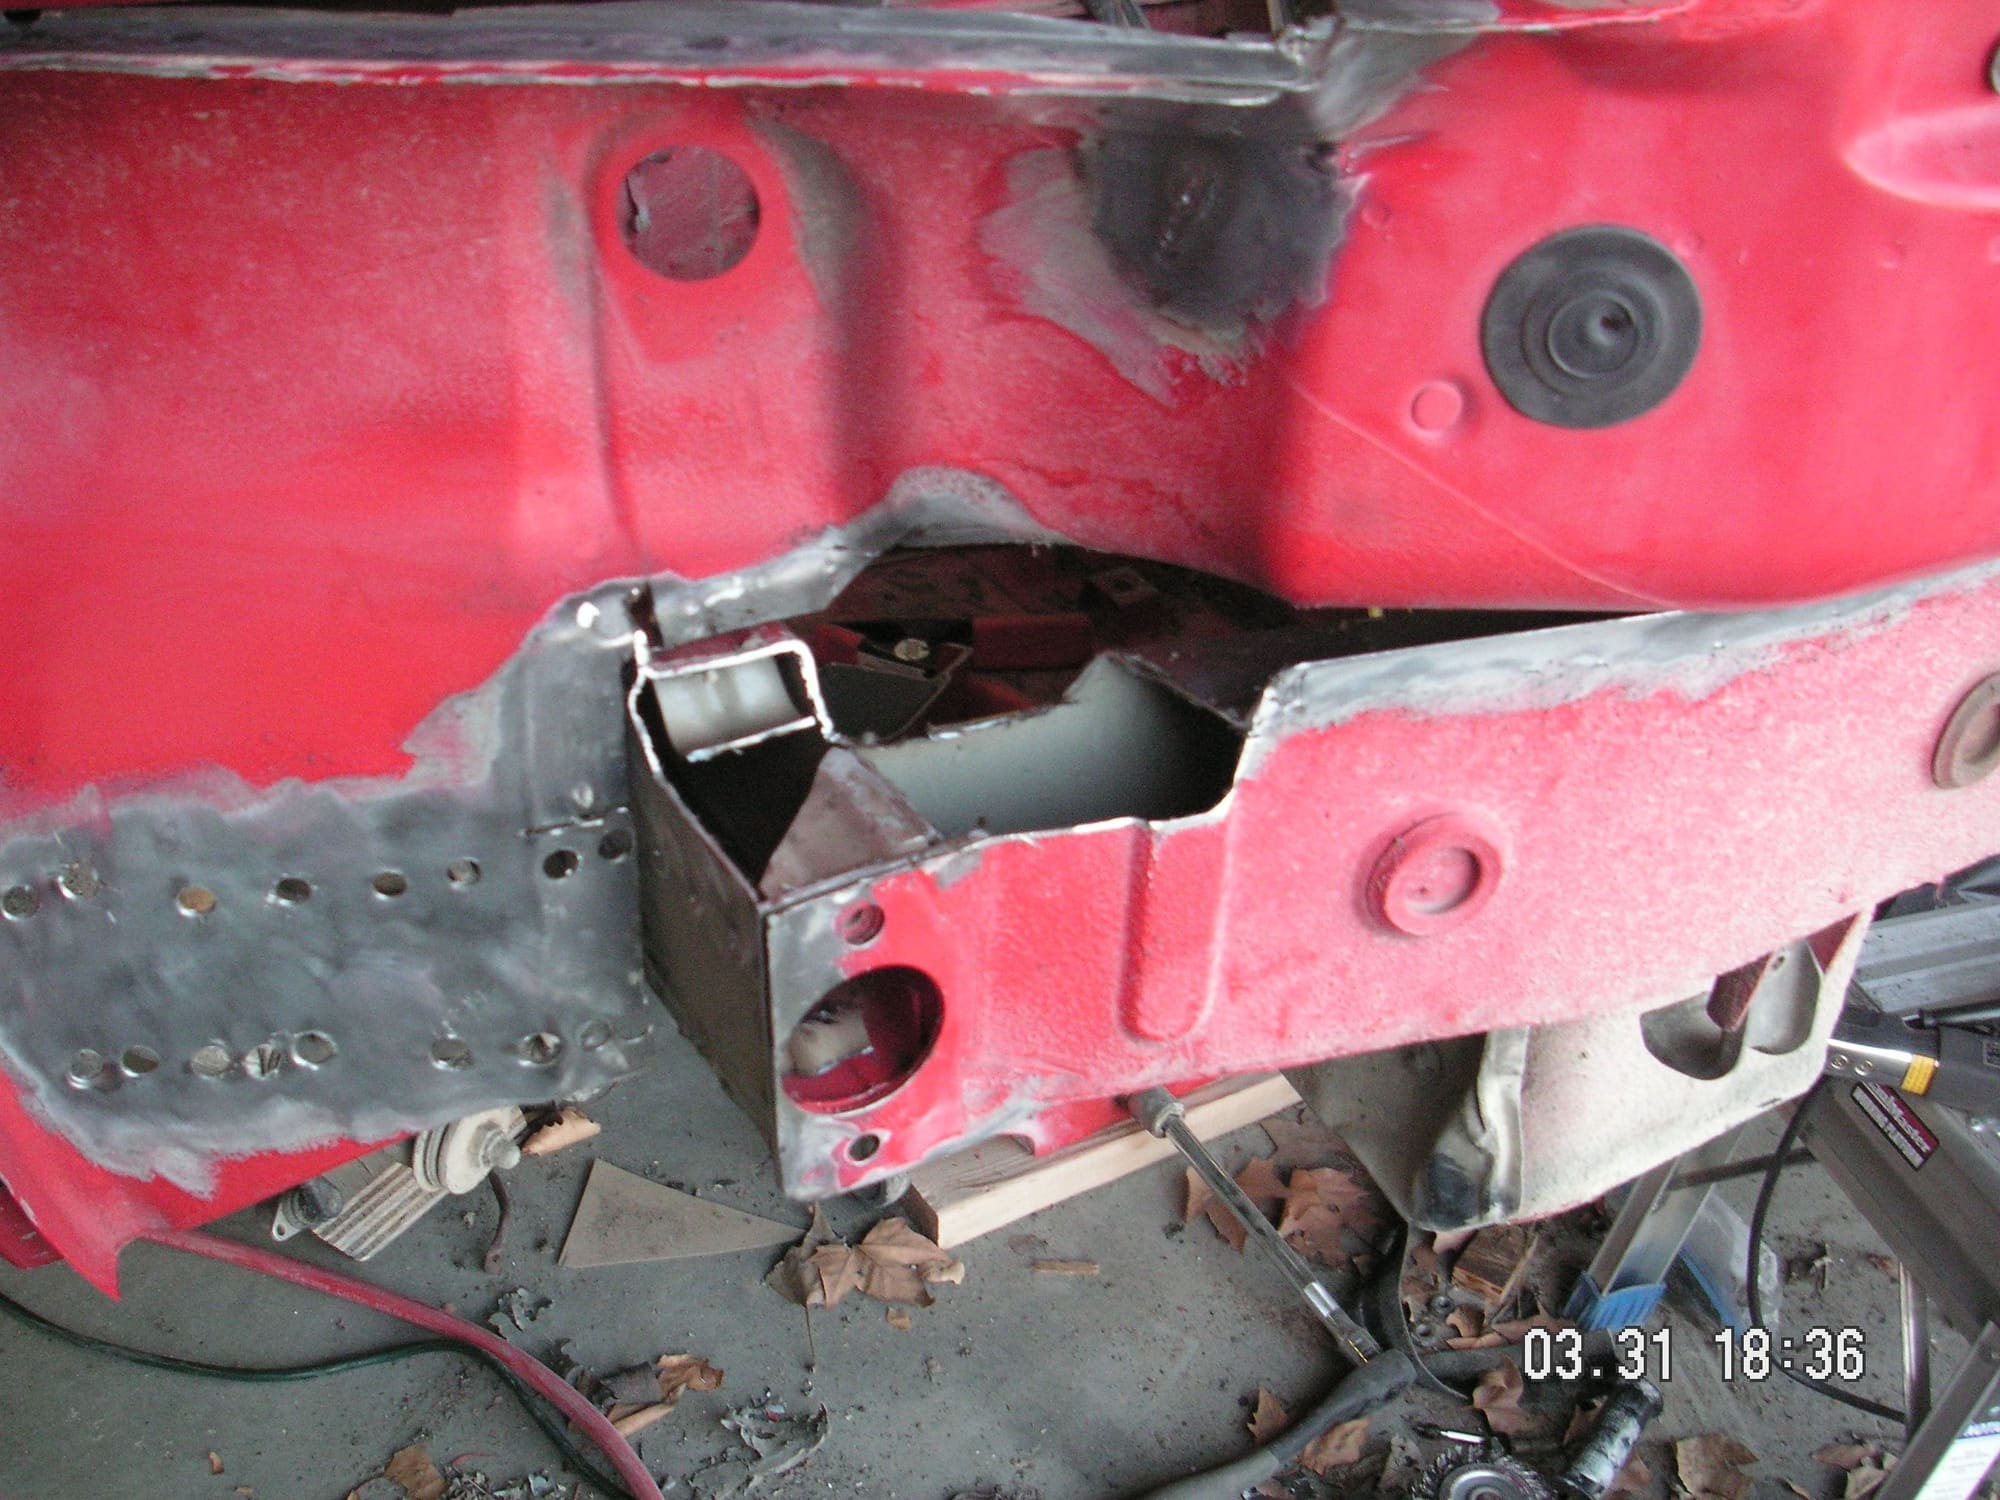
My next thought was that maybe the simplest solution would be to simply cut the entire neck of the fuel tank off and fabricate a different kind of filler neck, maybe out of some kind of flex tubing. But, after I thought about how I might do that fabrication, what I think is the final solution came to me and that is to simply fabricate an entire new fuel tank to solve all of it and minimize or eliminate the additional work needed at the quarter panel.
This whole thought process tells me that the tail was wagging the dog, or in this case the tank was wagging the car, so to say. Making a new tank turns it all around like I think it ought to be; and in the long run is probably going to be less work. I am already thinking about how to weld up a new fuel tank in 6061 aluminum and maybe even fab some kind of belly plate to protect it. We might even make one that holds more fuel for whatever that might be worth.
Last edited by Jerry Feather; 04-19-2018 at 10:14 AM.
Hi Jerry,
Is there a ready made fuel tank or fuel cell that would fit, and maybe even be better than OEM?
Just an idea. Great project.
Thanks for sharing again,
Dave
Hi Dave. I have no idea about the availability of an aftermarket fuel tank or fuel cell that might work here. My thought is that a "tank" would likely be made to fit where and how the original one does and with it we would likely have the same problems. A "Cell" on the other hand might be something to investigate in hopes of finding something that would fit the space and have a filler neck that could be put just about anyplace.
I have been giving some thought to the design of the new fuel tank, but that aspect of this project will have to wait some.
At this point I think we need to remove just about all of what we have cut loose at this point and begin to refine our joints for welding. There is a slight kink in the line of the rear edge of the roof, and I need to figure out why. In all of the refitting I think we are going to end up with the tail of the car being tightened up a tiny amount, but not enough to really notice in the final look. At least we still have the flexibility to move it some as may be needed.
Also I think it will be interesting and maybe of some value later, to have a picture of the car with everything that we have cut loose being removed at the same time, since we haven't actually done that at any point up to now.
Last edited by Jerry Feather; 05-26-2018 at 12:09 PM.

 03-30-2018, 09:16 PM