When you click on links to various merchants on this site and make a purchase, this can result in this site earning a commission. Affiliate programs and affiliations include, but are not limited to, the eBay Partner Network.
My most recent measurements and calculations suggest that we will be able to shorten the tail as much as 3 inches pretty readily. I am kind of hoping for a full 3 and 1/2 inches; but only if that can be done without too much problem at the rear corners inside the baggage area. We will see.
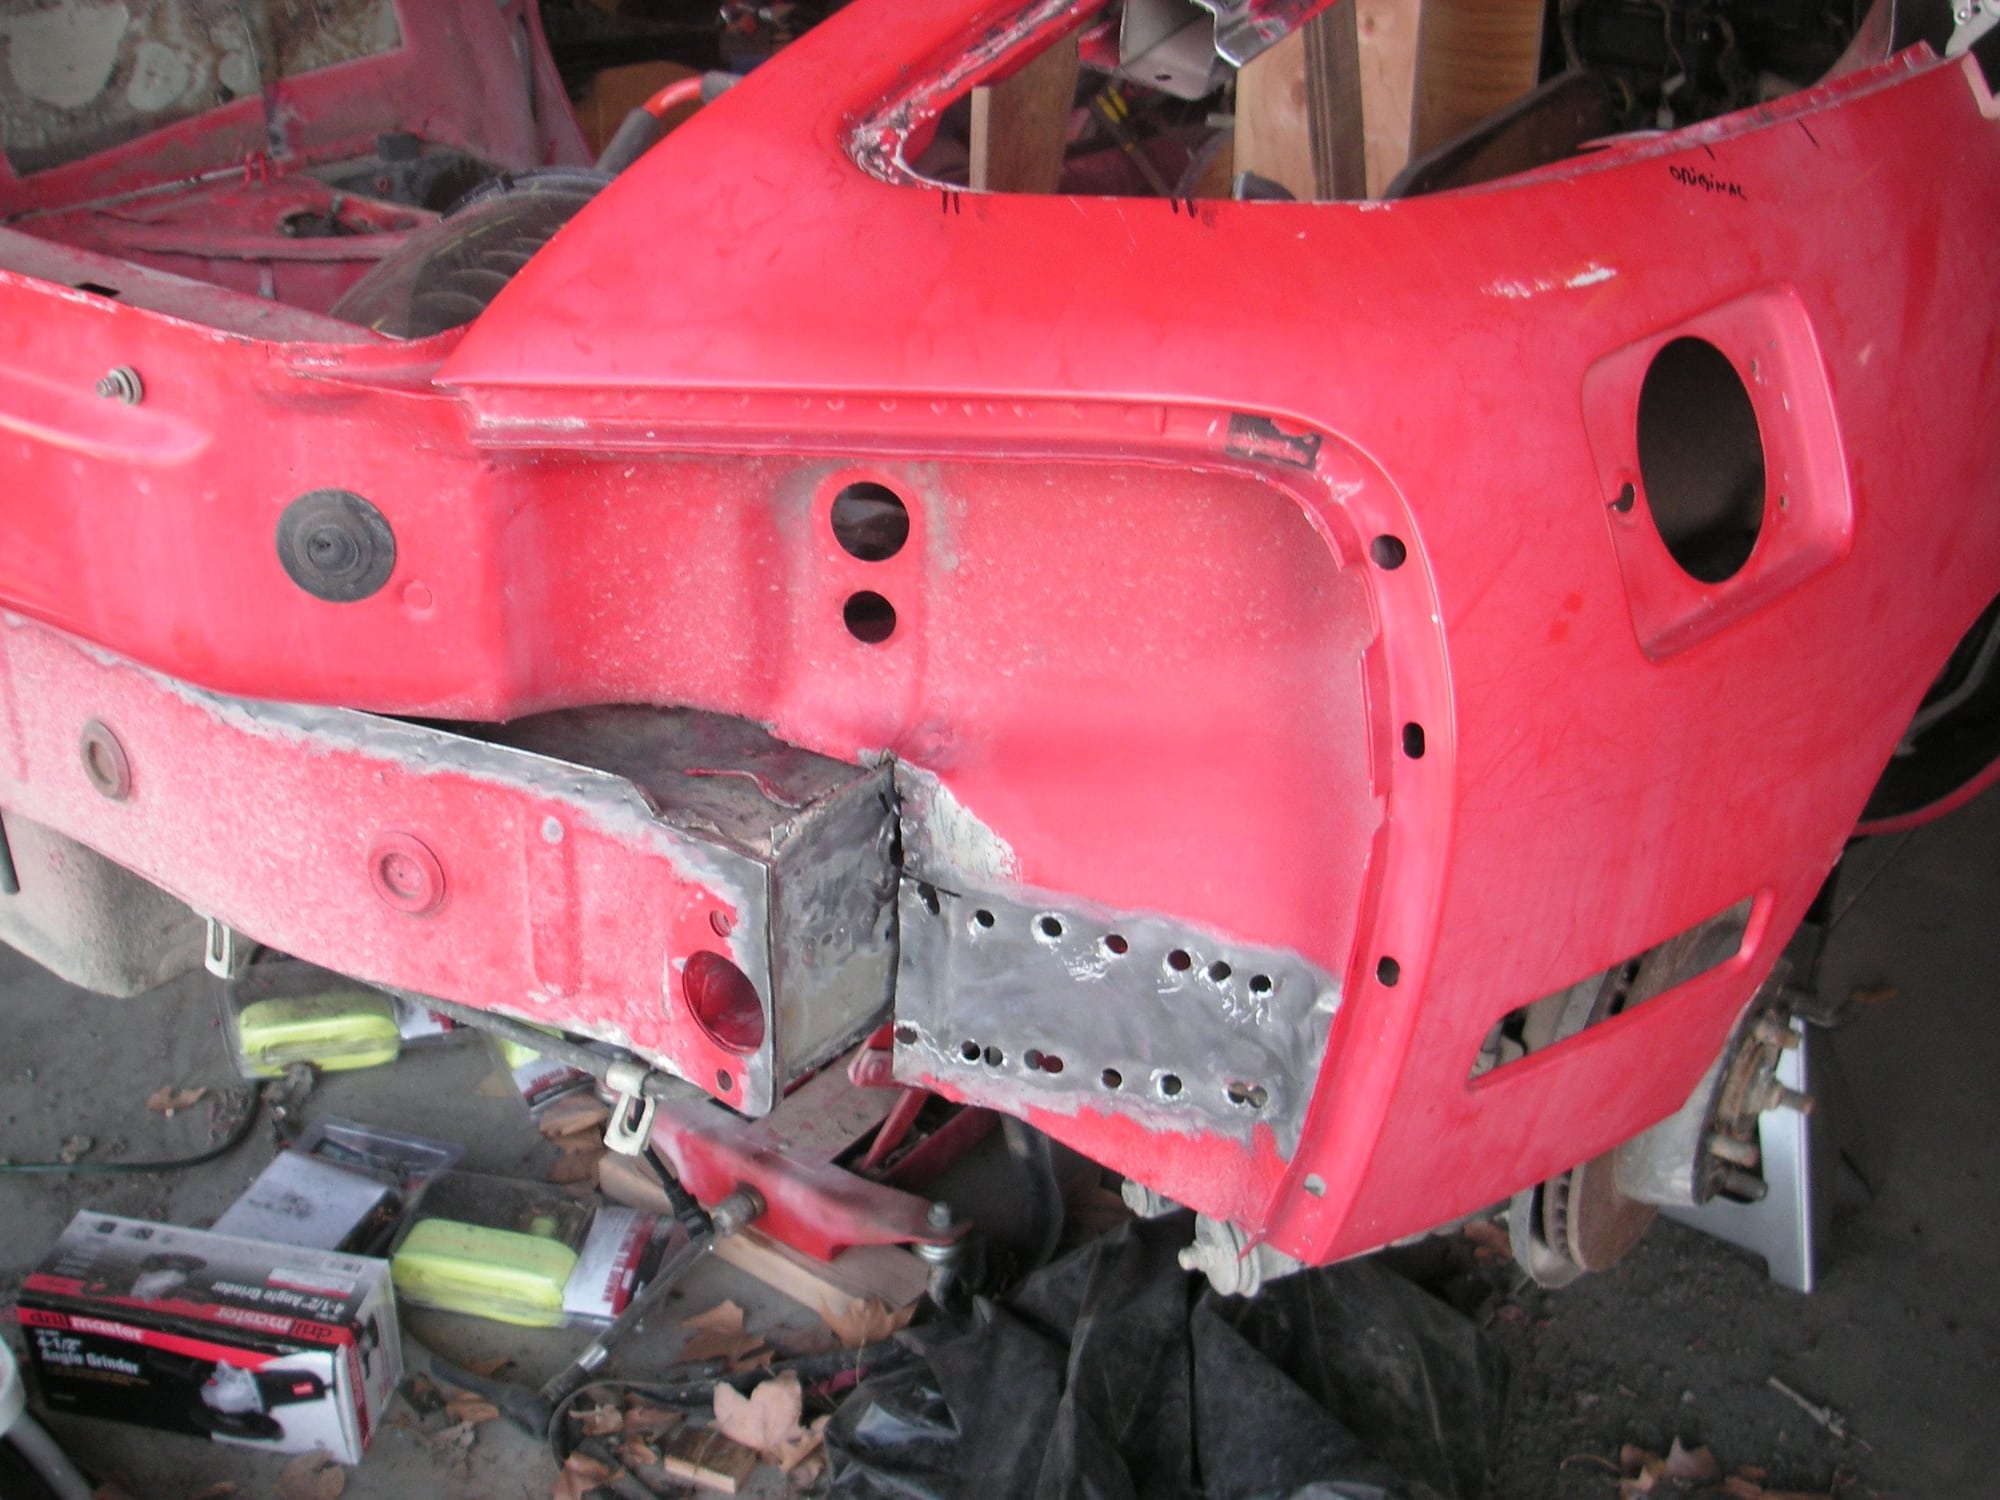
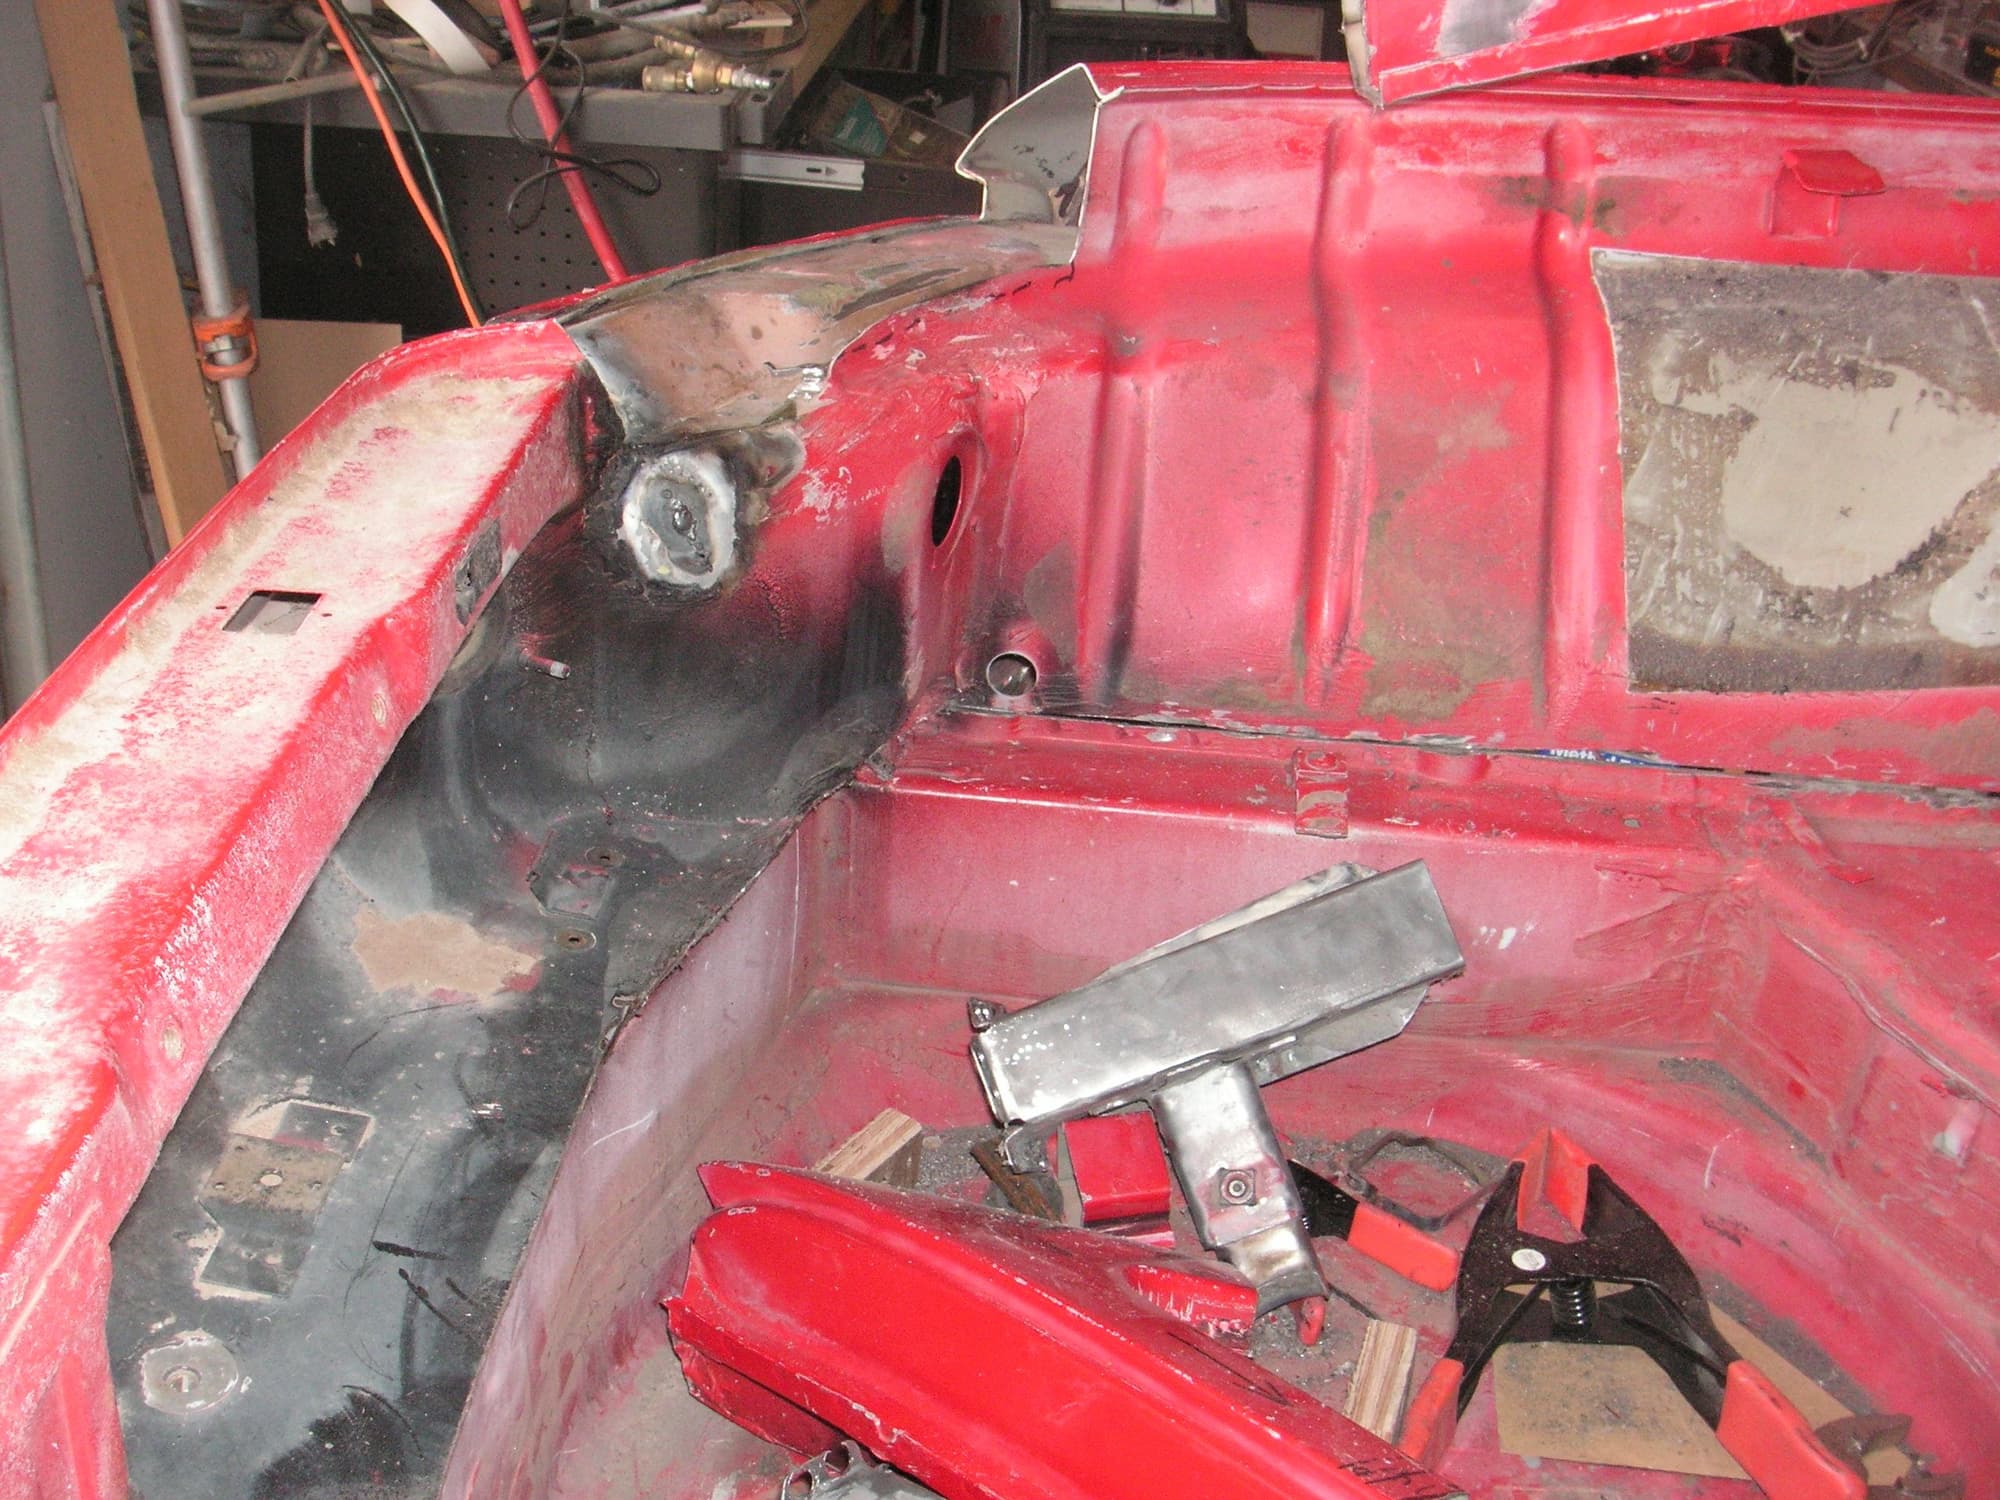
I finally got the tail cut off. I'll have two more small steps backwards before I can start putting it all back together, at least in respect to the top chop. I still need to cut the two stanchions at the rear corners of the frame loose so they can be moved forward to wherever the tail ends up. I also have some of the surfaces mostly cleaned up where we need to do the welding. The stanchions are spot welded on, but my little hole saw bits don't fit quite square, so they are not wanting to cut the spot welds very well. I am going to try again to find the other spot weld bits and hope if I find them they may work better.
Last edited by Jerry Feather; 03-28-2018 at 11:47 PM.
Jerry,
Sunday afternoon welding rod, don't laugh, metal coat hangars! Have saved many a project using them. Surprising quality mild steel, exhausts, sheet metal, etc. Not something for structural work, but if one needs to tack something in place, works fine. Exhaust work too.
Jerry,
Sunday afternoon welding rod, don't laugh, metal coat hangars! Have saved many a project using them. Surprising quality mild steel, exhausts, sheet metal, etc. Not something for structural work, but if one needs to tack something in place, works fine. Exhaust work too.
Dang, that is brilliant. I'll never look at a coat hanger the same again.
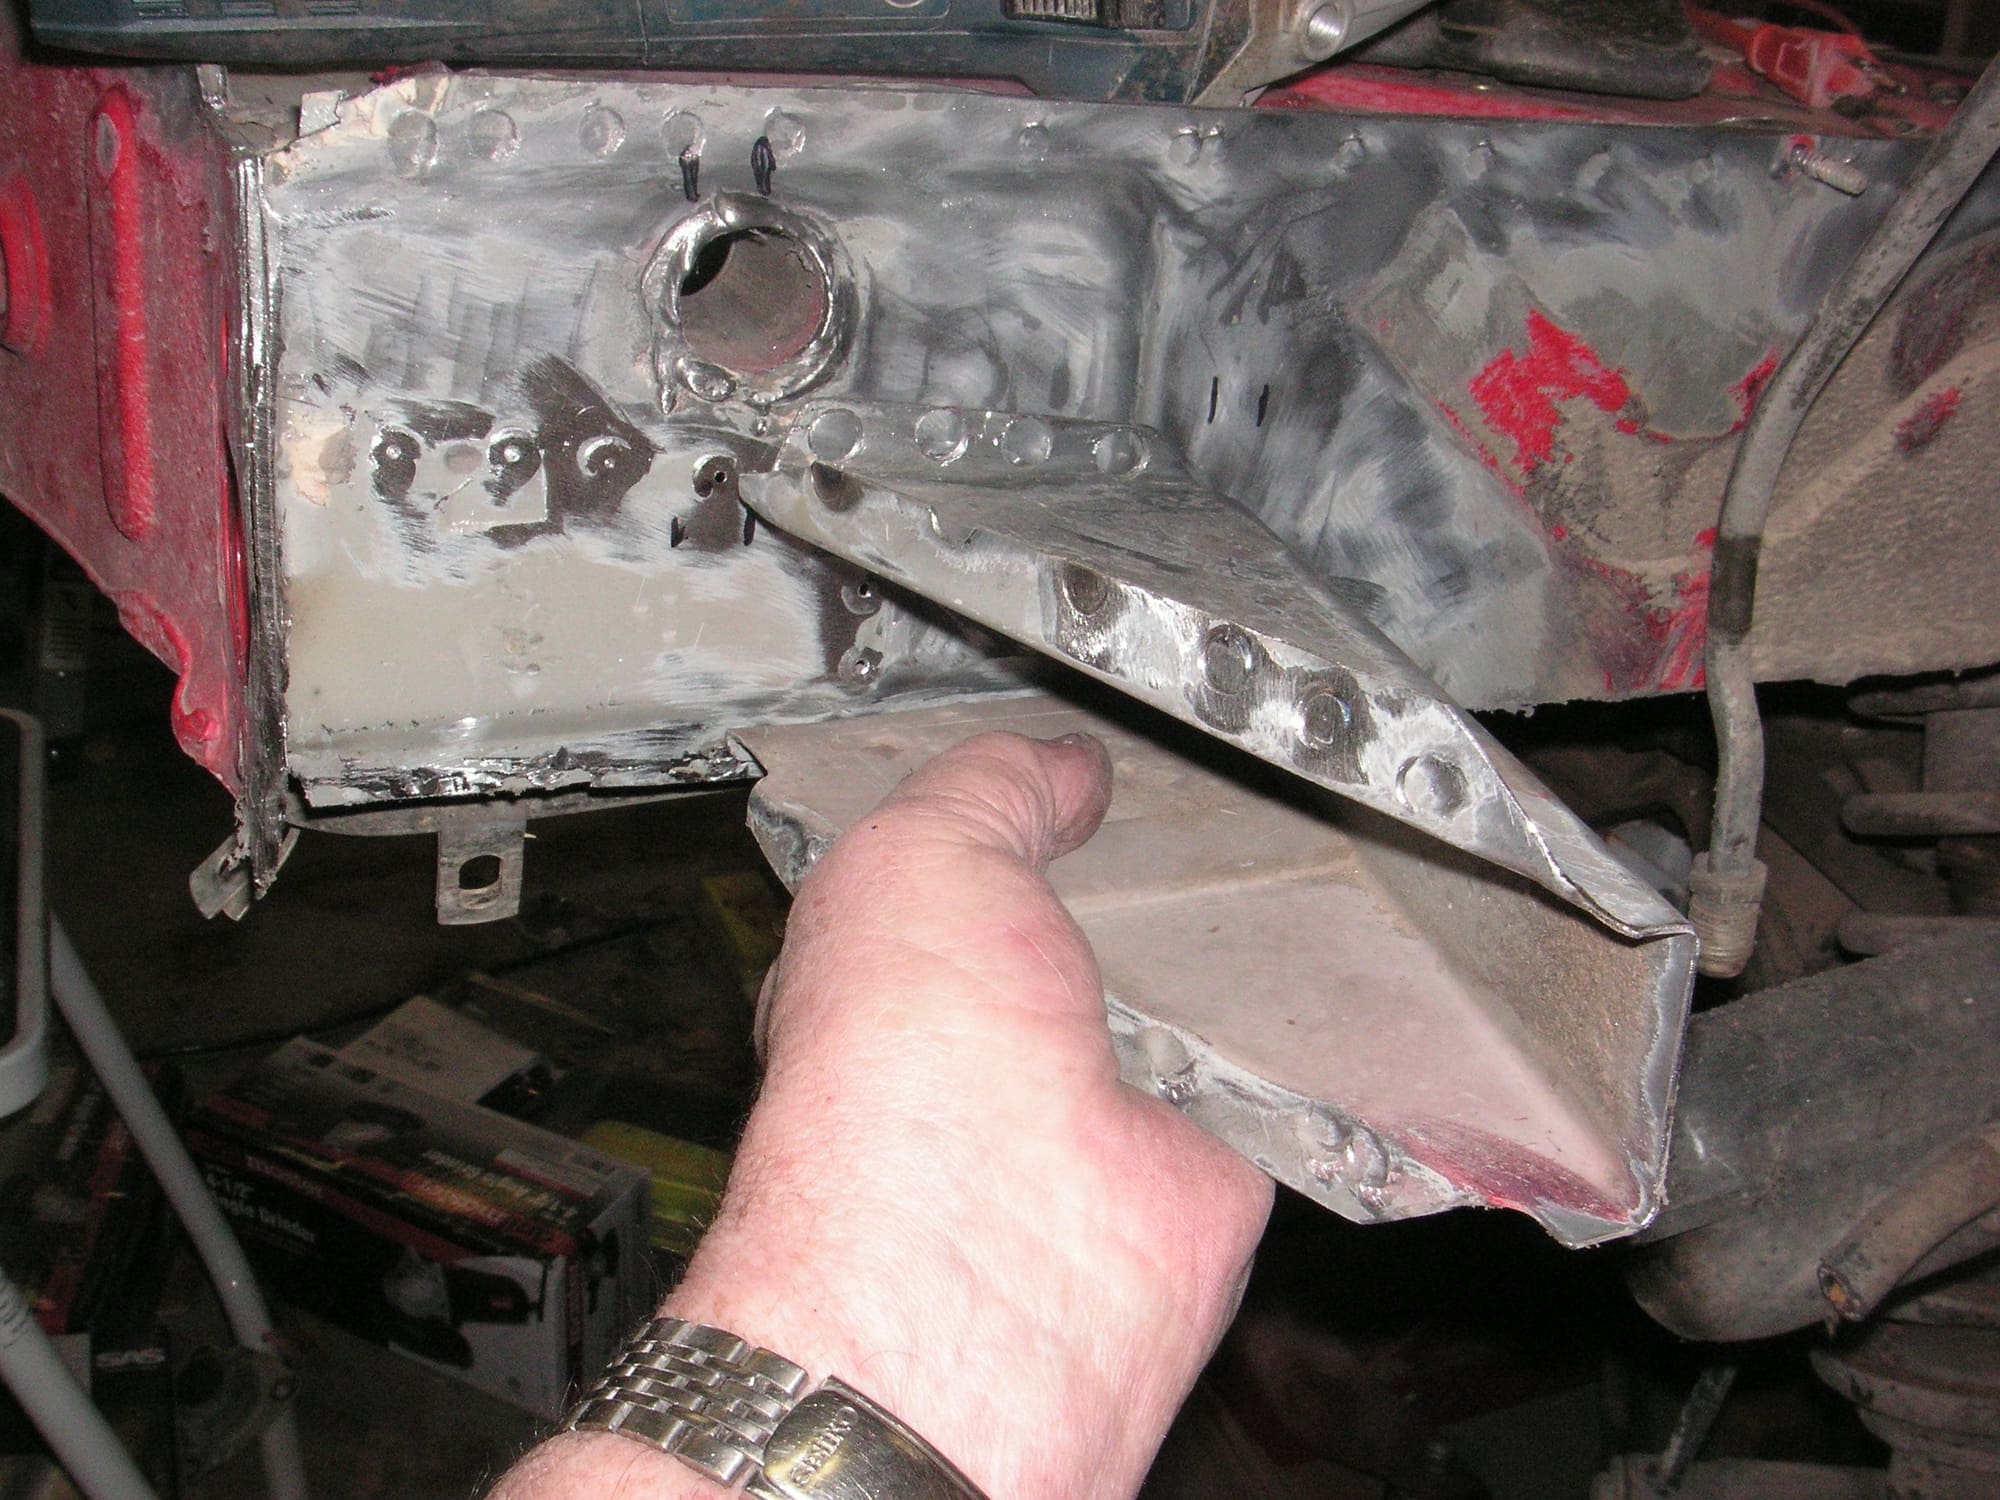
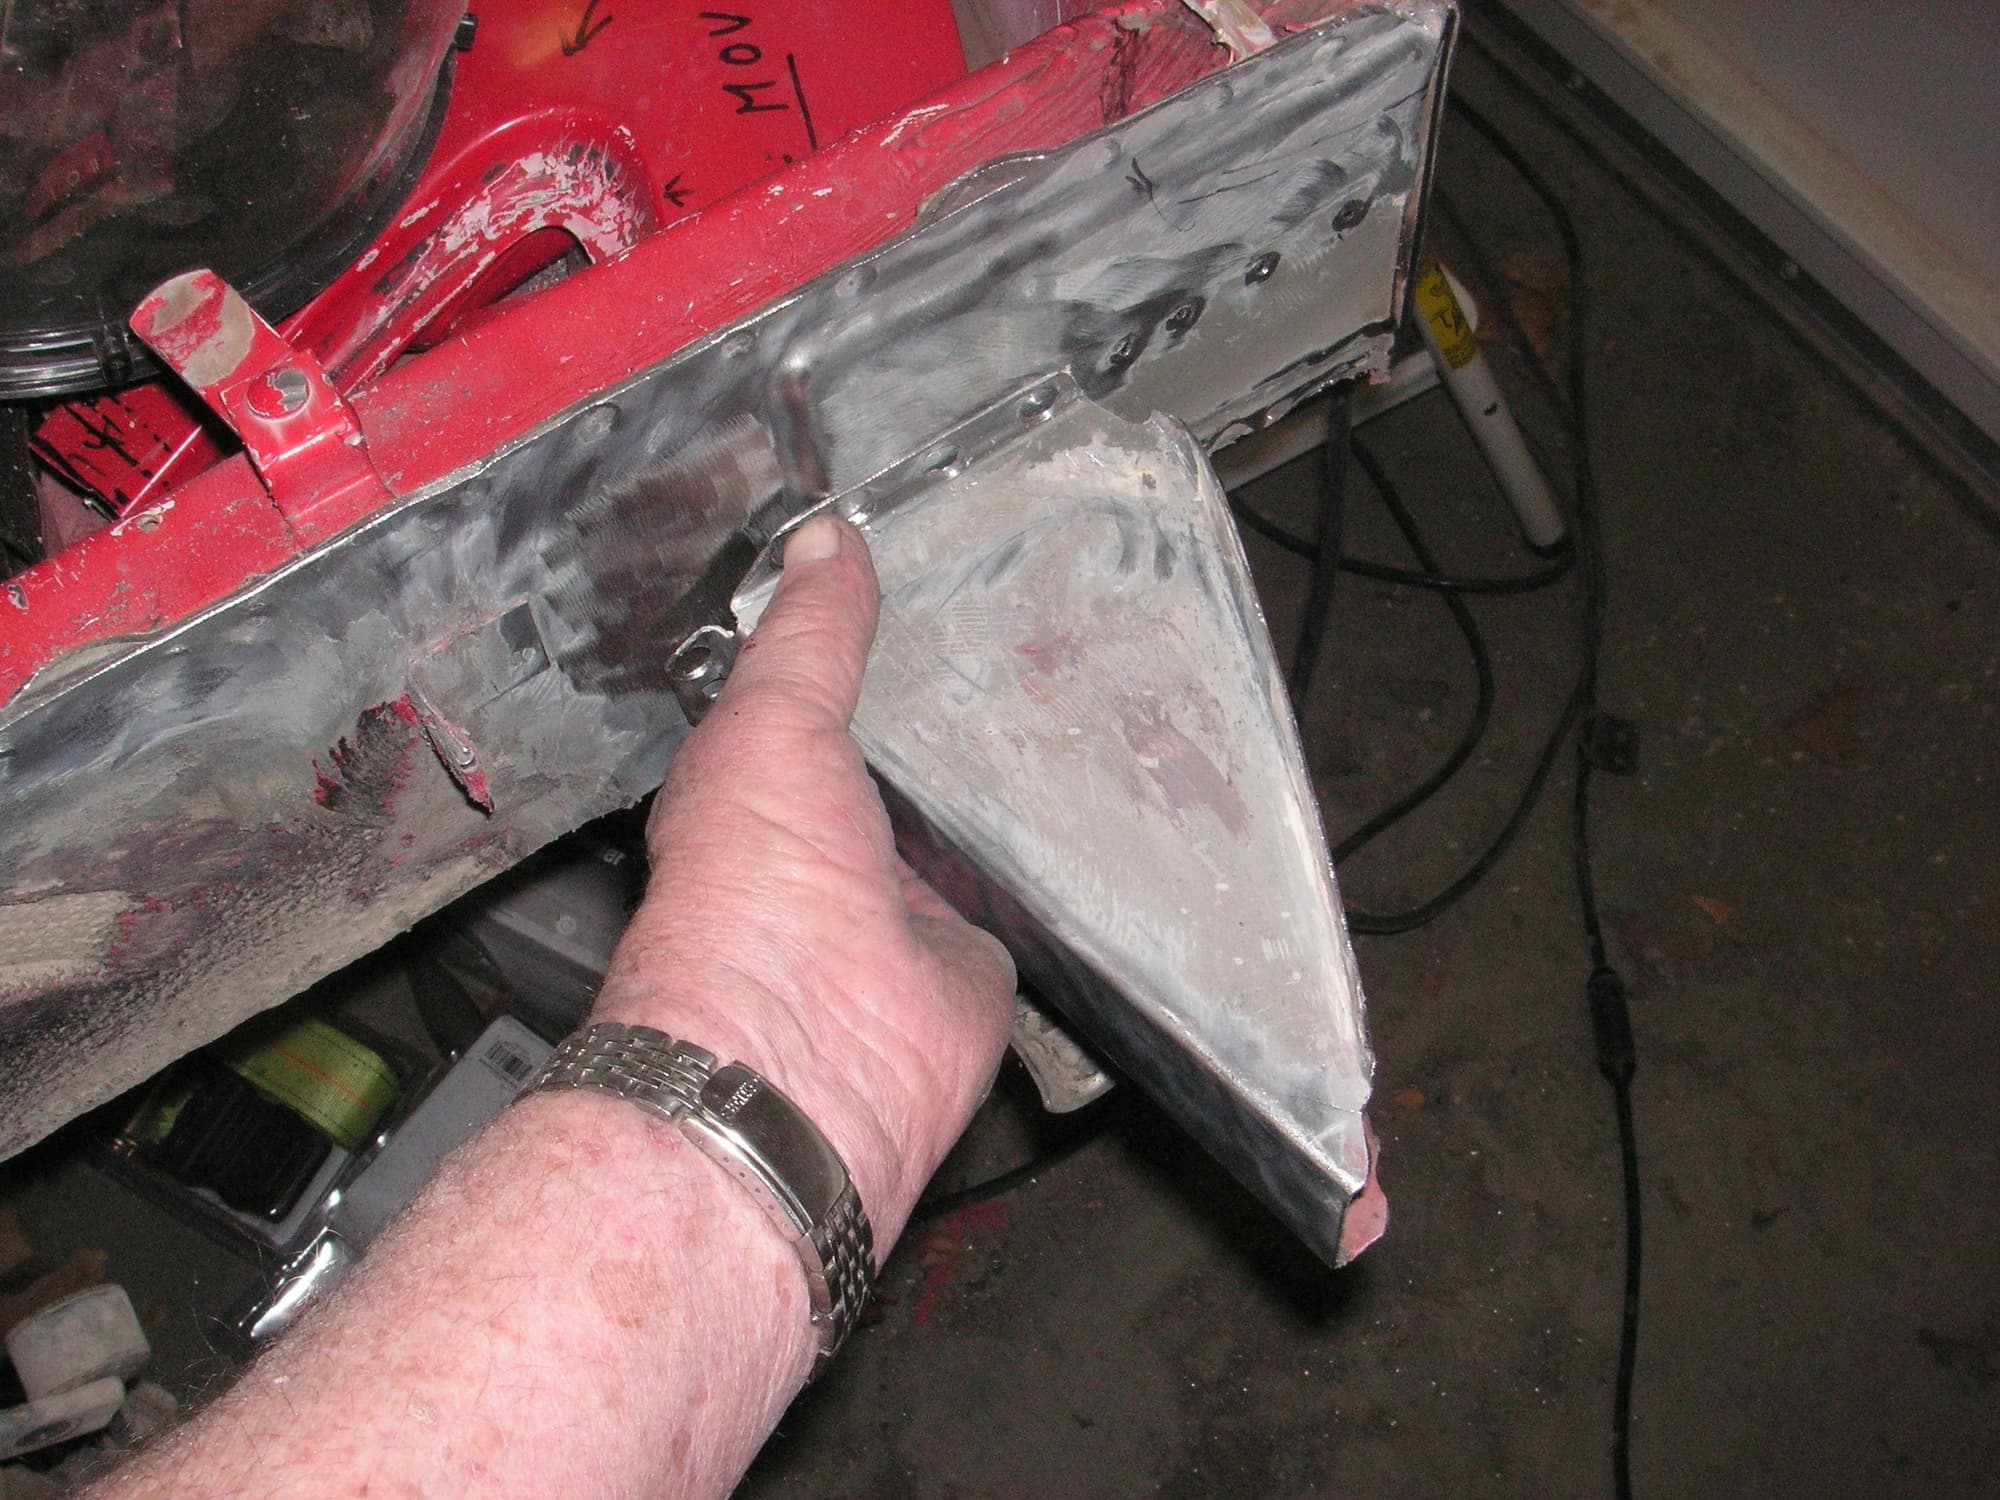
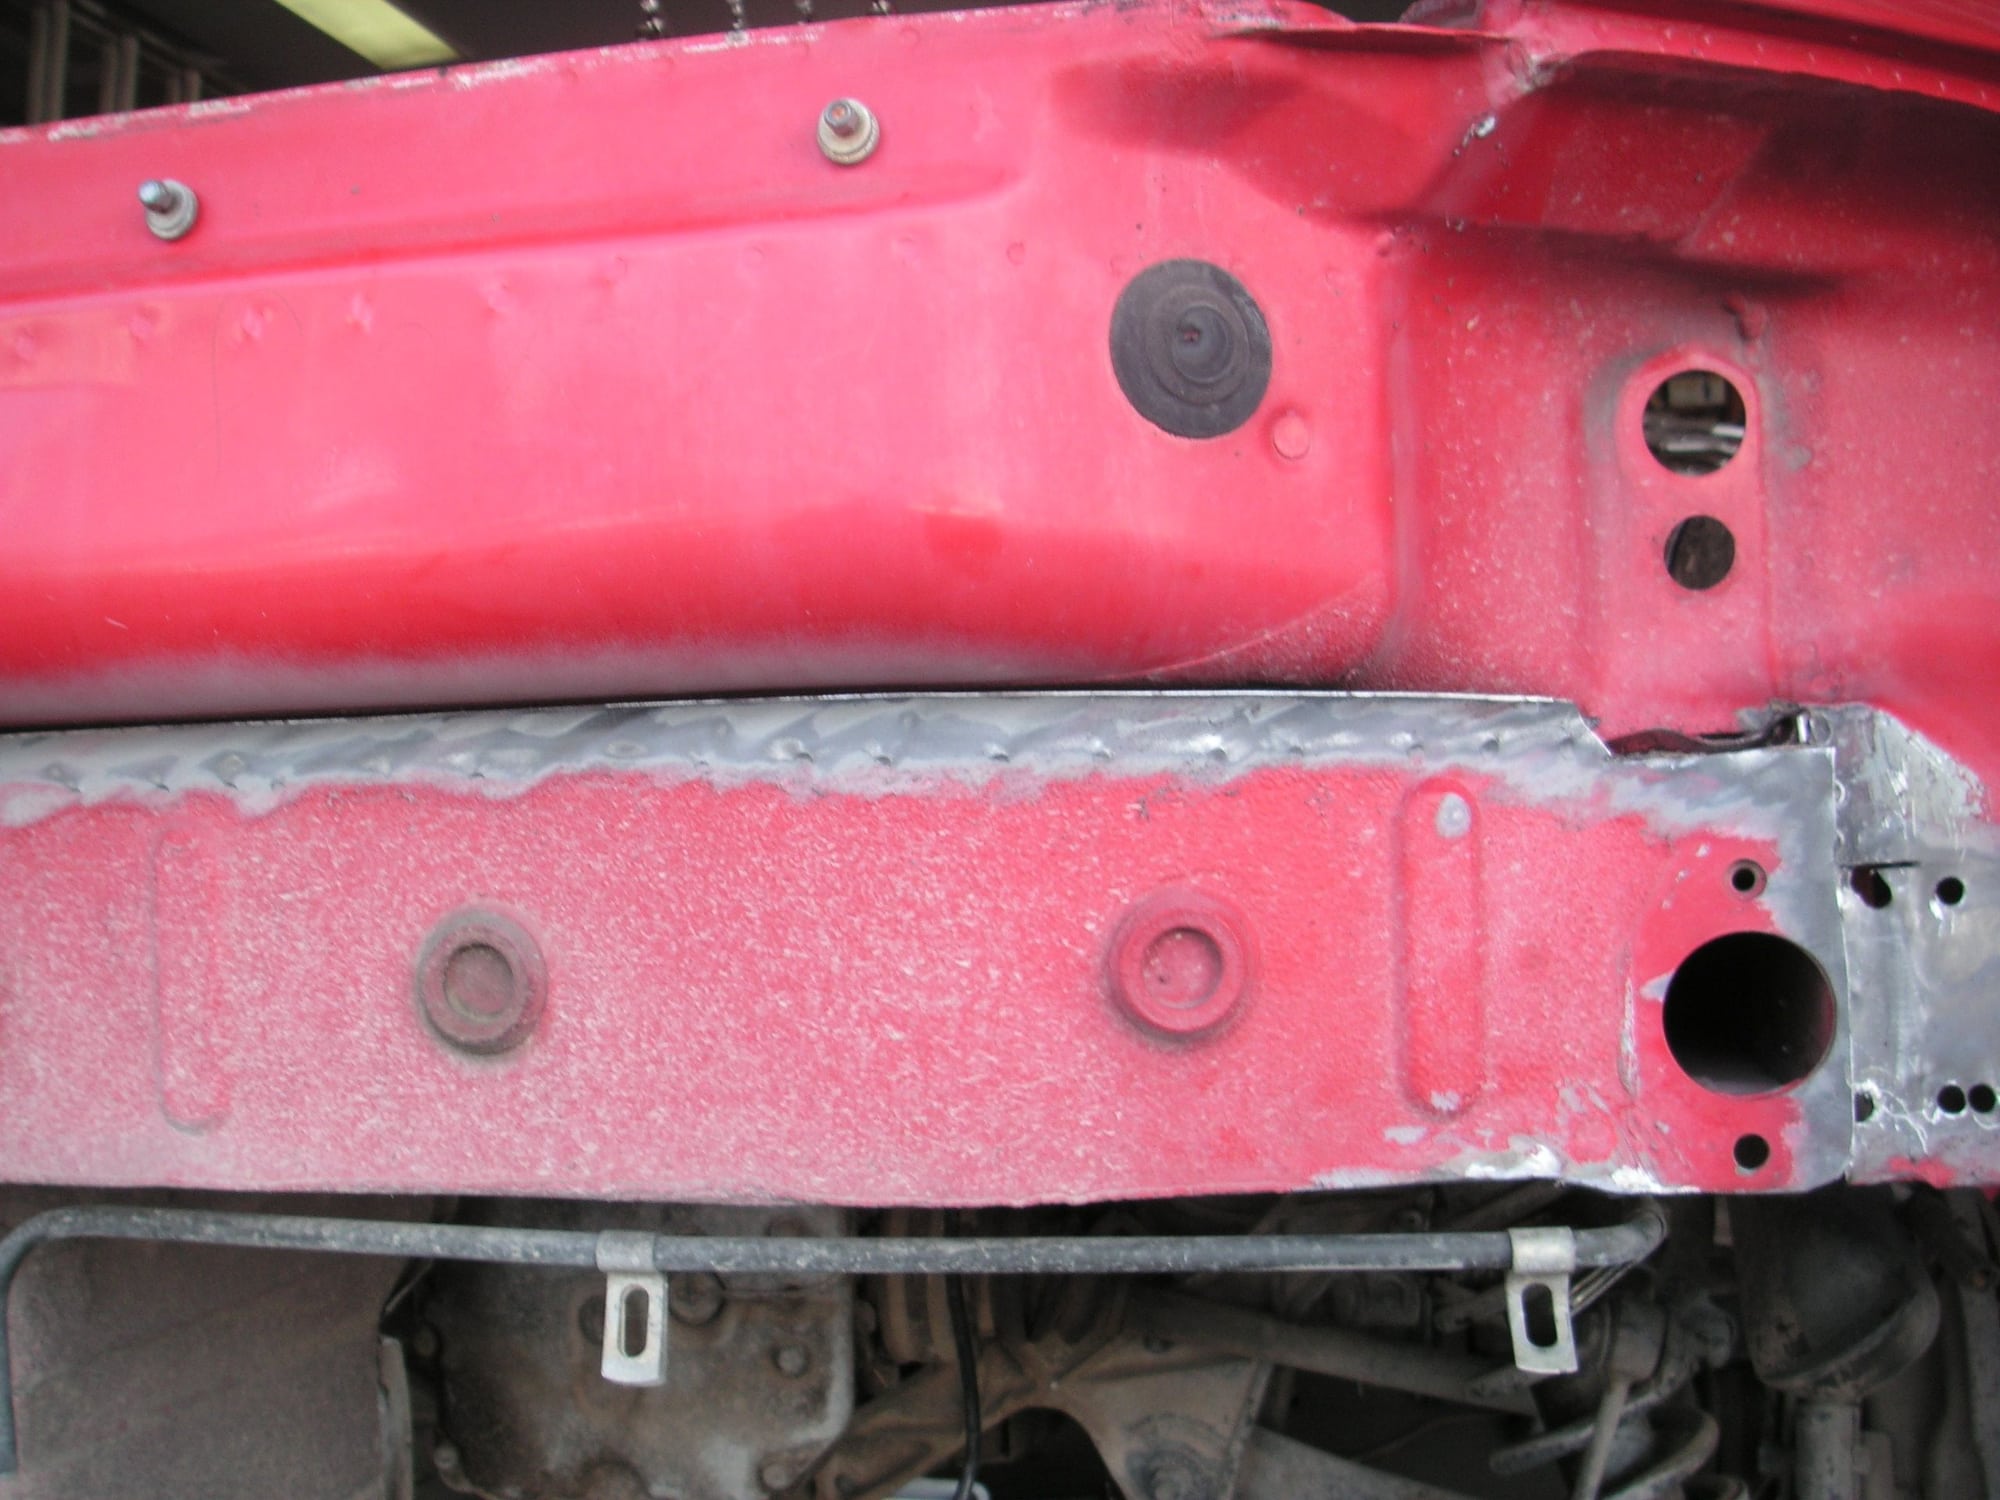
As to the tail cut, what you can see in the pictures is that the frame of the 928 is both quite distinct, at least in this area, and is still intact. That means that the frame is not getting shortened with the tail. My plan has always been to shorten the tail of the car but to preserve the areas for the spare tire and for the fuel tank. The result is going to be that the frame sticks out further under the tail skin than before by as much as the tail skin is moved forward. That means that the bumper bar between the frame and the outer skin is not going to fit.
What I have been planning to do is to replace the aluminum bumper bar with a steel leaf spring. It will be much thinner than the aluminum bar, but it should be able to be mounted on the original bumper shocks and be formed to match the underside of the original poly bumper cover, even as sectioned. I haven't done any detailed design work with that, but it will have to wait until we know just how much space there is going to be for it.
Couldn't you 'just' trim off as much of the upper and lower horizontal portions of the rear bumper bar as necessary, yet still maintain the impact resistance of the 'U' channel? Or are the lateral edges of the rear bumper cover going to be so far forward that they would preclude this? Call me paranoid but I'd want something more than a leaf spring between my plastic gas tank and the texting teen plowing into me. Maybe a fuel cell?
Couldn't you 'just' trim off as much of the upper and lower horizontal portions of the rear bumper bar as necessary, yet still maintain the impact resistance of the 'U' channel? Or are the lateral edges of the rear bumper cover going to be so far forward that they would preclude this? Call me paranoid but I'd want something more than a leaf spring between my plastic gas tank and the texting teen plowing into me. Maybe a fuel cell?
To me Rob, that is pretty much a contradiction. When the horizontal portions to the leaf spring are trimmed away, even only mostly, since we need to gain at least 3 inches of clearance, that is going to leave much less protection than something similar in spring steel. In respect to the leaf spring, I think you have in mind something kind of like what might be in the rear of your Toyota pickup, while I am thinking Mack Truck or D-7 Cat. I am envisioning a leaf spring that is about 3/8 inch thick and about 3 inches wide in cross section and as wide as needed to span the inside of the bumper cover.
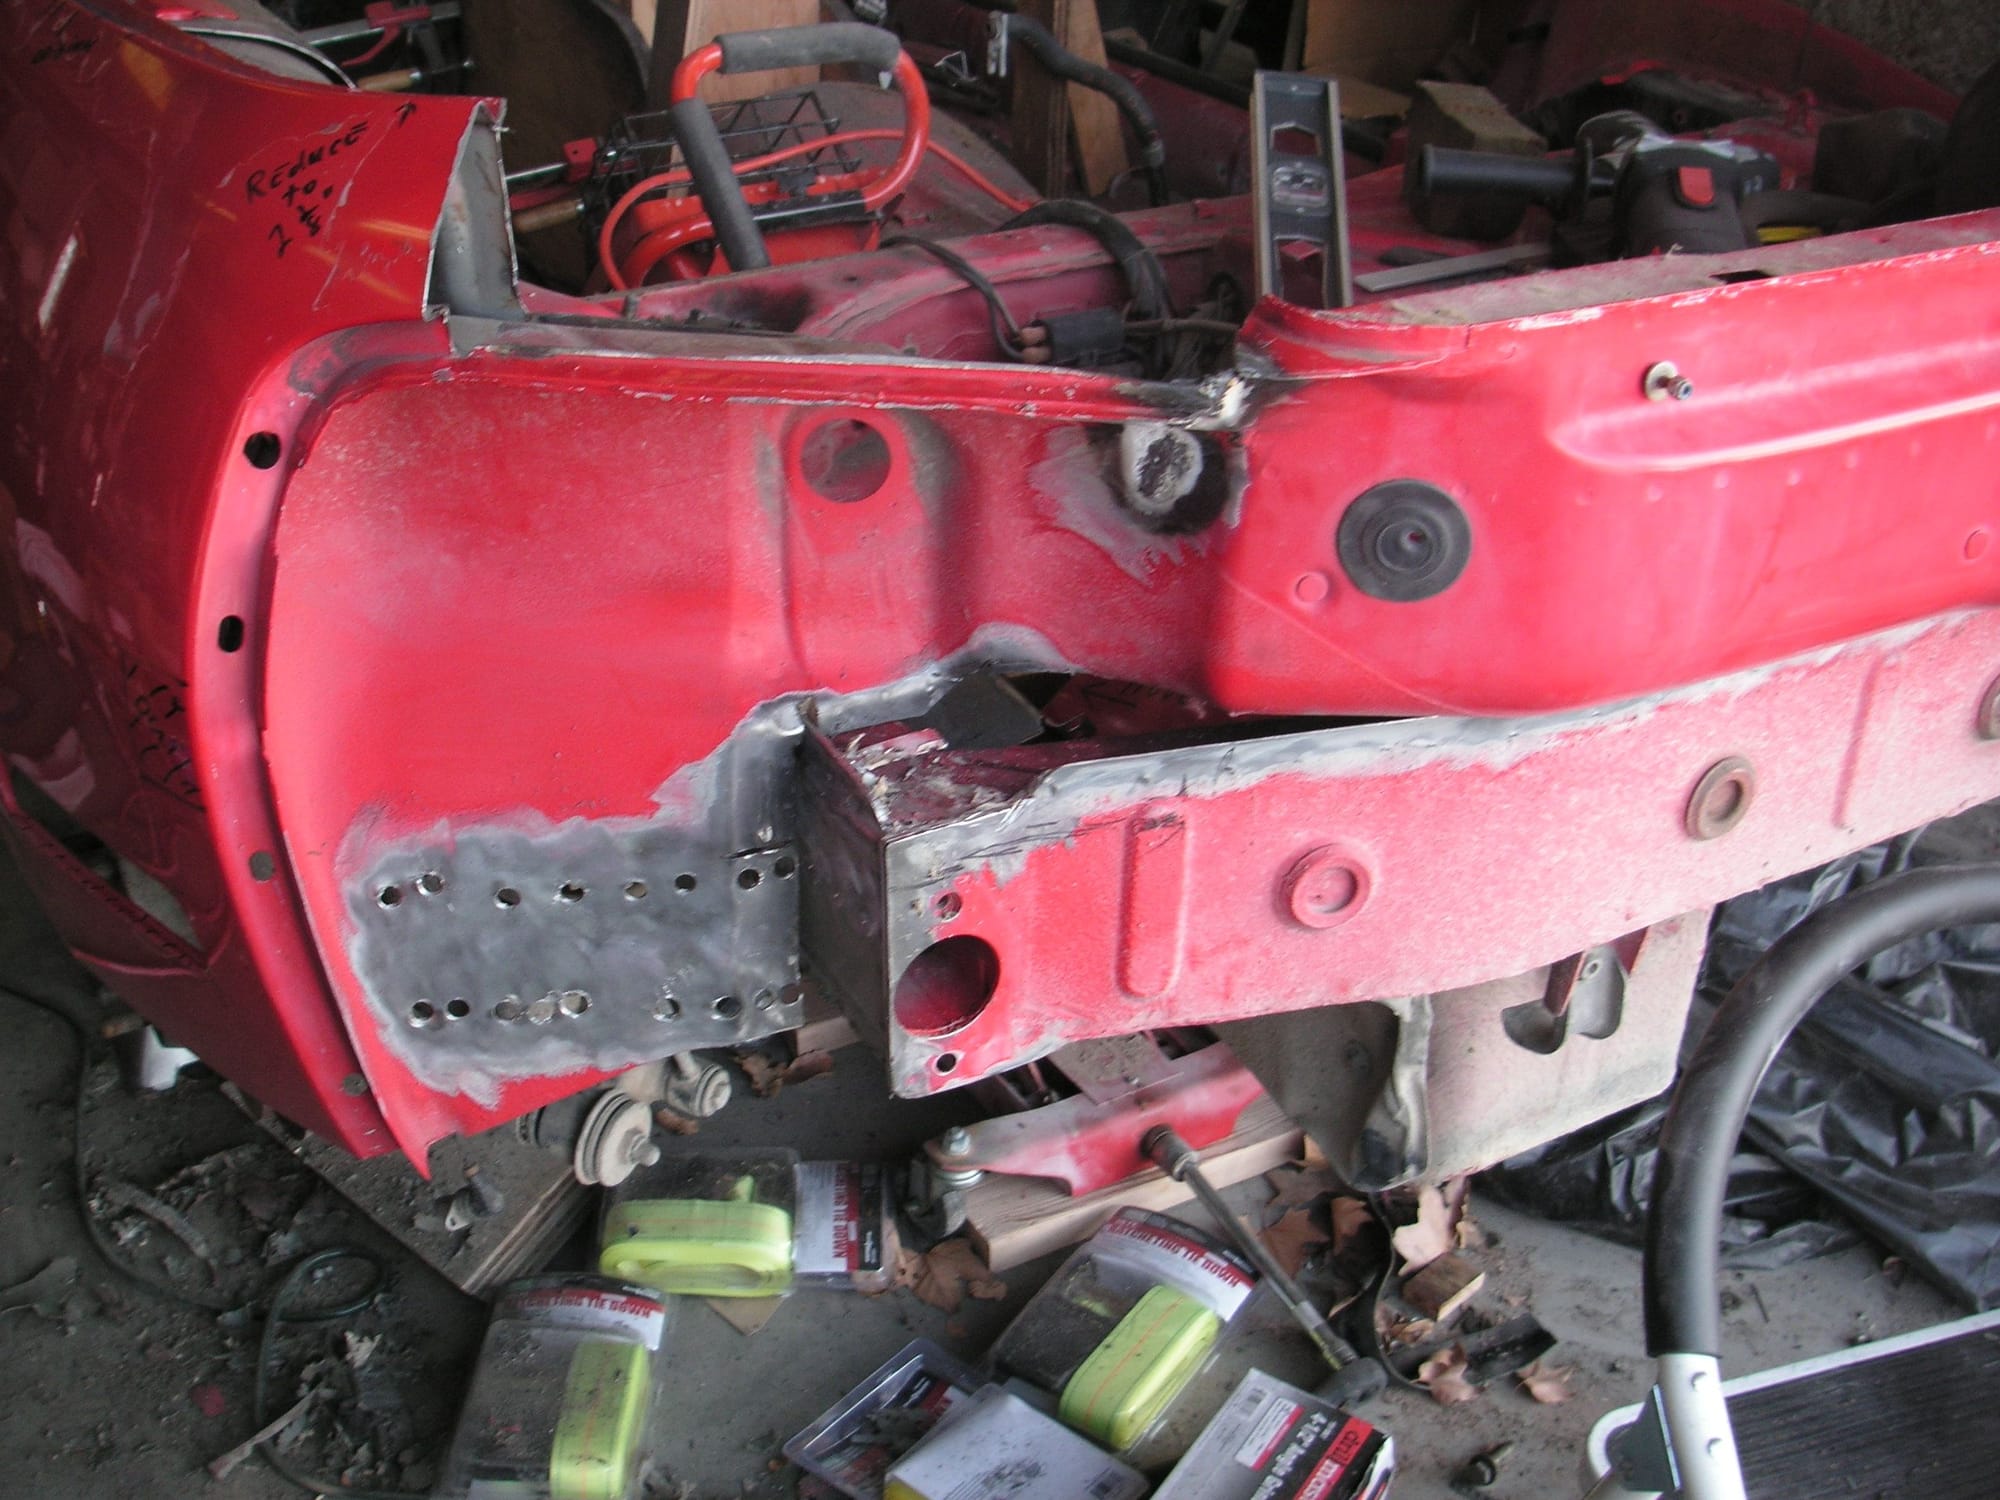
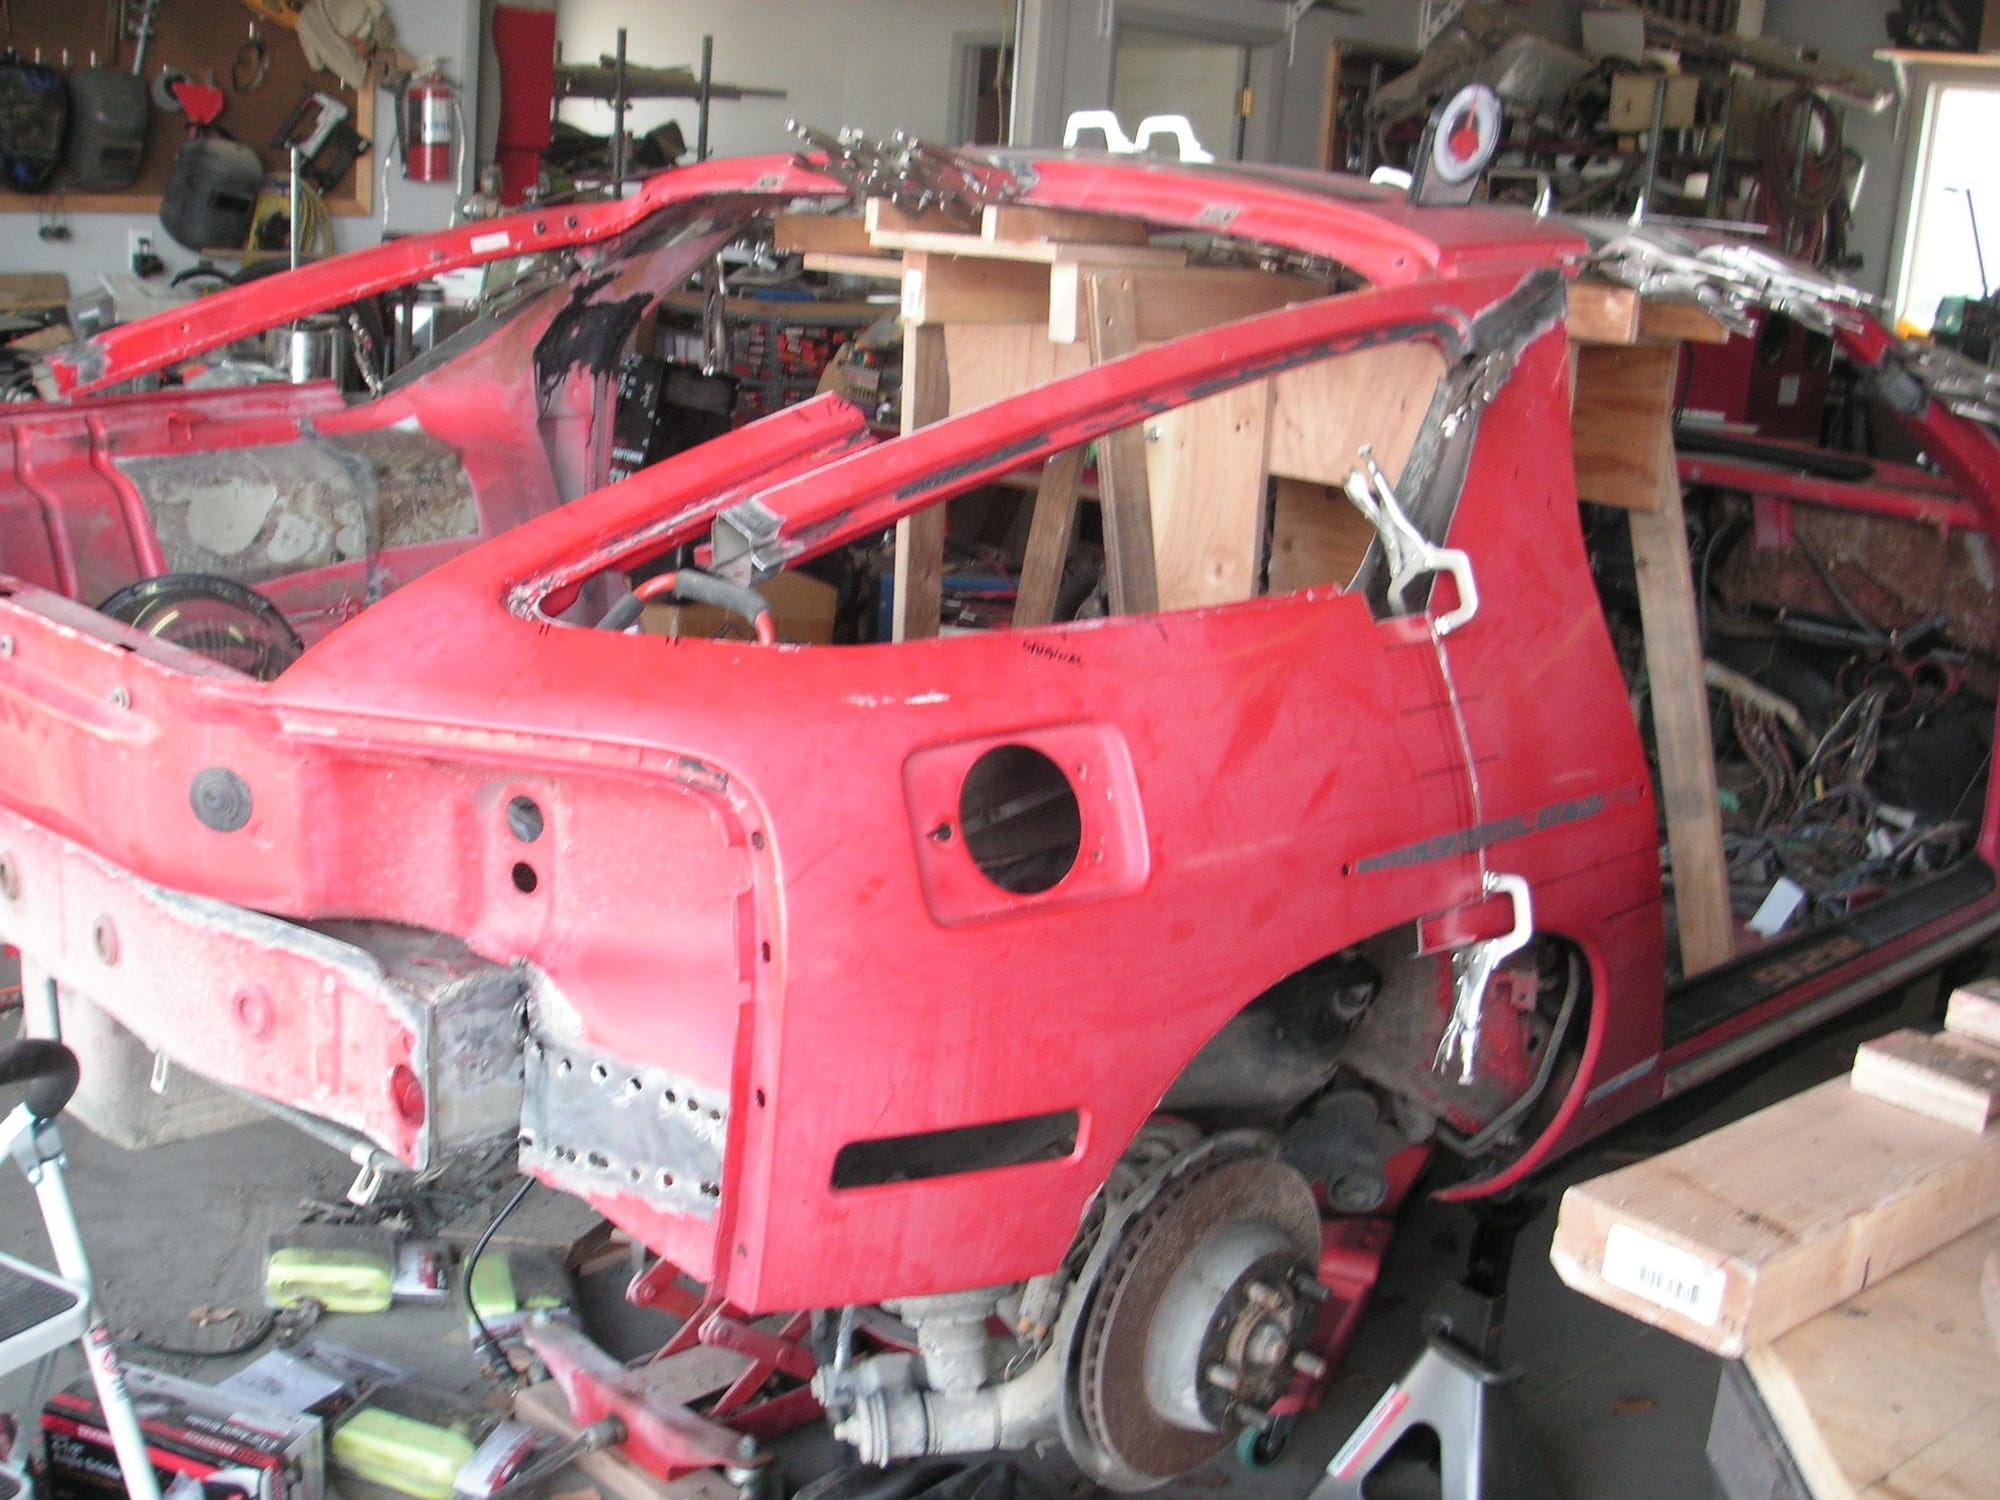
I got the two stanchions removed and cleaned up some and that put us in the position of putting the tail skin back on to see how it is going to fit and look.
Then I put the tail skin back on the car and set it preliminarily at the three inch marks. I had to do some cutting in a couple of places to get it to sit correctly, but it is looking really great at this point. I think the shortness of the tail is going to give the car some really nice proportions.
Right now at the three inch mark everything seems to be falling into place, but I am still hoping to fit the tail to the 3.5 inch mark.
Last edited by Jerry Feather; 04-04-2018 at 10:32 AM.
Thanks, Carlos. I am happy to share the progress, particularly since I too can study the pictures as we go along and that helps me make decisions about what must be done next, and how to do it.
One of the things we need to plan for now is the sectioning, and we find that the tail light sockets are going to be somewhat of a problem in that stage of the project. I find that the sockets are actually pretty much wider, top to bottom, than they may need to be for the S4 style lights. I think that may be because the early lights took up a bit more space, top to bottom, than the later ones. Nevertheless, I think we need to allow for some extra space there in the sectioning since otherwise the section will come right out of the middle of the sockets.
To adjust for that I am going to cut the top of the rear corners of the frame out and use that space as part of the new tail light sockets. I'll cut the frame out down to about the top of where the rear bumper shocks will be and then kind of round it out to match the shape of the sheet metal around the sockets. With everything cut loose as it is now, now is a good time to accomplish that.
About the spot weld drill bits, the coat hanger idea reminded me of the thing I learned from my Grandad many years ago, when I was about 5, I think, and that was that if you need something you don't need to go to the store to try to find it, you can just make it for yourself. Then it occurred to me that I knew how to sharpen a drill bit, so I put one in my lathe and ground the end pretty flat, except for a tiny point in the middle and then took it out and ground the two flutes to a cutting angle. Although it was not as long as I would have liked, it worked just fine in drilling out the spot welds holding the stanchions to the sides of the frame.
Last edited by Jerry Feather; 06-03-2018 at 11:12 AM.
About the wheel arches - - it has always kind of struck me that for the early cars, before the GTS, the rear wheel arches don't quite coordinate with the front ones. The front ones are pretty much convex above the arches but the rears are concave. After all the previous discussion about how to deal with them, none of it in the context of this difference, I have decided to make the rear ones a little more like the fronts, kind of like the factory did with the GTS, but not quite so much.
When we do the section, as I think I have mentioned before, the bottom rear corners of the doors and door openings will have to move aft about an inch. That whole part of the rear quarter panel, including the front half of the wheel arch, will move aft that much. Then, to cure my problem with the front edge of the arches (not the concavity), but the shape of the arches, I will move the front bottom of the arches forward just about the same inch that the whole half moves aft. That will soften the upper front corner of the arches. The rear of the arches, which are now cut out of the quarter panels, will move forward about a half inch. Then with the section the whole arch will stay the same with the upper part of the body moving down inside them, which looks more like the arches are moving up higher into the panels.
Then I will simply massage the sheet metal left to give the quarter panels the shape I have in mind. They should end up about a half inch wider than the originals, at the center and about an inch toward the rear where they will be kind of flared. That is where the quarter panel is going to show the shortening of the car we are working on now.
Wow. Seeing the back of the car all cut up makes me want to make some sort of comment about how "you worked your tail off".
I understand what you are saying about the rear bumper. I think a 3" x 3/8" chunk of spring steel spanning the back end would be more than adequate. It will add some weight though.
FWIW, a "spot weld" is nothing more than melted steel. It's not a real 'weld'. It's just using electrical resistance to heat up a very small area to a very high temp, melting it a bit and holding it in place until it cools and solidifies.
Last - have you given any thought to the interior? The headliner will be an interesting job, but what about the rear quarters, hatch trim, A pillar trim? And what about the doors? How are you planning on doing those?
Hi Joe. Thanks for your input. As to the spot welds, I disagree. How you describe them is in fact a weld since the metal melts and mixes together then cools. That is the definition of a weld.
As to the interior, I pretty much have that planned out in some detail. I have mentioned the headliner before and will be making a mold for a headliner shell probably before I even find and fill in the large opening in the roof, but after the many pieces are welded together.
As to the rear quarter panels, they will likely be sectioned from originals in much the same way that the outside is being cut apart and put back together, then I'll probably piece them together with fiberglass and epoxy.
As to the door panels I think the section will come out of them somewhere in the bottom segment that is under the carpet. That bottom area may end up being formed almost entirely in fiberglass to make the new contour.
I'm surprised that you didn't ask about the center console; but that has pretty well been planned out also. I'll be telling more about that later when we get to it.
Then, If I continue on the current course to retain the rear seats, I have a complete new design worked out and mostly up for those, a design that might lend itself to any given 928, in fact. More about that also when we get closer to it.
Last edited by Jerry Feather; 03-31-2018 at 01:15 AM.
I learned a couple of things in this exercise. One is that most of the spot welds are not actually welds. They are just melted spots in the sheet metal but not welded to the metal underneath. The other thing is that the cars may be held together to a great extent by the tough undercoating.
Originally Posted by Jerry Feather
Hi Joe. Thanks for your input. As to the spot welds, I disagree. How you describe them is in fact a weld since the metal melts and mixes together then cools. That is the definition of a weld...
...I'm surprised that you didn't ask about the center console; but that has pretty well been planned out also. I'll be telling more about that later when we get to it.
Then, If I continue on the current course to retain the rear seats, I have a complete new design worked out and mostly up for those, a design that might lend itself to any given 928, in fact. More about that also when we get closer to it.
Well, you had commented on the spot welds earlier. My point was (and is) that there's no metal added to the weld. Spot welds are notoriously inconsistent. "Robot welding" has reduced this some, but not entirely.
I hadn't even thought about the center console or the seats. I was wondering more about the interior panels that fit on the outer 'perimeter' of the car.
And my question about the doors was more towards the doors themselves. With the roof chopped, the upper frames around the windows will also have to be chopped to match. Have you done any work on that yet?

 03-26-2018, 08:30 PM