When you click on links to various merchants on this site and make a purchase, this can result in this site earning a commission. Affiliate programs and affiliations include, but are not limited to, the eBay Partner Network.
Well, not really orders...but she recommended we get the seats and door cards done now, before Rob Budd decides to retire...or leaves Michigan for warmer climates and shipping cost become an issue. So, I will call Rob tomorrow and see if he can have us stop by.
Front seats out.
Hex head seat-bolts instead of allen head like my 84, much more tedious to remove. Had to grind down my favorite Snap On 10mm socket to get it in the slider rail, too, it had a shorter height than my cheapo socket...and socket height was an issue.
Rears removed.
Still firmly glued in place and much caution was used to not damage the inner foam cushion. There are also two phillips screws, each side, in the seat material along the rear hatch compartment edge.
Door cards out.
Very simple, remove inner door handle-lever guard, one screw, then slip your door panel tool around the plastic inserts, along top of door card, and pry gently until top portion comes free, then lift out of place.
Drivers side pile.
Passenger side pile.
Everything was pretty straight forward, removal, and found no surprises.
Brian.
Last edited by The Deputy; 12-28-2015 at 07:31 AM.
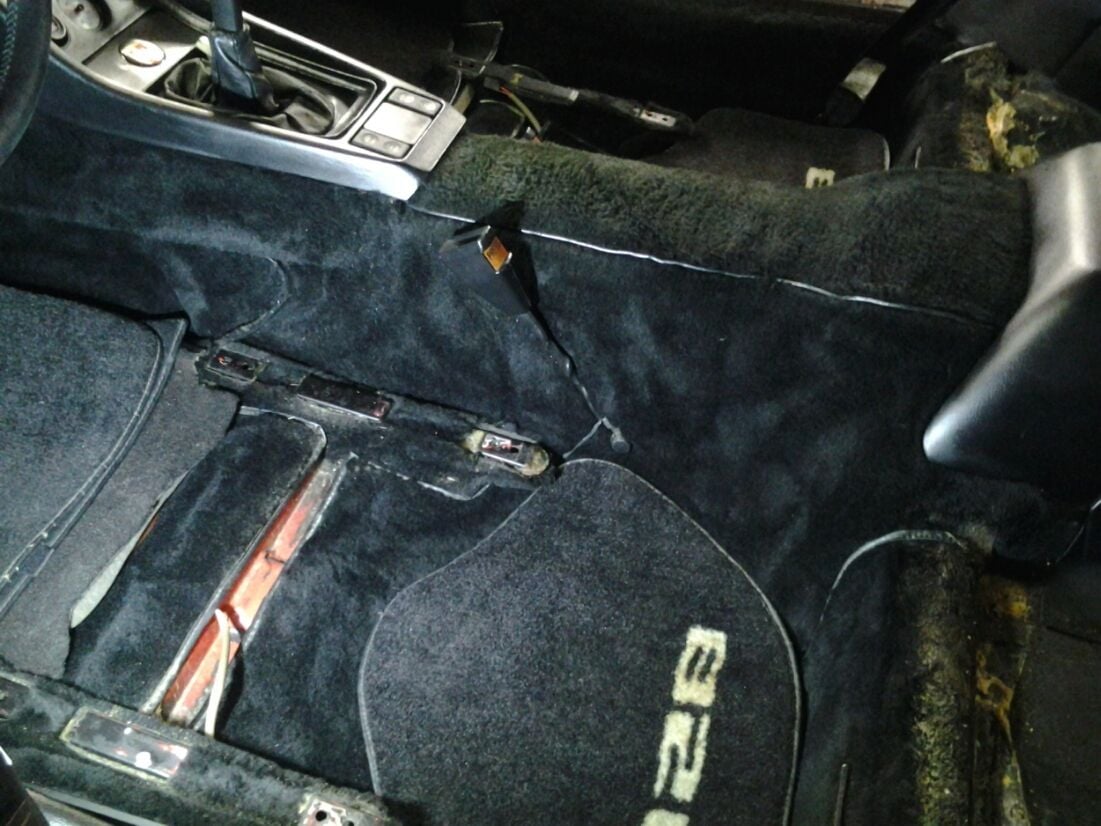
Brian - now that you have the rear seats out, a few questions - can you see a way to remove that flap door from the top of the rear center stack? Can it be removed without pulling out the rear seats? I need to re-glue mine along the front edge, but I do not see a way to remove it so that I can fix it properly (not in the car). The hinge appears to be a long hinge along the whole rear edge of that door. There are numerous little Phillips head screws showing on the underside, but I don't think they old the door to the center stack. Please let me know what you find.
And William and Rob - if you guys are following this, please feel free to chime in too, since you have also gone very deep into the Minerva car.
Hi Ed,
The lid and inner tray (the two pieces the are hinged together) come out as an assembly, without removing the main console.
This can easily be done inside the car. Remove 6 very small screws along the front and sides of the inner tray, and the hinged lid and tray will easily come out together.
From there you can repair the lid on a bench. I don't separate the to halves (by pressing-out the hinge pins) in fear of breaking the plastic hinges.
Remove the plastic frame along the bottom edge of the lid (one million small screws).
Remove lock/latch.
You may need to add new foam along the front edge.
Stretch vinyl using low heat.
The front edge will require staples to keep it in place (think about why it came loose to begin with). Use 1/8 staples (anything longer will poke thru the vinyl)
Use contact cement along the side edges.
Installation of the plastic edge trim may require silicone adhesive in the holes as the really small screw holes may be stripped-out.
Brian - now that you have the rear seats out, a few questions - can you see a way to remove that flap door from the top of the rear center stack? Can it be removed without pulling out the rear seats? I need to re-glue mine along the front edge, but I do not see a way to remove it so that I can fix it properly (not in the car). The hinge appears to be a long hinge along the whole rear edge of that door. There are numerous little Phillips head screws showing on the underside, but I don't think they old the door to the center stack. Please let me know what you find.
And William and Rob - if you guys are following this, please feel free to chime in too, since you have also gone very deep into the Minerva car.
There are little screws inside the tray area of the center console, l believe...2 front and two on each side, and they hold the whole tray and lid in place. Replaced mine on the 84, but just to be sure I ran out to the garage and checked #225 (or maybe I should start referring to her as $225...lol) and she looks to be the same. I believe the screws you are referring to...located on the bottom side of the outer lip of the console lid...are there to hold the vinyl material in place.
Ed, following Brian's thread closely. It is great to have a few early car projects going and documented at the same time.
Glad Rob chimed, my back is still recovering from too many hours at Rob's $1mil dollar shop sink, lol! I didn't realize that I was a cripple until I tried to get off the couch last night, a little slower today.
Brian, how are you going to recover the seats? I am curious what materials, etc. you are pursuing.
Ed, following Brian's thread closely. It is great to have a few early car projects going and documented at thin same time.
Well, folks.
Just wish I had more to offer. May have started this topic a bit earlier than I should have, but wanted to document it from the beginning...and knew if I pulled from gray-matter a few years from now (when the true disassembly will begin)...I'd be hard pressed to remember the "humble beginning".
Brian, how are you going to recover the seats? I am curious what materials, etc. you are pursuing.
William,
I'm hoping to hook up with Rob Budd this week and look at samples. We'll stay with the original black vinyl, with some sort of material insert. He has the original black with white pin-strips...and we'll probably stay with that...but he did show us a small sample of black with red pin-strips at Sharks in Hell...and it would be nice to see it in person in a larger piece. Might be a little much, the addition of more red...but it might be a nice fit, too?
As far as "who" will recover them (physically)...I may give it a shot. I've done some seat recovering work before and know something about its process. However, this is a project that truly draws the onlookers eye...so if it doesn't go as planned...Rob will get the call.


 12-27-2015, 12:07 PM