When you click on links to various merchants on this site and make a purchase, this can result in this site earning a commission. Affiliate programs and affiliations include, but are not limited to, the eBay Partner Network.
Thanks yardpro, at least the top of the engine is clean now :-)
Just spent the better part of two hours scraping hondabond off of the valve cover, still haven't gotten all of it off yet and haven't even touched the cam tower corners. Definitely not fun, wish I had checked for pinching more thoroughly when I installed the covers originally. Live and learn I guess.
So today is the official end of this project, it took over two months to complete, mostly due to my apprehension about messing something up and ending up with a carbeque which led me to work very slowly.
The list of replaced parts, mostly care of Roger:
All Vacuum lines, breather/intake runner hoses and intake/valve cover gaskets
ISV
TPS and Harness
New (Rebuilt) Injectors from Roger
Throttle Body O-Rings
S4 FPR and Dampers
Greg's Fuel Lines
CPS Harness
Carl's Spark Plug Wires (second set fit perfectly)
Coils
Rebuilt MAF
Jump post cover (super important)
OEM Hood Liner (super easy, thanks Roger!)
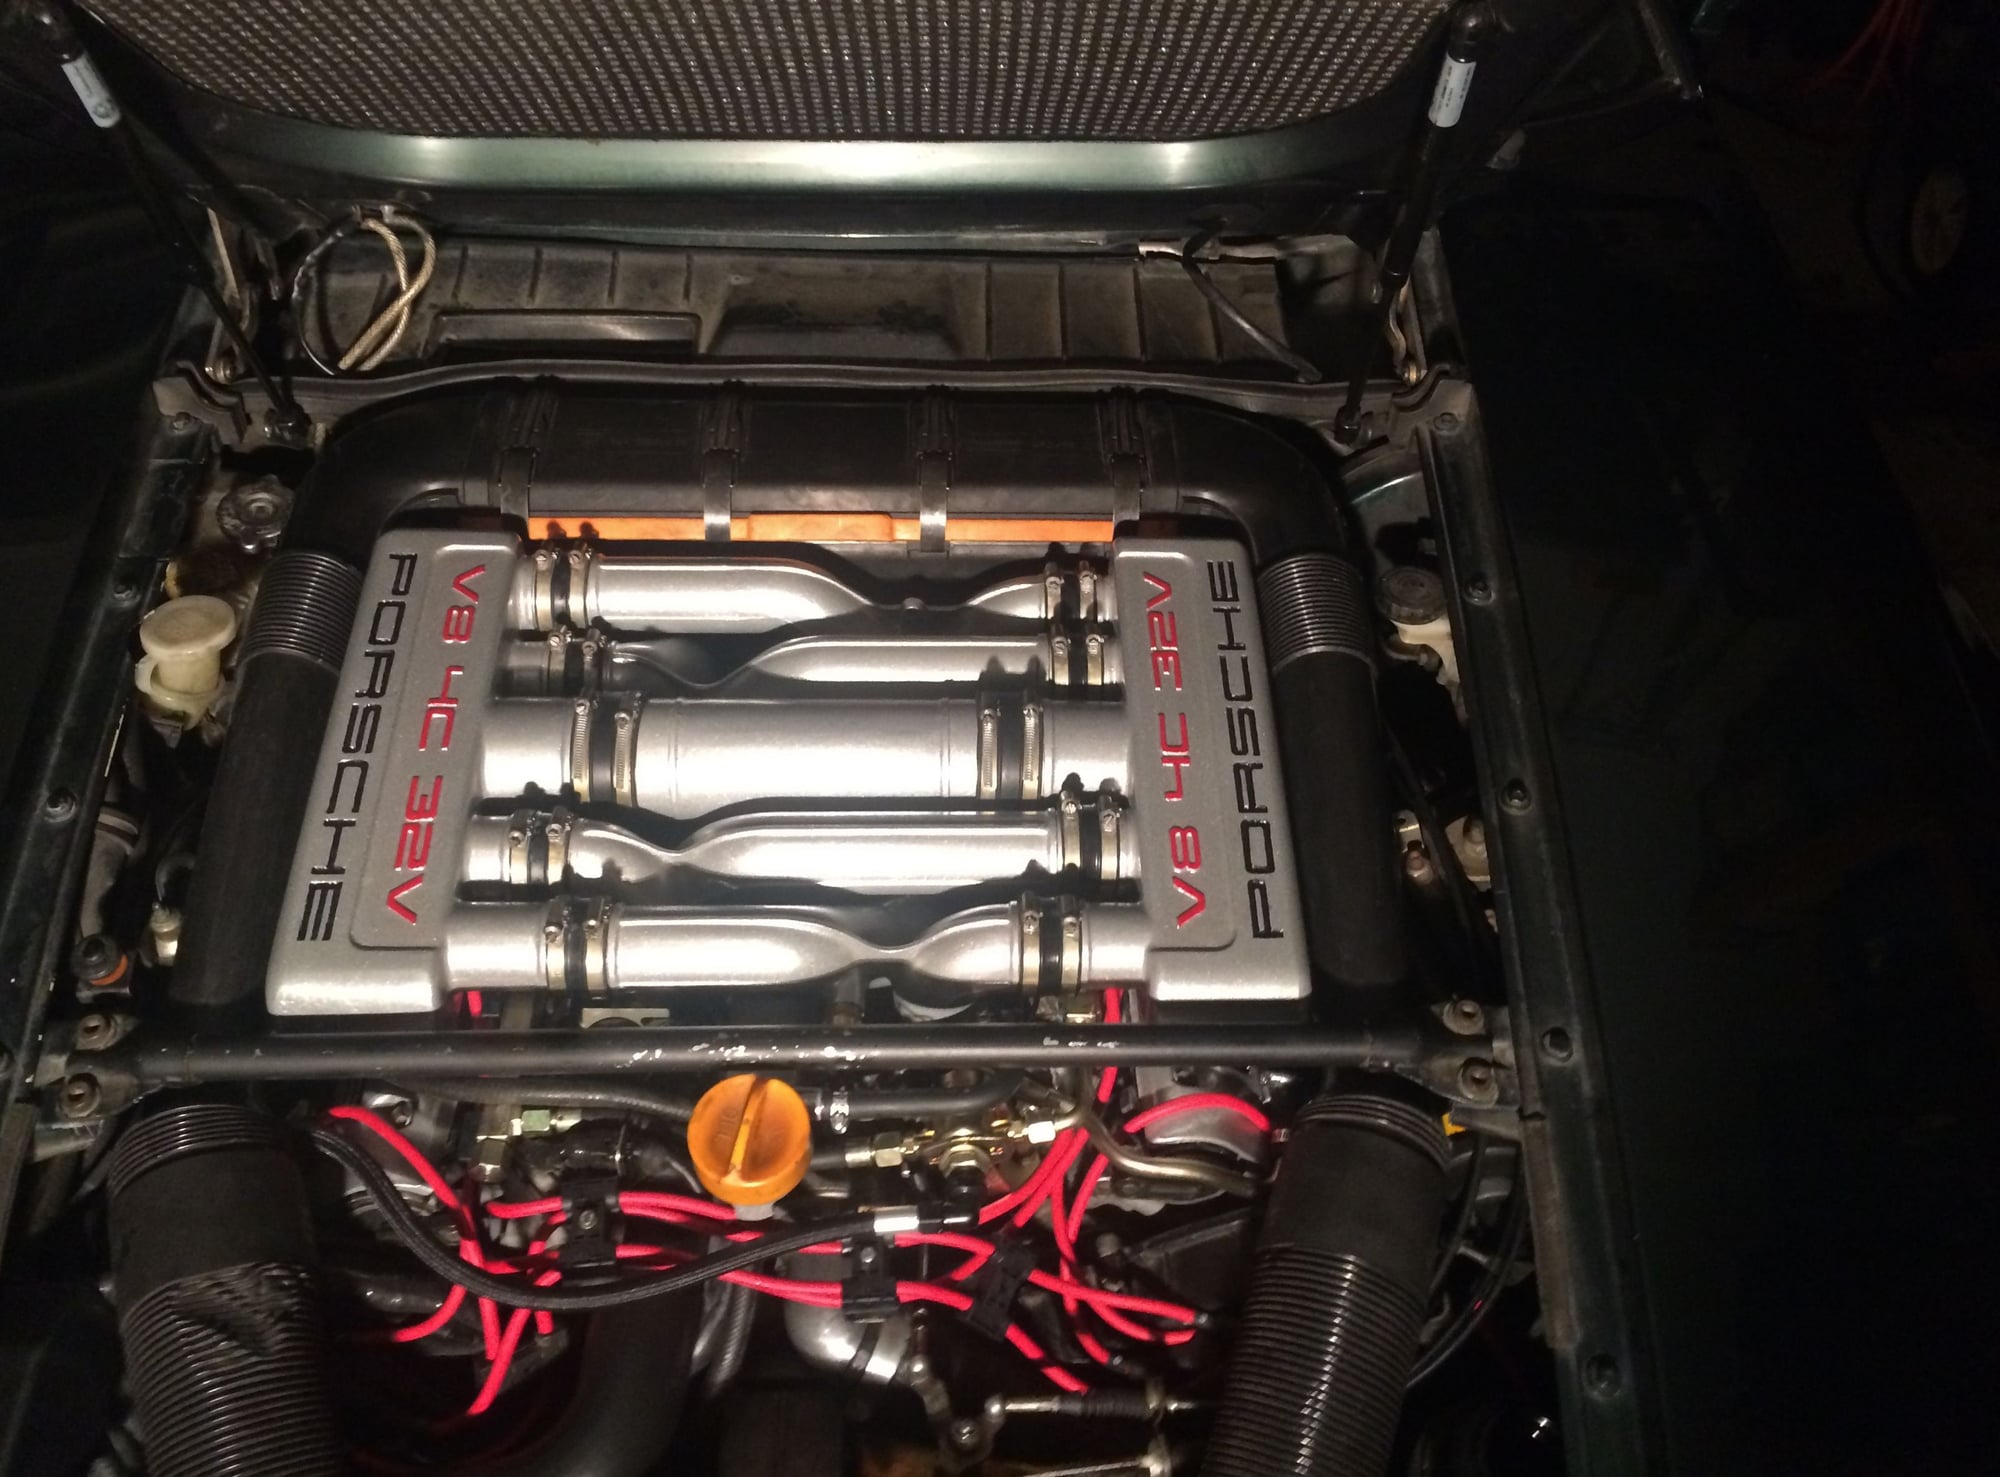
Powder Coated Intake, Valve Covers and Oil Filler (like an idiot I didn't have them do the badly chipped cross brace)
Replated Fuel Rails, Test port bracket, damper bracket, throttle quadrant and hard vacuum line to ventuuri valve and finished with Shark Skin protectant
Fresh Oil and Filter (Brad Penn 20W-50 + a bottle of Swepco 502)
One semi-casualty of the project is the right side intake tube, which fell from its resting place onto a halogen work light and partially melted (see pic below). The tube wasn't compromised but it definitely looks ugly.
Overall the car feels great, much better than it has in years. Gone is the part throttle stutter when cold I've lived with for quite a while and the car definitely pulls harder at all rpm ranges, but especially noticeable above 4k or so. I've just ordered a set of PorKen chips and will report back when I've gotten them installed. Thanks everyone for the helpful advice, next up will be shocks and (at least) a bumper cover respray.

 11-15-2015, 05:43 PM