When you click on links to various merchants on this site and make a purchase, this can result in this site earning a commission. Affiliate programs and affiliations include, but are not limited to, the eBay Partner Network.
What are your boost number now? As you route your hoses to and from the heat exchanger try to avoid kinking them. The will reduce the coolant flow.
Carl, boost during the drives yesterday and today are at 3 lbs or so at about 4,500 RPM. By Redline, I'd probably see a bit more as it now continues to build with RPMs like it's supposed to, whereas previously, it would hit 1.5 or 2 and then stop building, almost like a Turbo when the wastegate opens. The car is much faster now and a long 4th gear pull with the 6-speed trans has 110 MPH come up pretty quickly before the shift to 5th and then 6th.
Hoses to & from the HE are very open curves without any kinks so I should be getting excellent flow in and out of it from that heavy-duty pump. Across the front, they just lay on the bottom ledge of the aftermarket bumper.
The last piece of the puzzle might be your upgraded supercharger impeller with the vortex vanes instead of the straight ones. That might be my winter project :0
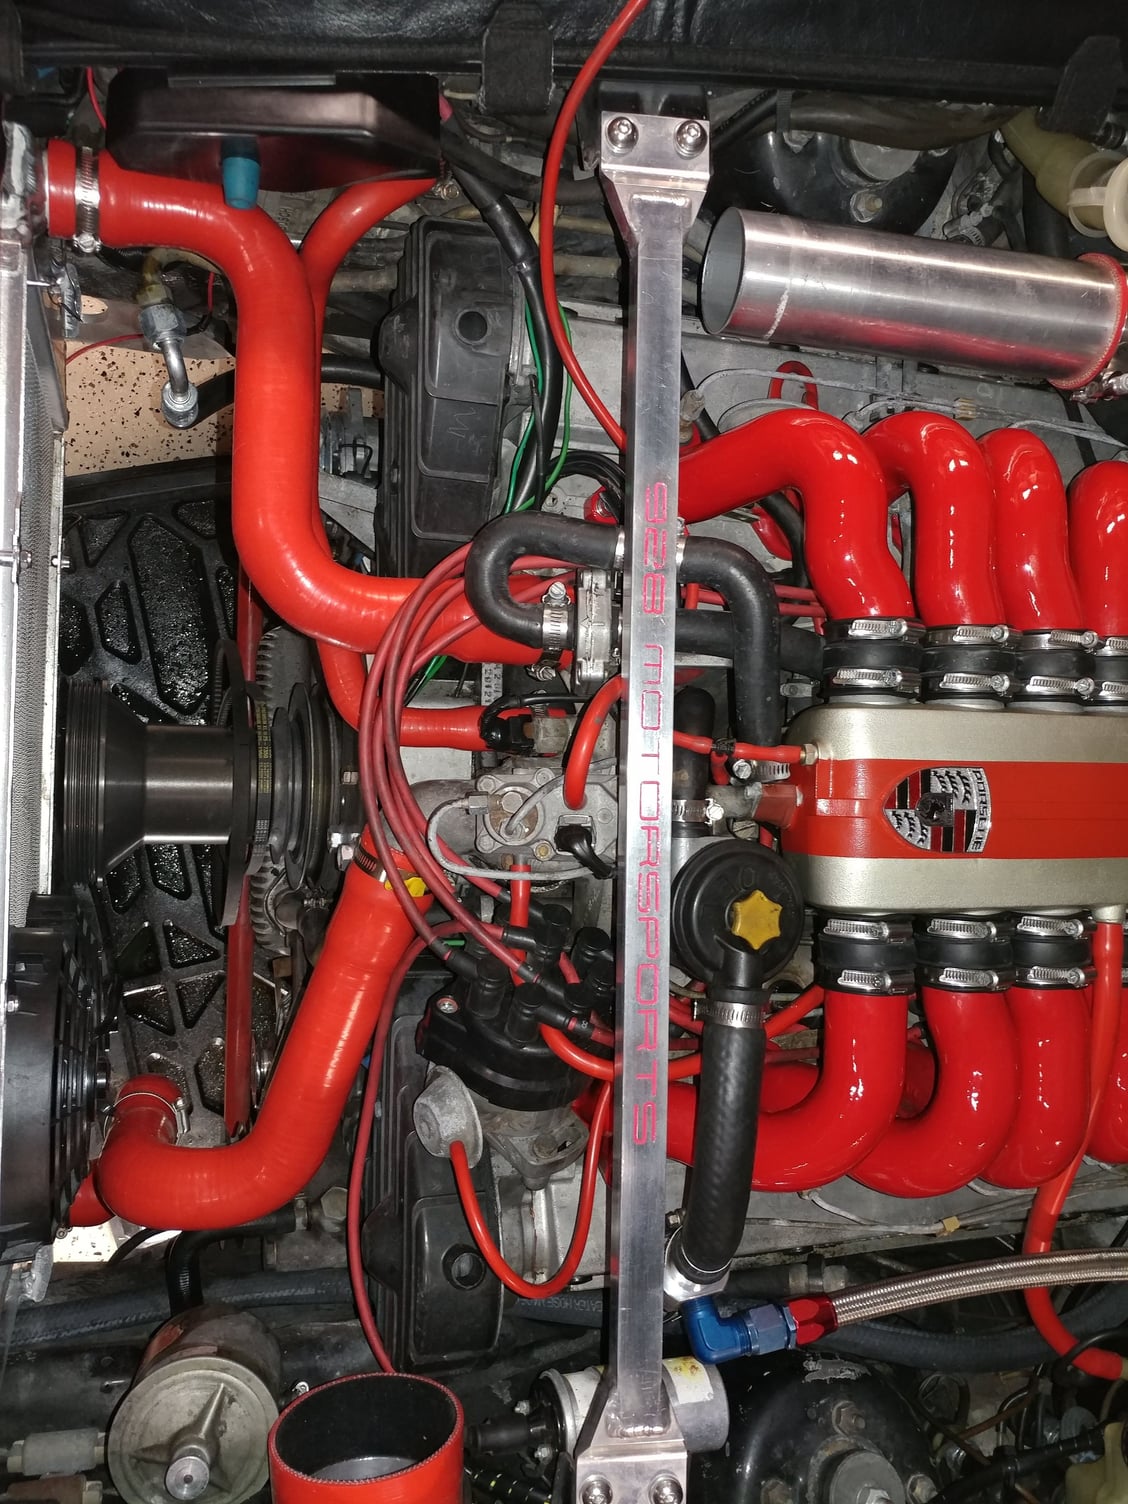
I figured out a way to paint the 928 Motorsports logo on my strut tower brace. The logo is engraved so subtly that you can't just apply paint then top wipe it and have the paint stay in the grooves. The solution - paint pens with a fibrous push tip to regulate the amount of paint. Even with the tip tracing the grooves it took me a few tries to get the hang of it, but turned out nice.
It's tough to photograph well because the brace is so shiny, it's reflecting the hood pad heat shield pattern in it, which is also a shiny material.
Next is to use the black pen on the RUF shift **** in my 997 to trace the shift pattern engraved into the aluminum.
Now you've gone and done it. Customers will be asking me for painted engravings just like that I am sure! Well done, looks great!
LOL - thanks Carl. Maybe you can offer it as an upgrade in conjunction with the various colors of vacuum hoses (black, red, yellow, blue, etc) and in conjunction with a K&N hrdrophobic pre-filter for the open air filter. That helps prevent the gauze filter media from absorbing water. I cut up the one I had on the filter and sandwiched it between the flange plates when I did the closed airbox conversion to keep some moisture and debris from entering the 4" intake opening I cut into the front fender.
Here's the link to the paint pens I used. I think they have a less expensive primary colors one too.
My lack of boost returned a few months ago. The car would build boost to about 2, then fall off back to 0, even when I was still accelerating. Eventually it stopped going into positive pressure numbers at all, which we thought might be the symptom of a stripped belt inside the supercharger, so I removed that, and took it apart, but everything was fine in there.
While the supercharger head was out of the car I decided to send it to Carl at 928MS to have it rebuilt with his upgrade kit - billet impeller (lighter and a vane design creates more boost by moving more air), upgraded bearings, stronger internal belt, and he vented the case for better internal cooling and better bearing life.
While he was working on that I continued to chase my boost leak and found a few little things - spider legs were about 1/8 turn loose at most bolts, but I think the spider body wasn't creating enough downforce onto the metering assembly, and under pressure, it was rocking and allowing the pressurized air to escape. Eventually it became unseated which is when I wouldn't build boost at all.
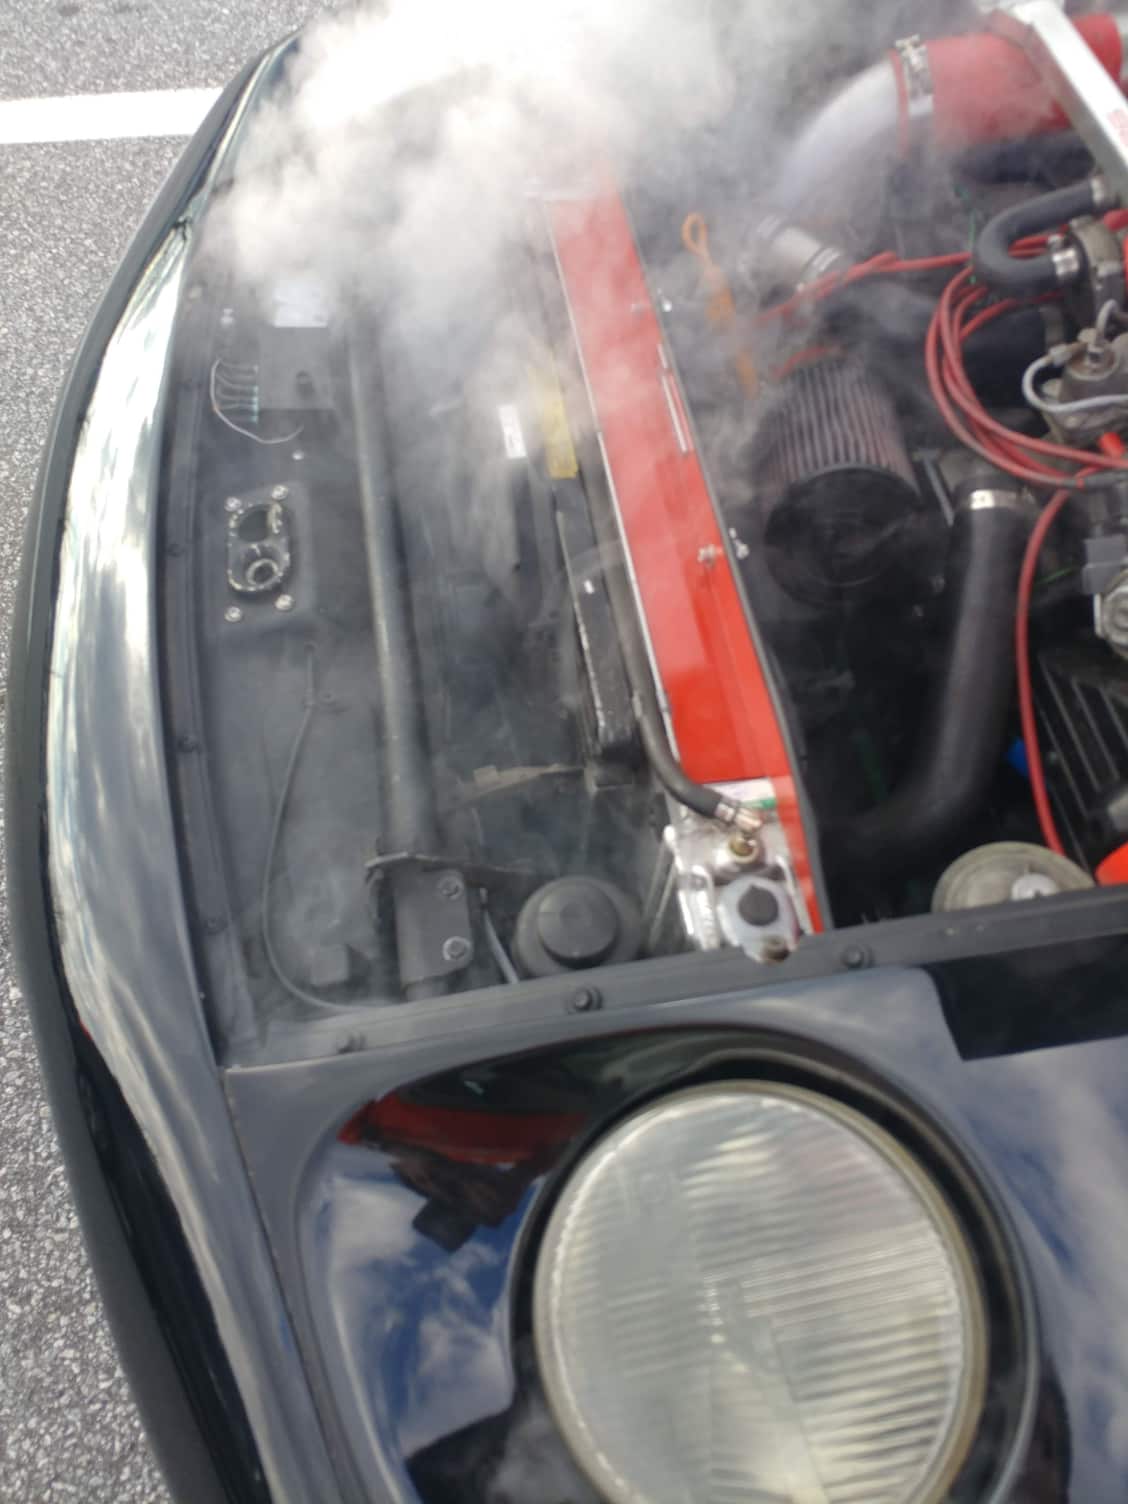
So I had been driving the car around with the supercharger removed and now know what a 928 felt like in the late 70s, which was kind of cool, that was until it wasn't cool anymore, because on the way home from the airport one afternoon, my upper radiator coolant hose failed. It actually became cut by the hose clamp on the engine side and sprayed a jet of hot coolant forward at the radiator where you see the steam look like it's emanating from.
Once things cooled down, I was able to move the clamp to the other side of the failure, refill the system, and drive home.
I figured while the supercharger and bracketry were out of the way, I might as well replace all the coolant hoses so found a 3-ply silicone set in red that I installed that fit well as far as hose diameters, shape, bends, etc. I also replaced all the belts while I was at it - alternator, A/C, Power Steering - the supercharger belt itself was newer than those and looked fine, so I left that one alone.
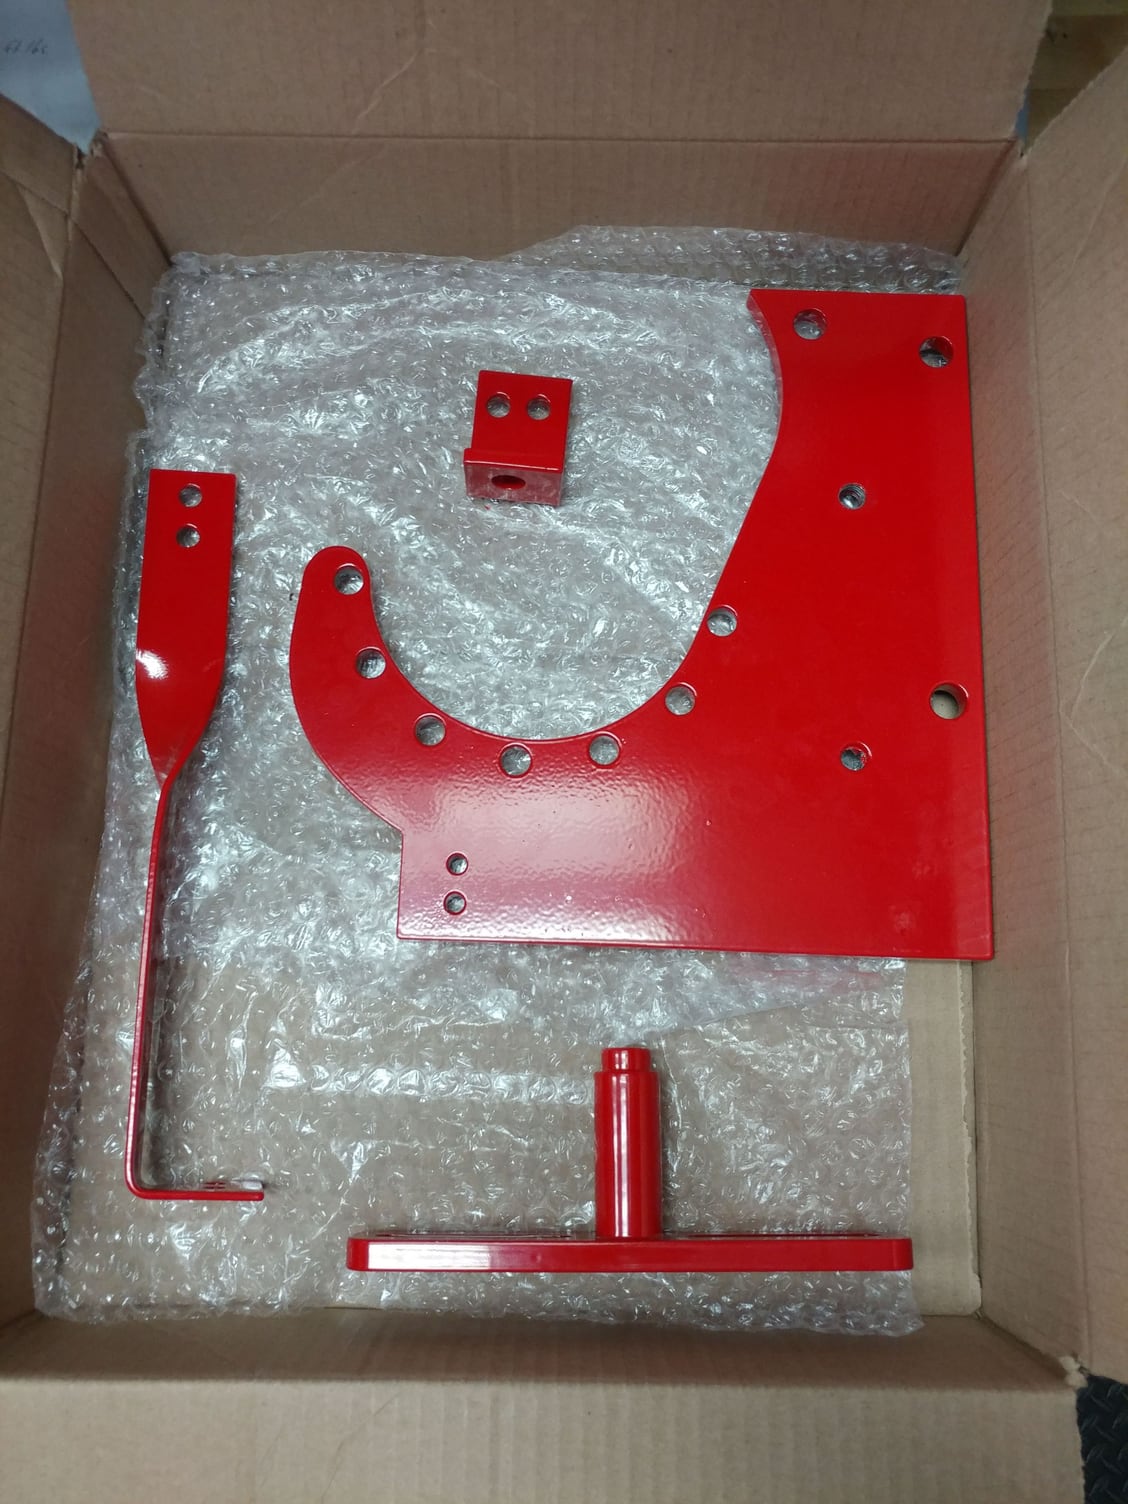
While the supercharger was gone, I took the opportunity to dress up some of the bracketry with a bit of powdercoating
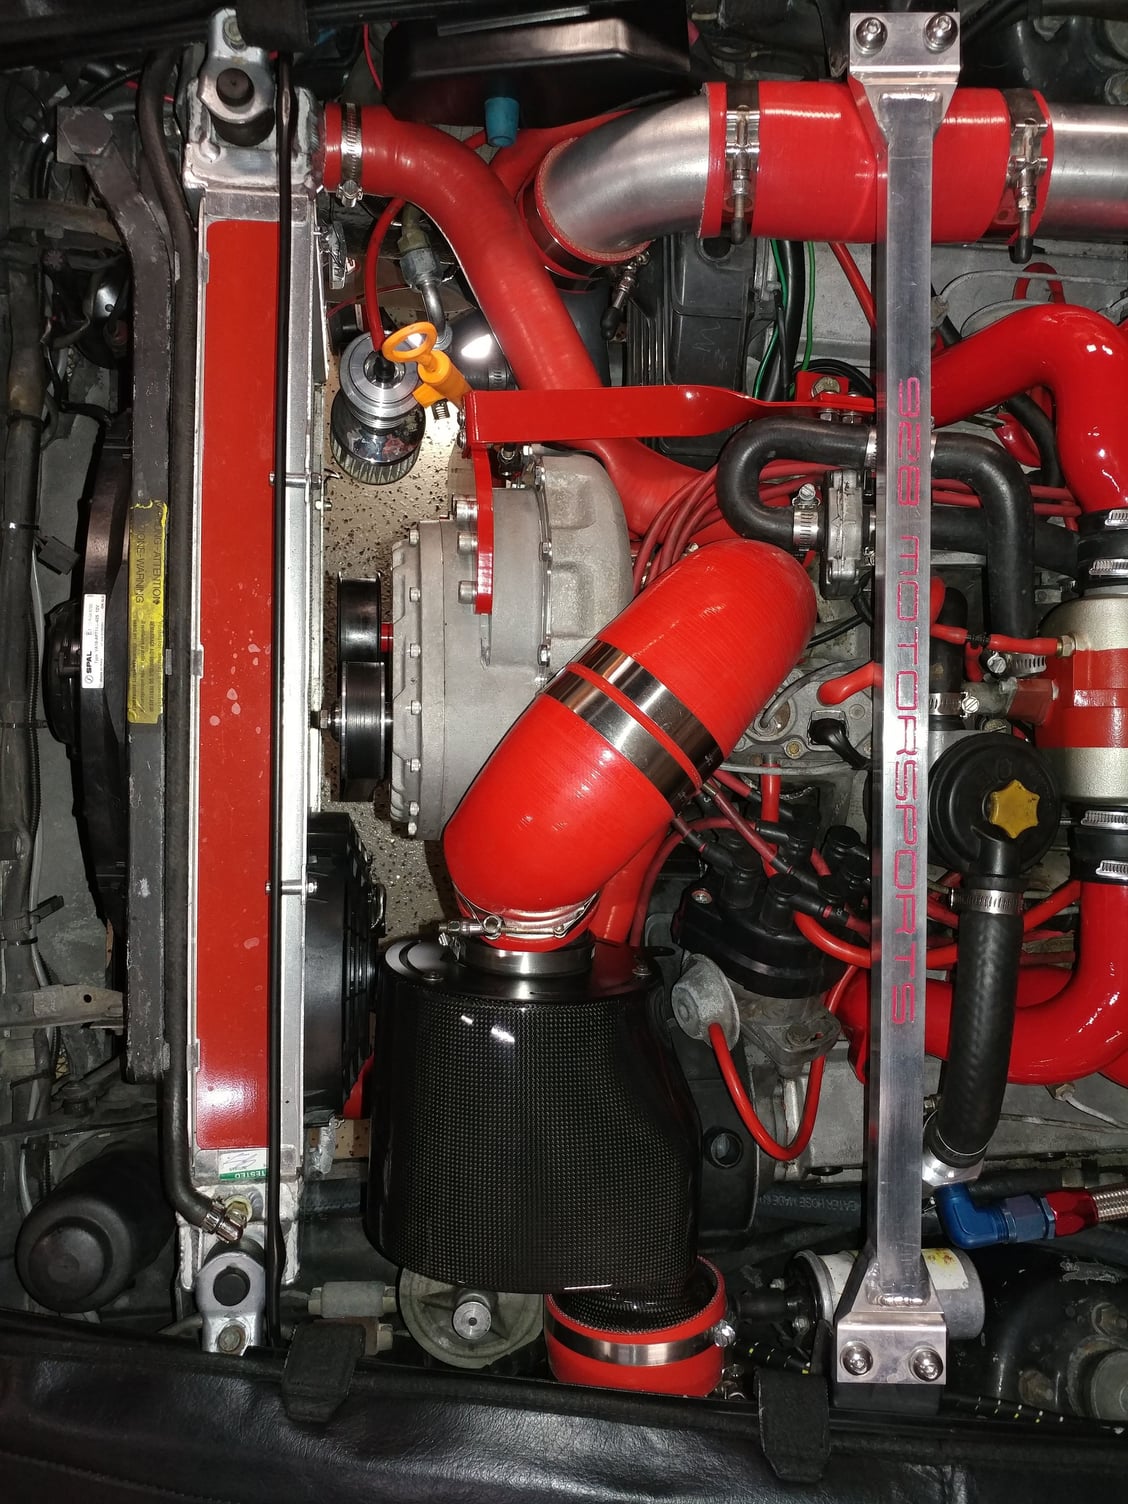
Everything was going along great until reinstallation of the supercharger, where the shape of the upper radiator hose wasn't going to work. The Powerdyne head unit interfered with the hose and I didn't want to partially obstruct the cooling hose and risk decreased flow or have it abrade on the supercharger itself...
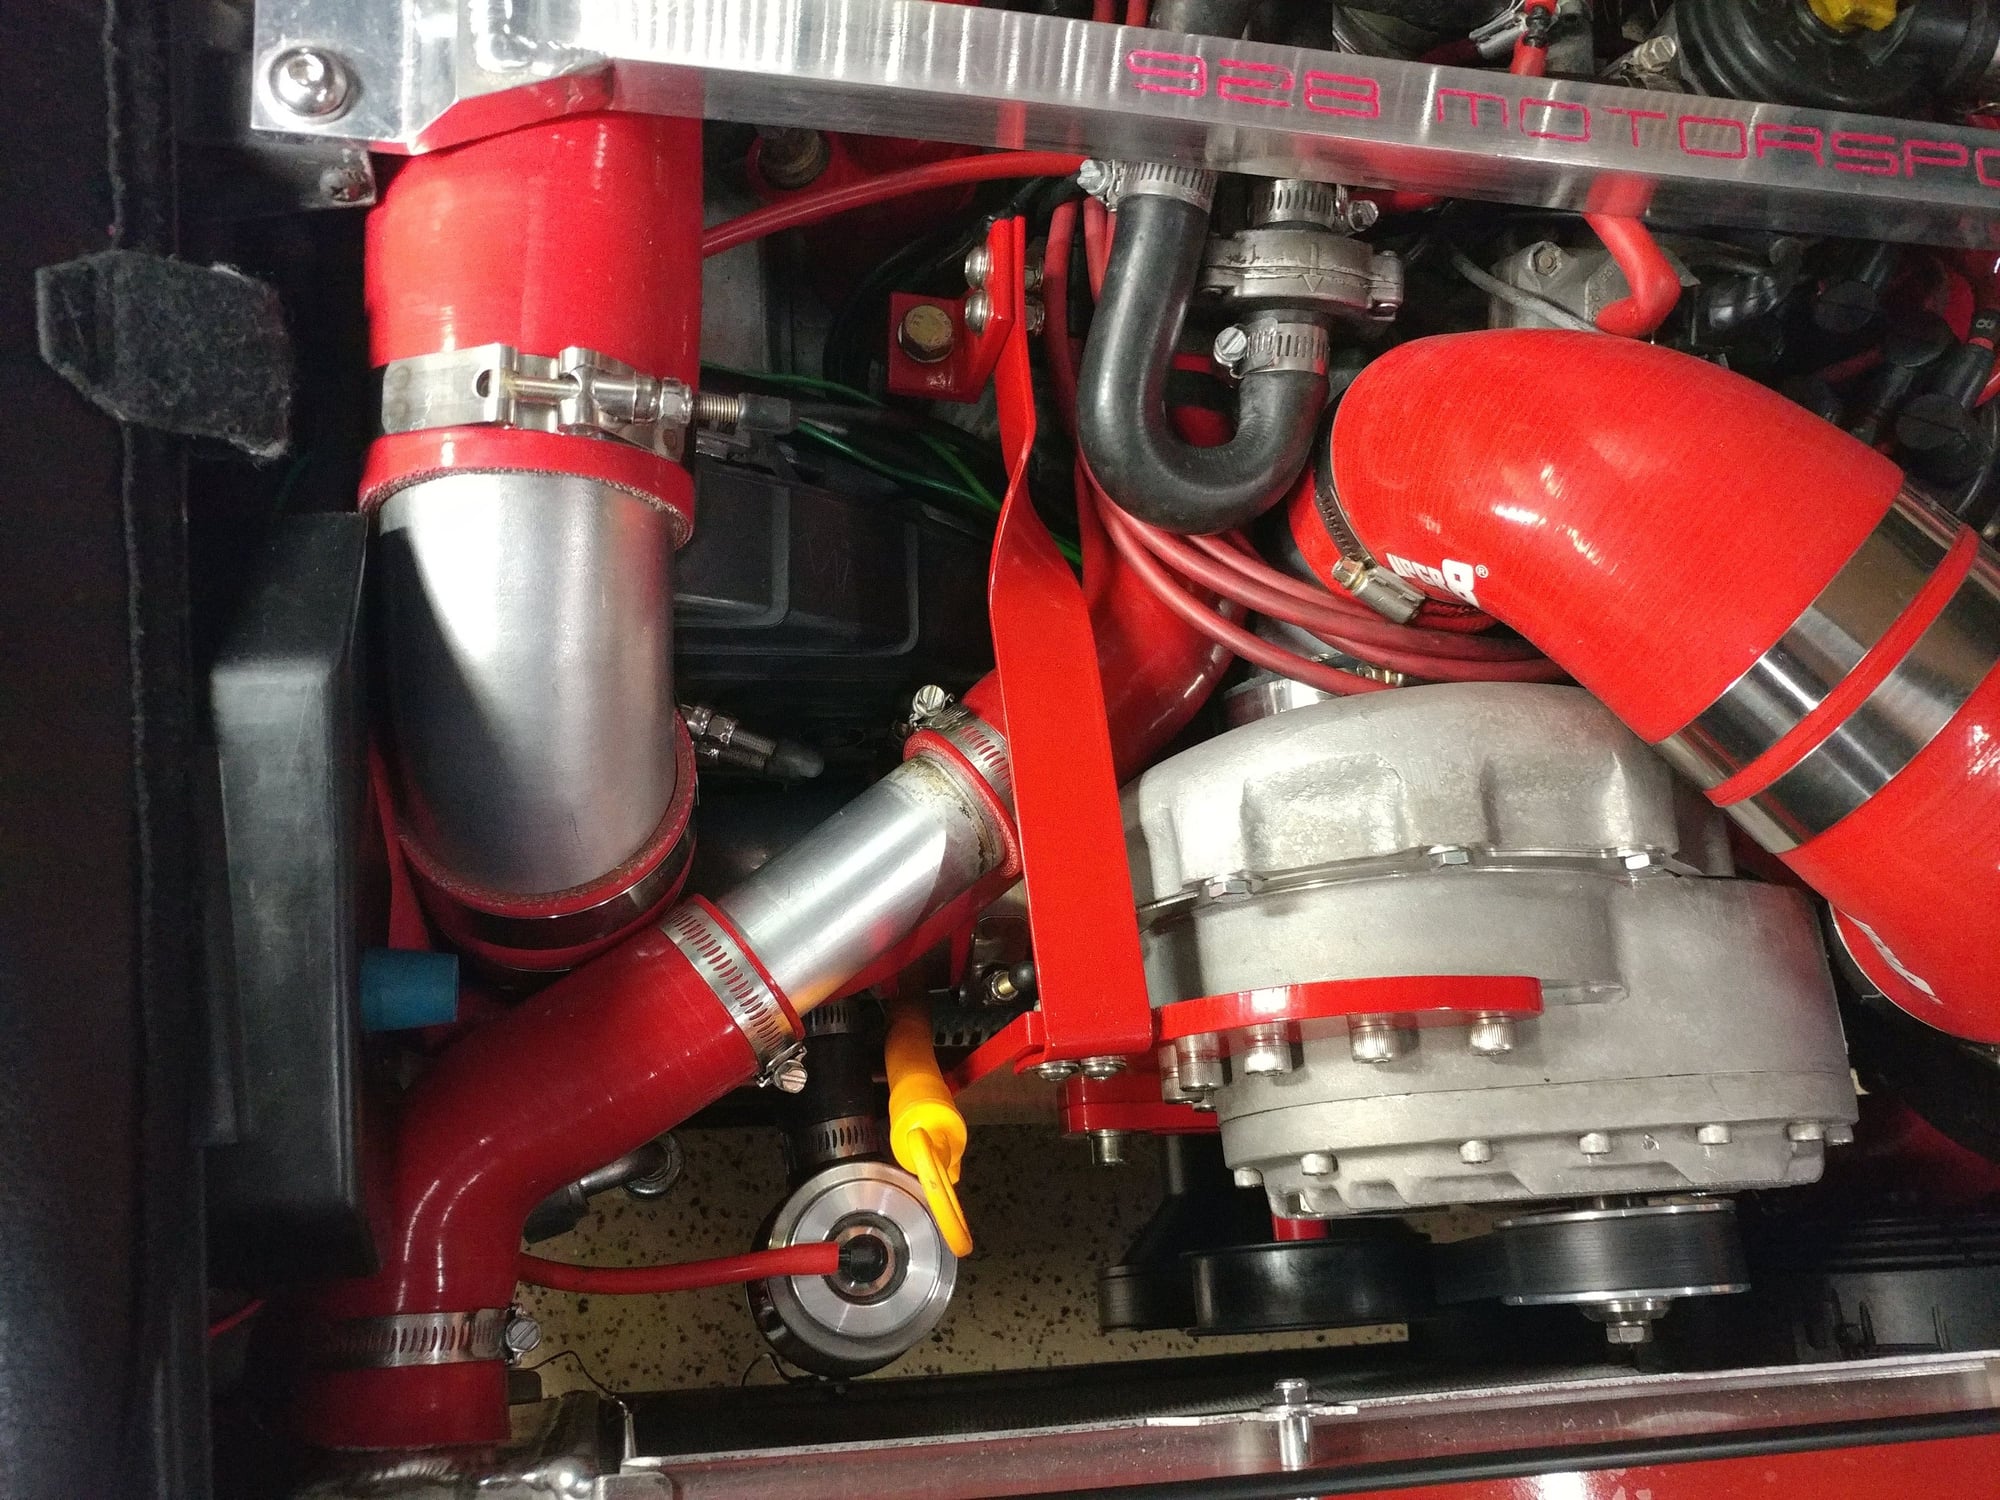
...so I ordered a couple of properly sized 45 degree silicone hoses that could take a nice direct path by the supercharger unit and coupled them together wilh a section of aluminum tubing.
Here's the finished installation
Drove the car today and it is the fastest it has ever been. It's the first time I've had all the supercharger components properly working together since the original dyno run - the heat exchanger fan and pump working with fluid that doesn't leak out of the bottle, proper boost without the pressure escaping, and now the upgraded supercharger. I'm seeing 4 - 4.5 on the boost gauge now and it never wavers - just keeps building until the next gear change and that's at 4,500 RPM so still probably some boost headroom available at higher RPMs. AFR under full throttle and full boost are right on 13, then a shift - the needle moves, and comes right back to 13. Numbers are always between 12.5 (coasting under vacuum) and 14 (driving with light throttle) so it looks like the K-Jet is doing a good job fueling for the extra air and boost.
I'm really happy with the way the car is now running.

 07-09-2018, 09:55 AM


 Customers will be asking me for painted engravings just like that I am sure! Well done, looks great!