Notices
928 Forum 1978-1995
Sponsored by:
Sponsored by: 928 Specialists

So I purchased a 1983 928S the Other day

Thread Tools
 
Search this Thread
 
Old 01-10-2015, 07:55 PM
  #61  
240Z TwinTurbo
Rennlist Member
Thread Starter
 
240Z TwinTurbo's Avatar
 
Join Date: Dec 2014
Location: Charlotte, NC
Posts: 225
Received 8 Likes on 8 Posts
Default

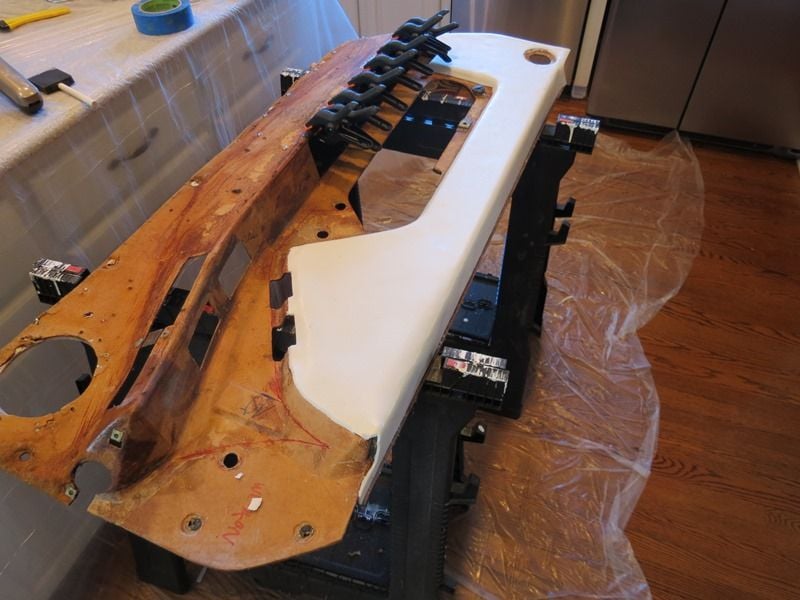
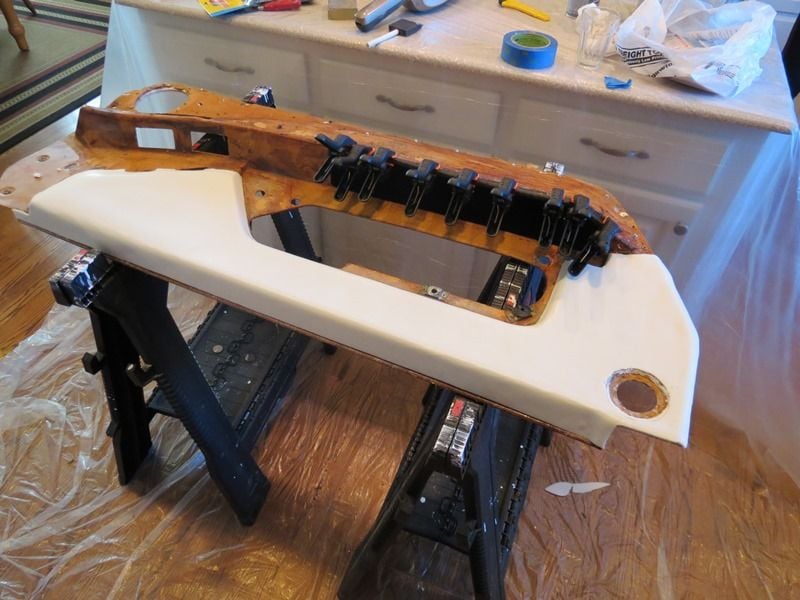
Today was likely the most frustrated I have been with this project. I covered the driver's side door panel today, which would seem like an easy task except once you glue something it really sticks. I started by sanding the door panels within some fine grit paper to get rid if surface imperfections and create a good surface for bonding. I then glued 1/8" Volara foam to the panel, which hides minor imperfections and gives the panel a nice look and feel. Below is the glue used, which is the good stuff, along with the initial Volara foam bonded to the lower half of the door panel. I also applied more glue to the door box liner and used some clamps while it dried. In case you're wondering, I had to do this inside because of the cold weather and the temperature requirements of the glue.


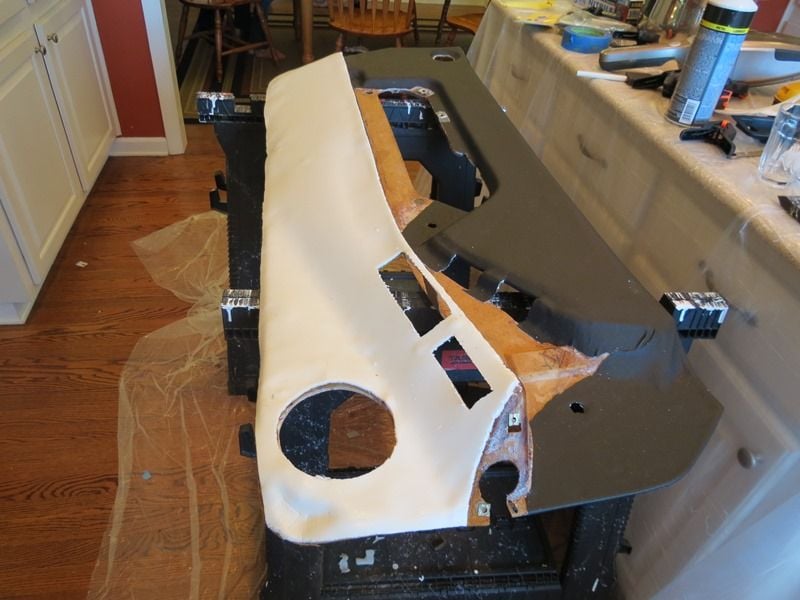
The next step was to bond the XTREME "Black" vinyl with leather grain to the door. I don't know what advice to give other than have at least one extra pair of hands. It really turned out nice...the second time


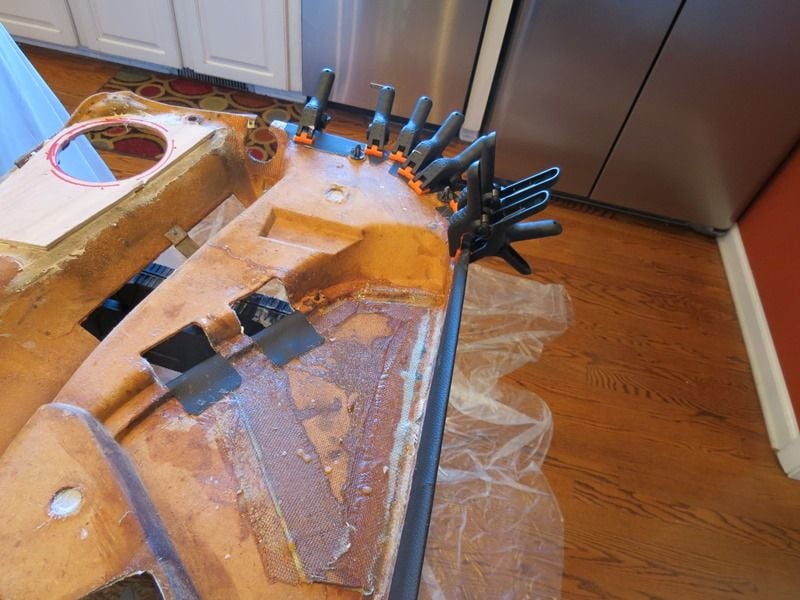
The next step was to glue more Volara foam to the bottom half of the door panel. The original intent was to add the vinyl on the bottom, but the lower half has too many imperfections and it would show in the vinyl. As a result I am going to order some fresh carpet for the bottom half, which is how it was originally configured. Unfortunately this will have to be put on hold for a few days until the new material arrives.


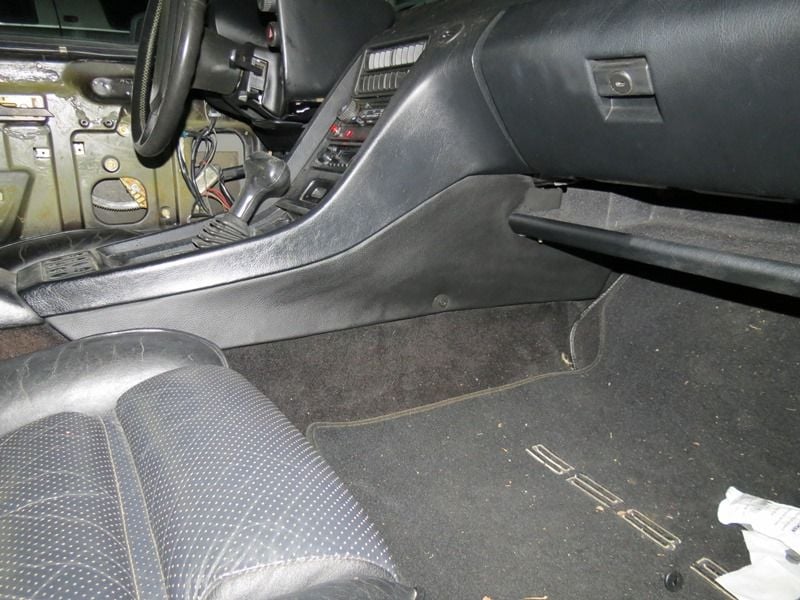
I then moved on to the passenger side panel that sits below the center console. I pretty much followed the same approach as the door panels. One thing to keep in mind the top 1/4" of the panel cannot have foam because it slides into a slot on the center console. I think it really turned out nice compared to the crap carpet that used to be there.


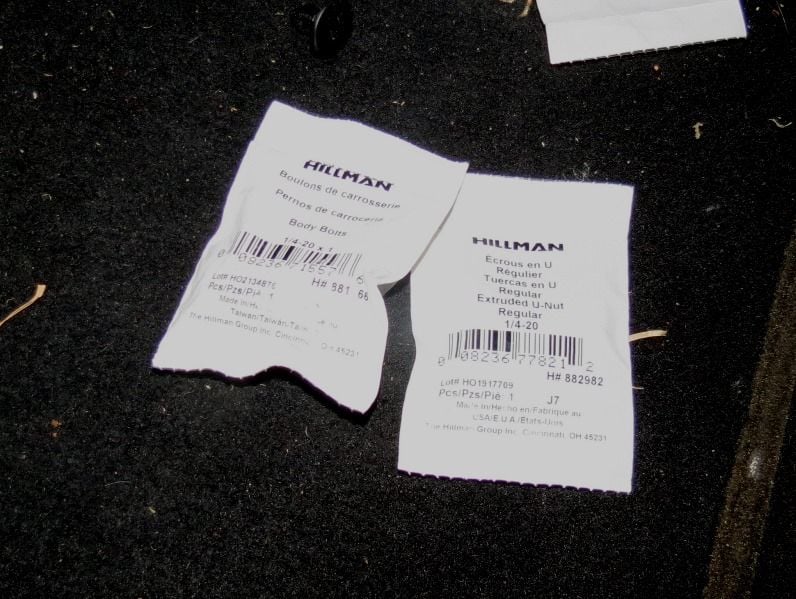
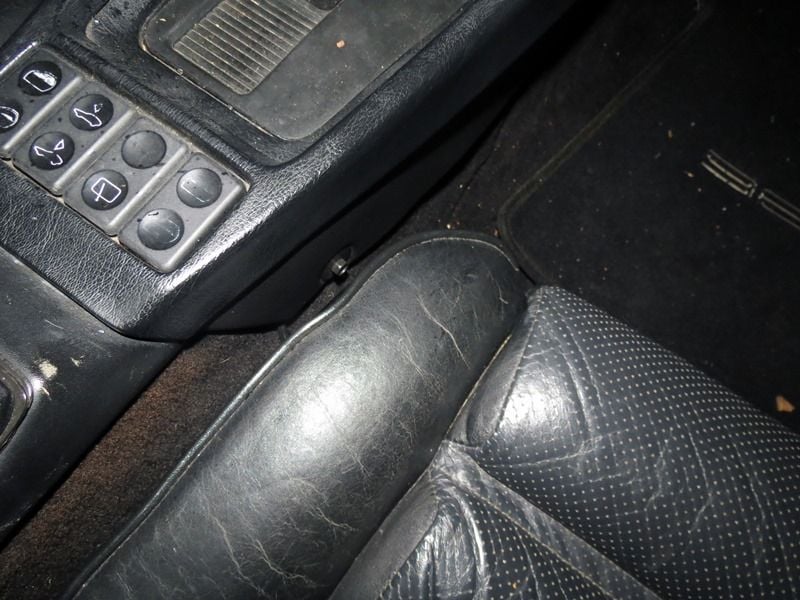
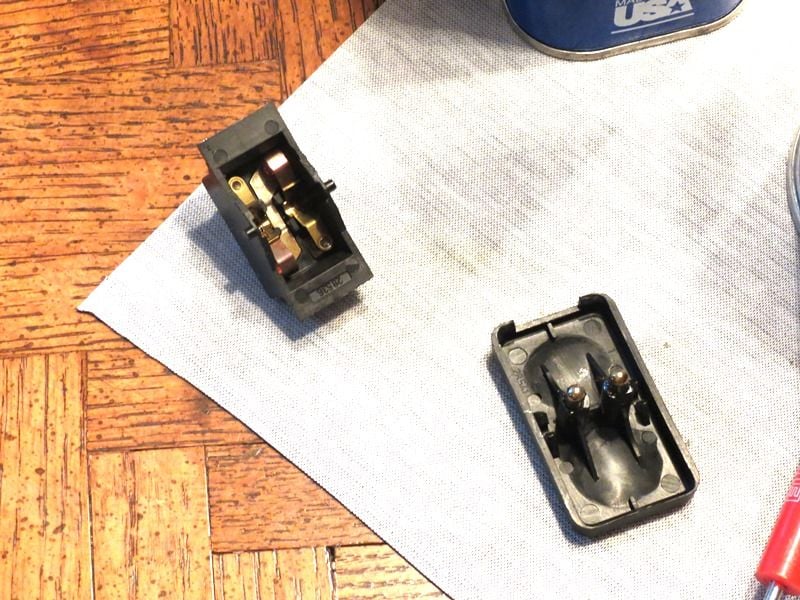
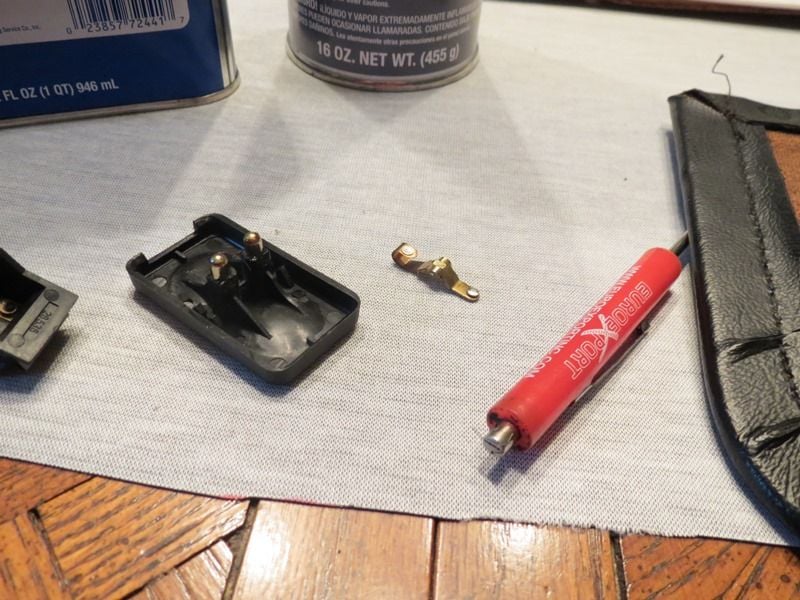
The other thing I did was change the hardware to 1/4"-20 bolts so that I could easily remove the fastener next to the seat.


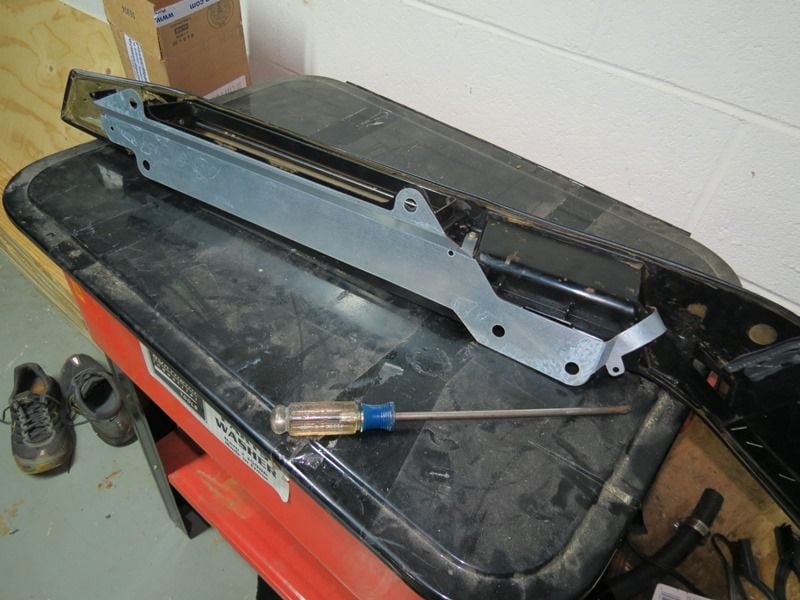
Finally, I did a test fit of the stamped metal bracket for the door handle. It appears to fit very well so this should address the issue of broken tabs.

Old 01-10-2015, 10:36 PM
  #62  
Mrmerlin
Team Owner
 
Mrmerlin's Avatar
 
Join Date: May 2004
Location: Philly PA
Posts: 27,870
Received 2,243 Likes on 1,241 Posts
Default

looks like you have a nice project here, I have not used the weldwood spray glue,
BUT I do know that most of the other brands of spray on glues dont have the stick quality that the Weldwood brush on does.
The important part of this is hot weather performance,
its found at HD use the stuff in the red can comes in a QT can
Old 01-10-2015, 10:53 PM
  #63  
Pfc. Parts
Burning Brakes
 
Pfc. Parts's Avatar
 
Join Date: Mar 2012
Posts: 868
Likes: 0
Received 0 Likes on 0 Posts
Default

How much slack did you leave on the outside of the vinyl and foam rubber to wrap around the back side? I imagine you cut the foam short of the edge, how much? How did you cut it?

Looks GREAT![
Old 01-10-2015, 10:55 PM
  #64  
240Z TwinTurbo
Rennlist Member
Thread Starter
 
240Z TwinTurbo's Avatar
 
Join Date: Dec 2014
Location: Charlotte, NC
Posts: 225
Received 8 Likes on 8 Posts
Default

Originally Posted by Mrmerlin
looks like you have a nice project here, I have not used the weldwood spray glue,
BUT I do know that most of the other brands of spray on glues dont have the stick quality that the Weldwood brush on does.
The important part of this is hot weather performance,
its found at HD use the stuff in the red can comes in a QT can
Essentially the same quality as the brush on product. It is actually called, "DAP Weldwood High Temperature Spray Headliner Adhesive" and is highly recommended for interiors, including headliners, because of its high temp capabilities.
Old 01-10-2015, 11:37 PM
  #65  
bureau13
Rennlist Member
 
bureau13's Avatar
 
Join Date: May 2014
Location: South Florida
Posts: 3,478
Received 55 Likes on 42 Posts
Default

I bought some 3M spray glue that was recommended but ended up using the brush-on Weldwood stuff if for no other reason than that I had no confidence I wouldn't get that spray everywhere. Whoever said mineral spirits can be used to clean brushes with that stuff in them lied, though. That glue isn't coming out ever.
Old 01-10-2015, 11:51 PM
  #66  
Pfc. Parts
Burning Brakes
 
Pfc. Parts's Avatar
 
Join Date: Mar 2012
Posts: 868
Likes: 0
Received 0 Likes on 0 Posts
Default

Originally Posted by bureau13
That glue isn't coming out ever.
I sense an undercurrent of bitterness that can only be explained by an experience with spraying it on something important it wasn't supposed to be on...
Old 01-11-2015, 12:00 AM
  #67  
240Z TwinTurbo
Rennlist Member
Thread Starter
 
240Z TwinTurbo's Avatar
 
Join Date: Dec 2014
Location: Charlotte, NC
Posts: 225
Received 8 Likes on 8 Posts
Default

Originally Posted by Pfc. Parts
How much slack did you leave on the outside of the vinyl and foam rubber to wrap around the back side? I imagine you cut the foam short of the edge, how much? How did you cut it?

Looks GREAT![
THANKS! Where necessary I left about 1.5" of material to wrap around the back side. I used a razor and ran it around the edges to cut the foam even with the edge. The foam will dull the razor in short order so have a bunch of razors ready so you keep a clean cut. I purchased the supplies from the following shop.

http://www.yourautotrim.com
Old 01-11-2015, 12:42 AM
  #68  
bureau13
Rennlist Member
 
bureau13's Avatar
 
Join Date: May 2014
Location: South Florida
Posts: 3,478
Received 55 Likes on 42 Posts
Default

Ha ha fortunately, no...I just know myself too well!

Originally Posted by Pfc. Parts
I sense an undercurrent of bitterness that can only be explained by an experience with spraying it on something important it wasn't supposed to be on...
Old 01-11-2015, 04:58 PM
  #69  
240Z TwinTurbo
Rennlist Member
Thread Starter
 
240Z TwinTurbo's Avatar
 
Join Date: Dec 2014
Location: Charlotte, NC
Posts: 225
Received 8 Likes on 8 Posts
Default

I took today to remove the passenger side seat to address the sluggish movement of the forward/backward motion and the lack of up/down motion as well as recline. It can be a PIA when the controls don't work because it is much easier to remove the rear bolts with the seat in the full up position. Anyway, got the seat out and proceeded to dismantle the slides, gears, and motors.

The outside track was almost completely frozen and took about 45minutes to get it to a state that it would move with minimal force. I think it is a combination of sticky grease and crap that accumulates in the grease. Anyway, I got it all cleaned, lubed and reinstalled. When you take out the motors you can plug them into the connector in the car to make sure they are operation. All of the motors were operational so I reinstalled the seats and focused on the switches.

I removed the switch panel and unplugged all the switches. I then removed the switch for the forward/backward motion and plugged it into the other connectors. What I found is with the good switch I could raise/lower the seat as well as operate the recline. At this point I knew it was the switches that needed to be worked.

Using a flat head screwdriver I popped off the switch showing the internals. Make sure the switch is facing up so the two contacts don't fall out. You need to make sure they stay in the same direction when you put them back together. The image below details what I talking about.


You then just pull out the contacts one at a time and clean them. There are three surfaces that need to be cleaned and I used some 1000grit sandpaper to lightly clean the surfaces. I then used a q-tip dipped in acetone to clean the surface.


The final step was to clean the contact points in the switch housing, which can be done with a razor and then cleaned with acetone on a q-tip. In the image below you can sort of see the black mark on the contact, which is the cause of the switch not making contact.


I now have a passenger seat with full functionality and the seats move like they are brand new.
Old 01-11-2015, 06:12 PM
  #70  
Mark R.
Rennlist Member
 
Mark R.'s Avatar
 
Join Date: Jan 2003
Location: Peachtree Corners, Georgia
Posts: 830
Likes: 0
Received 37 Likes on 26 Posts
Default

Hey, great work with the foam and vinyl. It's been fun following along.
I know how good it feels to just dive right in to something like that.

But wow! Are you doing all that gluing in your kitchen..?!?
You're either a bachelor, or you have an incredibly understanding wife.

Old 01-11-2015, 06:37 PM
  #71  
240Z TwinTurbo
Rennlist Member
Thread Starter
 
240Z TwinTurbo's Avatar
 
Join Date: Dec 2014
Location: Charlotte, NC
Posts: 225
Received 8 Likes on 8 Posts
Default

Originally Posted by Mark R.
But wow! Are you doing all that gluing in your kitchen..?!? You're either a bachelor, or you have an incredibly understanding wife.
Only the gluing was done in the kitchen because the temperature has to be at least 60F to apply and my garage was well below that because of the 25F outside temps. I was very careful and my wife actually helped me because it requires multiple sets of hands.
Old 01-11-2015, 09:35 PM
  #72  
240Z TwinTurbo
Rennlist Member
Thread Starter
 
240Z TwinTurbo's Avatar
 
Join Date: Dec 2014
Location: Charlotte, NC
Posts: 225
Received 8 Likes on 8 Posts
Default

I was bored so I decided to try and understand why the dash lights were not working. Upon reading some posts it was suggested to look at the dimmer. I removed the small panel to get access to the dimmer and saw that it was unplugged. Additionally, someone had put tape over the connector that was unplugged.

I plugged it back in and it flickered so I decided to remove the dimmer and clean the contacts. It now works, but only at max when it makes the straight through connection so I think I am need of a new dimmer since it doesn't appear to be serviceable.

Old 01-11-2015, 10:03 PM
  #73  
mdkelly1
Rennlist Member
 
mdkelly1's Avatar
 
Join Date: Mar 2007
Location: Vero Beach, FL.
Posts: 661
Received 174 Likes on 54 Posts
Default

They can be cleaned up, but sometimes it's best to just replace them.

This was mine before replacement:
Attached Images  
Old 01-11-2015, 10:05 PM
  #74  
Pfc. Parts
Burning Brakes
 
Pfc. Parts's Avatar
 
Join Date: Mar 2012
Posts: 868
Likes: 0
Received 0 Likes on 0 Posts
Default

Originally Posted by 240Z TwinTurbo

Using a flat head screwdriver I popped off the switch showing the internals. Make sure the switch is facing up so the two contacts don't fall out. You need to make sure they stay in the same direction when you put them back together. The image below details what I talking about.

Good tip on dismantling the switches. I've removed and replaced them on he drivers side but hadn't yet tried getting the bad one apart so I could fix it. One responded well to shooting De-Oxit in under the 4 way switch cover, the other's going to need the treatment you describe.

Thanks,
Old 01-11-2015, 10:44 PM
  #75  
240Z TwinTurbo
Rennlist Member
Thread Starter
 
240Z TwinTurbo's Avatar
 
Join Date: Dec 2014
Location: Charlotte, NC
Posts: 225
Received 8 Likes on 8 Posts
Default

Originally Posted by Pfc. Parts
Good tip on dismantling the switches. I've removed and replaced them on he drivers side but hadn't yet tried getting the bad one apart so I could fix it. One responded well to shooting De-Oxit in under the 4 way switch cover, the other's going to need the treatment you describe.

Thanks,
Just to be clear these are the switches on the side of the seat. The 4 switches in the center console are different and I detailed how I cleaned/fixed them in an earlier post.

For the seat switches, you can remove them in 5 minutes by taking out the 4 screws and removing the three plugs. Once out it takes about 10 minutes to clean each switch and put it back together.


Quick Reply: So I purchased a 1983 928S the Other day


All times are GMT -3. The time now is 04:38 AM.