When you click on links to various merchants on this site and make a purchase, this can result in this site earning a commission. Affiliate programs and affiliations include, but are not limited to, the eBay Partner Network.
Quote: I just don't get enough time to work on the cars and because of that my enthusiasm is waning. I haven't driven my car for almost a decade.
Greg, same here but two of our three cars are running. Everything take its time and there is so much else to do. Now when the restoration and paint job of the house, workshop and six-car garage is almost done, the wife has promised me I can spend all the time I want in the workshop doing what I like most, working on the engine projects. Actually I am not so much for driving, working in the shop I find more satisfying. If there is anything I can do for you in order to get your enthusiasm back, please let me know.
Pictures showing new workshop lighting and new horizontal milling attachment I recently acquired for the milling machine. Note the chain hoist for the lifting of the mill upper part in order to get the riser block in place.
�ke
Ake,
That is some serious equipment! We are making progress but then stupid stuff happens like the garage door motor fails. It failed because maybe the door got too heavy for the springs. This may have occurred when I added insulation to it so that I wouldn't annoy the neighbours. The neighbours said, don't worry about the noise. Anyway the garage door techs wanted almost $2K for sort it out. I bought the parts but they were wrong, I need custom springs. Talk about time consuming. Then the passionfruit vine fell down. well the new stainless wire fence just cost me a couple of weeks in time and around $1,500. So those passionfruit better be sweet this summer!
I hope to be able to share some pictures in the next month if things go to plan. I have some really nice new bushings for the front suspension coming and I am working on the braking system too. Thanks for the encouragement
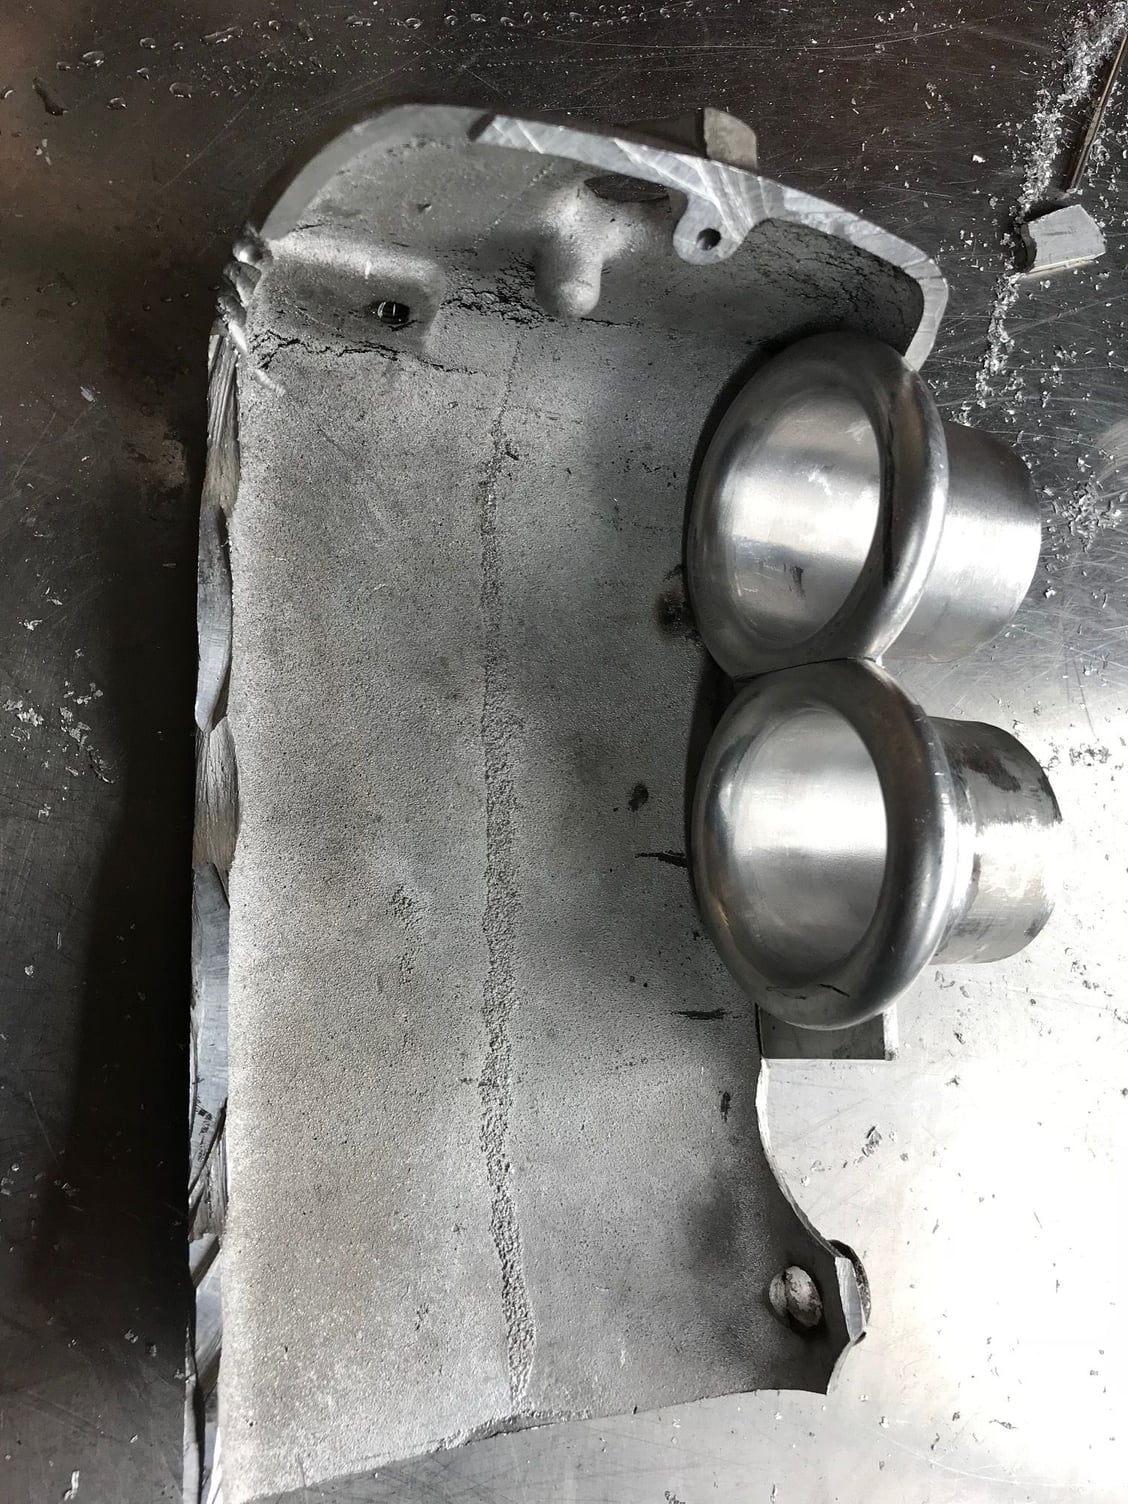
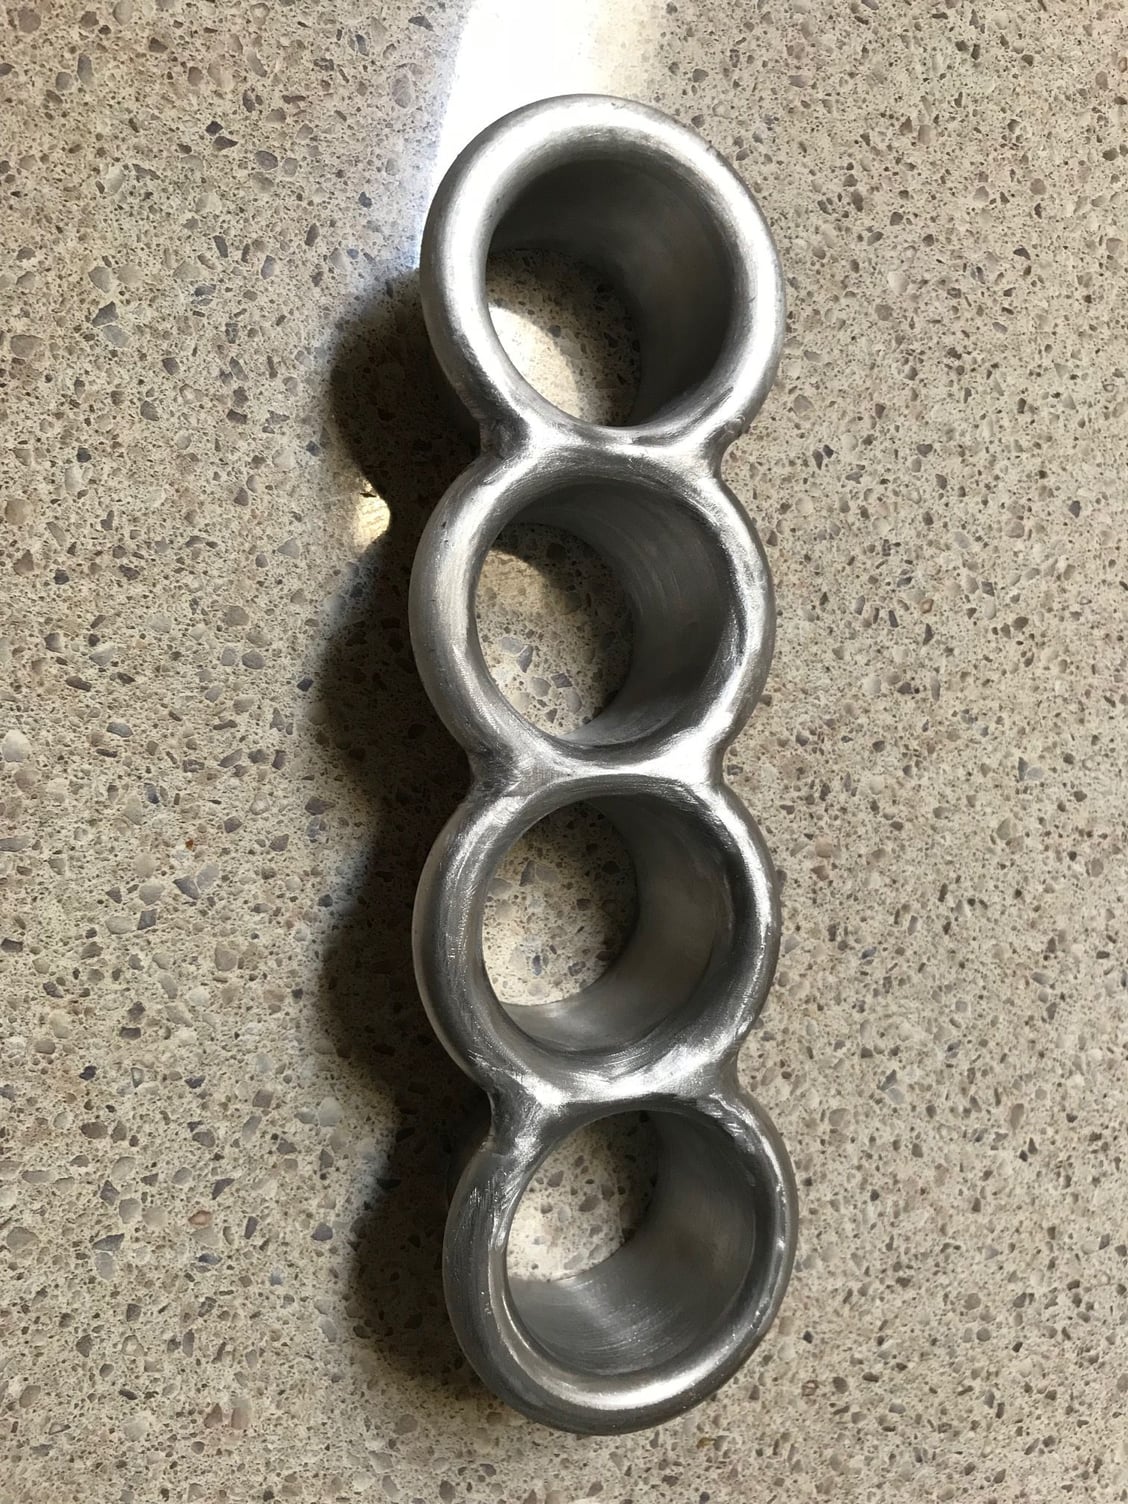
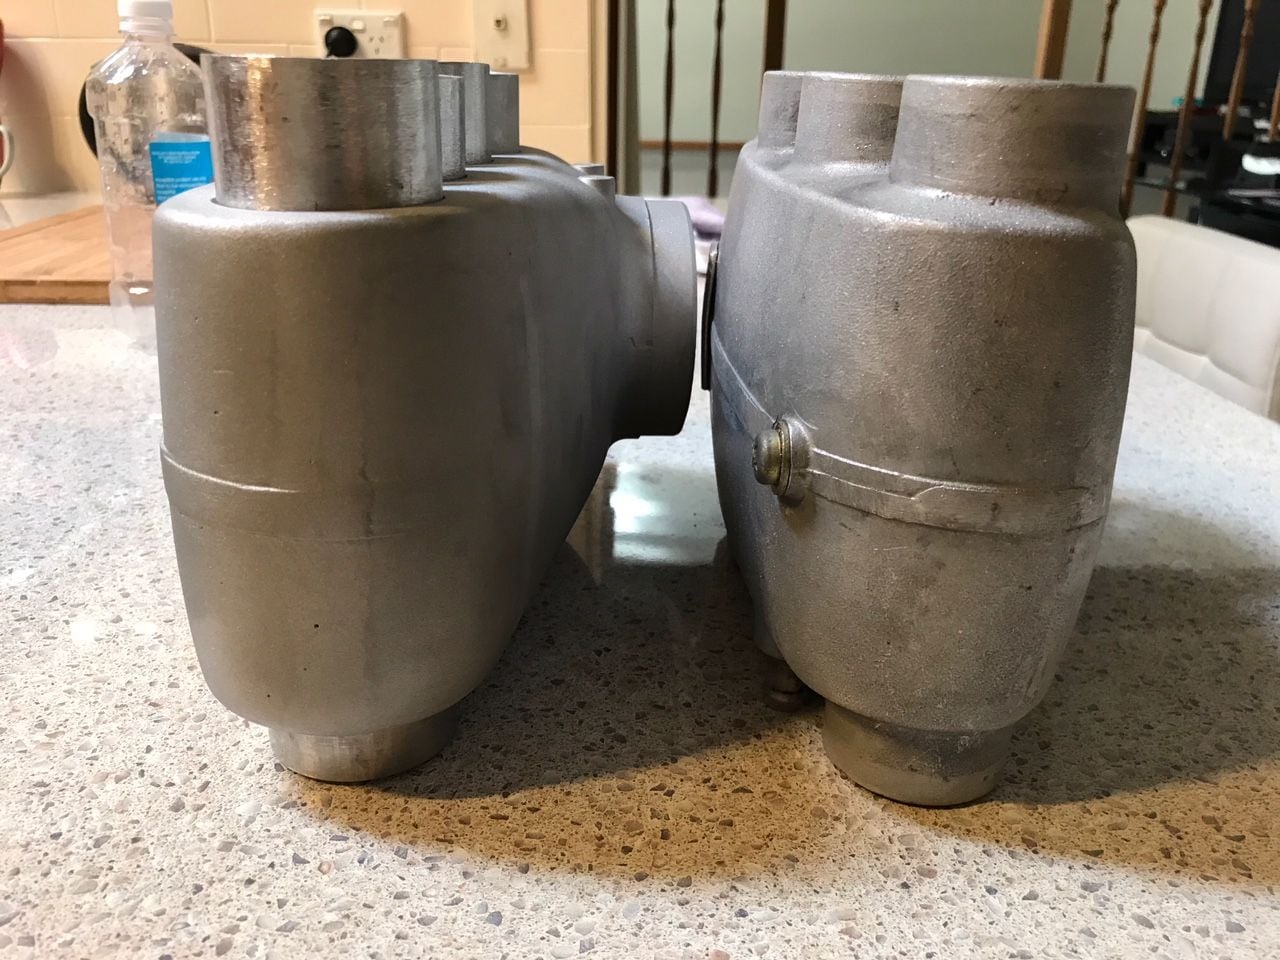
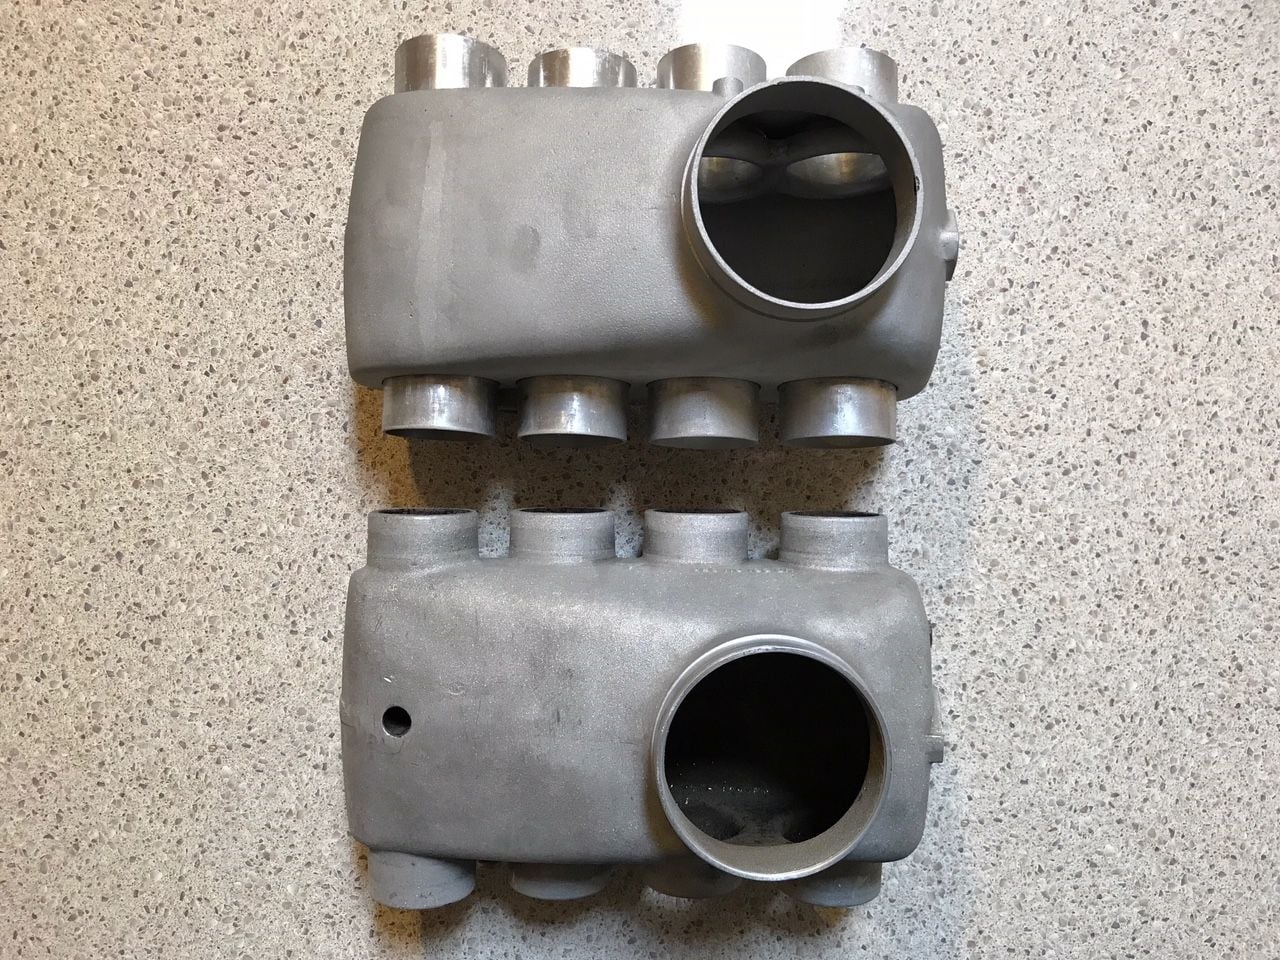
The photos below are pretty self explanatory but this will be the plenum for the milder of the two 5.35 litre engines. This engine has a 104 mm bore. So the previous manifold test was for a 5.0 litre and this manifold lost around 10 cfm of flow at peak lift. So from memory the peak flow number was just under 250 cfm (248?) and the flow dropped down into the 236-238 cfm range. That�s not too bad but the head guys quite rightly said you will need a bigger manifold for the bigger engine with the better flowing heads. The bigger heads flow around 270ish at 0.500� which is peak lift.
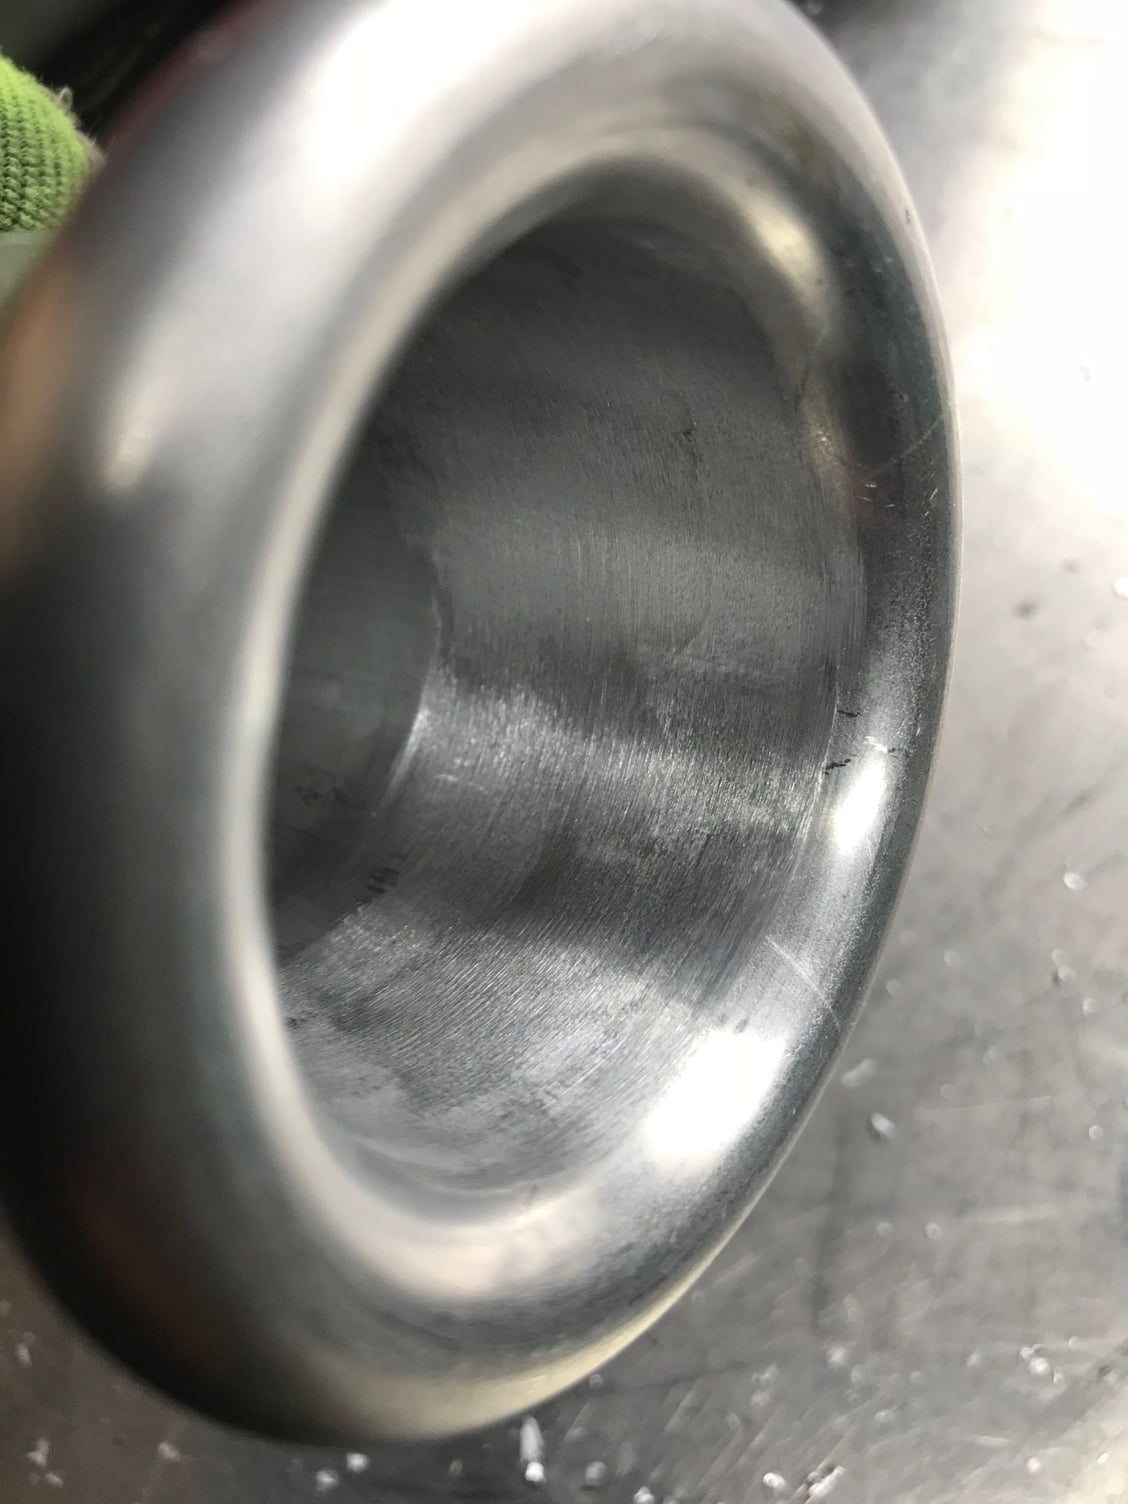
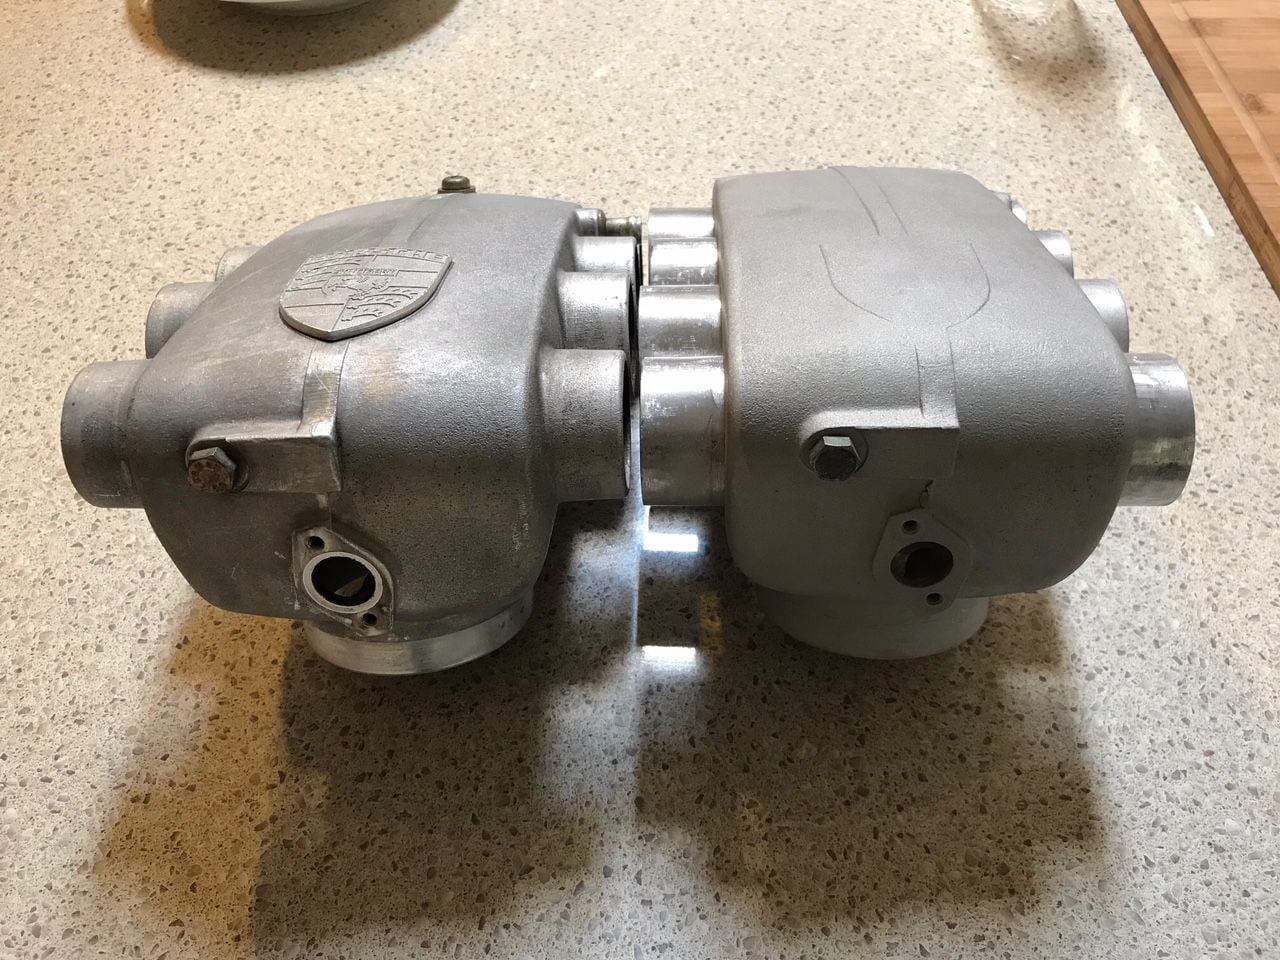
The previous manifold used pipe that had an consistent internal diameter of 44.4 mm. For this manifold I will use 2� pipe with an ID of 47.6 mm at the trumpet and 90 degree turn. Then it will step down to via a taper to 43 mm at the head. Roughly the cross sectionional area is about 20% bigger than the last manifold. It also uses proper Bell mouths. I really have had to cut the plenum up to get proper access and no doubt it�s a big job. It looks a little untidy but it will be very nice when finished. The idea is to have it look like a factory plenum.
So I have had a few issues unrelated to this plenum to deal with, they are car related and frustrating, expensive and not my fault. So I decided to get back to this plenum. The bellmouths are about 25% bigger than stock, the engine is 5,364 cc vs 4664 cc or about 15% bigger however it will be more efficient in producing power so will need this extra air. I�m going to get the side plates CNCed. This will make the manifold more professional looking and allow me to solder the runners into those plates. It would be too tight to weld.
So I have had a few issues unrelated to this plenum to deal with, they are car related and frustrating, expensive and not my fault. So I decided to get back to this plenum. The bellmouths are about 25% bigger than stock, the engine is 5,364 cc vs 4664 cc or about 15% bigger however it will be more efficient in producing power so will need this extra air. I�m going to get the side plates CNCed. This will make the manifold more professional looking and allow me to solder the runners into those plates. It would be too tight to weld.
Just fits
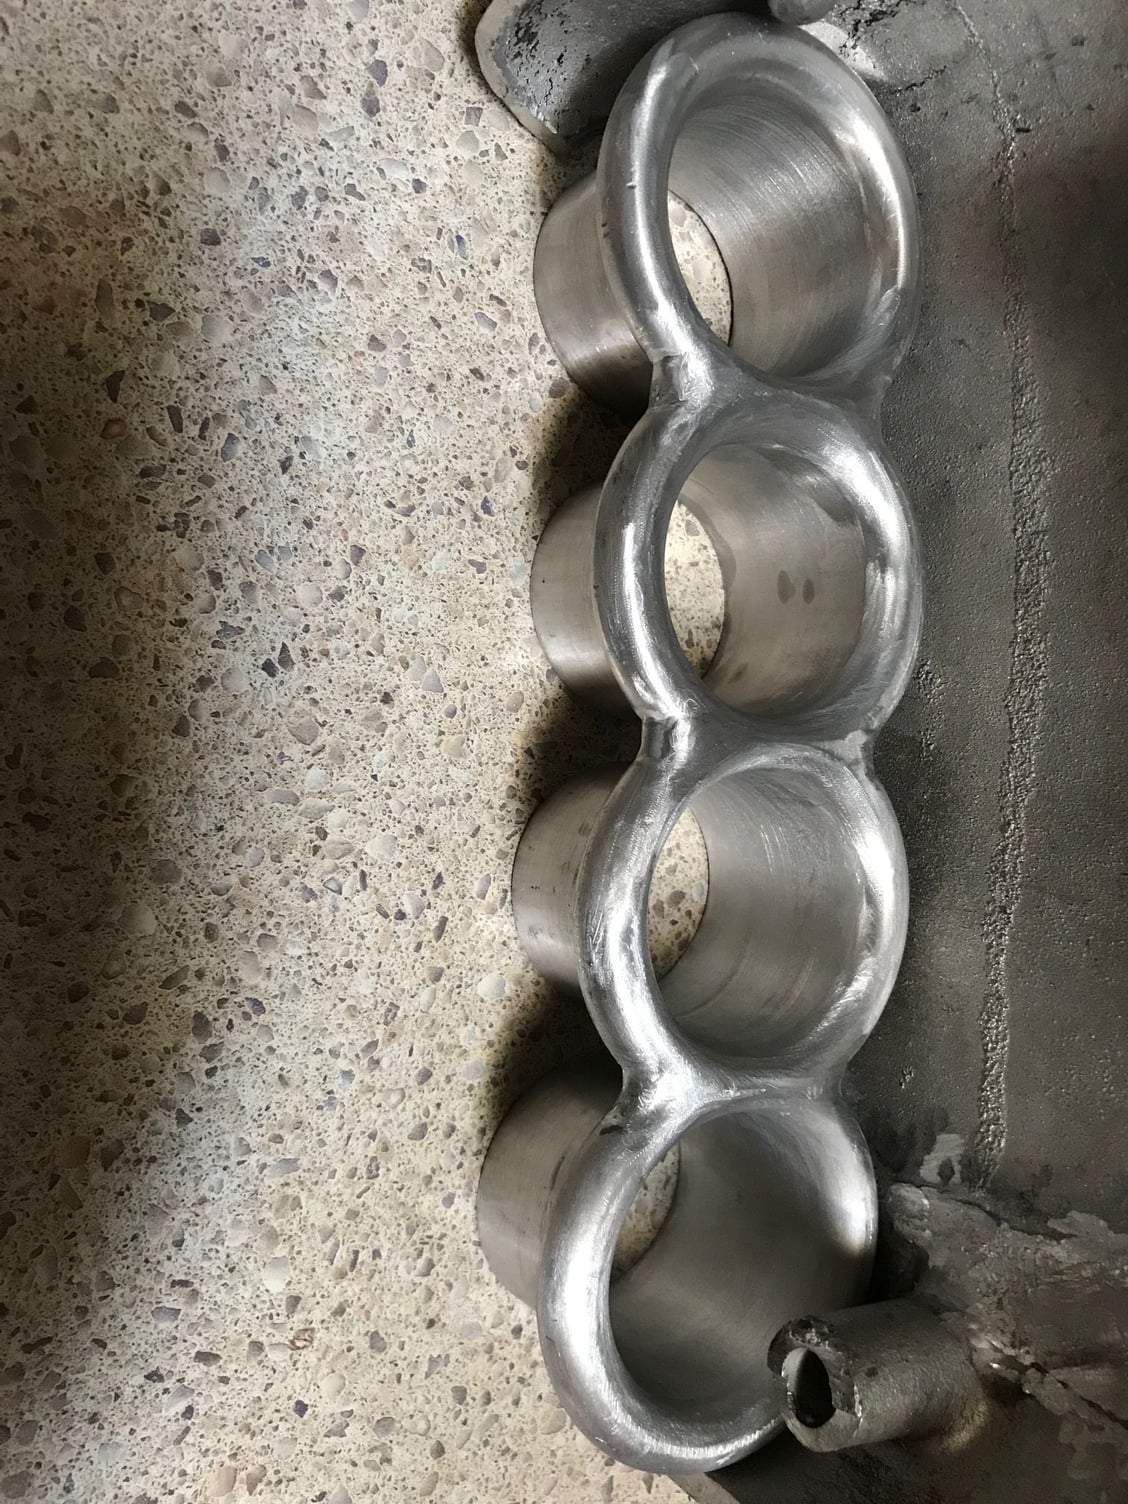
Bell mouths welded together
Did you do the aluminum welding yourself? I know you are a very skilled aluminum welder.
�ke
Did you do the aluminum welding yourself? I know you are a very skilled aluminum welder.
�ke
Ake, this manifold would end up so expensive if you had to pay somebody for welding, it will be expensive just in gas for the welding. All these custom parts are a labour of love in reality.
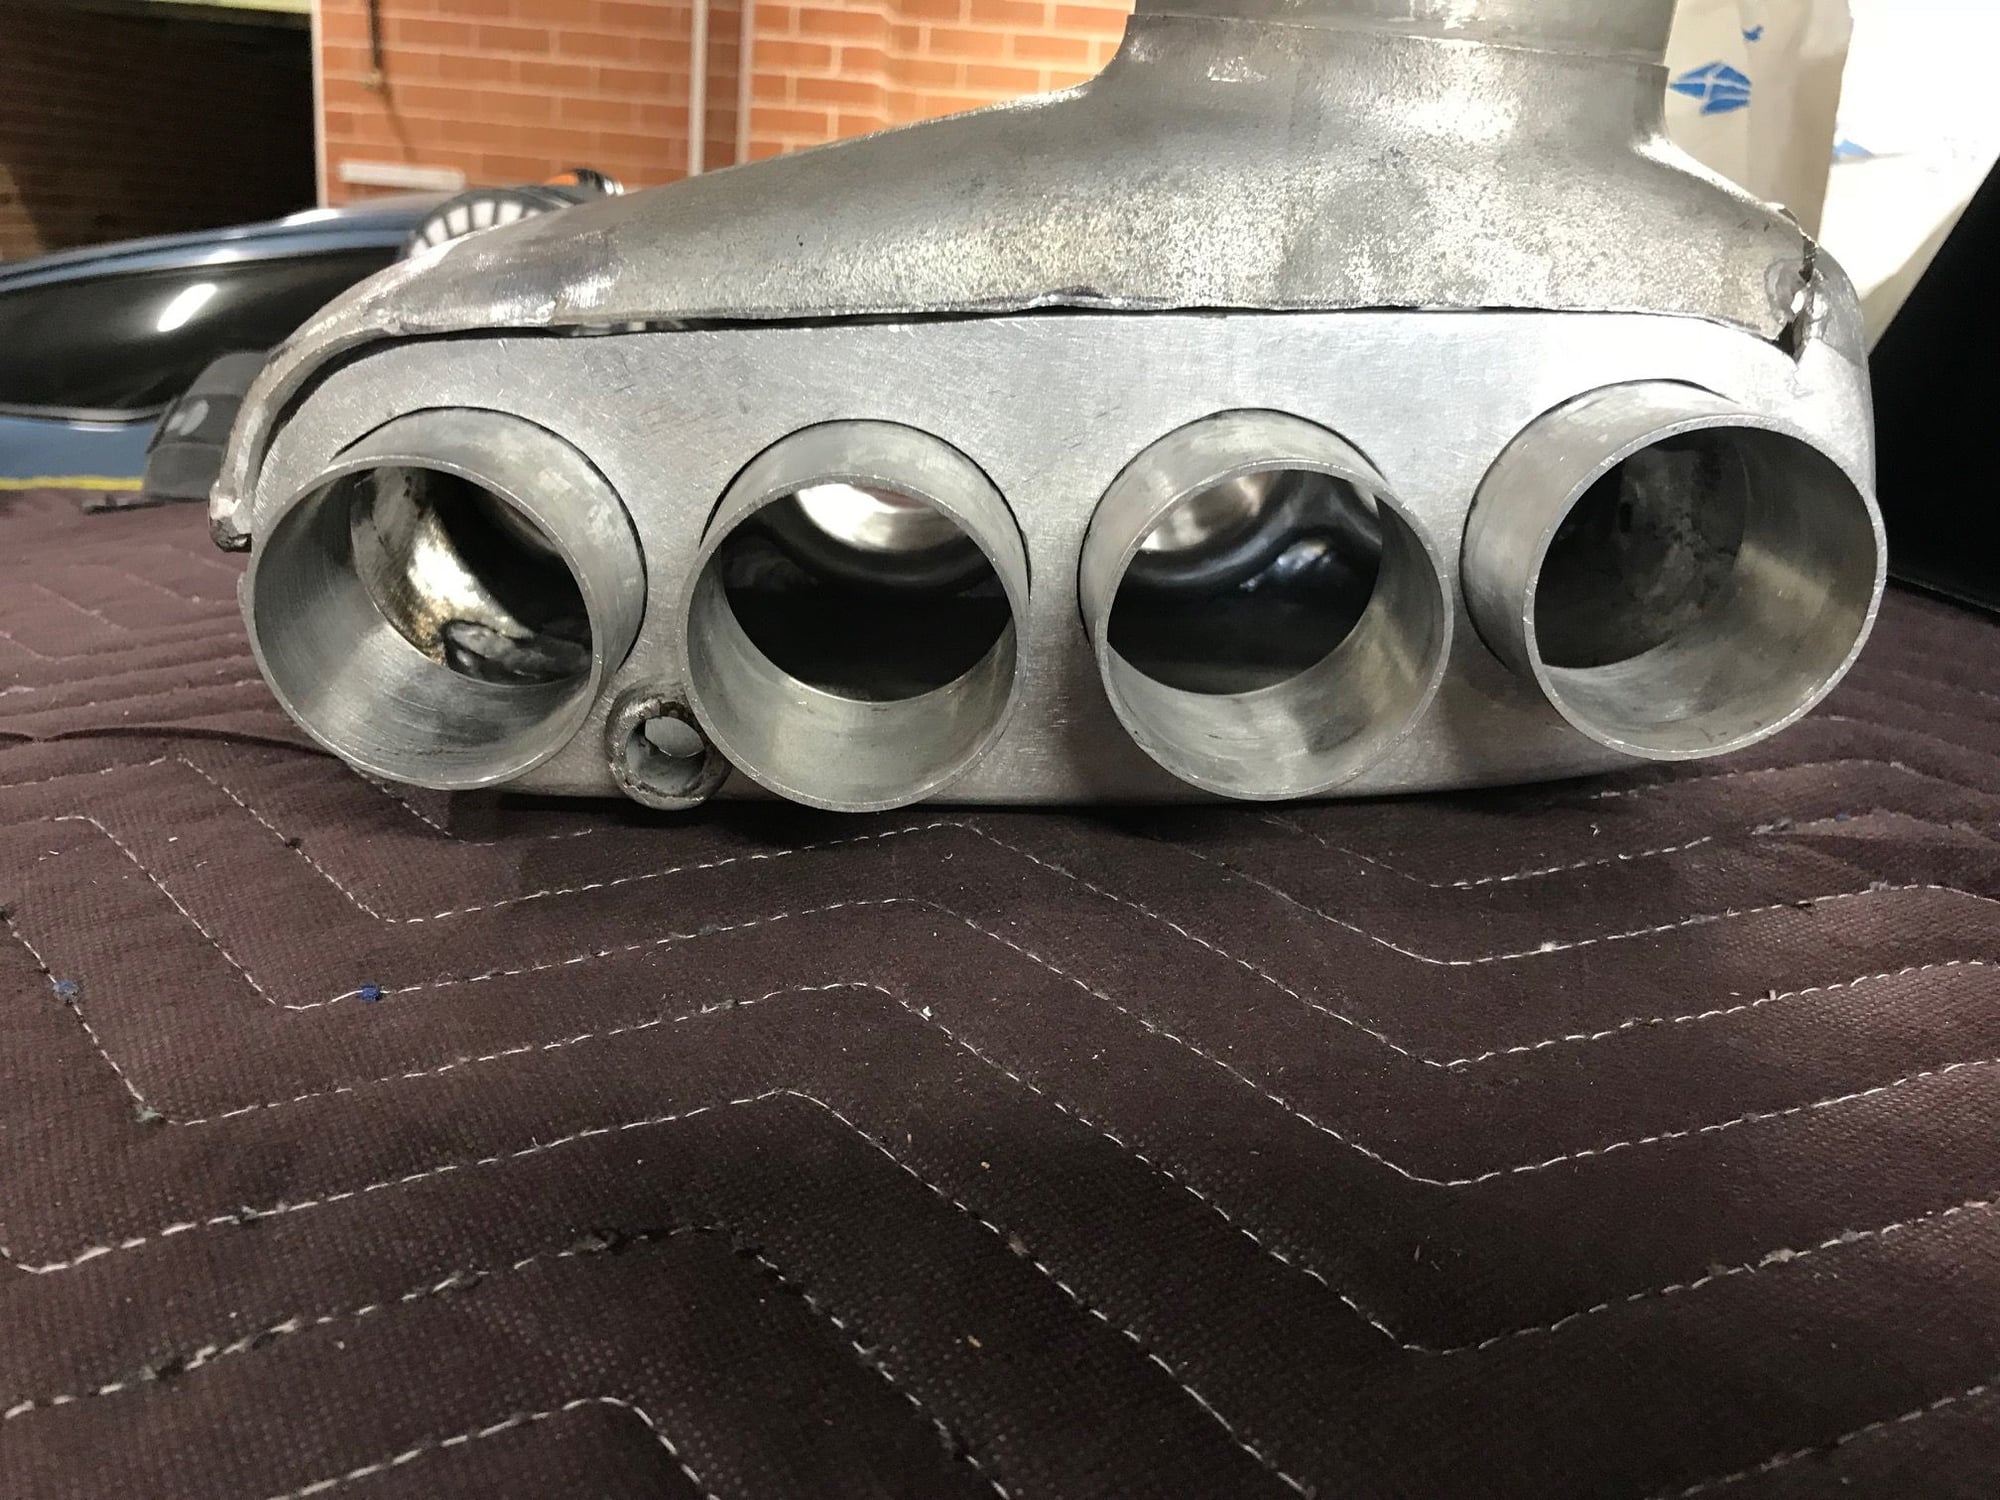
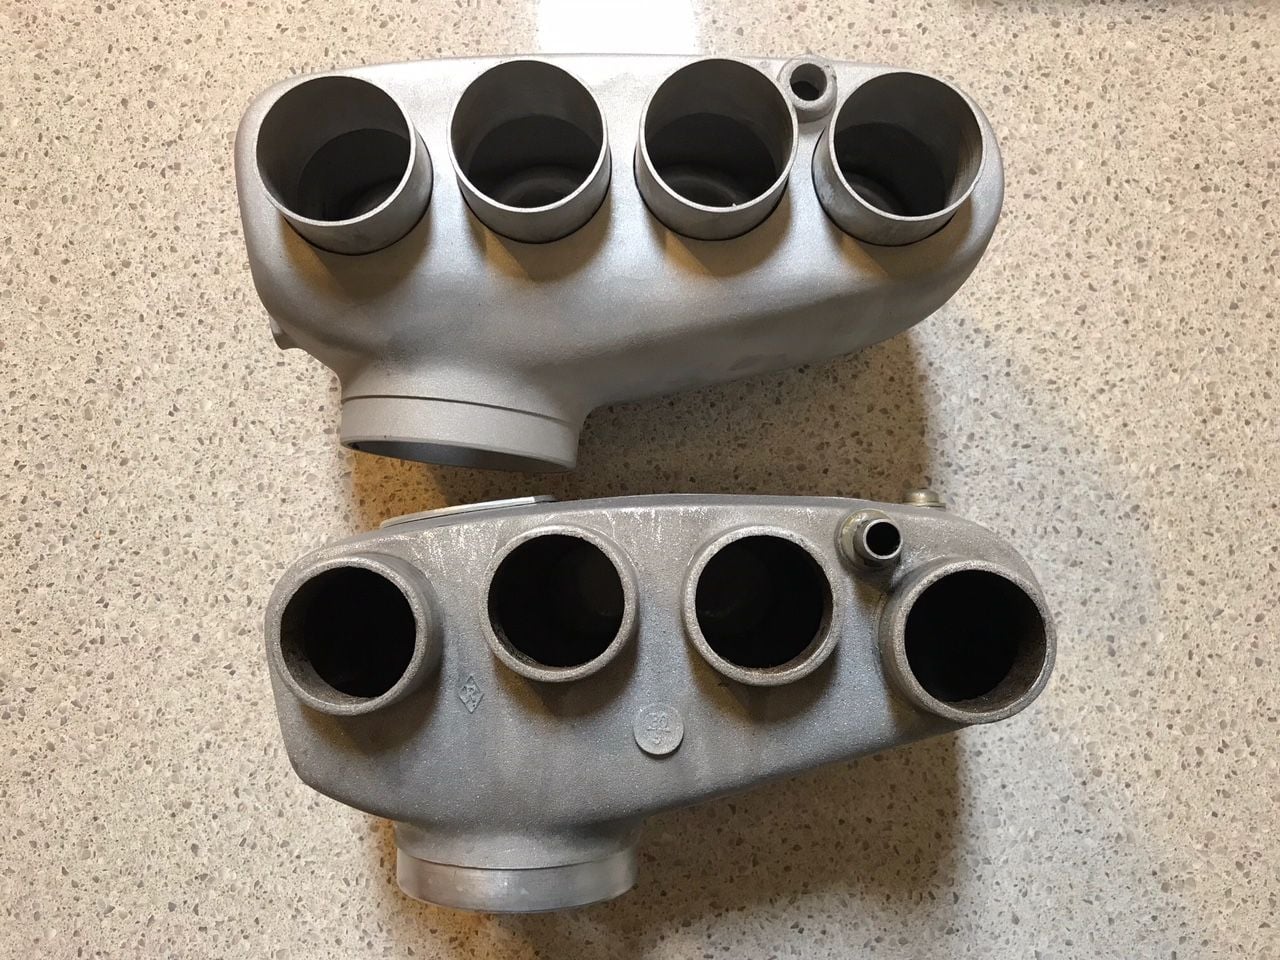
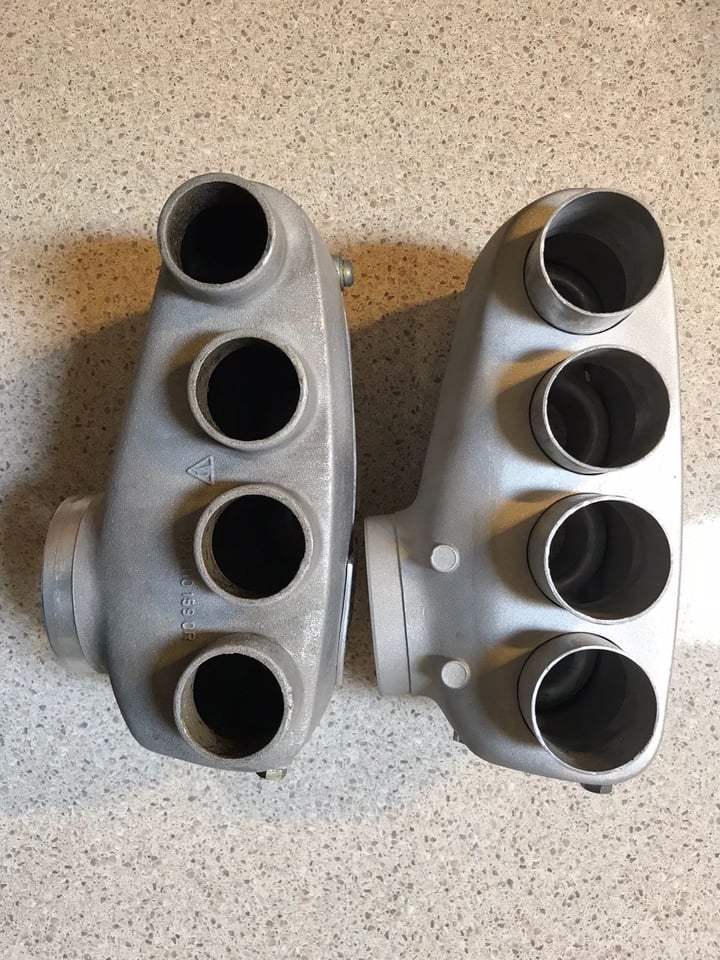
You can visualise the size difference of these runners pretty easily. The pipes have to be lower to get the trumpets in.
Inside view.
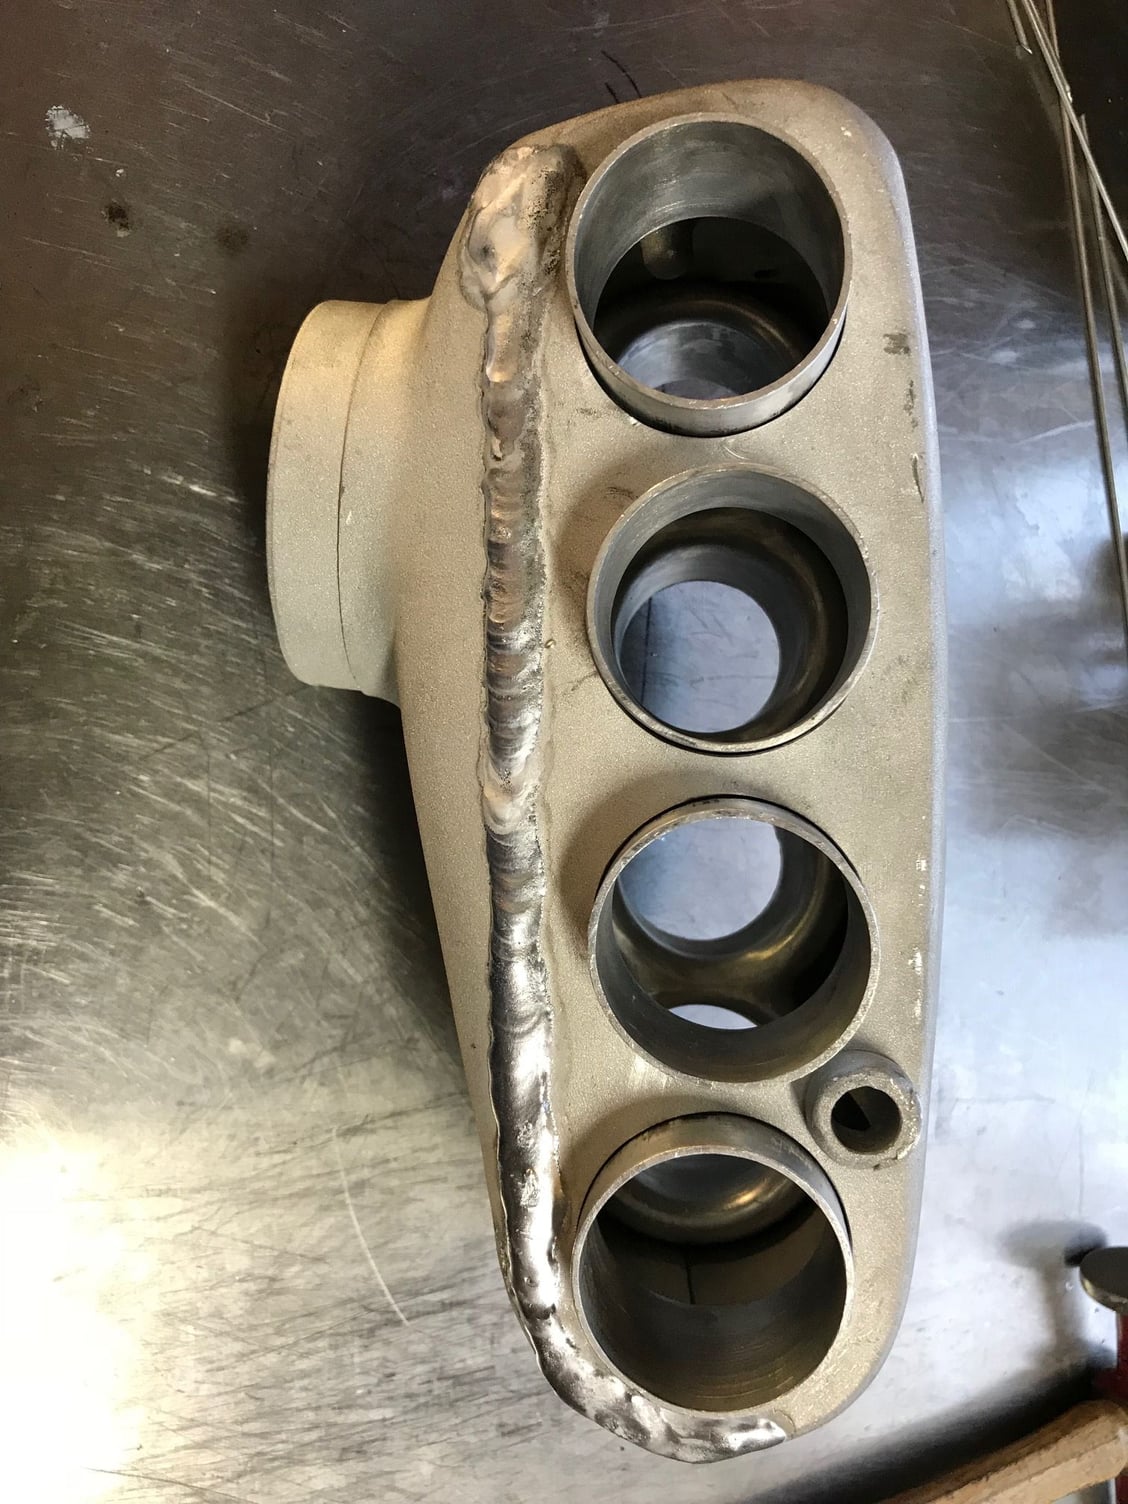
More progress pics, it�s a surprisingly big job, I would say there is a solid weeks work and one bottle of argon in this plenum.
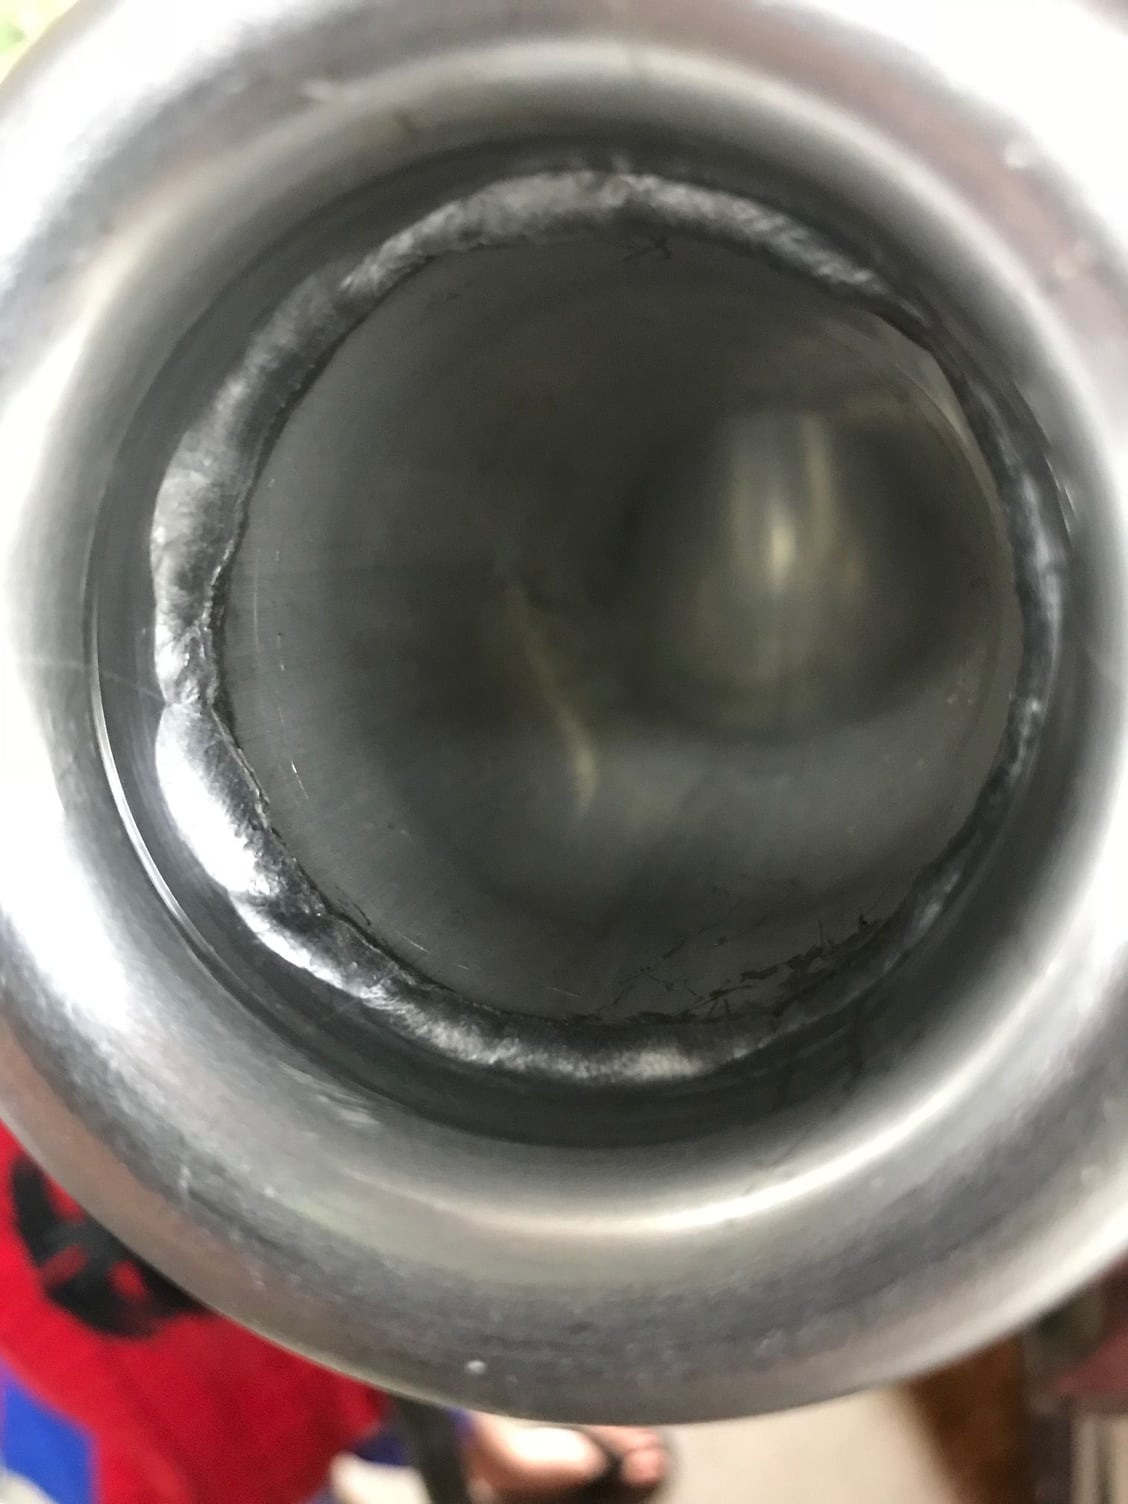
Tried to get the weld material to follow the trumpets as much as possible.
Welded the trumpets to fill in my dents😤
The dents occurred when I wasn�t wearing my glasses and I was tapping them in with my wooden hammer handle. These trumpets are very very soft. They are not heat treated.
Greg, very nice work. Understand how much time and effort you have put in. As they say over here, nothing will fabricate itself.
�ke
Yes I will go with what you said, still a fair bit of tidy up to do, luckily that is just adding a bit of filler wire here or there. I am getting my hydroblaster going tomorrow and I will blast the whole plenum and then weld it together, it�s too dirty for welding currently. I haven�t been very fastidious regarding the cleaning and you can see the black oxides in the various welds.
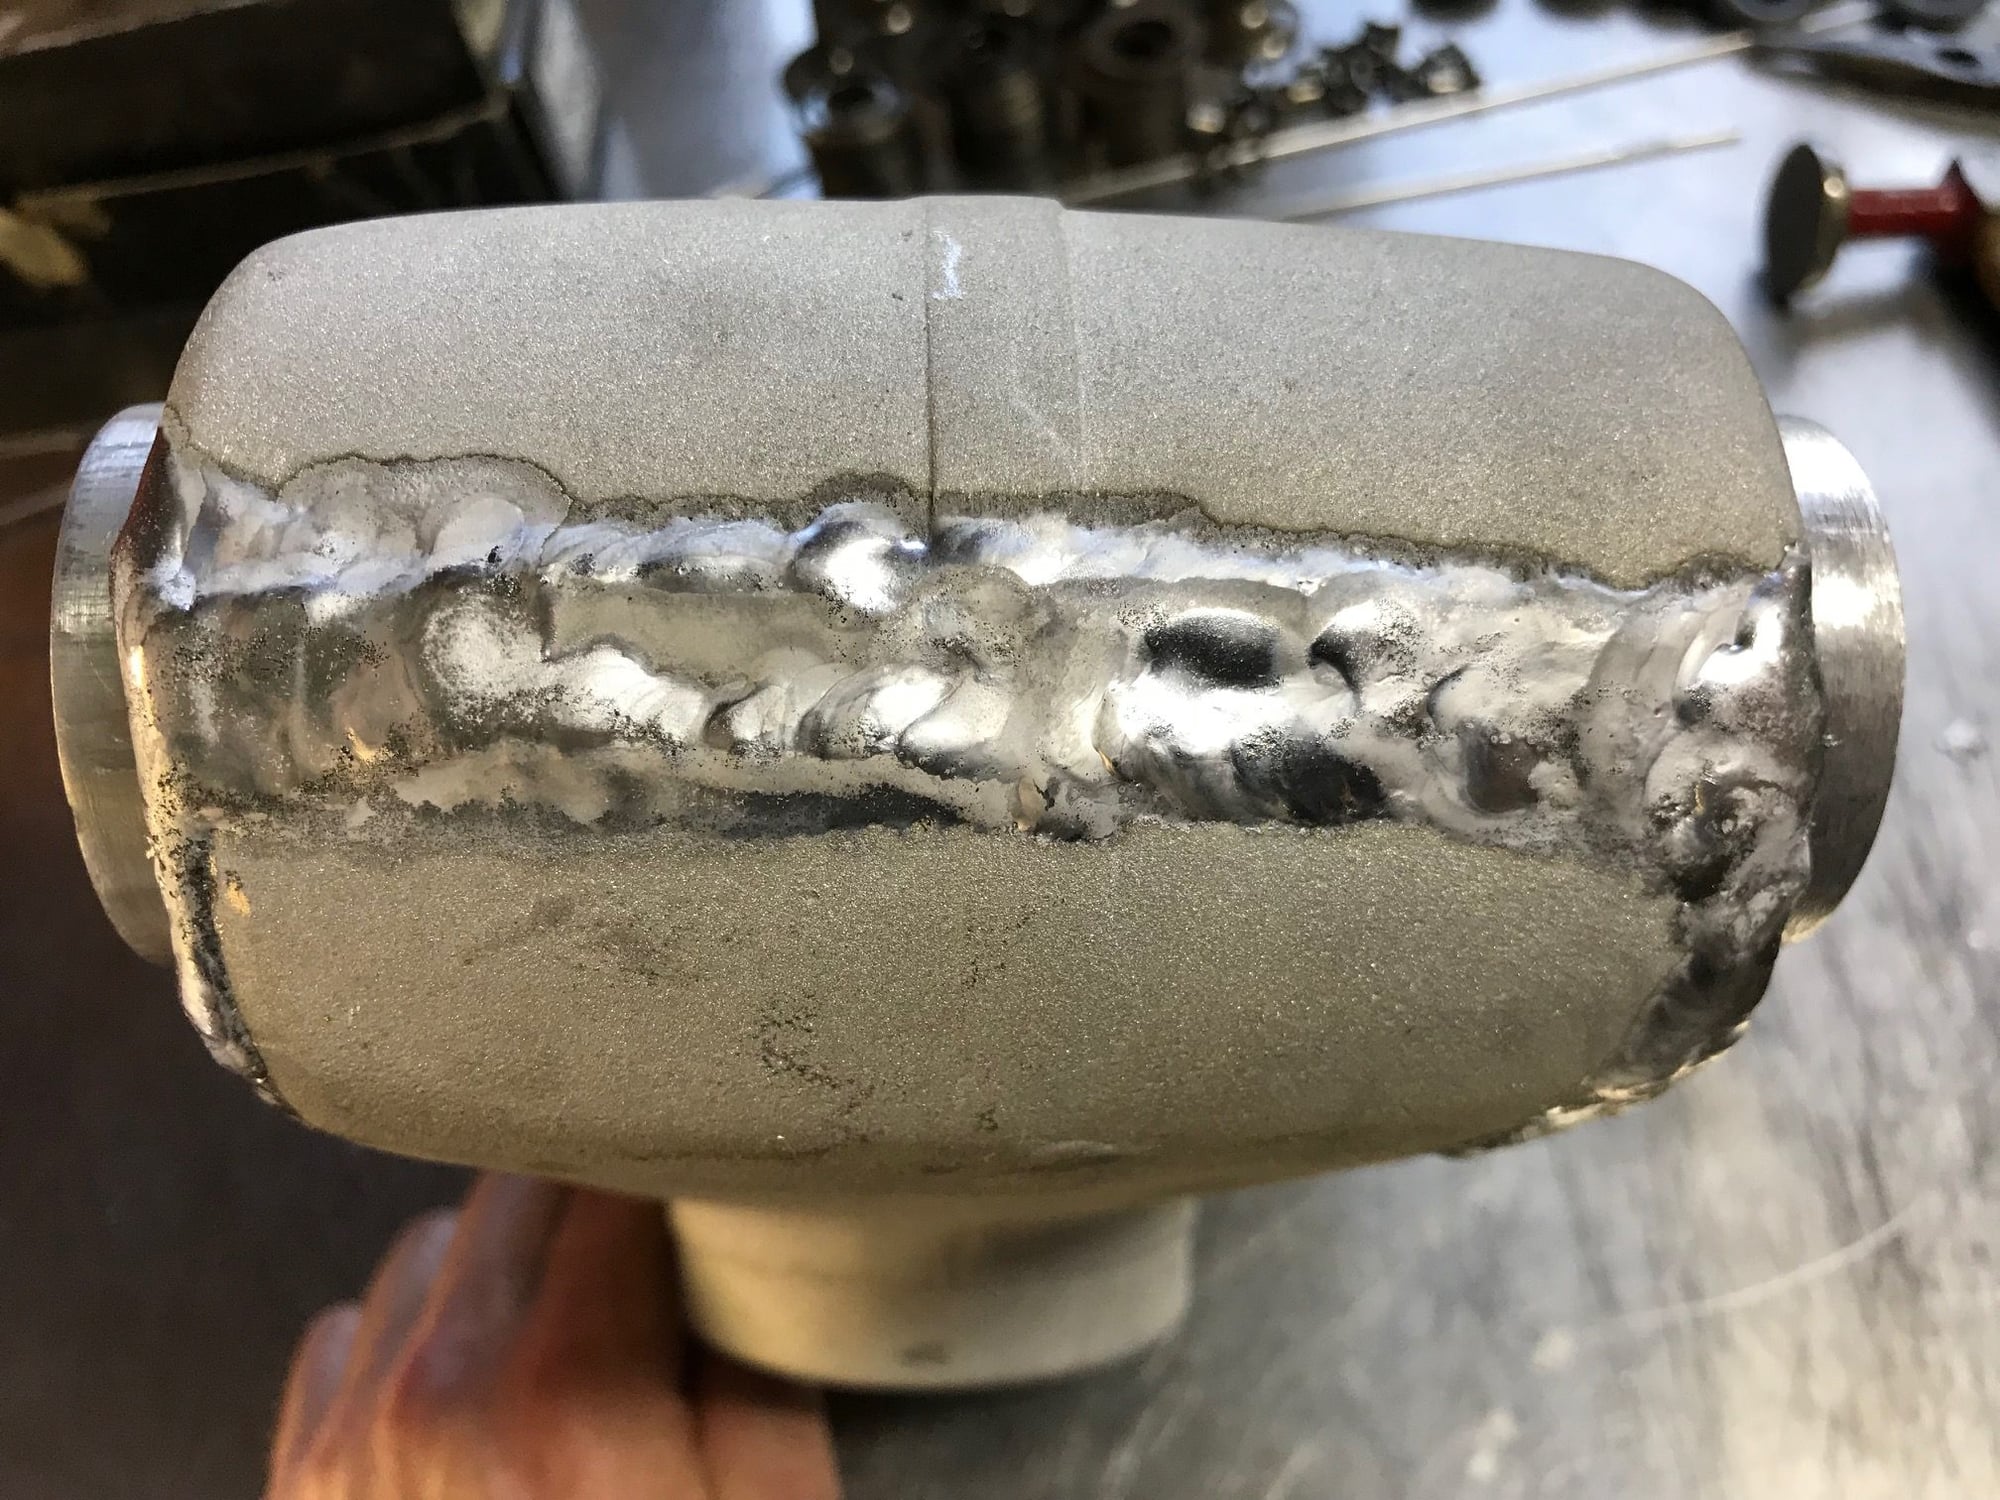
Ok, I got this as far as I�m taking it for a little while, I have to clean the cylinder heads for welding that are going on both two valve cars. The plenum intake runner exits are not soldered as I want to see if I should slightly point them upwards. The factory version doesn�t however the runners seem to slightly angle upwards. I have also lost some height because of the bellmouths. I am able to start building the runners now that I have the plenum.
You can see the piece I welded in as it�s a slightly different colour due to the different composition of that alloy. I didn�t have any spare casting to use that as a rod to avoid this problem. The other issue is that there is some slight air pockets after it was blasted. I still need to shot blast this to get the correct finish but it was interesting to view the other two plenum I have here and see that the casting flash removal was done by hand and pretty rough in all honesty. This would have been done by Porsche most likely at their casting facility. My plenum is not too bad in comparison.

 09-26-2016, 04:44 AM
 . The neighbours said, don't worry about the noise.
  Anyway the garage door techs wanted almost $2K for sort it out. I bought the parts but they were wrong, I need custom springs. Talk about time consuming. Then the passionfruit vine fell down. well the new stainless wire fence just cost me a couple of weeks in time and around $1,500. So those passionfruit better be sweet this summer!