
hvac head unit led replacement pics
 03-16-2014, 03:27 PM
#1
Rennlist Member
Thread Starter
here are some of the hvac disassembly pics.
it shows removing the sider *****. the first pic is showing the broken off ****
it also shows me cleaning the rheostat with an eraser
it shows removing the sider *****. the first pic is showing the broken off ****
it also shows me cleaning the rheostat with an eraser
 03-16-2014, 07:05 PM
#2
Rennlist Member
^^^ Are you going to light up the **** too? It's kind of a fun project.
Can't wait to see pics of your car when you're finished - I really dig alcantara
Can't wait to see pics of your car when you're finished - I really dig alcantara
Trending Topics
03-20-2014, 12:09 AM
#8
Rennlist Member
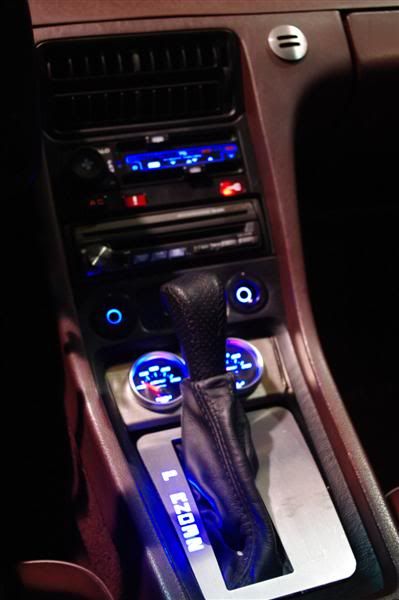
The lighted fan **** mod is pretty simple and really makes a nice addition. When I did mine I also drilled the sockets in the slider ***** deeper so that the fiber optic light guides do a better job lighting the slider *****. Now to get off my lazy tail and complete the led conversion by doing the pod ***** and cluster along with installing Ed's dimmer.
Mike
Mike
03-20-2014, 01:57 AM
#9
Electron Wrangler
Lifetime Rennlist
Member
Lifetime Rennlist
Member
No rheostat in the head unit - what you show there are just the wiper switches for the air distribution flaps... There is a temperature potentiometer driven by the top slider & the cog mechanism (under the cog).
Nice job cleaning it all up!
Alan
Nice job cleaning it all up!
Alan
03-20-2014, 10:24 AM
#10
Rennlist Member
Thread Starter
sorry about the terminology.. the copper slider thingy...
I have ordered a smd led for the **** and will be trying out mounting LEDs directly into the slider *****.. i think that will be as simple as messing with the fiber optic.
the tape i used is easily available HVAC metal duct tape.
I have ordered a smd led for the **** and will be trying out mounting LEDs directly into the slider *****.. i think that will be as simple as messing with the fiber optic.
the tape i used is easily available HVAC metal duct tape.